How to Make a Portable Playing Card Mat
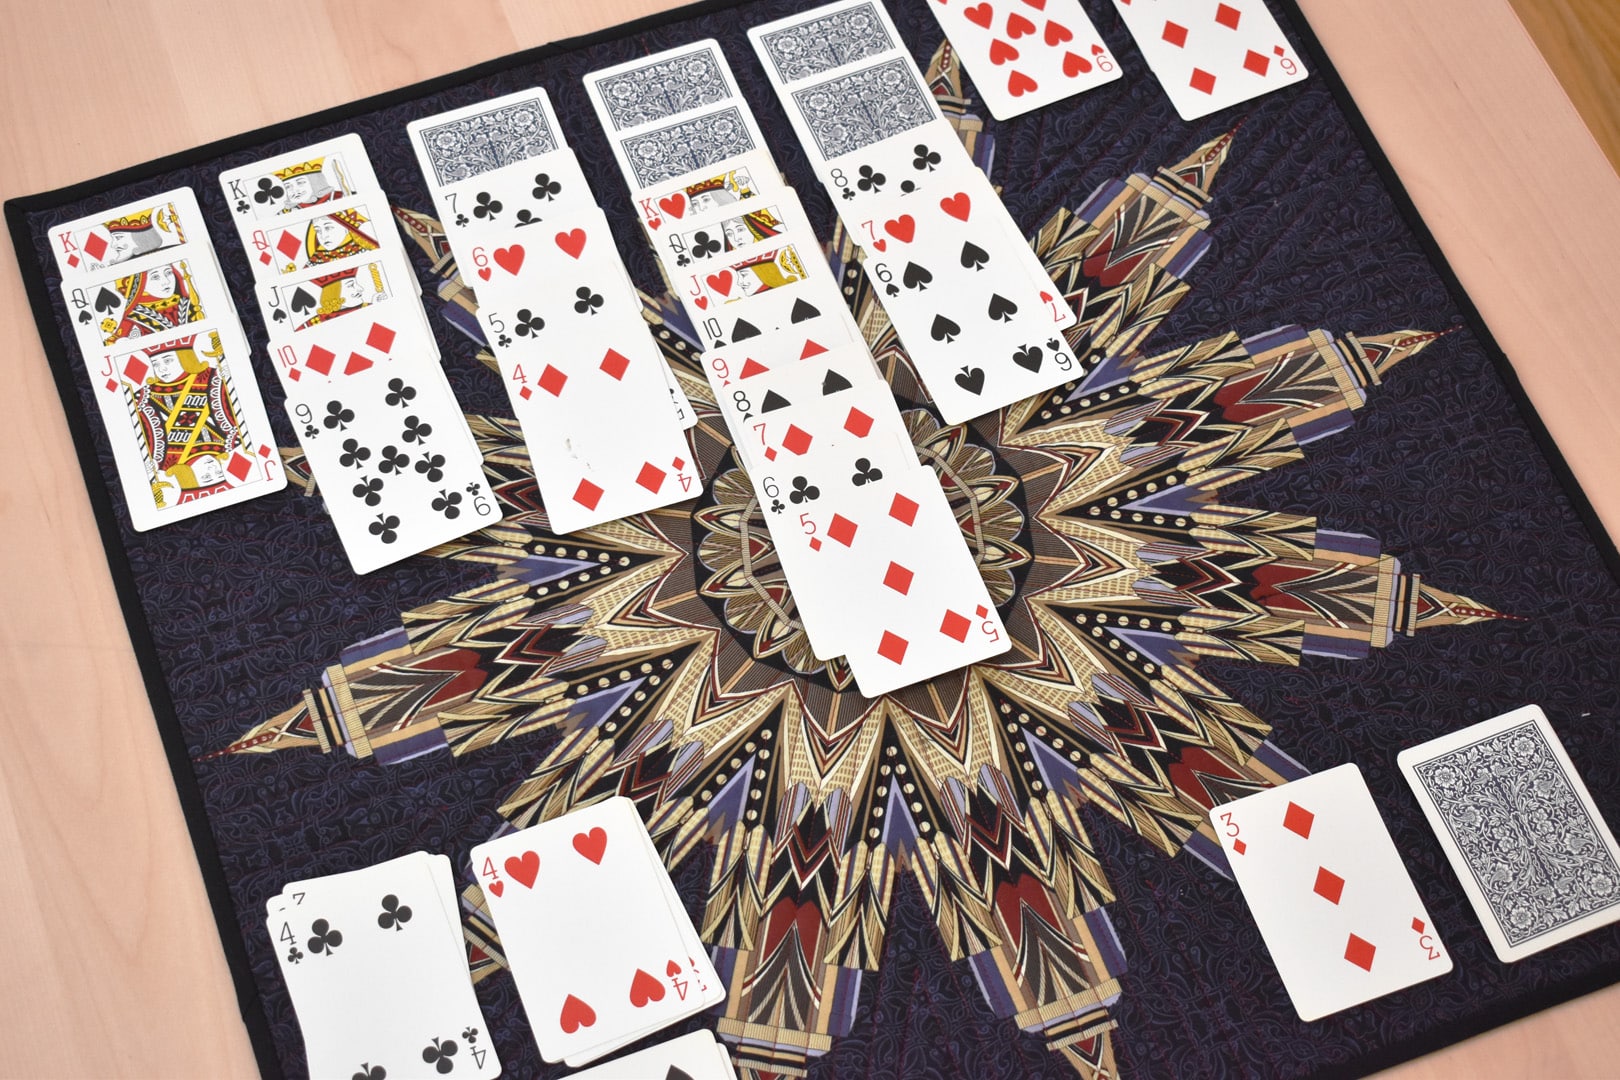
This playing card mat may look simple, but it hides a secret pocket and ties on the back for keeping cards safe and secure. Finishing at 21″ x 21″, the quilted mat is big enough to lay on a cafe table or park bench to play a full game of solitaire (or any other game if you’re playing with friends).
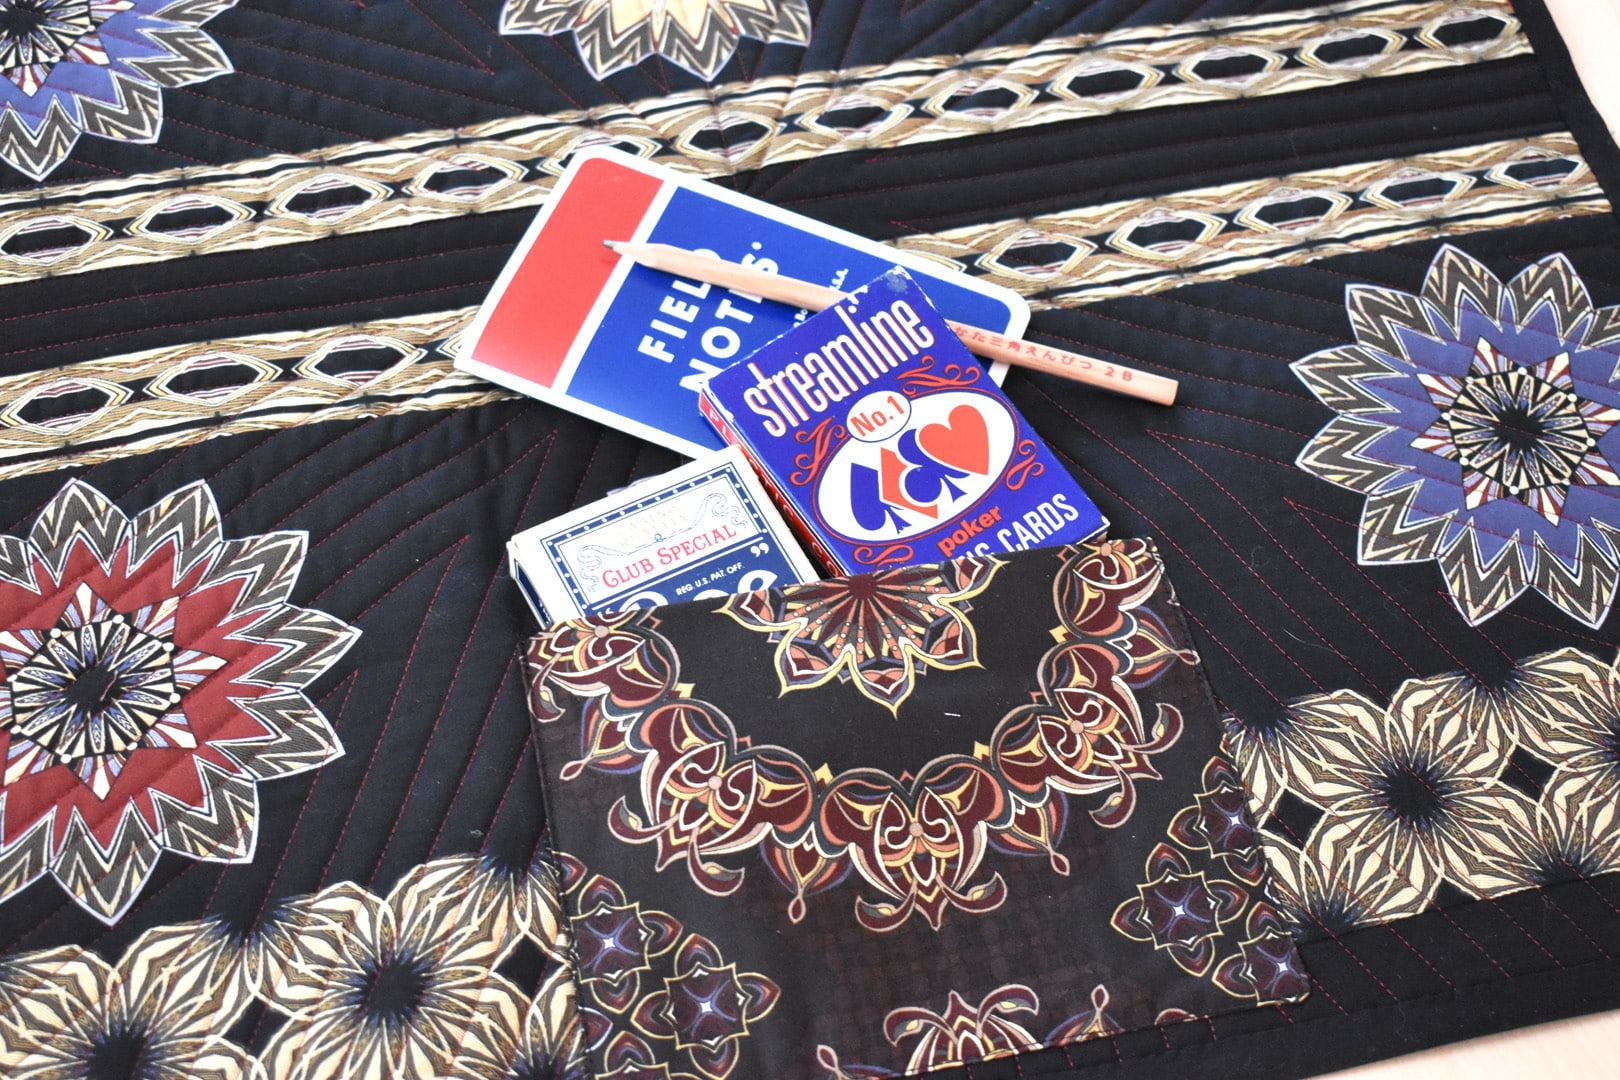
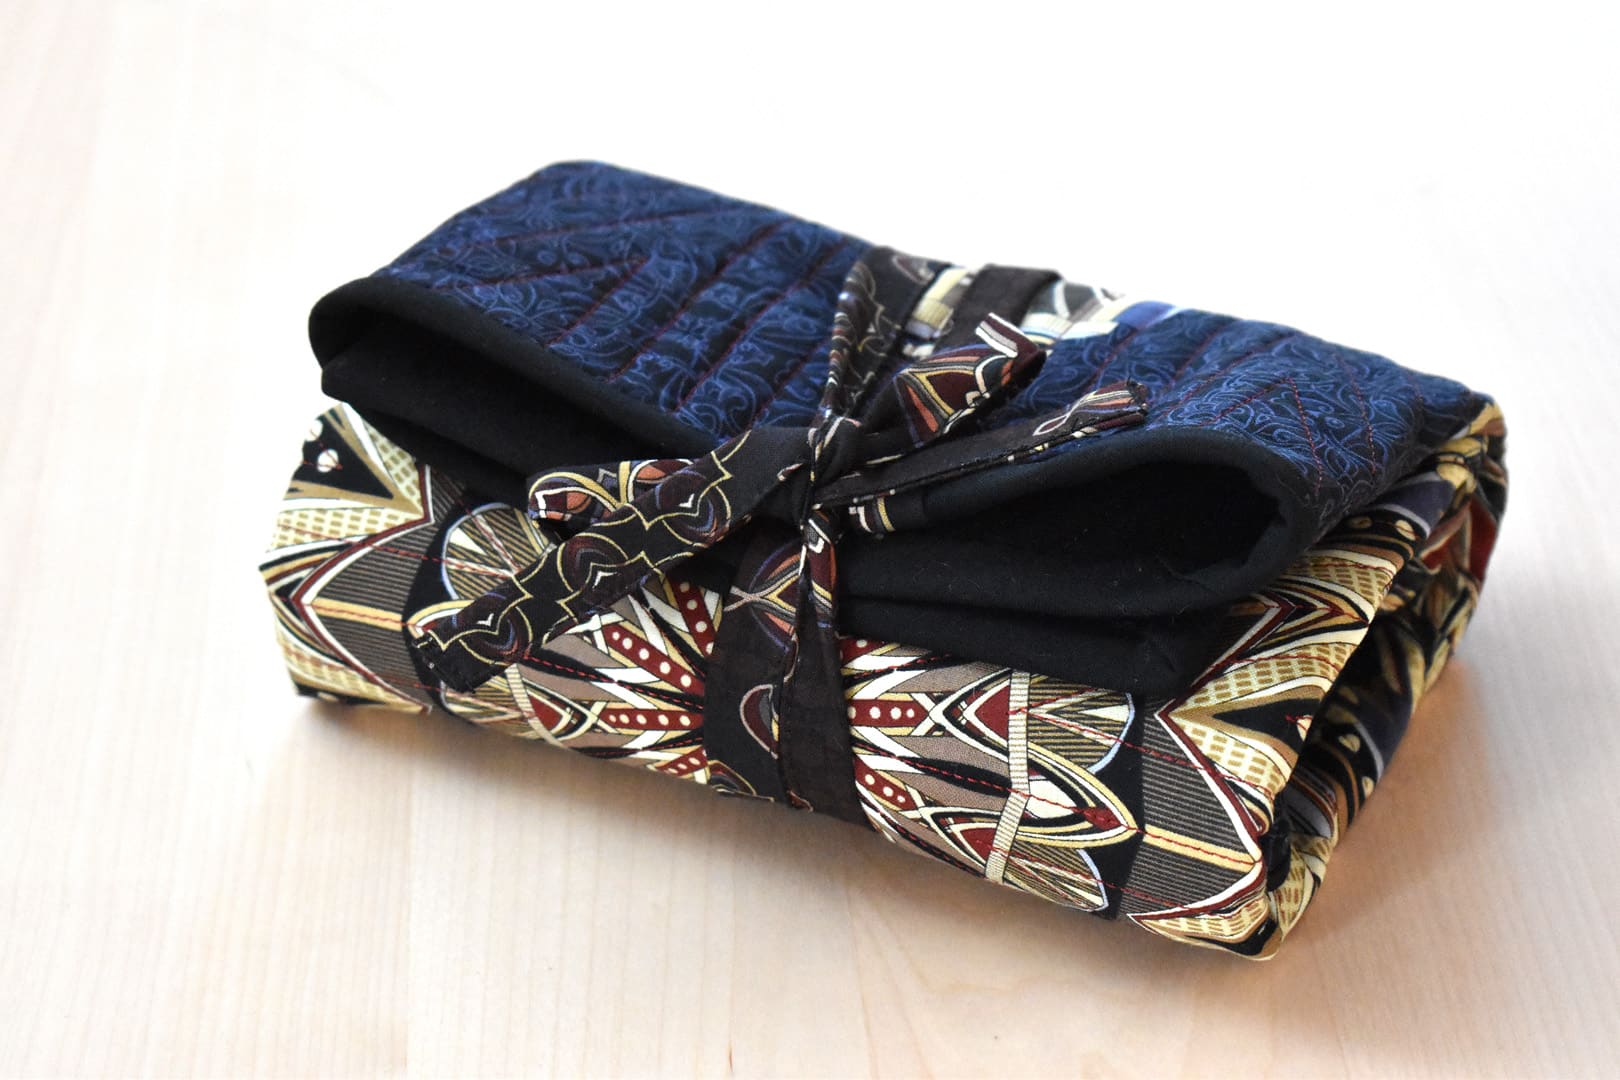
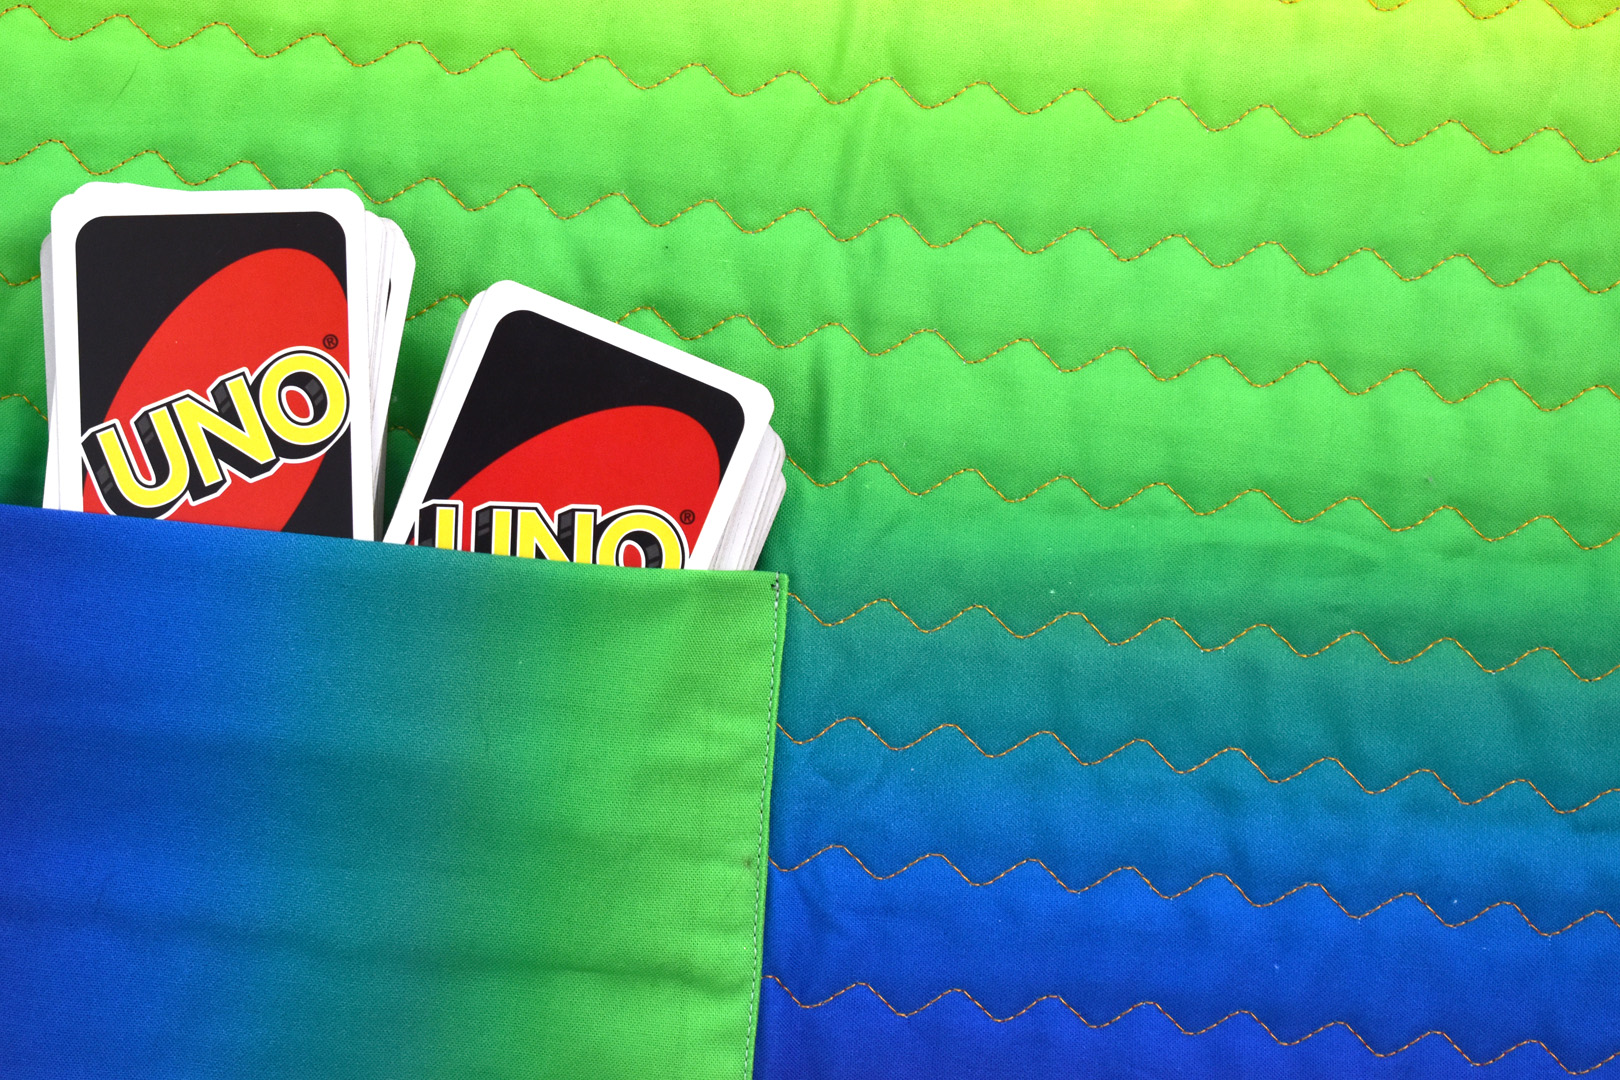
Flip the mat over and a pocket holds two packs of playing cards plus a notebook and pencil for keeping score. Once the cards are in the pocket, fold the mat over the pocket and roll it up.

The ties hold it all securely in place while you’re on the go, or when you store your cards in the game chest or closet.
Learn how to make your own quilted carrier to hold and protect playing cards that doubles as a playing surface when you’re on the go.
Materials to Make a Portable Playing Card Mat
- Sewing machine (I use a BERNINA 570 QE)
- Walking Foot #50
- Reverse Pattern Foot #1D
- Patchwork Foot #97D
- Zigzag needle plate
- Sharp sewing machine needle size 80/12 or 90/14
- 1 1/2 yards 100% cotton fabric for top of mat, ties, and binding
- 1 yard 100% cotton fabric for back of mat and pocket
- 23″ x 23″ square of 100% cotton quilt batting (look for a craft size or baby blanket size if you do not have large scraps of batting in your stash)
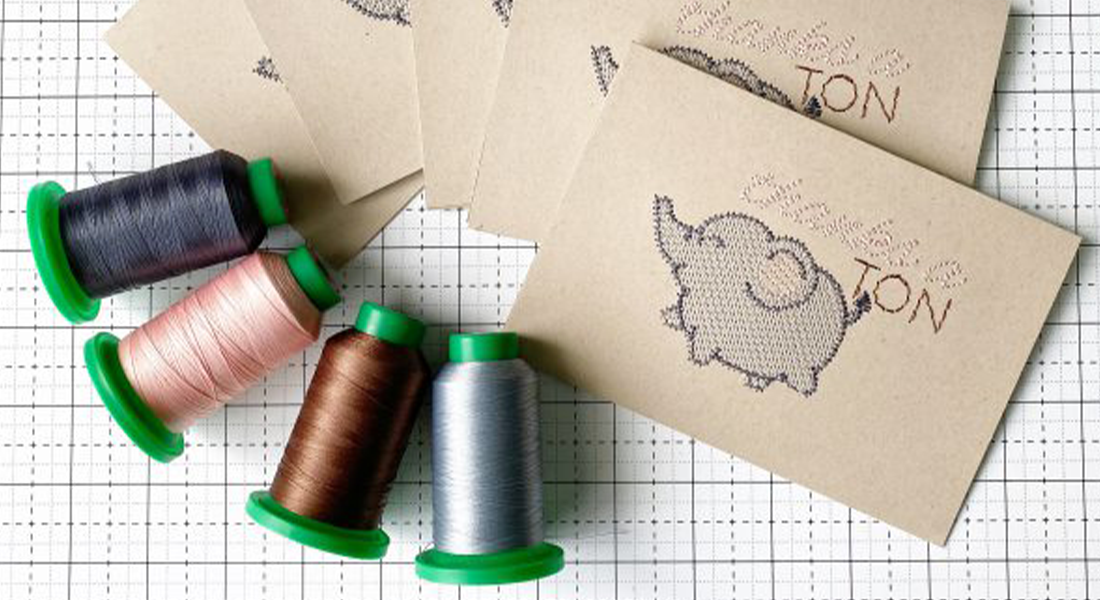
- Thread (I use Isacord 40 wt. polyester embroidery thread)
- Rotary cutter, cutting mat, and rulers
- Iron and pressing surface
- Sewing pins, hand sewing needle, basic sewing supplies
Prepare and quilt the top of the playing card mat. You can use a single piece of fabric to create the top playing surface of the mat as shown in the step-by-step instructions below, or you can use patchwork. At the bottom of the post, I show pictures of a playing card mat made with 3″ half square triangles; this style uses 49 total half square triangles in 7 rows of 7 squares. If you’re a confident quilter, you can use any patchwork that will finish at (or can be trimmed down to) 21 1/2″ x 21 1/2″ for the top.
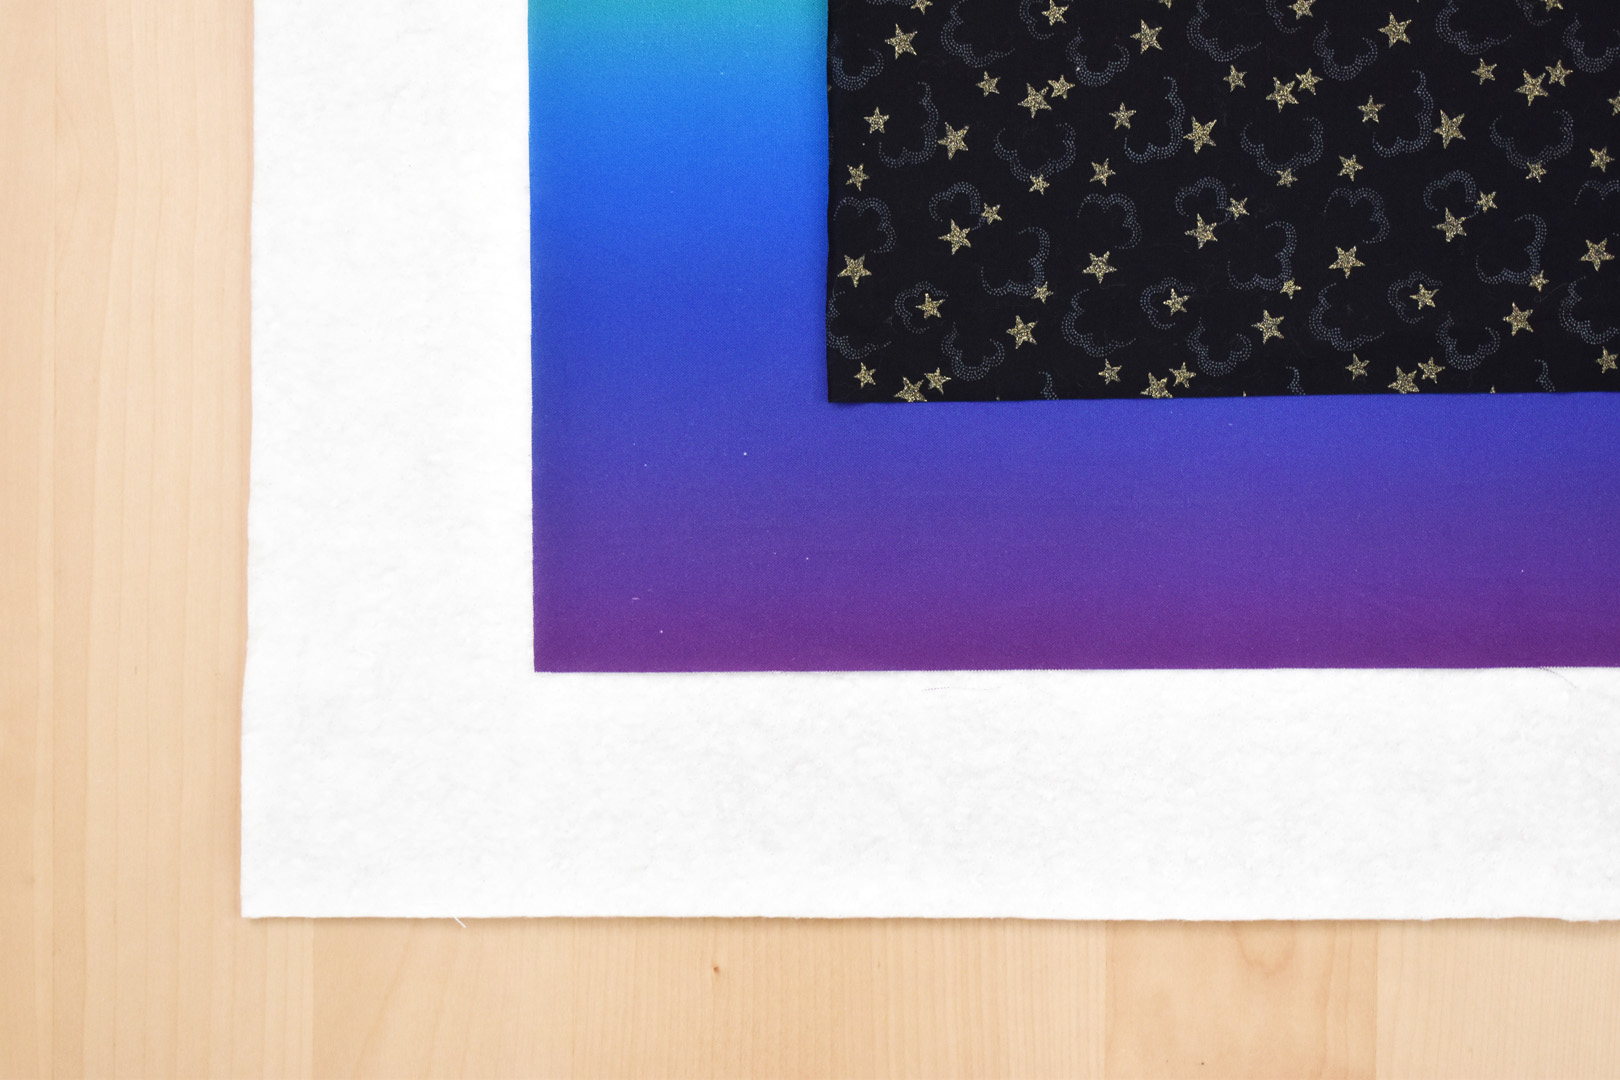
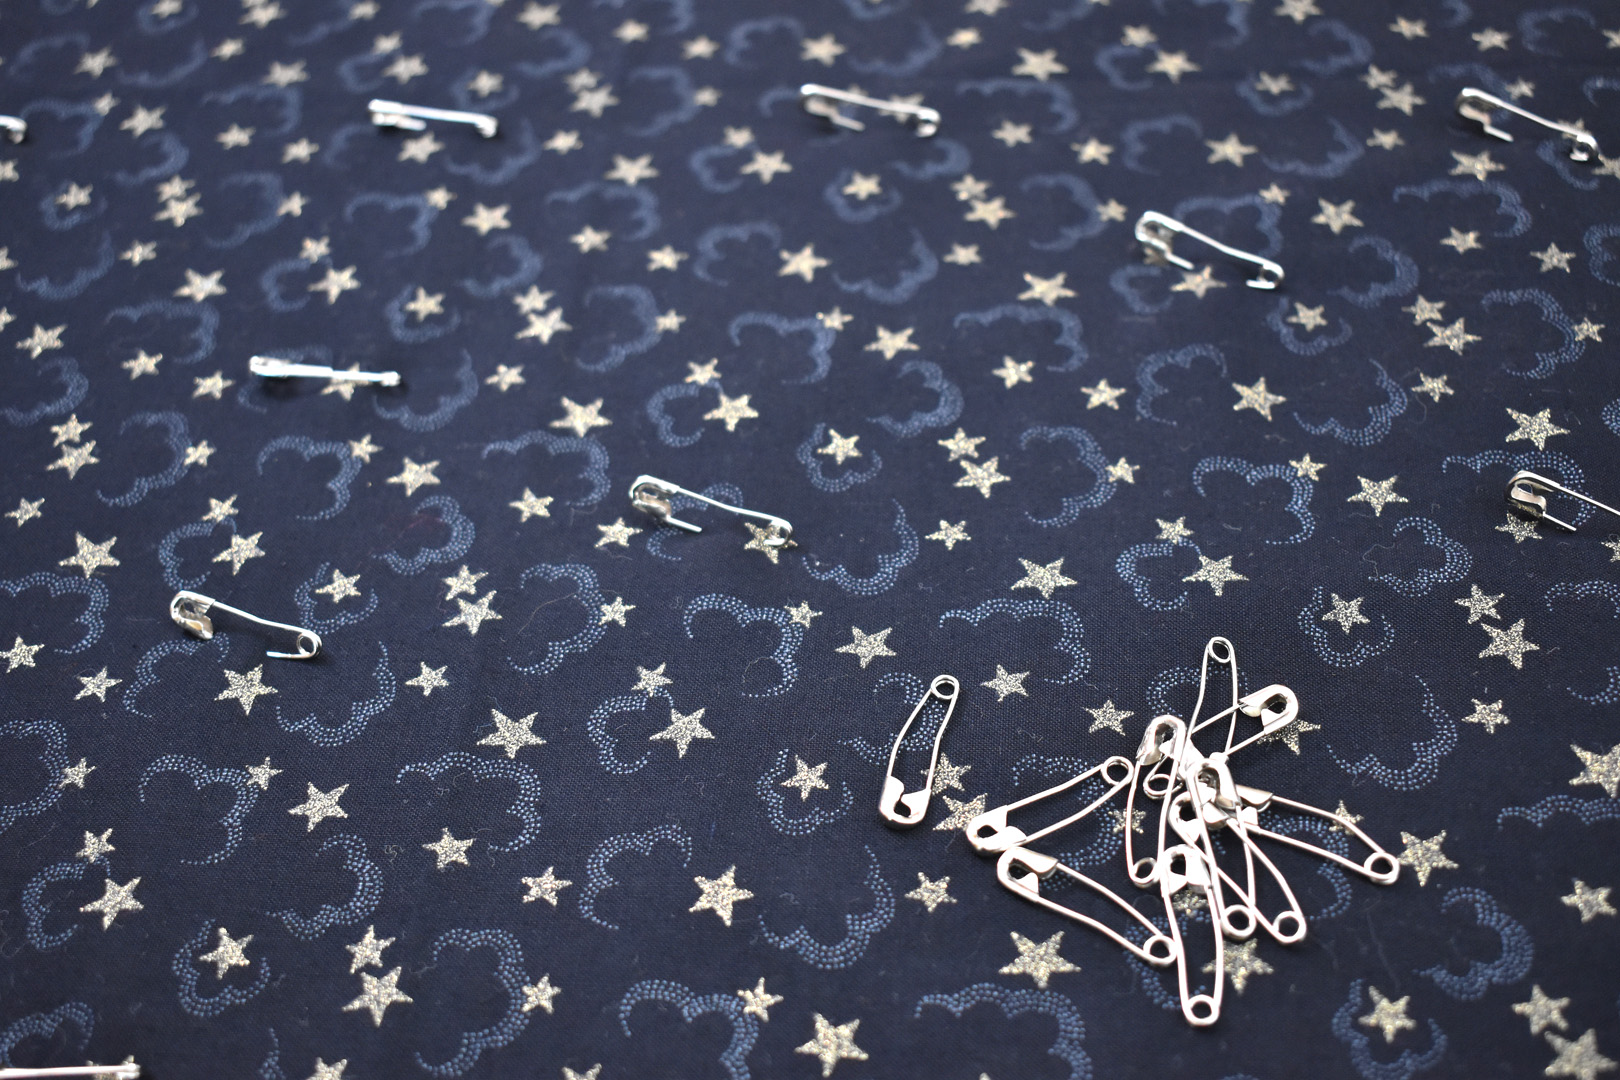
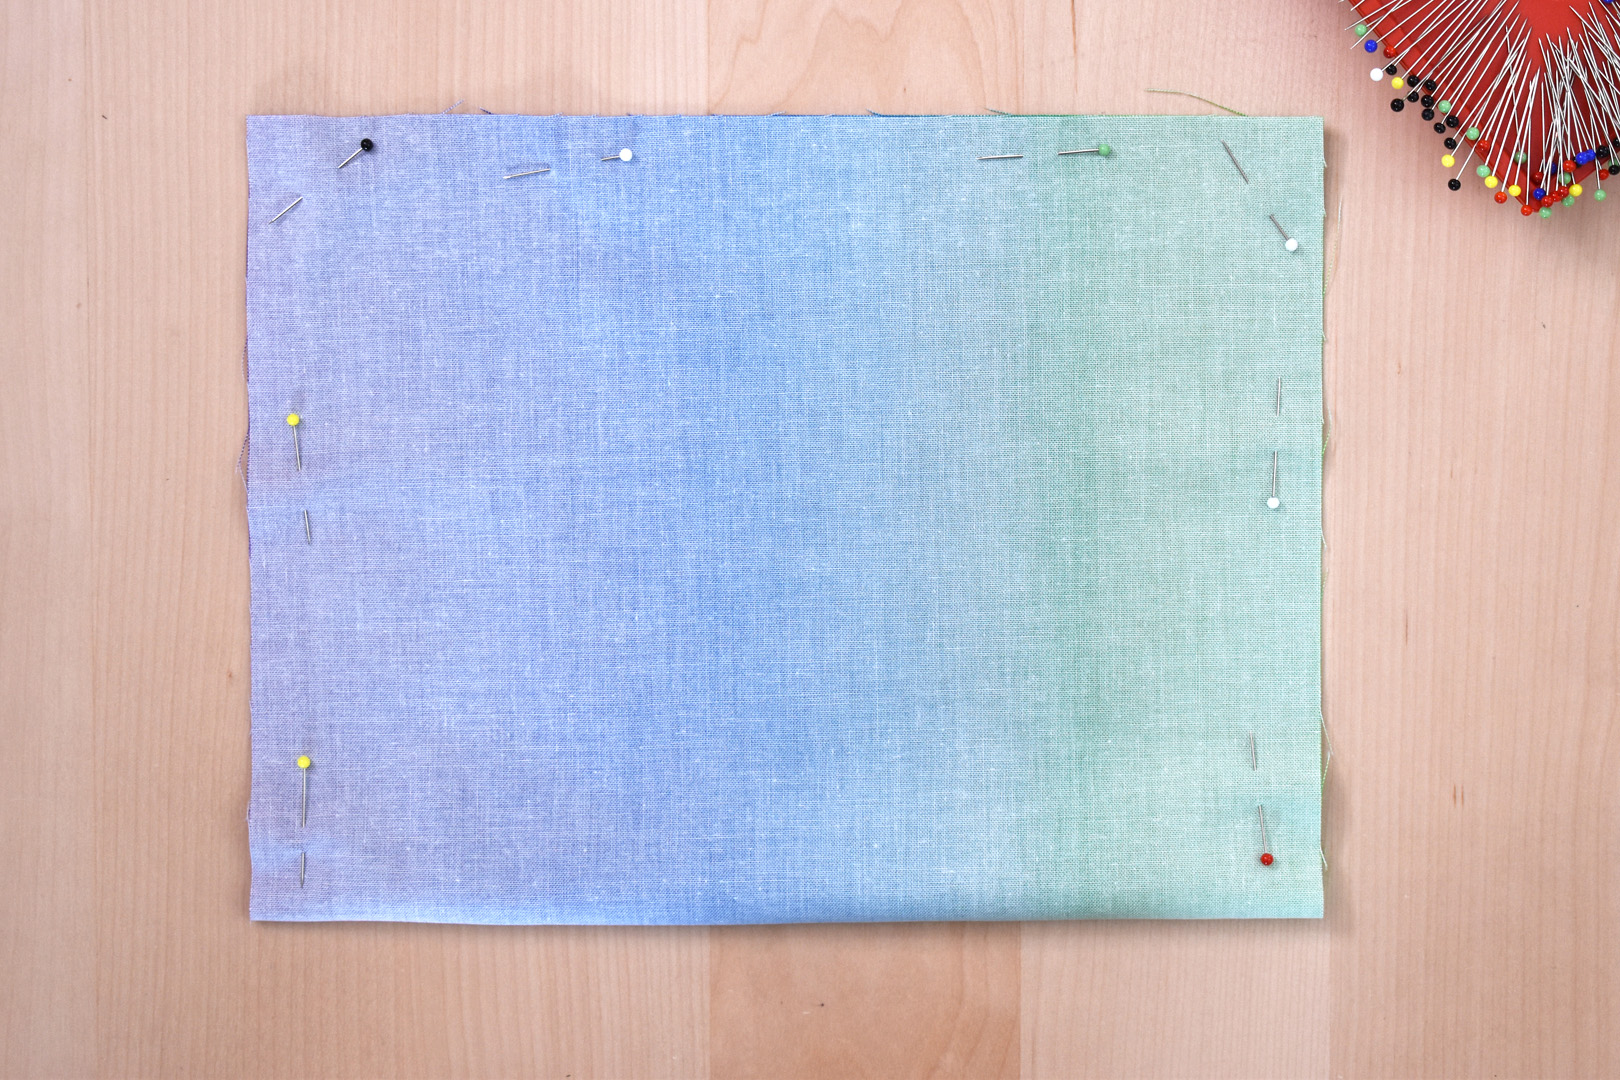
Cut your fabrics to size and quilt the mat. Cut both the backing and batting in a 23″ x 23″ square, and cut the top in a 21 1/2″ x 21 1/2″ square. Layer the three pieces for quilting; place the backing right side down, smooth out the batting evenly on the backing, then add the top fabric or patchwork right side up. Baste the layers together using quilting pins (or spray basting if desired).
Quilt the top as desired (this means quilt in any way you choose). Since this is a small, square quilt sandwich, it’s the PERFECT size to practice your quilting skills. Try some free-motion quilting, rulerwork, or straight-line quilting.
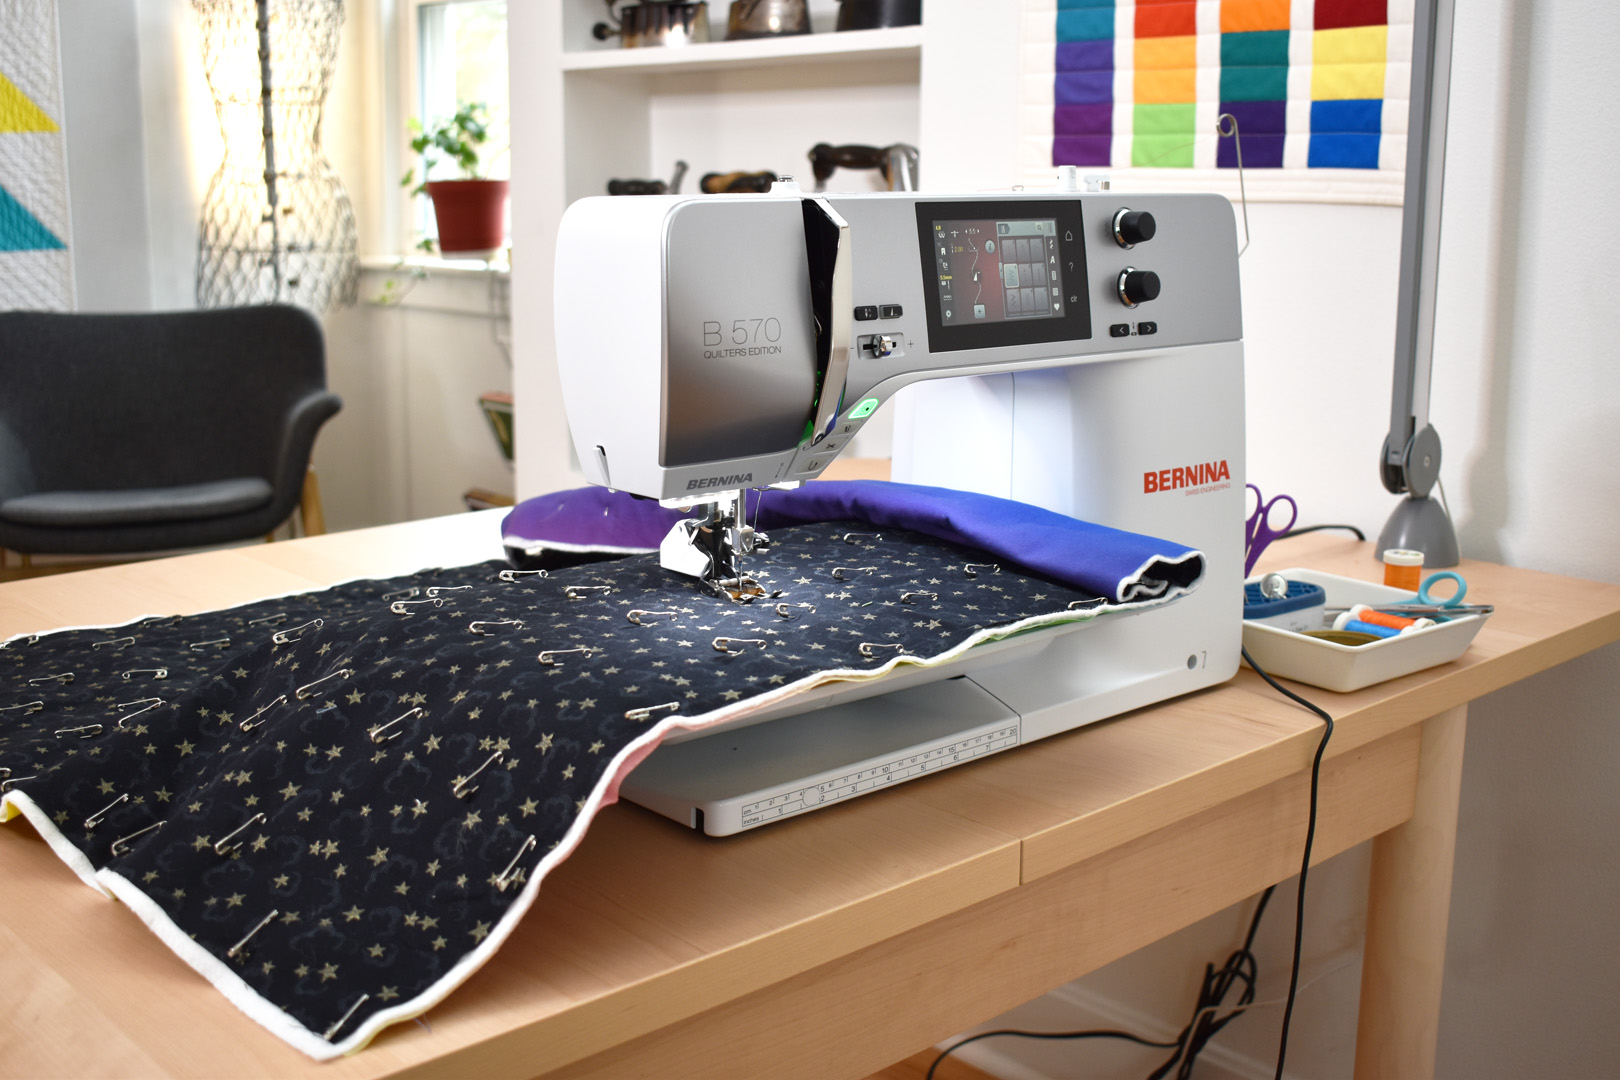
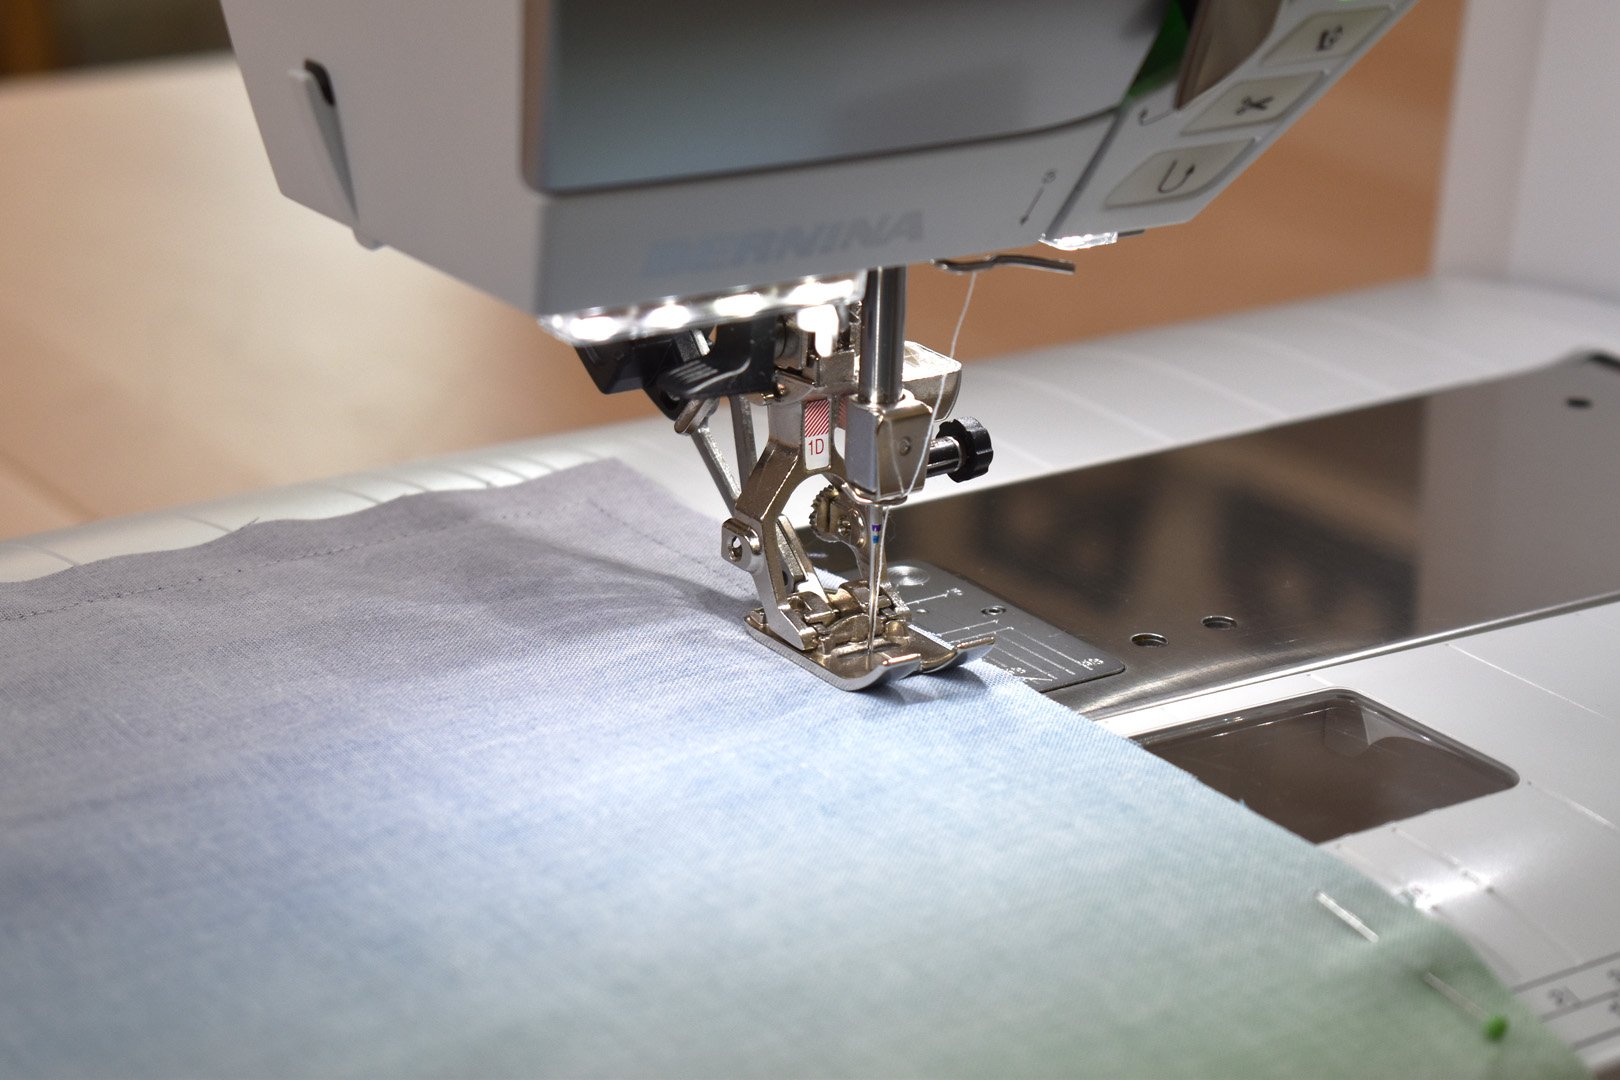
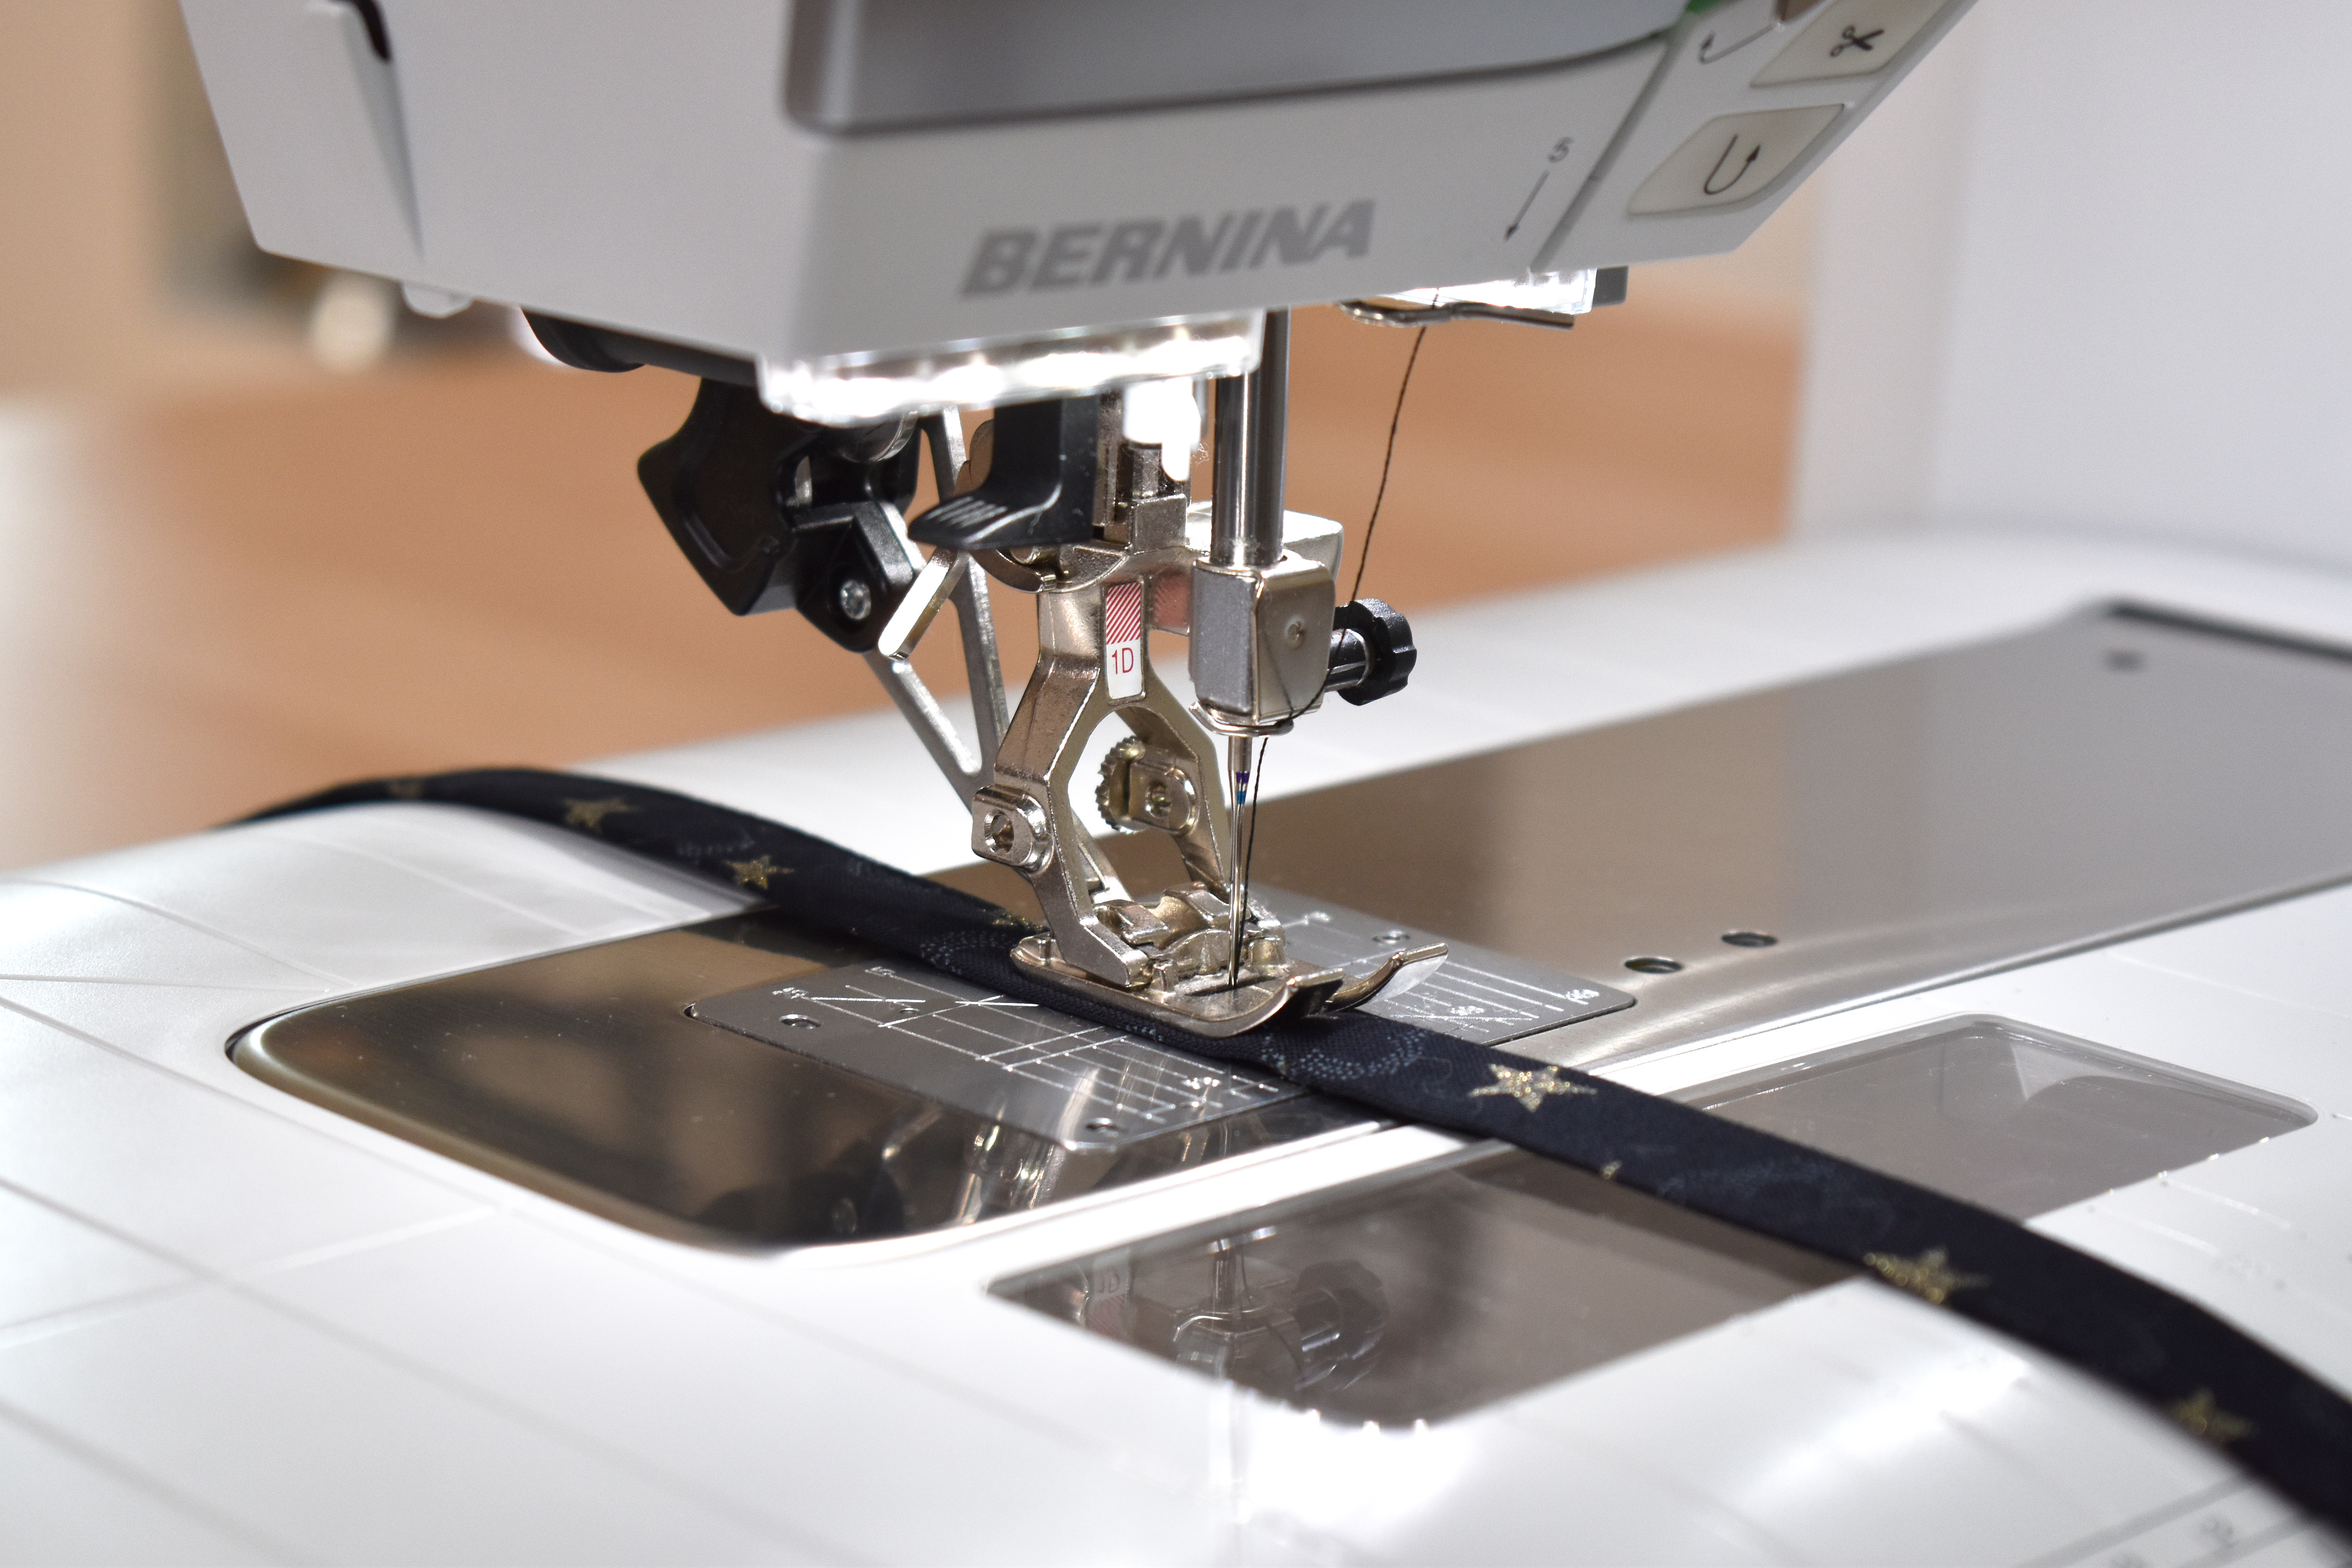
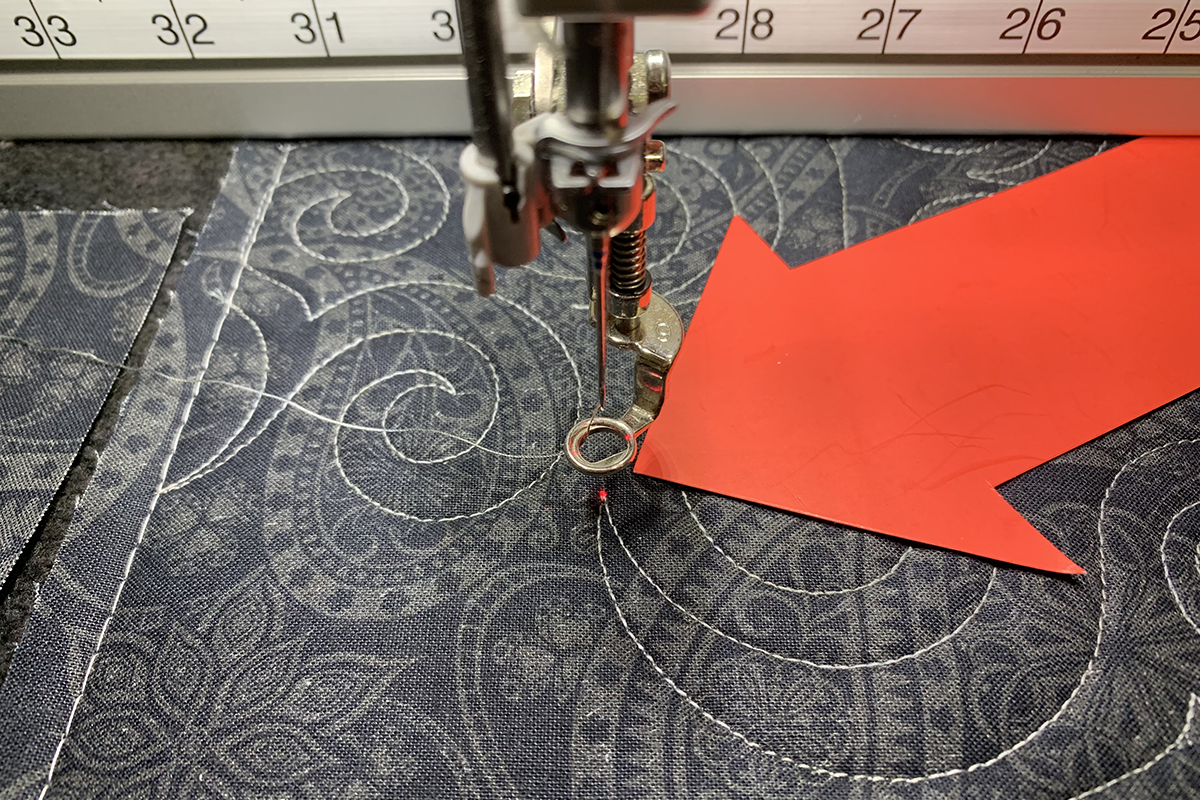
To learn how I use a simple elongated running stitch to quilt the mat, follow these instructions. Use the Walking Foot #50 with the closed foot for quilting, a zigzag needle plate, and thread your machine. I am using polyester embroidery thread for quilting; a variegated thread in bright colors on the top of the machine, and a solid yellow in the bobbin.
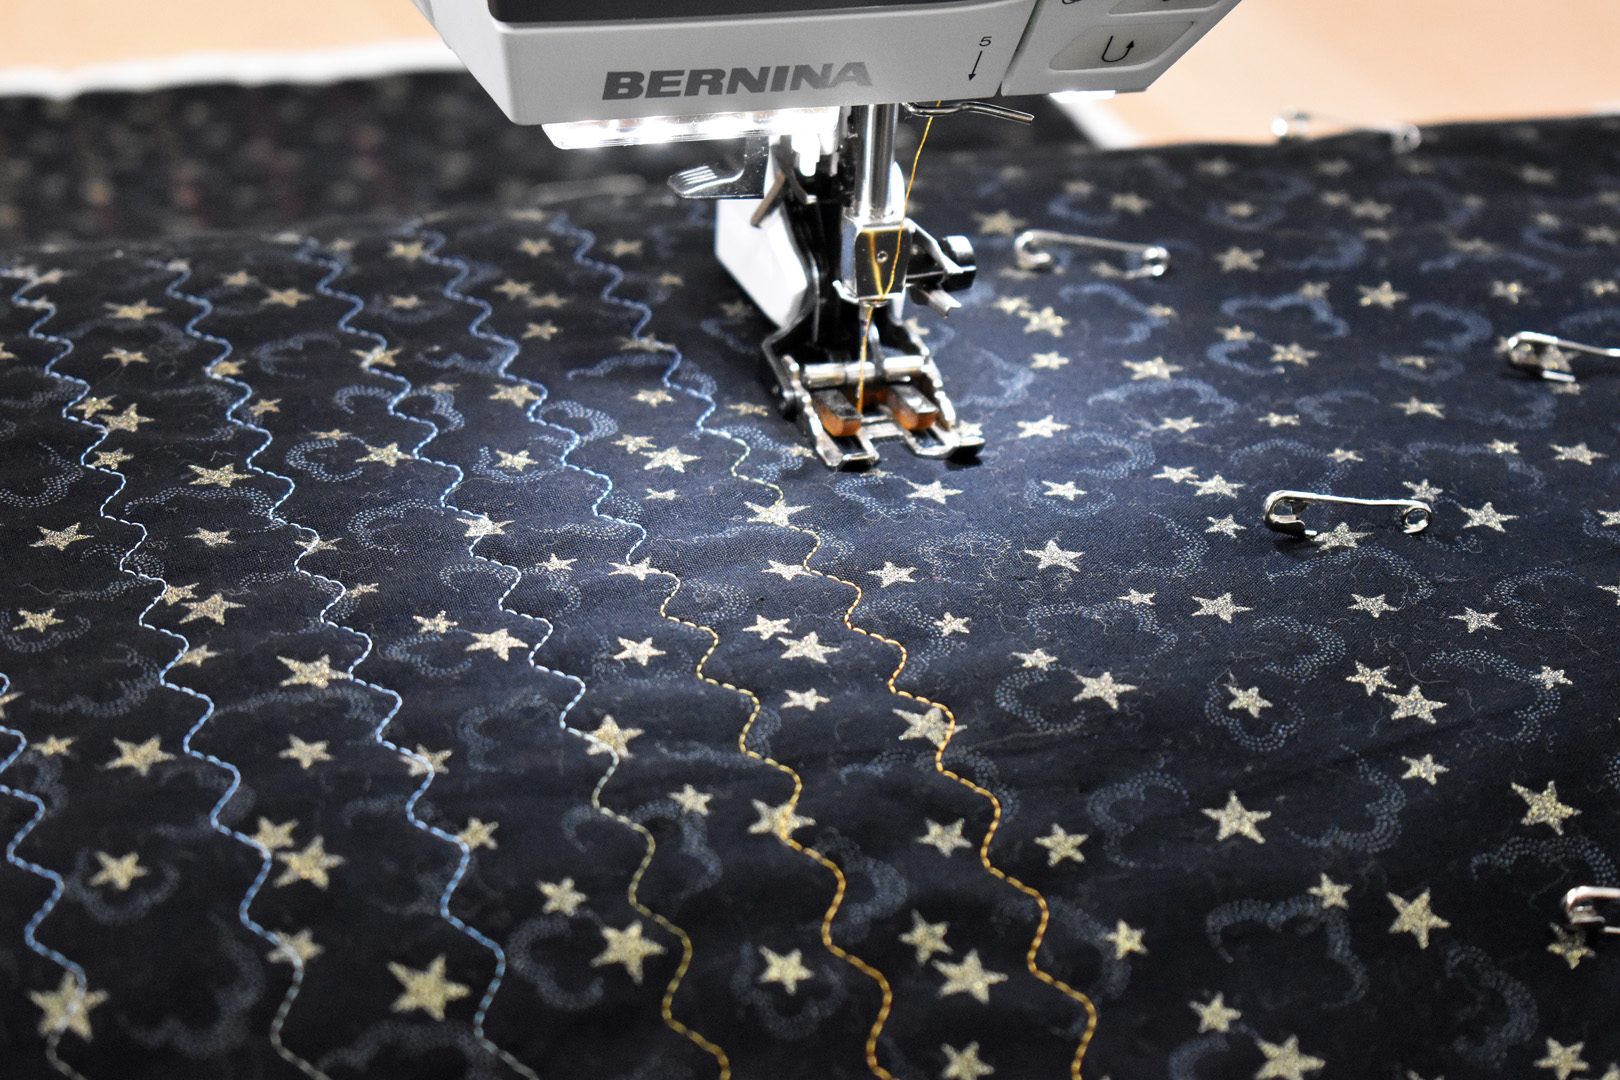
The running stitch is a tight curvy straight stitch. When elongated (by lengthening the stitch) this stitch turns into a gentle curving line. The running stitch is stitch #4 on my BERNINA 570 QE, and is included in many BERNINA models. Check in your user’s manual for the running stitch, and if you need help get in touch with your local BERNINA store friends.
I begin by marking straight lines at 1″ intervals across the quilt sandwich with a fabric safe pencil using a very light touch. I can just barely see the lines, but it is enough to follow them with the center mark on the Walking Foot #50 sole.
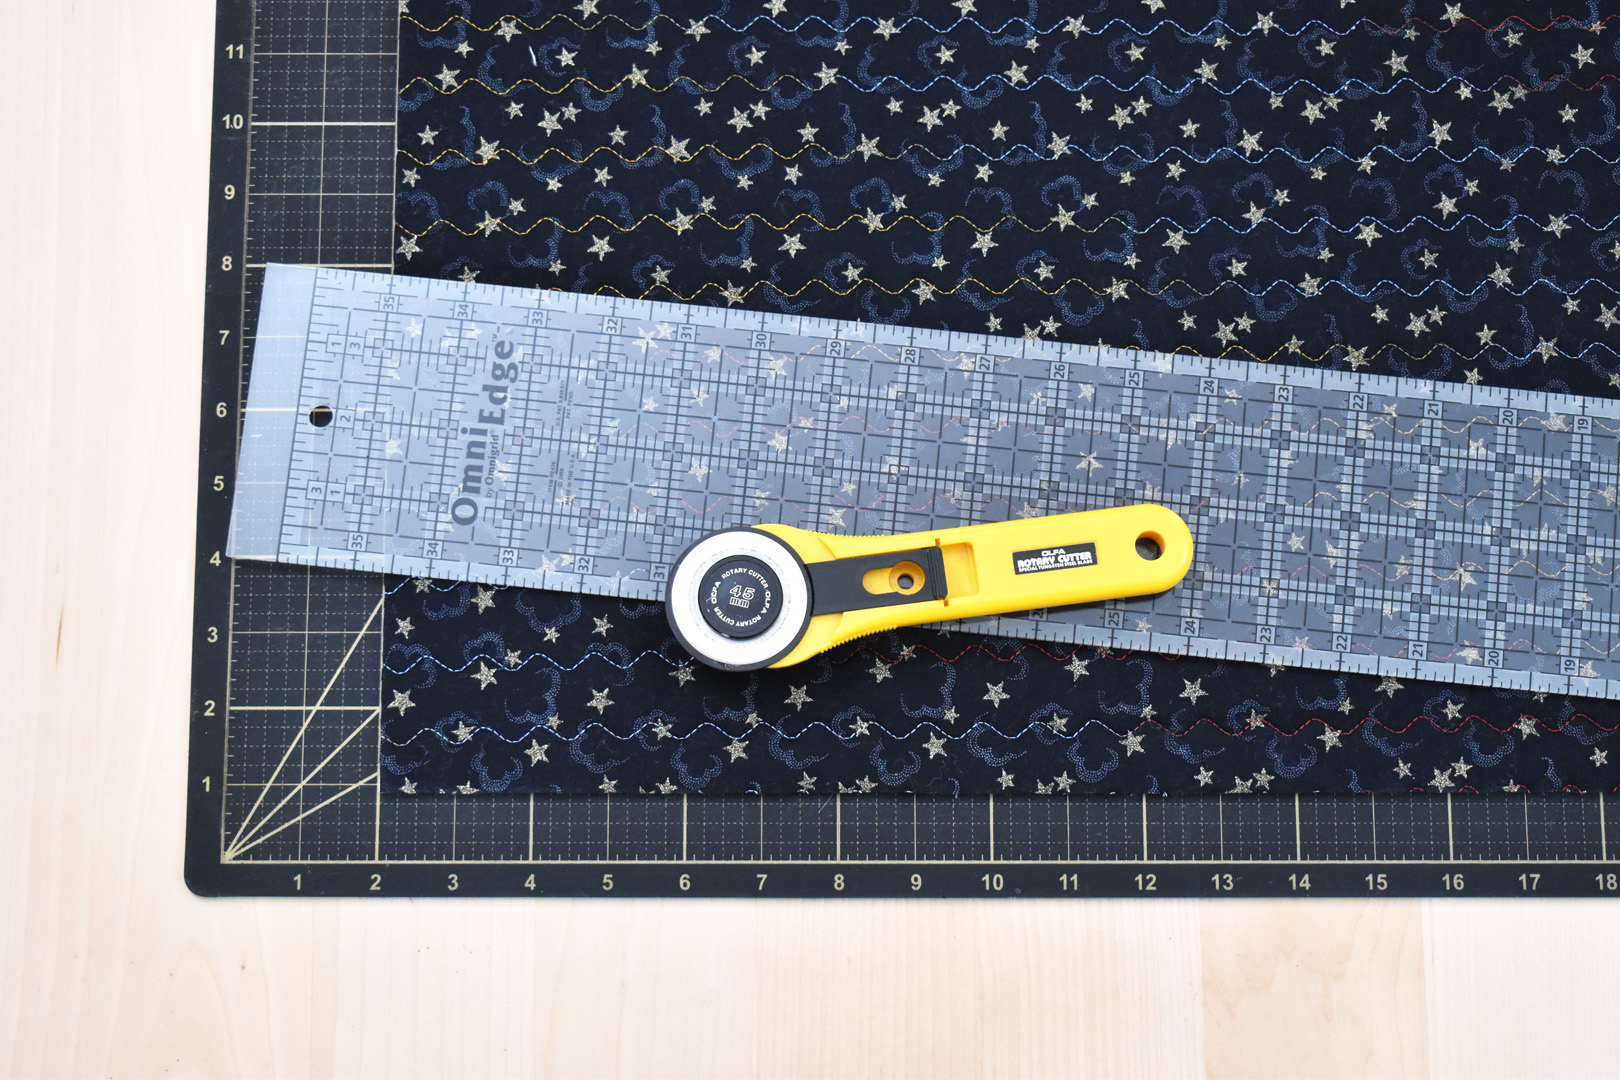
After quilting the top of the mat, use a long ruler, cutting mat, and rotary cutter to cut the top to size as you trim off the extra batting and backing. The quilted mat top should measure close to 21 1/2″ square.
Make the card pocket. Install Reverse Presser Foot #1D with Dual Feed to sew the pocket and ties with a standard straight stitch. Cut one piece of the backing fabric in an 8″ x 11″ rectangle.
Fold the rectangle in half, right sides together, so the two short ends meet. Pin around the raw edges, leaving an opening as pictured to turn the pocket inside out.
Stitch around the edges of the pocket with a 1/2″ seam, making sure to leave a 3″ opening on one side. Backstitch when beginning and ending a line of stitching.
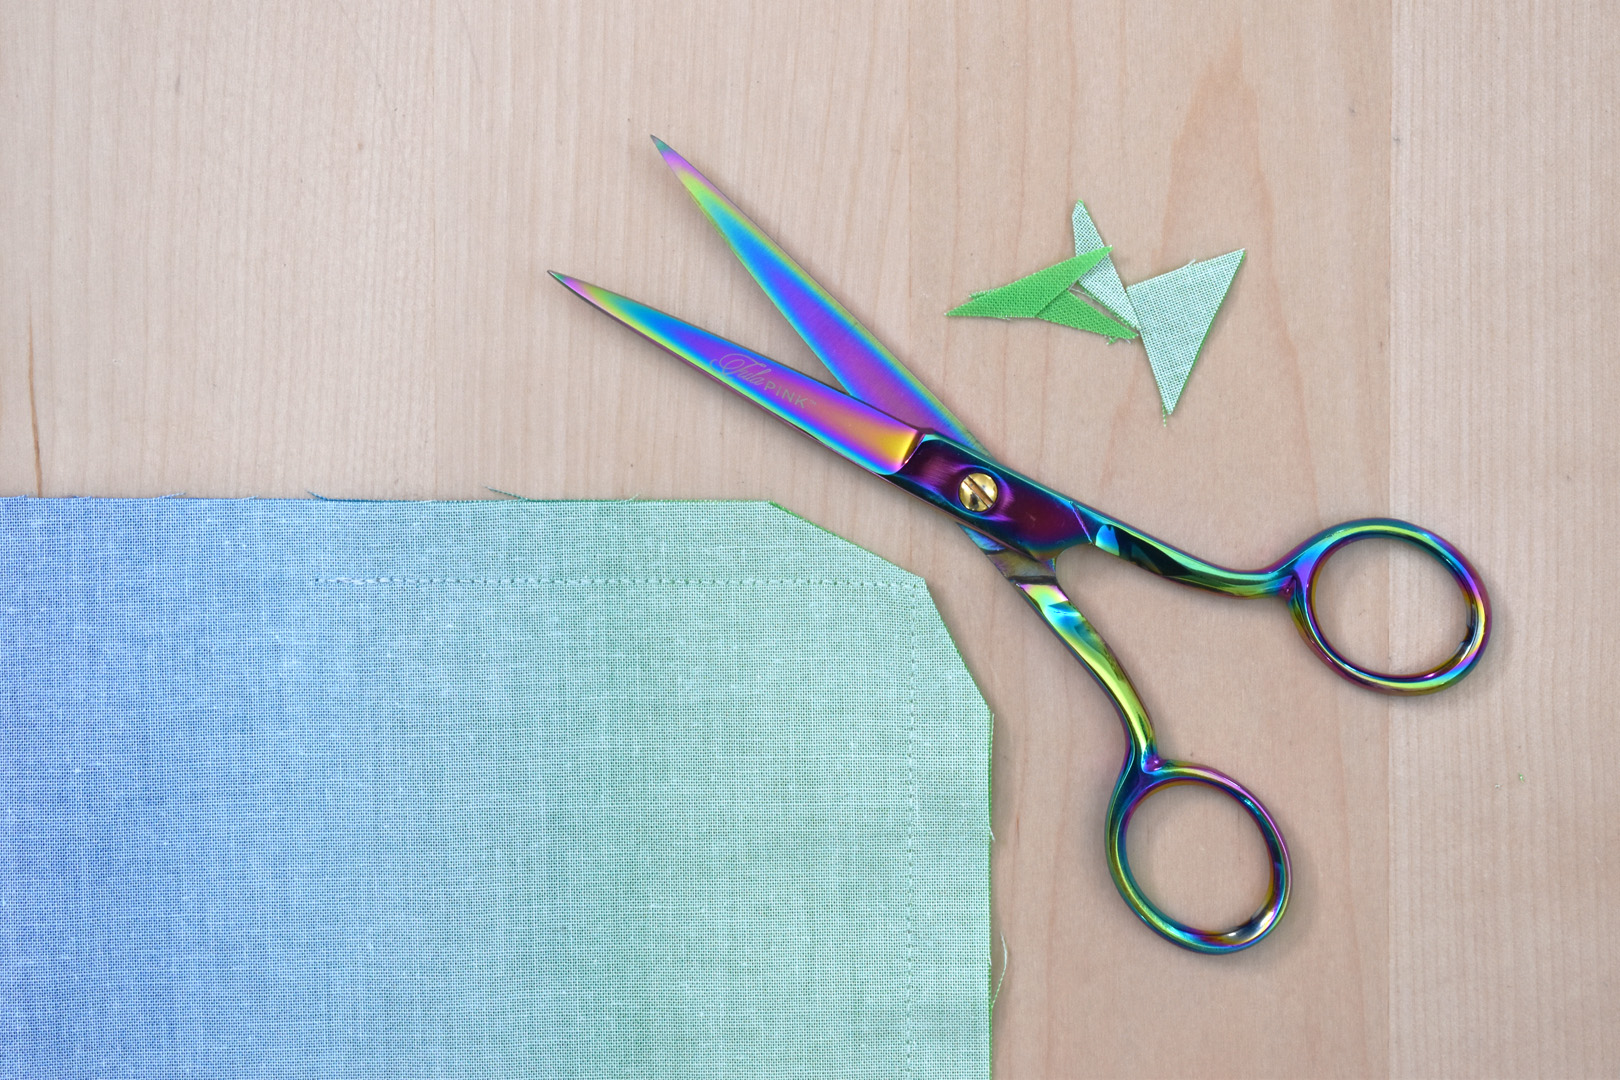
Clip fabric away at corners close to the stitching. Turn the pocket right side out through the small opening and use a point turner or chopstick to gently push out the corners. Press the pocket, making sure to press the seam allowance to the inside of the opening.

Pin the pocket with the folded edge to the top on the back of the mat, centered about 1″ from the bottom edge. Before topstitching the pocket to the mat, make sure your bobbin thread matches the top of the mat so the pocket stitching will not show. I changed the bobbin thread to black for this step.

Top stitch around the sides and bottom of pocket, backstitching at each corner.
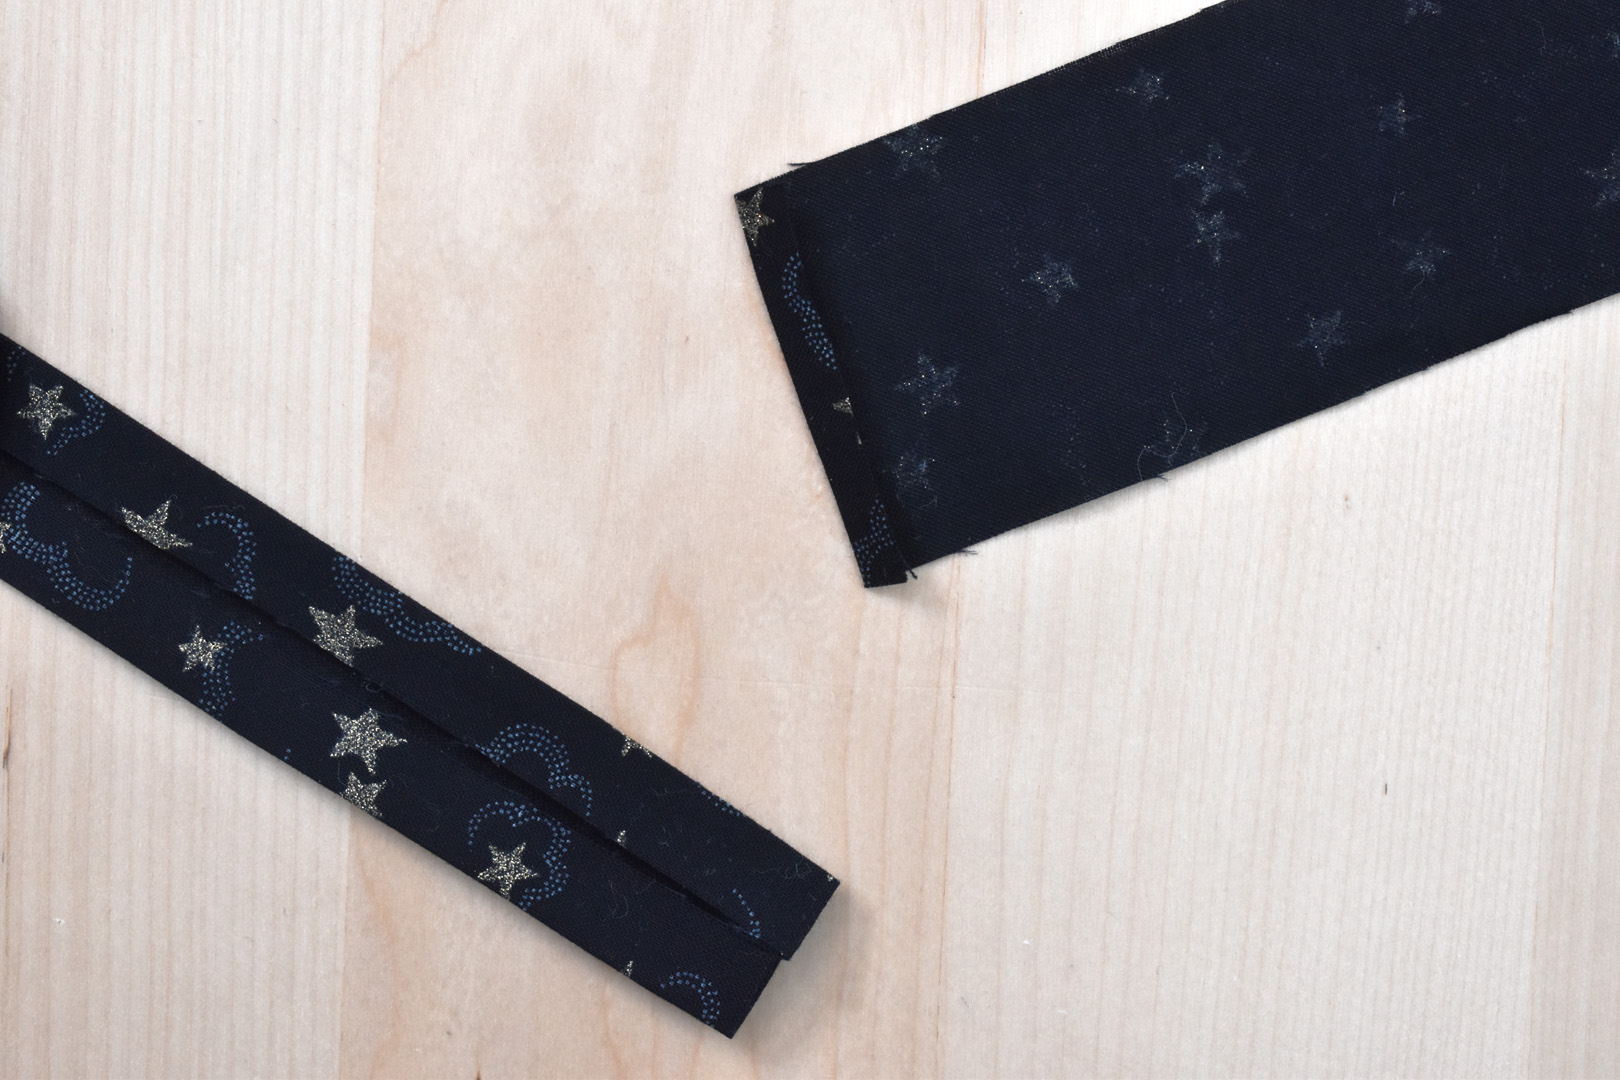
Next, prepare the two ties for stitching. Cut two strips of fabric 2” wide and 21” long. At your pressing surface, fold over and press one end 1/4″ on each tie. Fold and press the ties together lengthwise, wrong sides together, to create a center crease. Open the tie, and press each side in to meet the center crease. Then fold the tie over at the crease, matching the folded edges together, and press well with the steam iron.
Use a thread that matches the fabric for this step. Edge stitch down the long edge of the tie starting at the raw ends, sewing the opening closed. At the bottom of the tie, pivot with your needle and sew across the folded-in edge.
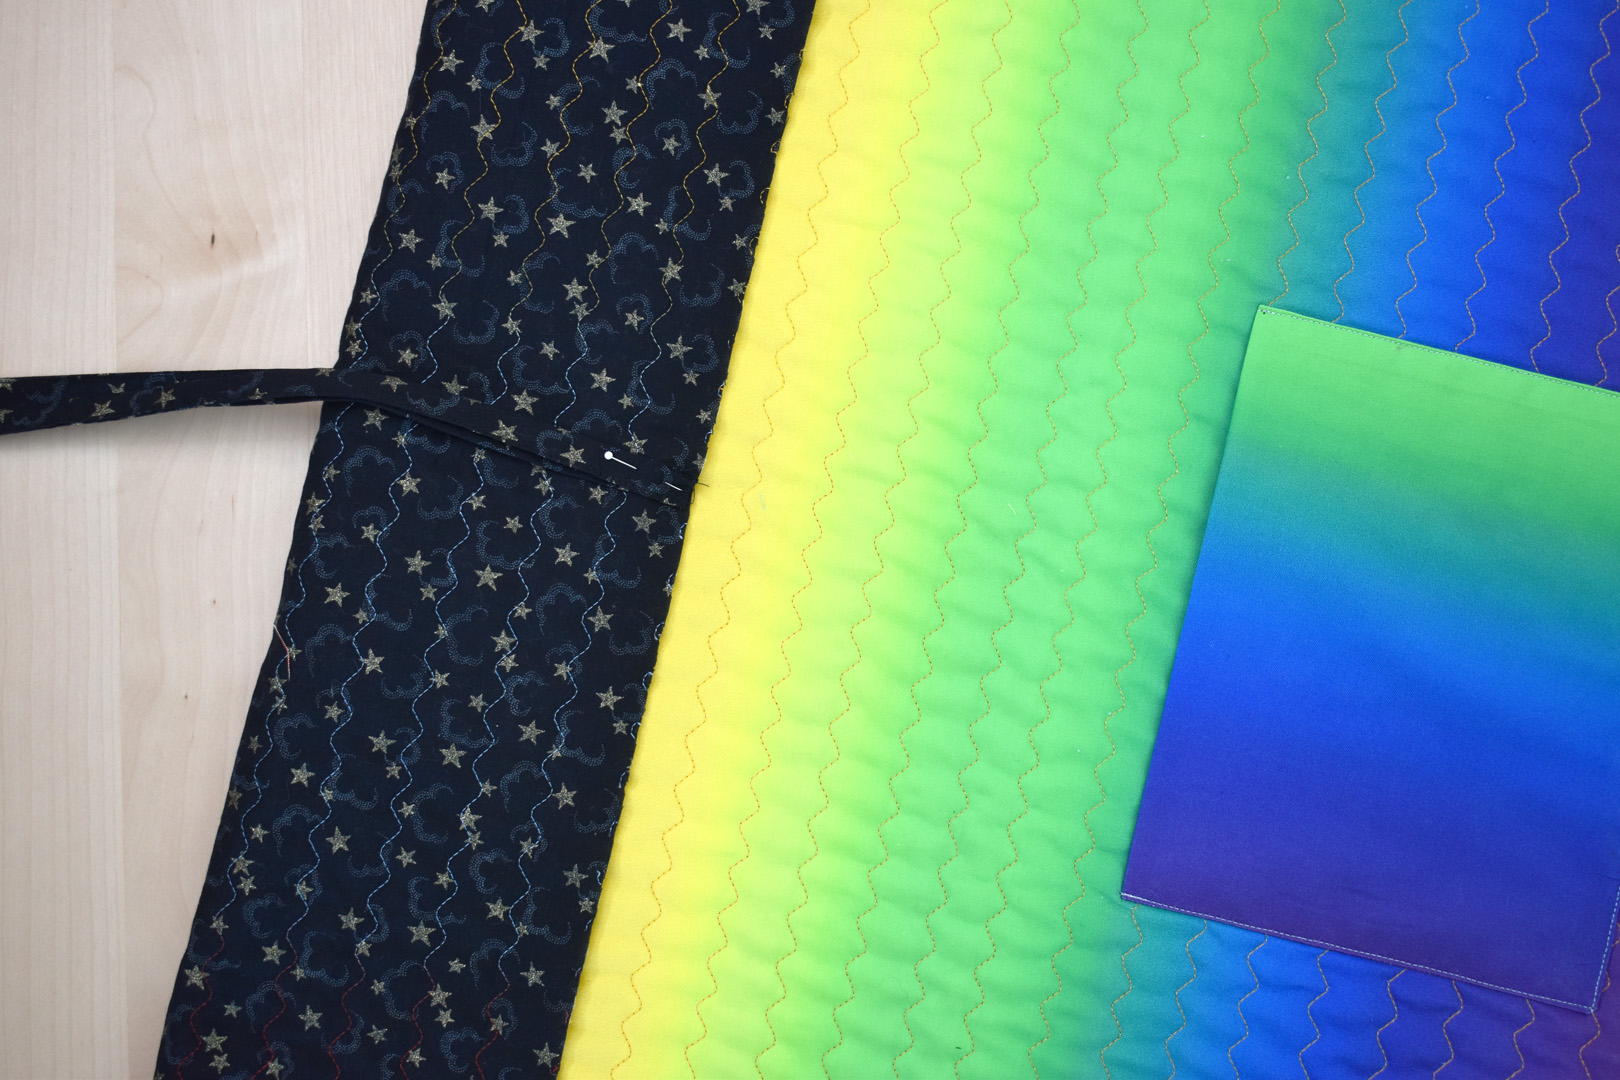
On the playing card mat, fold over the top edge (opposite the pocket) and pin the raw edge ends of the two ties centered on the right side of the mat. Baste in place by sewing a straight line across the ends of the ties about 1/16 from the edge of the mat.
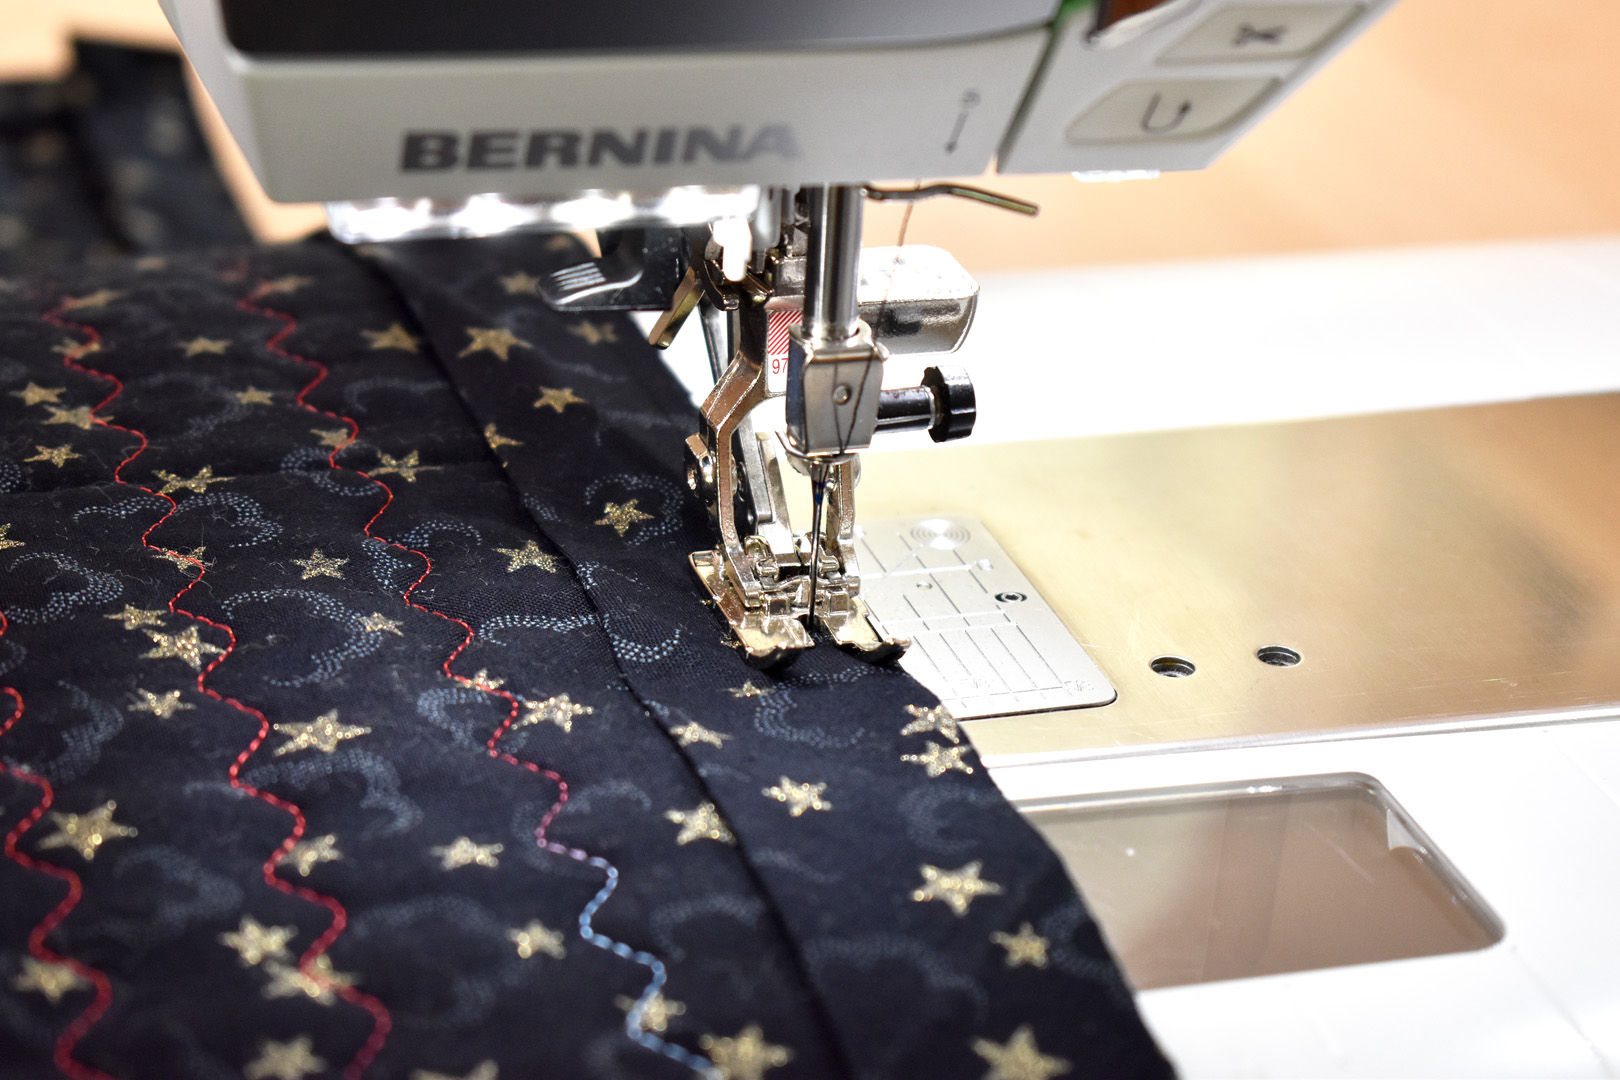
To finish the raw edges of the playing card mat, create a bias binding. If you’re not familiar with the process of making and attaching a double-fold bias binding, check out this fantastic step-by-step tutorial here at WeAllSew. I switched to Patchwork Foot #97D with Dual Feed for this step.
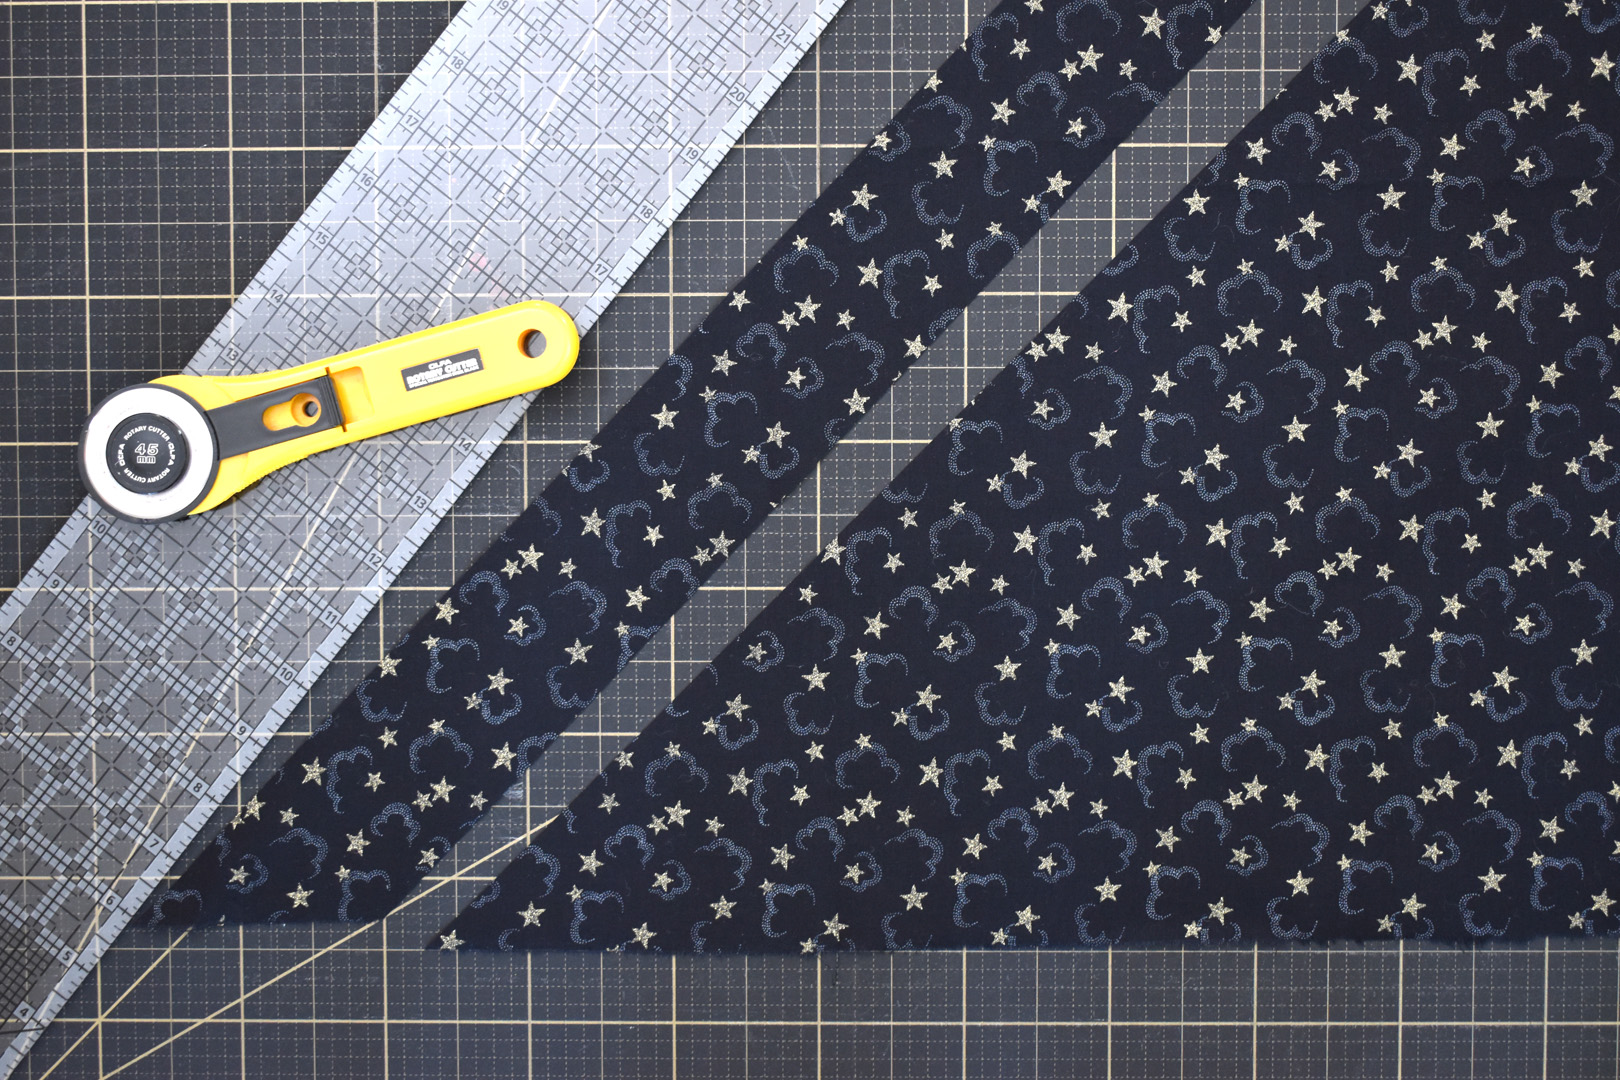
You will need a total of 100″, or 8 1/3 feet of the binding to finish the playing card mat. Begin by cutting the binding strips on the bias using a large cutting mat with a clear 45° angle (this will equal 5 strips cut from one half yard piece of fabric). Sew the bias strips together at a 45° angle, press seams over to one side, and press the binding in half lengthwise (wrong sides together).
Leave a 10″ to 12″ tail of binding before starting to sew the binding to one edge of the playing card mat. Match raw edges of the double-fold binding to the raw edge of the mat, and stitch 1/4″ from the edges, mitering the corners. After stitching, leave about 5″ to 6″ between the beginning and ending of the binding to attach the ends of the binding. Finish sewing the binding to the playing card mat. Visit the link above to the double-fold bias binding tutorial for more in-depth instructions.

Fold the binding to the back of the playing card mat, secure with clips, and hand-stitch in place. If hand sewing binding isn’t your thing, you can always finish the binding by machine. Here’s a super tutorial to learn exactly how to Master Machine Binding here at WeAllSew. Give the mat a quick pressing and it’s ready for action.
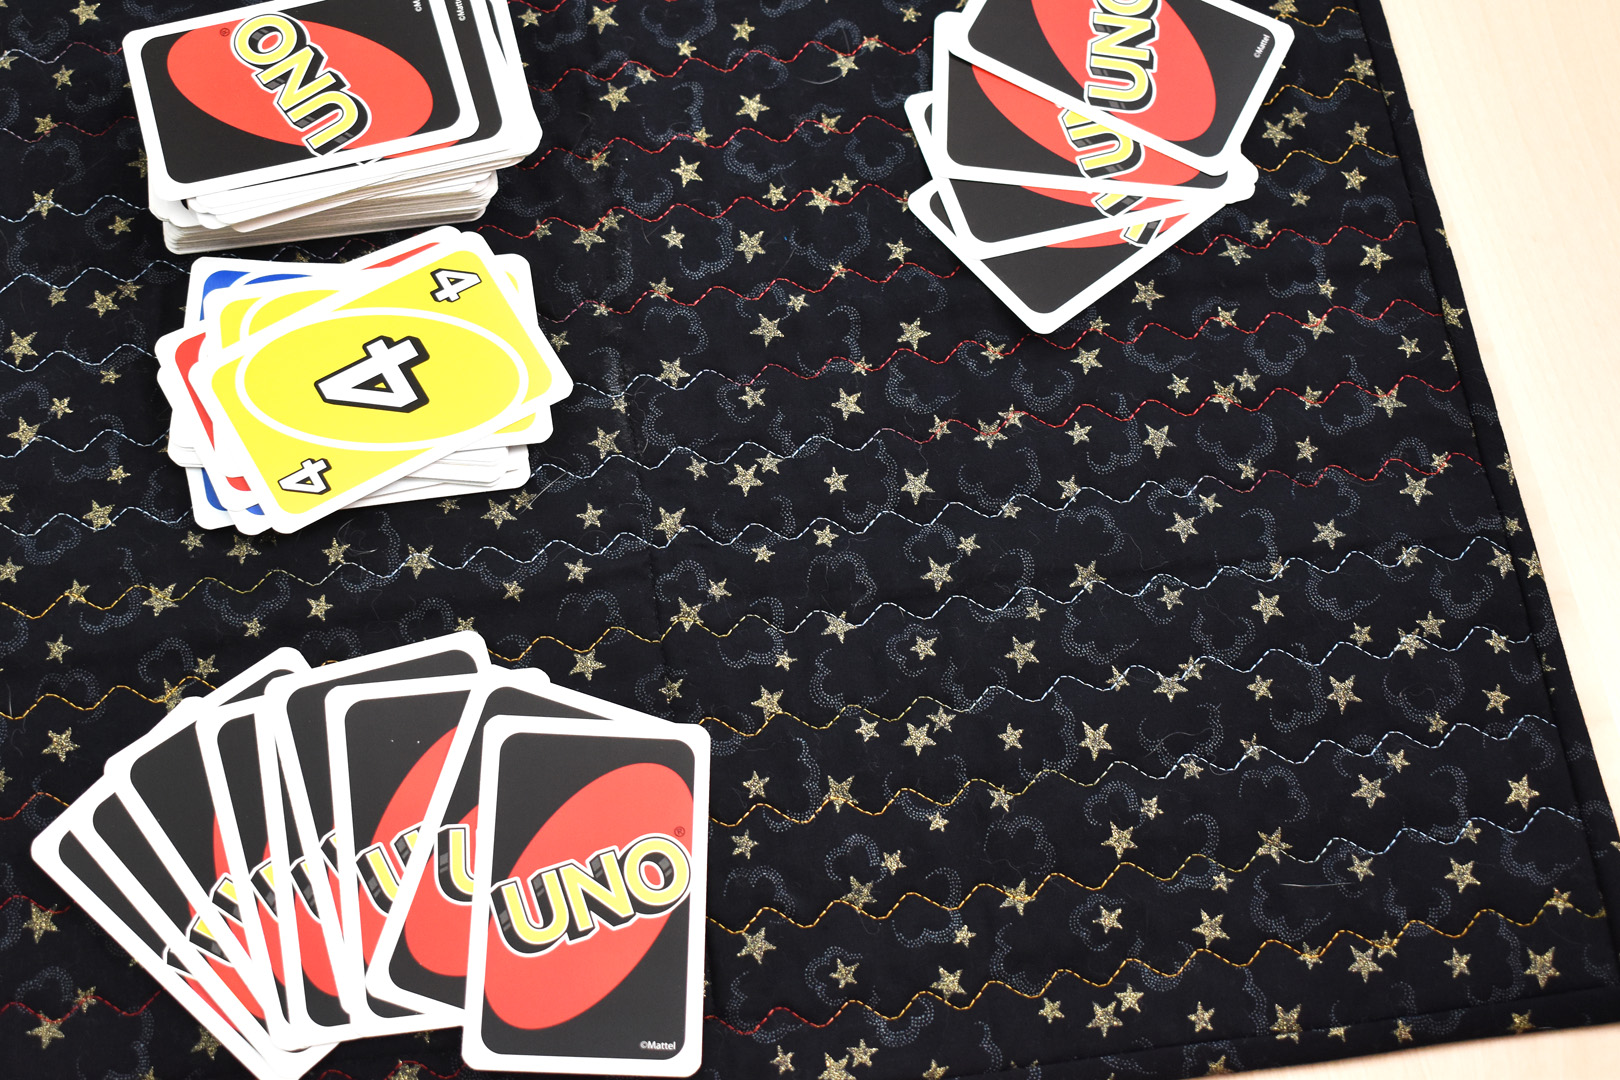
Use the mat to play your favorite card games!
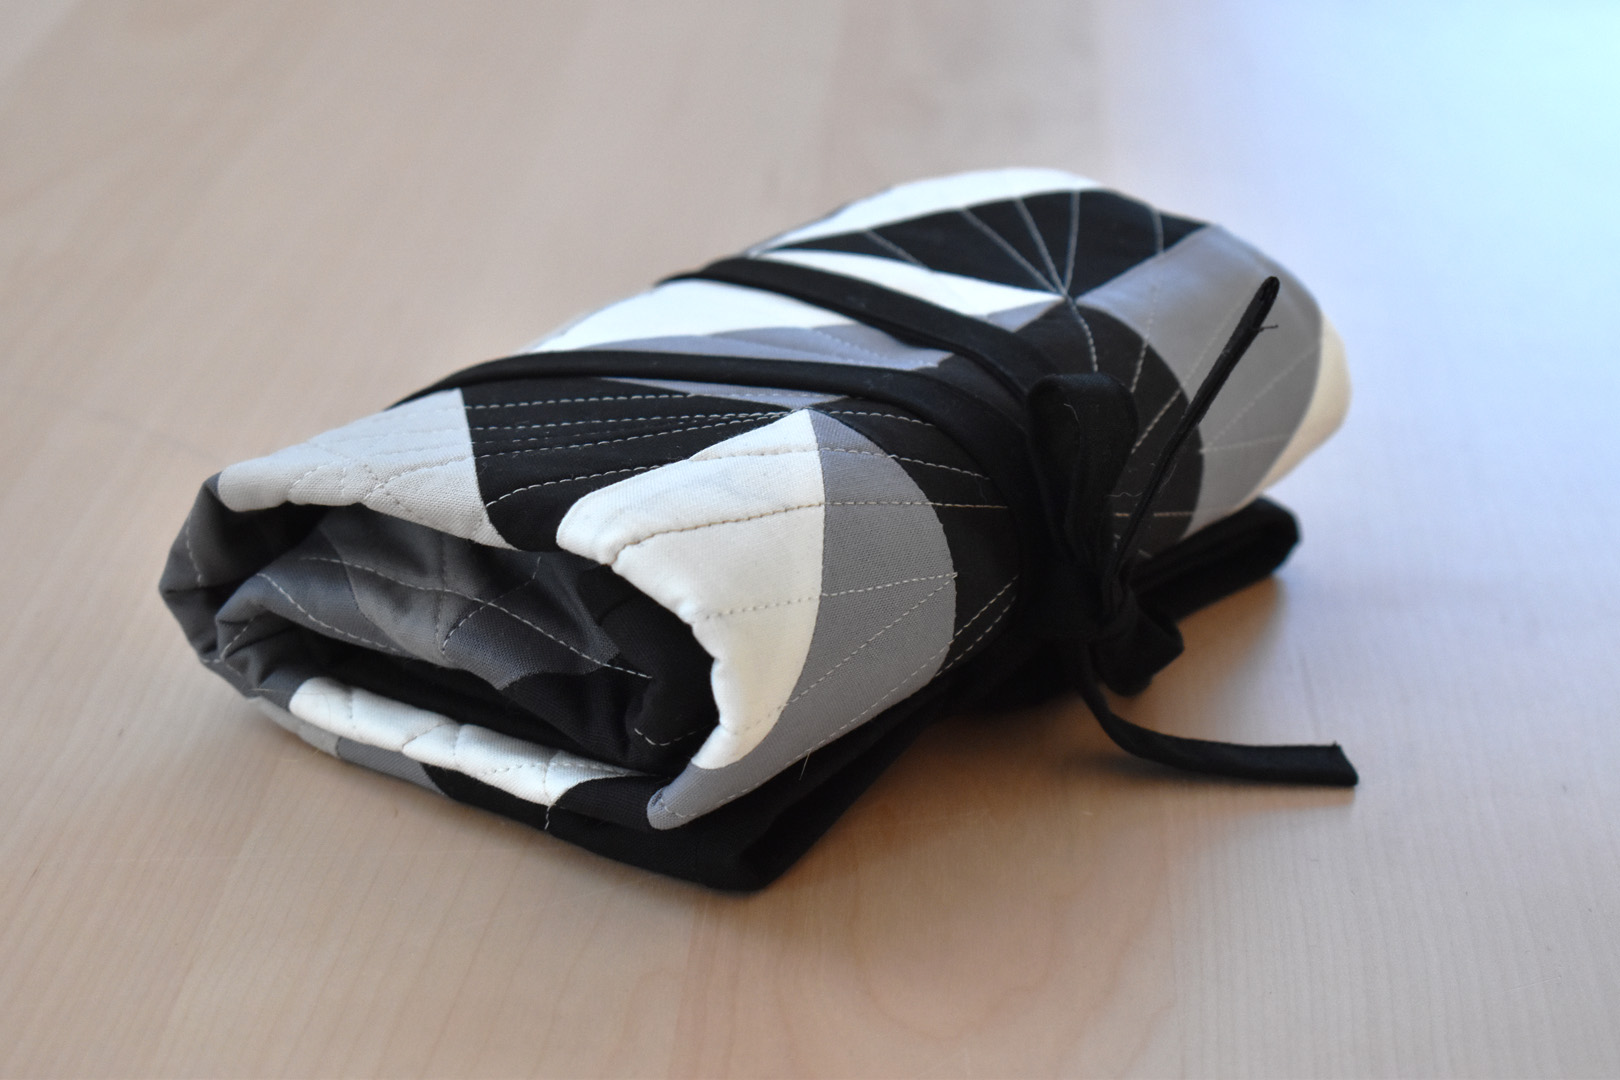
Stow the cards in the back pocket when you’re finished playing, and roll up the whole mat.
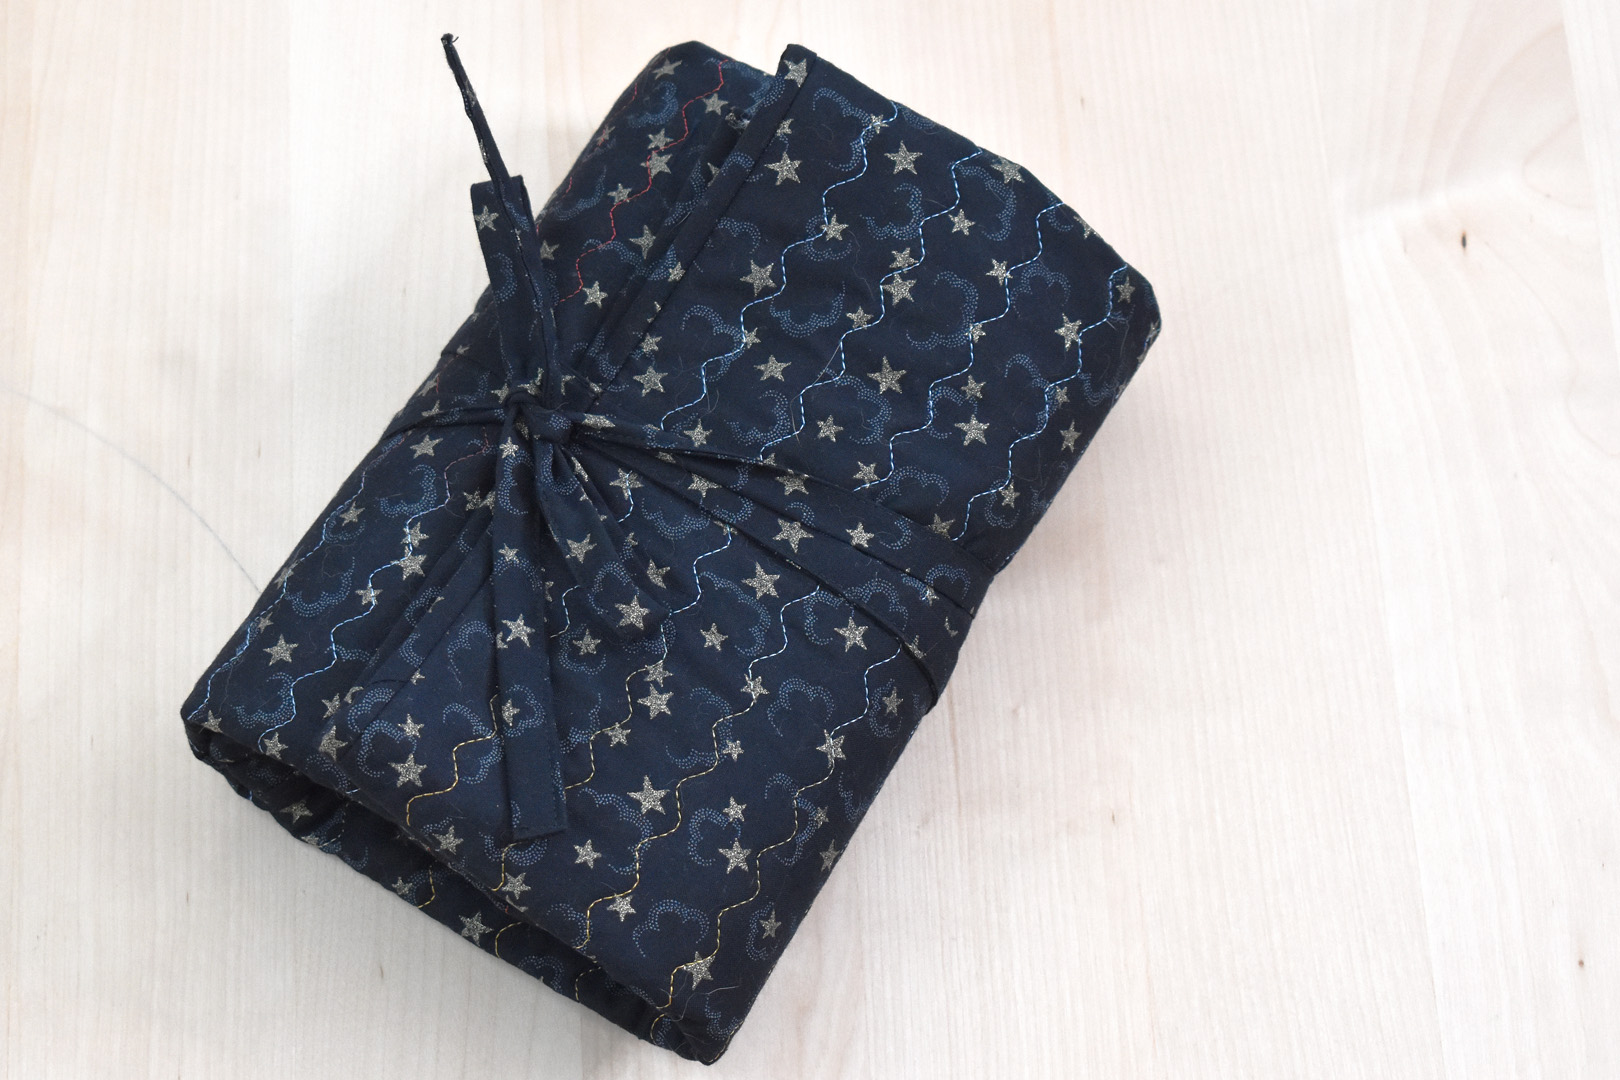
Tie the little package together and it’s good to go! Use this as a way to store your cards away with the rest of your games, or as a way to tote your cards when you travel.
This card mat is also the perfect size for Pokémon cards, and I made one for my kiddo for use with her Pokémon card collection.
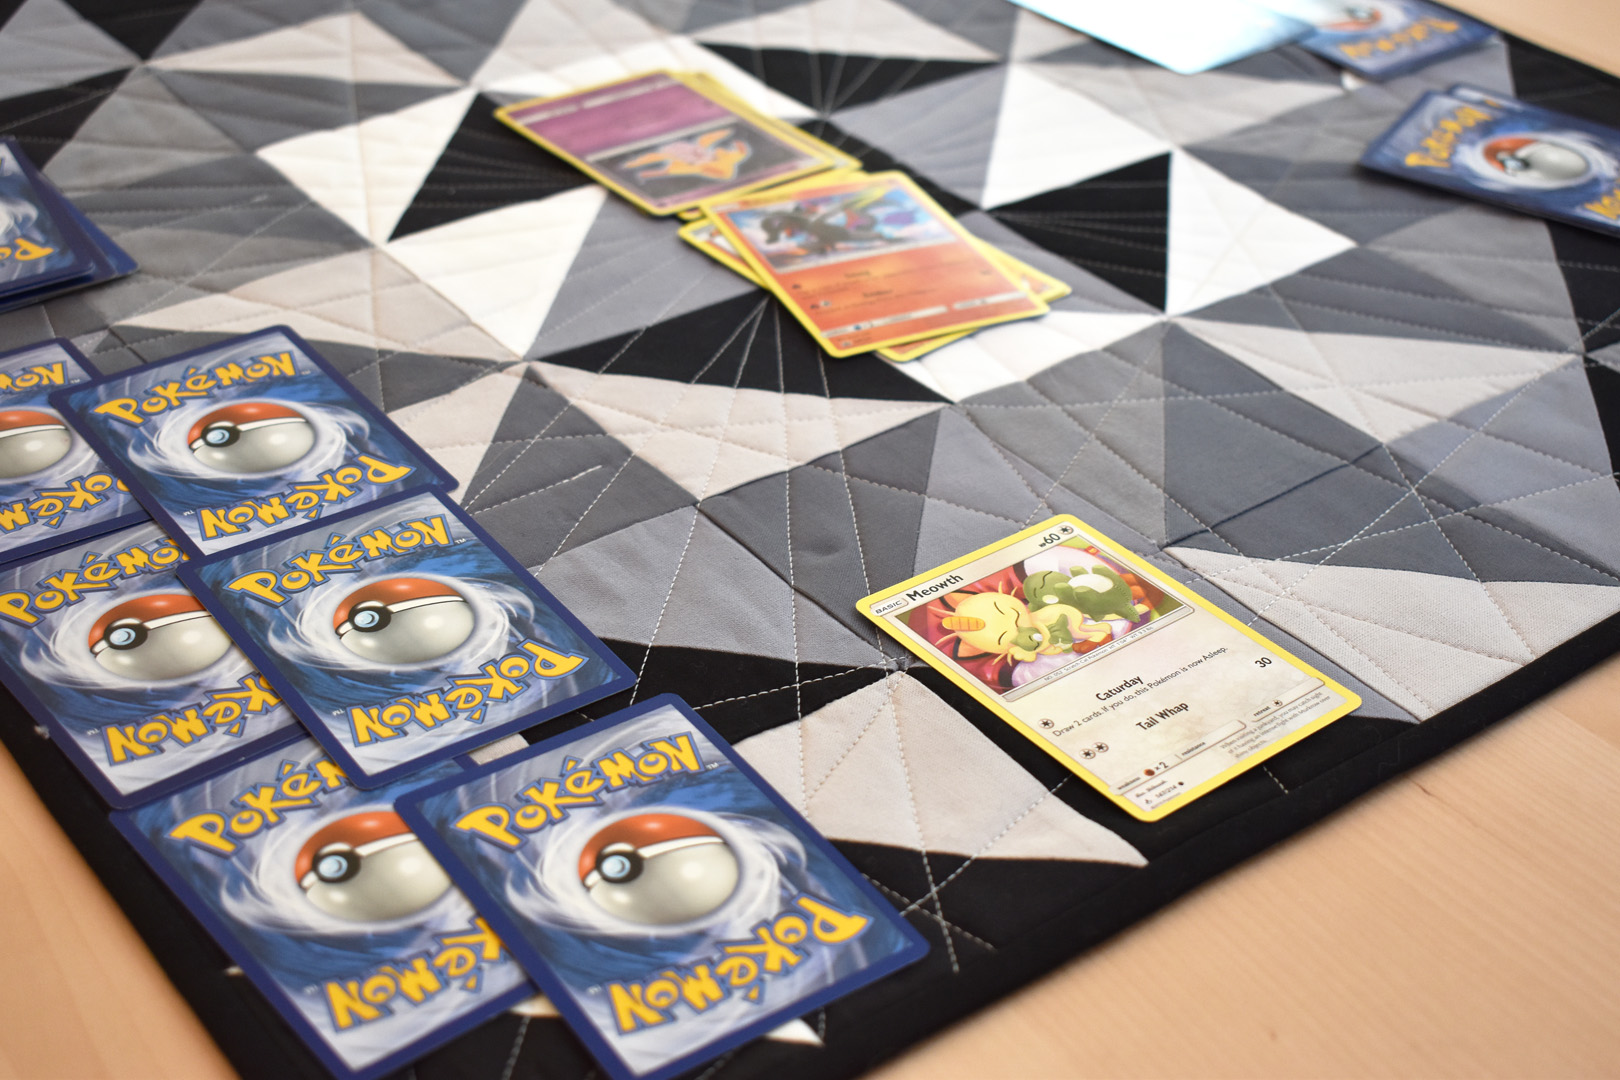
There’s plenty of room to set up for the Pokémon Trading Card game.
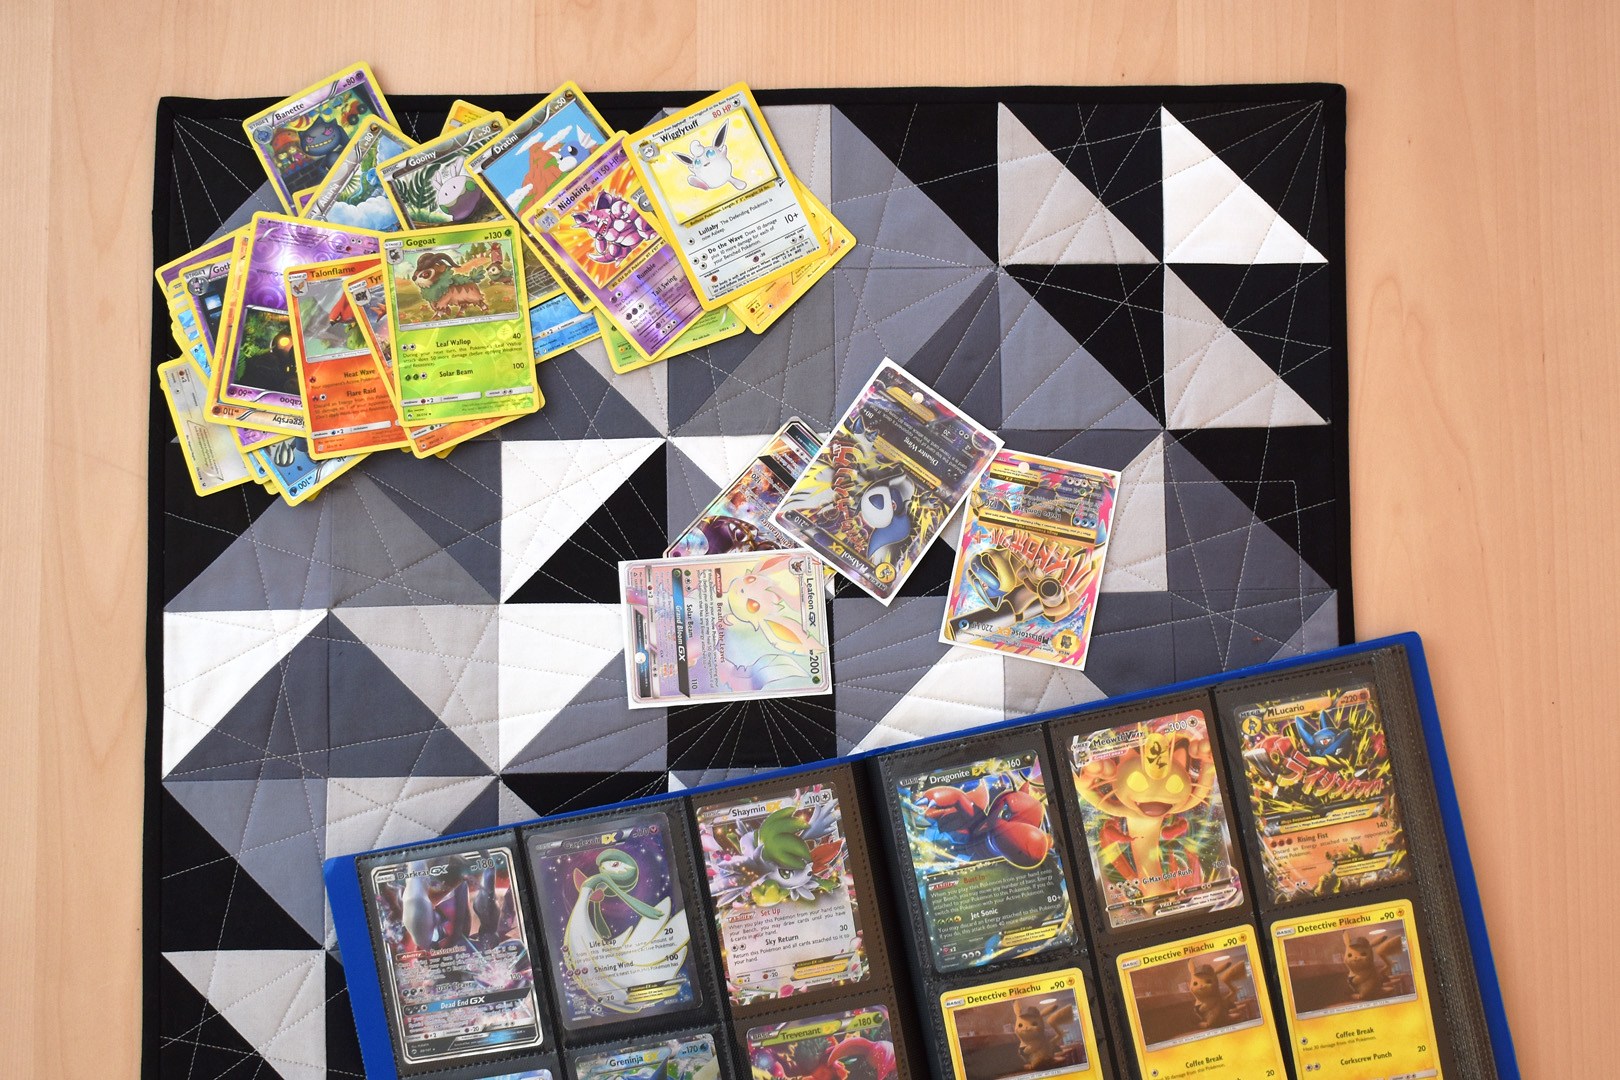
The mat also works great as a clean surface when trading or showing off your card collection.
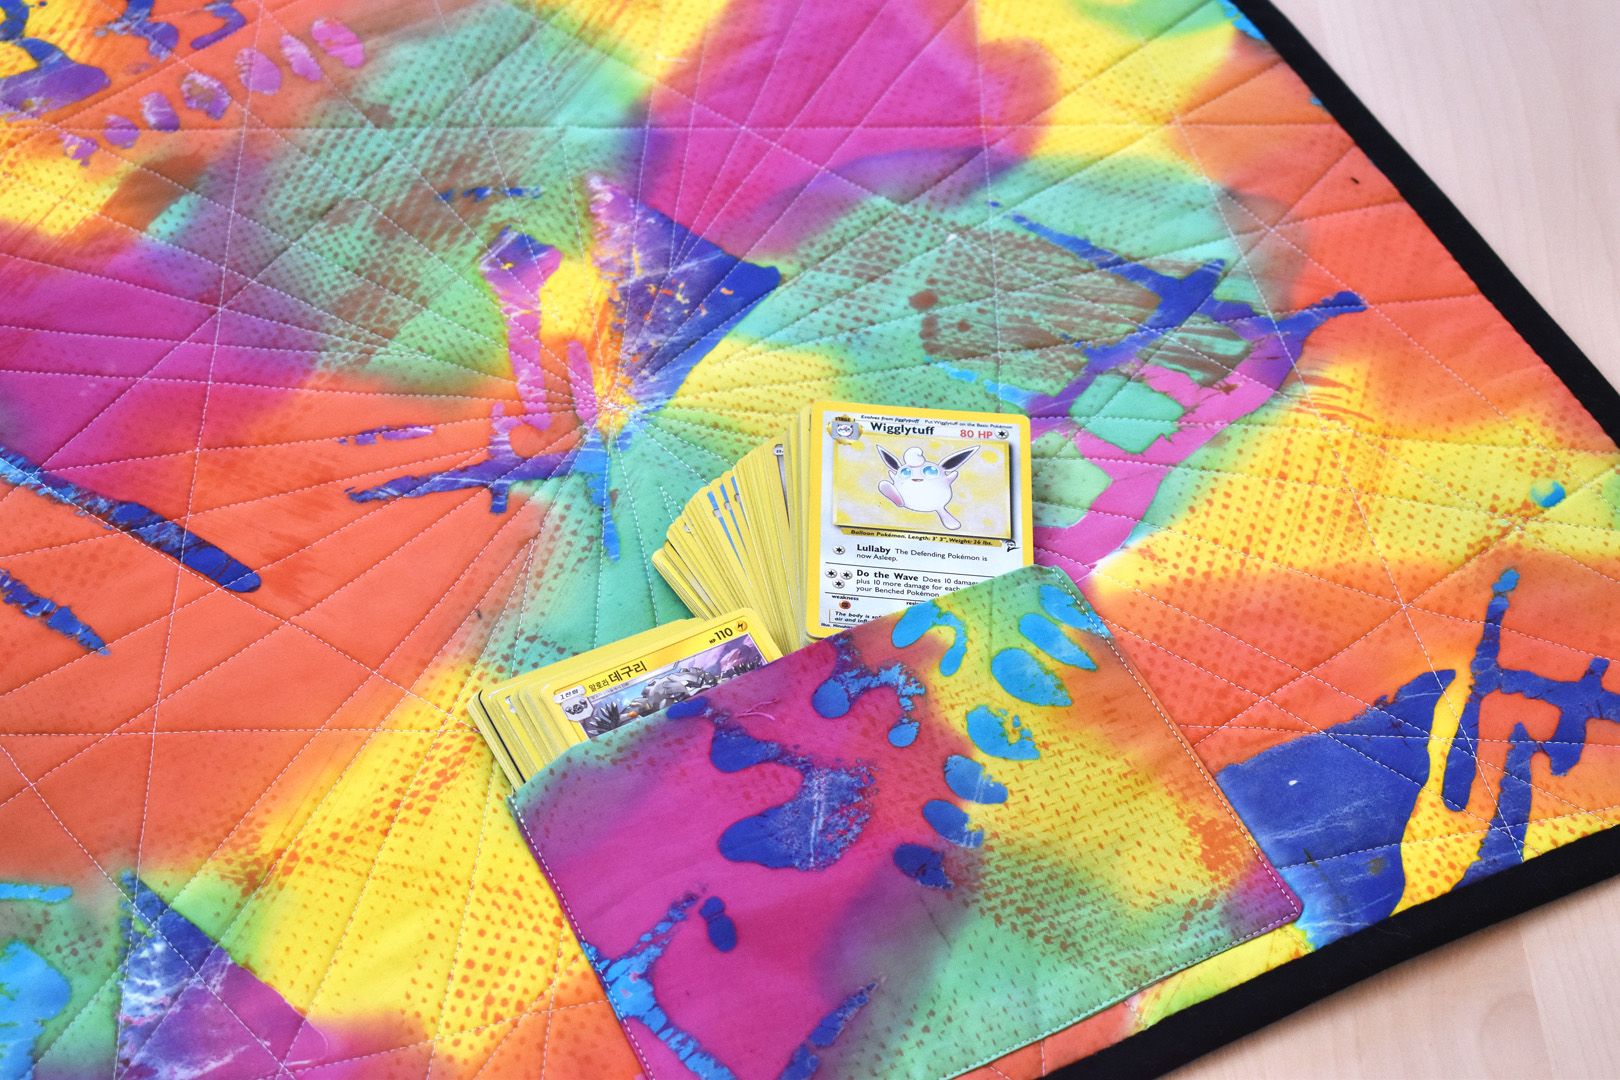
You can fit about 100 cards in two stacks in the pocket.
The wrapped-up and tied mat will keep the cards inside safe and clean. I hope you enjoy the playing card mat tutorial, and I’d love to see what kind of card mat you make with this tutorial, you can find me on Instagram or at my blog!
Used Products


What you might also like


6 comments on “How to Make a Portable Playing Card Mat”
-
-
Hi @wolfemoo, thanks so much! You can always increase the dimensions of the project to make it fit a board game – just remember to cut extra binding if you make it bigger. Cheers!
-
-
What a great idea!
-
Thanks so much Julie! ??
-
-
I love this idea, but I have a question. What dimension do I need to cut the ties? I can guestimate, but I’d rather have a real number to work with. Thank you!
-
Great question @lkersch! Cut the ties 2″ wide by 21″ long. I’ll get these measurements added to the tutorial ASAP. Enjoy the project!
-
Leave a Reply
You must be logged in to post a comment.

What a great idea. Wonder if it’s big enough to put Monoply board and money on ? We get all laid out and have to move:-((