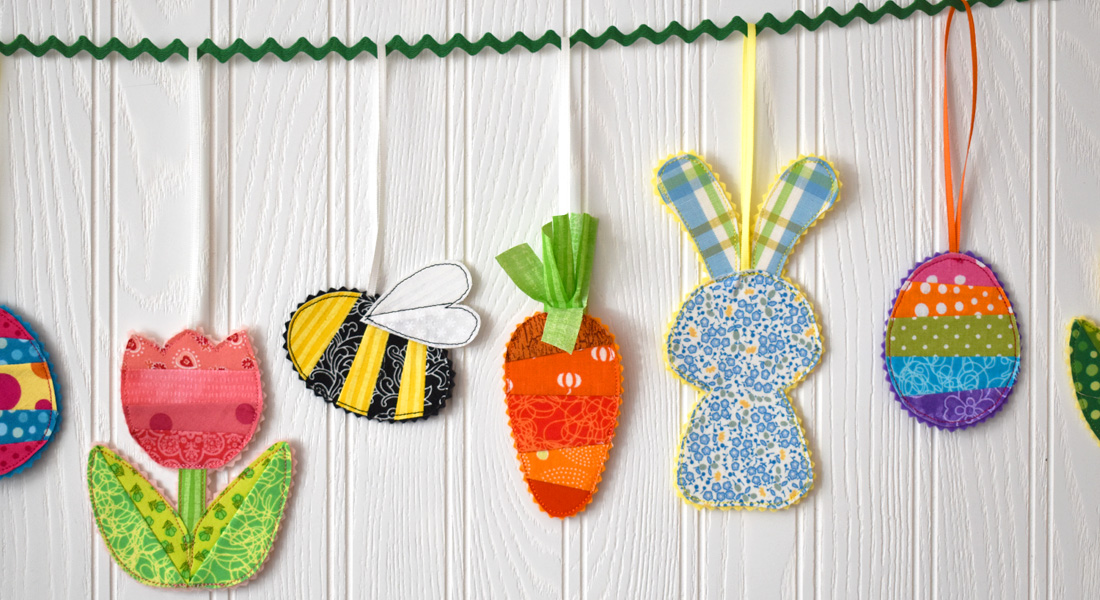
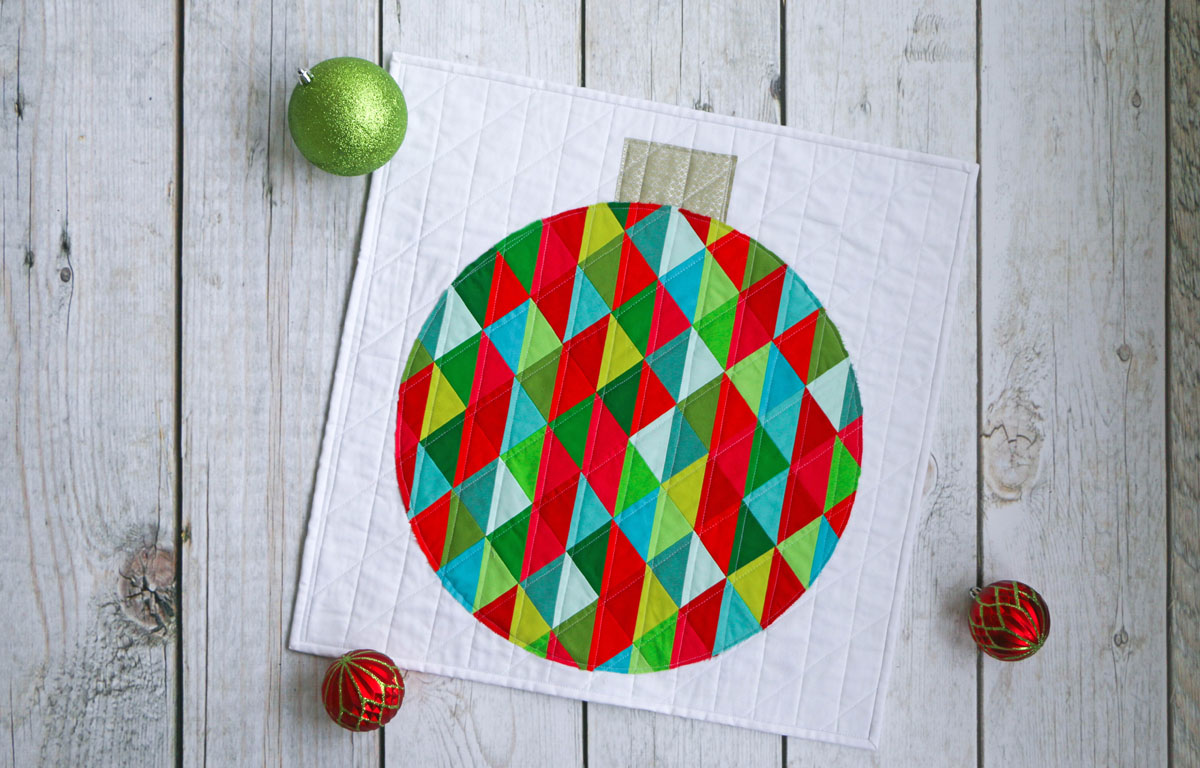
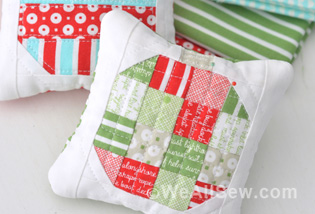
How to Make Mini Patchwork Ornaments, Part 1
Learn how to make mini patchwork ornaments with simple 9 patch blocks, and discover some helpful tips for sewing tiny quilt blocks.
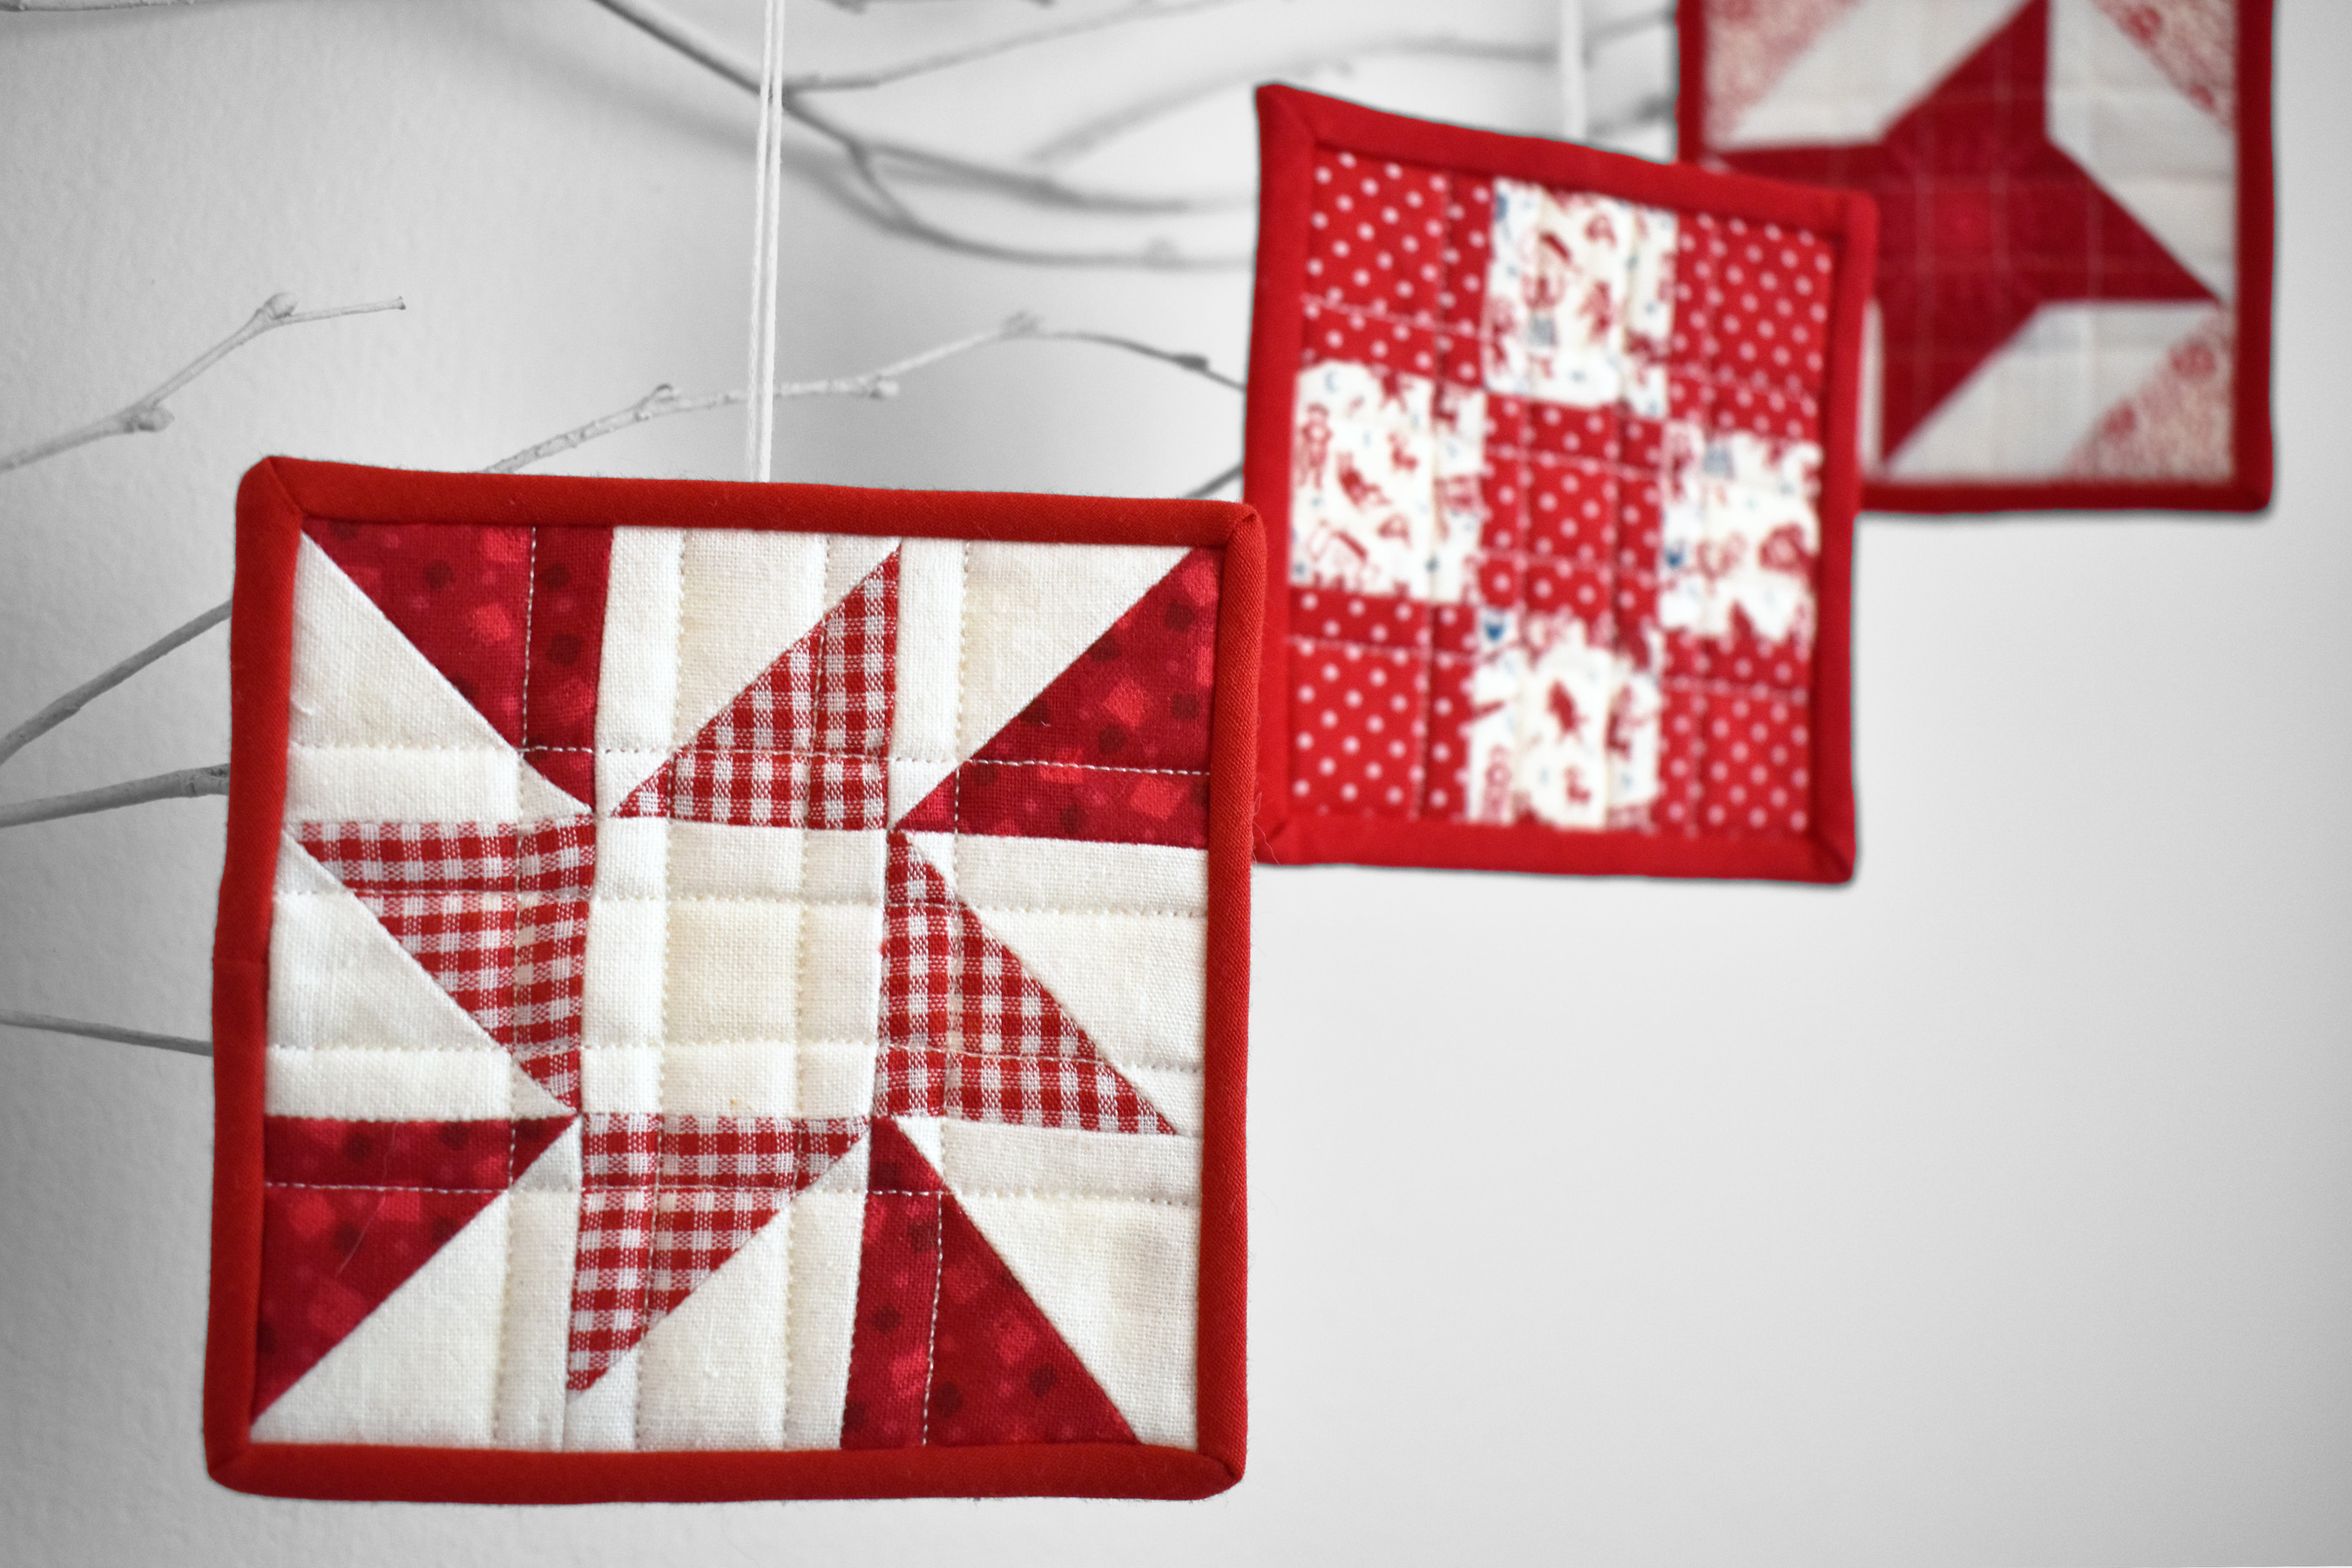
Finishing at about 3.5″ x 3.5″, these 9 patch blocks are perfect for decorating your holiday tree, adding to a wrapped gift, or hanging anywhere you want a little cheer.
Sewing patchwork this small can be fidgety, but the results are so cute! The 9 patch block is one of the most basic blocks to sew, and it’s very versatile. In Part 1 of the mini patchwork ornament tutorial, I’ll lead you through the process of making a simple 9 patch mini block and show you how to create three different block styles; a basic 9 patch, opposing corners, and square in a square. In Part 2, I’ll show you how to finish the block into a mini ornament, and how to add half-square triangles to the mix to make star blocks. Grab your materials and get ready to sew!

Materials to Make a Mini Patchwork Ornament
- Scraps of light to medium weight 100% woven cotton fabrics (fabrics like finely woven quilting or shirting fabric)
- One 4″ x 4″ square of 100% cotton for back of ornament
- One 4″ x 4″ square of 100% cotton batting
- A fat quarter (about 18″ x 22″) size 100% cotton fabric for bias binding
- Sewing machine (I use a fabulous BERNINA 570 QE)
- Patchwork foot (I use Patchwork Foot #97D)
- 50 wt sewing thread
- Size 70/10 or 75/11 sharp or microtex sewing needle
- Rotary cutter, cutting mat, and rulers
- Glass head sewing pins
- Steam iron and pressing surface
- Thread snips
Optional (but helpful) Tools to Make a Mini Patchwork Ornament
- Straight stitch needle plate (will help support those tiny stitches to form)
- Sewing machine seam guide
- Seam gauge measuring tool
- Stiletto or similar finger-saving tool
- Tailor’s clapper (seam clapper, quilter’s clapper)
- Starch
The first step to creating a mini patchwork 9 block is selecting fabrics. When sewing seams at such a small scale, thicker fabrics can cause issues from lopsided seams to irregular bulk in the seam allowance. Any cotton fabrics from lightweight hanky or bandanna weight, fine shirting fabrics, and finely woven light to medium weight quilting cotton will work well for mini patchwork. You’ll want to think about selecting some fabrics that have different values (value = the overall light or dark look of the fabric).

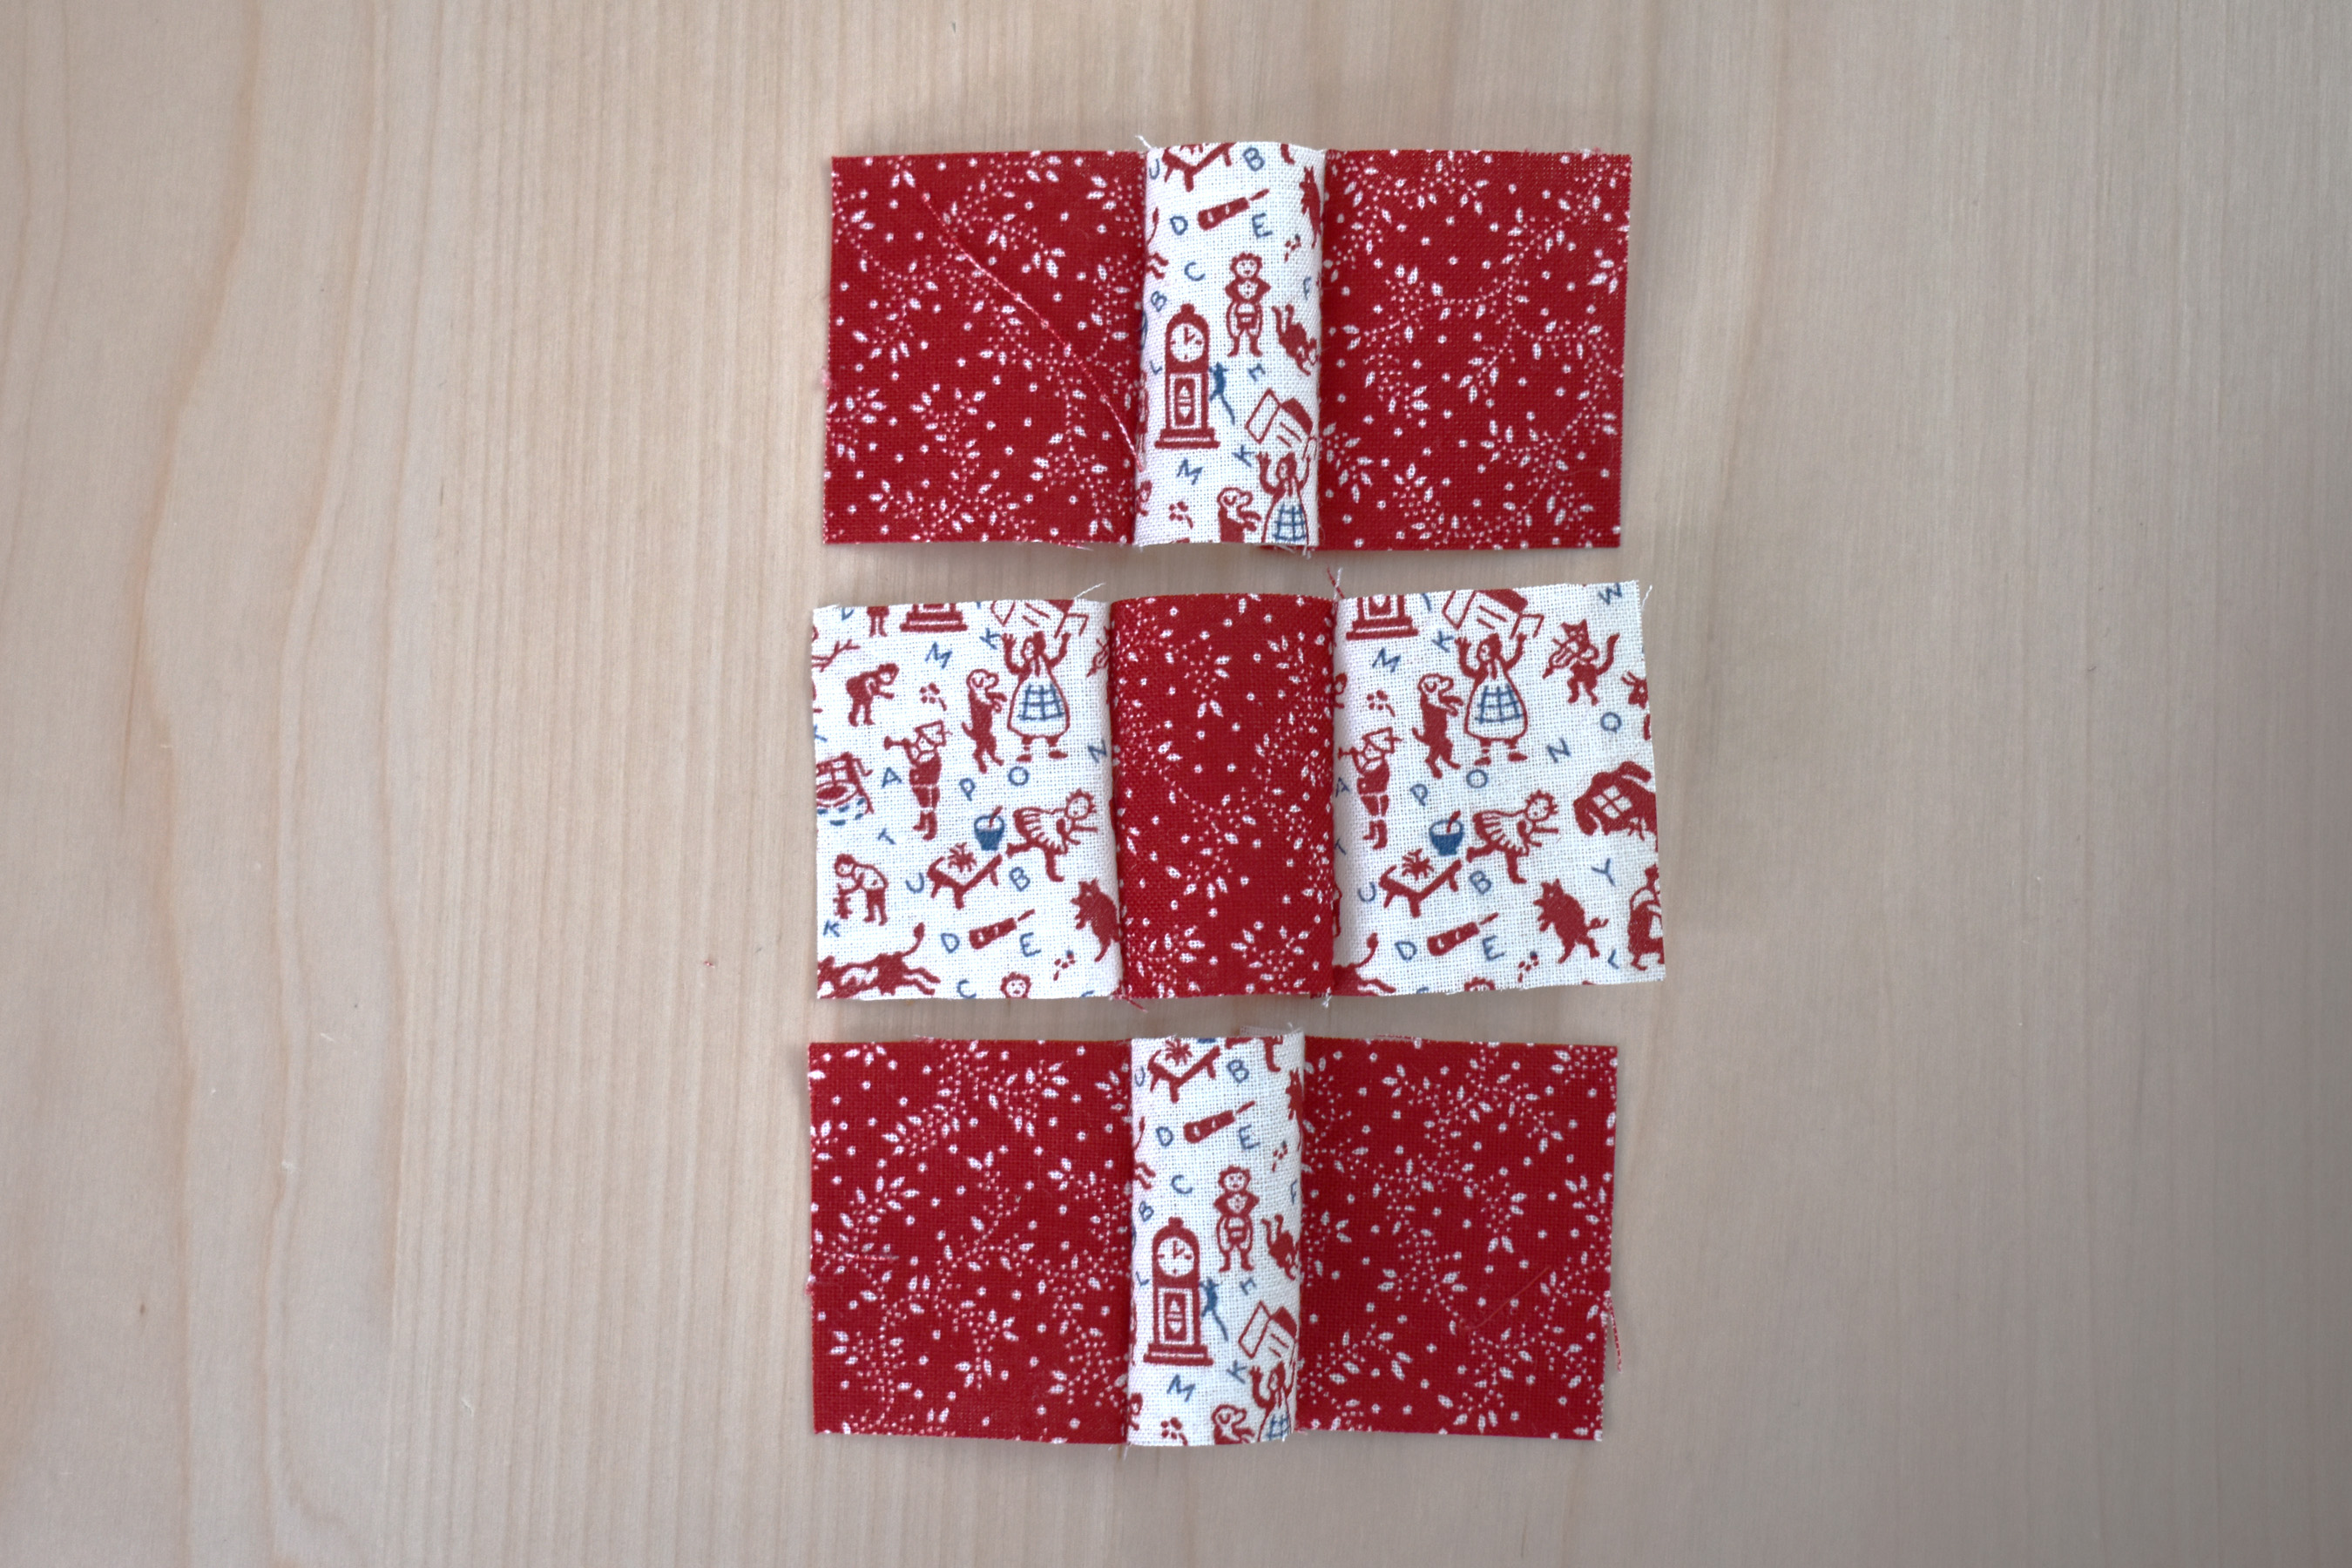
The steps that follow show how to sew a basic 9 patch block that includes 5 squares of one value set against 4 squares with a different value, so think about how your fabrics will look arranged in this design. I’ve raided my scraps for a selection of lighter-weight cotton in reds and whites of differing values.
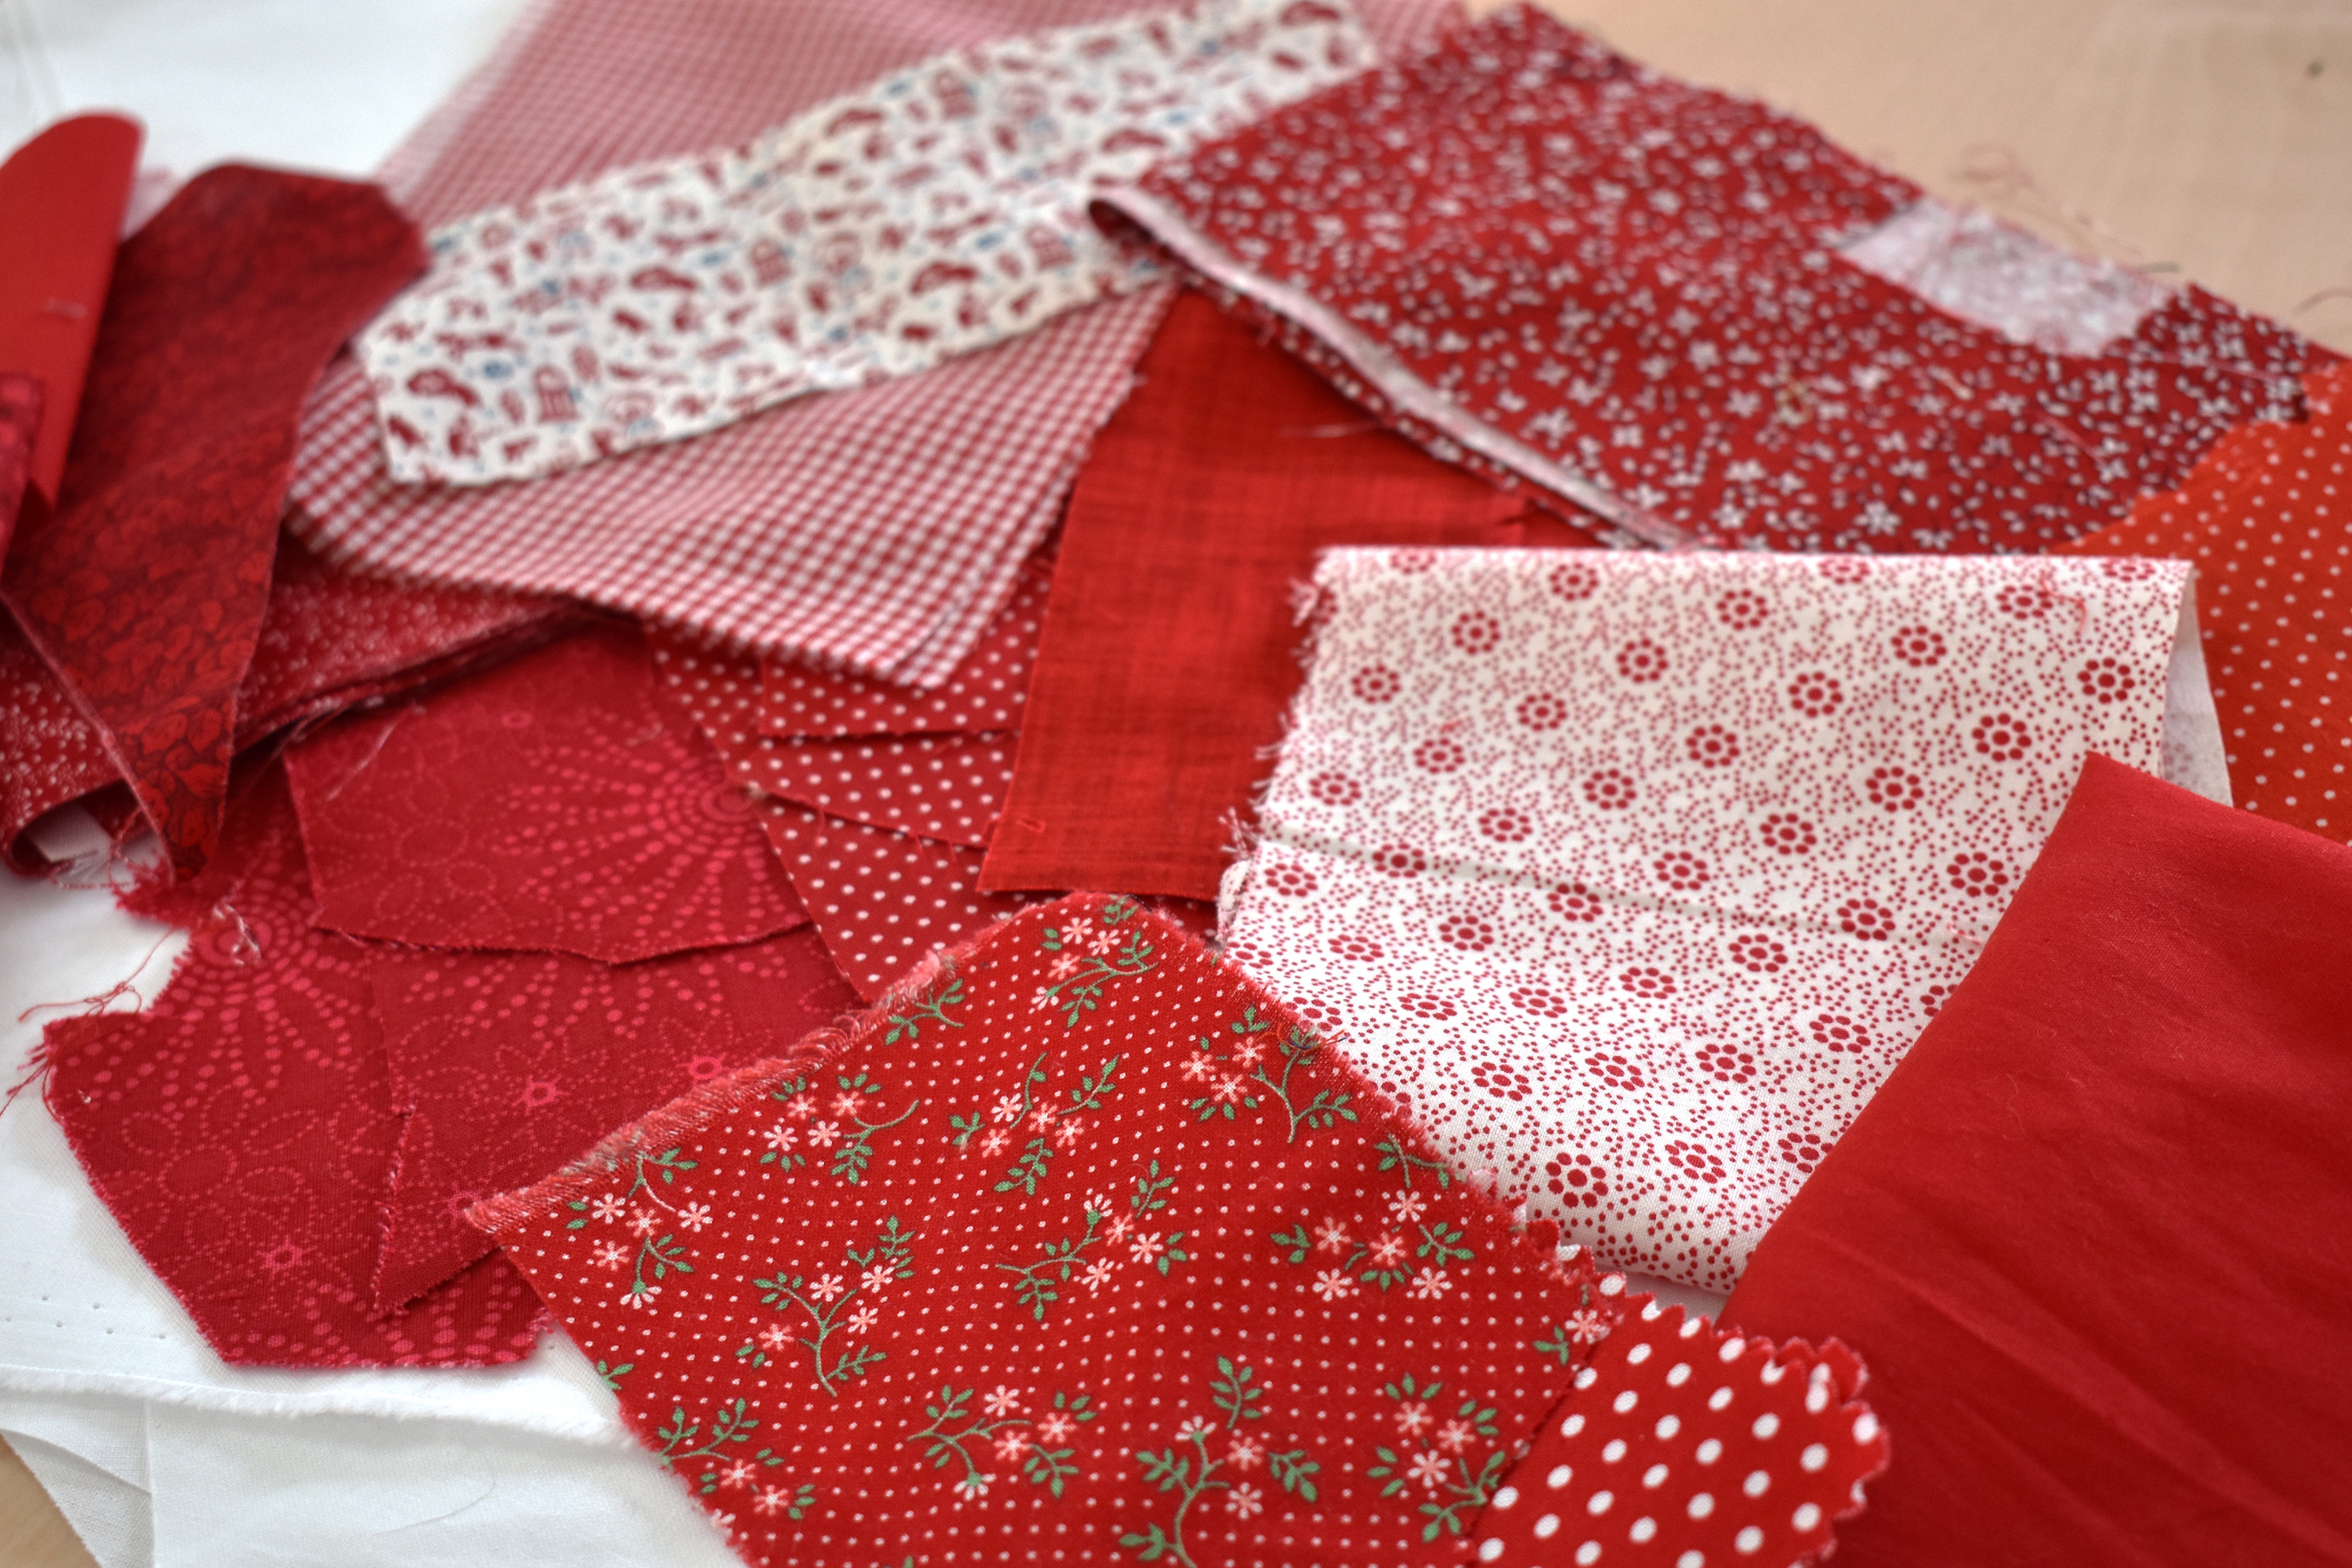
Once your scraps or small pieces are selected, press the fabrics well. Using a bit of starch will help stabilize the fabrics through the cutting, sewing, and pressing steps. Solids, prints or dyed fabrics that look almost like a solid, or small prints work best.
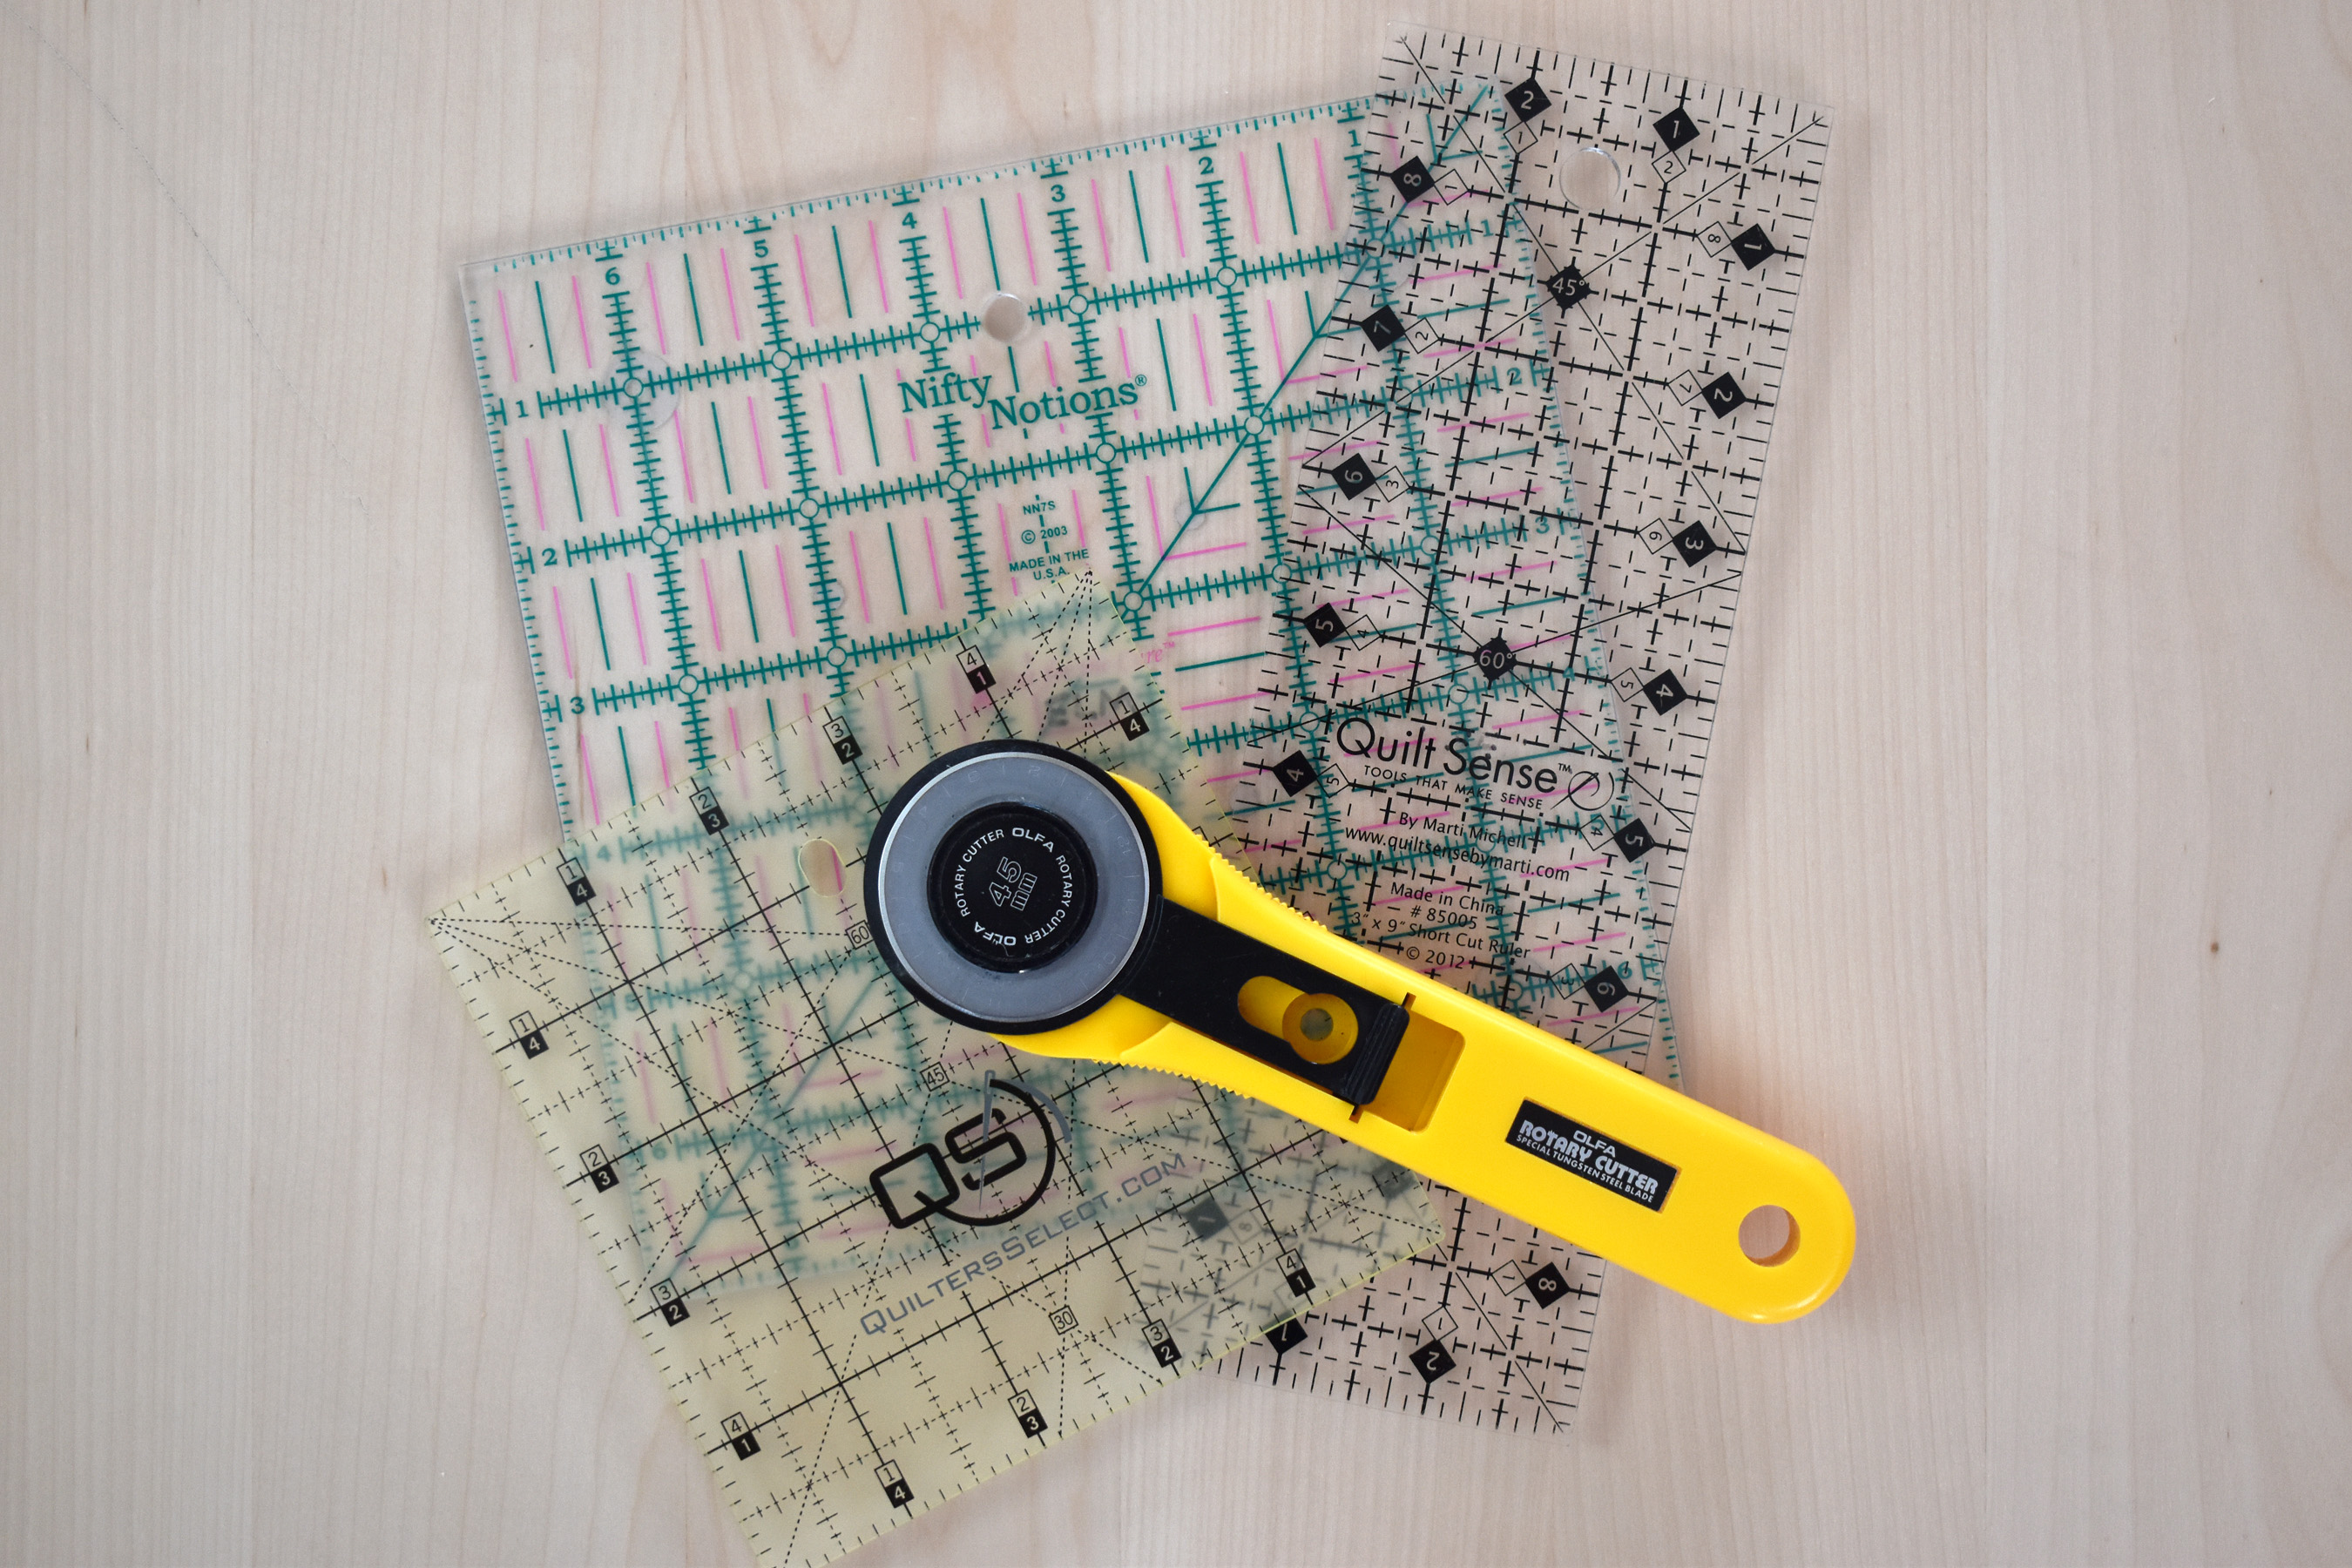
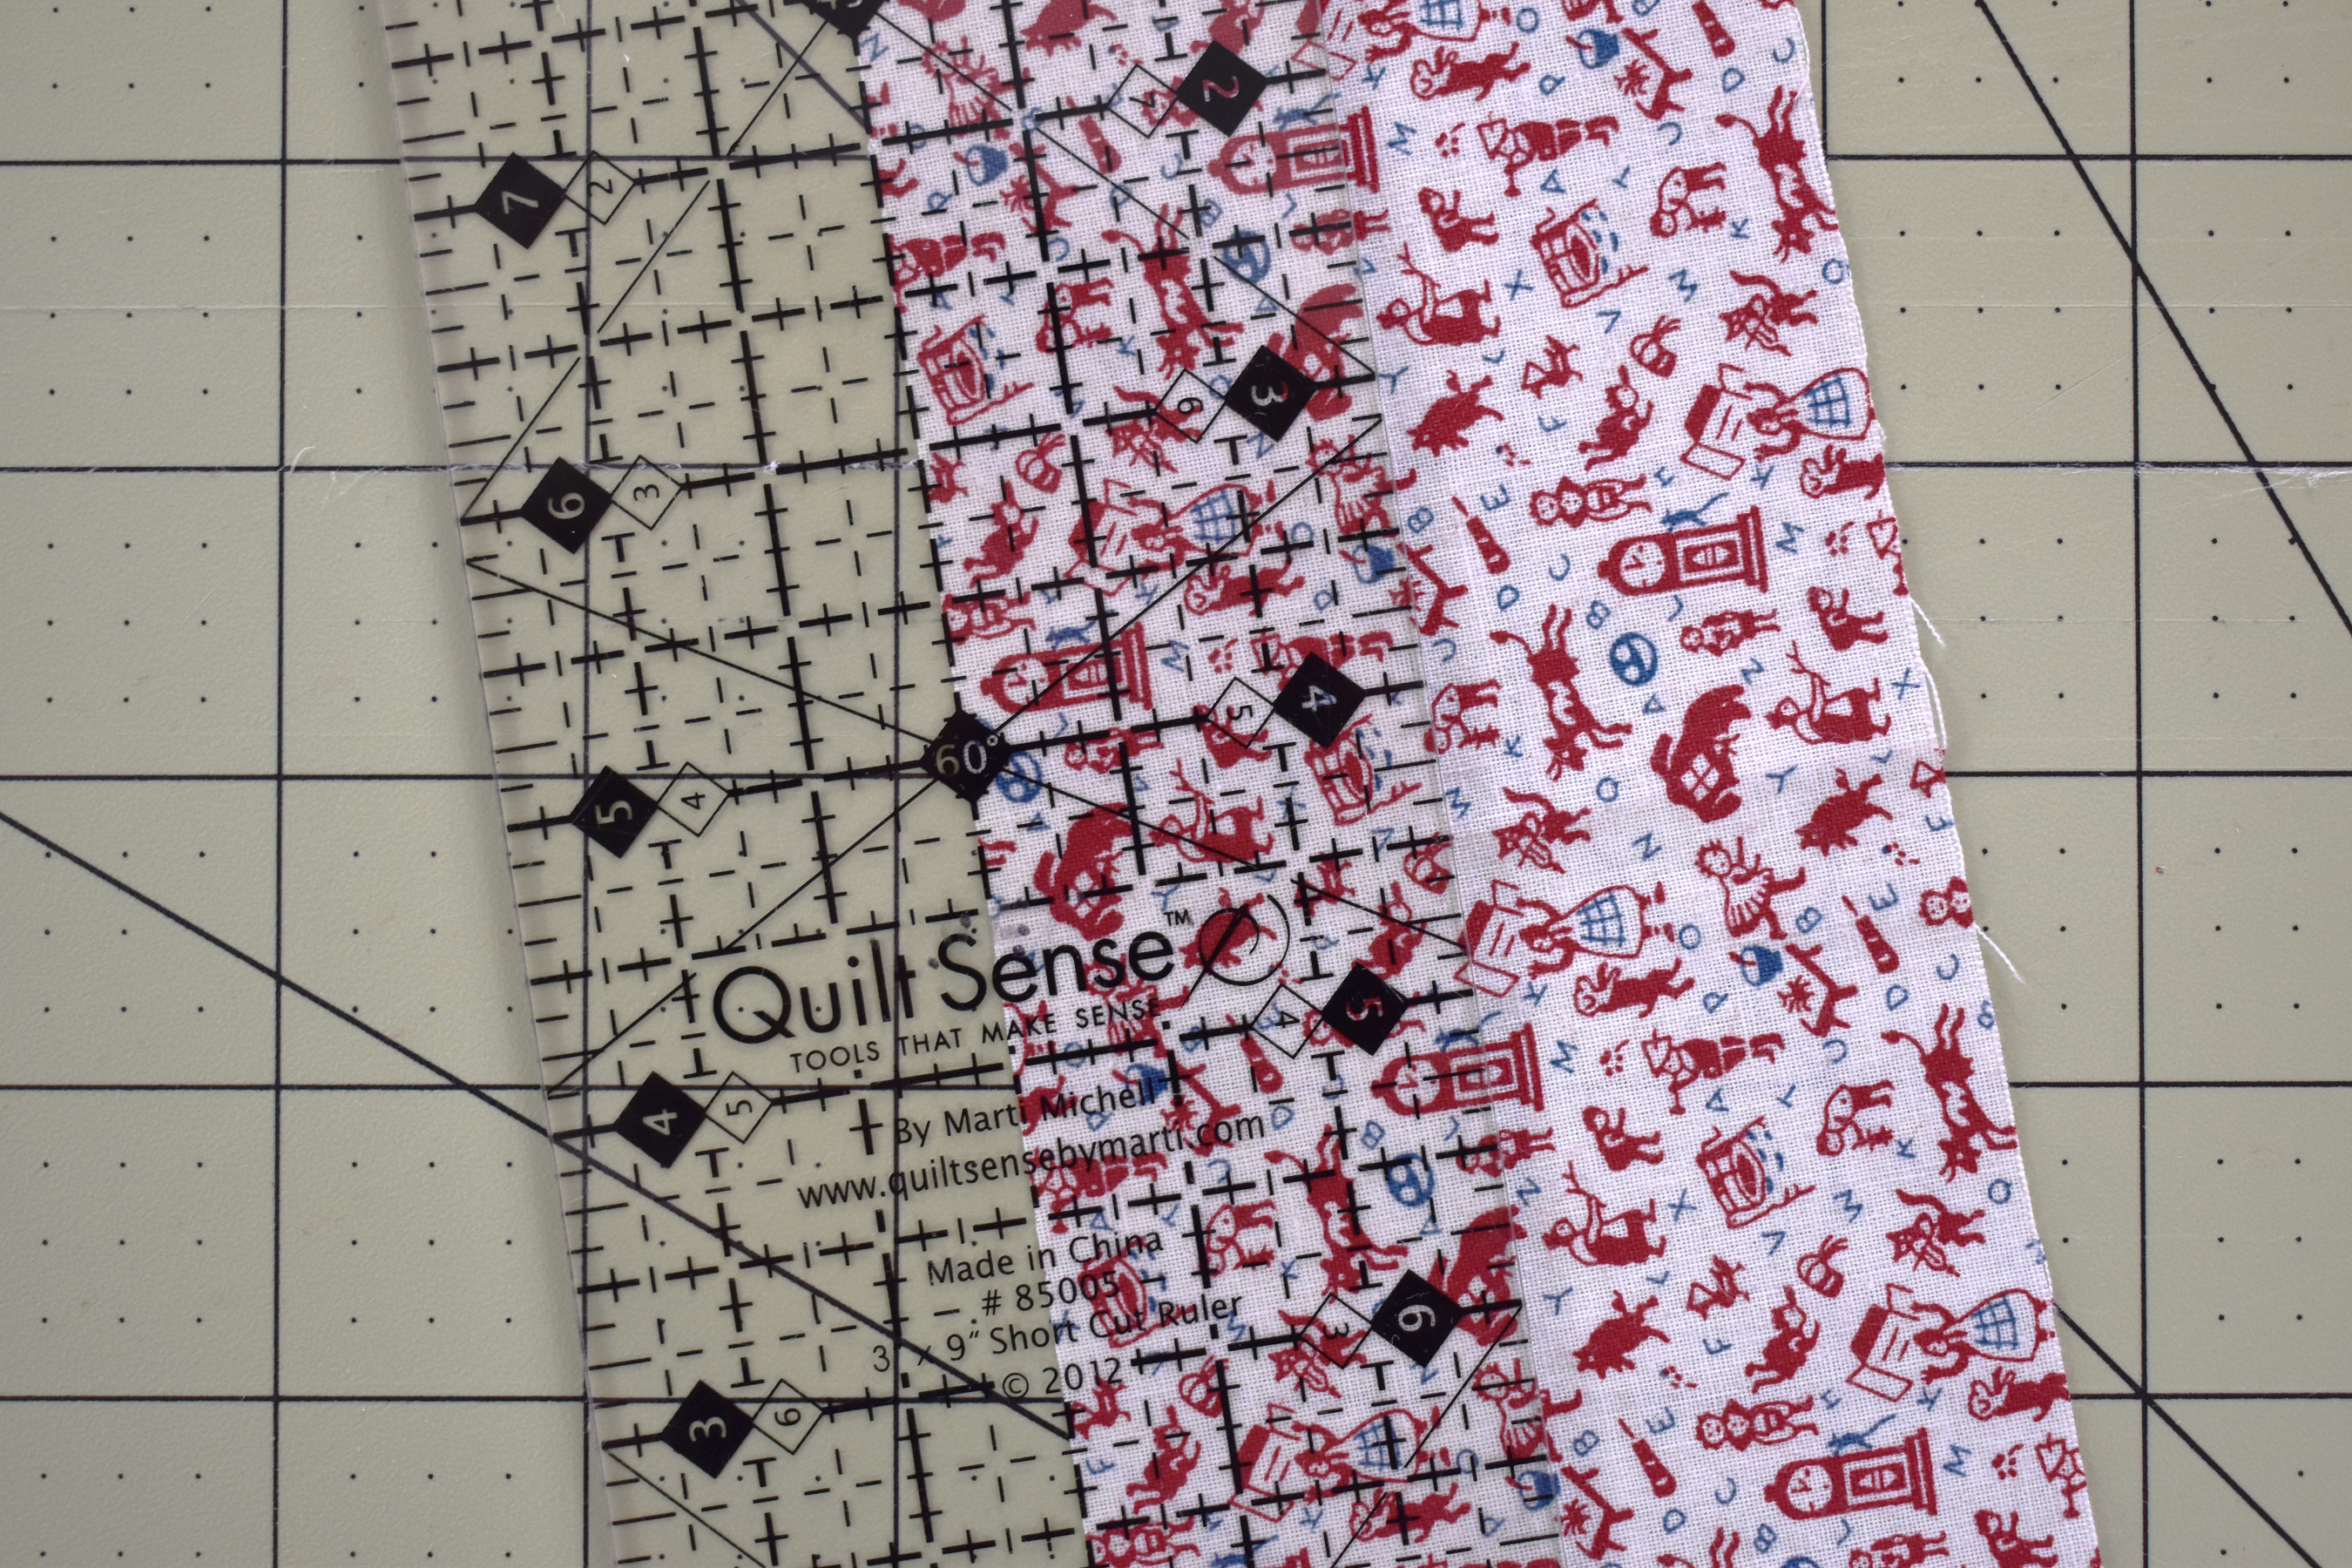
Use a selection of smaller rulers with your rotary cutter and mat can be helpful when cutting very small pieces. I regularly use several, but I find the 3″ x 9″ perfect for making accurate cuts, and a small square ruler is invaluable to square-up small patchwork. Anything sewn at such a small scale is going to be less forgiving when it comes to seams and accuracy. The first step to getting accurate mini patchwork is in the cutting.
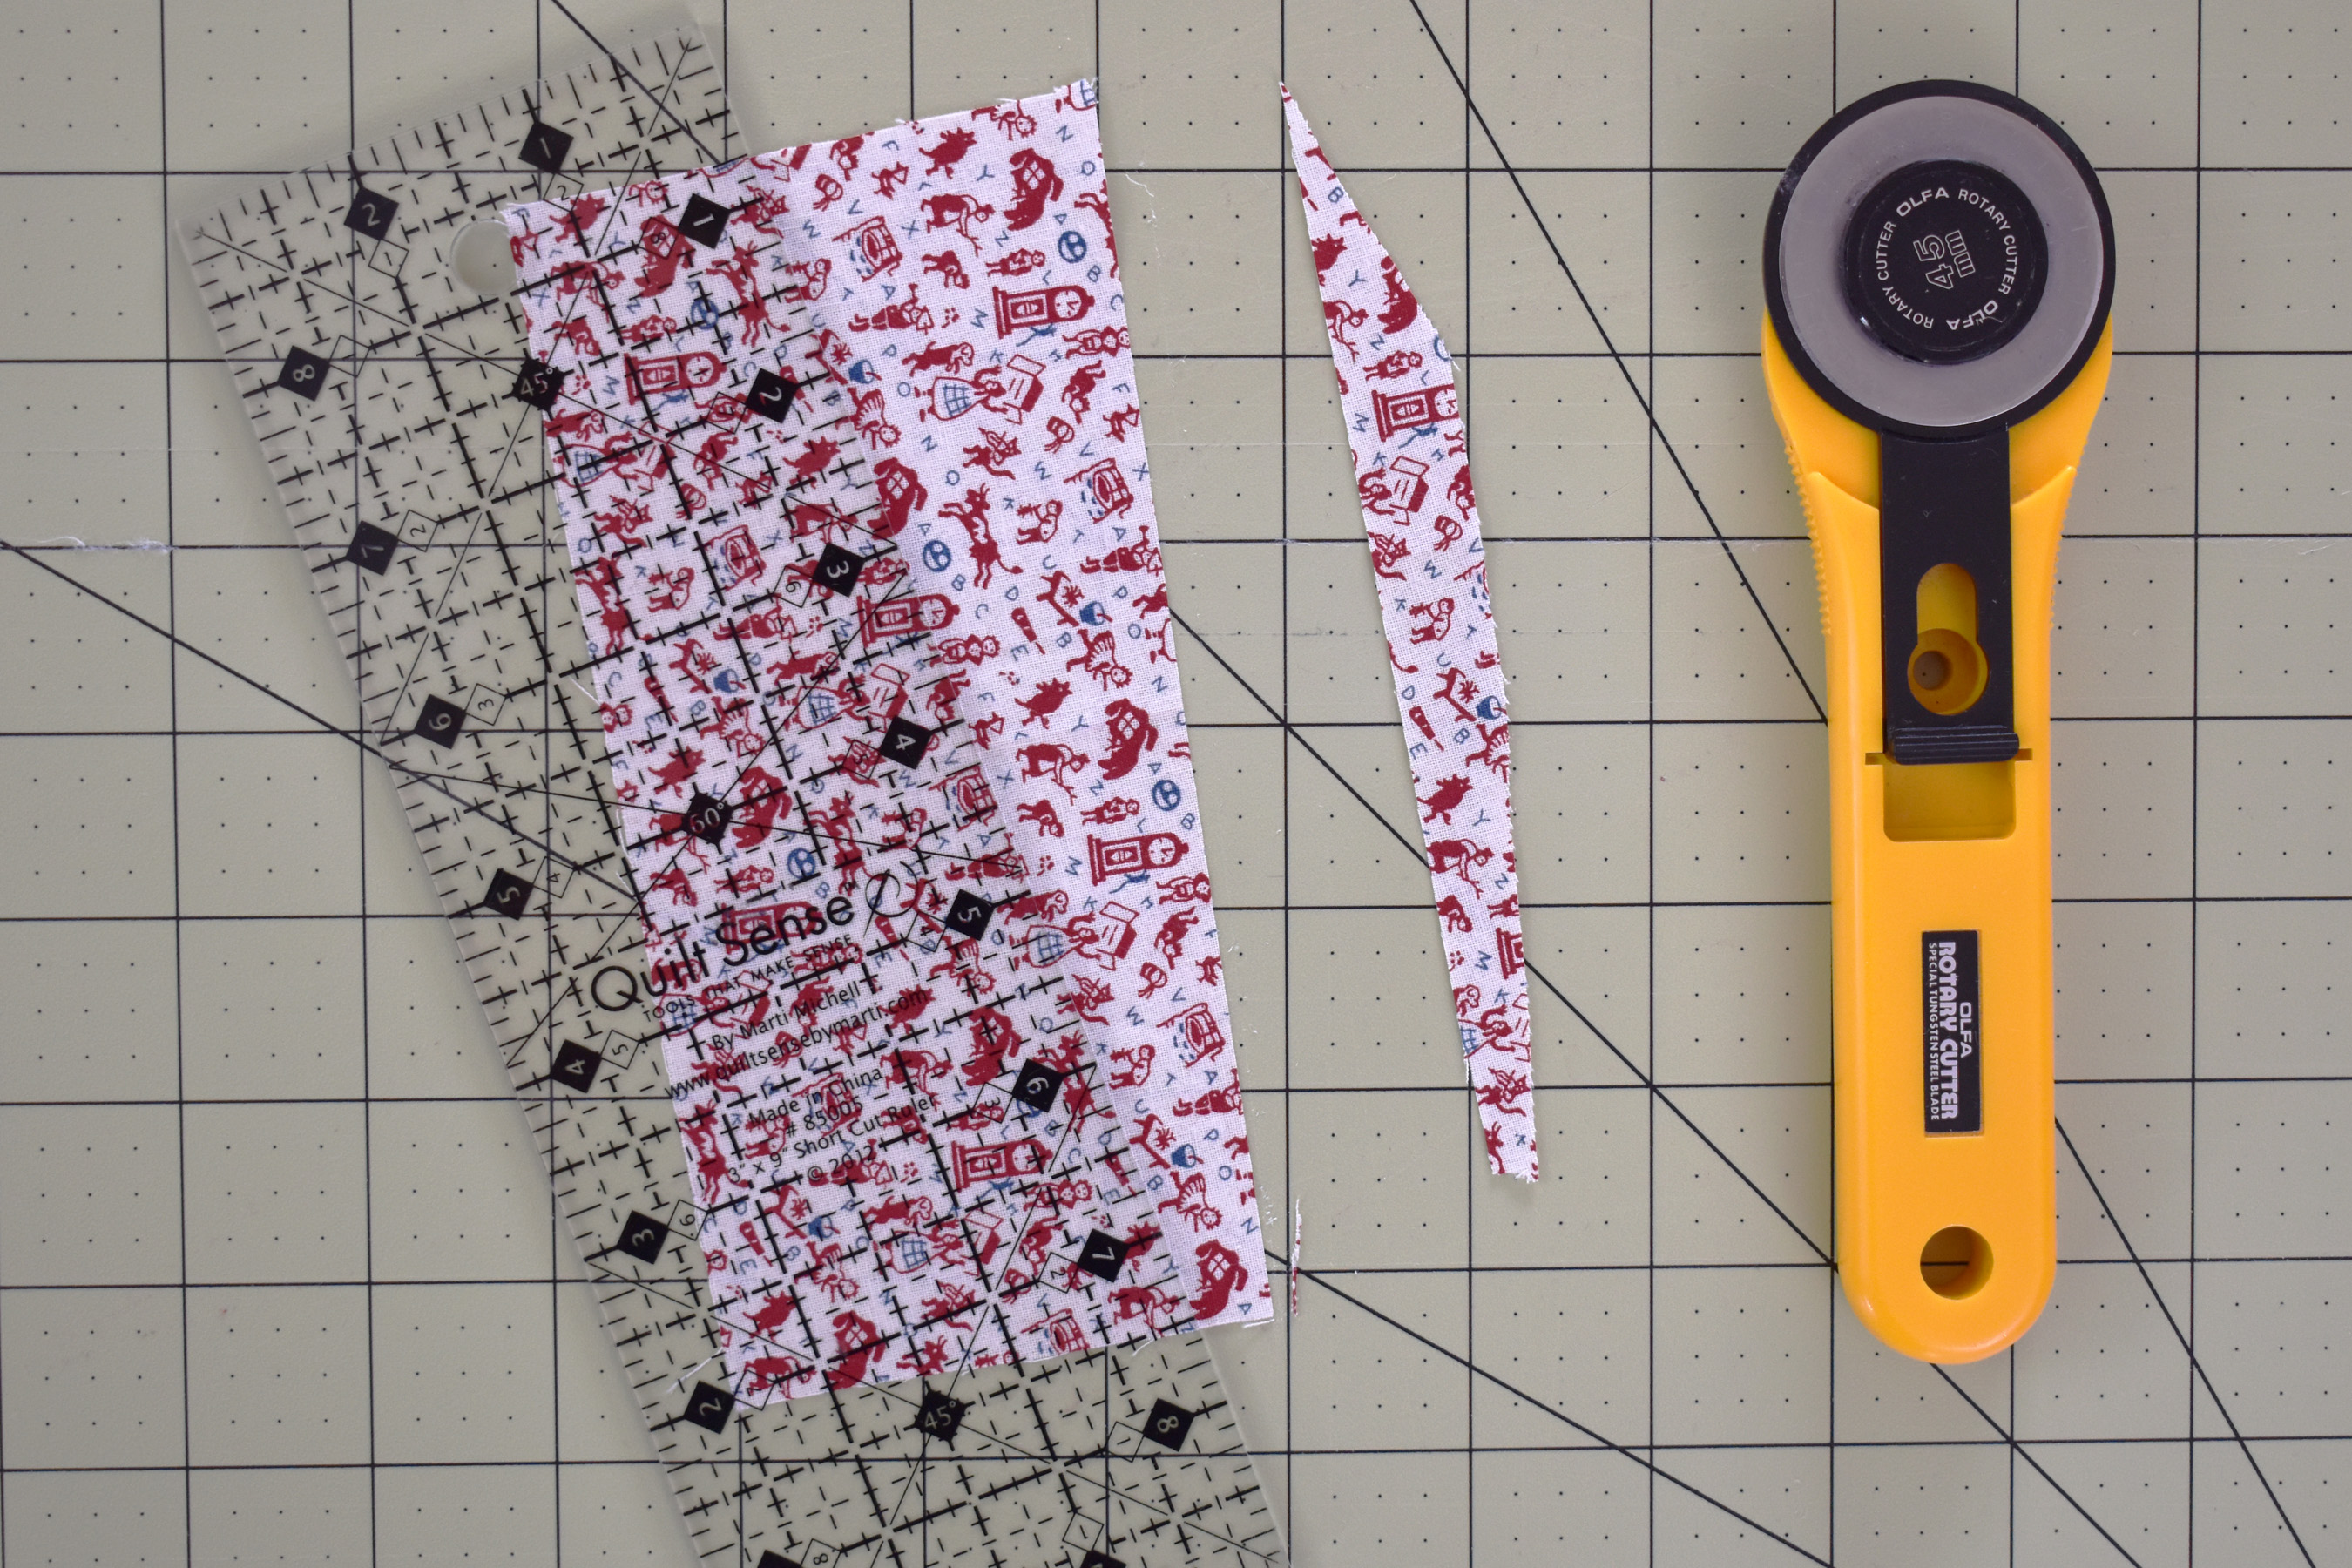
Measure and cut all the patchwork with the same ruler; don’t rely on the gridwork of the cutting mat. Select a scrap to cut, and begin by cutting one straight edge to the scrap.
Line up the ruler with the straight edge, use the markings to carefully measure exactly 1.5″ from the edge, and cut the strip.
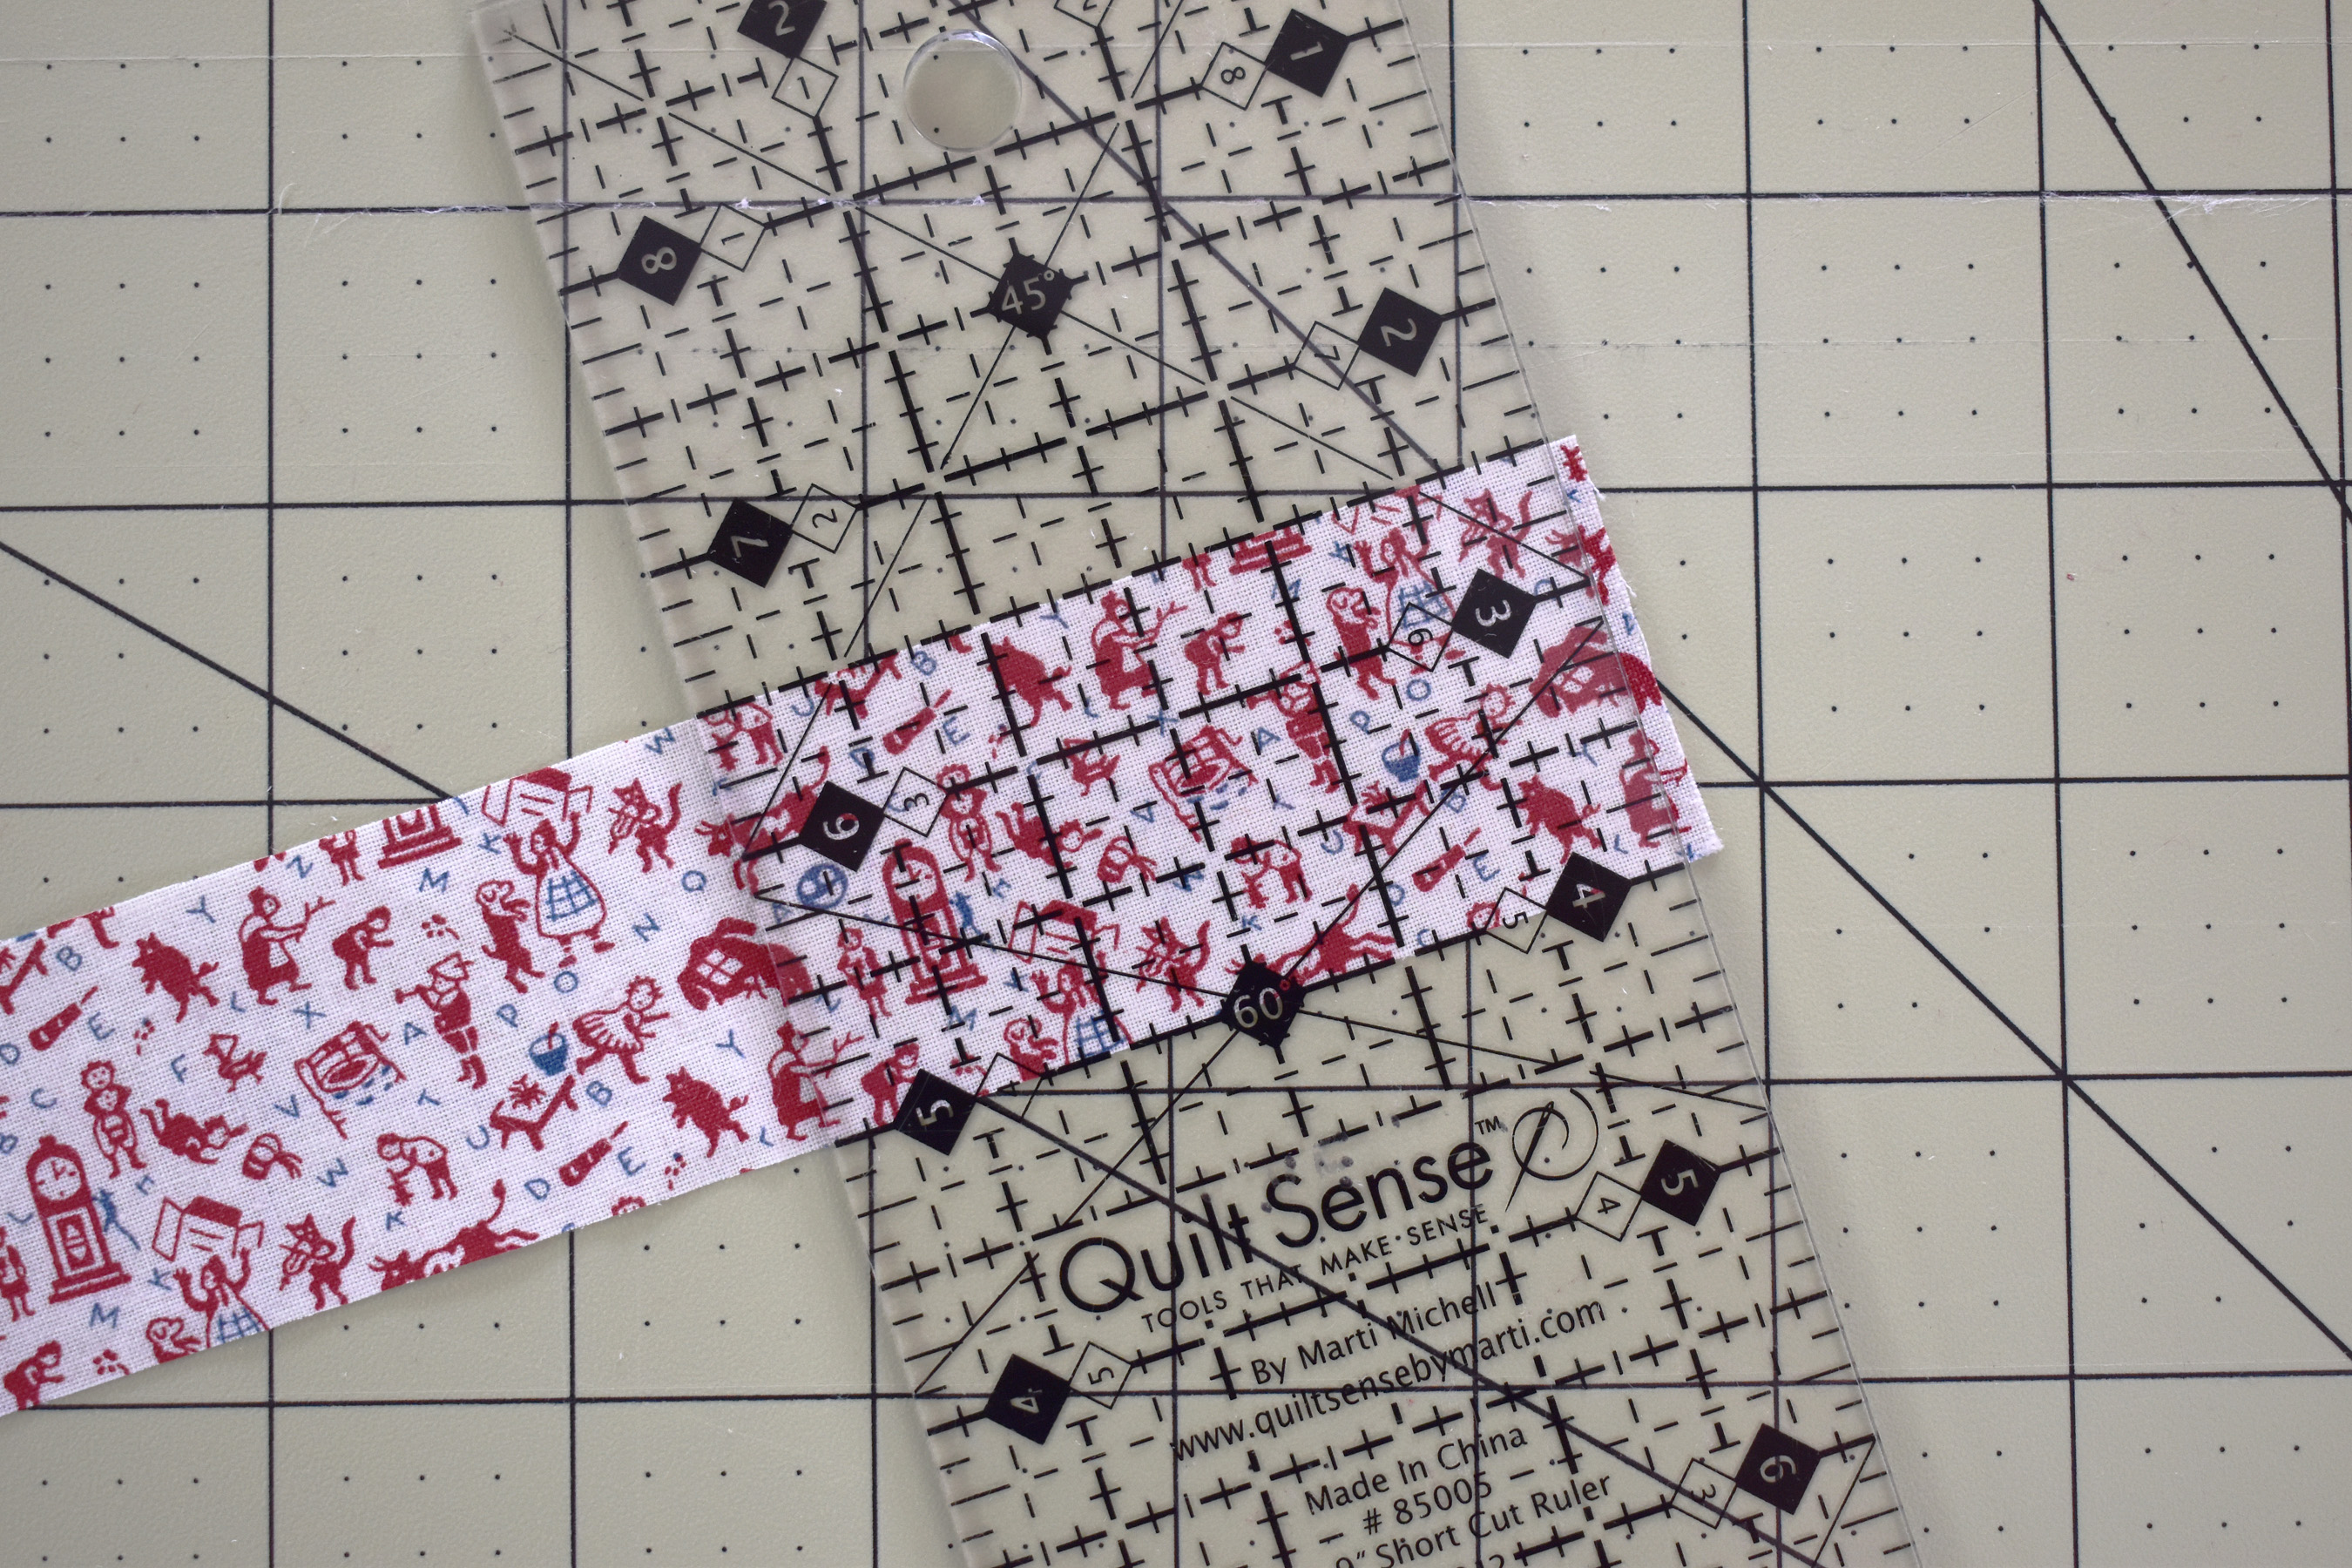
Use the ruler to square-up one end of the strip. Line up the rule so that the markings match the top and bottom cut edges of the strip, and just a small bit of the stip is sticking out past the ruler. Cut to square-up the end.
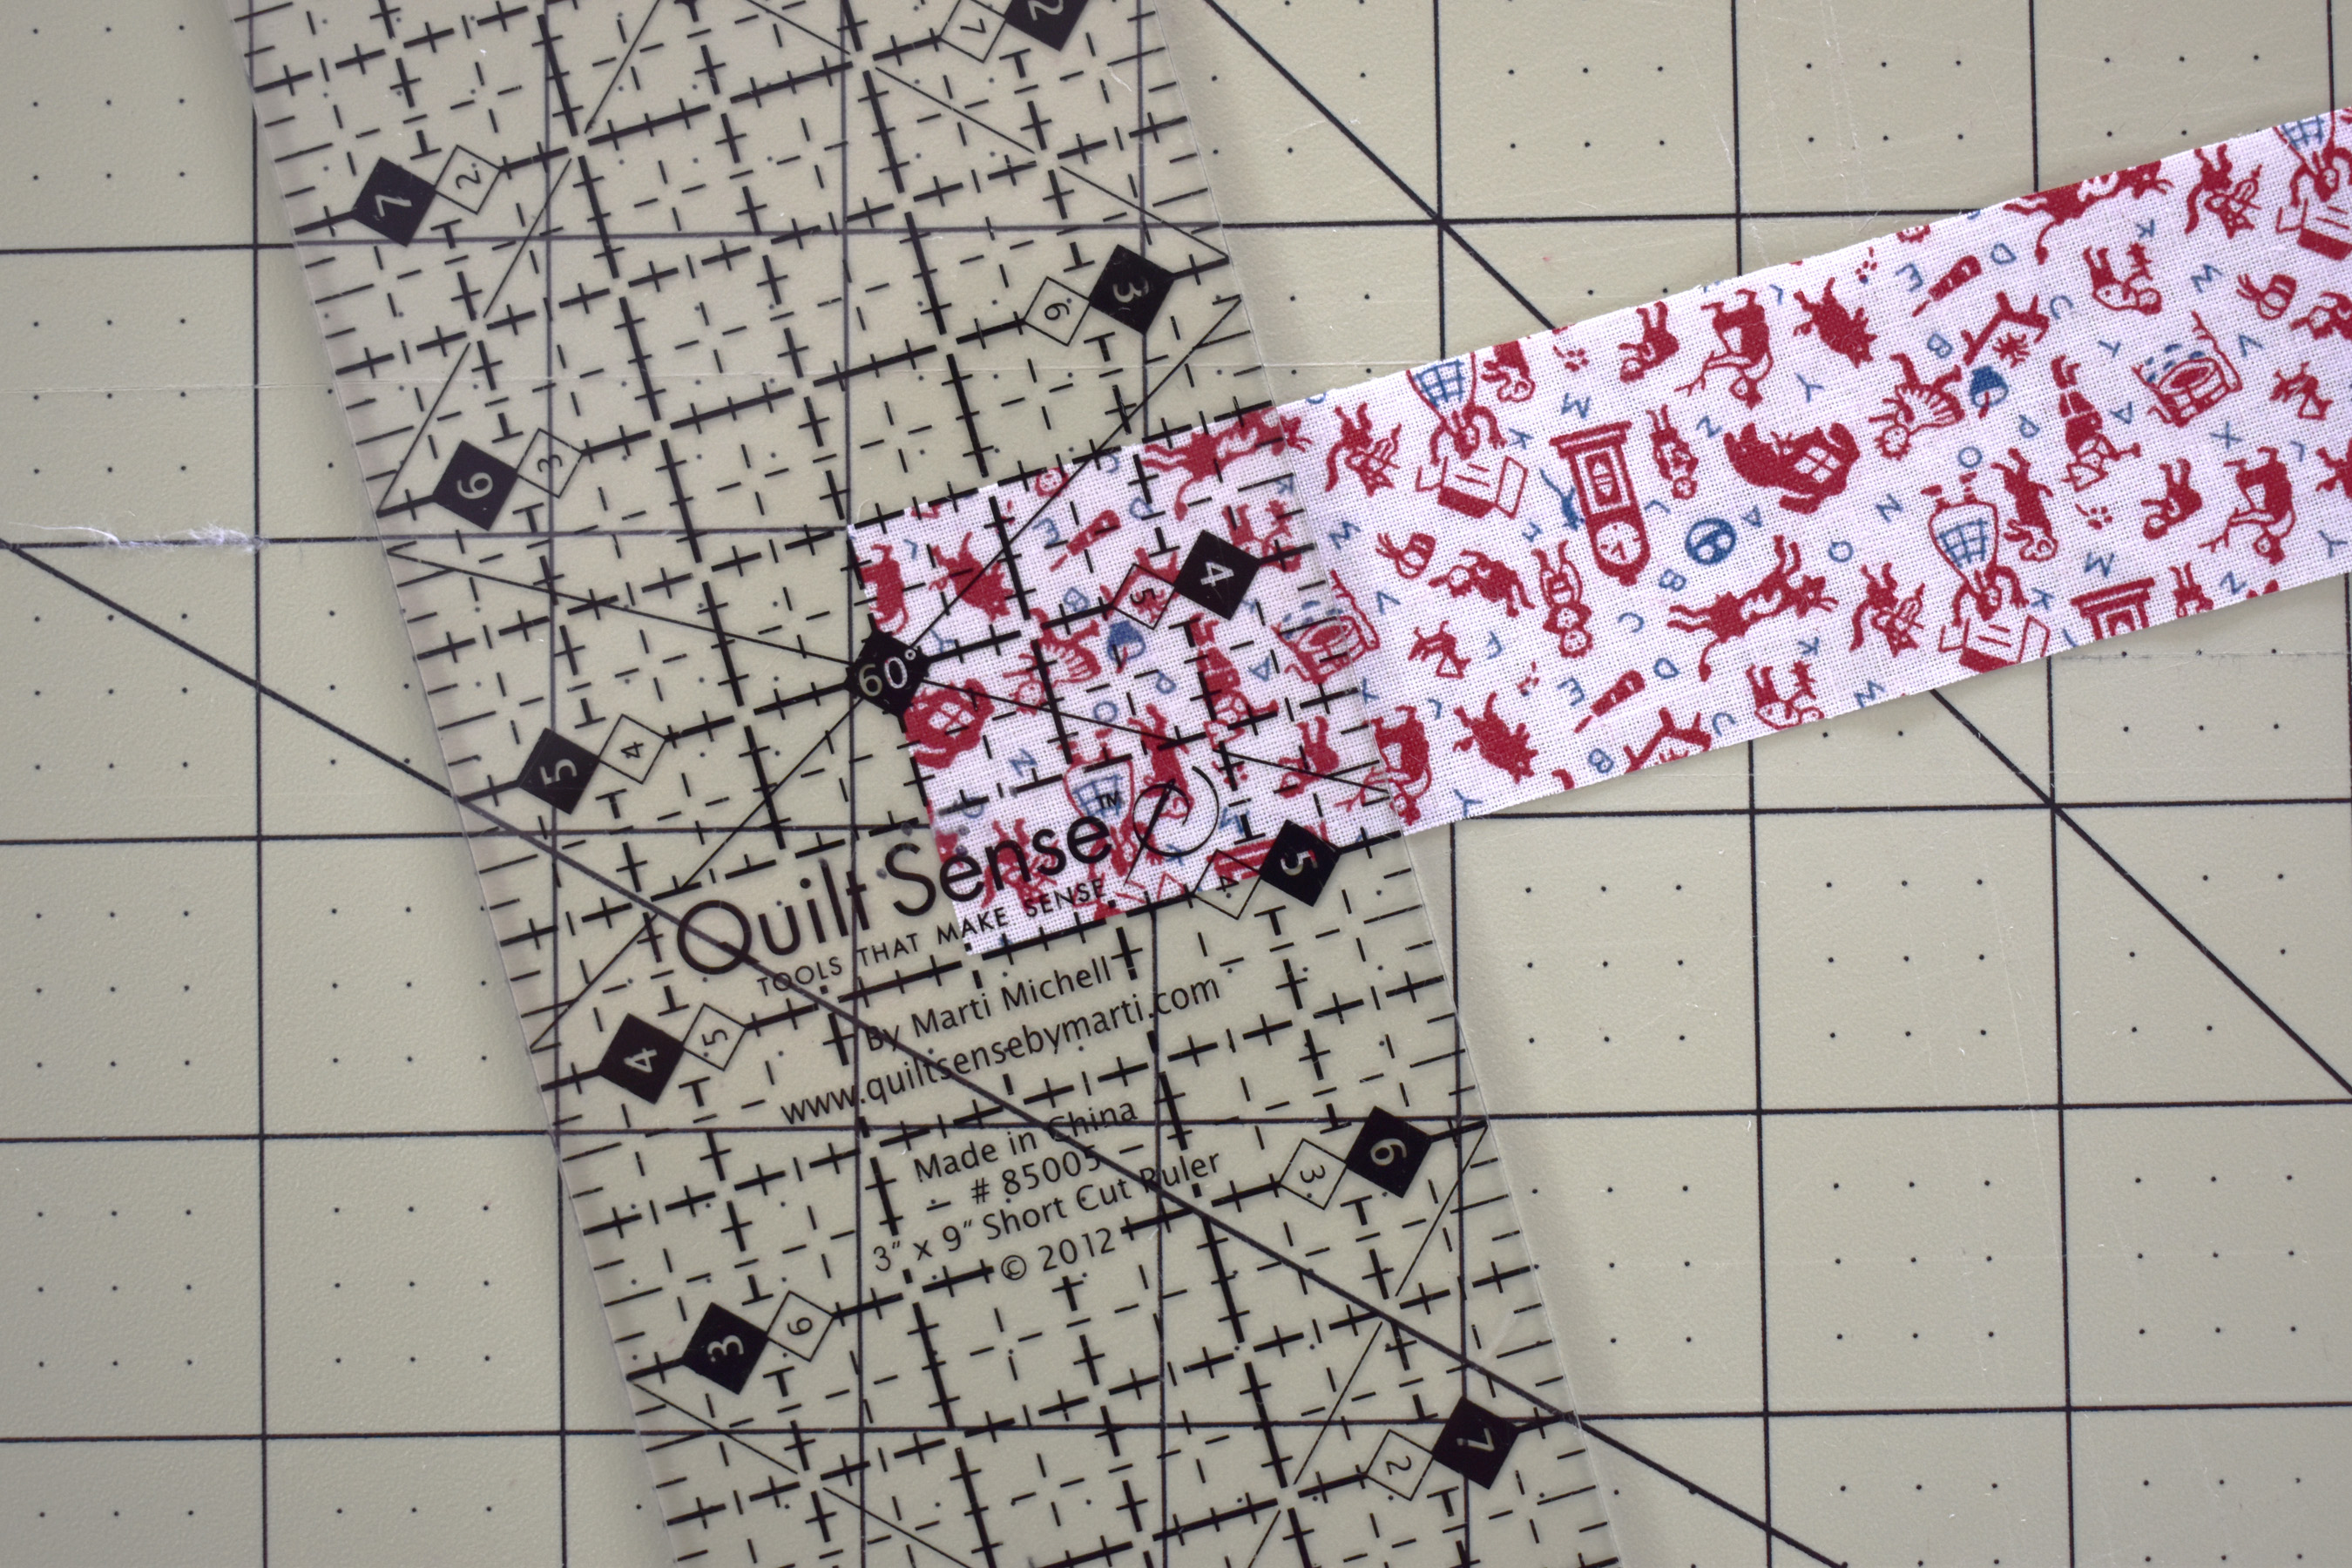
Flip the strip over, carefully measure 1.5″ over from the squared-up end, and cut. Continue to cut squares from the strip as needed. Cutting all your squares carefully using the same ruler will help ensure all the patchwork pieces are precisely the same size.
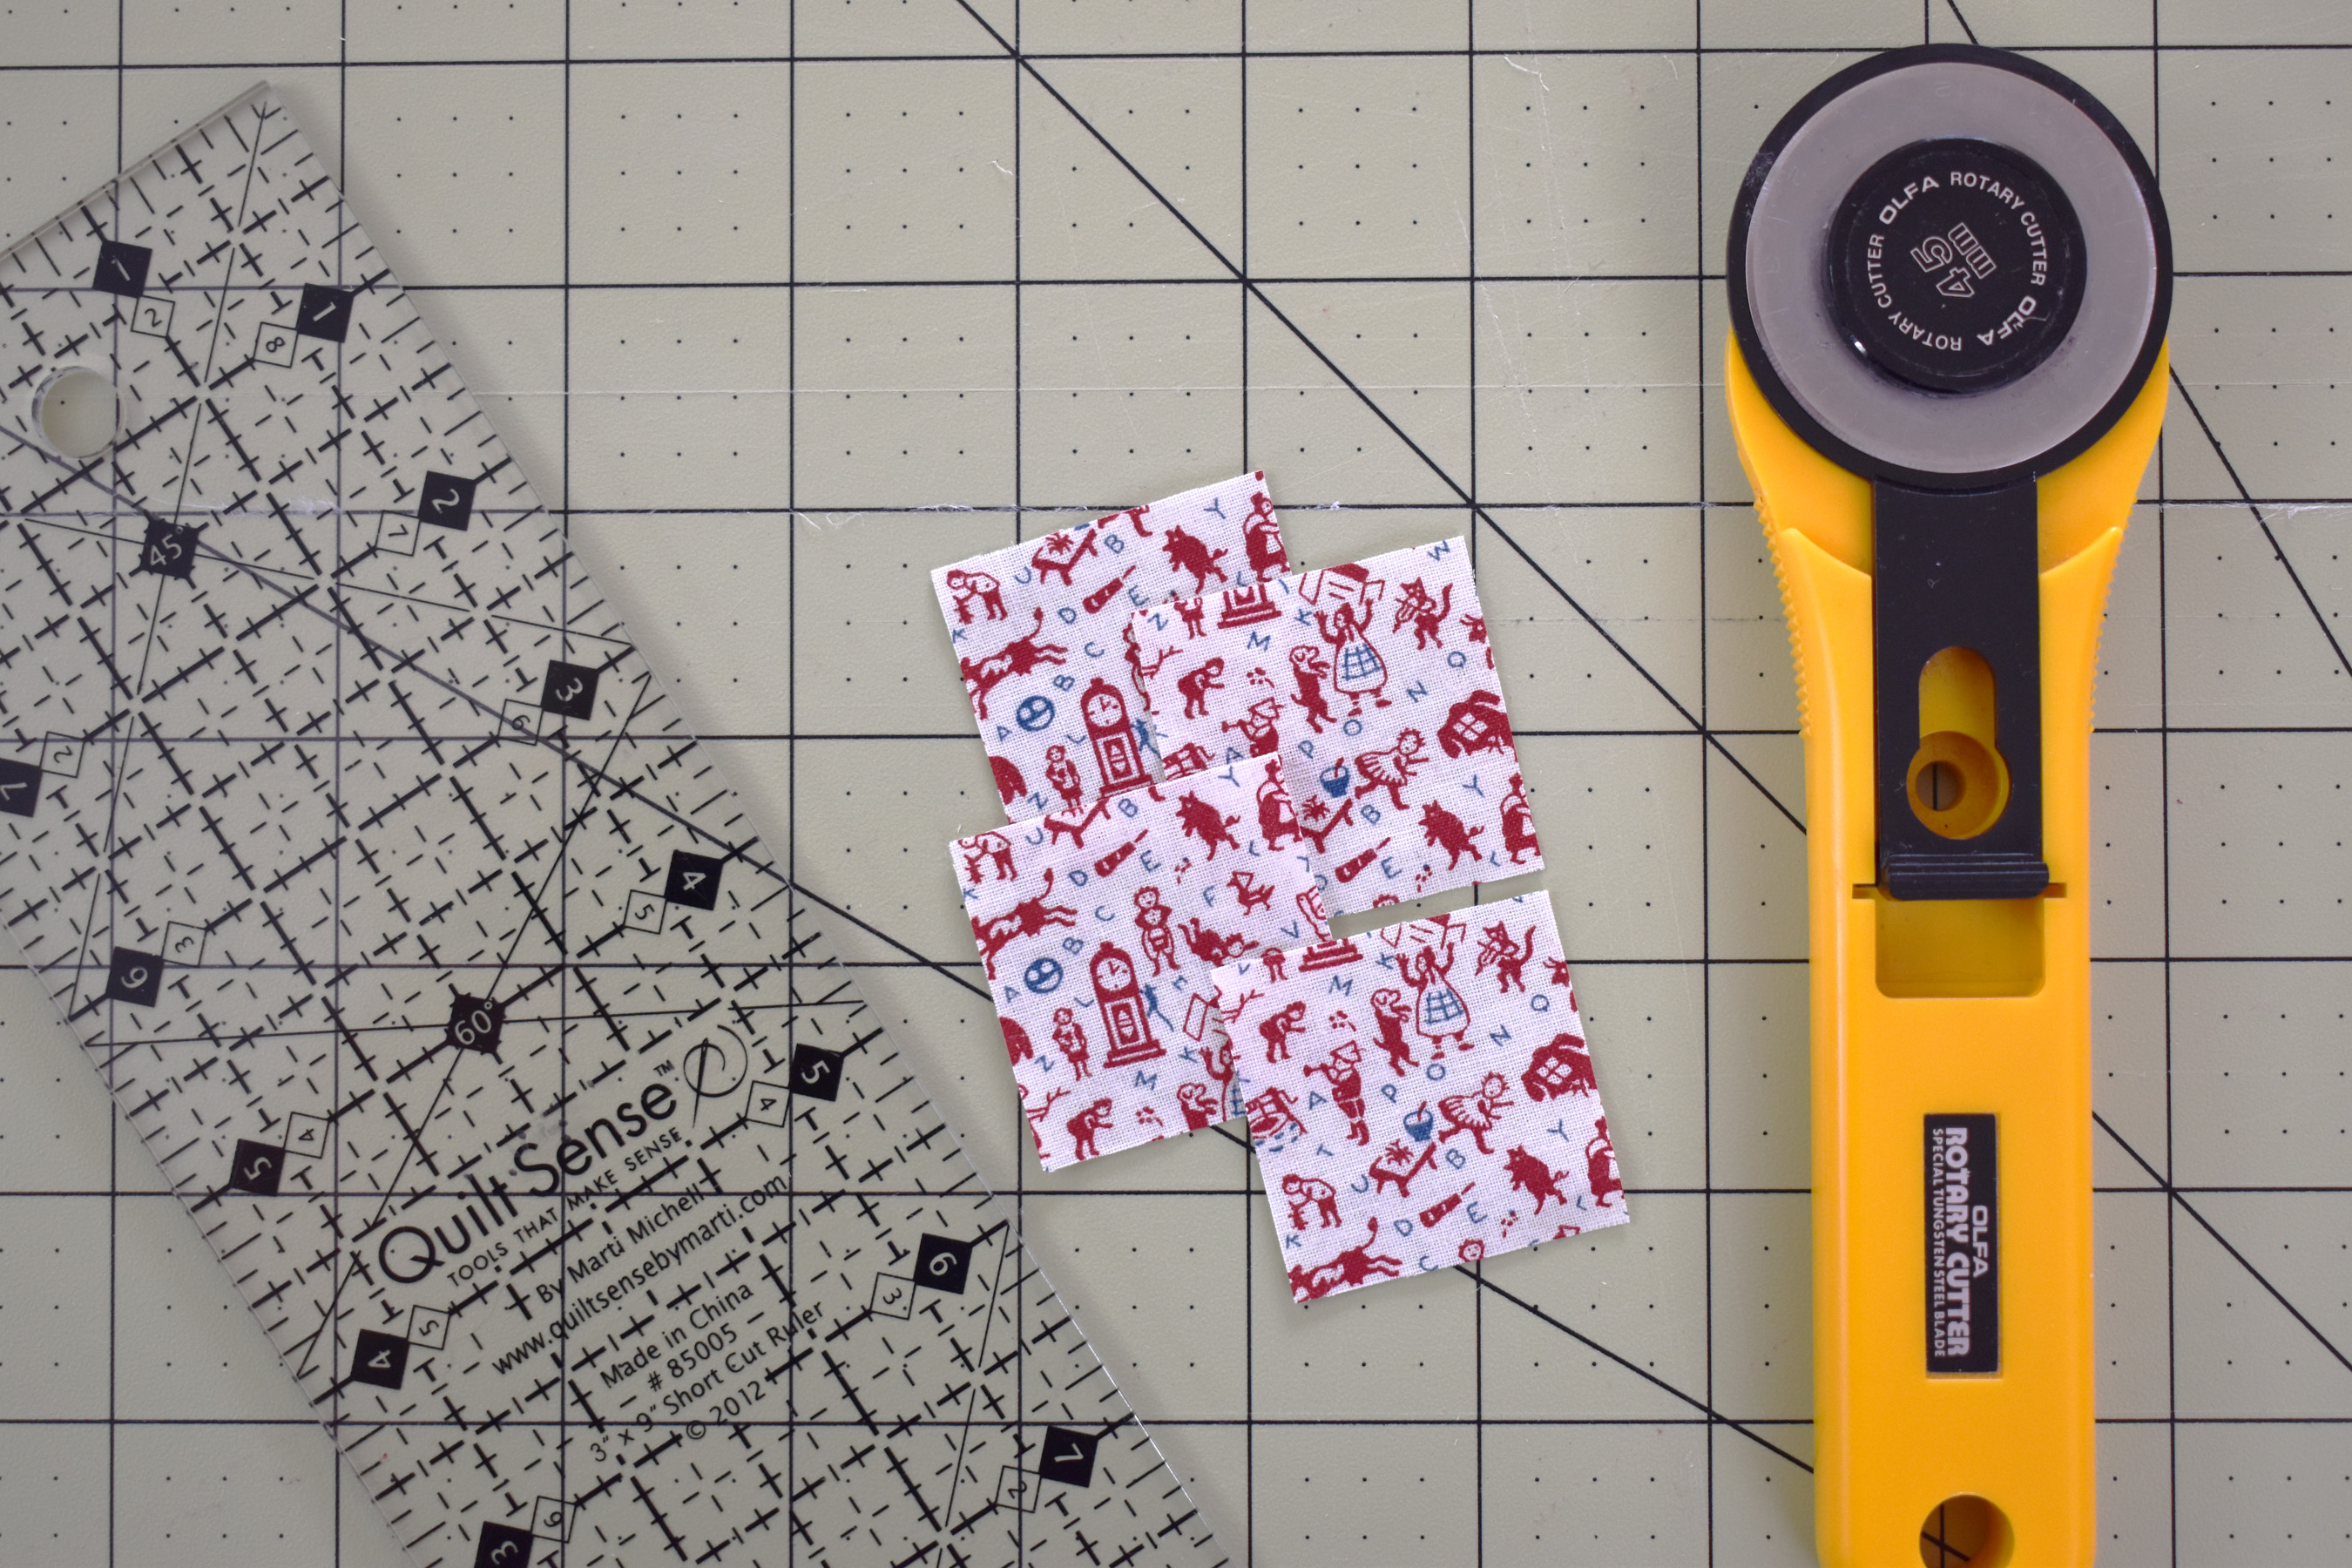

Lay out the squares to see what the final basic 9 patch block will look like. Now is the time to make any edits to your design if you’re not happy. Pay attention to the prints in your fabrics, and if they are directional (as is the little print on white in my 9 patch) make sure they are all headed in the same direction.
Let’s get ready to sew some mini patchwork!
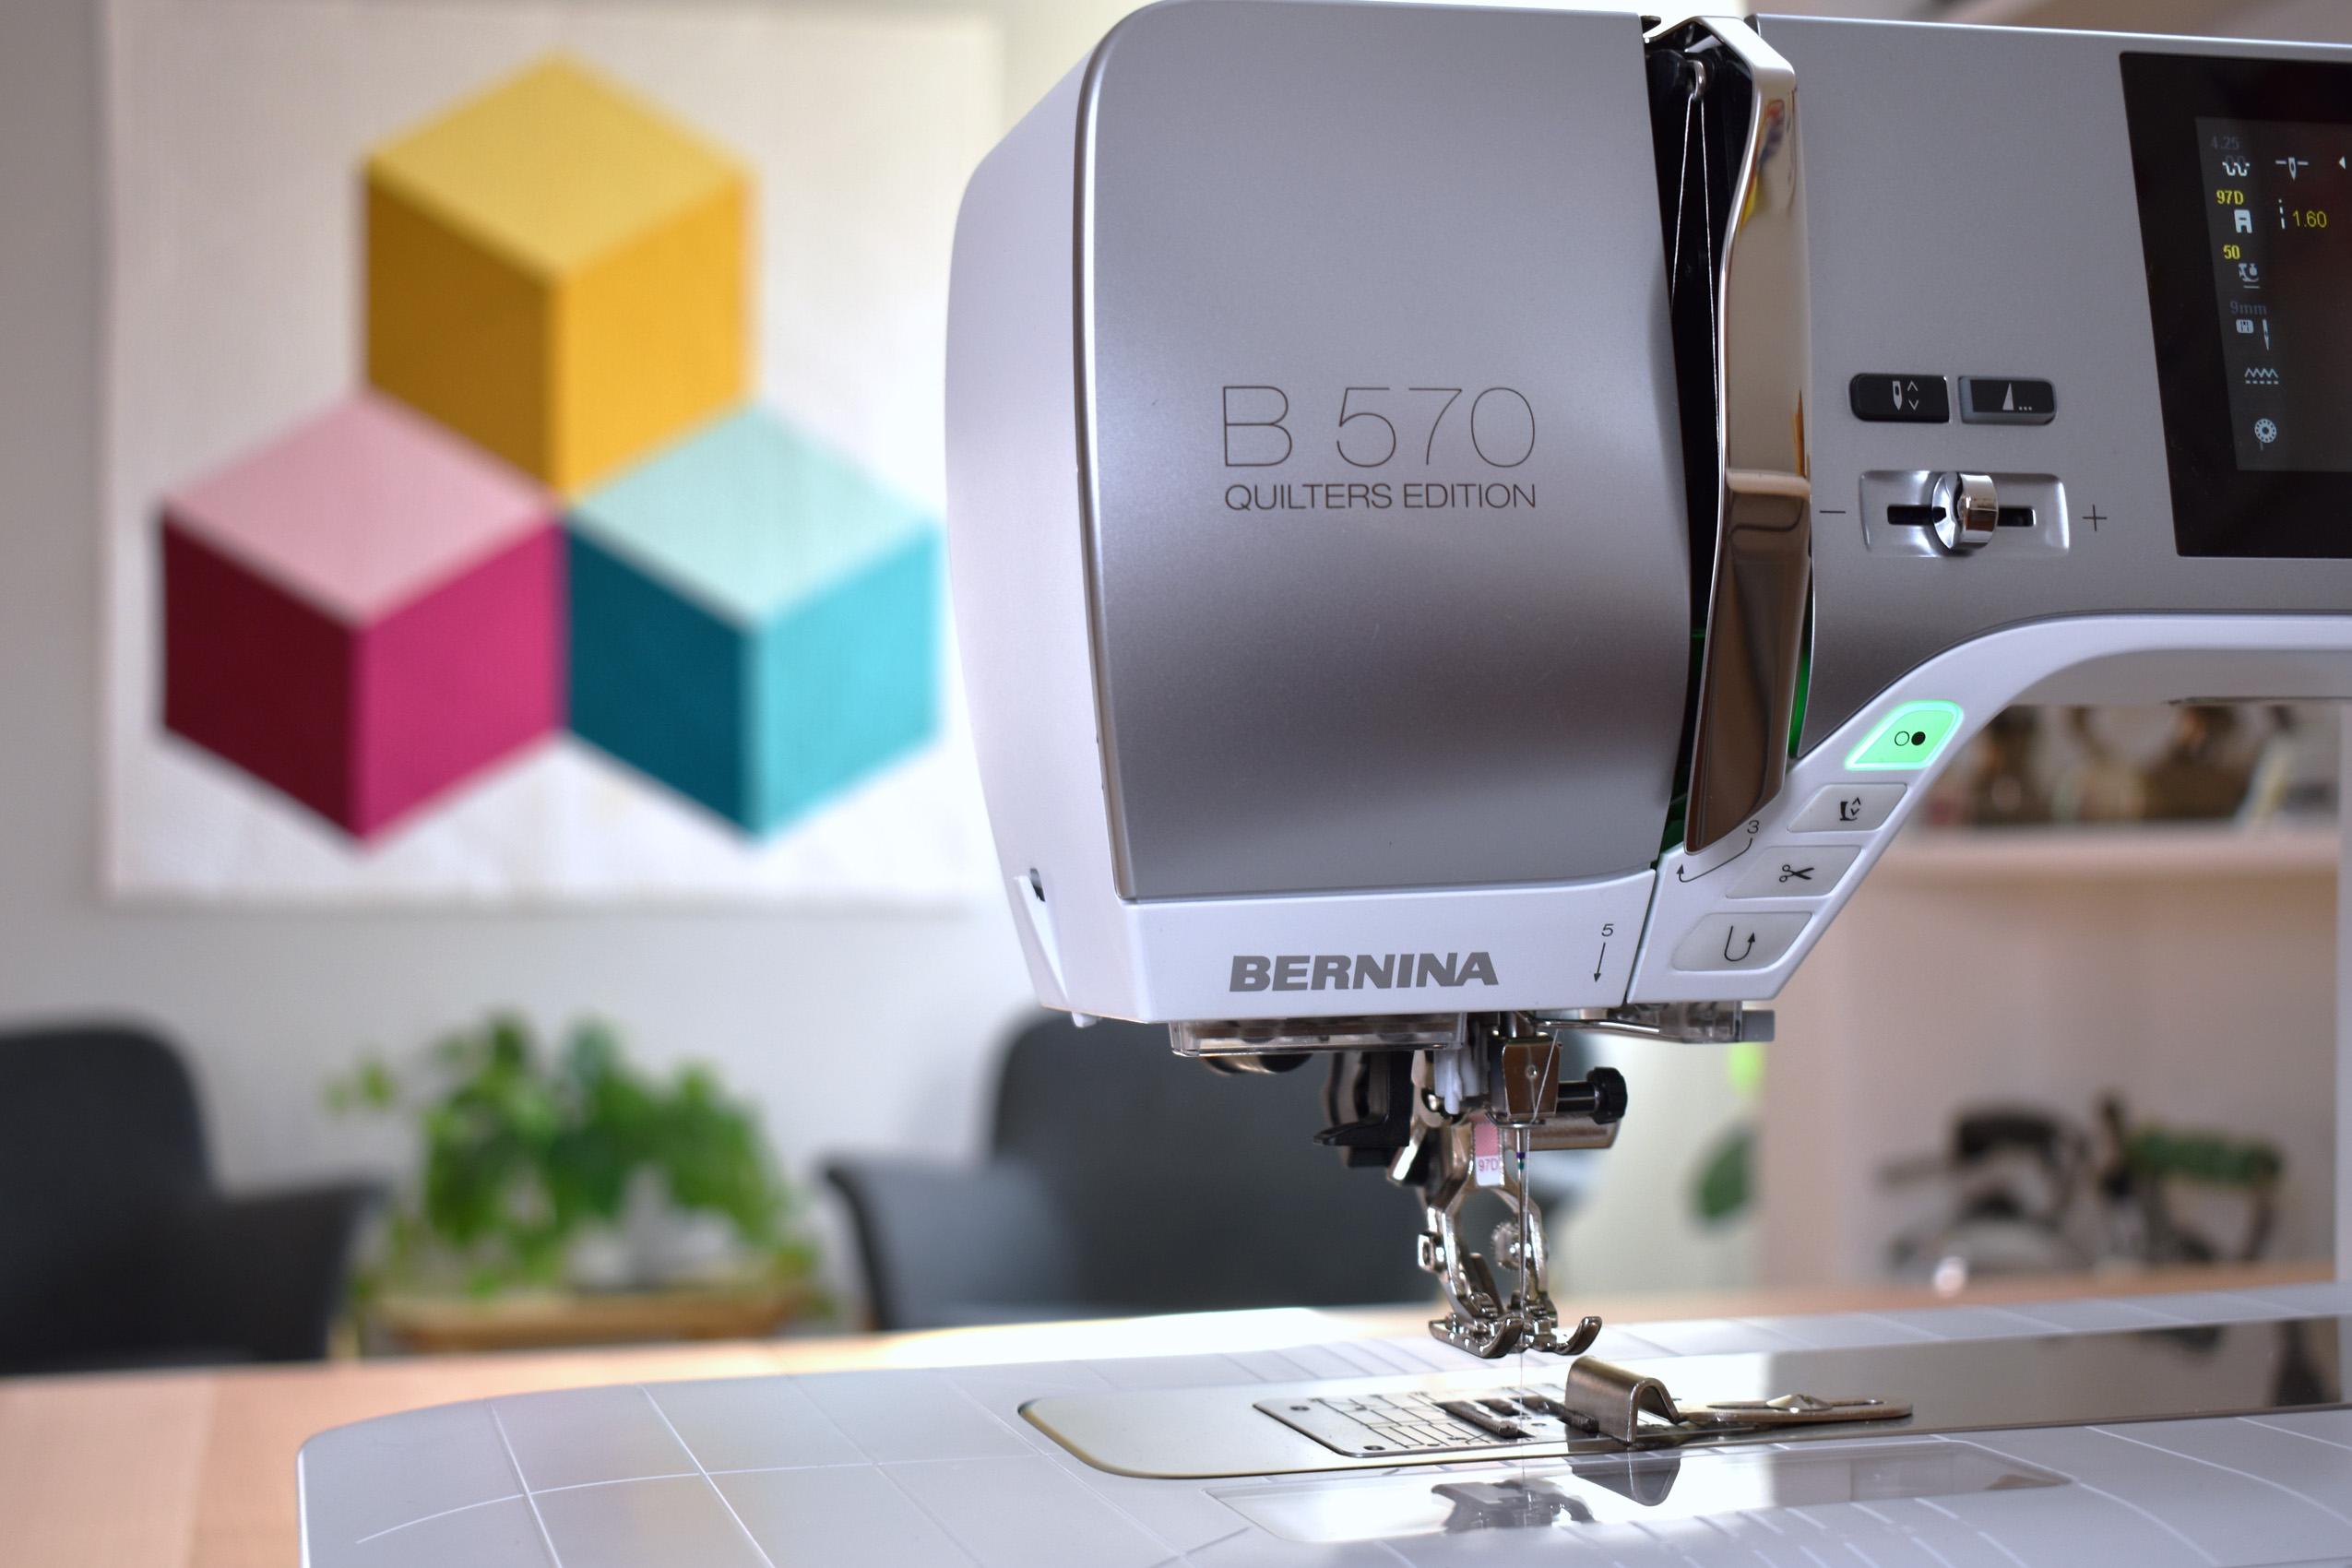
A sewing machine foot made for quarter-inch seam patchwork sewing will help guide you in sewing accurate mini patchwork seams. BERNINA makes a whole family of Patchwork Feet, learn all about them here.

I also use a seam guide in conjunction with the quarter-inch Patchwork Foot #97D, and have thread snips and a stiletto on hand (my stiletto is actually a dentist’s tool). When selecting thread, use a color that will blend with your fabrics, and use a 50 weight thread instead of the standard 40 weight sewing thread. The thinner thread will make for less bulky seams with the mini patchwork. Make sure to also select a smaller needle to match the thinner thread; I am using a sharp needle size 70/10.

Update the stitch settings for sewing at this small scale by selecting a short stitch length between 1.5-1.75mm. I also lower the presser foot pressure on my B 570 QE from the standard setting of 70 down to about 60.
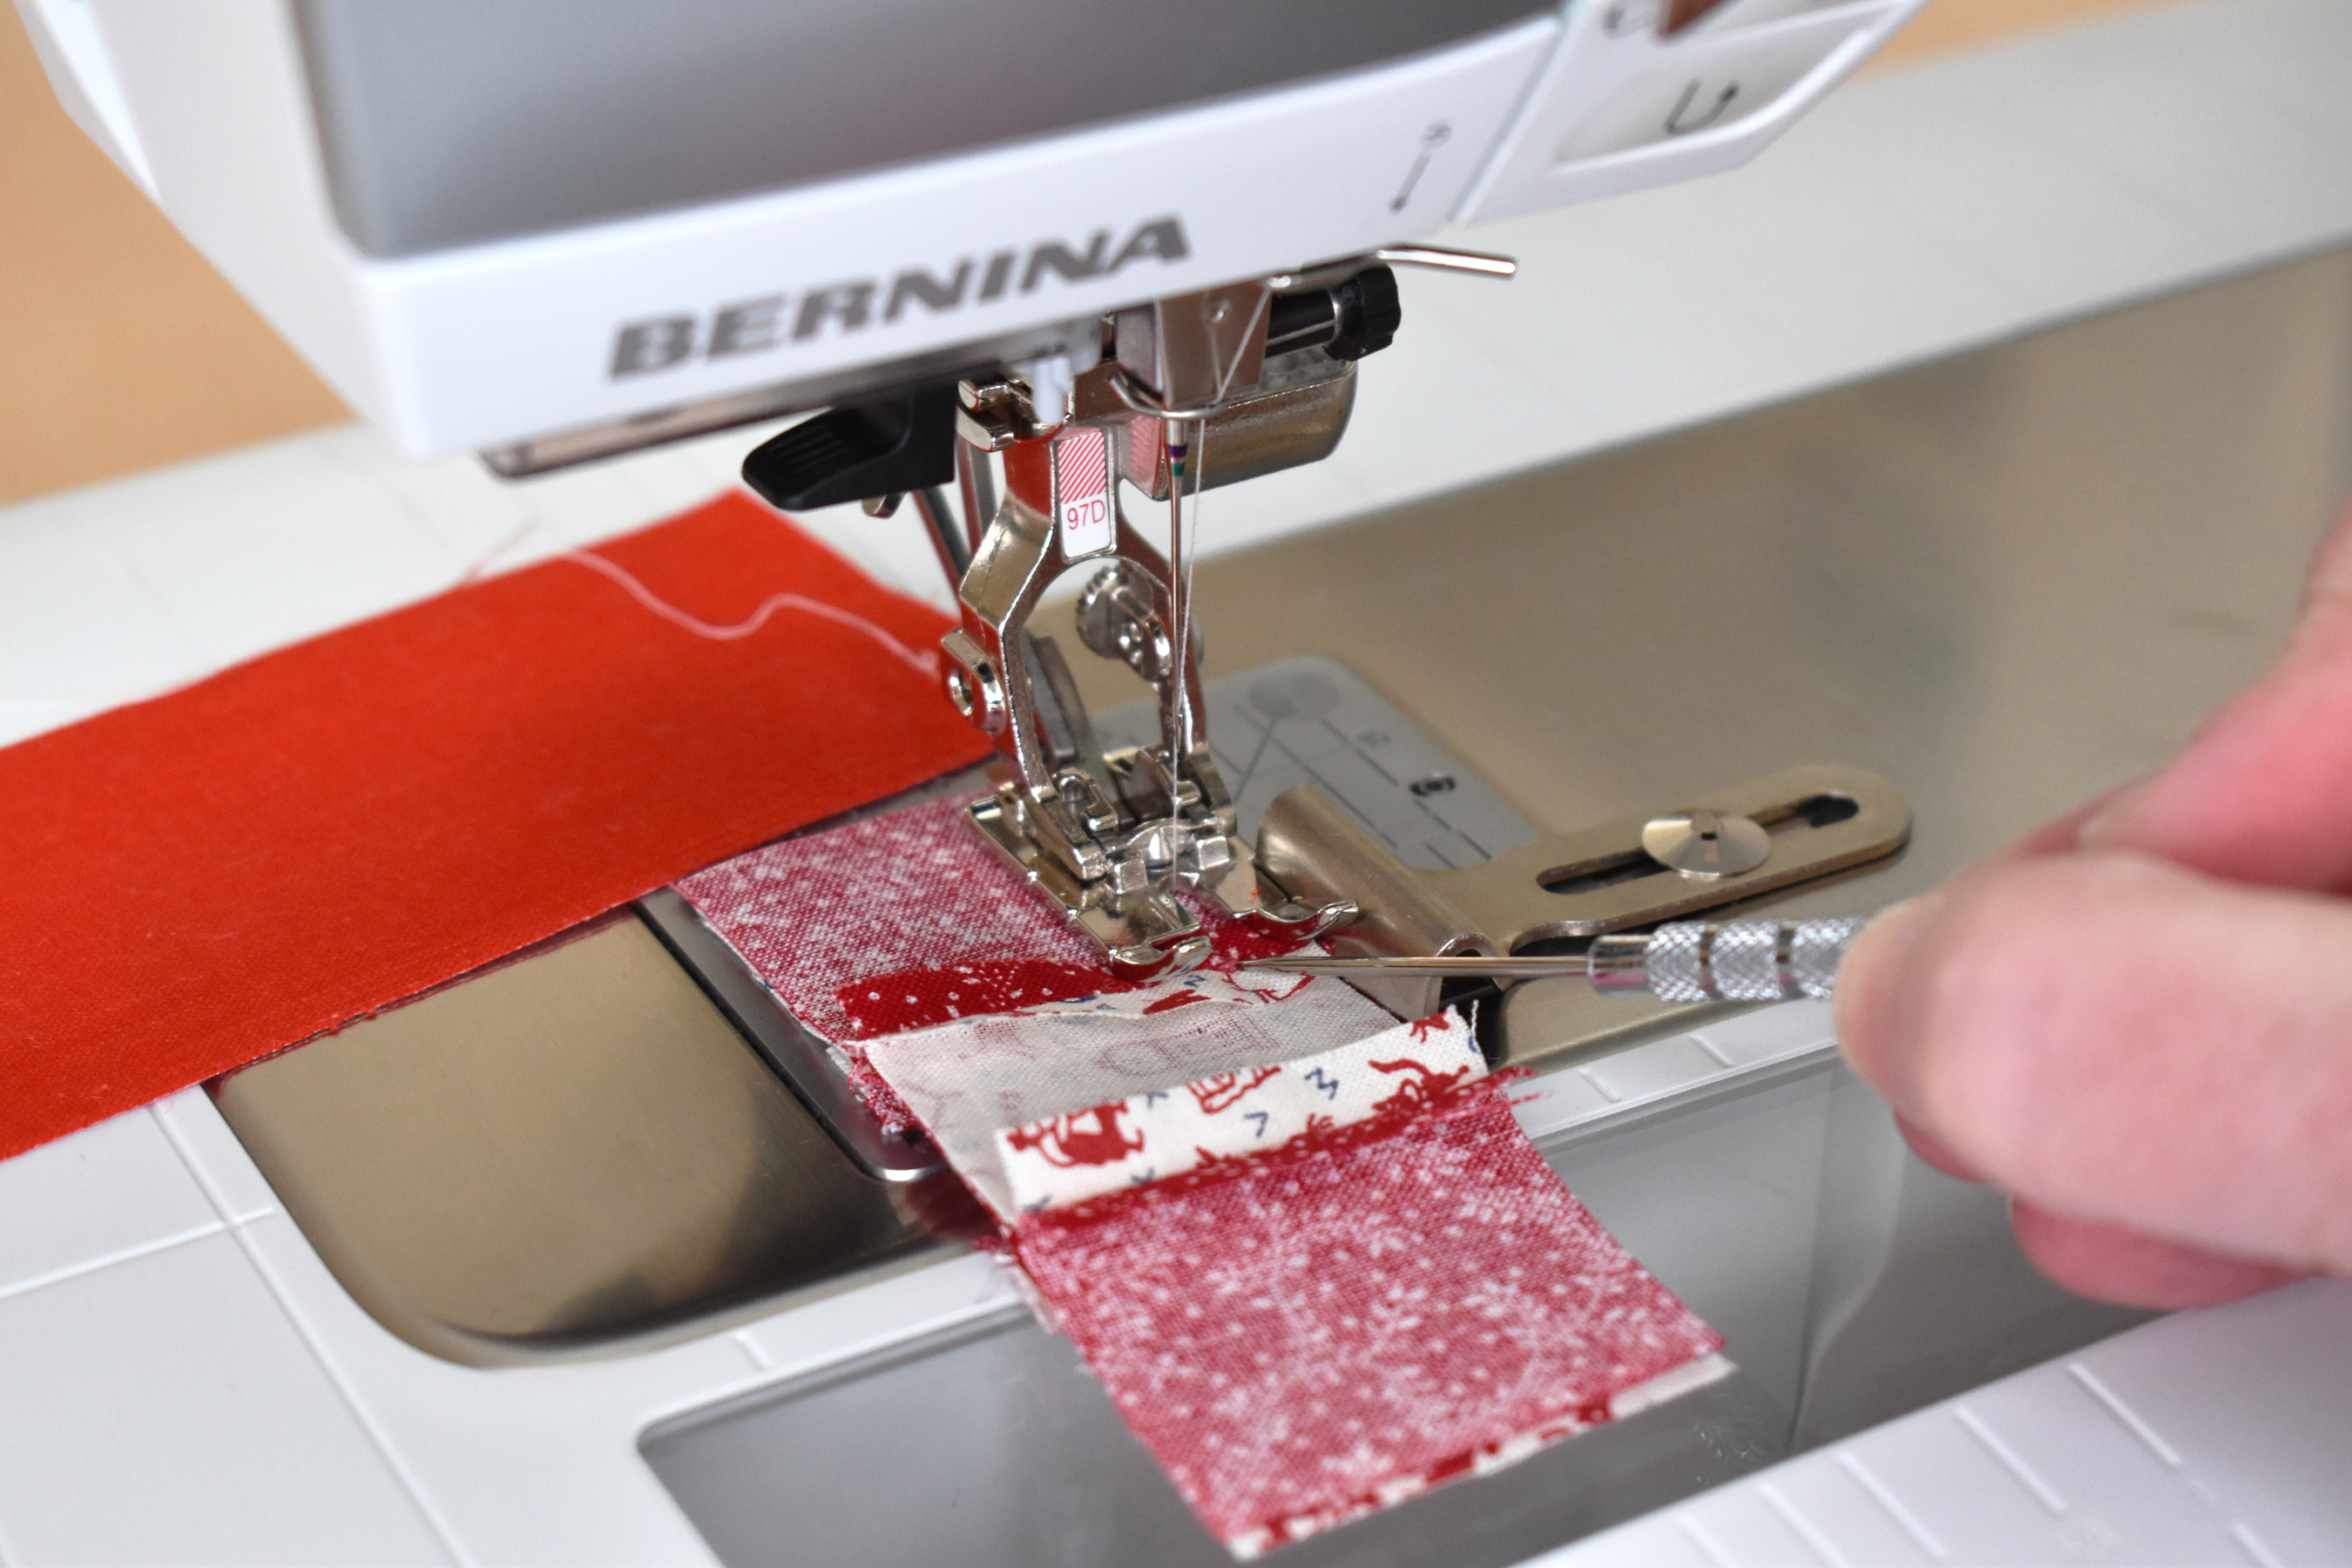
Begin to sew the patchwork pieces together across in rows.
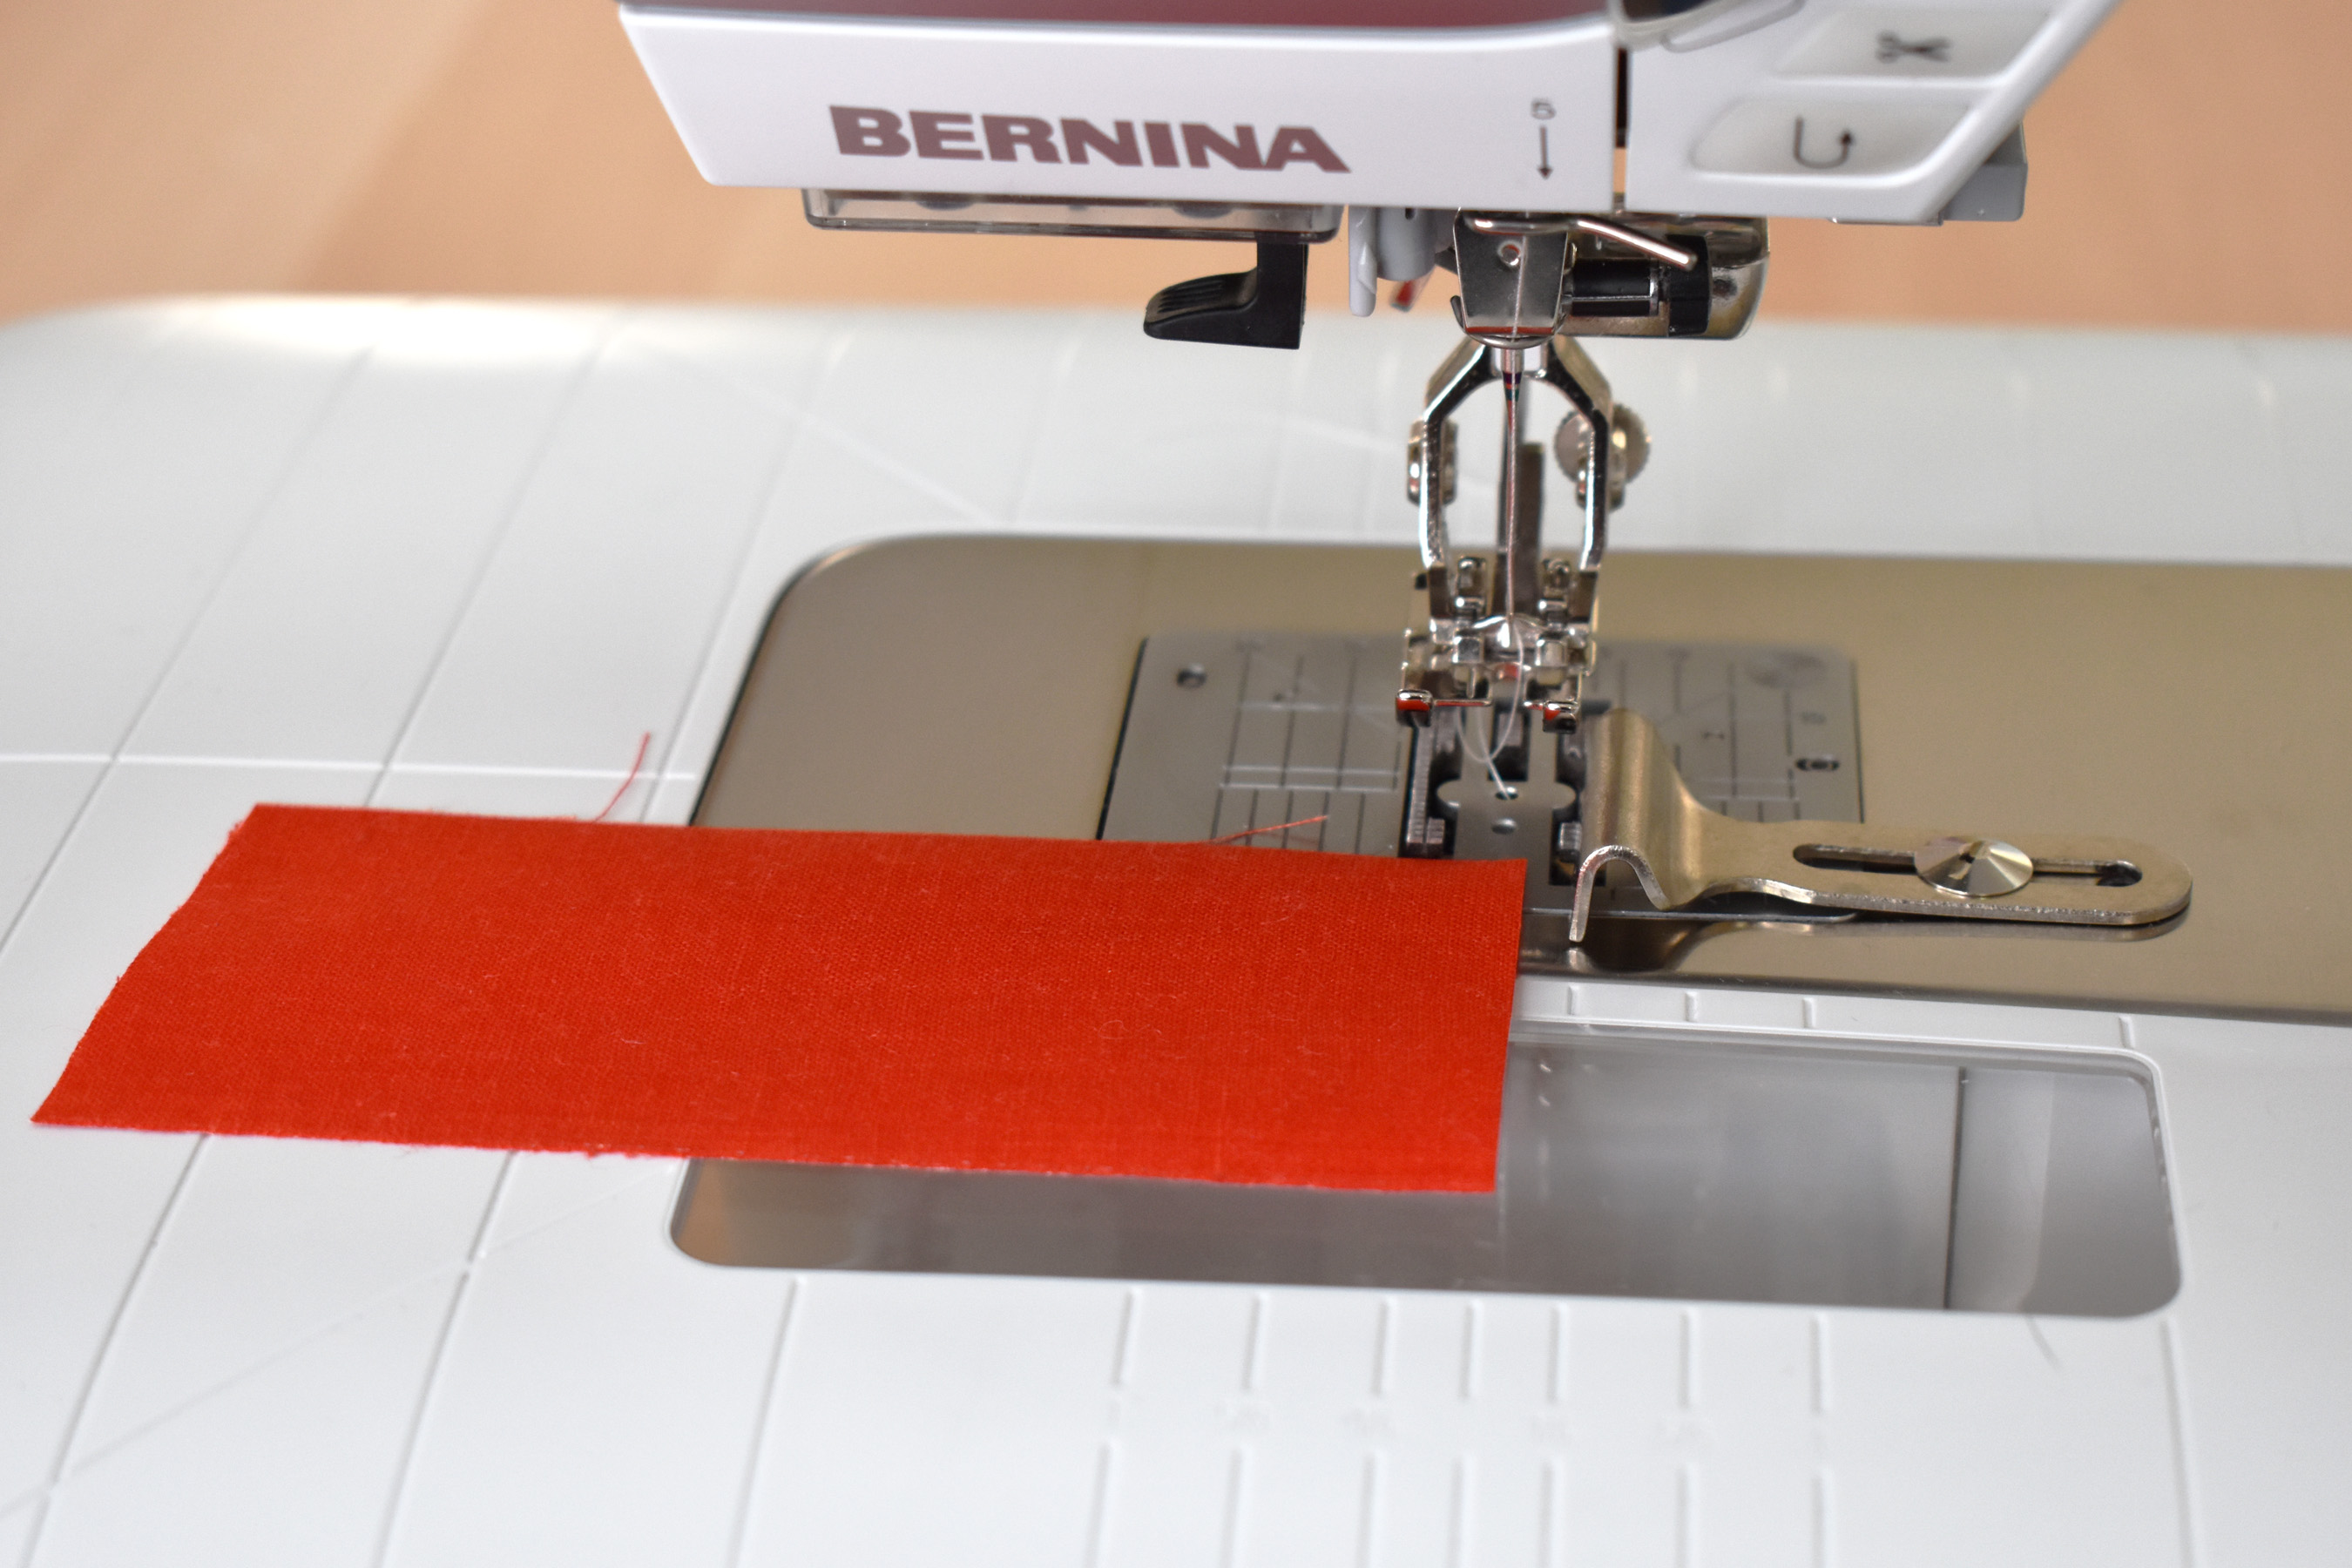
Use a leader scrap(a small piece of fabric you begin sewing on first) to prevent thread tangles at the back of your project, and help keep stitches on the patchwork consistent.
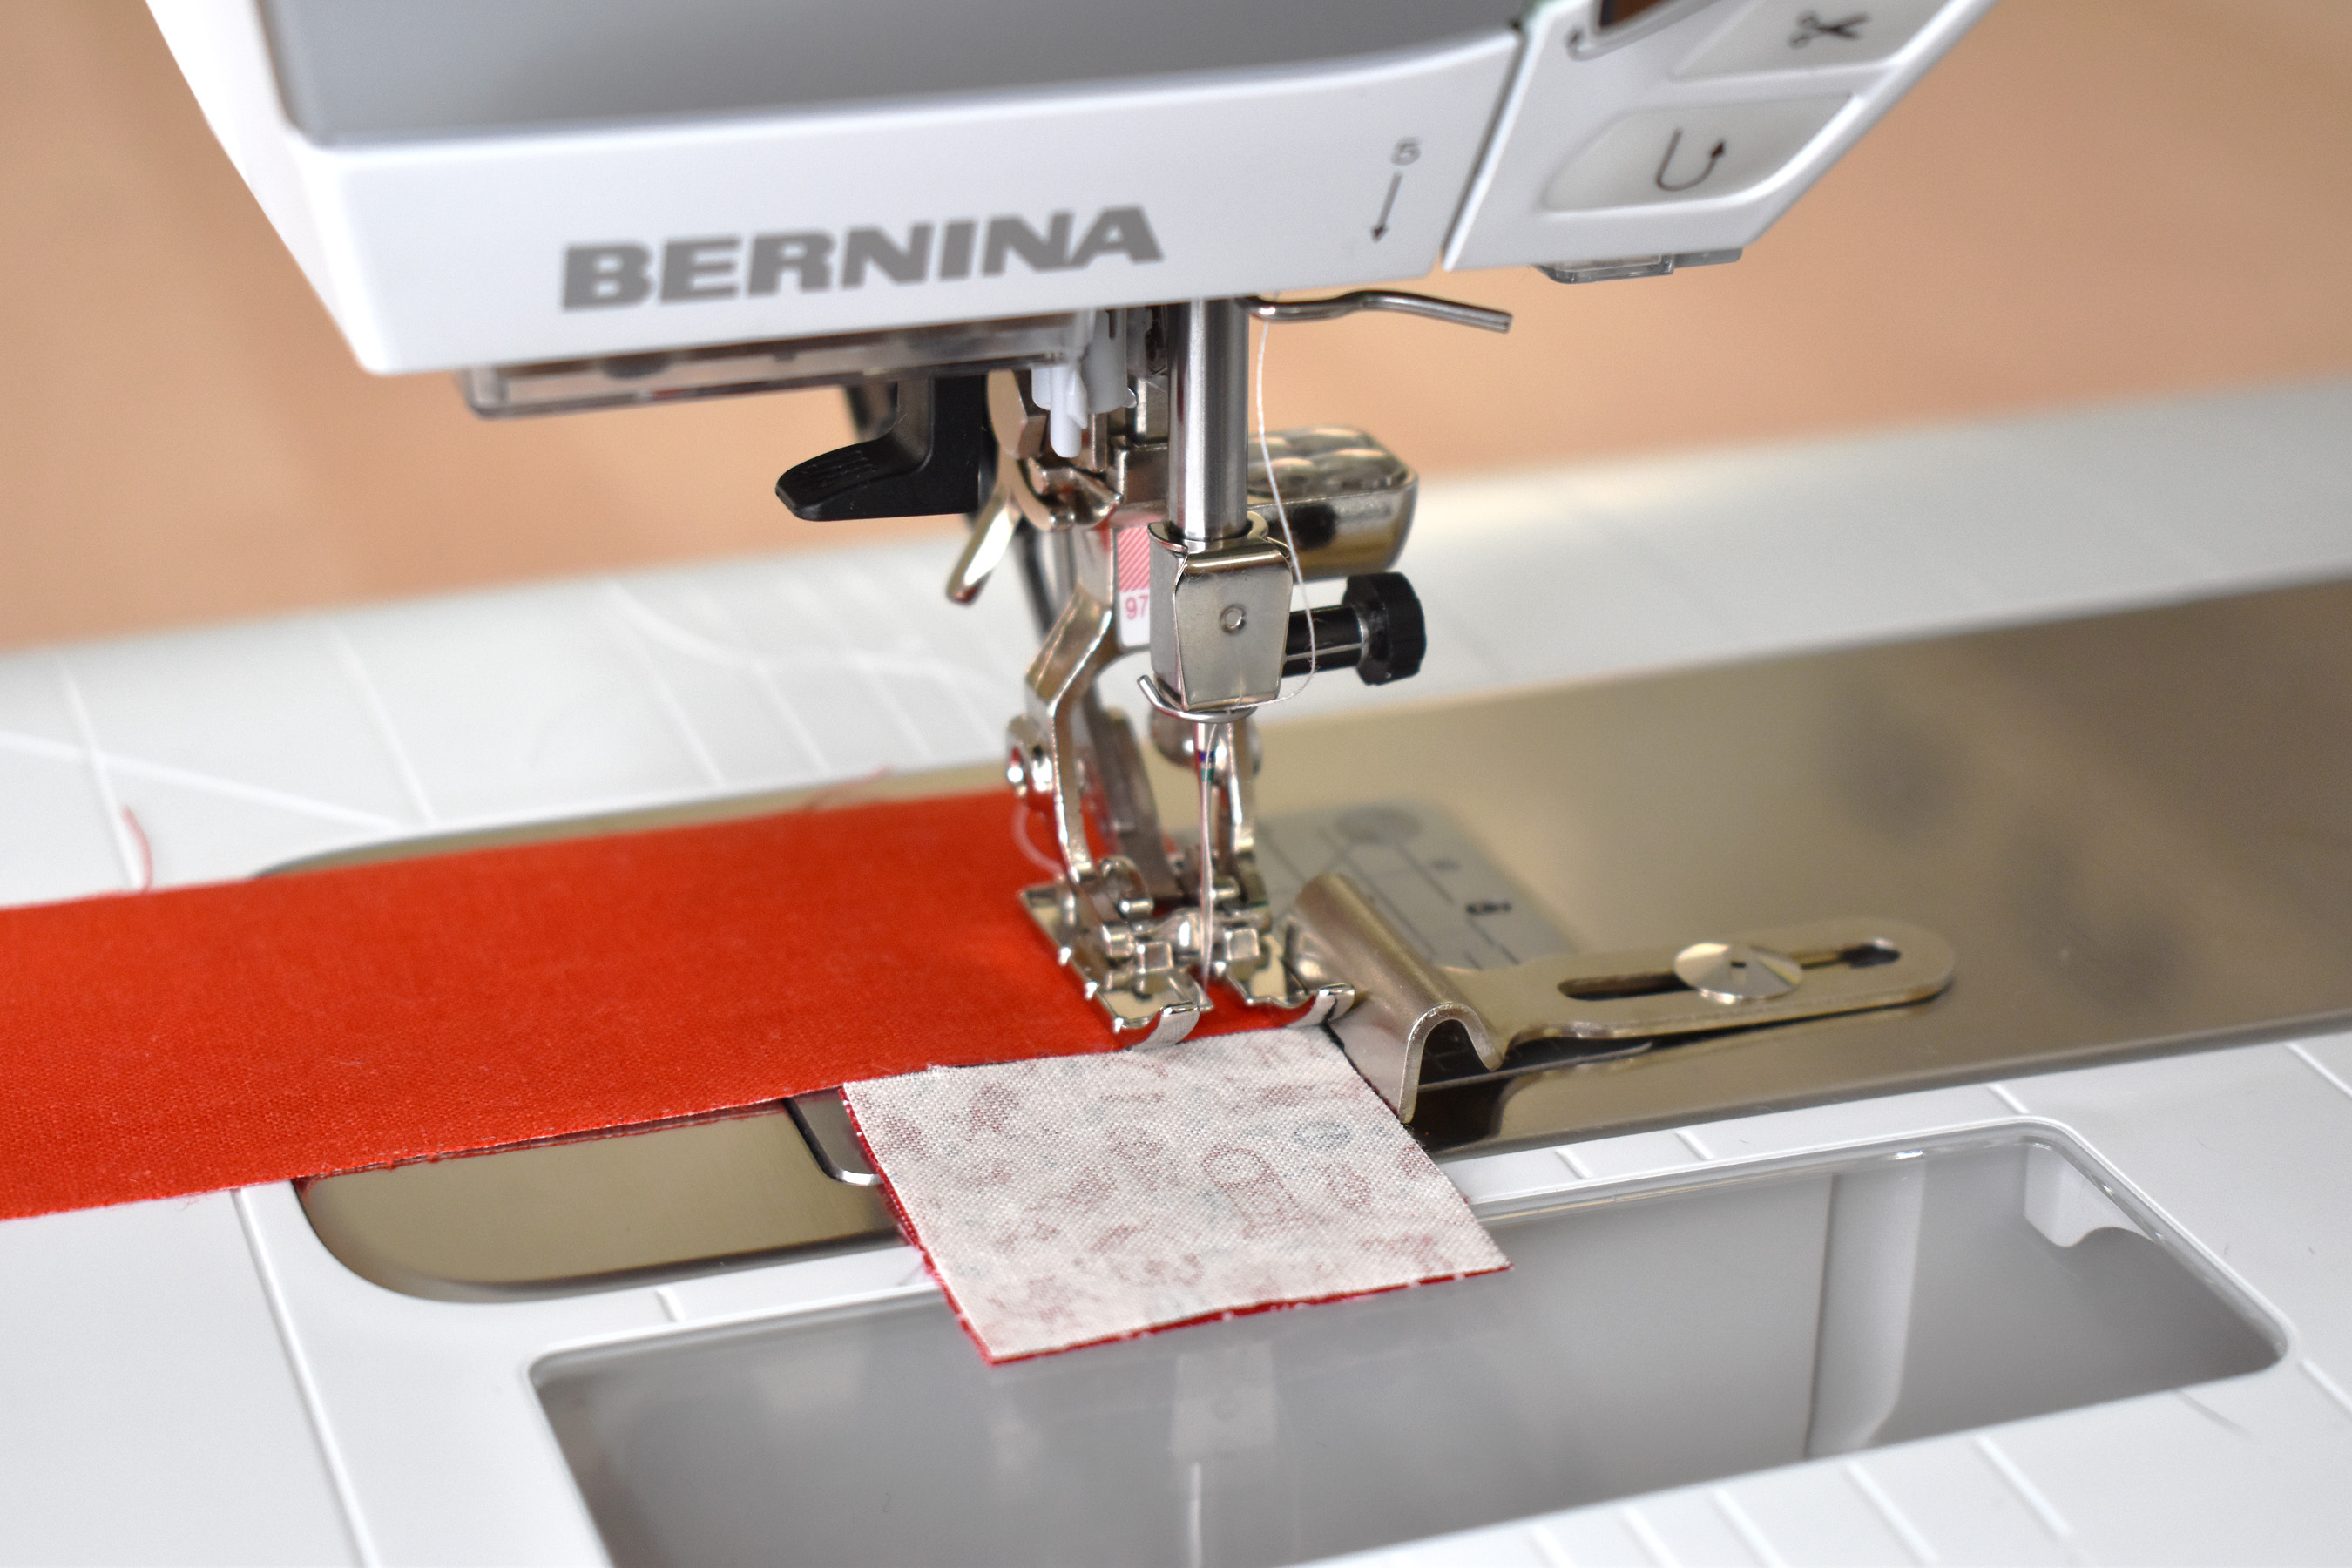
Start by taking a few stitches on the leader, then push the first patchwork pieces up against the leader.
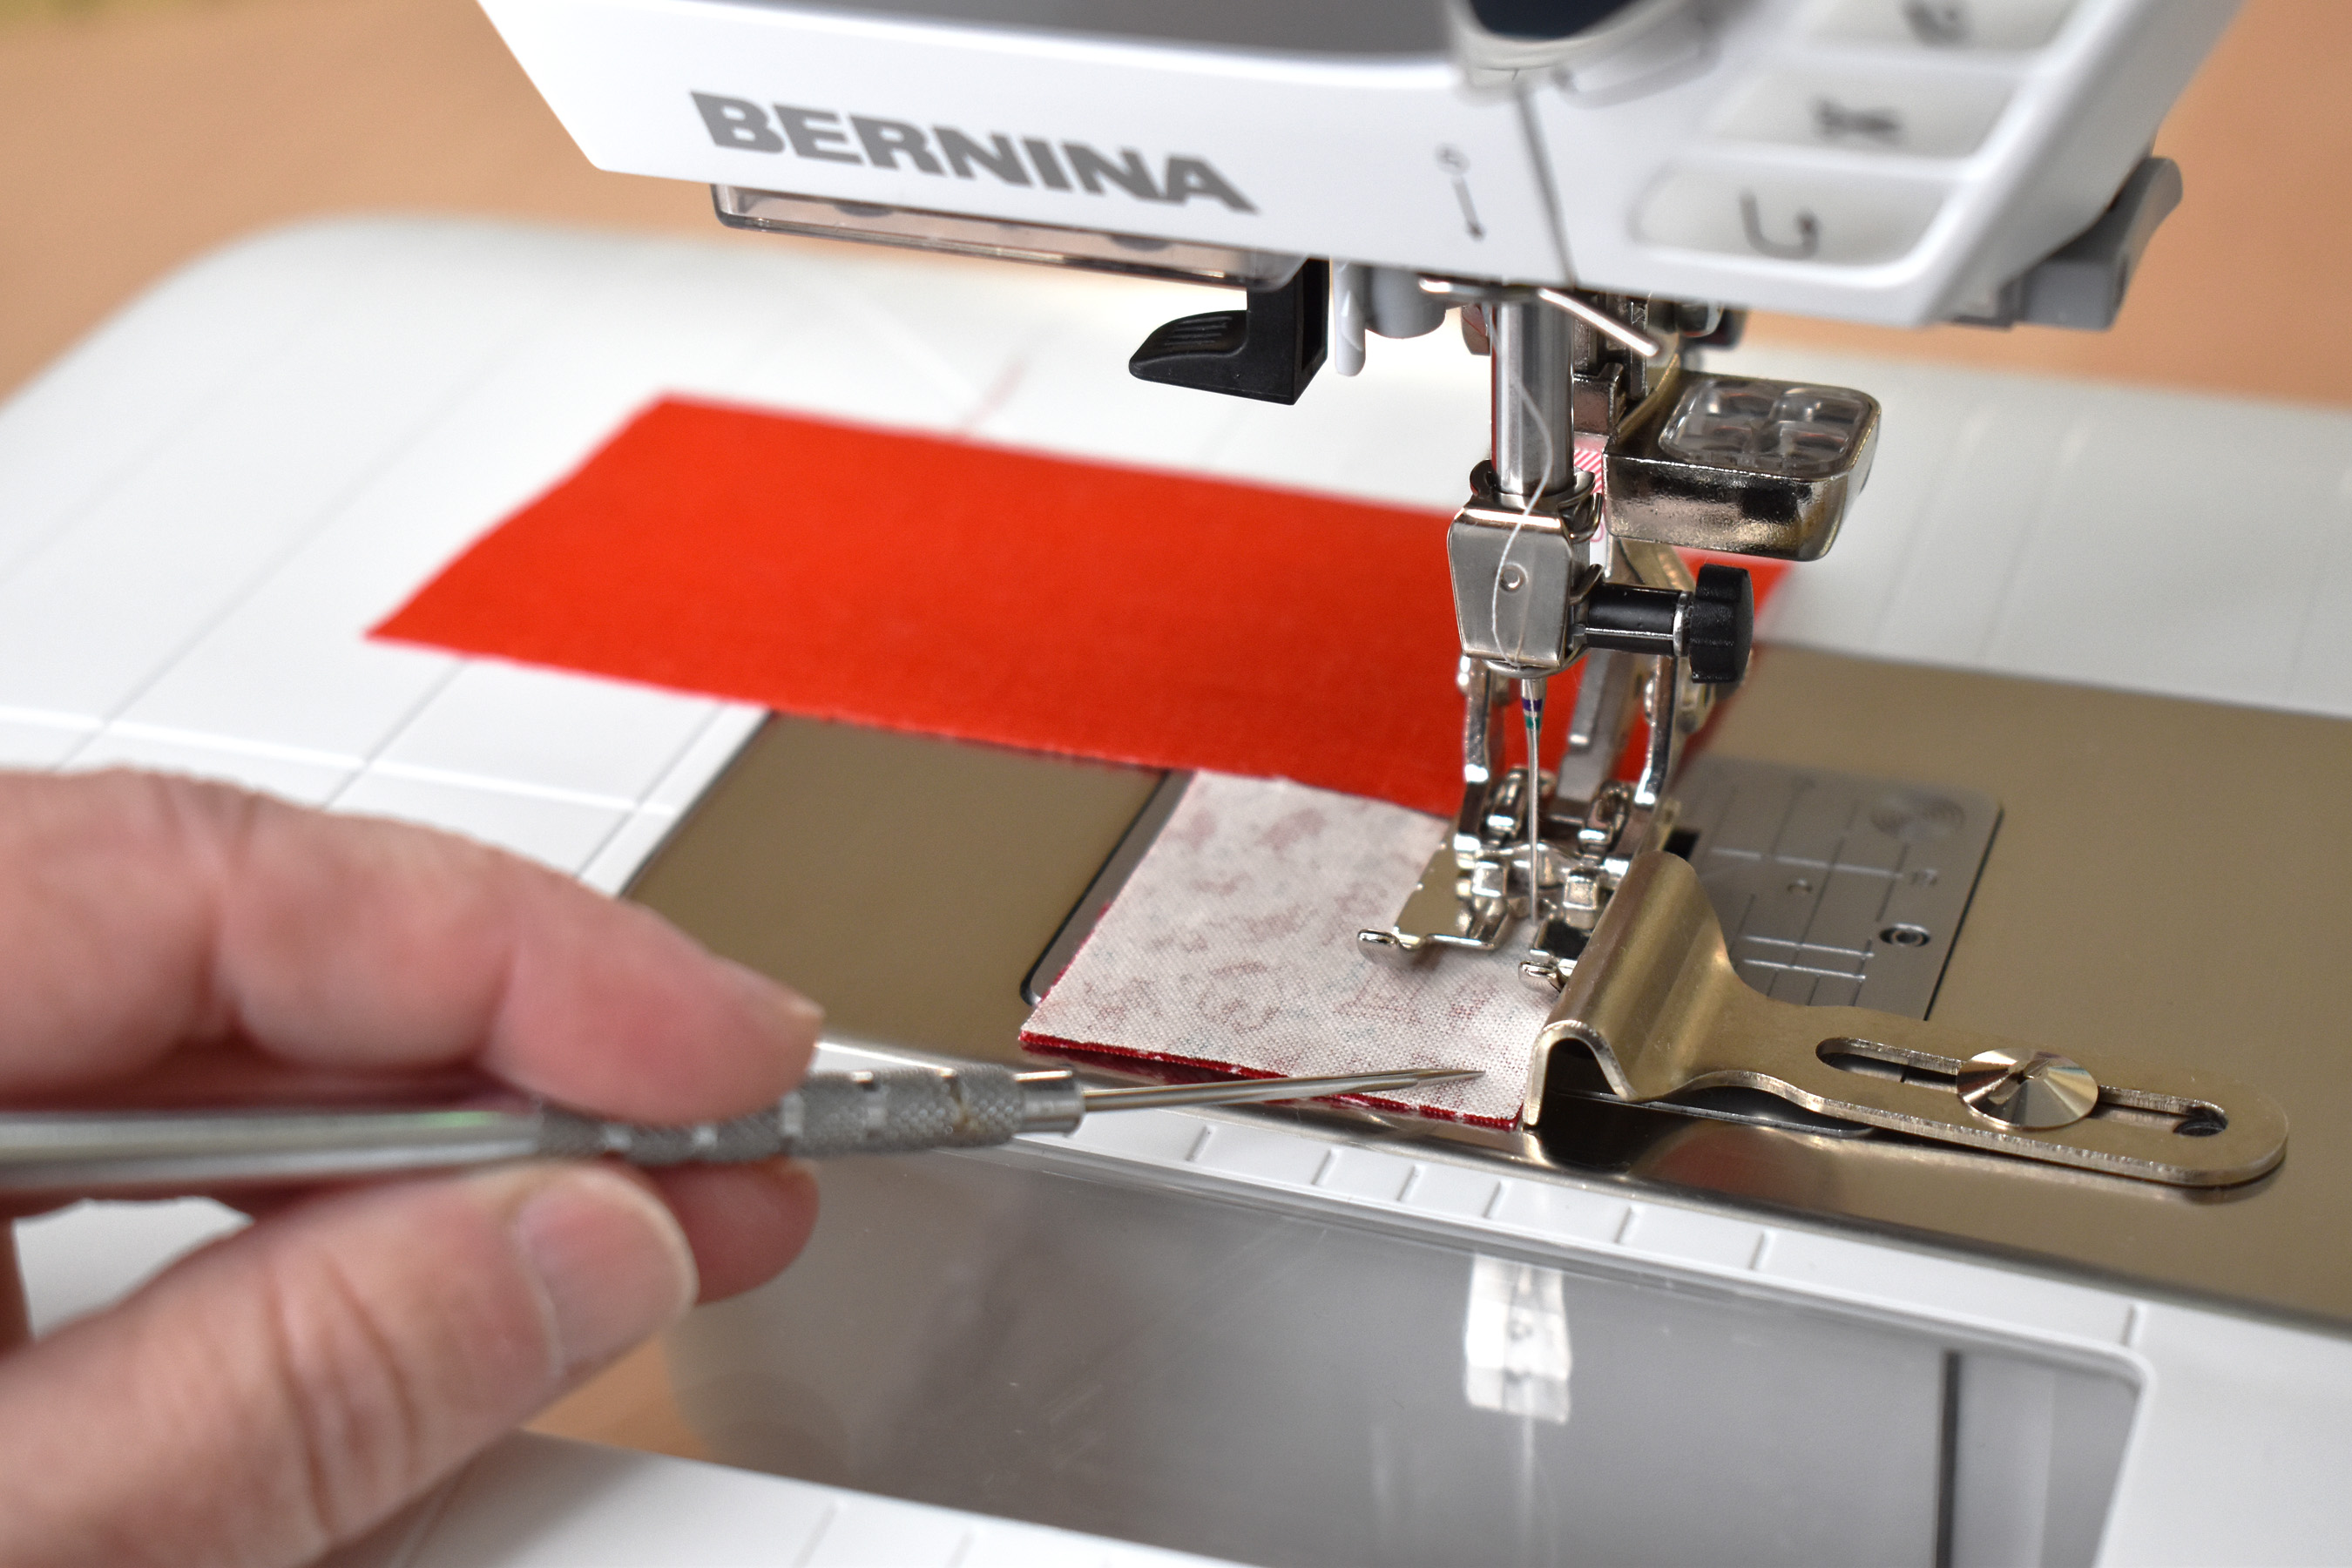
The feed dogs will start to pull the patchwork through the machine. Use your stiletto or finger-saver to keep the patchwork even with the seam guide or the edge of the quarter-inch foot as you sew.

Once the first row of patchwork is stitched together, sew the other two rows following the same method above.
With all rows stitched together it’s time to press those seams. Pressing is a very important step when stitching mini patchwork.
If you have a seam clapper, this tool will be invaluable in helping set these tiny seams. A clapper is a hardwood tool used to help set seams after steam pressing fabric. The wood absorbs heat and steam from the fabric as it cools, leaving you with really crisp, flat seams. I have a few clappers, one is a traditional tailor’s clapper and this one is smaller and shaped like a little iron (it’s handmade and I’m not even sure where I purchased it, but it works great!).
Press all seams OPEN. Pressing seams to the side on such a small scale can pull the fabric over more towards one side, and can end up in slightly wonky patchwork.
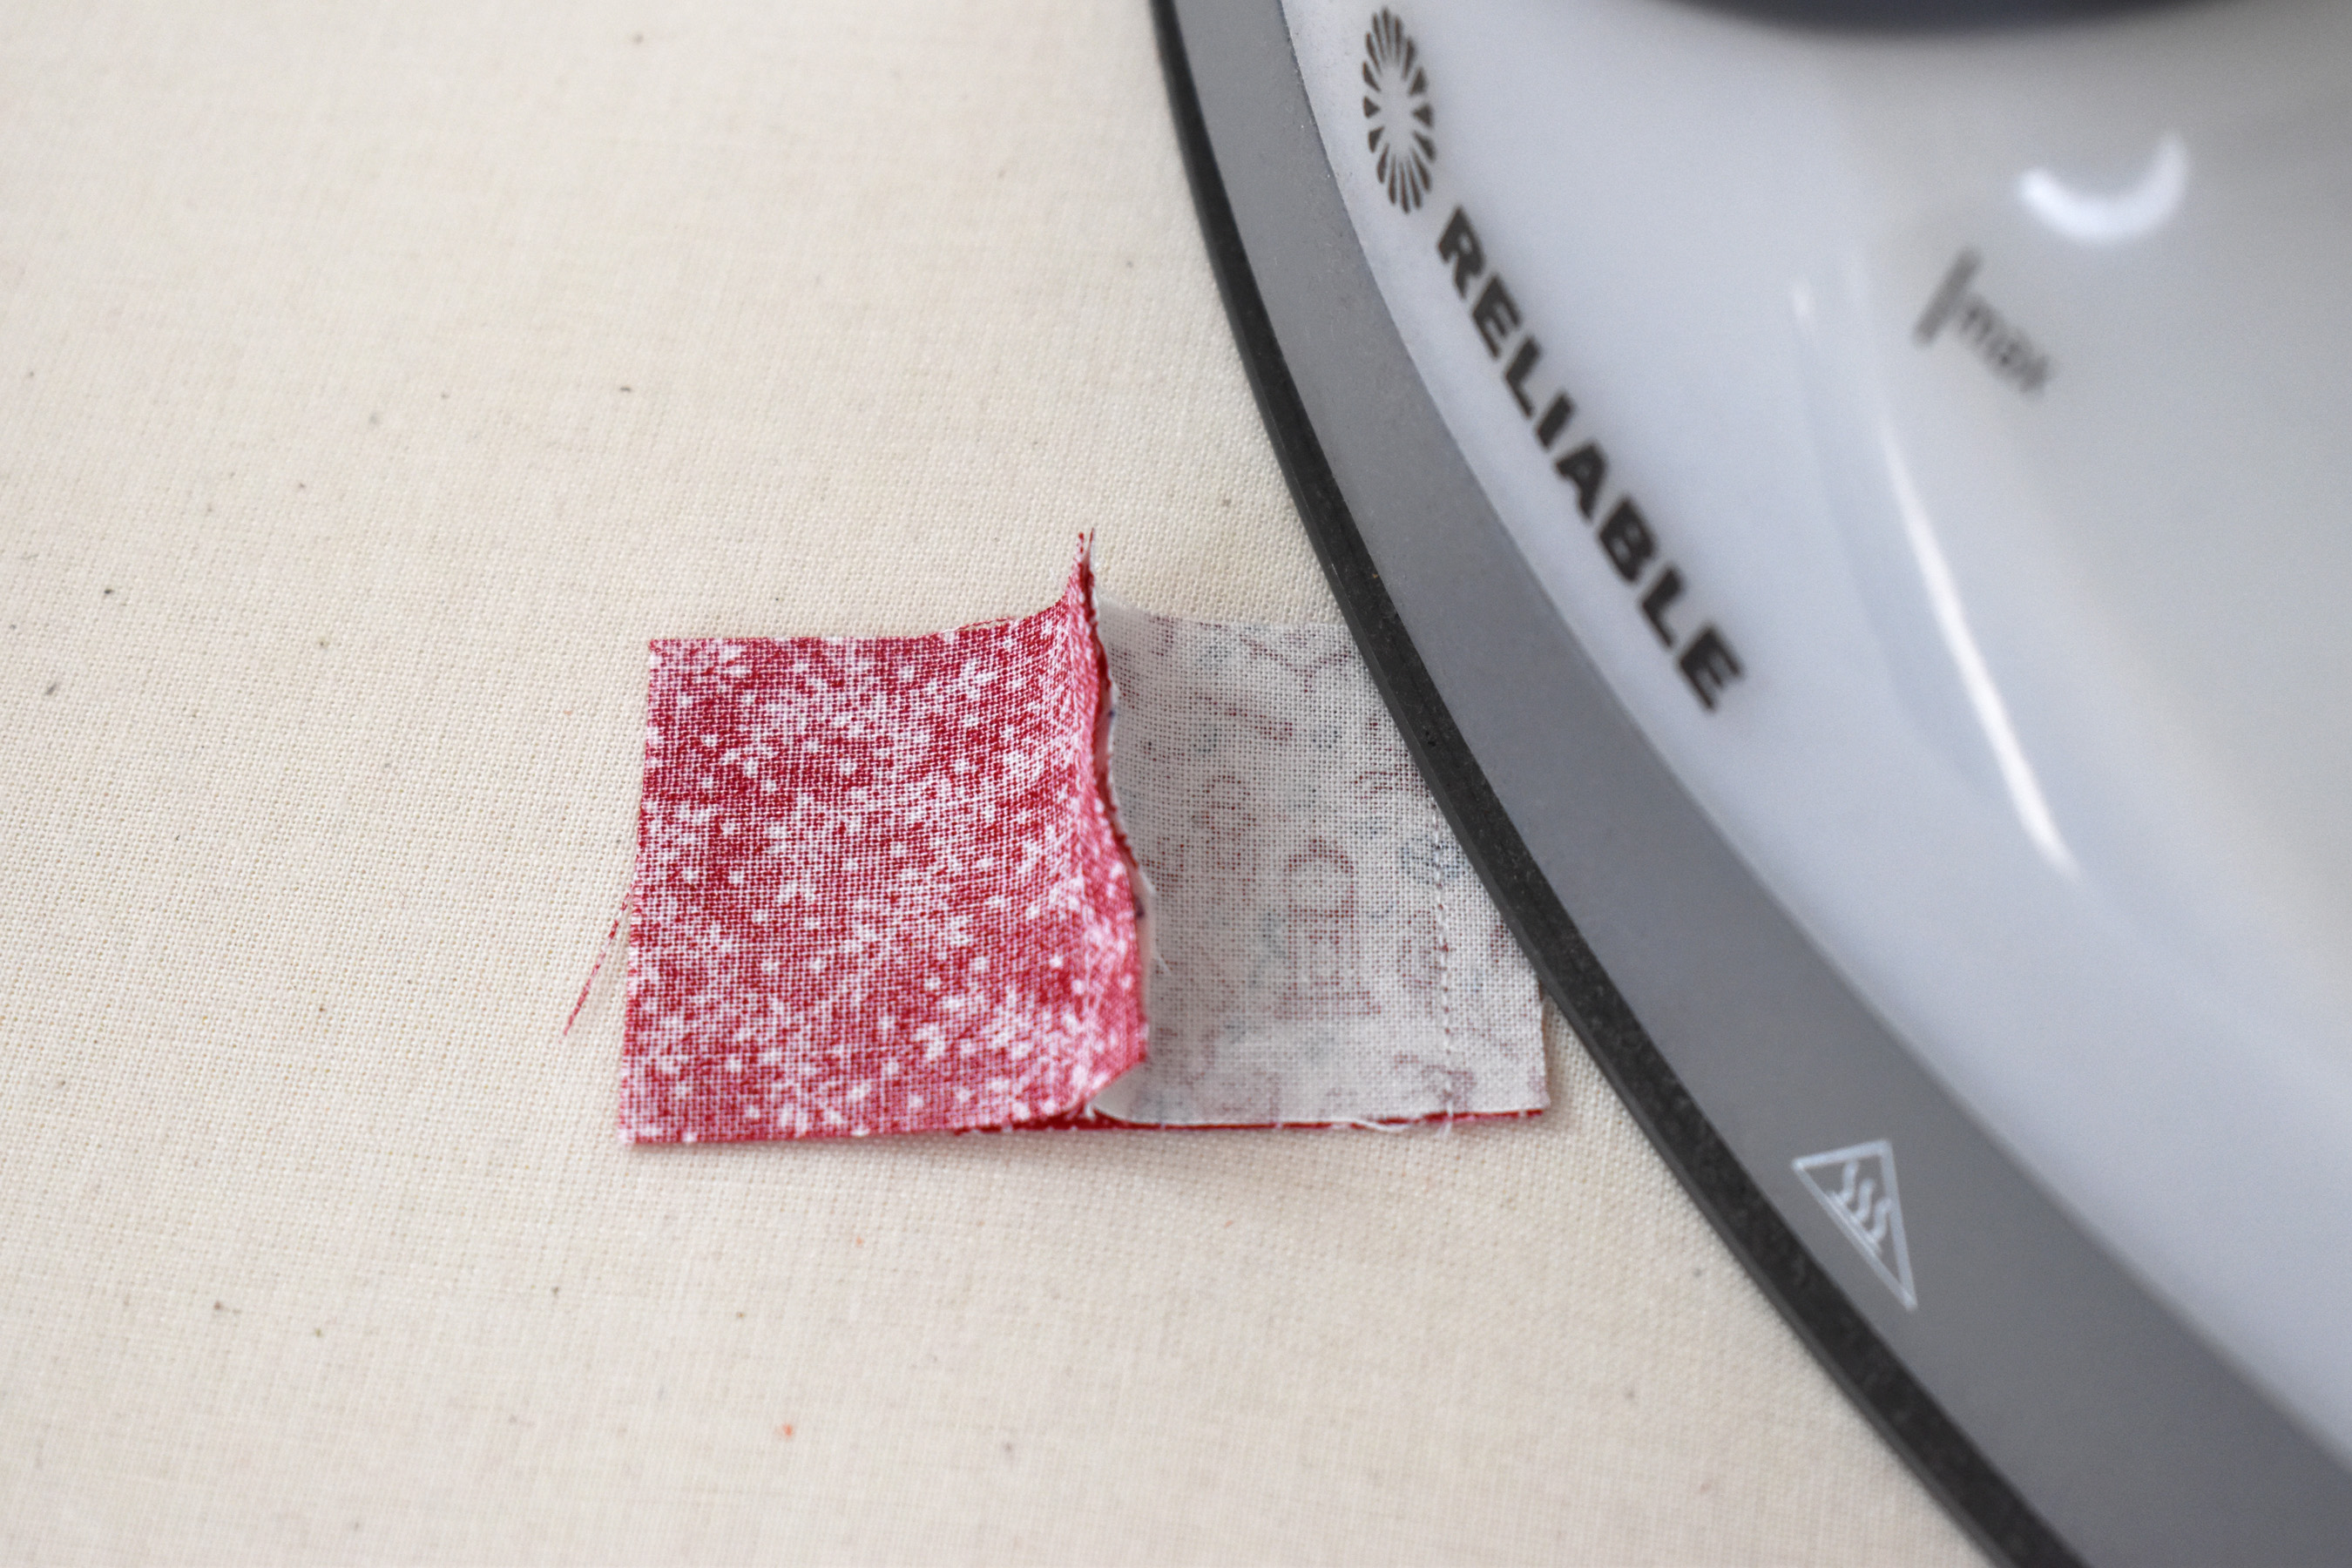
Press both seams flat first to help set the thread and the seam.

Then, press both seams open. Use a little steam.
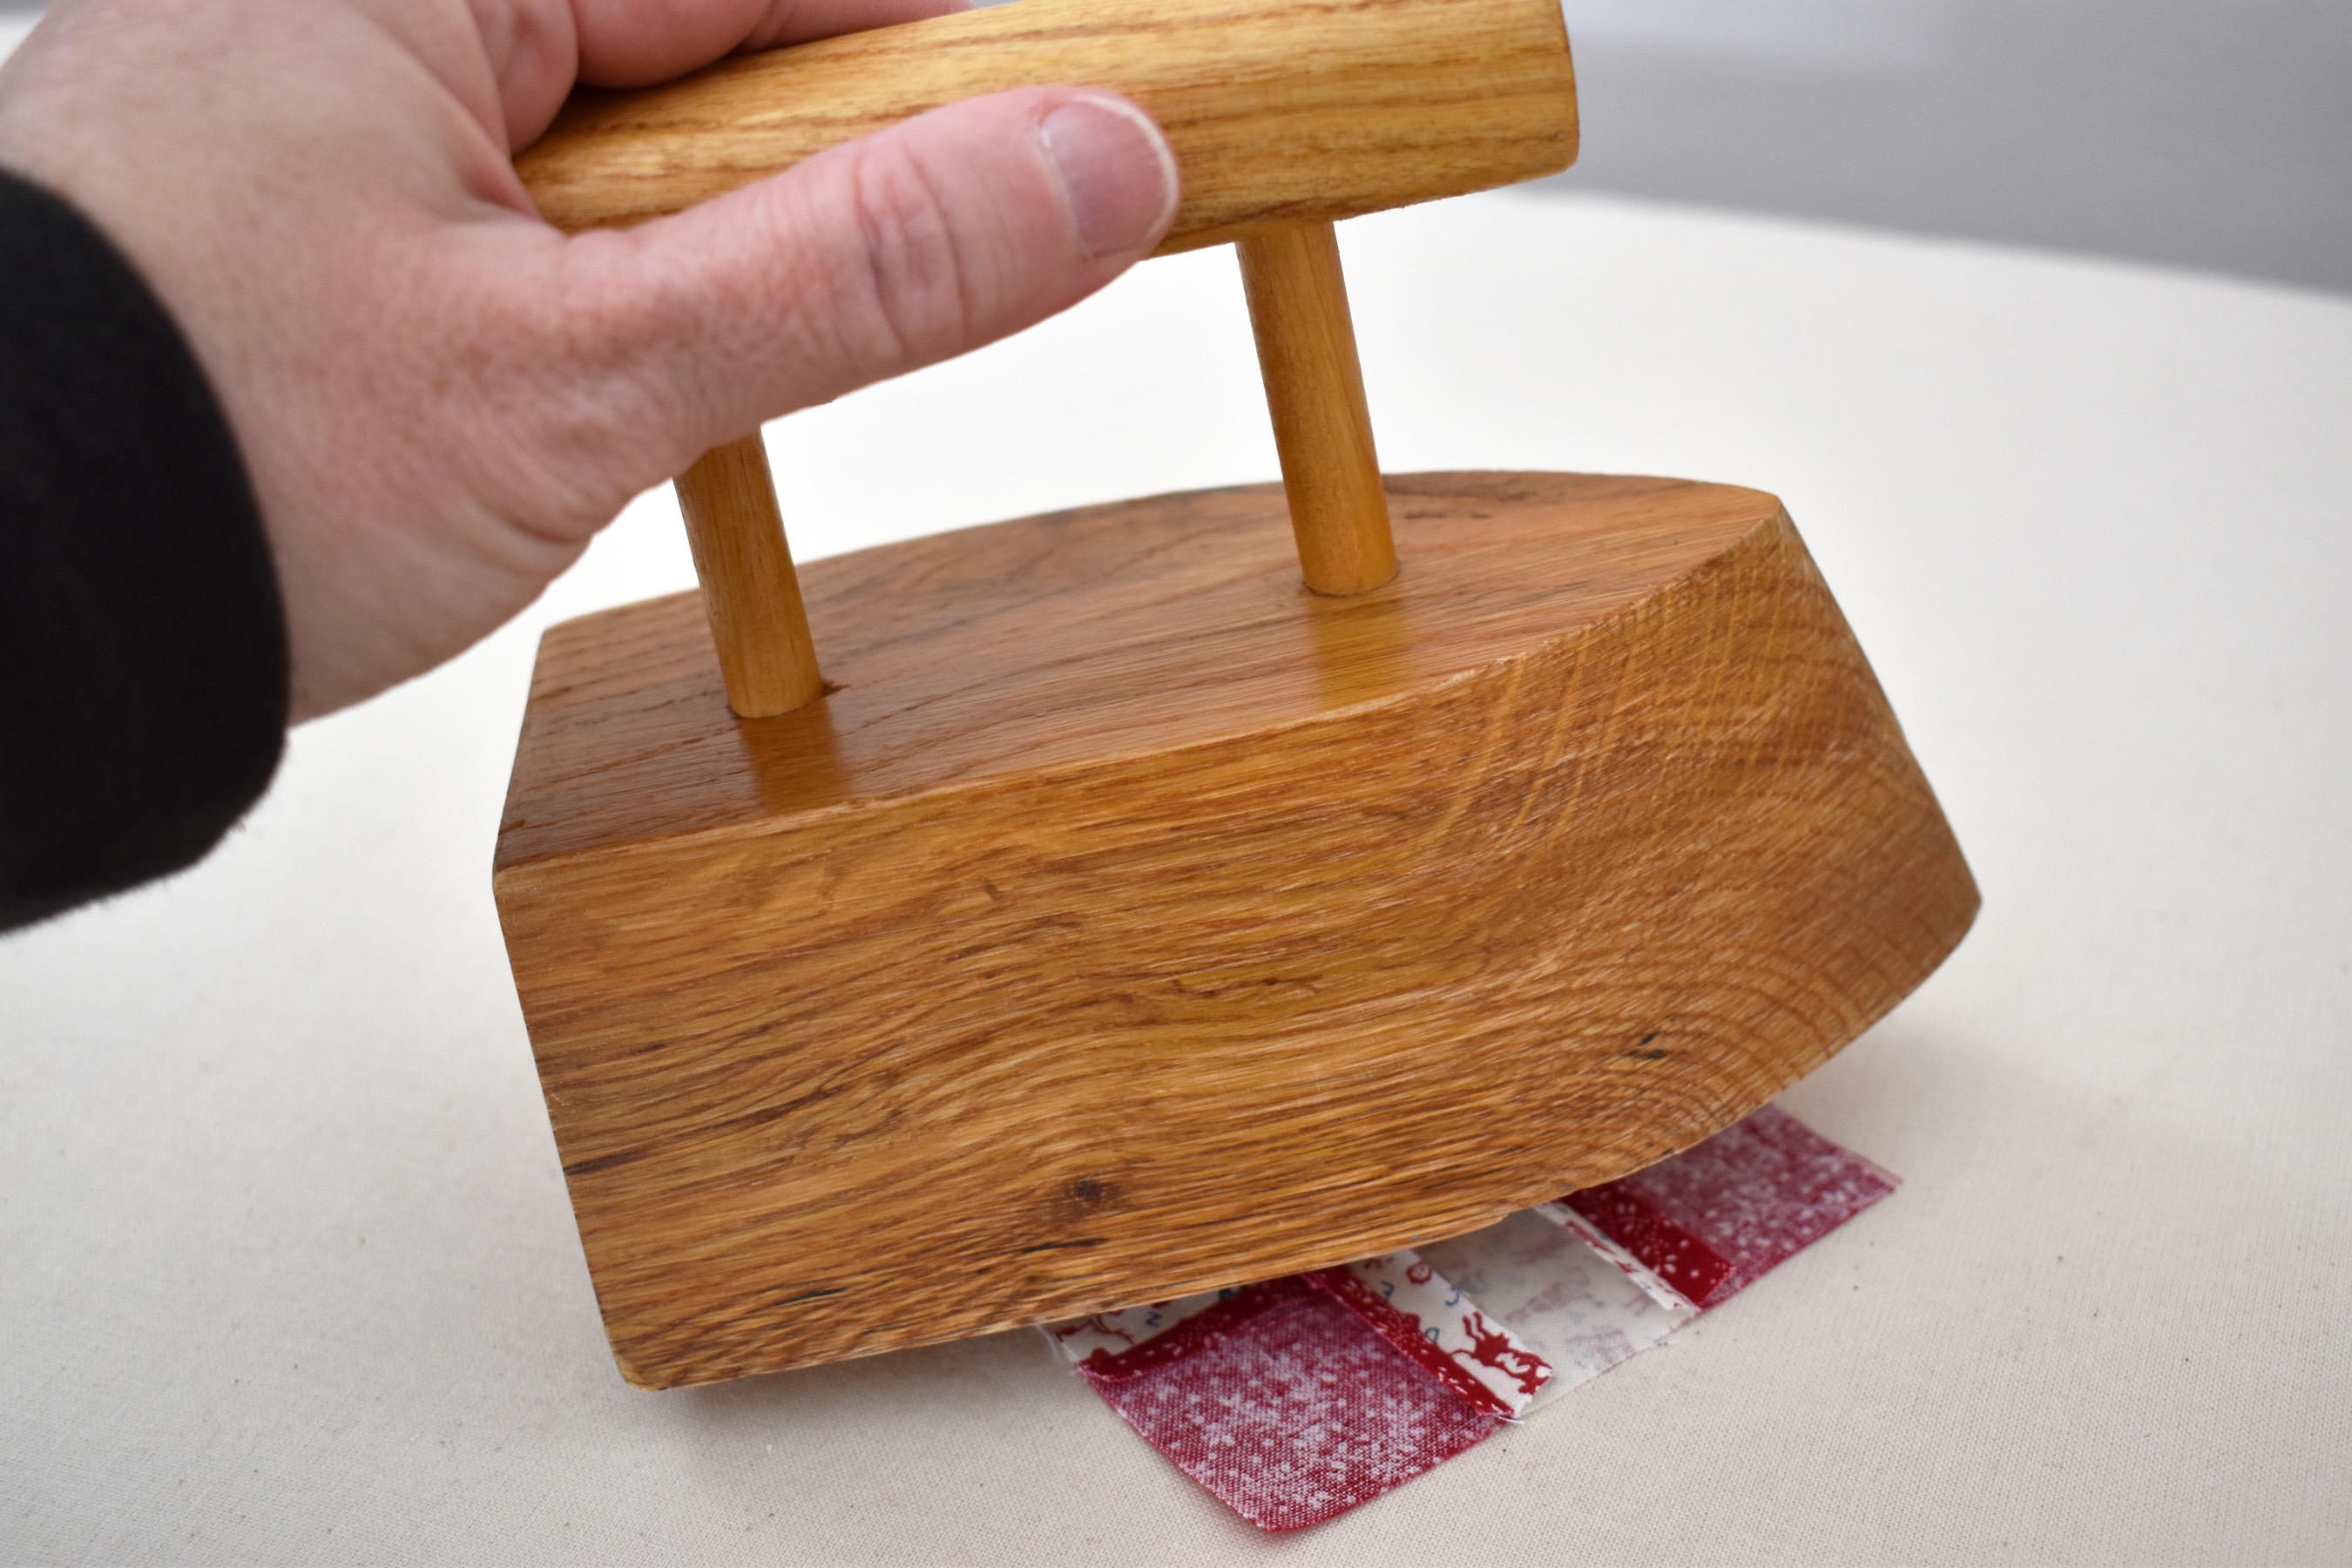
Then smack the clapper down on the seams, and leave the clapper a few minutes until the fabric has cooled down.

With all rows pressed nice and flat, move on to sewing the rows together.
Match the seams together when sewing rows together, pin if needed.
Use the leader to start sewing before stitching the seams, and keep your stiletto handy to make sure the seams stay open when sewing.

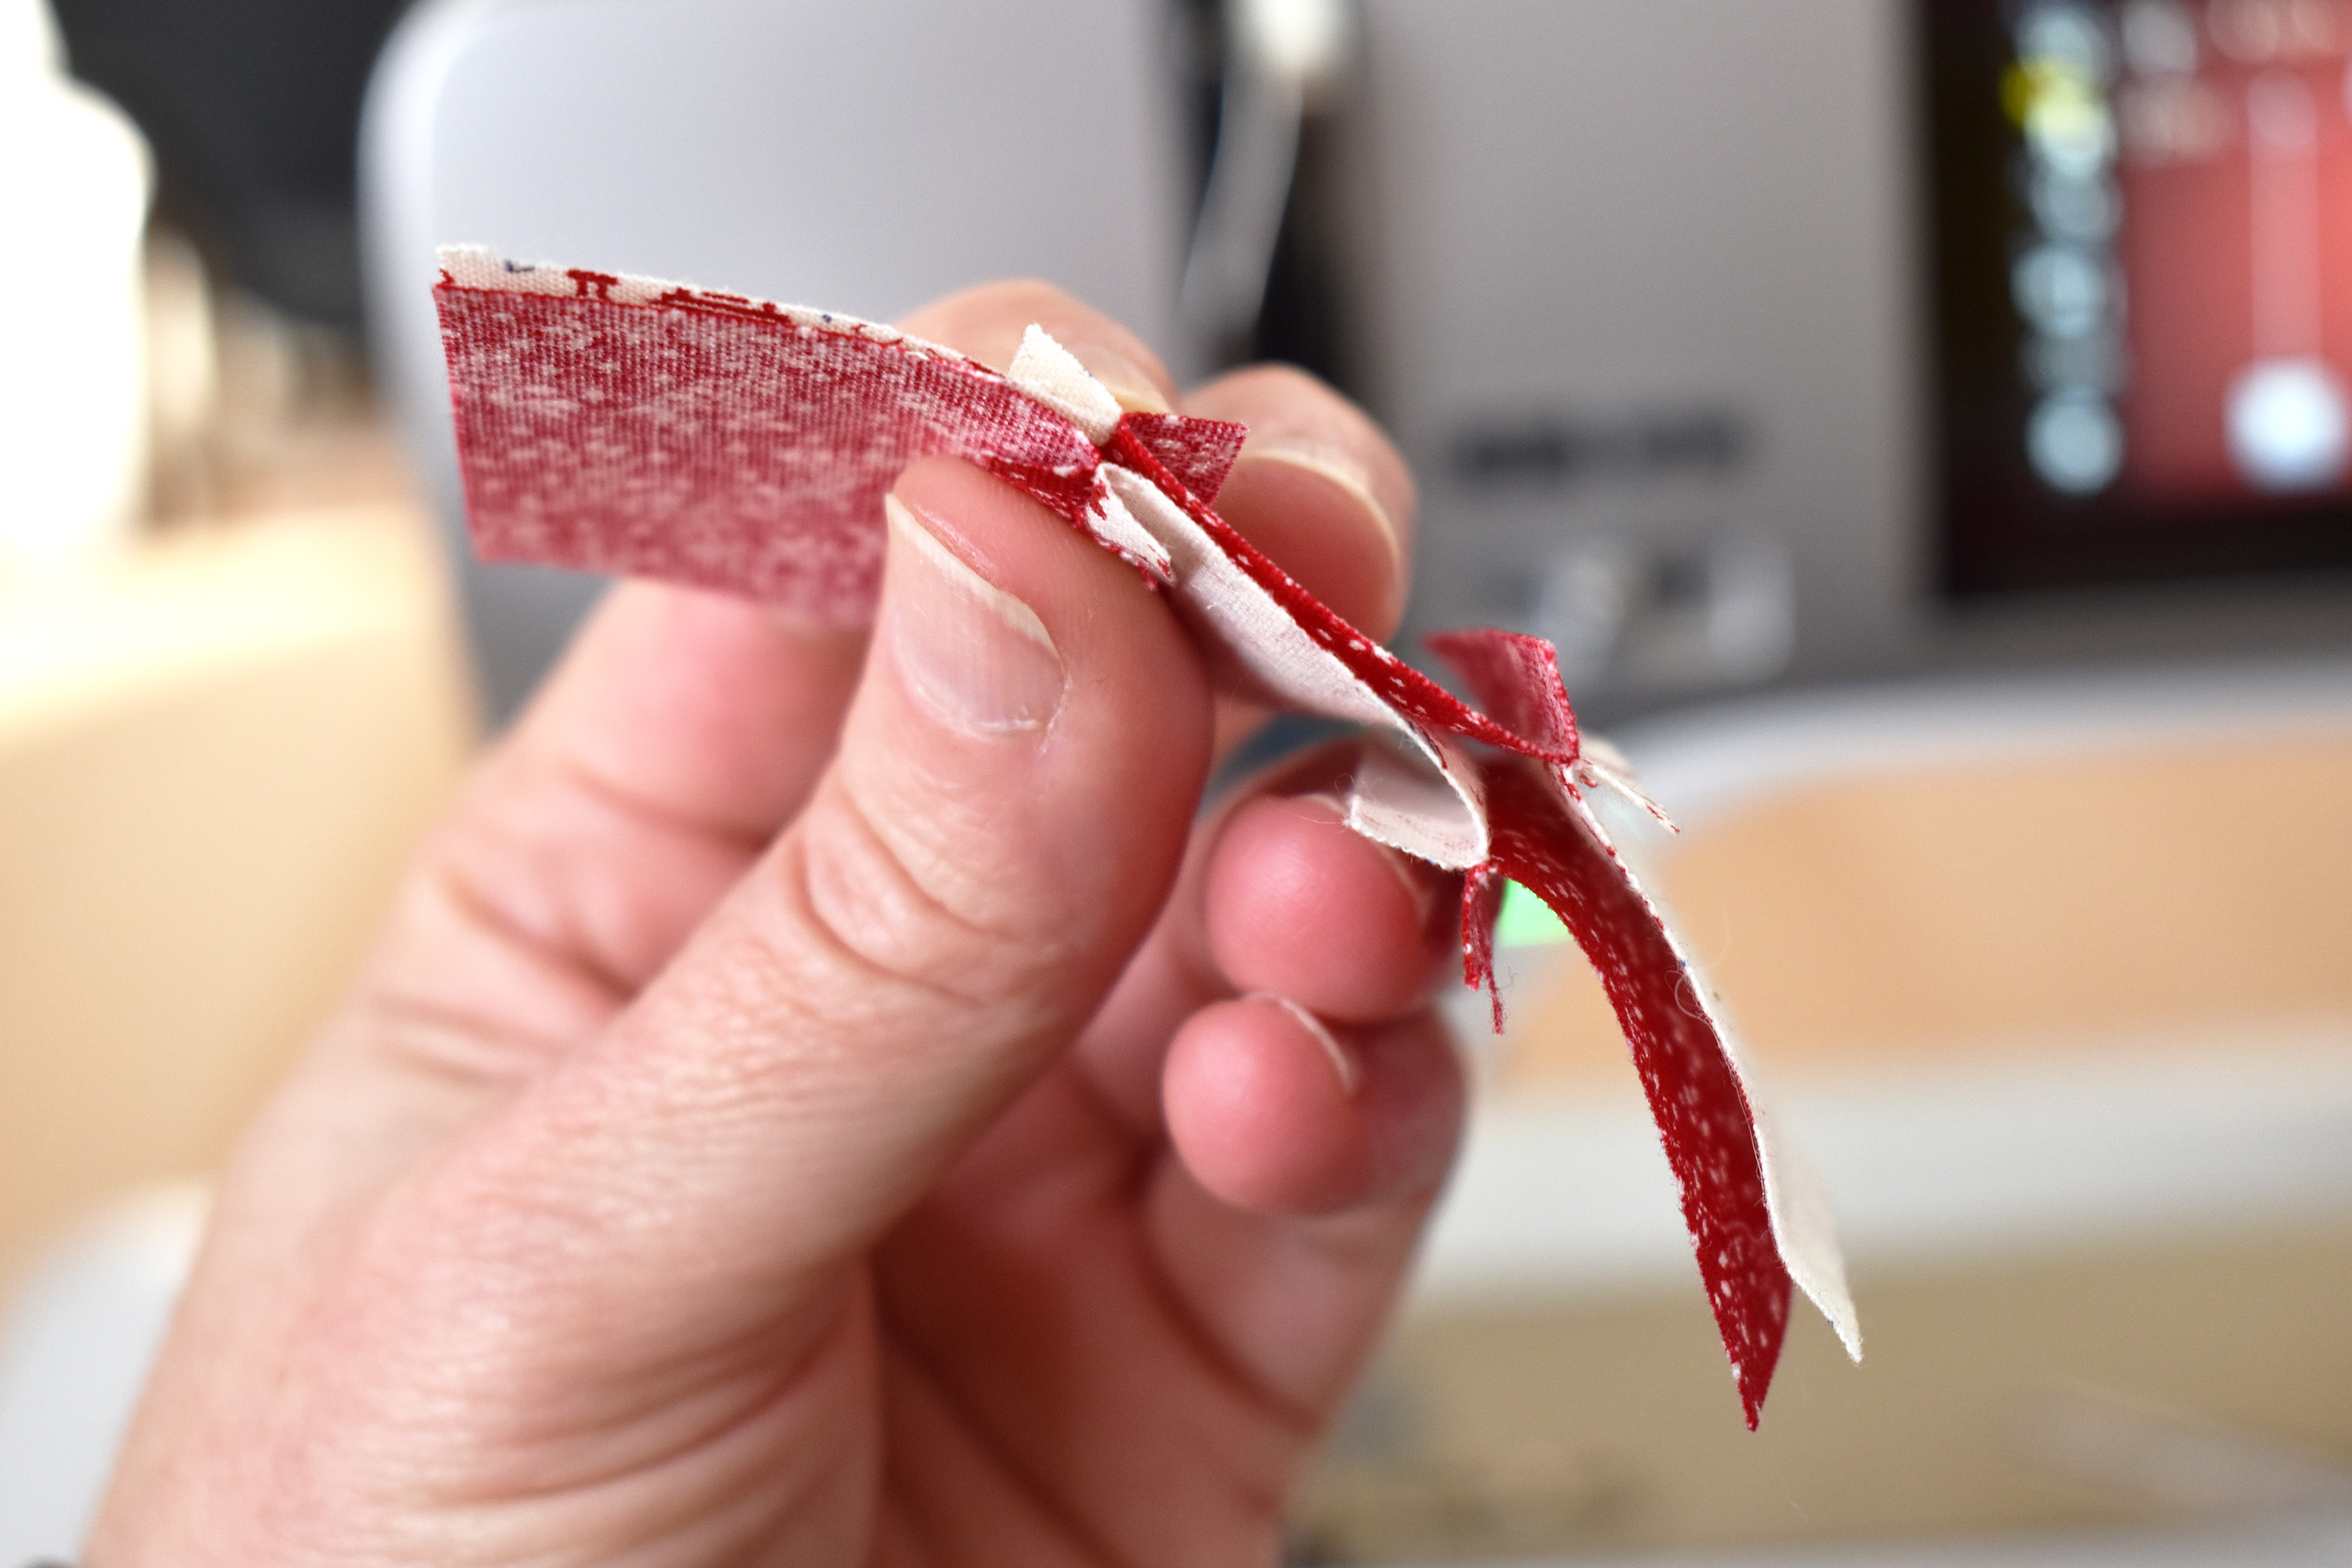
Press seams open, and snip any threads before moving on to finishing steps. You’ve finished your basic 9 patch block!
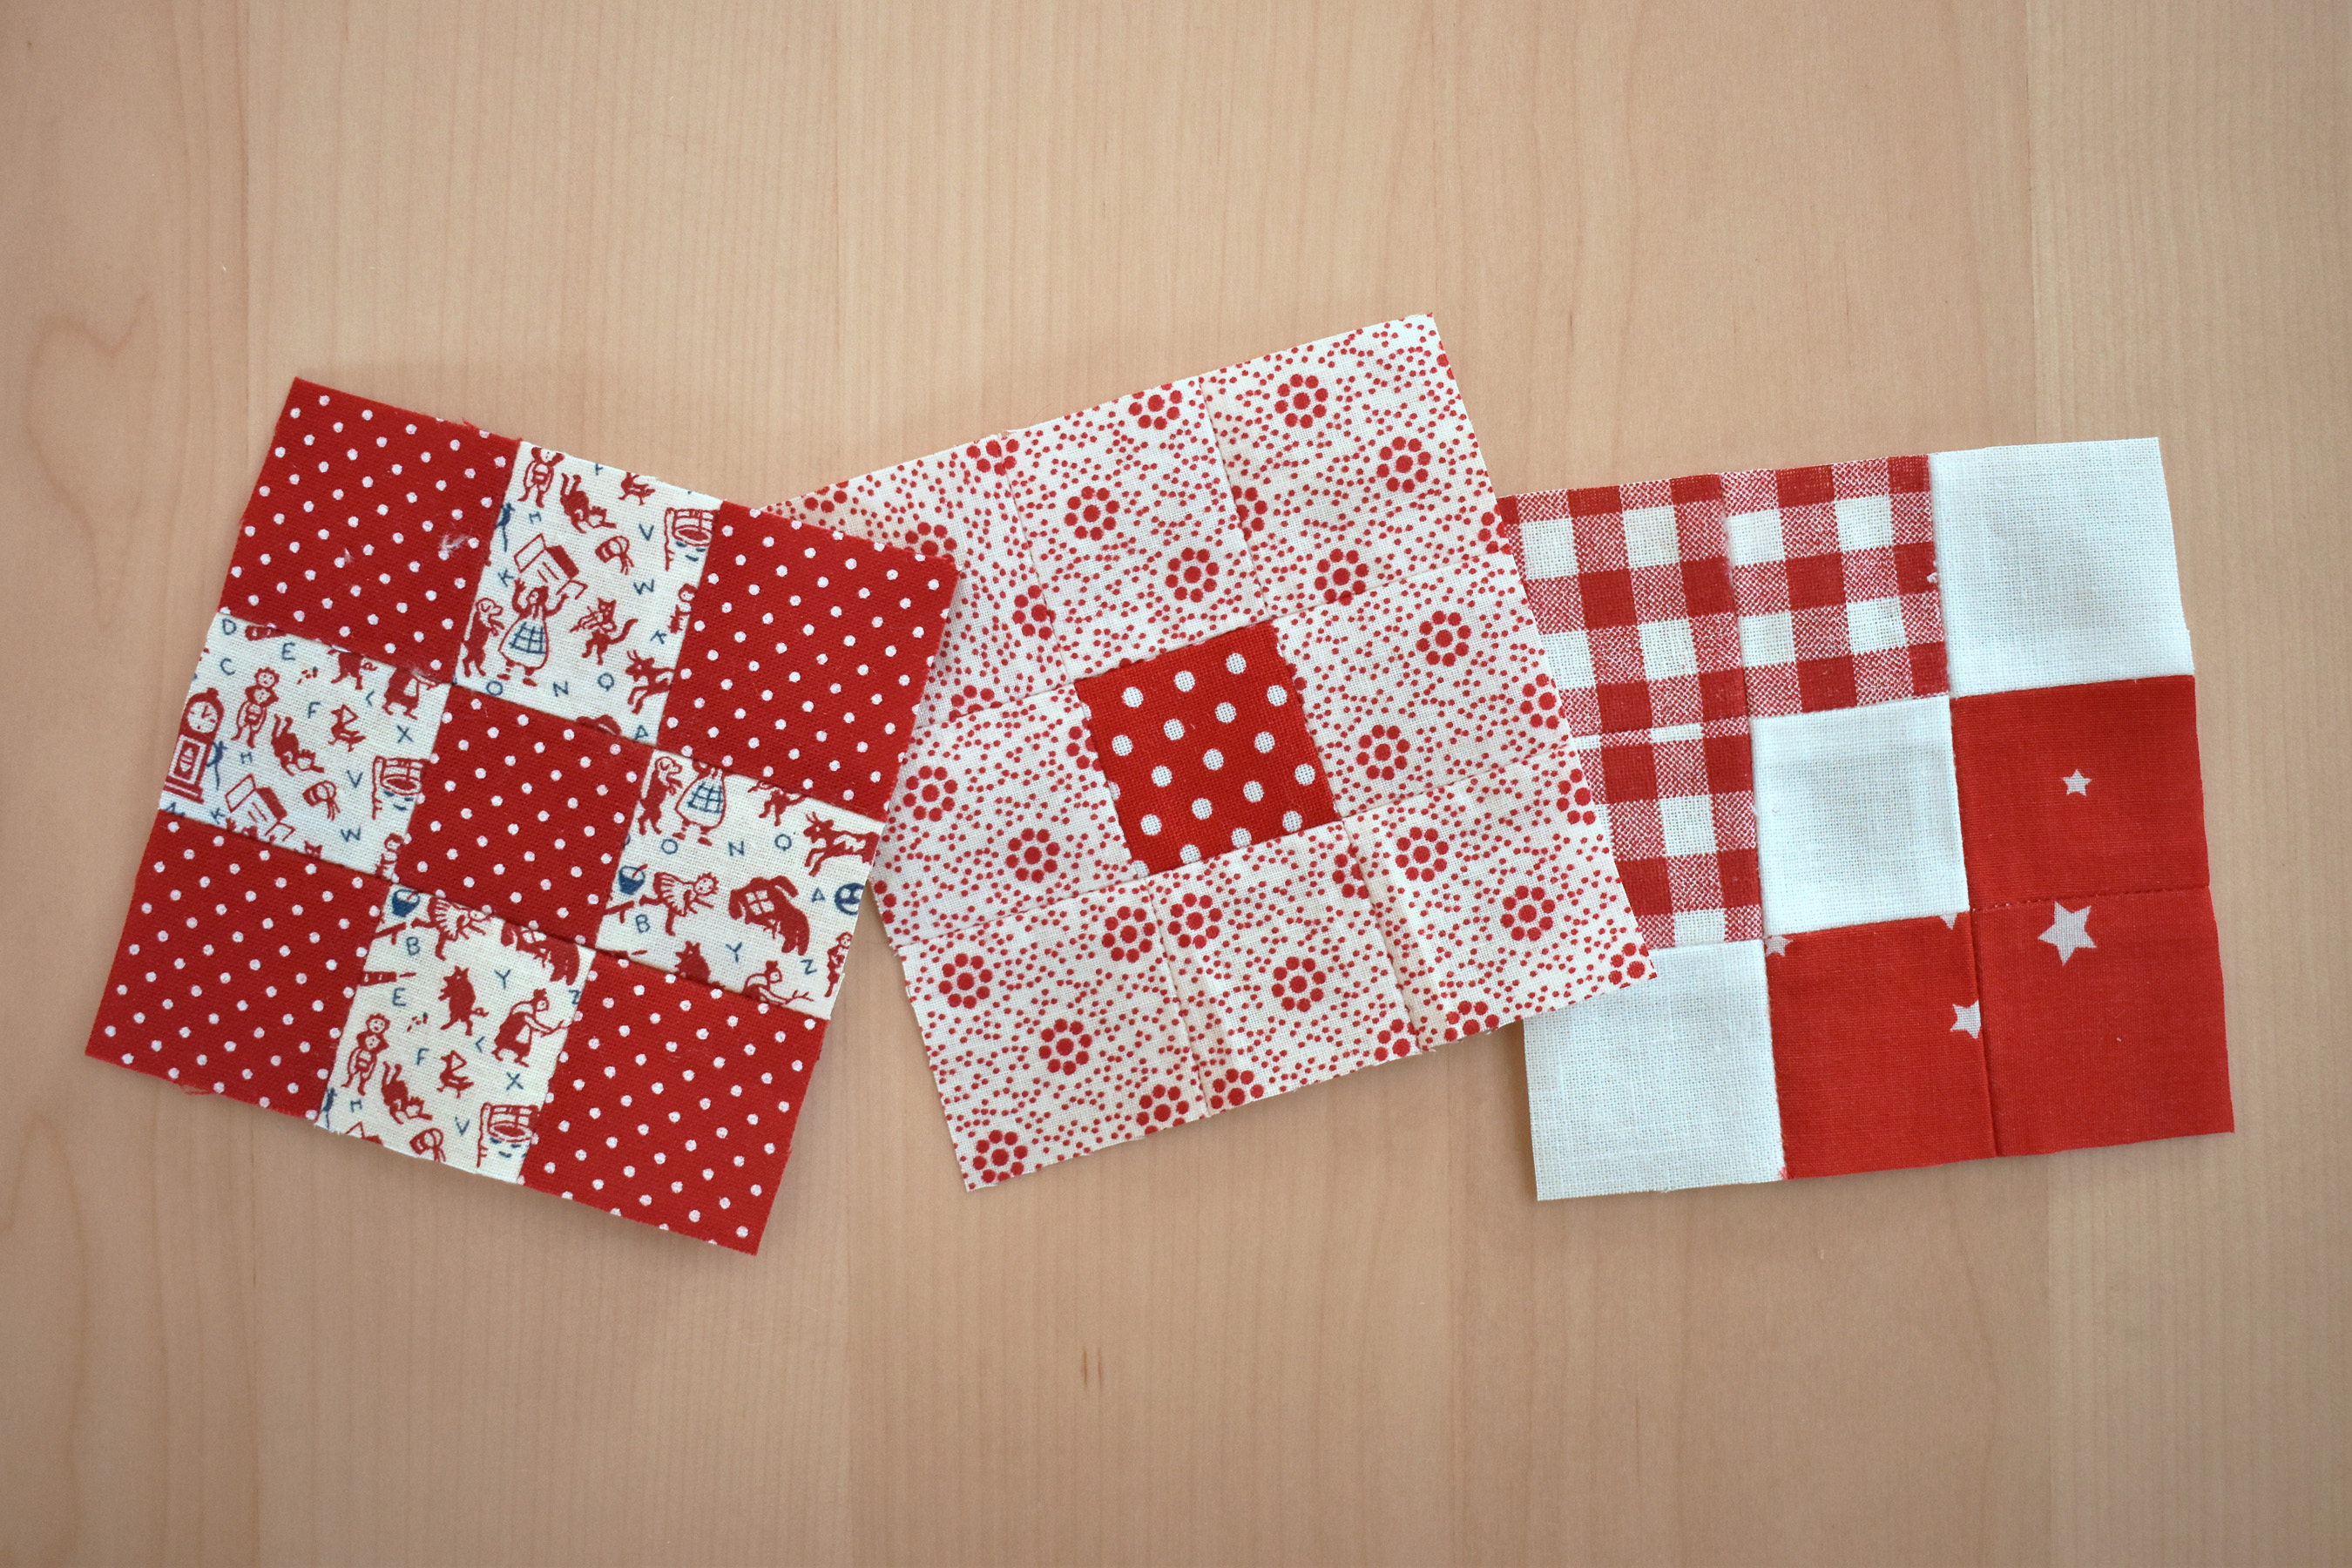
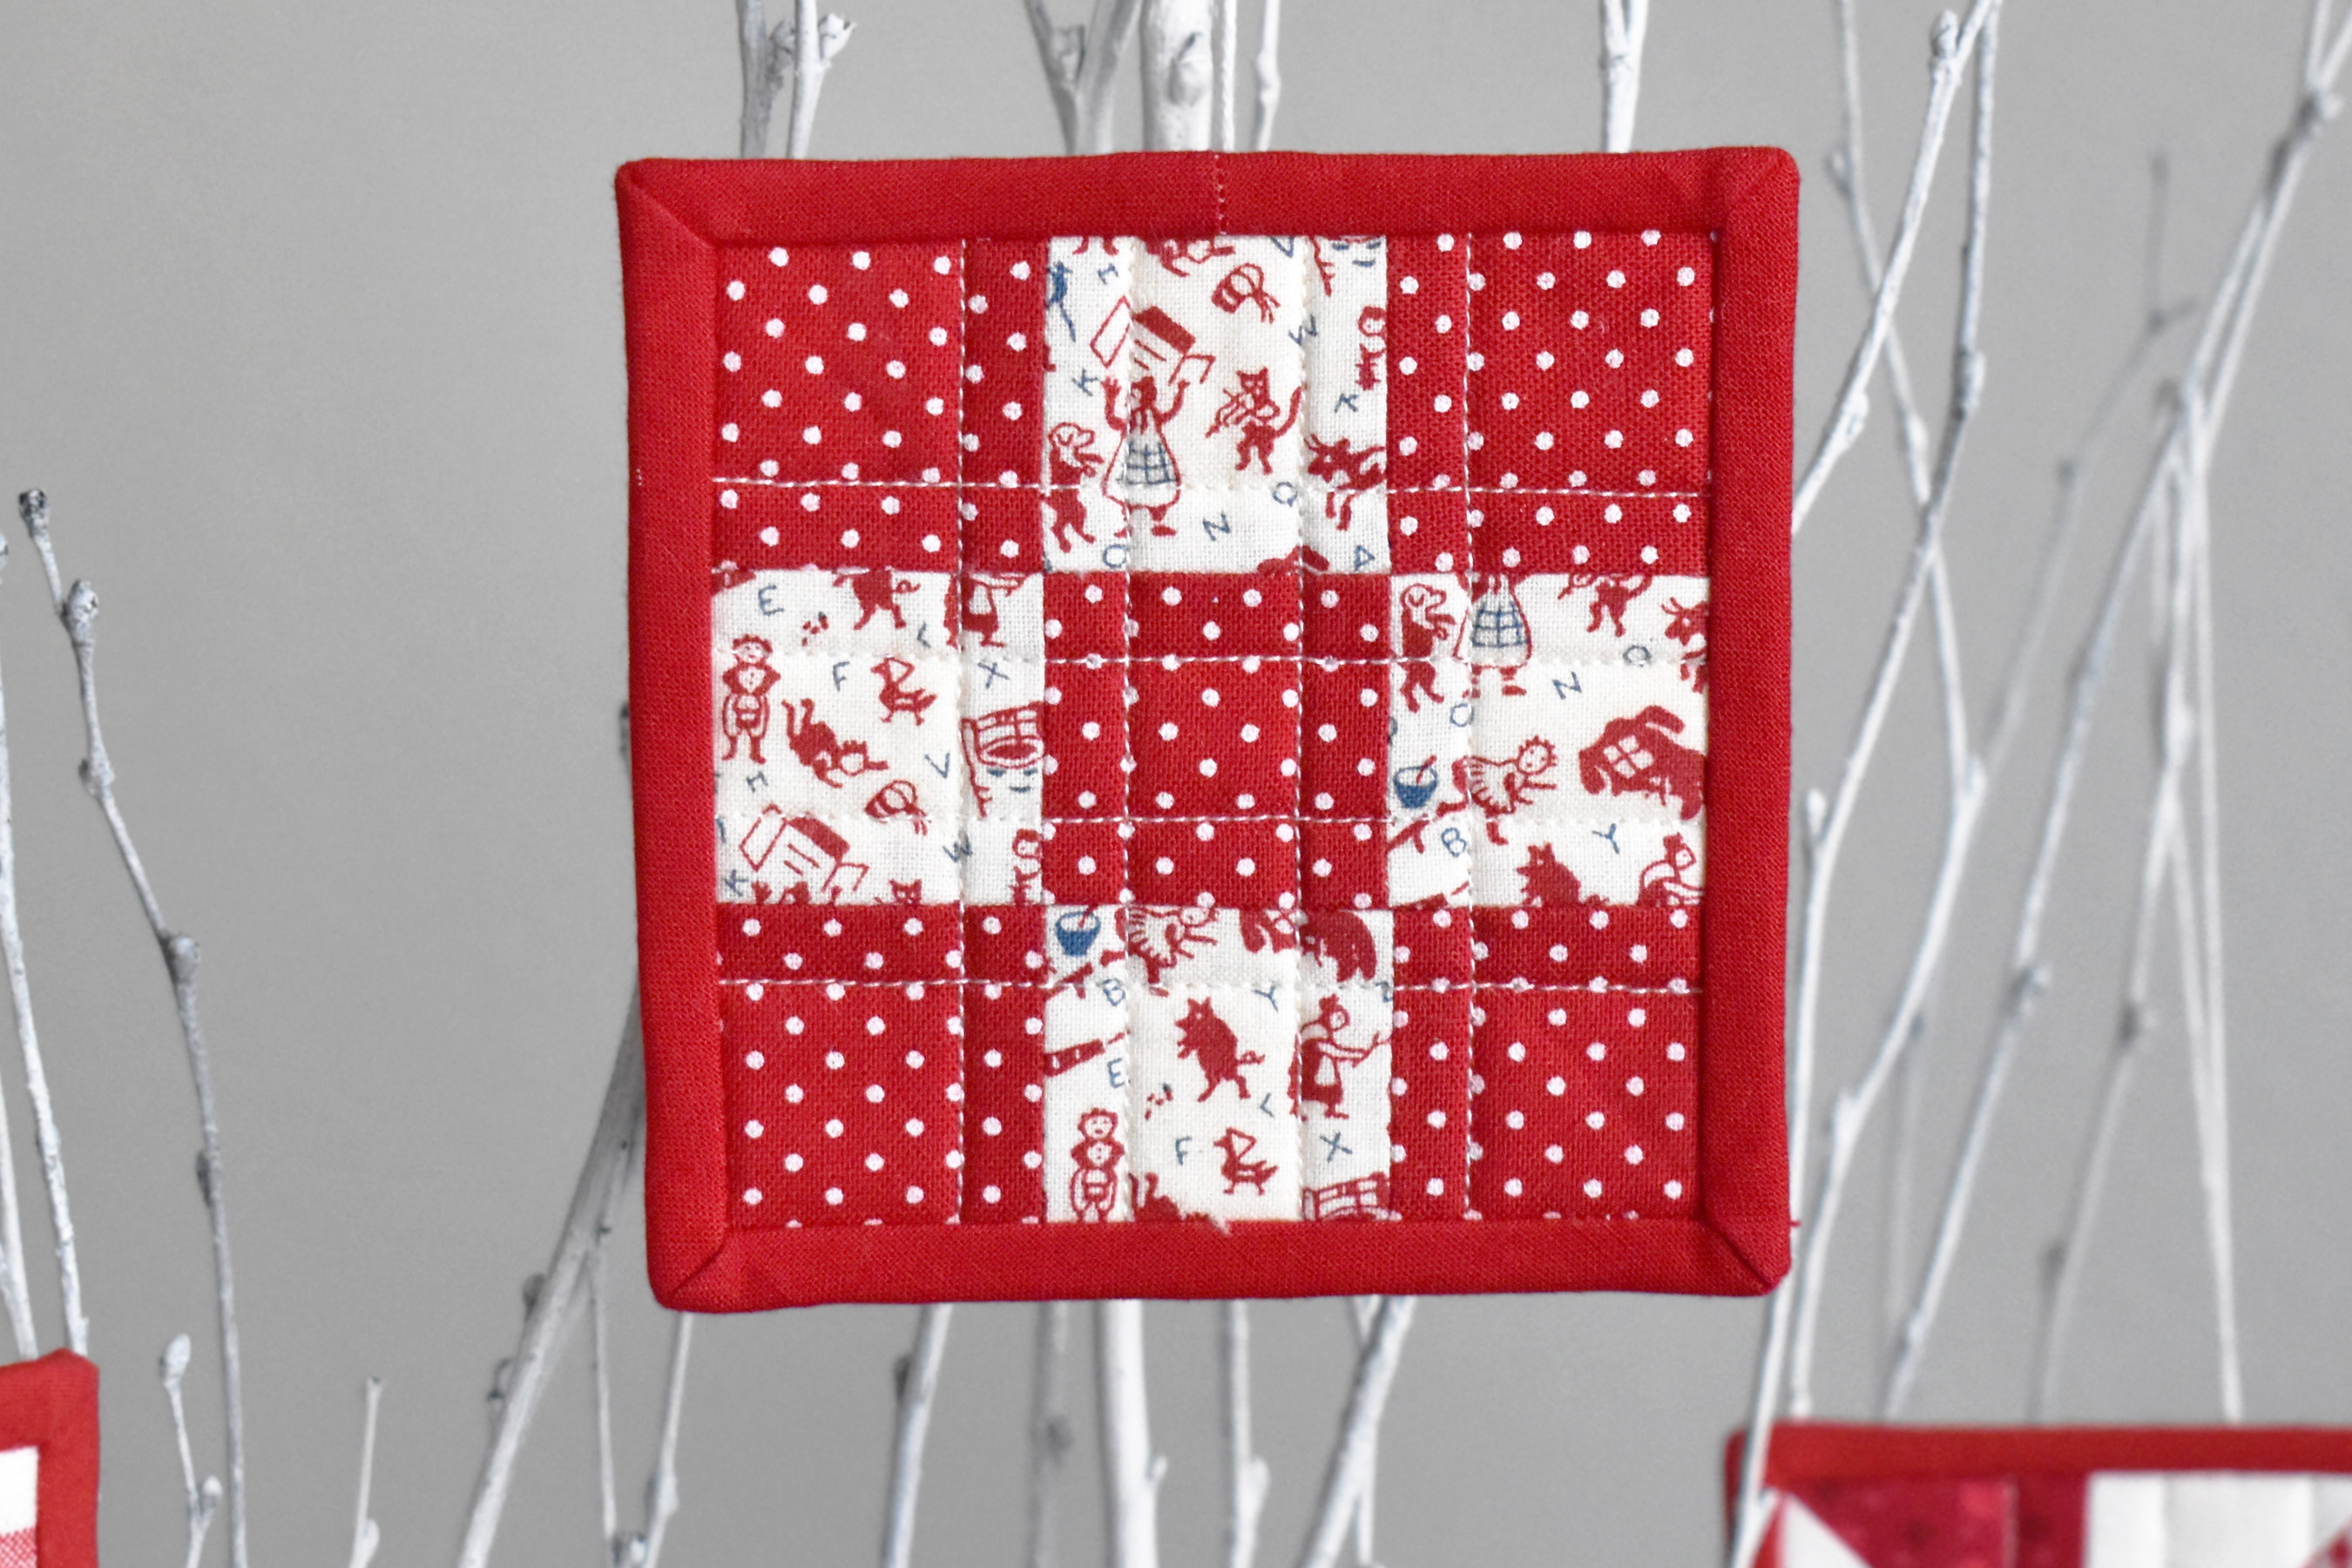
Making slight design changes with the squares in a 9 patch can result in completely different looking blocks. Above is the basic 9 patch at the left, a square in a square block in the center (make the center block a different fabric than the 8 outside blocks), and an opposing corners block at the right (use 3 distinctly different fabrics and arrange three squares in one corner, three squares in the opposite corner, and three squares between them).
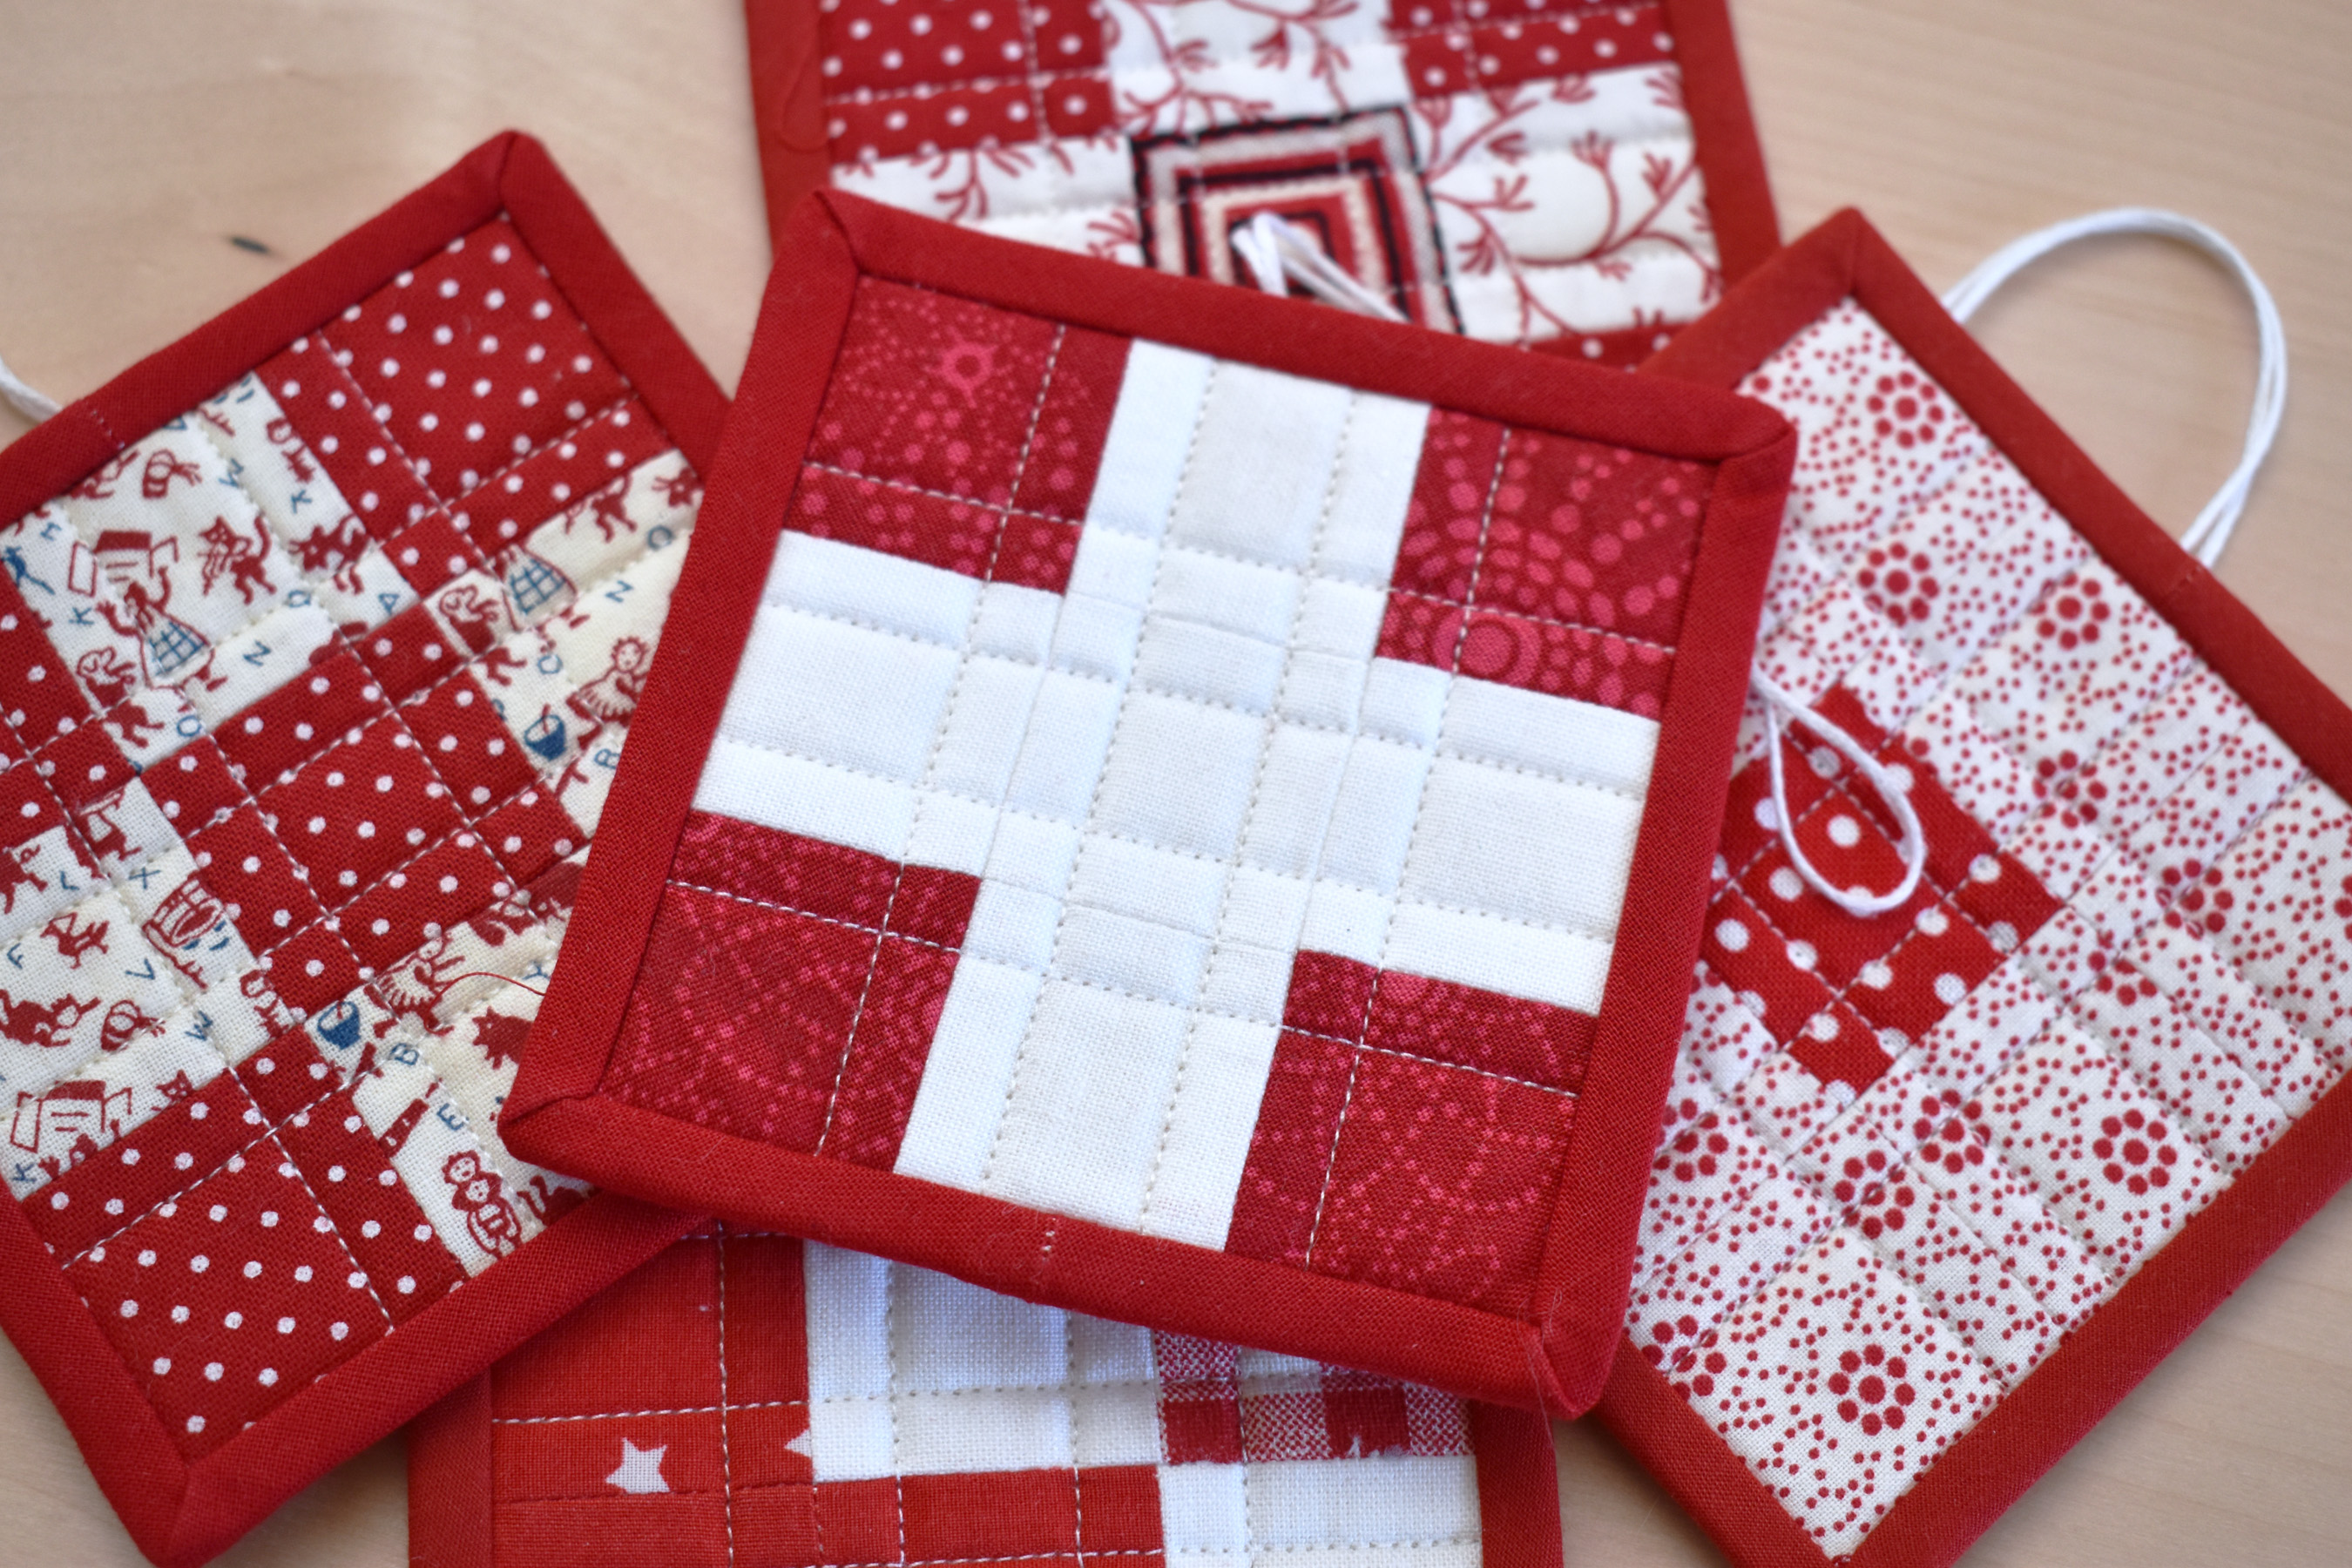
I even made a block inspired by the Swiss flag, home of BERNINA! Have fun playing around with simple 9 patch blocks to come up with your own designs.
Come back next time to learn how to add half-square triangles into the mix, creating simple 9 patch star blocks. I’ll also show you how to quilt the blocks, stitch a mini binding to finish the edges, and add a little hanger to make your blocks into hanging ornaments. See you next post!
Used Products


What you might also like


2 comments on “How to Make Mini Patchwork Ornaments, Part 1”
-
-
Hi Julie, thanks so much! Most of the fabric I’m using here is secondhand scraps, and some is vintage. I’ve been collecting vintage fabrics for, well, a really long time! I picked up that hardwood iron shaped clapper while second hand shopping years ago. It was probably hand made as a toy, but I carefully cleaned and sanded the bottom to use it as a clapper. Cheers! – Erika
-
Leave a Reply
You must be logged in to post a comment.

Love this! Where did you find that cute beauty and the best fabric and wood seam clapper that look like a mini iron?