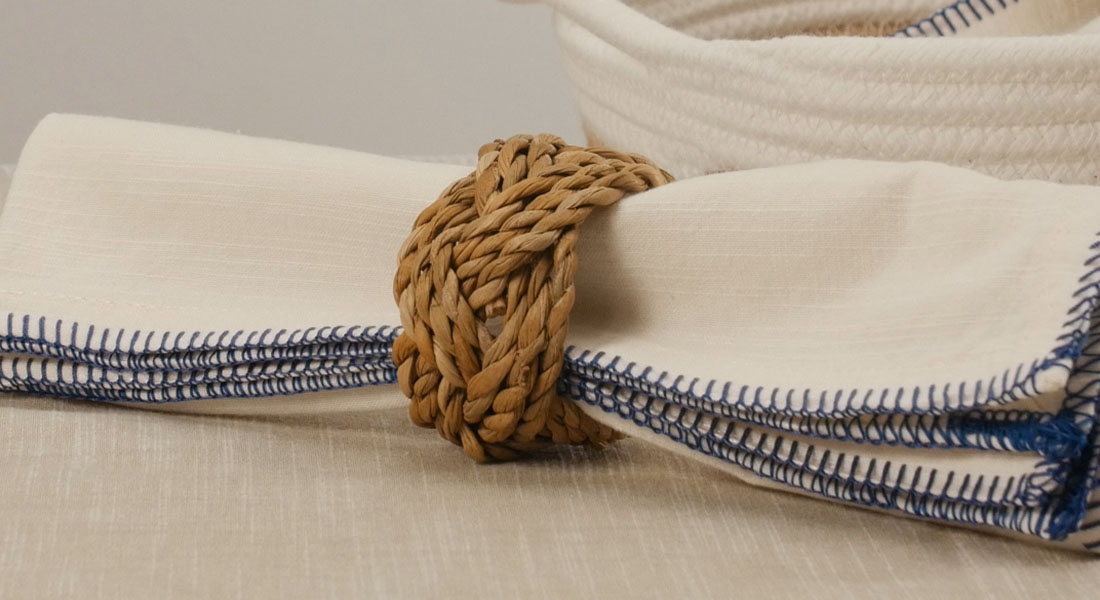
How to Make Napkins with an Overlocker: Three Ways
Hey there! It’s National Serger Month and Earth month. How about we make some beautiful fabric napkins for our home (or friends)?
When we talk about napkins on the overlocker, we instantly think of rolled hem. Today, I will show you three ways to make striking-looking napkins on the overlocker and coverstitch that will make your dinner table look beautiful and will help save some trees because sustainability starts with little things like a napkin.
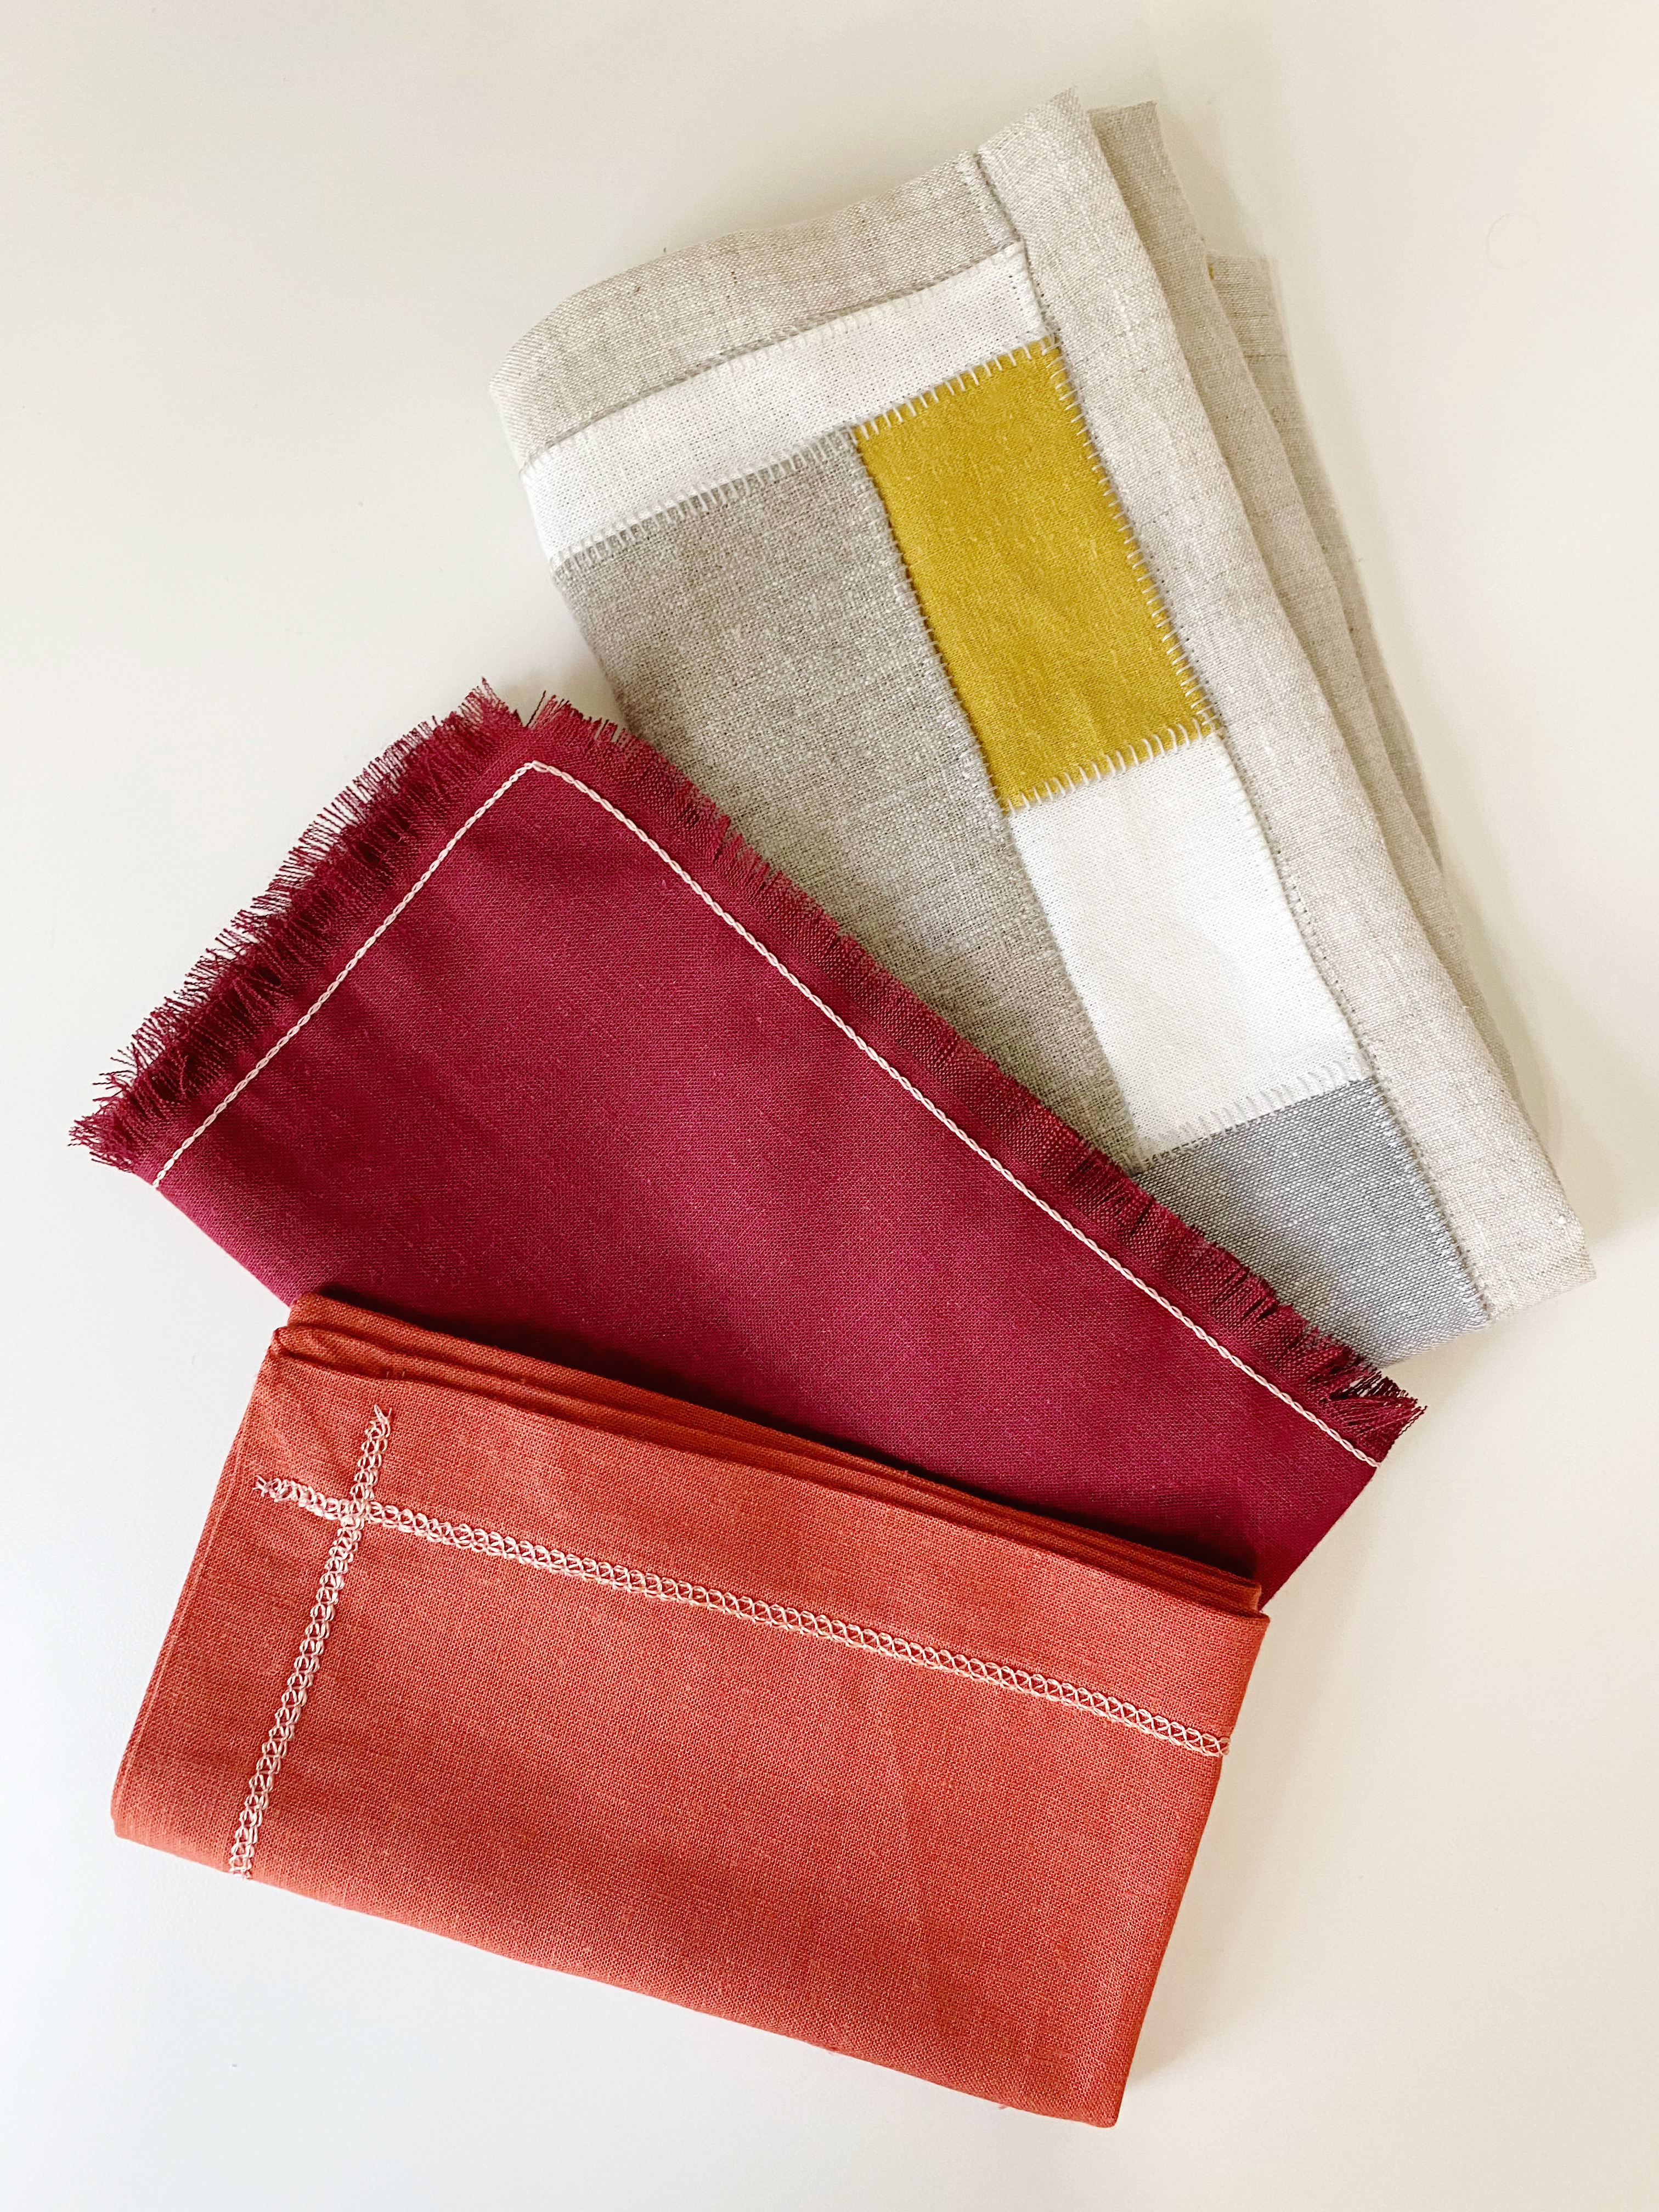
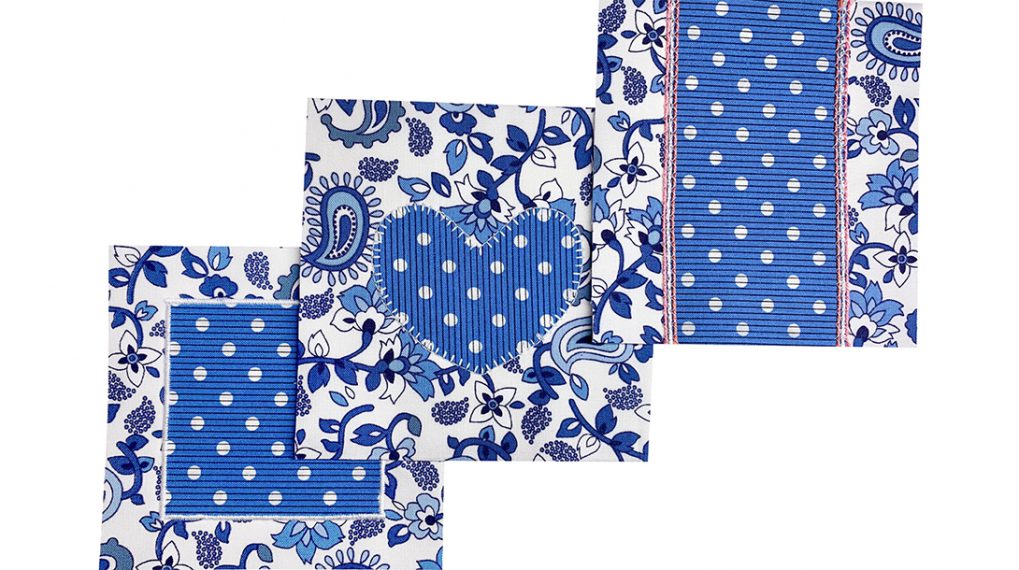
Flatlock Patched Napkin
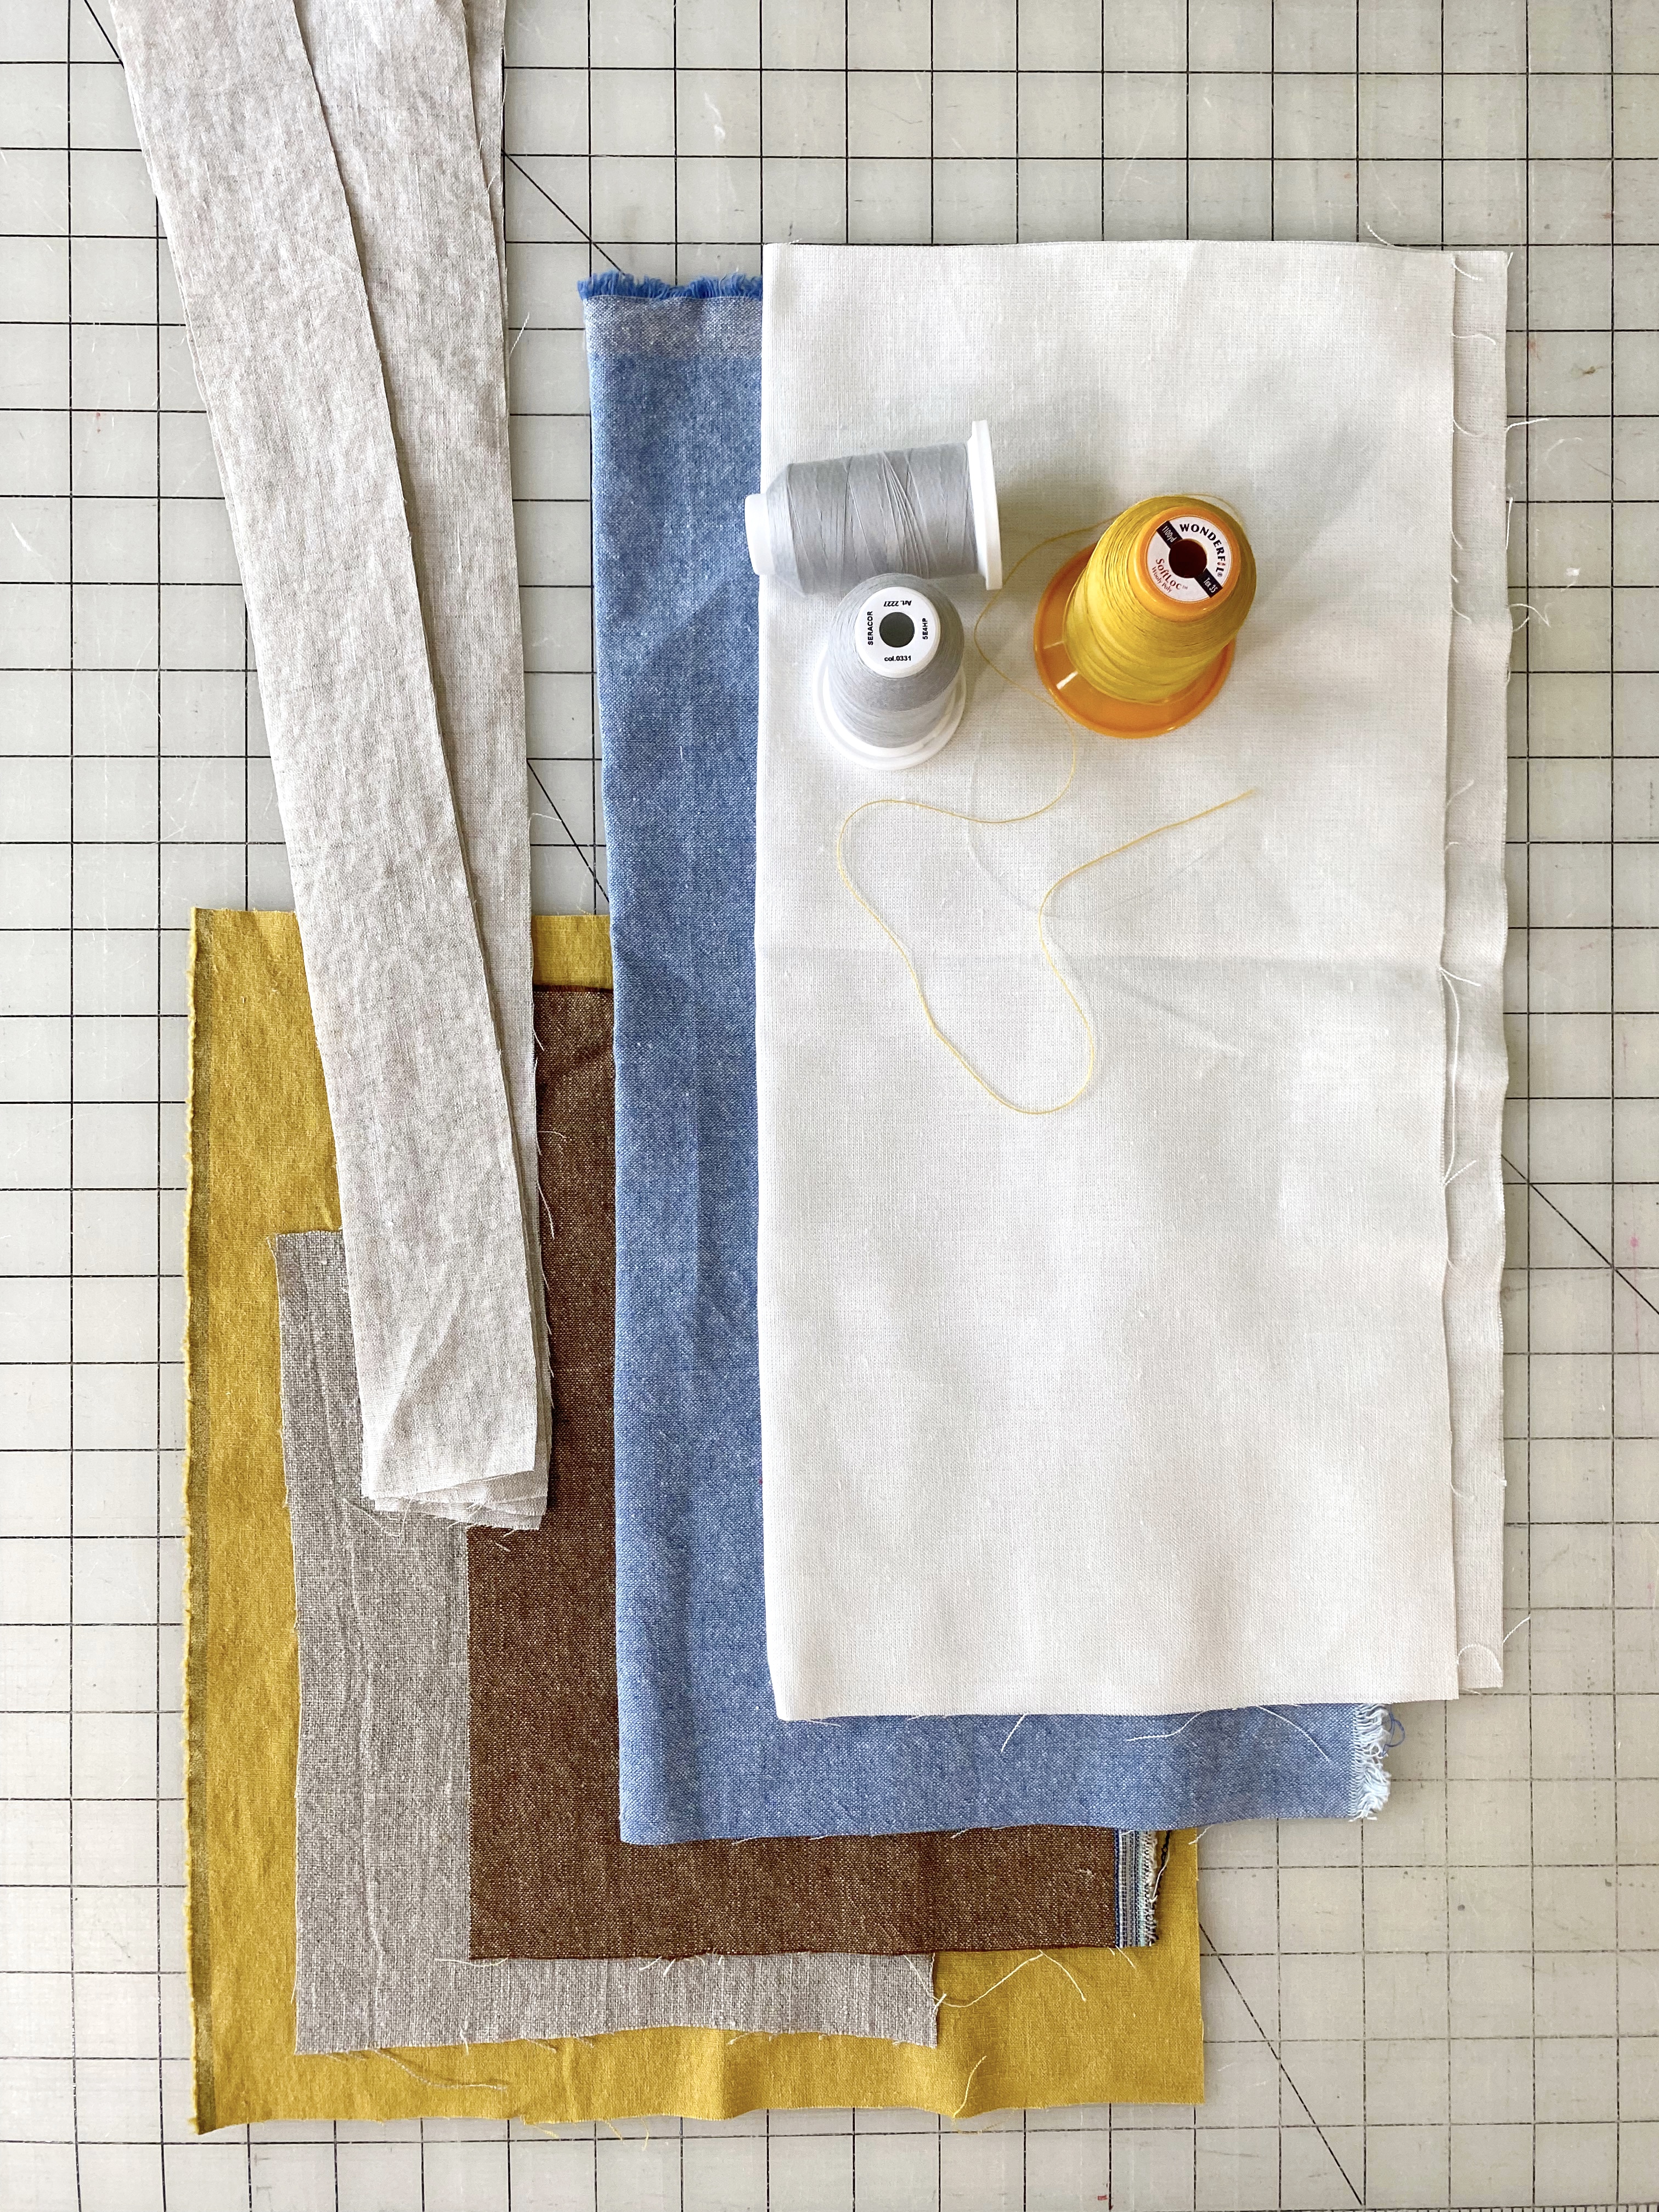
For the first method, we will gather our scraps of linen or cotton. In addition, cut four strips 2” wide by 20”-22” long and put these aside.
Settings and Materials
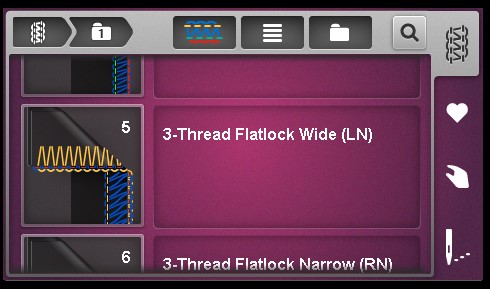
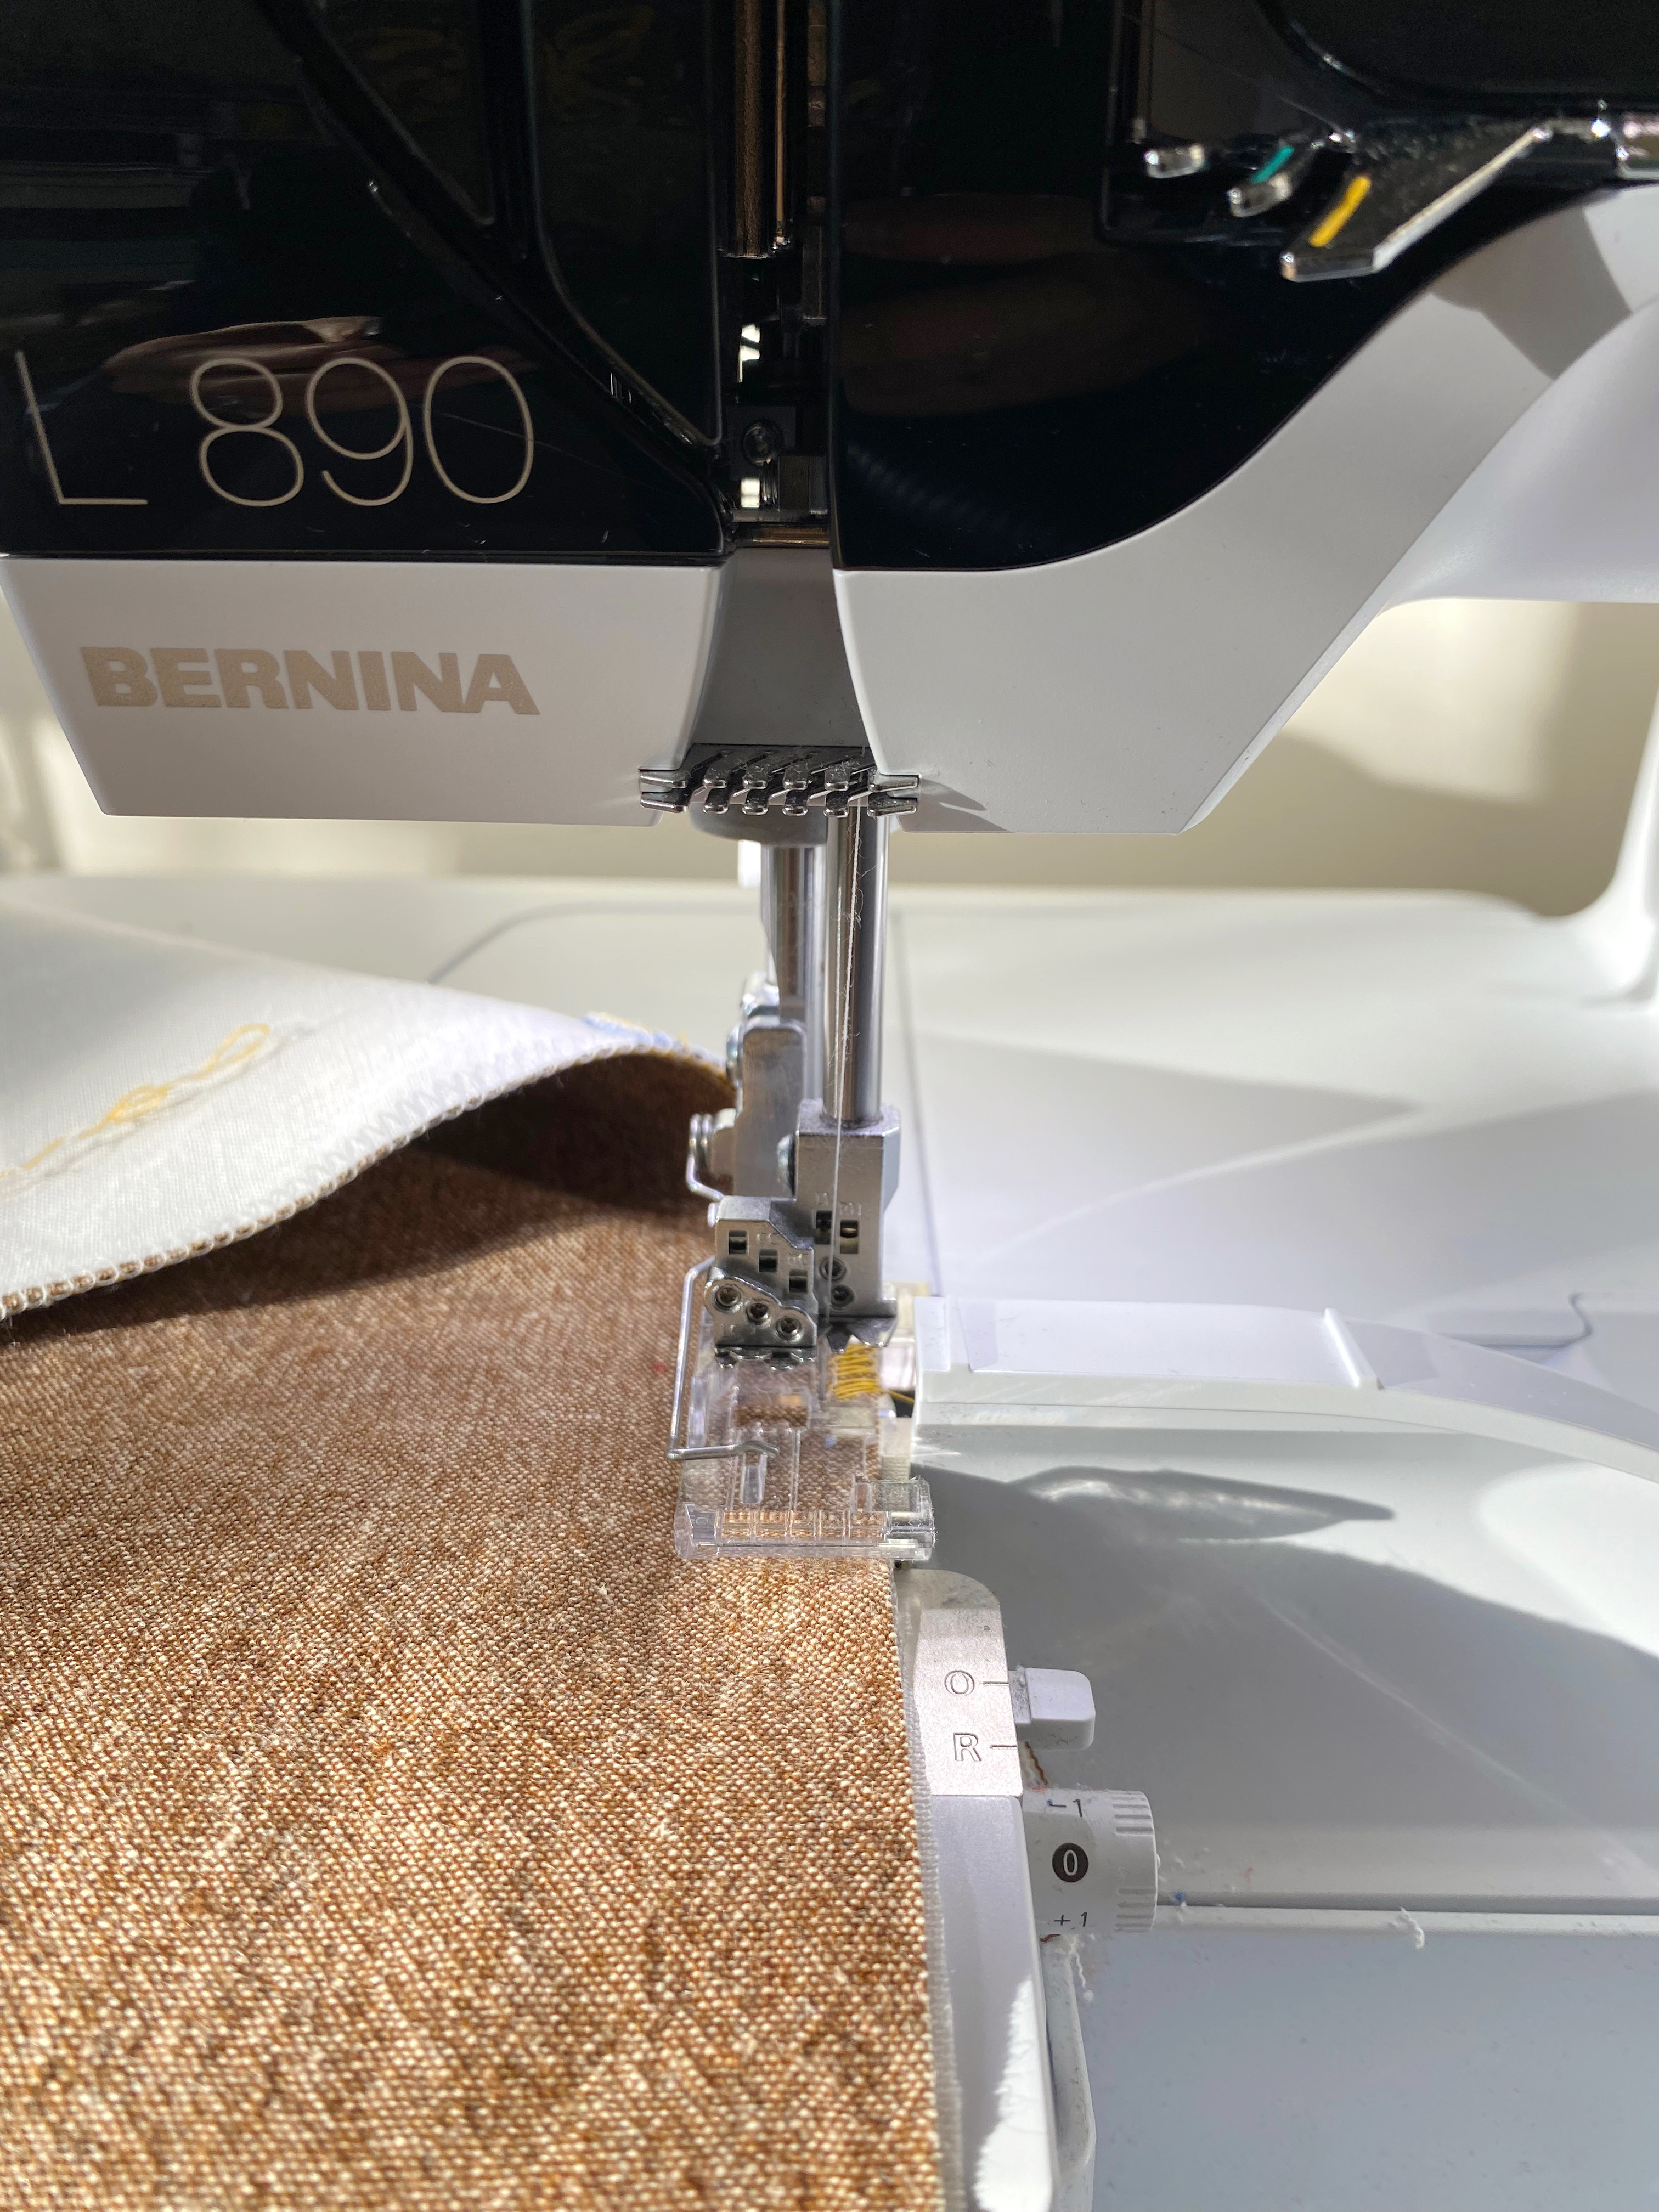
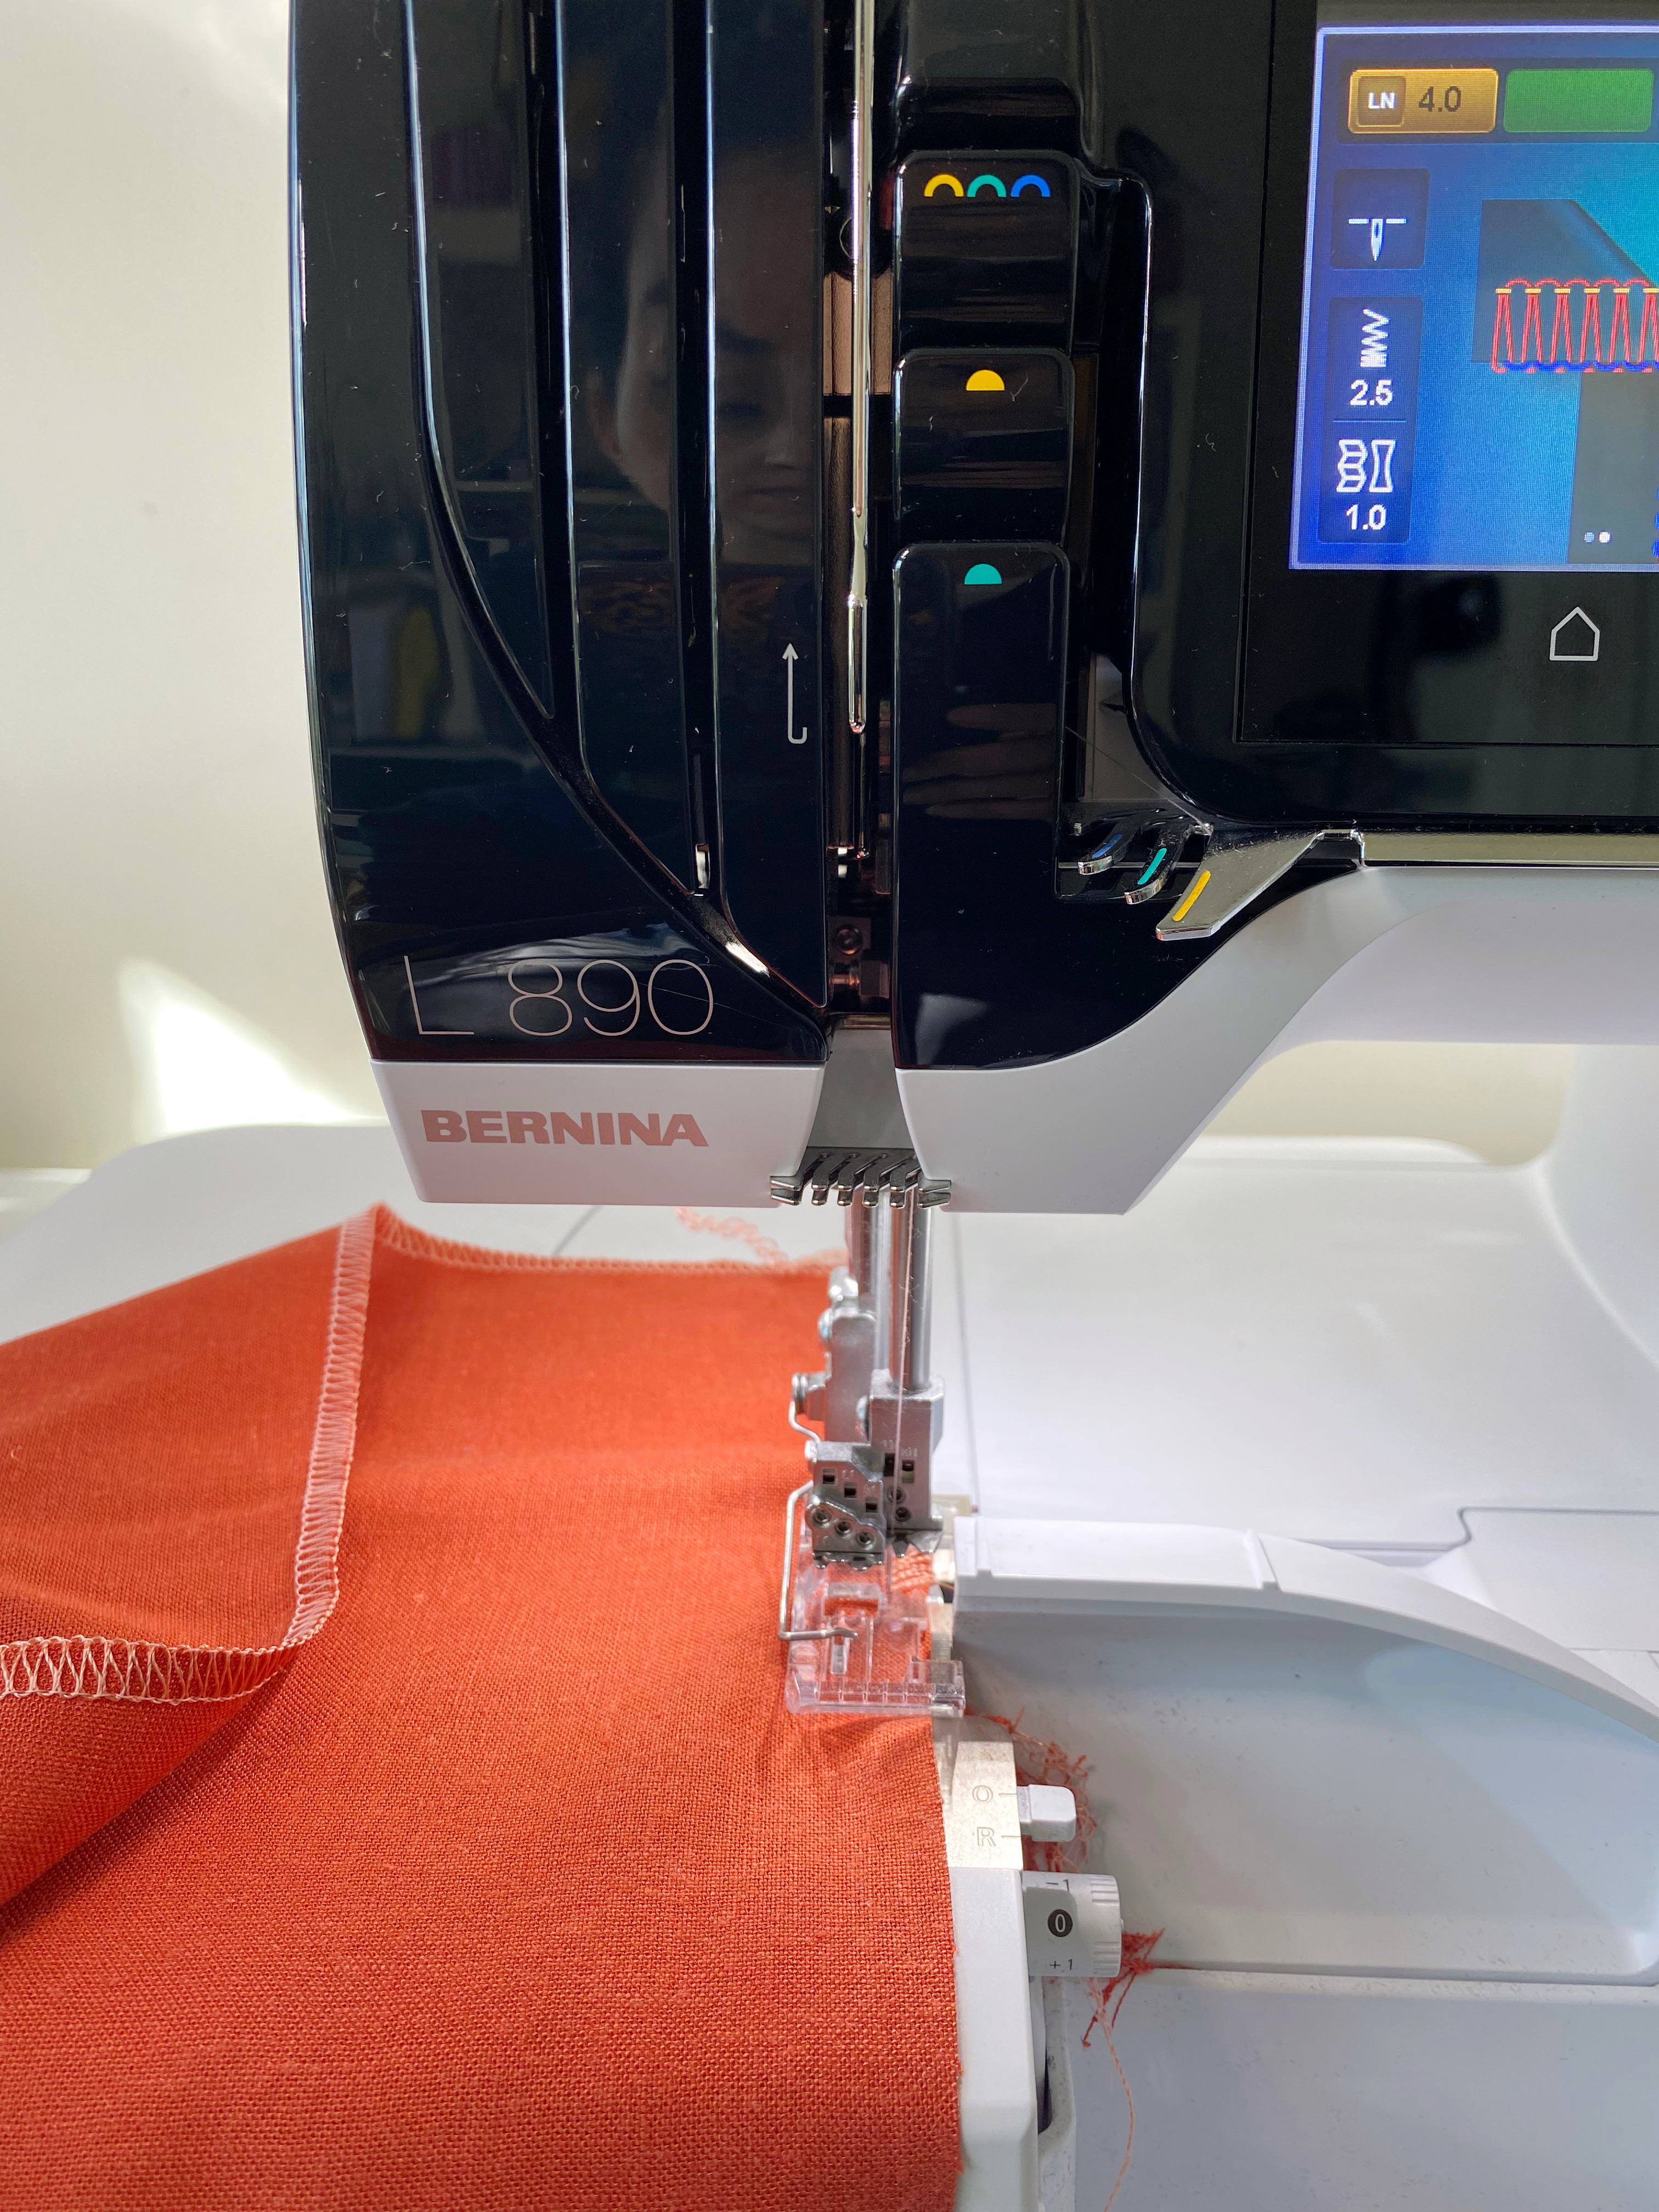
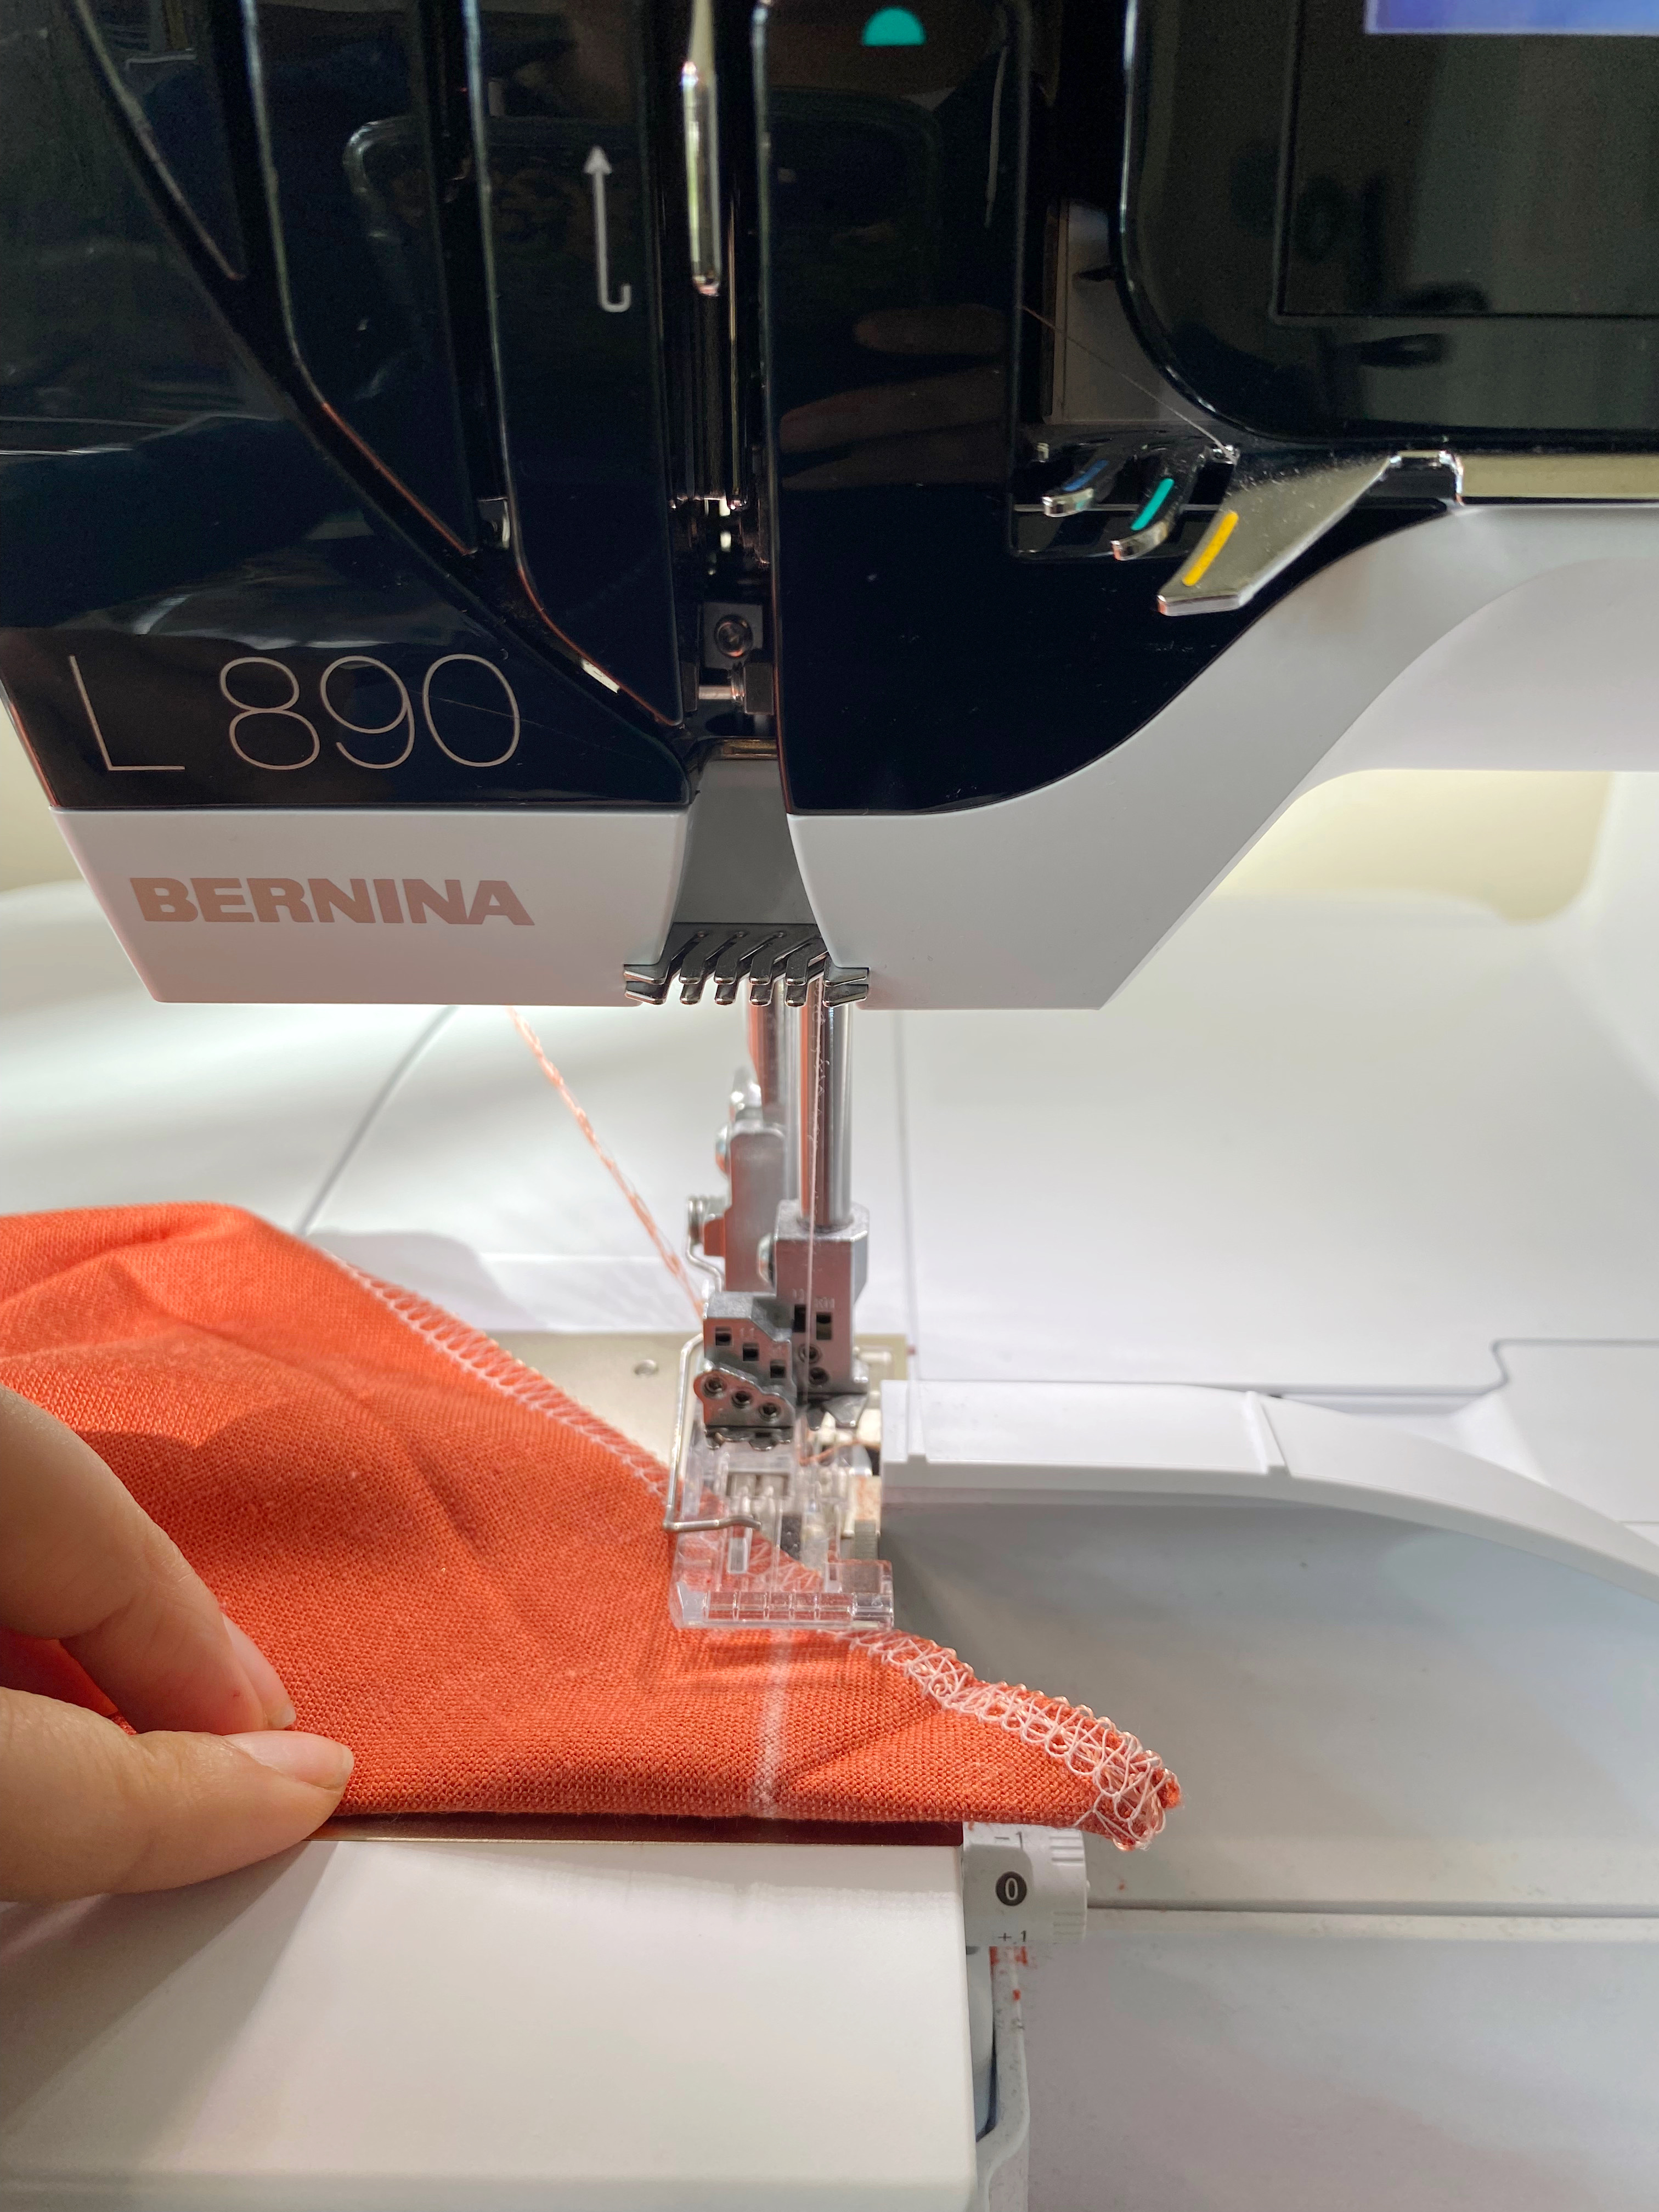
Set your overlocker to a 3-thread flatlock wide. On my L 890 the settings are LN: 2.0 UL: 4.0 LL: 7.0 You can check your manual for your settings.

I used a regular Mettler Seracor thread on the needle and Lower looper and Wonderfil Softloc on the Upper looper. The Upper looper is what will show in the back and the Needle tread will form the ladders.
Making the Napkin
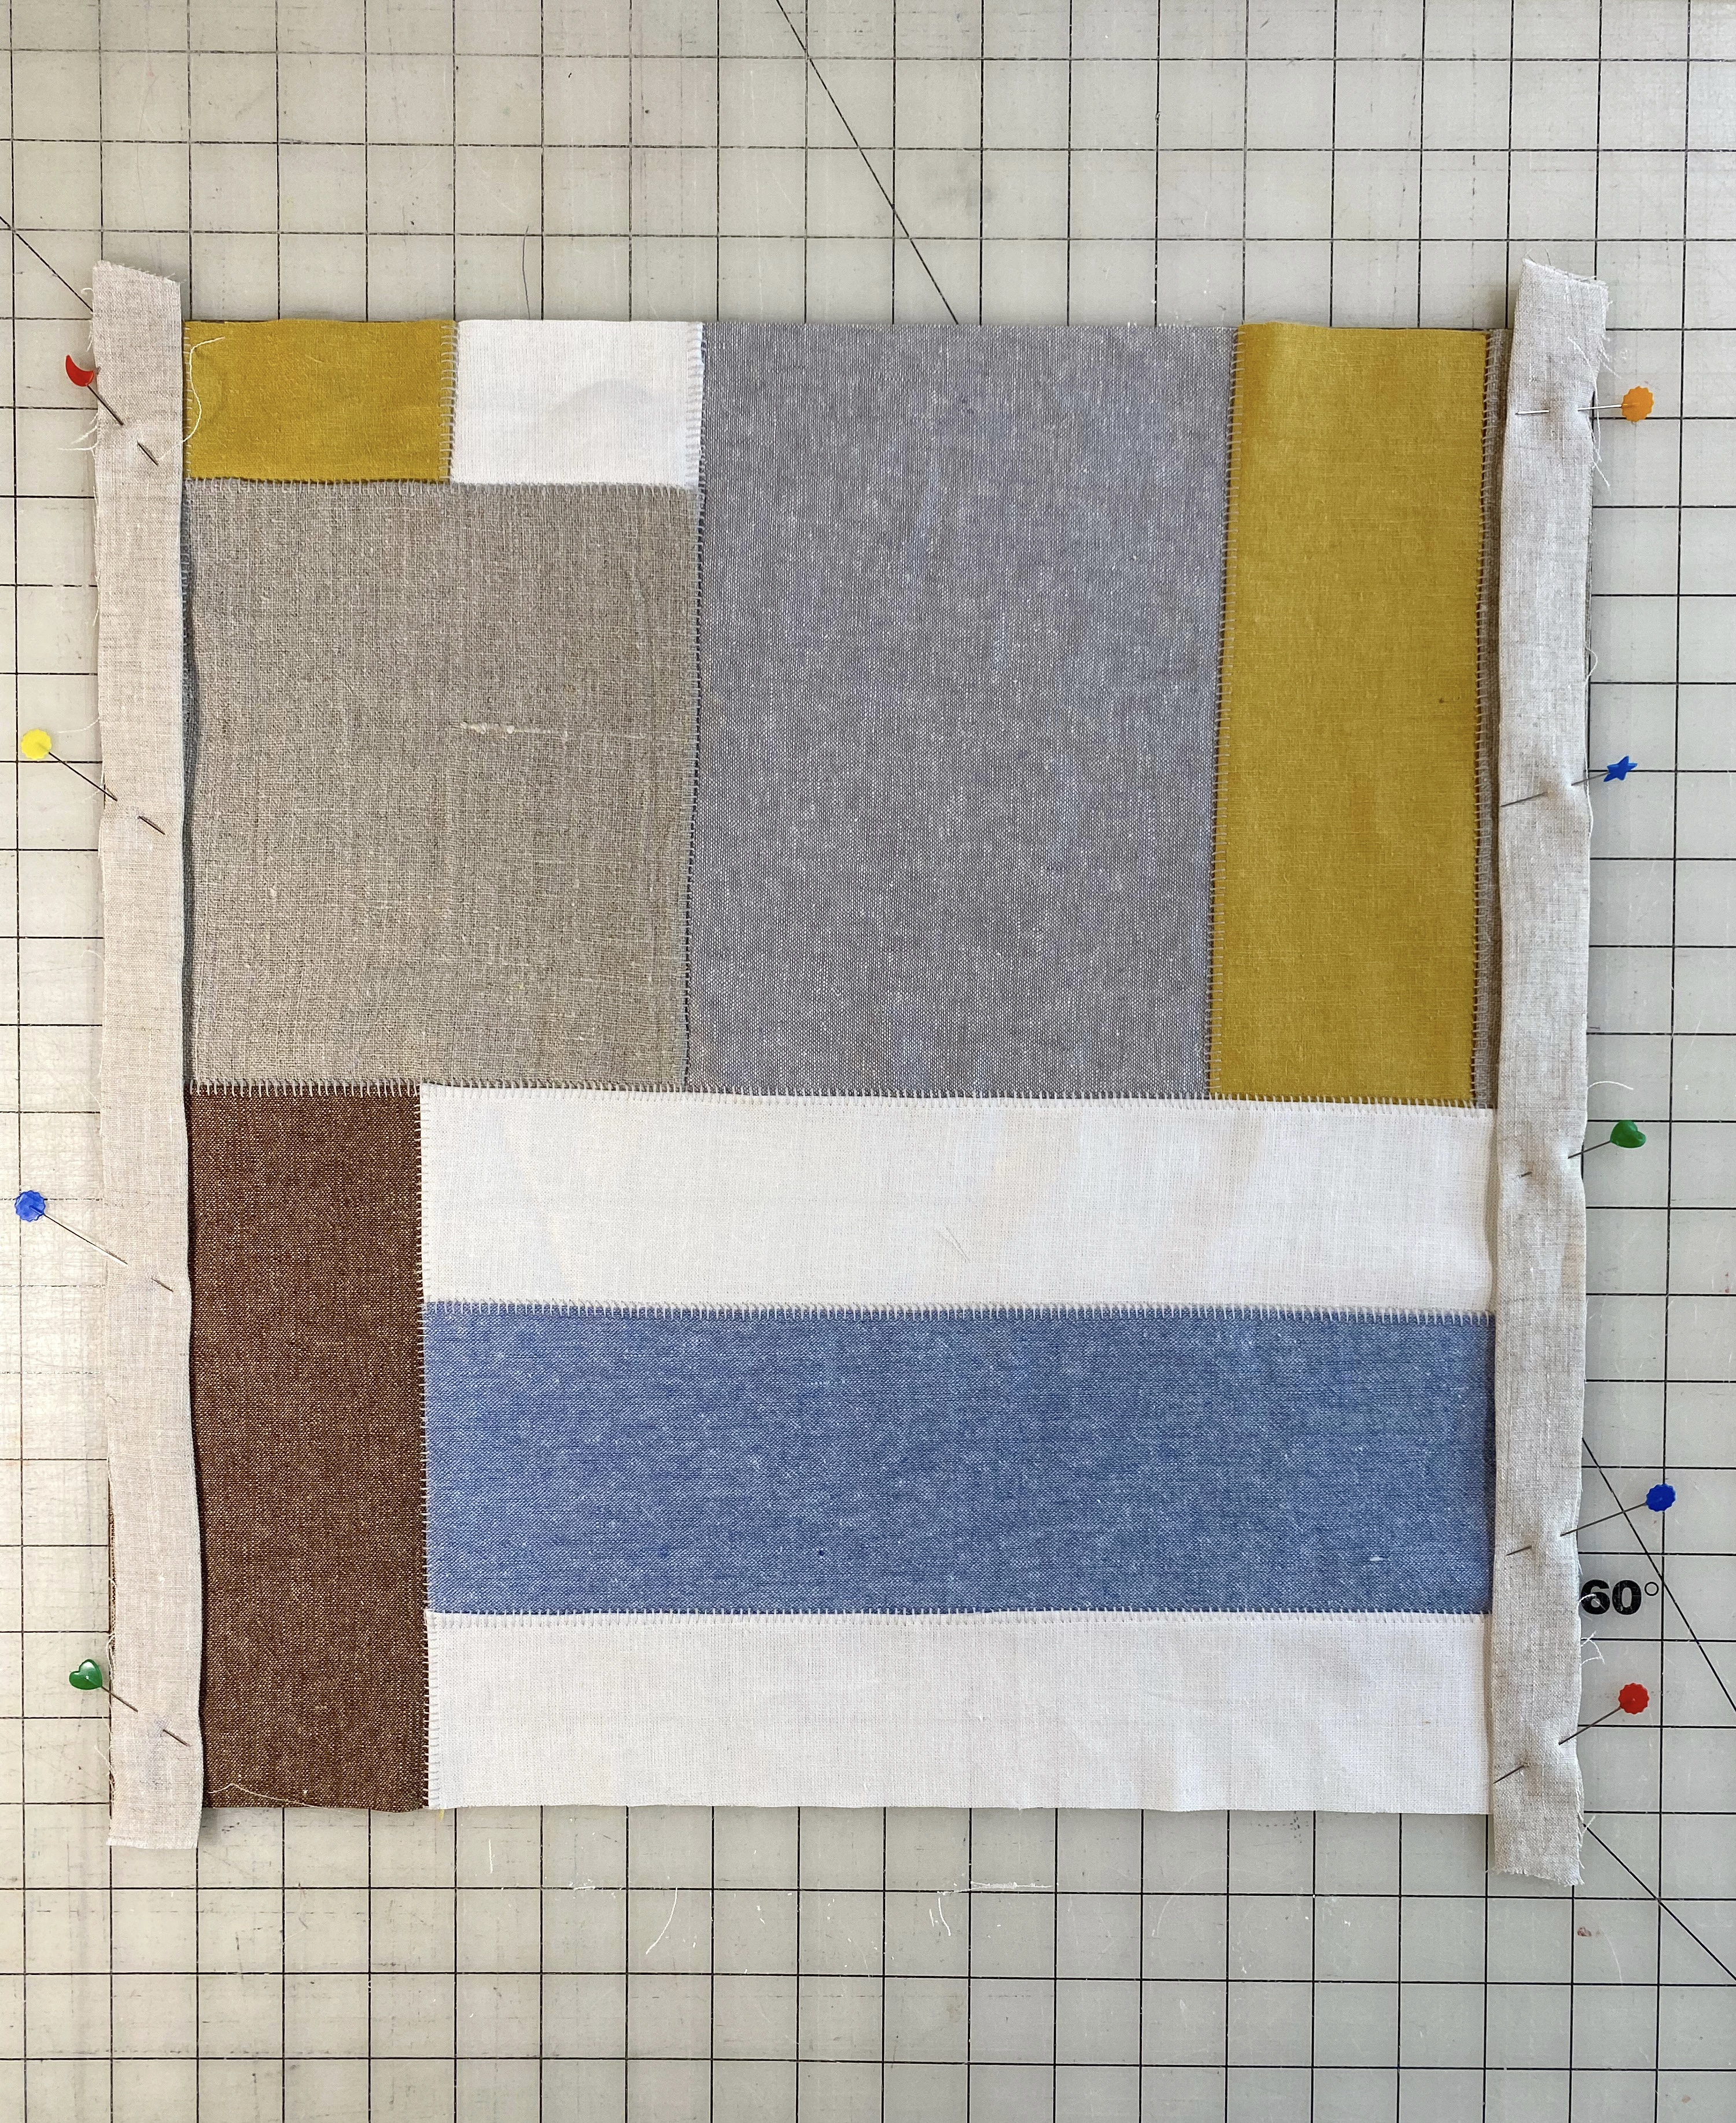
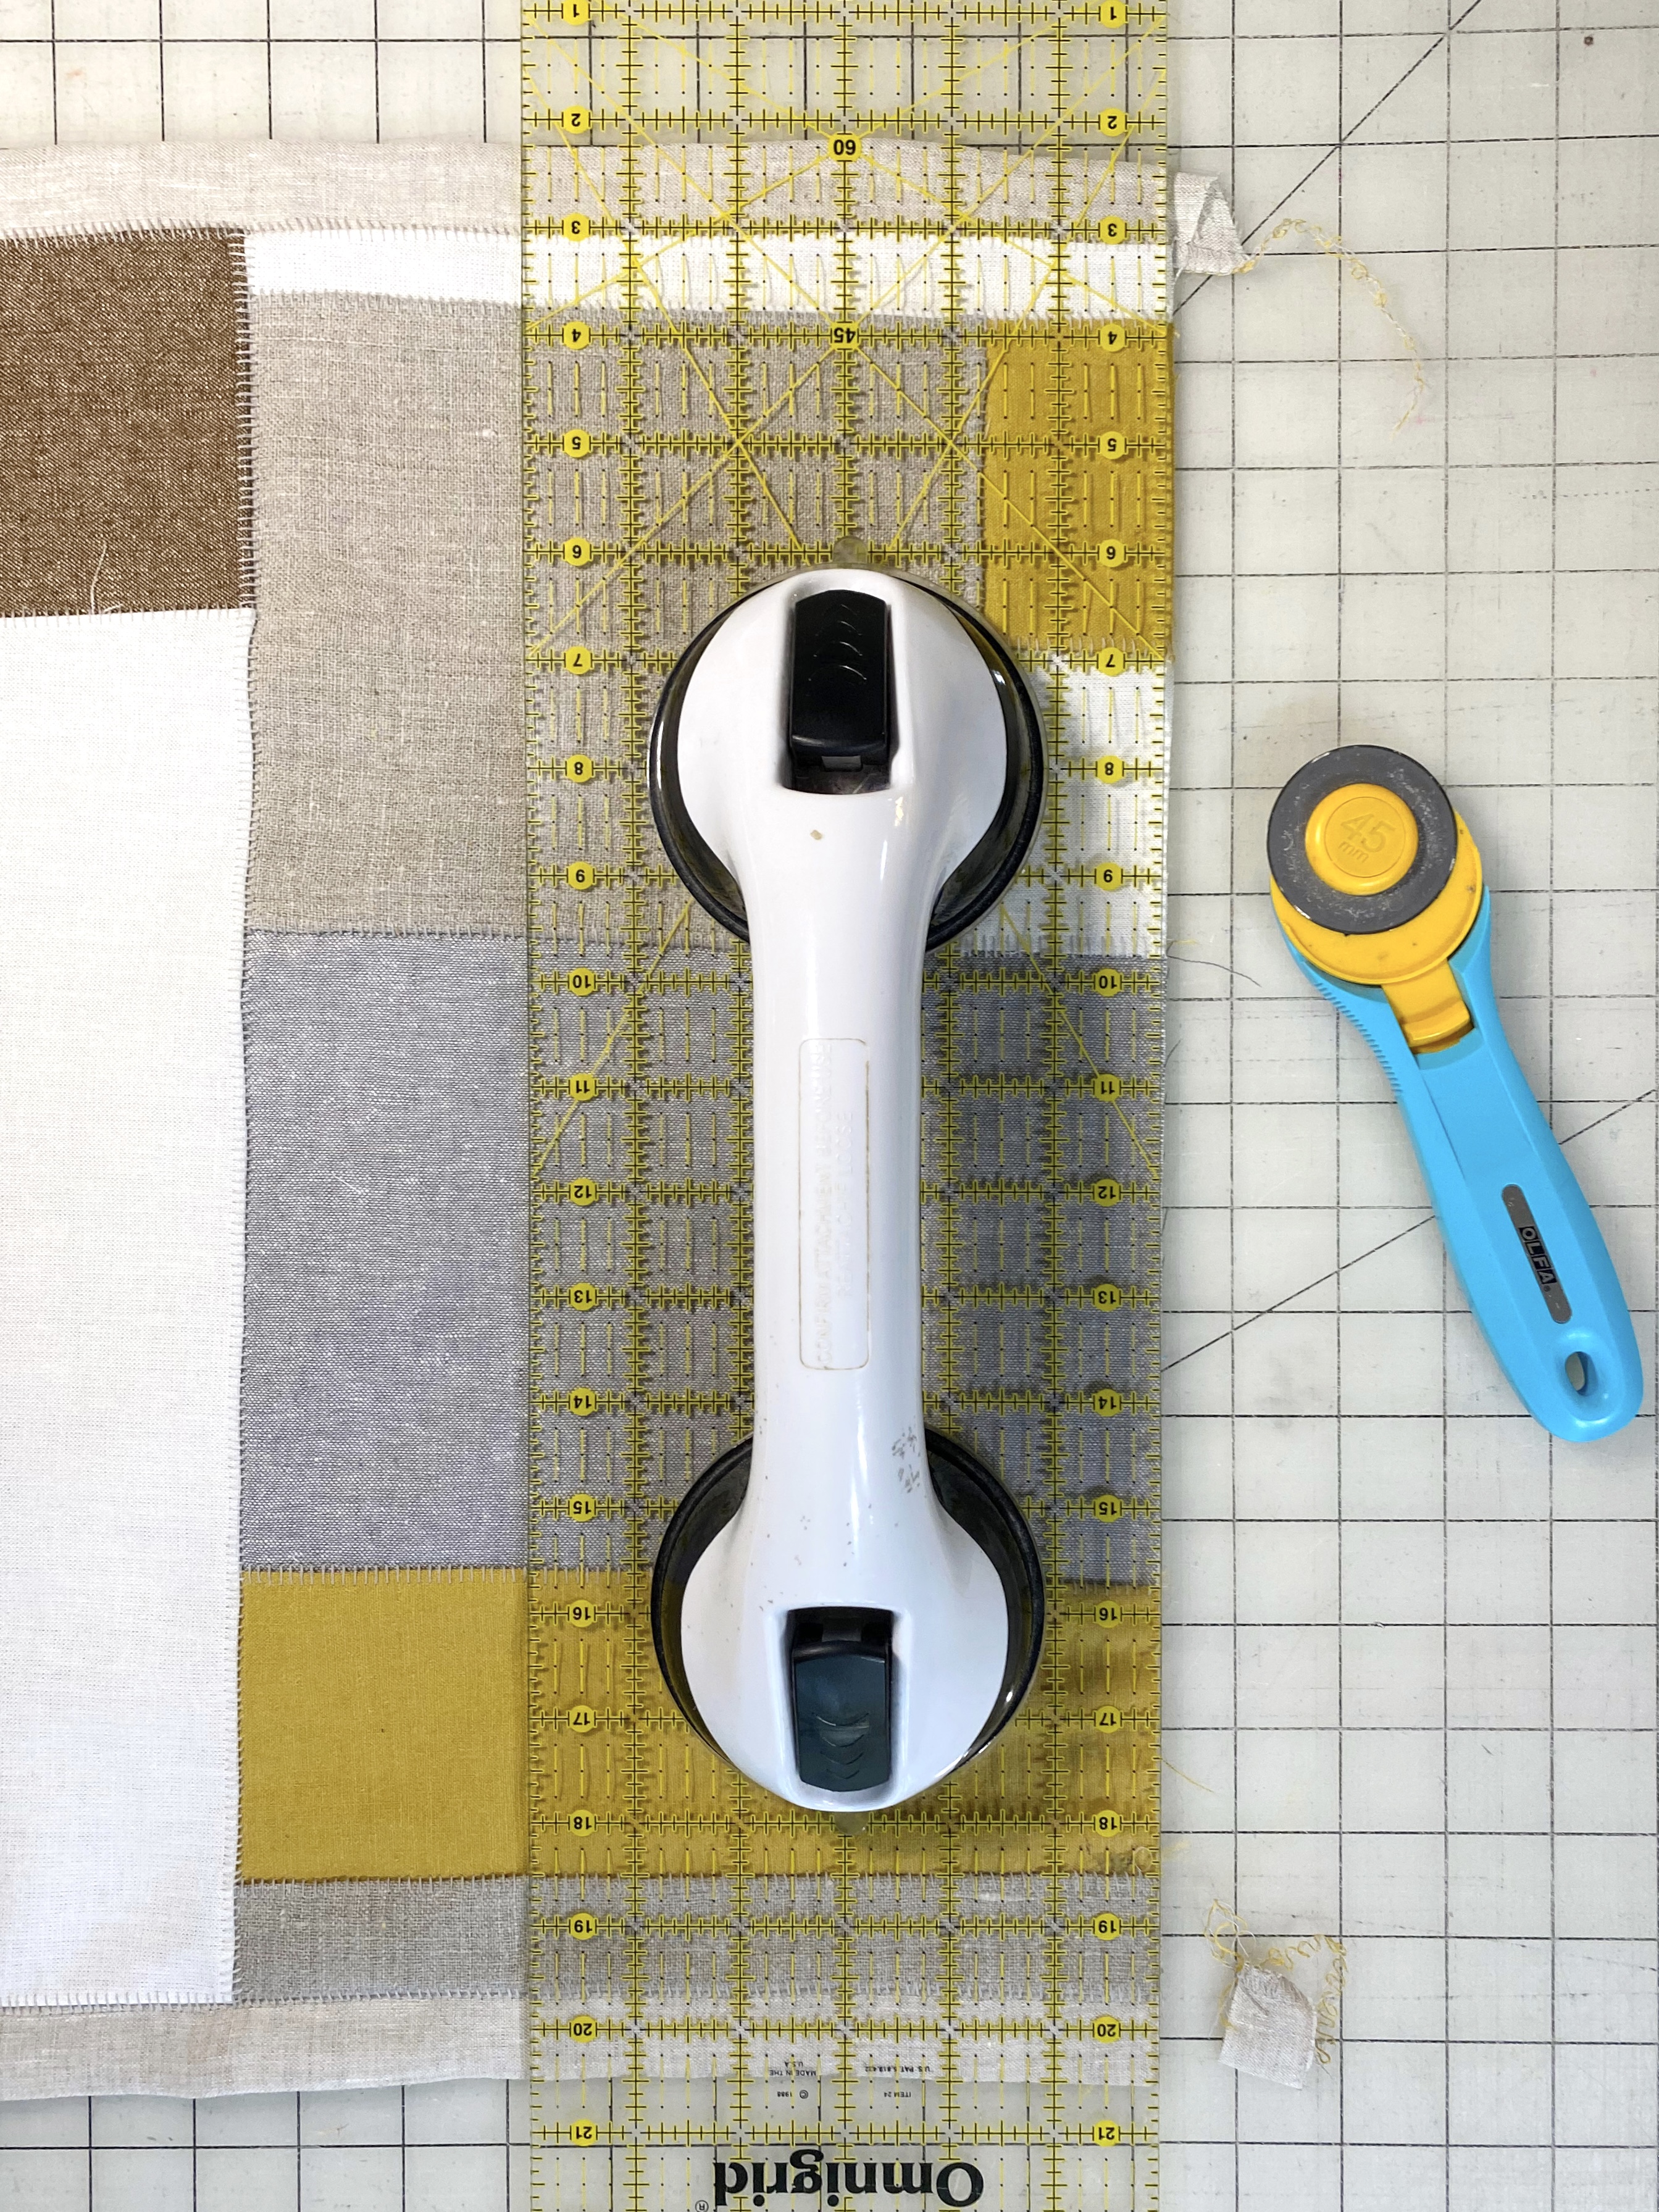
Cut your pieces and plan ahead so that you get an overall idea of the layout.
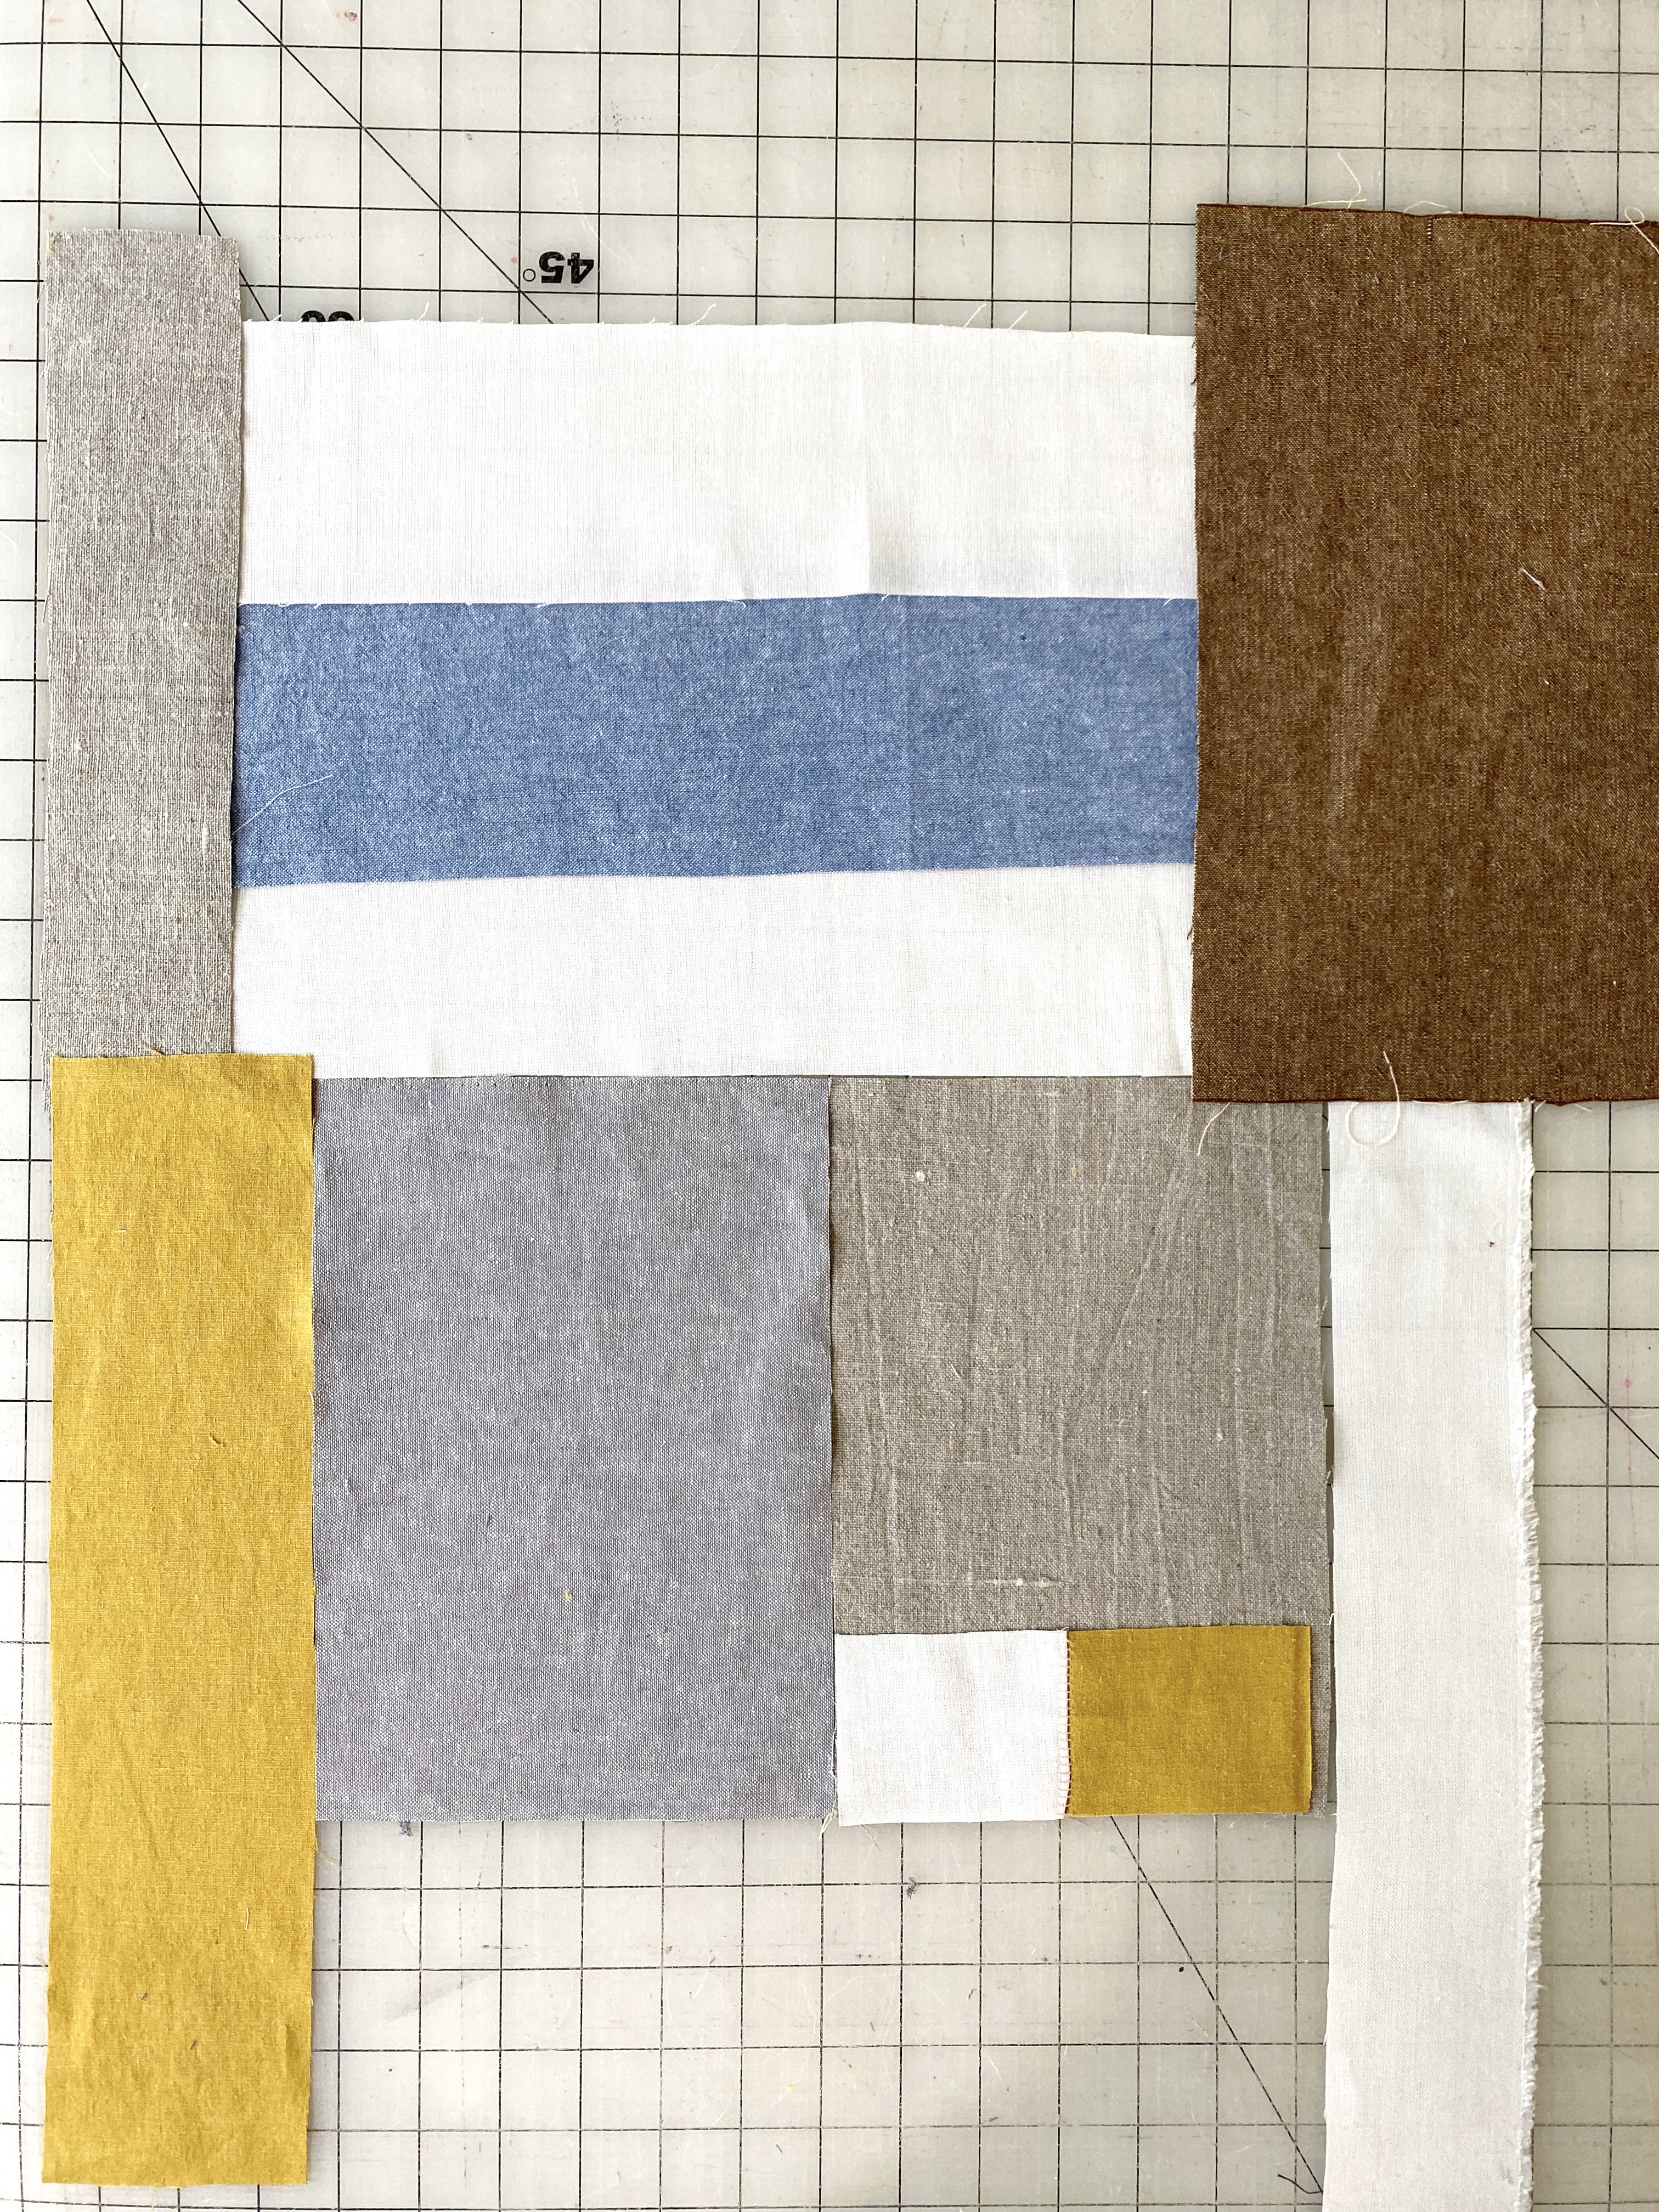
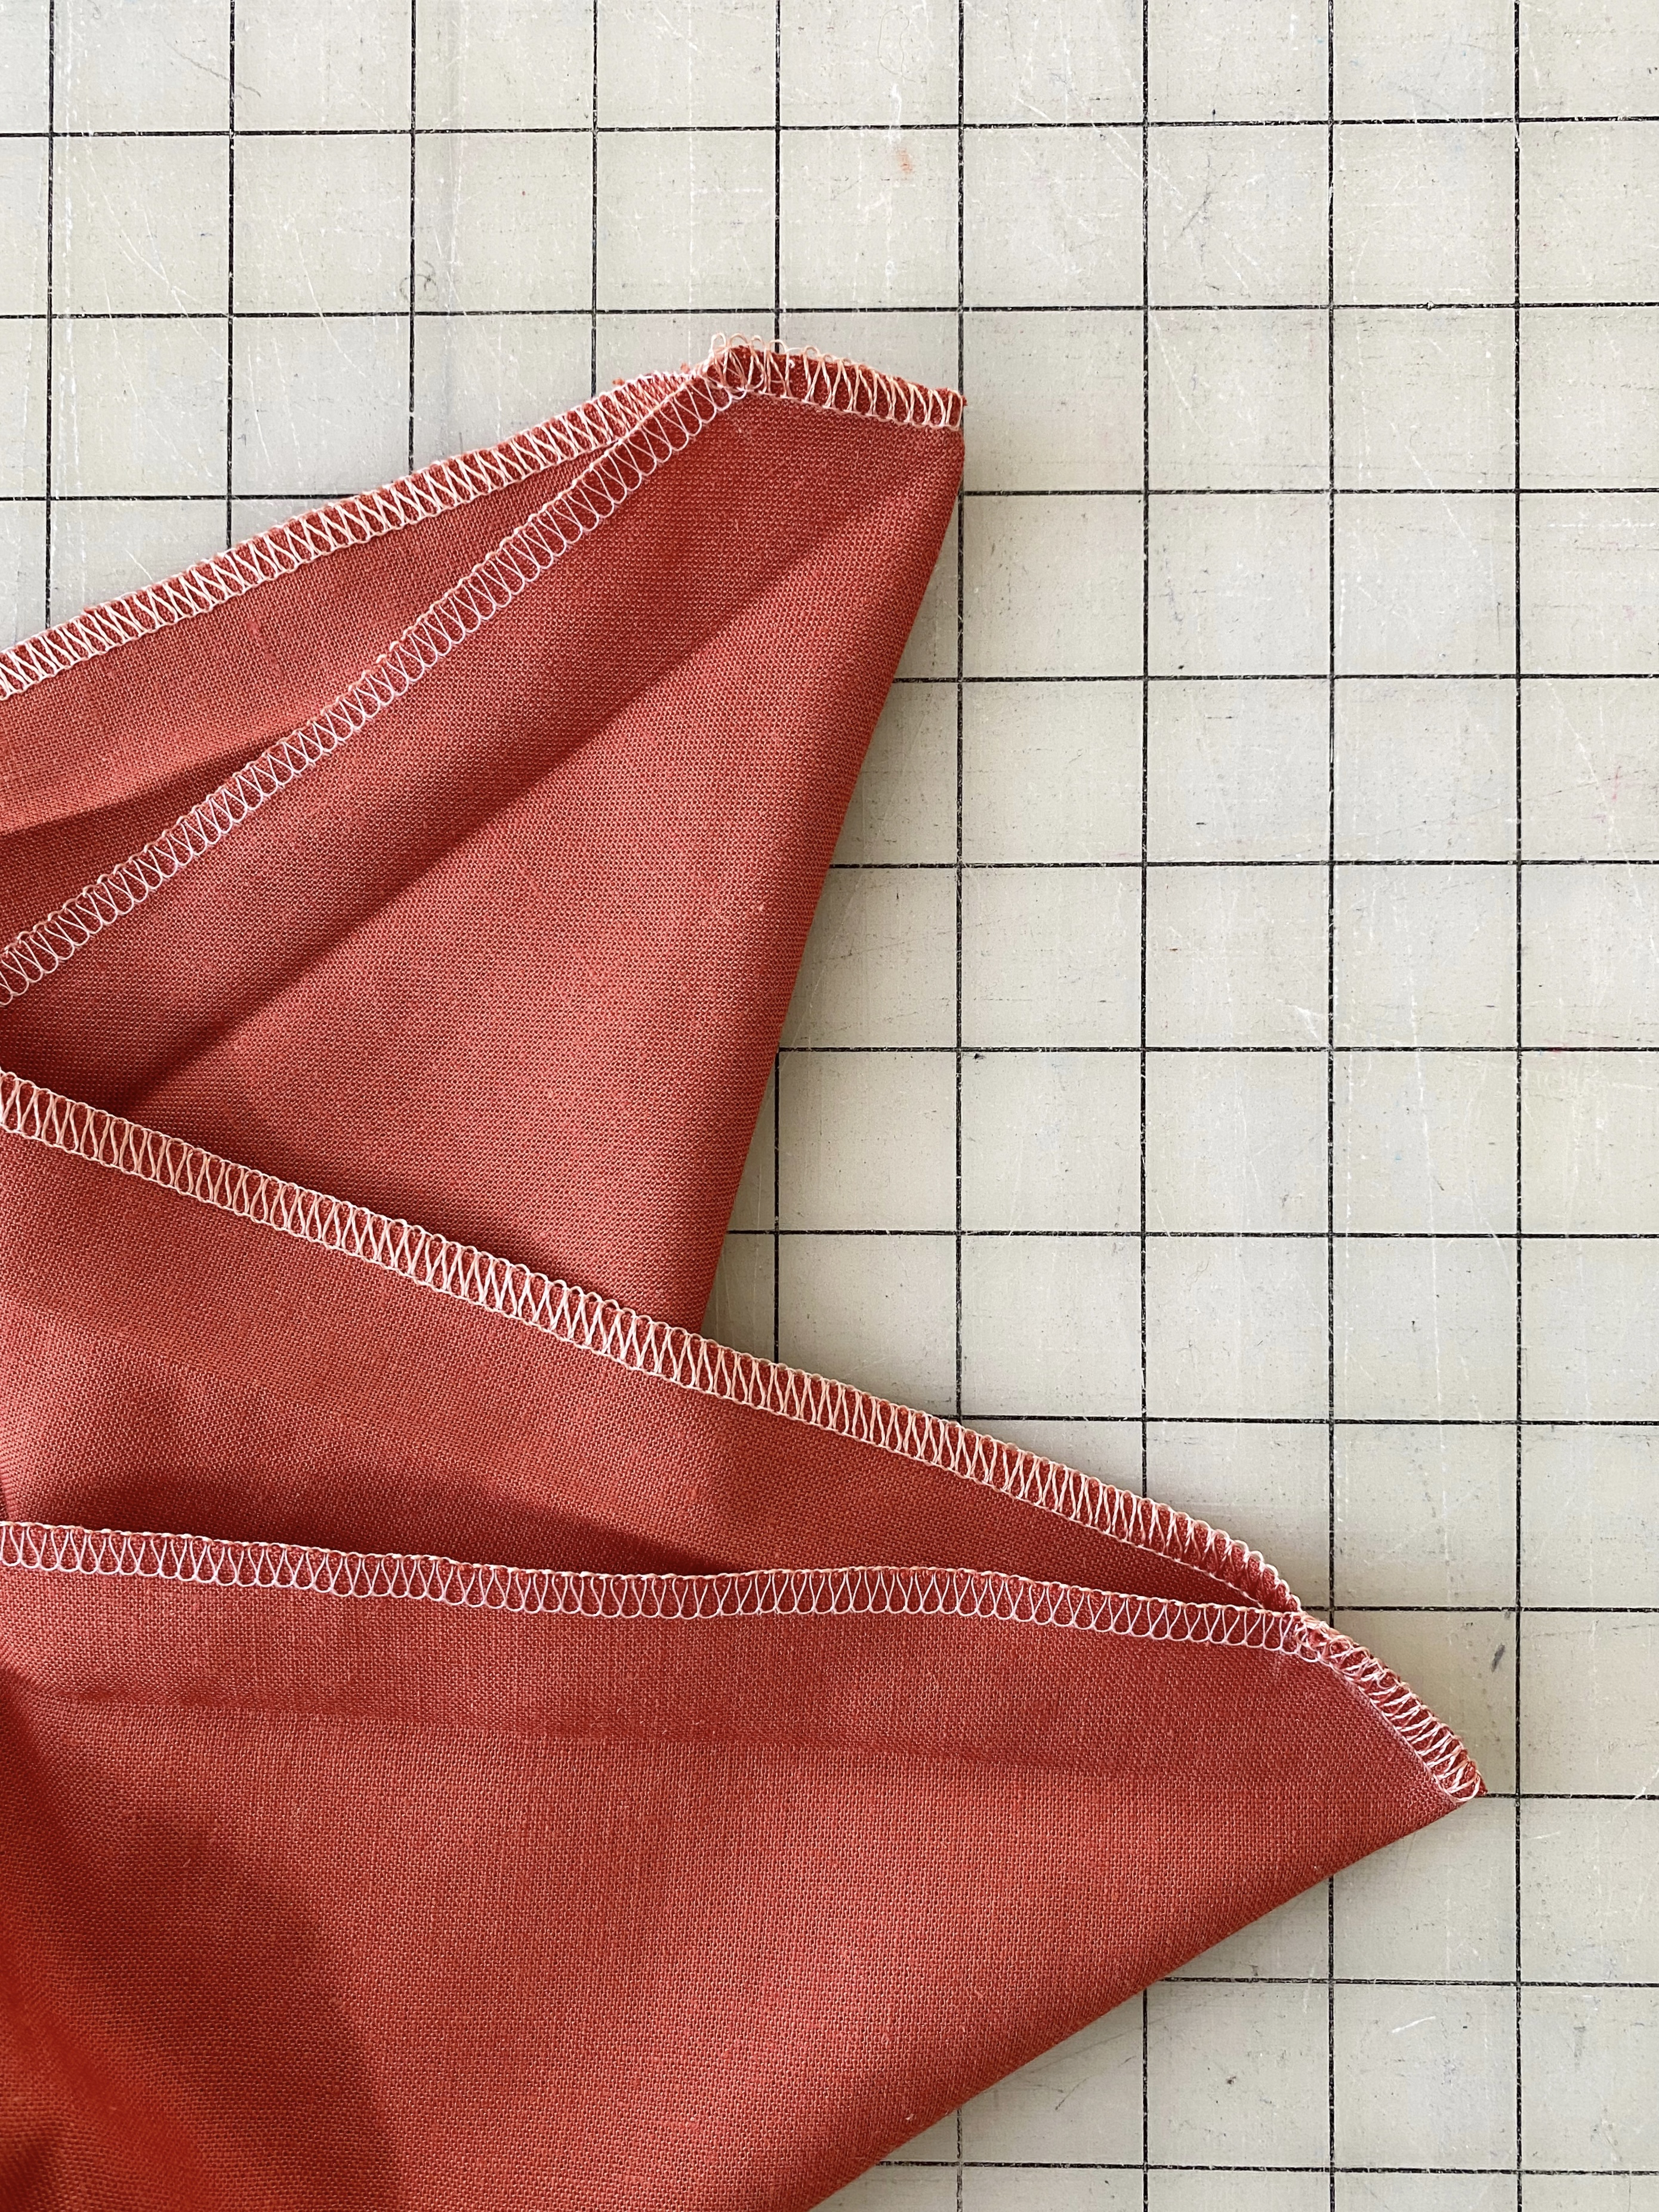
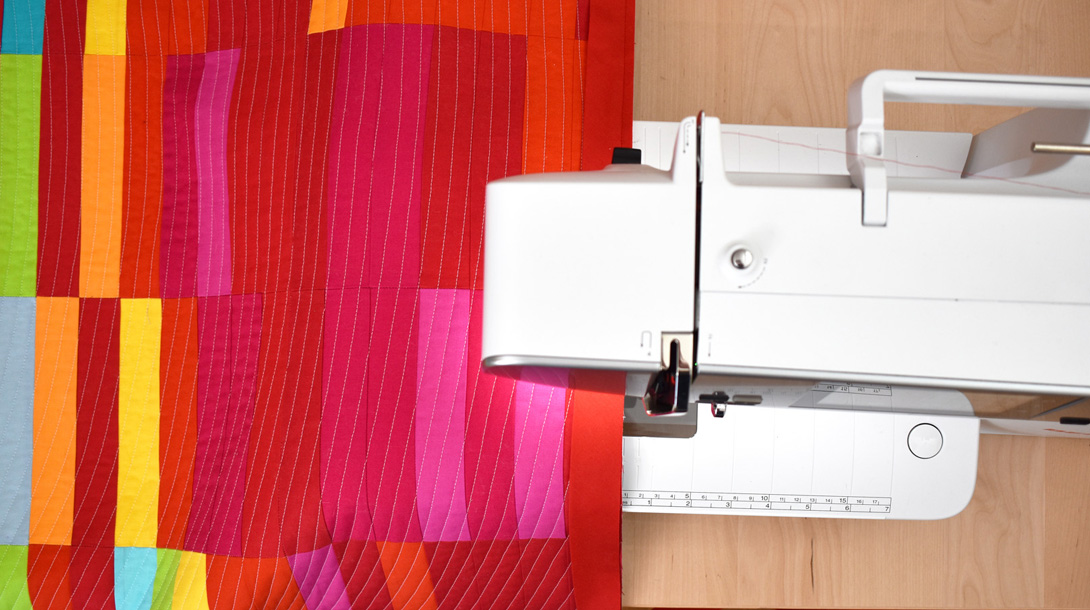
With the flatlock stitch set up, serge your napkin together. Once you finish a seam, pull seams apart to flatten the stitches. You can piece your napkin whichever way you desire, adding in different directions like I did or just joining strips if desired. Just remember to have a final piece that measures about 18”. We will square it up after all the pieces are serged together.
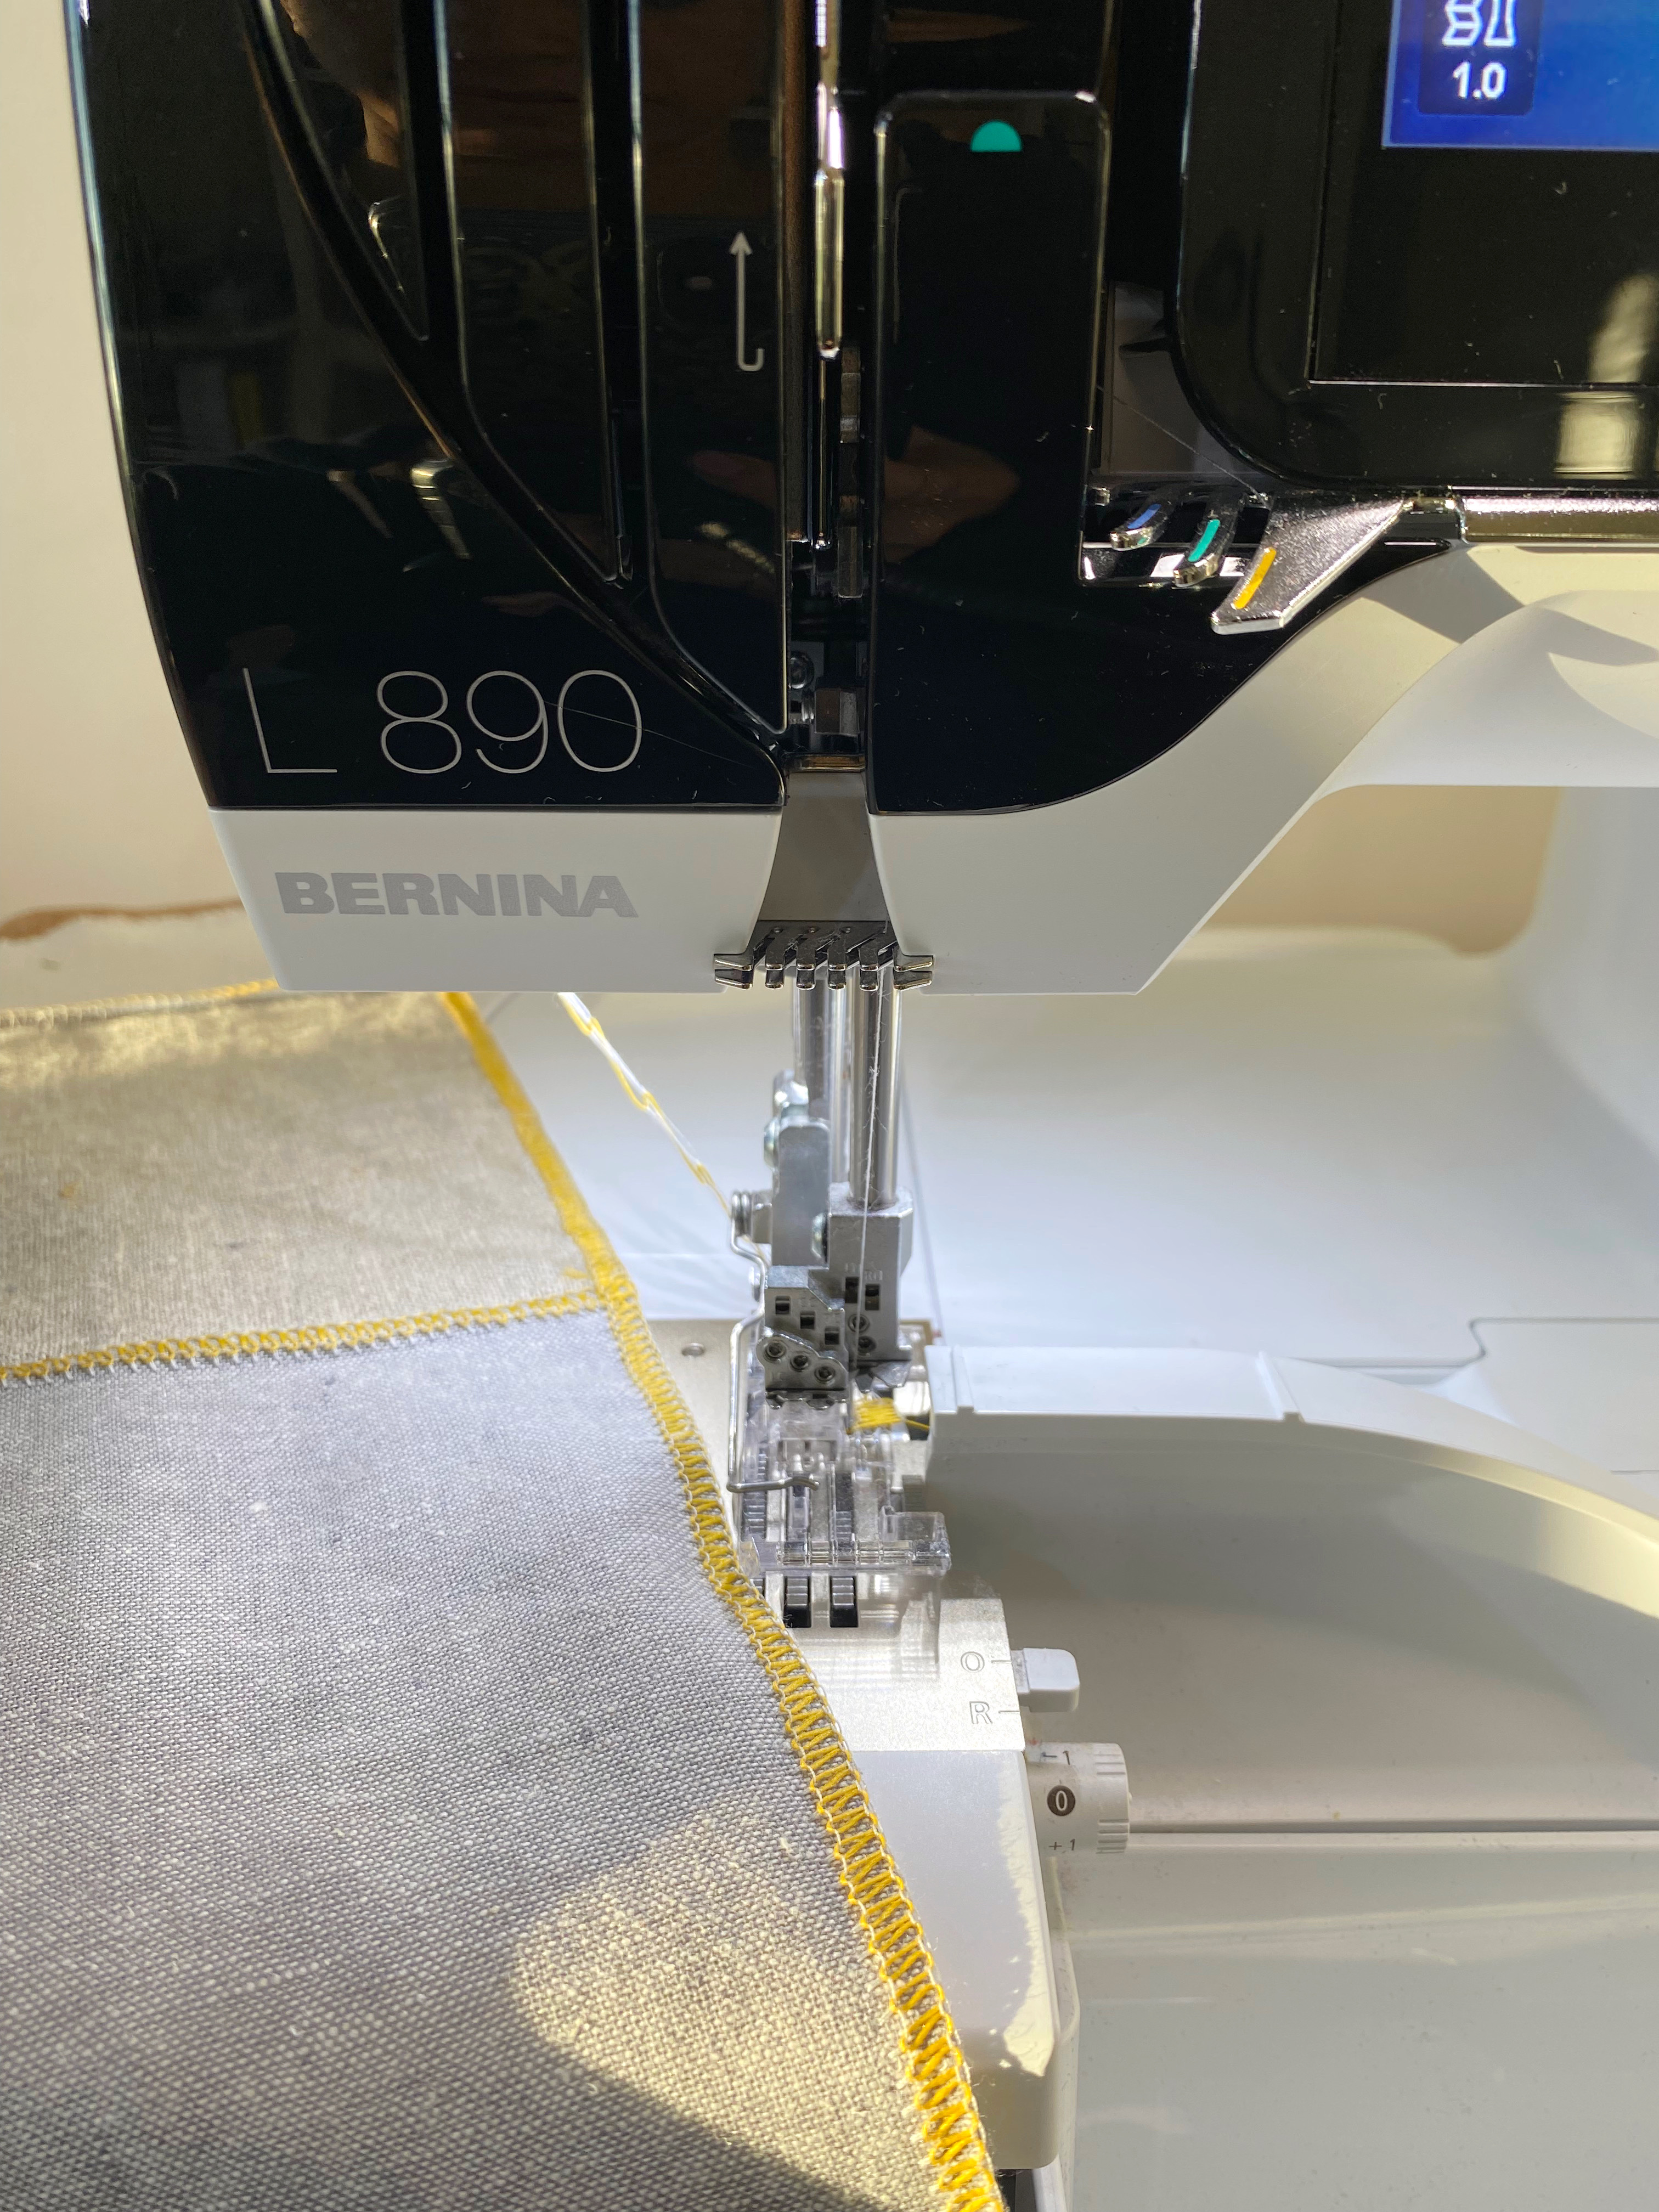
Once you got it to about 18”, square napkin to 17”.
Making the Borders
Fold the 2” strips that were previously cut and press them with the wrong sides together. Save the longer strips for the final two edges.
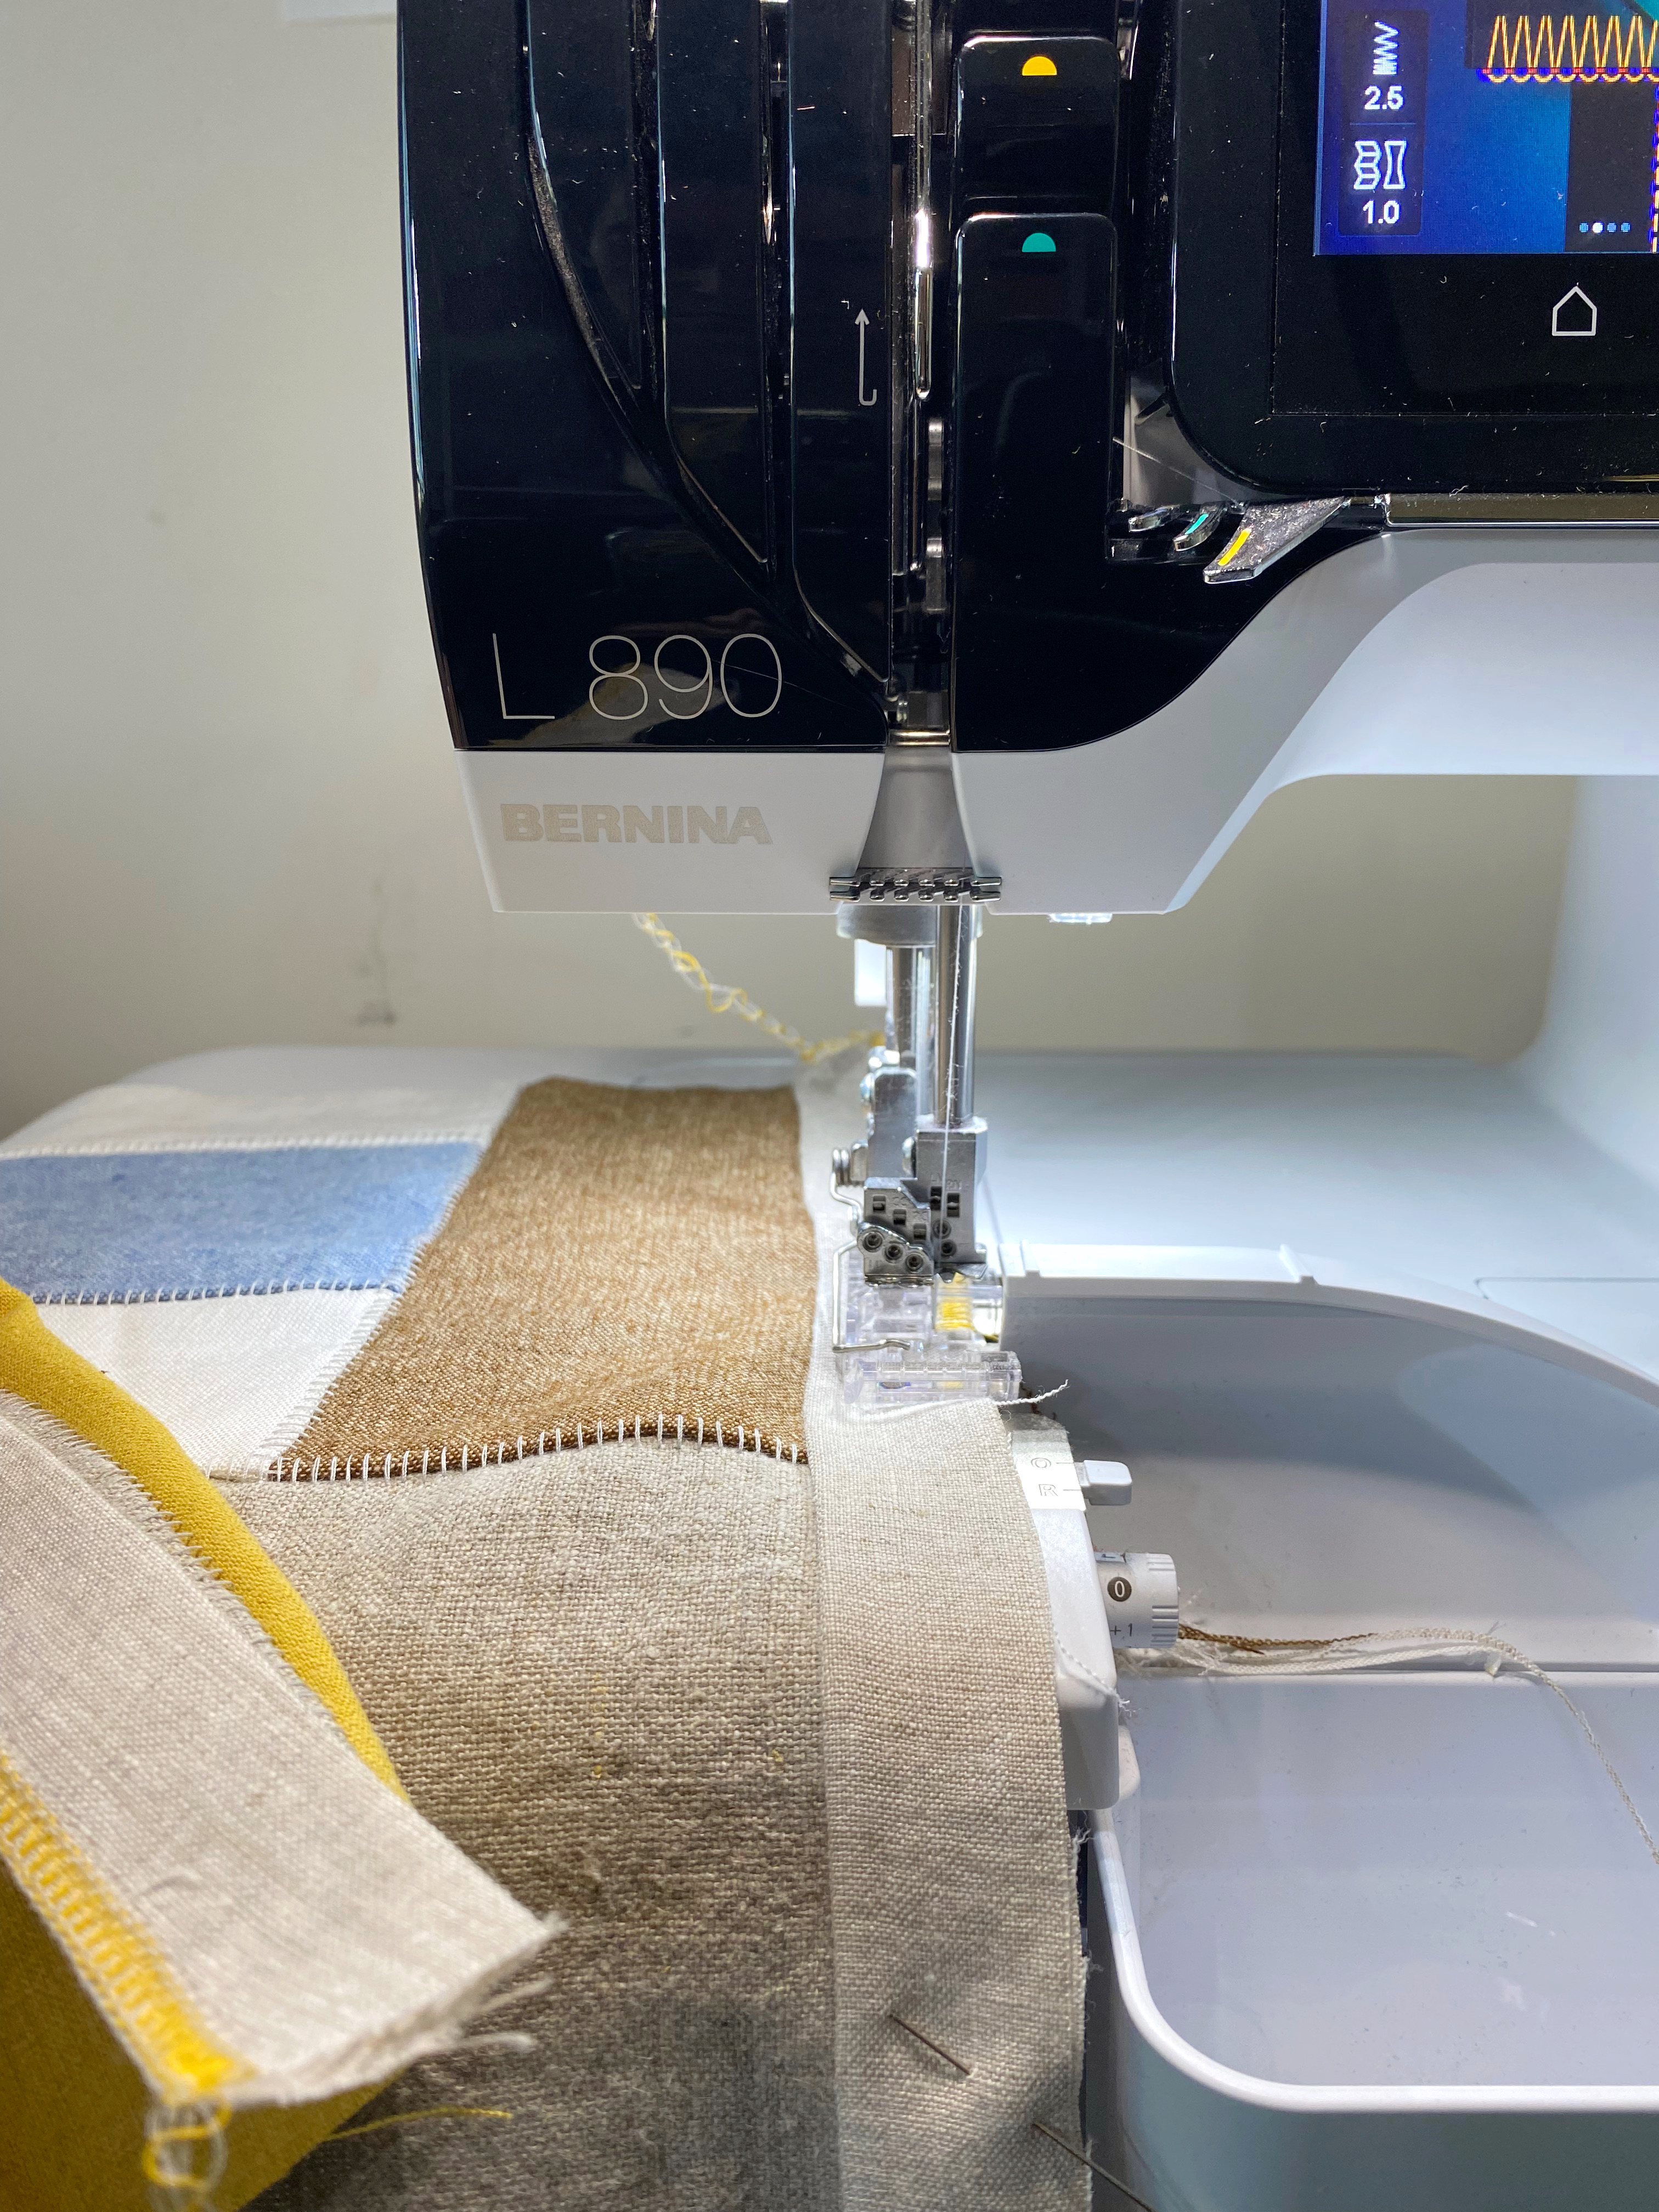
With raw edges lined up, flatlock the folded strip to the napkin top (right sides together), leaving long tails at the beginning and end of seam. Pull seams apart to flatten the stitches. Trim sides even with napkin edge. Repeat for the opposite side.
For the last two sides, pick up the remaining strips, and fold them in half the same way as done before. Open strip and fold one short end about 1/2” in to encase the raw edge and close it back with wrong sides together back again. Now, lay this enclosed end to the napkin top, matching edges at the corner, and measure out the strip to have the same length as the napkin plus 1/2” past it. Cut excess and press the 1/2” in the same way as the other end. Now you can pin this strip to the raw edge of the napkin, right sides together. *Alternatively, you can serge these edges before attaching them to the napkin. Just remember to set it up for a flatlock back again when sewing them to the napkin top.
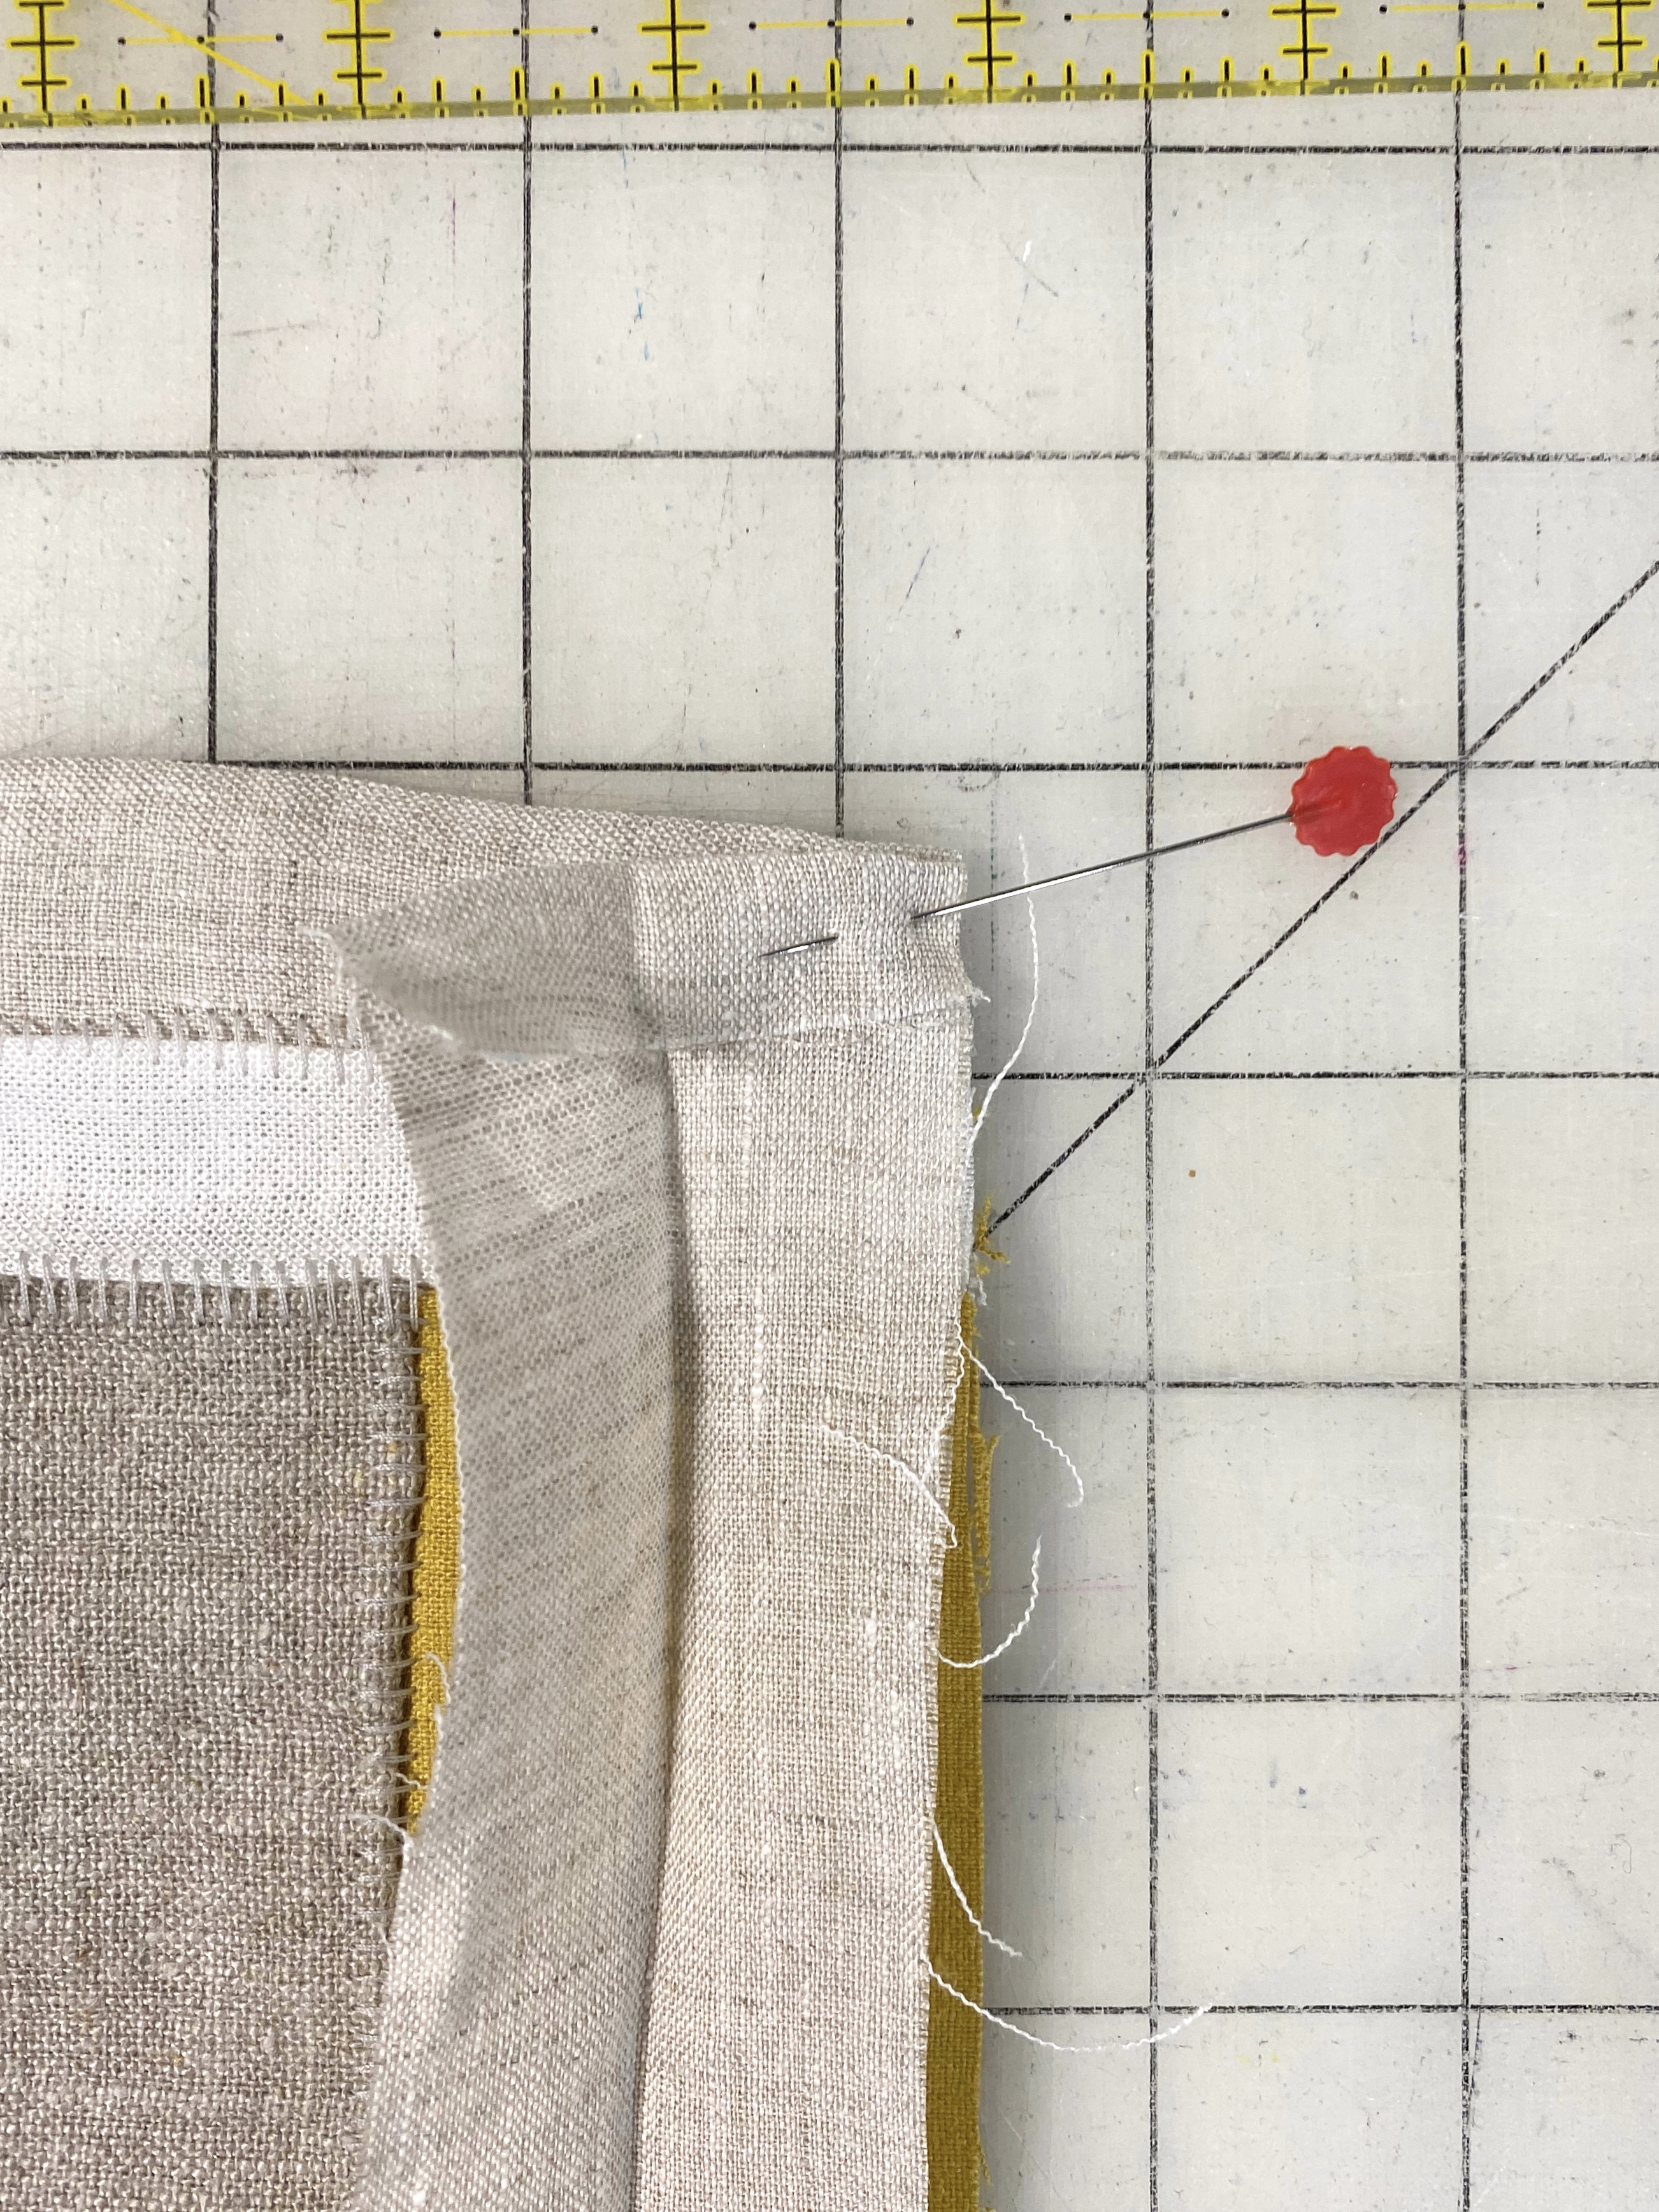

Flatlock the raw edges leaving long tails at the beginning and end of seam. Pull seams apart to flatten the stitches. Repeat for the opposite side.
To finish it, thread tails under the folded flatlocked pieces to hide it. You can use a little sealant like Fray check. Cut remaining tails and you are done.

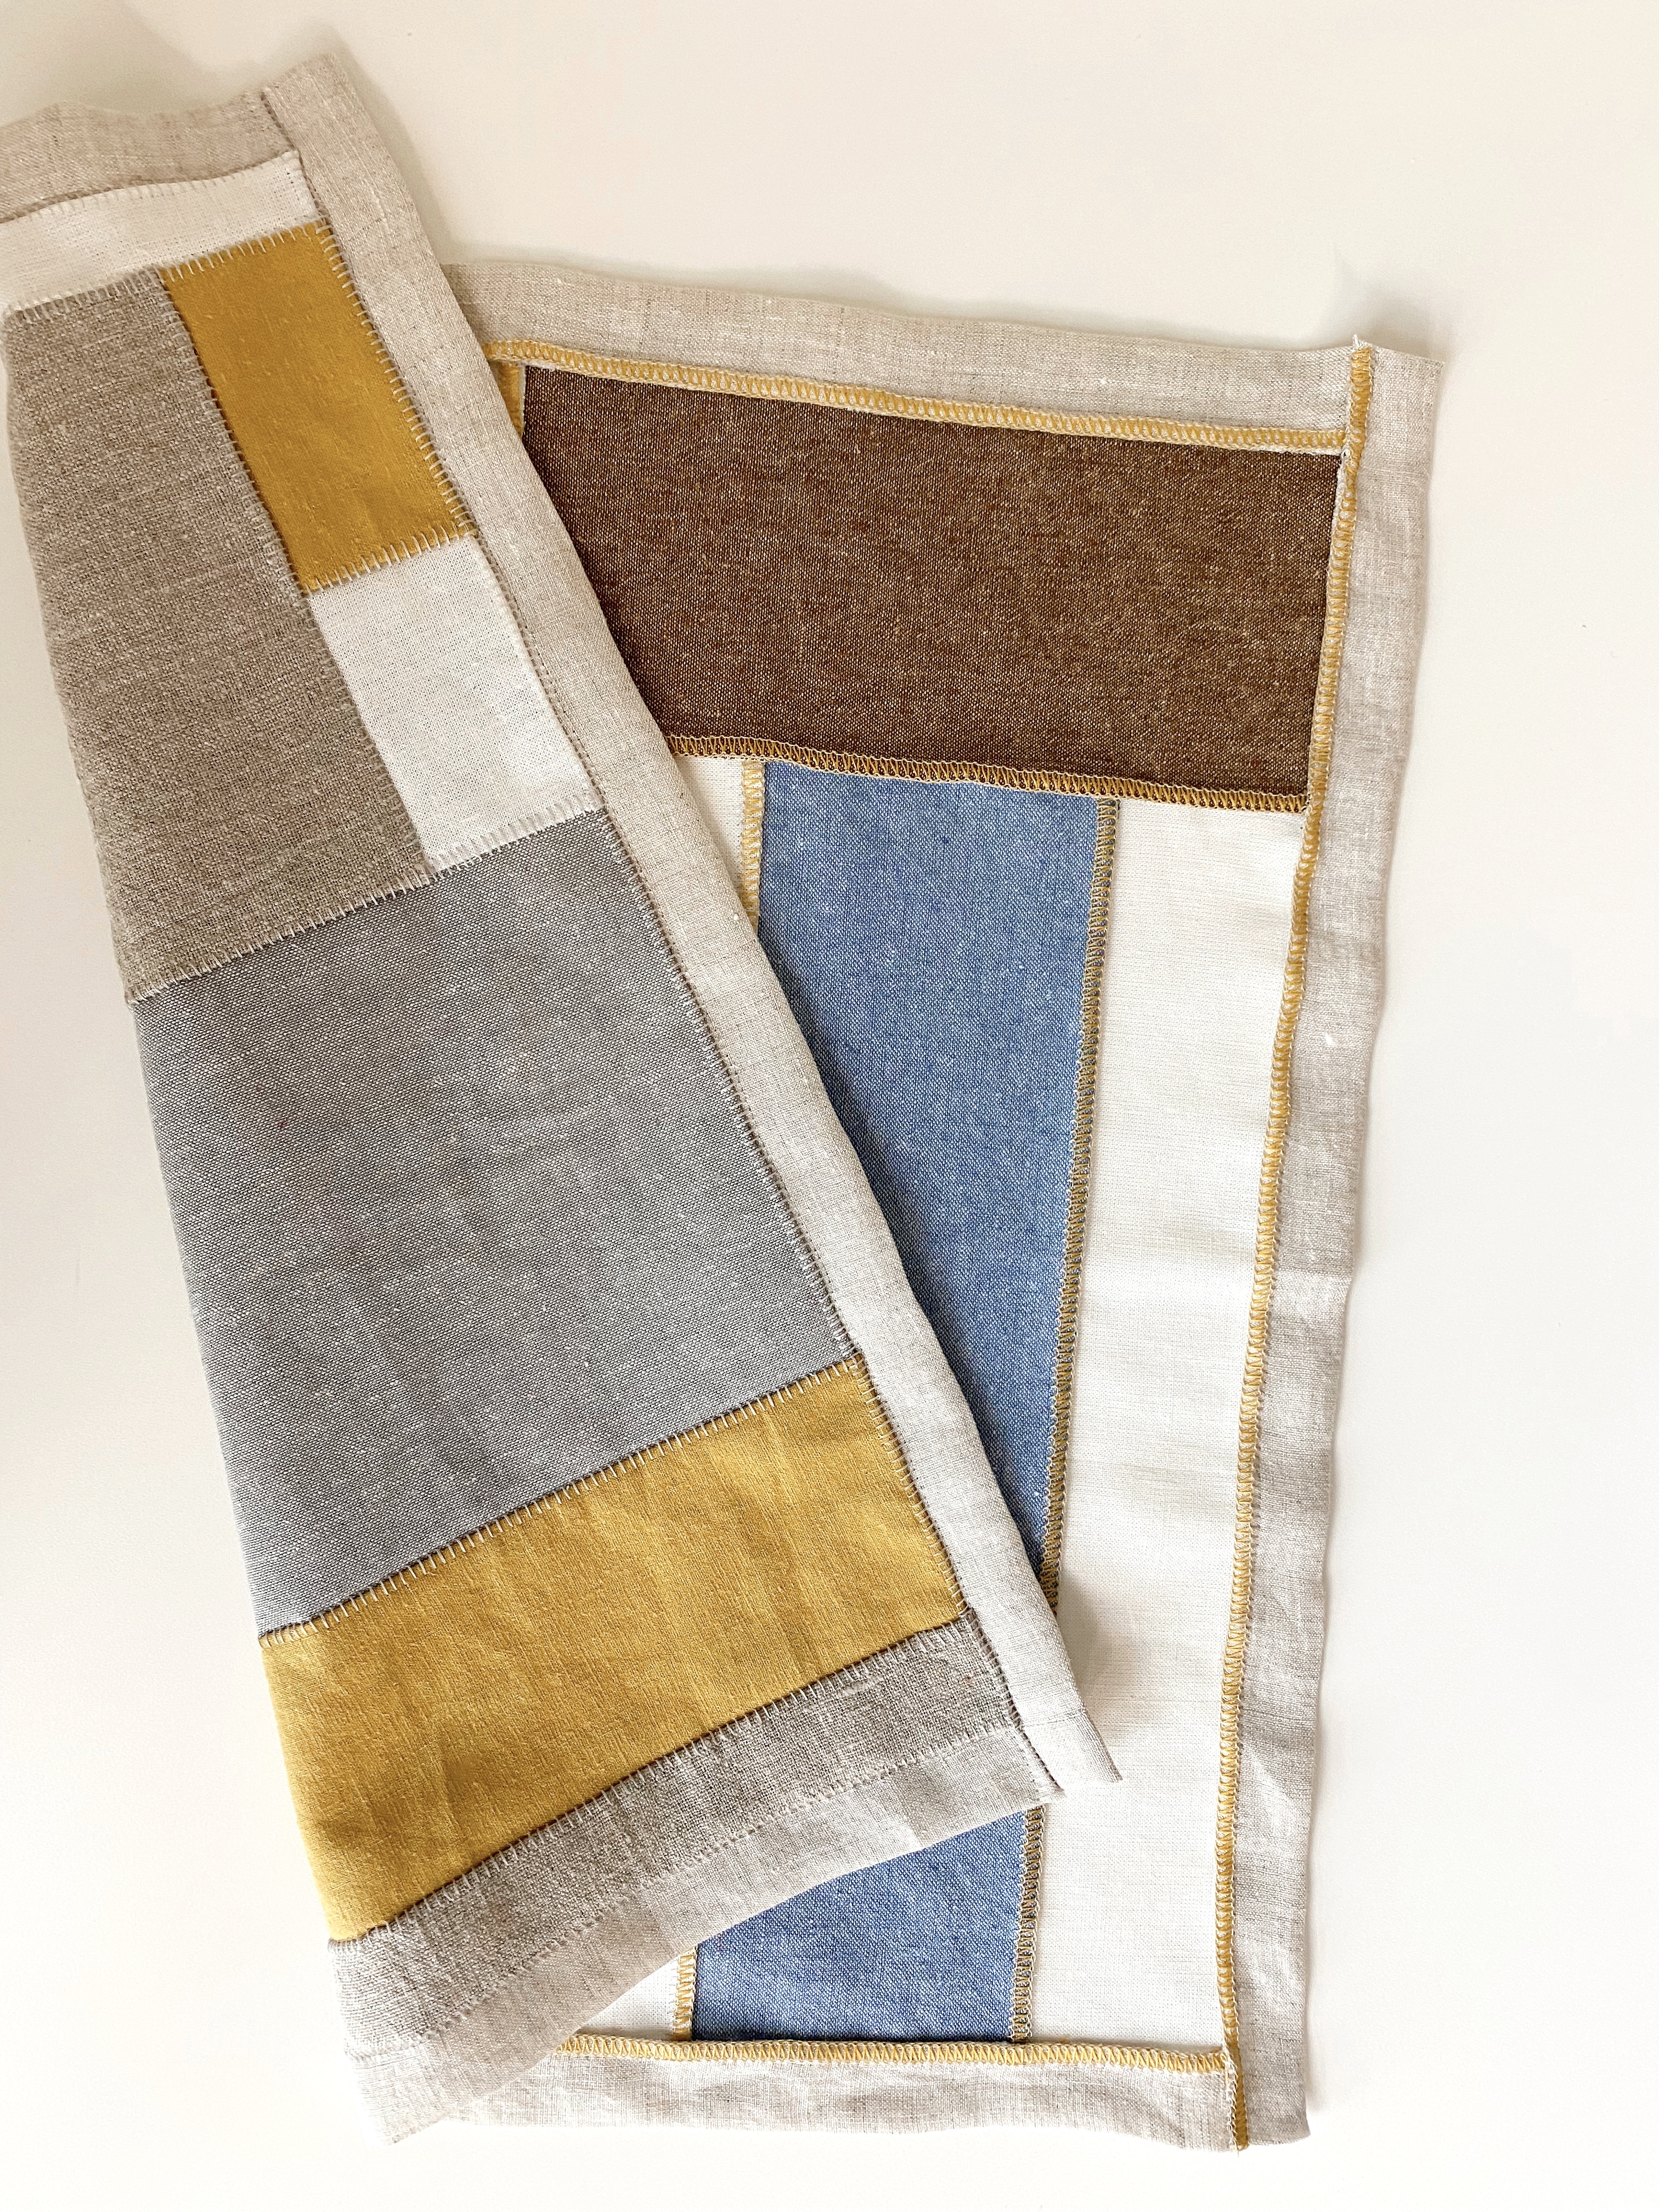
I love how each pieced napkin can look a little different.
Mitered Corner with Coverstitch Finish
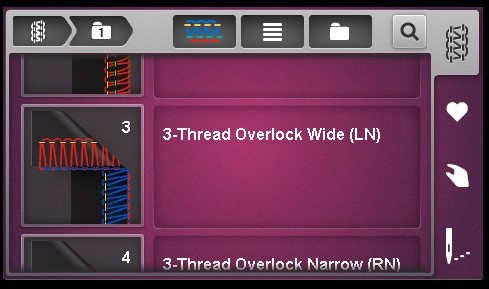
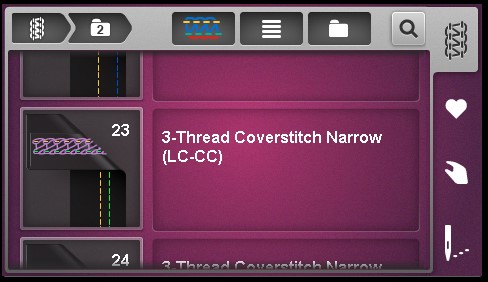
For this napkin style, we will use the 3-thread overlocker stitch and the 2-thread narrow coverstitch. If you don’t have a coverstitch machine, you can do this using a double-needle or a decorative stitch on your sewing machine.
Settings and Materials
Set up your overlocker for a 3-thread overlock wide stitch. My settings were: RN: 4.0 UL: 3.4 LL: 5.4

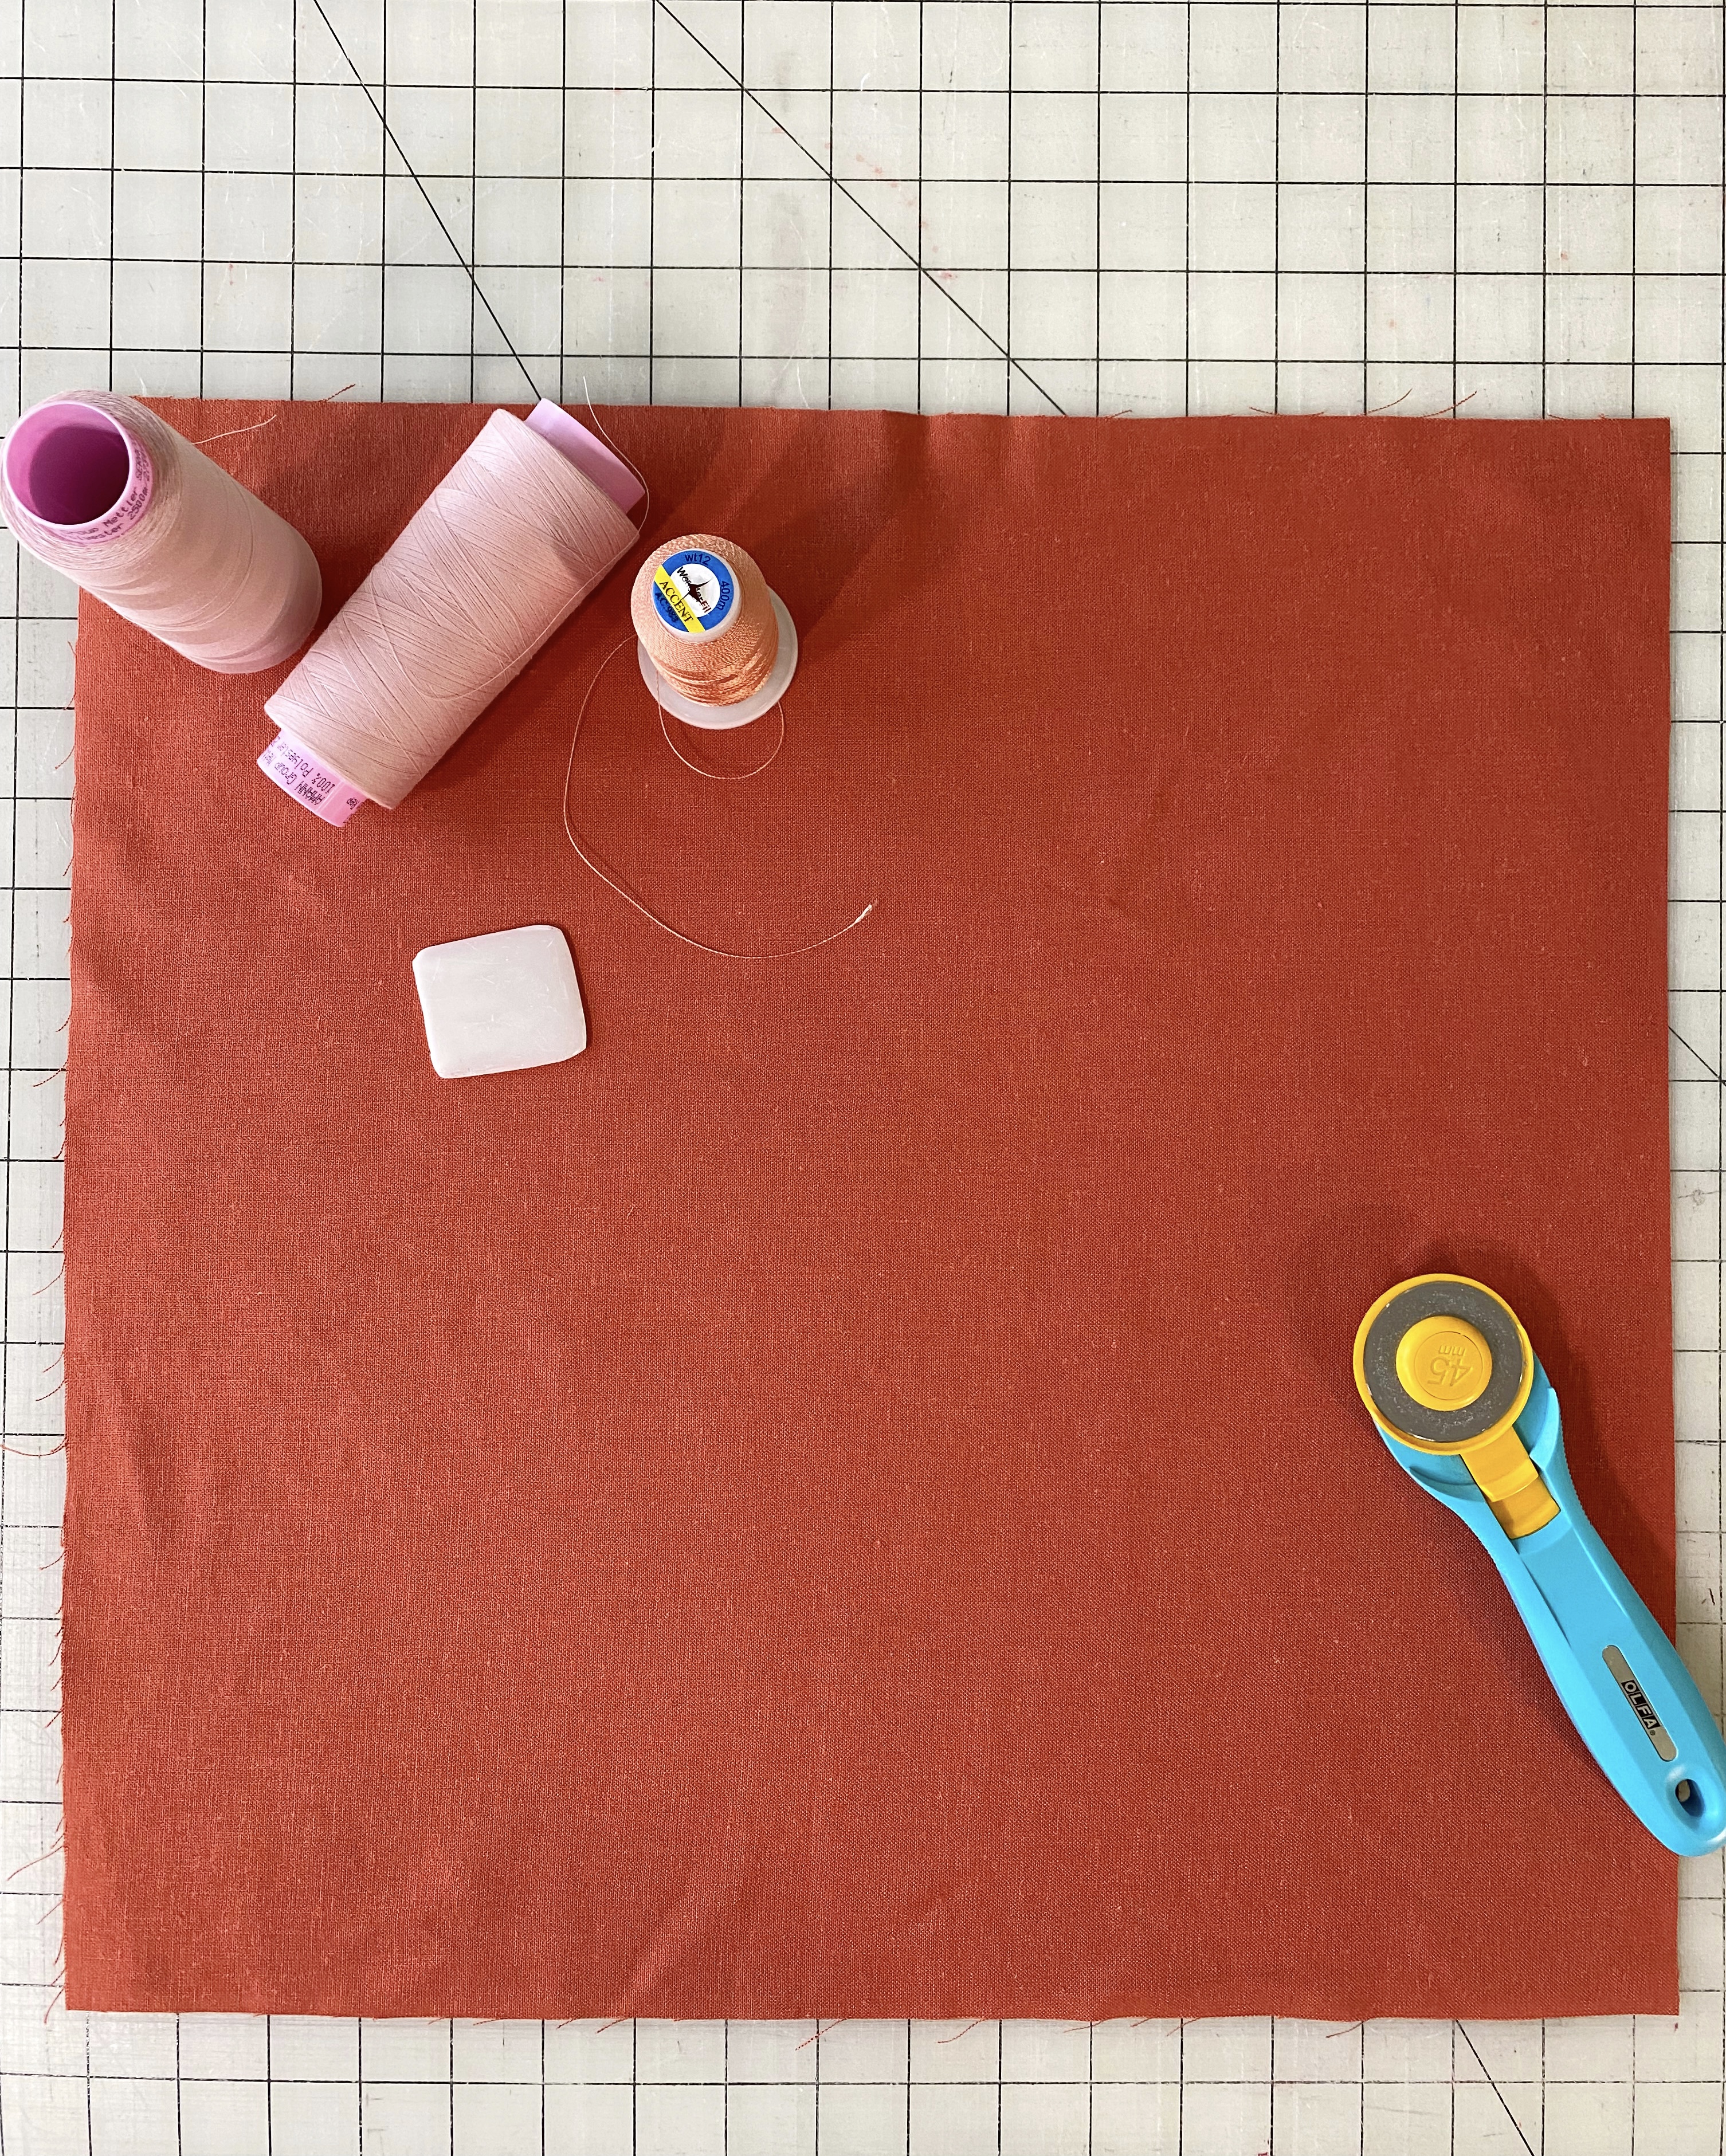
I used a regular Mettler Seracor thread on the needle and lower looper and Wonderfil Accent on the upper looper.
Making the Napkin
Cut an 18” square from your fabric.
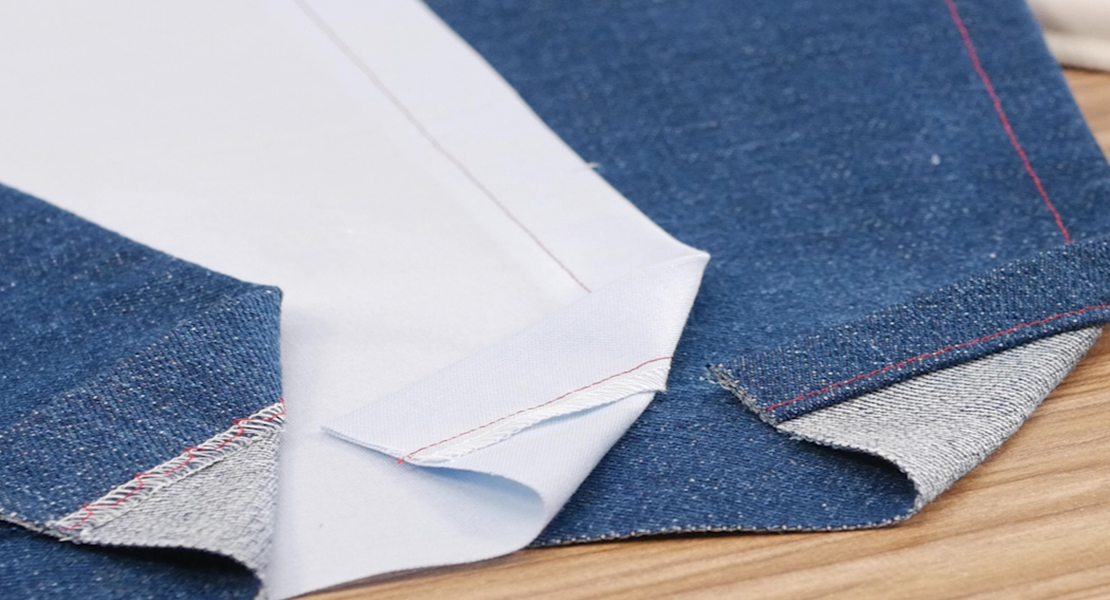
Serge the four edges with napkin right side up (so that the upper looper shows once we fold our edges) then bury and cut the tails.
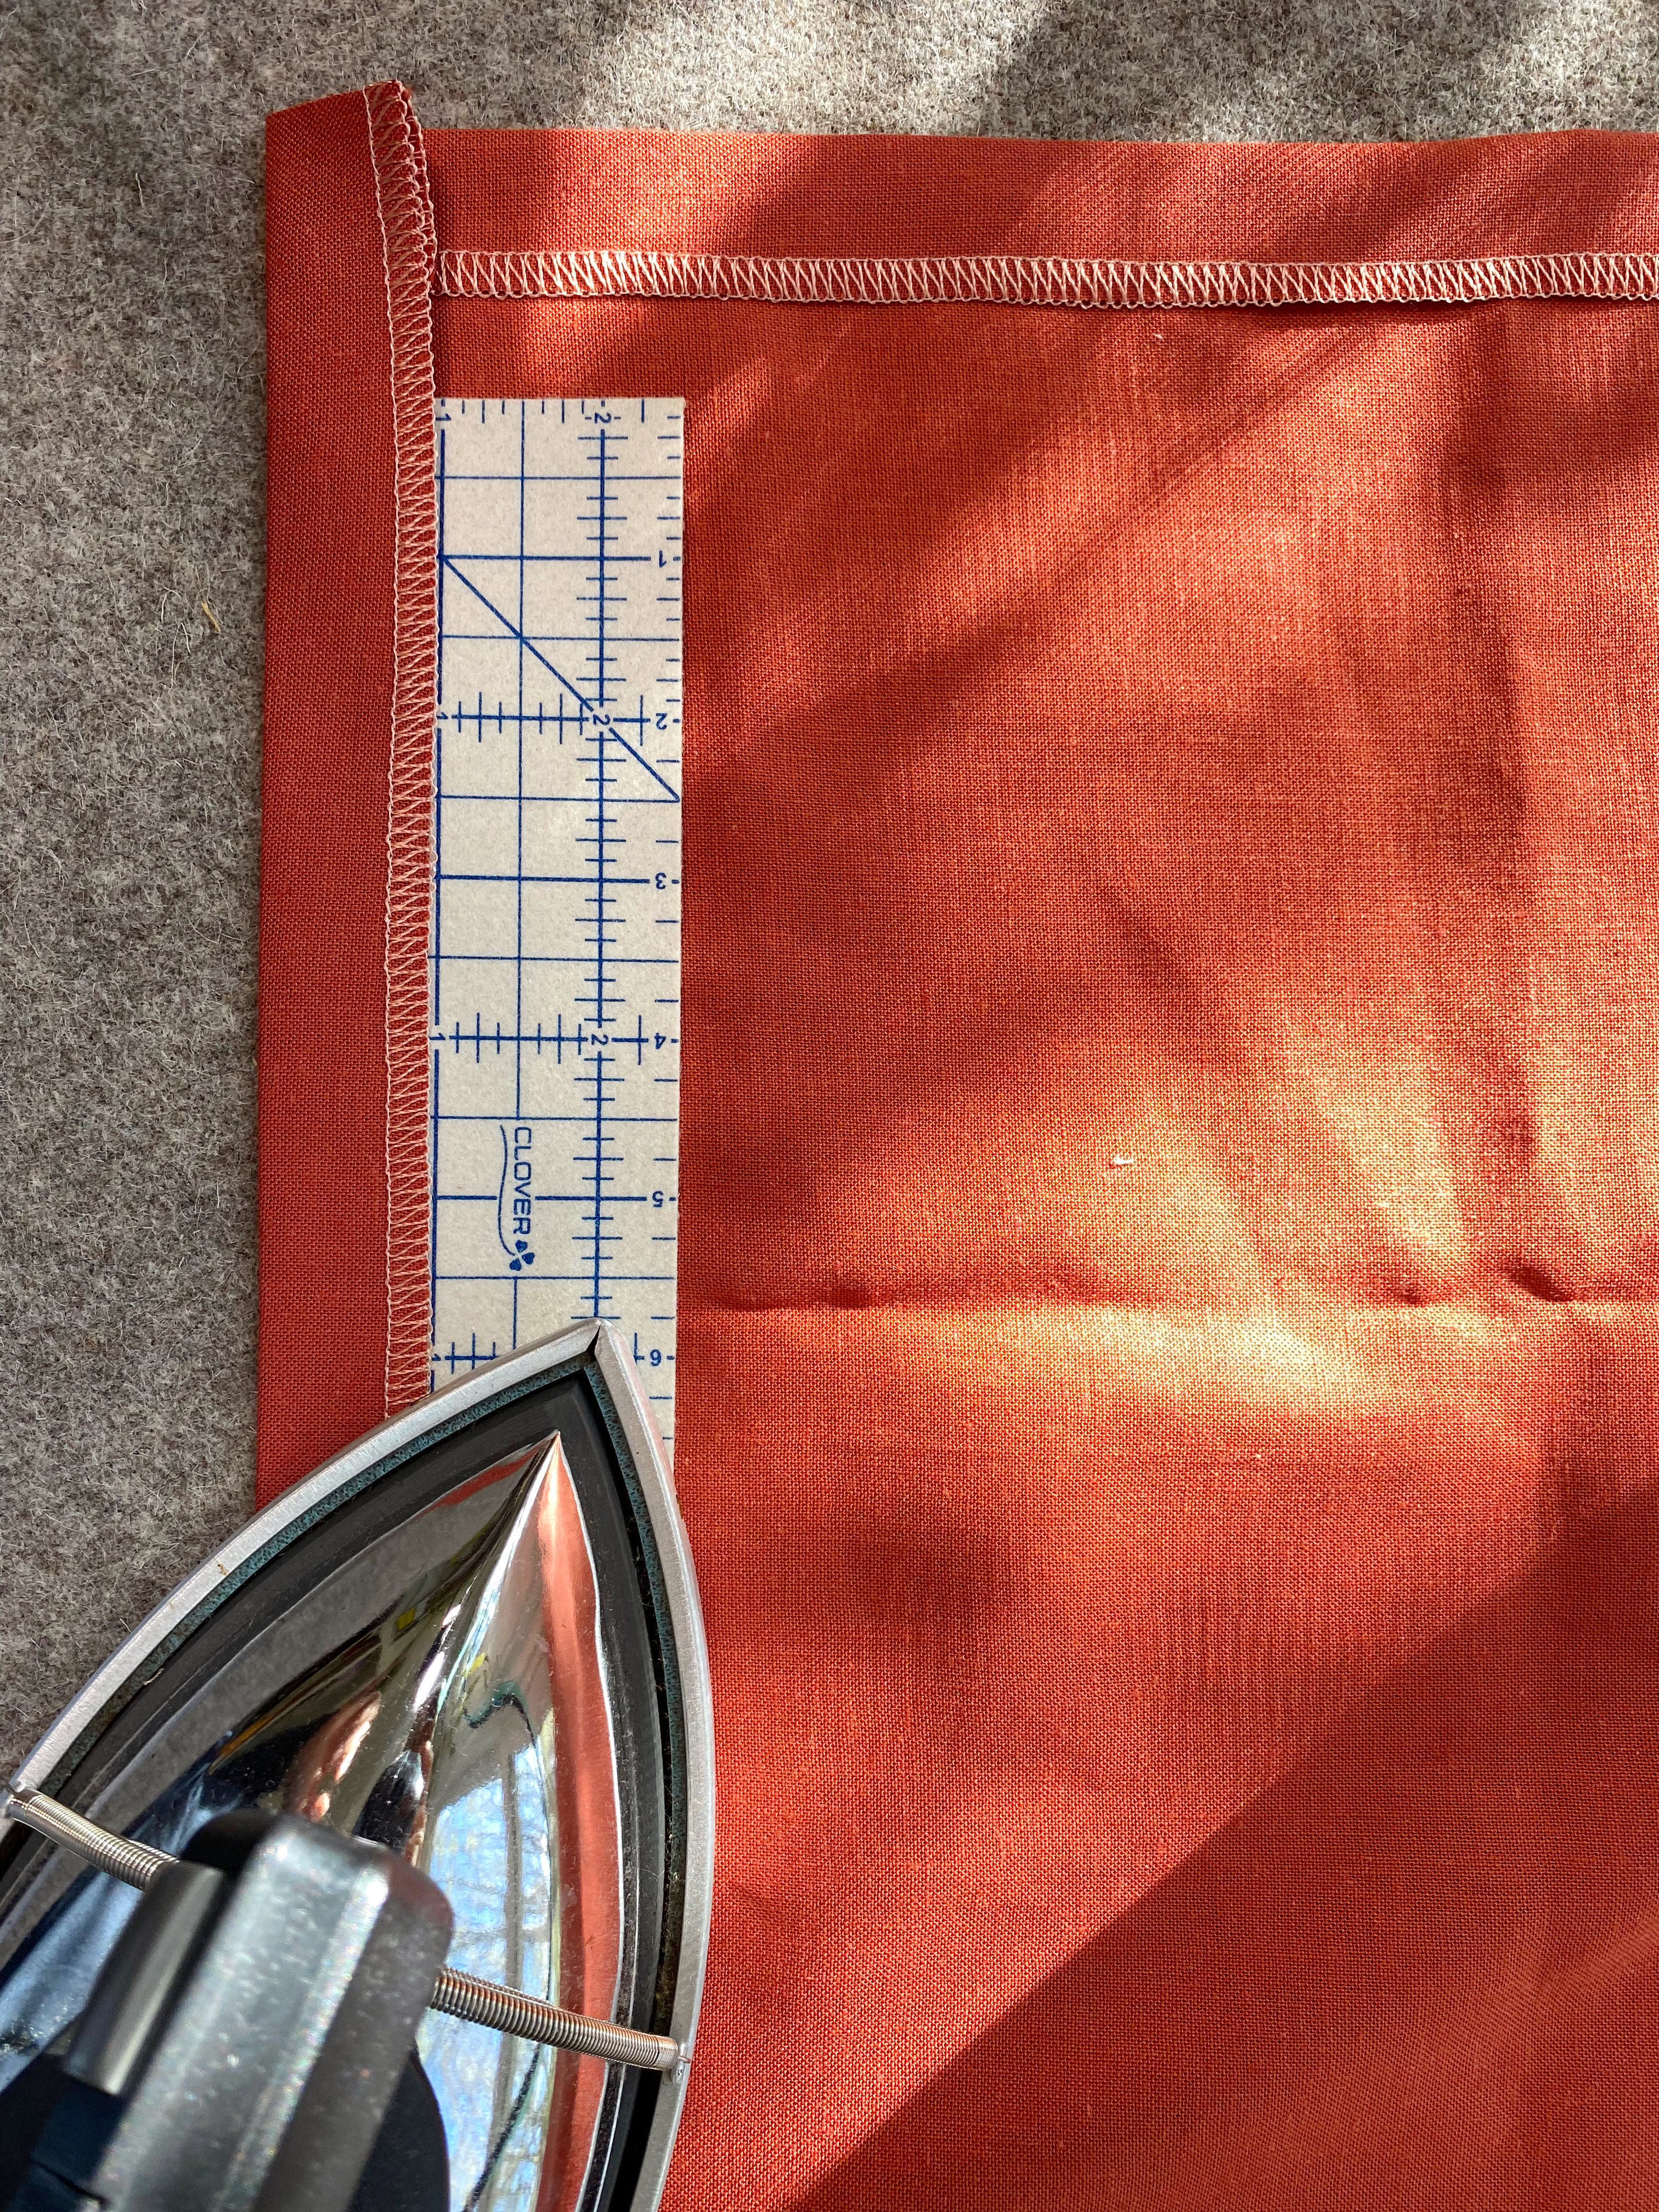
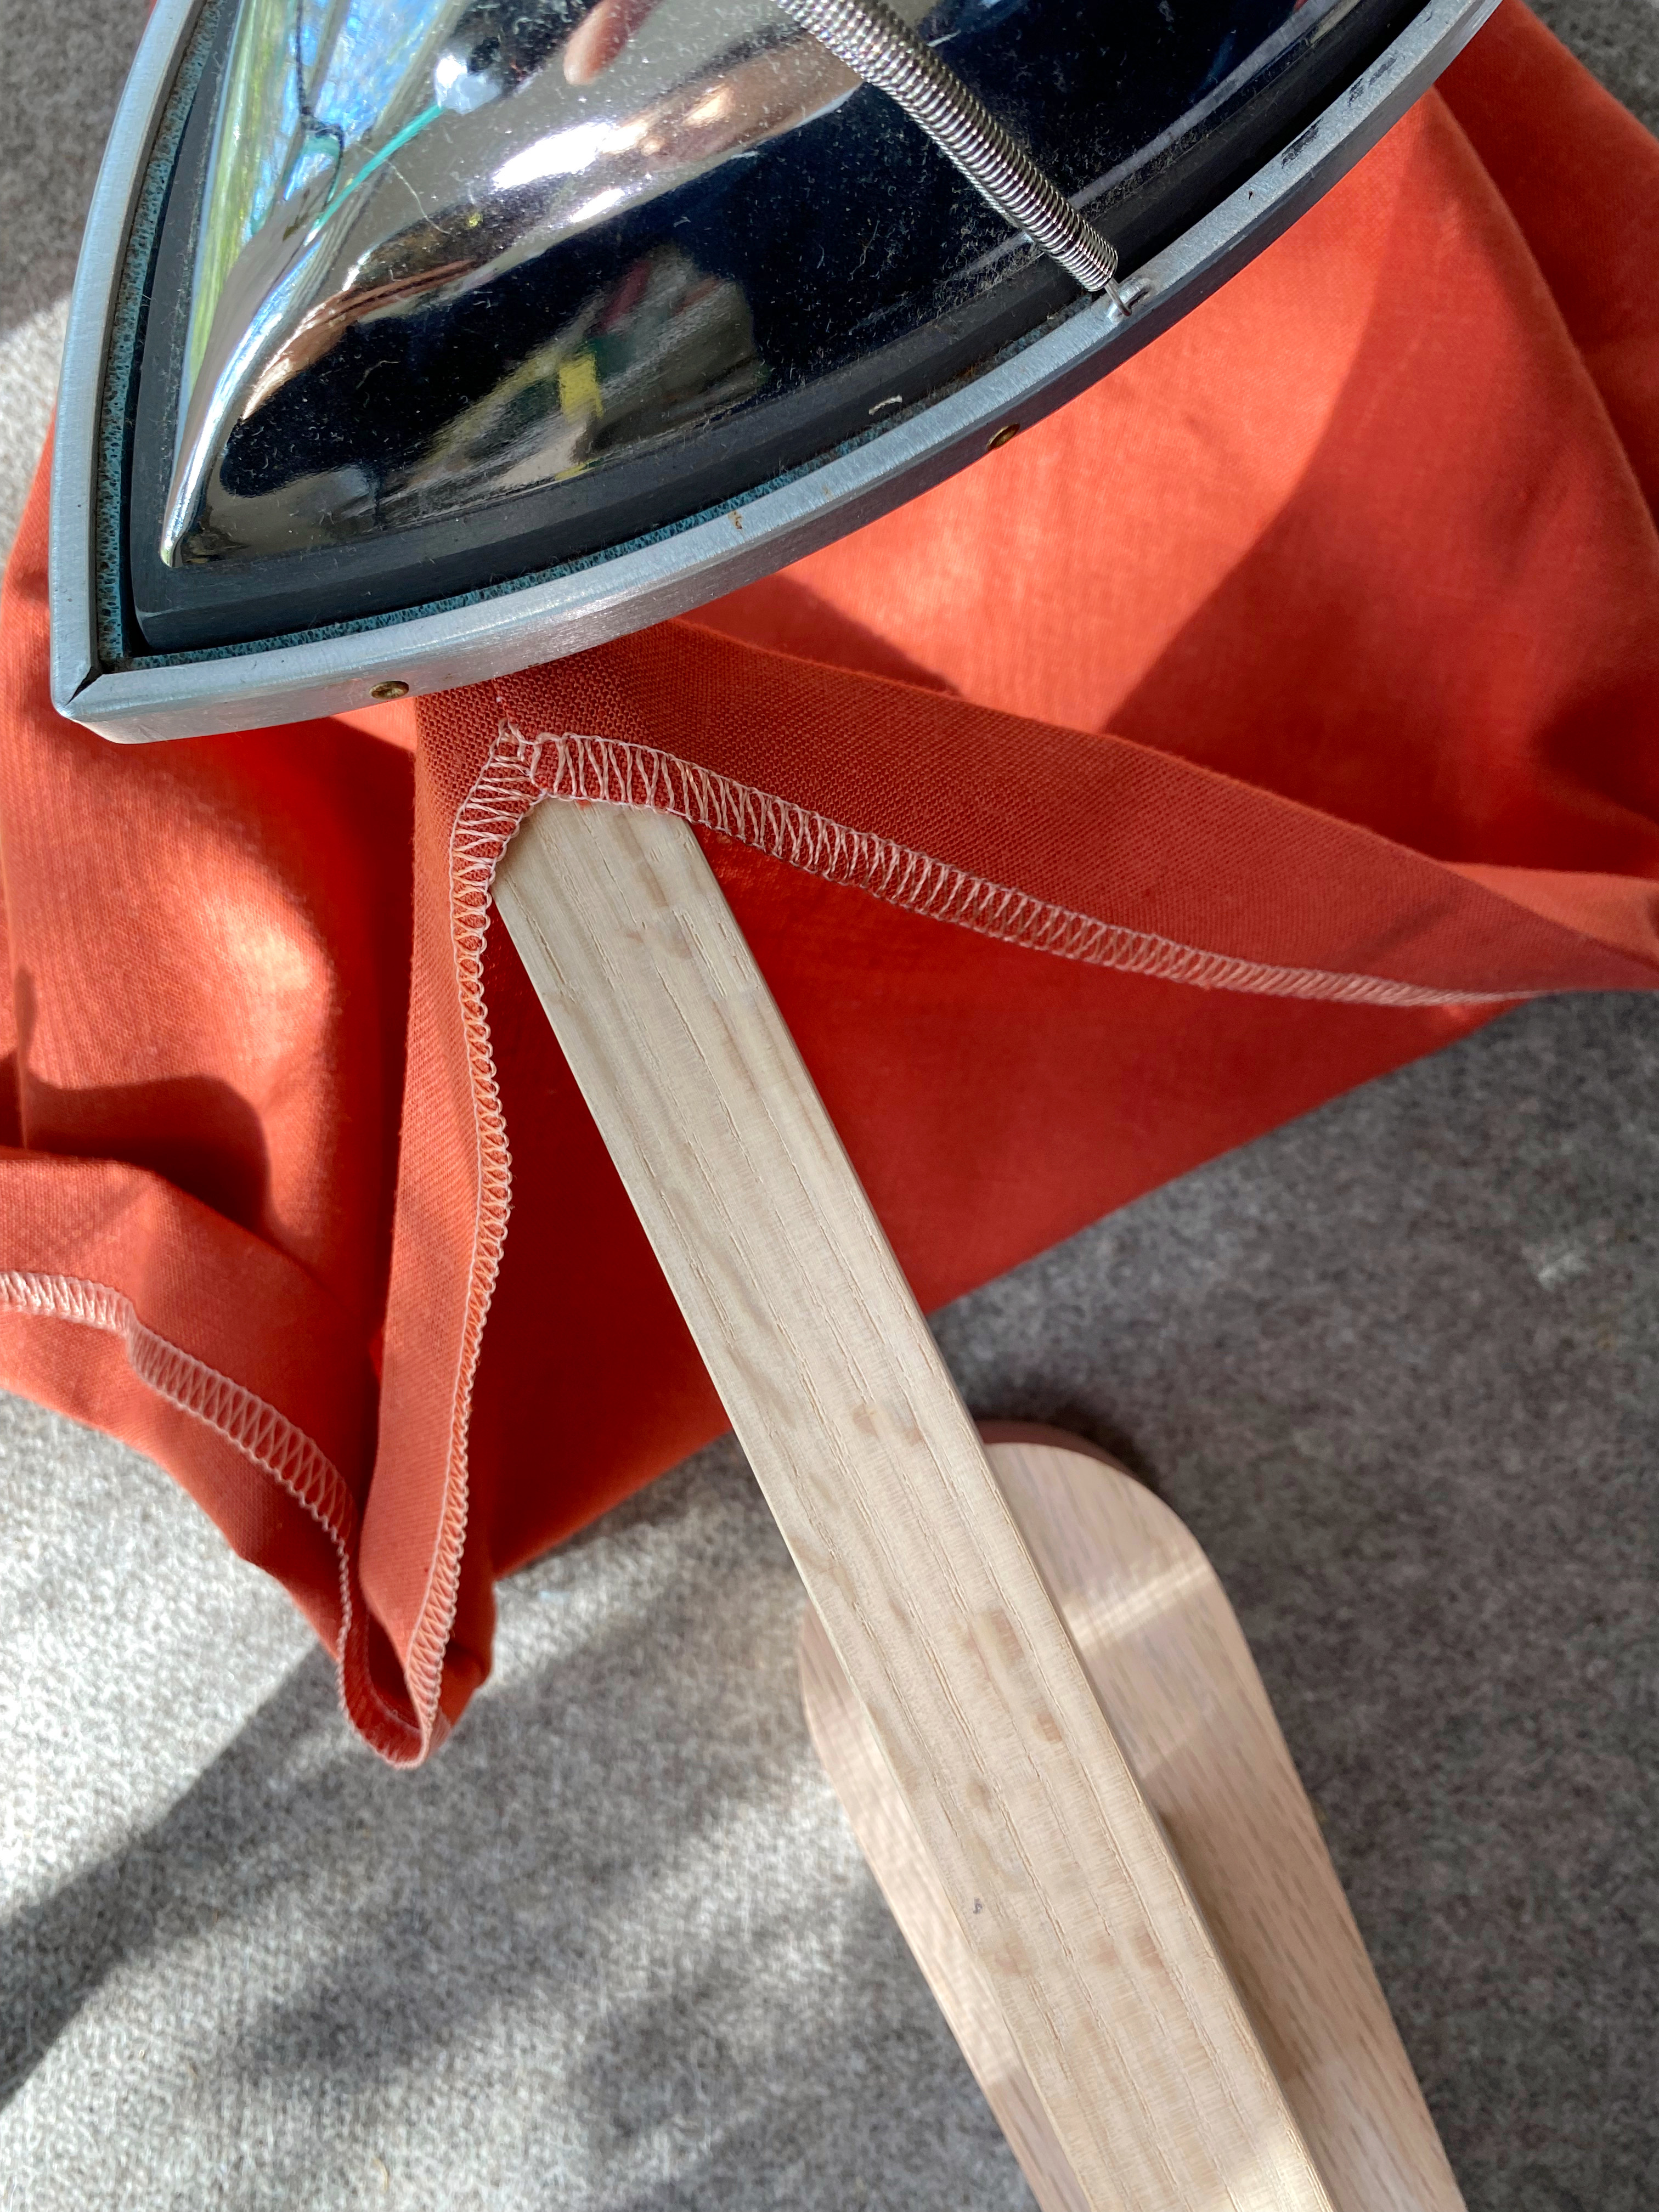
Press 1” in towards the wrong side of the napkin on all four sides. I really like to use this Clover hot ruler from Brewer and the Nifty Notions wool pressing mat for this part.
Open the fold and mark 2” in from the corners, then connect those marks with a straight ruler.

Match the marks and line, with right sides together serge each corner. The needle is on the line and the knife will cut the tip of the corner. Bury the tails into the seam you just serged.
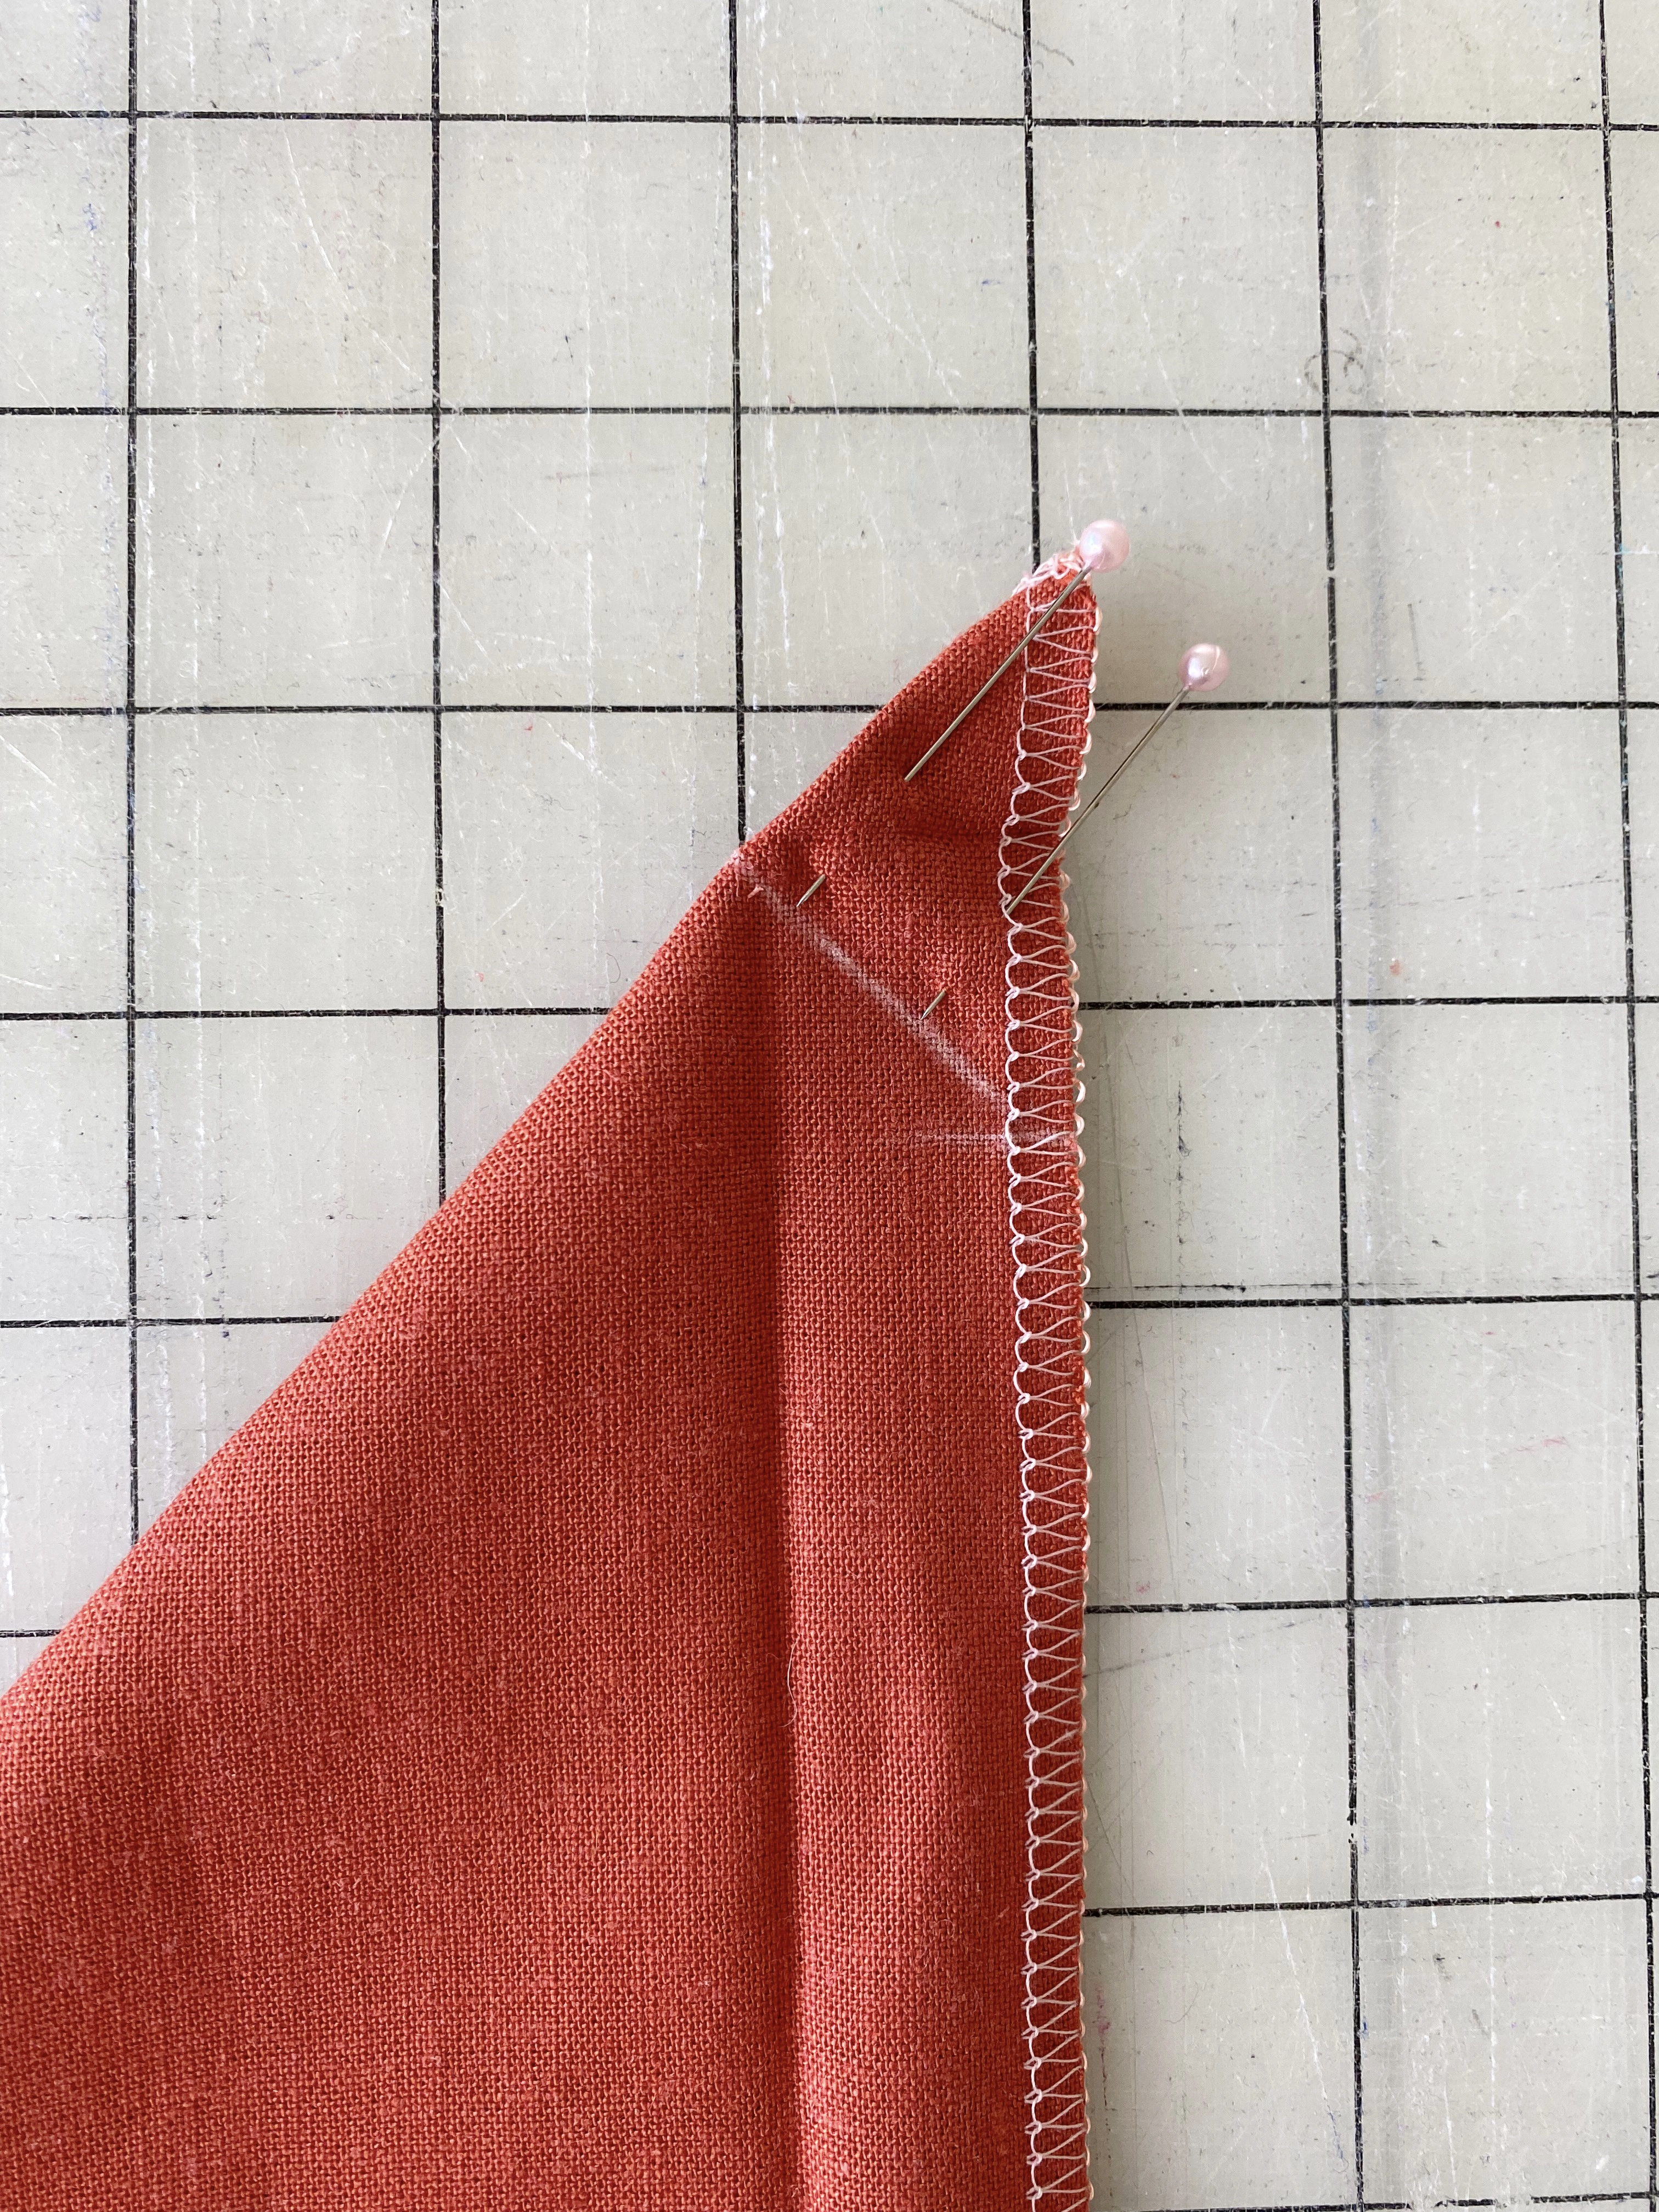
If you have a point presser board, like this one from Brewer Quilting and Sewing, this is a great time to use it. Push your corner into the point presser and iron it. If not, just push the corner point out with a chopstick or knitting needle. I also really like this tool from OESD.

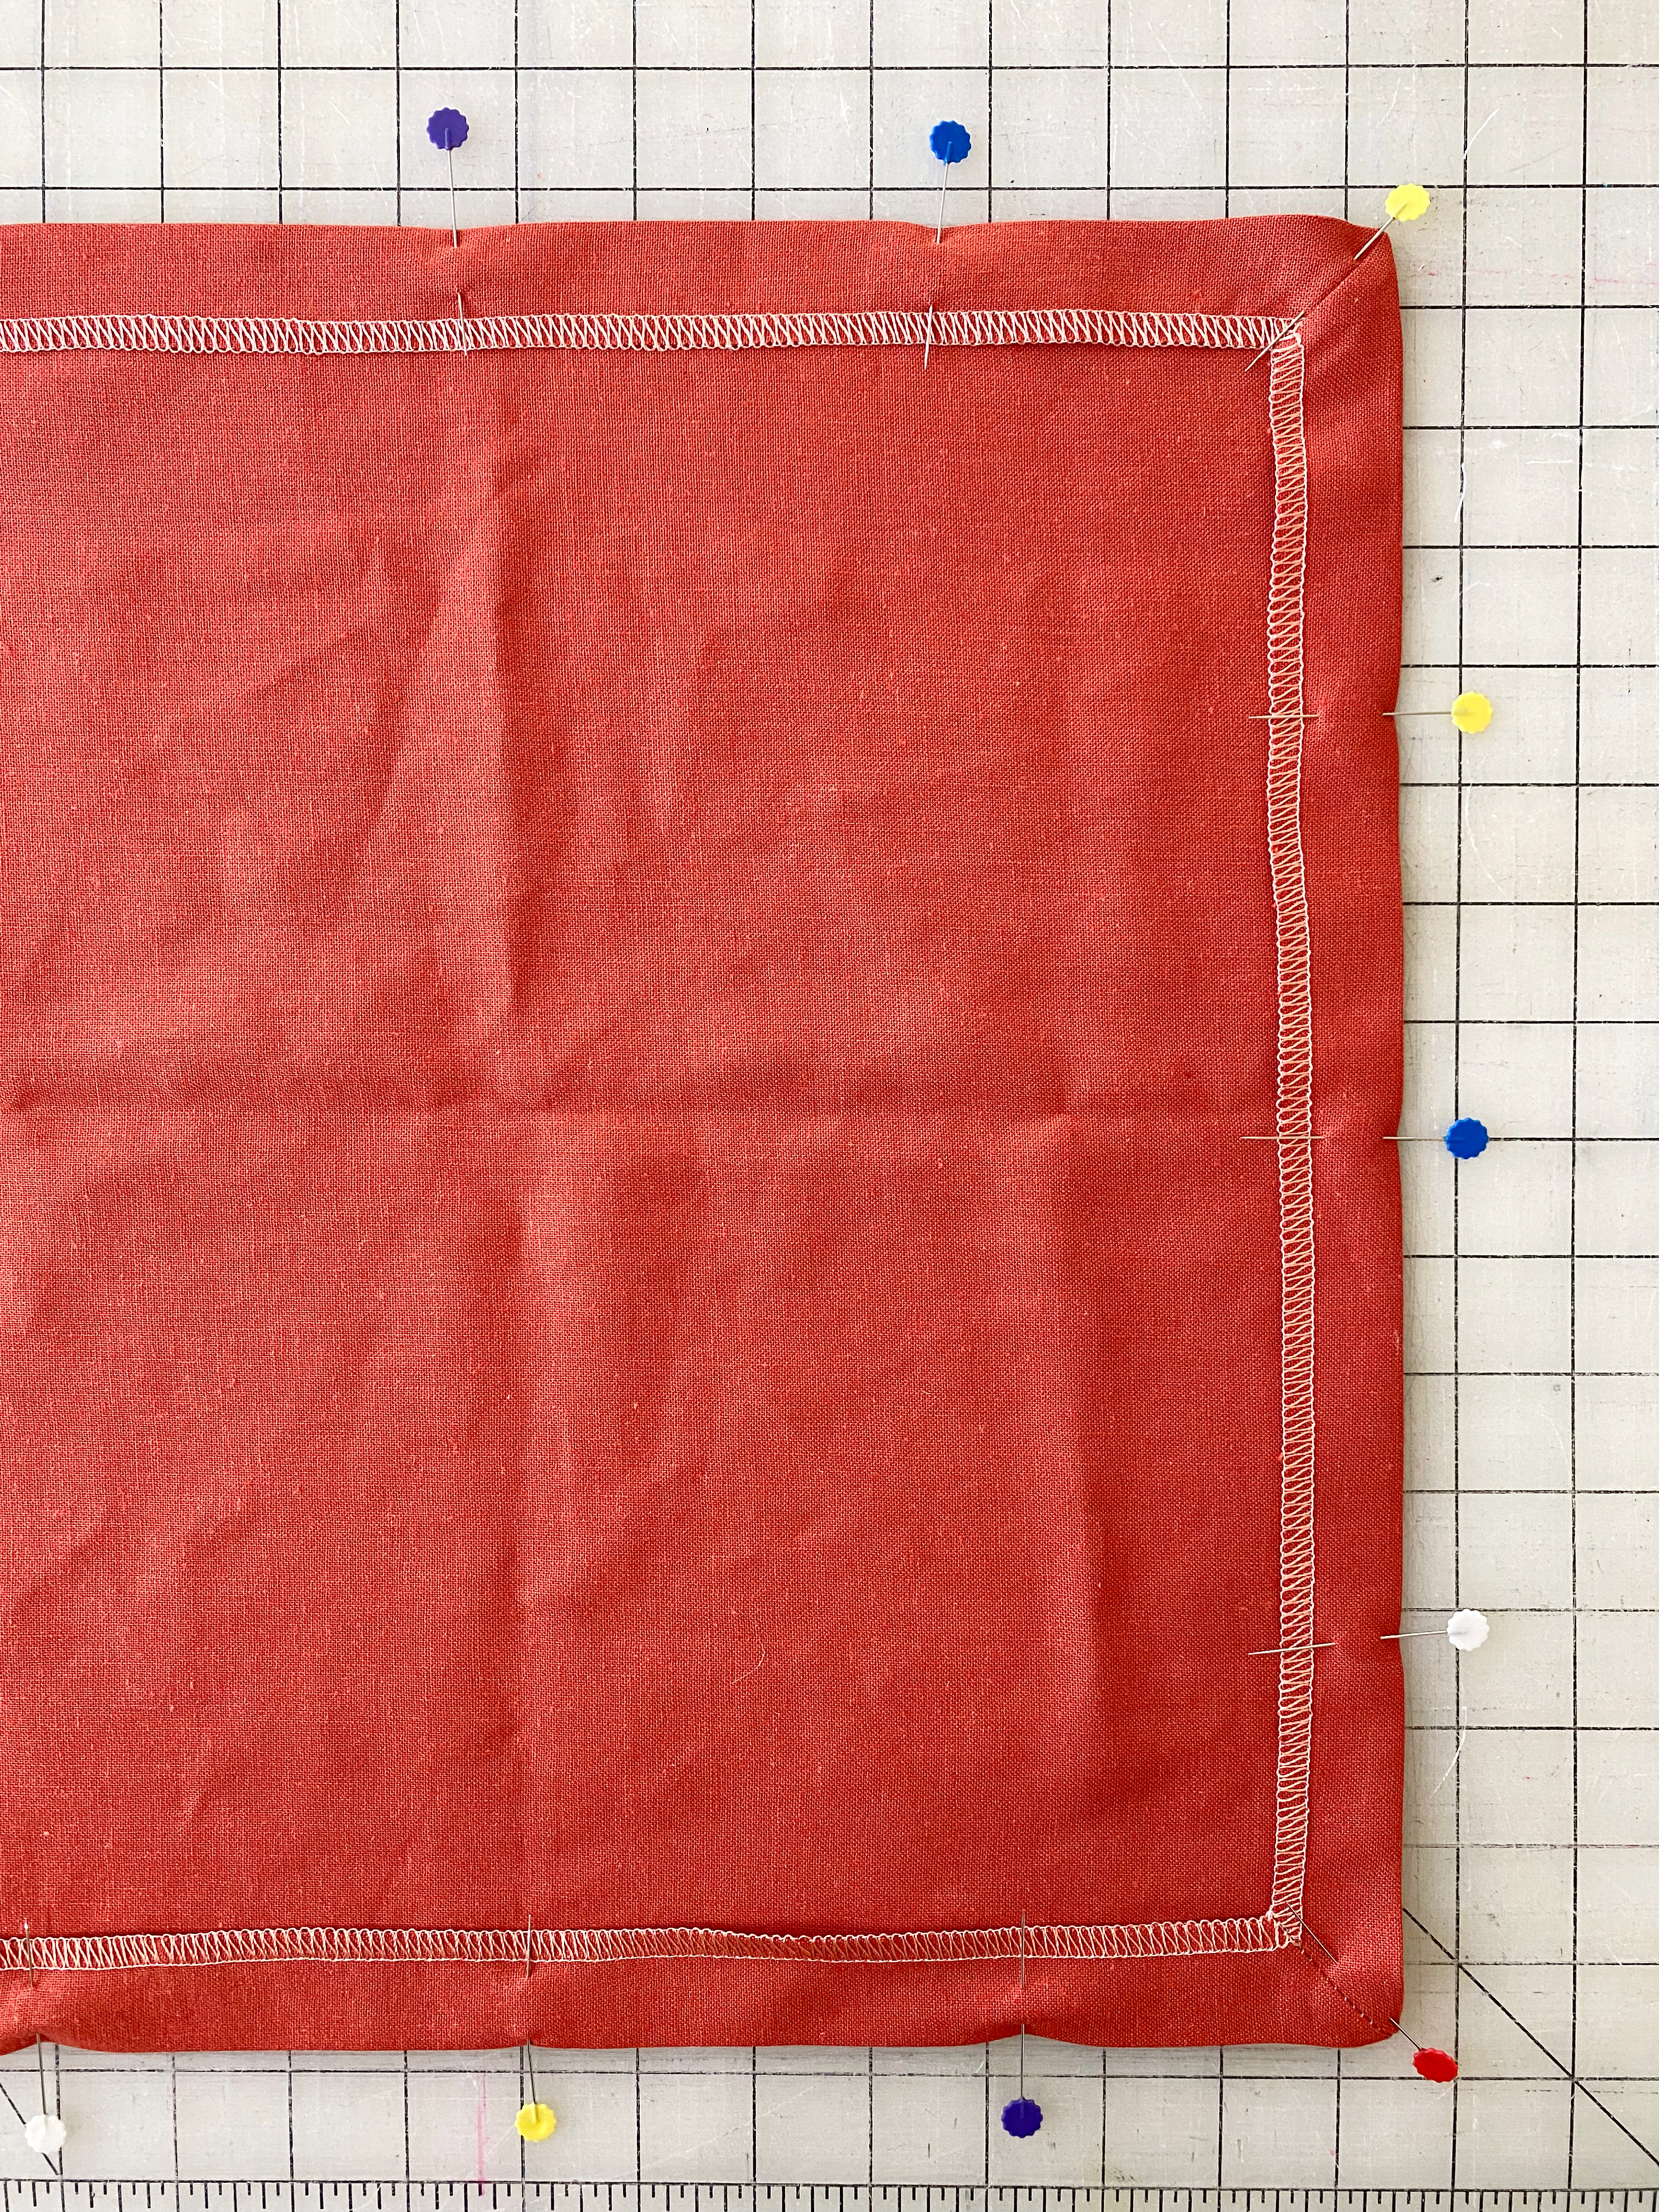
Press the 1” fold on all sides and crease it with the press point and clapper tool for a neat edge and pin.
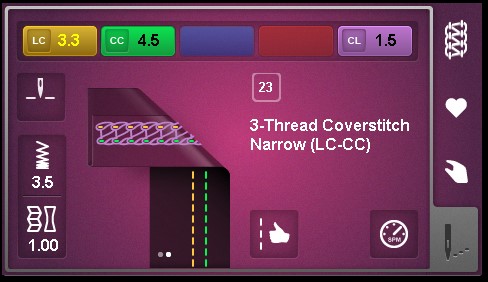
Finishing with the Coverstitch
Set up your coverstitch for a 2-thread narrow coverstitch. My setting were: LC: 3.3 CC: 4.5 CL: 1.5
I used a regular Mettler Seracor thread on the needles and Wonderfil Accent on the looper.
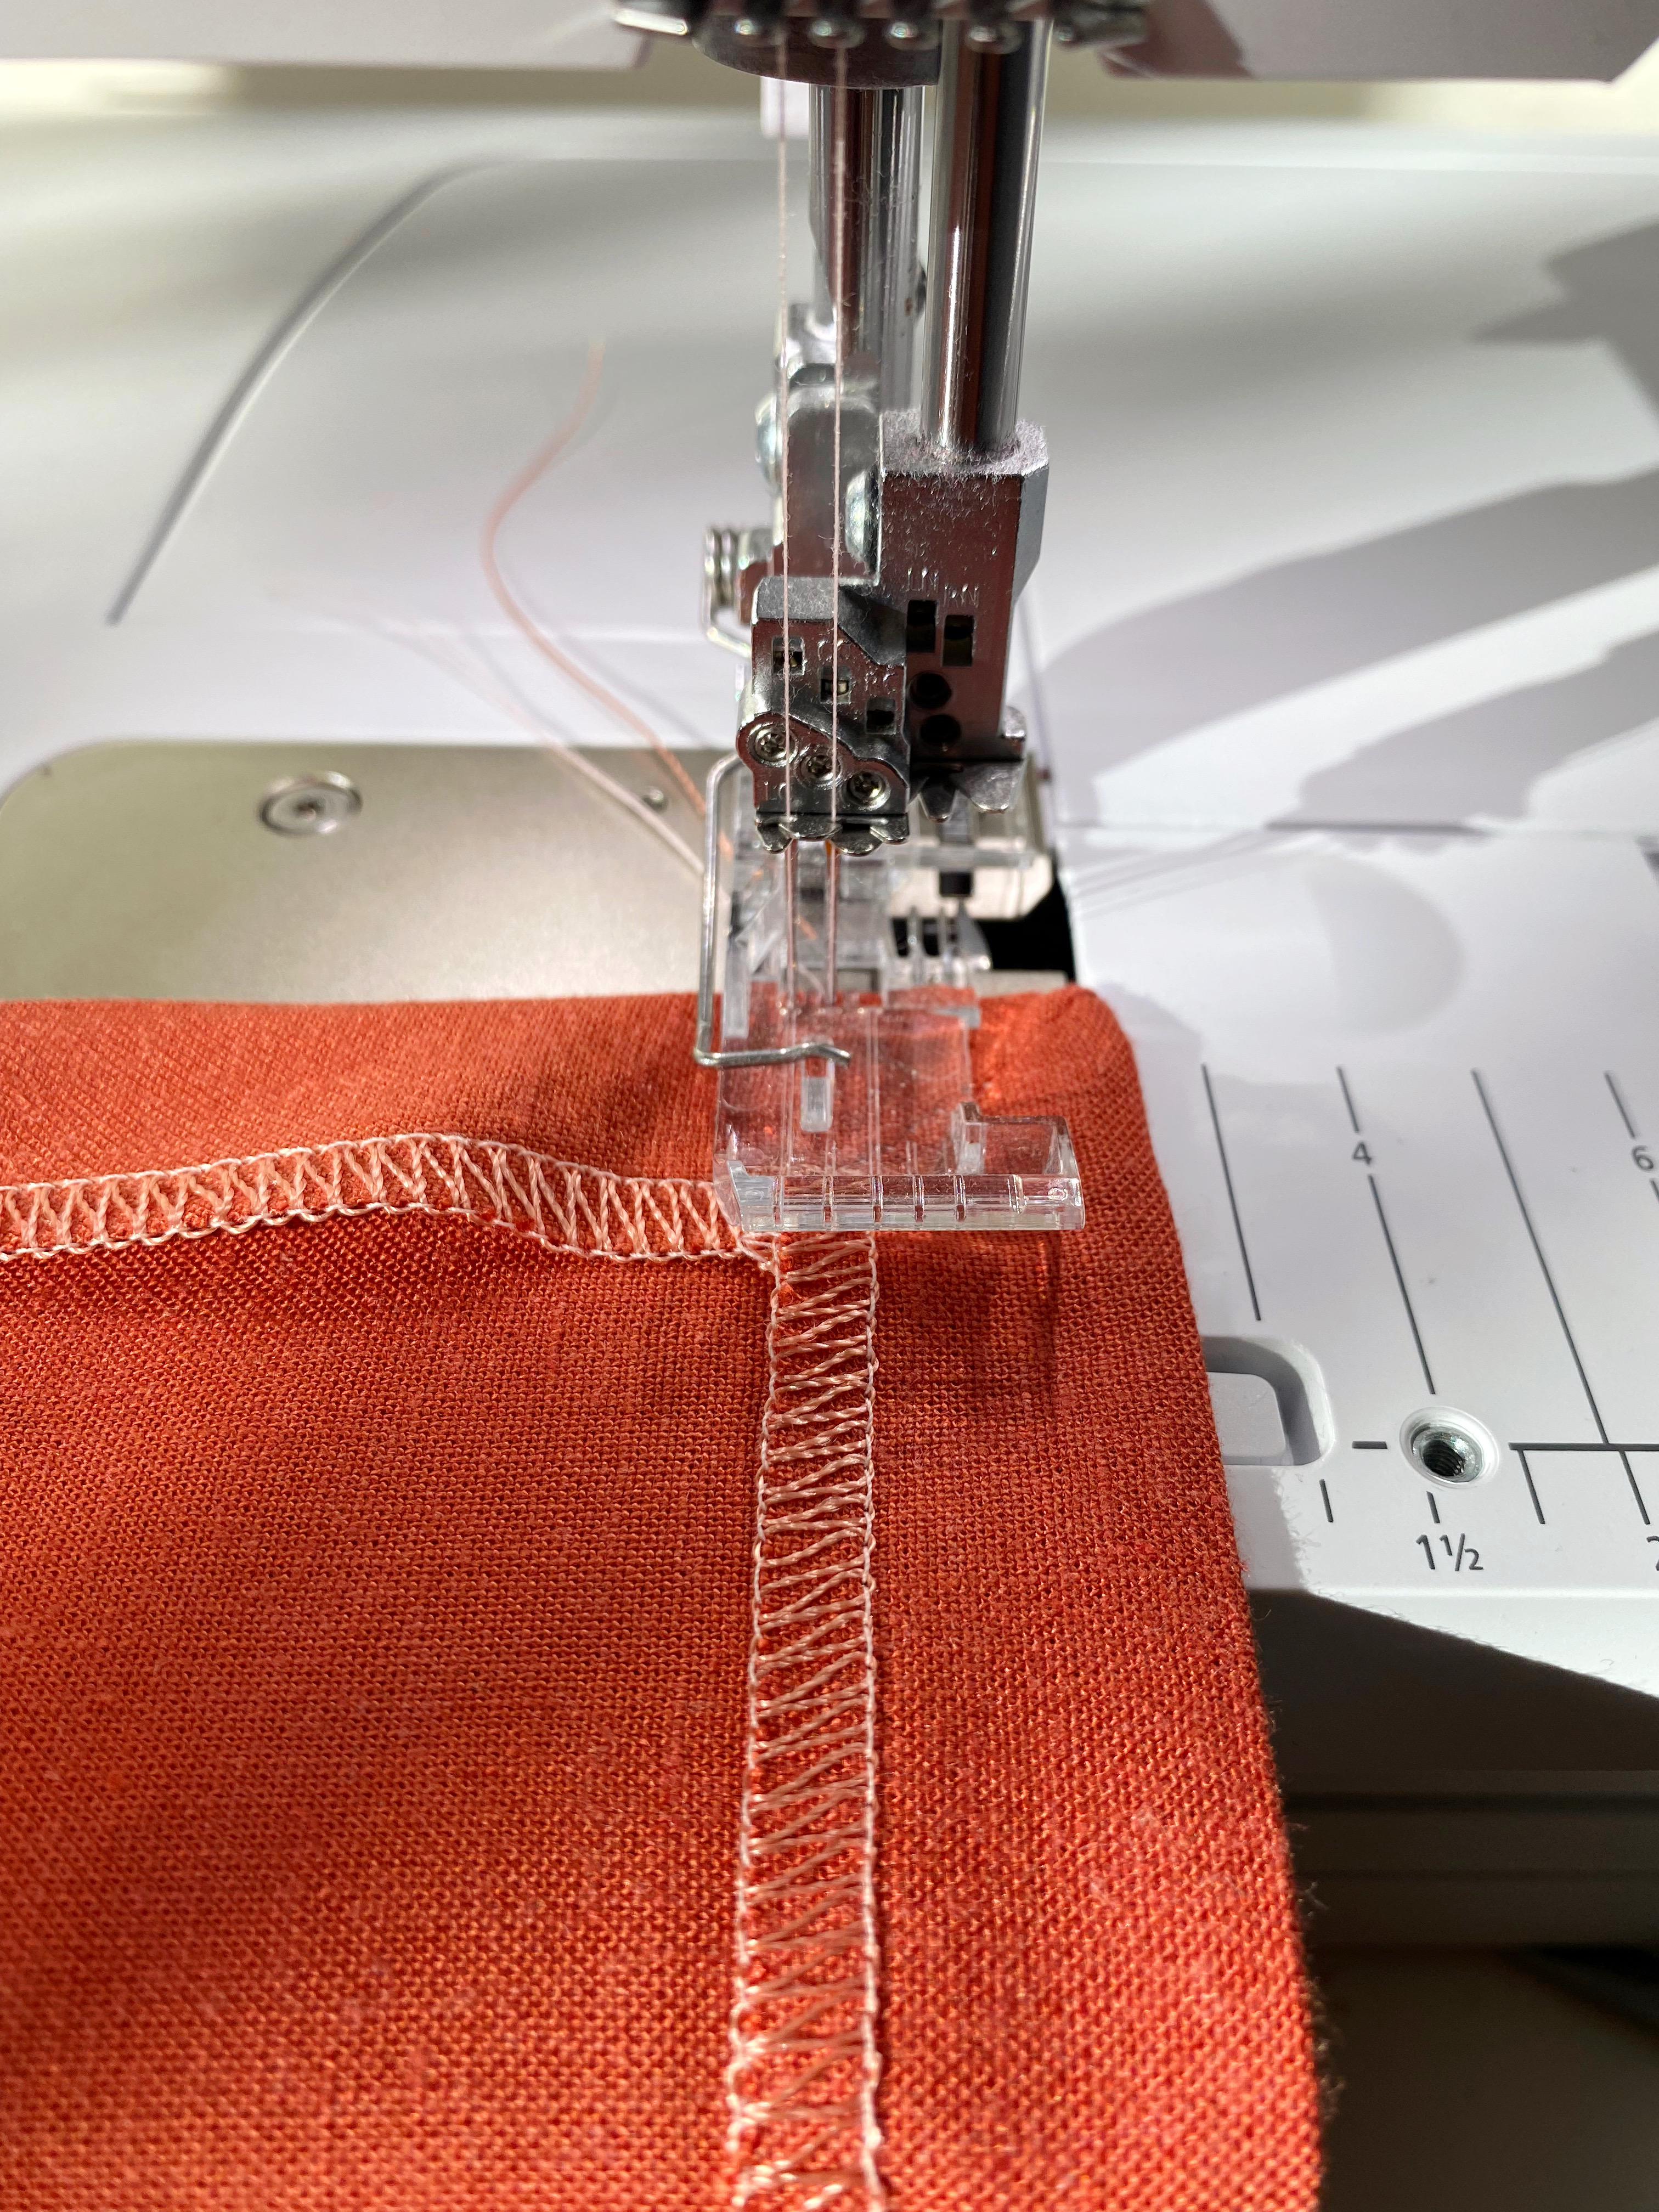

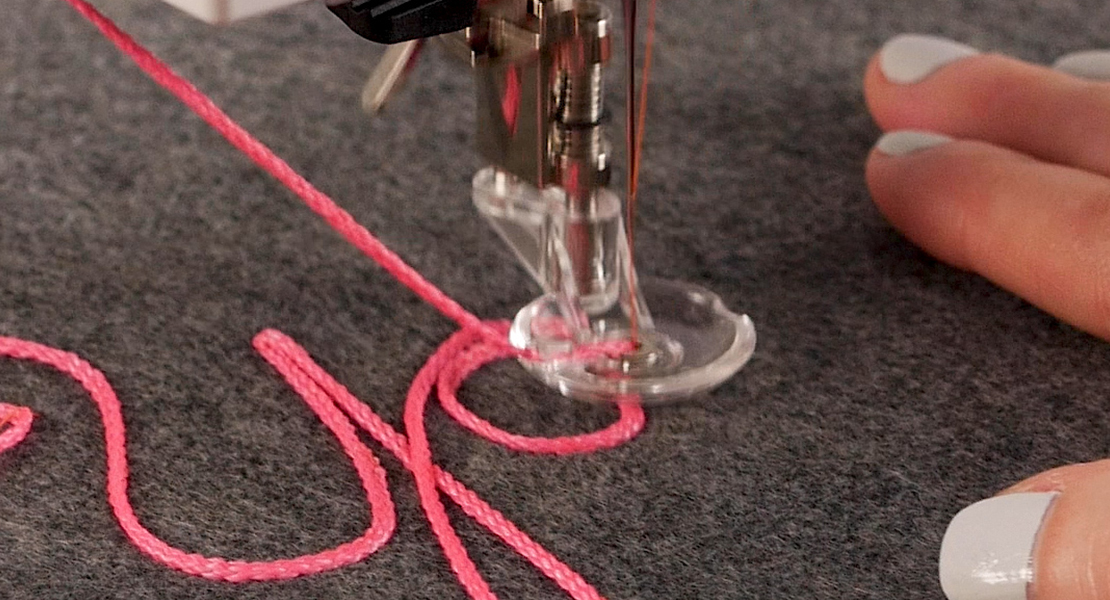
Working with the wrong side up, line up the left needle to the edge of the napkin (the serged end), so that you are catching the fabric as you sew. Start from one edge and end on another edge without sewing off the fabric. At the end, lift the foot, pull needle threads, and cut the needle threads only, leaving a long tail.
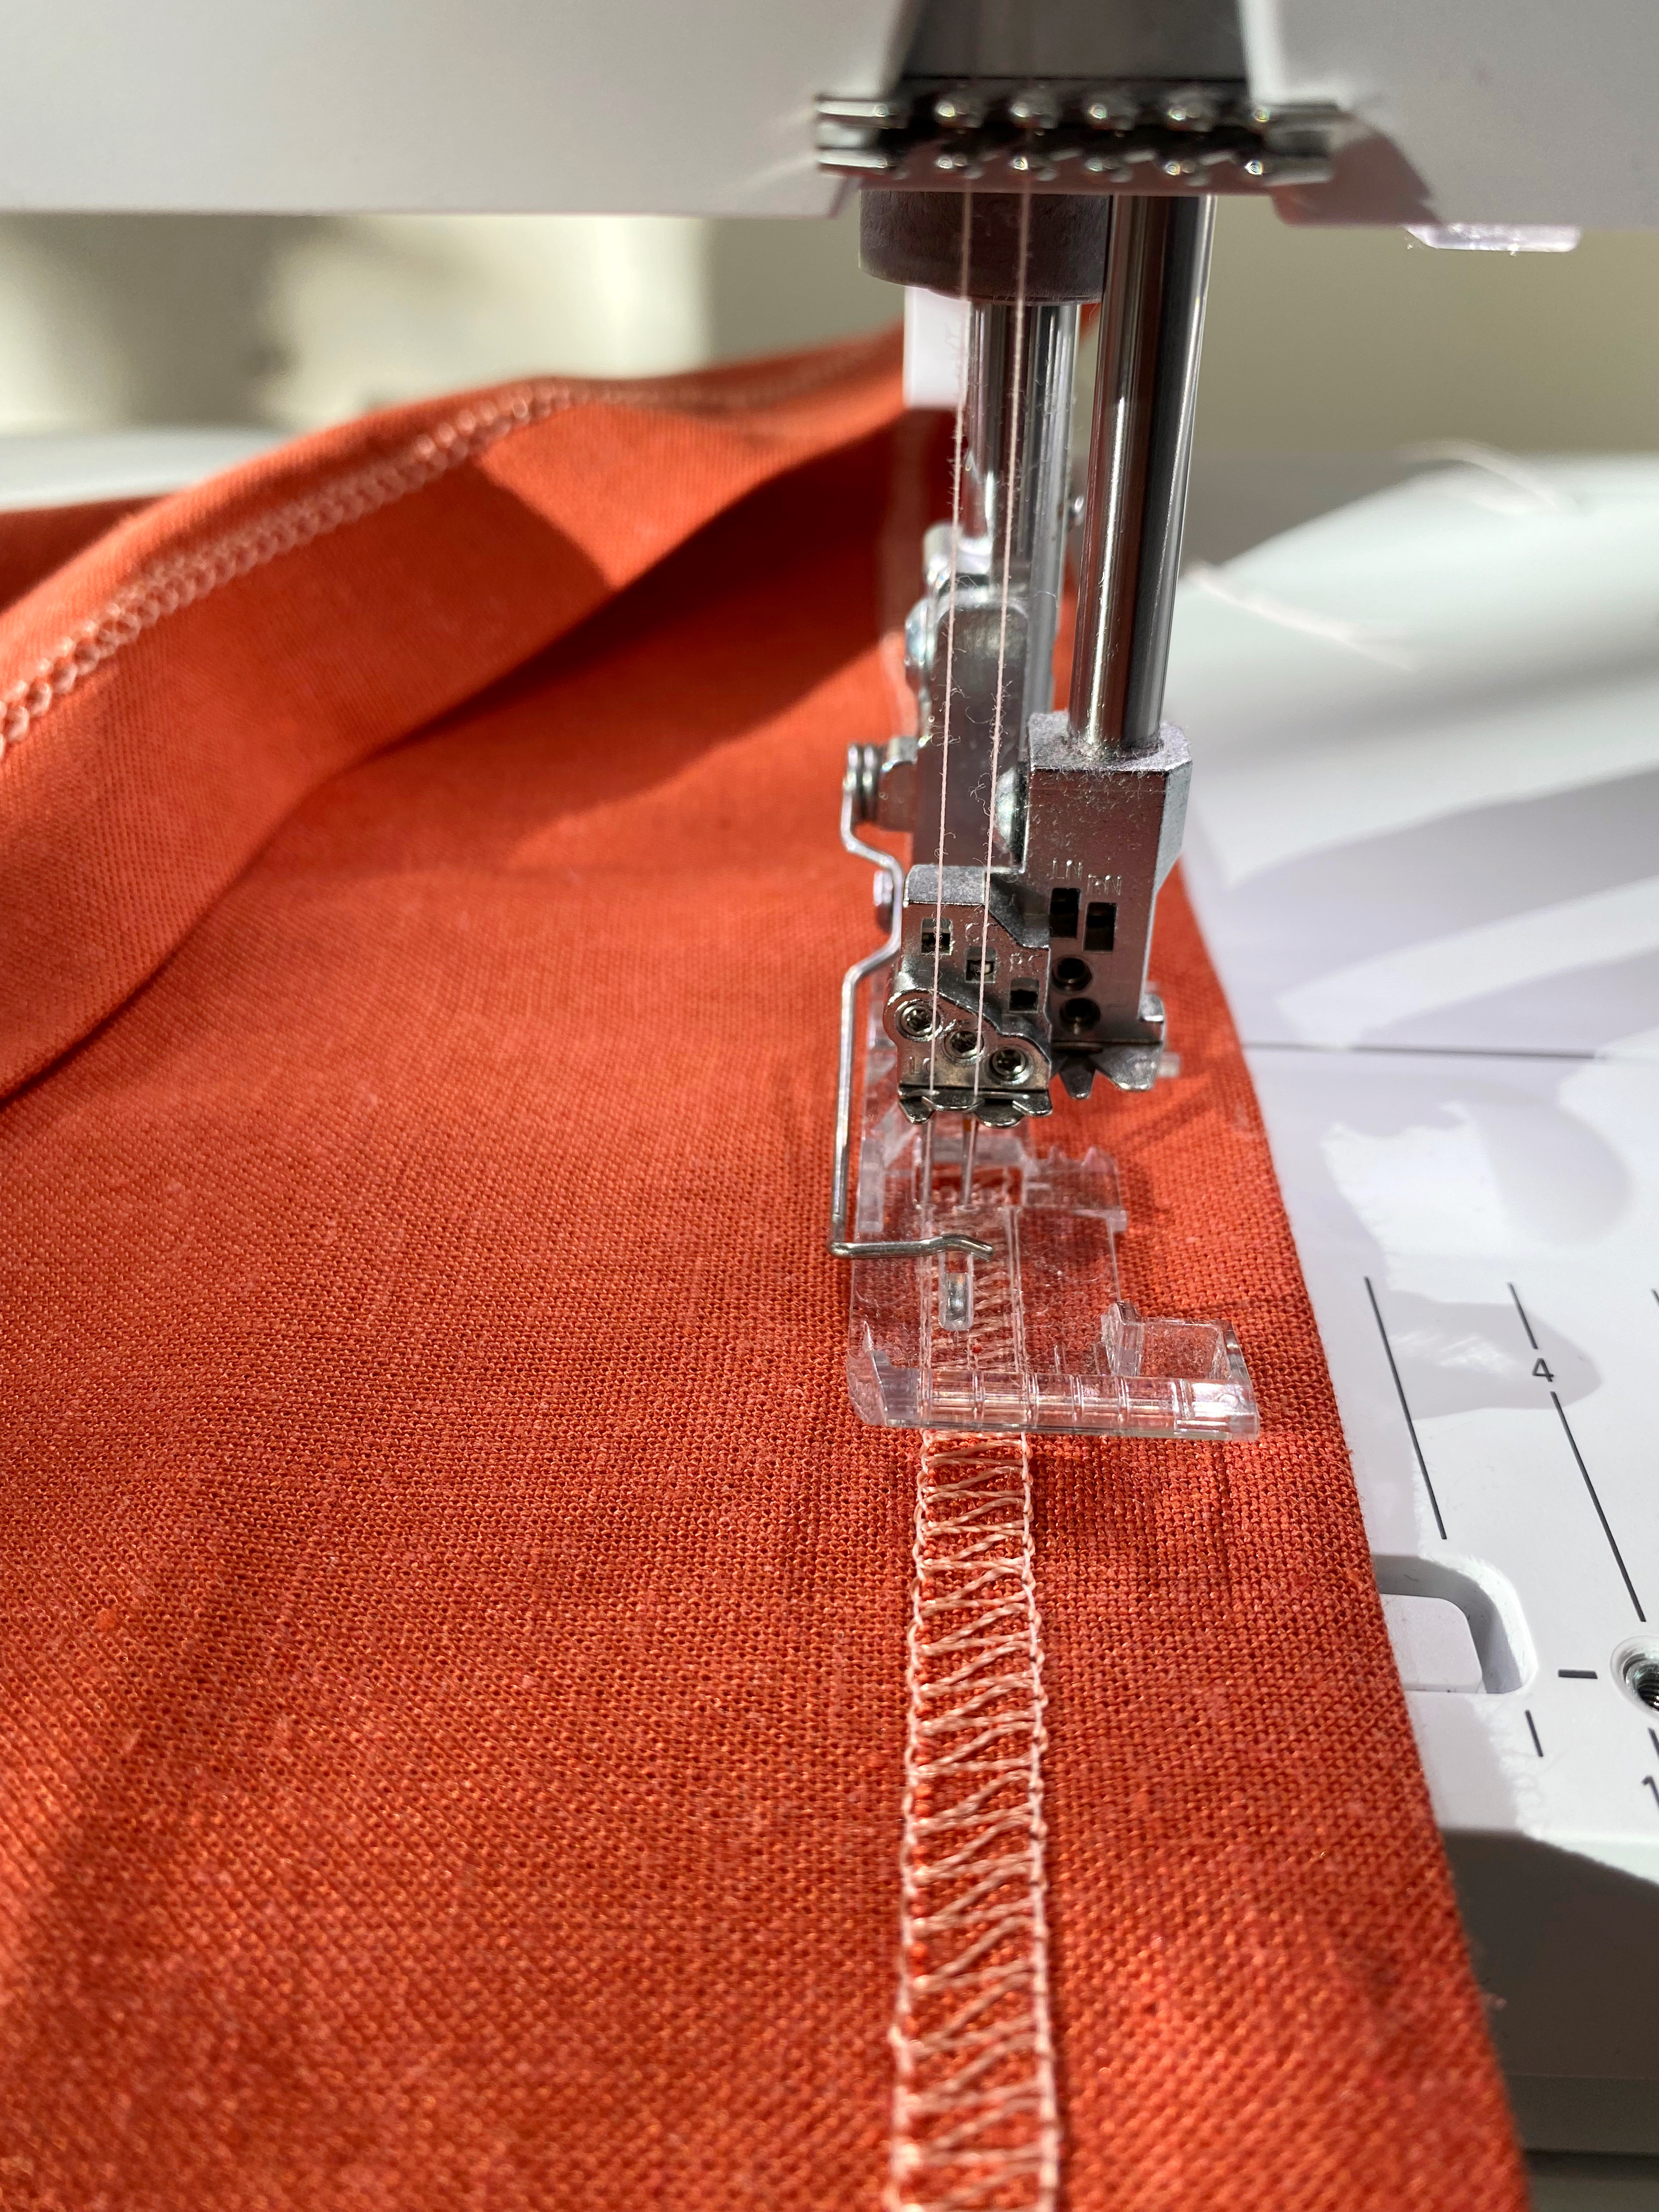
Pull the napkin off the machine (pulling towards the back). This will bring the needle threads that you just cut to the back. Cut looper thread.
Knot those threads. You can use a little sealant like Fray check. Cut remaining tails. The beginning thread tails can be cut off as usual.
Repeat for all four sides and you are done.

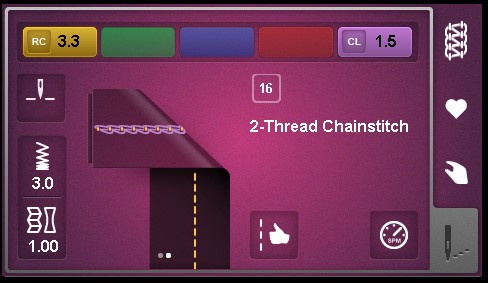
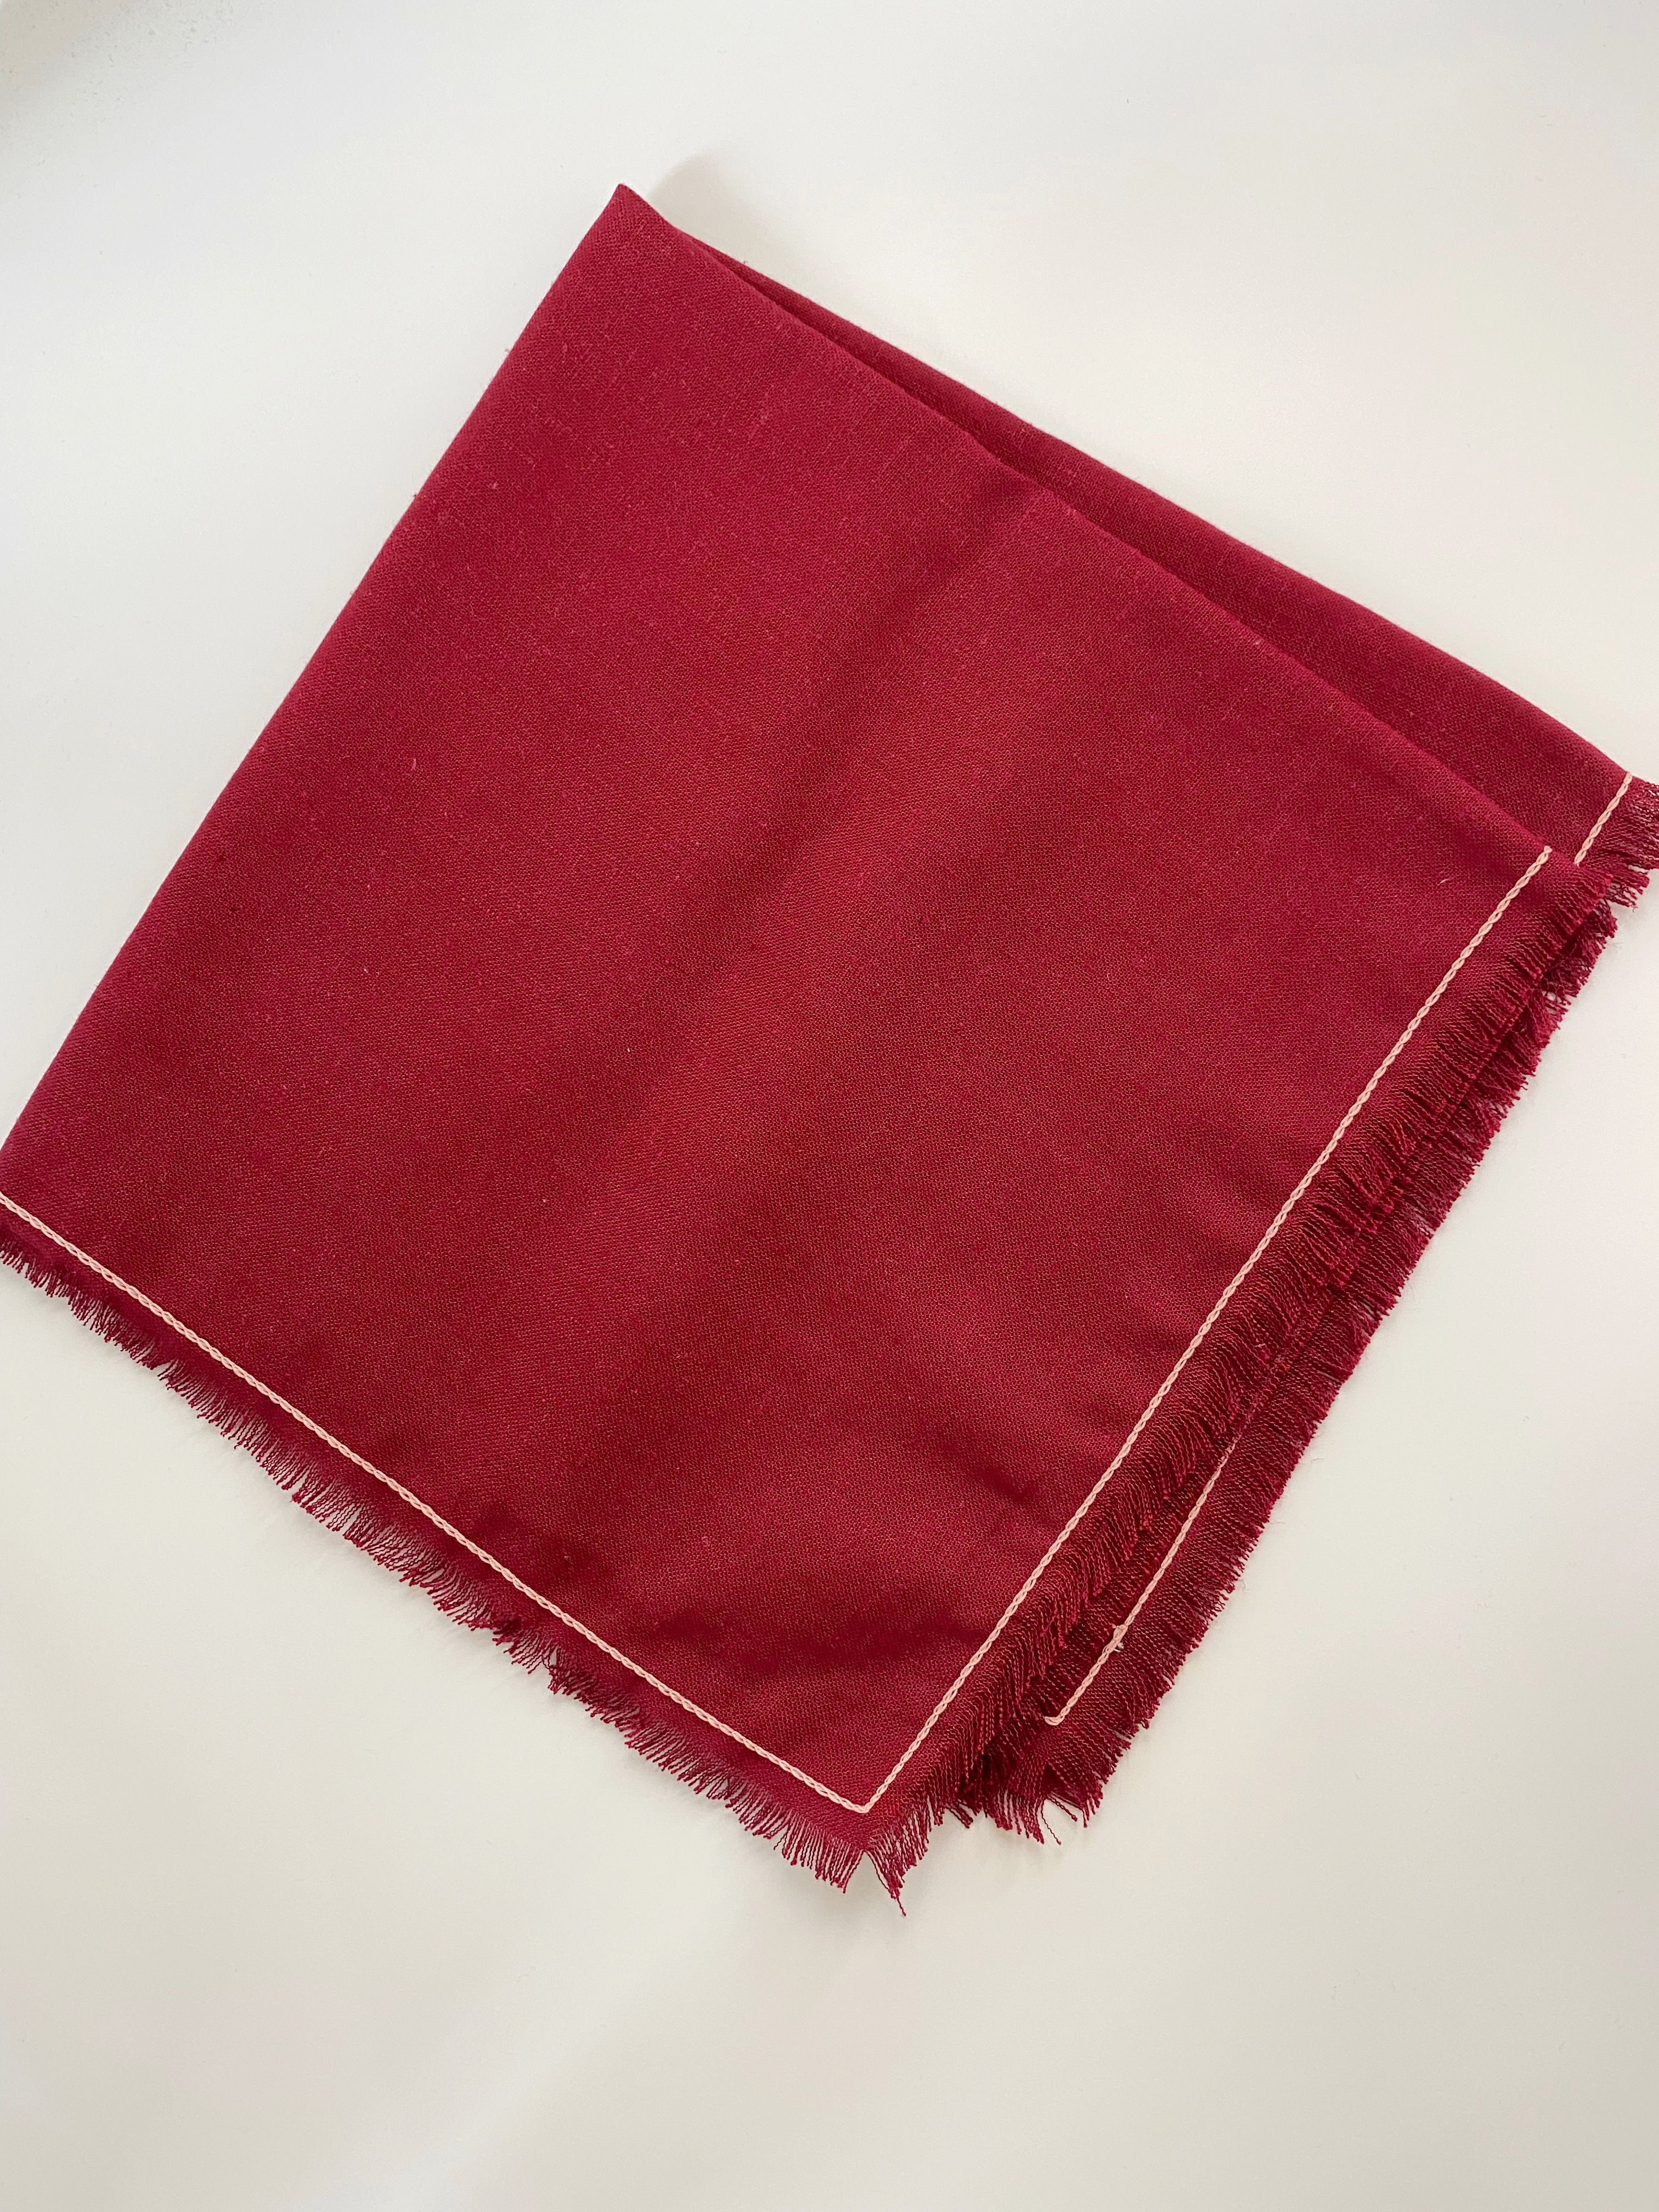
Frayed Edges with Single Coverstitch
This napkin is the fastest and simplest, but it is so adorable looking. All you need is the chain stitch setting on your coverstitch machine. If you don’t have a coverstitch machine, you can do this using a straight stitch or a decorative stitch on your sewing machine.
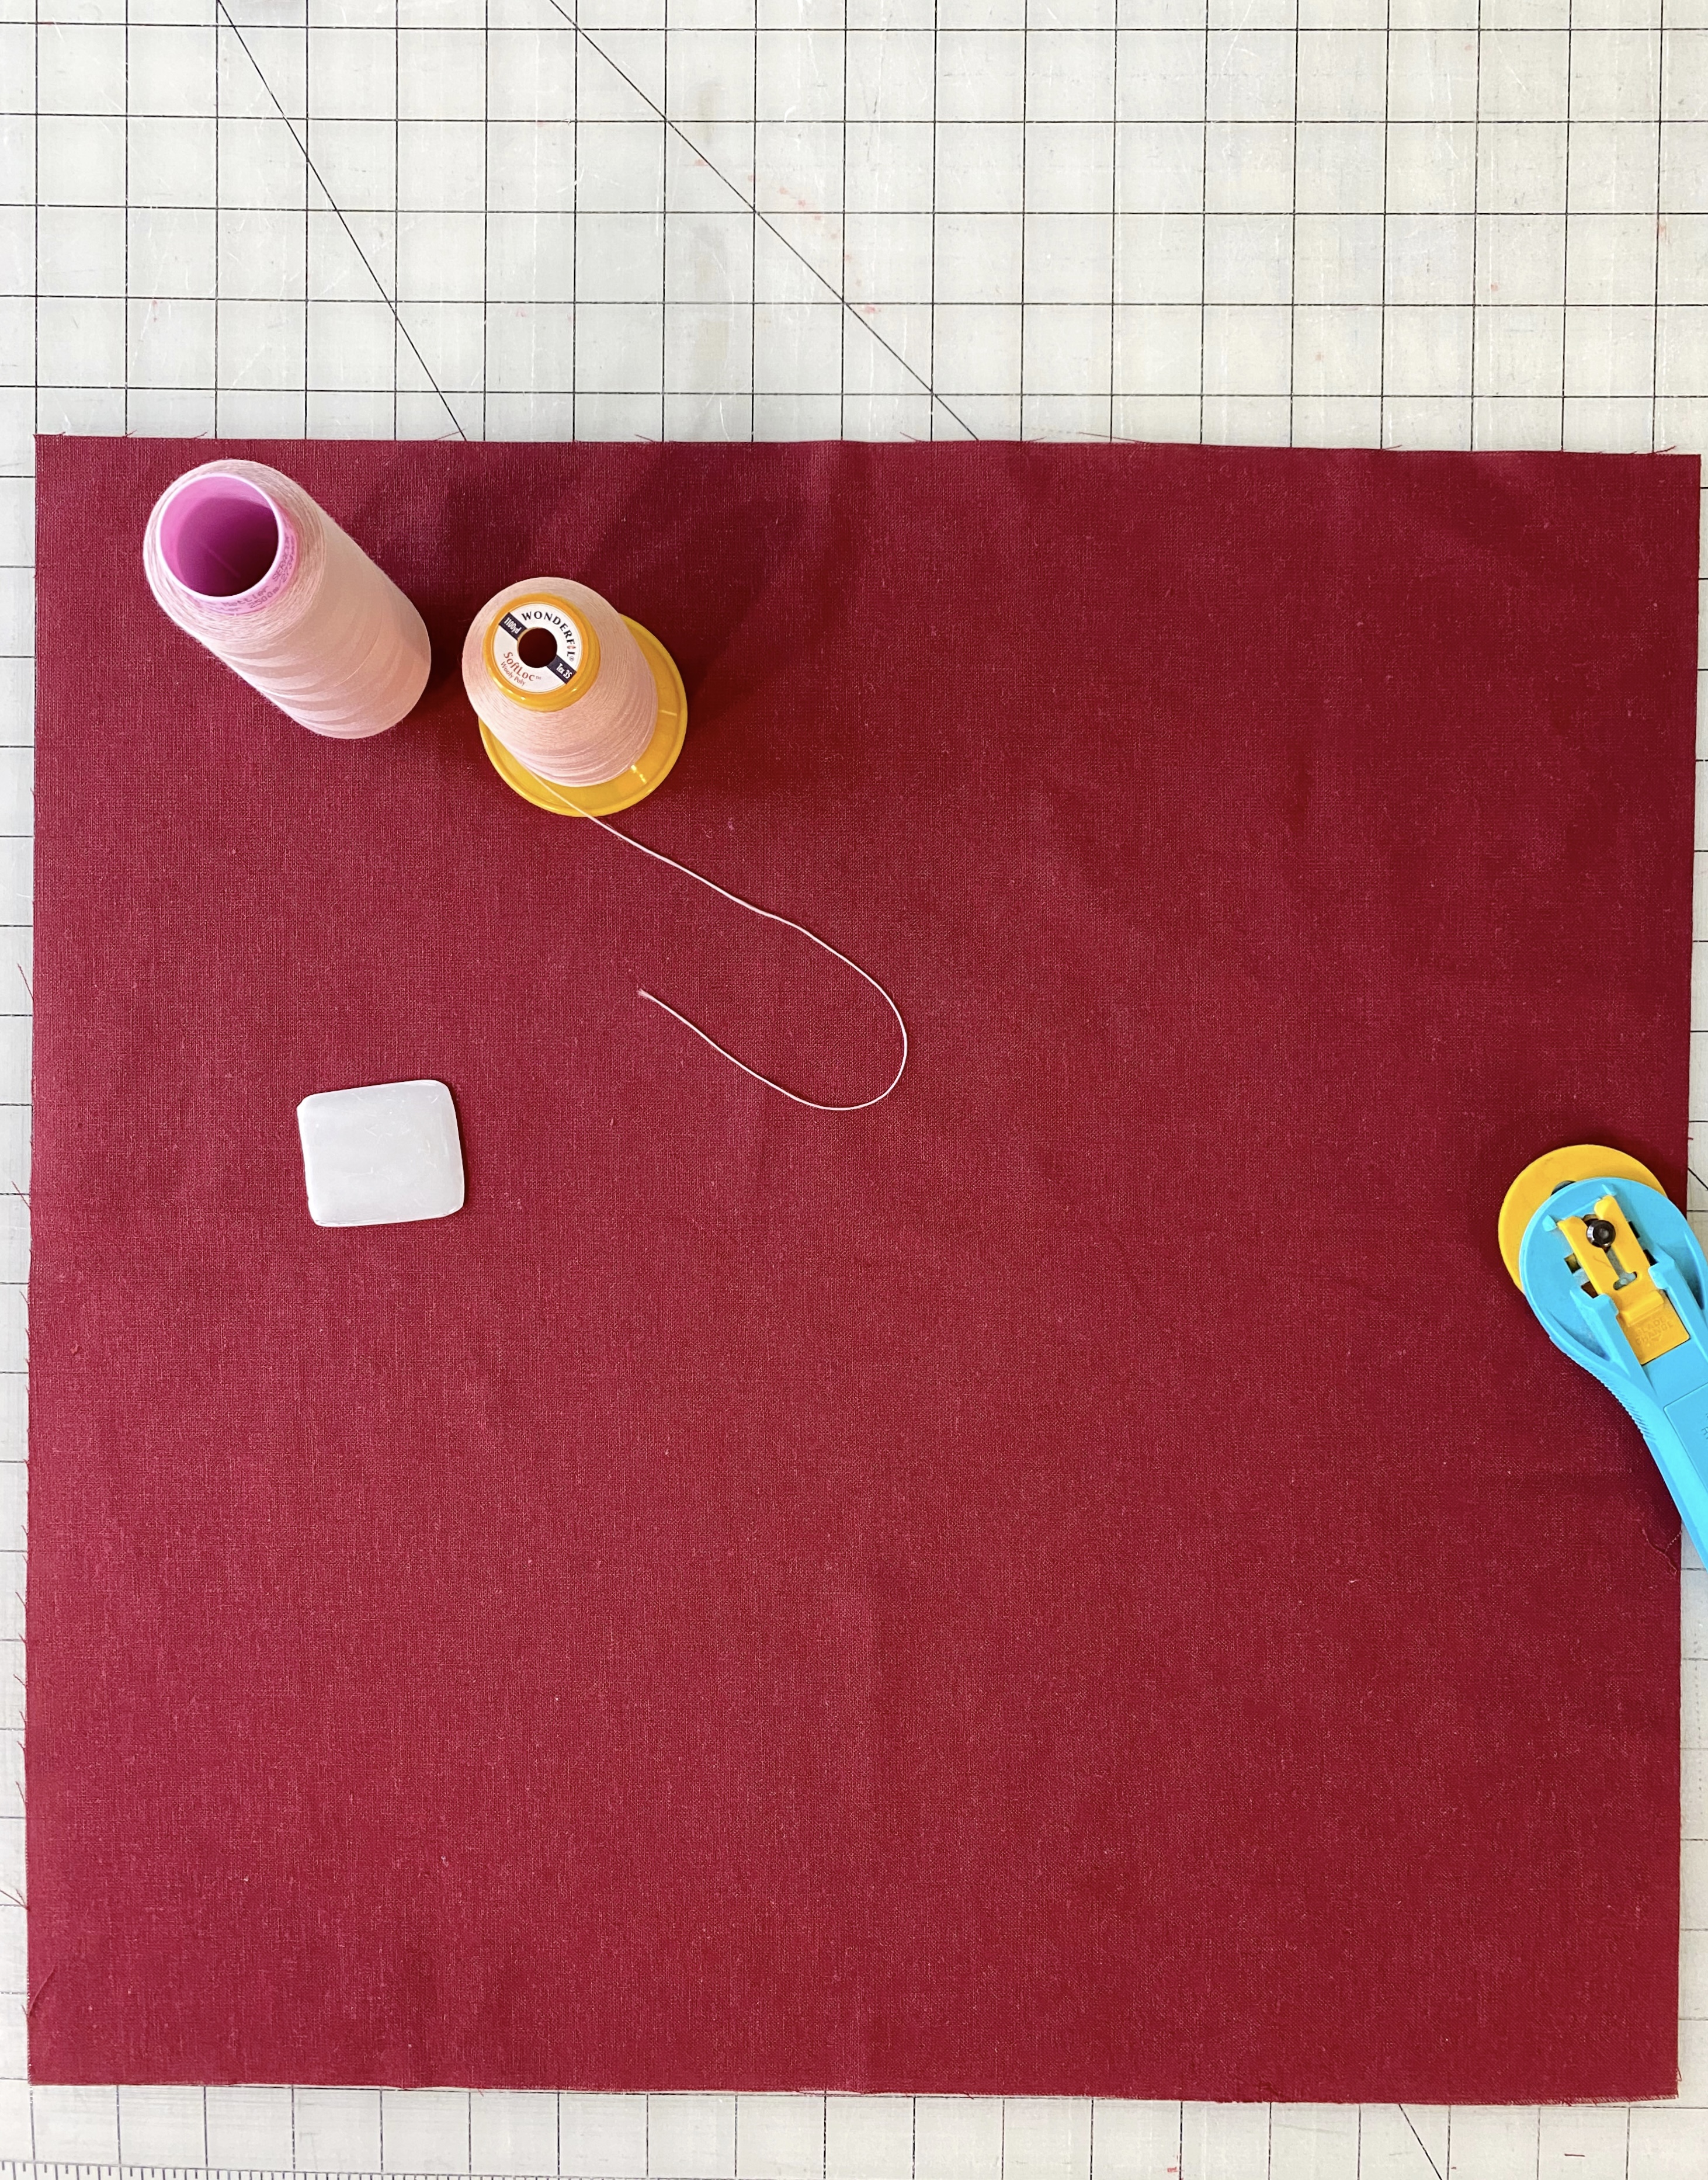
Settings and Materials
Set up your coverstitch for a 2-thread chainstitch. My setting were: RN: 3.3 Cover Looper: 1.5
I used a regular Mettler Seracor thread on the needle and Wonderfil Softloc on the looper.
Making the Napkin
Cut an 18” square from your fabric.
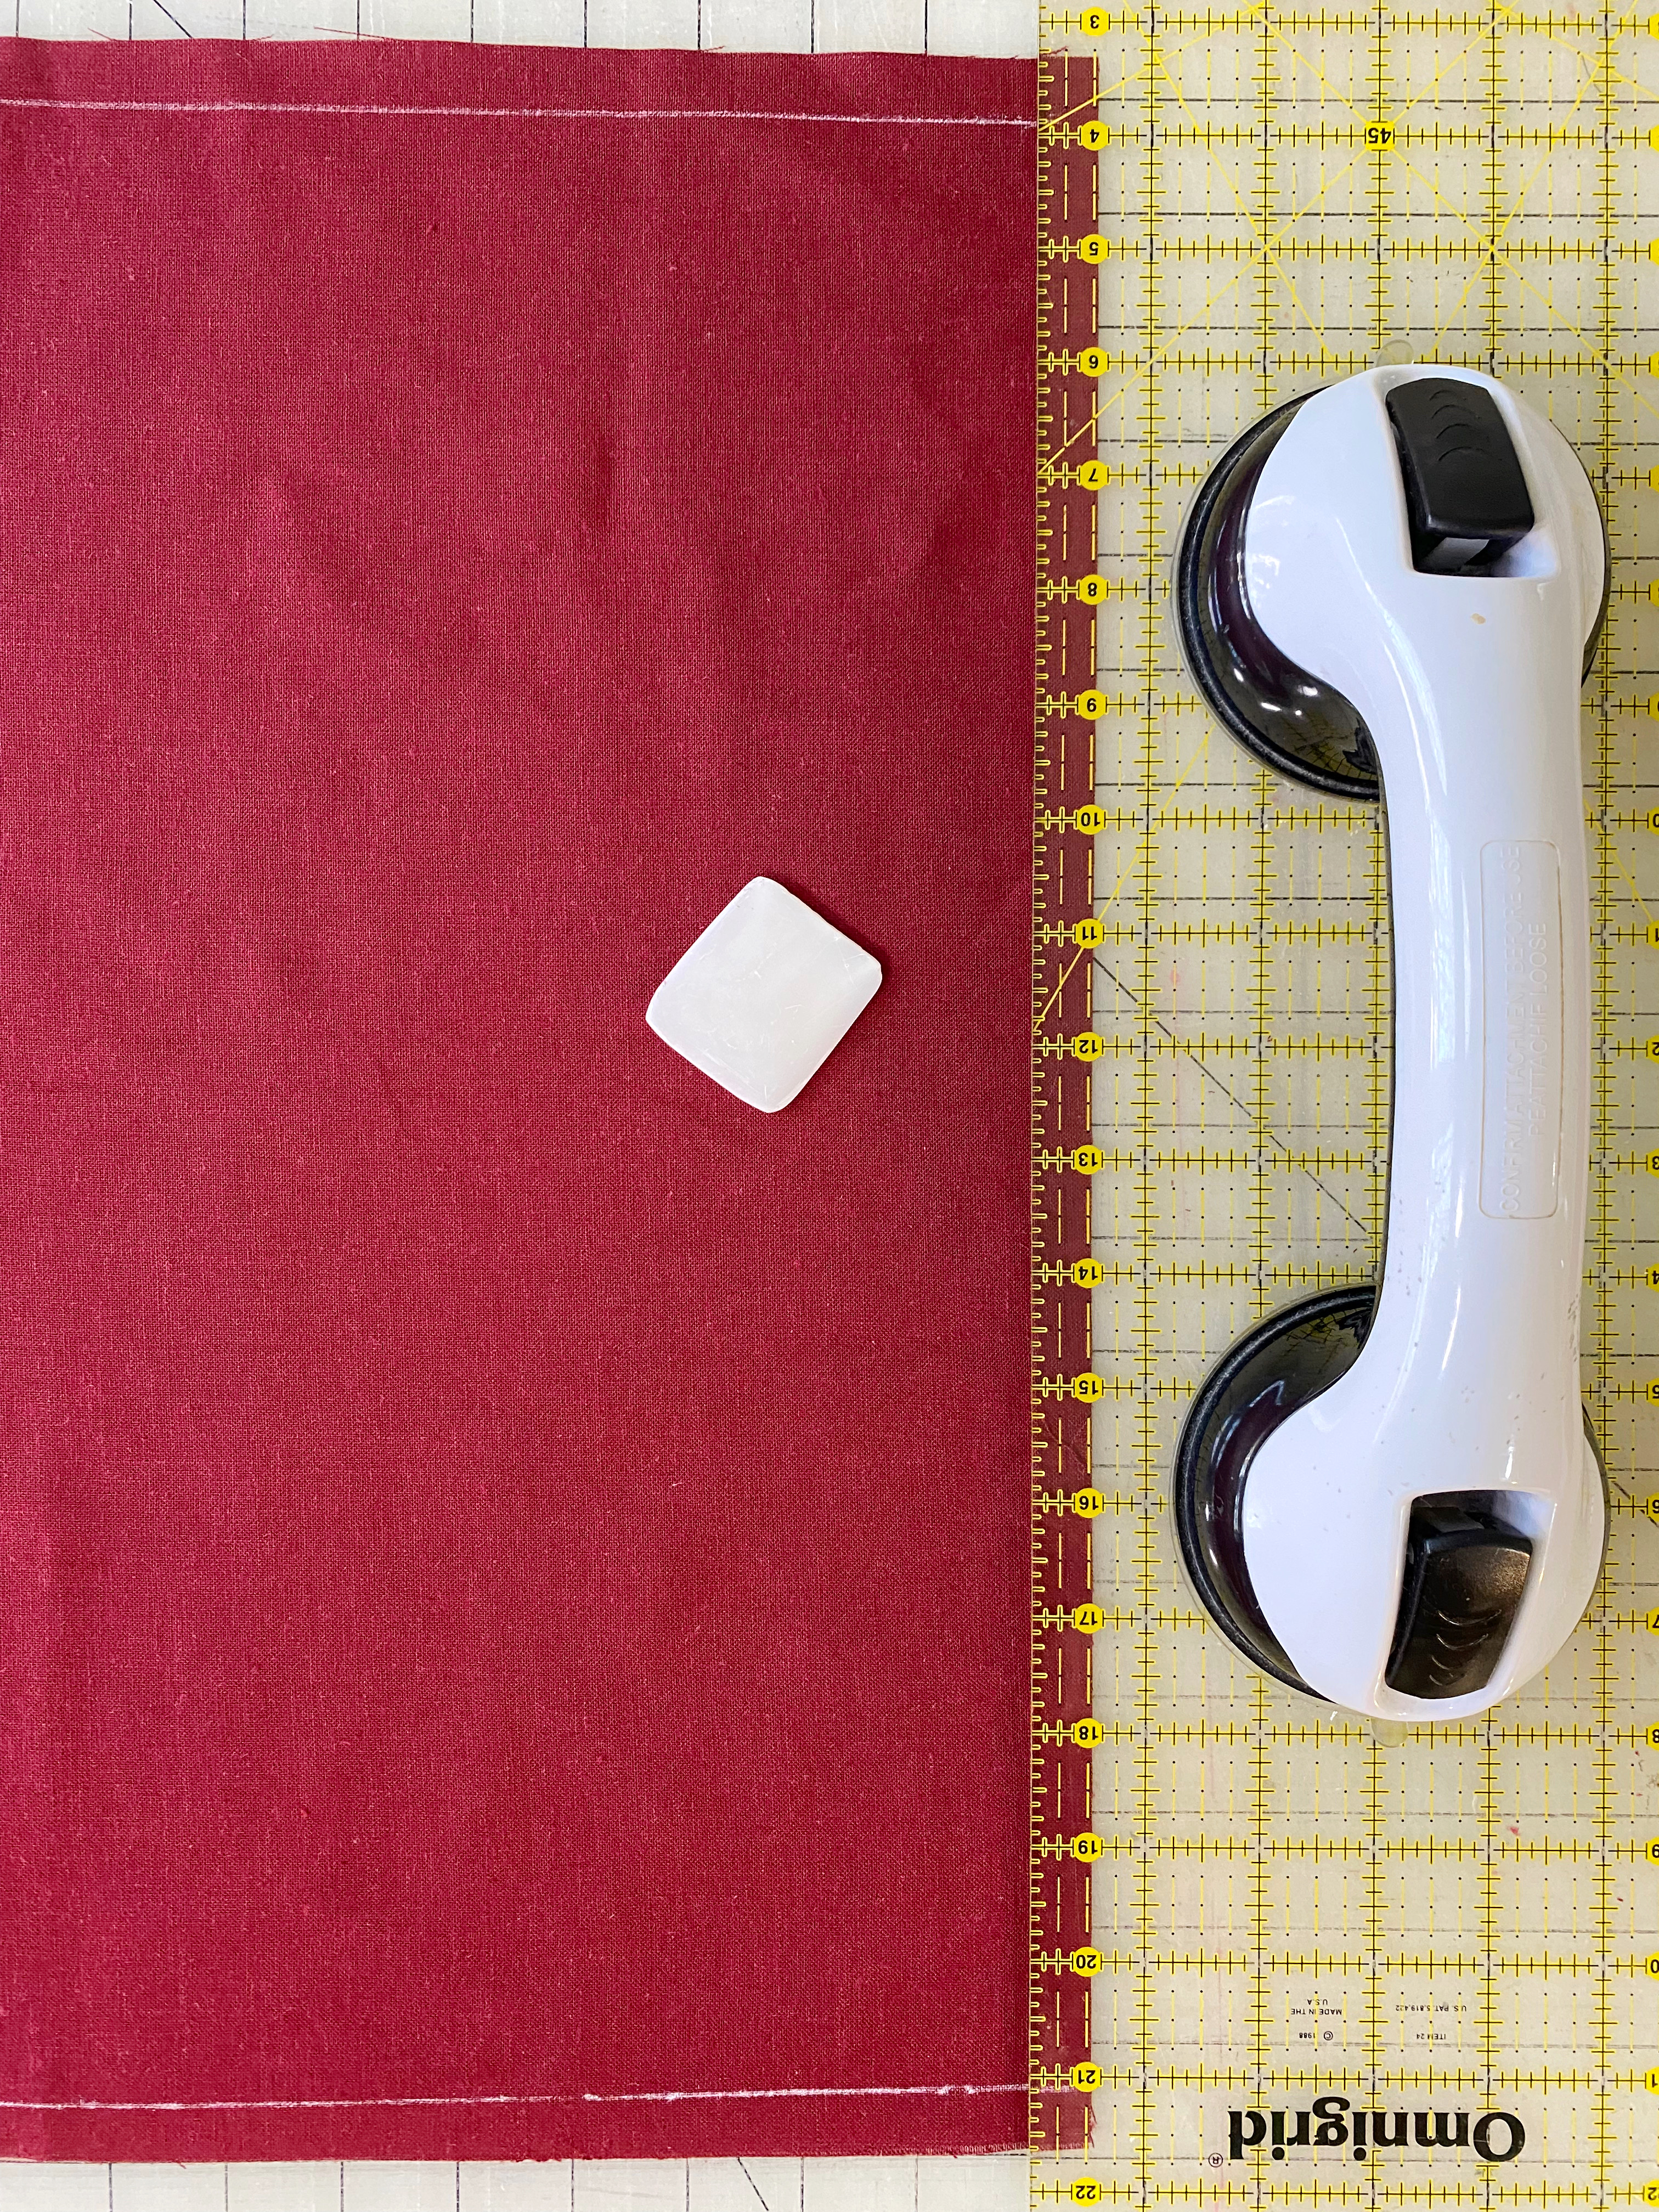
*If you want to be very precise with the fraying following the square, cut your napkin at 20”, then pick a thread 1” in from the edge and pull it all out. Measure 18” from this line that was created by removing the thread and repeat the process on the 18” mark. Repeat for the other sides. Cut the fabric following those lines created by removing the thread. This will create a true square.
Mark 1/2” in from the edges all around on the wrong side of the napkin.
With the wrong side up, stitch on the marked line. I like to start on a straight line instead of the corner for a subtle overlap at the end. Make sure to stop at the corners and pivot fabric for a neat stitch formation.
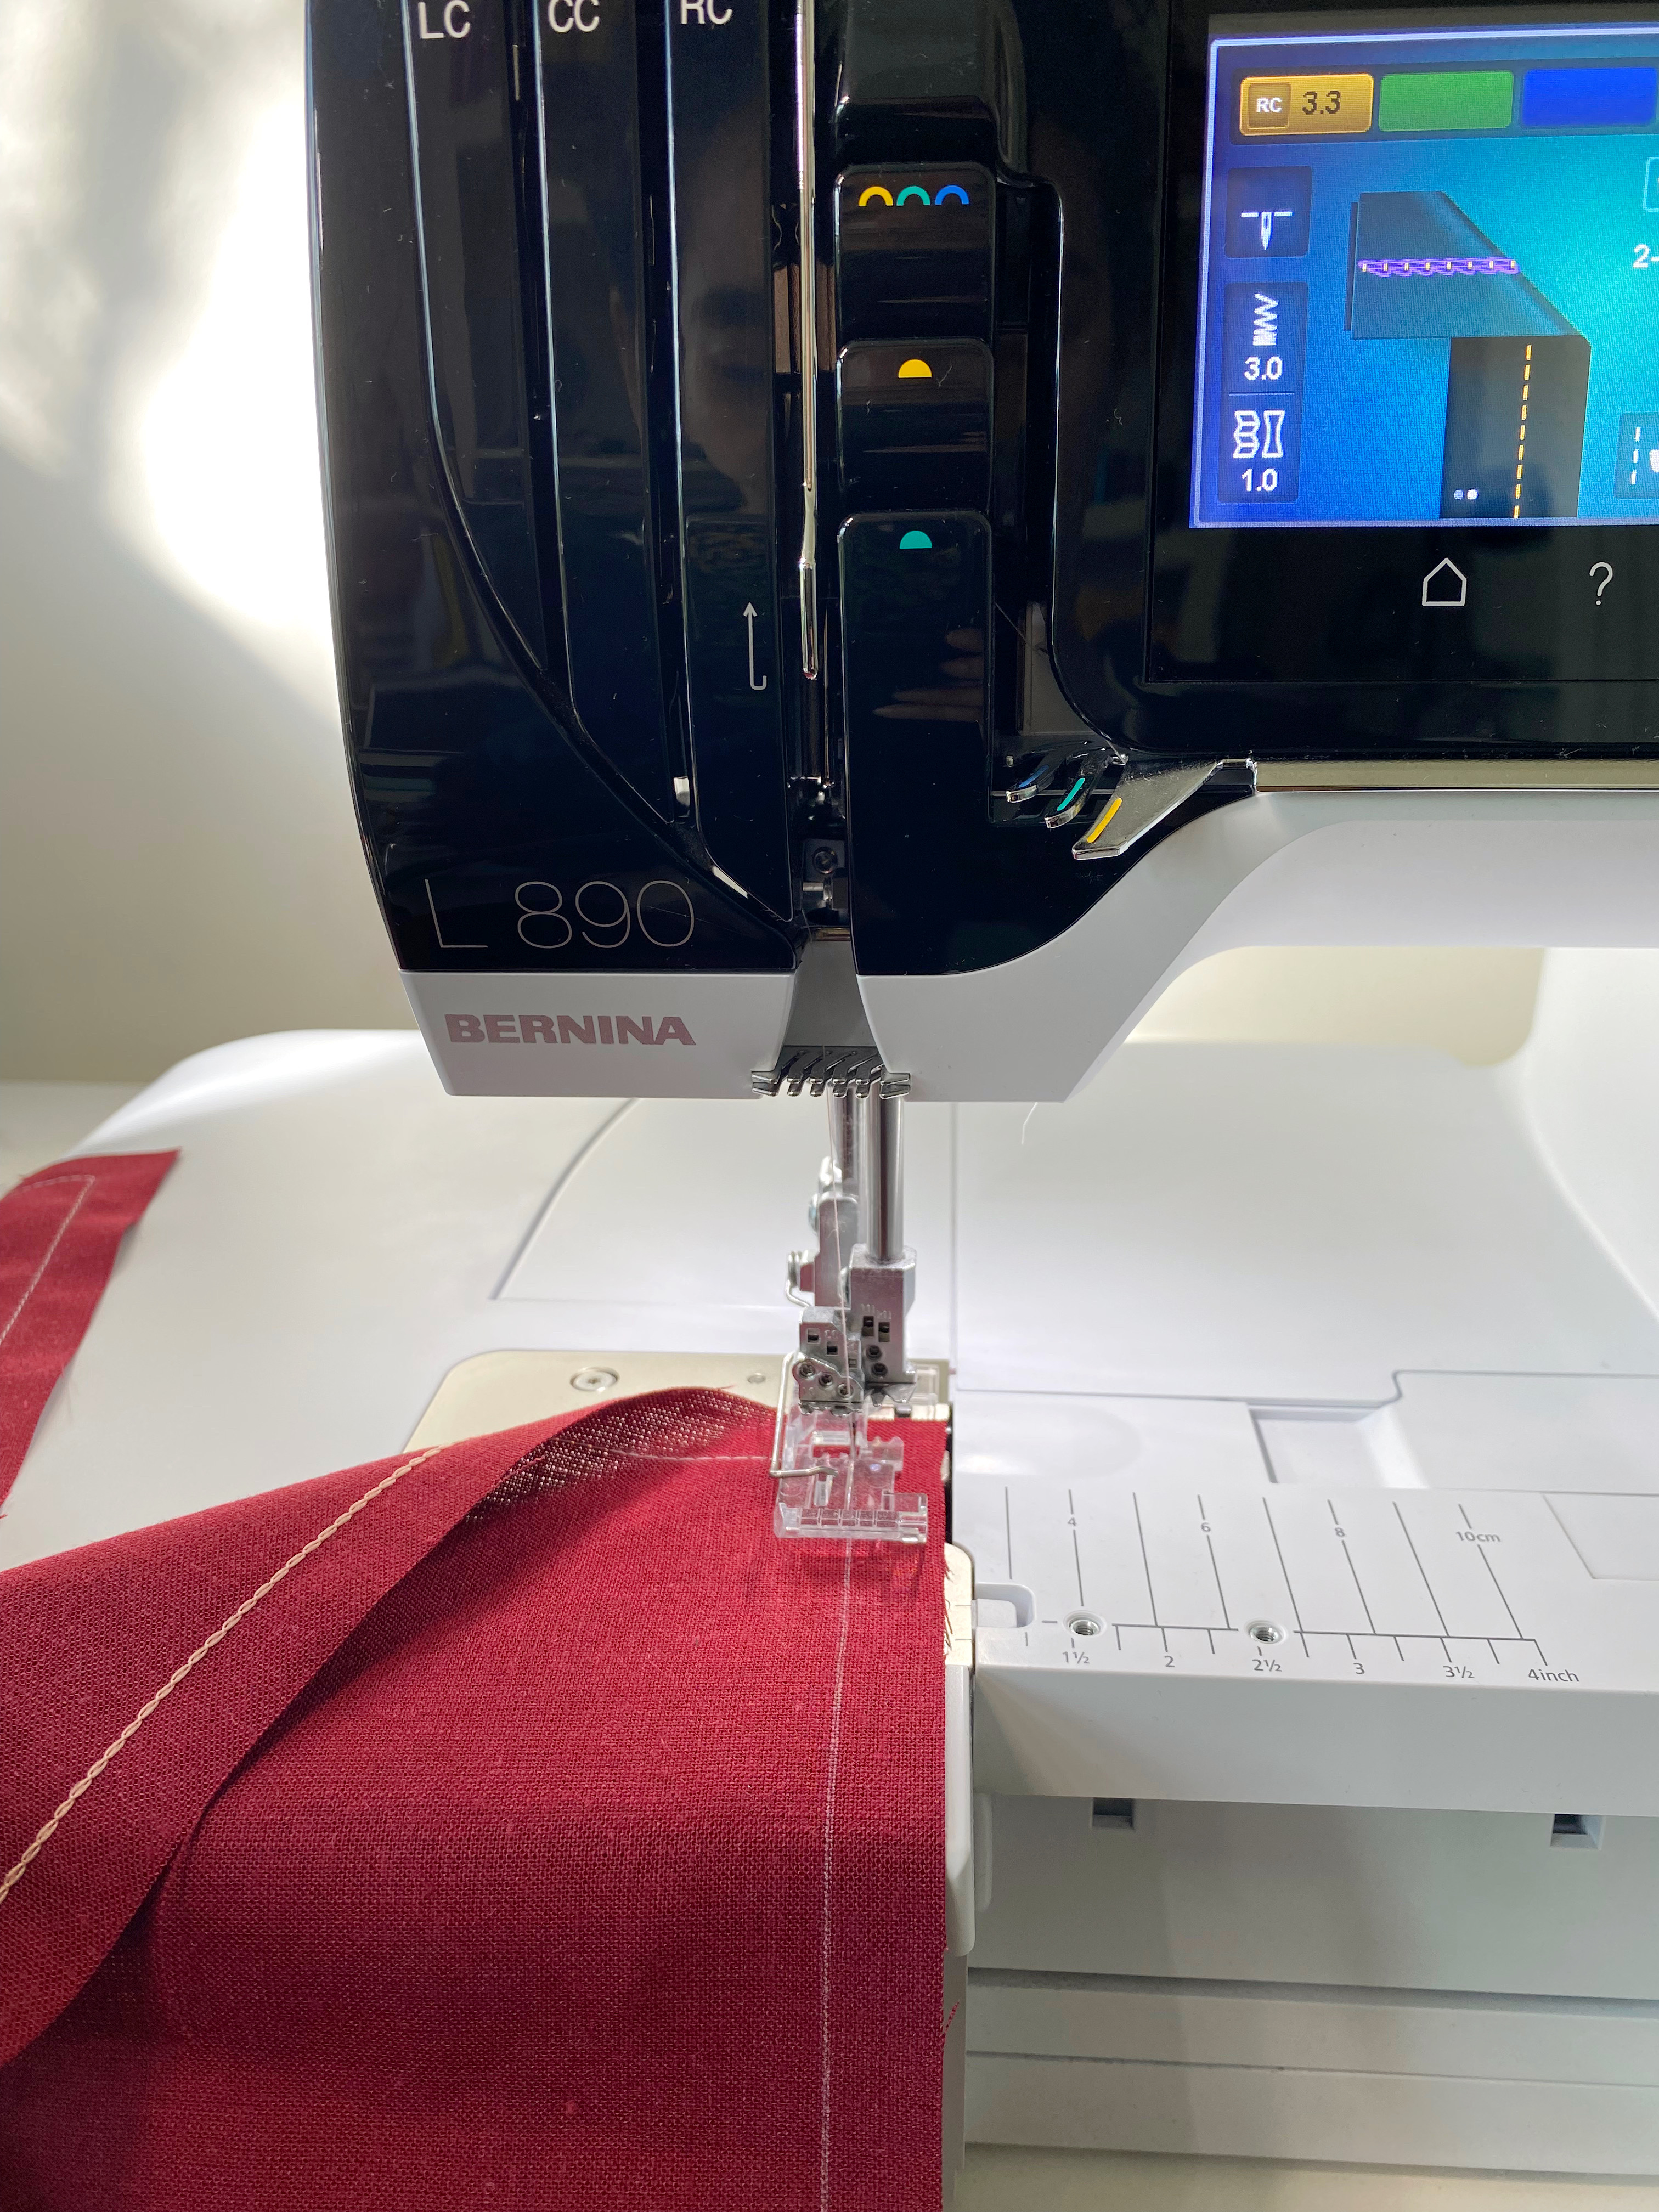
Once you get close to the beginning, cut the tails from the first stitch and sew, overlapping a couples of stitches. Lift the foot, pull the needle thread, and cut the needle thread only, leaving a long tail.
Pull the napkin off the machine (pulling towards the back). This will bring the needle thread that you just cut to the back. Cut looper thread.
Give it a couple of square knots on those threads. You can use a little sealant like Fray check. Cut remaining tails.
Fray the edges by pulling the threads. If you did the square method mentioned above, your fraying should follow parallel to your stitch pretty well. If not, just pull until you can and then cut the thread even with the edge. Once it is washed, some more threads might need to be trimmed later. The stitch will prevent it from fraying further past.
There it is! Three ways to make napkins on an overlocker and coverstitch machine other than a rolled hem. These will surely add some charm to your table.
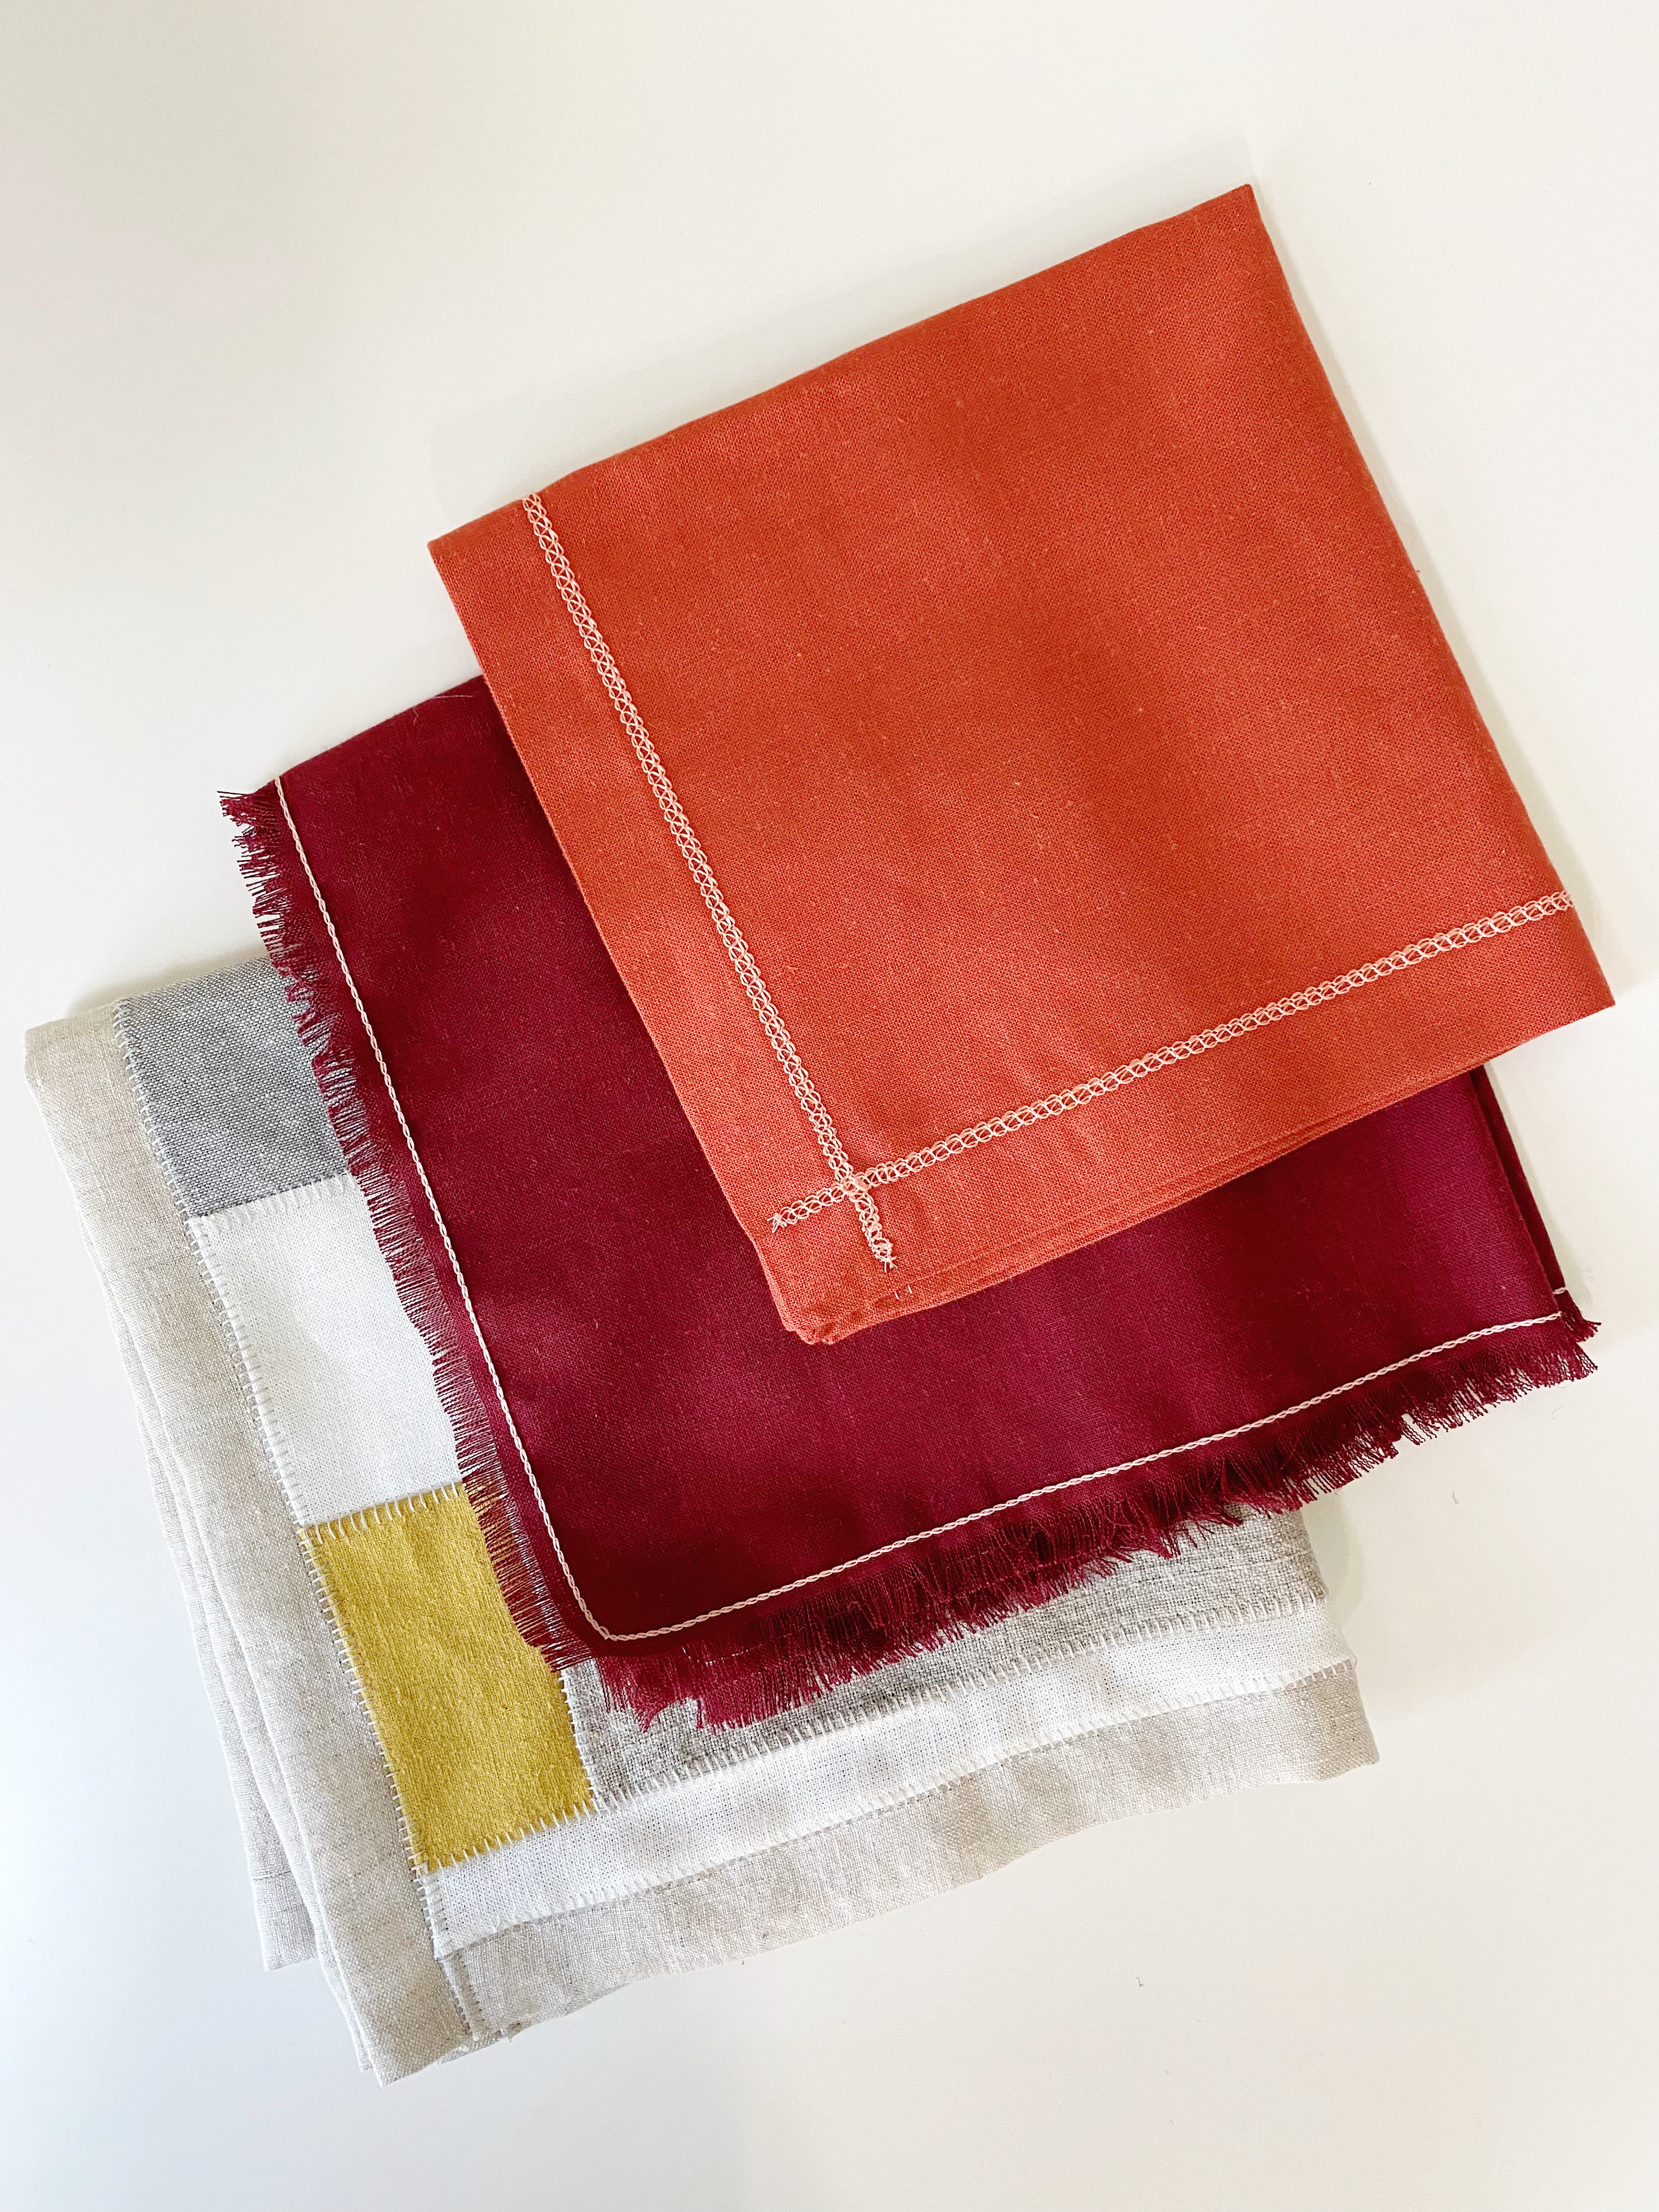
These beautiful napkins will bring some personality to your table and make it look fantastically fancy.
Have fun and happy serging!
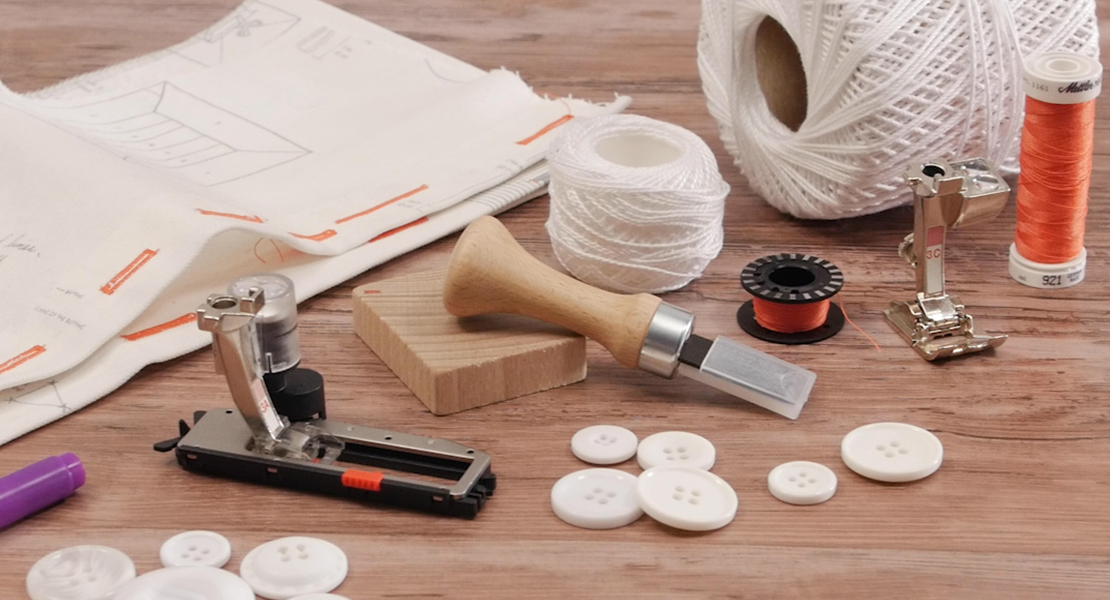
Used Products

What you might also like


One comment on “How to Make Napkins with an Overlocker: Three Ways”
Leave a Reply
You must be logged in to post a comment.

I’ve used my L890 to make several sets of napkins as gifts. I have been finishing them using a 3-thread rolled hem. I typically use YLI wooly nylon in the upper looper, and Mettler Seracor in the right needle and lower looper. They always turn out great and are a big hit with the gift recipients. This post gives me three new ways to finish future napkin sets. Thanks!