How to Personalize a Luggage Tag with Embroidery
I encountered an unusual situation on the way back from a work trip where I had to fly for the first time in months. After landing in Chicago, a fellow passenger from a couple of rows behind me reached for my carry-on bag in the bin directly above me. To my fellow passenger’s surprise, I pointed out that it was my bag. It turns out they had the very same brand and color of luggage, with the same color of leather name tag attached to it. After a quick check, the confusion was cleared.
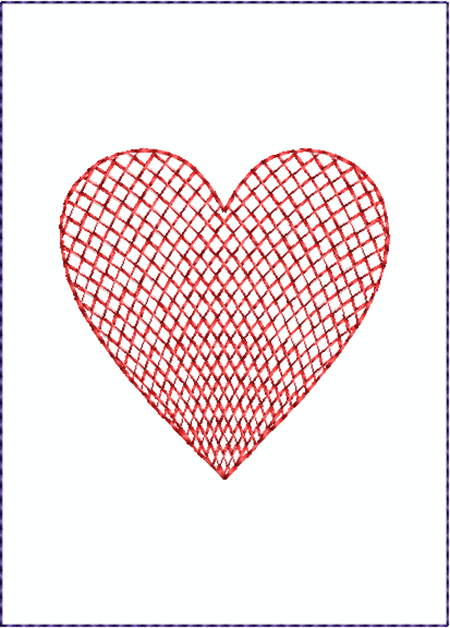
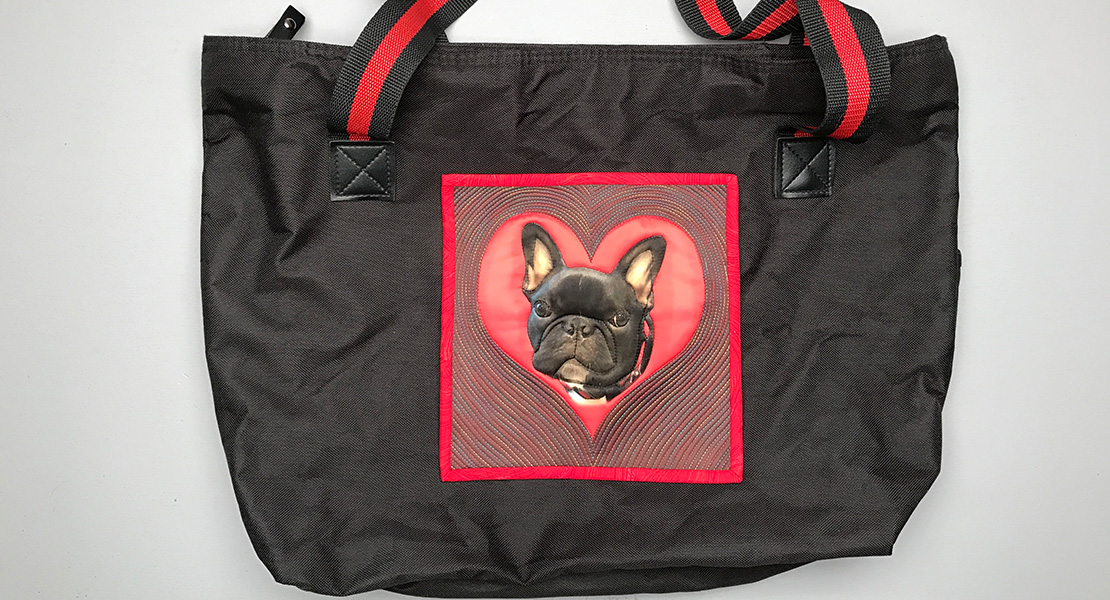
That episode made me think that a plain luggage tag does no good if not checked inside for the actual info. So the next day, I decided to personalize my luggage tags so that they would be immediately recognizable at first glance. I opted for a red heart design to show my love of travel, and of embroidery! Being that I was tired from the weeklong trip, I wanted to make a simple embroidery design that would not turn into a big project. Accordingly, I had 3 criteria for the design, which had to be:
- Easy to digitize (cue in my BERNINA Embroidery Software 8)
- Quick to embroider (cue in my BERNINA embroidery machine)
- Durable and suitable for the base material, in my case, a leather tag. (Cue in Isacord Polyester thread)
Less than an hour later, I had personalized three luggage tags in a row!

Simple stitching makes your luggage easily recognizable.
NOTE: The embroidery files created for this project can be downloaded here.

They include:
- The heart shape (only), created in Artwork Canvas.
- The completed design in ART80 format.
- The machine-ready files of the completed design in EXP/INF/BMP
BONUS: Look for the tips at the bottom of this article:
- For embroidery on leather, vinyl and soft plastic-type materials
- For embroidering monograms on a luggage tag instead of a heart.
Here’s how I created the design and embroidered it on the tags.
Creating the Embroidery Design
The process took about 10 minutes in total. It consisted of:
- Creating a heart shape outline in the Artwork Canvas (Corel Draw)
- Using the Basic Vector Shapes tool (on the left)
- Using the Perfect Shapes > Heart Shape option
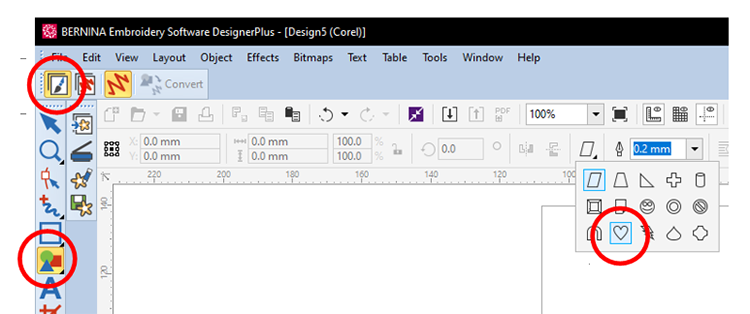
By clicking and dragging the mouse the shape is created automatically. The size of the shape (heart) is shown at the top of the screen.
TIP: Hold the CTRL key while dragging the mouse to force a proportional aspect ratio so that your heart will be balanced in shape.
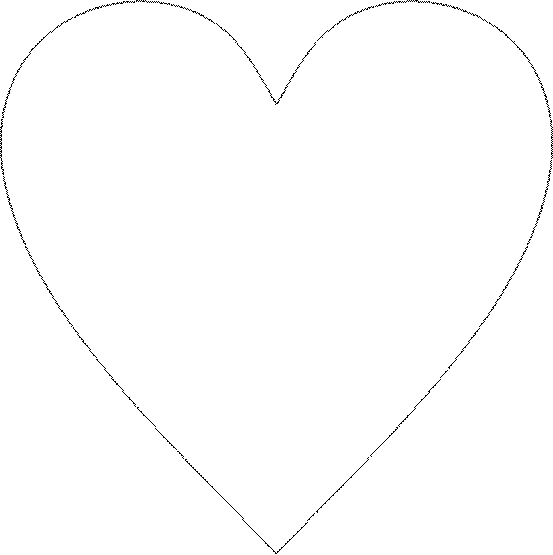
I dragged the mouse to enlarge the heart until it was about 50 mm (2 inches) in size, and then released the mouse button. This resulted in a thin outline like this:
The beauty of the BERNINA Embroidery Software 8 is that once an outline is created graphically (in Artwork Canvas), it can easily be converted to a line of stitching, just by clicking on the Convert button at the top of the Artwork Canvas screen, which became active once the heart outline shape was created…and selected.
After I clicked on the Convert button, the software automatically transferred over to the Embroidery Canvas.
I now had a heart embroidery motif, composed of a single stitch outline. That easy!
This outline would serve as my basting line once I stitch out the embroidery on a luggage tag.

Now to fill the heart. Long live embroidery software!
With the outline heart selected, all I had to do was:
- Duplicate the heart (the duplicate heart will be selected automatically).
- Change the duplicate to a lacework fill.
- I then adjusted the fill of the duplicate design to make it a tad smaller, to give it a bit more density and texture (with a 3 mm grid size), as you can see below:
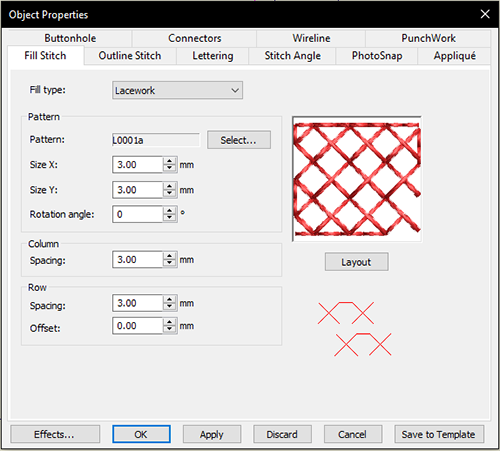
Note: I wasn’t done yet with the heart, so I didn’t click on OK. Instead, I clicked on Apply. This implemented the change while keeping my dialog box open.
Now, since a heart combines some of the most beautiful curves geometry can create, I wanted to have the lacework fill echo the curvature of the main shape. Cue in the Wave Fill Effect.
With the lacework-filled heart object still selected and the dialog box still opened, I clicked on the Effects button at the bottom of the dialog box and checked in the box for the Wave Fill.
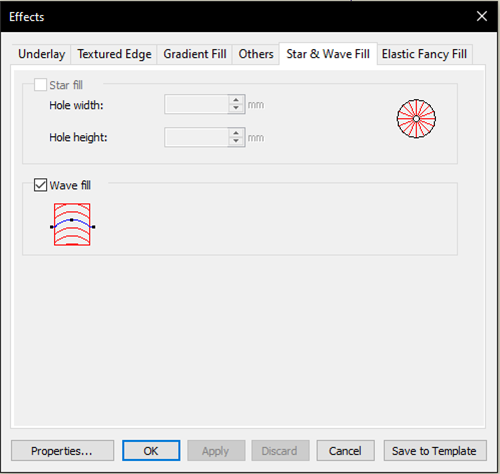
When I clicked OK this time, I got the following:
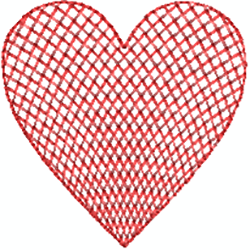
Then I used the Object Reshape tool to adjust the curvature of the Wave fill shaping line until I liked the way the lacework grid flowed with the curvature of the heart.
(The following image is enlarged to show details.)

Now it was time to wrap this heart up (aka outline it)
If you’ve worked with an open fill like lacework fill, you’ve seen that it doesn’t form a continuous line of stitching around the perimeter. That makes sense as it is a fill, not an outline.
To create an outline, I could have duplicated the first ‘basting line’ object. We used to have to do that. Luckily, there is an easier and more exact way to create outlines in Embroidery Software 8.
With the filled heart still selected:
In the Edit Toolbox (first toolbox on the left of the screen):
- Click on Outlines and Offsets.
- Check in the box for Object outlines.
- Select Type: Triple.
- Select Color: Red (5 BERNINA).
- Make sure that the Offset outlines option is NOT selected (i.e. NOT checked).
- Click on OK to create the outline.
Note: The outline will be a new object in your Color Film.
See the following image as reference:

The beauty of this tool is that it creates an exact shape-matching outline every time.
I verified in Object Properties (after selecting the new outline) that the stitch length was 2.5 mm (which it is by default). A key setting here, to make sure the outline conforms well to the shape it has to follow, is to have the Variable run length box checked (which it should be by default).
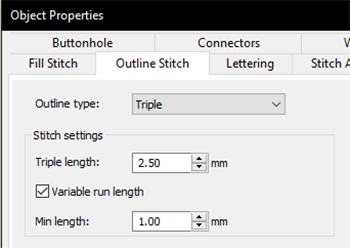
Note that a longer stitch may not follow a tight curve as well, and too short a stitch may start to cut into the leather.
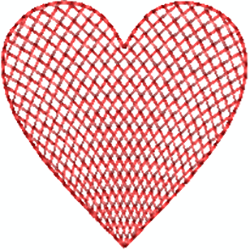
Now that my heart was filled and outlined, it looked like this:
And then the heart was ready to stitch. To make sure everything stayed together (basting line, fill and outline), I Selected All (CTRL-A) and Grouped the objects together.
I was now ready to determine where to place this design on my luggage tag. Cue in the placement line.
If there is one major benefit to owning embroidery software, it is that you can easily create placement lines so that you can pre-plan your embroidery placement. This makes the subsequent hooping process easier and more accurate.
The way the placement line works is as follows:
- It gets stitched on the hooped stabilizer.
- Note: This stitching will be trimmed off with the excess stabilizer after embroidery.
- It will let you place the object to be embroidered (here the front of the luggage tag) on the stabilizer, in the right location.
- You can size your placement line (here a rectangle matching the luggage tag) in 2 ways:
- Exact dimensions of the object: It will essentially disappear under the object.
My luggage tags have slightly rounded corners, so I could use that to my advantage to still see the corners of the placement line when placing the tag on the stabilizer. - Slightly larger than the object: by adding 2-3 mm to both height and width, you can still see the placement line just outside the edges of the object being placed on the stabilizer. I call this the peekaboo method.
- Whichever method works best for you is the best one!
- Exact dimensions of the object: It will essentially disappear under the object.
To create my placement line in the software, I used the following:
- In the Digitize Toolbox
- Rectangle tool
- Single stitch Outline
- Color 1 (dark blue)
- By using a different color for the outline, the machine will stop after stitching the placement line.
- I typically thread the needle with the same color that will follow the placement (first actual color in the embroidery motif) to save time, unless if there’s a need for contrast (e.g., if the first color of the motif is white, I’ll use a different color of thread to stitch a placement line on a white stabilizer).
- Click and drag, then click again to create a rectangle.
TIP: I never try to create a rectangle to the exact shape while dragging the mouse. It’s just a drag! I create the rectangle first, then resize it to the exact dimensions needed.
Resize the rectangle by entering the exact dimensions (Width / Height) in the Transform Toolbar at the top of the screen (make sure Proportional Scaling is turned off).
- The front of my luggage tag was 2.5 inches wide by 3.5 inches tall.
TIP: You can switch measurement system (Metric/US) on the fly, at any time, whenever you find a particular set of measurements easier to use.
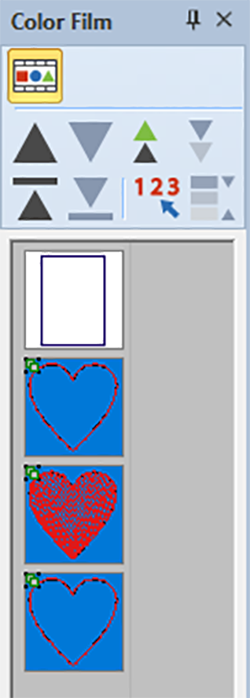
I now had all the objects needed to stitch this out in the hoop—placement line and then the grouped heart objects. The last step before sending the design to the machine was to change the color sequence in Color Film by moving the placement line to the top of the sequence, so that it would stitch first.
Note in the following image that the sequence is finalized, and the heart objects are grouped.
At this point, I downsized the heart a little bit to leave about a 1 cm (~1/2 inch) margin on both sides of the heart. That is to taste.
For the final touch, I centered the heart in the placement rectangle (line):
- Select All (CTRL-A).
- In the Arrange Toolbox (on the left of the screen).
- Clicked on Align Centers.
And here is the final design, ready to embroider. Again, what seems like a lot of scrolling only took about 10 minutes in real-time.
My embroidery design being ready I then:
- Saved it in ART80 format on my computer
- This format preserves all the design specifications, allowing me to edit, rescale, etc. in the future if desired.
- Exported the machine file to a USB stick, which I took to my embroidery machine.
It was now time to embroider the luggage tags!
Embroidering the Luggage Tag
Steps to Embroider the Luggage Tag
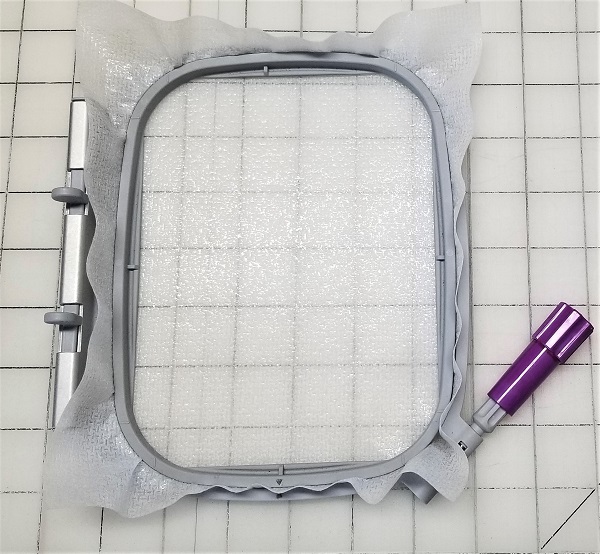
- Hoop the stabilizer.
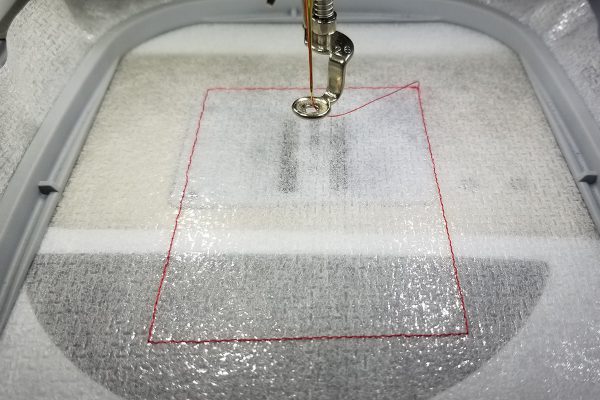
- Stitch the placement line.
- Position the front flap of the luggage tag and stitch the motif.
For the stabilizer:
- I used Fusible Polymesh (as you can see in the images below) because I was originally planning to fuse it to the tag after stitching. (I changed my mind about fusing later though.
- It turns out regular Polymesh (nonfusible) or Heavy Cut-Away stabilizer would work just fine.
- Use a temporary adhesive spray like Odif 505 on the stabilizer. It will help keep the luggage tag in position when you start stitching the motif.
- However, there is no need to fuse stabilizer after all, and with some leather tags and any vinyl or plastic-type luggage tags, that would not be a good idea anyway. So I ended up treating the fusible stabilizer as I would regular Polymesh.
Hoop: I used a Medium Hoop so I would have some wiggle room inside the hoop since this was my first luggage tag being embroidered.
TIP: Although I embroidered only one tag at a time in the Medium Hoop, I could have fit the design twice if I had rotated the designs 90 degrees (clockwise). Then I could have embroidered 2 tags in a single hooping, saving on stabilizer!
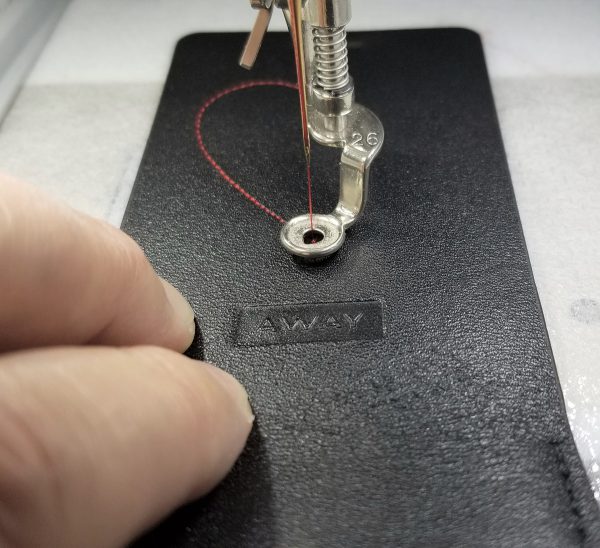
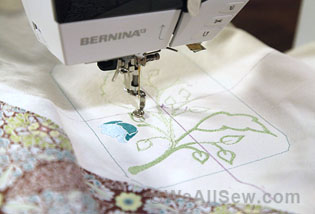
Next, I stitched the placement line:
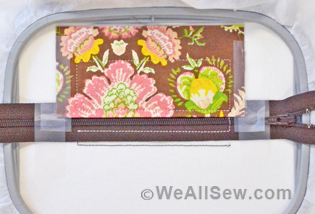
I then placed the front of the luggage tag on the stabilizer, using the placement line as a guide.
Since the placement line matched the dimensions of the tag, it was covered by the tag at the top and sides. However, since my tag had rounded corners, I was able to see the corners of the placement rectangle even after I put down the tag.
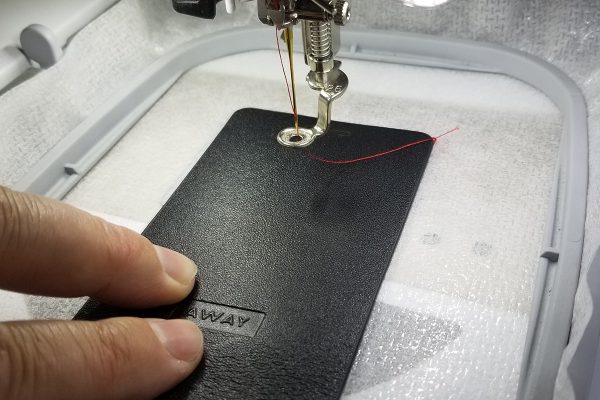
From the top of the hoop, the positioning of the tag looked like this:
I could now stitch the first actual color in the motif, the basting line (in the shape of a heart).
TIP: I used the foot control to stitch the basting line. It gave me complete control over the speed while allowing me to stop at any point if needed, all while keeping my hand on the luggage tag, never letting go of it.
Once the basting line was stitched, the tag was now secure on the stabilizer.
I restarted the machine with the Start/Stop button and let it stitch. I used a moderate speed (Slide Speed Control at about 50%).
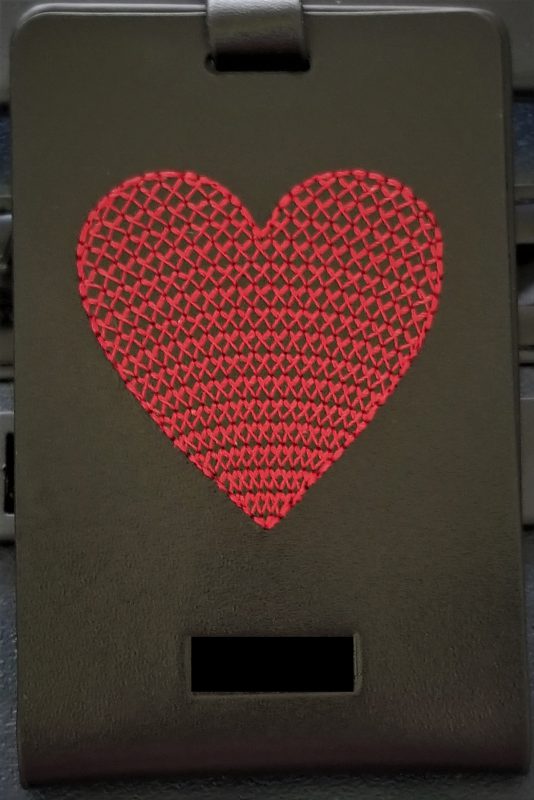
The machine proceeded to fill in the heart . . .
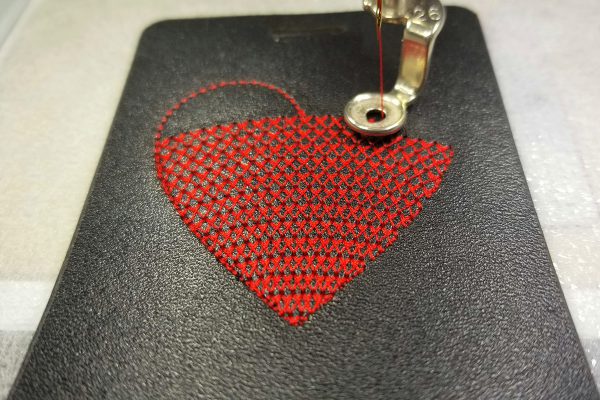
It then outlined it in a triple stitch. When the design was completed, the tag looked like this:
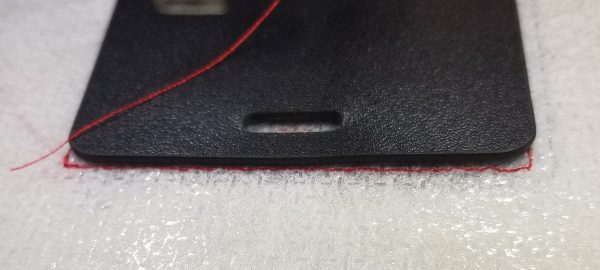
After unhooping the project, it was time to trim the excess stabilizer.
TIP: I left a halo of about 1/8 inch around the design. This margin helps keep the start and end stitches secure.

The trimmed stabilizer looked like this:
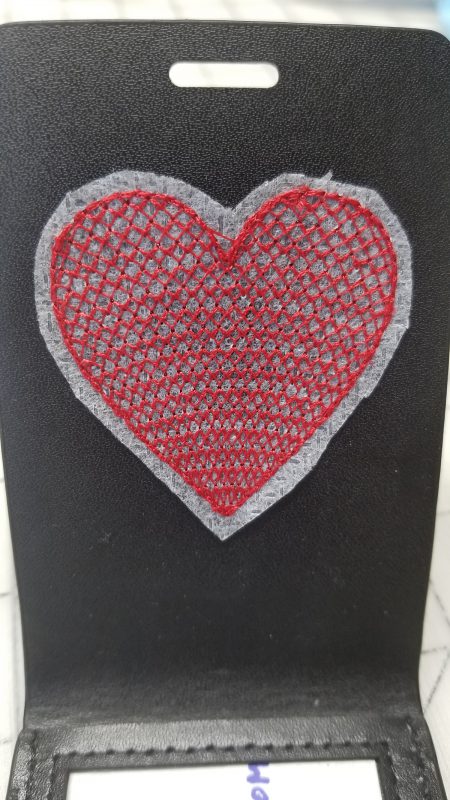
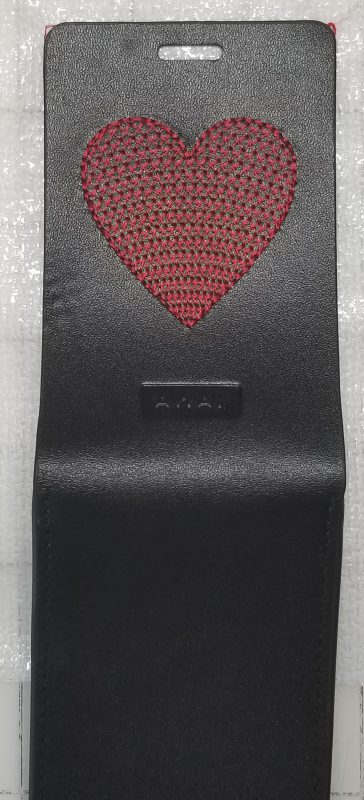
From the front, the luggage tag now looked like this:
And it now makes my carry-on easily recognizable at a glance.

Tips for Embroidering on Leather, Vinyl and Soft Plastic-type Material
The following guidelines will help ensure embroidery that works. . . and lasts:
- Use only polyester thread:
- I use Isacord 40 wt thread; it is stronger, colorfast and flows really well through even tricky bases like leather.
- It will not be weakened by the tannins in the leather and will last.
- If stitching a monochrome design, I use the same embroidery thread in the bobbin.
- Use a sharp needle:
- I like an Organ Titanium Sharp 80 for thin leather like the one my tags were made of.
- A sharp point will open a clean hole in the leather.
- Use only as large a needle as you need. Leather tends to get cut by the needle if perforated too many times per unit of length and does not ‘recover’ from large needle holes.
- Use open stitching:
- Too many needle holes next to each other will tend to shred and cut the leather apart.
- Avoid very short stitches.
- Avoid satin stitches if possible; the needle holes in satin stitching are very close together along the edges and are apt to cut the leather.
- Use a triple stitch for texture and emphasis (visible from a further distance).
- Use a cutaway stabilizer:
- It will survive the stitching and help keep your threads anchored at the start and end of stitching.
- Just trim the excess after stitching.
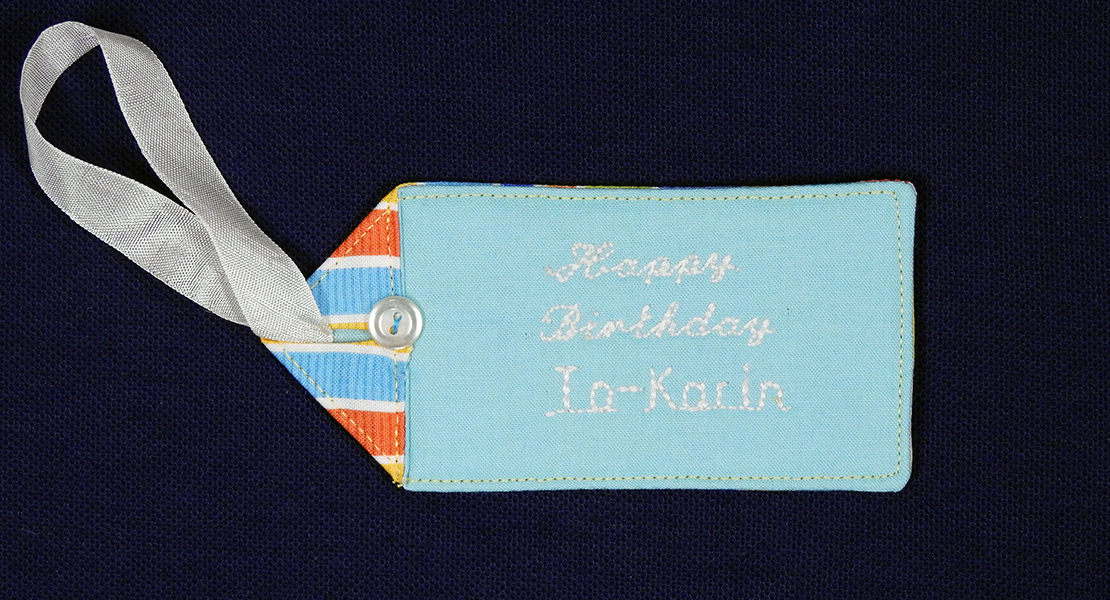
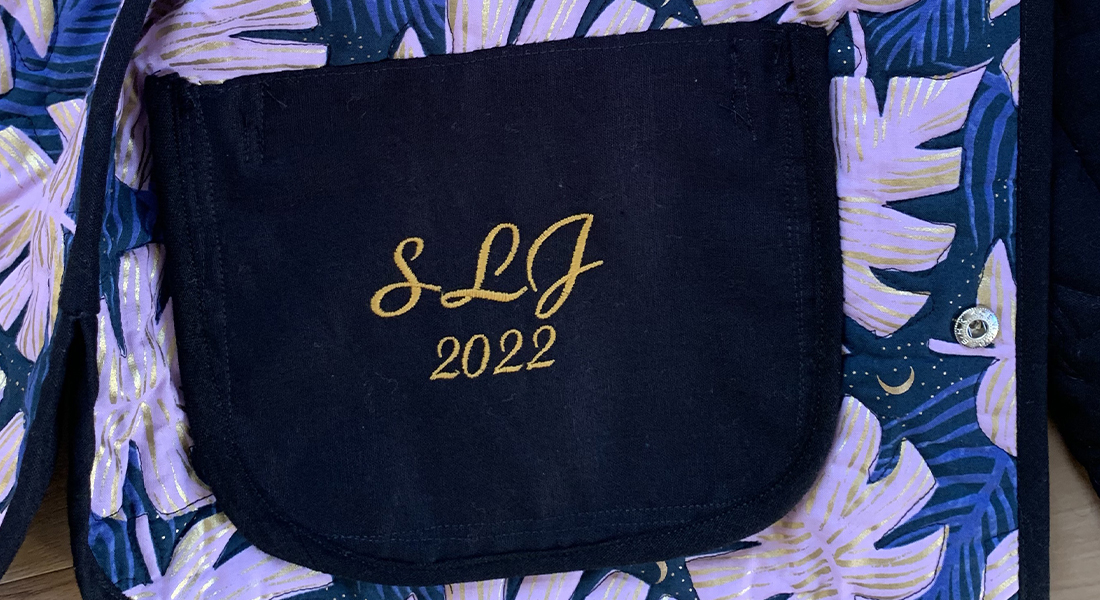
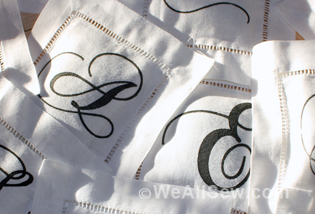
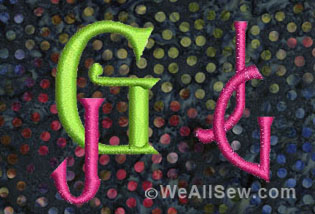
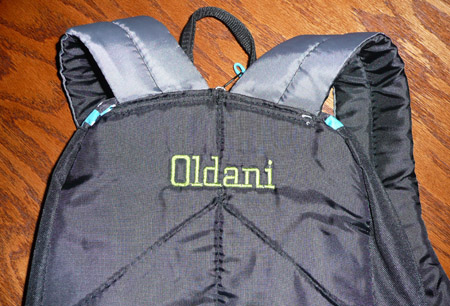
Tips for Embroidered Monograms on Leather, Vinyl and Soft Plastic-type Material
Following the guidelines listed above, use an outline type stitch to stitch the letters. It will be fast and will not damage the base material. Using a triple stitch will let the letters pop from a distance, especially with a contrasting thread color.
In the BERNINA Embroidery Software 8:
- Use the Alphabet
- Create the letters to the size needed.
TIP: Choose a clean line, sans serif font like Swiss Block.

- Use the Outline and Offsets tool in the Edit
- Add a Triple outline to the lettering with No Offset, in a different color (e.g. red)
- This will make it easy to see on screen.
- Length should default to a stitch length of 2.5 mm, which is good.

- Select the original lettering in the Color Film and delete it, keeping only the outline layer.

- The result is a monogram that is easy, quick and durable, as it won’t damage the base material like a satin stitch might.
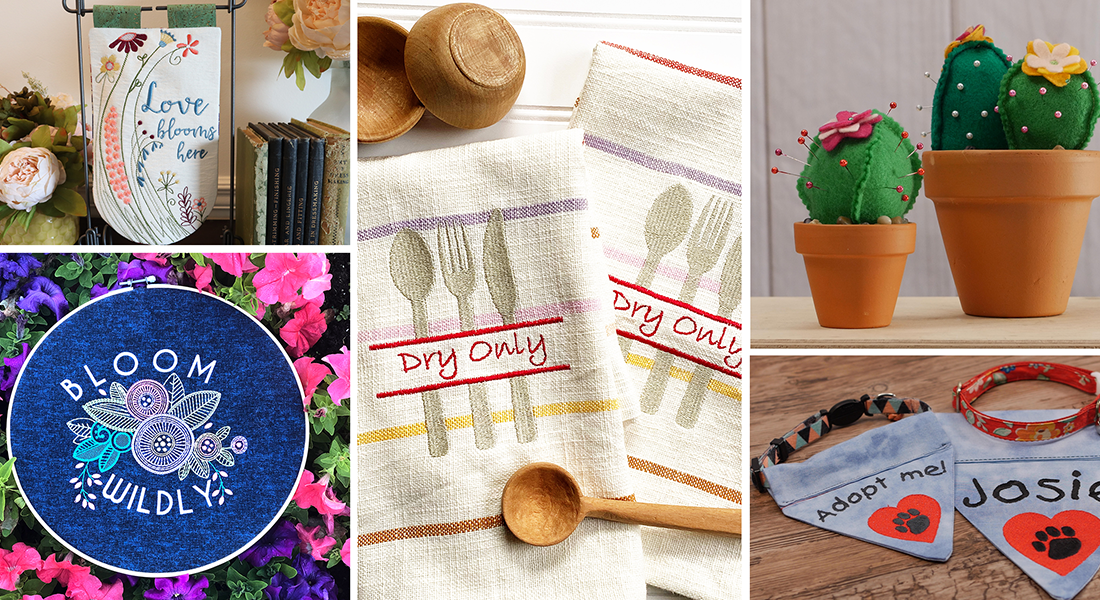
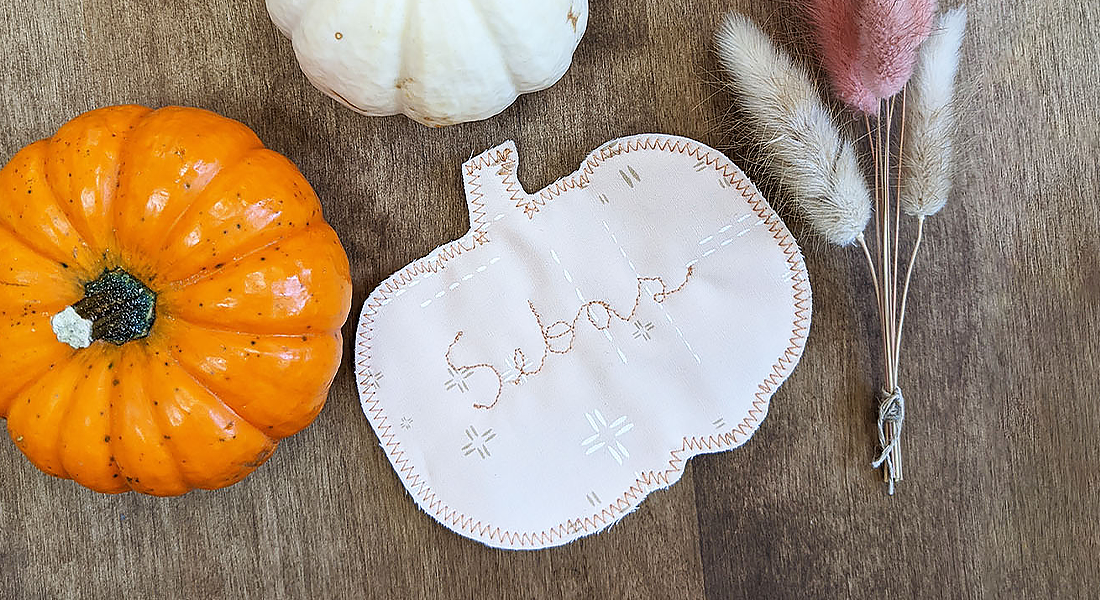
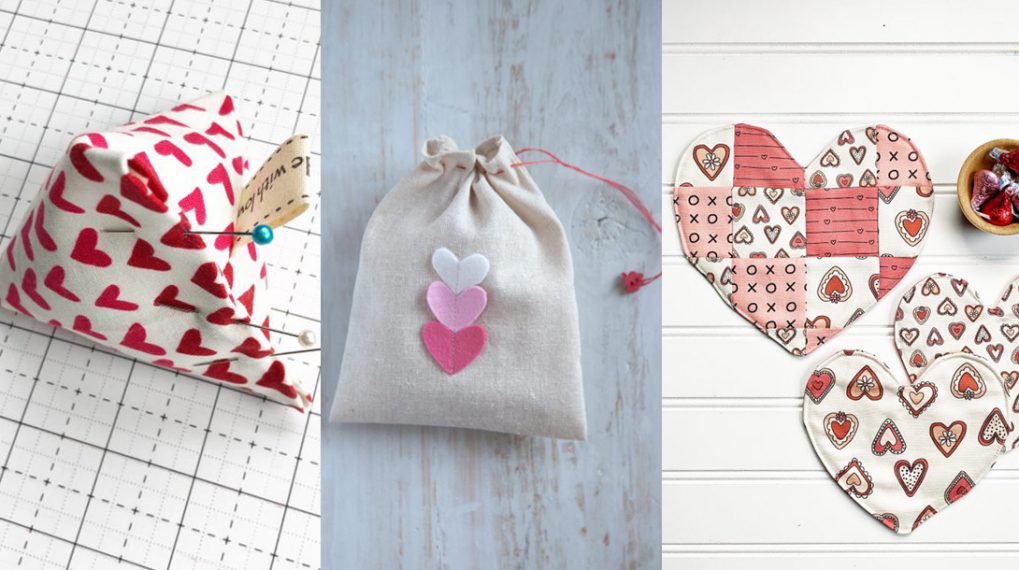
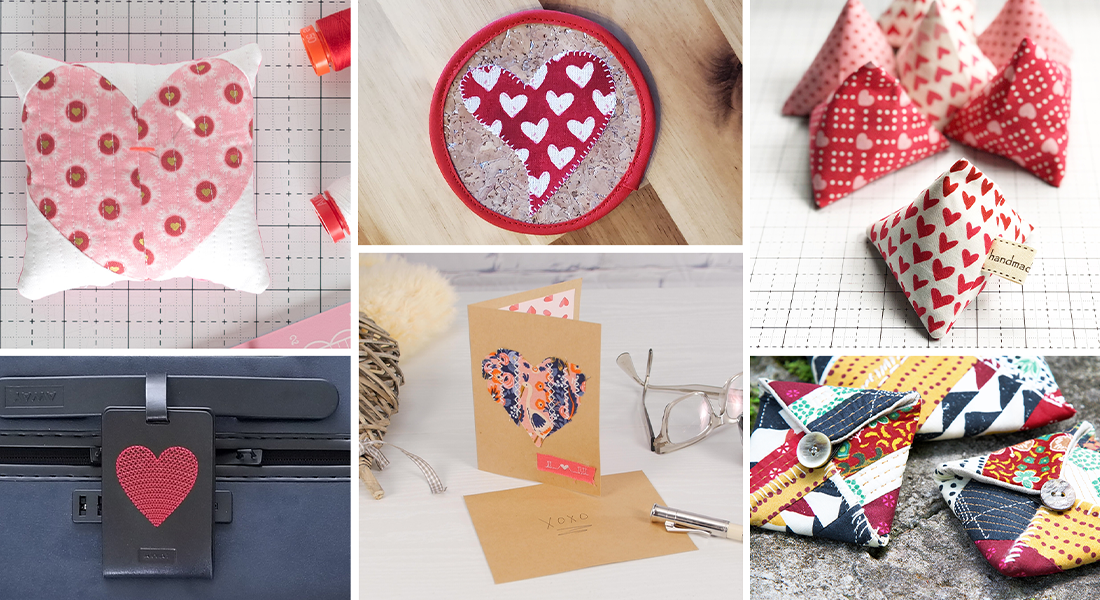
What you might also like

2 comments on “How to Personalize a Luggage Tag with Embroidery”
-
-
Great wee giftie!
Leave a Reply
You must be logged in to post a comment.

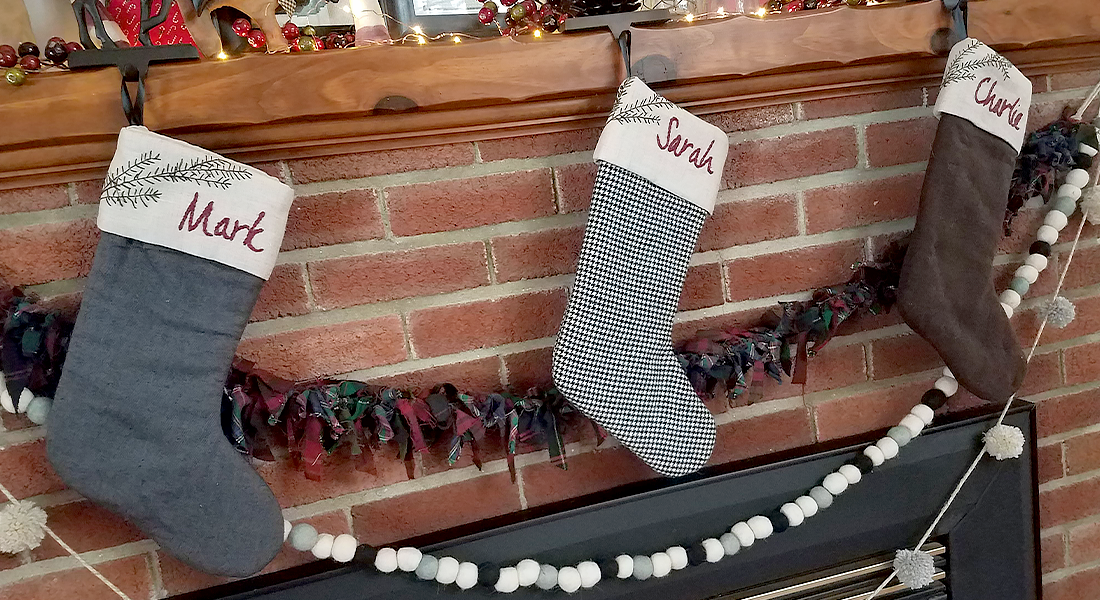
FANTASTIC article! Wish I’d seen it before Christmas. I think I’ll make some for Christmas stocking stuffers next year.