How to Sew a Reversible Sequin Pillow
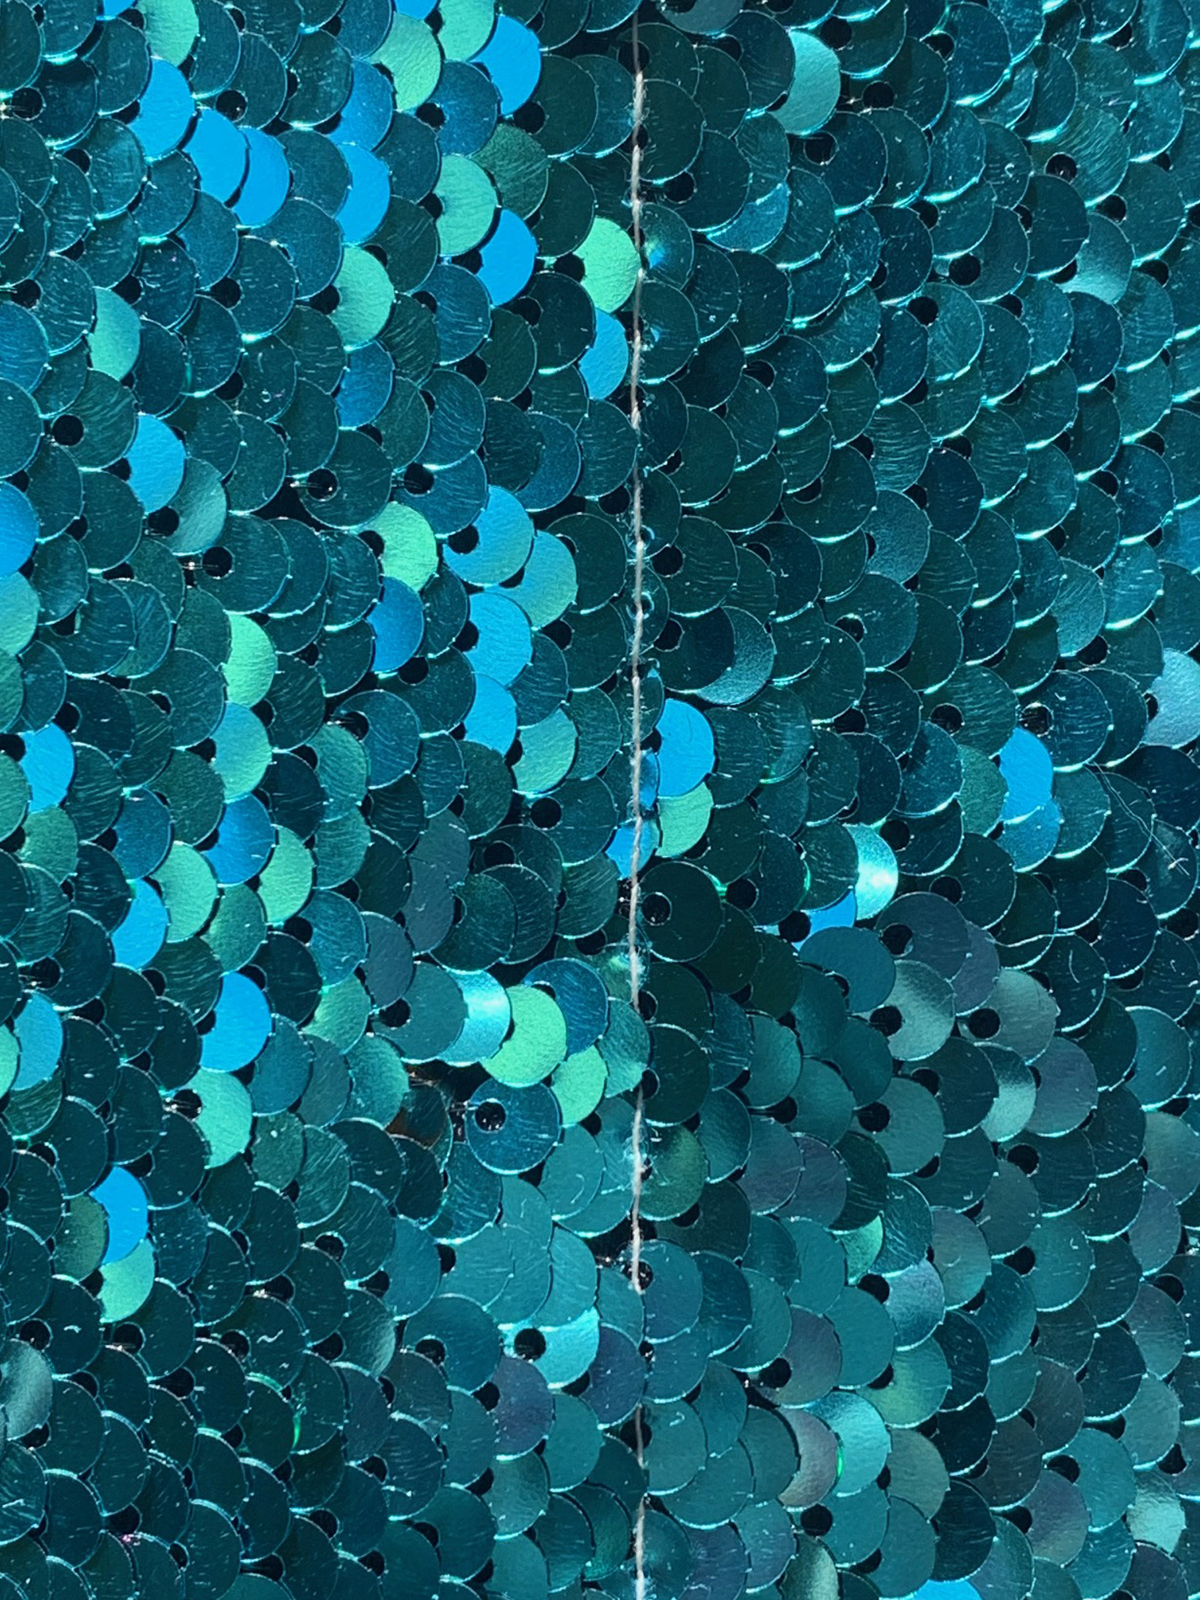
Reversible sequin fabric is everywhere, and for good reason – it’s fun and glamourous! Smooth down the sequins in opposite directions to reveal different sparkly colors. Use your finger to reverse the color of a few sequins to spell out words, make a smiley face or create shapes. But you ask, “How do I sew on sequin fabric?” I put my BERNINA 770 QE to the test and was very happy with the results.

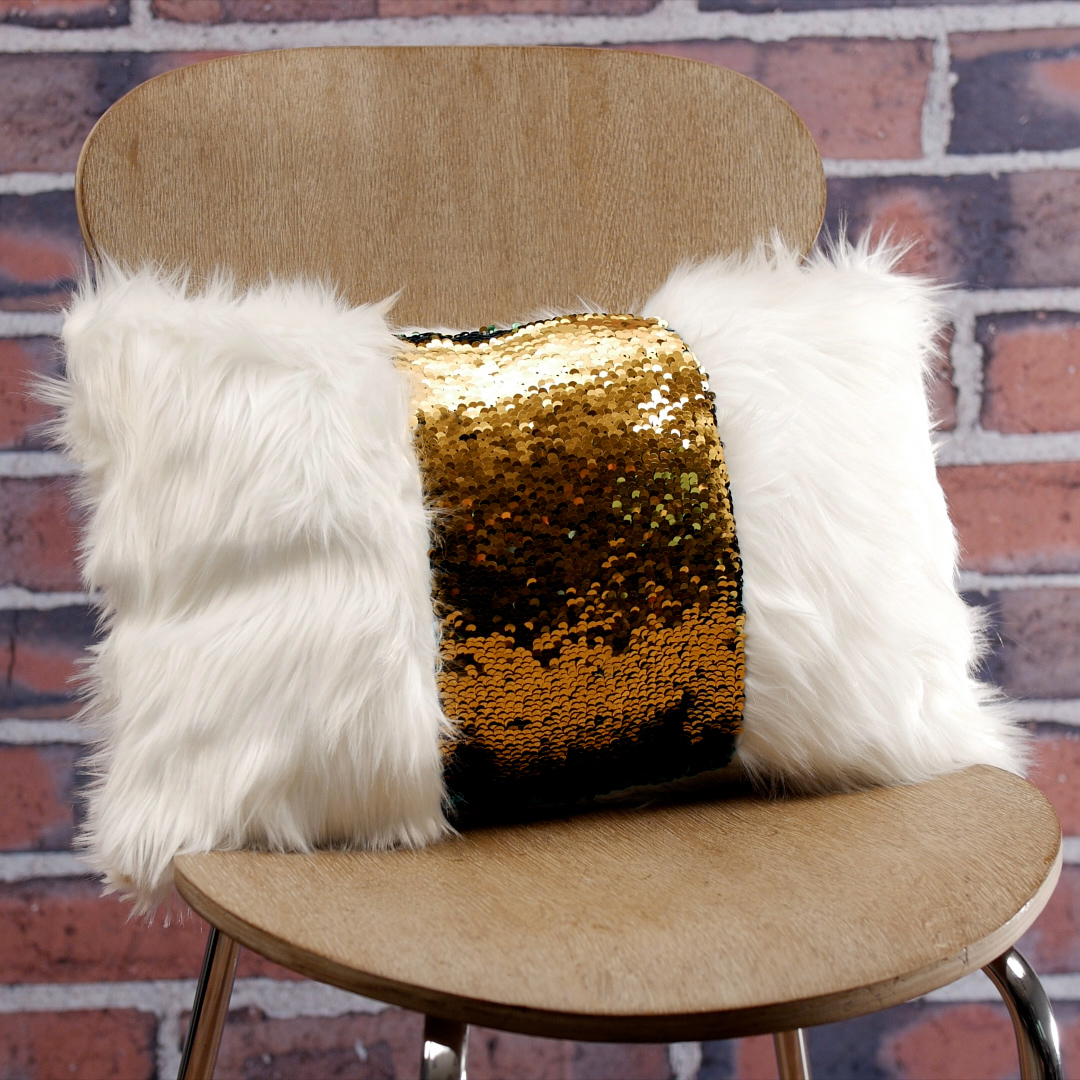
With reversible sequin fabric and fun fur, I created a pillow perfect to accent any room that needs a little sparkle and shine. Note: Please read through the entire tutorial before starting the project.
Machine Set-Up
- BERNINA 770 QE
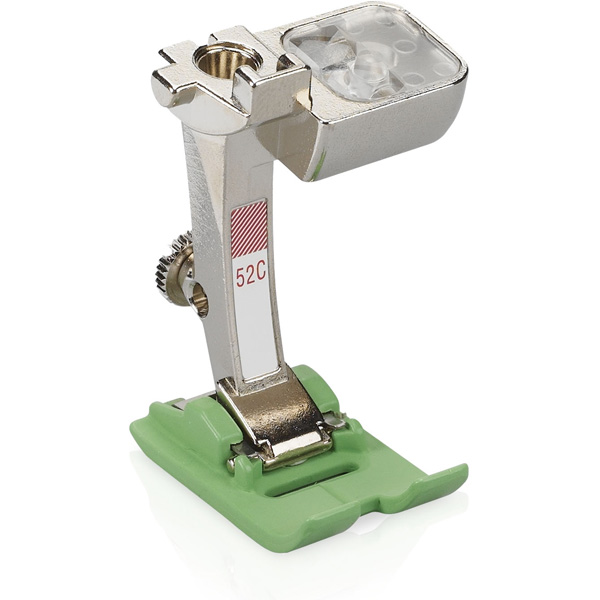
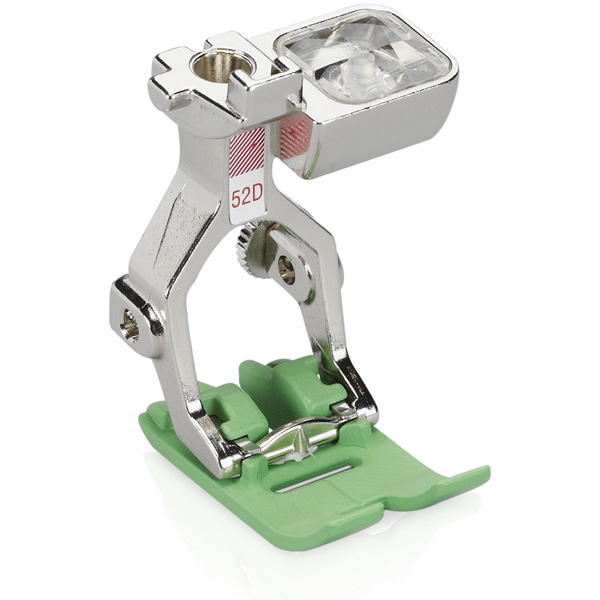
- Zigzag Foot with Non-Stick Solet #52/52C/52D
- Three-Sole Walking Foot with Seam Guide #50
- Straight/Cutwork Stitch Plate
Materials to Sew a Sequin Pillow
- EverSewn Reversible Sequin Fabric – 25” x 19” package (teal/gold) — Cut the following
- (1) 7” x 13”
- Fun fur fabric — Cut the following
- (2) 7” x 13”
- (1) 19” x 13”
- Old scissors to cut sequin fabric
- Poly-fil
- Clover Point 2 Point Turner
- Clover Wonder Clips
- Temporary tape
- Jeans needle size 8012
- Thread
- Hand sewing needle
Prep Fabric to Sew
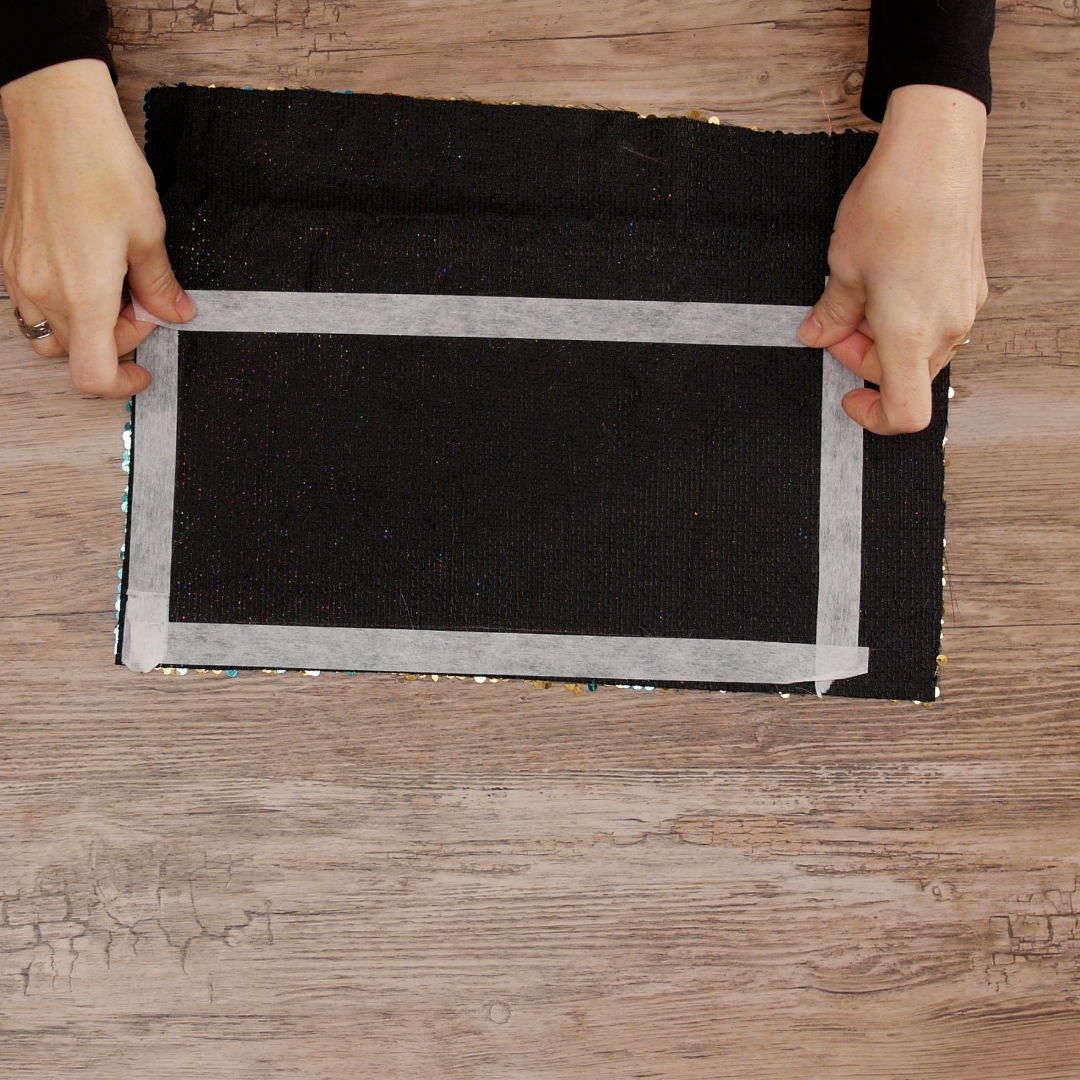
Place sequin fabric flat on the table with the wrong side up so the backside is facing you. Place strips of temporary tape on the backside to create a rectangle that measures 7” x 13”. The tape provides a clear visual of where to cut on this fabric and aids in the scissor cutting edge. The measurement should be from the outside perimeter of the tape. A clear rectangular rotary ruler might help with measuring since it is see-through.
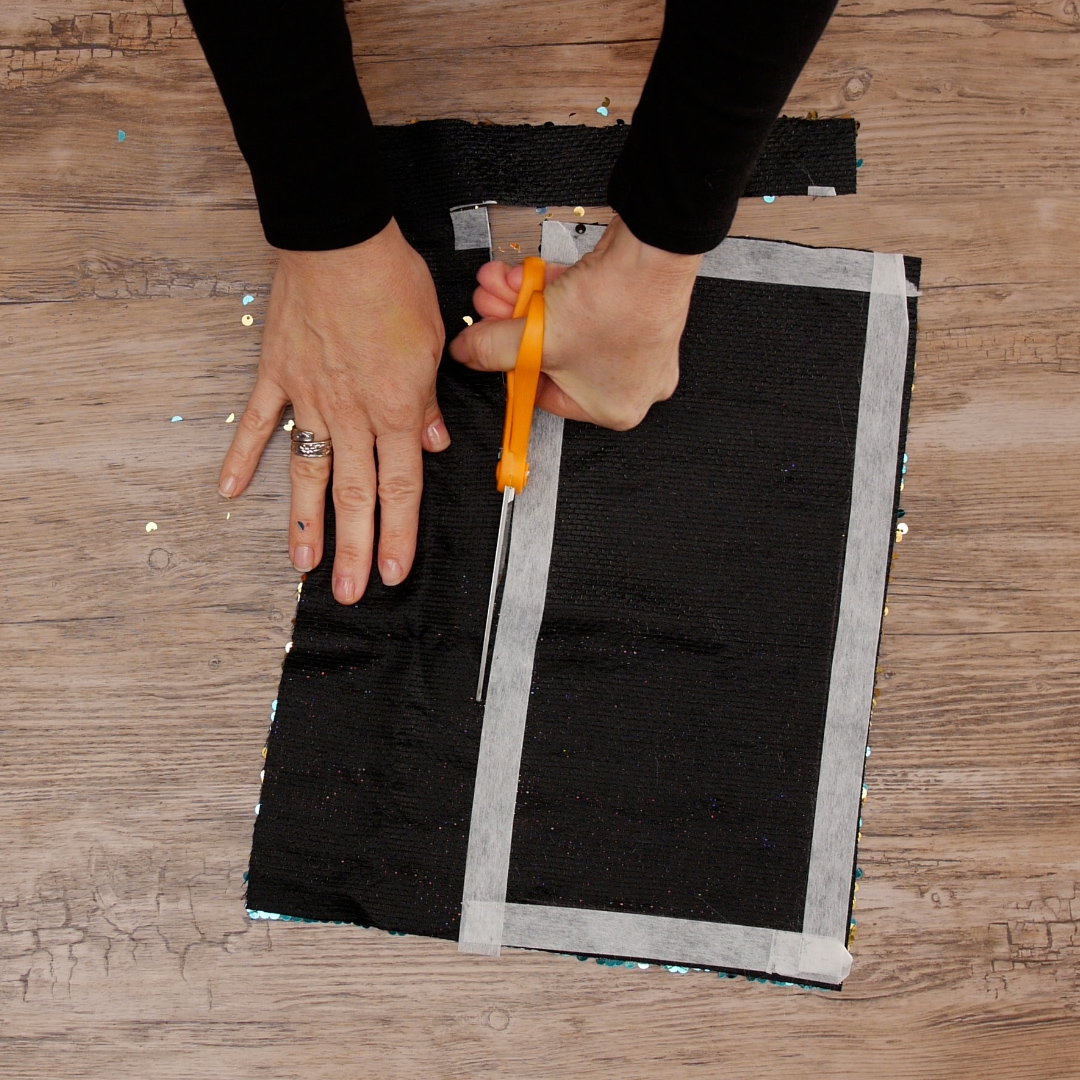
Using old scissors, cut along the outside of the tape. Yes, I am left-handed.
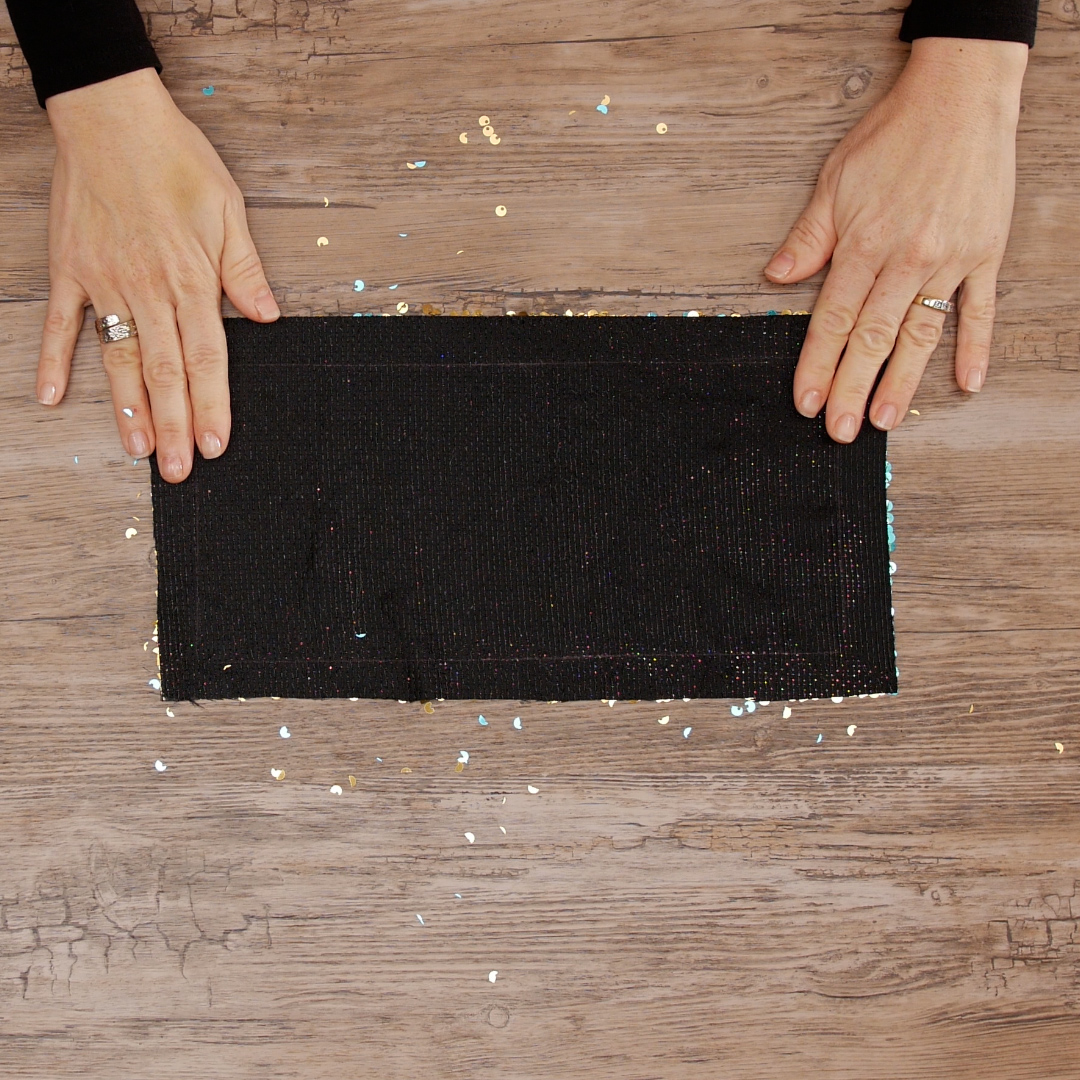
Carefully remove the tape and use it to pick up all the bits of sequins!
Steps to Sew a Sequin Pillow
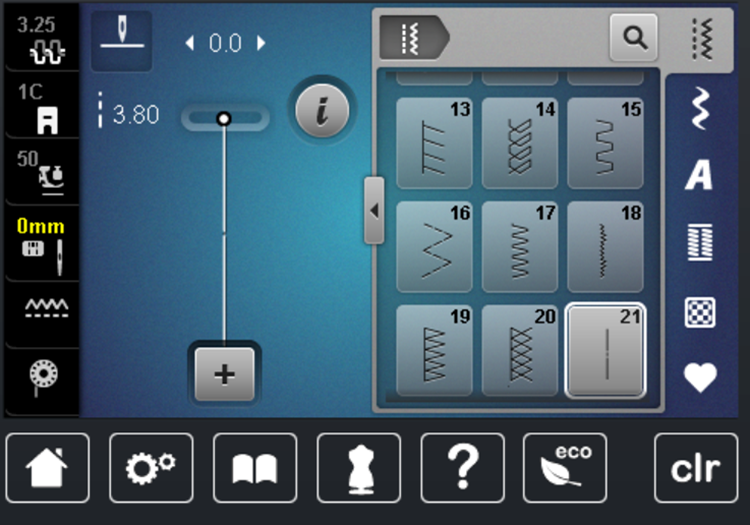
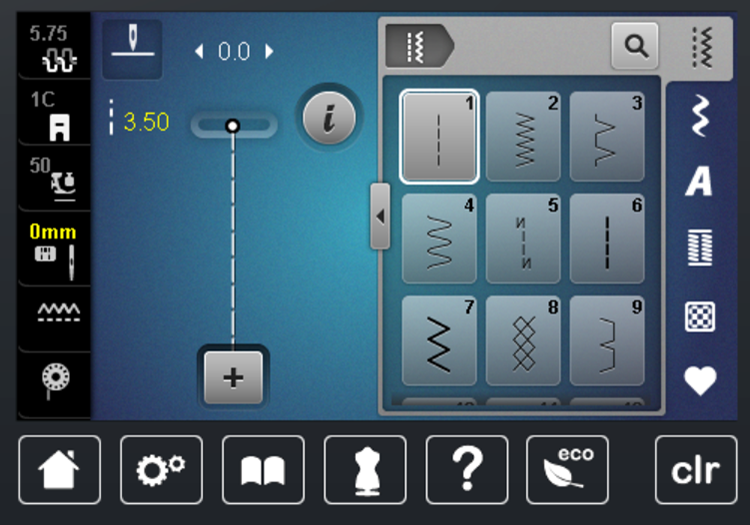
Attach Zigzag Foot with Non-Stick Sole #52/52C/52D to your machine and insert a size 80/12 Jeans Needle. At your machine screen, select Basting Stitch #21. The basting stitch sews every 4th stitch, so with the default at 3.8 mm, the stitch length is 15.2 mm. The maximum stitch length is 24 mm (6 mm x 4). If you are using a Straight Stitch Plate, select it on your machine screen as a security function. Later, if you forget that the Straight Stitch Plate is on your machine and you select a decorative stitch, a straight stitch remains on your machine screen. This will save you from broken needles!
Smooth down the sequin fabric so that all sequins are in one direction. Place your sequin fabric on the machine bed with sequins facing down. Sew the Basting Stitch with a 1/2” seam allowance on all 4 sides. Do not speed sew when sewing sequins (say that 5x fast)!

Typically, when sewing sequins, you would use old scissors, cut out sequins just inside the basting line. A small pair of scissors might work best. The sequin fabric you are working with will determine how easy it is to remove the sequins. There are many different types of sequin fabric out there.

Because the sequins in reversible sequin fabric are so close together, and because this is not a garment piece, I decided not to remove the sequins. Also, I wanted to see how my B 770 would perform when sewing directly into the sequin fabric. Following is a picture of what the stitches look like after test sewing. No broken needles and the straight stitch looks good. The needle went right through the sequins – no problem! But I’m definitely going to trash this needle after the project.
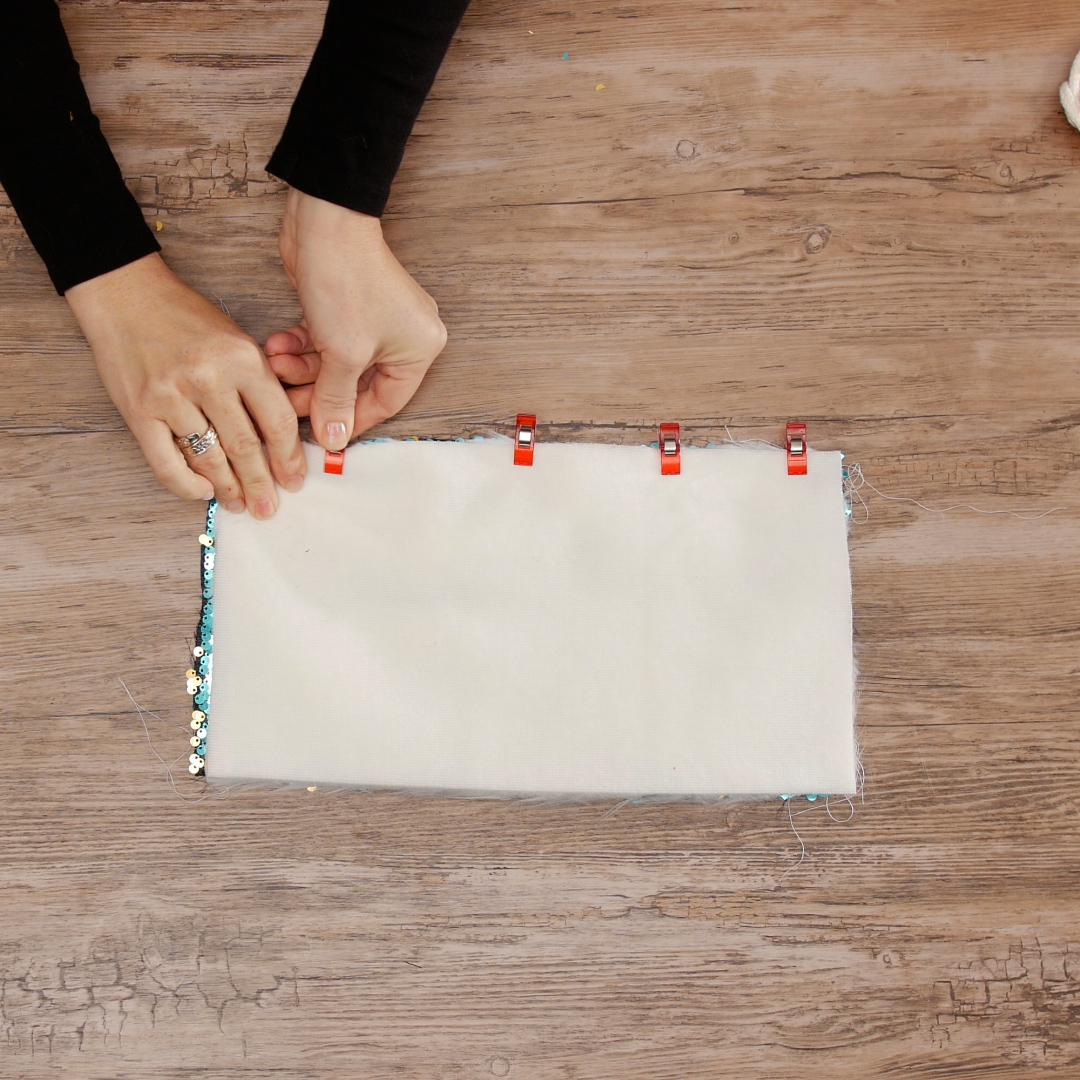
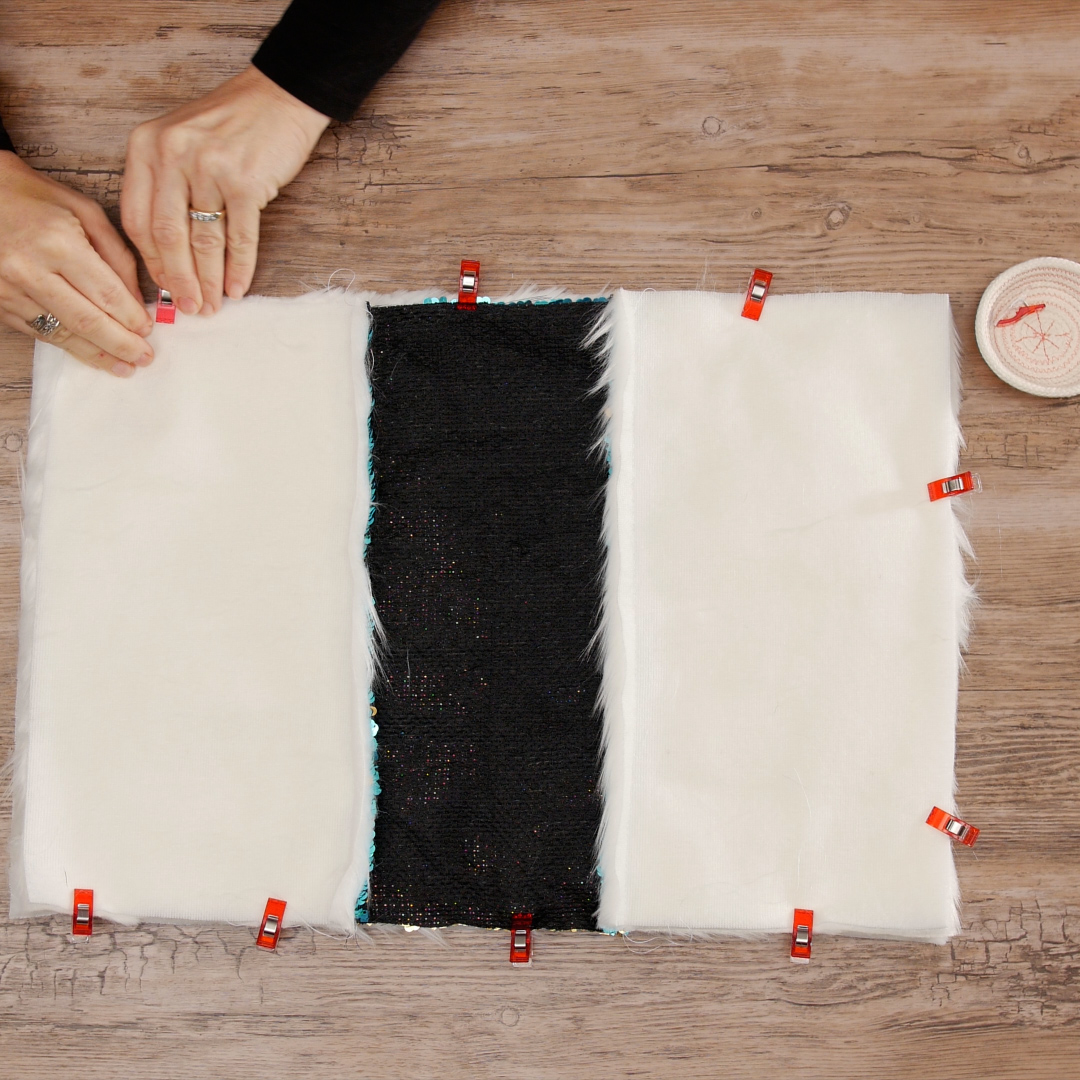
Using Wonder Clips, secure one 7” x 13” fur piece to sequin fabric, right sides together and lengthwise.
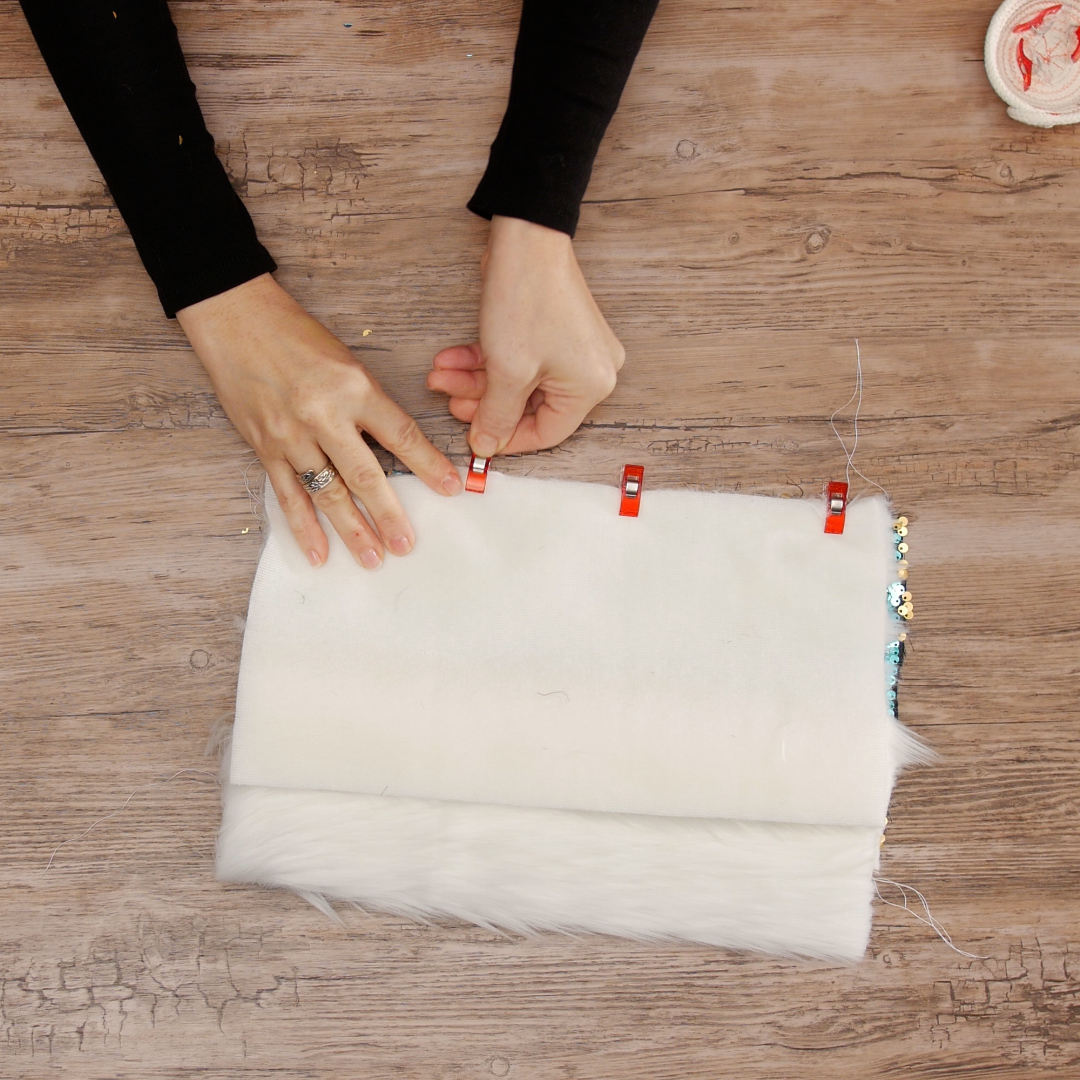
Secure second 7” x 13” fur piece to the opposite side of the sequin fabric. I folded over the first fur piece to keep it out of the way.
Attach Walking Foot #50 to your machine.
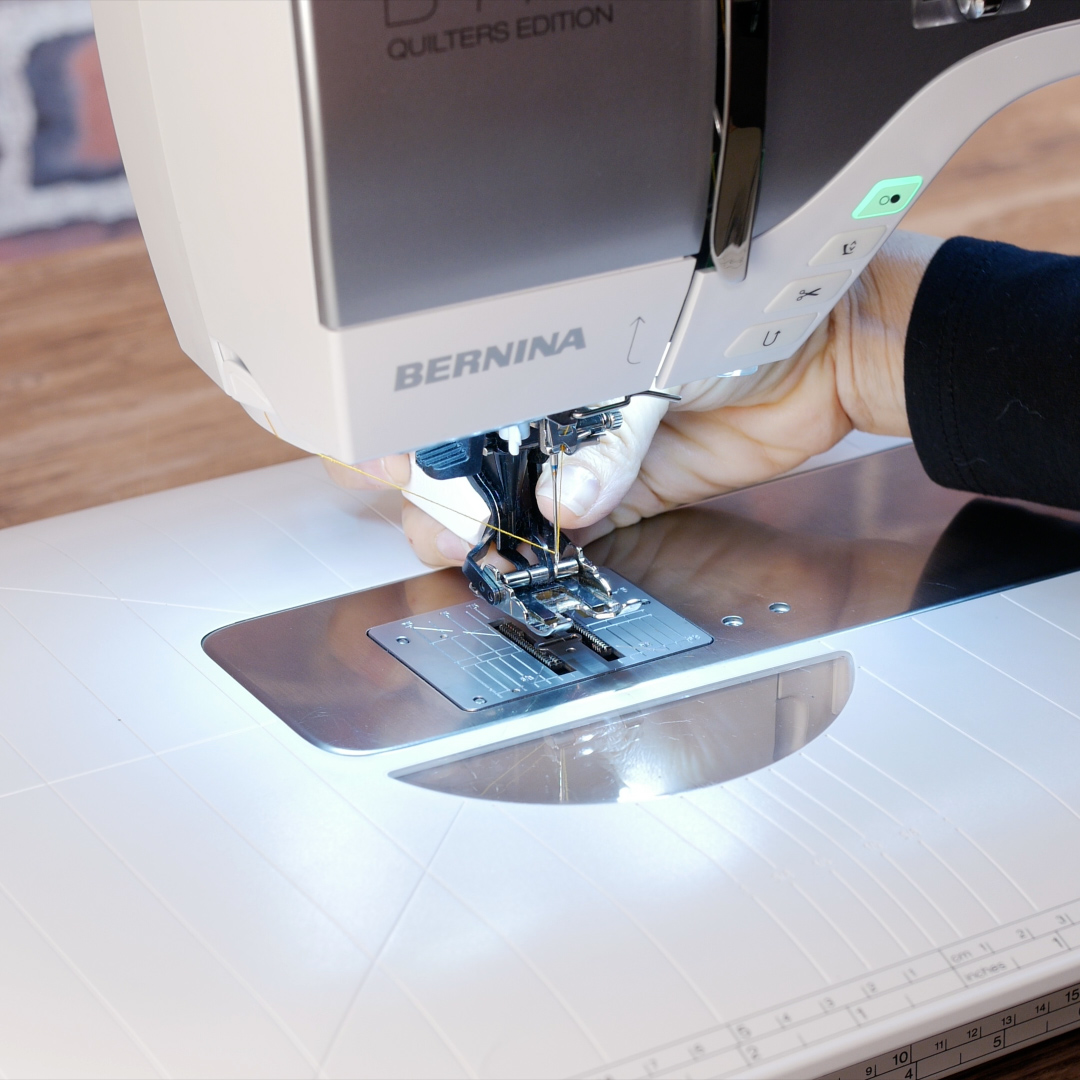
Select Straight Stitch #1 and increase the stitch length to 3.5 mm.
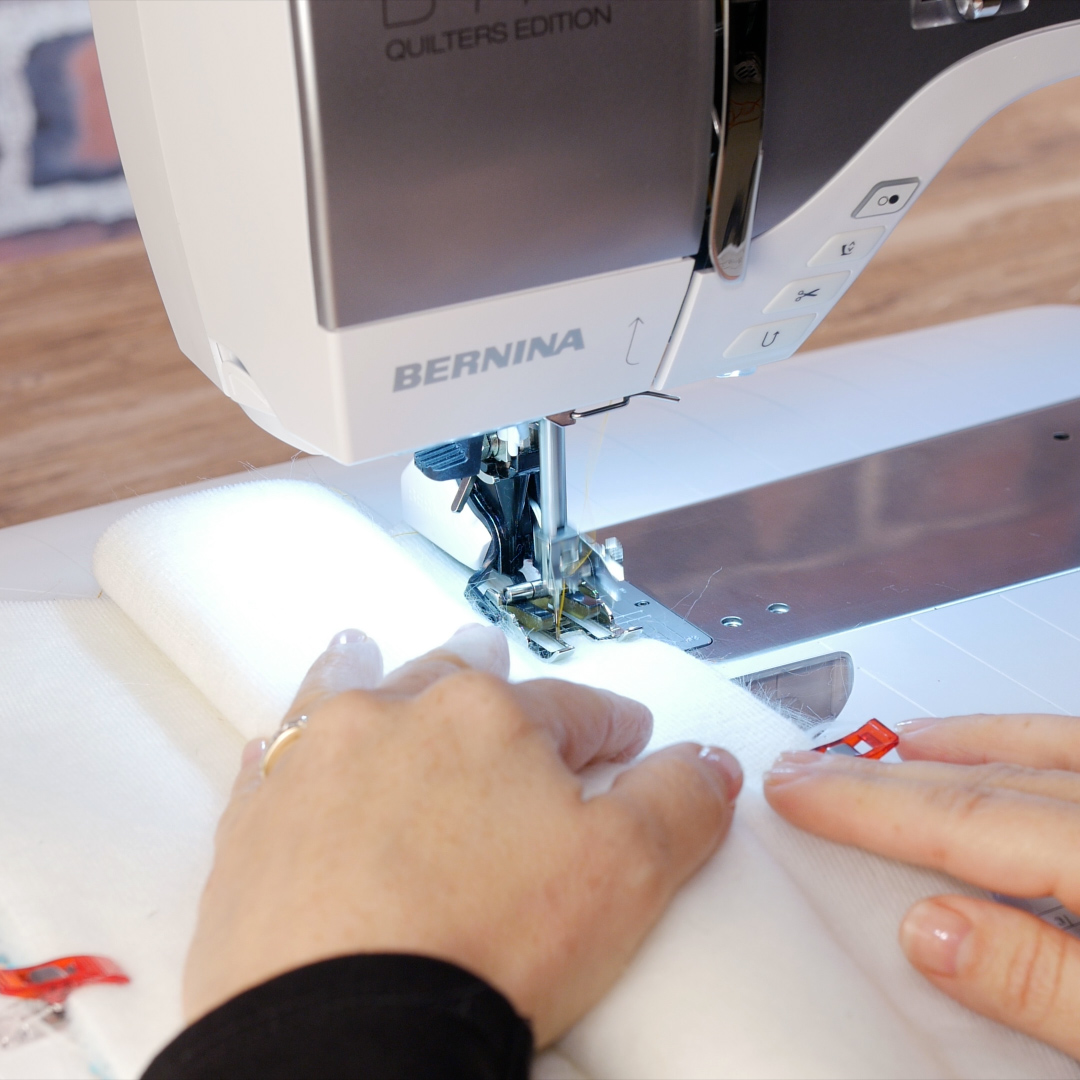
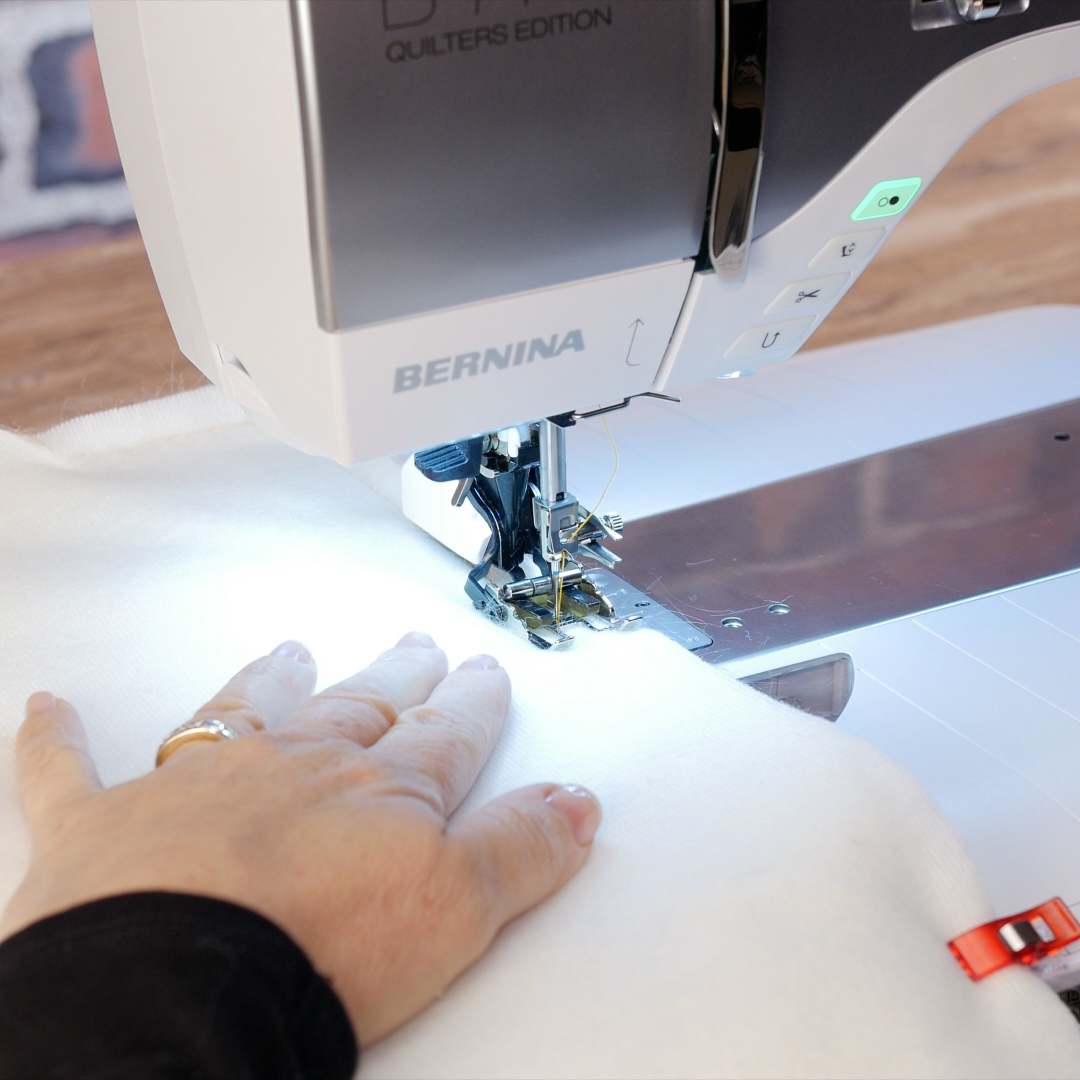
Place one side to be stitched underfoot with sequin fabric on the bottom. I found sequin fabric on the bottom worked better than on top. Sew at the 1/2” seam allowance using the stitch mark on the stitch plate. Sew the other side the same way.
Place the pieced panel on top of the 13” x 19” fur right sides together. Use Wonder Clips to secure the front to the back. Place two clips side-by-side to mark stopping point 5”-6” from starting point.
Sew around the perimeter with a 1/2” seam allowance leaving an opening of 5”-6” to turn right side out.
Clip bulk at corners being careful not to cut into stitches.

Turn pillow right side out. Use a point turner, like Clover Point 2 Point Turner, to push out corners of pillow. Then, stuff pillow with poly-fil to desired firmness. I like my pillows really stuffed!

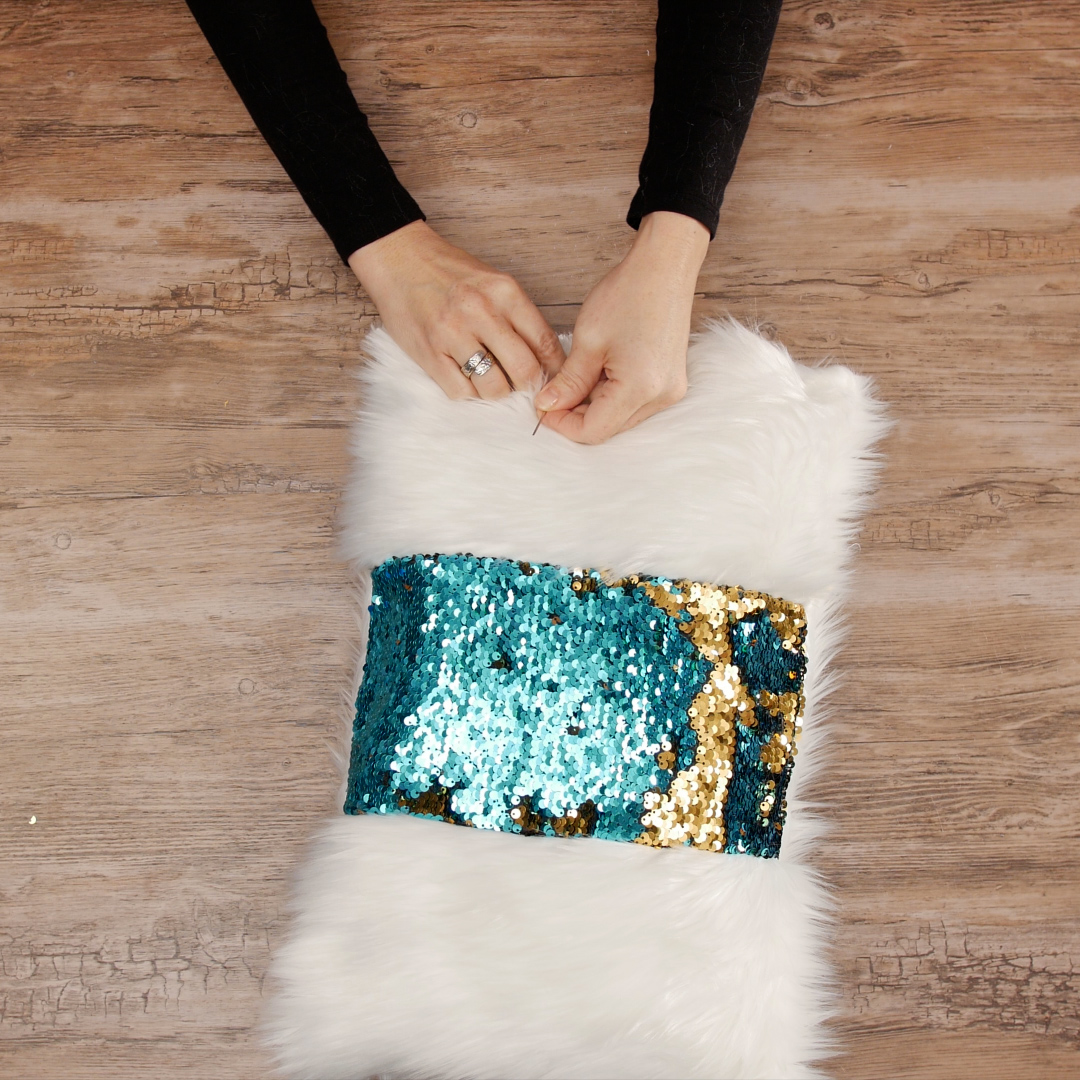
Hand sew the opening closed with a whipstitch.
That’s it! A simple sewing project that looks like it took hours! Have fun making one or ten! Make a really large one or play around with the ratio of the three front pieces. There are lots of options which is one reason why sewing so enjoyable and worthwhile – you can customize projects to exactly what you want!

Keep sewing and enjoy the process!