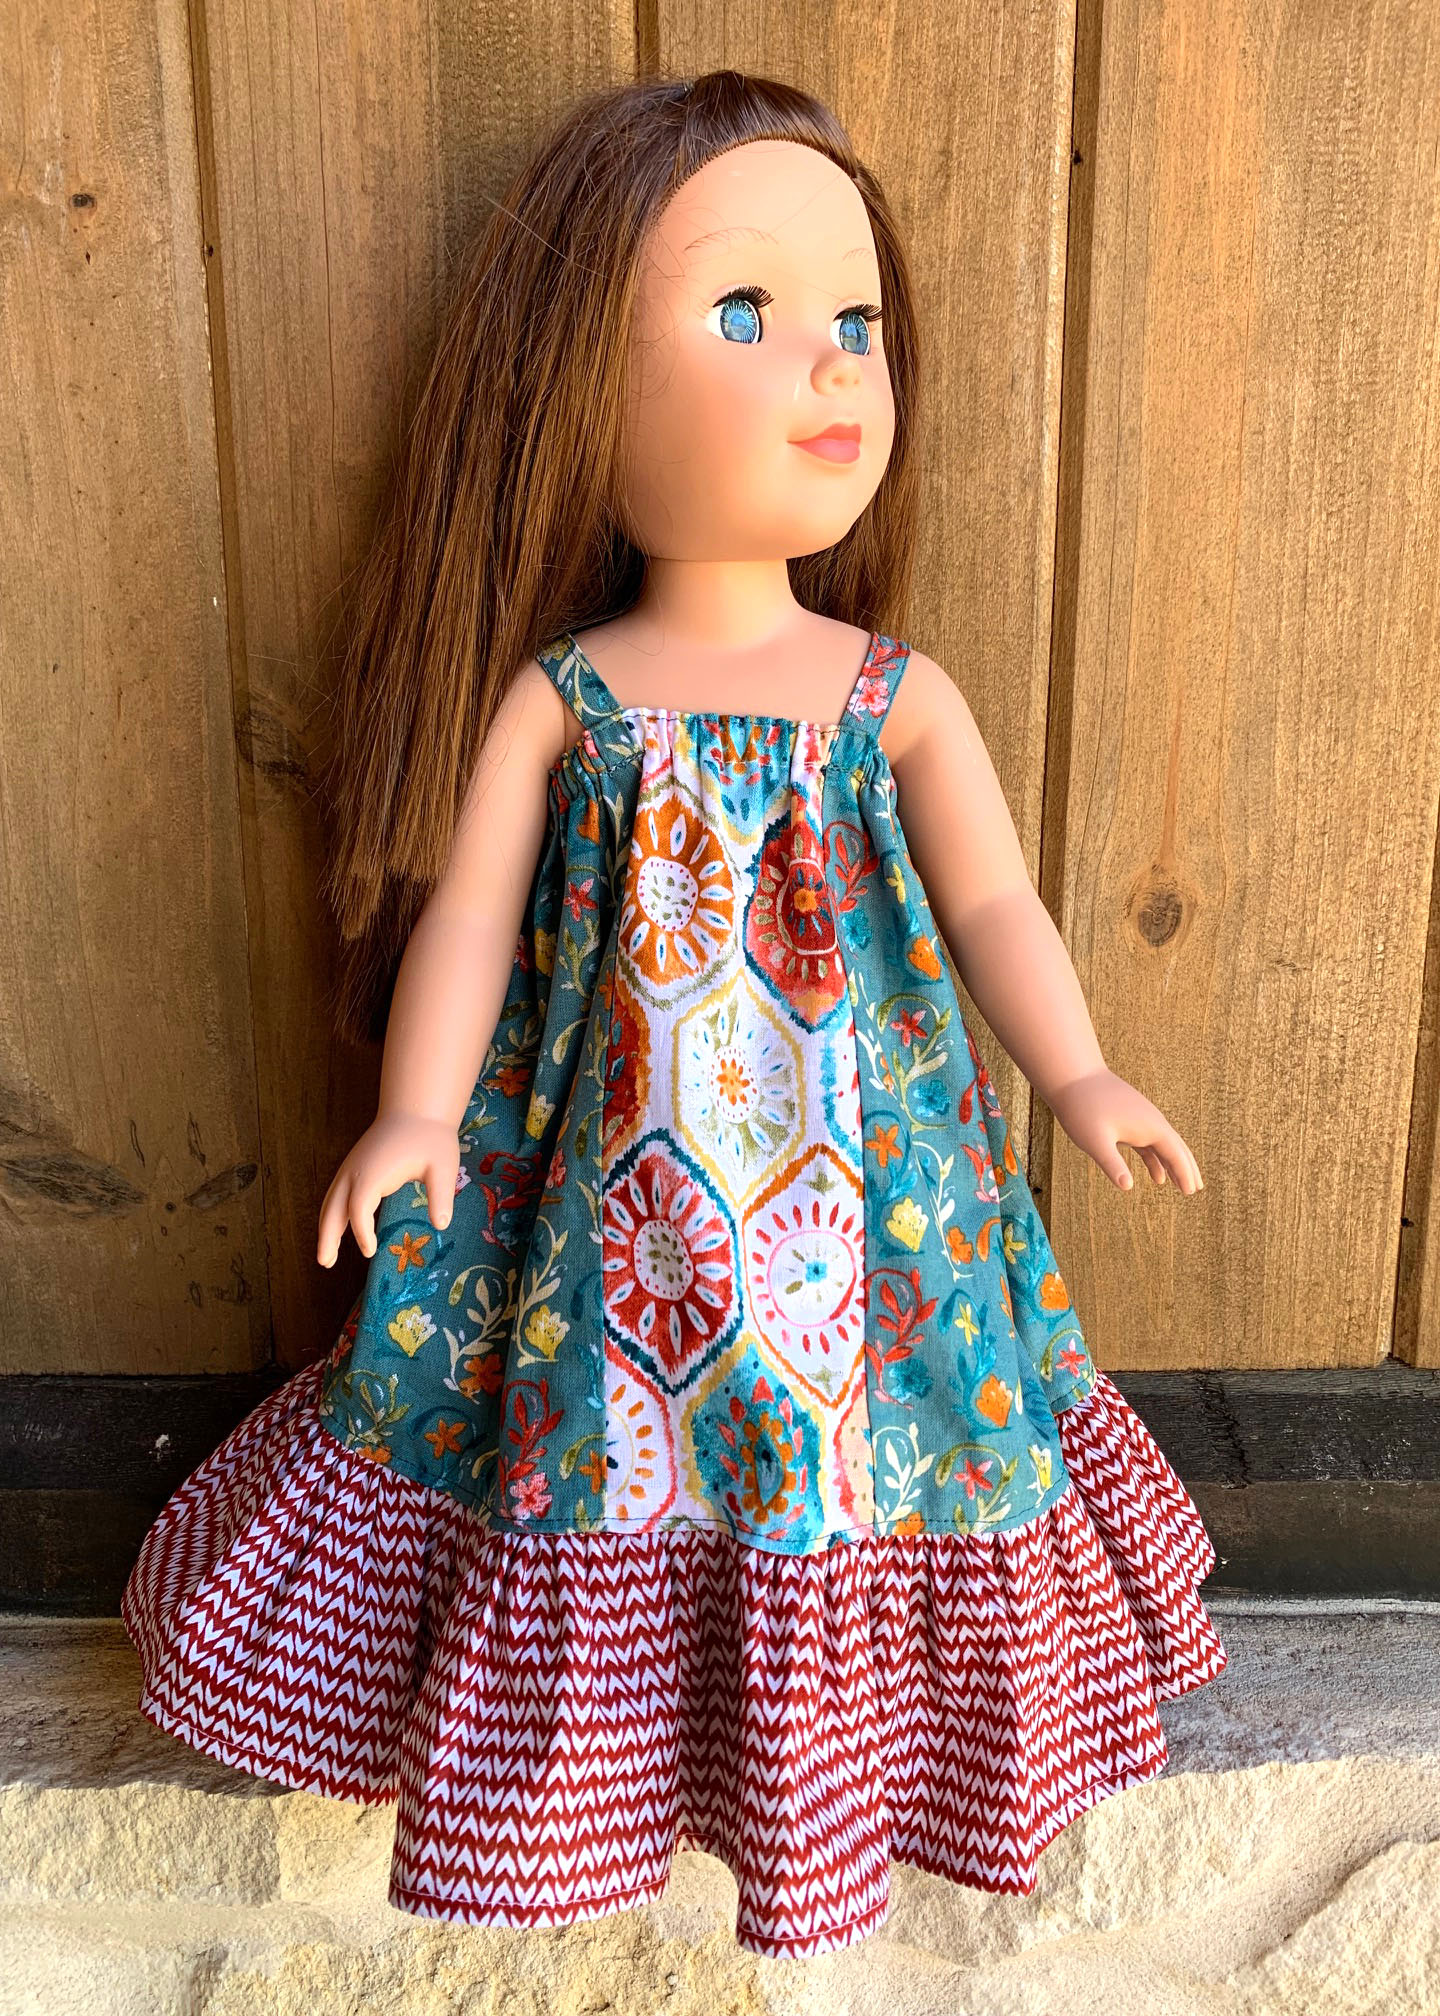
How to Sew a Ruffled Maxi Dress for an 18” Doll
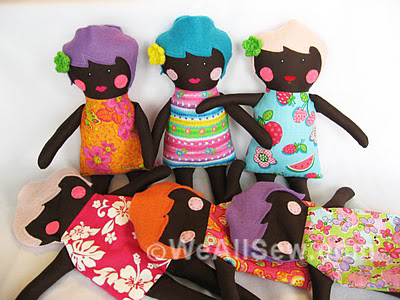
I have always enjoyed designing and sewing doll clothes. As a teen, I began selling my creations, first to our neighbors and my mother’s co-workers, eventually moving on to the local arts and crafts fair.
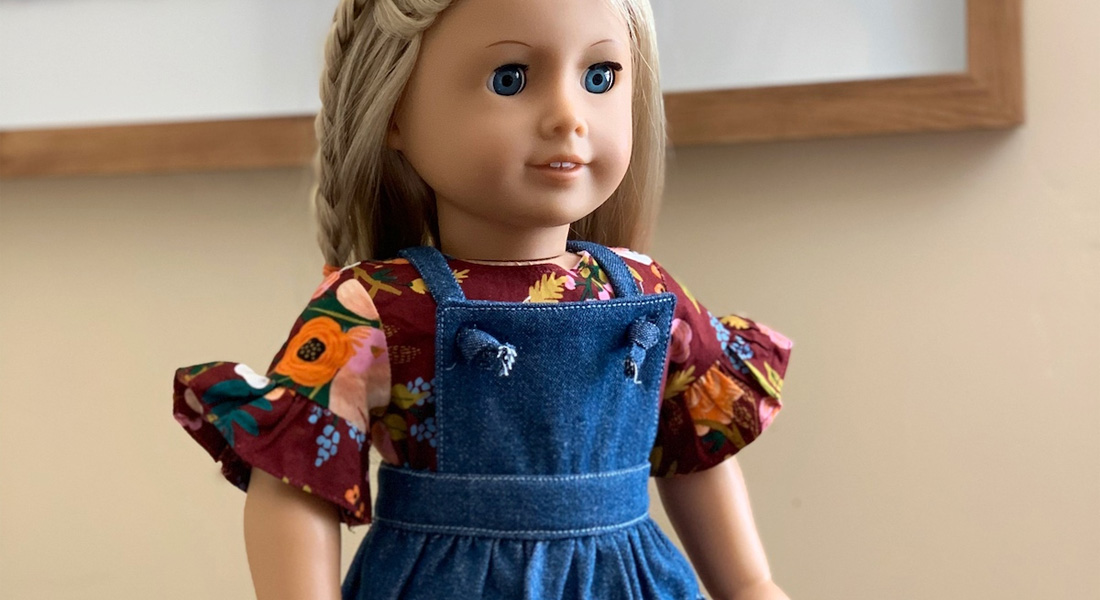
Over the years I learned that it was the handmade doll clothes that the children loved best. So why not sew this 18″ doll ruffled maxi dress as a gift for someone you know?
This easy-to-sew ruffled maxi dress doesn’t require a pattern. All of the pieces are rectangles that you cut to size. It is designed for quilting cottons which come in a wide variety of colors and patterns. It is a great way to use up your scraps or some of those fat quarters you’ve collected!
Let’s get started.
Materials to Sew the 18″ Doll Ruffled Maxi Dress
- Front panel fabric (1) piece 4” (w) x 10” (l) quilting cotton
- Dress fabric (2) pieces 13” (w) x 10” (l) quilting cotton
- Ruffle (3) pieces 20” (w) x 4-1/2” (l) quilting cotton
- Shoulder Strap (1) piece 1-3/4” (w) x 9” (l) quilting cotton
- 1/4” Elastic –12” piece
- Hook-and-Loop Tape – 12” piece
- All-purpose thread to match
- Rotary Cutter or Fabric Shears
- Ruler
- Self-Healing Mat (if using Rotary Cutter)
- Marking Tool
- Straight Pins
- Safety Pin
- Iron and Ironing Board
- Sewing Machine (I used my BERNINA 770 QE)
Steps to Sew the 18″ Doll Ruffled Maxi Dress
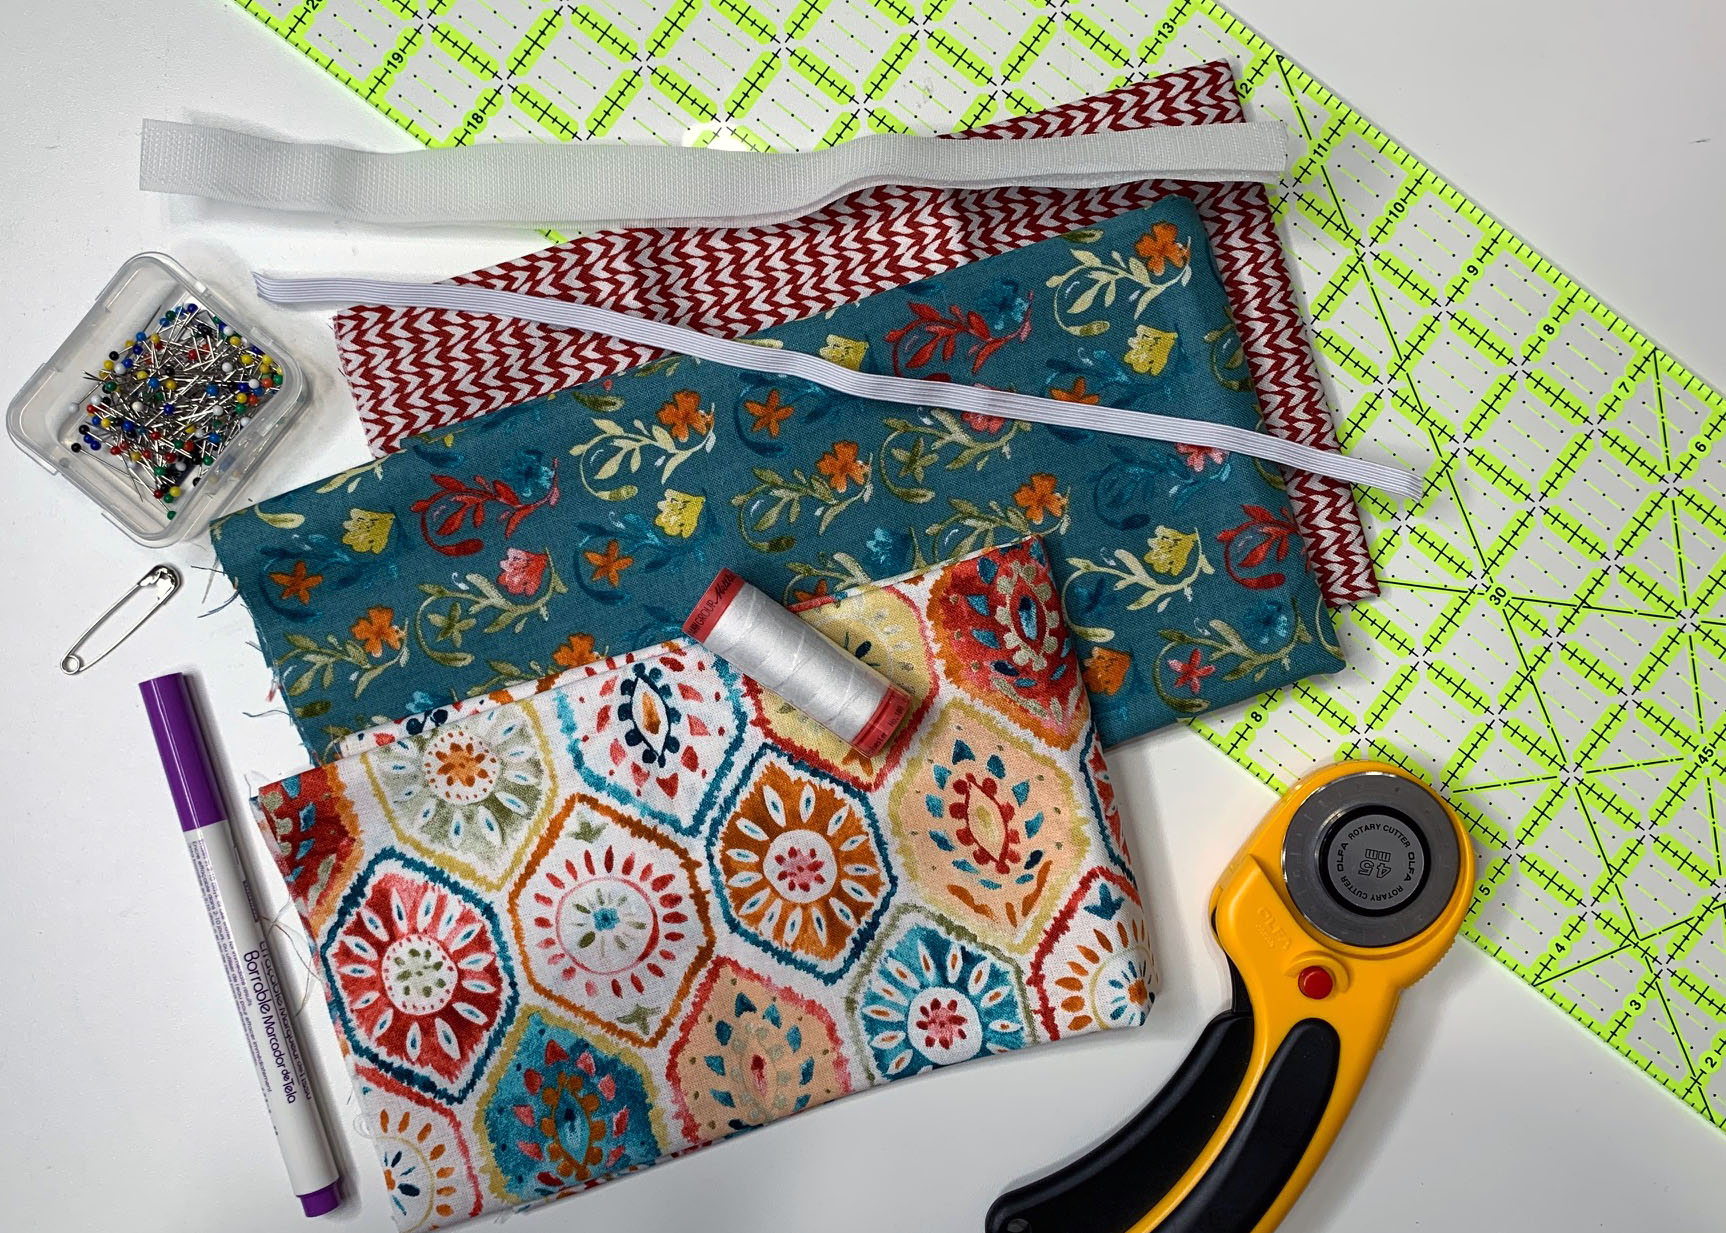
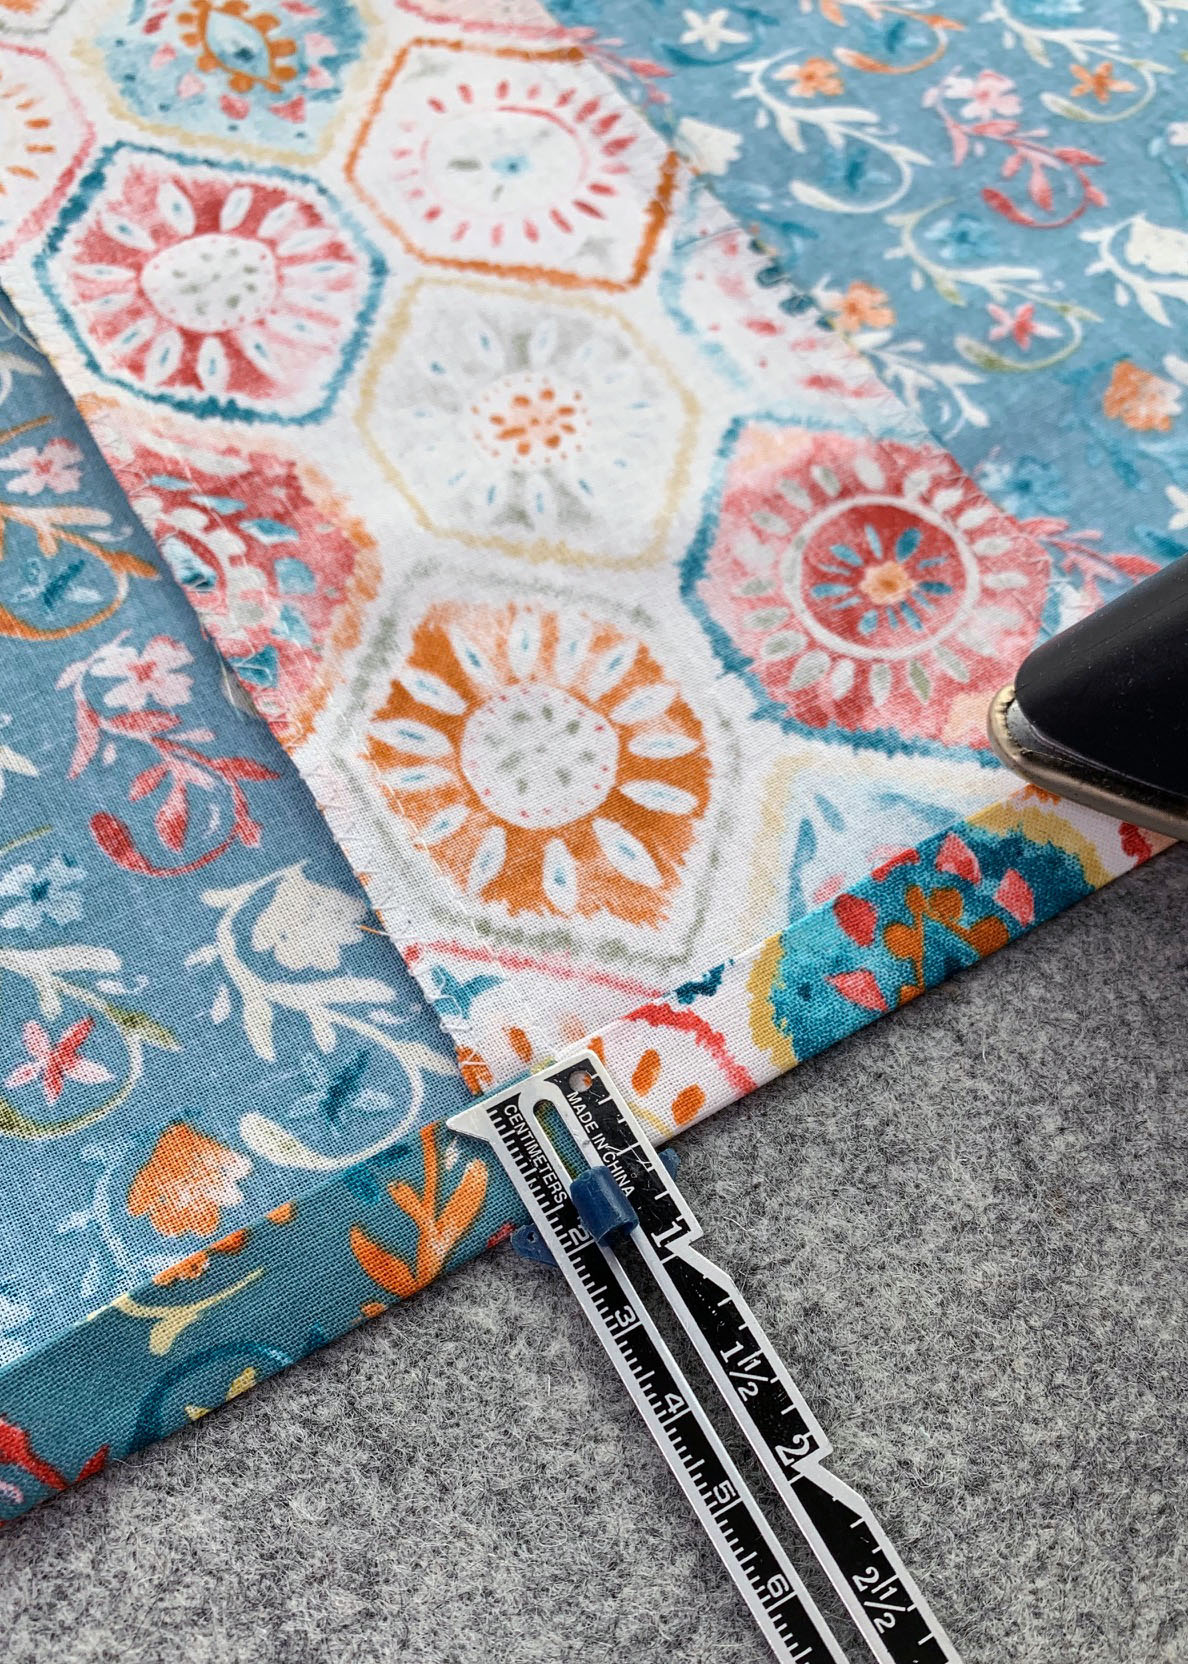
Select and Cut Fabrics for the Ruffled Maxi Doll Dress
Choose three coordinating pieces of fabric for the doll dress. If needed, iron the fabric to remove any wrinkles before cutting.
Place the fabric wrong side up on a self-healing mat (if using a rotary cutter).
- Using a ruler, mark a 4” (w) x 10” (l) piece for the front panel; cut it out.
- Mark two pieces 13” (w) x 10” (l) for the main portion of the dress; cut out.
- Mark three pieces 20” (w) x 4-1/2” (l) for the ruffle; cut out.
- Mark a 1-3/4” (w) x 9” (l) for the shoulder straps; cut out (this will be cut in half forming two straps later).
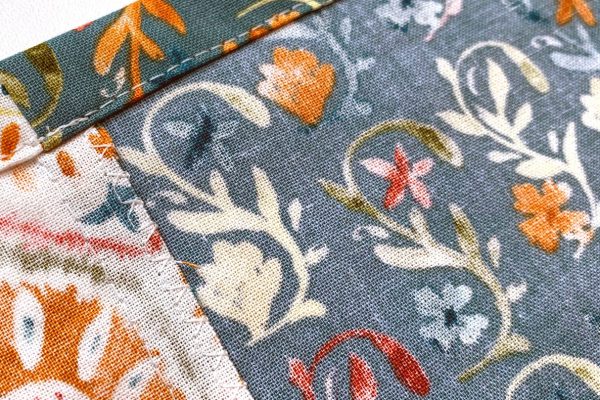
Stitch the Front Panel to the Doll Dress
With right sides together, match the 10” edge of the front panel to one 10” edge of each dress piece; pin. Stitch using a 3/8” seam allowance. The front panel will be in between the two main dress pieces.

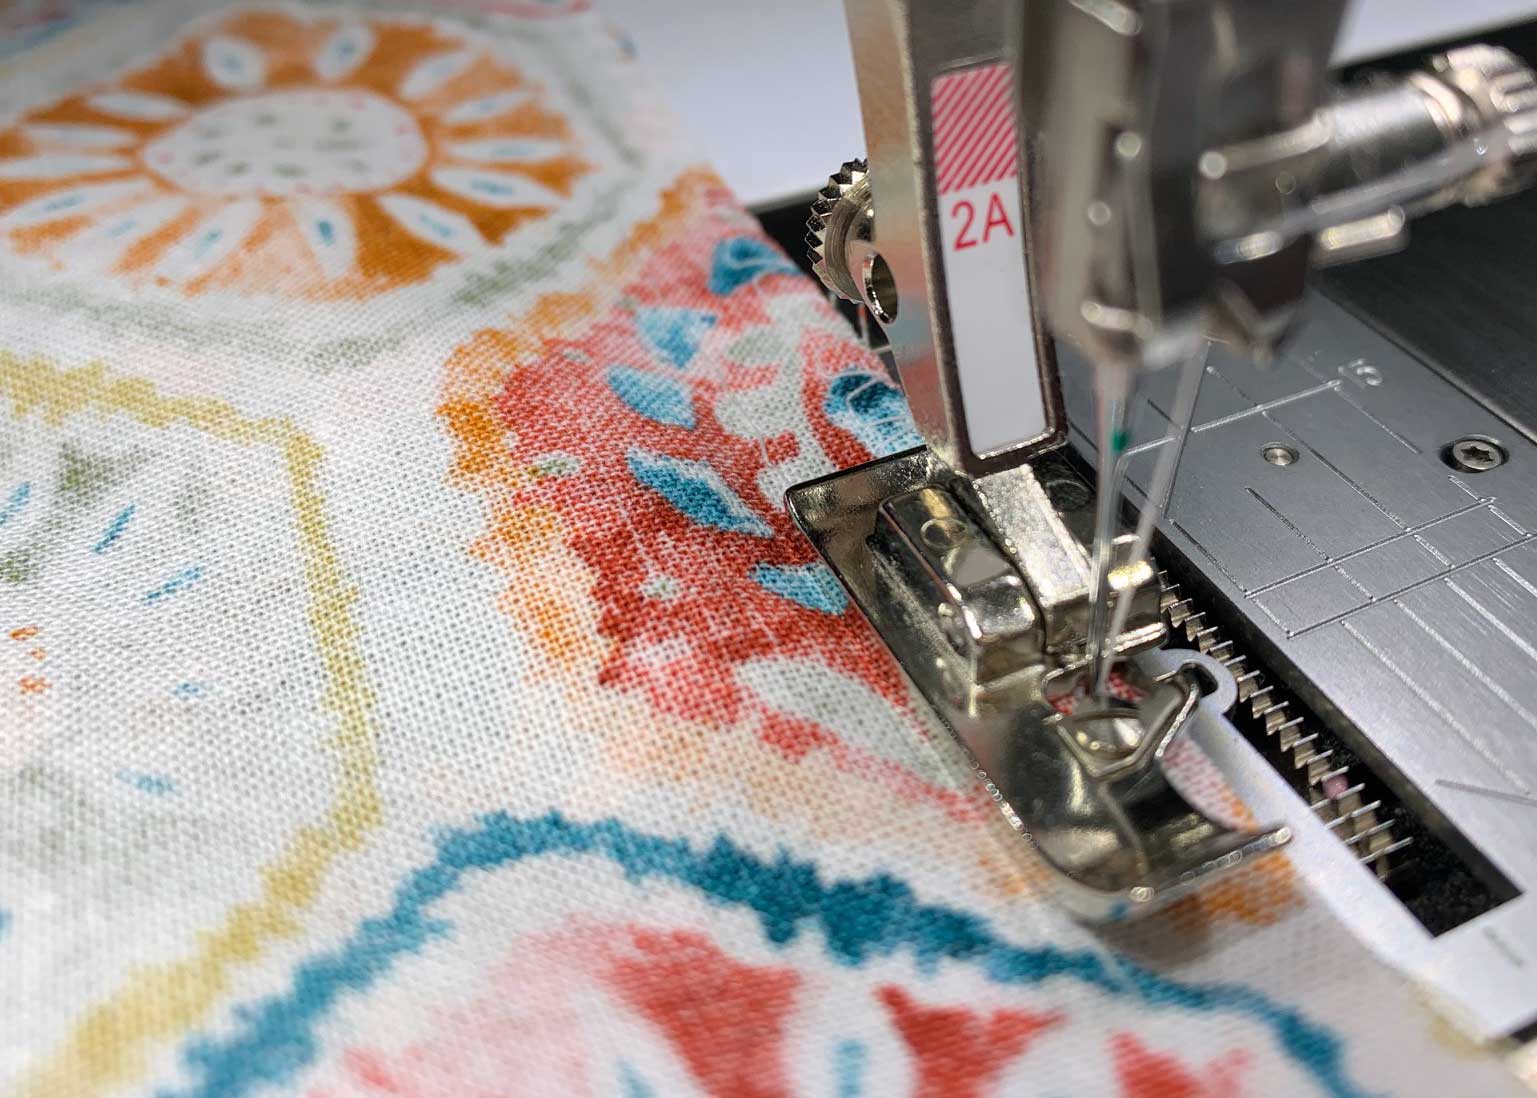
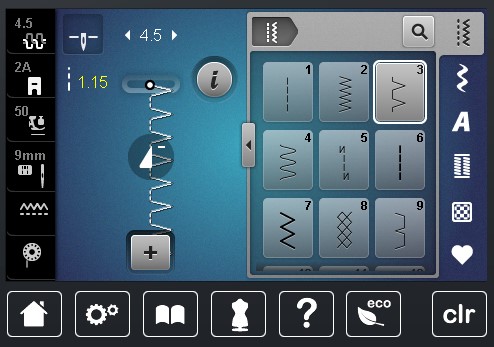
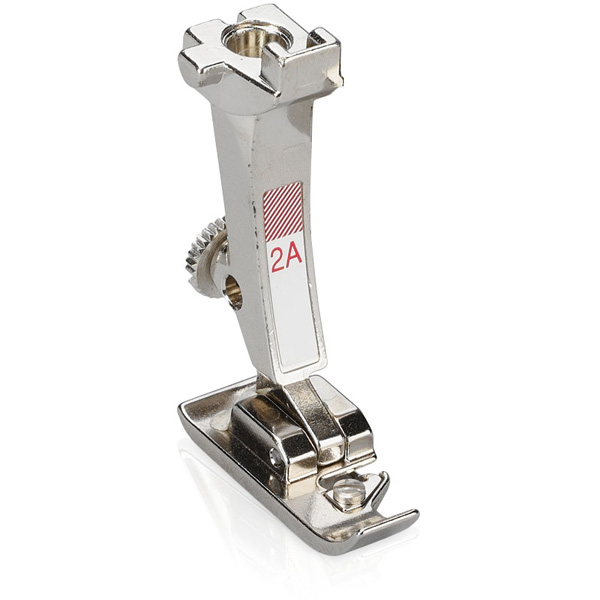
Optional: Finish the seam with an overlock stitch using the BERNINA Overlock Foot #2A and stitch number 3 (on the BERNINA 770 QE). Press the seam toward the main dress.
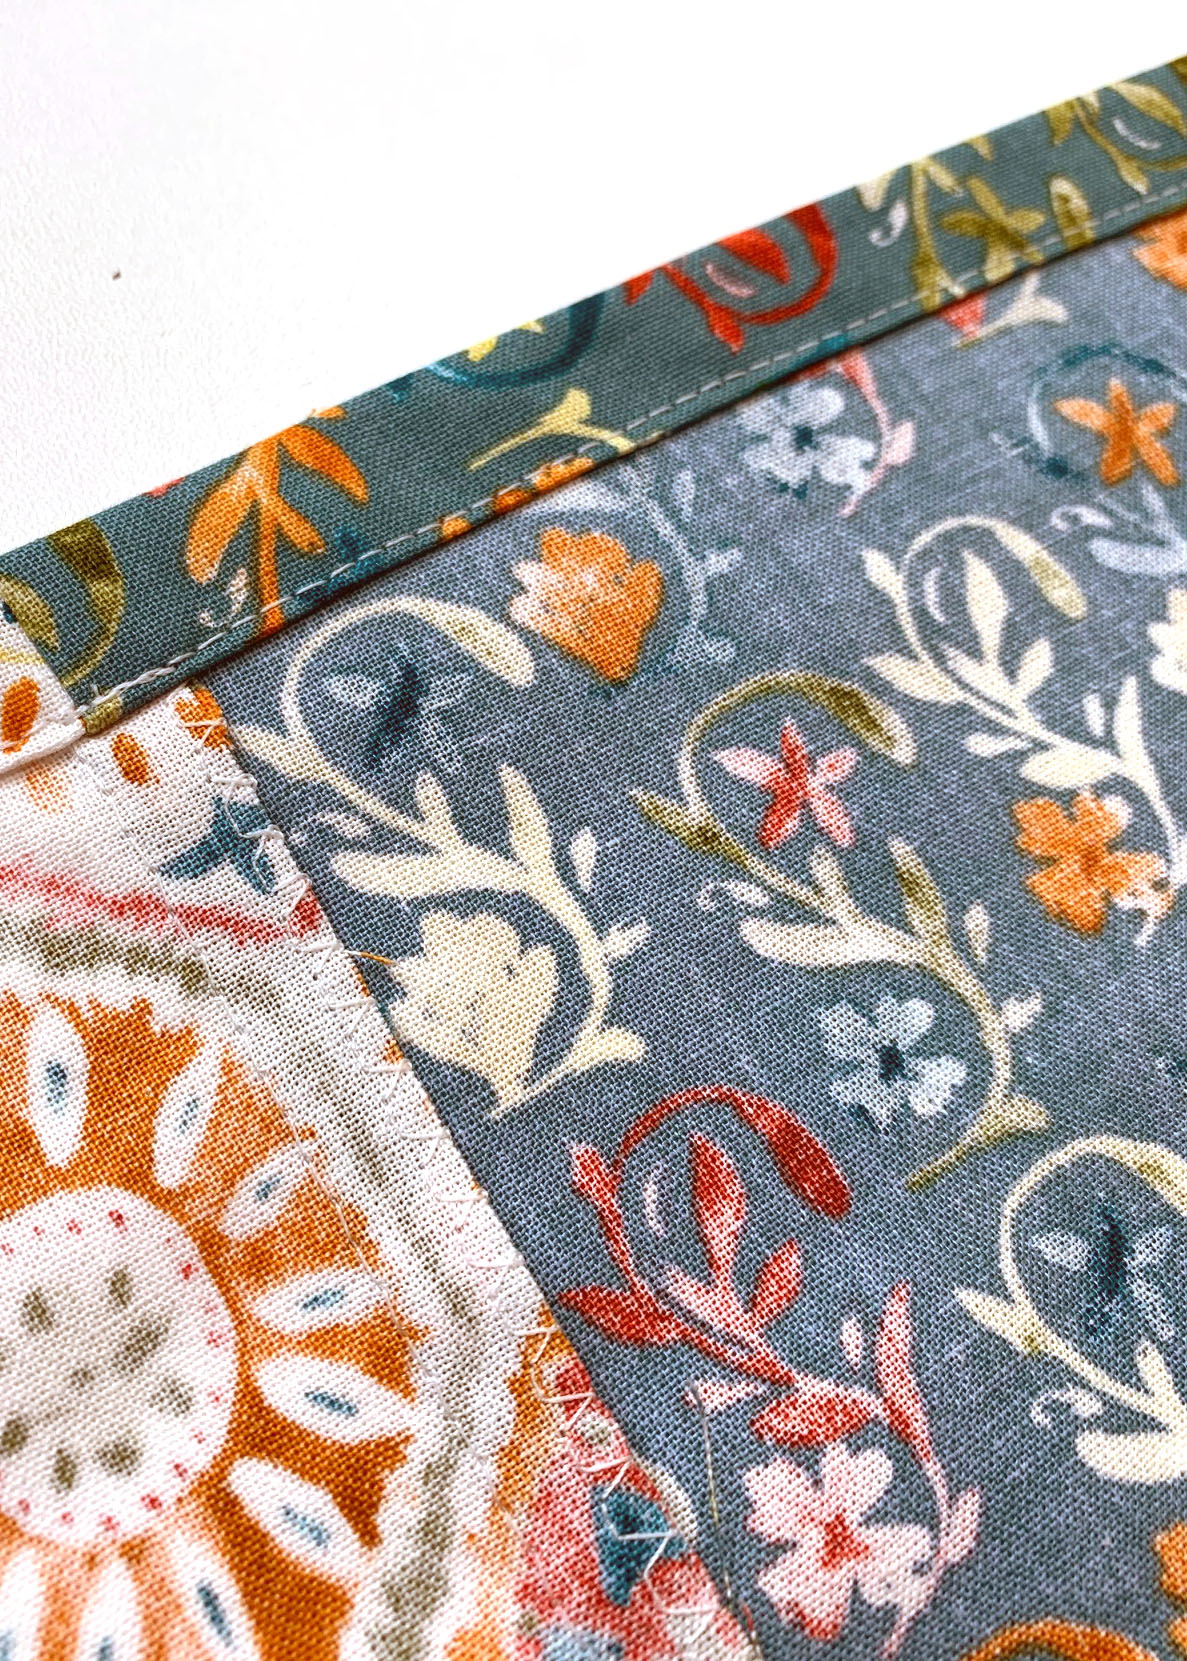
Create the Upper Casing for the Doll Dress
Designate one edge of the dress as the upper edge. Along the upper edge of the dress, measure and turn 1/4″ to the wrong side; press.

Now measure another 1/2” and turn to the wrong side; press.
Stitch close to the pressed edge creating a casing. Be sure to backstitch at the beginning and end of the casing.
 Create the Straps and Add to the Doll Dress
Fold the strap in half lengthwise with wrong sides facing; press lightly and unfold. Fold in each long edge so the raw edges meet at the center (where you just lightly pressed); press.
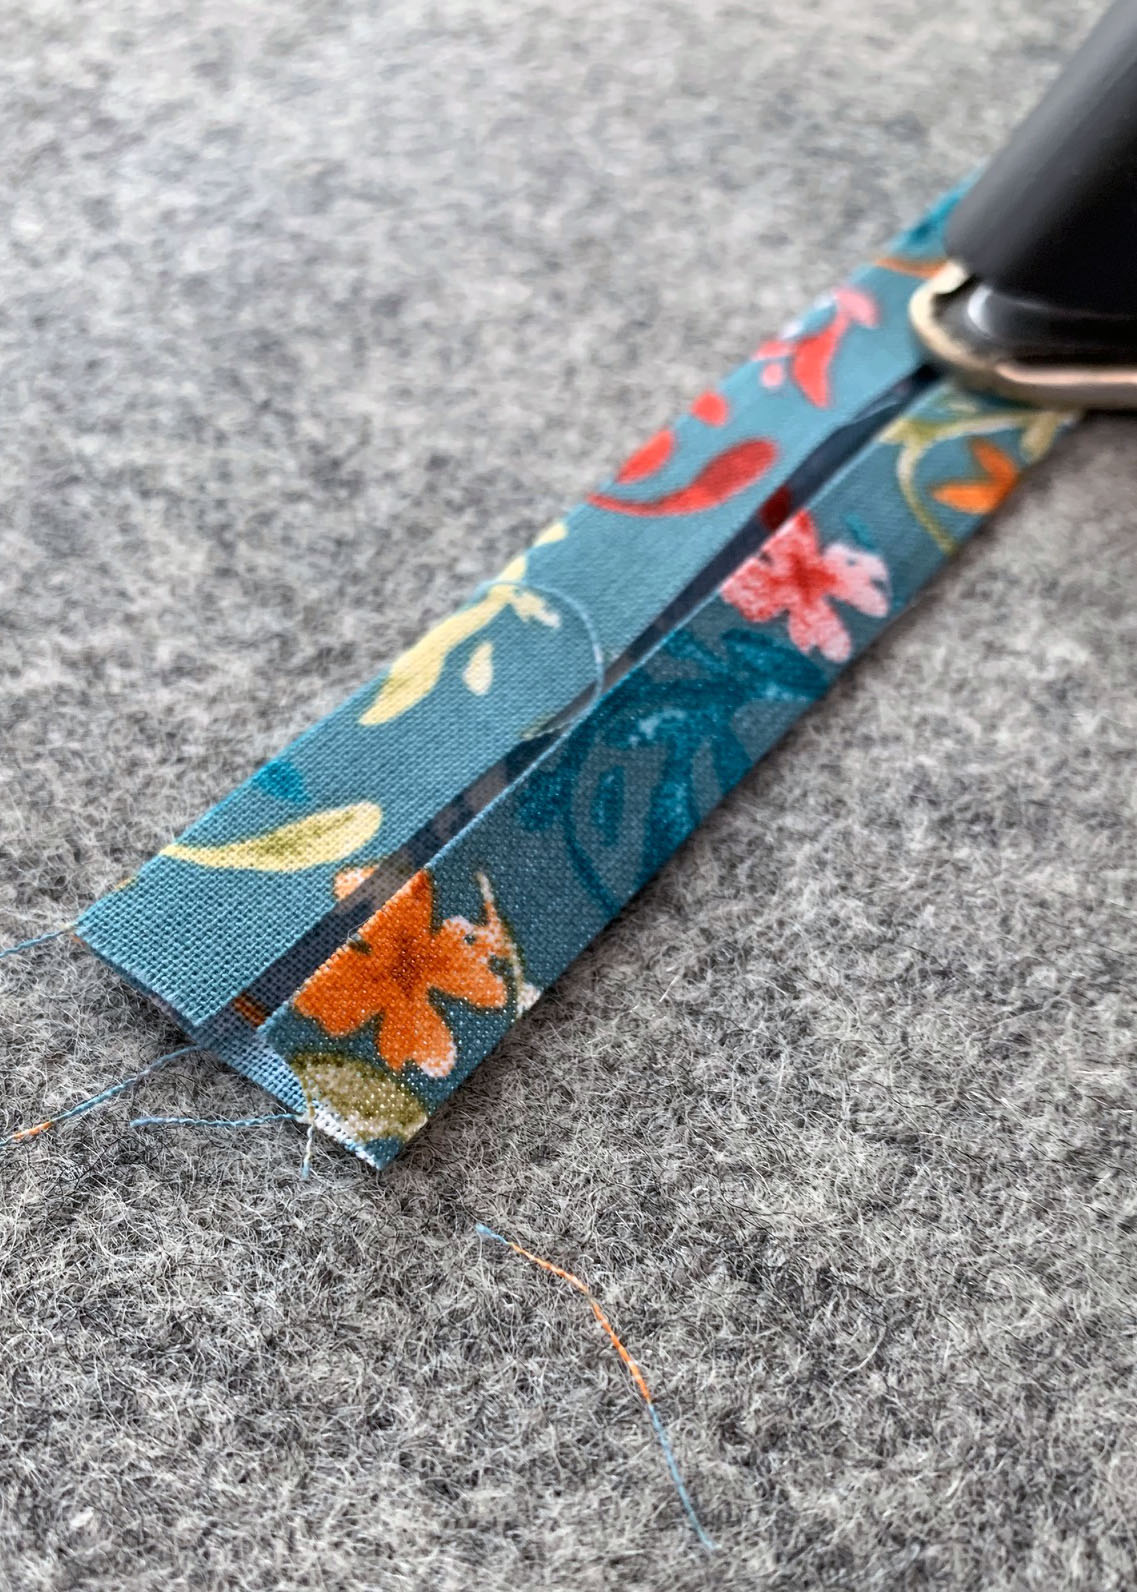
Fold in half again so raw edges are inside; press.
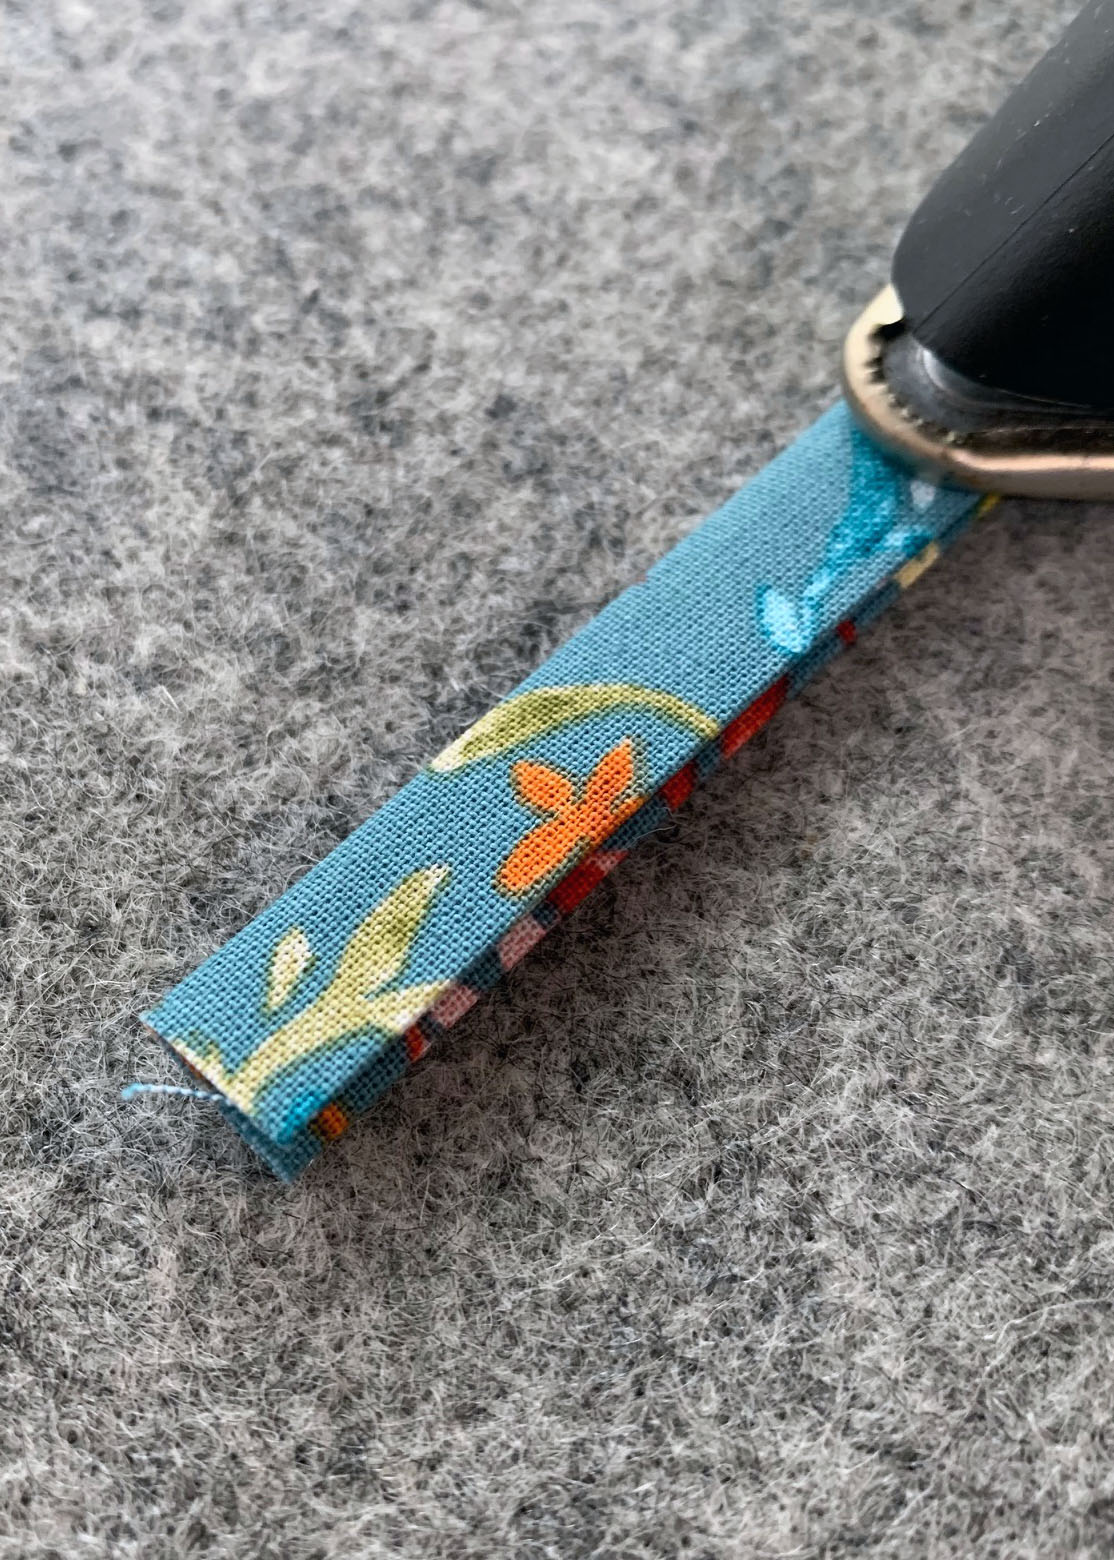
Stitch close to the long edge on each side and cut in half creating two straps.

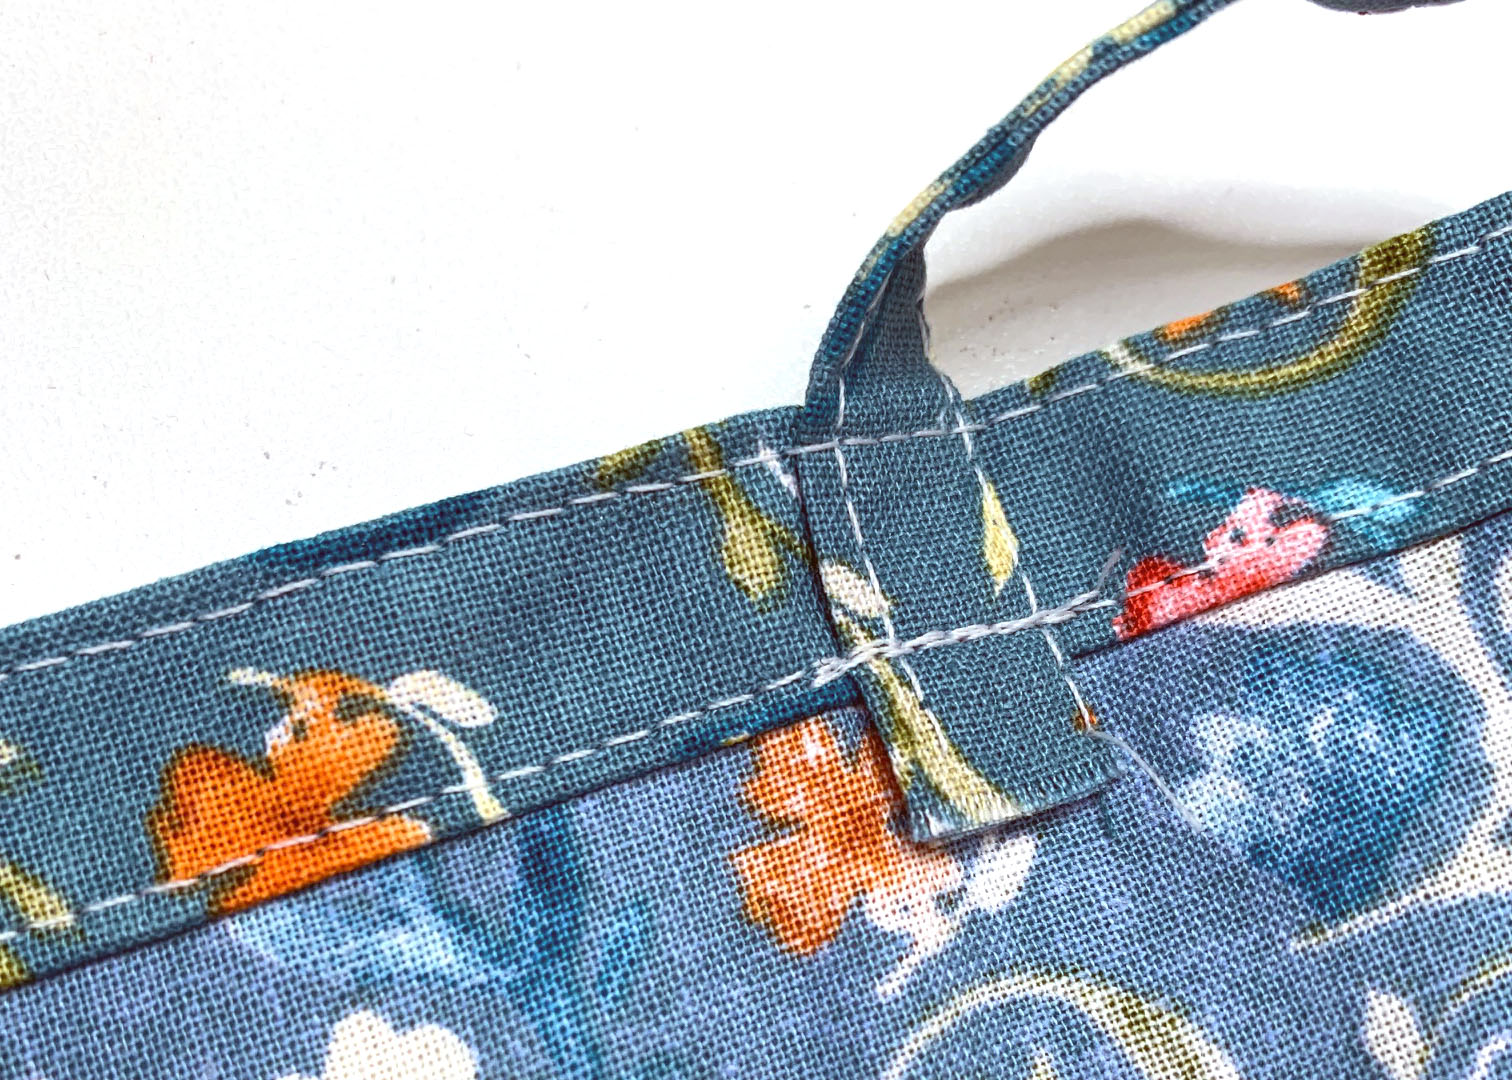
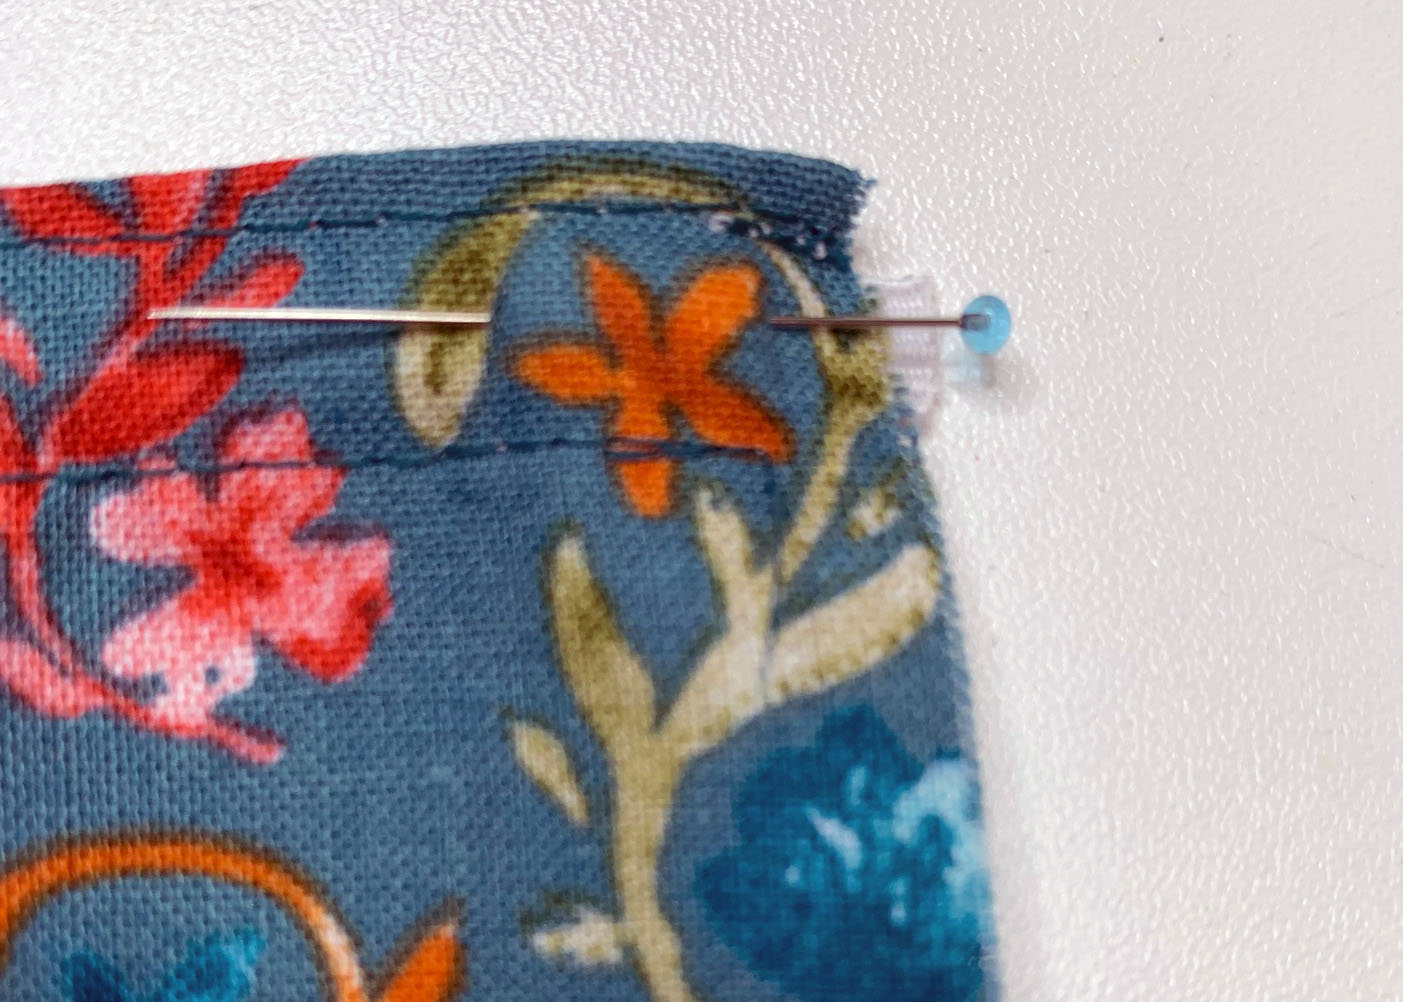
Place the dress on a flat surface wrong side up. Place each strap on the wrong side of the dress near the front panel seam, extending about 1/4” below the casing stitch line; pin.
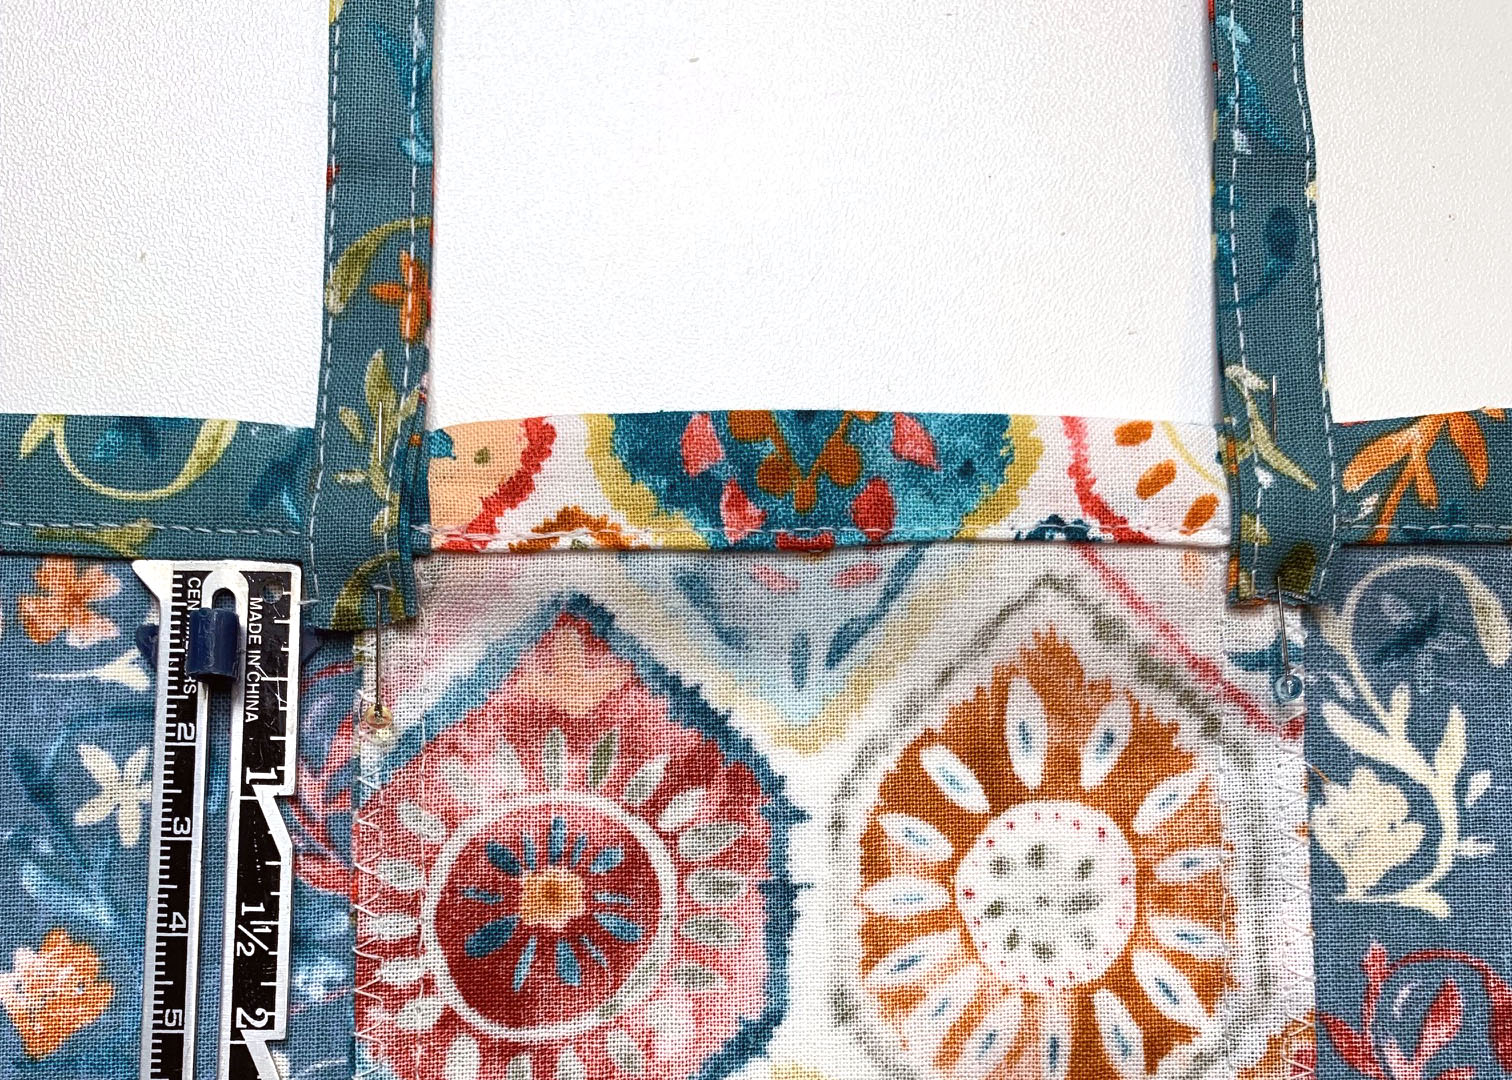
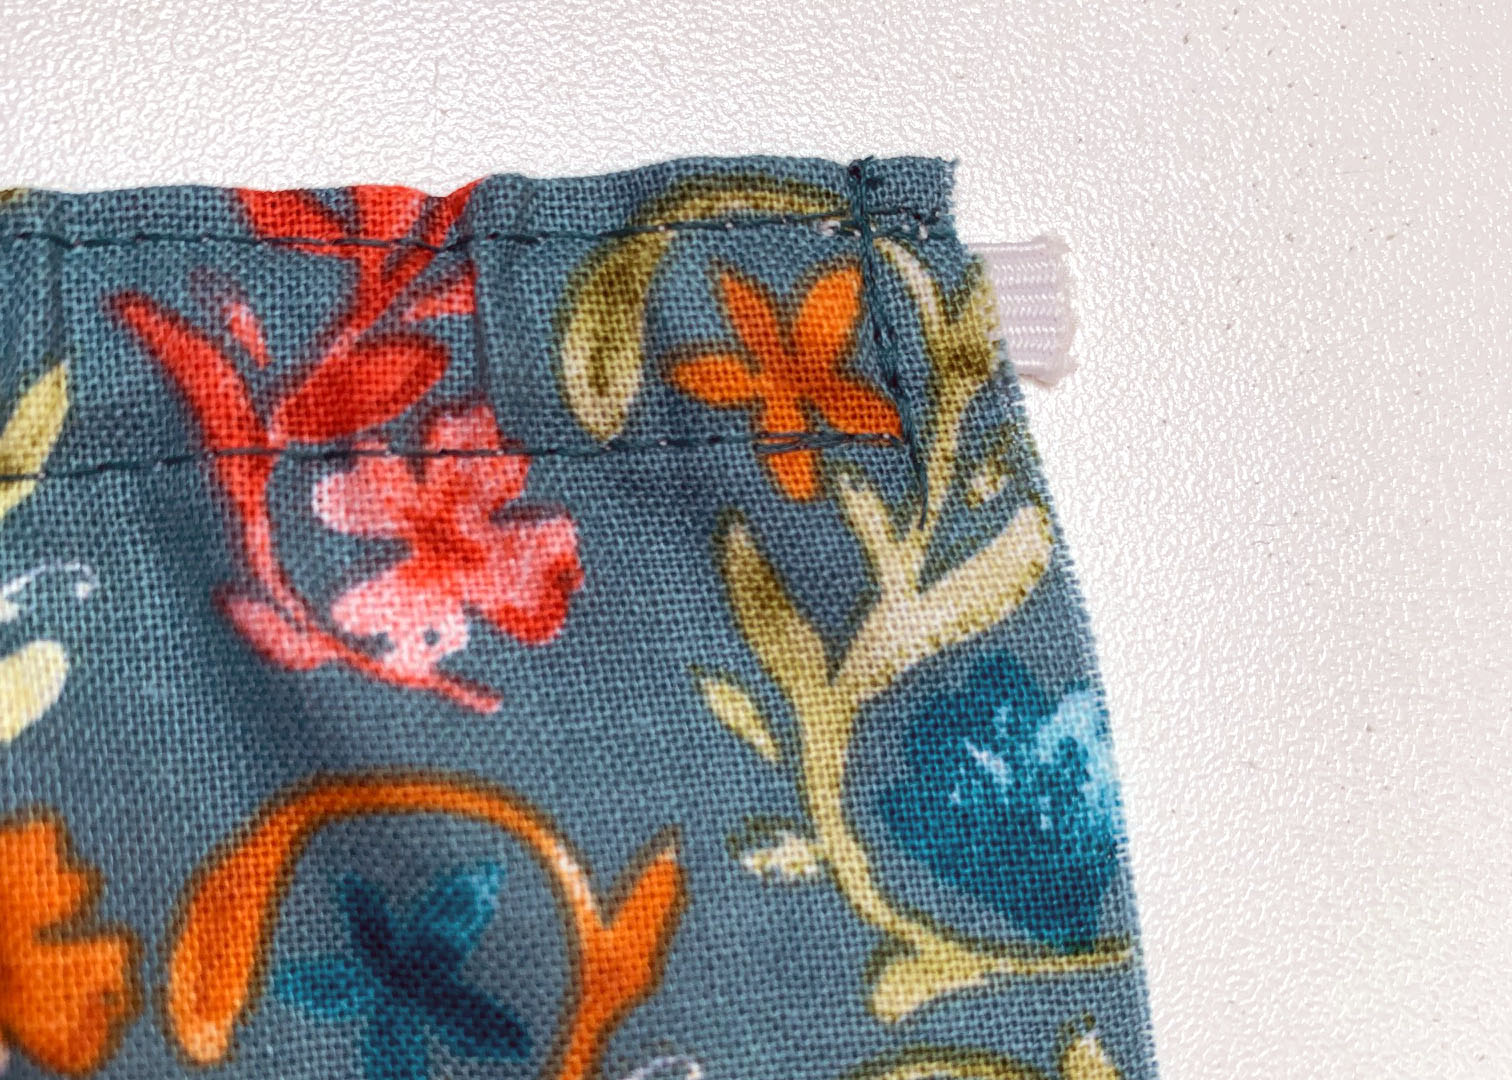
Stitch strap in place going back and forth a few times to secure the strap.
On the wrong side, measure 4-1/4” from the center back edge; mark. Take the other end of each strap and place at that mark being careful not to twist the strap. Extend the raw edge about 1/4” below the casing stitch line; pin; stitch in place going back and forth a few times to secure the strap.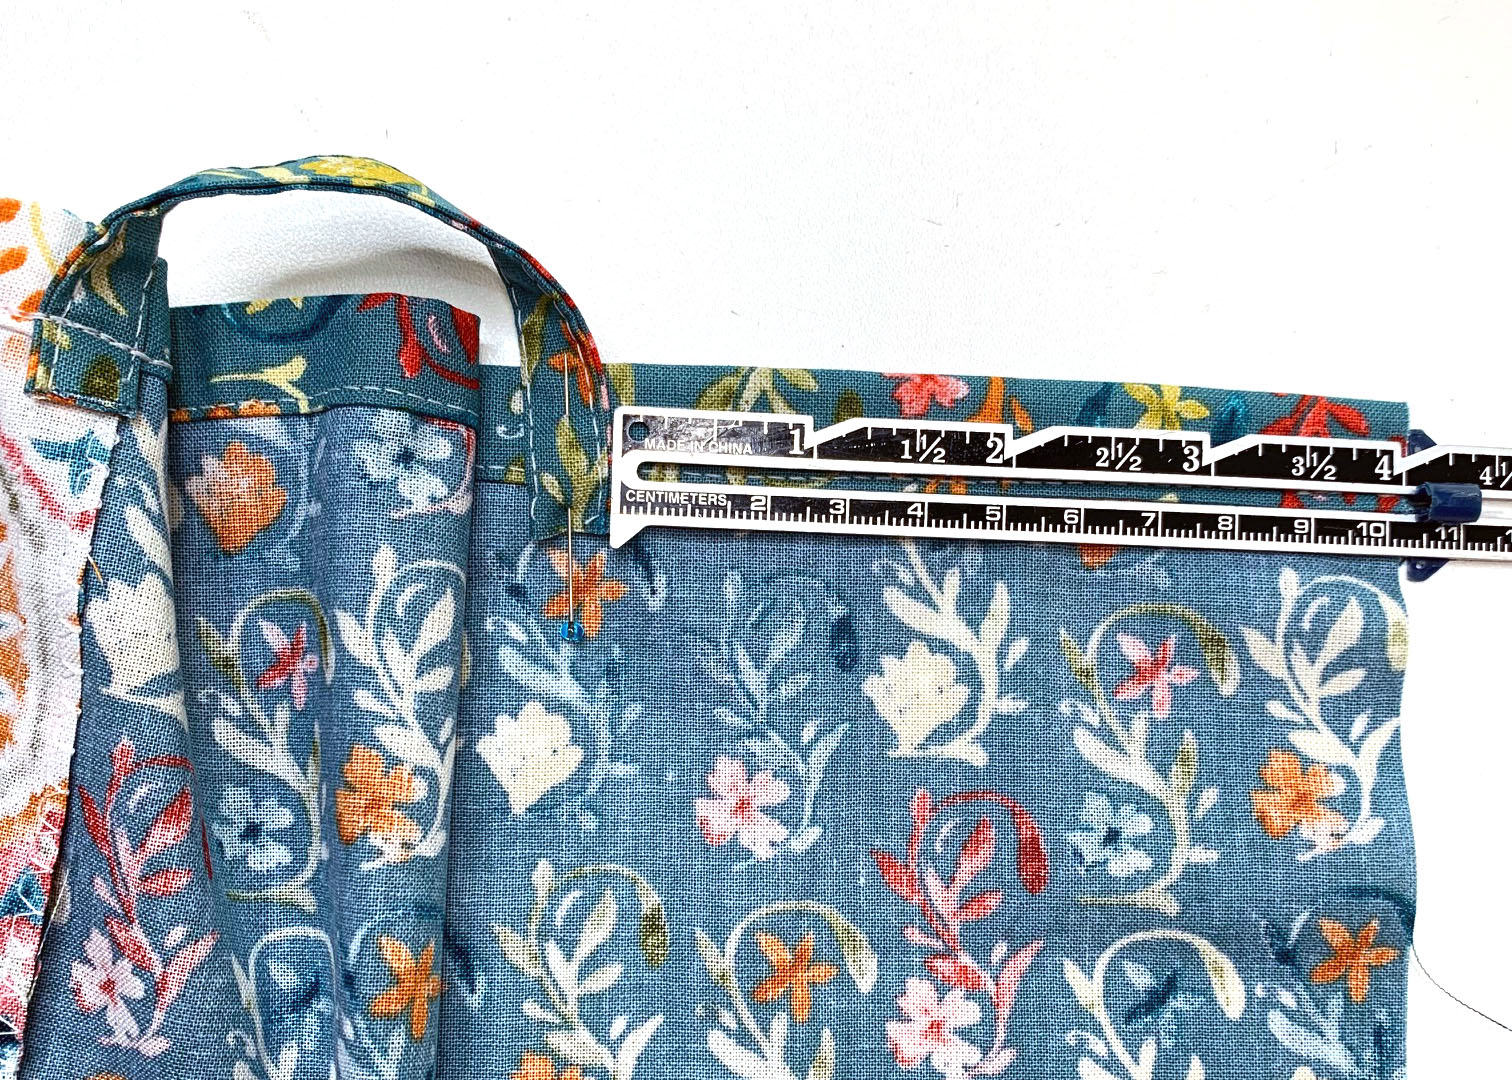
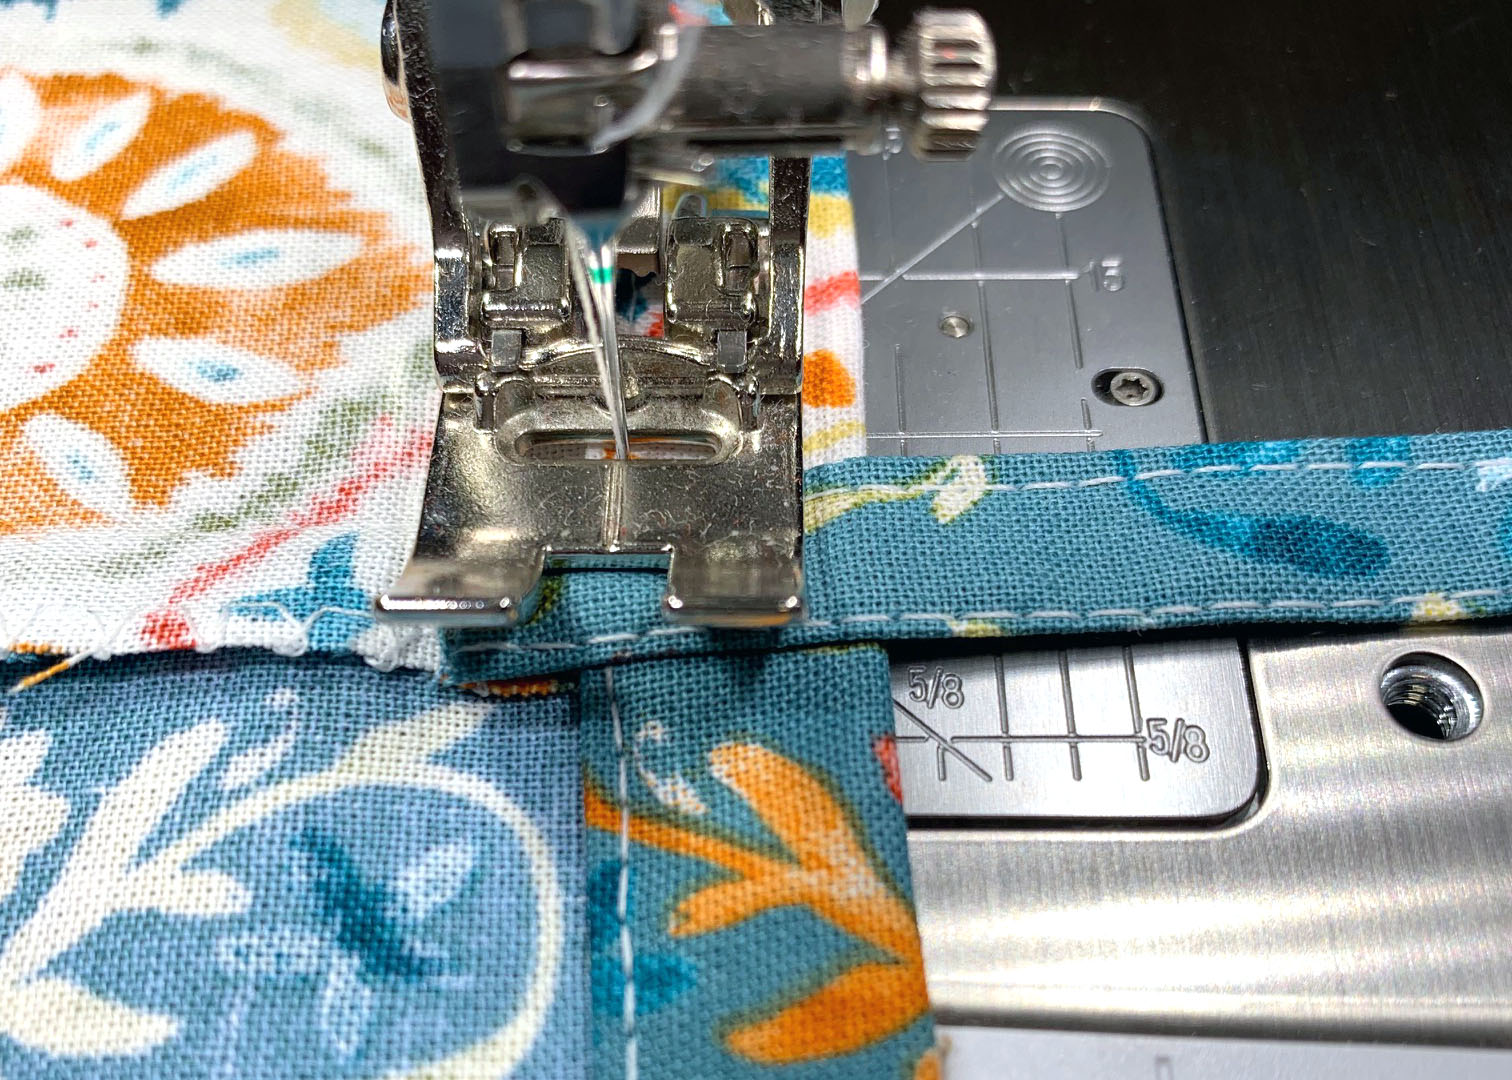
Edgestitch along the top edge of the casing catching in each strap.
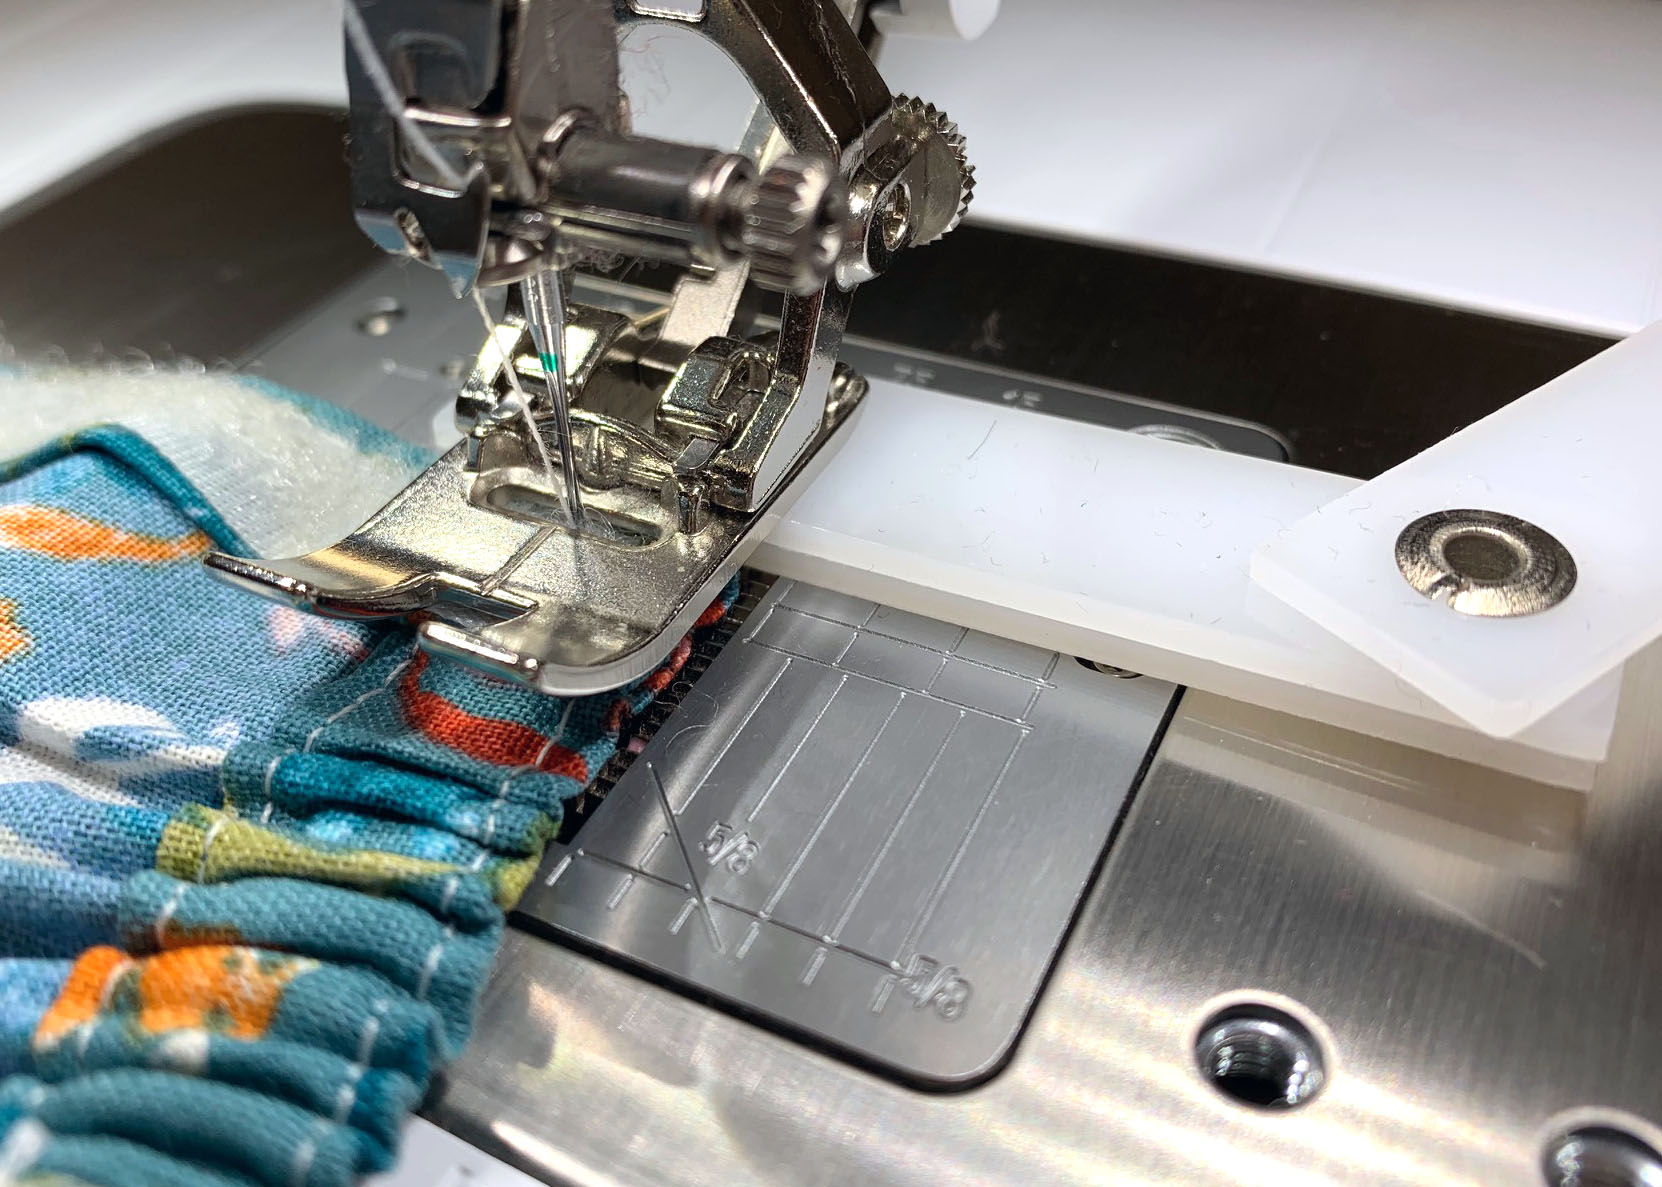
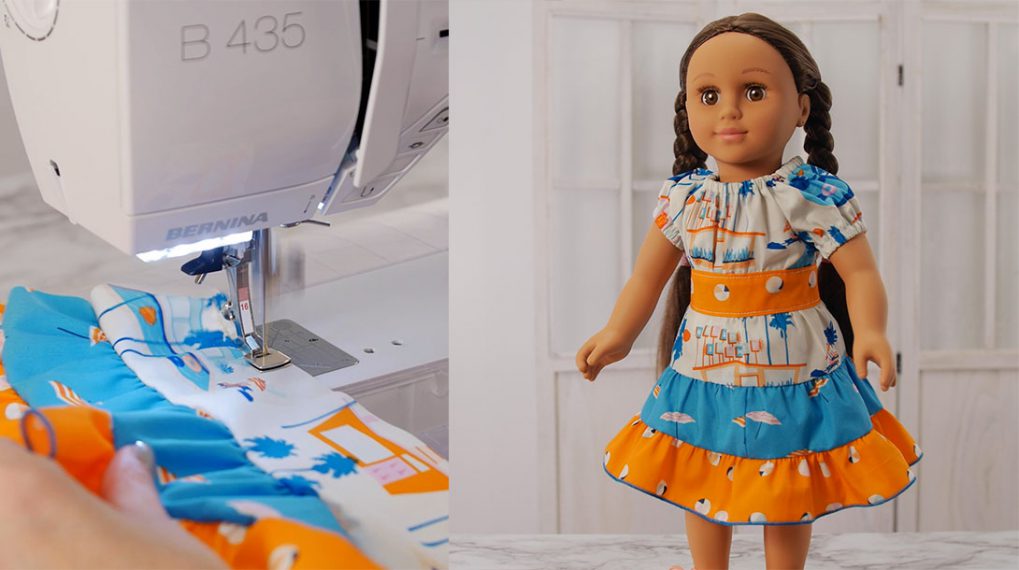
Prepare the Ruffle for the Doll Dress
With right sides together, place one short end of two ruffle pieces together; pin; stitch using a 3/8” seam allowance. Place the remaining ruffle piece along one short end; pin; stitch using a 3/8” seam allowance. You will now have one long rectangle. Press the seams open.
Create the hem by measuring and turning under 1/4” to the wrong side along the bottom edge of the ruffle; press.
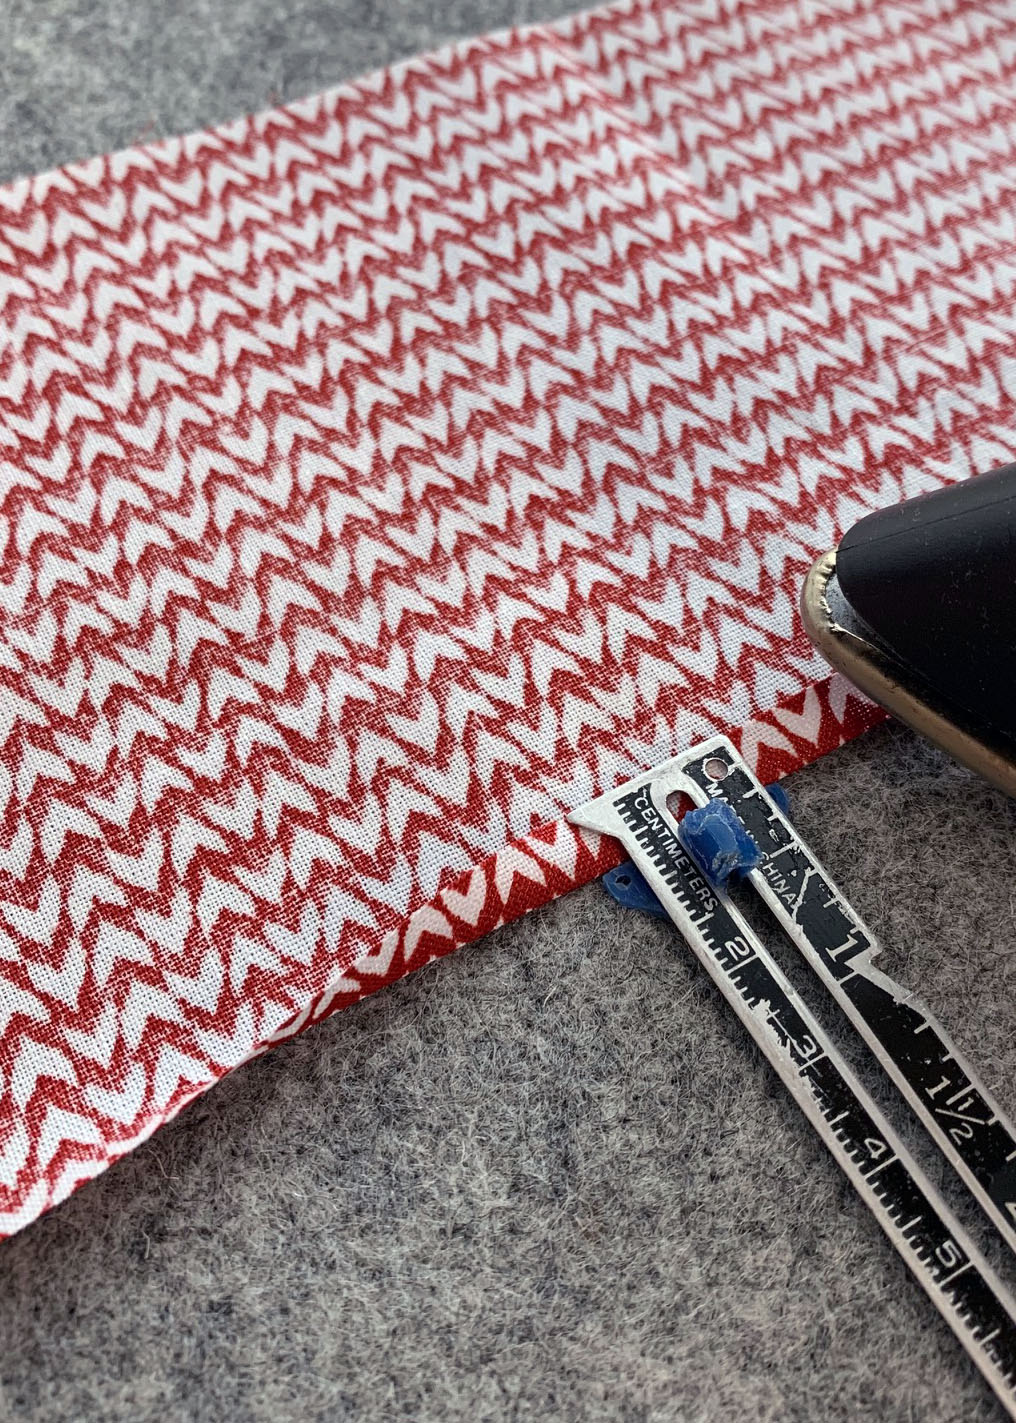
Turn under another 1/4” to the wrong side, press and stitch in place.

Increase the stitch length on your machine. On my BERNINA 770 QE, I set the straight stitch at 6.00.
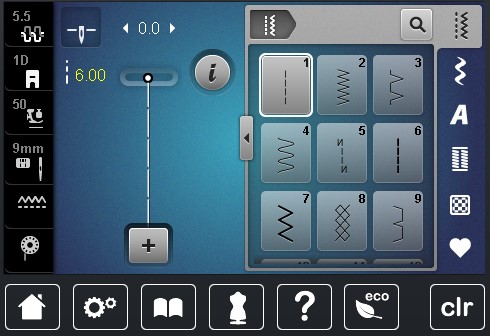
Stitch one row of gathering stitches 3/8” from the upper edge. Do not backstitch and be sure to leave long thread tails at the beginning and the end.

Stitch another row of gathering stitches about 1/4” from the upper edge.
Add the Ruffle to the Doll Dress
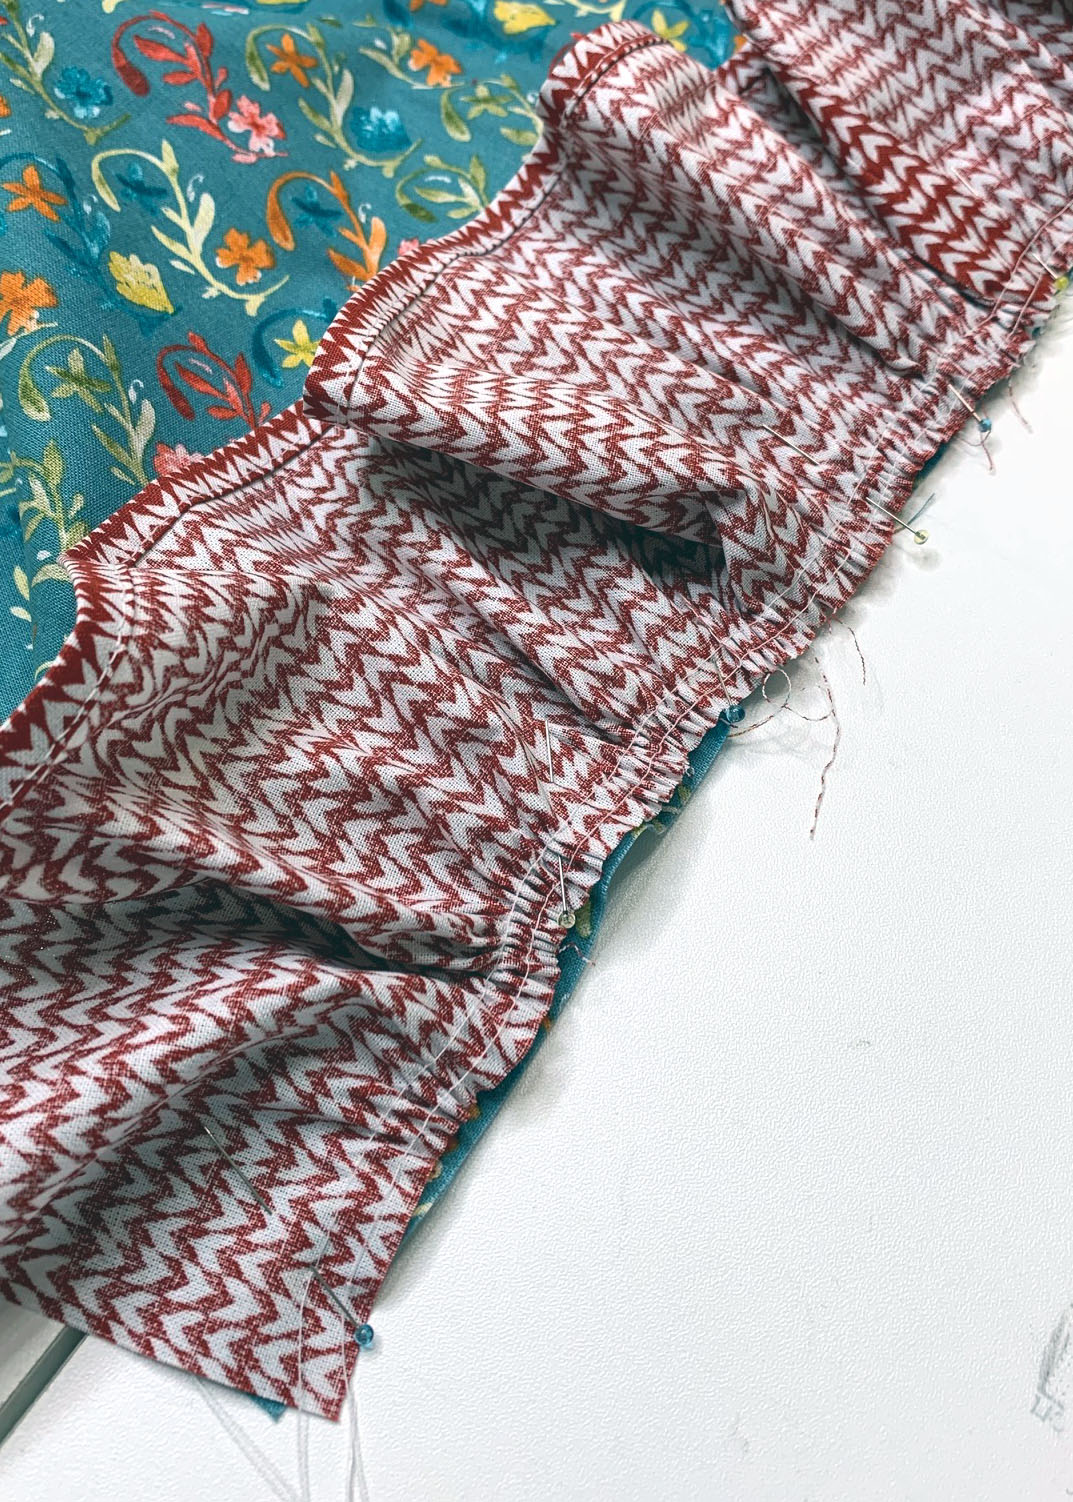
Mark the center front of the dress and the ruffle. Fold each in half matching the back edges and place a pin at the center.
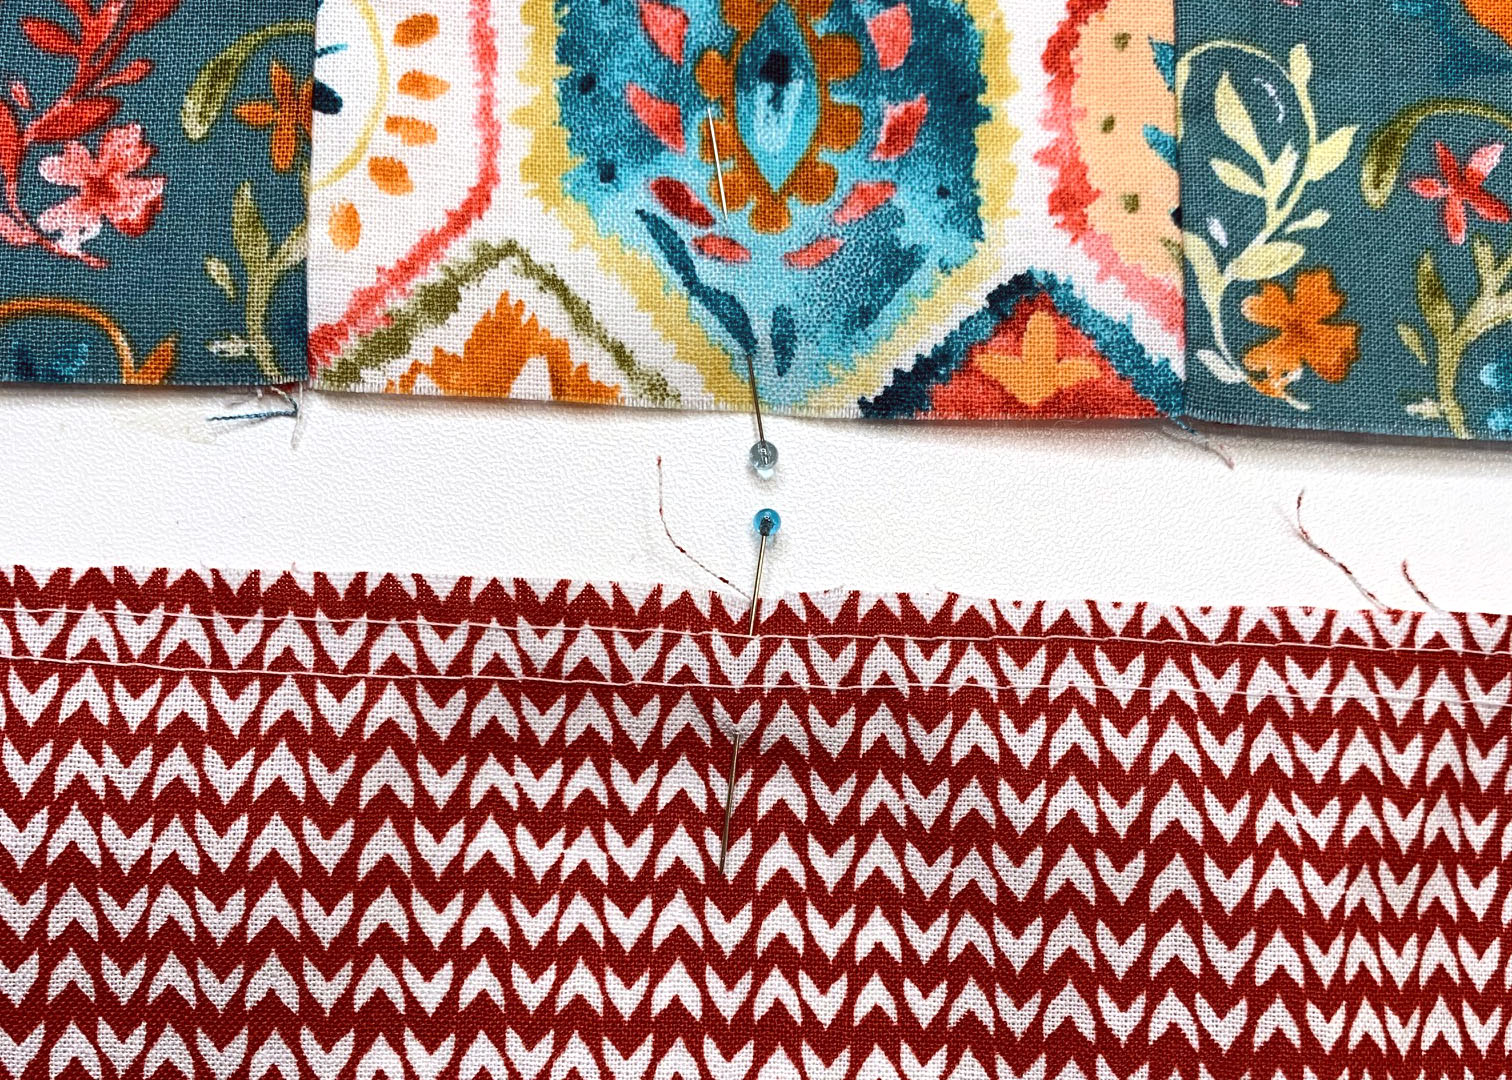
With right sides together, place the ruffle along the bottom edge of the dress matching the center front and raw edges; pin. Now match the back edge of half of the ruffle to the back edge of the dress and pin.
Gently pull up the gathering threads to fit the ruffle evenly along the bottom edge of the dress. Pin as you go. Repeat for the other half of the ruffle.
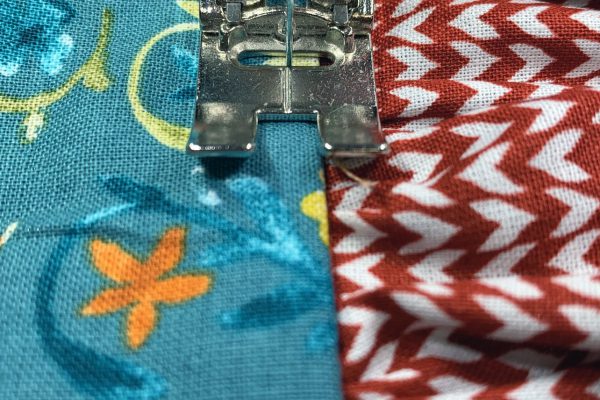
Stitch the ruffle to the dress using a 3/8” seam allowance. Before stitching, change the stitch length of your machine back to your normal stitch length. Don’t forget to remove pins as you sew.

Press the seam toward the dress.
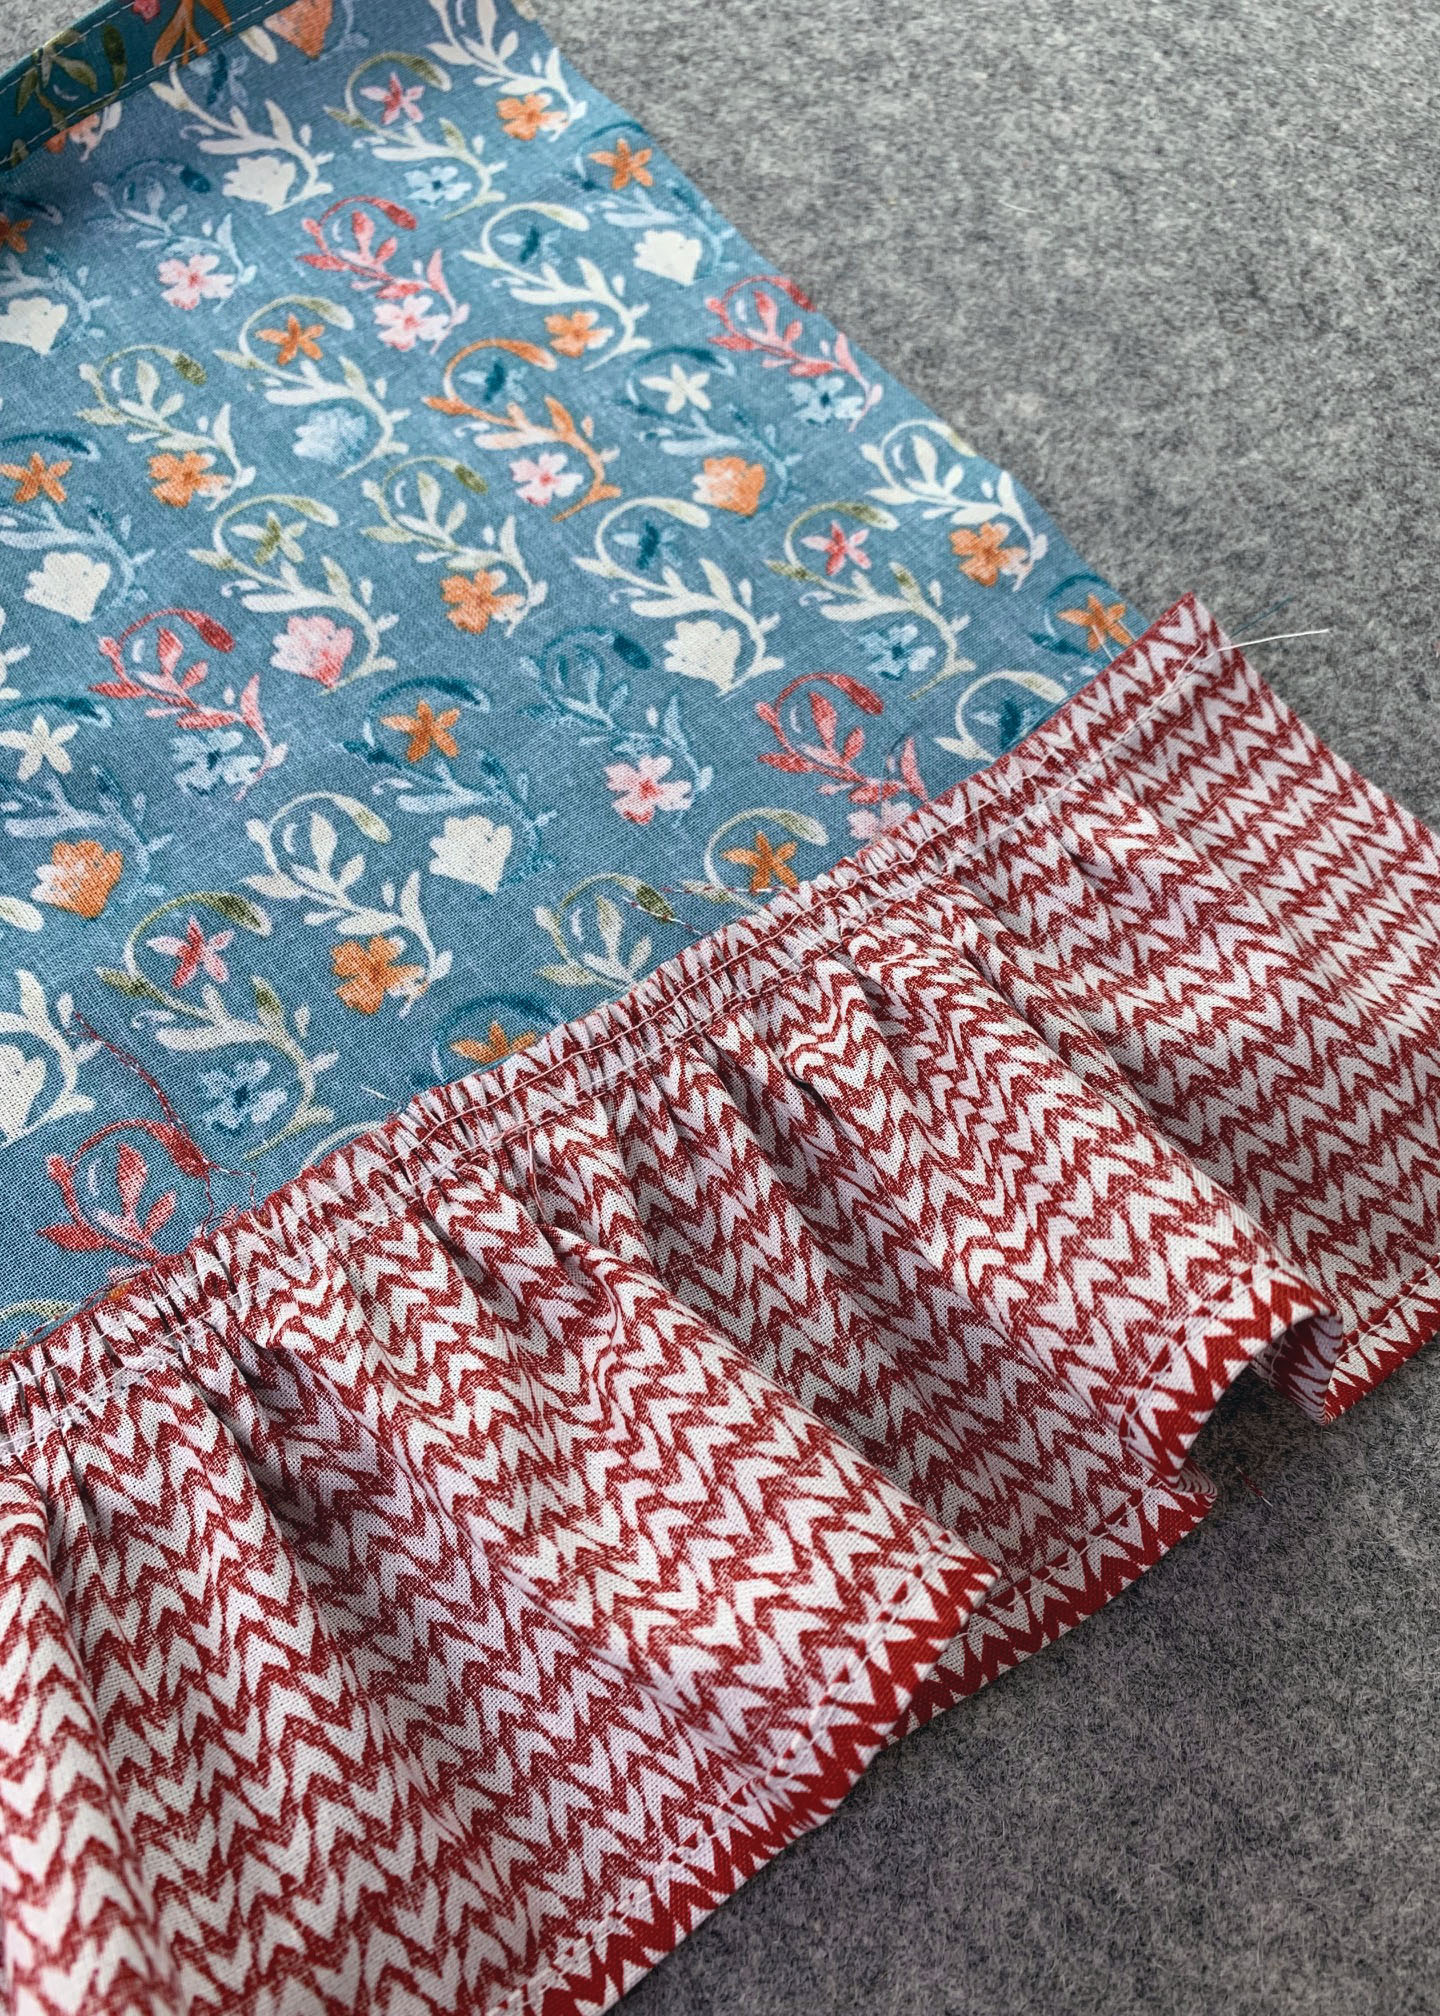
On the right side, topstitch 1/4” from the ruffle and dress seam. This will help hold the ruffle seam in place.
 Add Elastic to the Casing of the Doll Dress

Cut a piece of 1/4” elastic 12” long. Pin a safety pin to one end of the elastic and place the safety pin in the casing. 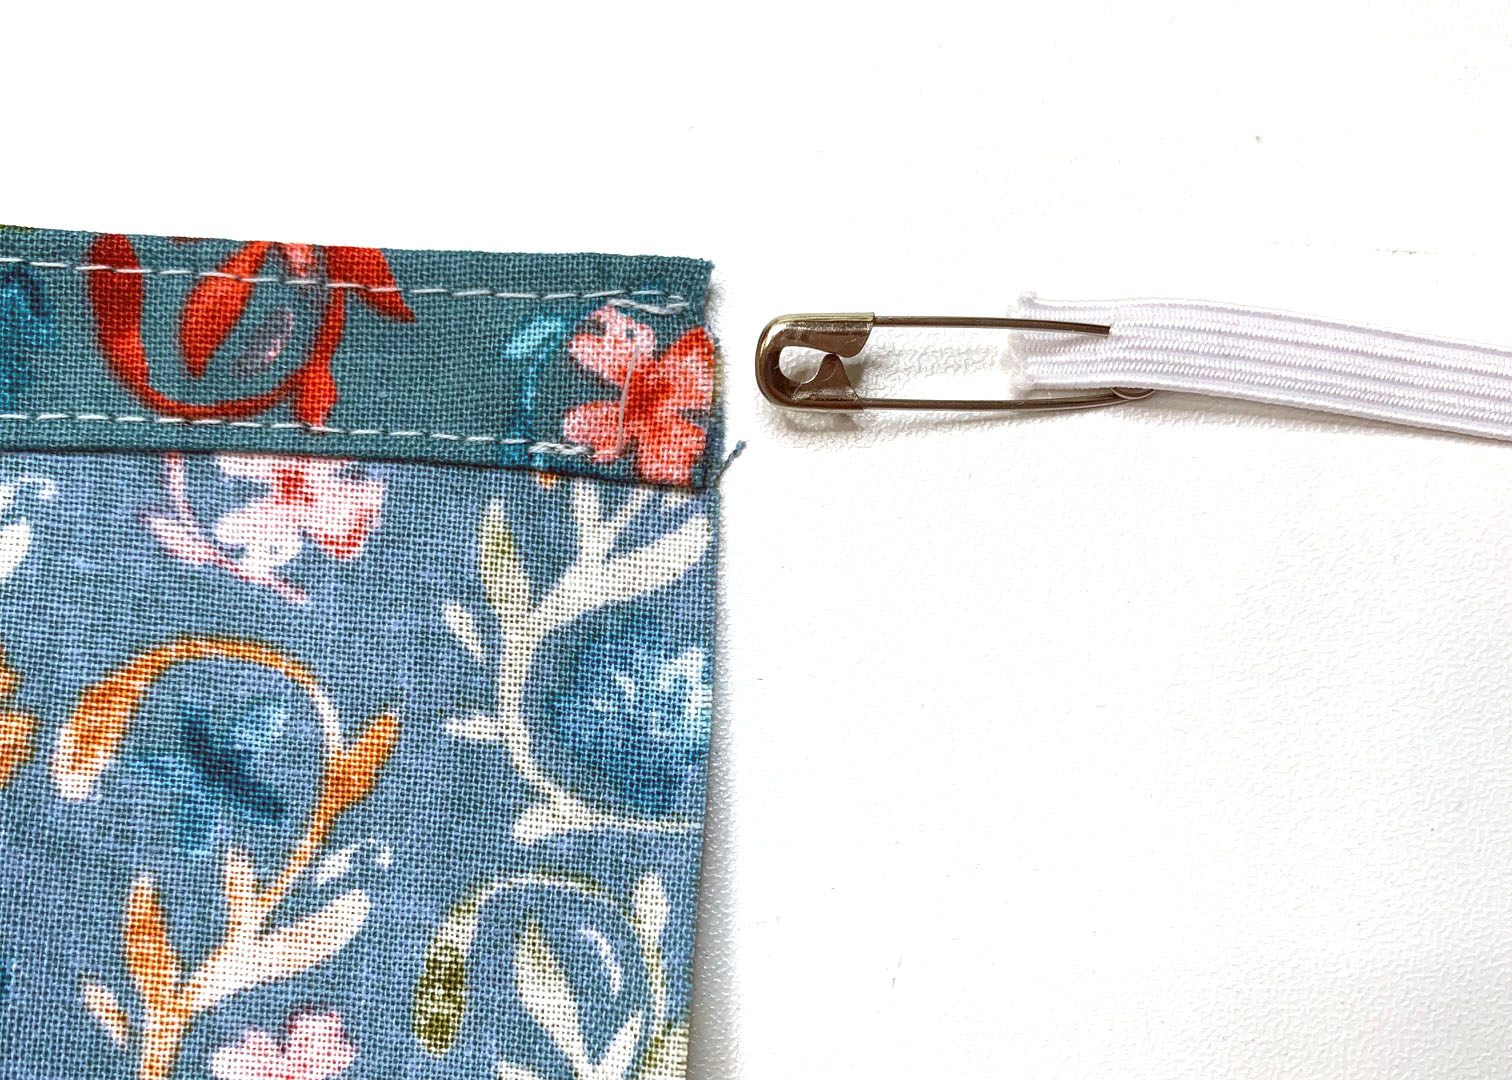
Slide the safety pin forward inside the casing, which will gather up the fabric. As you move the safety pin forward, you’ll need to continue to pull the excess fabric back. Be sure to pin the end of the elastic to the opening so it does not go into the casing.
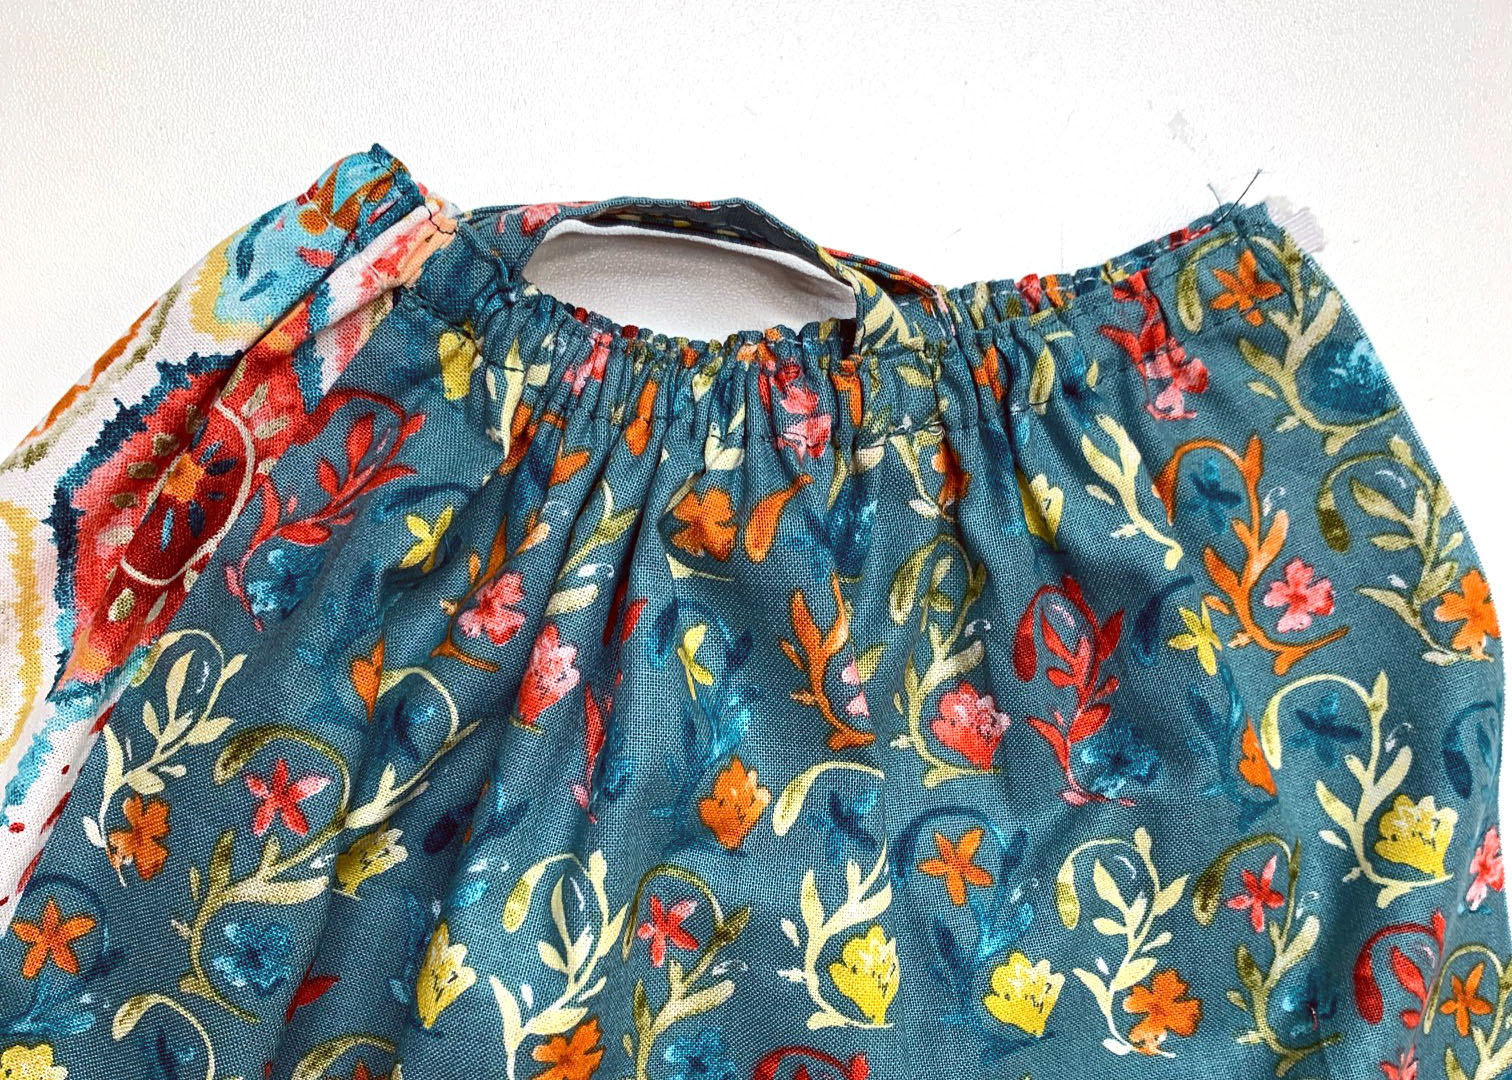
Once the elastic appears on the other side of the casing, pin in place and remove the safety pin. Stitch back and forth a few times to secure the elastic.
Fold the doll dress in half and adjust the elastic in the casing so it is equal on both sides of the dress.
Add the Hook-and-Loop Closure to the Doll Dress
On the back edge of the dress, fold 1/2” to the wrong side; press. Fold another 1/2” to the wrong side; press.
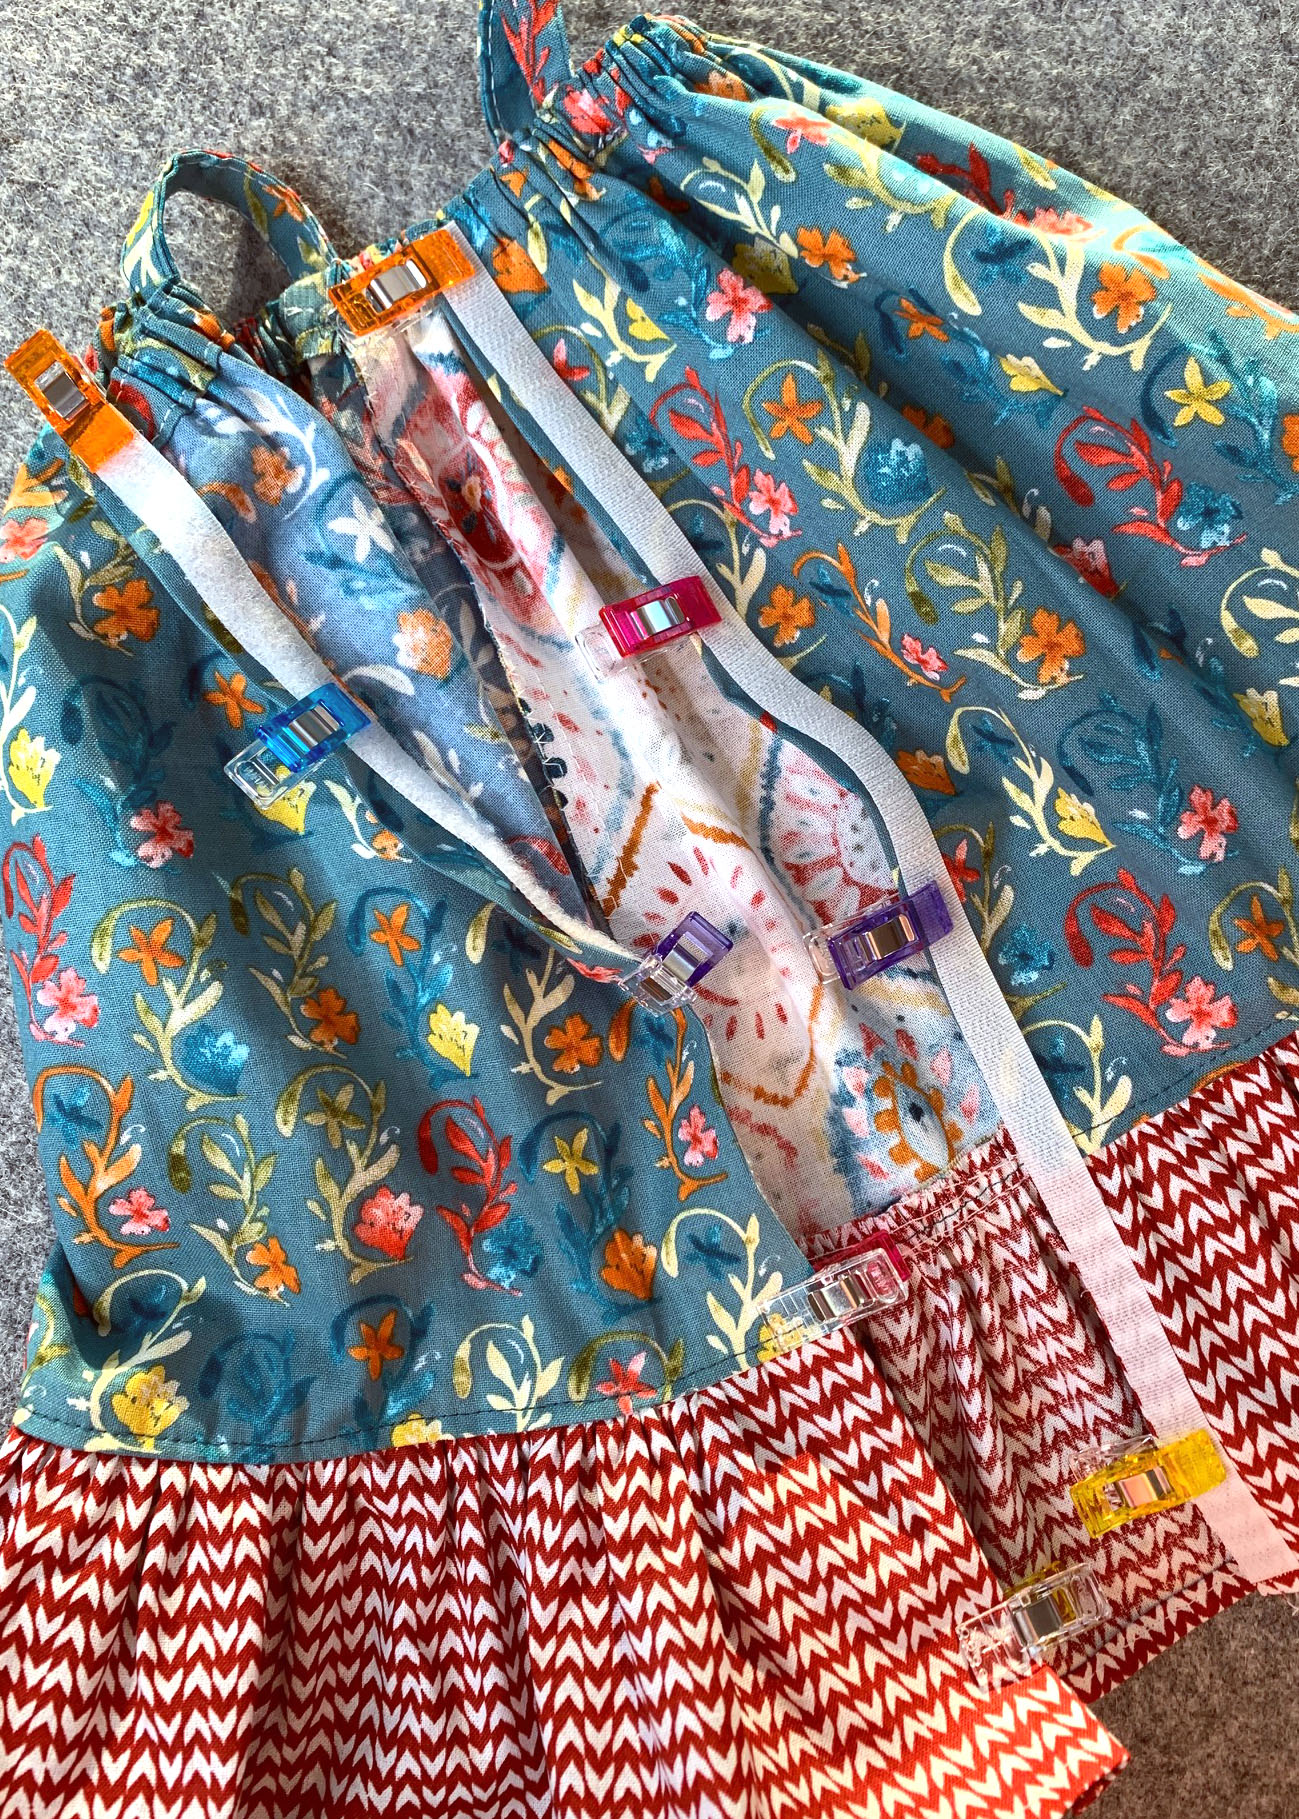
With the hook-and-loop tape stuck together, cut a piece 12″ long. Cut in half lengthwise. Set aside one set to use in another project.
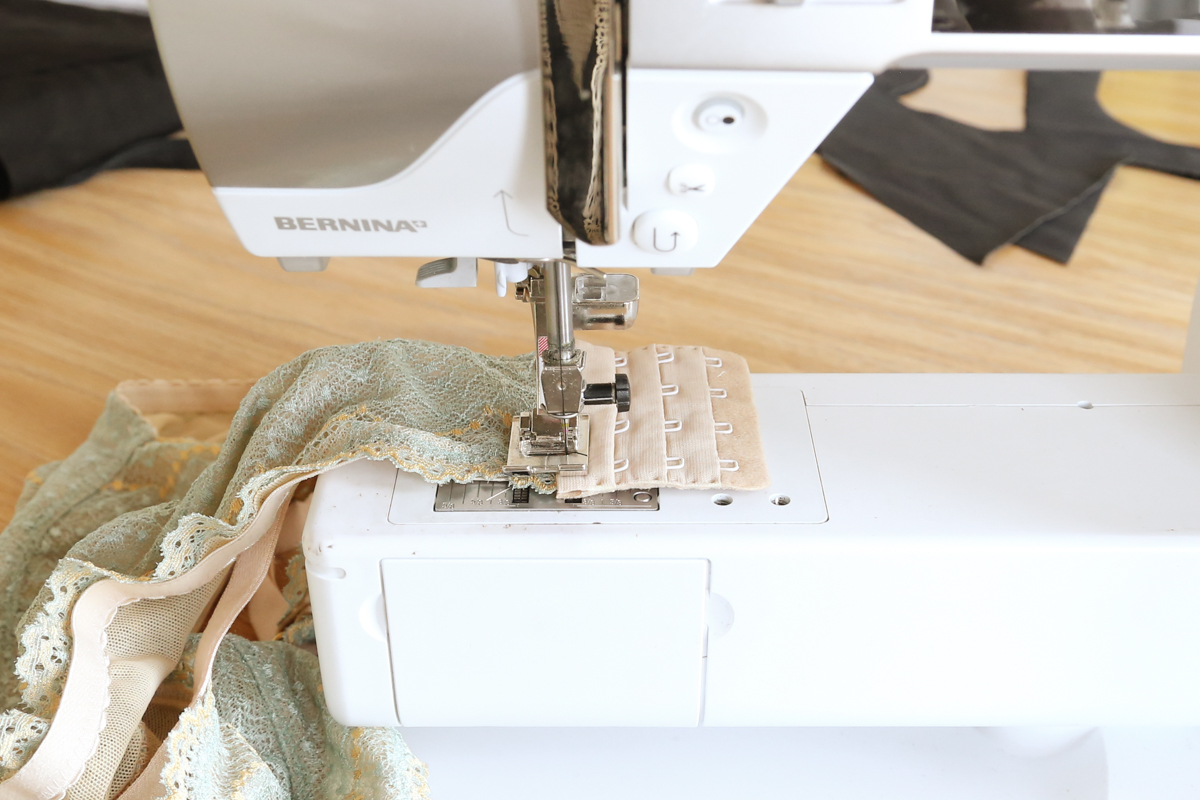
Pull the pieces apart. Place the soft side of the hook-and-loop tape to the wrong side of the left-back opening. If you have clips use them as inserting pins in the tape can be difficult. Place the other side, the scratchy side, on the right side of the right-back opening. Secure with clips (or pins).
Stitch in place close to all four edges.

Tip: Use the height compensation tool when you stitch at the edge with the elastic casing if you have difficulty due to the bulk of the casing and elastic.
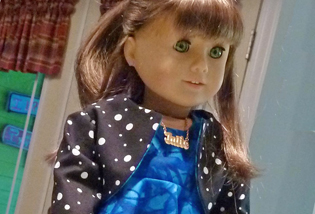
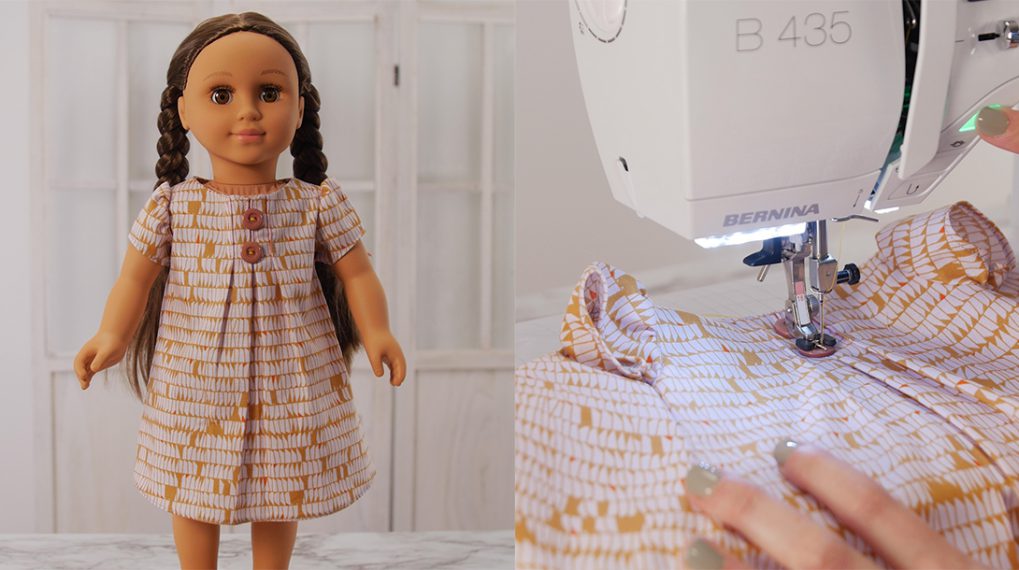
 Admire your work as you’re done!
Additional Embellishment Ideas for the Doll Dress
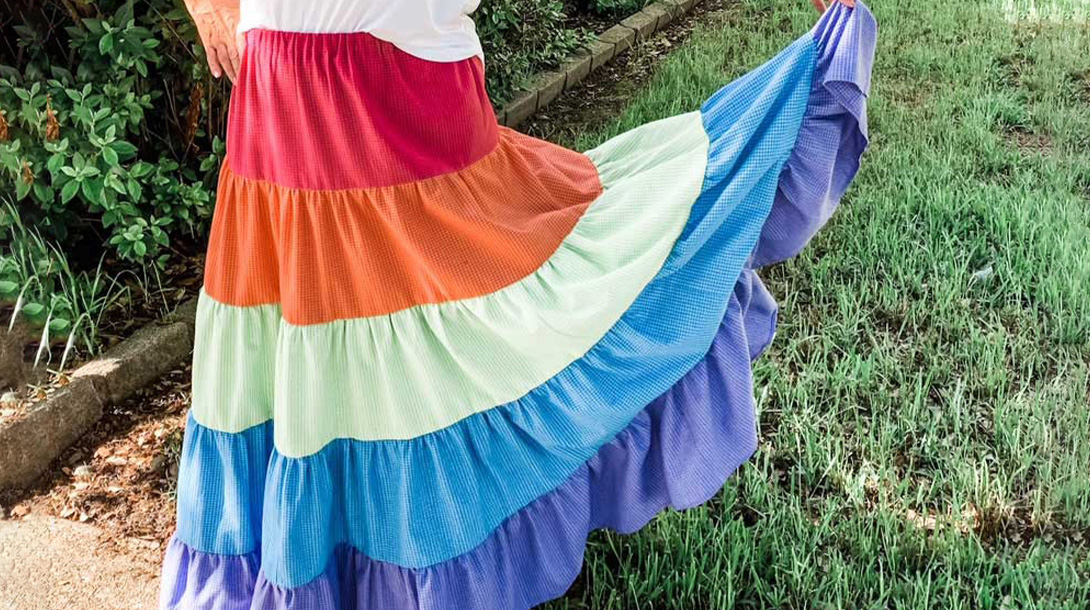
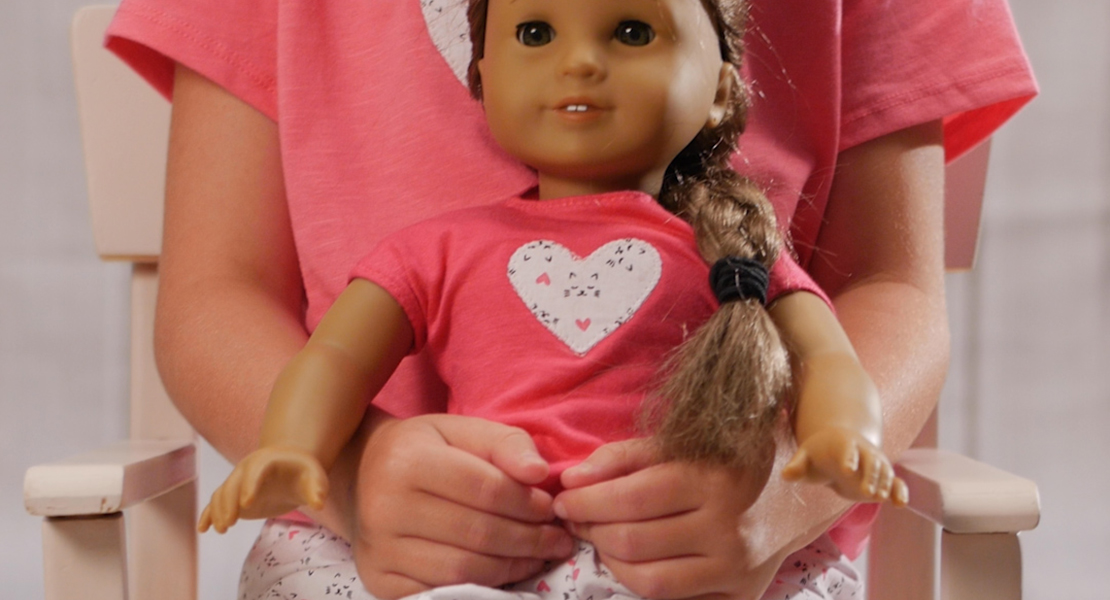
This dress is sure to bring a smile to any little one. Because of the basic shape, you can get as creative as you like. Here are a few ideas to get your creative juices flowing.
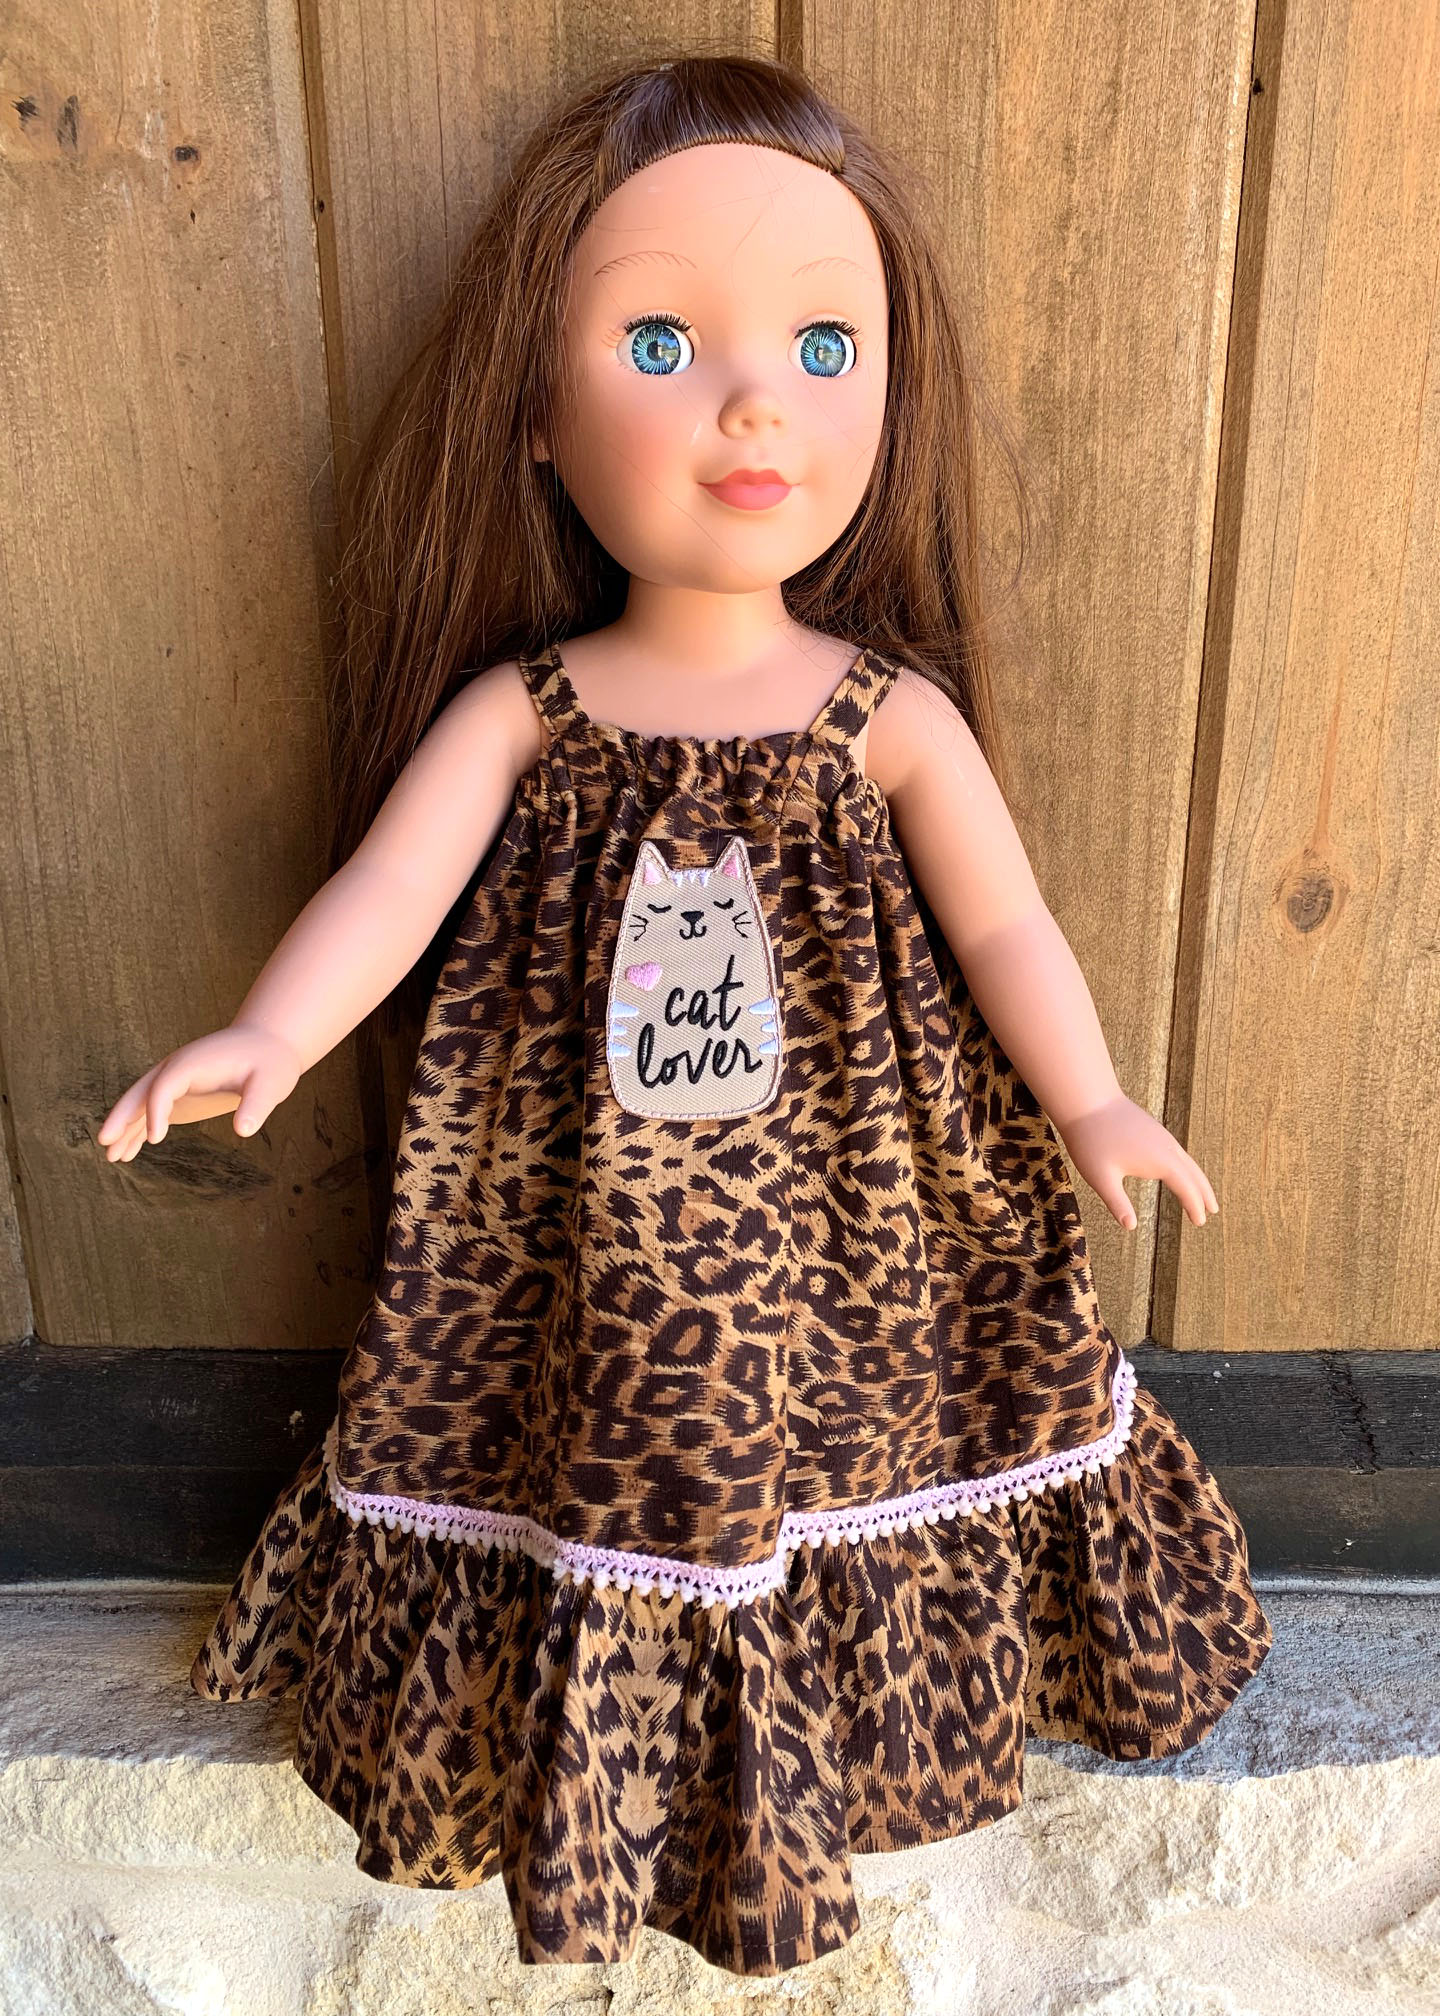
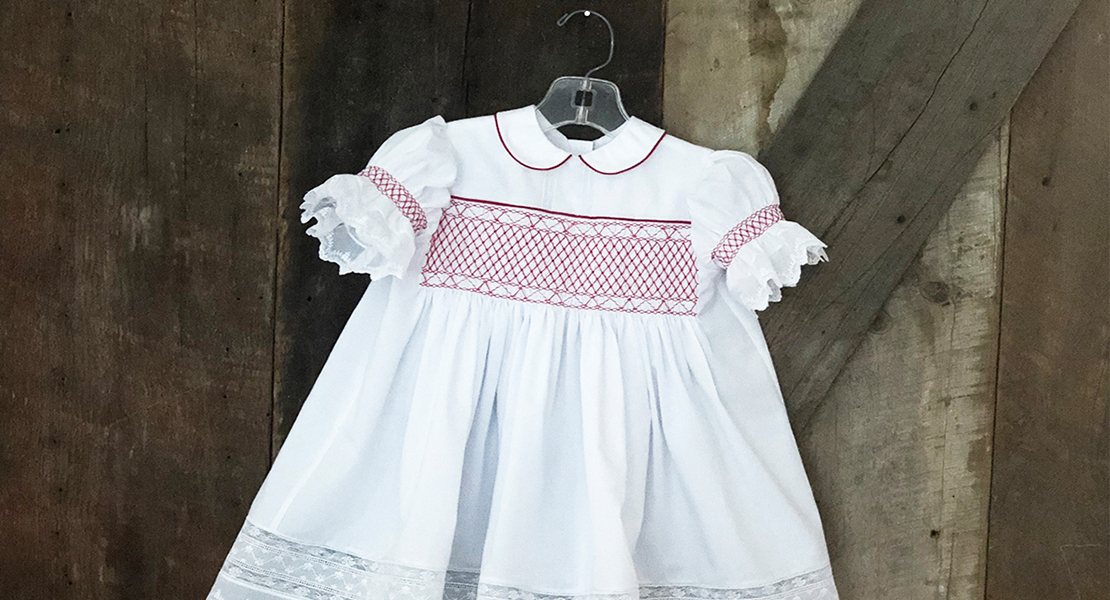
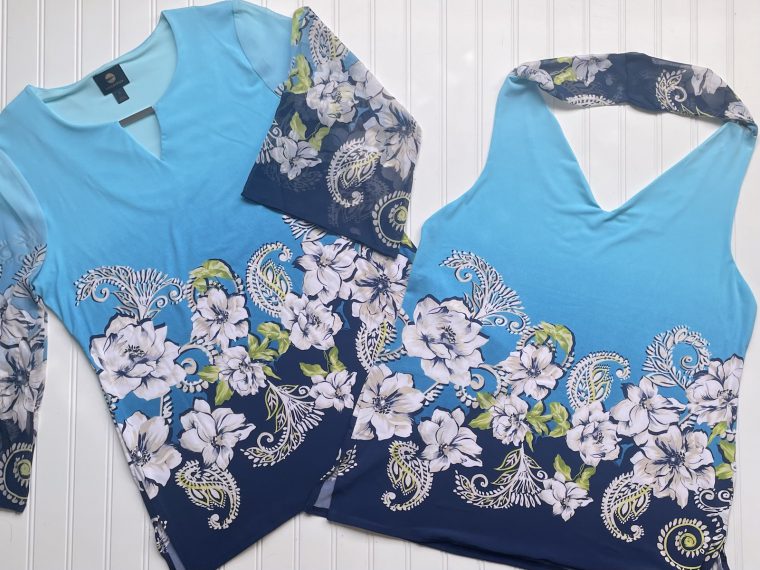
Instead of three fabrics, use one fabric and add an applique to the center panel, and trim on the bottom edge of the dress right above the ruffle. My applique was purchased, but if you have an embroidery machine you can make your own.
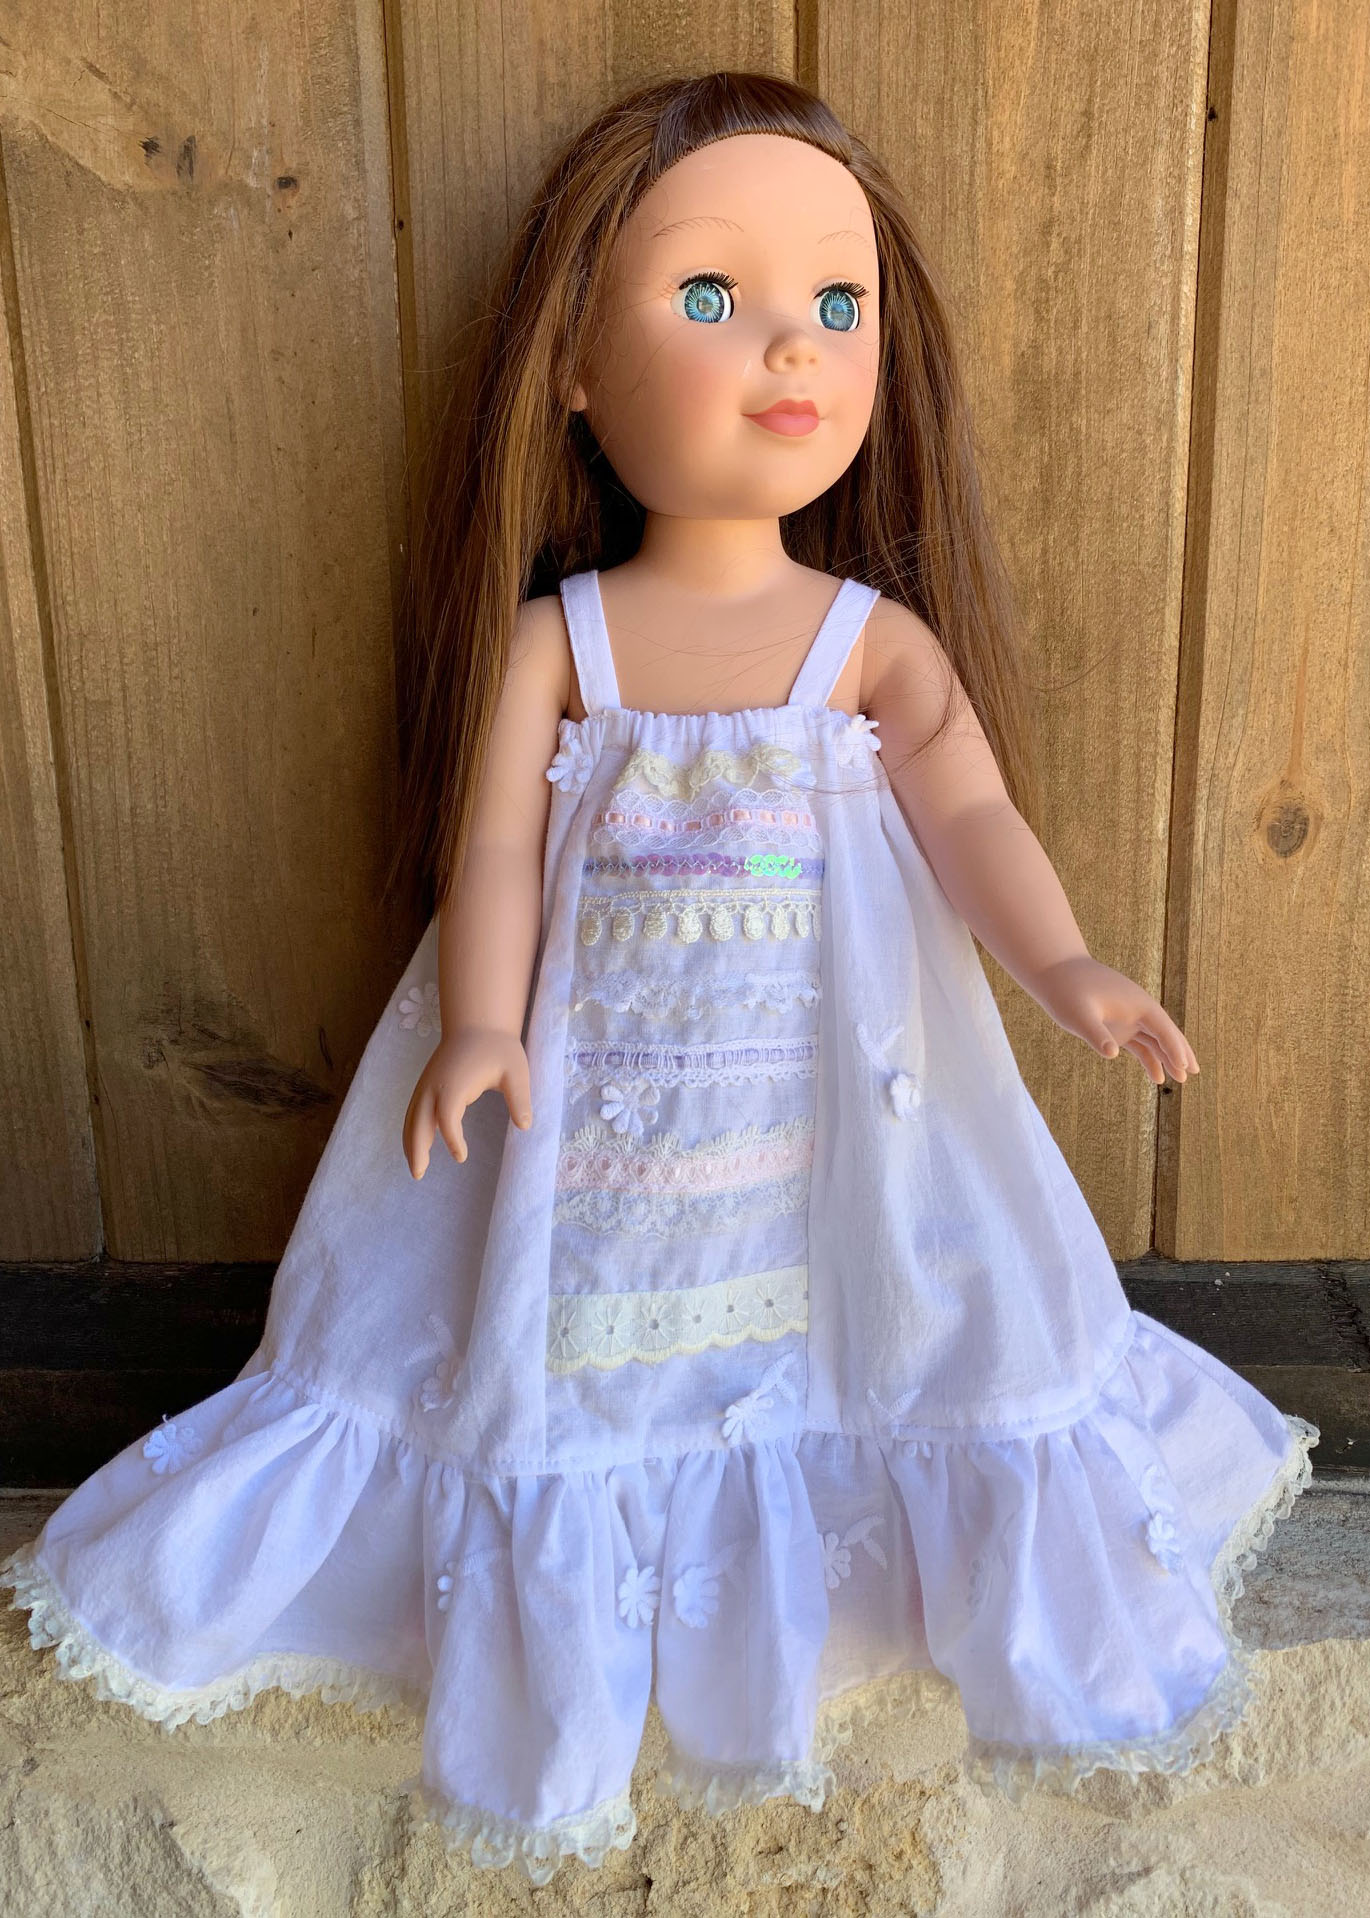
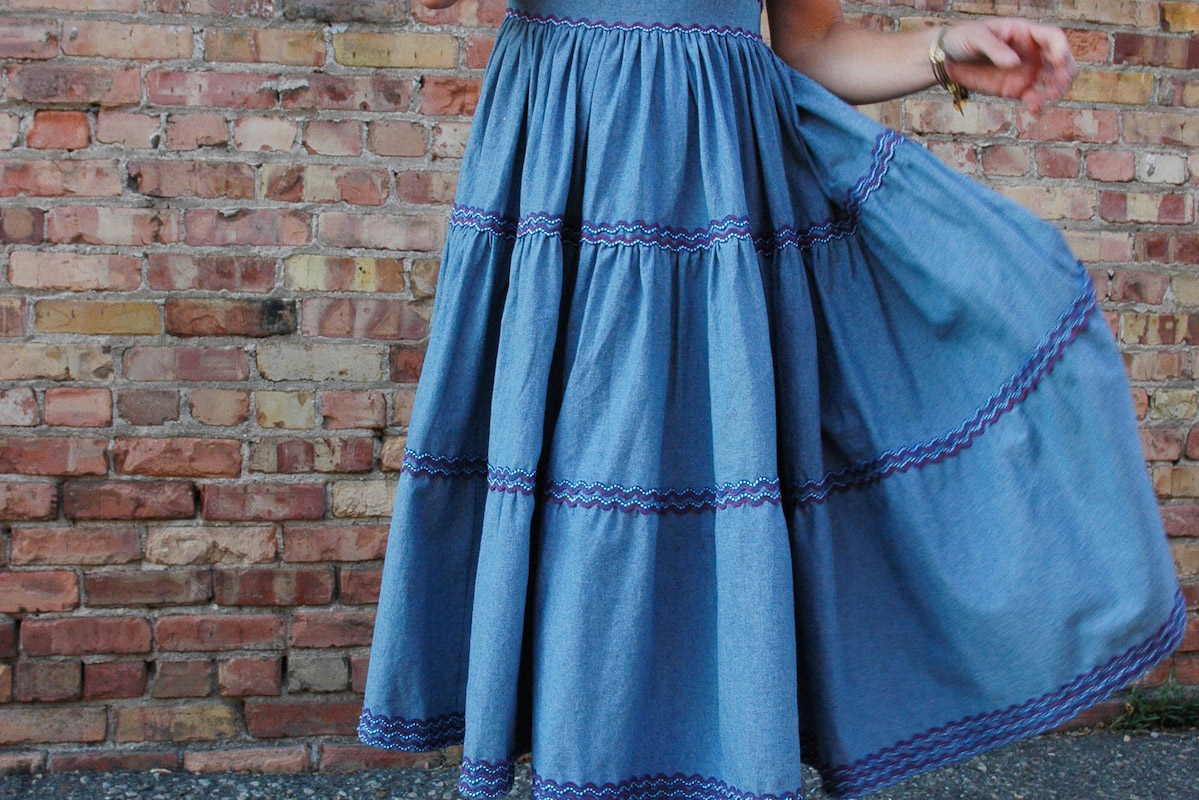
Add multiple pieces of trim horizontally on the center front panel before stitching the panel to the dress. Add lace trim to the bottom of the dress ruffle.
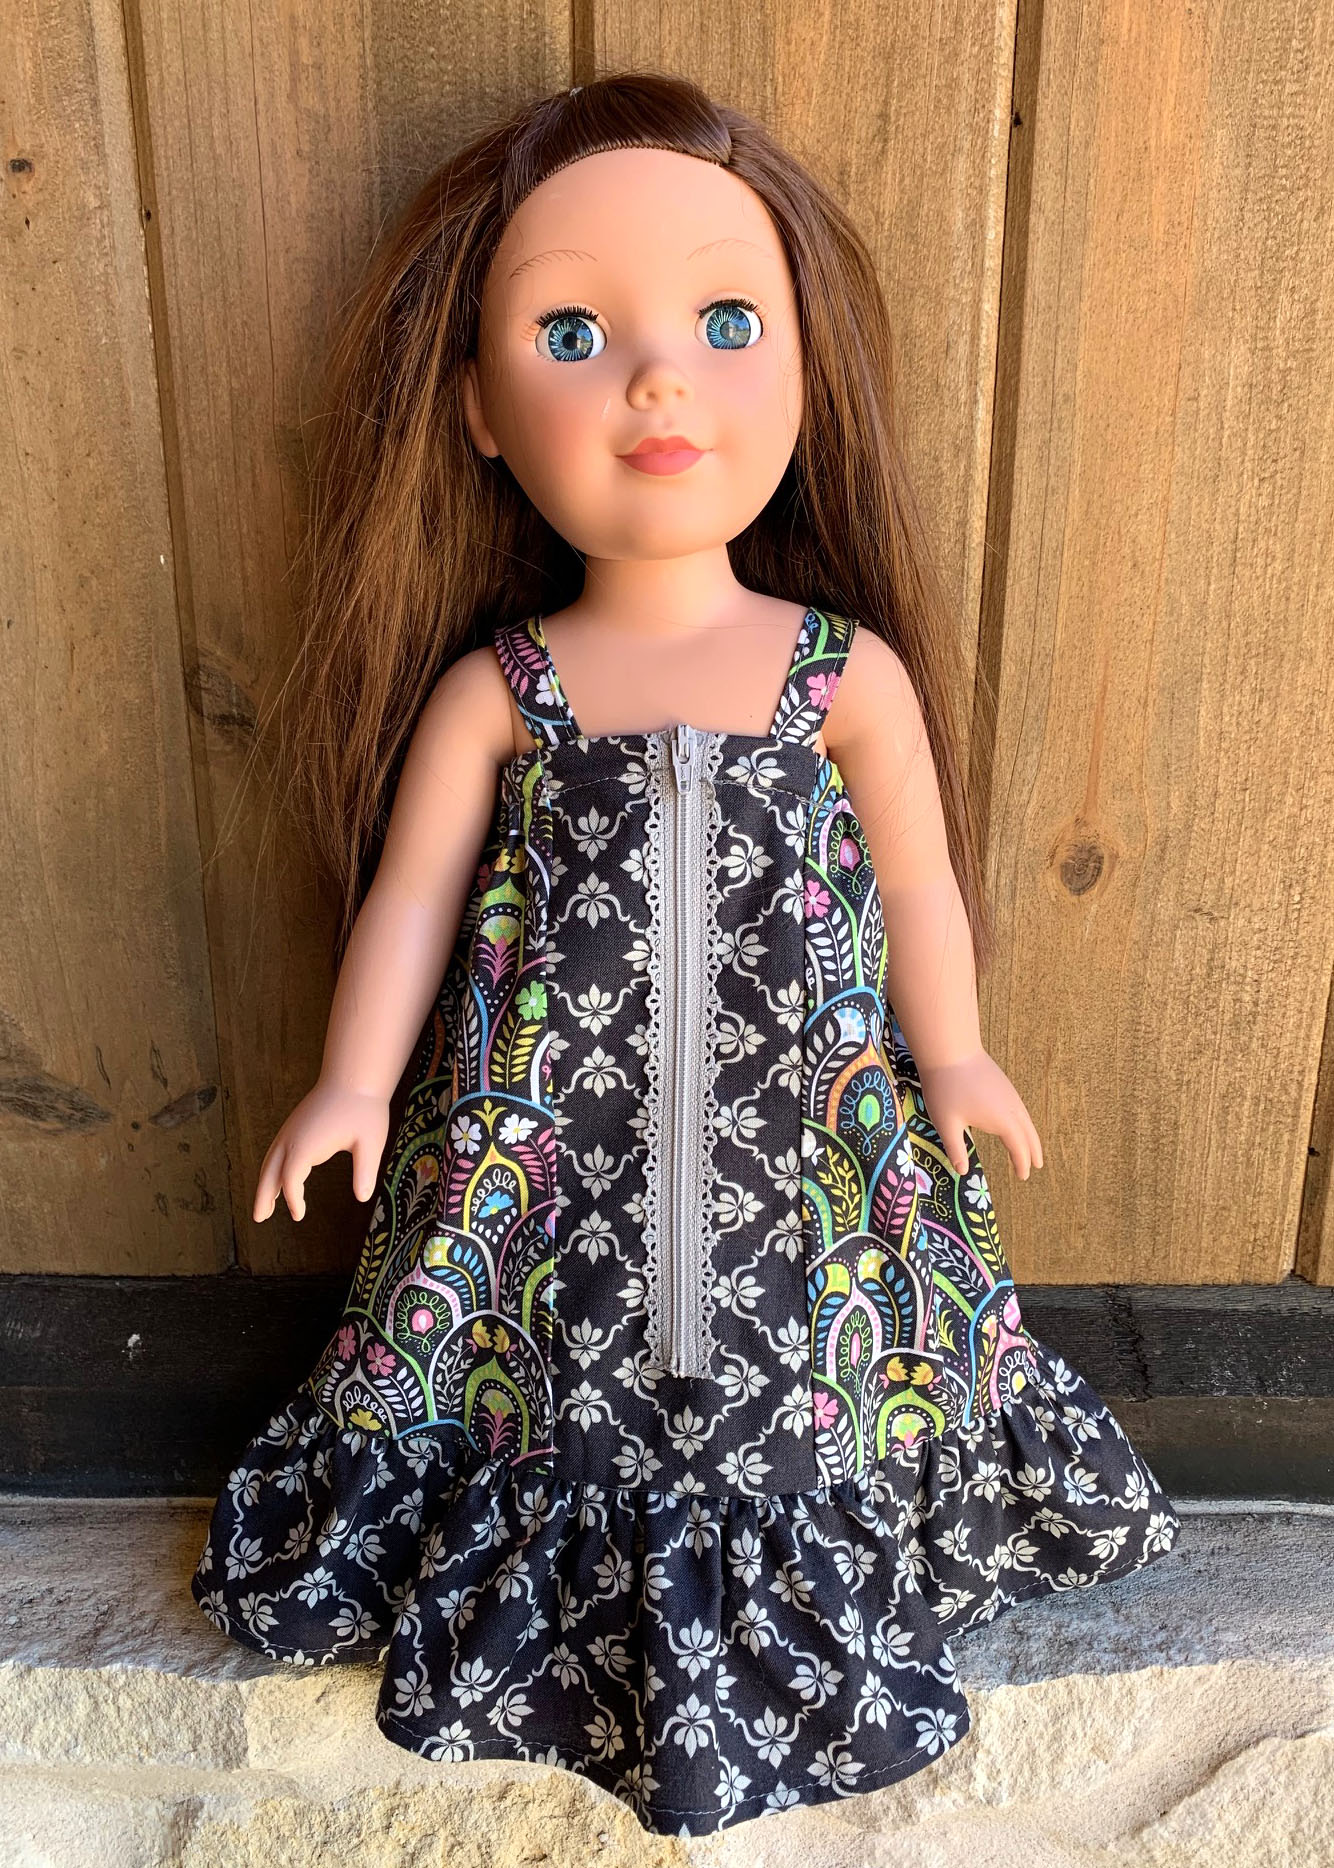
Stitch a decorative zipper on the center front panel.
Add a piece of vintage trim lengthwise on the center front panel.

Used Products


What you might also like


2 comments on “How to Sew a Ruffled Maxi Dress for an 18” Doll”
-
-
Hello! Thanks for commenting. I looked at the post, and measured the strap on the doll dress, and you are correct – the finished length of the strap was incorrectly listed as the cut length.
The strap piece should be cut 1-3/4” x 9” and cut in half.
Please accept my apology for the error; I know this must have been frustrating for you. We will correct it in the post. Thank you again!
-
Leave a Reply
You must be logged in to post a comment.

this is very frustrating, the shoulder strap is not usable when cut in half. it’s just not long enough! and to find this out when the dress is all but done. very unhappy!