Sew and Embroider Silk Voile
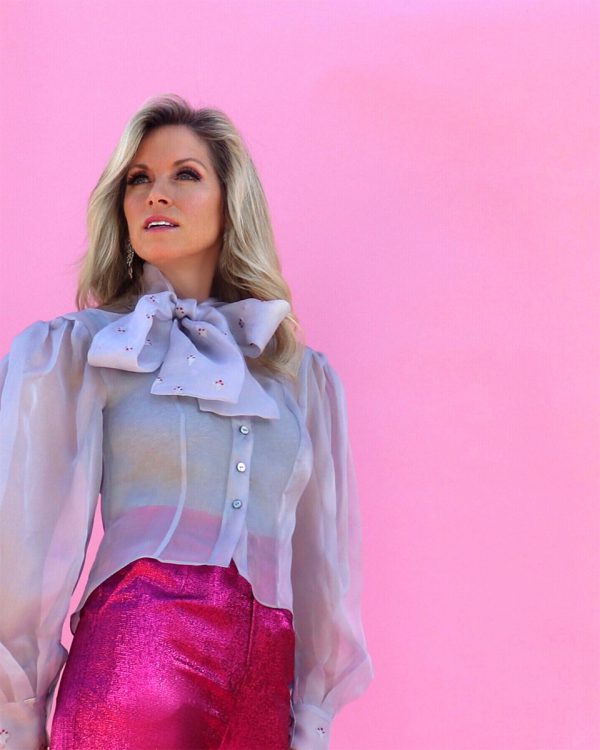
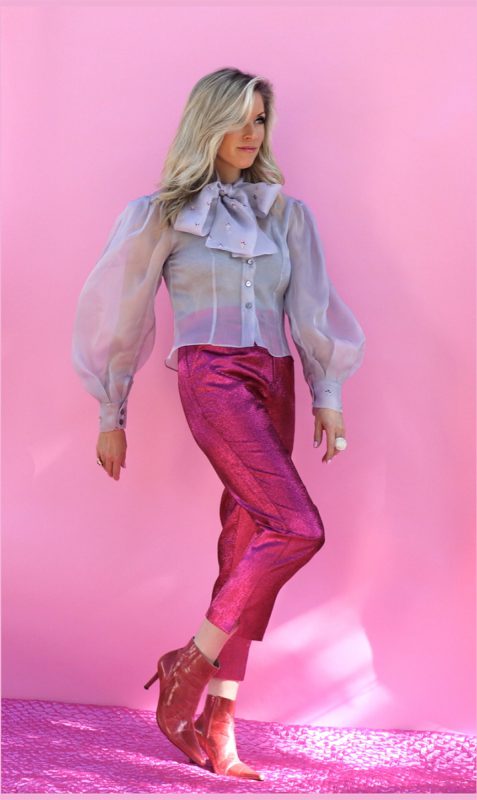
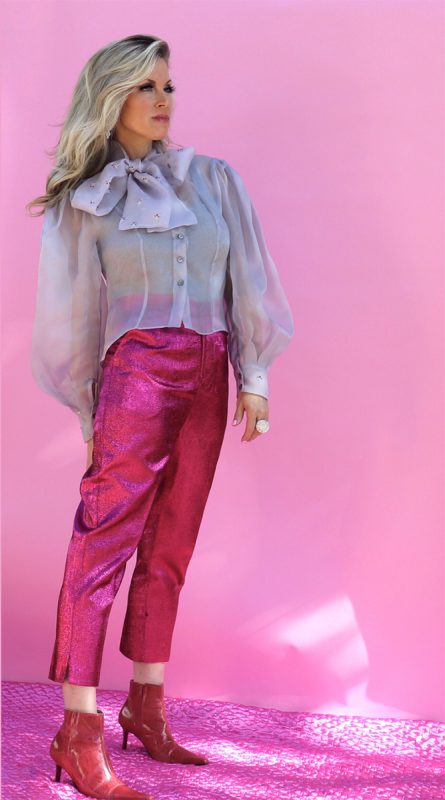
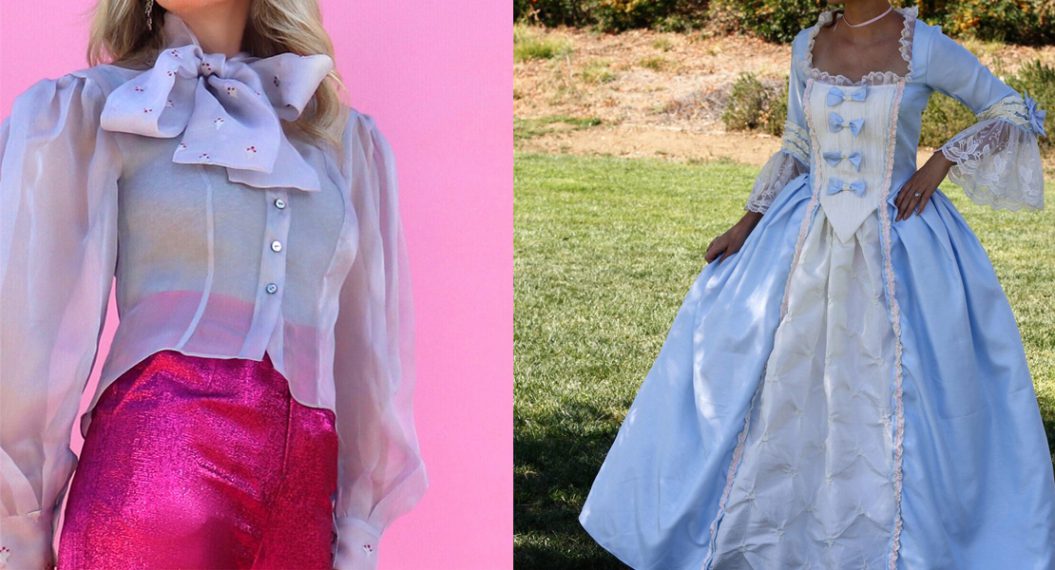
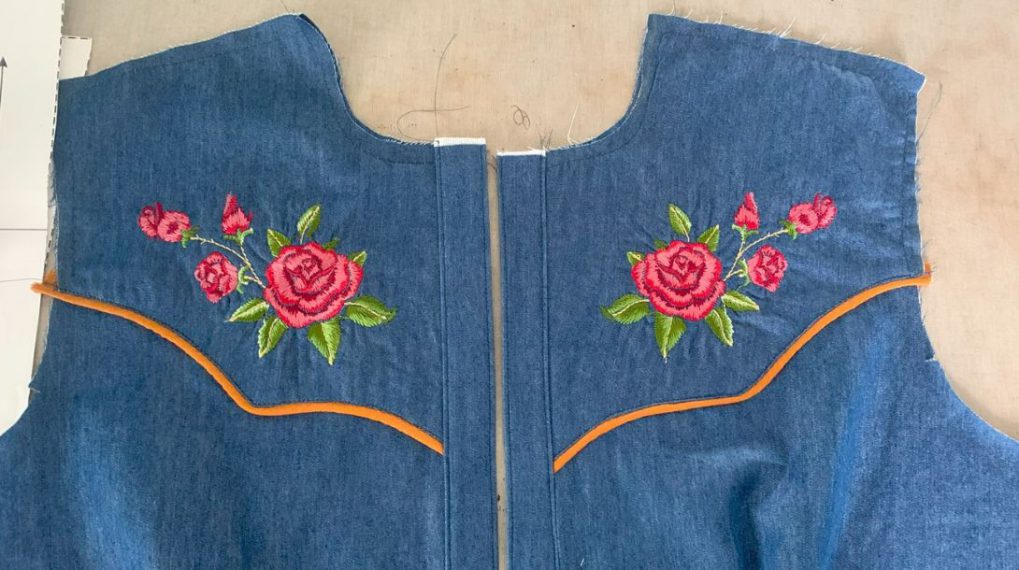
At the beginning of last year, I received my BERNINA 590, marking the first time I’d upgraded my BERNINA machine in 24 years. Man, have I been missing out. There are so many amazing new features that I never knew I needed!! I’m a professional costume designer and wardrobe stylist for film and television in Los Angeles, California. My passion is sewing fashion apparel. To dive right in and get acquainted with my machine, I decided to sew on silk voile and machine embroider the bow and cuff of a blouse. I wanted to show all of you how taking a simple mini motif embroidery design can be duplicated multiple times, creating elements of embroidered fabric. My blouse is a pattern hack of Vogue #9029 (bodice and bow) and Vogue # 1633 (sleeves).
Materials to Sew and Embroider Silk Voile:
- Silk voile fabric from Minerva Fabrics
- Vogue patterns #s 9029 & 1633
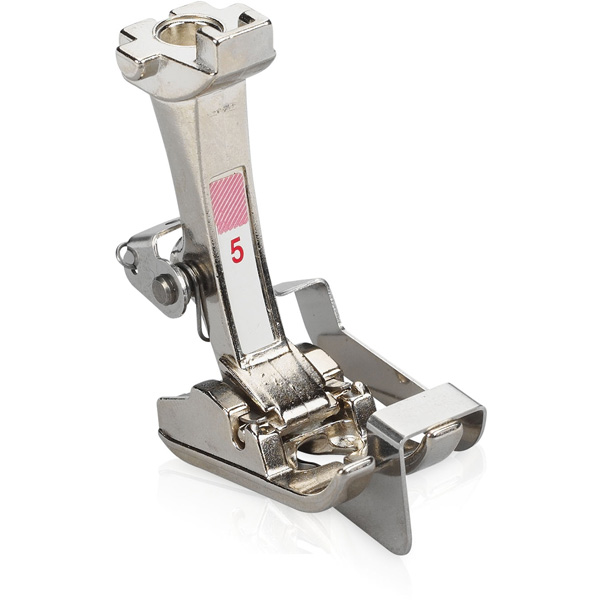
- BERNINA Blindstitch foot #5
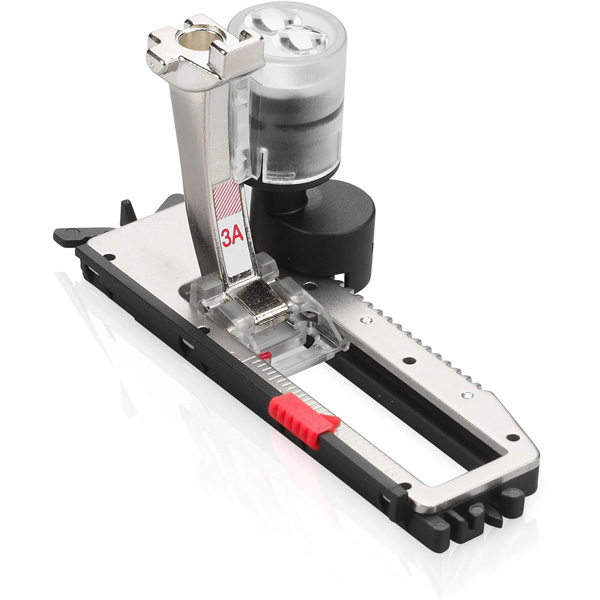
- BERNINA Buttonhole foot with slide #3A
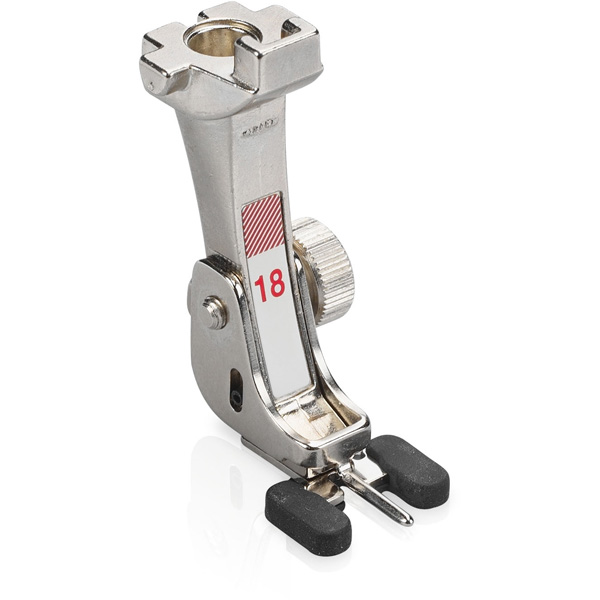
- BERNINA Button-sew-on foot #18
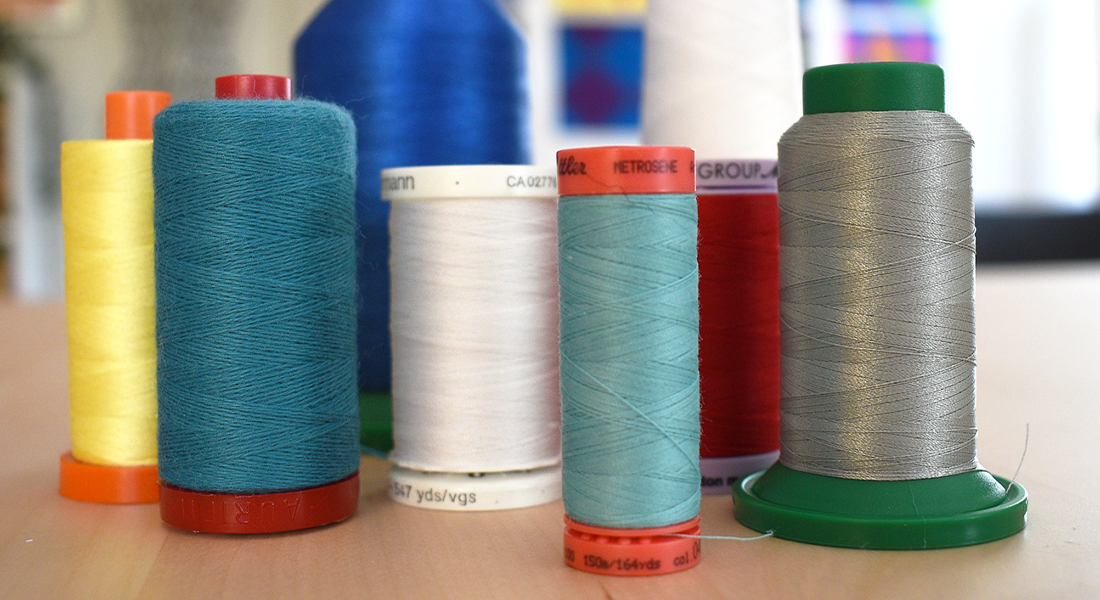
- Guttermann thread
- Schmetz Microtex needles
- 11-Mother of pearl buttons
- Maderia embroidery thread
- Stabilizer (Great Scott! Sew ‘N Wash)
- Maddam sew iron off pens
- SimFlex Sewing Gauge (I recommend for perfect buttonhole and button placement)
Steps to Sew and Embroider Silk Voile:
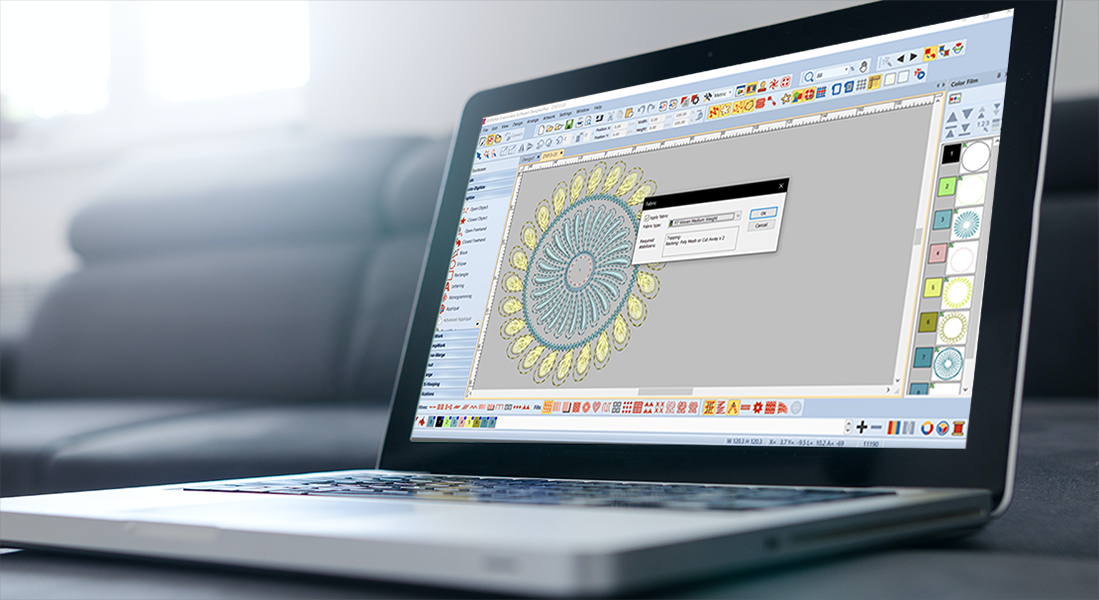
Step 1: Embroider about a half yard of fabric for the bow and the cuffs. I did this by first purchasing a simple mini motif design from the internet and downloaded it to my Design 8 software. I overlocked all the raw edges of the fabric before I begin hooping for embroidery.
Step 2: In the software, I duplicated the motif 5 times and spread each one out, filling the hoop space. Then I added markers with the endless embroidery feature. These removable marks tell you where to line up the hoop each time I re-hoop.
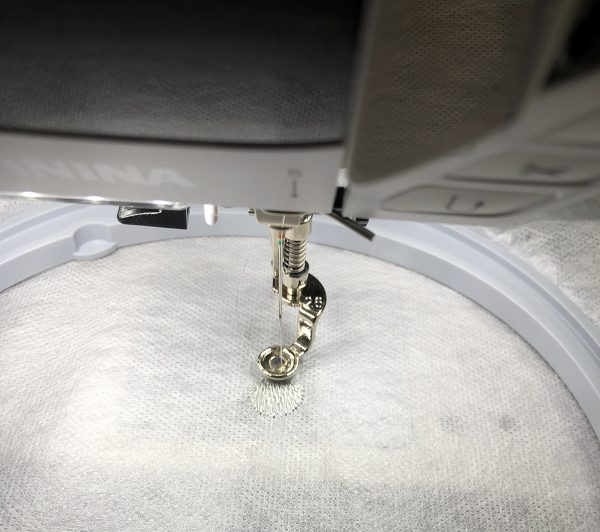
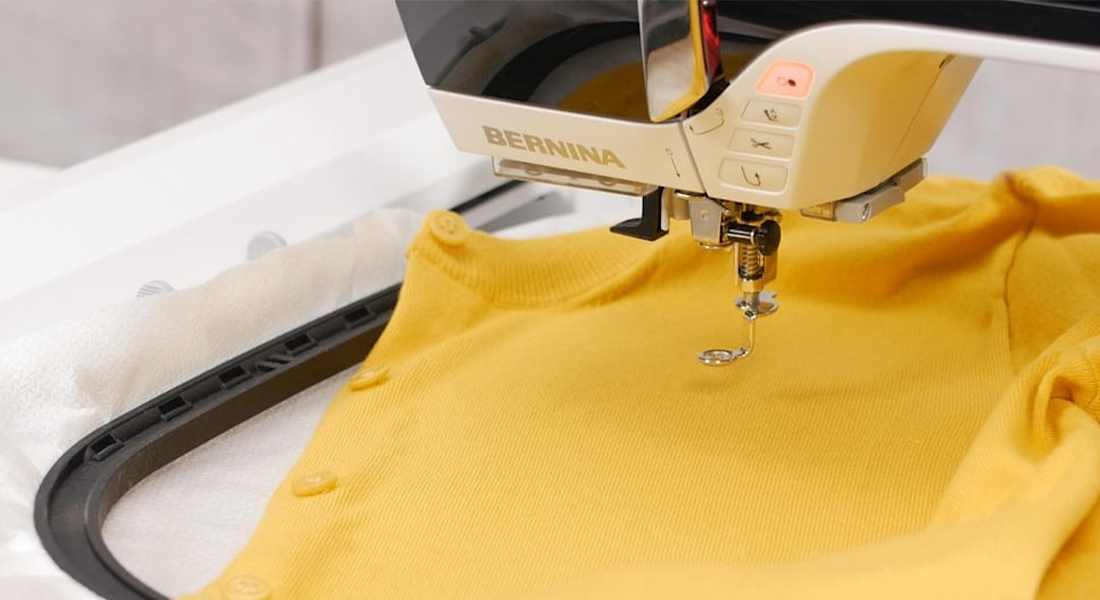
Step:3 Hoop your fabric and stabilizer (I put the stabilizer on top), starting embroidery on one end. I use the Sew-N-Wash water-soluble stabilizer by Great Scott! It works great for sheer fabrics.
Step 4: Re-hoop and embroider as many times as needed to fill the length of your fabric.
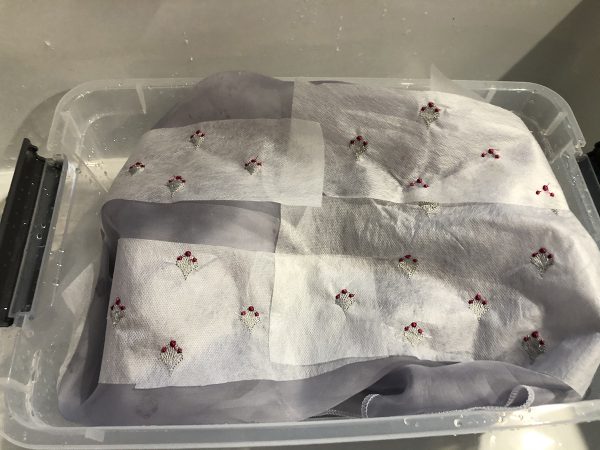
Step:5 Once you’ve done all your embroidery, soak your fabric piece in warm water until all the stabilizer dissolves. I usually delicate wash after dissolving the stabilizer and then dry and press the embroidered fabric.
Step 6: Now you cut out your bow pattern piece and your cuff pieces (fronts only) as the pattern instructs.
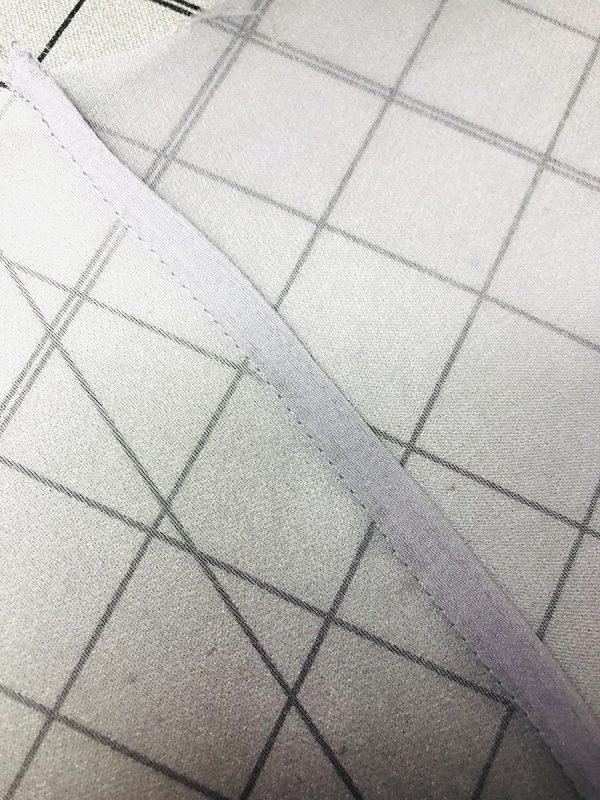
Step 7: Proceed to make the blouse following the pattern instructions. Since this is a sheer silk fabric I do french seams because they are visible.
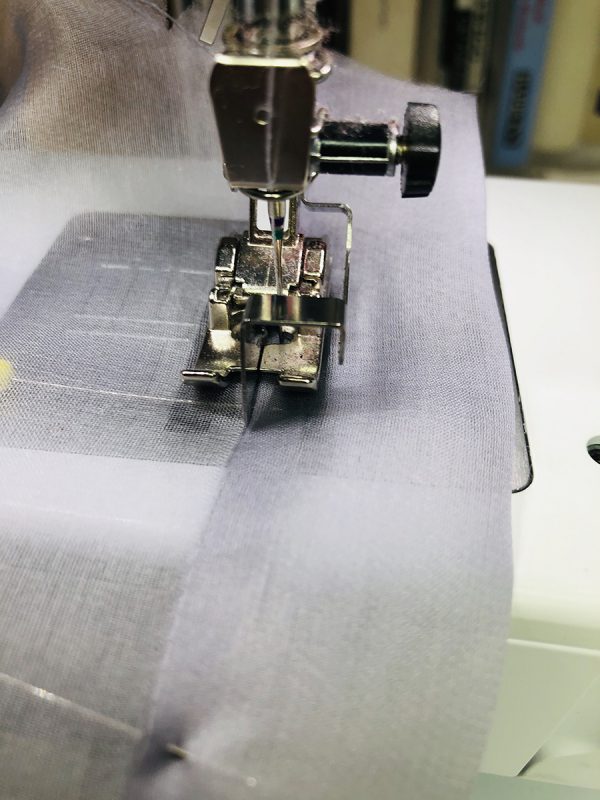
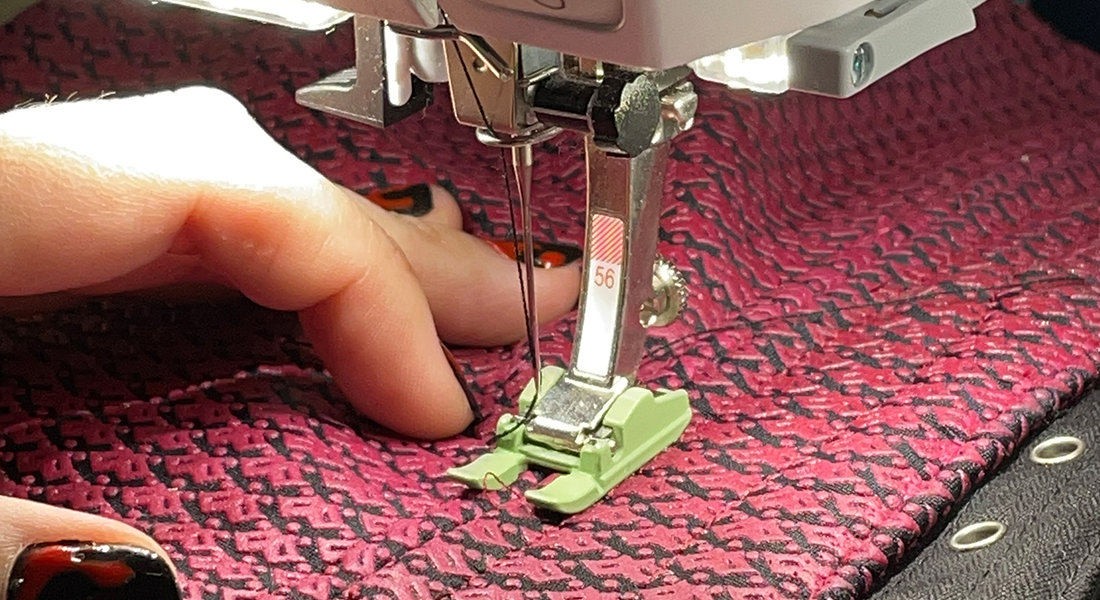
Step 8: For all the topstitching, I use BERNINA Blindstitch foot #5. It’s my favorite foot. The best for precision sewing!
Step 8:To complete the garment, I use BERNINA Buttonhole foot with slide #3A. I test the first buttonhole on a scrap piece of the silk, making sure the same number of layers used. Your machine remembers the button that is just sewn, so when you proceed to do your real buttonholes, it’s identical every time. I love this feature!
Step 9: I then mark my buttonhole placement with Maddam sew iron off pens, using my Simplex tool. I use the same tools to mark the button placement on the opposite side. I sew the buttons on using BERNINA Button-sew-on foot #18.
