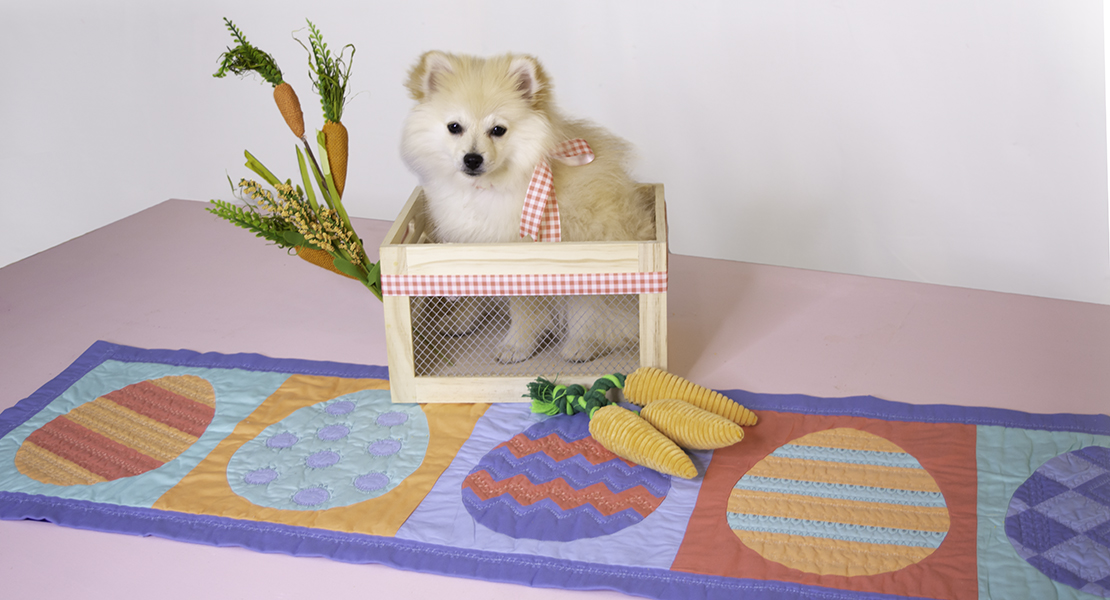
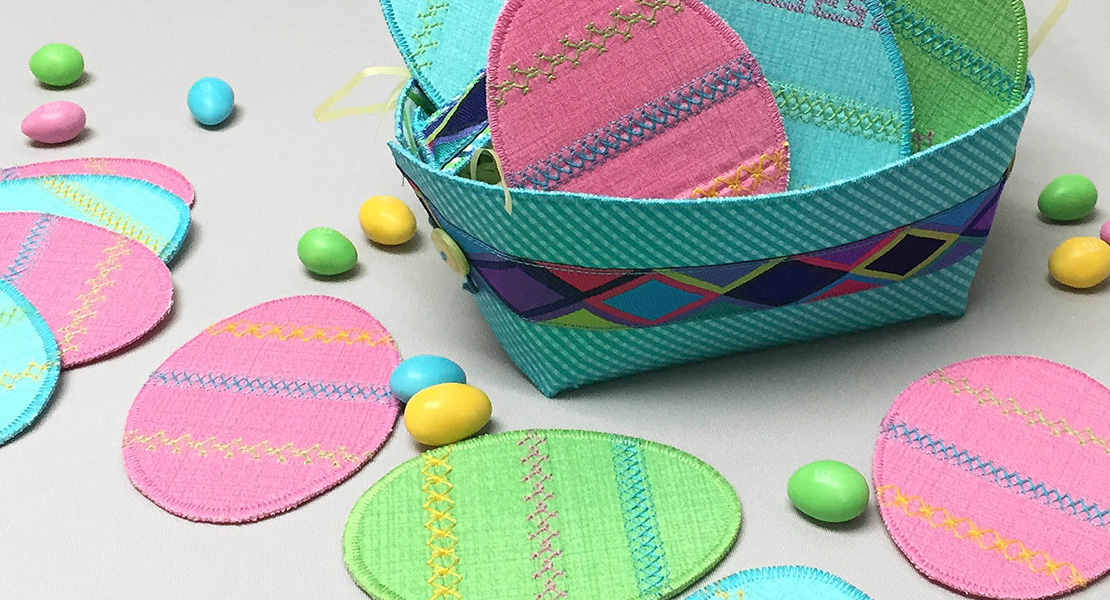
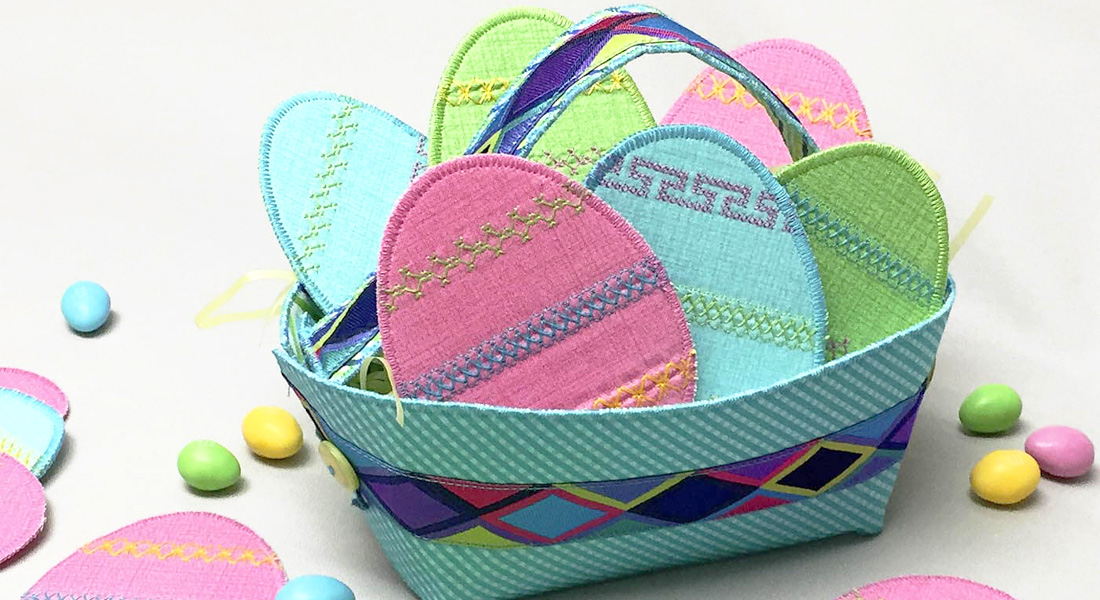
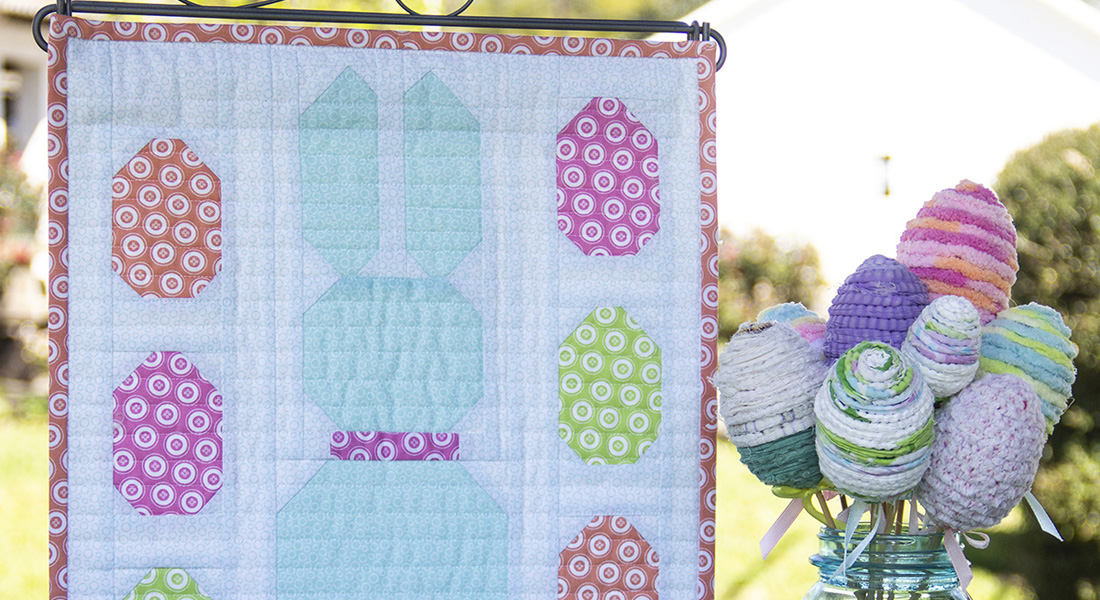
How to Sew Easter Egg Coasters
Hello everyone,
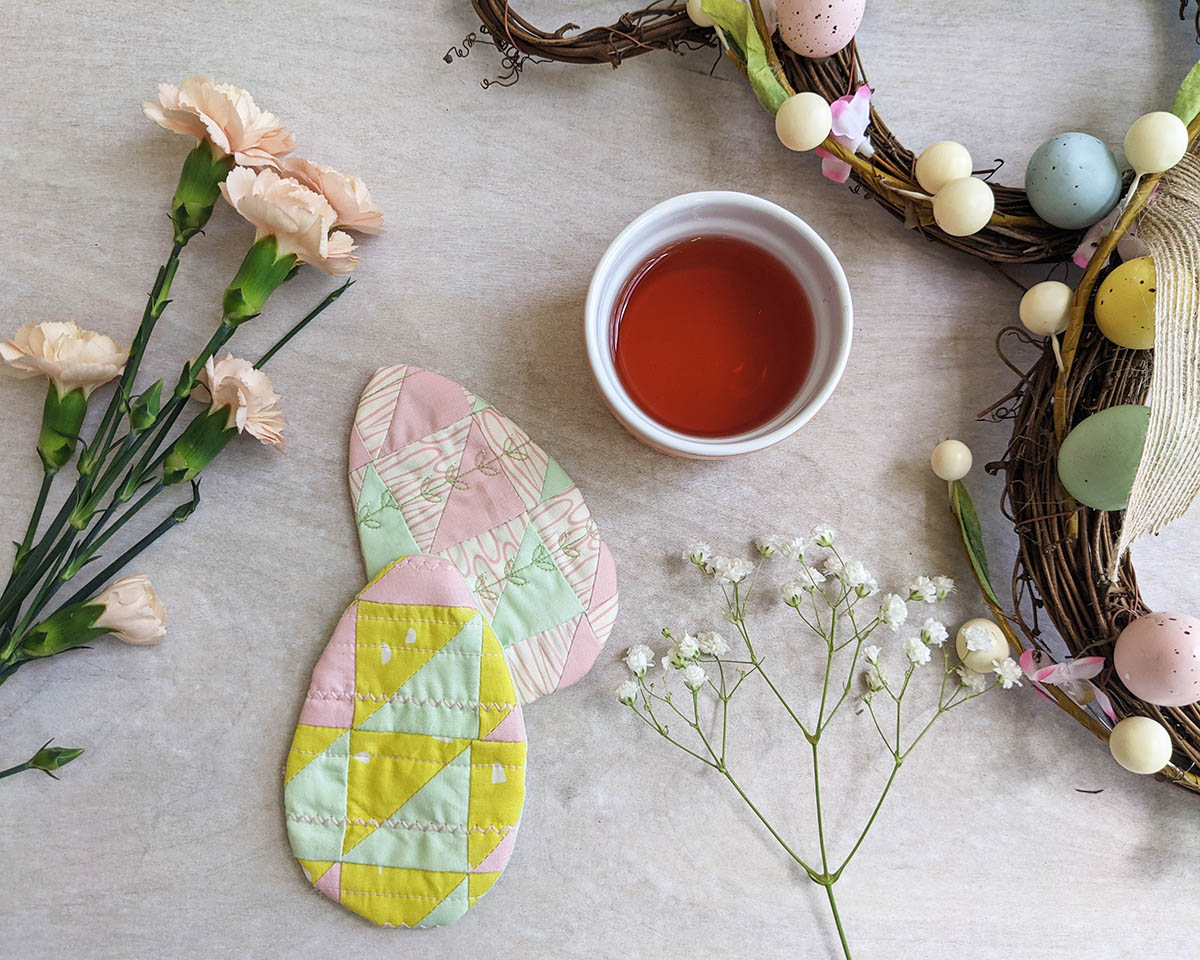
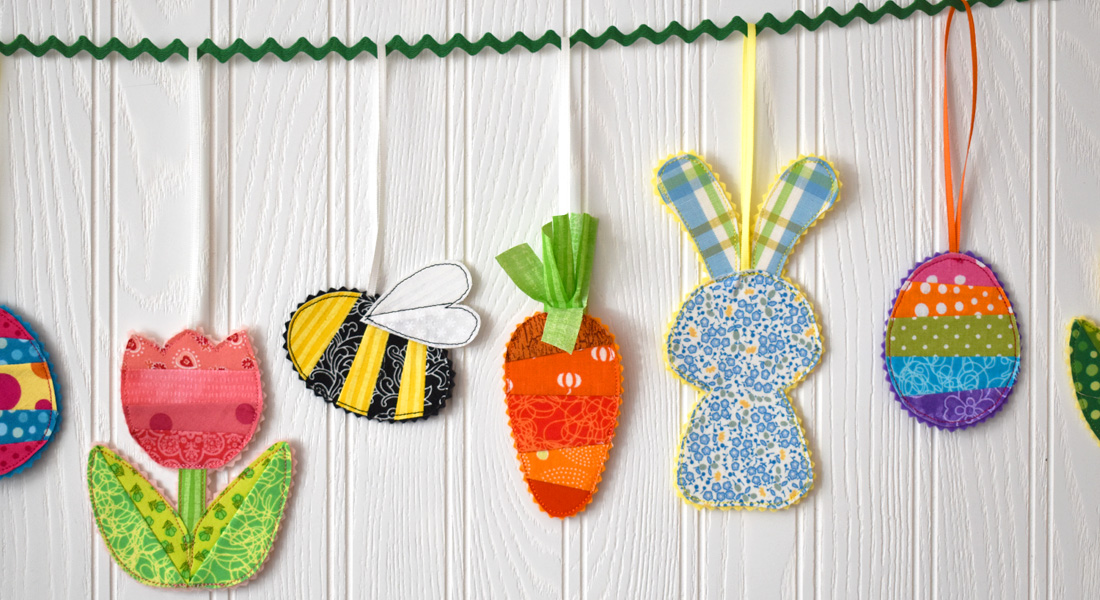
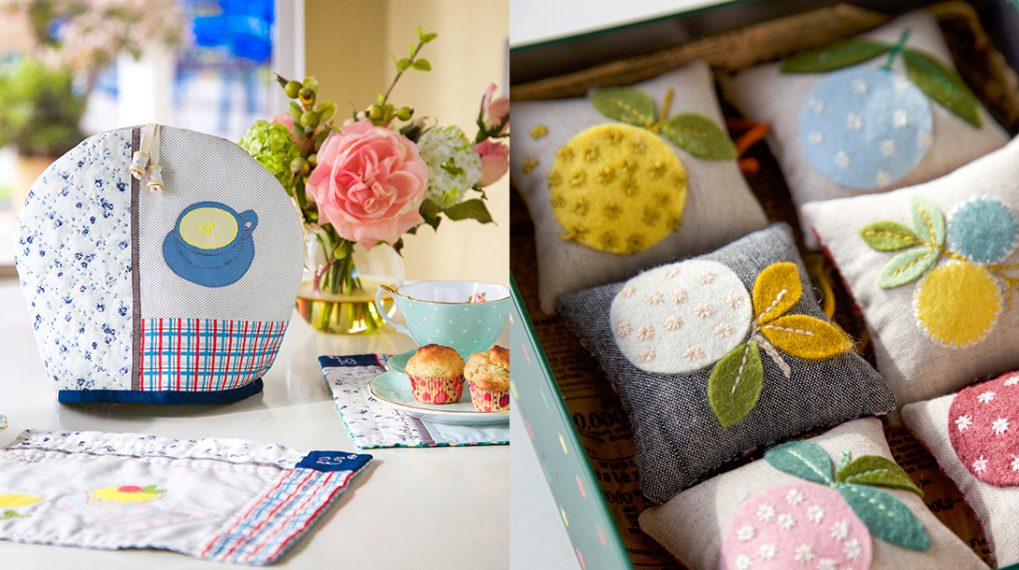
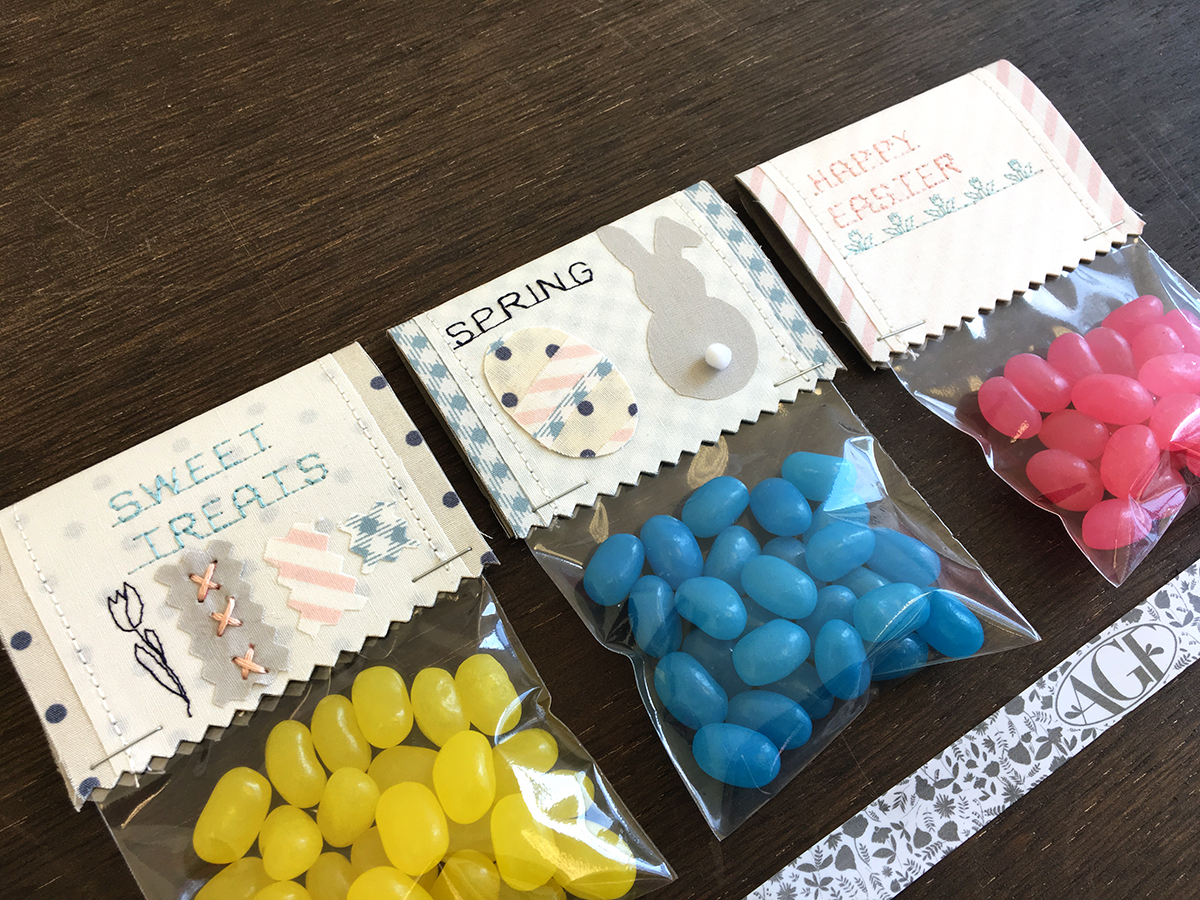
Spring is officially here and we are enjoying the beautiful blooming flowers, pastel colors, and getting into the Easter spirit. Spring is my favorite time of the year, which is why I wanted to create a quick and easy project to decorate the dining table for an unforgettable Easter brunch.
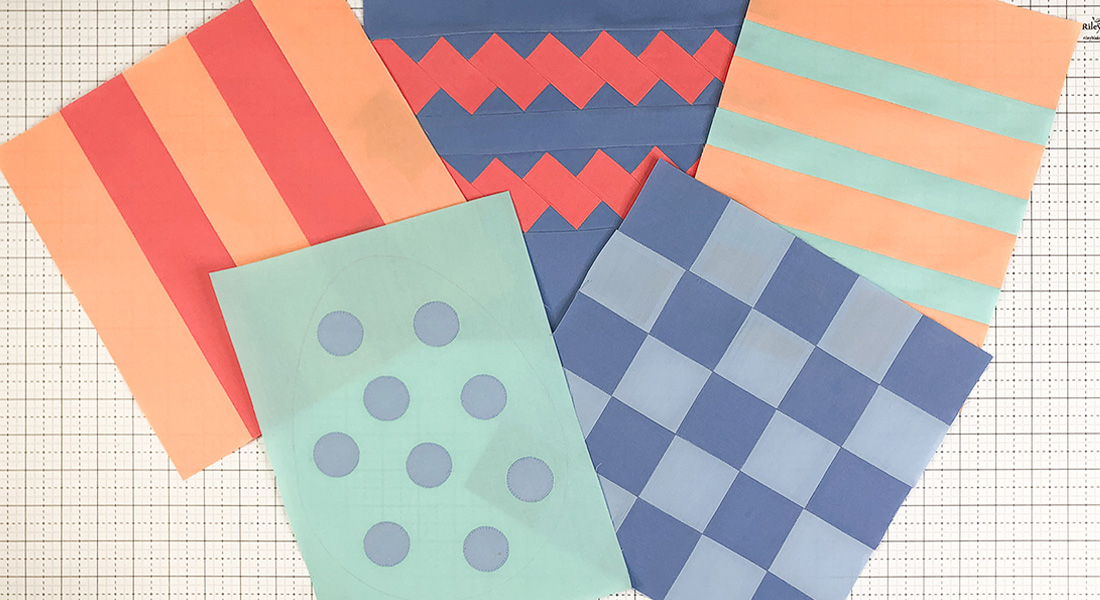
If you love half squares triangles in Spring colors, the Magic 8 technique will be ideal for you. Fast and easy, beautiful results.
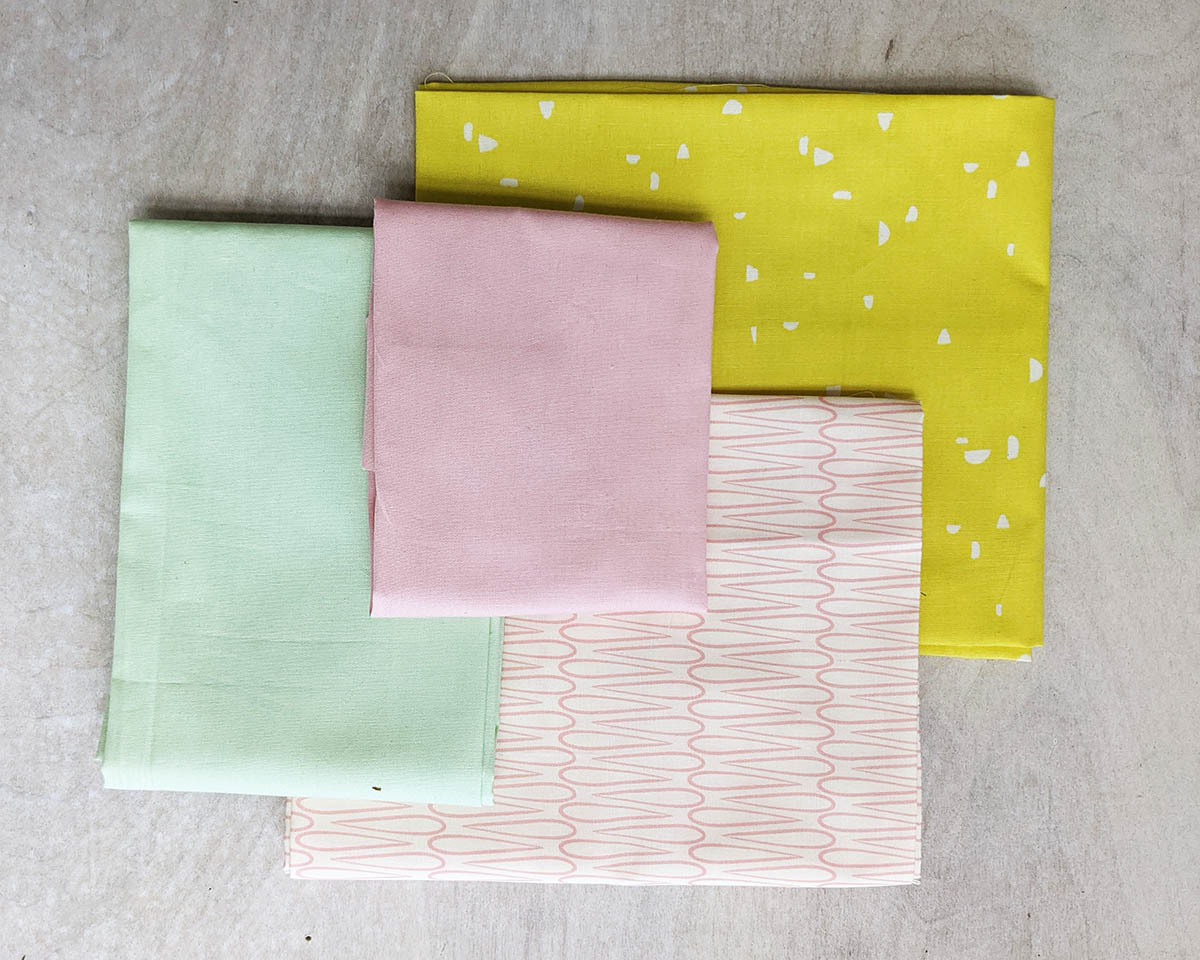
For this project, you will be using Fat eighth of Heartland collection with Pure Solids.
Fabric A-HRT-85301- Fat Eighth
Fabric B- HRT-95307- Fat Eighth
Fabric C-PE-411- Fat Eighth
Fabric D- PE-412- Fat Eighth
 Additional material:
- Easter Egg Template
- Two (2) 8” x 8” of batting
- Coordinating quilting threads
- Reverse Pattern foot #1D
Cutting Direction:
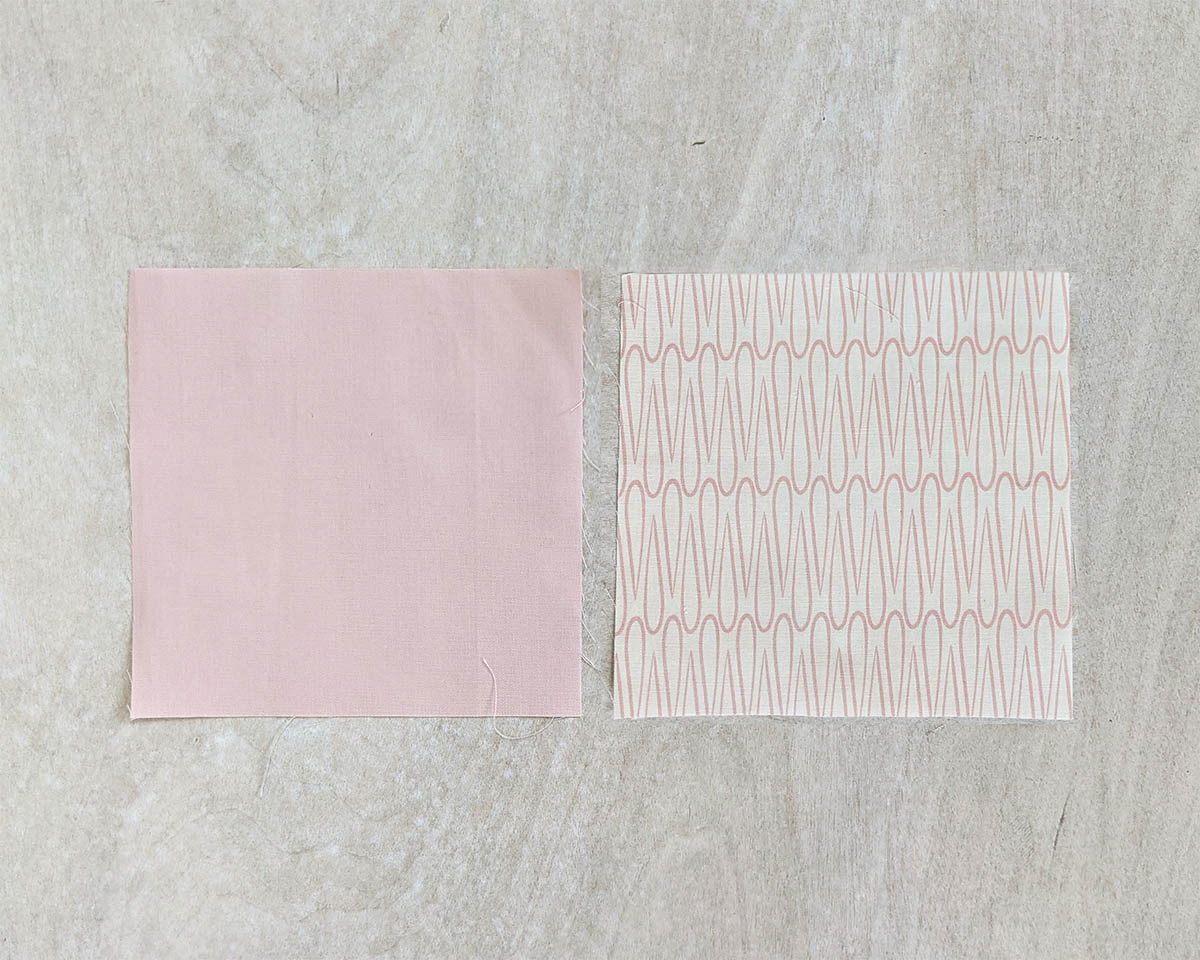
Two (2) 4 3/4’’ square from fabric A.
Two (2) 4 3/4’’ square from fabric B.
Two (2) 4 3/4’’ square from fabric C.
Two (2) 4 3/4’’ square from fabric D.
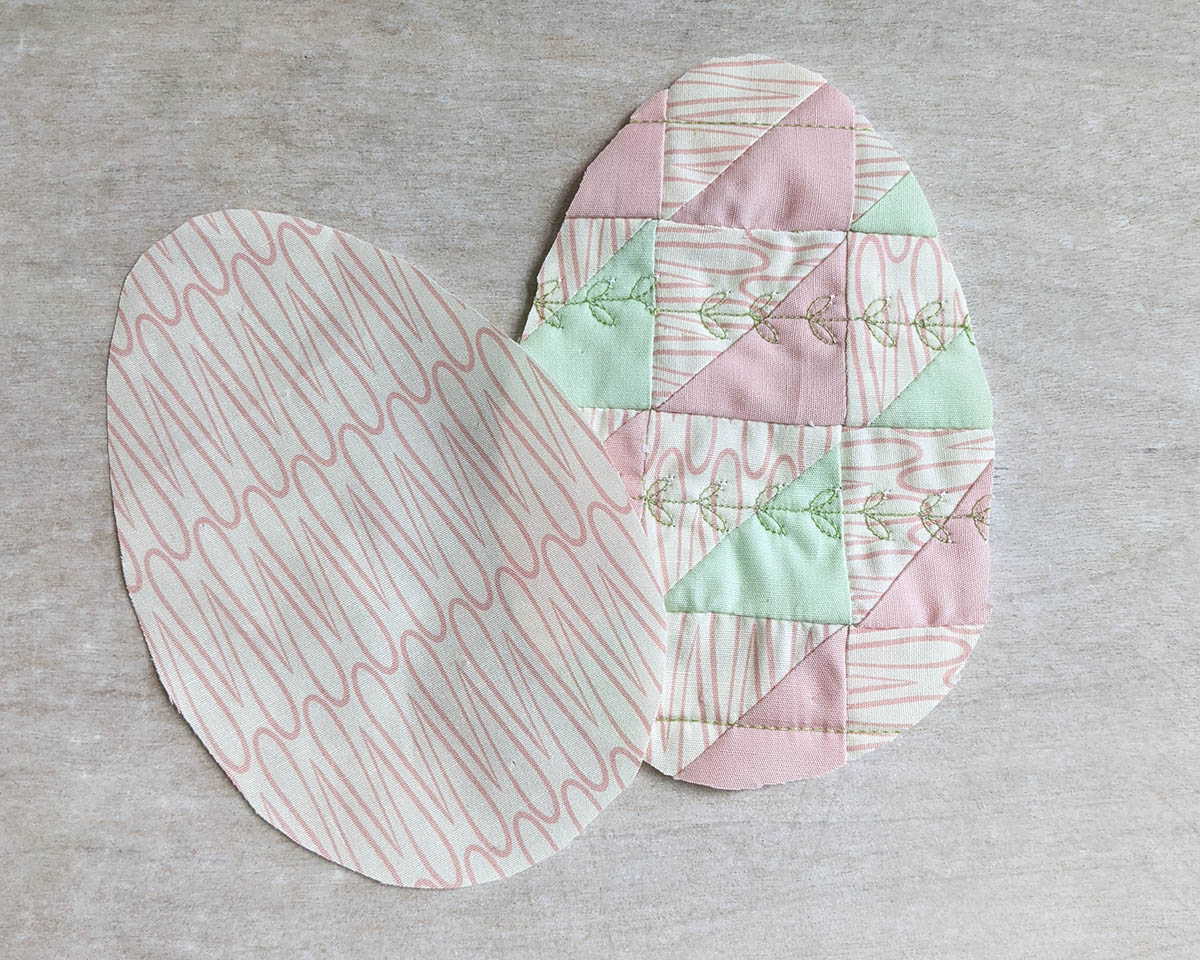
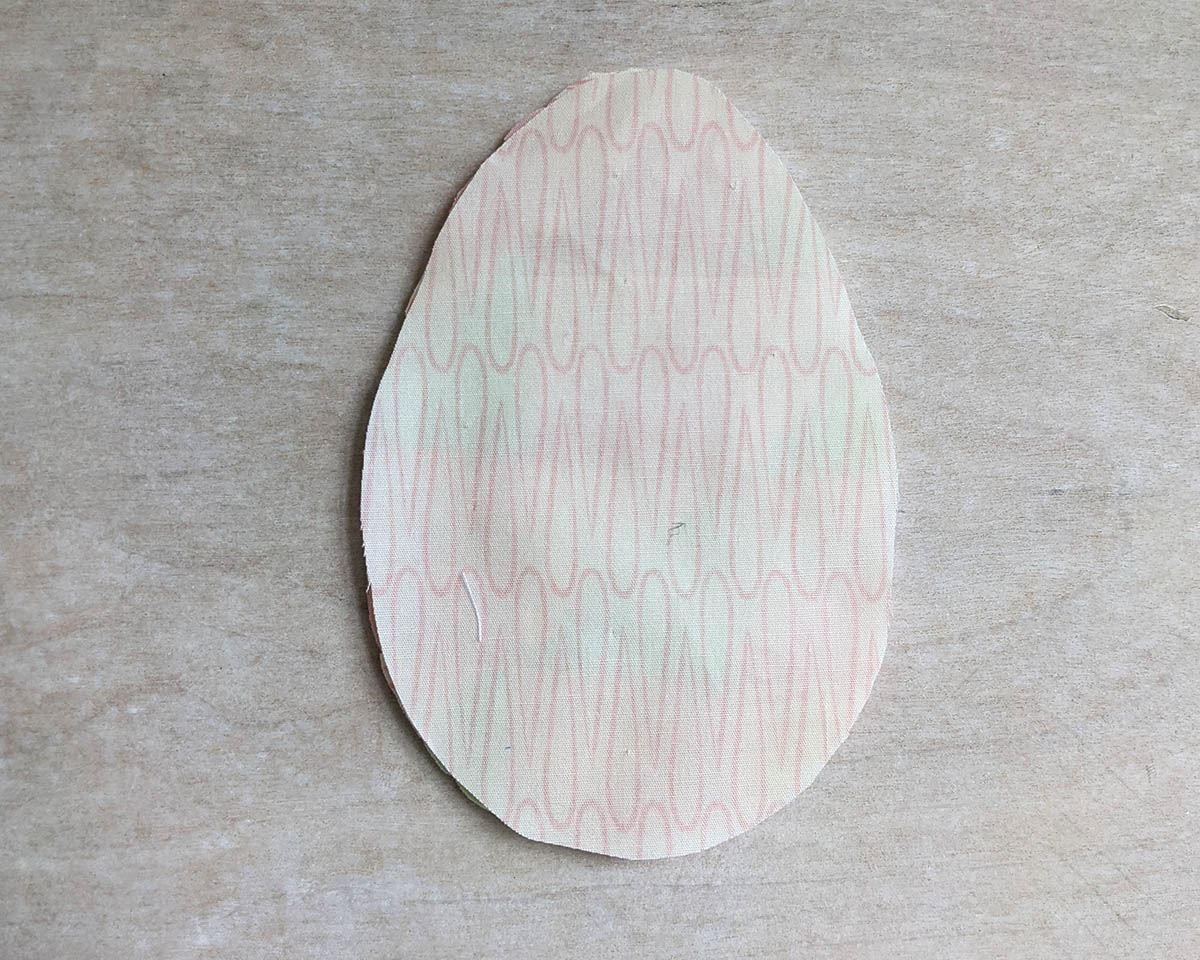
For each coaster, you will need to cut one (1) Easter template for your backing. I used fabric C for one of the coasters and fabric D for the second coaster.
Instructions to Sew Easter Egg Coasters:
Will be using the magic 8 half square triangle technique.
Step 1: Take one (1) 4 3/4’’ square from fabric A and C and place them with right sides together.
Draw a line diagonally corner to corner using a mechanical pencil or Frixion pen.
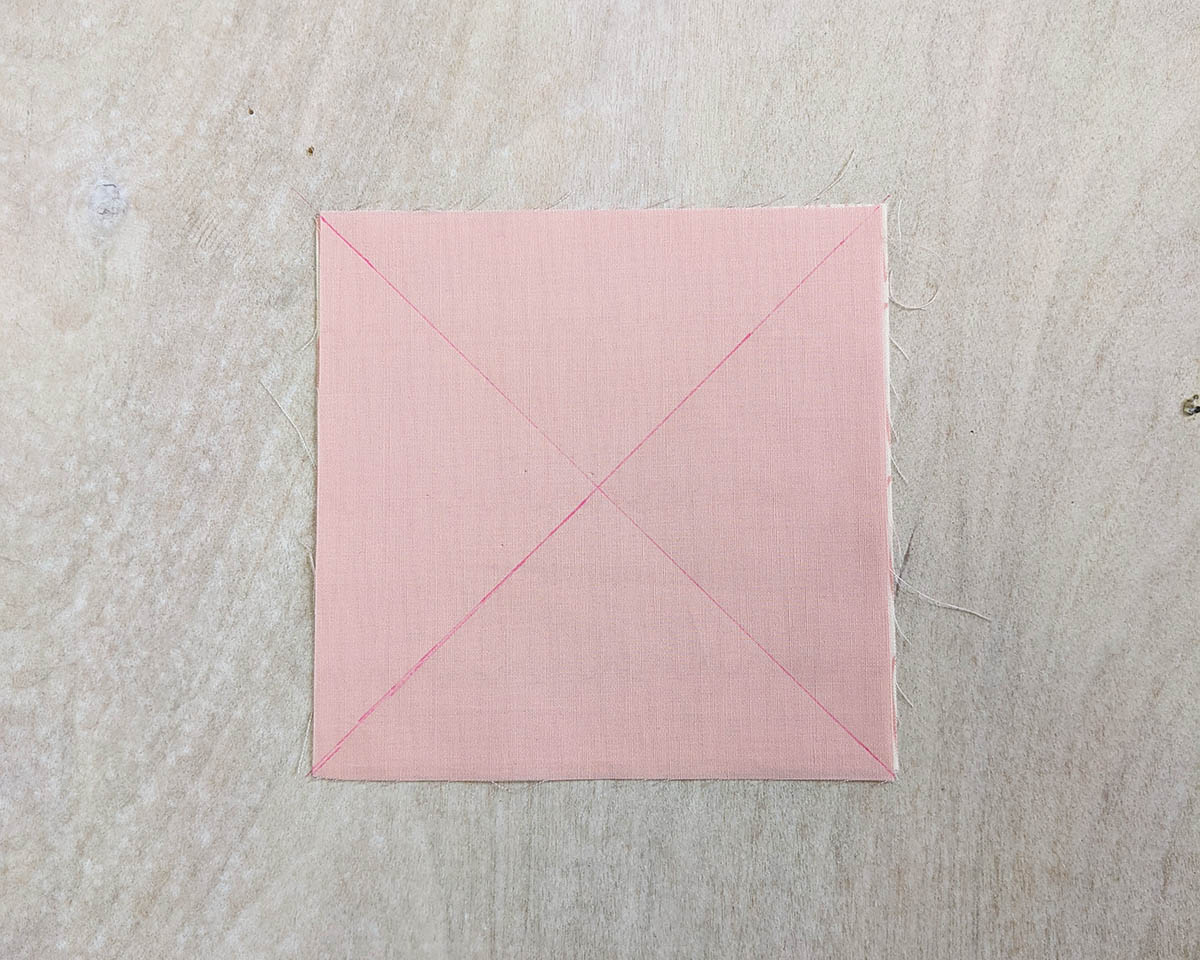
Step 2: Stitch 1/4” on each side of the drawn lines.

Step 3: Using your rotary blade, cut the square into eighths.
You will cut a horizontal line, a vertical line, and both diagonal lines.
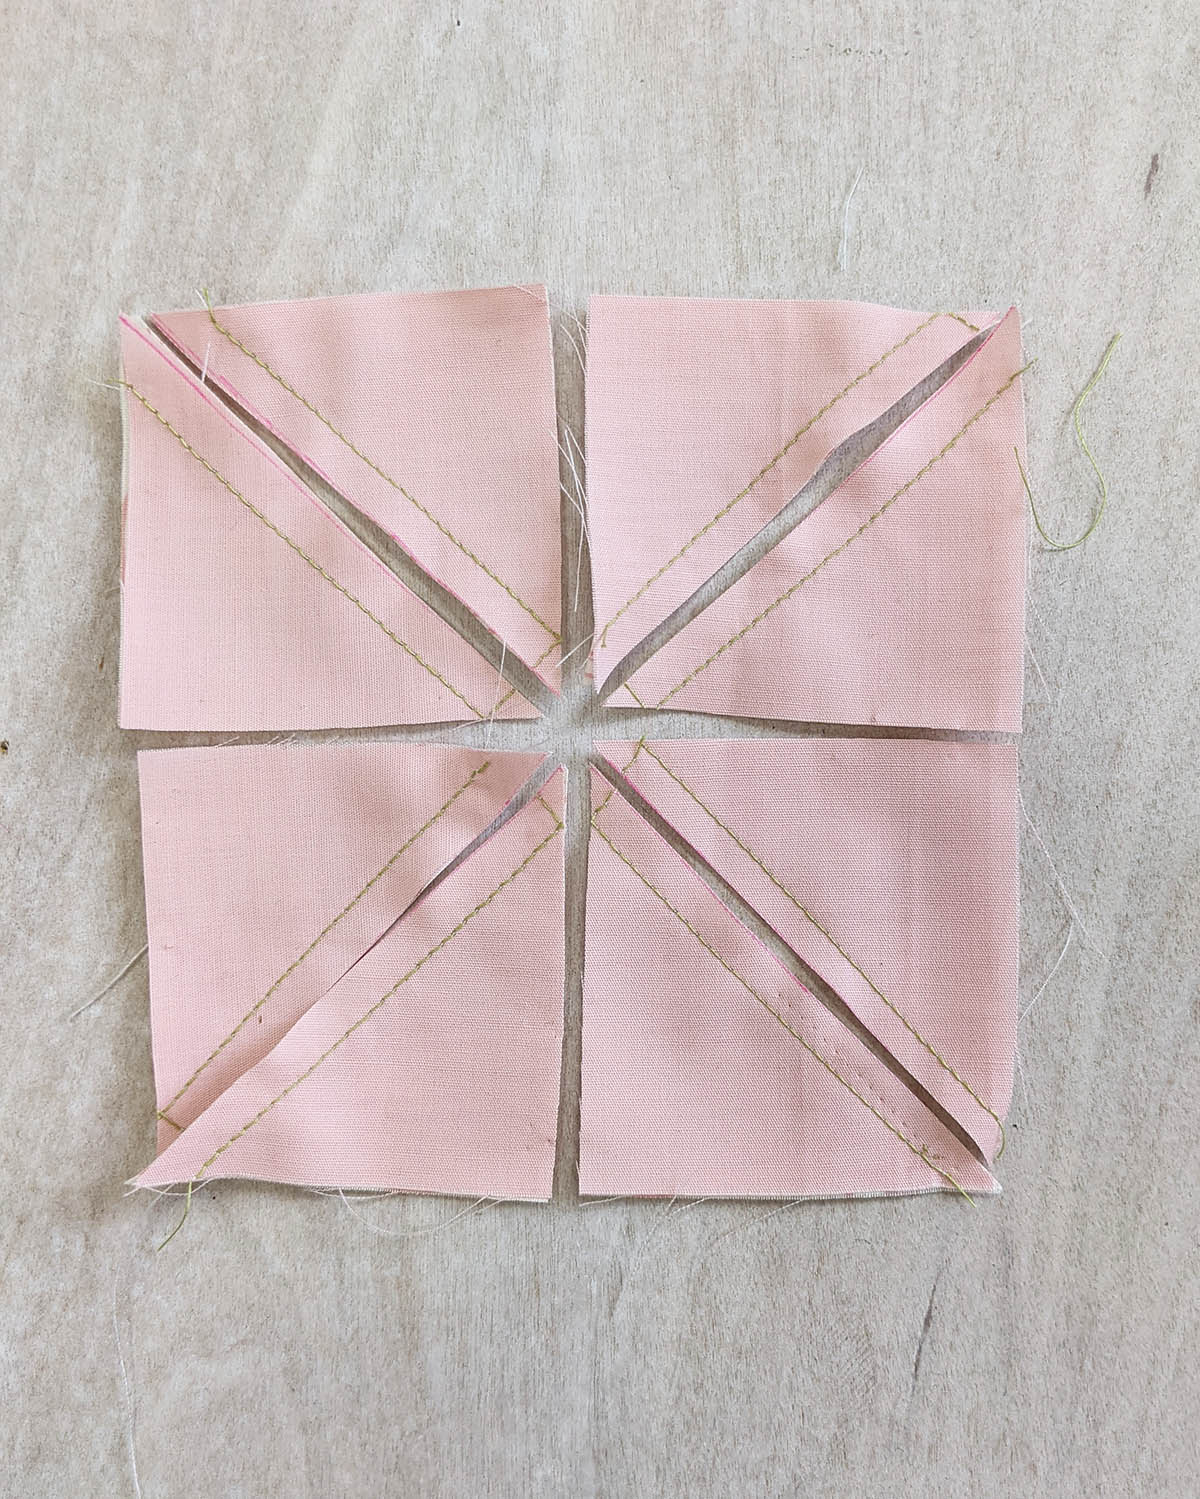
Press and trim excess fabric. Your eight (8) HST should measure 2’’ x 2’’.
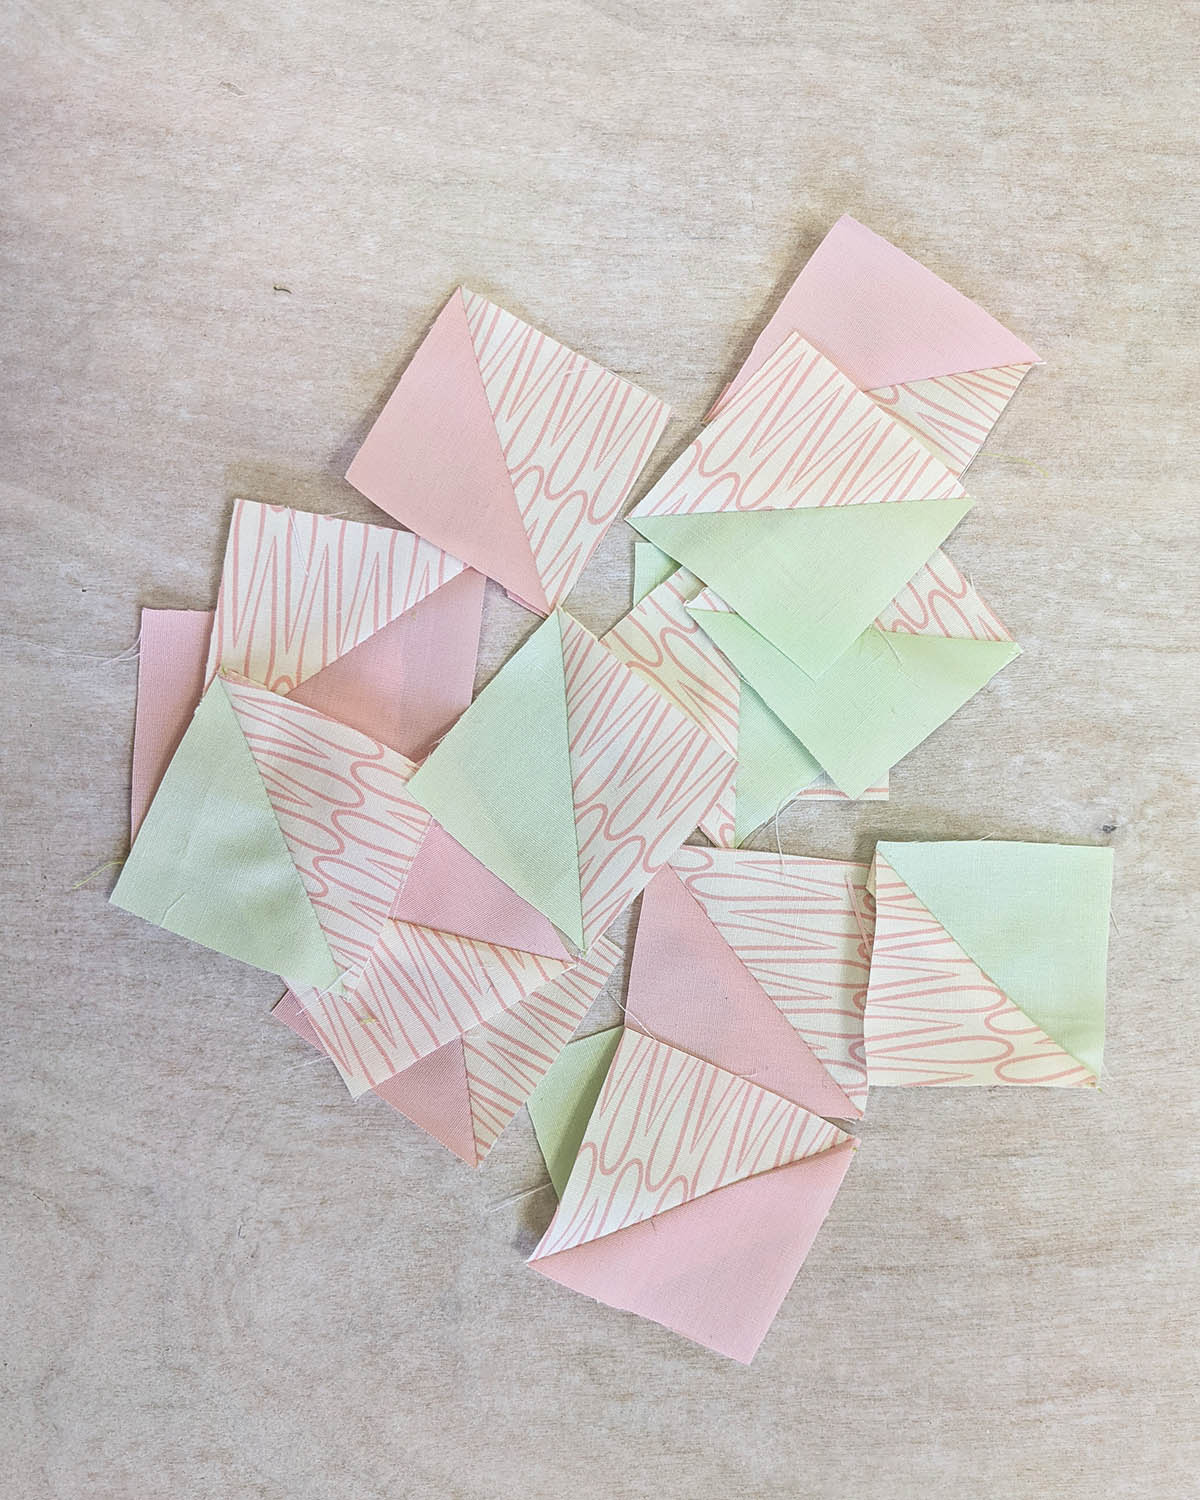
Step 4: Repeat the same instruction in order to create eight (8) AD half square triangles.
Step 5: Take your AC and AD pieces and join three squares for each row at a 1/4” seam allowance.
You will have four (4) rows.
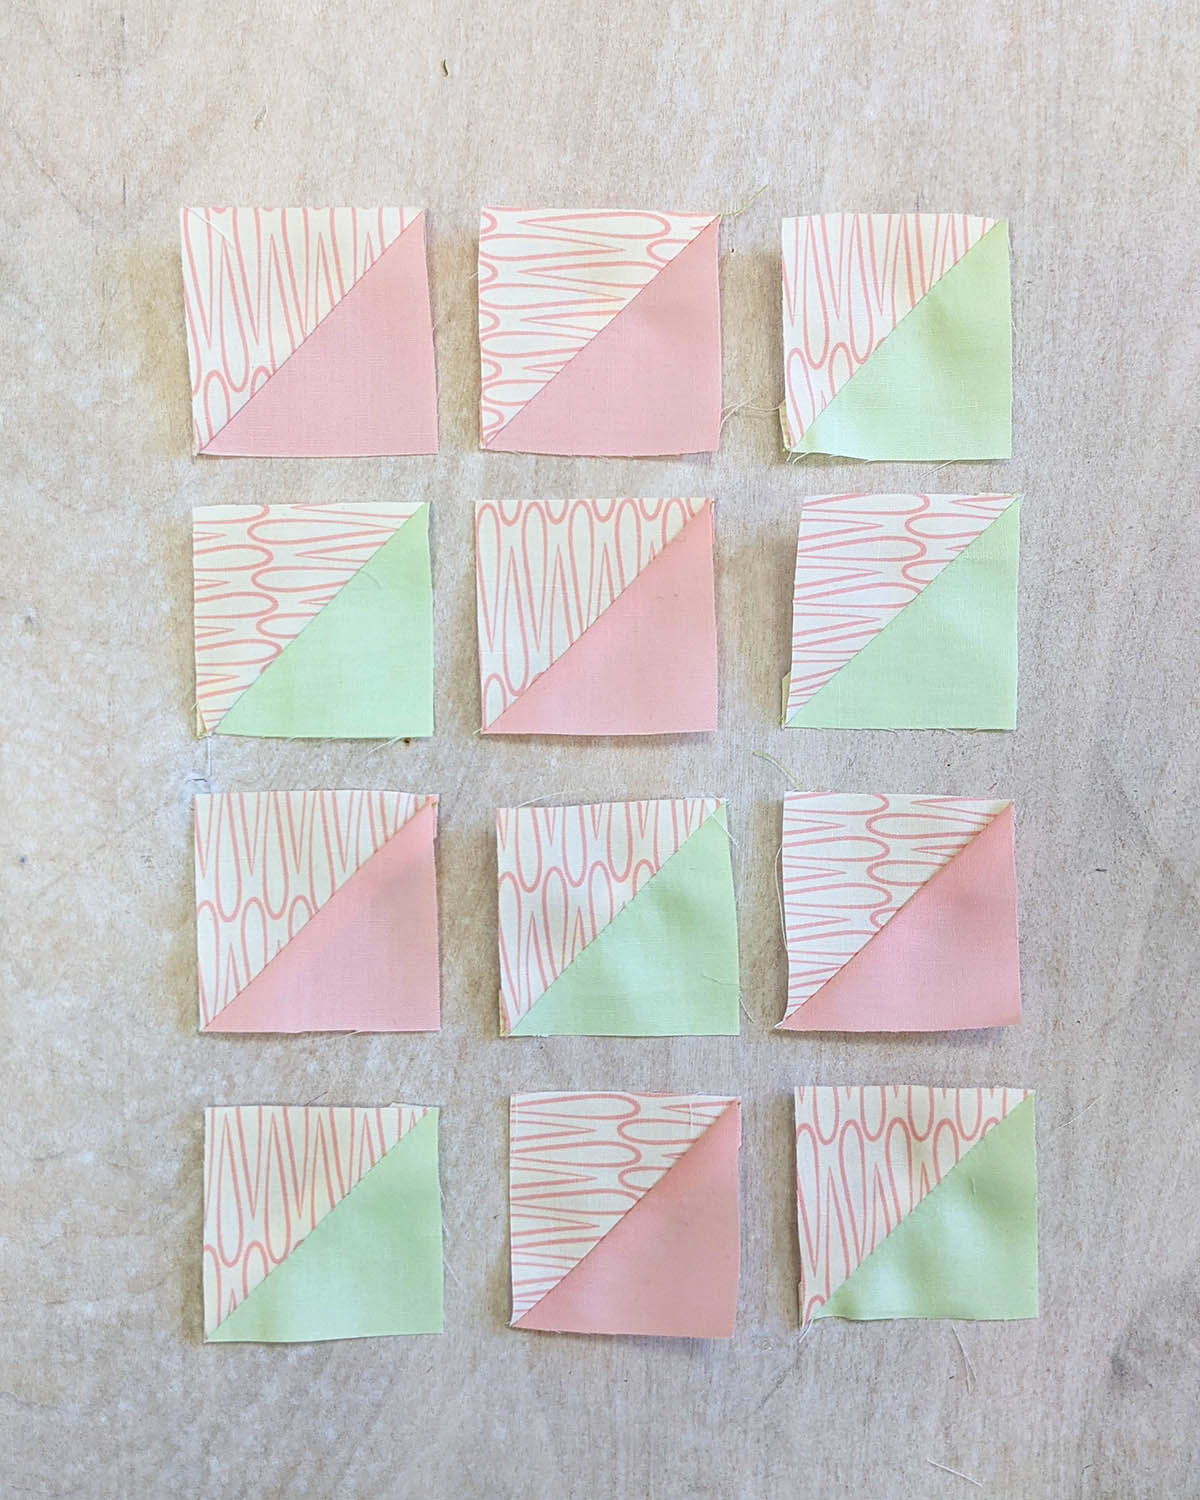
Join rows 1-4.
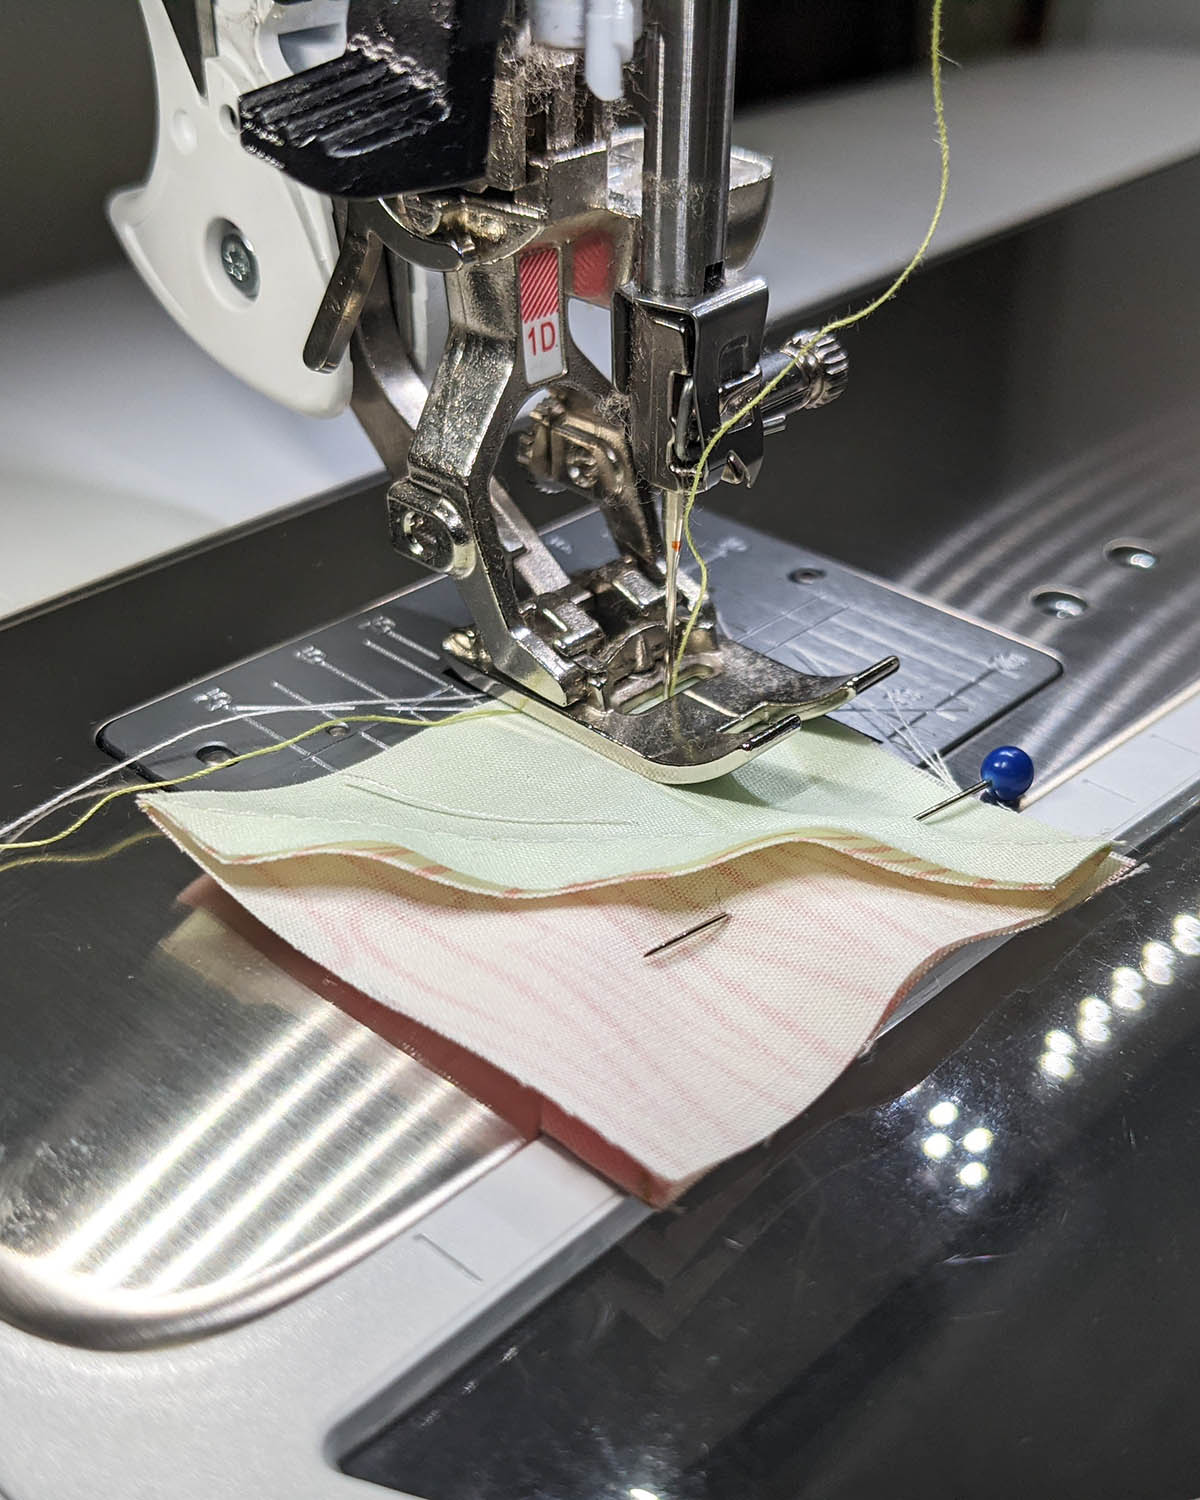
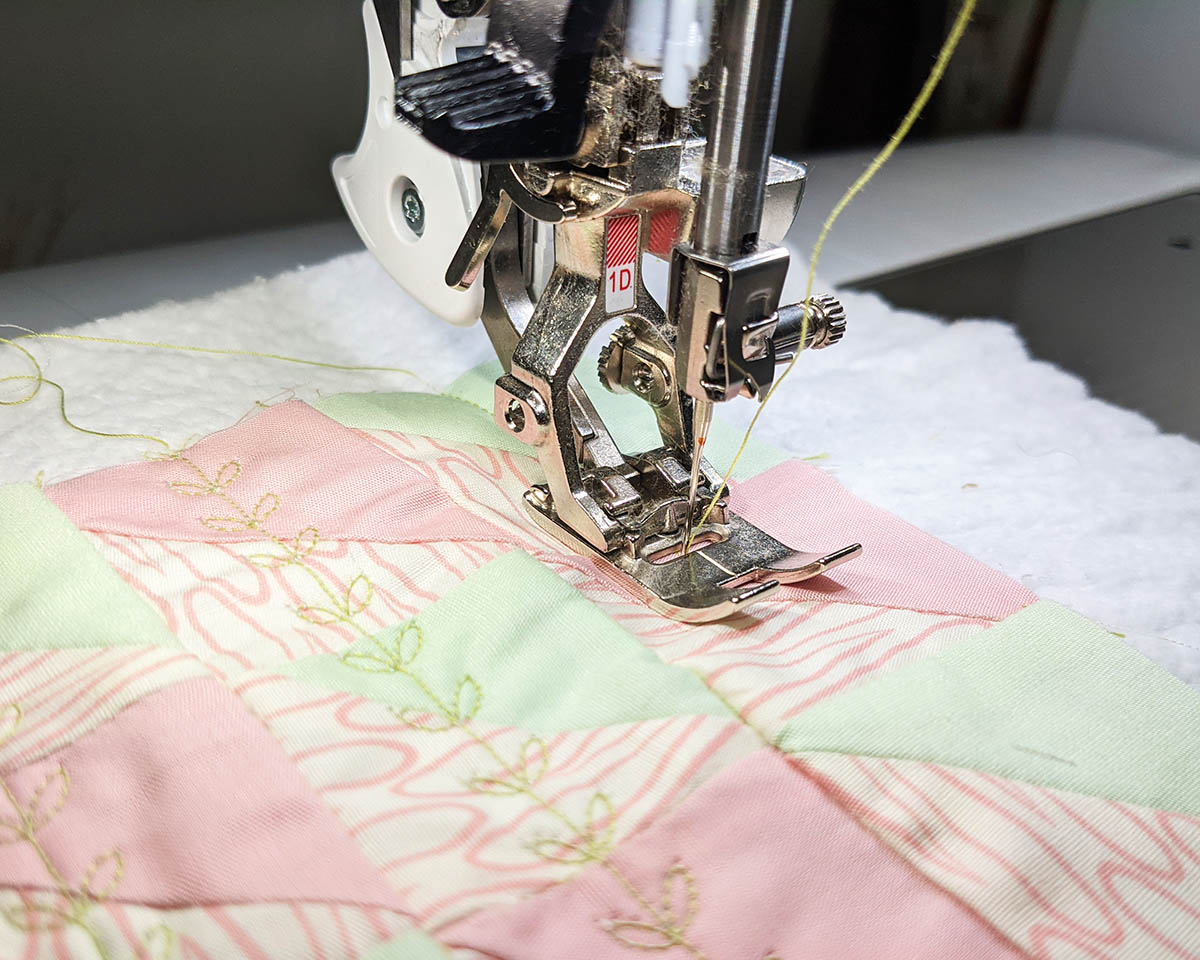
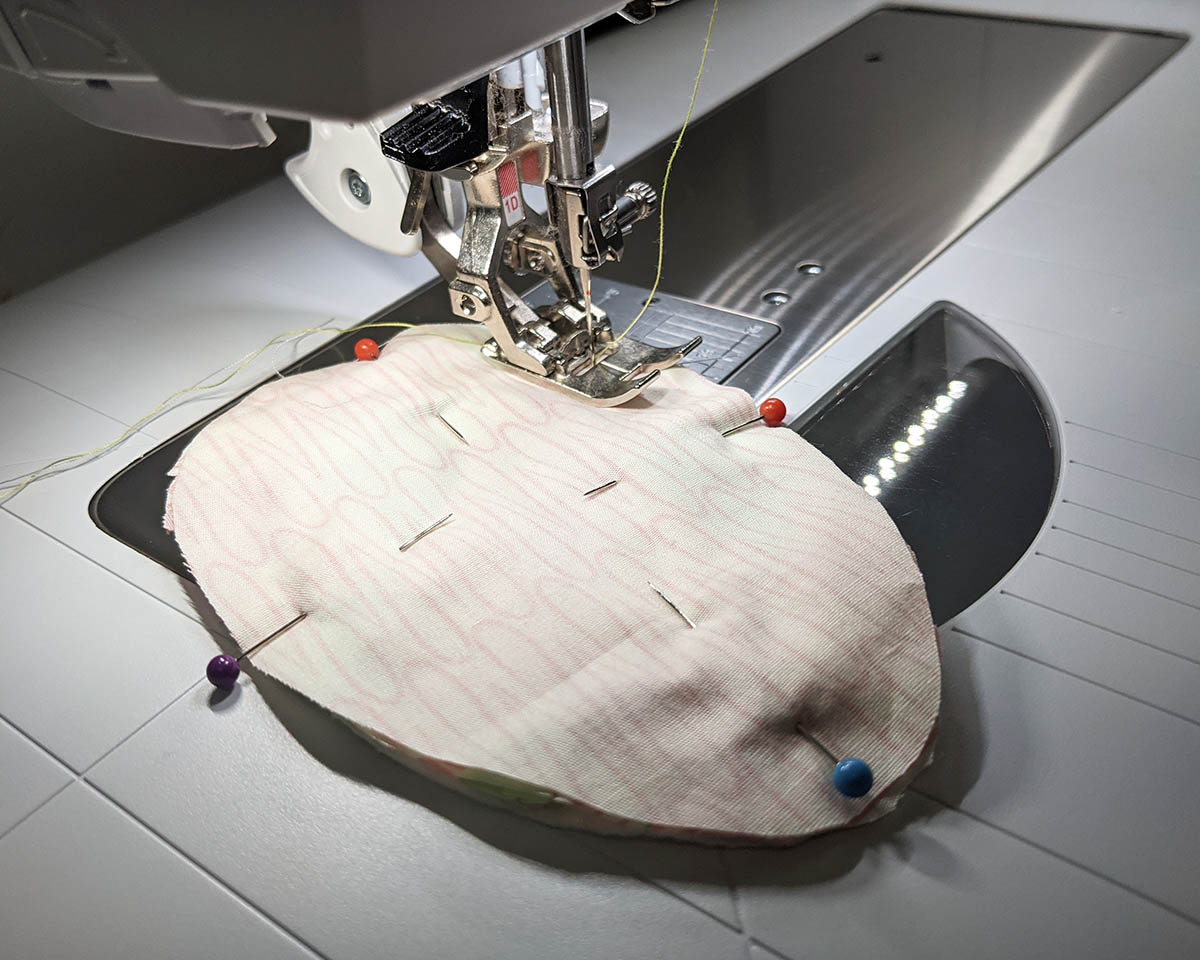
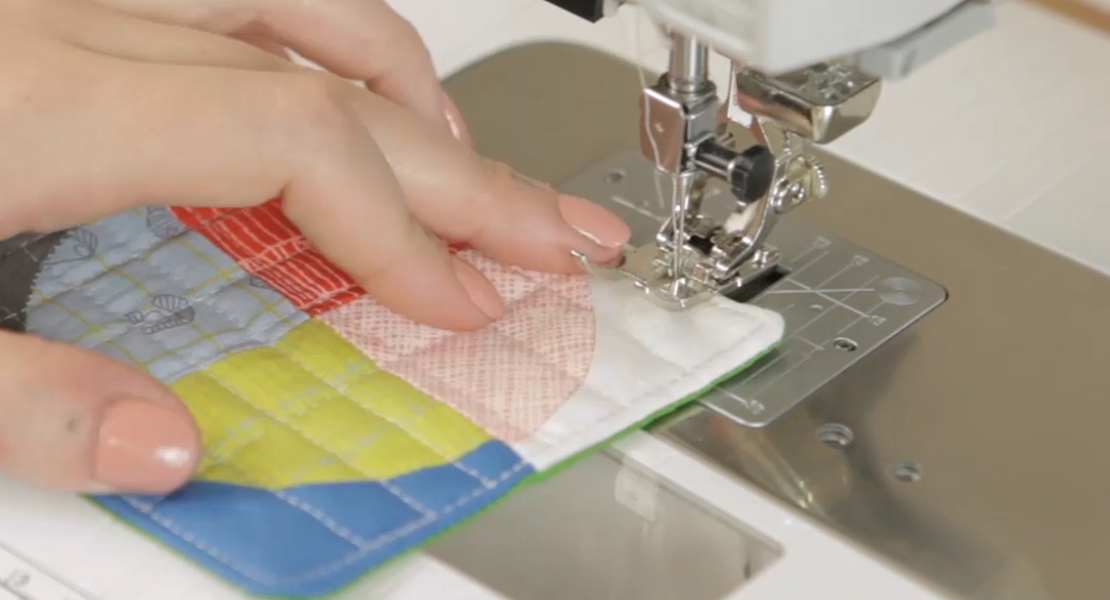
Step 6: Now, take your batting piece and place it on the wrong side of the unit and pin.
Feel free to use any decorative stitch for this project. I decided to use the #137 decorative stitch.
And then some straight lines using the Reverse pattern foot #1D.
Step 7: Once you are done quilting, press and take your Easter egg template, and trace it on the quilted unit.
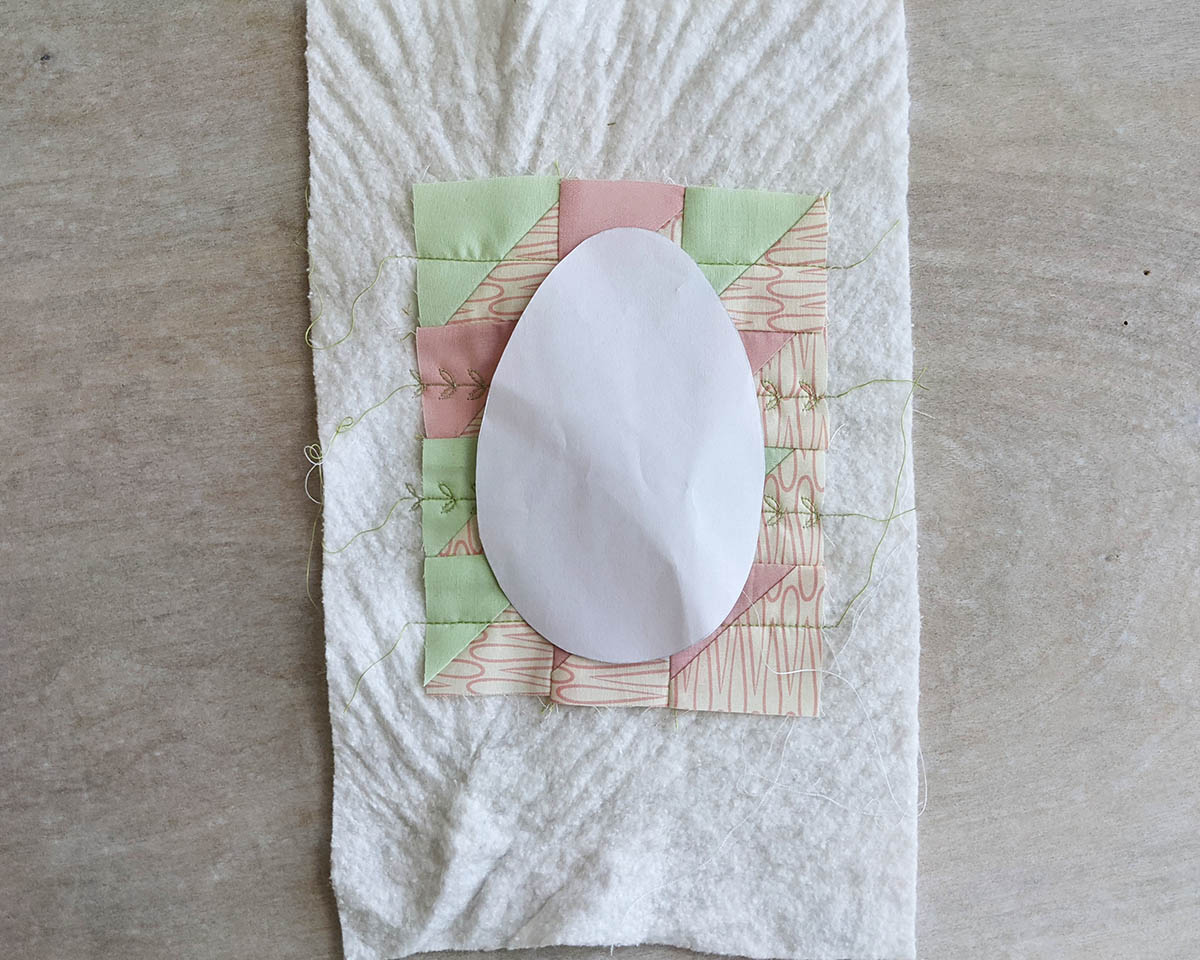
Once you cut out the Easter egg shape, take the backing fabric and place it right sides facing together and pin.
Step 8: Sew at a 1/4” seam allowance all around, leaving about 4” of opening.
Make sure to backstitch at the beginning and end, so when you turn your piece inside out, the thread doesn’t get loose.
Step 9: To close the opening, use thread and hand needle to close the opening. Press and steam.
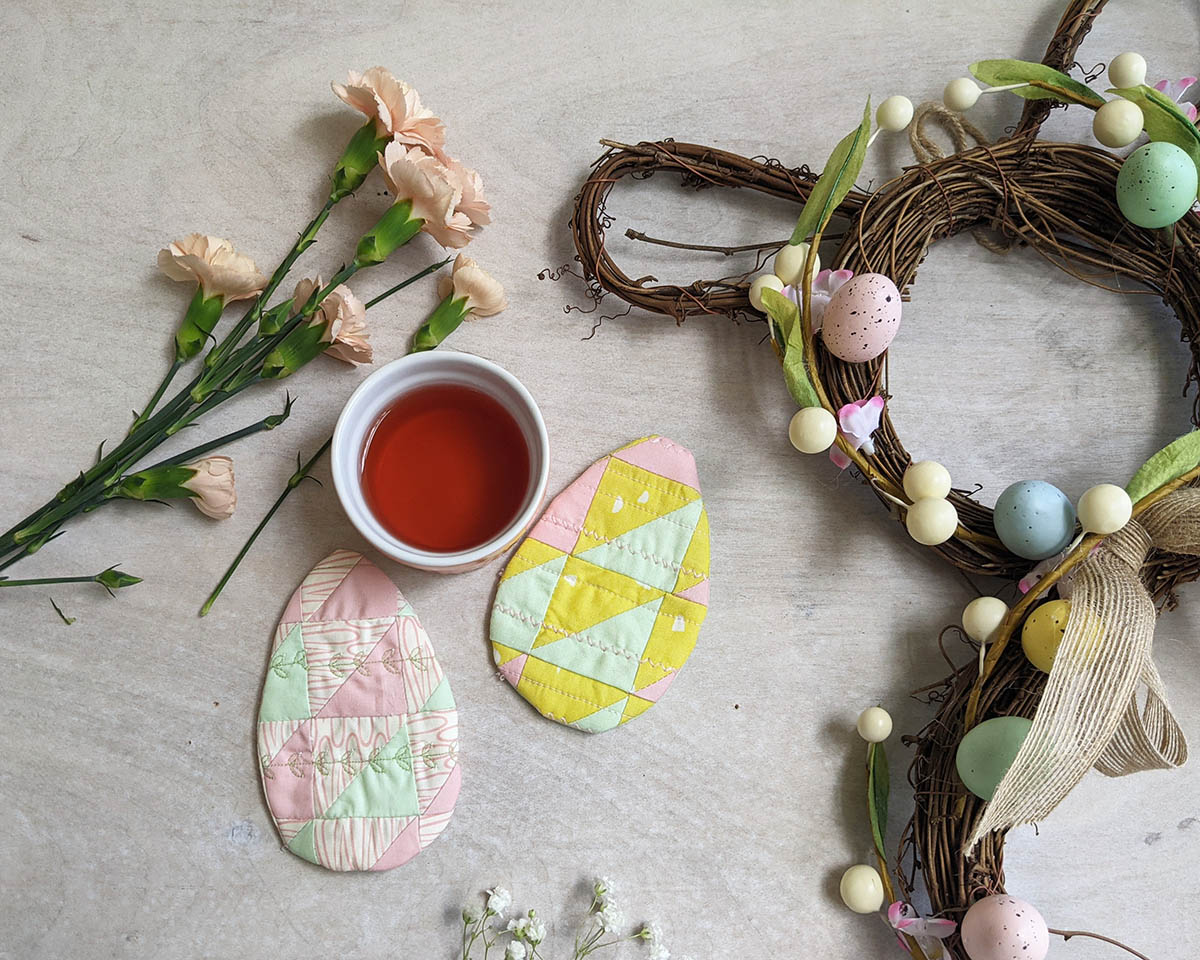
Repeat the same instruction for the second coaster.
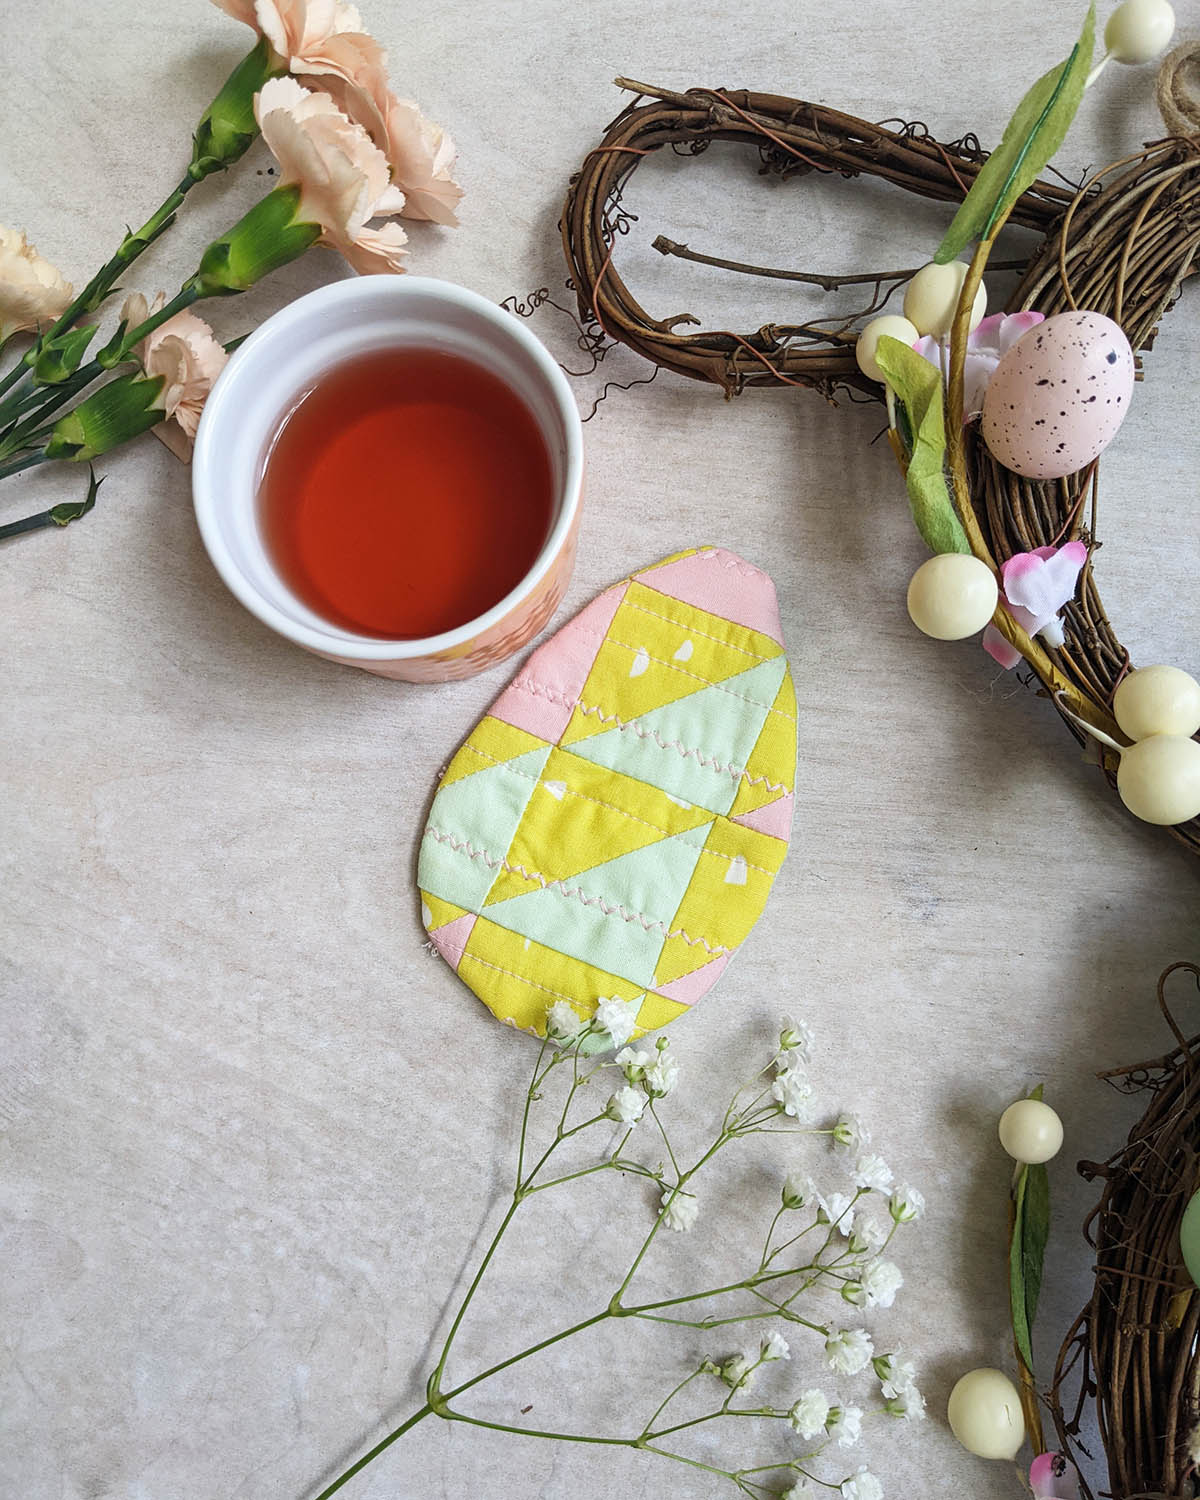
Now you have yourself a cute set of Easter Egg coasters for your Easter brunch!
Used Products


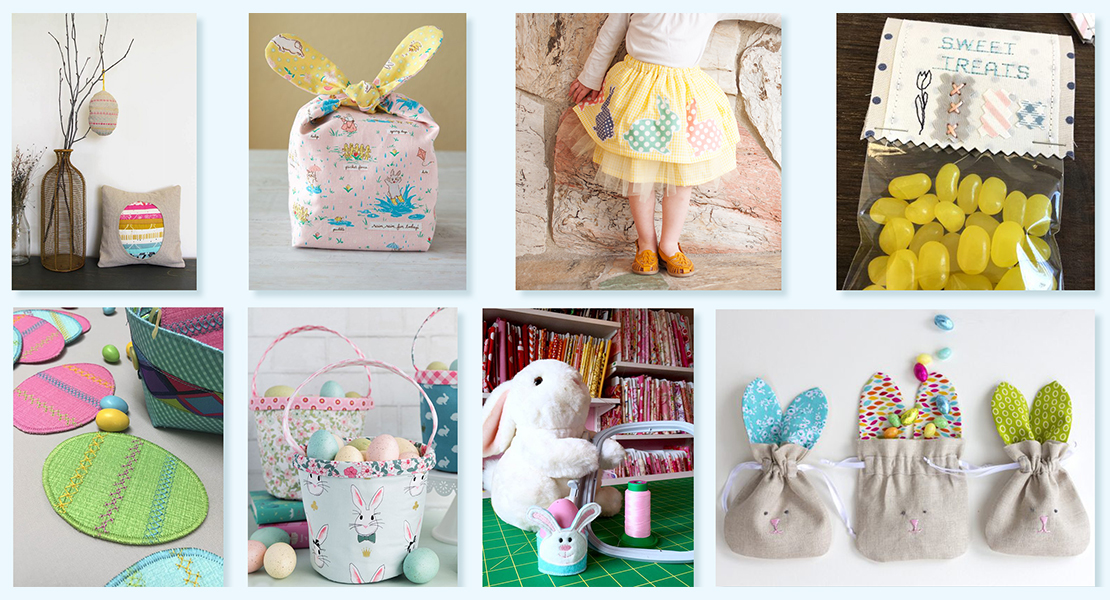
What you might also like


3 comments on “How to Sew Easter Egg Coasters”
-
-
What a cute project. I love them.
-
Cute but I found there were too many seams making the coaster a bit bulky. Not sure how well a glass will sit on this. I also think it is way too small for coffee mugs.
Leave a Reply
You must be logged in to post a comment.

Very cheerful and spring-like project.