How to Sew Flat Piping Trim to a V-neckline

Hello WeAllSew readers! My name is Beth and I blog and design over at Sew DIY. Most of us have probably heard of piping but flat piping is not often discussed. The name actually does a really good job of describing it. It’s just piping without the cord, so, as the name implies, it’s flat. Flat piping may be preferable to regular piping in garments that use lightweight fabric or anywhere that needs to be extra slim. Just like regular piping, flat piping can be used as an accent or embellishment on a garment, bag, pillow or even a quilt. Flat piping can be added to any seam but today, I’m going to show you how to attach it to a V-neckline (which is pretty much as tricky as it gets).
If you’ve made bias tape before then you already have the skills to make flat piping. And it’s actually even easier to make. Just cut bias strips, fold in half and press. Tada! Just like when making bias tape, making your own flat piping gives you the opportunity to use any fabric you want and you can make it any width you want. When choosing a fabric for your piping, you’ll want something that is similar to (or slightly lighter than) the fabric used for your garment. Using a heavy weight piping fabric with a lightweight garment fabric could create too much bulk and the weight may pull your seams out of shape. I recommend doing a test using scraps of fabric before tackling your actual garment.
How to Add Flat Piping to a V-Neck
STEP 1: Cut bias strips to make flat piping. First, you’ll need to decide how much flat piping you want showing on your finished garment. Also make note of the seam allowance on your garment. For example, I want the piping to extend 1/4 inch beyond the edge of the garment and I have a 5/8 inch seam allowance. To determine the width of bias strip I need to cut, I’ll add 1/4 inch to my seam allowance, (5/8 inch) and multiply the sum by 2, to get 1.75 inches. In math language it looks like this: (1/4 inch +5/8 inch) x 2 = 1.75 inches.
TIP: If your piping fabric is very lightweight, use spray starch before cutting and during folding to prevent it from stretching.
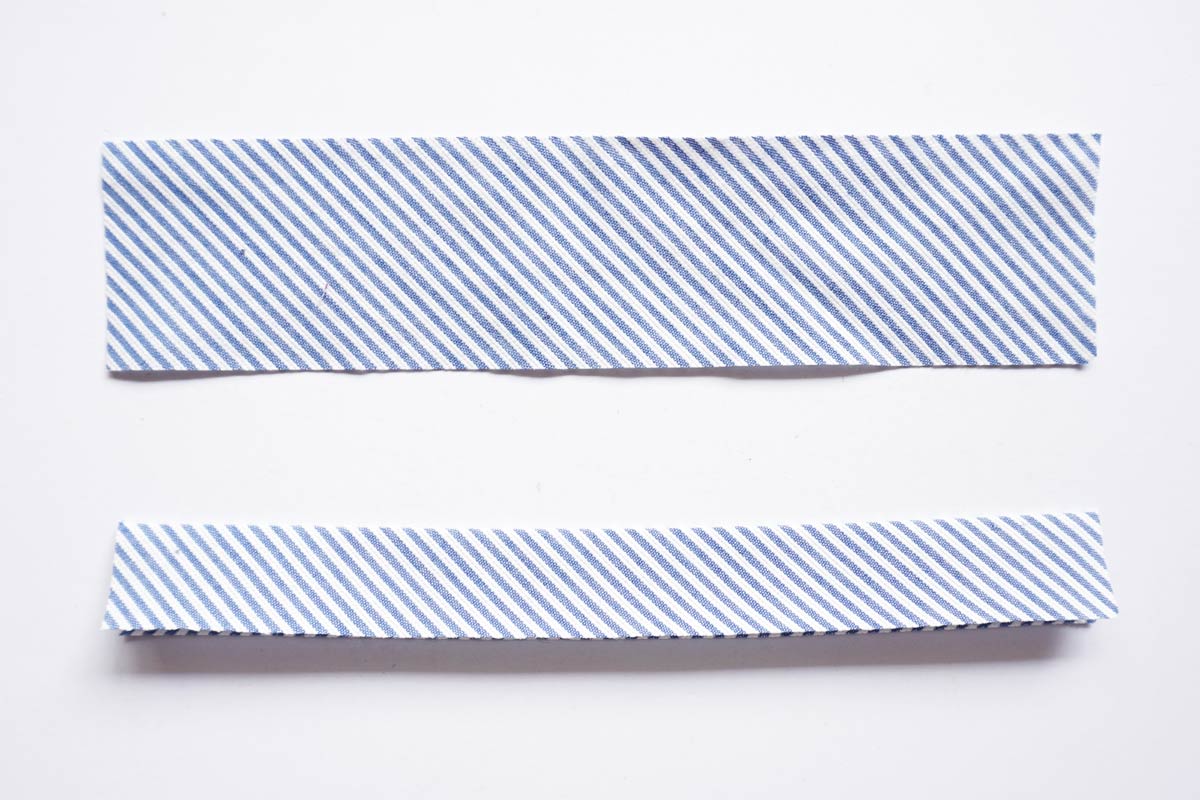
STEP 2: Cut 2 bias strips 1.75 inches wide and at least a couple inches longer than half your neckline. Fold strips in half lengthwise with wrong sides together and press.
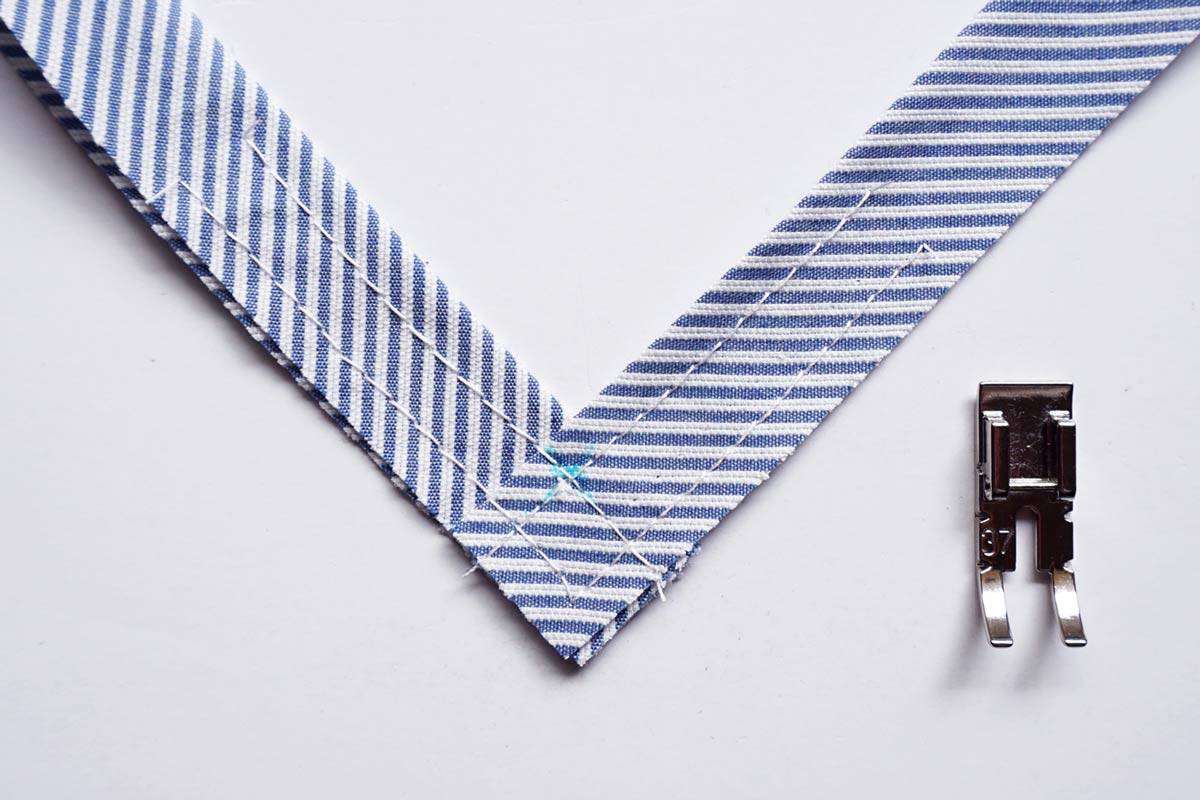
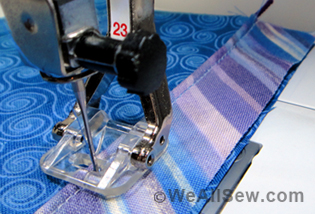
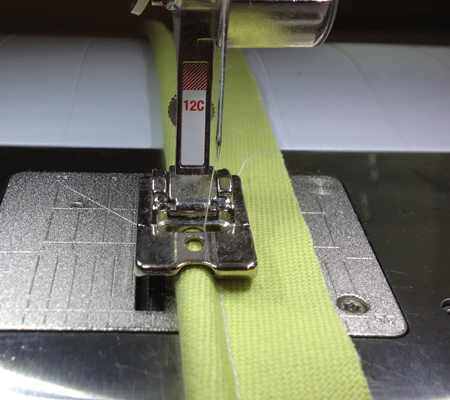
STEP 3: Cut the ends of two strips at 90 degree angles. Overlap the squared off ends, matching the raw edges. The folded edges will across at the inside of the V and will be visible on your finished garment. Baste together along the seam allowance and 1/4 inch from the raw edge. For this project, I used the 1/4 inch presser foot which was really helpful when stitching 1/4″ from the edge of the flat piping.
TIP: It might be helpful to mark the center point with a disappearing ink pen.
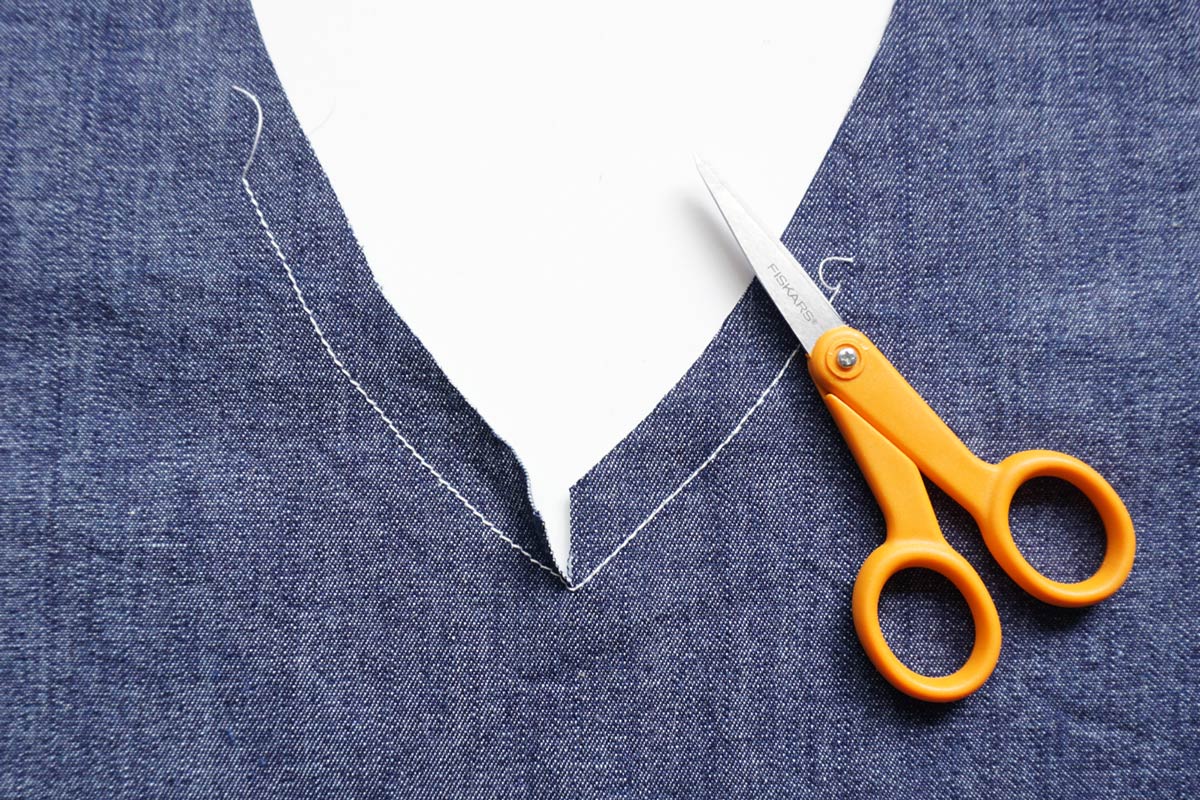
STEP 4: Prepare your bodice. Stay stitch the bodice along the seam allowance. At the center front, clip into the seam allowance but do not cut through the stay stitching.
STEP 5: With the raw edges together, use a pin to match the center V of the flat piping to the center V of the bodice.
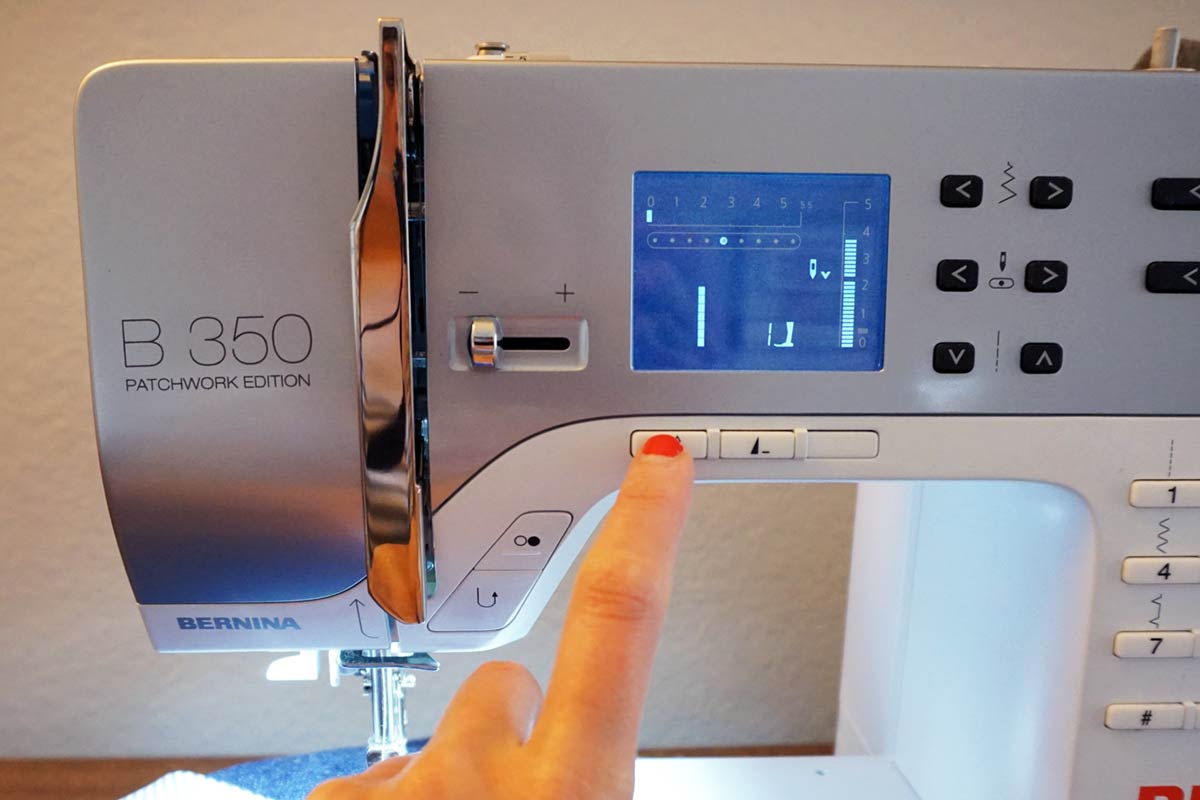
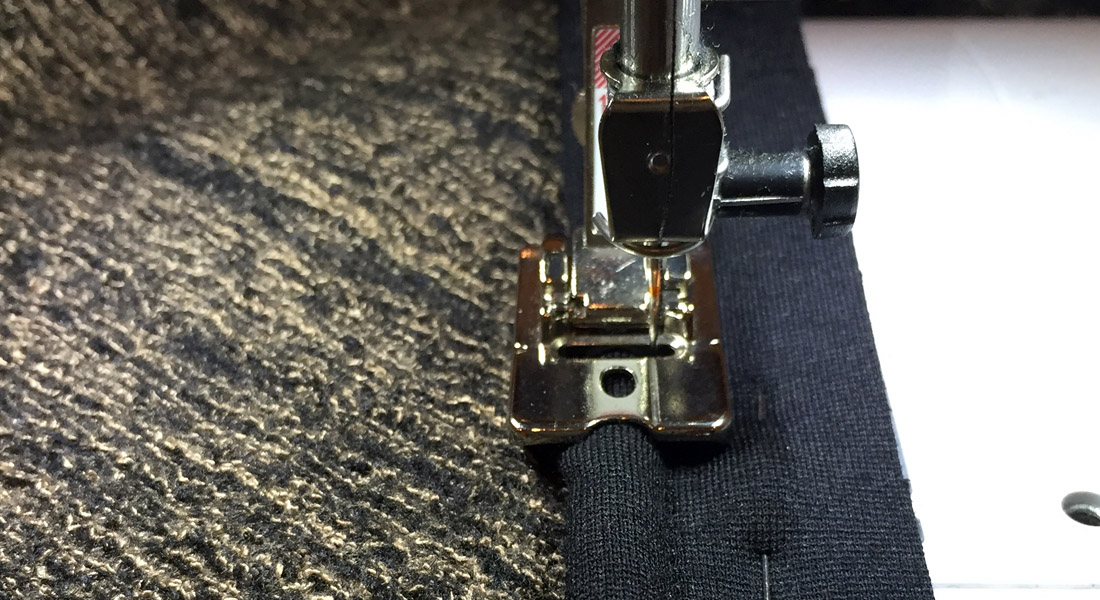
Place fabric under the presser foot starting about 2 inches from the center front. Set the machine to a long straight stitch (basting stitch) and press the button so that the needle will stop in the down position. Slowly baste to the center point. Stop with the needle in the very center of the bodice. Lift the presser foot with the needle in the down position and pivot the bodice. Reposition the piping to match the other side of the neckline and baste about 2 inches.
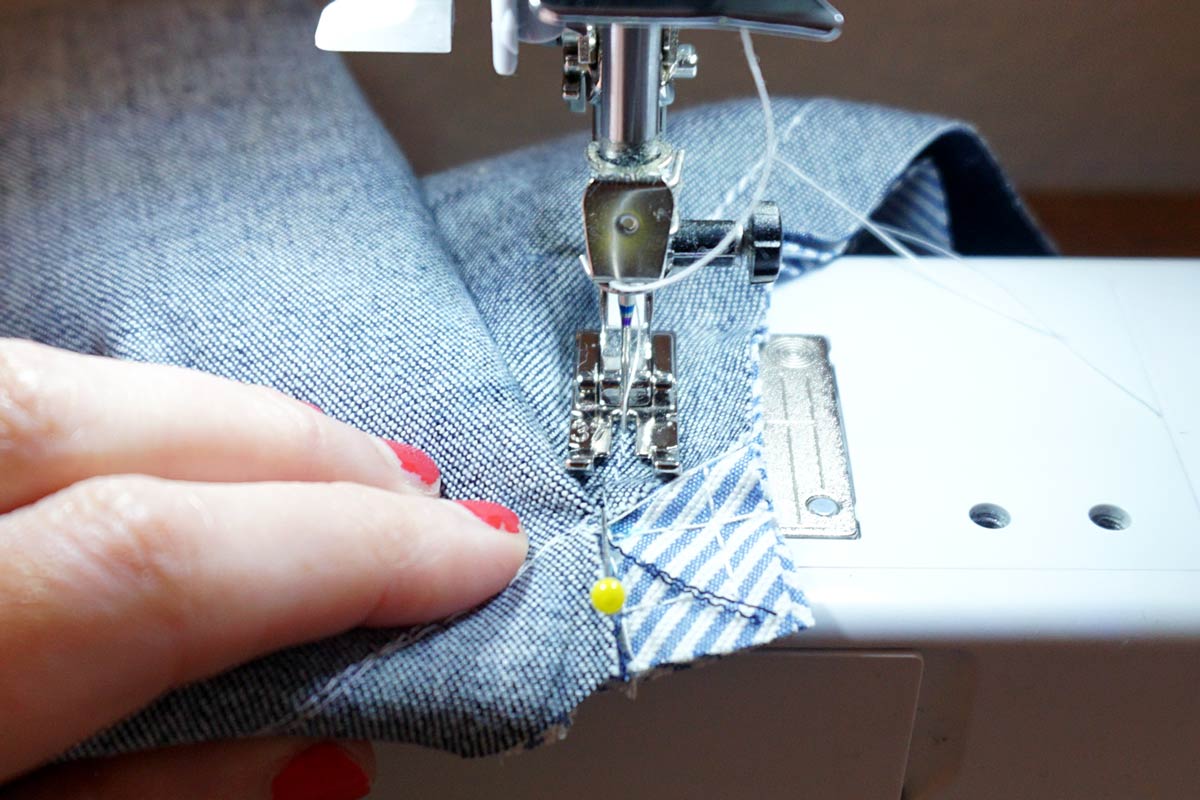
TIPS: If you are having trouble wrangling your fabric, it may be easier to hand baste the flat piping to the center of the bodice. Then finish the basting by machine. You may also find it easier to stitch the V in two steps, first starting from the left and stitching towards the center, then stitching from the right towards the center (shown above).
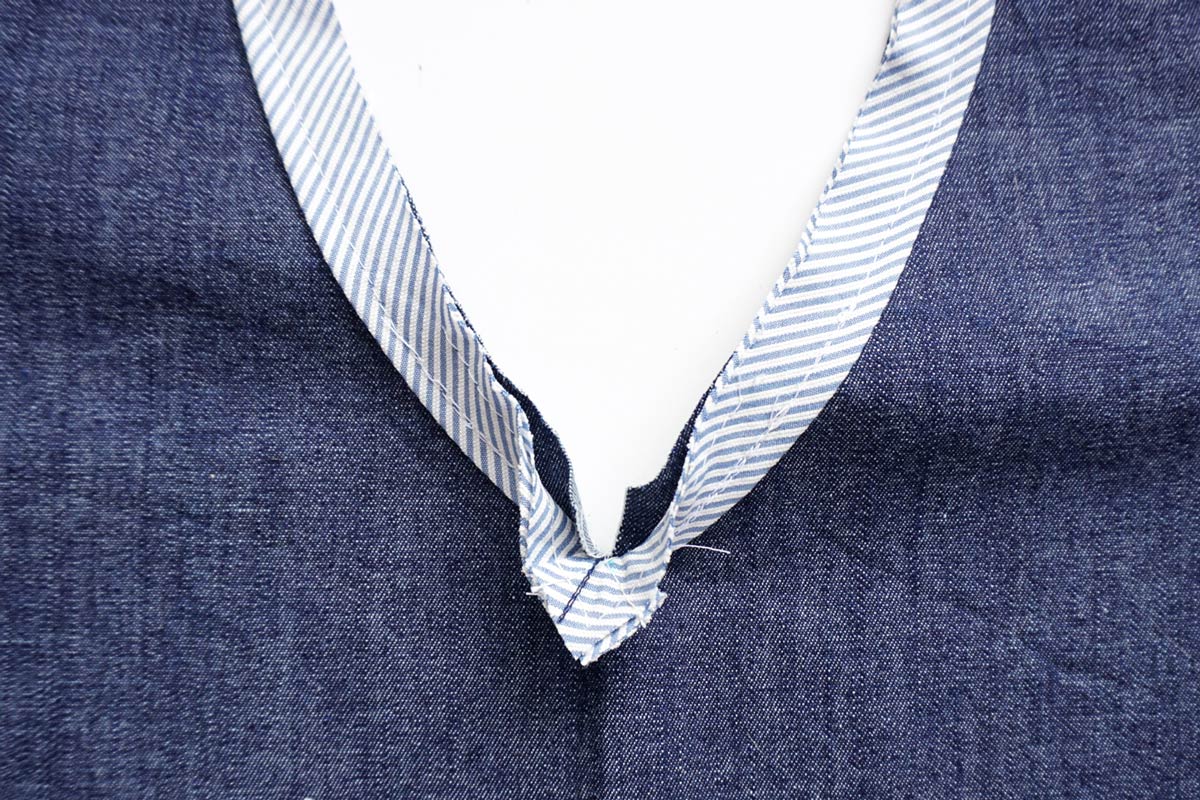
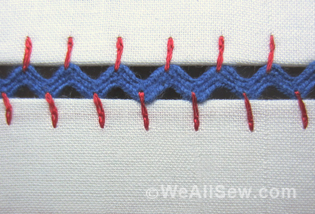
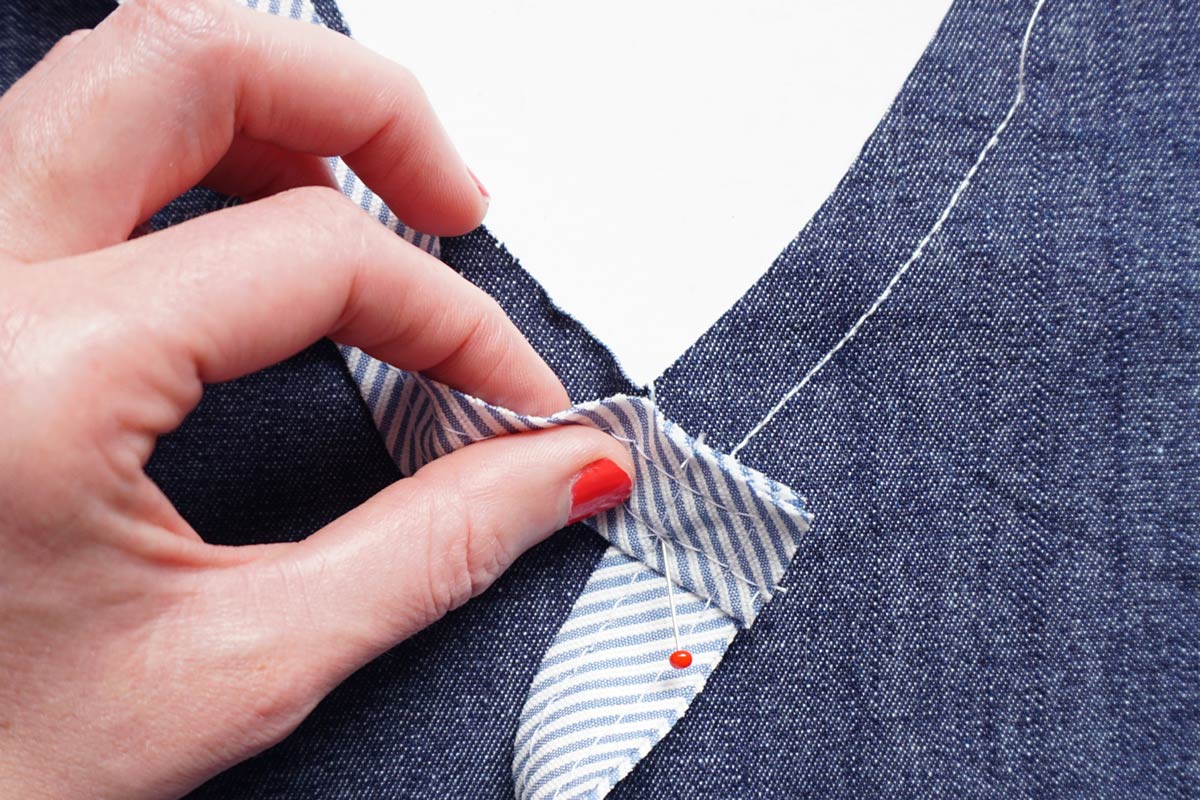
The center will look something like this, kind of wonky but correct.

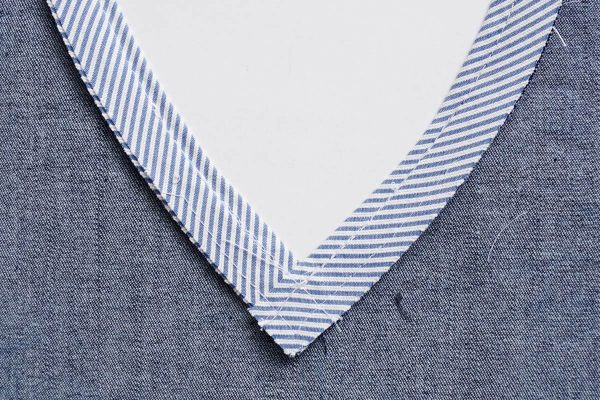
STEP 6: Gently turn the seam allowance to the wrong side and check your stitches for correct placement. If necessary, remove the basting and re-stitch.
STEP 7: Baste the remainder of the flat piping to the bodice. Finish the bodice using your preferred method such as a lining or facing. Don’t forget to grade the seam allowances and under stitch for a smooth finish. And when you’re all done, remove any visible basting threads.

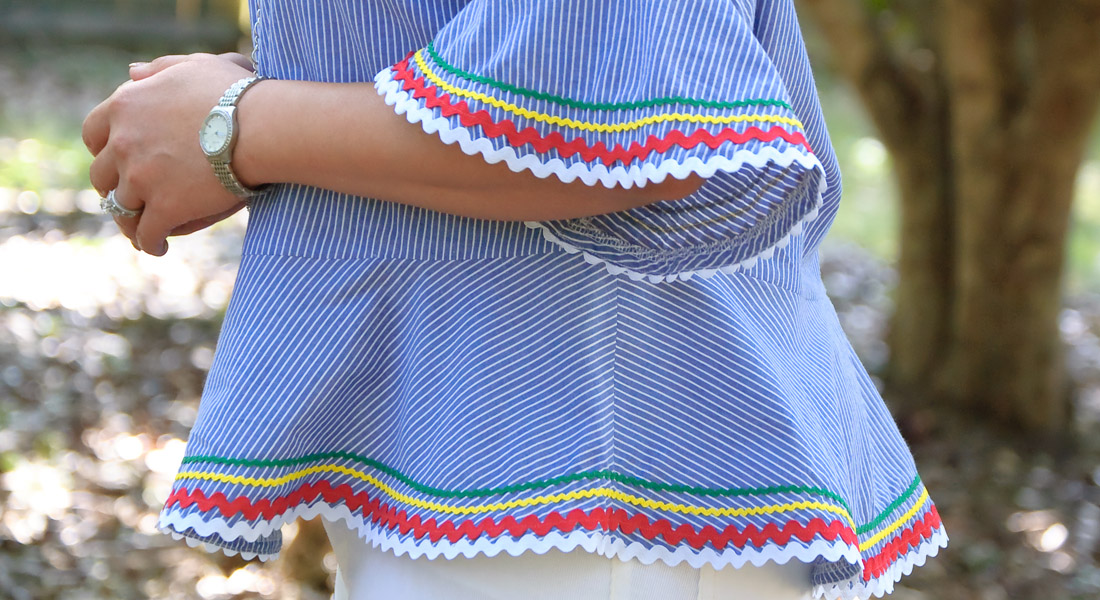
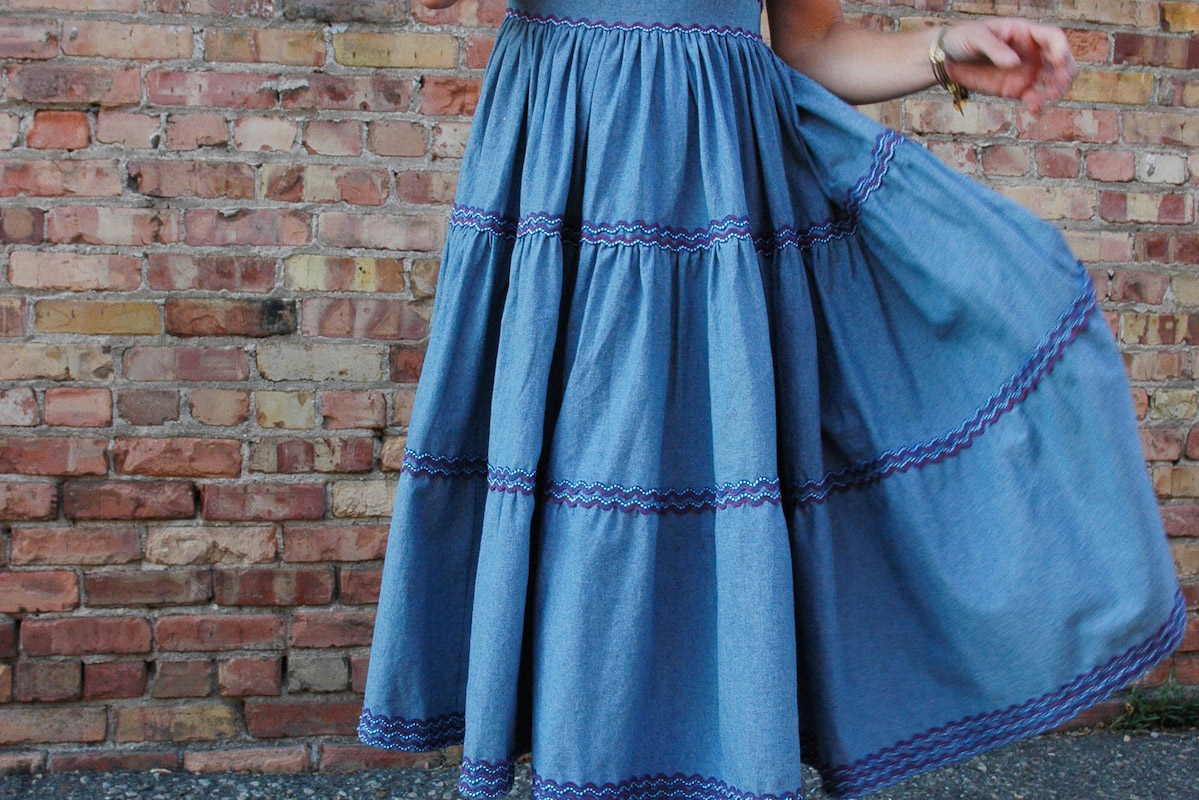
Using flat piping is a great way to create visual contrast and highlight the design lines of your garment. Experiment with different colors or patterns to create an endless variety of options. I especially love using a striped fabric paired with a solid fabric. It’s really subtle overall but adds great dimension to a garment. Happy Sewing!