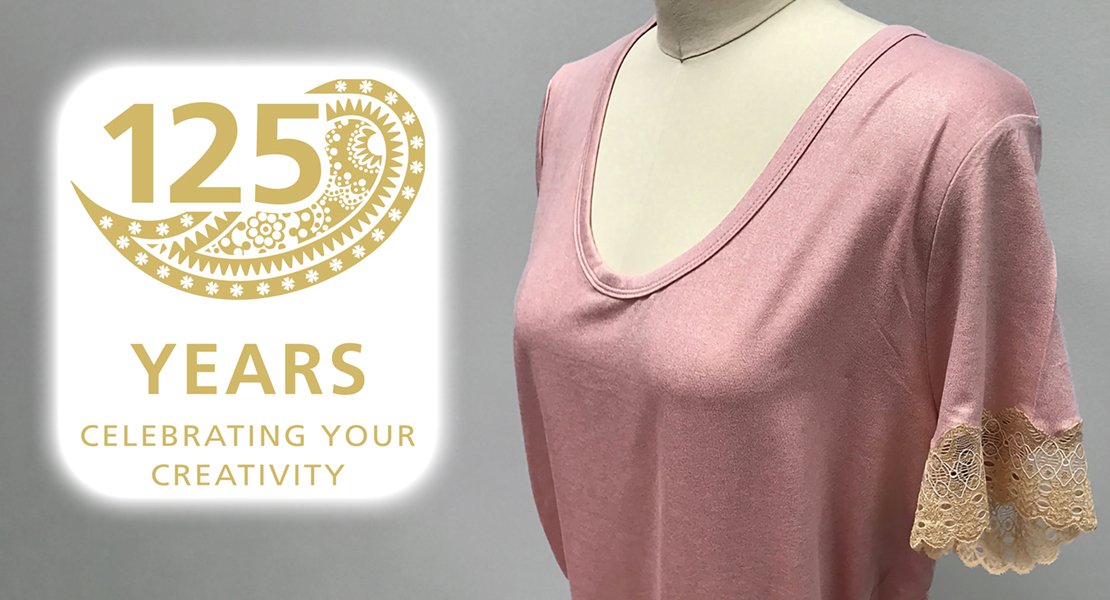
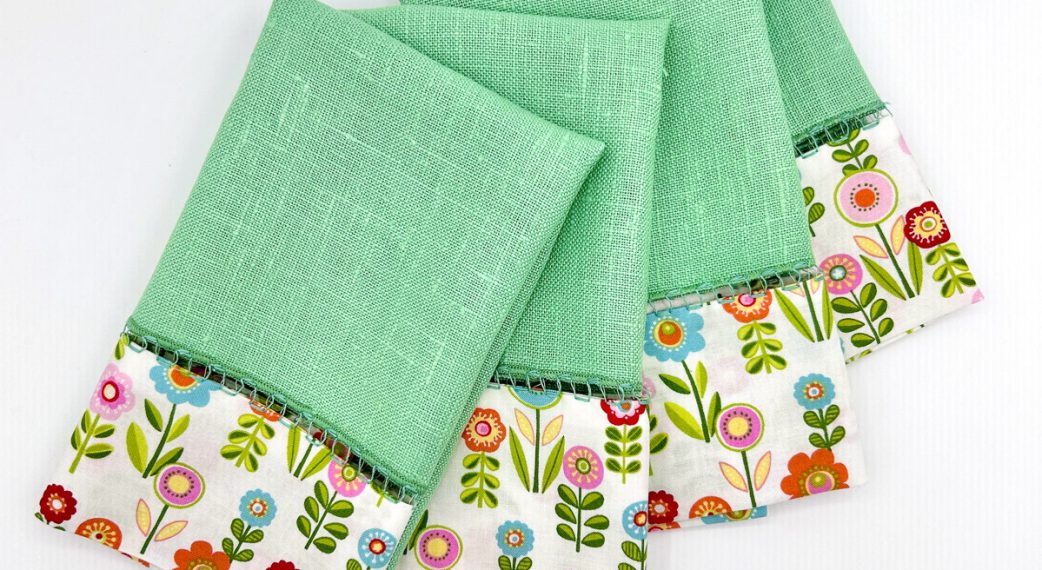
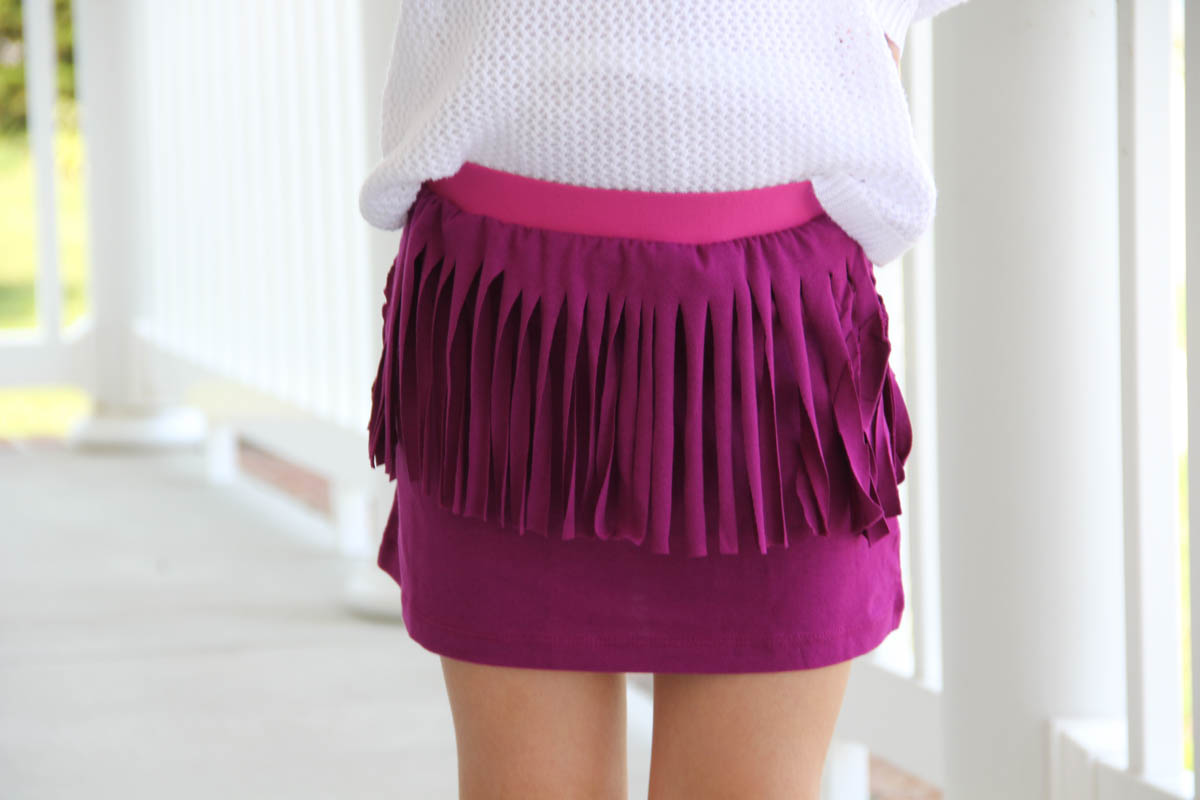
How to Upcycle a T-shirt with Lace Hem
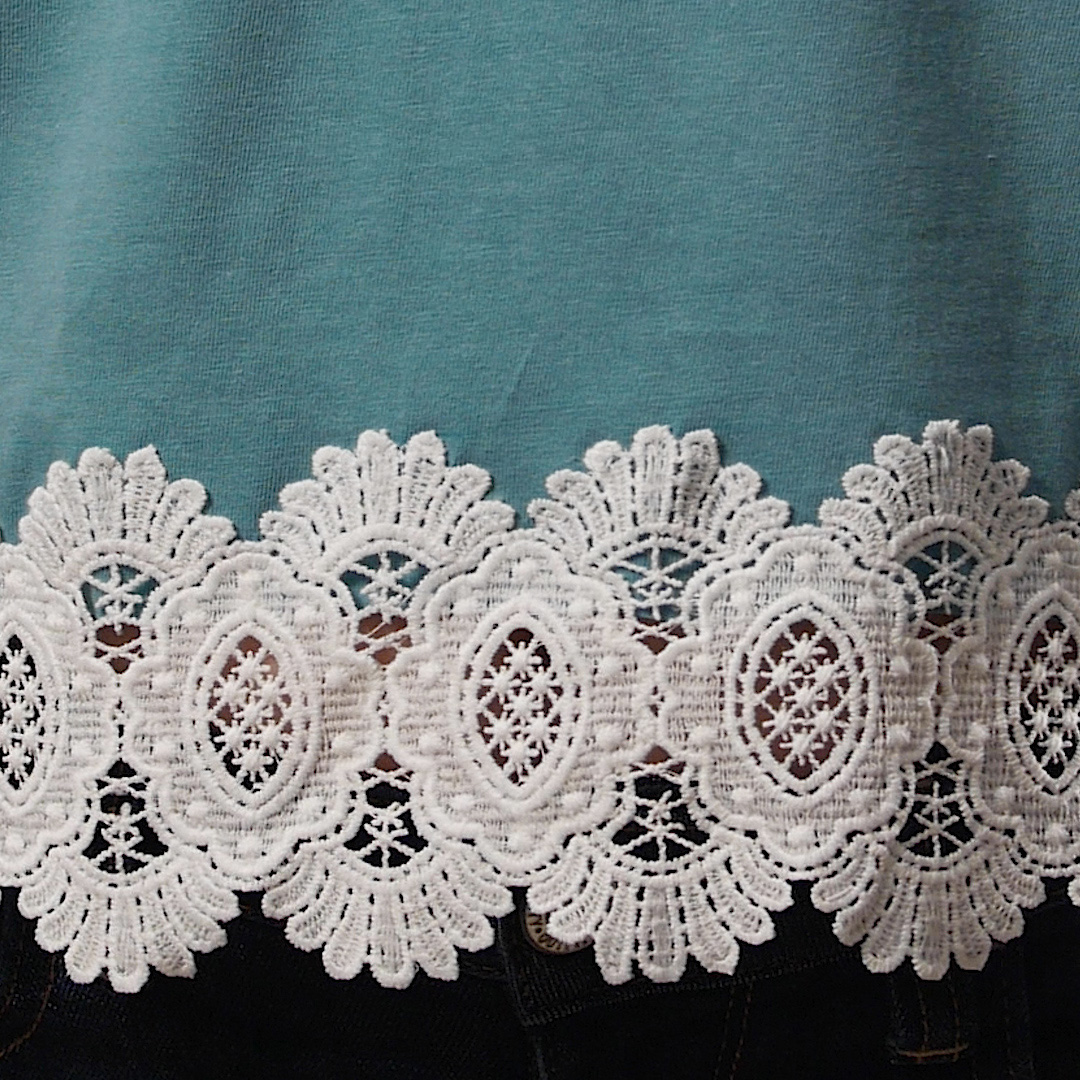
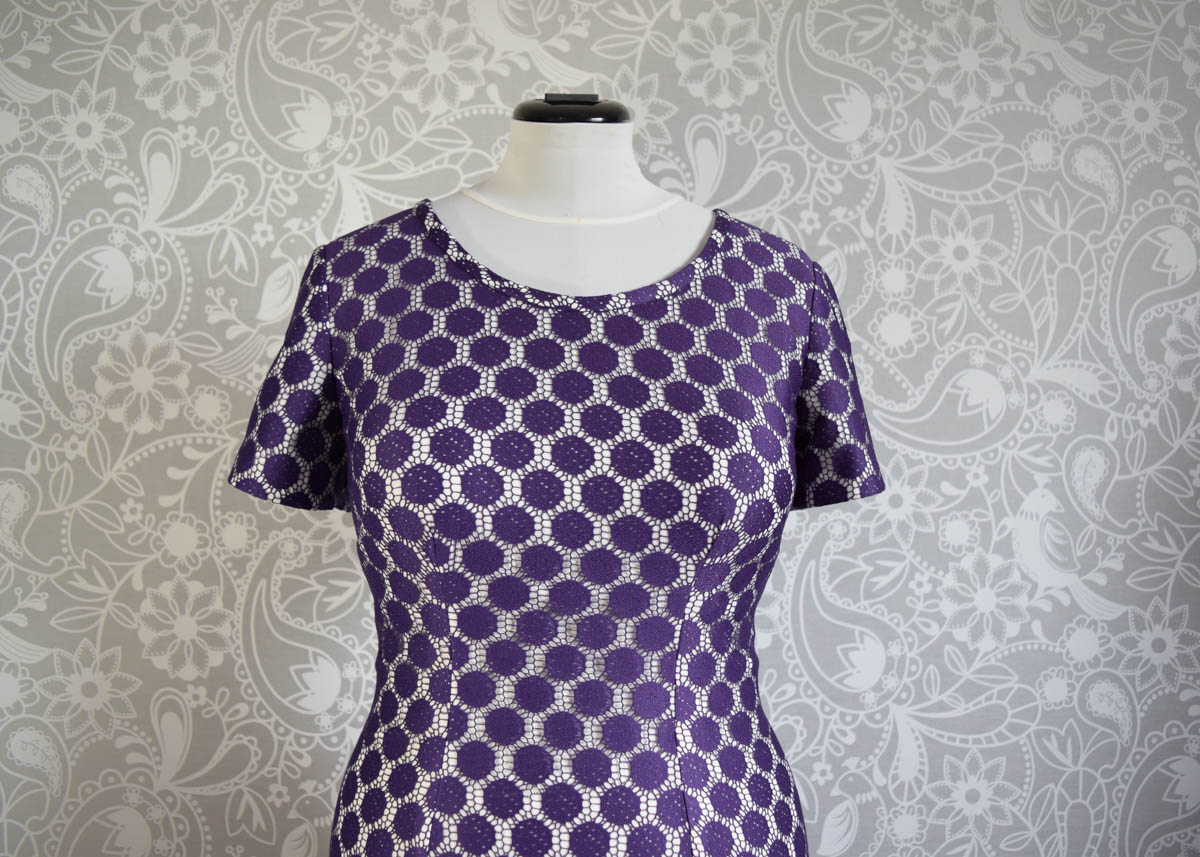
The term upcycle is being thrown around everywhere these days. According to the Oxford Dictionary, “upcycle” means to reuse discarded objects or material in such a way as to create a product of higher quality or value than the original. The key phrase is “create a product of higher quality or value.” So, before you go cutting into your old shirts, do a google search for T-shirt with lace. You’ll discover endless images and ideas. Determine which ones appeal to you and which ones don’t. Do you want a cropped shirt with 3” lace or a long shirt with 8” lace? Do you like thick, crochet lace or thin, lingerie lace? Now, go through your well-loved shirts that need a facelift and follow this tutorial on how to add lace. With the Reverse Pattern Foot #34 and a stretch needle, you won’t be disappointed!
Machine Set-Up
- BERNINA 435
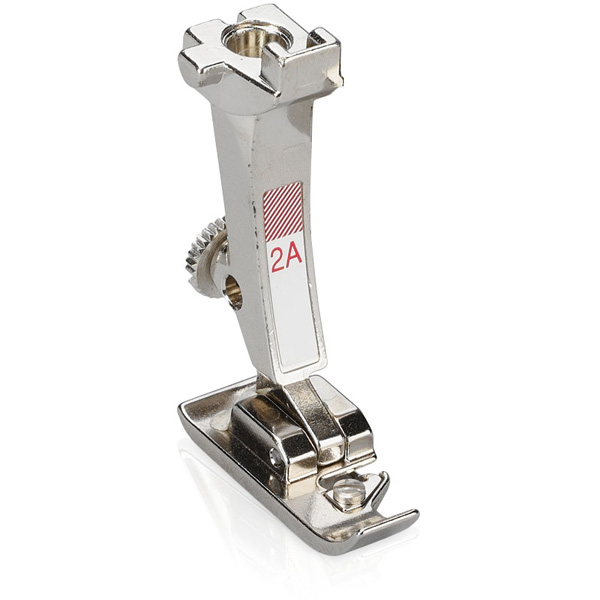
- Overlock Foot #2A
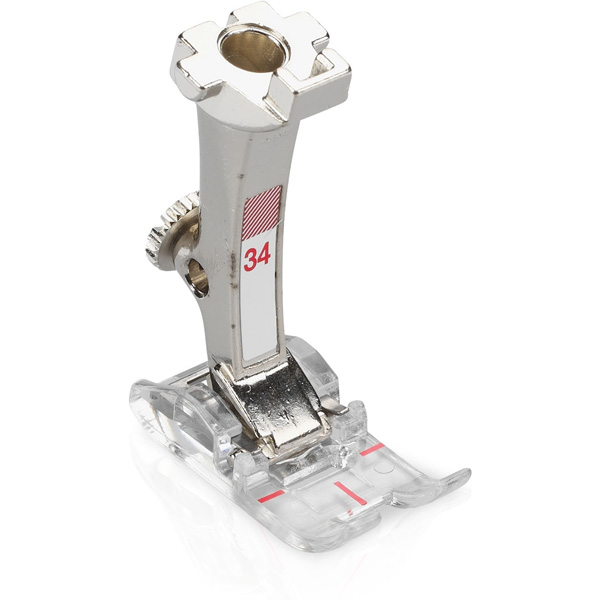
- Reverse Pattern Foot #34
- 75/11 stretch needle
- Thread to match
Materials to Make Lace Hem T-shirt
- T-shirt
- Stretch lace trim—length of shirt circumference plus 2-3”
- Measuring tape
- Pins
- Frixion Pen
- Rotary cutter and ruler
Note: all seam allowances are 1/4” unless otherwise noted.
Steps for the T-shirt Preparation
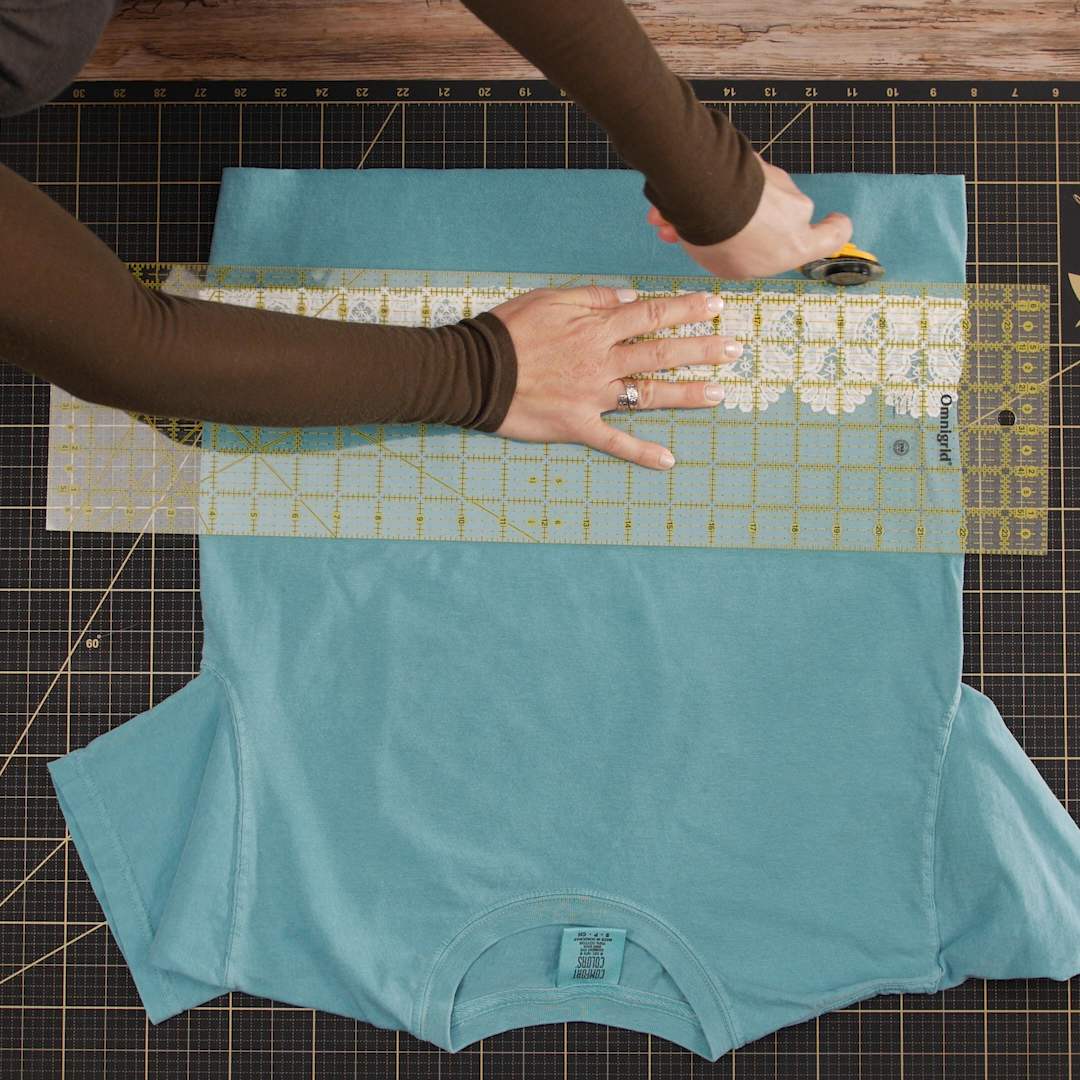
Lay the shirt flat and mark the desired length of your shirt. If the shirt hem is a little wonky, cut it off first.
Then, measure and mark 8” down from each underarm seam.
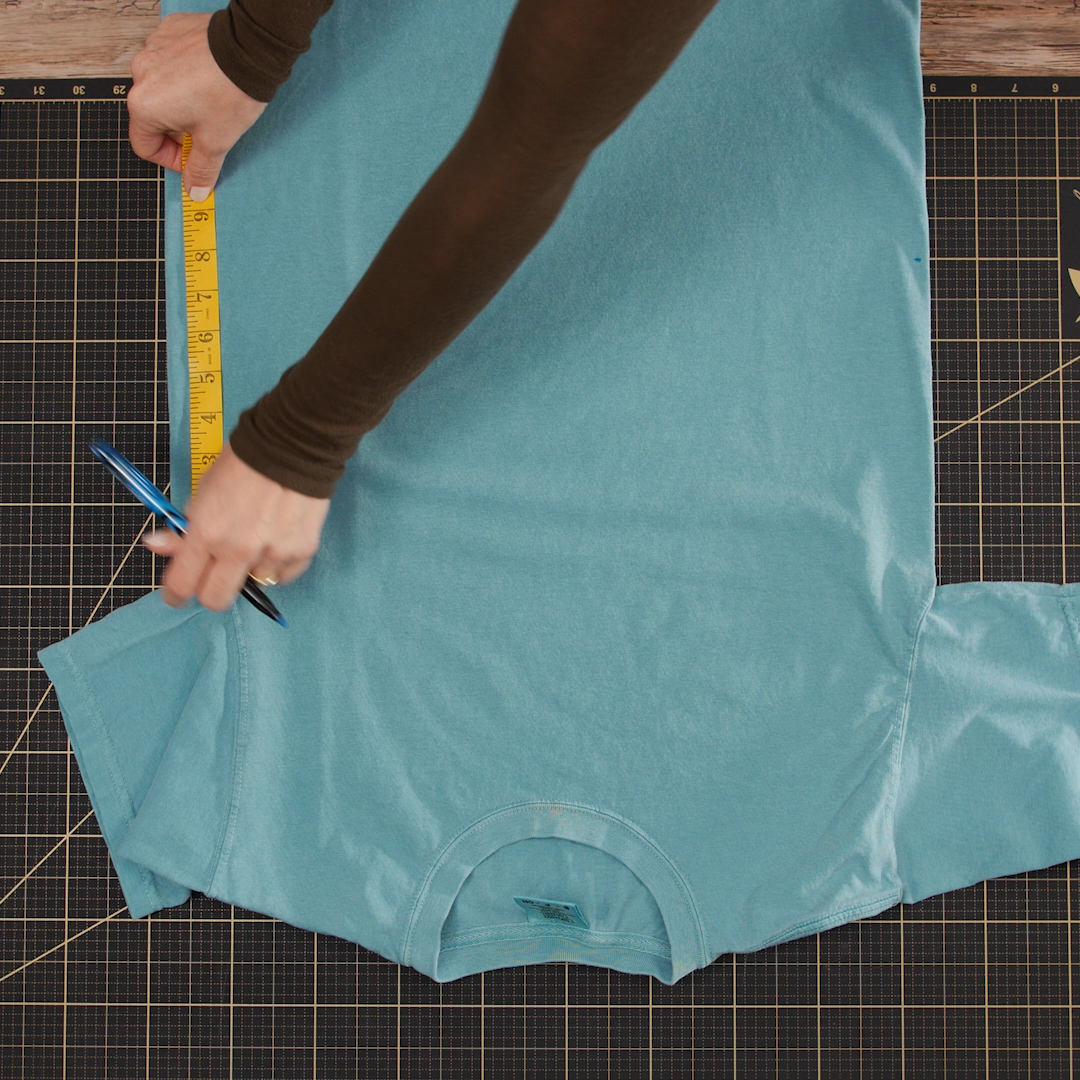
Draw a placement line across the front of shirt connecting the 8” marks.
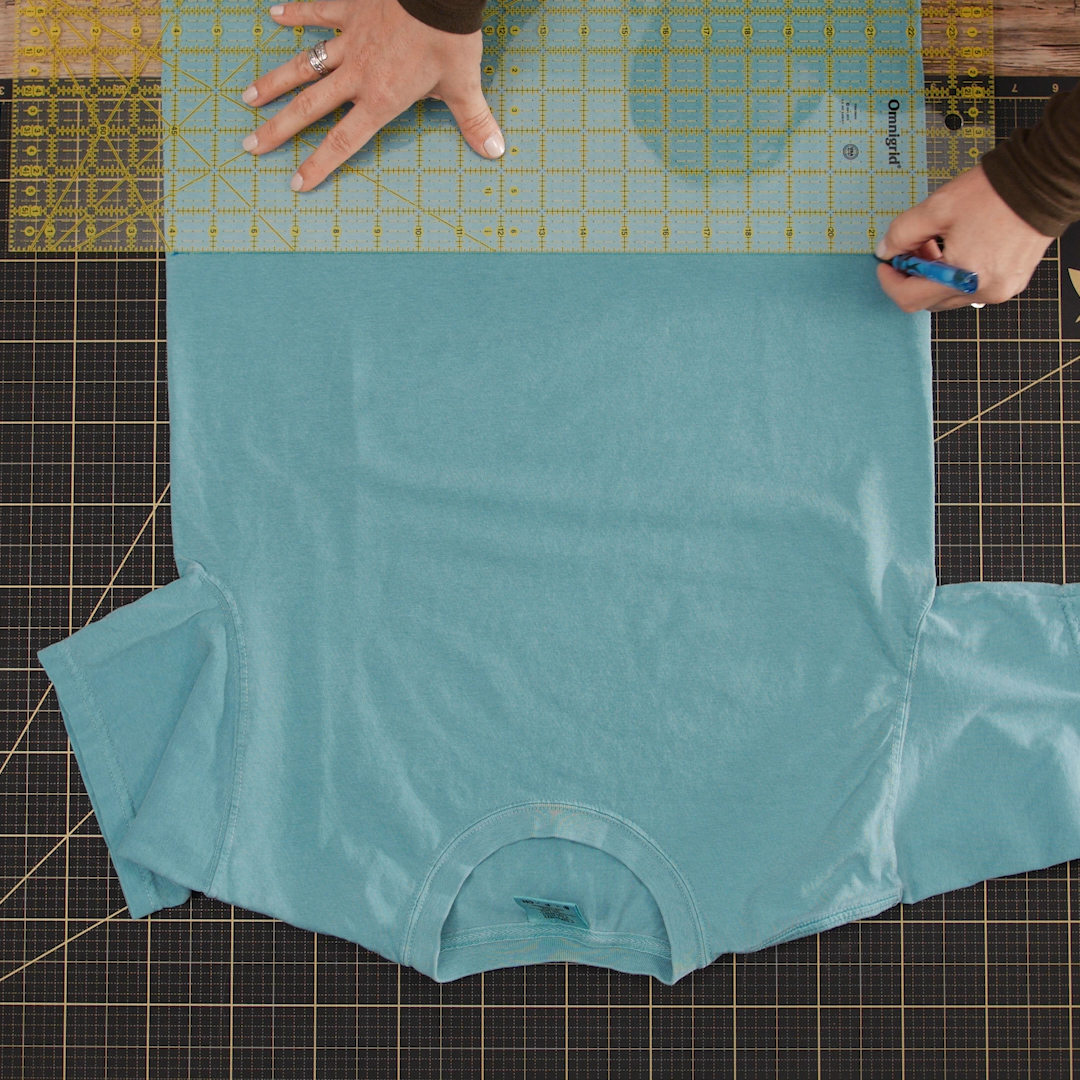
Measure the width of your lace trim. This is how many inches you will measure down from your placement line. For example, my lace trim is 4” wide so I will measure and cut 4” down from my placement line.
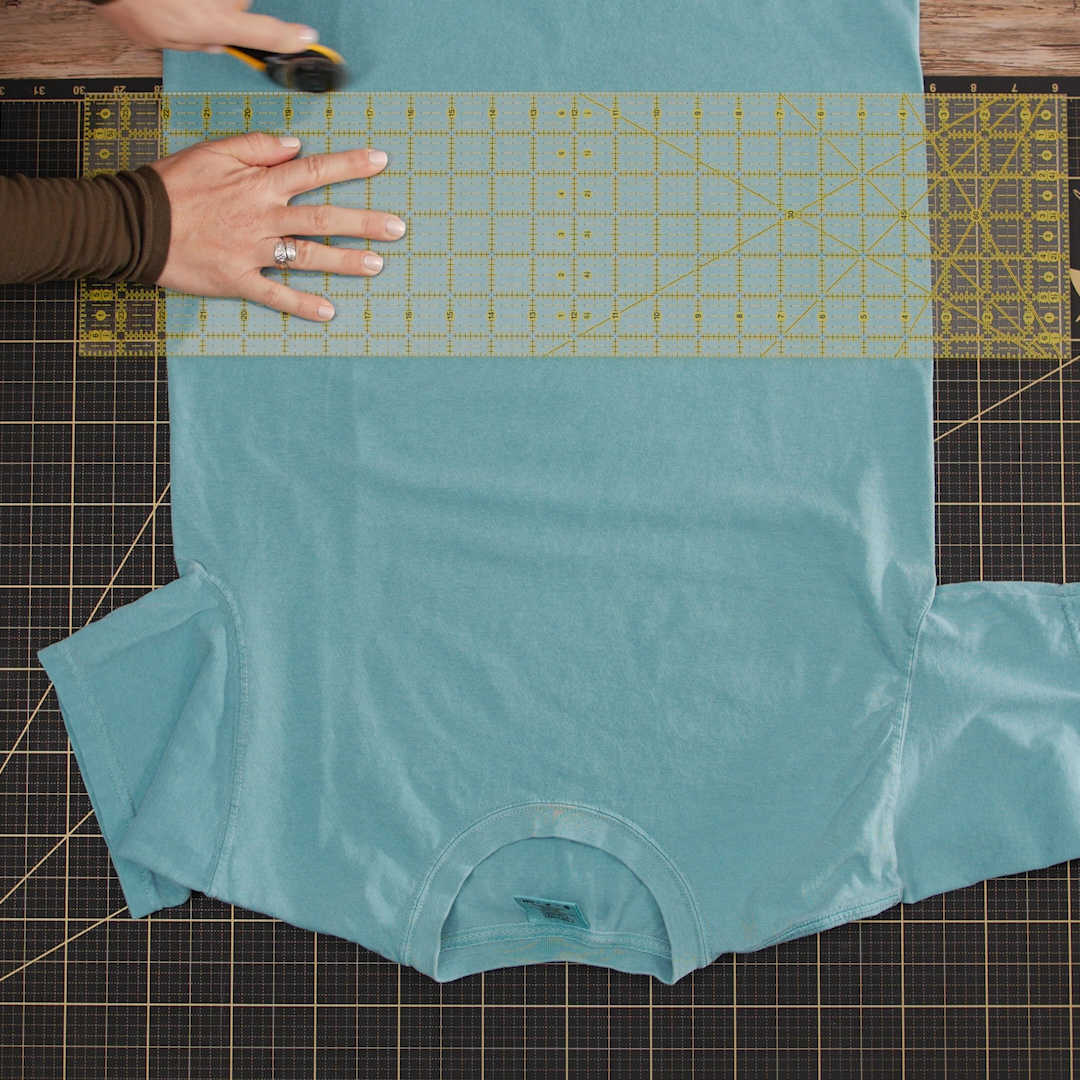
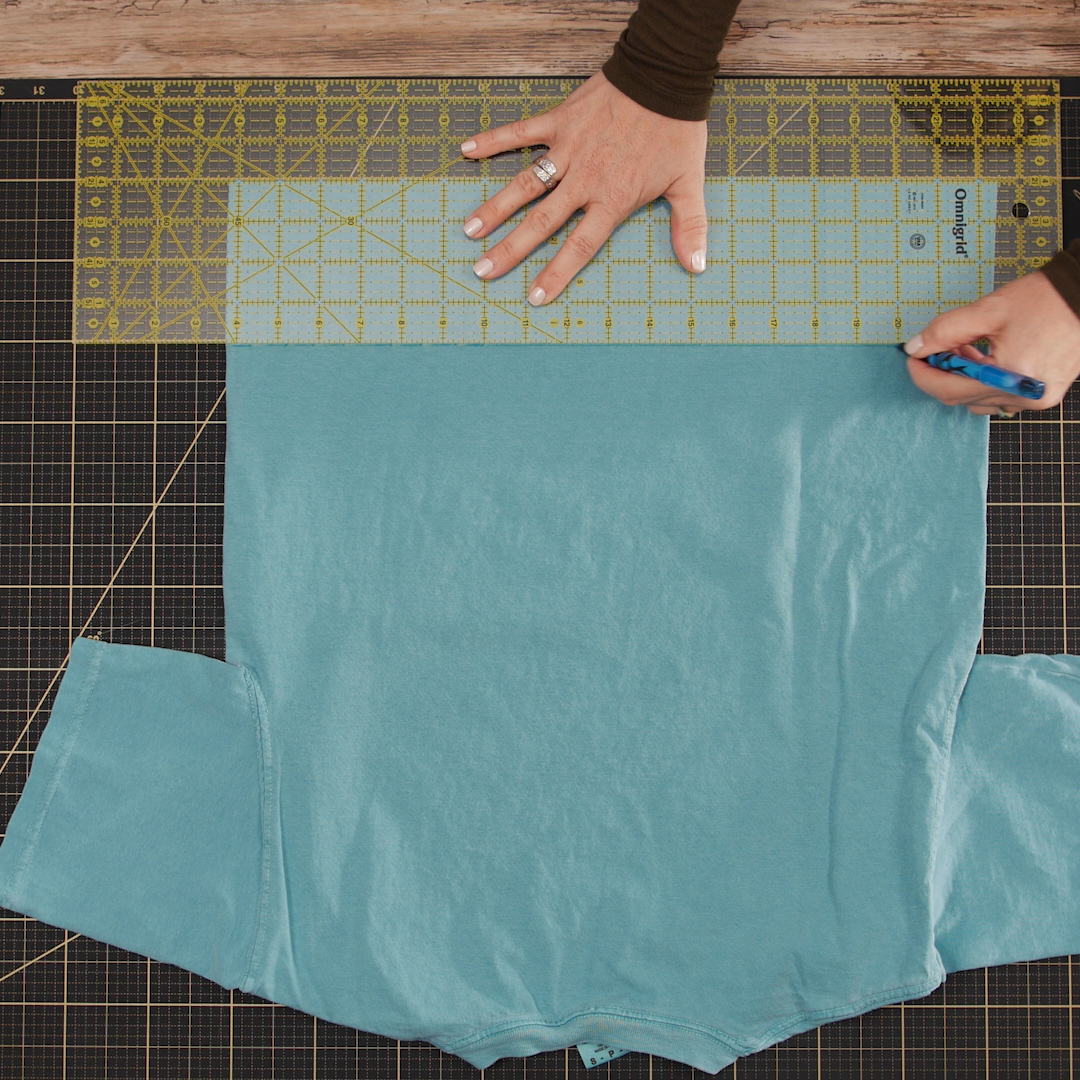
Mark your placement line on back of shirt. The line should match line on front of shirt.
With your measuring tape, measure the shirt circumference.
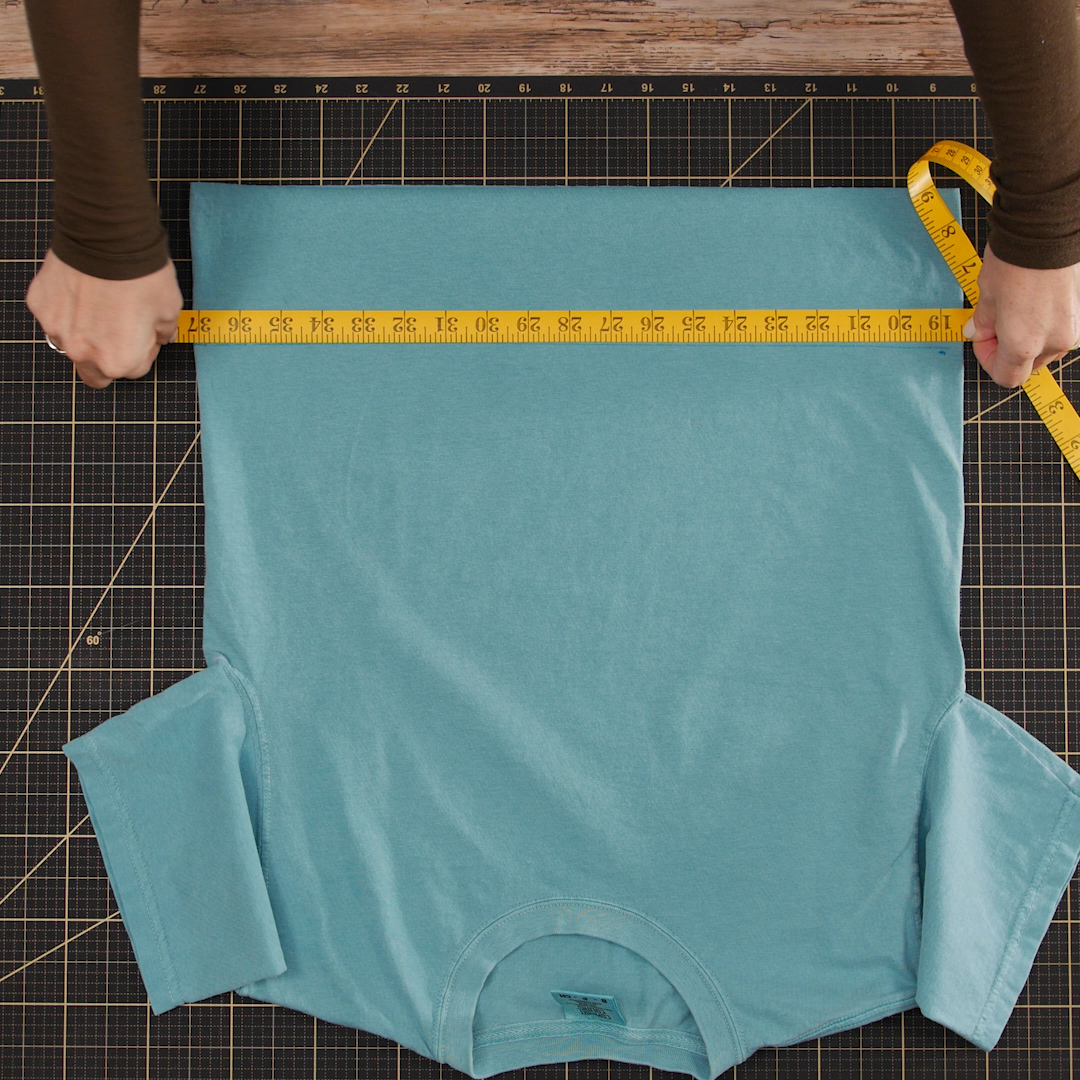
Take the shirt circumference and add ½”. Cut your lace to this size. My shirt circumference was 37” so I cut my lace to 37 ½”.

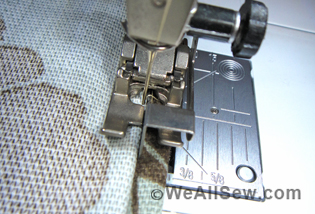
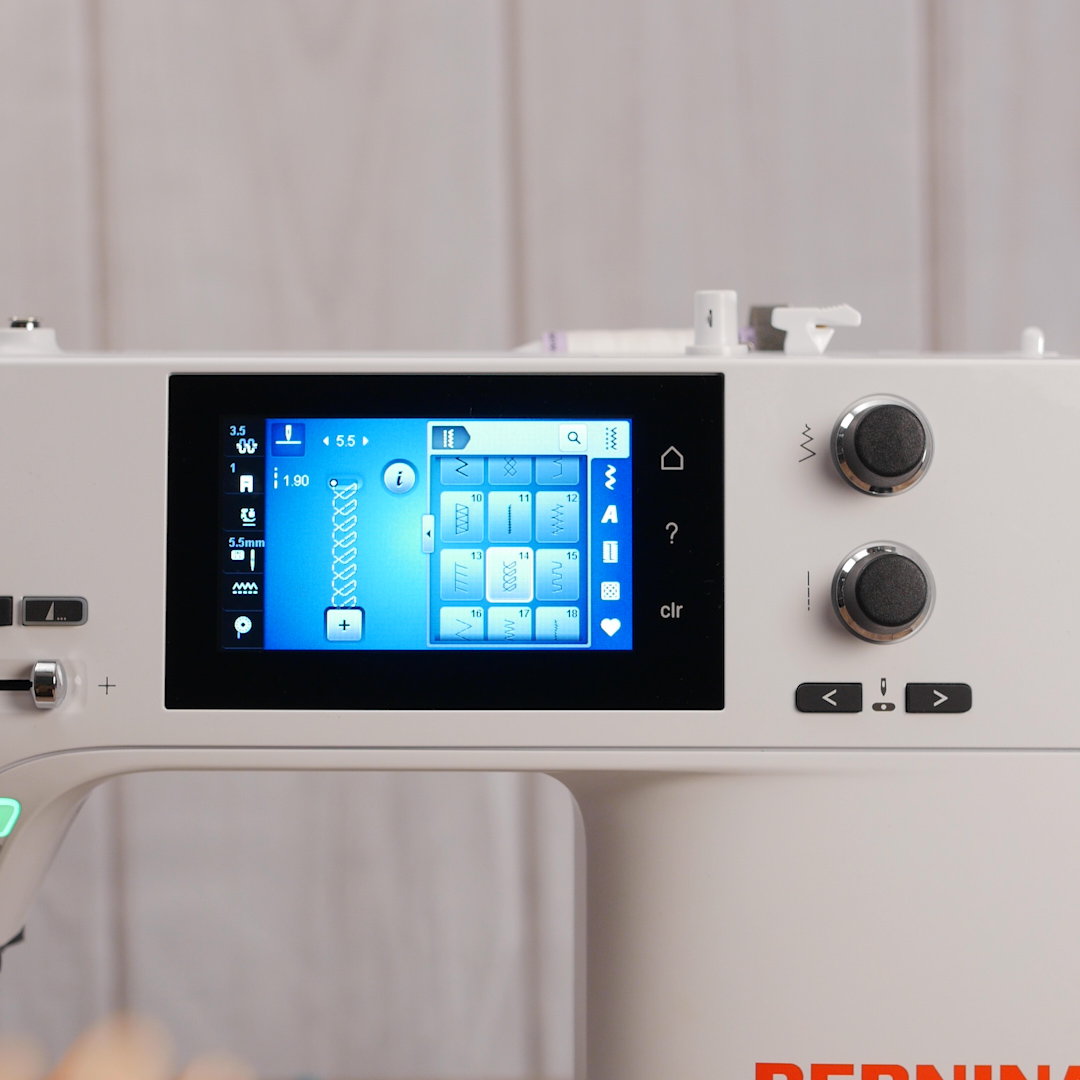
At your machine, select Overlock Stitch #14 and attach Overlock Foot #2A. Use a 75/11 Stretch needle – a ballpoint needle is great for knit fabric because it won’t break the fibers.
Place the ends of the lace trim right sides together and pin. Take your lace trim to the machine and align the ends with the pin of the Overlock Foot. The little pin keeps the fabric flat as the machine stitches, preventing puckers.

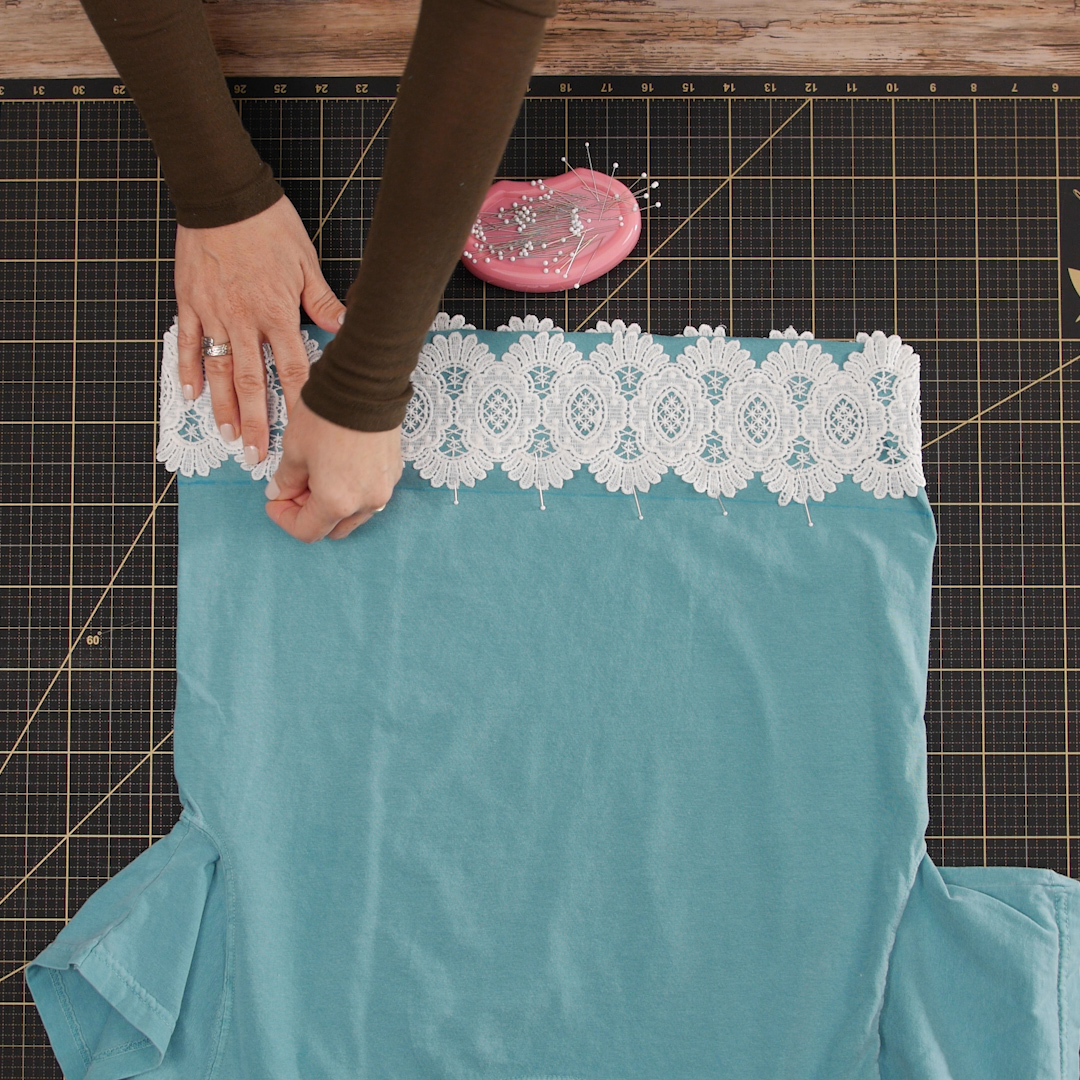
Pin
Pin lace trim to your t shirt using placement line as a guide. If your shirt has a seam, match it with the seam of your lace.
Sew
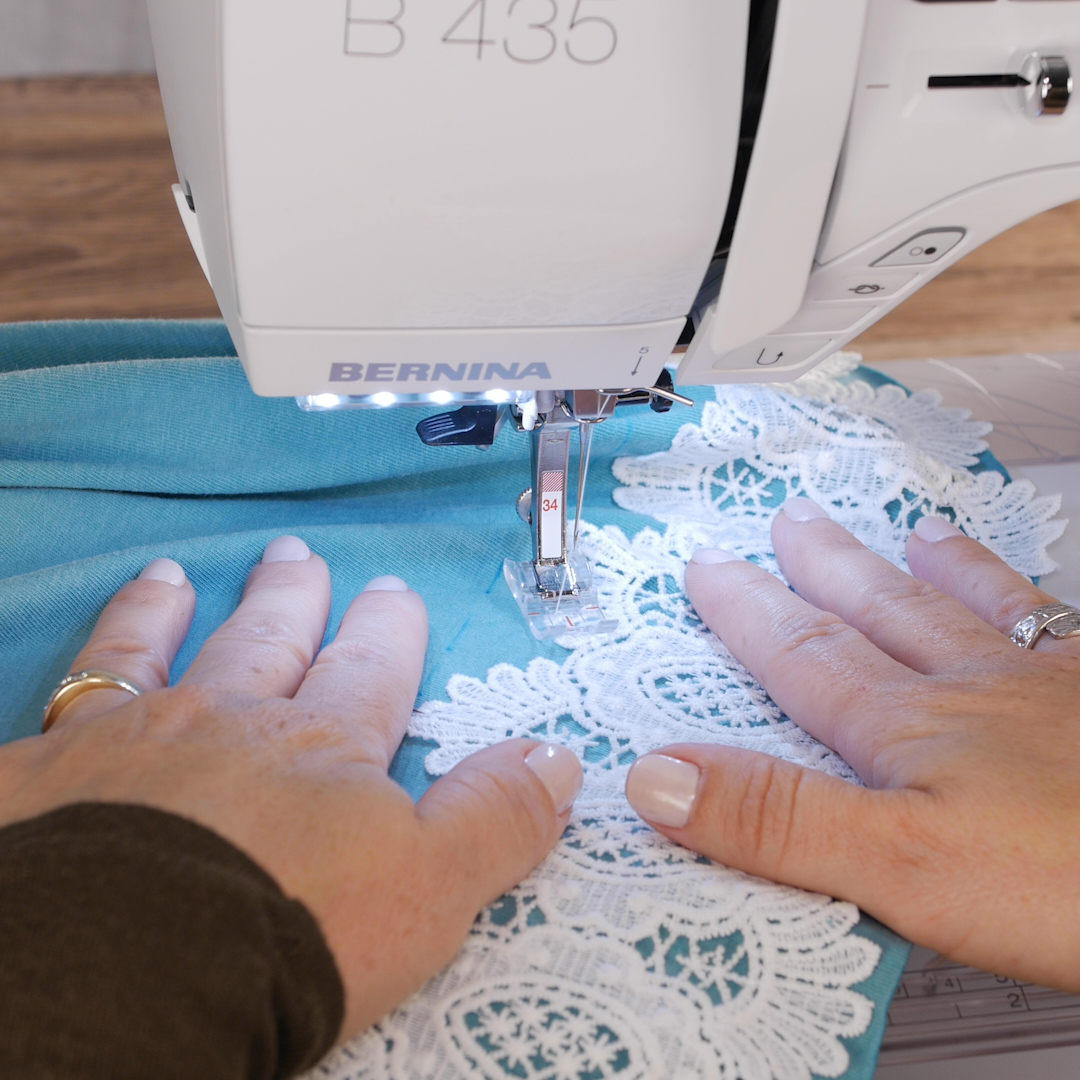
Attach Reverse Pattern Foot #34. The clear foot will help you follow the curve of the lace.
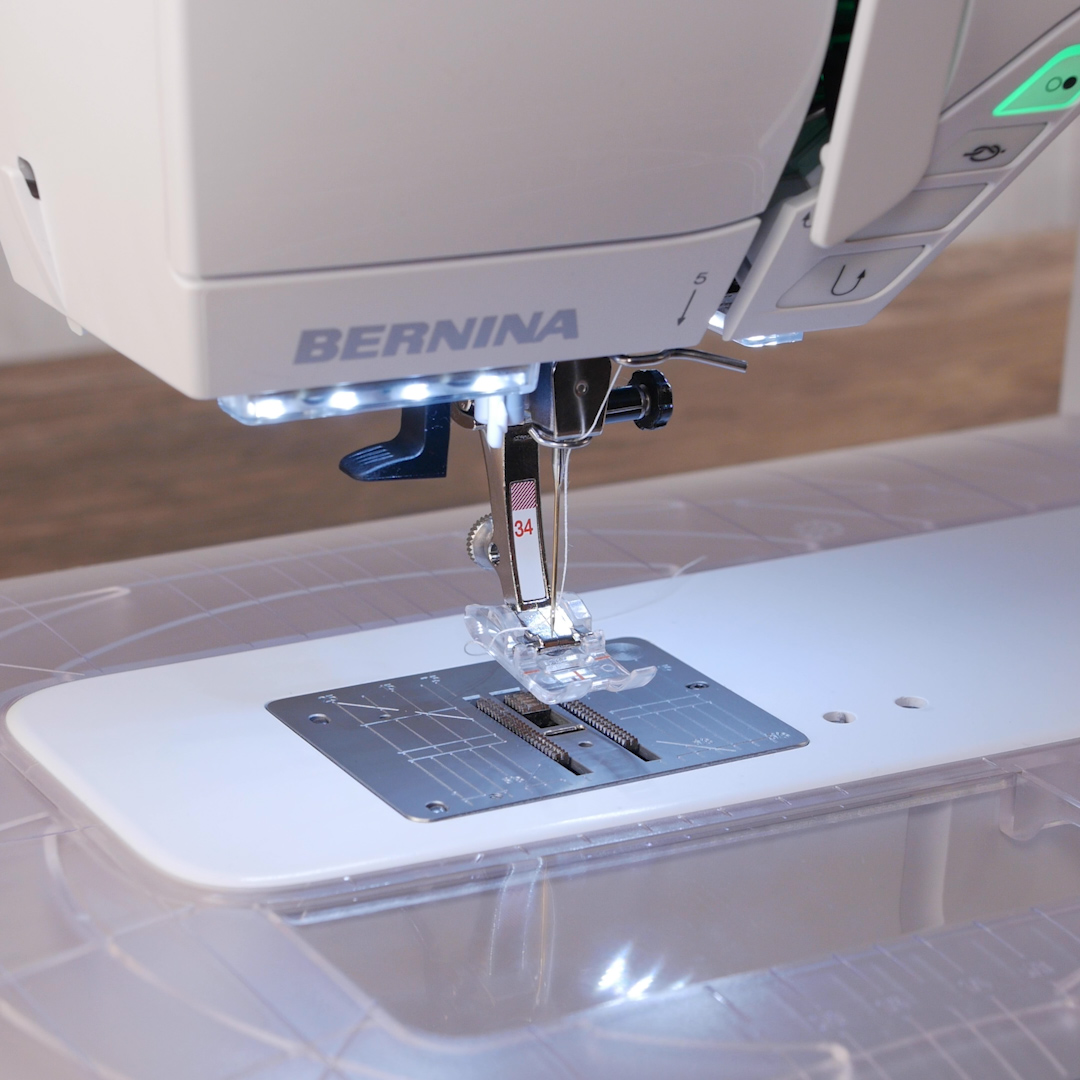
Select Zig Zag Stitch #2. A zig zag stitch will help prevent thread from breaking when stretched from normal wear. Change stitch width to 3 and stitch length to 2.
Sew along the top edge of the lace with the zig zag stitch just inside the top edge. Make sure to engage your needle stop down function and use your Free Hand System. You will need to constantly pivot along the curves of the lace.
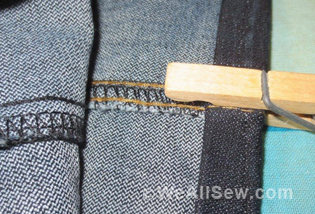
Finish
Turn your lace up with the wrong-side out and carefully trim the excess fabric about ¼” away from lace.
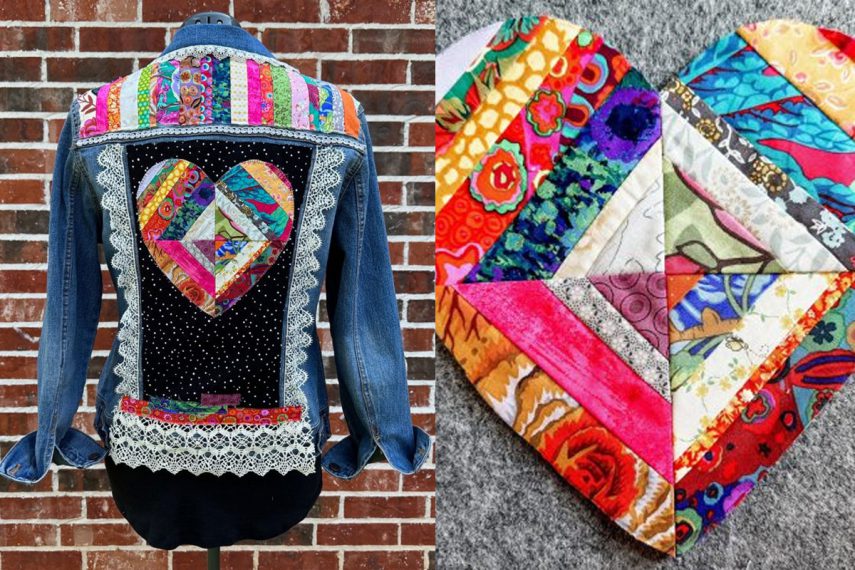
Now you know how to upcycle a shirt!
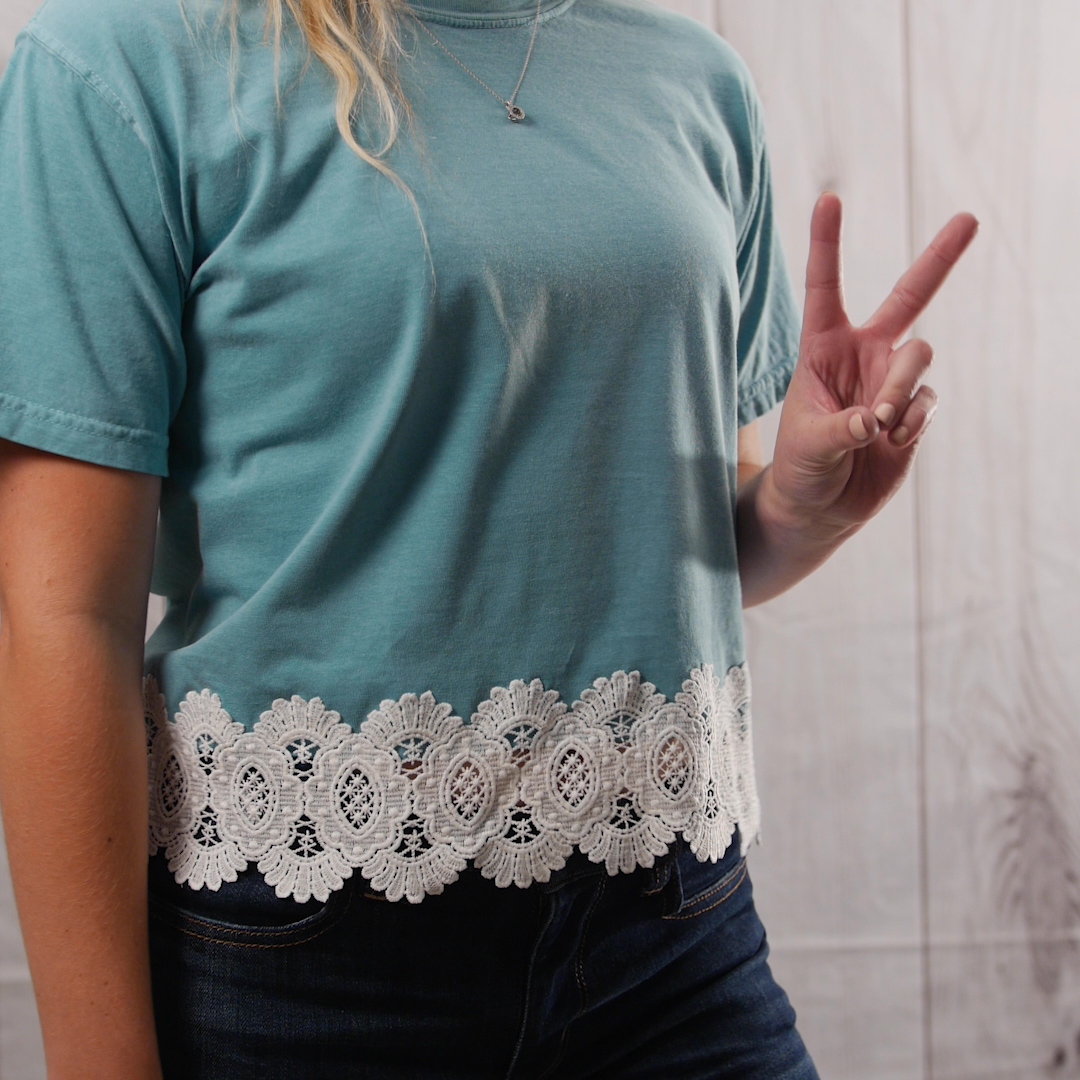
You might not get it exactly right the first time around, but keep playing and experimenting with different types of clothes and lace. Make some shirts short to wear with jeans and some long to wear with leggings. Try adding lace to a sweatshirt or a jean jacket. With Reverse Pattern Foot #34 and the BERNINA Free Hand System, it’s so easy!