How to Quilt with the Circular Embroidery Attachment
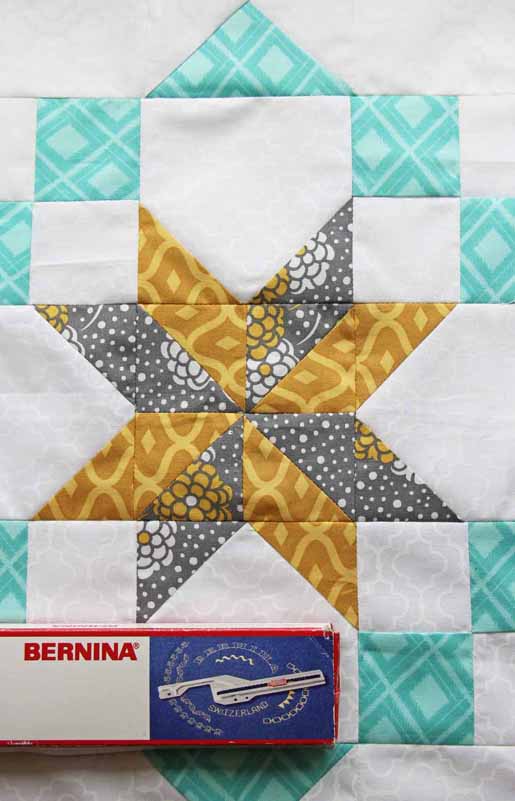
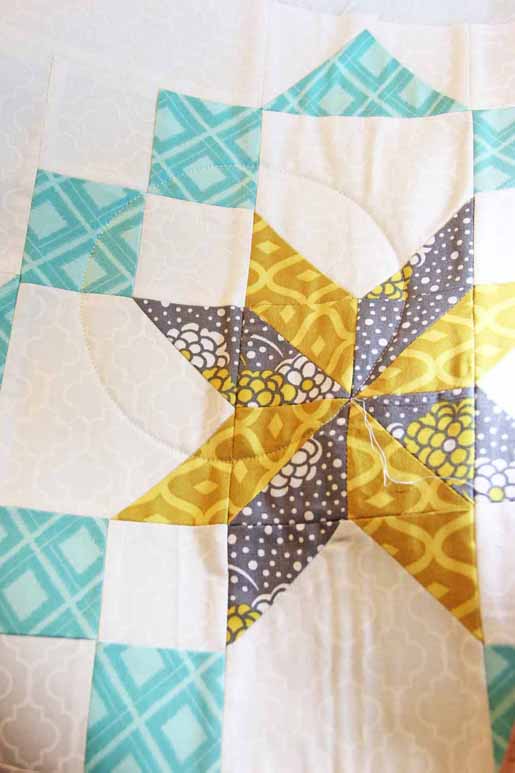
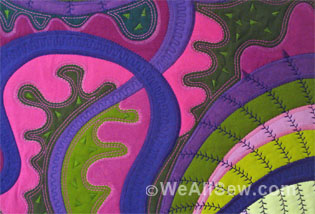
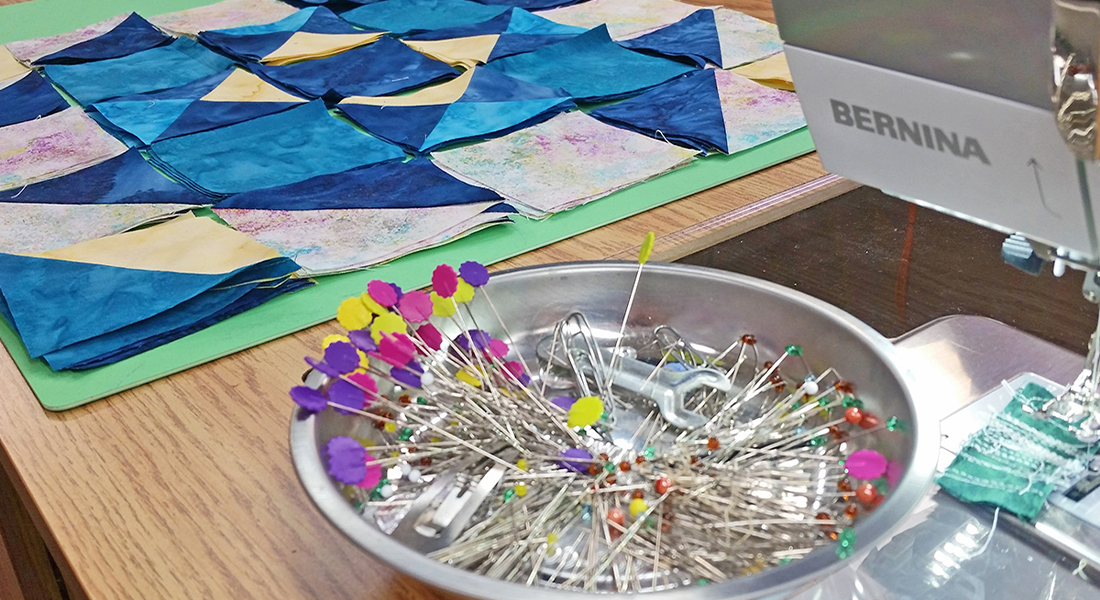
I’ve had this block sitting around my sewing space for a couple of years now. It was a trial block that wasn’t used in the quilt so instead of letting it go to waste I’ve turned it into a nice little quilted table topper.
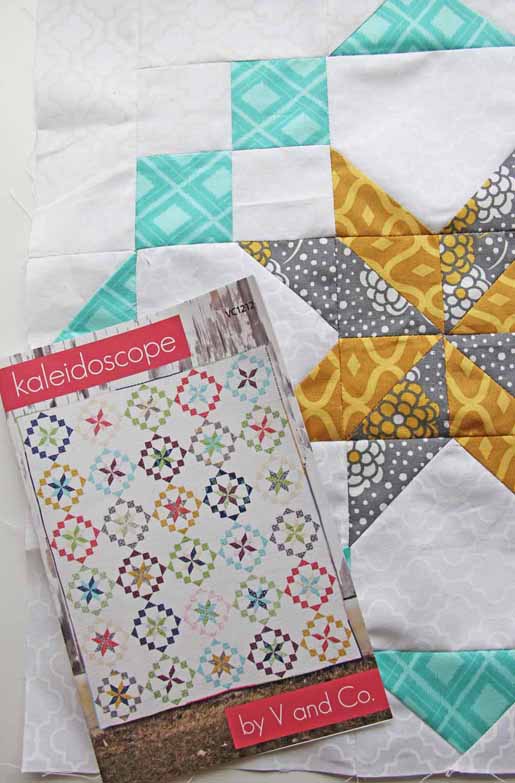
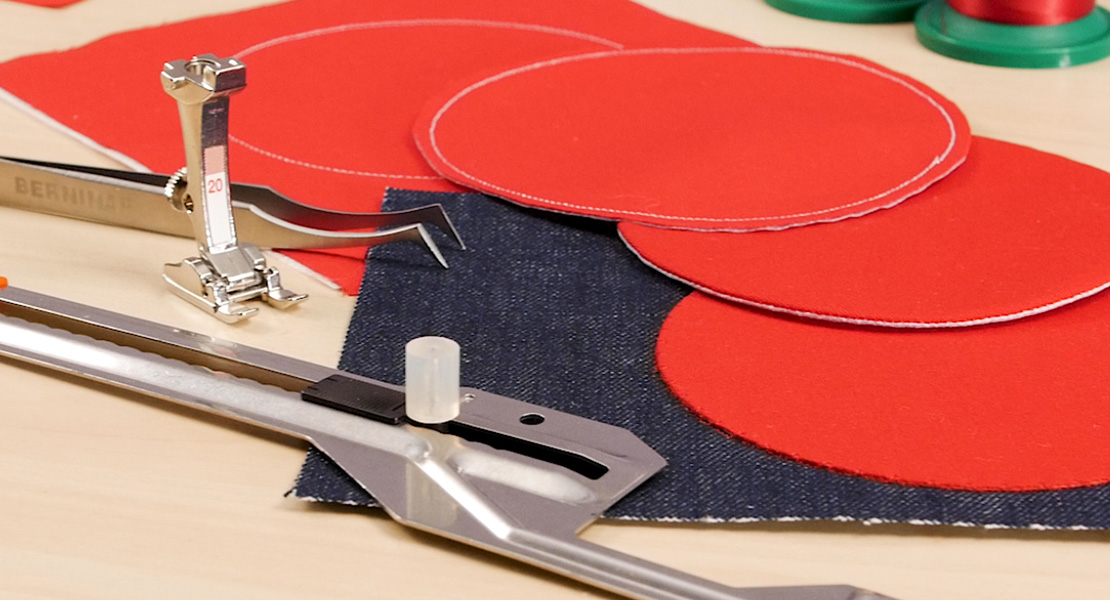
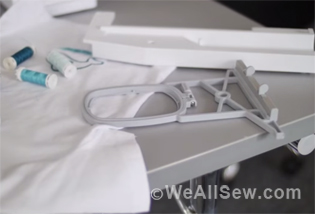
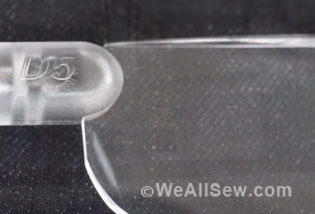
I used the BERNINA Circular Embroidery Attachment #83 as my guide tool.
Materials:
- BERNINA Circular Embroidery Attachment #83
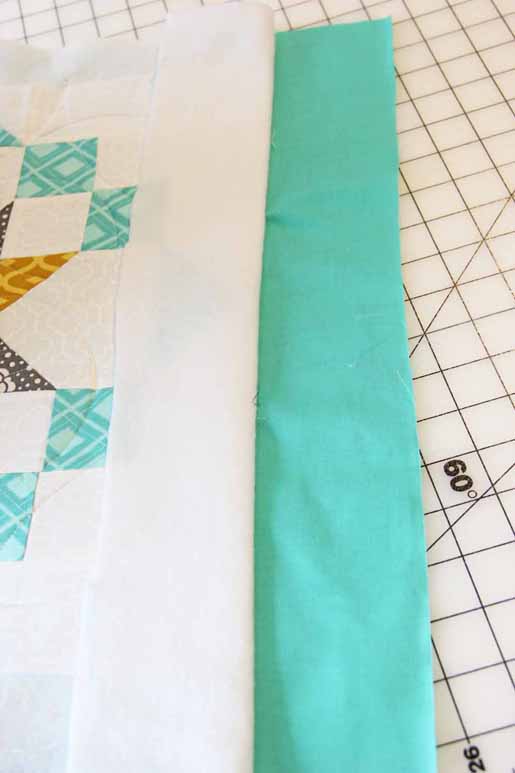
- Back fabric 4” larger than your block
- Fusible Batting 2” larger than your block
Once you fuse your batting and backing and block together it’s ready to quilt!
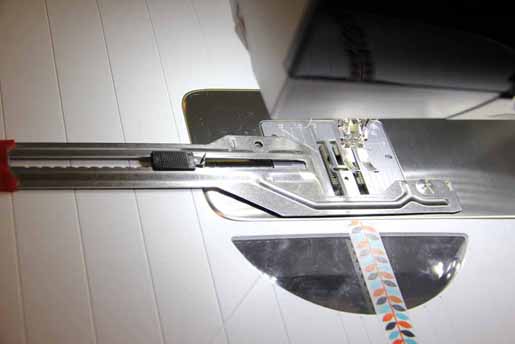
Place BERNINA Circular Embroidery Attachment #83 onto the machine, please look up on the BERNINA YouTube channel for help on tips and hints with this tool. Once you learn about this tool you will find lots of different uses for it.
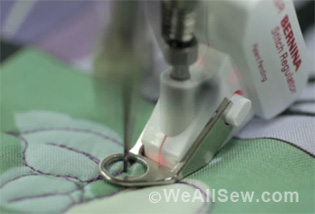
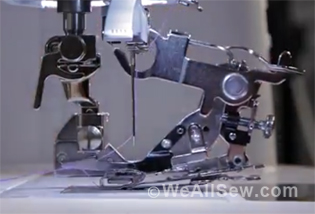
For this particular use of quilting in circles we will start by placing the center pin right at one of inside points.
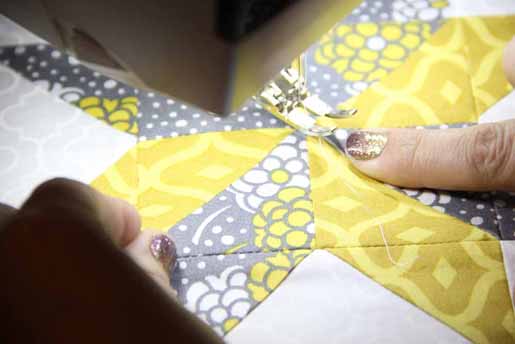
Once you have placed the pin where you want you can slide back and forth to see how large or small of a circle you would like to make. I wanted my circle to go right over the middle of the block and I tested by doing a full circle to make sure the quilting would stay on the block how I wanted it to.
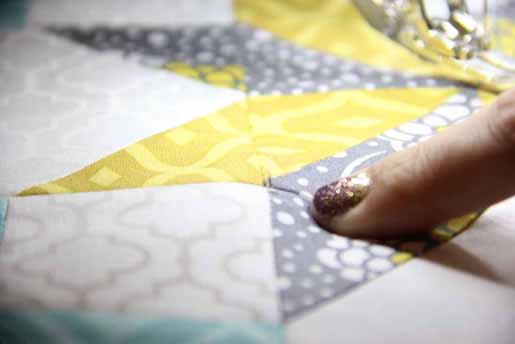
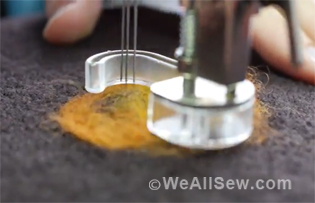
Every time you quilt your own quilts make sure you start by placing the needle down and up one time so it grabs and pulls both threads up. I started in the middle of the block.
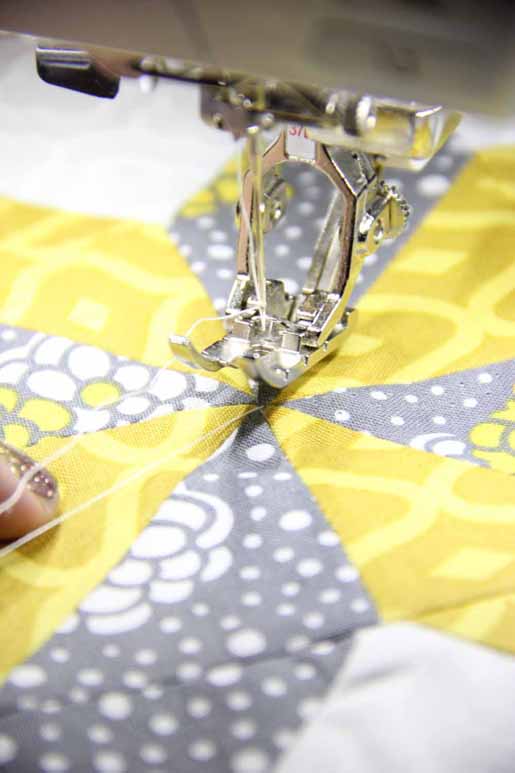
Gently guide with your hands (but let the machine move the fabric).
Continue until you go back to where you began.
Clip the extra thread.
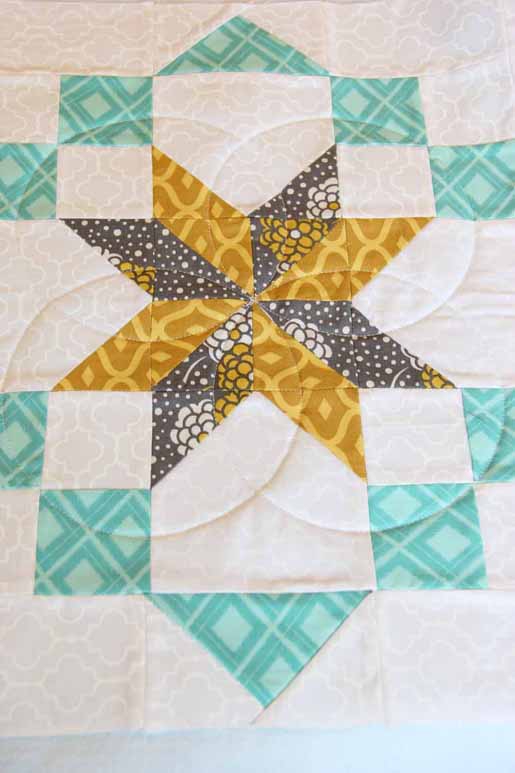
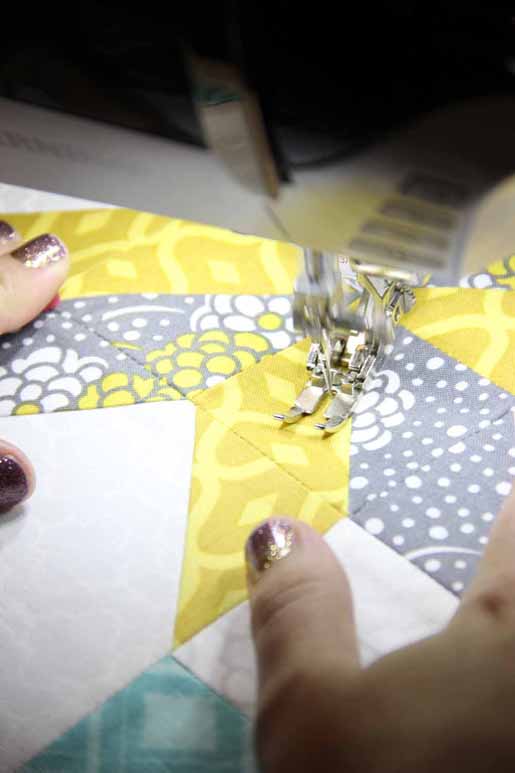
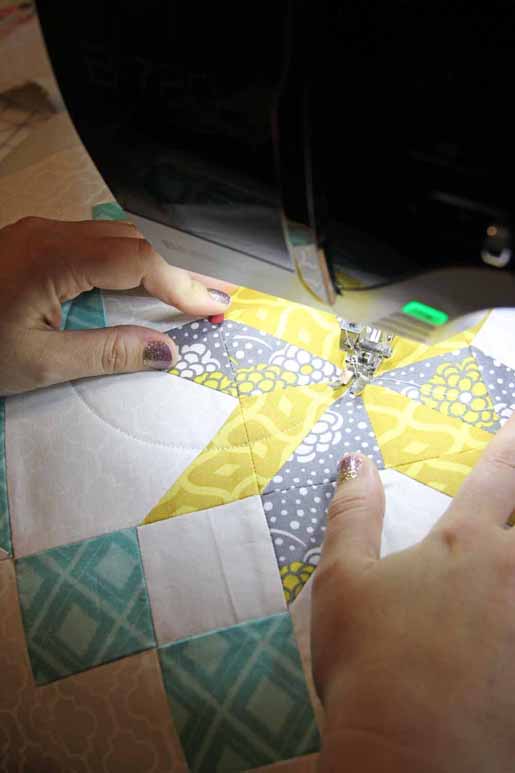
Repeat on all 4 inside points.

I wanted more quilting so I repeated around on the outside eight more times with four of the circles only being half circle.
Next we are going to trim off the extra batting. Move the backing away by folding it under you quilted block.
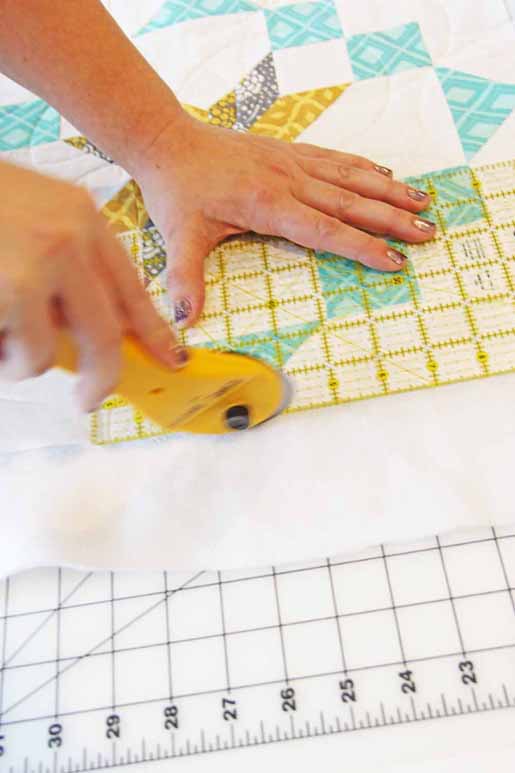
Next trim off the excess batting right up next to your quilted block (be careful not to cut the backing fabric).

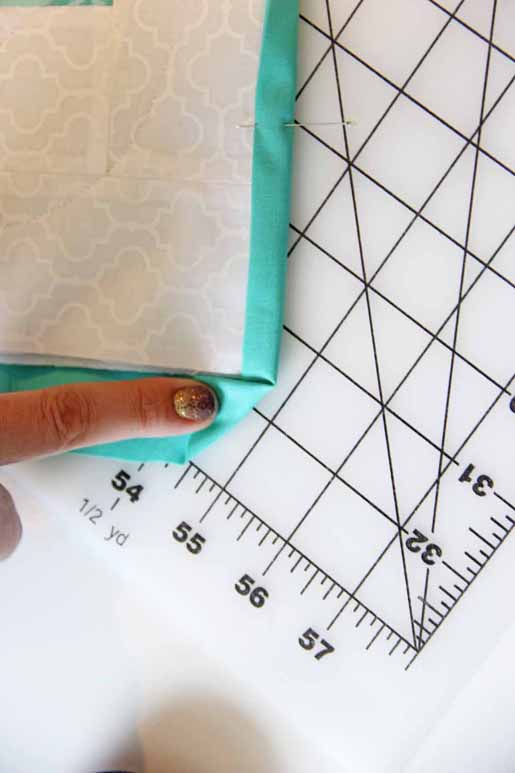
Next trim down the backing fabric on all four sides to 1”.

Fold in edge of backing fabric to the quilt block.
Fold again so the it over laps the quilt block (like binding), pin in place.
Fold in (dog ear) your corner fabric with the fold meeting up right next to the quilt block like shown in the picture.
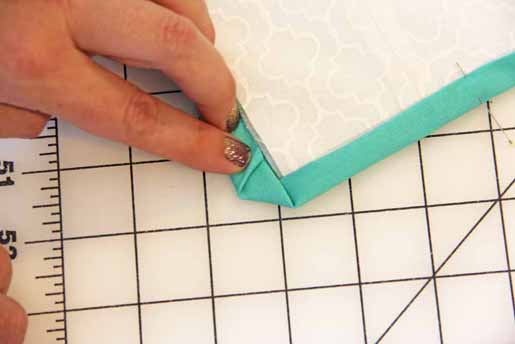
Fold in again your fabric like the picture shown (fold in the raw edge right to the edge of the block like we did on the first side).
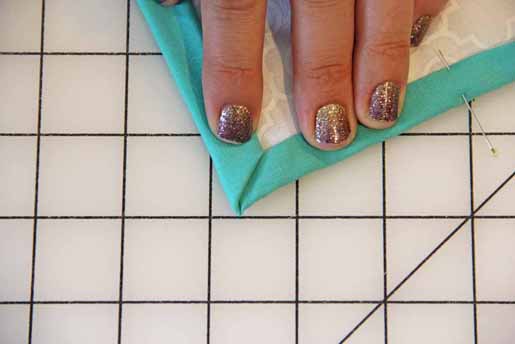
Fold in once again overlapping the quilt block (like the first side) but make sure your corner edge meets up at an angle to make a nice corner like the one show.
Pin in place.
Repeat on all sides and corners, and top stitch close to the binding’s edge.

What you might also like


10 comments on “How to Quilt with the Circular Embroidery Attachment”
-
-
When I want to print something from here I select the whole article, right click to copy, then open your word processing program, I use Word. Open an empty page and paste to the page. Save and print!
I hope this was helpful. -
Suedoug2004 – I would copy the text with the pictures & open a blank page in your software (Microsoft Word/Apple Pages) writing document & save it there as a document & label it easy so you can refer back to it. Plus you can print it out when you need to have it near your computer. Hope this is clear enough to be of assistance
-
-
Great tutorial and nifty project. Many thanks for this! I know what I’m doing this weekend ~ : )
-
Neat idea!
-
I notice the sample for this is a small 1 block square. Can this attachment be used to do circular quilting on a larger quilt (such as a lap or twin size)??
-
Dear lilliank,
You can do the circular quilting on larger quilts. A diameter of between 1 and 5 1/4″ inches (2.5 and 13.5 cm) can be set on the slide which results in a circle of about 10.5 inches in diameter.
When working with large quilts you might want to make sure that you work with a stiffer surface to ensure a good result when continuously rotating.-
But doesn’t the quilt have to turn in order for the circular design to work? It would be difficult to make that circle under the machine with a twin size quilt.
-
I would think that a larger quilt would prove too difficult to turn several times without causing shifting & crumbling of the layers. A smaller table runner or wall hanging is a good idea but would be concerned about anything larger
-
-
-
I have owned the circular attachment for several years, matter of fact I can not recall when I purchased it, but nevertheless I have yet to use it. I would probably try this method because if it works without incident then it would be great for small projects such as pillows, wall hangings, table runners, etc.
Leave a Reply
You must be logged in to post a comment.

LOVE this idea – I’ve had the circular attachment for quite some time, but had no idea what else to do with it other than the project for which I purchased it. This post has given me a lot of ideas! (Is there any way I can print this as so as to have the information on hand, or have I totally lost my mind trying?) Now all I have to do is find it ——