Intrinsic Clutch
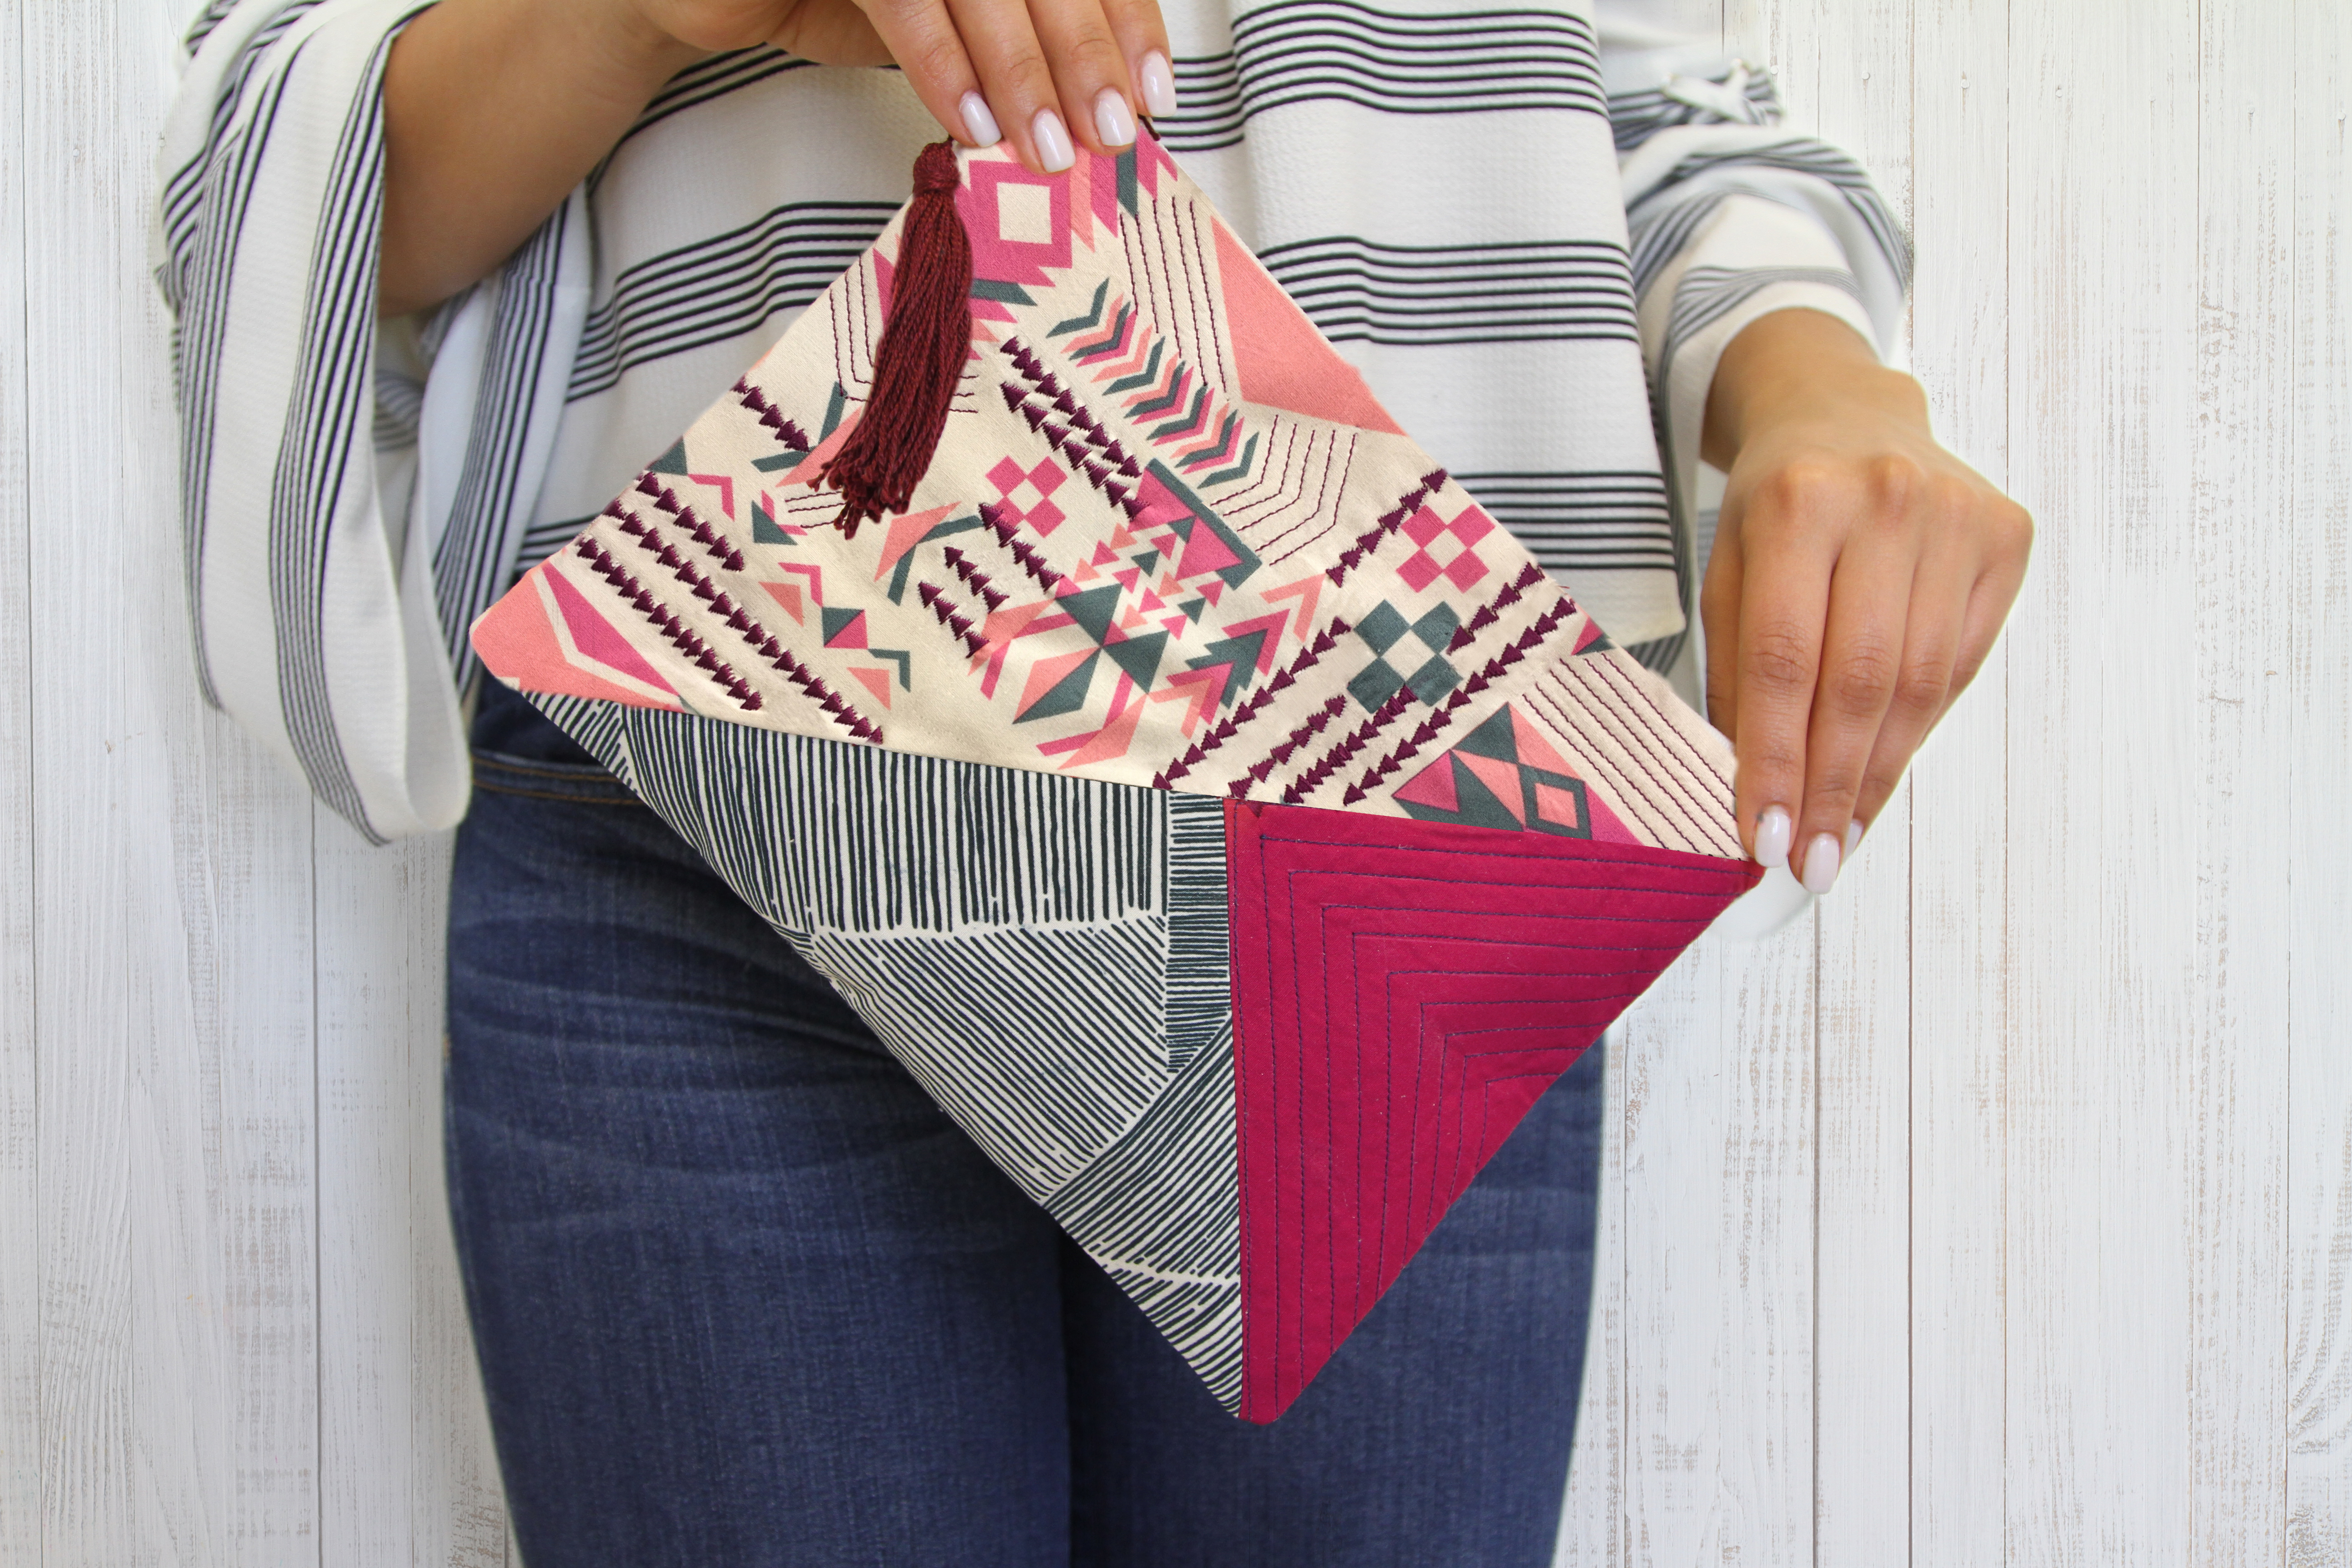
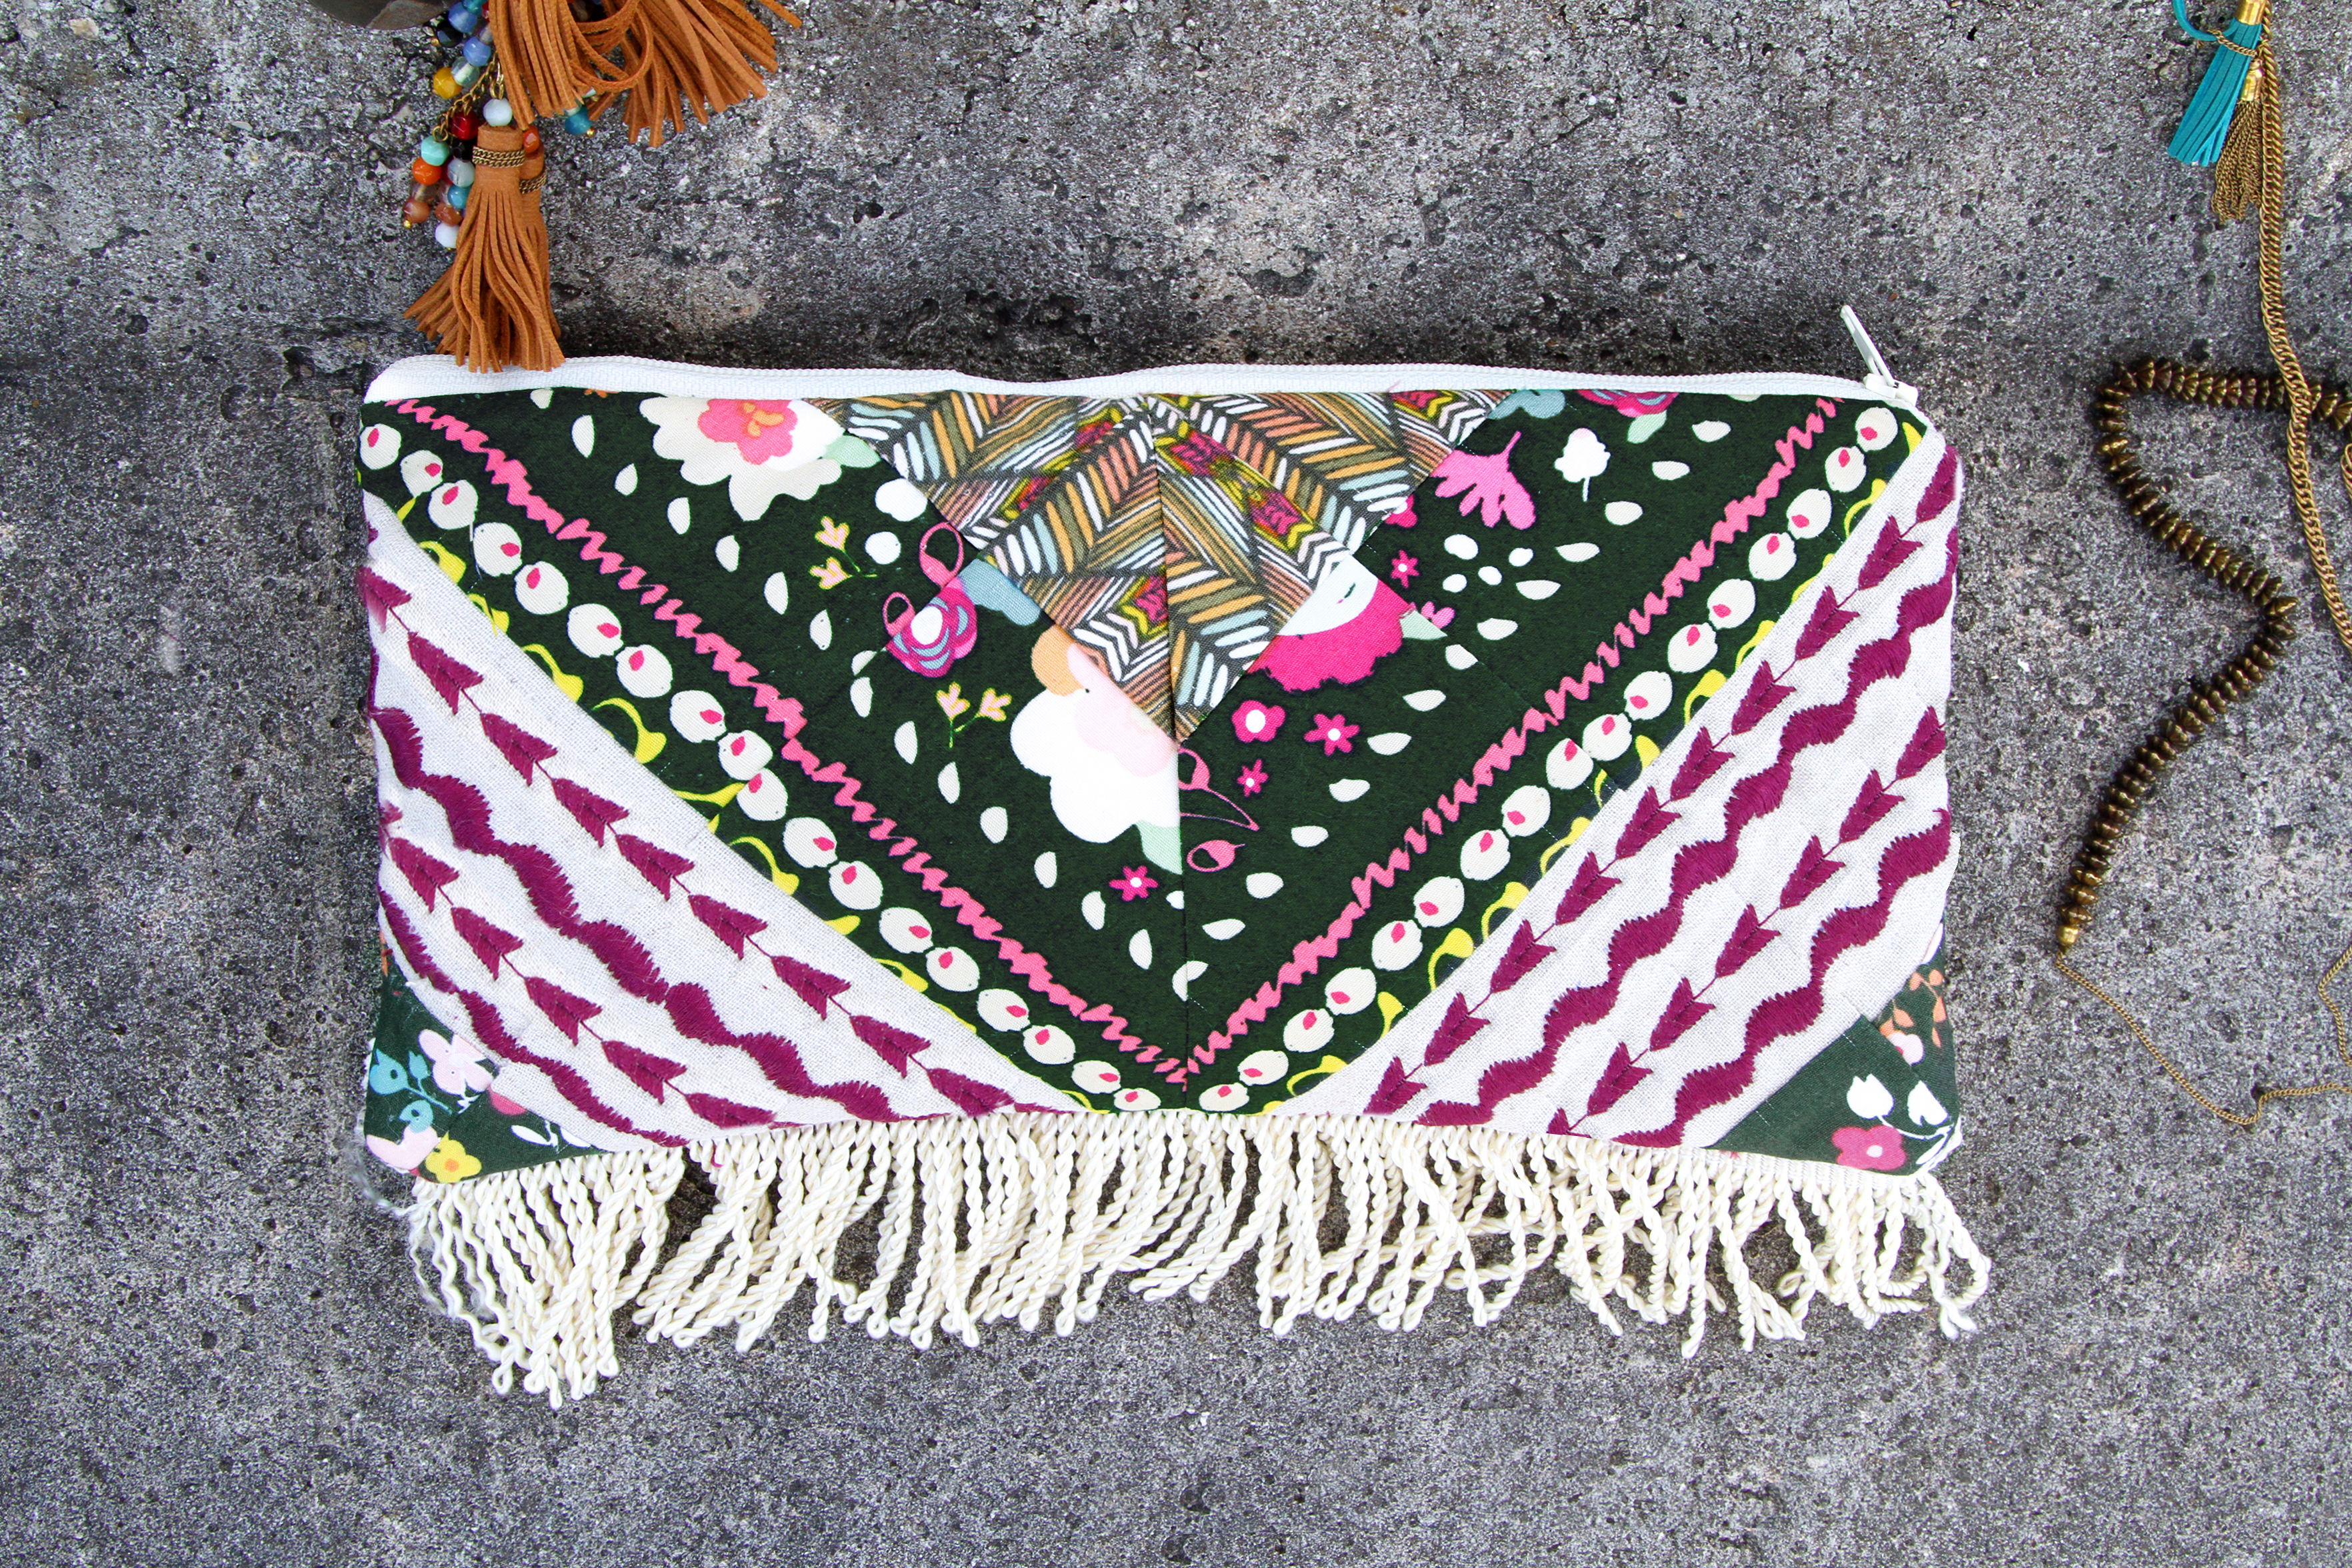
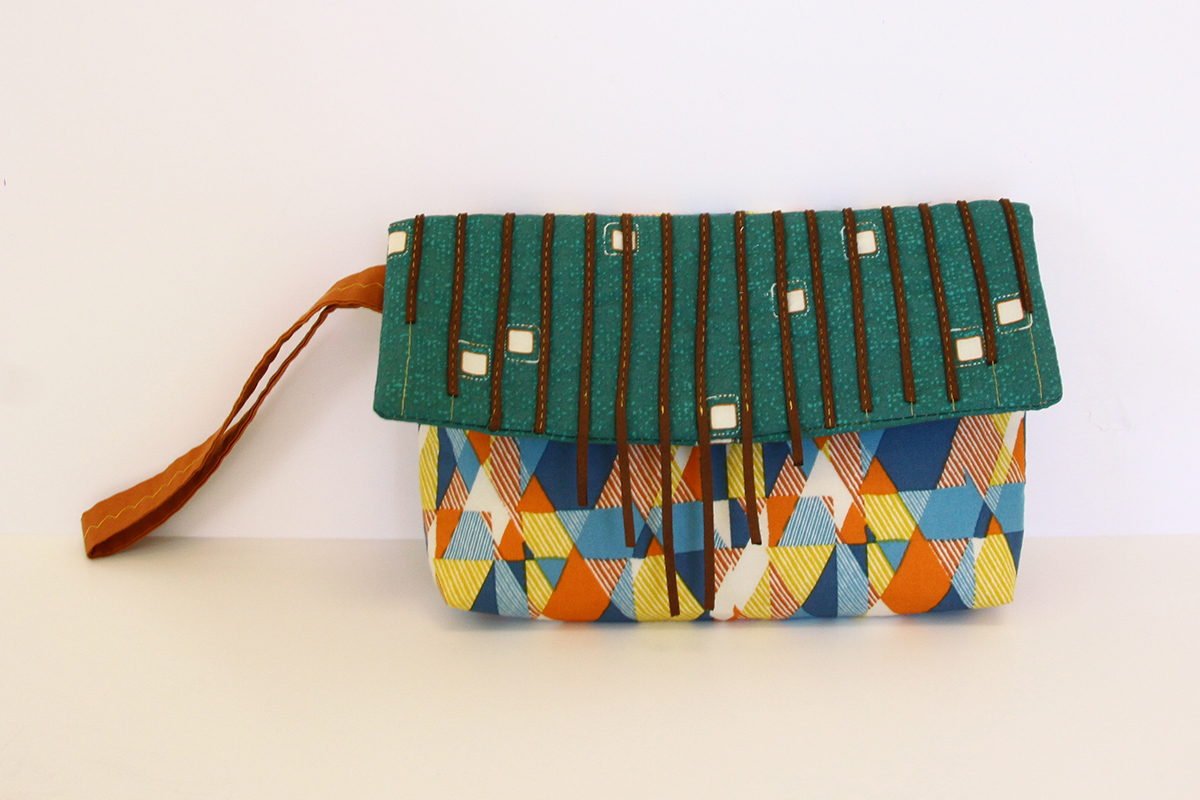
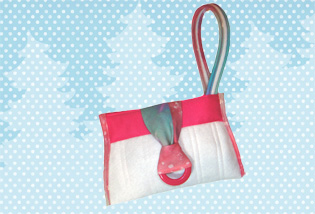
I really went sewing crazy with the arrival of Essentials II fabrics! I had been sewing nonstop and really wanted to share with all of you this adorable Intrinsic Clutch. When I was playing around with the countless ornamental stitches that my machine has, I felt extremely inspired! I picked one, very hard decision because I love them all, and start designing this lovely clutch. It is very easy and fun, follow the instruction and enjoy making this beauty.
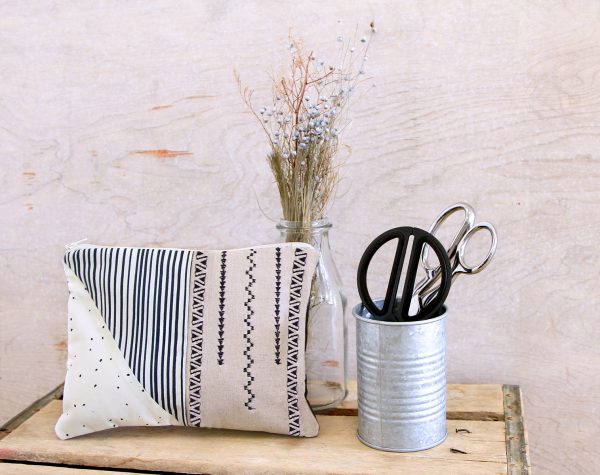
Materials to sew the Intrinsic Clutch
- 1 Fat Eight of Essentials II Fabrics ESS-II-152
- 1 Fat Eight of Essentials II Fabrics ESS-II154
- 1 Fat Eight of The Denim Studio DEN-L-4000
- 1 Fat Eight of The Denim Studio DEN-S-2000
- 1 Fat Quarter of Dare Fabrics DAR-54305
- 3/8 yard of fusible interfacing
- Universal needles, size 80/12
- Your sewing machine: I sew on a BERNINA 790
- Open embroidery foot (BERNINA Open embroidery foot #20/#20C/#20D) and all-purpose presser foot (BERNINA Reverse Pattern Foot #1/1C/1D)
- AURIFIL cotton thread #2783
- Zipper Presser foot (BERNINA Zipper foot # 4D)
- One (1) 11” zipper
Download the Intrinsic Clutch Templates:
Cutting Instructions:
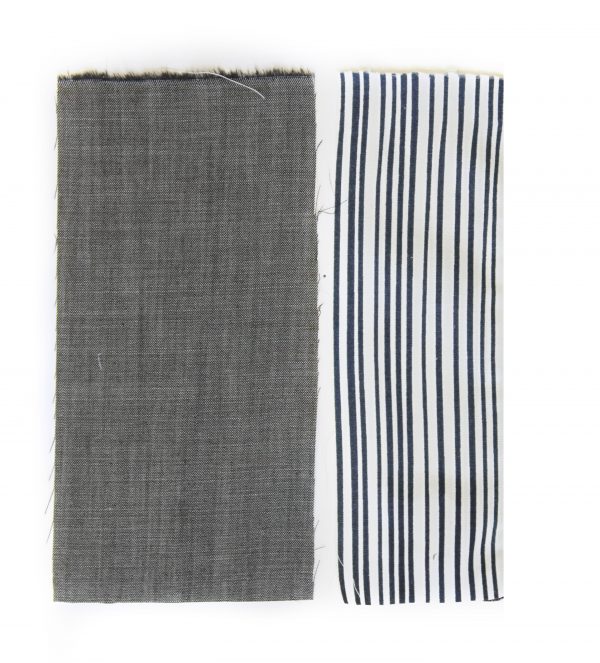
- Cut 2 (two) 4″ by 8″ of DEN-S-2000
- Cut 1 (one ) 3″ by 8″ of ESS-II-152
- Cut 2 (two) 11″ by 8″ of DAR-54305
- Cut 1 (one) 11″ by 8″ of fusible interfacing
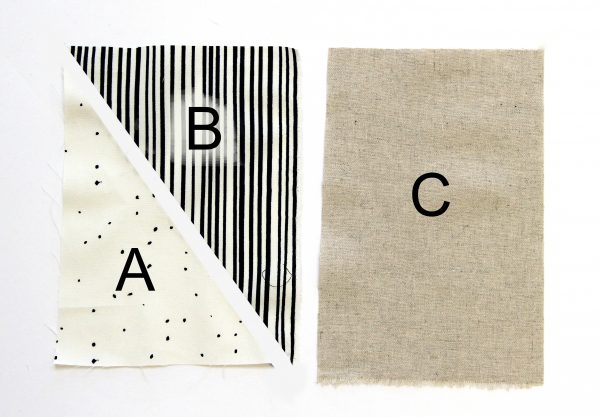
- From fabric ESS-II154 cut 1 (one) of template A (seam allowance included)
- ESS-II-152 cut 1 (one) of template B (seam allowance included)
- From fabric DEN-L-4000 cut 1 (one) of template C (seam allowance included)
- Cut 2 (two) 11” by 8” Interfacing
Step 1 Front of the Clutch
*Using 1/2 seam allowance
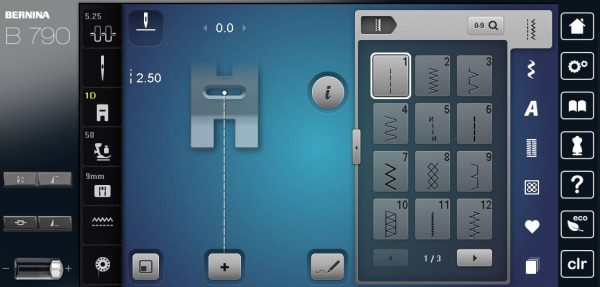
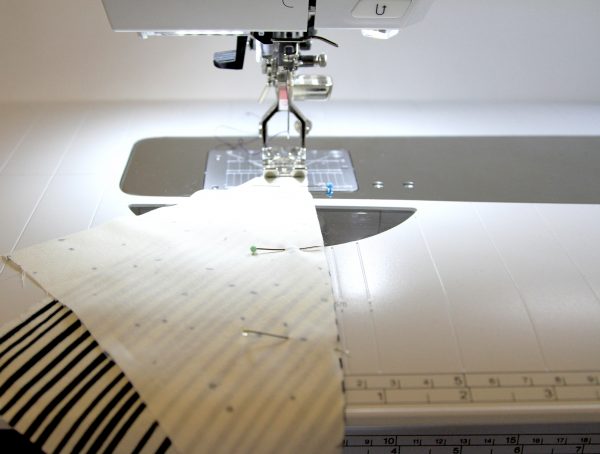
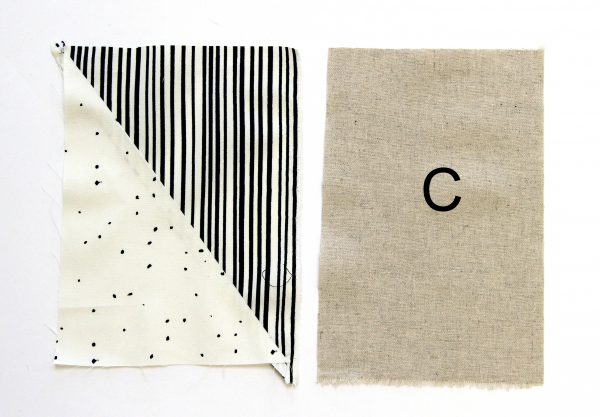
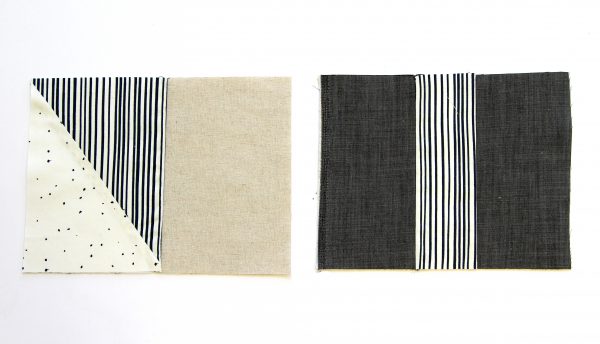
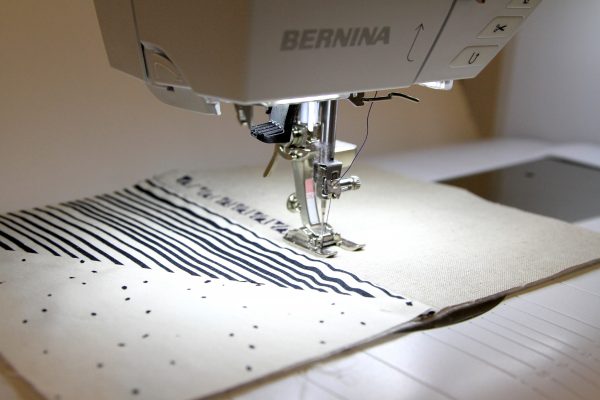
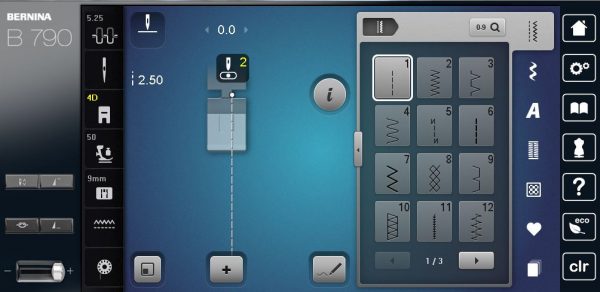
Lets start by attaching template A with template B, prep your sewing machine with all-purpose presser foot (BERNINA Reverse Pattern Foot #1D) and practical stitch #1.
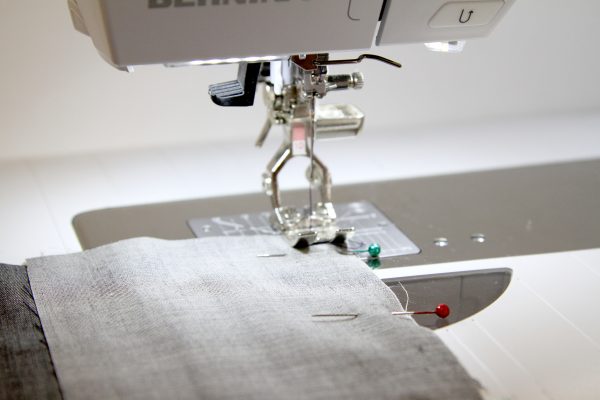
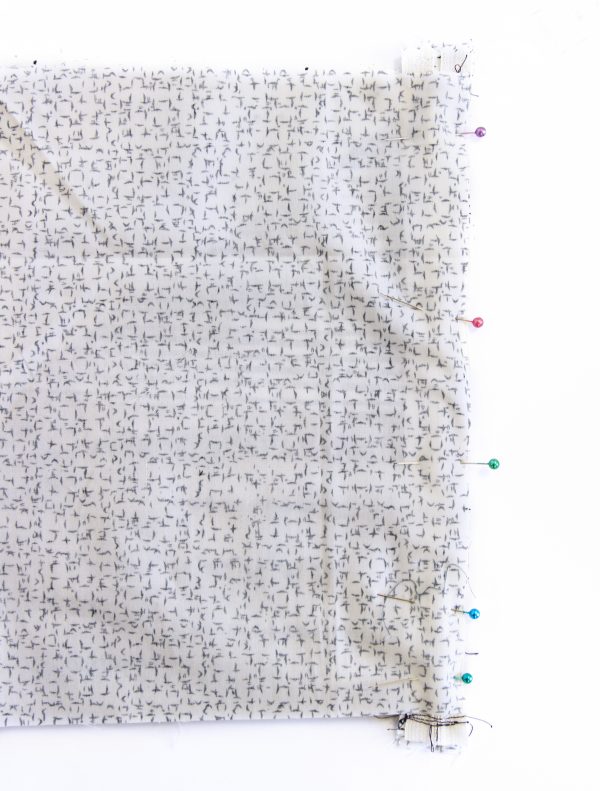
Pin panels in place and straight stitch from top to bottom .
Now lets attach the now completed panel A/B to panel C.
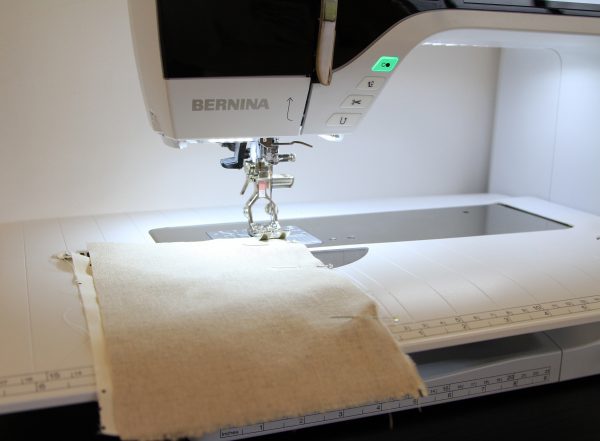
Pin both panels in place and straight stitch.
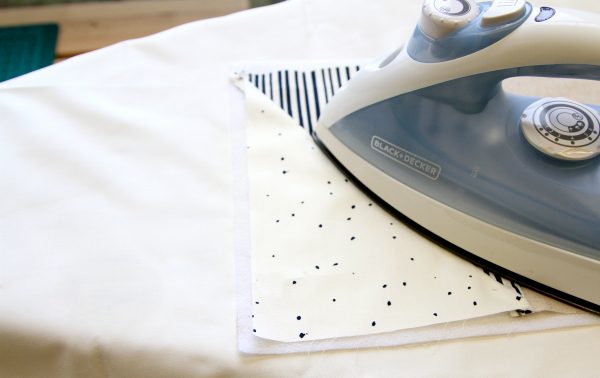
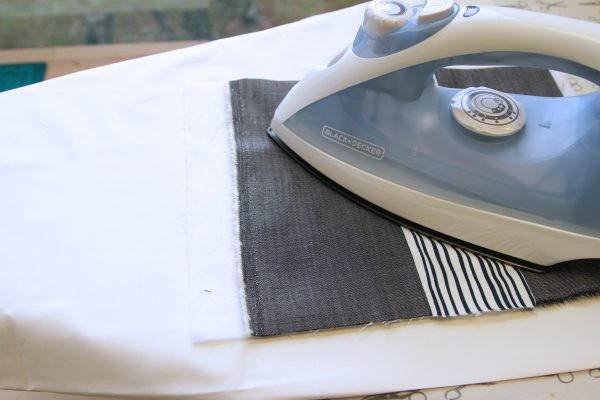
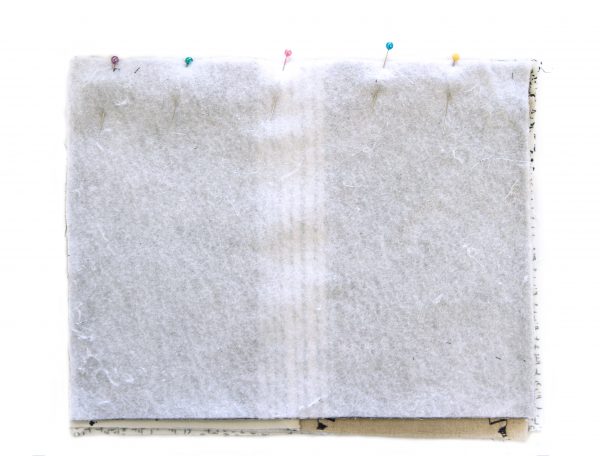
Take one of the 11” by 8” fusible interfacing and iron press to wrong side, if necessary trim edges.
Step 3- Back of the Clutch
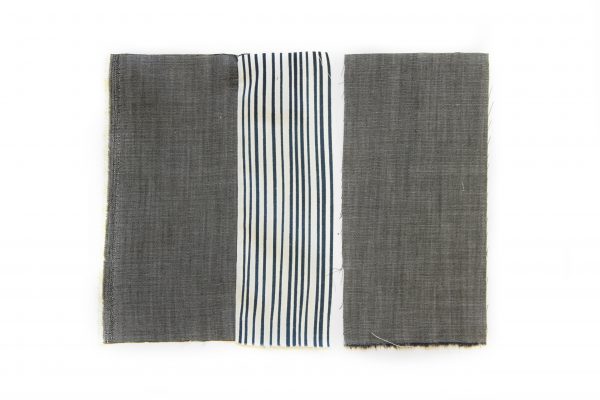
Grab 1 (one) 4″ by 8″ of DEN-S-2000 and 1 (one) 3″ by 8″ of ESS-II-152 and stitch them together.
Now it is time for the last 4″ by 8″ of DEN-S-2000 to be attached to ESS-II-152 as instructed below.
Pin in place and straight stitch from top to bottom.
Take one of the 11” by 8” fusible interfacing and iron press to wrong side, if necessary trim edges.
Now we have both, our front and back, completed!
Step 4- Satin Stitches
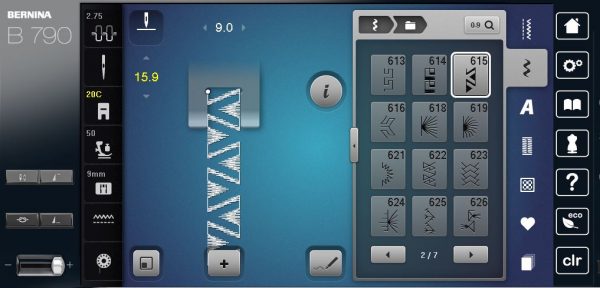
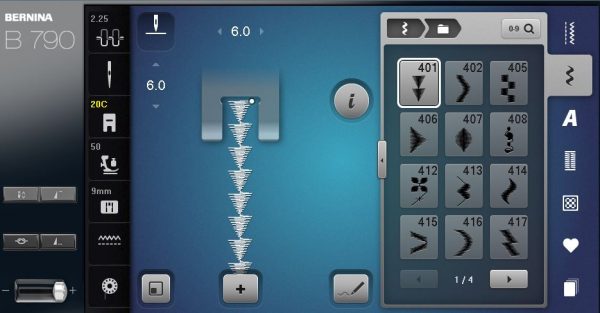
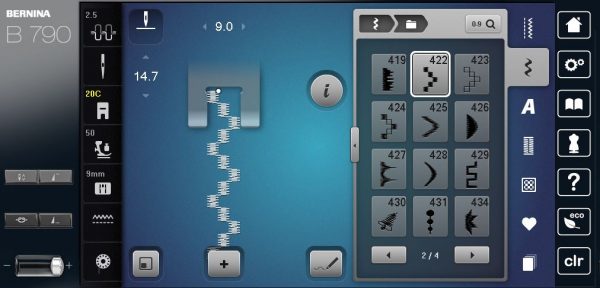
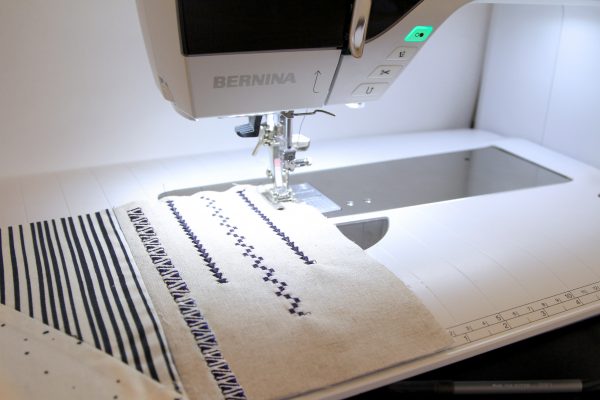
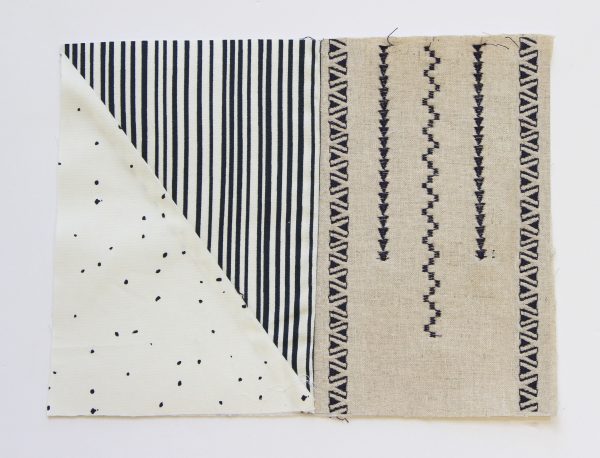
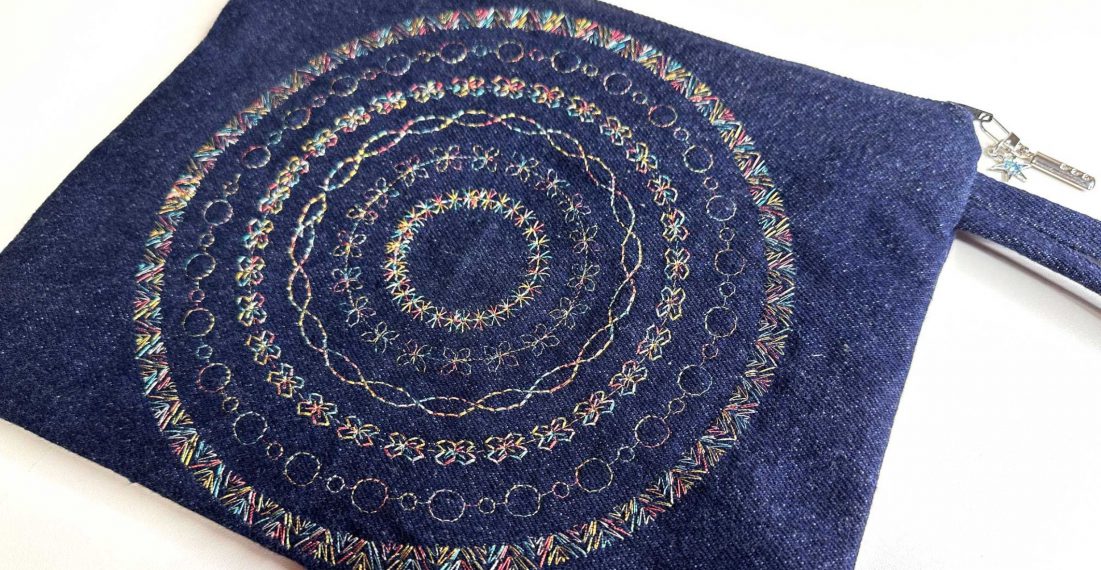
Now that we have the front and back of our clutch ready, it is time to satin stitch panel C. I am going to use satin stitches #401 and #422 along with ornamental stitch #615.
A. Change the presser foot of your machine to BERNINA Open embroidery foot #20C and select ornamental stitch #615
Begin stitching 1/4” a part from the edge of panel C.
B. Now, stitch 1/2” a part from the previous ornamental stitch using sating stitch #401. Sew 4” from top down.
C. Once that’s complete change to satin stitch to #422 and stitch 1/2 a part from previous stitch. Sew 5 1/2” from top down.
Repeat step A and B as illustrated in the image below.
Now we have the stitches complete!
Step 5- Attach Zipper
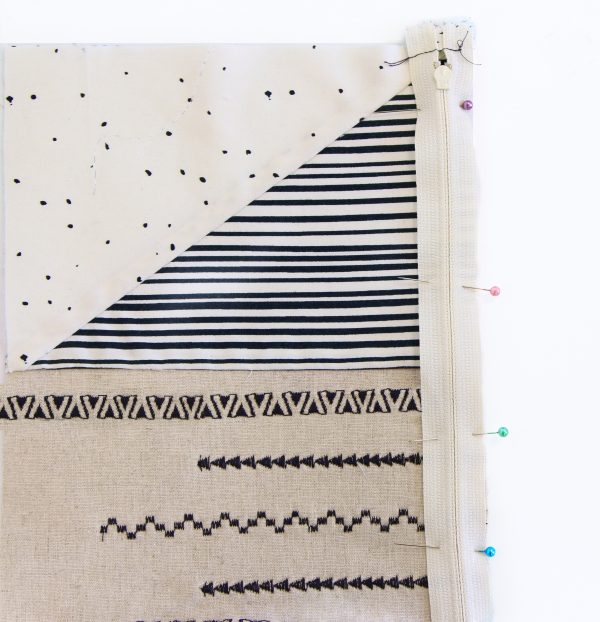
Get the front of the clutch and place it with the right side of the fabric facing up. Next place the 11” zipper facing down, as shown below.
Lastly, place the 1 (one) 11″ by 8″ of DAR-54305 with the wrong side of the fabric facing up, and pin in place.
Change the presser foot on your machine to the Zipper Presser foot (BERNINA Zipper foot # 4D) and straight stitch close to the zipper teeth..
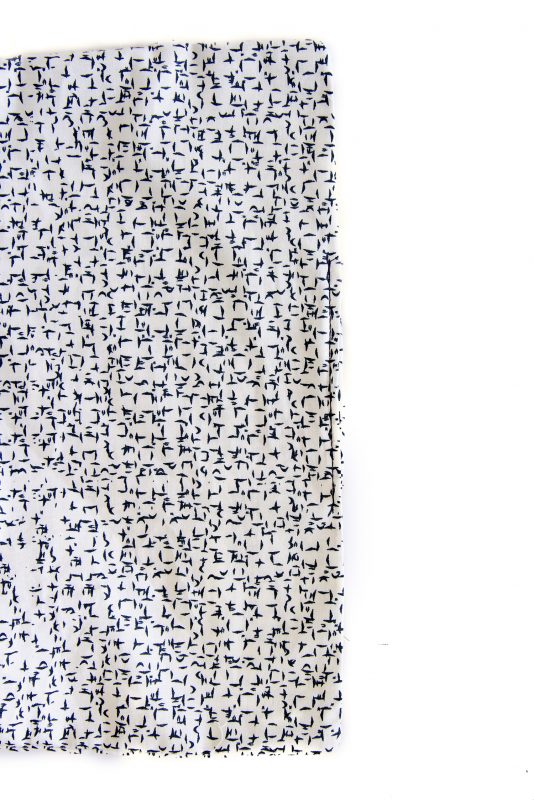
Now place the last 11″ by 8″ of DAR-54305 facing right side up.
Next add the previous’ step piece and set it as instructed below, with the front of the clutch facing up
And lastly, place the back of the clutch with the wrong side (interfacing) facing up, pin in place and straight stitch from top to bottom close to zipper teeth.
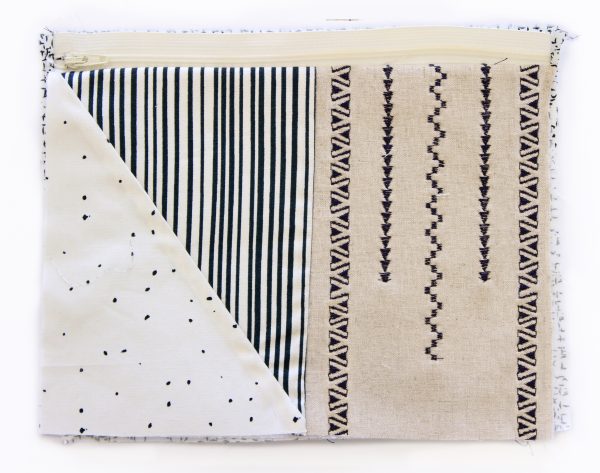
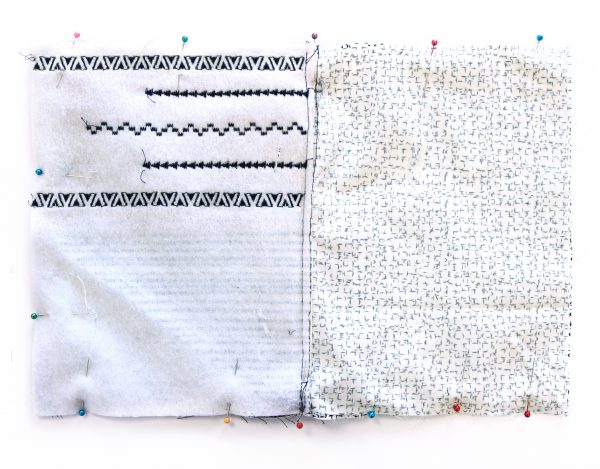
Lay out your pieces separating outer fabric on the left and lining on the right. Changing your BERNINA Zipper foot 4D to the Reverse pattern foot #1D, stitch all around using straight stitch #1 leaving a 5″ opening at the lining. Make sure the zipper is open because when you pull the clutch through, you are going to come through the zipper. After this, clip all four (4) corners.
Once it’s stitched all around, pull the clutch through the open zipper, pull the corners out and machine close 5″ opening. You can either hand stitch it or machine stitch it.
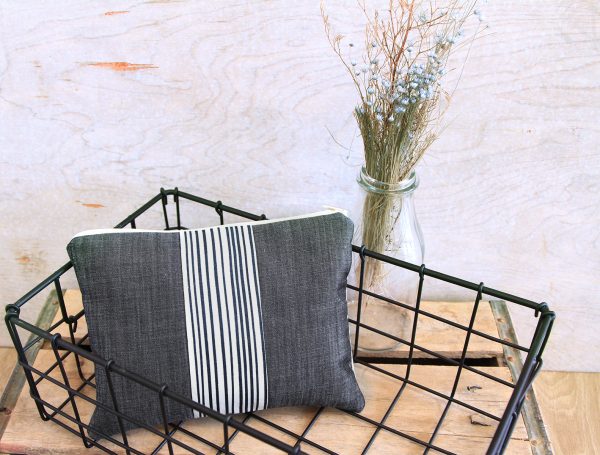
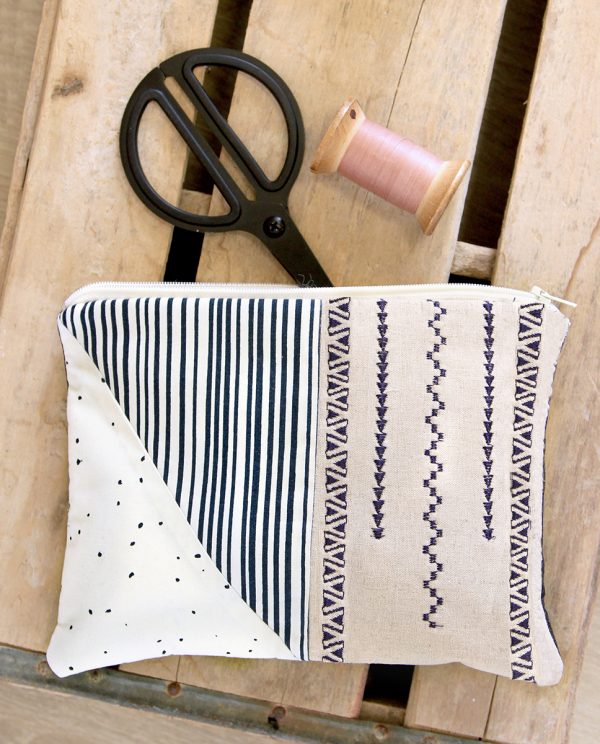
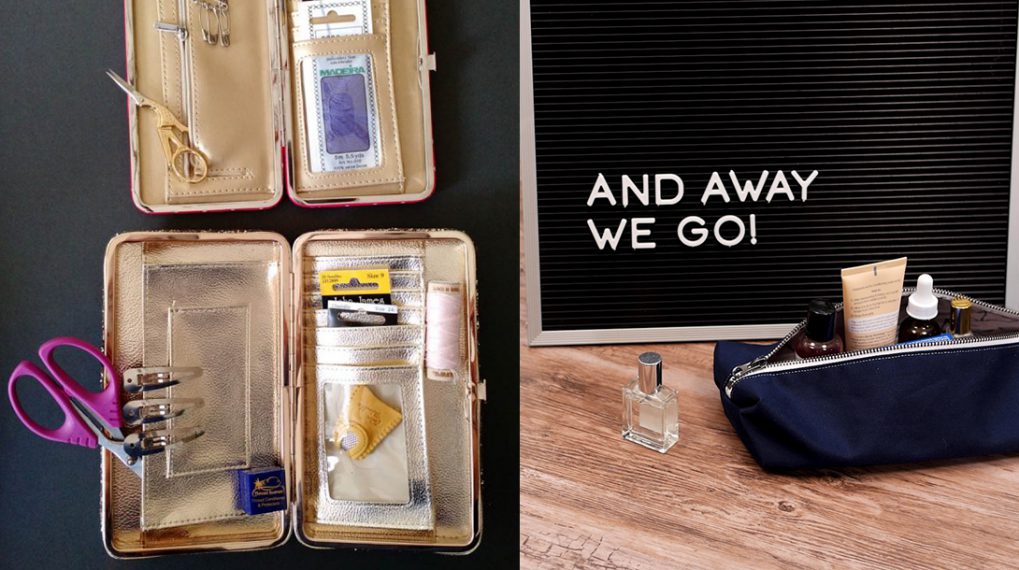
Complete this step by placing the lining inside and you are done! Now you have this adorable clutch that can be used to storage sewing supplies or make up! Have fun sewing this cutie.





I’m new to bag assembly, this is an awesome gift idea! And visually what I need
But I am confused on last piecing of lining/ interface, It looked like it was at the back of the clutch. then photo shows side by side of front and and lining.
I’m confused of how to proceed? The lining has to be attached to the other side of the zipper right? ( so I guess that’s what’s happening on back of front clutch? )
Then I guess your showing it flat on both sides to sew all around the front, oh and the back! , and the lining?? I’m more confused then when I started typing lol.
May I ask then if we are pulling through the zipper why do we keep part of lining unstitched??
I’m epileptic and sometimes my mind is slow in thinking.
Thanks in advance
I understand the completed part of front and back clutch and zipper and lining- is lining attached to zipper at all or just innermost of clutch- just not sure how it gets to that point lol
see leaving zipper open 5” you pull clutch through zipper and sew lining & stuff lining in.
This will be a great way to use my specialty stitches- if I have B438 which only has 5.5” stitches can I use #20 clear foot or #1 foot instead of embroidery foot?
My machine doesn’t embroidery.
Thanks again