Kennel Quilt Tutorial
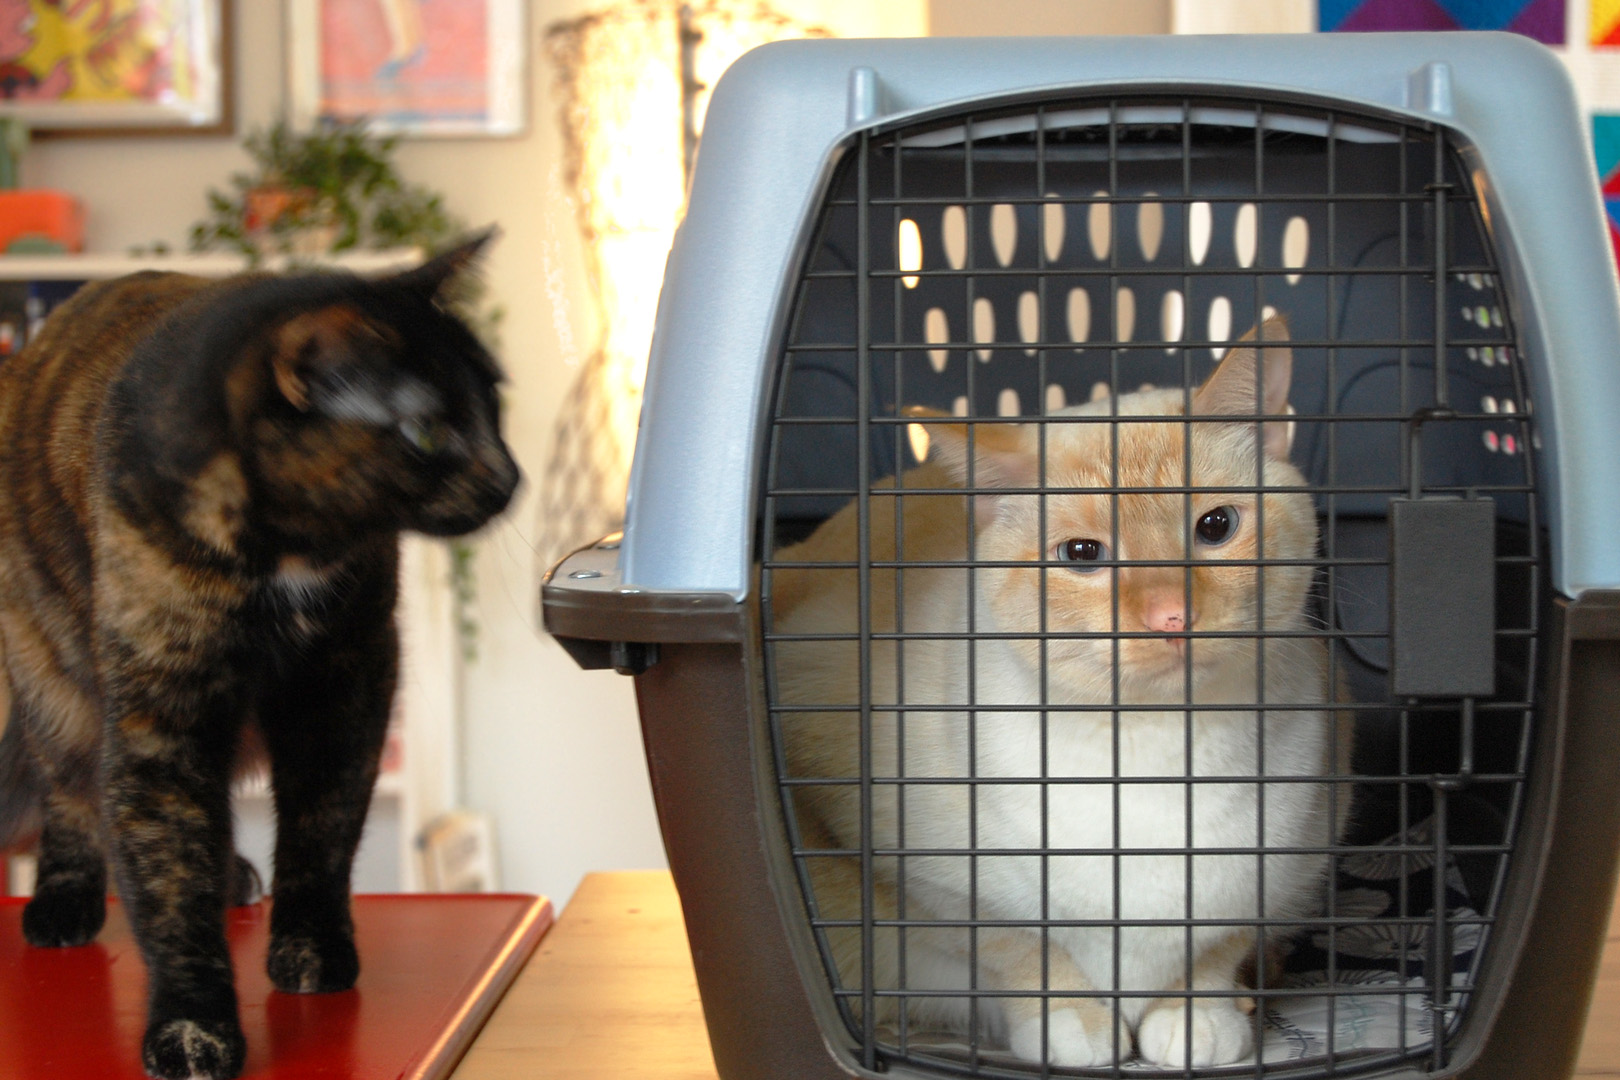
I first learned about making and donating small kennel quilts through a WeAllSew post about them a few years ago. The quilts are made to fit small animal pet carriers and kennels, and help provide a small bit of comfort to animals in shelters. We donate kennel quilts to the Tree House Humane Society where we adopted our sibling kitties, Sir Isaac Meowton and Miss Bea Arthur. Kitties can cuddle with the kennel quilts when they are acclimating to The Tree House, and then take the quilts home with them when they are adopted.
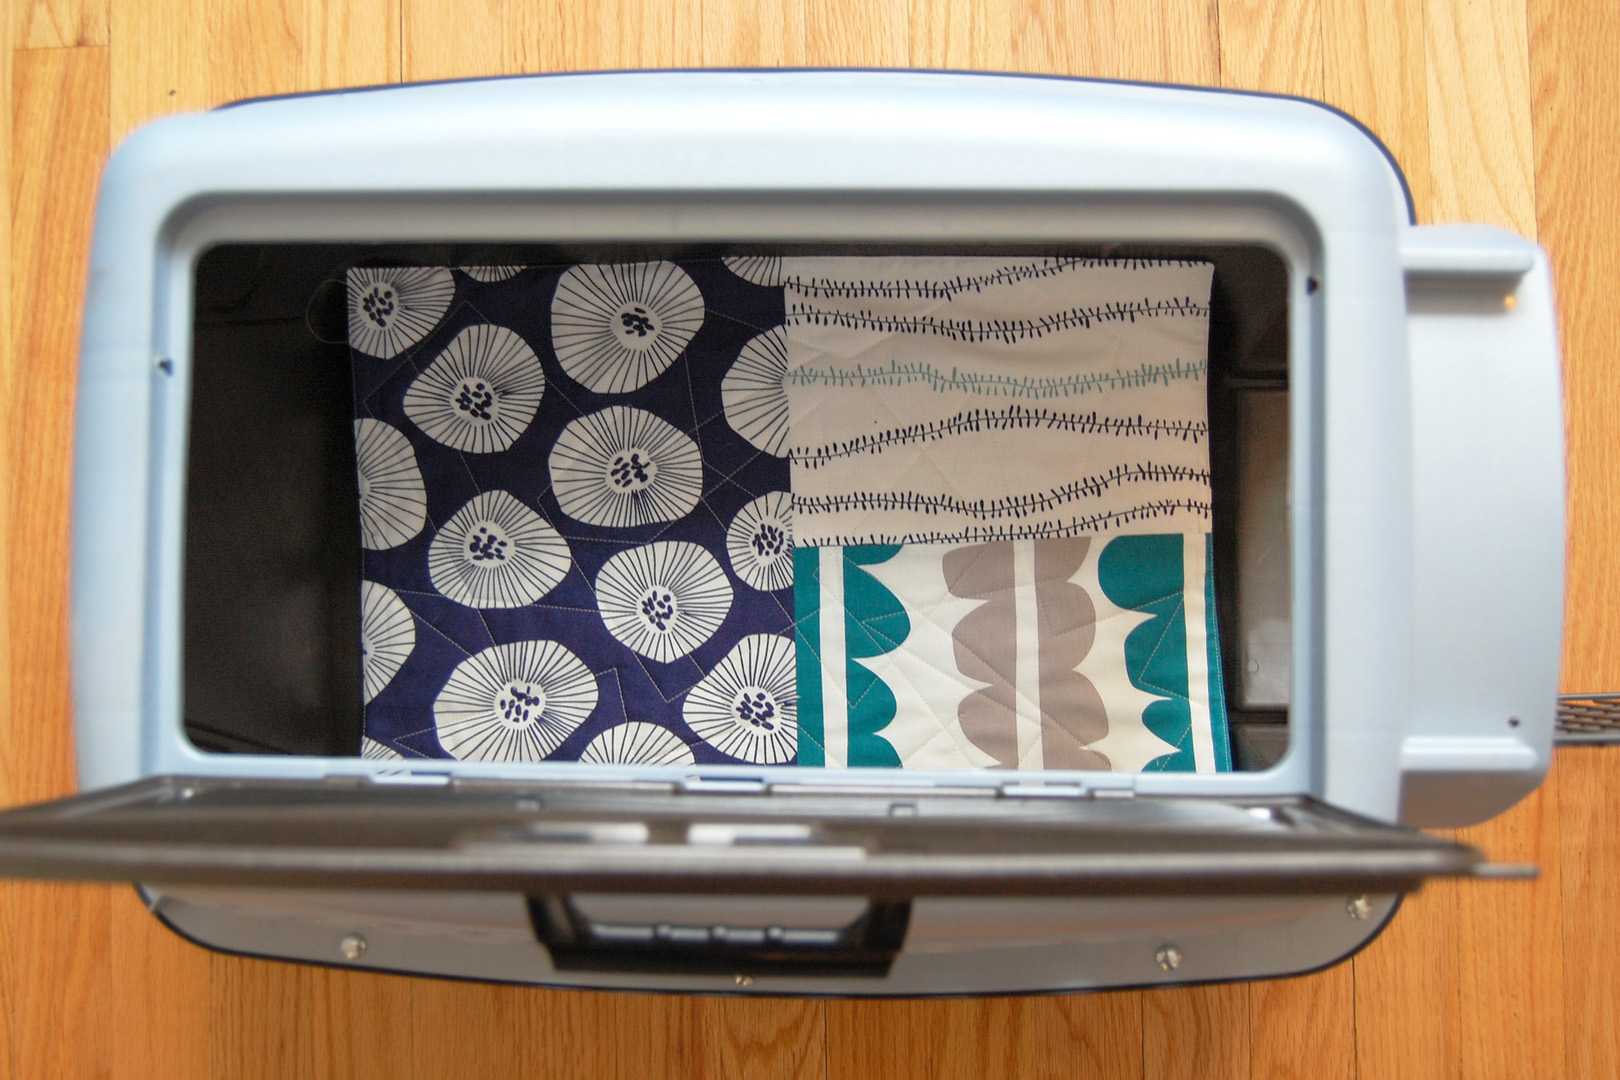
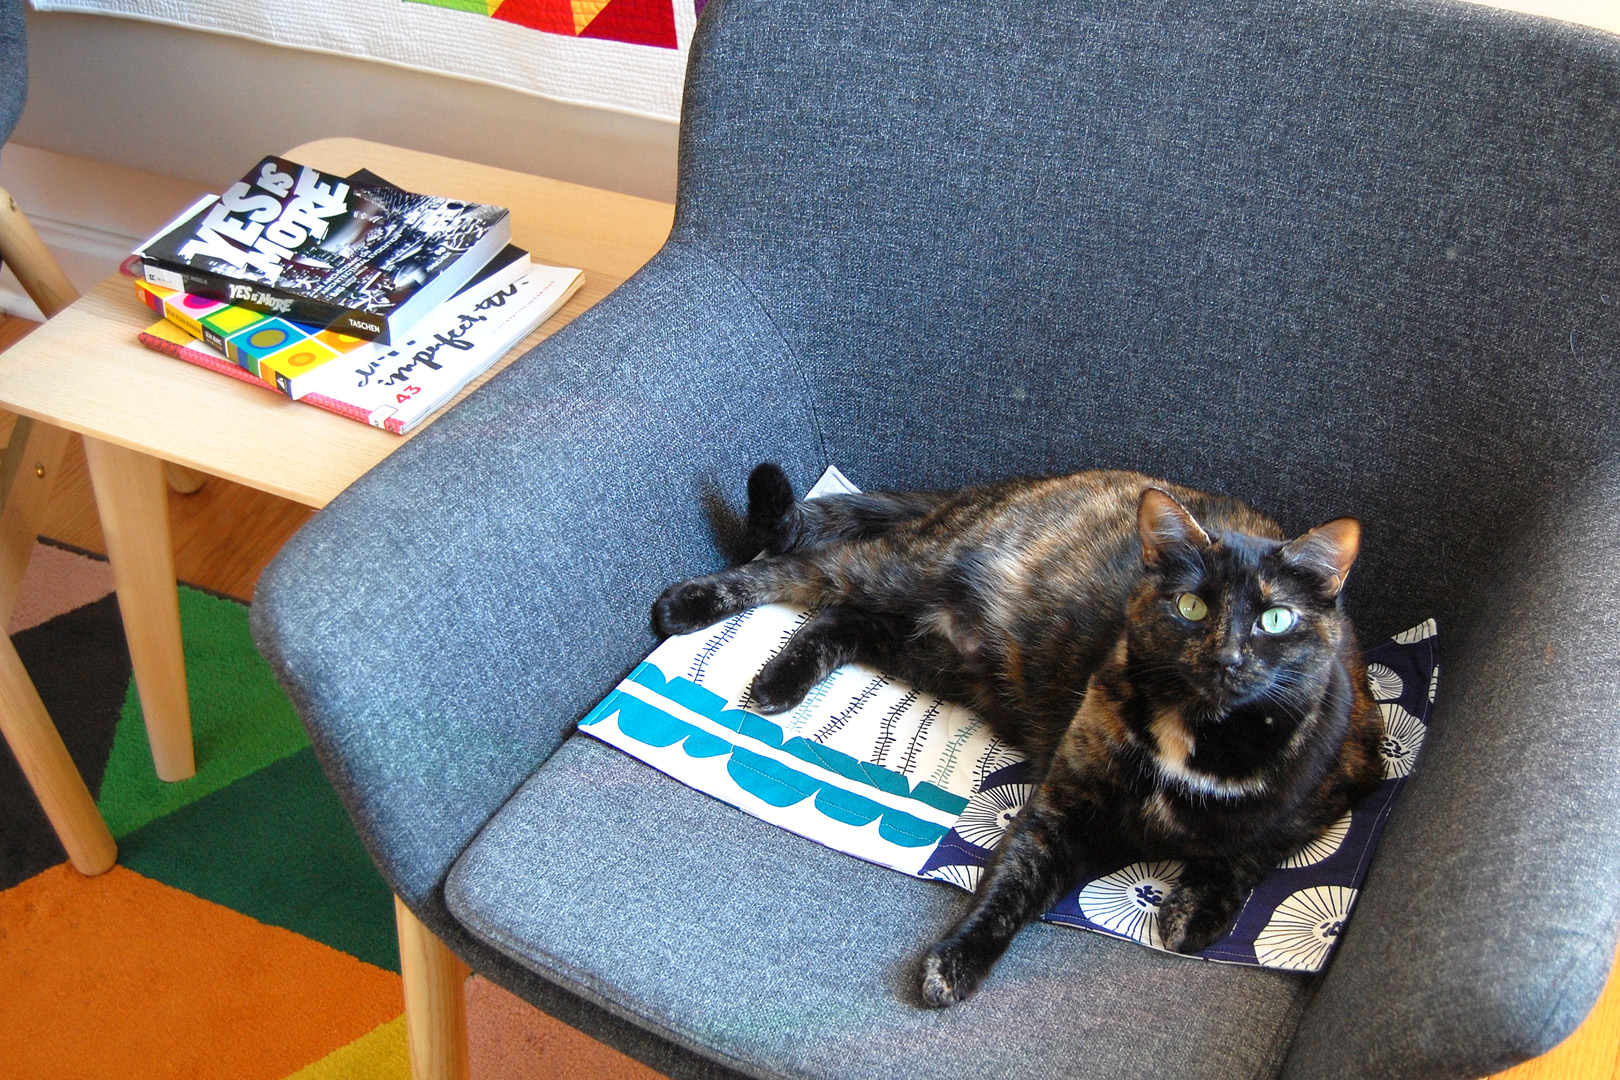
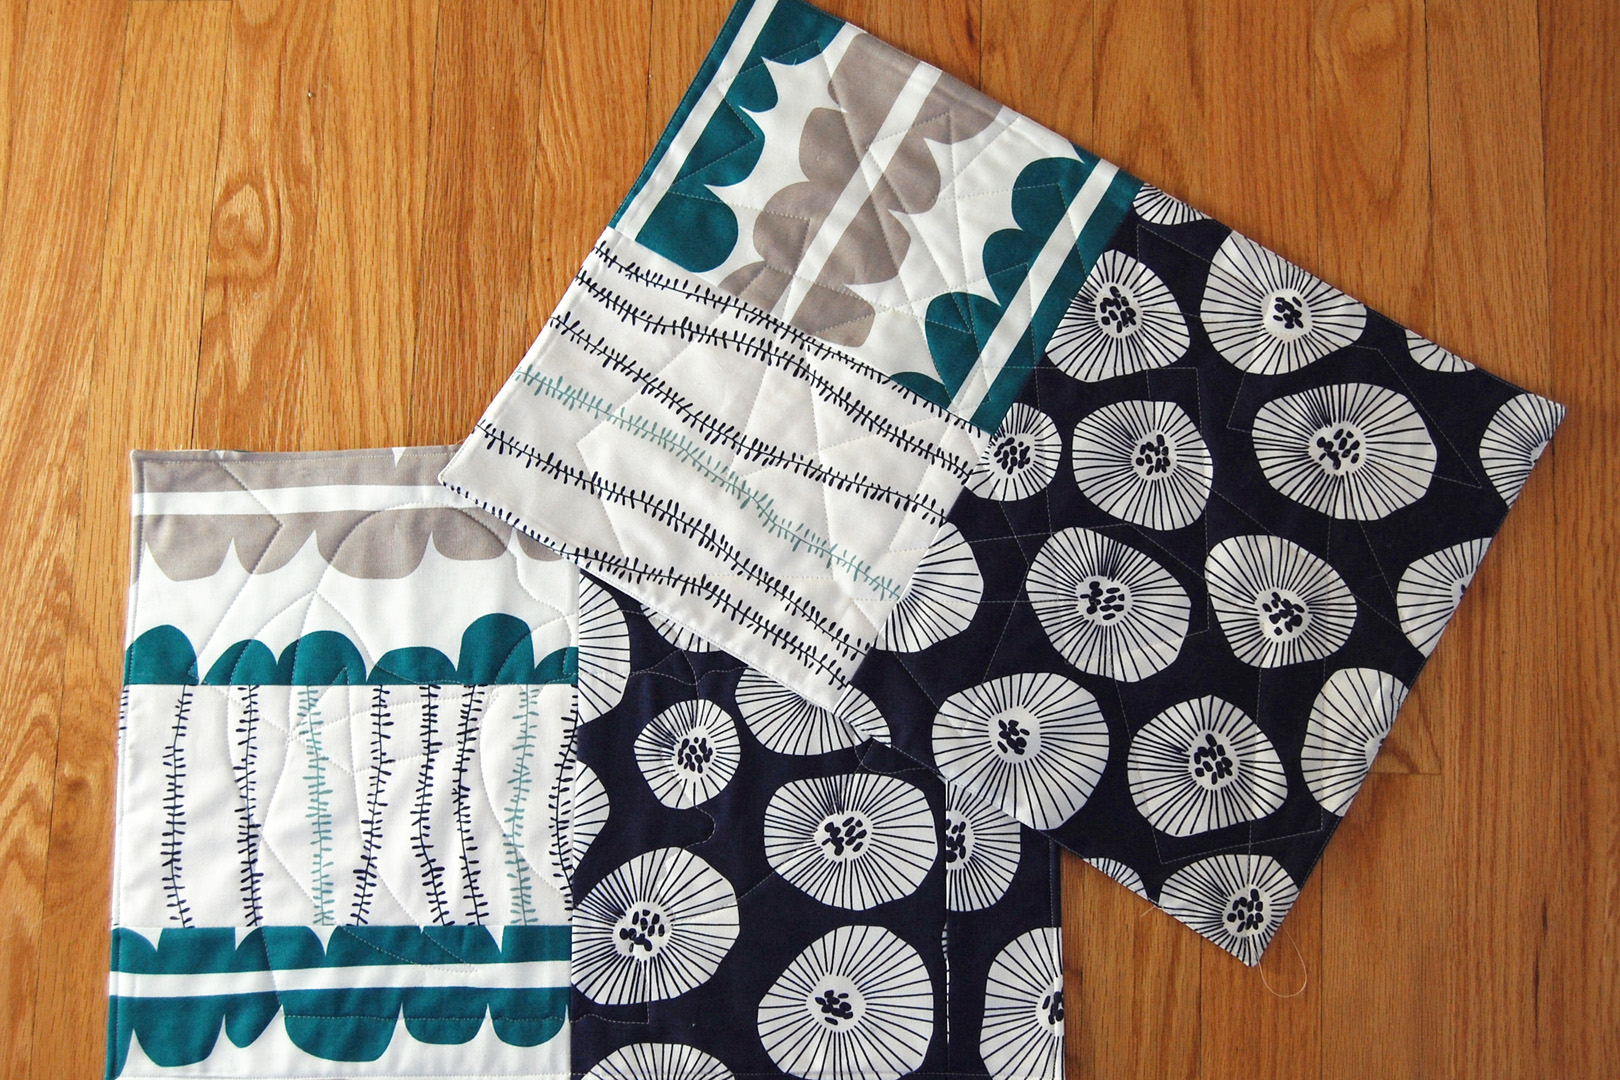
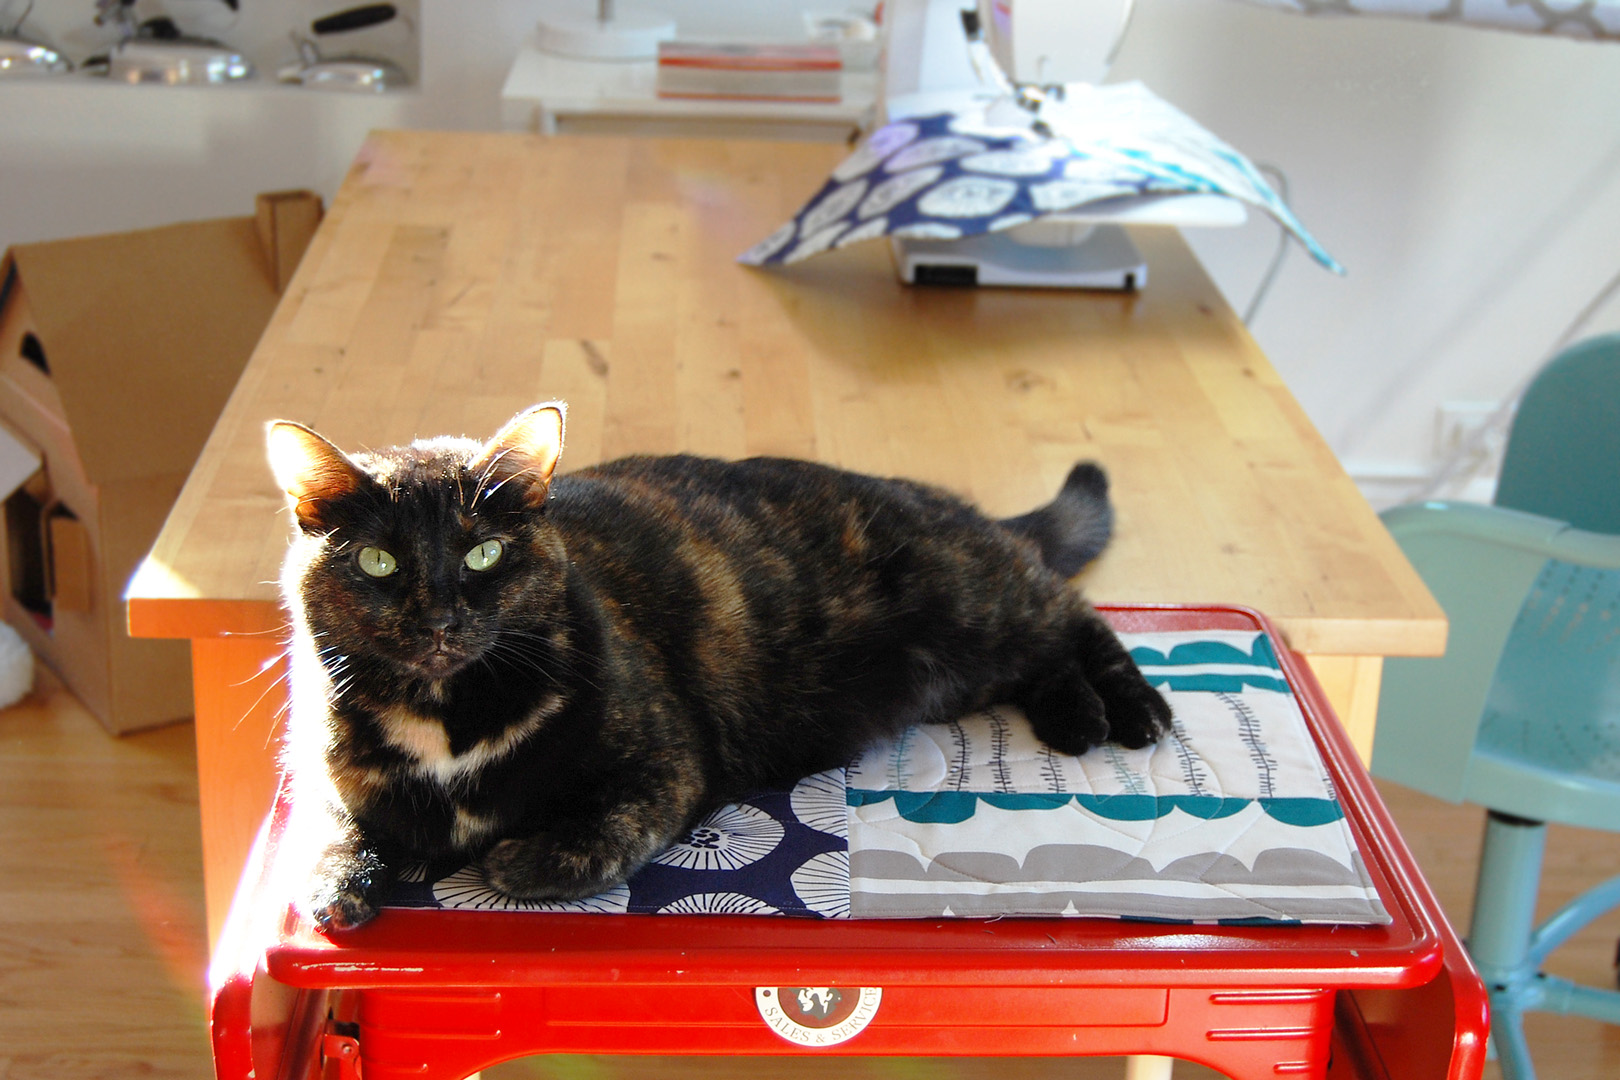
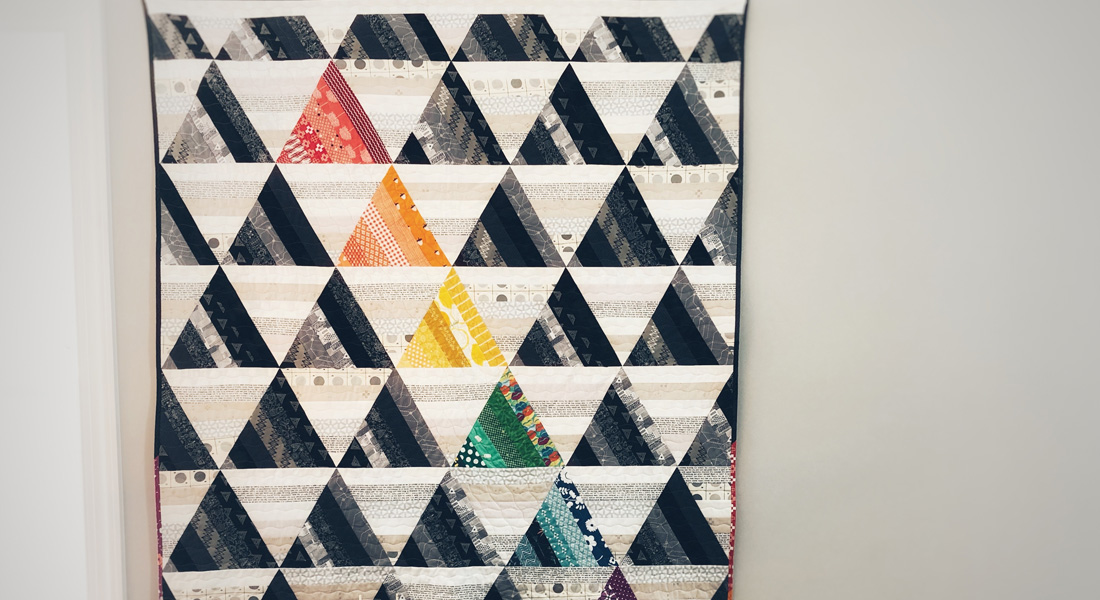
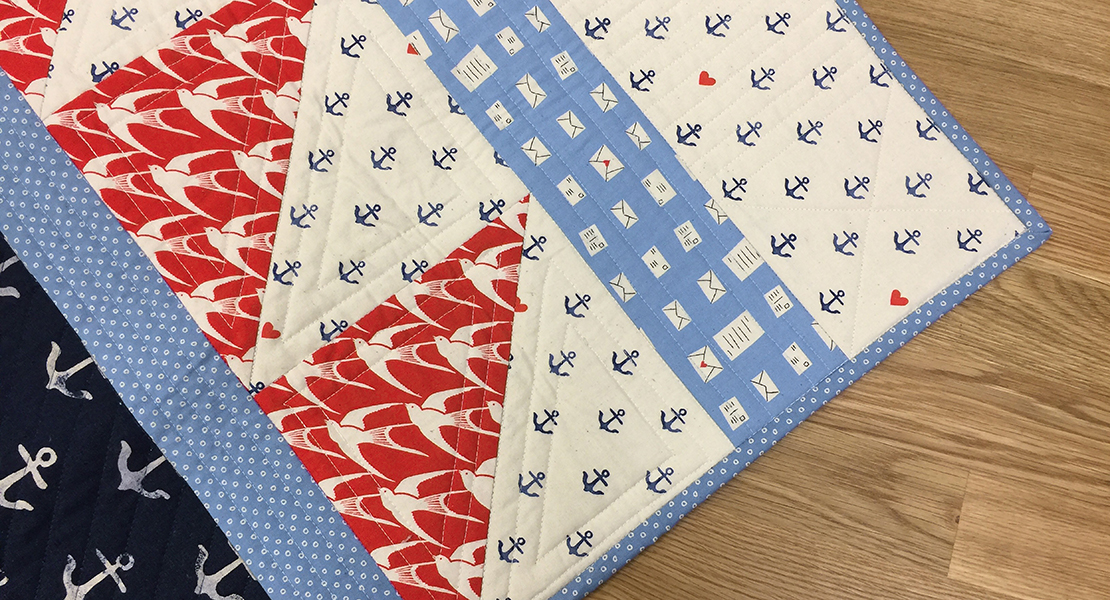
We’ve also discovered these little quilts are like magical kitty magnets! We use them on furniture where Isaac and Miss Bea find favorite nap spots to keep cat hair to a minimum. When they’re dirty we just toss them in the wash. Finished kennel quilts are 18″ x 12″ rectangles.
If you are an experienced quilter, you’ll be stitching up these little quilts from scraps in your stash in no time! If you’re just learning to quilt these are great first projects. I’ve also learned that kennel quilts make great learn-to-quilt project for kids. I started using kennel quilts to teach my 10 year old daughter “Fidget” to quilt several years ago. Children seem ready to learn different skills associated with quilting (cutting, stitching seams, quilting, etc.) at different stages. At first Fidget was only able to help with picking out fabrics and designs, and to a bit of the sewing after I set everything up for her. As she seems ready to learn more, she can help with more of the steps. Read on to find out how to make kennel quilts with kids!
Materials to Make a Kennel Quilt
- You can use various fabric scraps from your stash or fat quarters (we are using 4 fat quarters of Lotta Jansdotter fabrics)
- Scrap of batting to be cut to 12 1/2″ x 18 1/2″
- Coordinating thread
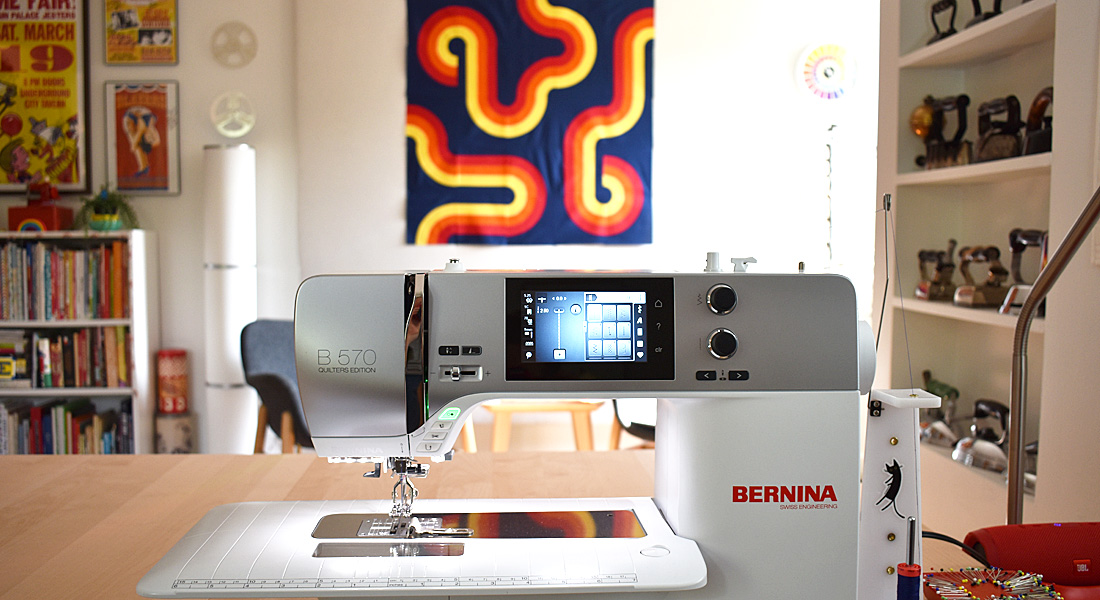
- Sewing machine (I use a BERNINA 570 QE)
- Patchwork foot of your choice (I use Patchwork foot #97) with seam guide
- Walking foot #50 or Dual Feed foot such as Reverse pattern foot #1D
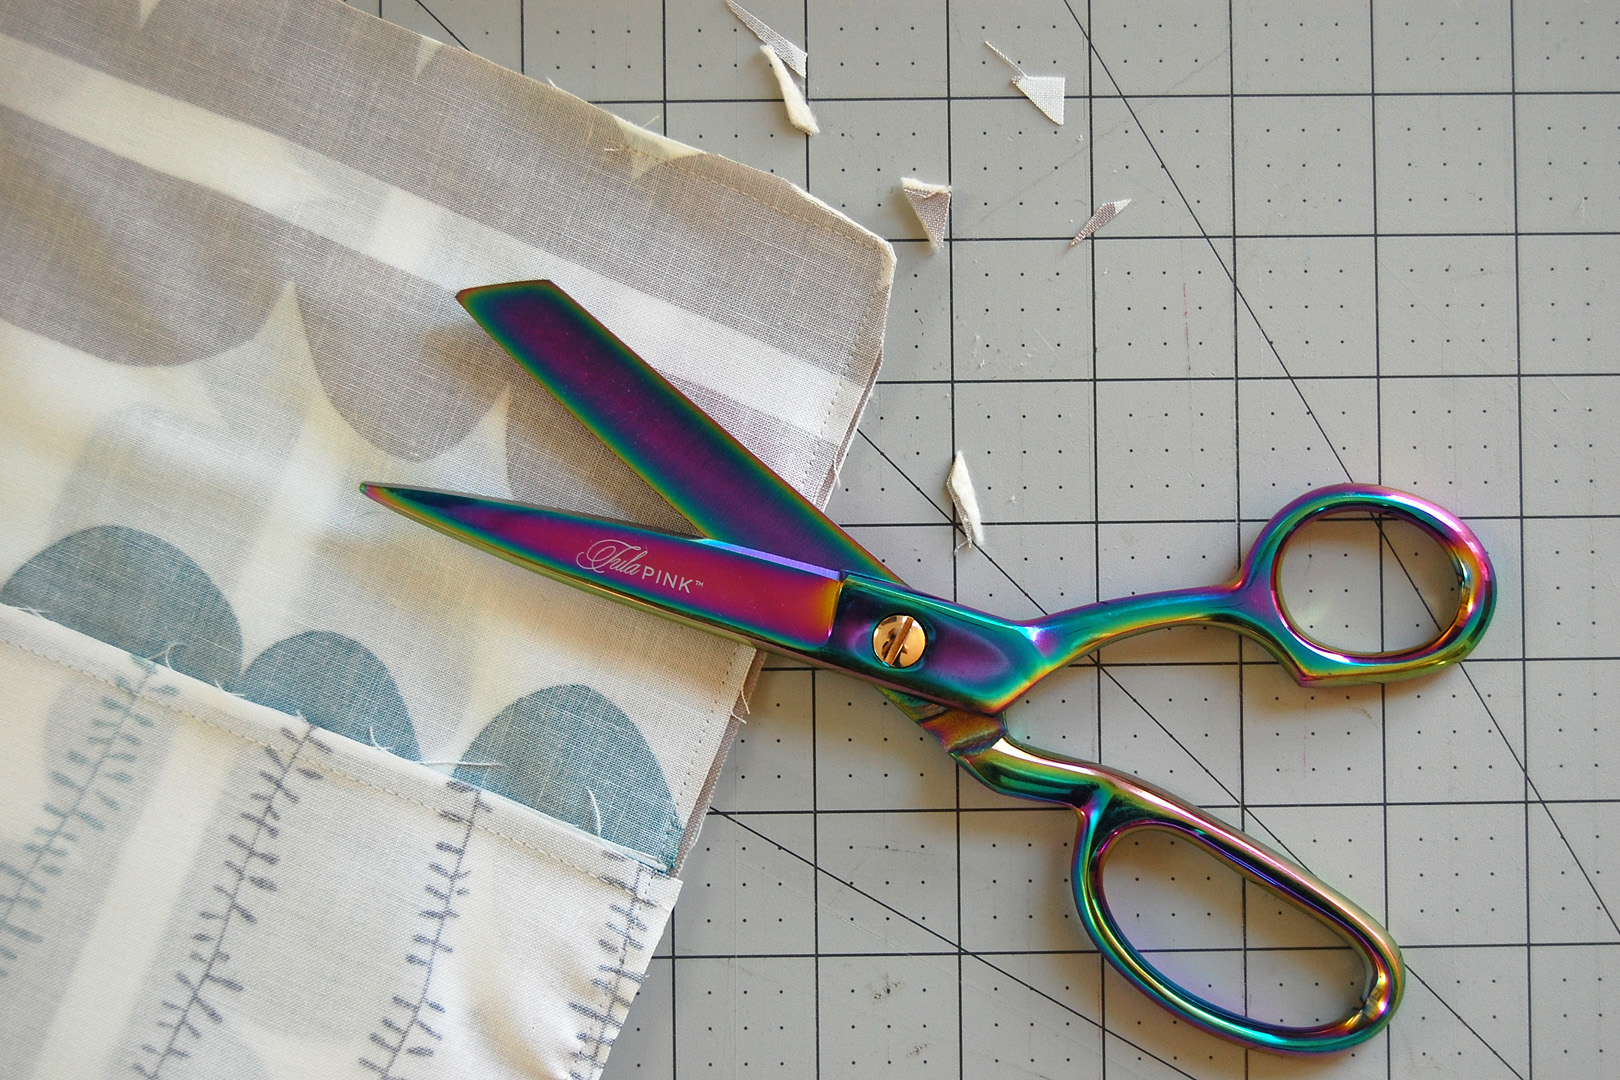
- Rotary cutter, cutting mat, and quilting ruler
- Iron and pressing surface
Cutting the Kennel Quilt Pattern Pieces
First, decide what your kennel quilt top will look like. You can cut one front and one back from fat quarters, piece the top improvisation style, or create your own patchwork pattern. To complete your kennel quilt you will need the following pieces:
- Finished quilt top measuring 12 1/2″ x 18 1/2″ (can be one piece of fabric or you can create any patchwork pattern you like)
- Backing cut to 12 1/2″ x 18 1/2″
- Batting cut to 12 1/2″ x 18 1/2″
Creating a Patchwork Pattern
Since Fidget has become interested in planning the patchwork top, I helped her learn how to design simple patchwork with graph paper and pencil. By spending some extra time on these steps she can learn the basics of designing her very own patchwork patterns, and how to add seam allowances to cut the patchwork.
We use graph paper to begin by outlining the finished shape of the kennel quilt (on this graph paper we used outlines where 1 square = 2″). My instructions to Fidget were to try different designs that result in no more than 4 patchwork pieces, because this is what I think she can handle in terms of her skills and attention span (there is indeed a reason why her nick name is Fidget!).

She decided on a design with three patchwork pieces, one large and two small.
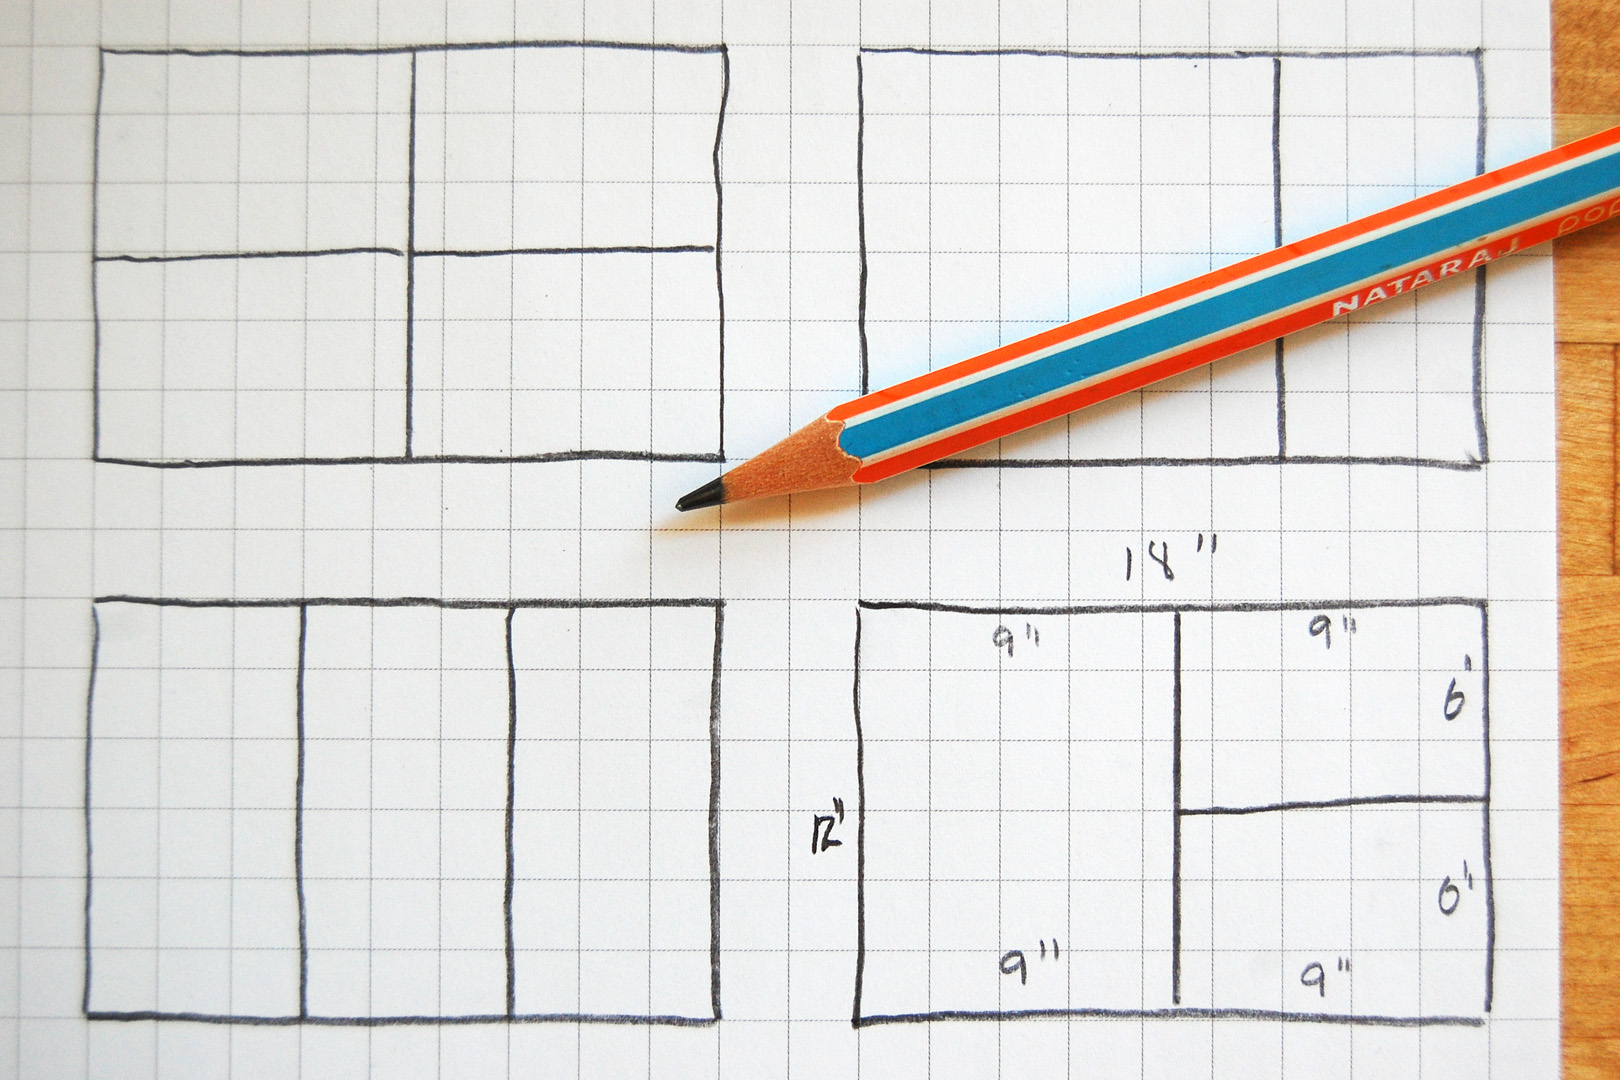
We redrew the pattern on another piece of graph paper using 1 square to represent 1″ in the design. This made it easier to show her how to add seam allowance to find the exact cutting dimensions for the patchwork.
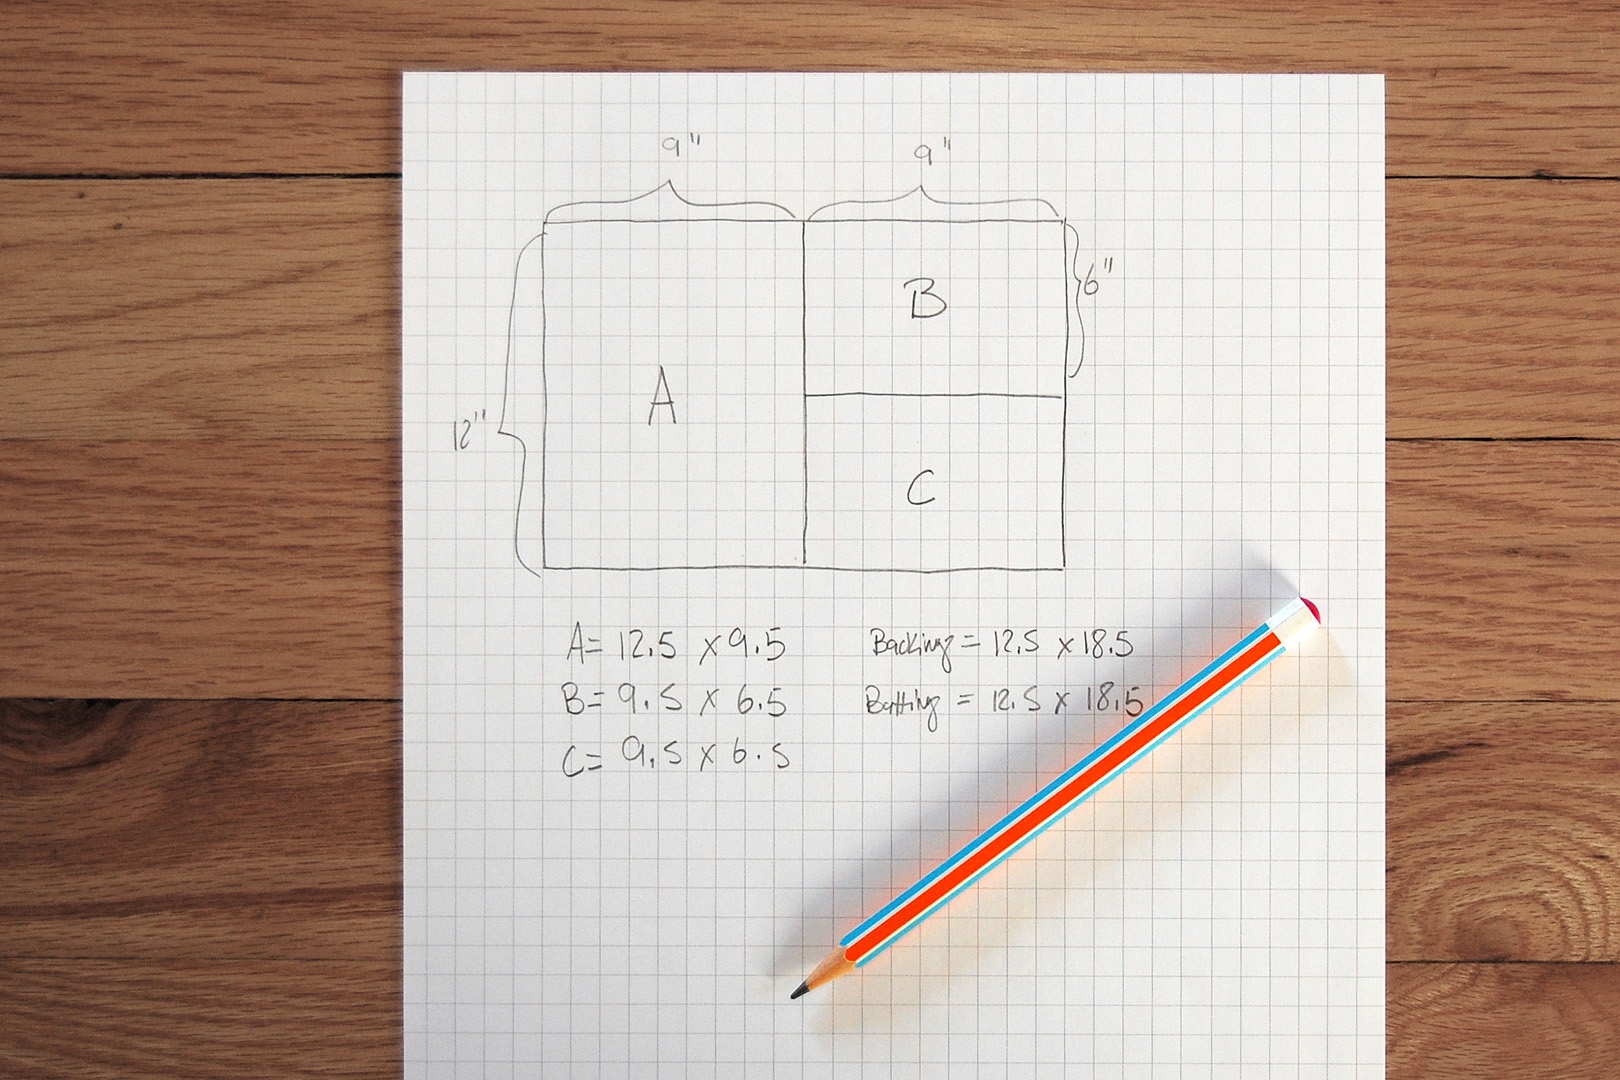
To create the same patchwork top that Fidget is making, cut your patchwork as follows:
- “A” is cut 12 1/2″ x 9 1/2″
- “B” is cut 9 1/2″ x 6 1/2″
- “C” is cut 9 1/2″ x 6 1/2″
Use a rotary cutter, quilting ruler, and cutting mat to cut the pieces. At this stage I am still cutting patchwork pieces for Fidget, but I have her watch me to learn about cutting safety.
Setting Up to Sew Patchwork
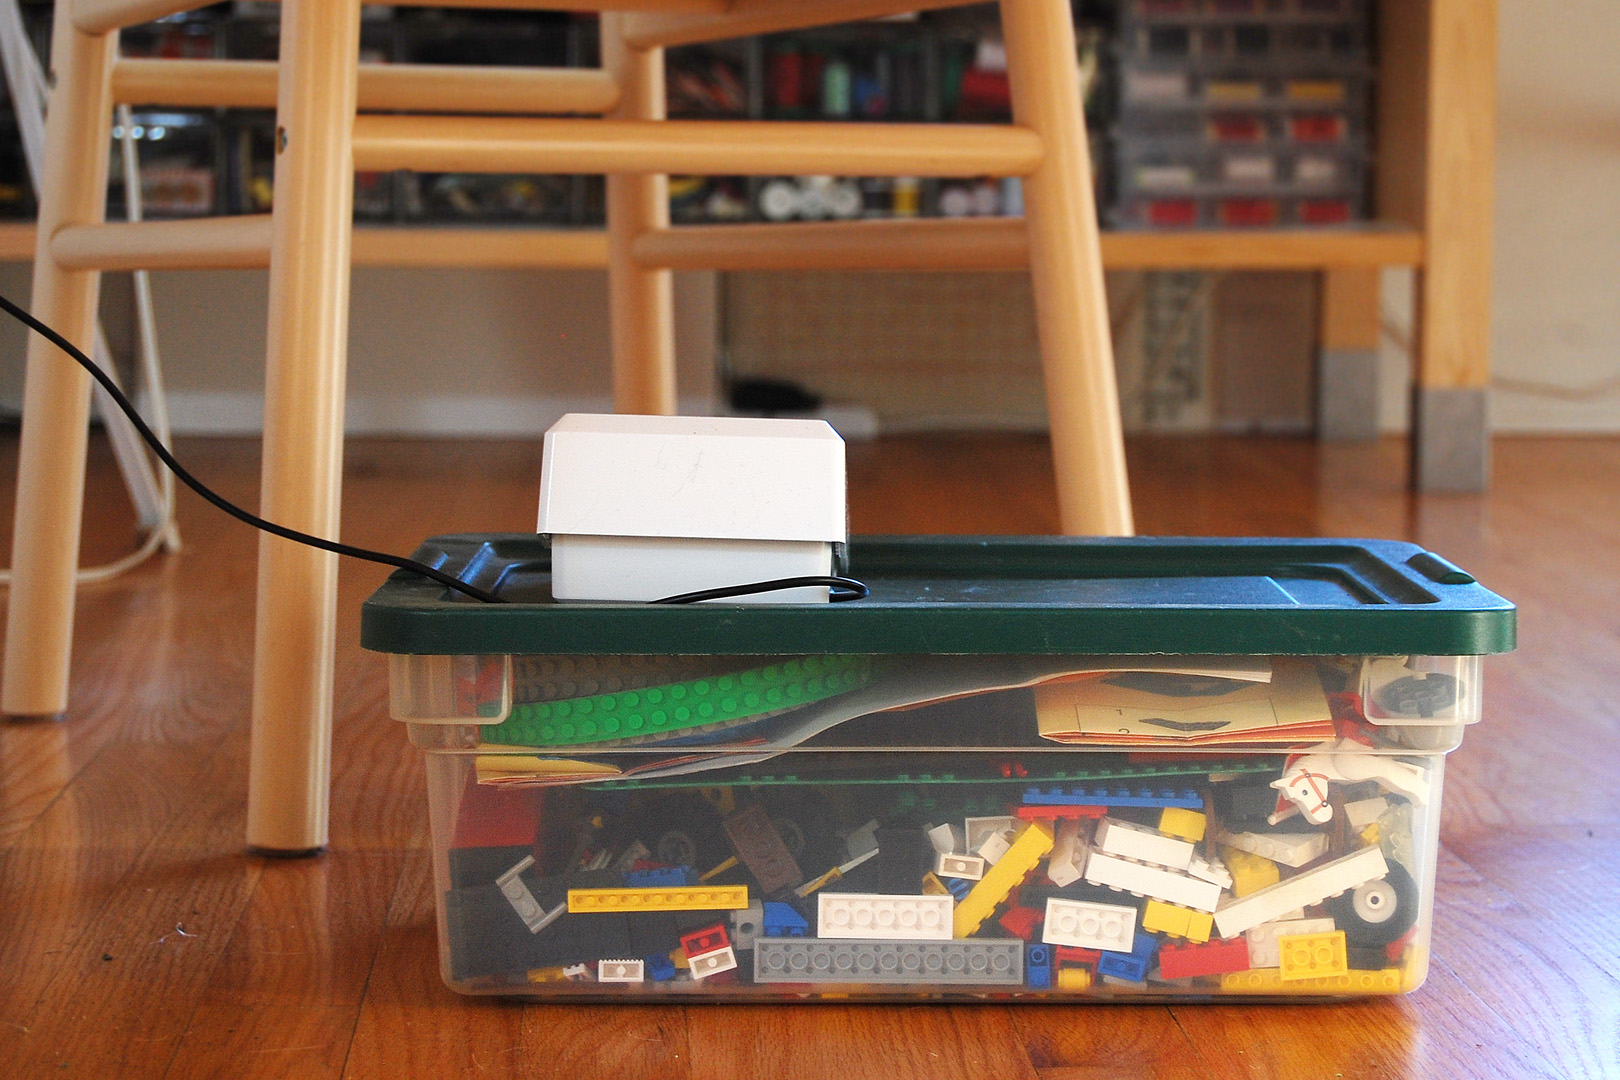
I change things up at the sewing machine when sewing with Fidget. First, I remove my regular sewing chair on wheels and give Fidget a solid, sturdy chair to support her at the sewing machine. To make sure she’s comfortably reaching the foot control I use a large, sturdy bin that both of her feet will fit on. At first we used a larger storage bin, but now her little bin of Legos does the trick.
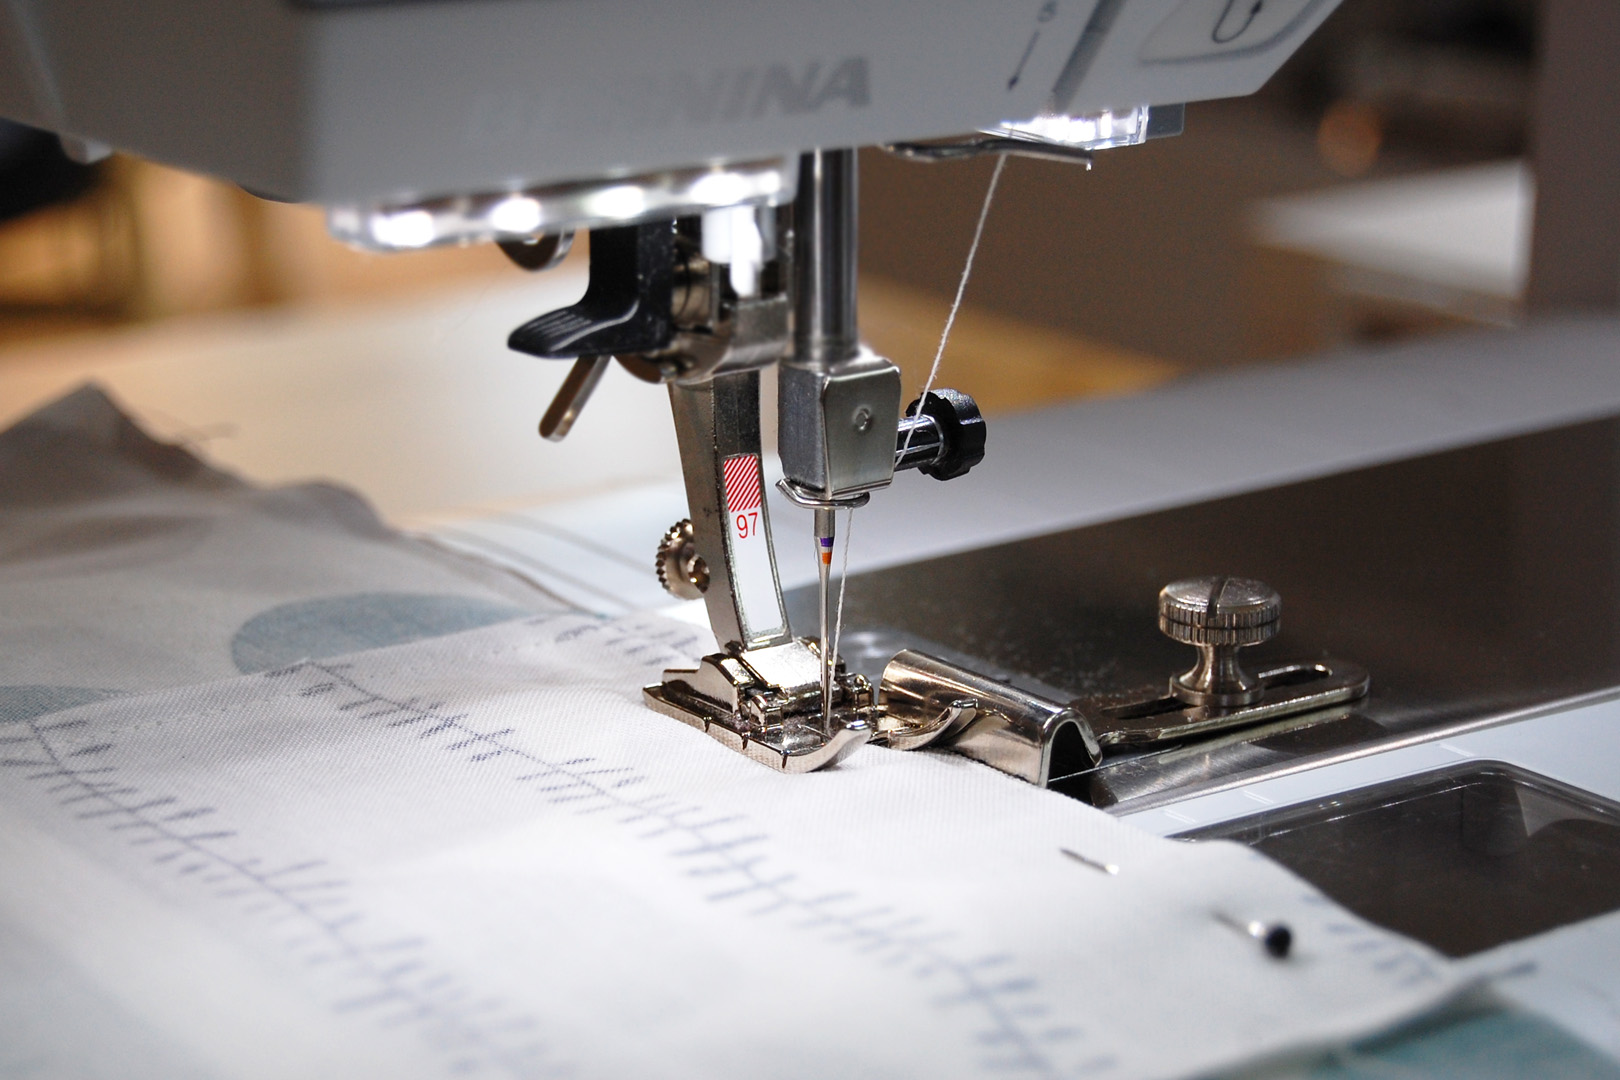
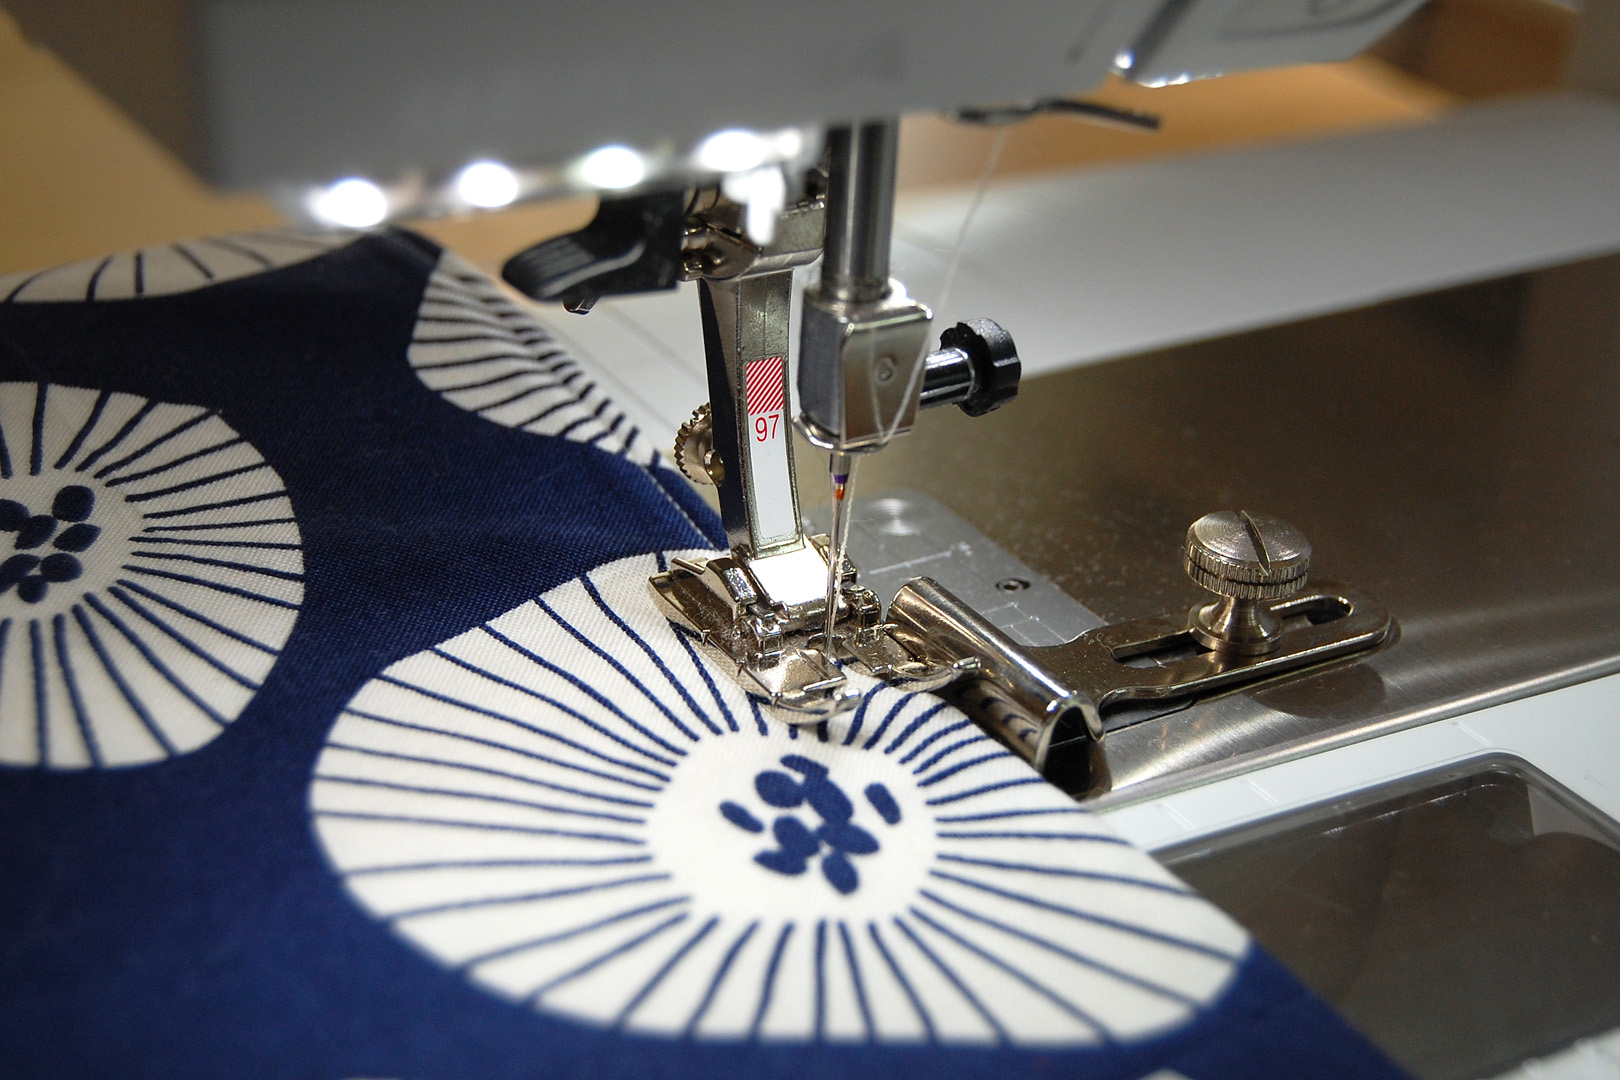
I set up the machine with Patchwork foot #97 and the coordinating seam guide. I also reduce the sewing speed on the machine with the slide speed control so she can feel confident that pressing all the way down on the foot control won’t cause a surge in the speed of the machine.

First sew patchwork piece B to C along one long edge. You can see here how the guide really helps keep the patchwork exactly where it needs to be to create that perfect quarter-inch seam.
Fidget is great at sewing the patchwork, and we work on the skills of gently guiding the fabric through the machine, not pushing or pulling the fabric, letting the feed dogs to all the work.
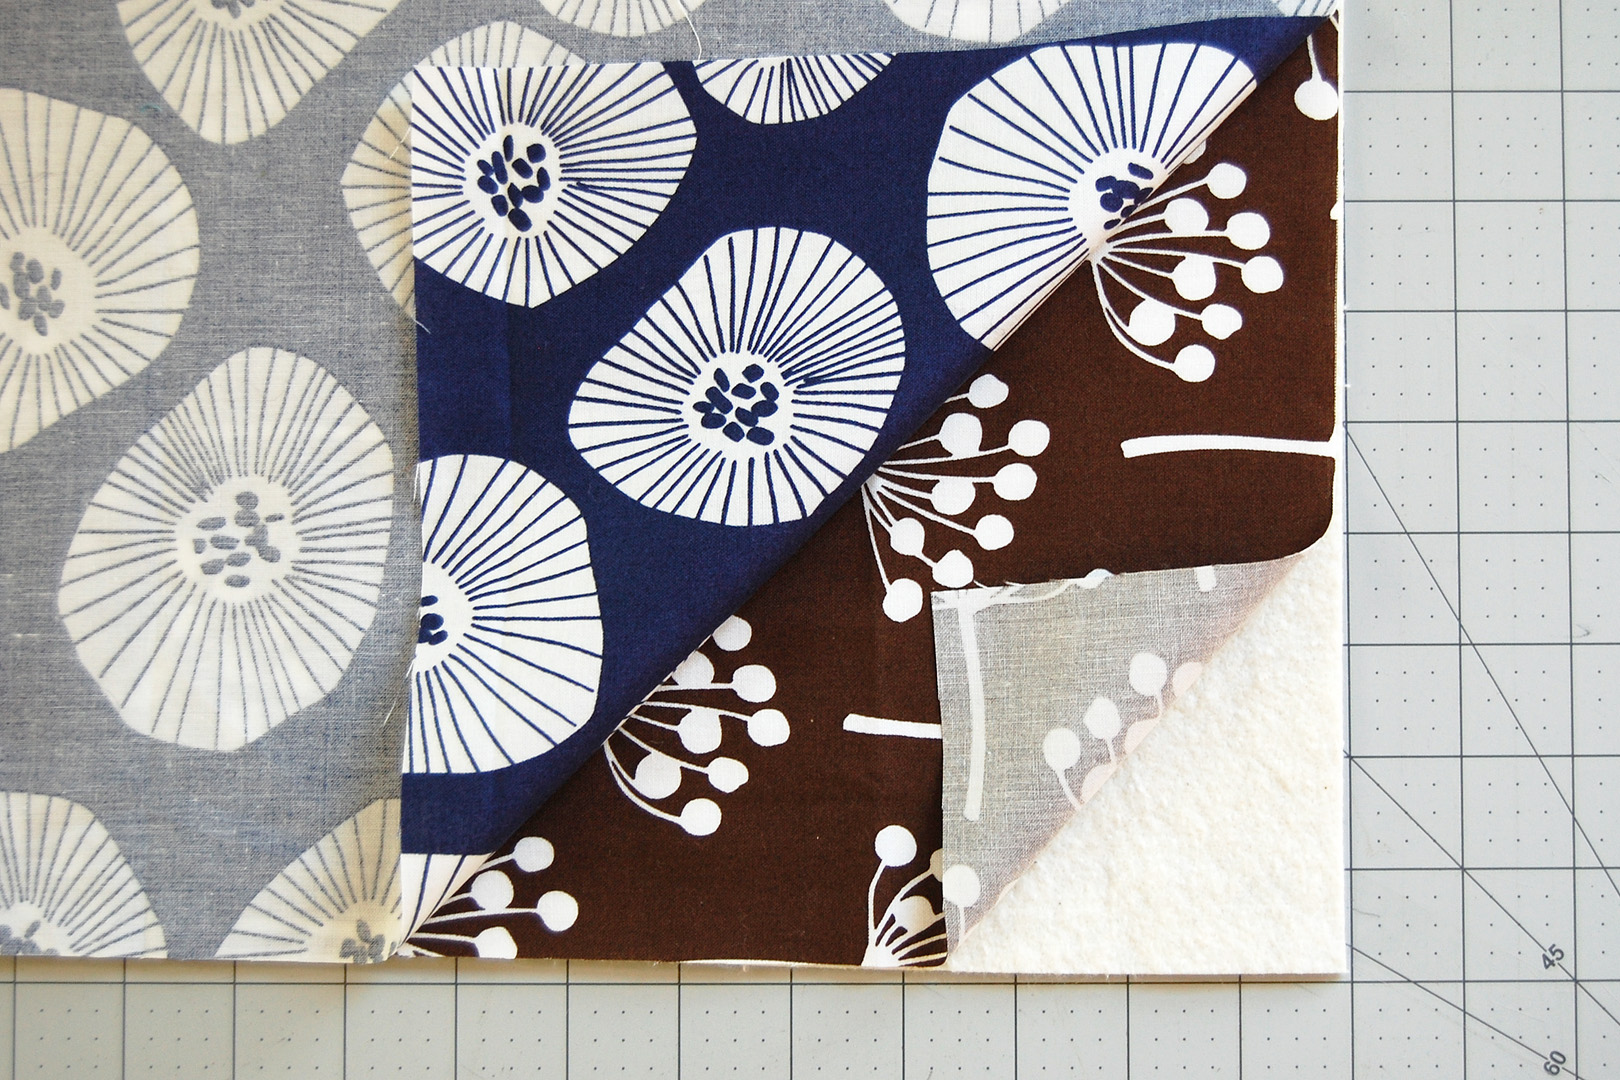
After joining patchwork pieces B and C, press the seam to one side. Next, join the patchwork pieces B/C to A along one long edge. Press seam to one side. When the quilt top is complete, grab the backing and batting to sew all layers together.
Fidget isn’t quite ready to tackle sewing a binding finish on the quilt edge, so we use the no-binding method to finish the edges known as the “envelope” method. All layers are sewn together and flipped inside-out. To create an envelope finish, layer your quilt pieces on your work table as follows. First layer the batting, then the backing right side up, then the top right side down.
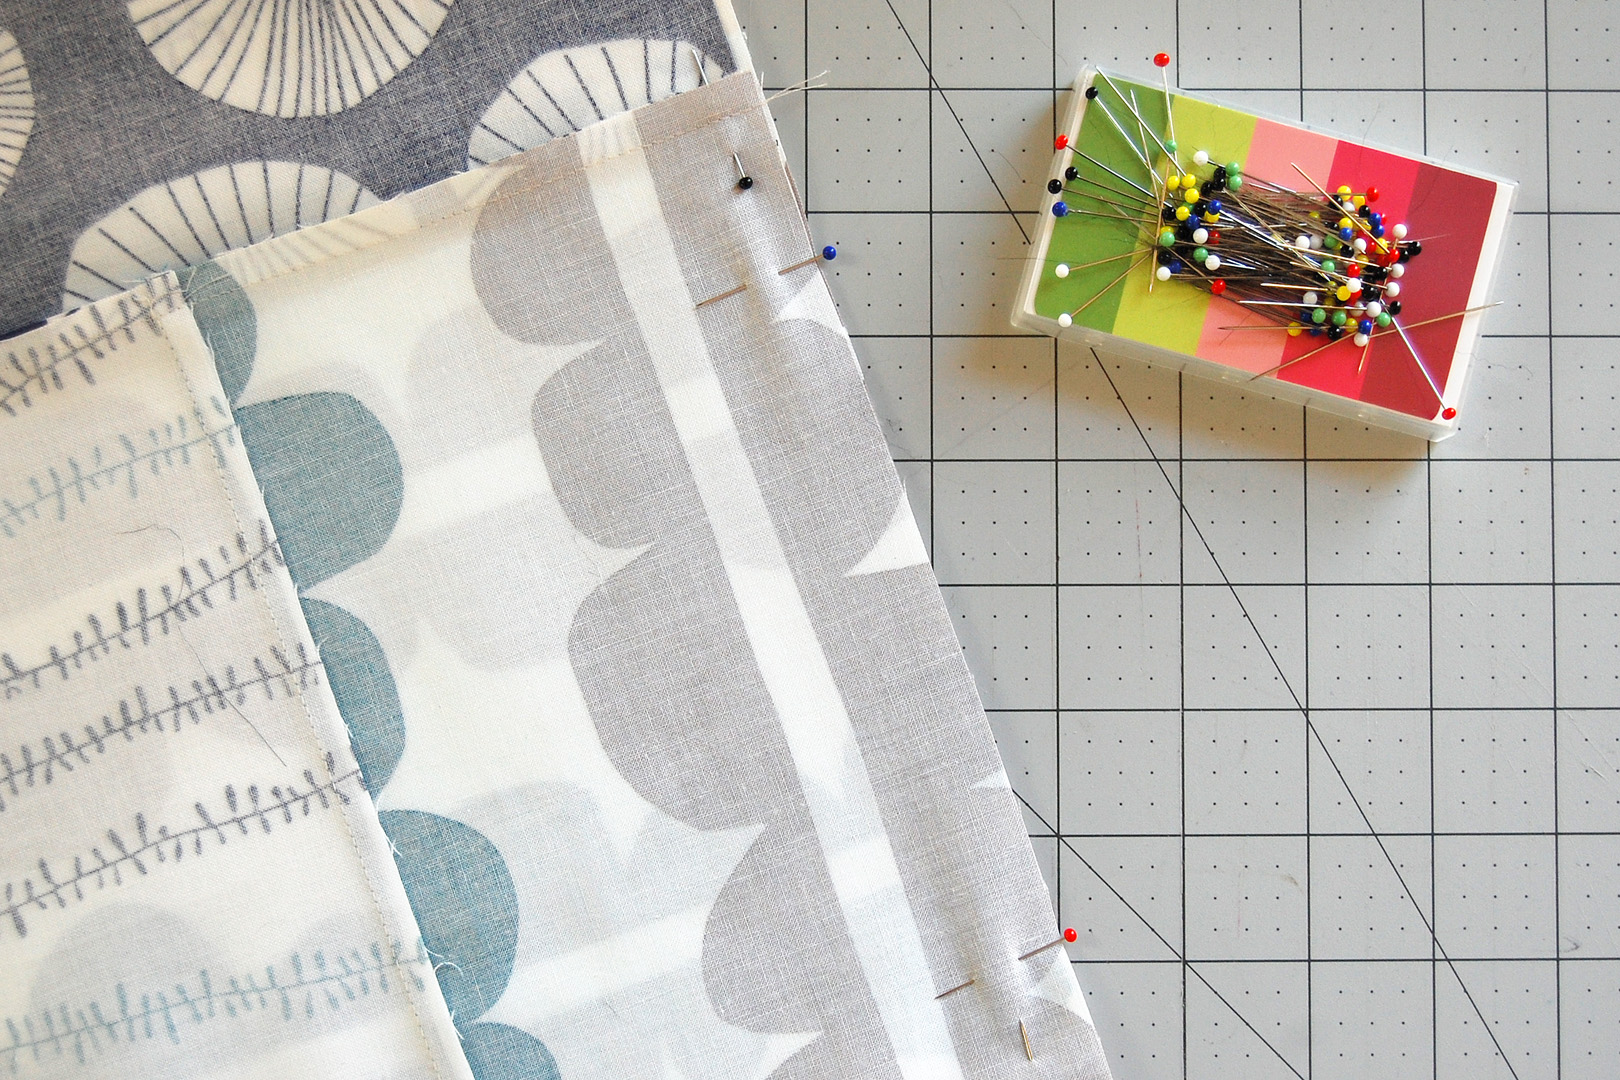
Pin through all layers. Leave an opening about 3″ – 4″ along one edge of the quilt (doesn’t matter which edge, your choice!) to turn the quilt inside-out. I mark the opening with horizontal pins as a reminder of where to start and stop sewing by the opening.
We use the same settings as sewing the patchwork with sewing speed dialed down and using the Patchwork foot #97 with seam guide to create a perfect quarter-inch seam.
After stitching around all edges, clip the corners close to the stitching to help make the corners turn out nicely.
Use the opening to turn the quilt inside-out. Use a pencil eraser, blunt end of a chopstick, or point turner to gently push the corners out. Turn the fabric at the openings in 1/4″ and press in place. Press around the edges of the quilt to make them nice and flat.
Top stitch all around the outside of the quilt with a scant quarter-inch seam, making sure to sew the opening closed.
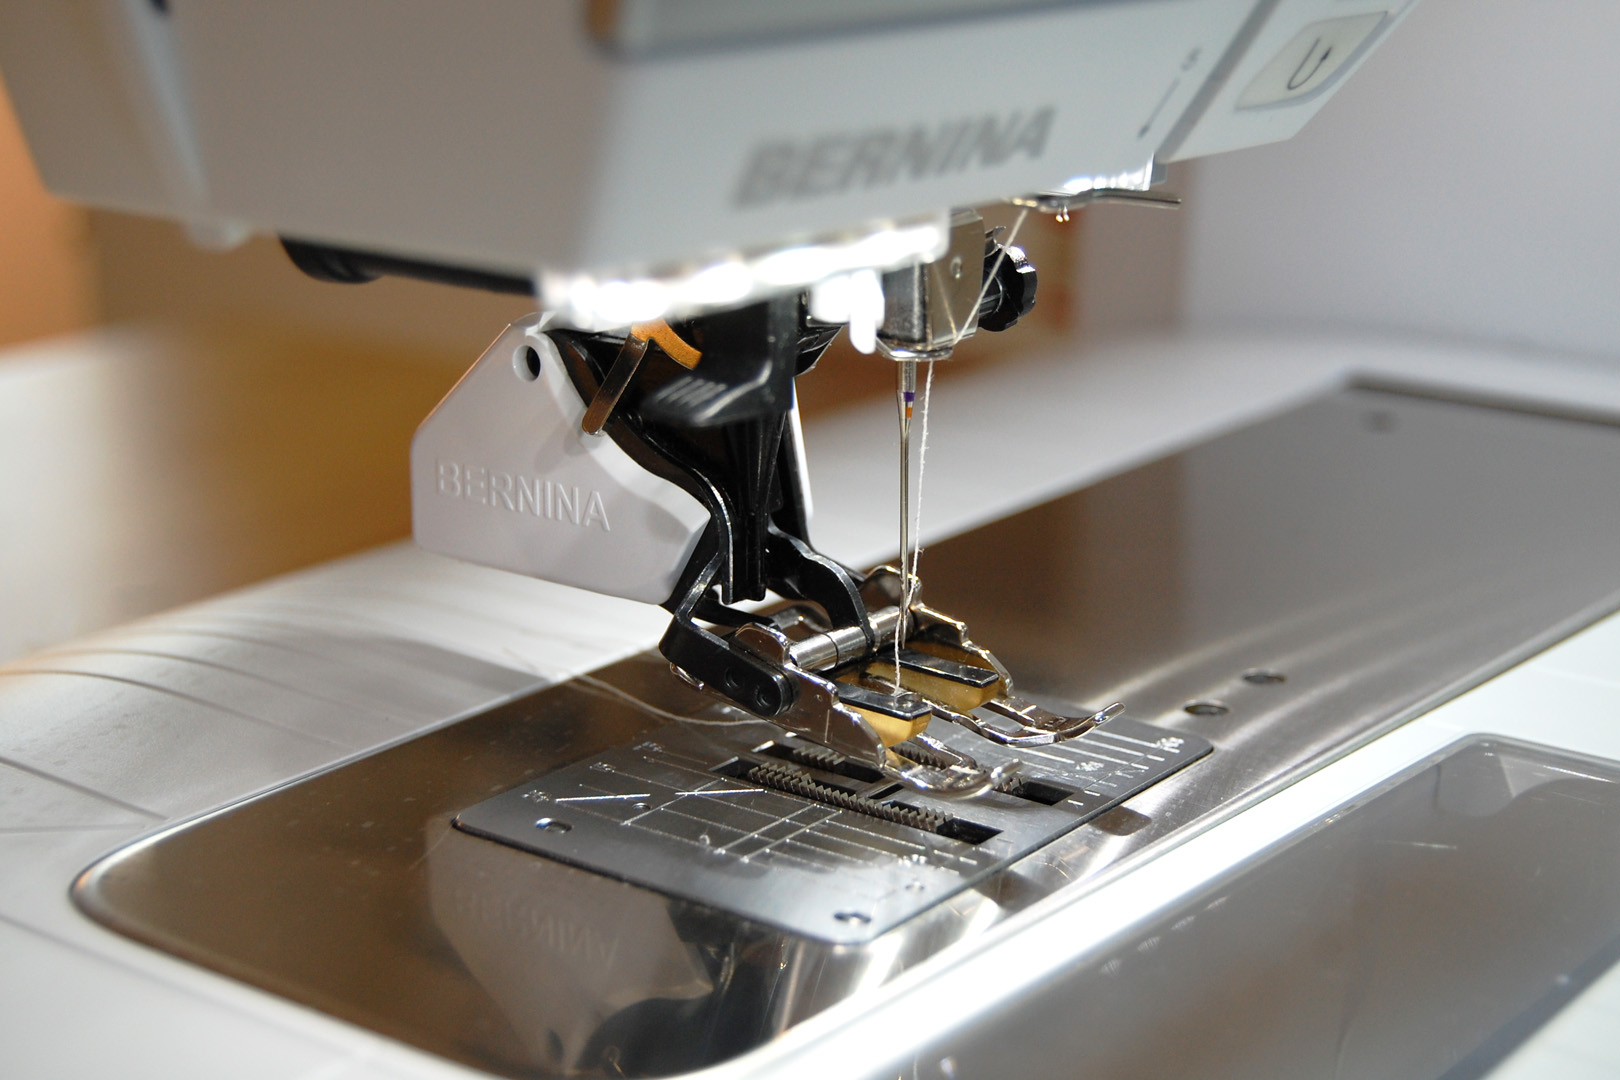
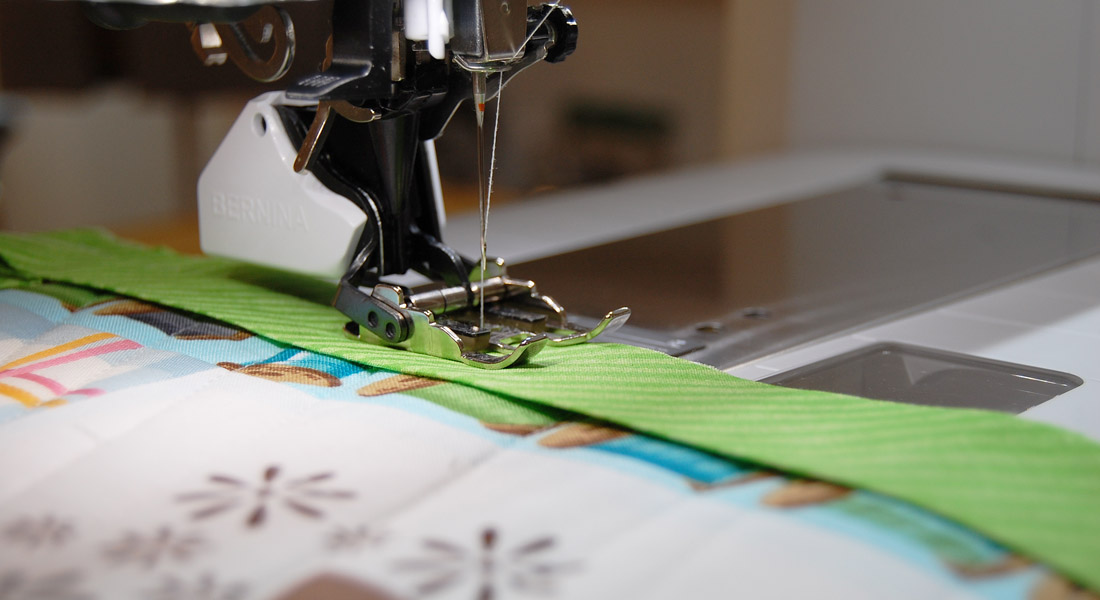
Set up the sewing machine for quilting. If you sew on a BERNINA with the Dual Feed feature, you can use a Dual Feed foot for this step. I use the Walking foot #50 with the open sole in place so Fidget can keep an eye on where she is quilting.
Additionally, I set the machine so that the needle position stops in the down position and the presser foot automatically lifts to the highest position. You can read more about the Hover feature and how to adjust these settings here.
When I first taught Fidget about quilting, I had her just quilt random short, straight lines so she could get used to letting the machine feed the quilt and learn how to pivot with the needle down and the foot up.

You can see how this looks in the snippet below.
Now that she’s had more experience with quilting she’s having more fun experimenting with curves, circles, and wavy lines.
She’s also learning to use some of the machine features like the automatic thread cutter. I usually secure the threads well when I’m finished quilting, but since Fidget is just learning it’s more about making her feel successful at finishing a project than worrying too much about those little details. She will be ready to learn thread securing soon enough!
And that’s all there is to stitching a fun kennel quilt with your kid!
You can get in touch with local animal shelters in your area to ask if they accept donations of kennel quilts, or visit the official TQPM Kennel Quilts for The Quilt Pattern Magazine website here.
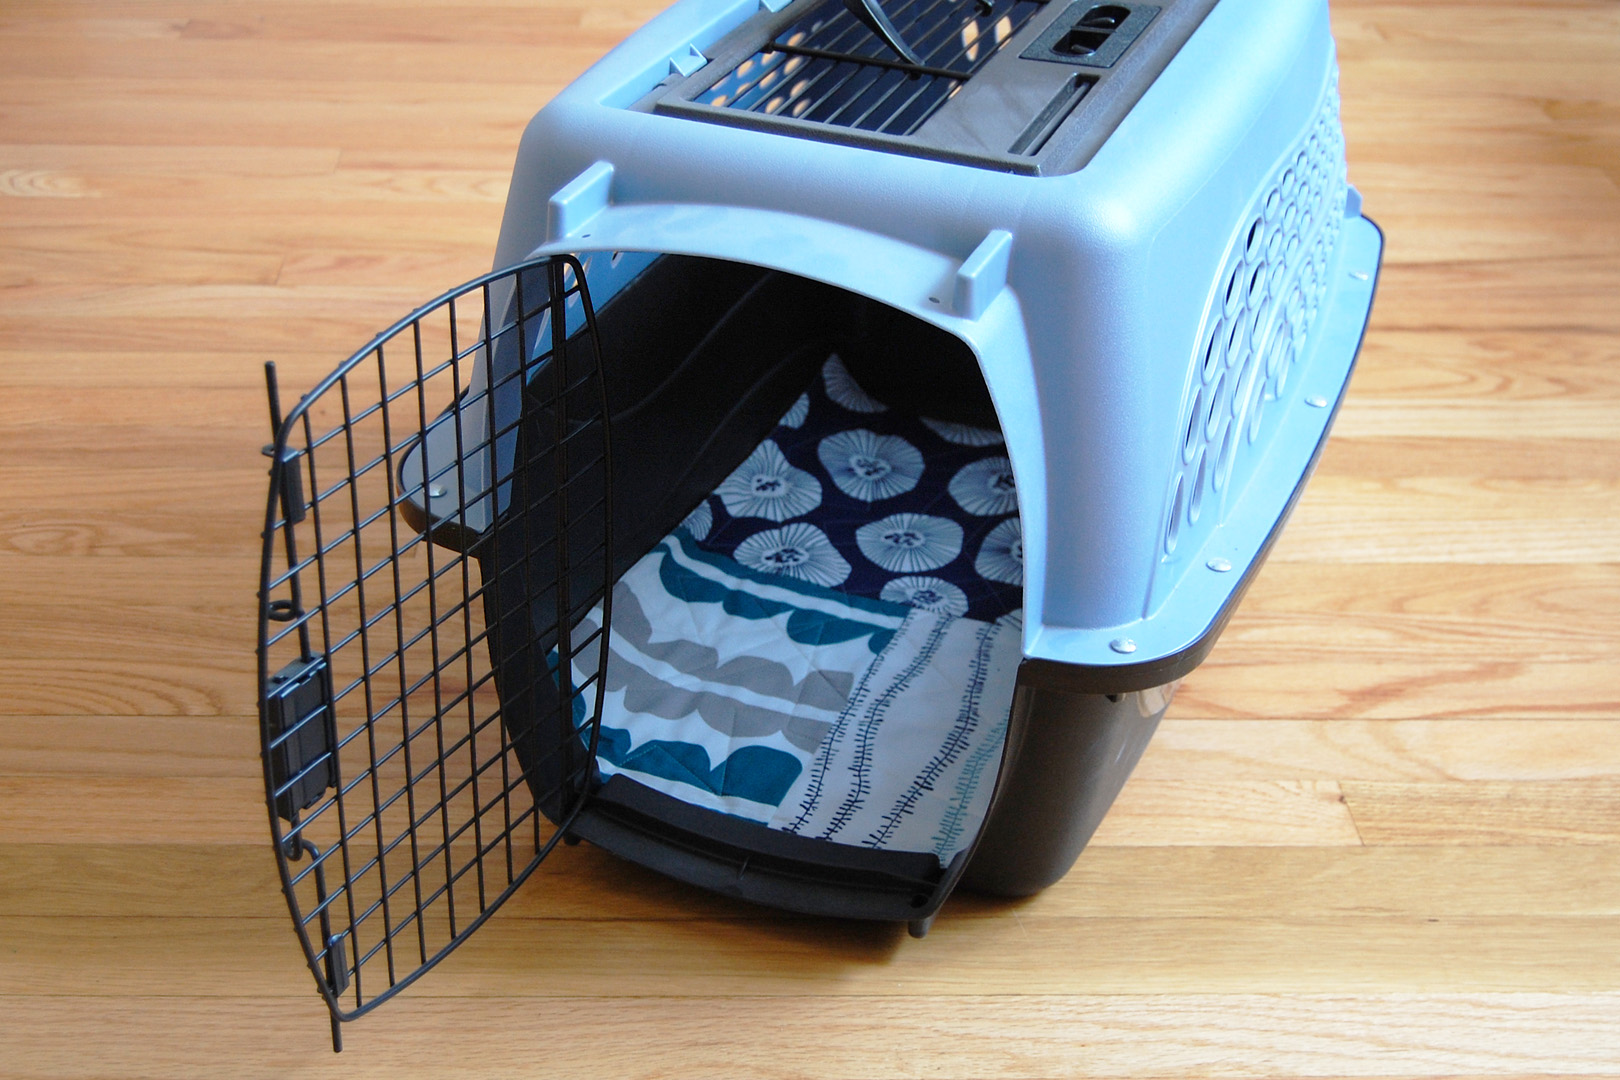
We do also use a kennel quilt in our pet carrier when taking Sir Issac or Miss Bea to the vet. Nobody likes visiting the vet, but having a cozy quilt that smells just like home can help calm nerves just a bit!
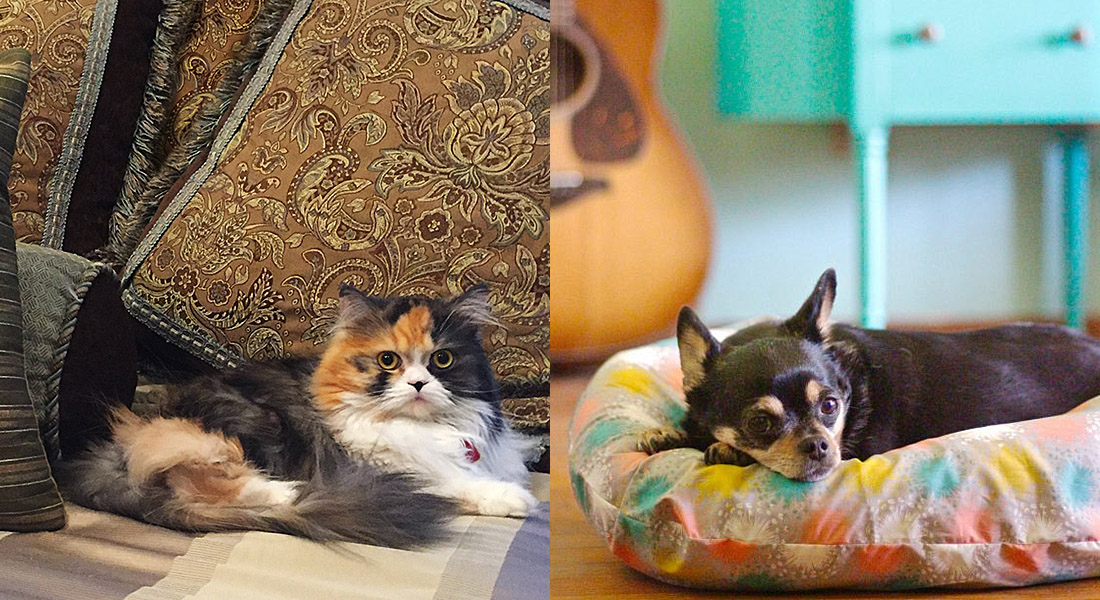
And here’s a bit of that cat magnet magic I mentioned earlier, as soon as we finished one quilt Miss Bea got to snuggling with it right away.
I hope you are inspired to make some kennel quilts of your own or with your kids, either for your own pets or to help those in need!
Used Products


What you might also like


2 comments on “Kennel Quilt Tutorial”
-
-
Many of us make practice quilt “sandwiches” for free motion quilting designs, etc. It would be easy to convert these to pet beds to donate to our shelters. Kitties don’t judge – so they won’t make fun if our points aren’t perfect, or our free motion quilting looks kind of crazy!
Leave a Reply
You must be logged in to post a comment.

I have been making and donating these for about 10 years now. They go to both our local animal shelter and a local cat rescue. They last a long time even when washed daily at the animal shelter. I use 3-4 layers of batting so they stay soft after long use.