Kids Busy Book Series, Part 8: Title Page
Welcome to #8 of our BERNINA Busy Book series. If you want to start at the very first post, you can find the link here where there are options and recommendations for selecting fabric and felt. At the end of this post are links to the other page tutorials. If you have been following along these last few months or want to start with the title page, keep reading!
For the title page, we will learn how to edit embroidery designs with the BERNINA 590E. We’ll use many of the edit features in embroidery, including WordArt. Also, we’ll play with decorative stitches to embellish the title page. Lastly, I’m going to show an option to do applique in-the-hoop with one of the embroidery designs. So let’s get started!
Materials for Every Kids Busy Book Page
- 10” x 10” background fabric (purchase 3 yards if making all page backgrounds the same)
- 10” x 10” OESD Ultra Clean and Tear Fusible Stabilizer
- 50 weight thread
- Rotary cutter & ruler
- Rotary cutting mat
- Scissors
- Iron and pressing mat
- Roxanne Glue-Baste-It or similar glue stick/pen
- Temporary fabric marker
- Pins
Additional Materials for Title Page
- Accent fabric piece – 2″ x 10”
- Isacord thread in preferred colors for embroidery design
- 1 3/4” x 10” OESD Ultra Clean and Tear Fusible Stabilizer
- OESD Fusible Woven CutAway
BERNINA Machine and Feet
- BERNINA 590 E
- Drop-Shaped Embroidery Foot #26
- Patchwork Foot #37/37D, 57/57D, 97/97D
- Edgestitch Foot #10/10C/10D
Background Page
The background page is made with two fabric pieces. Cut the following, but do not sew together yet:
- main piece – 9” x 10”
- accent piece – 2” x 10”
Built-in Embroidery Designs
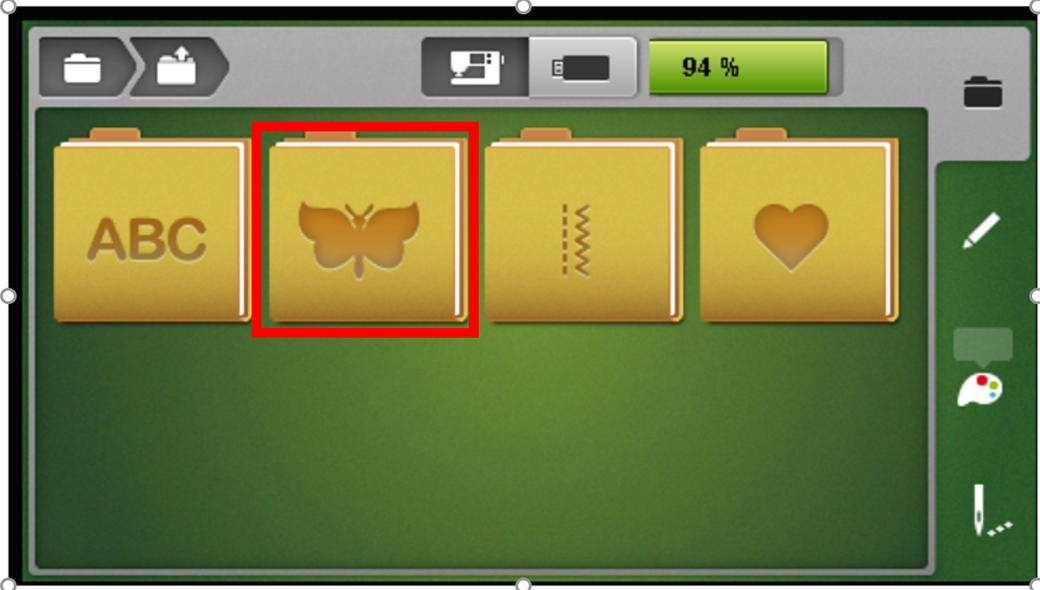
Let’s start on the embroidery side of the B 590E. Select the Embroidery Motifs folder.
Next, select the Children folder which is number 4 with the robot.
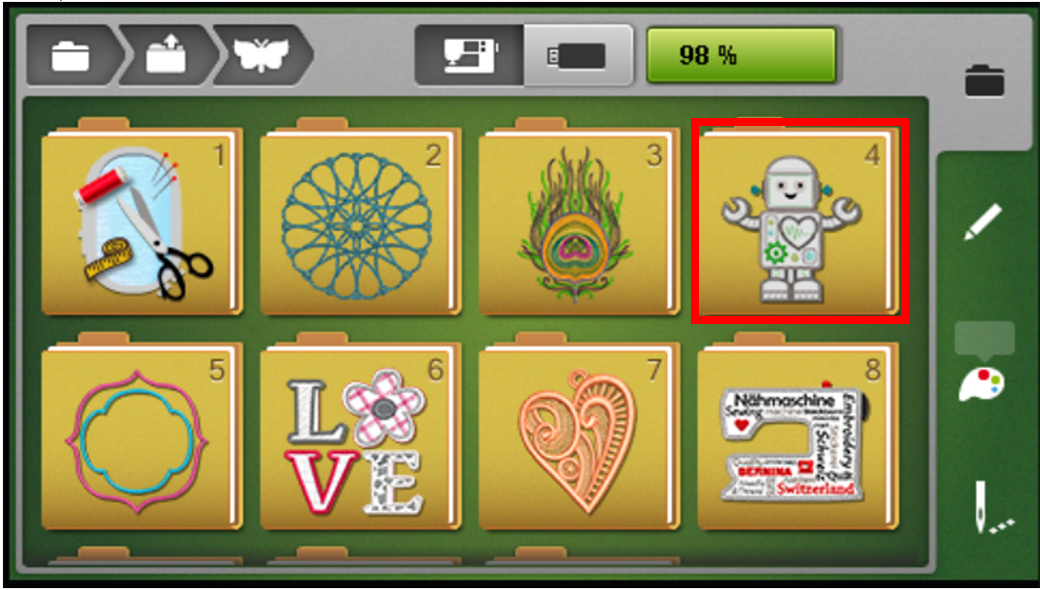
In this folder, you will find lots of designs that are fun for children’s projects. I will show both designs 21 and 22. The process is the same, so select a design you would like to use for the title page.

Create a New Design
Ungroup Embroidery Design
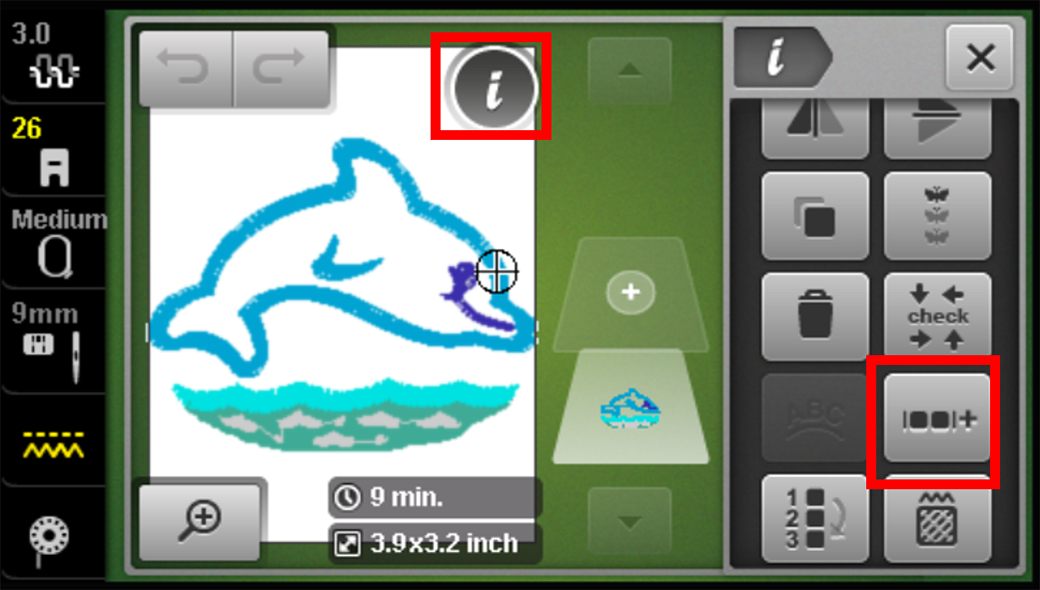
To create the new design, we need to first ungroup the design. Go into the Information menu (aka the “i” menu) and select the Group Embroidery Motifs icon.
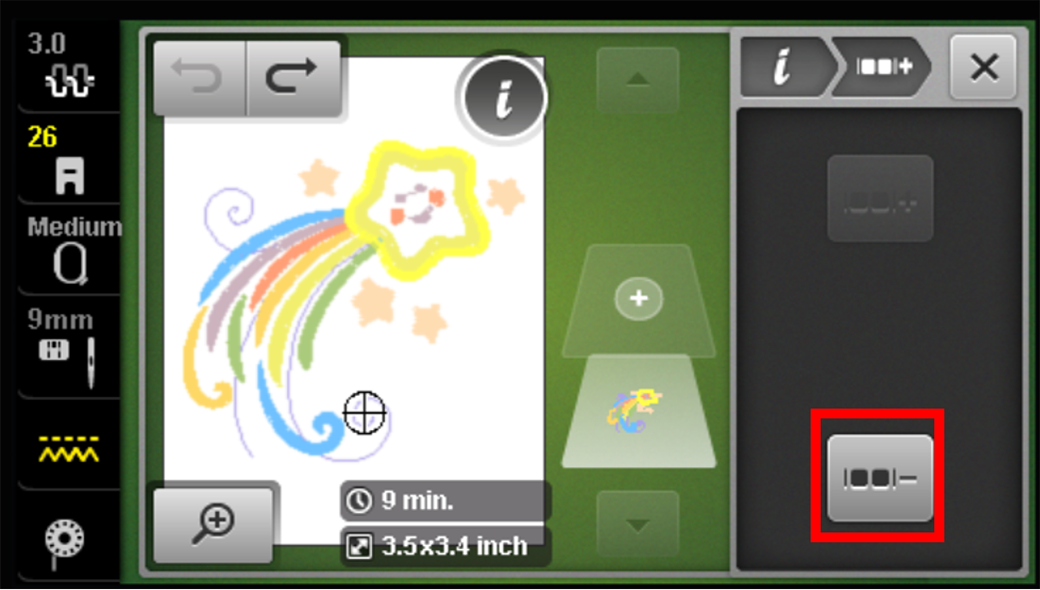
Select the Ungroup icon.
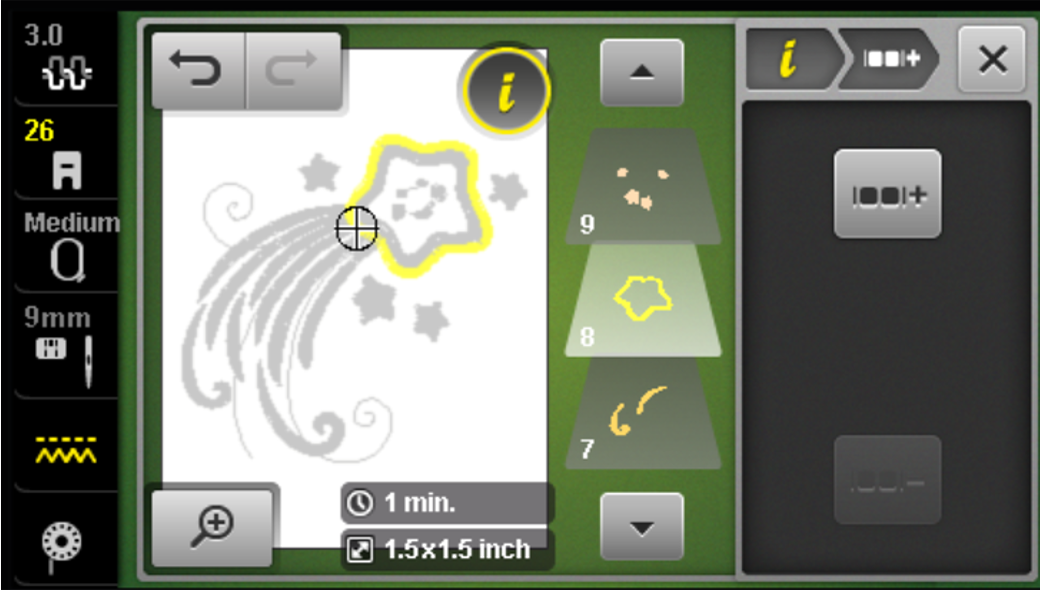
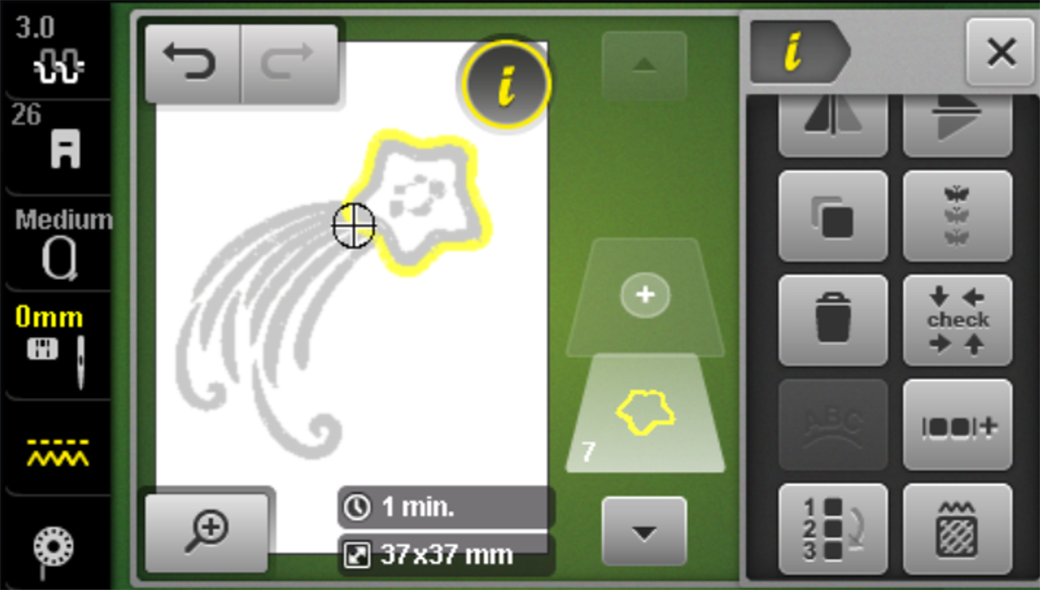
Ungrouping will separate the parts of the design. These parts are displayed in layers to the right of the design. If you click on the up arrow, you can scroll through the different tiles. The dolphin has 7 layers and the star has 9.

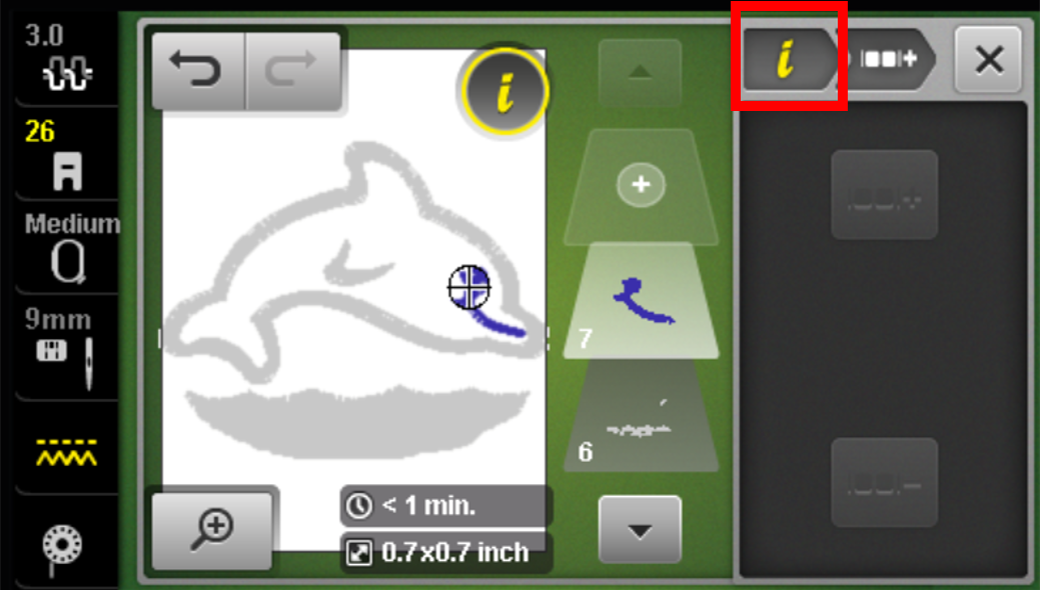
Select the Information menu again, but this time select it in the breadcrumb path. This will bring back the icons in the Information menu.
Delete Motifs/Parts of Design
Dolphin Design
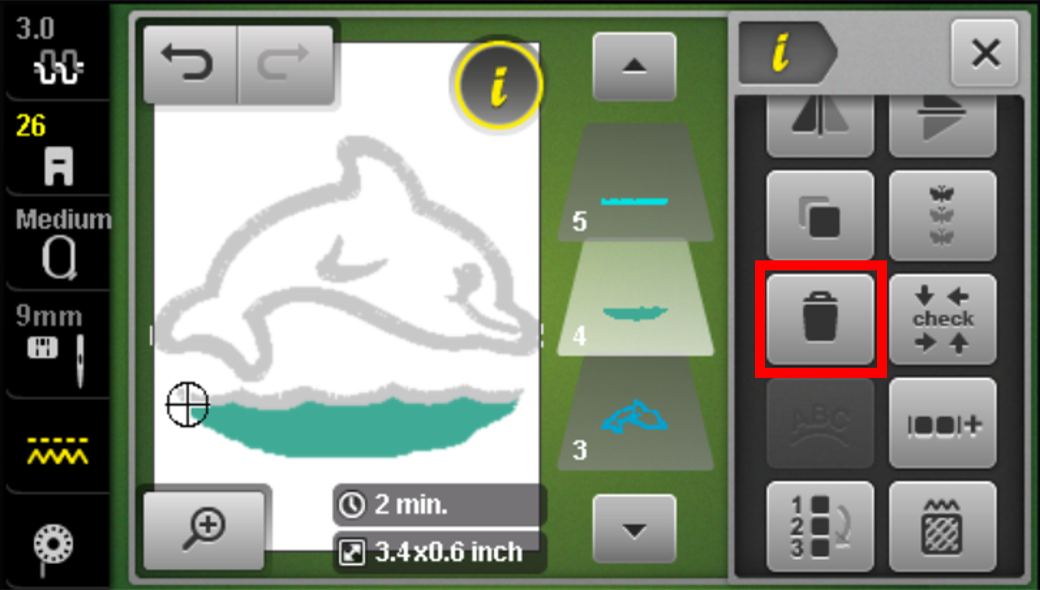
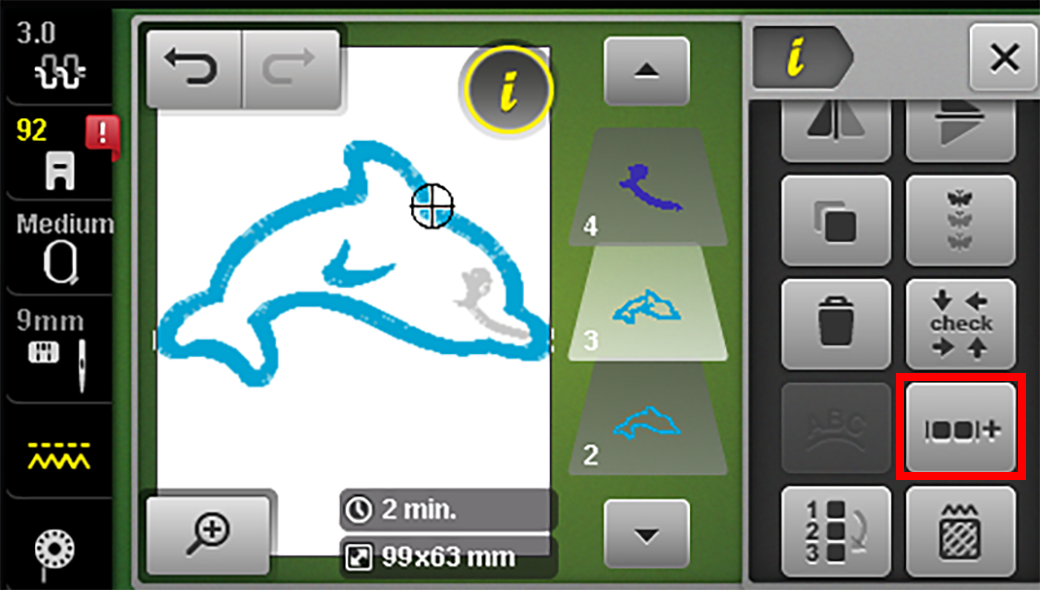
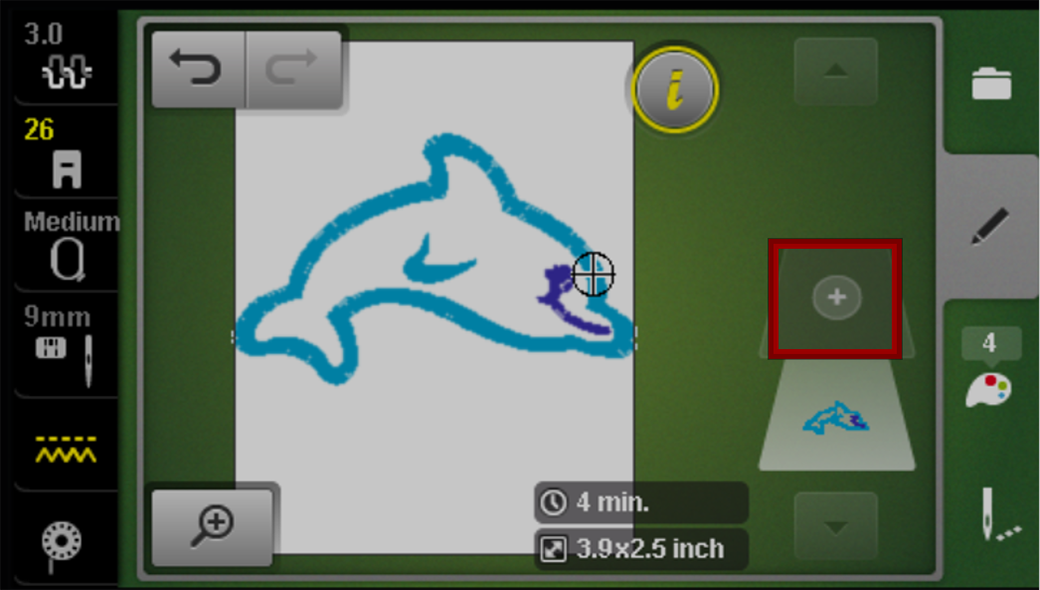
Click on Layer 4. Then, select Delete Motif icon and confirm.
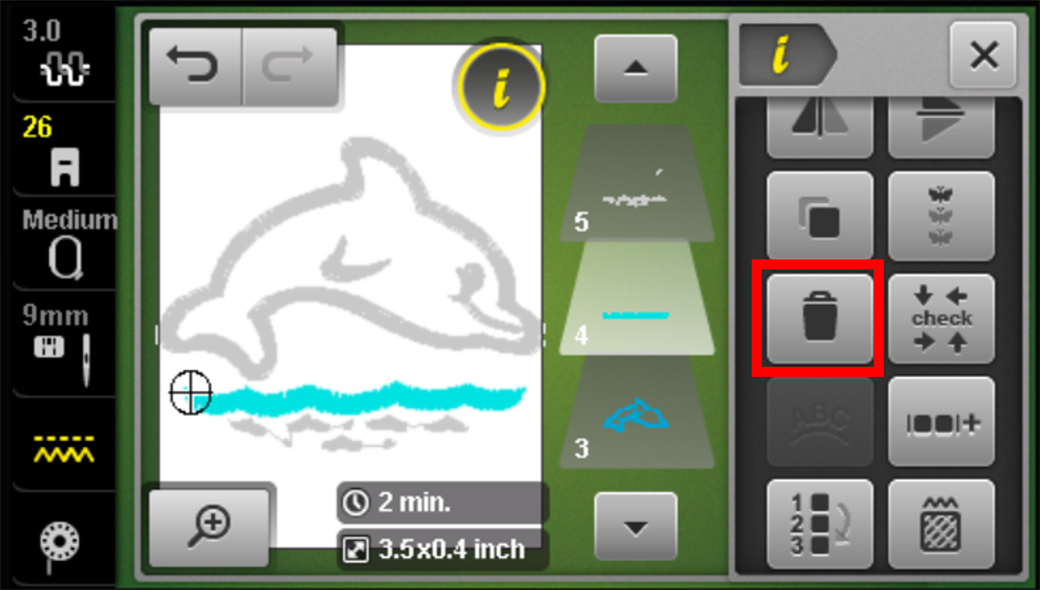
Notice when you delete a layer, everything behind that layer moves up one. So what was Layer 5 is now Layer 4. Click on Layer 4 again, select Delete Motif icon and confirm.
Again, the part we want to delete has moved to Layer 4. This one is gray in color, so it’s hard to distinguish from the other parts (unselected parts are gray by default). Select Layer 4, select the Delete Motif icon and confirm.
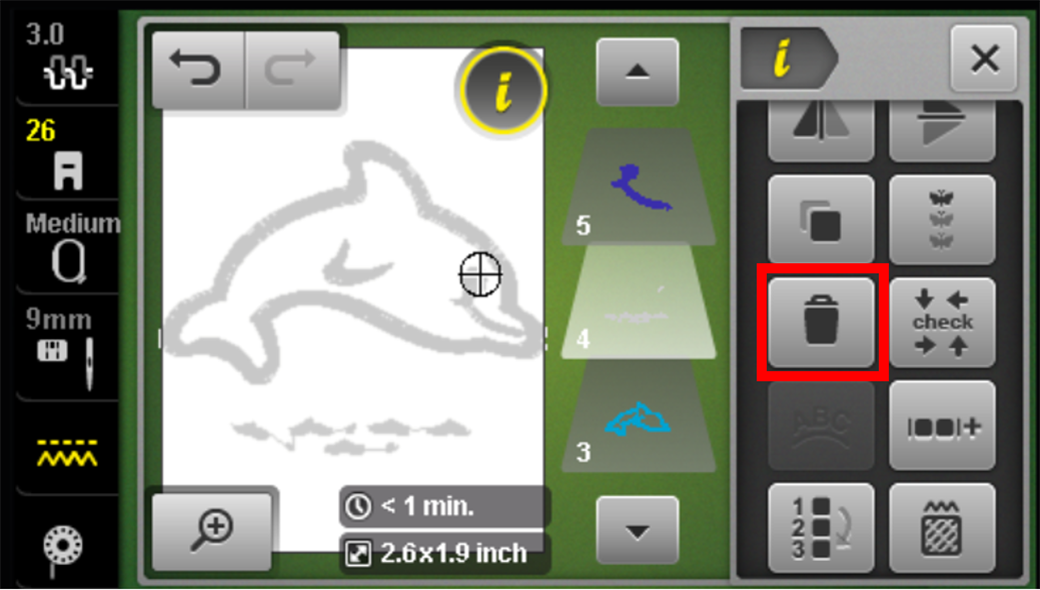
If you did this correctly, you should have 4 layers in the Layer Panel that make up the dolphin. If not, use your Undo/Redo arrows to figure out where you went wrong.

Star Design
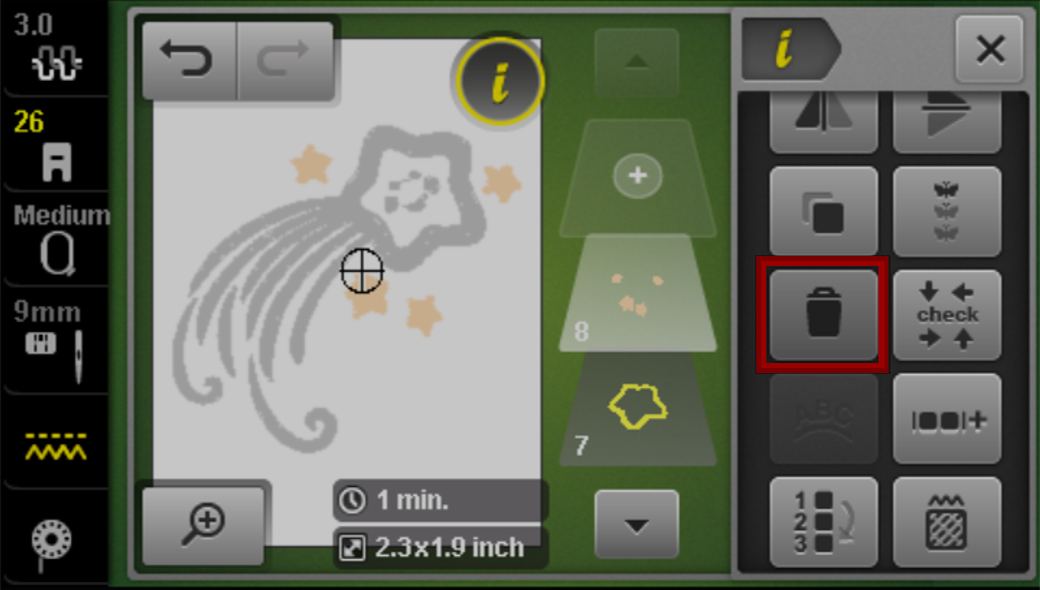
Click on Layer 1. Then, select the Delete Motif icon and confirm.

Scroll up to Layer 8 and click on it. Select the Delete Motif icon and confirm. (Of course, this is your title page so if you want to keep the stars in Layer 8, keep them!)
You should have 7 layers.
Group Motifs/Parts to Create New Design
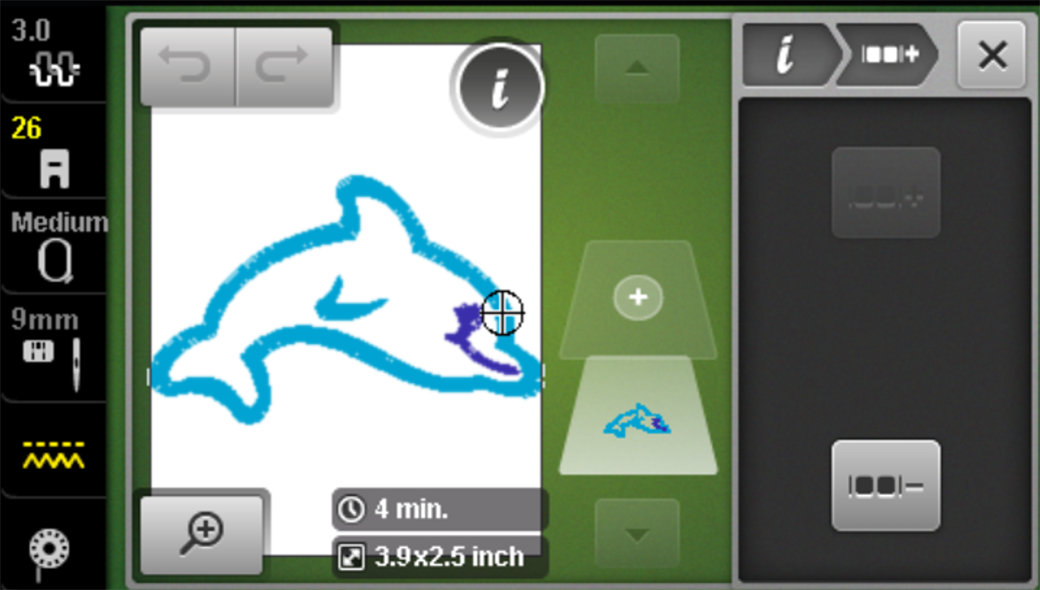
Now we want to group our design back together. The process is the same for all designs. Select the Group Embroidery Motifs icon.
Select Layer 1. Click on the Group icon until all layers are combined into one layer.

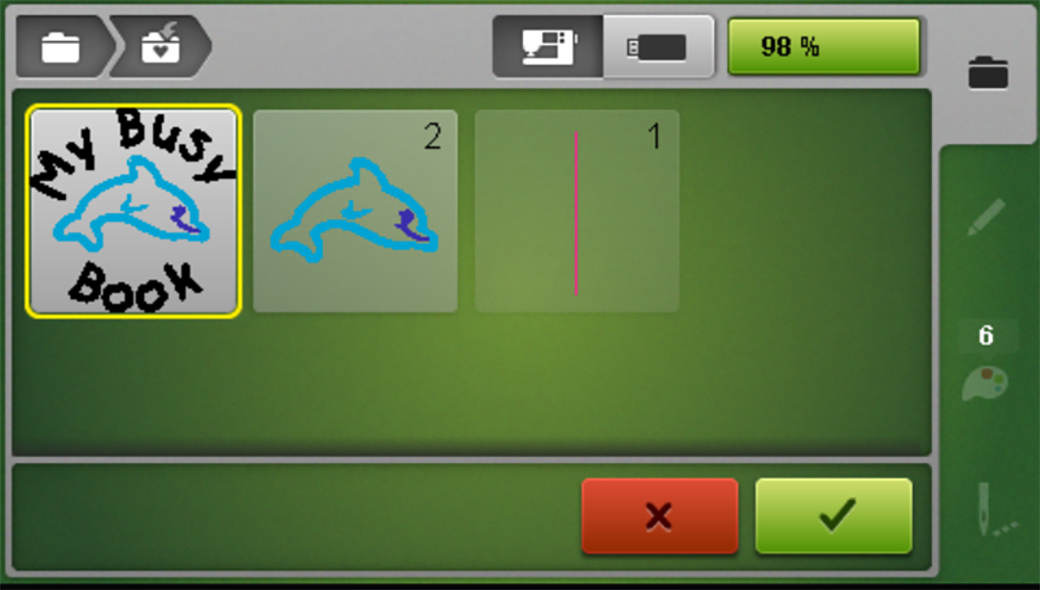
Here is the dolphin with all the parts grouped into one complete and new design.
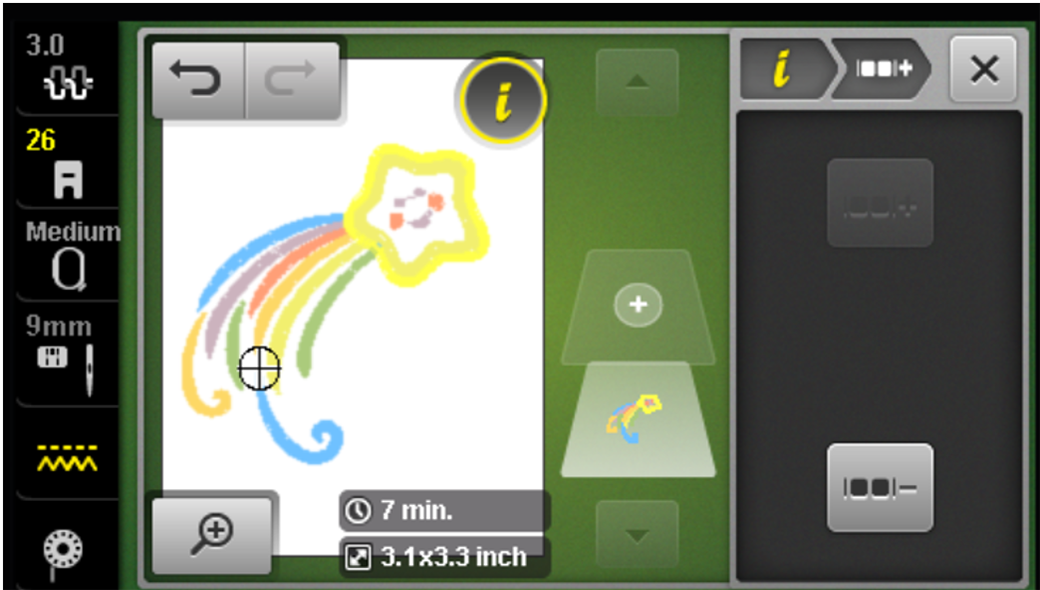
Here is the star with all the parts grouped into one complete and new design.
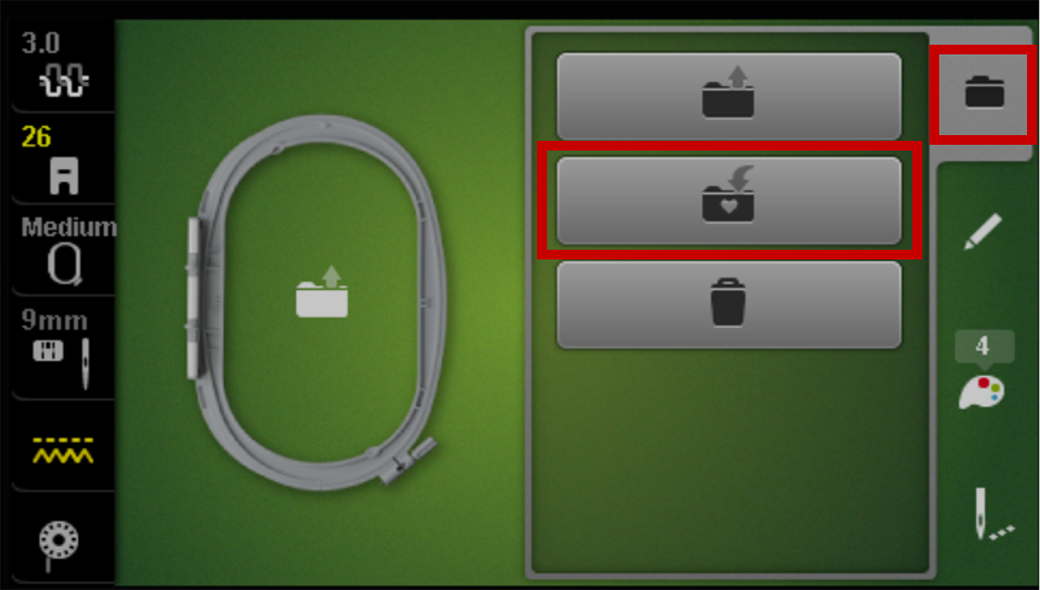
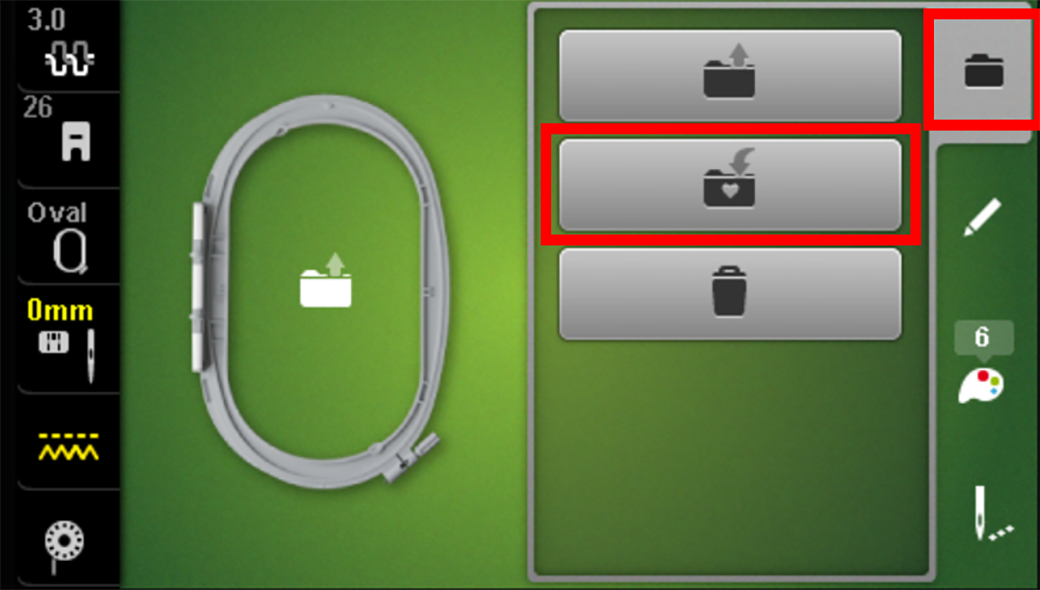
Saving your design is a good habit to start in case something happens – and it will! Go into the Selection tab on the right side and select Save Motif folder. Confirm the design.
Add Letters
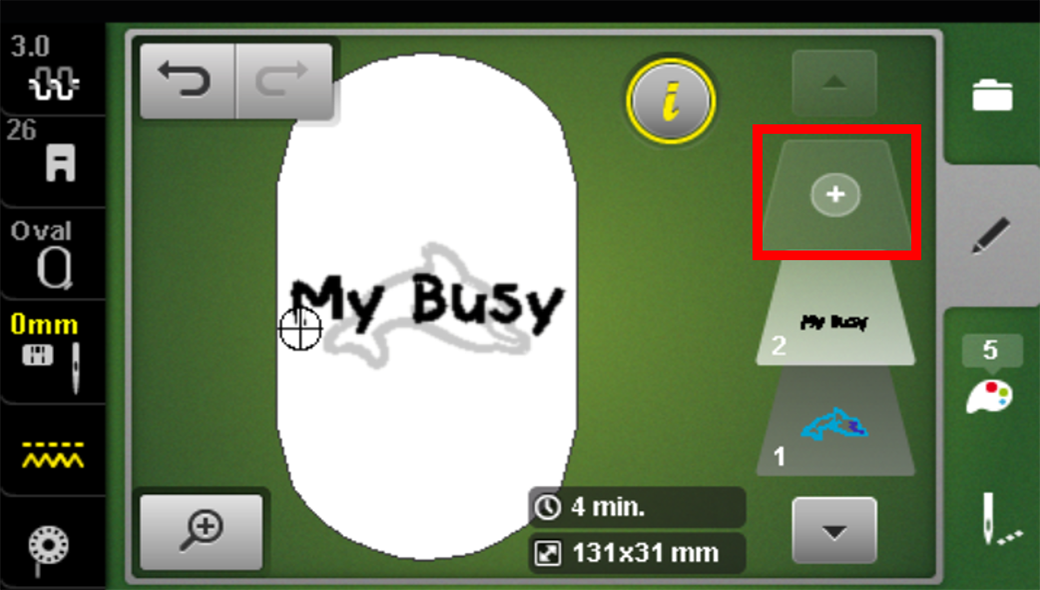
Click on the Add Motif icon.
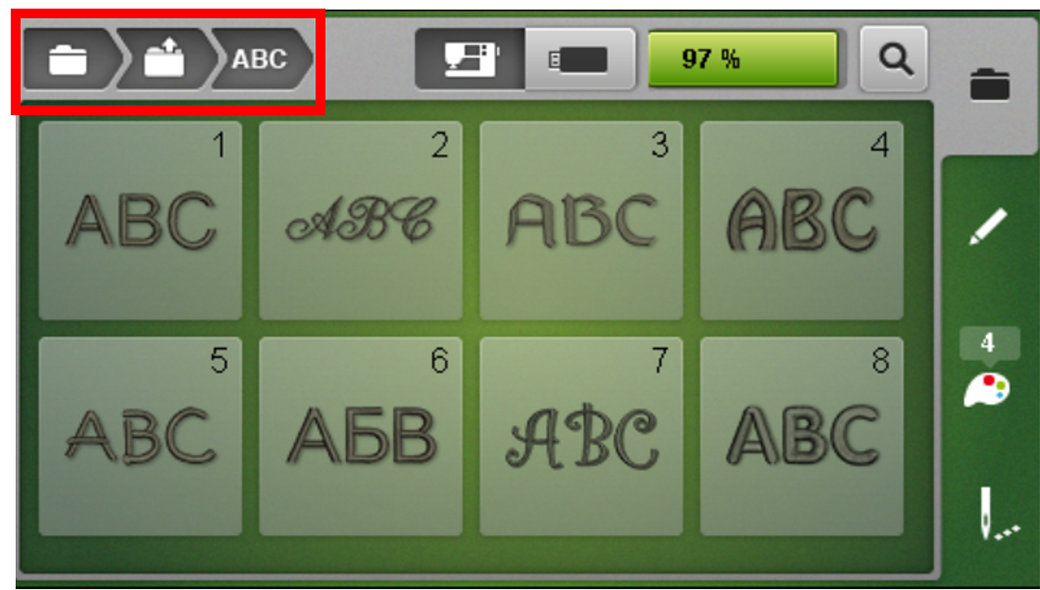
Go into the Selection folder and click on the Alphabets folder (follow breadcrumb path which is outlined in red). The Alphabet folder will open the many alphabet fonts. I chose Font 5 for the dolphin design and Font 1 for the star.
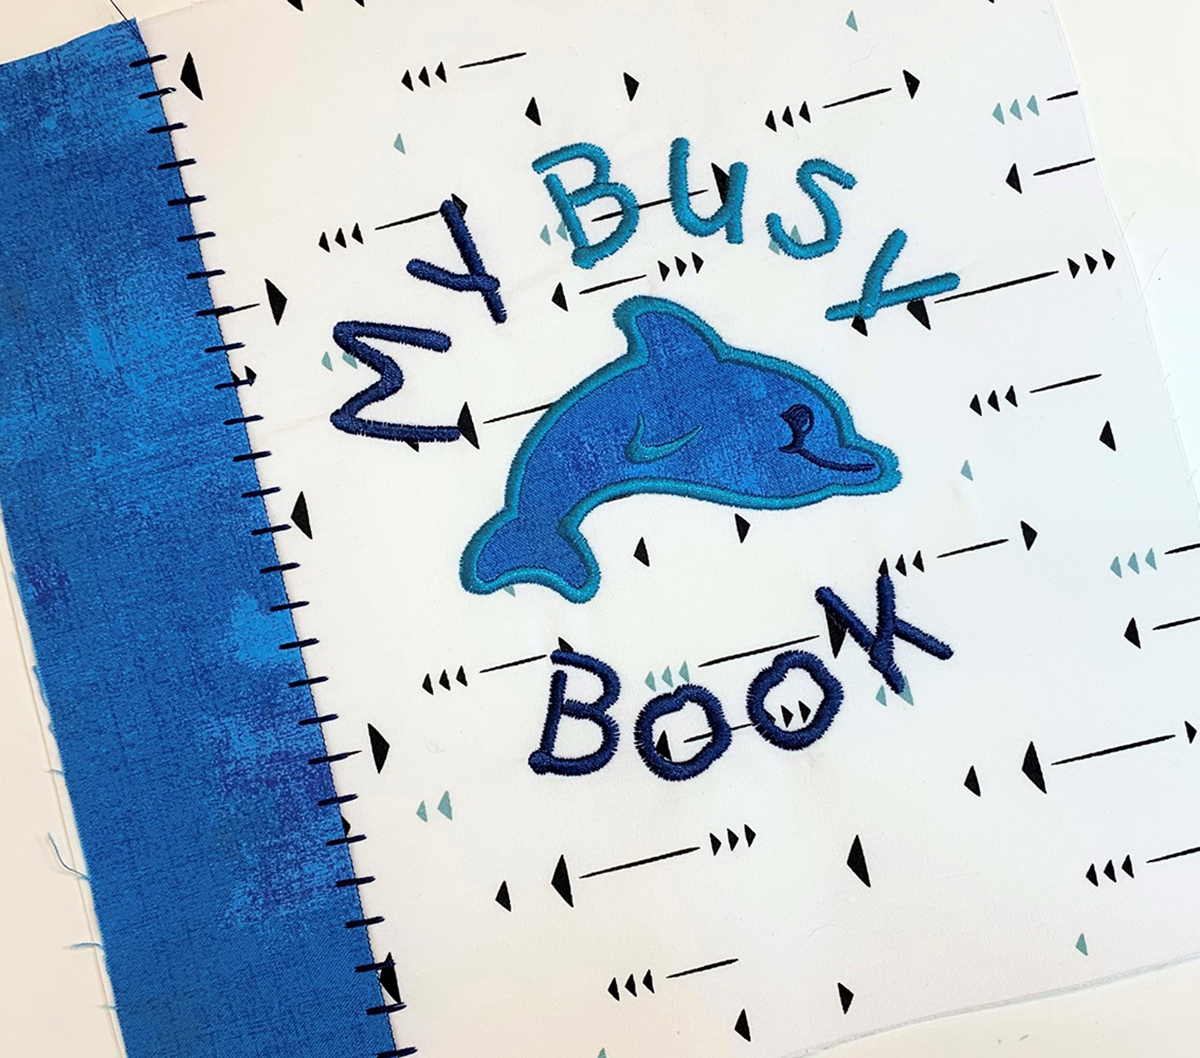
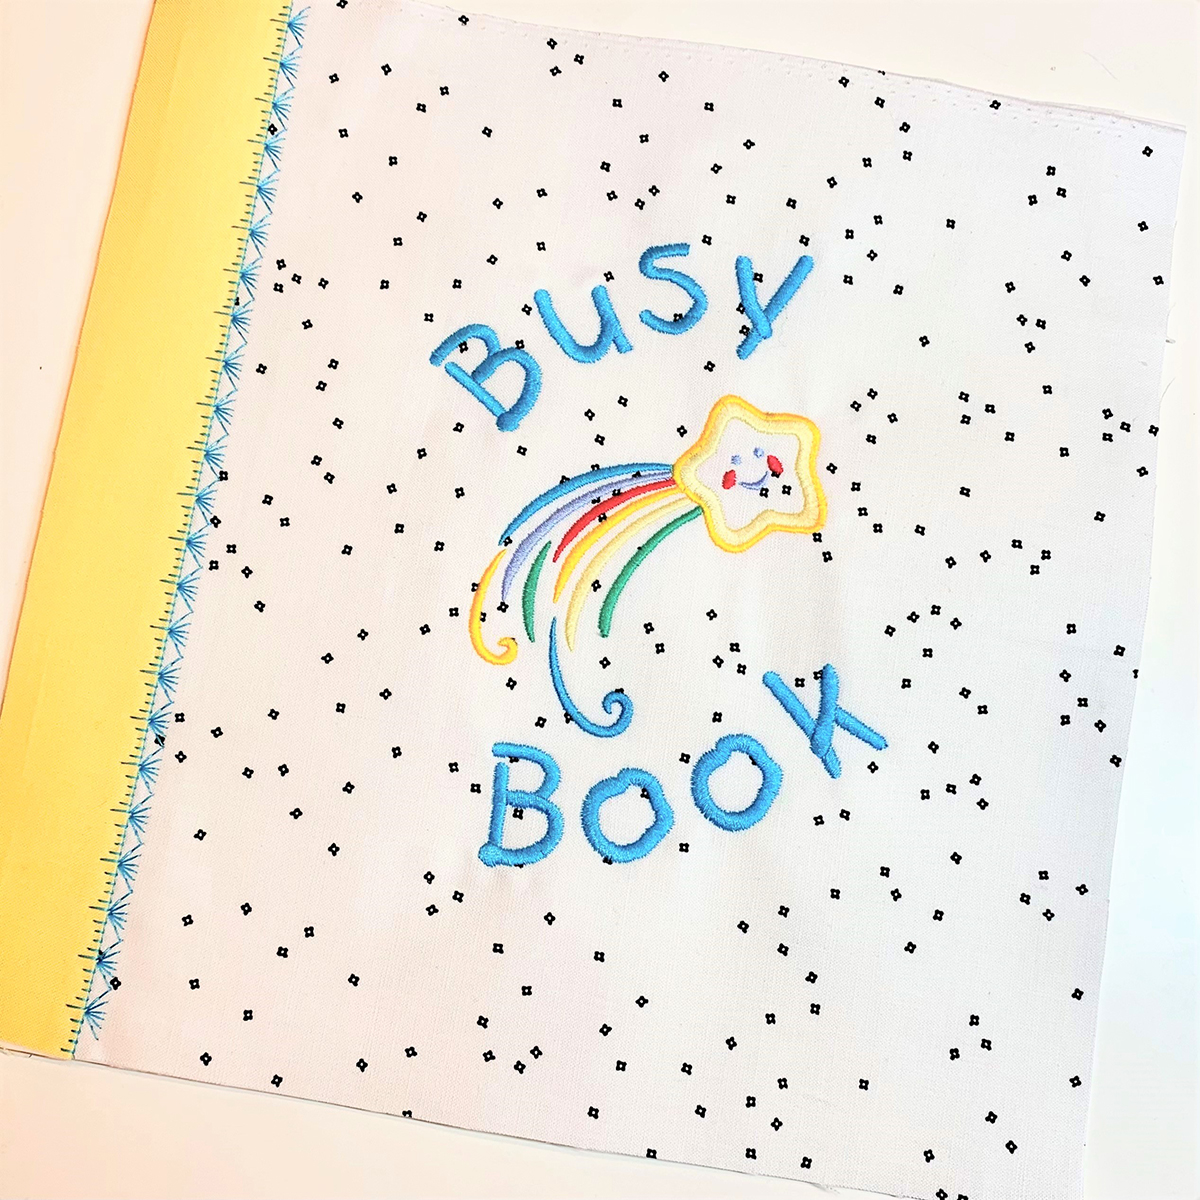
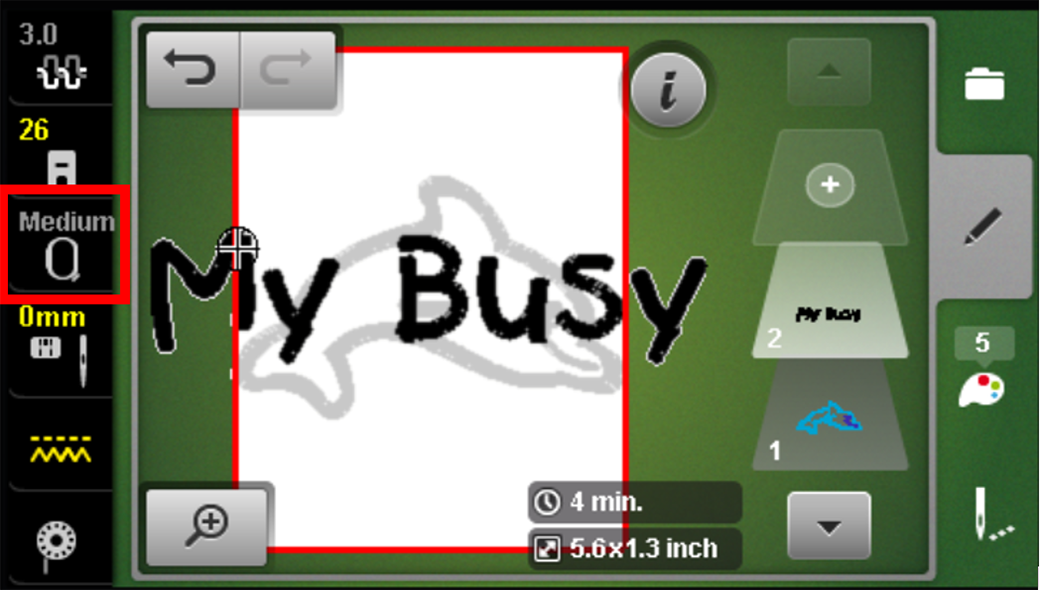
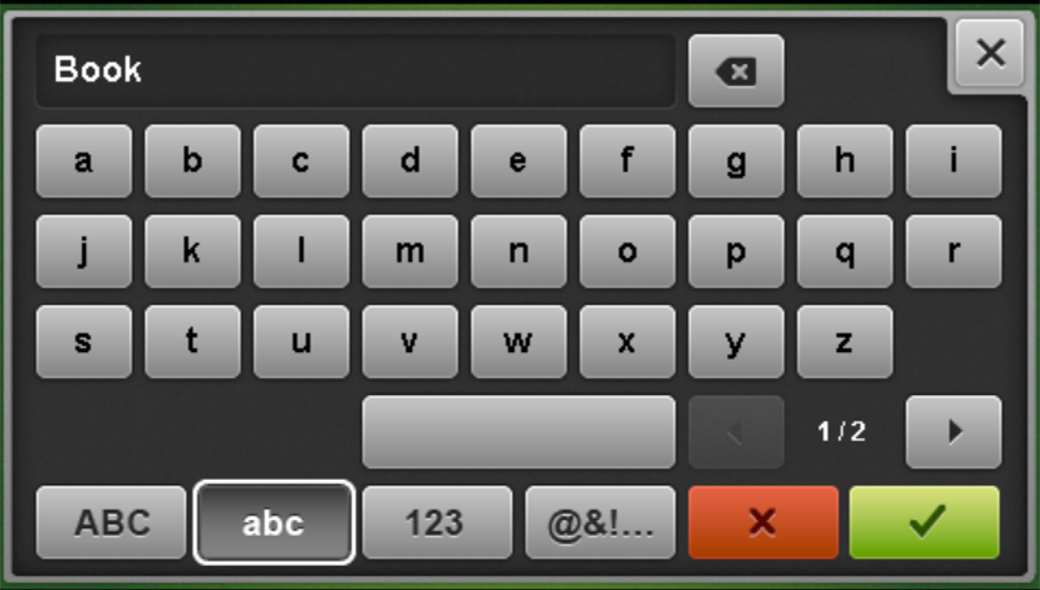
Type in “My Busy”, “Busy” or name of the lucky recipient. You can use both upper and lower caps. Confirm.

Notice the red outline. This indicates the design is too big for the selected hoop. We need to go into the Hoop Selection tab on the left side and change the hoop size to oval.
Much better! Click on the Add Motif icon. If you do not see it, click on the arrow to scroll up.
The Alphabets folder should come up since this was the previous folder selected. Find your desired font and type in the word “Book”. Confirm.
Your design parts will be on top of one another. Separate them by clicking and dragging each part. Check your layers and make sure you have three.
Edit Letters – change size, rotate, letter spacing & arc
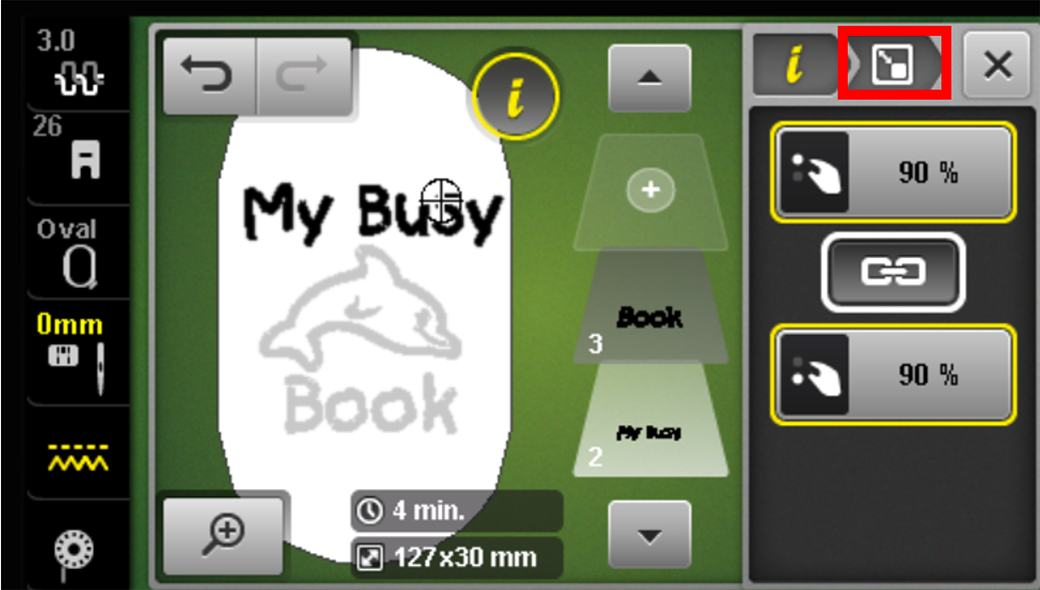
Go into the i menu and select Change Motif Size icon.

Click on “My Busy” or Layer 2 and use the Multi-function knobs to change size to 90%. Click on “Book” or Layer 3 and do the same.
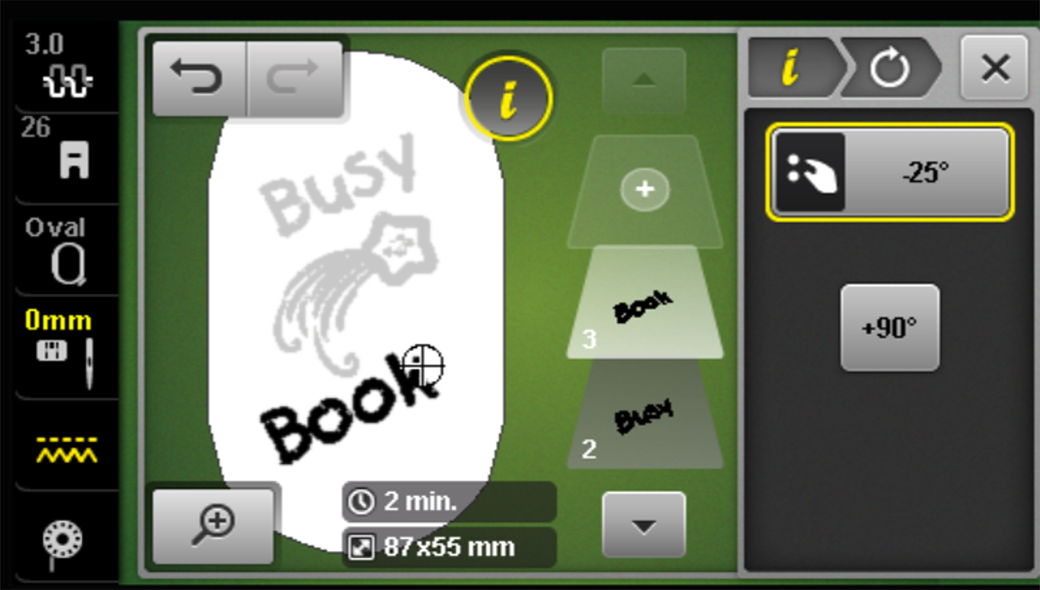
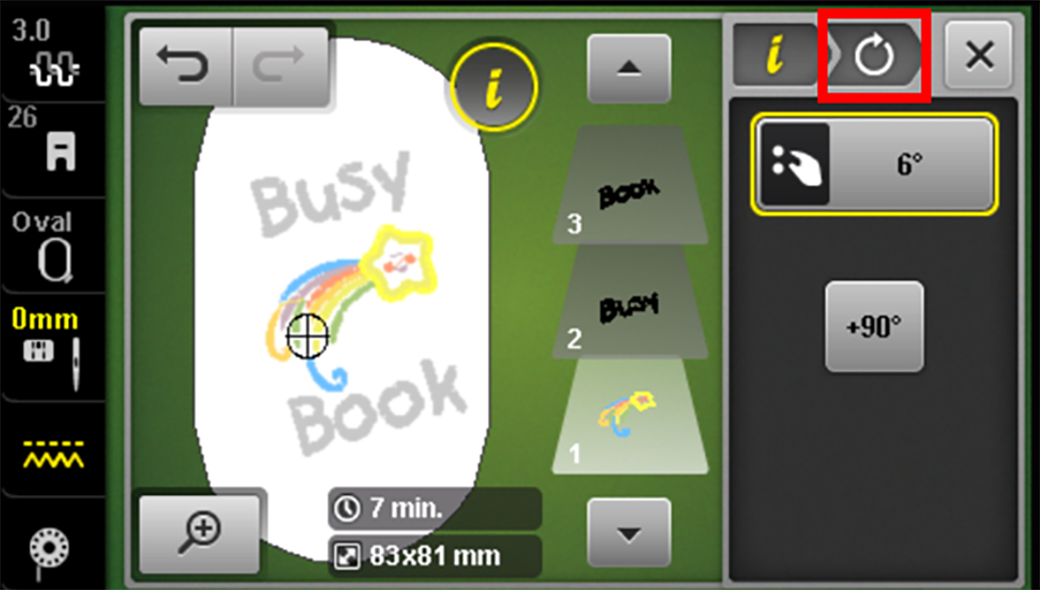
For the star design, do not adjust the letter size but instead use the Rotate Motif icon.
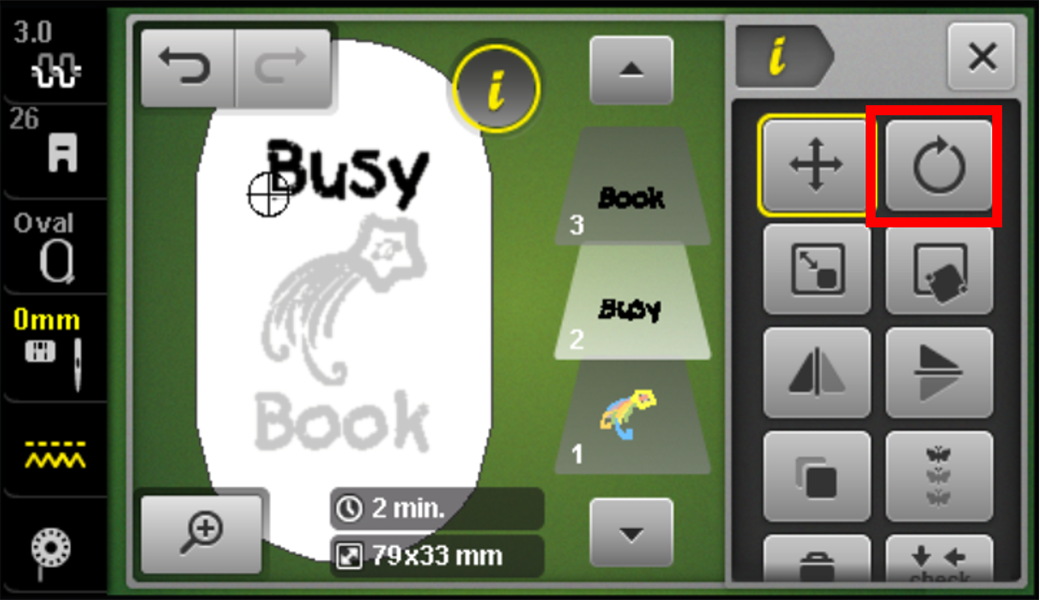
Click on the first word or Layer 2 and rotate using Multi-function knobs. I rotated to -25. Click on second word or Layer 3 and do same.
Return to the Information menu through the breadcrumb path and select the WordArt icon.
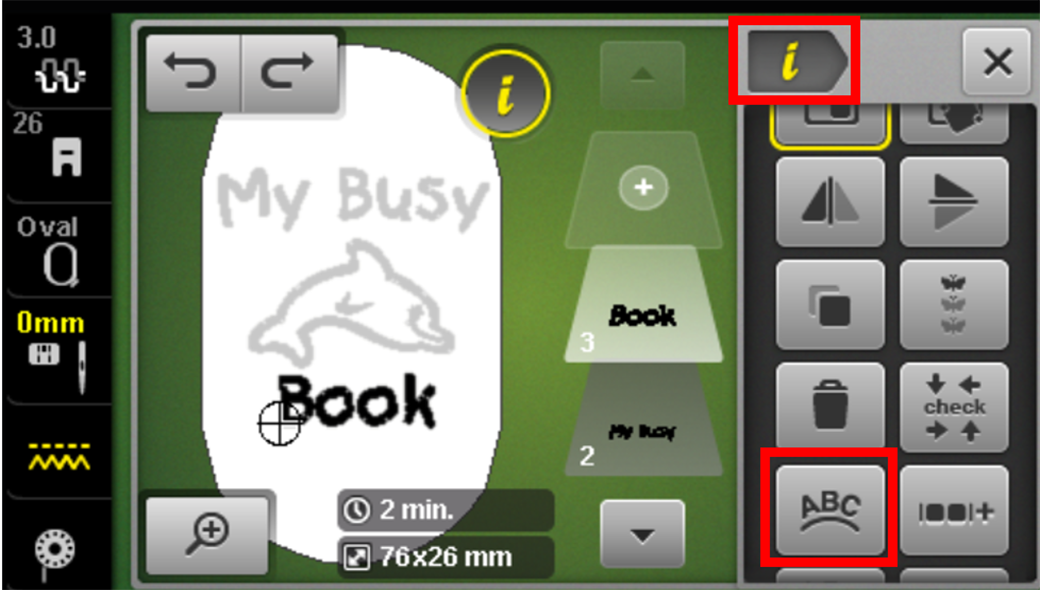
With WordArt, use the Upper Multi-function knob to change the letter spacing and the lower Multi-function knob to arc the words. Click on “My Busy” or Layer 2. I kept the letter spacing the same, but changed the arc to 72. Play around and see what looks good to you!

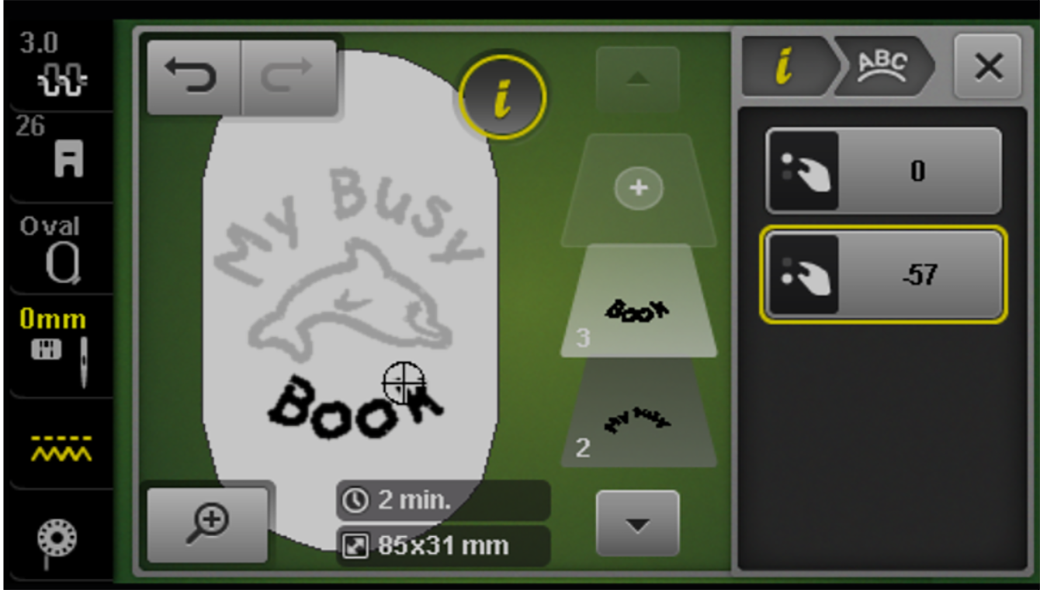
Next click on “Book” or Layer 3. Make similar adjustments. Lastly, click and drag the words around until you are happy with placement in the overall design.
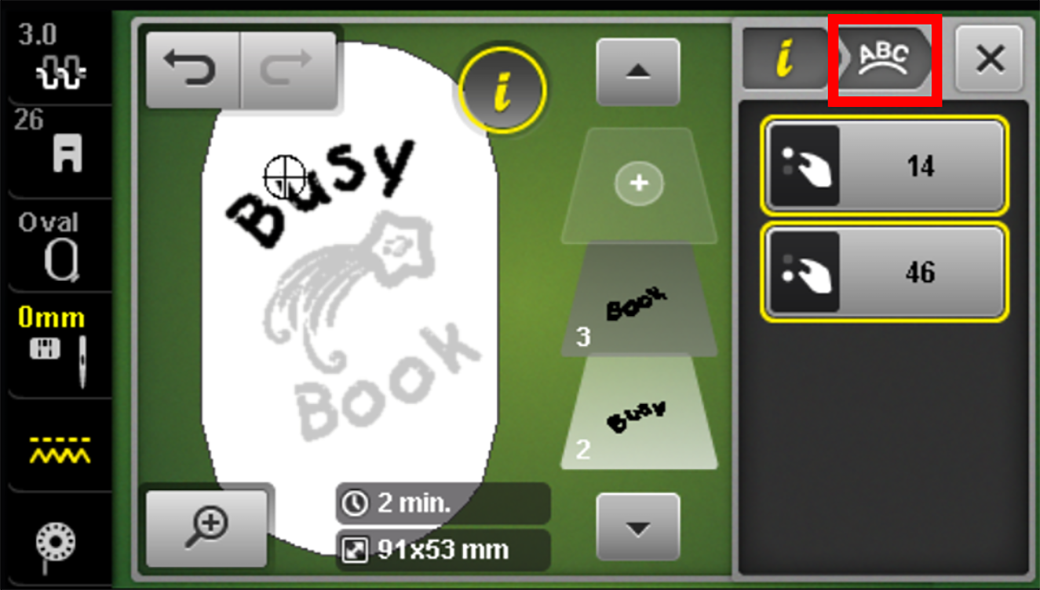
For the star design, follow the same steps for each word. Select the WordArt icon and adjust the letter spacing and arc using the Mutli-function knobs. I added letter spacing in this design and curved the words slightly.
Also, I rotated the star slightly by clicking on Layer 1 and selecting the Rotate Motif icon.
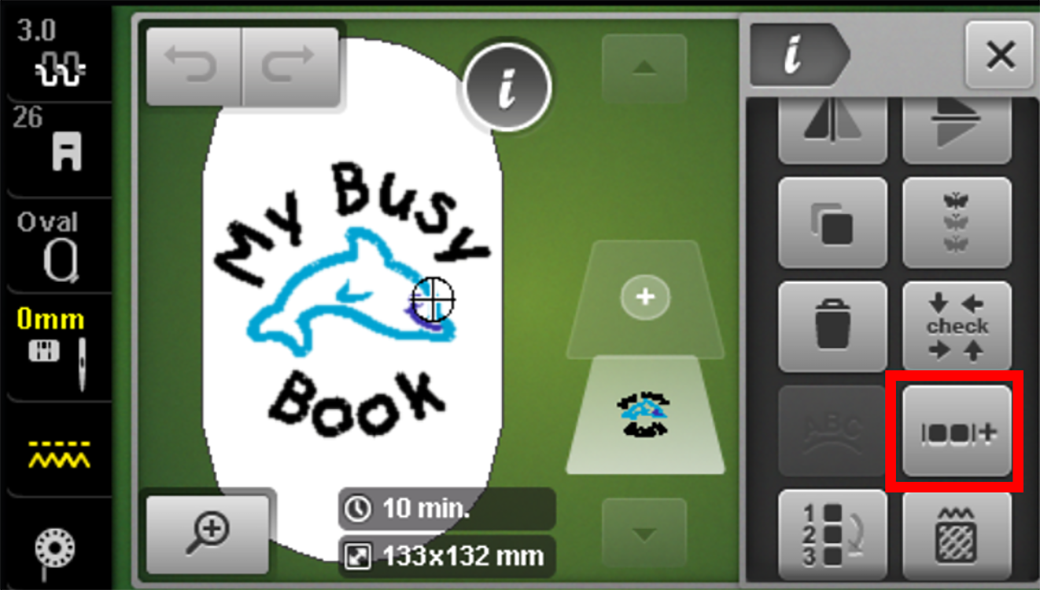
Group New Design (again)
Let’s group the parts together to make one design. Do you remember how we grouped the first design we created? Select the Information menu in the breadcrumb path. Then, select the Group Embroidery Motifs icon.
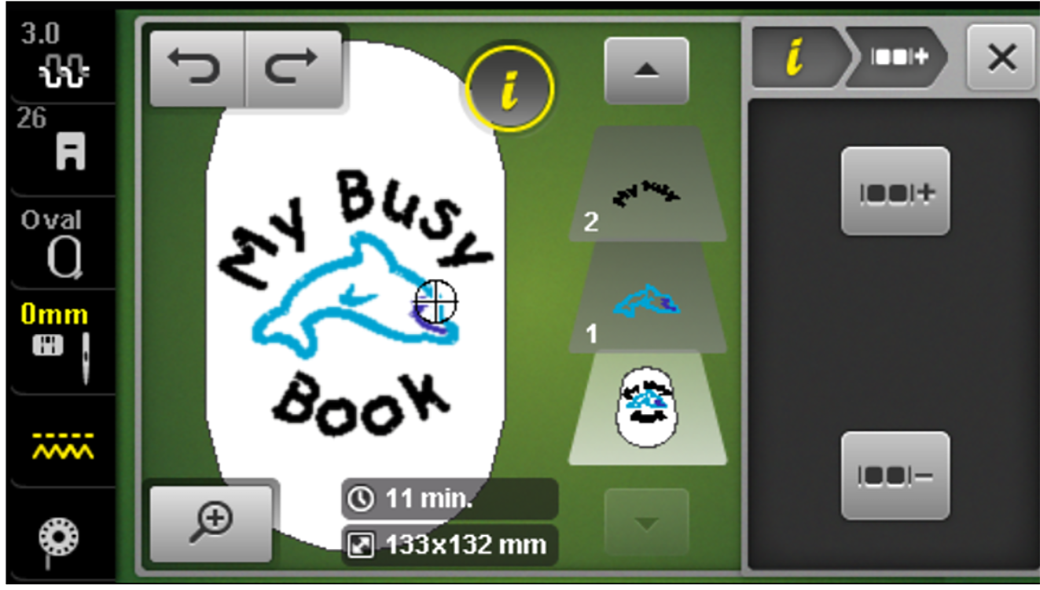
This time, click on the complete design layer below Layer 1 and select the Group icon. This will group all the layers at once. If you click on Layer 1 and then select the Group icon, the layers combine one at a time. The process is the same for all designs.
This is a good time to save your new design! Go into the Selection tab on the right side and select Save Motif folder. Confirm the design.
Note: Changing the stitch plate on your machine screen is a good habit. This is a security function so when you switch back to the sewing side and try to do a decorative stitch, the machine will not allow it. There will be a straight stitch on your machine screen until you change the stitch plate back to 9 mm. I have saved a lot of needles this way!
Stitch Out the New Design
Add Stabilizer and Hoop
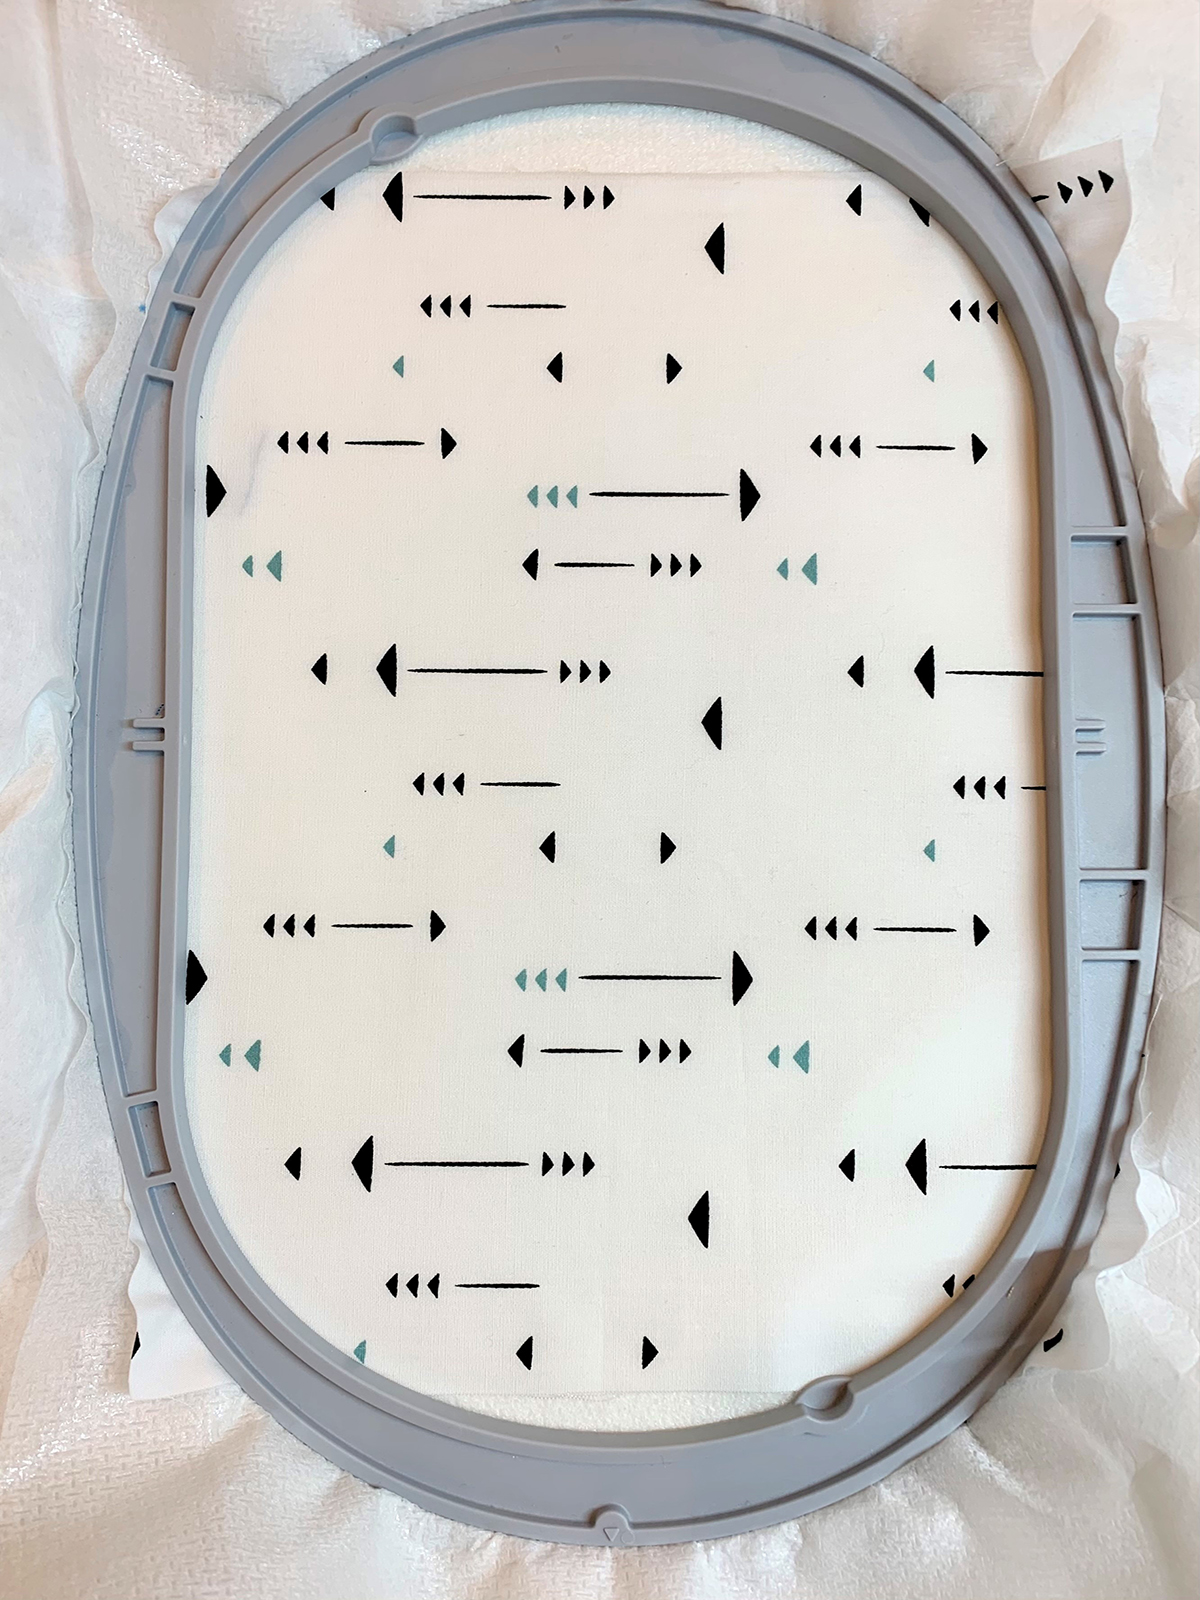
Fuse the OESD Fusible Woven to the wrong side of your 9” x 10” main fabric. Next, fuse the OESD Ultra Clean and Tear fusible stabilizer to the fusible woven. This gives extra assurance that you won’t end up with puckers when creating dense stitches. Place a mark at the center of your fabric and hoop in the large oval hoop. Use the hoop template to center your fabric with the center mark.
Stitch Out
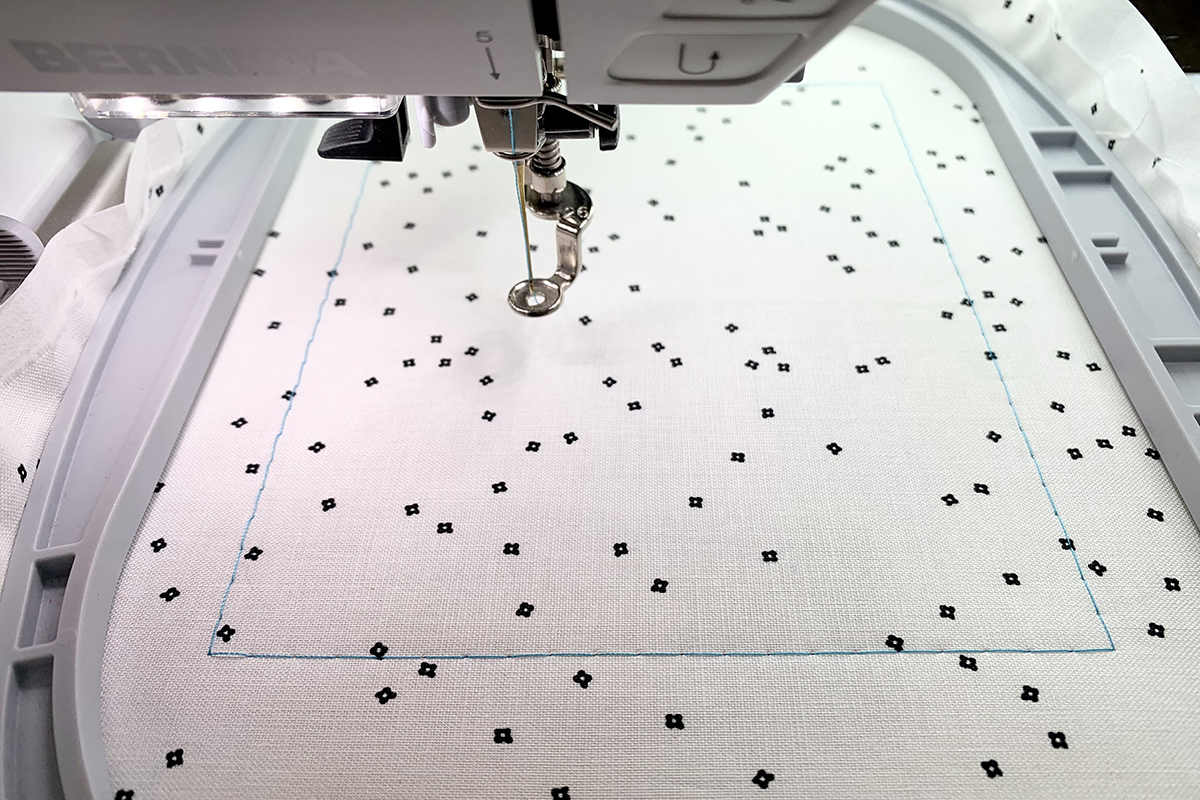
Before you start stitching the design, add a basting box. This helps secure the fabric and stabilizer and only takes a minute with the push of a button. I add my first color thread to baste so I don’t have to change thread for the first design element.
Dolphin
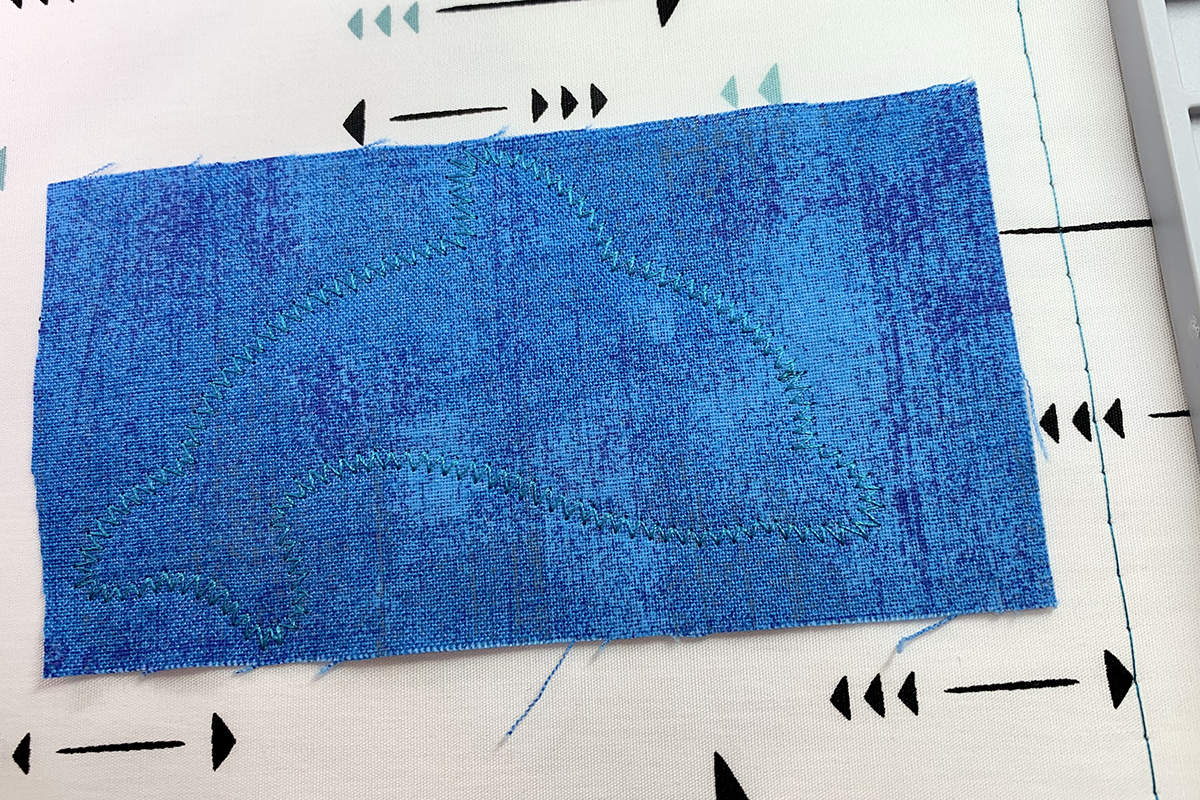
If you are stitching out the dolphin, follow these applique instructions first. Stitch out the placement line.
Place fabric over placement line. Stitch out the zig zag stitch to secure fabric.
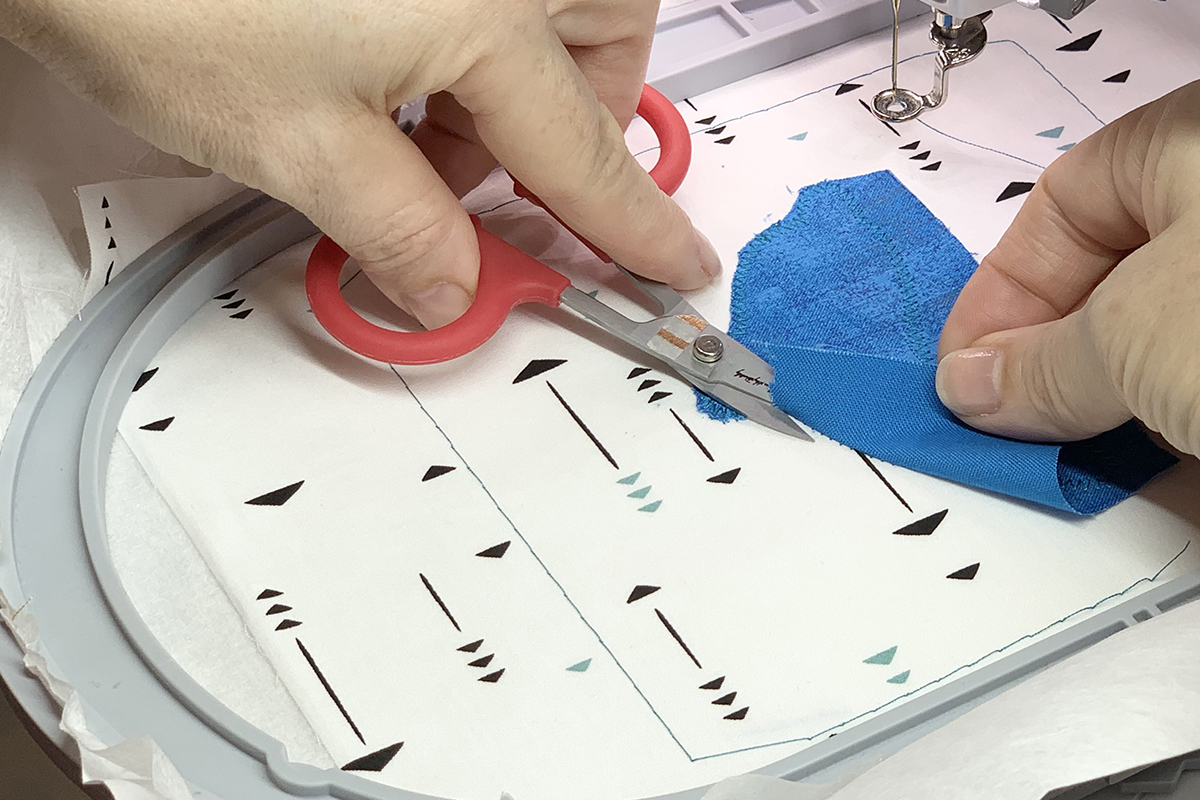
Using small, slightly curved scissors (I like Karen Kay Buckley Perfect Curved Scissors) trim as close as possible to stitching. You can remove the hoop from the machine, but don’t remove your fabric from the hoop!

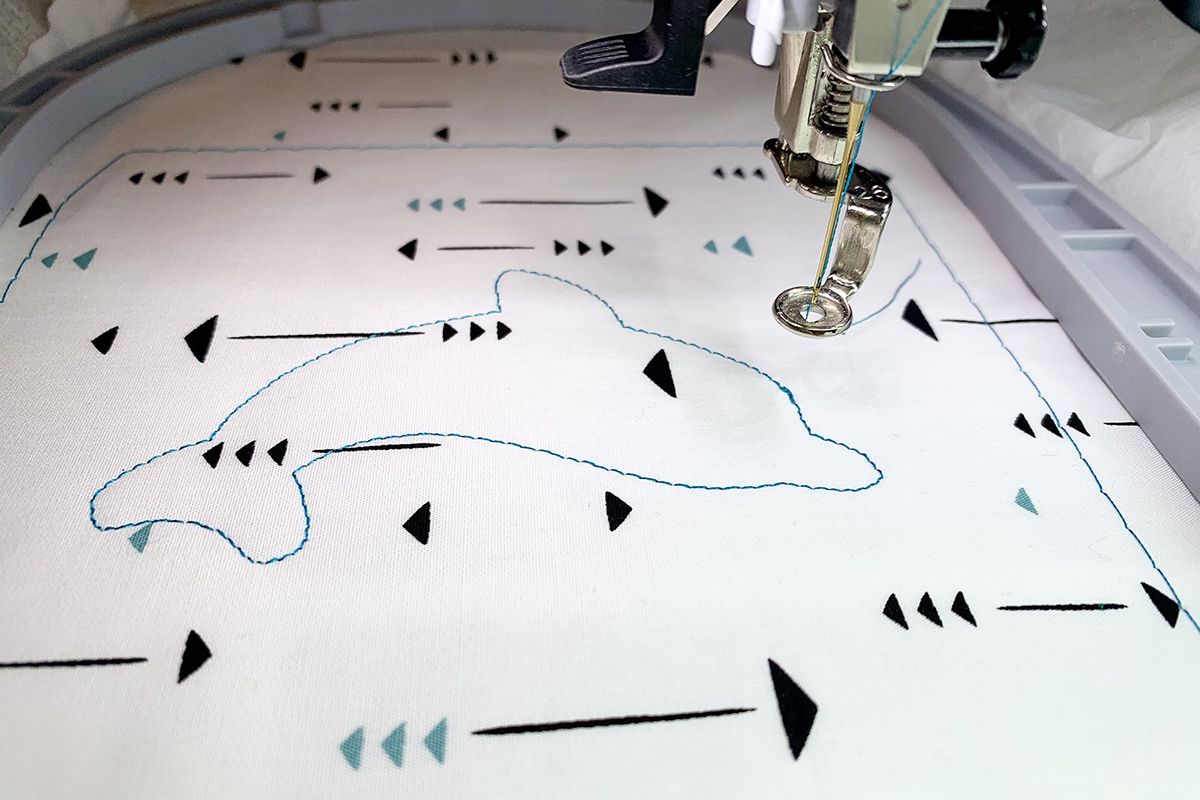
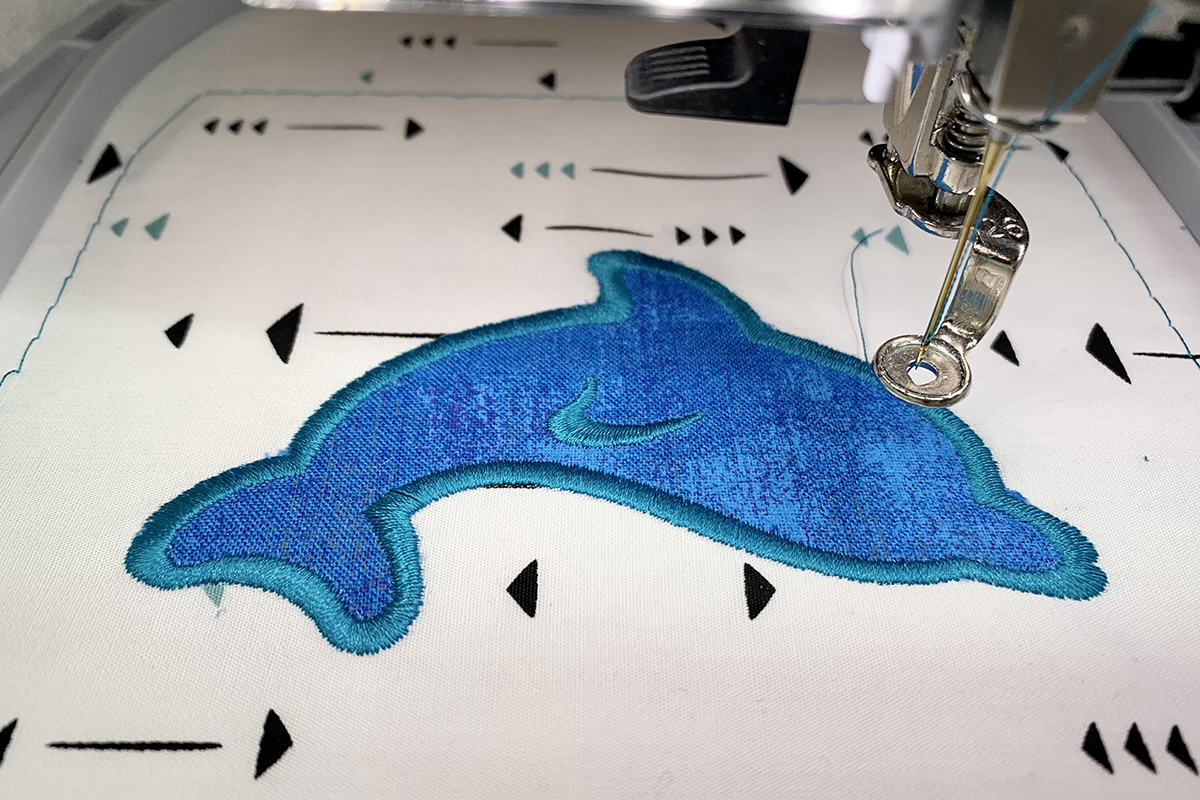
Now reattach hoop to machine and stitch out the satin outline stitch and the dolphin’s flipper.
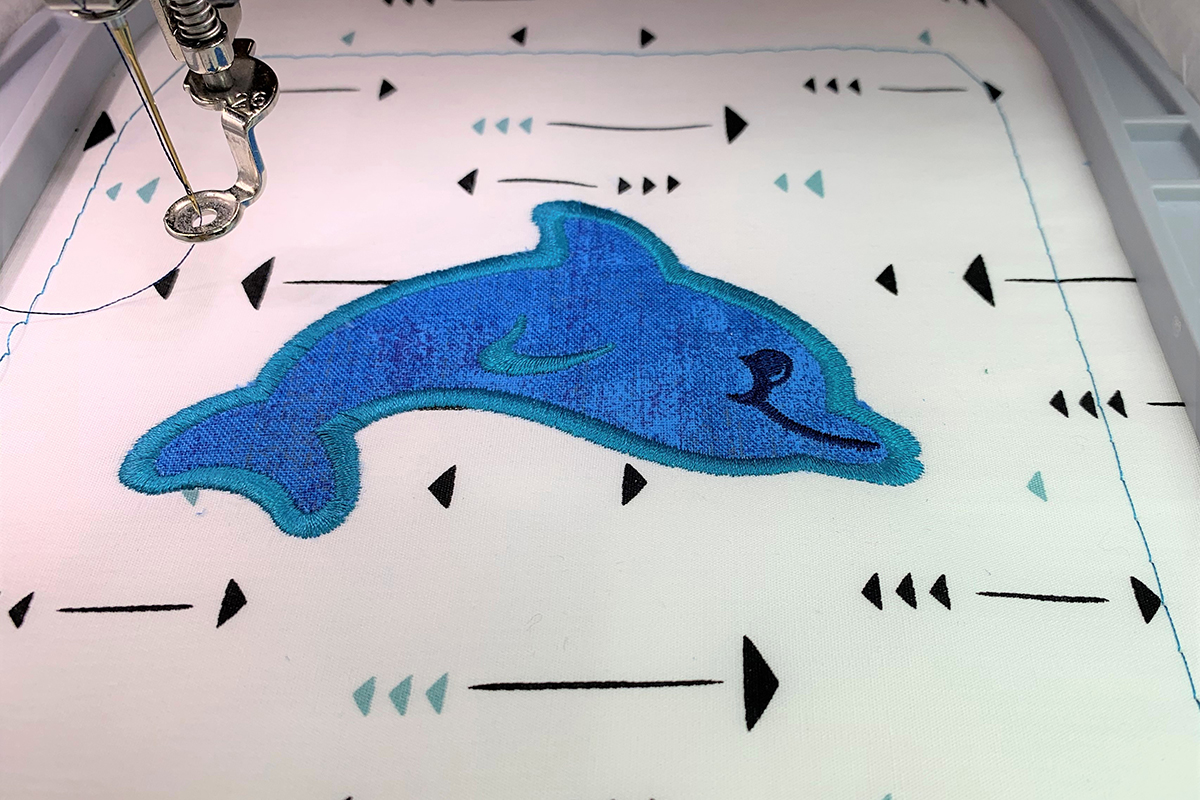
Stitch out the eye and mouth to complete the motif.
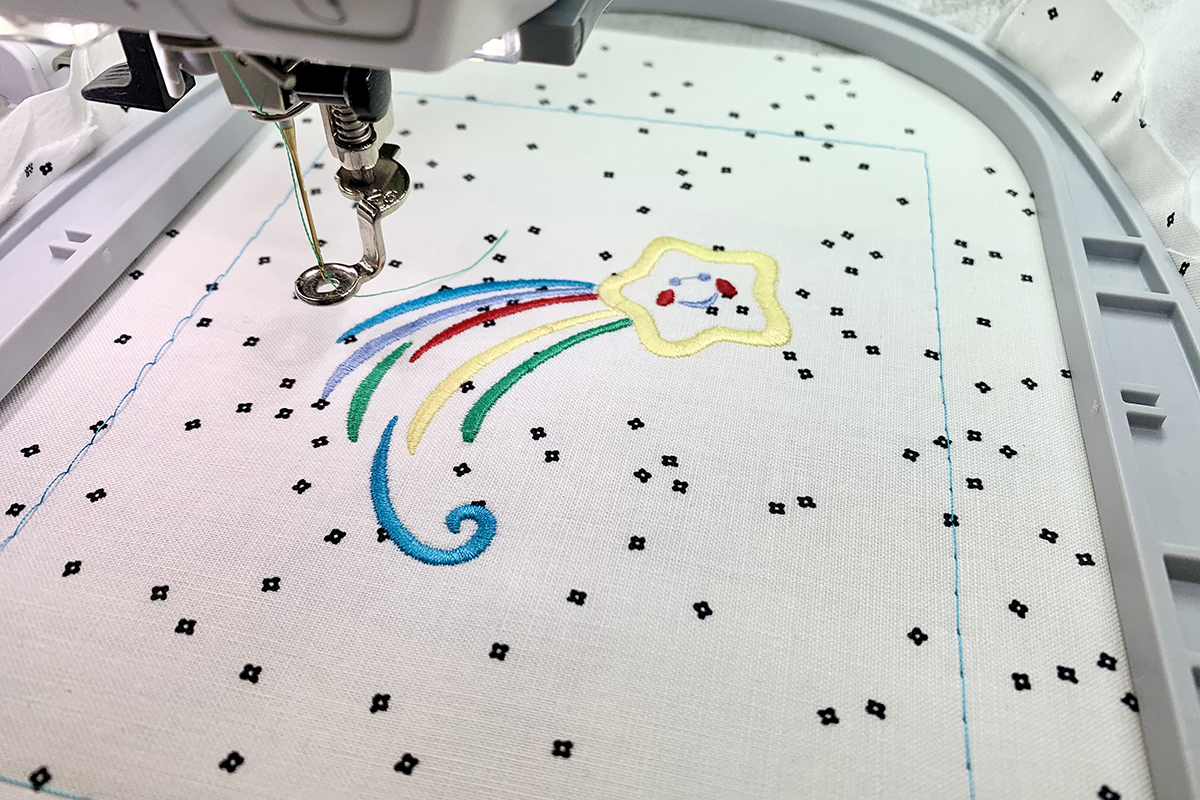
Star
For the star design, start stitching and changing thread colors until you have the motif complete. Have fun and play around with different colors!
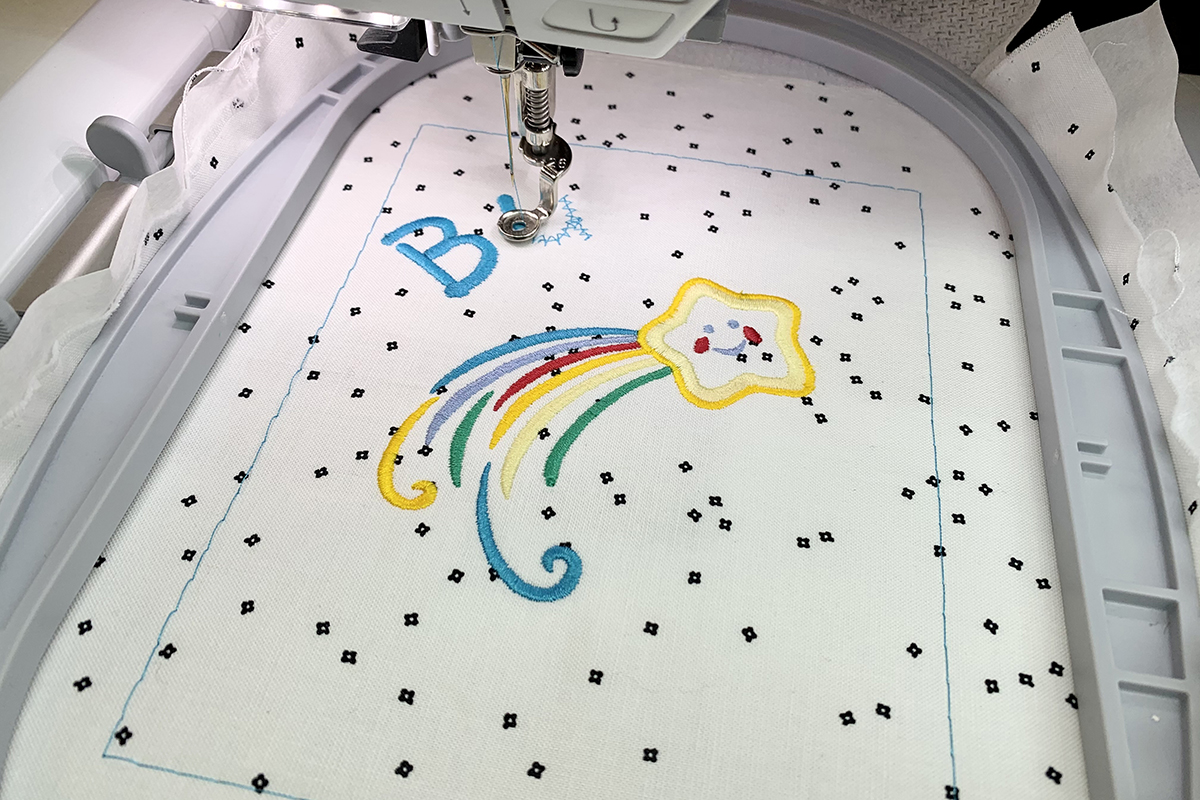
Words
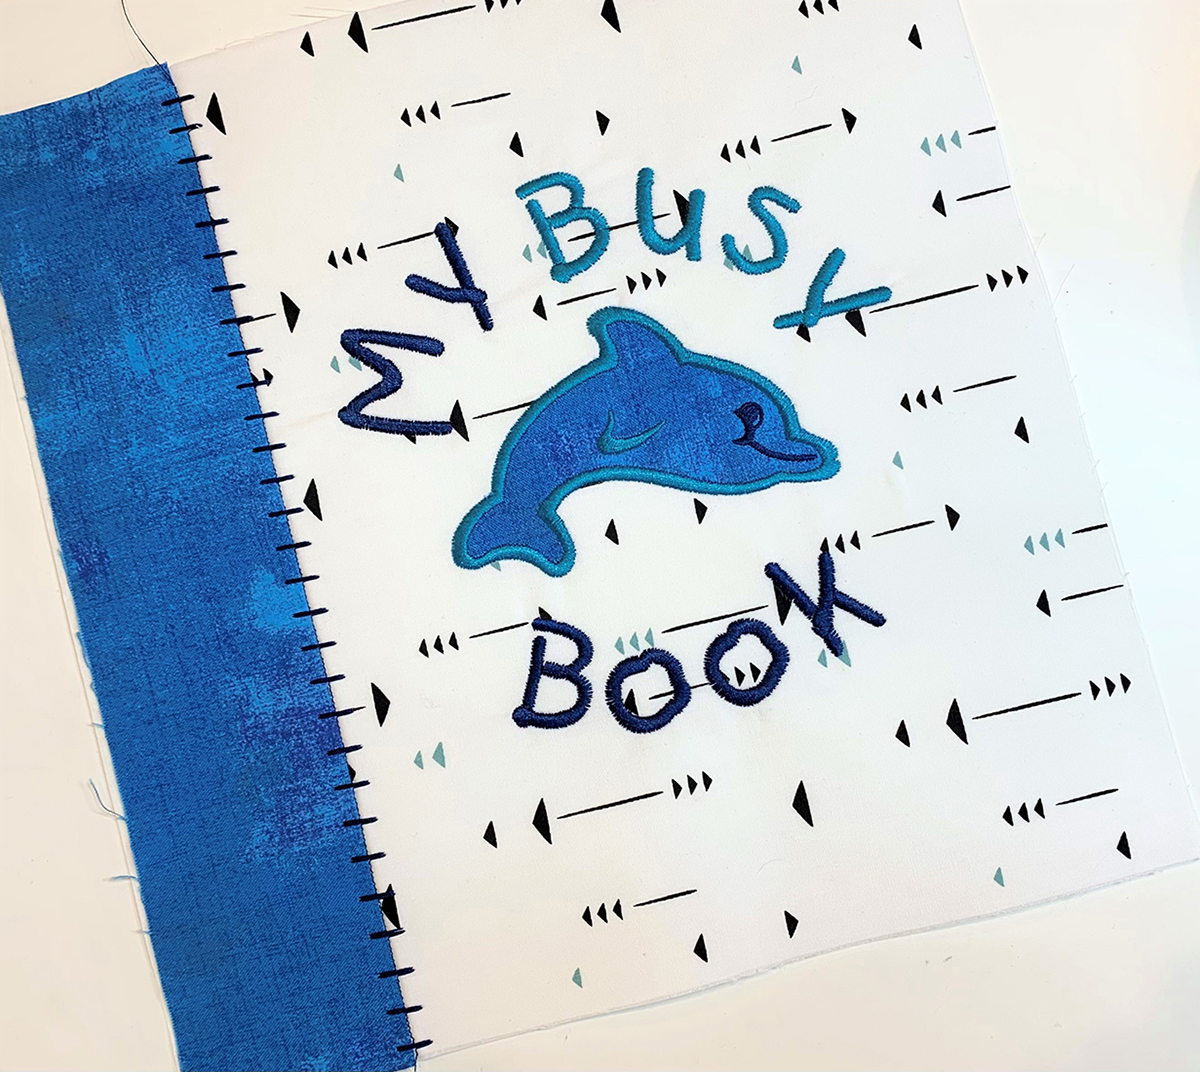
Stitch out the words to finish the design.

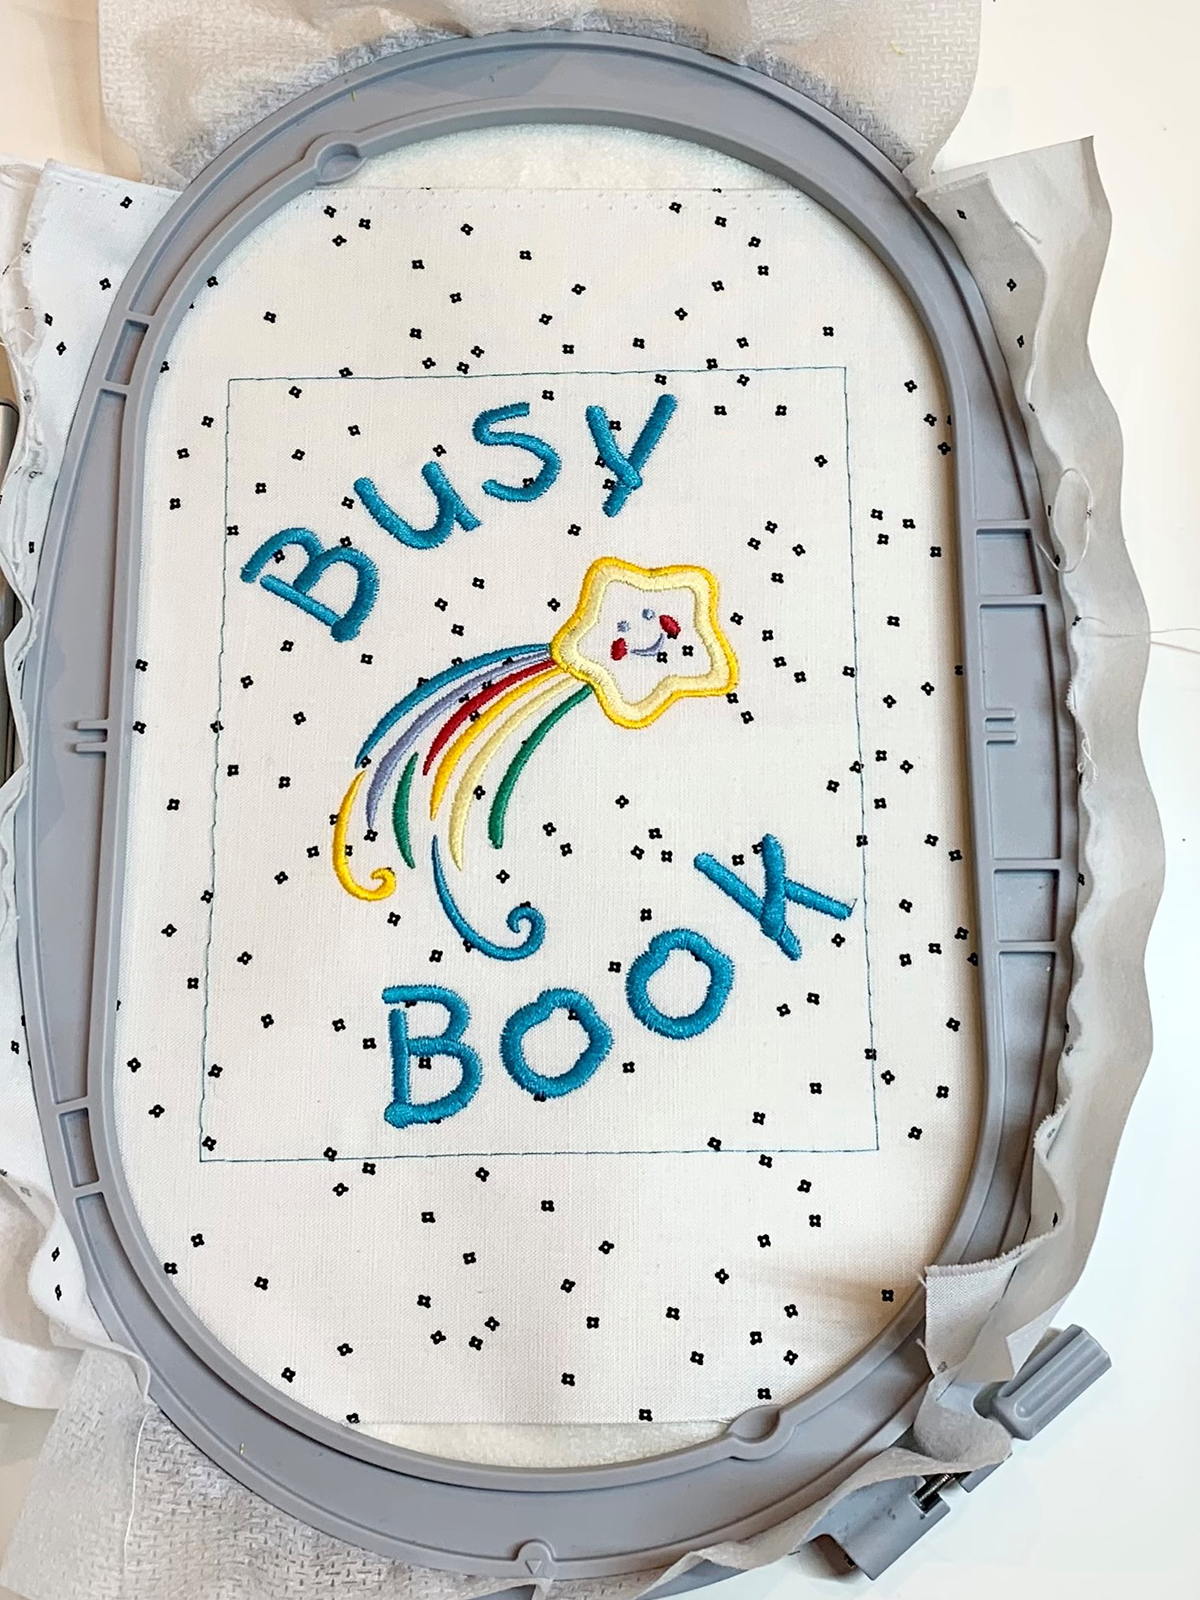
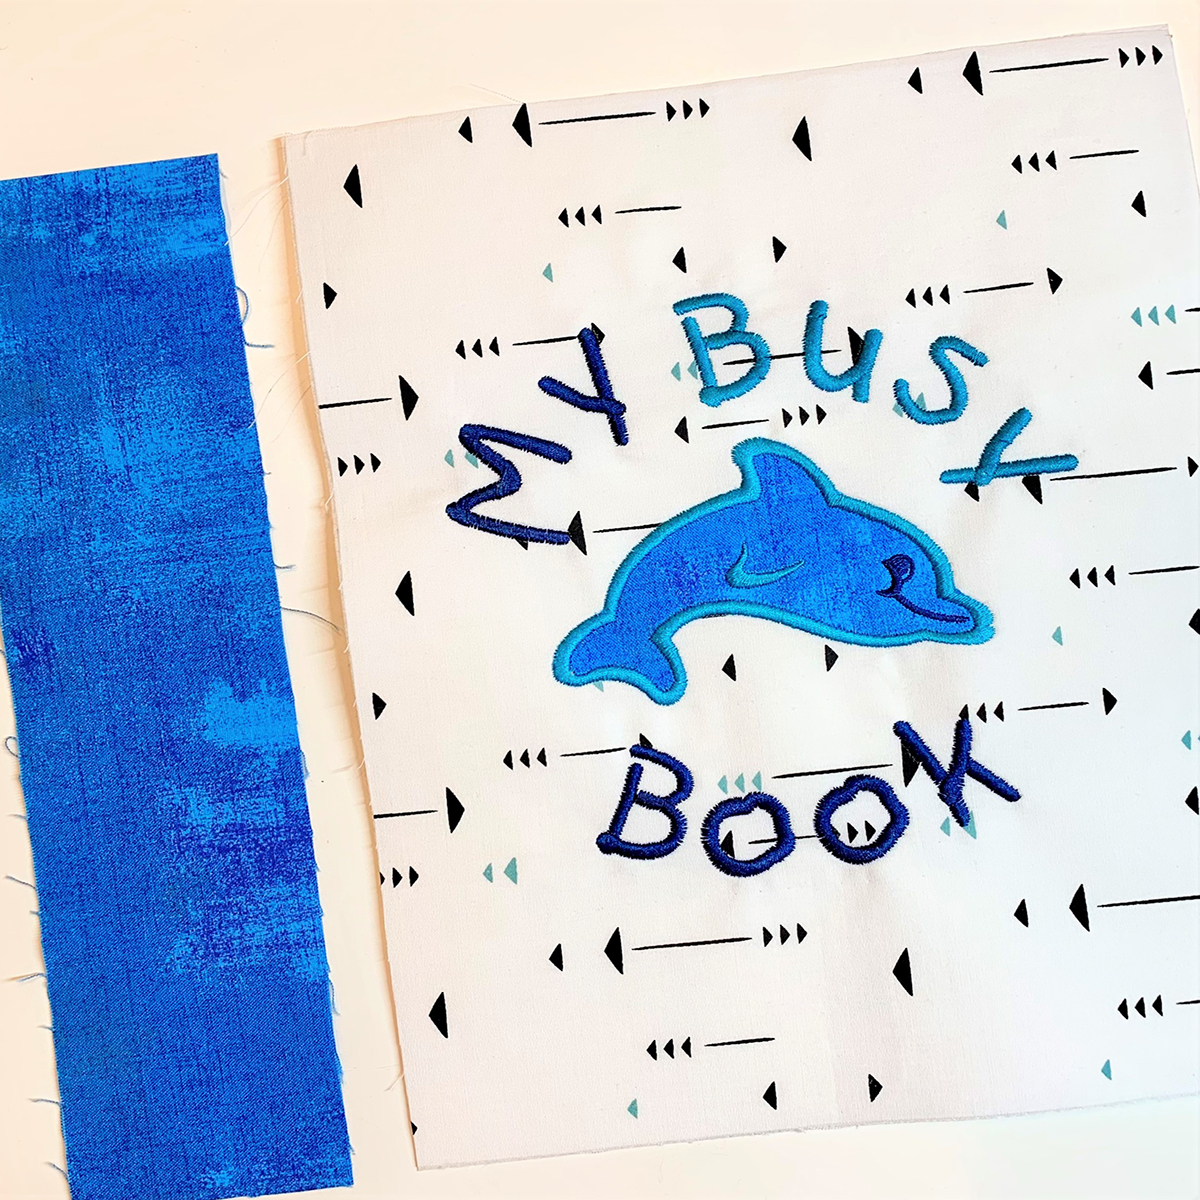
Now it’s time to remove fabric from hoop and take out the basting stitches. Find your accent fabric piece. It should highlight your embroidery design.
Construct the Title Page
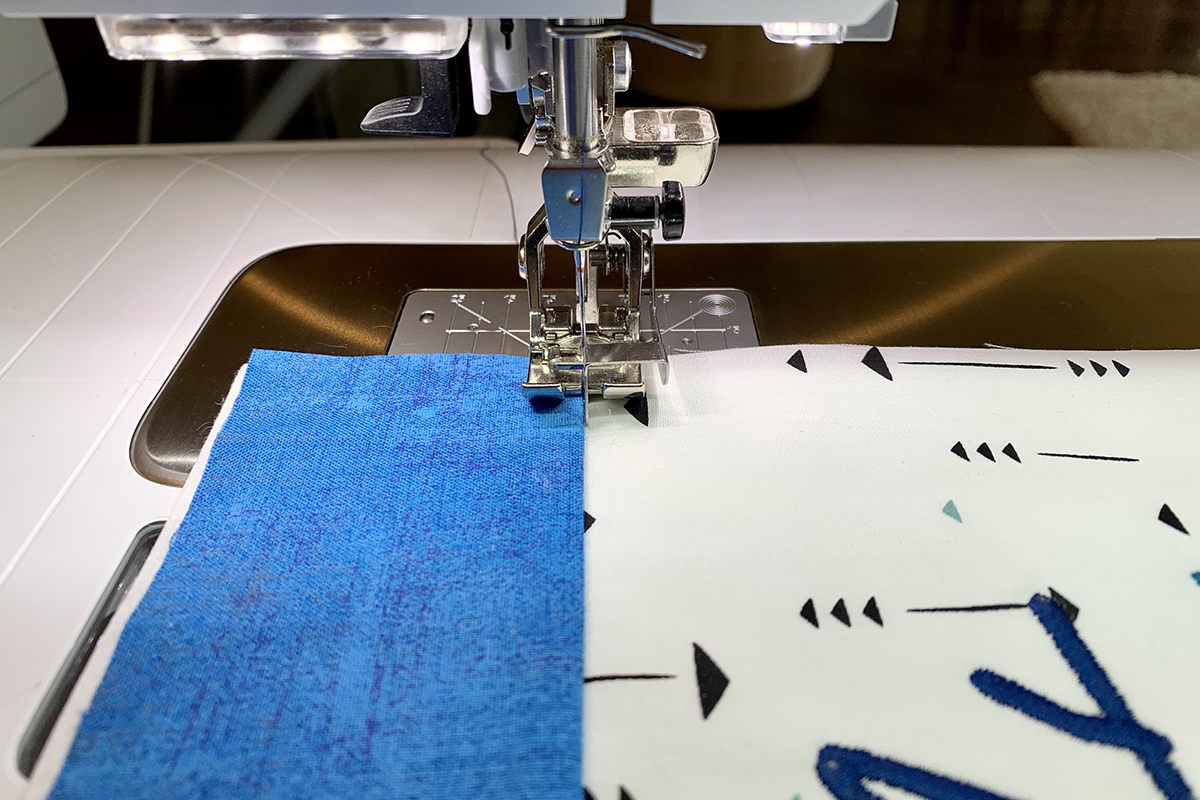
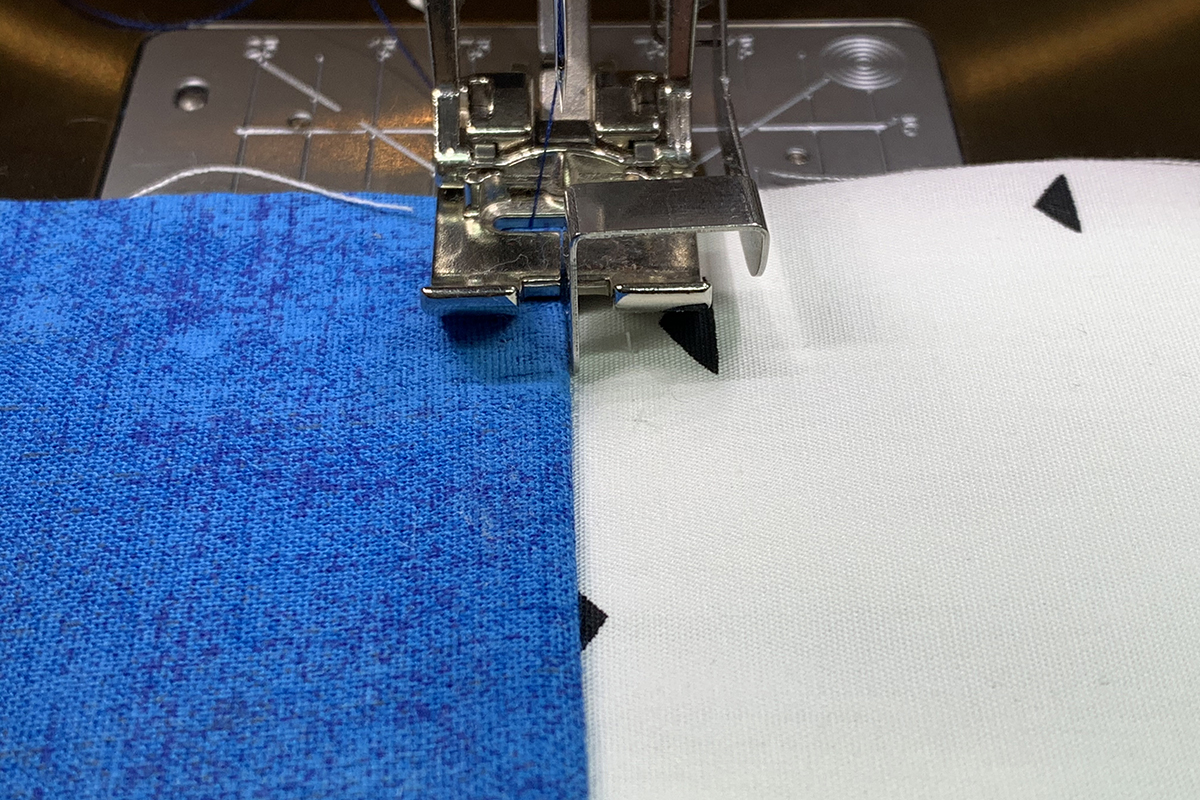
Place accent piece on top of main piece along the left side with right sides together. I know that sounds confusing! See picture below. Attach your Patchwork Foot and sew a 1/4” seam along the left side.
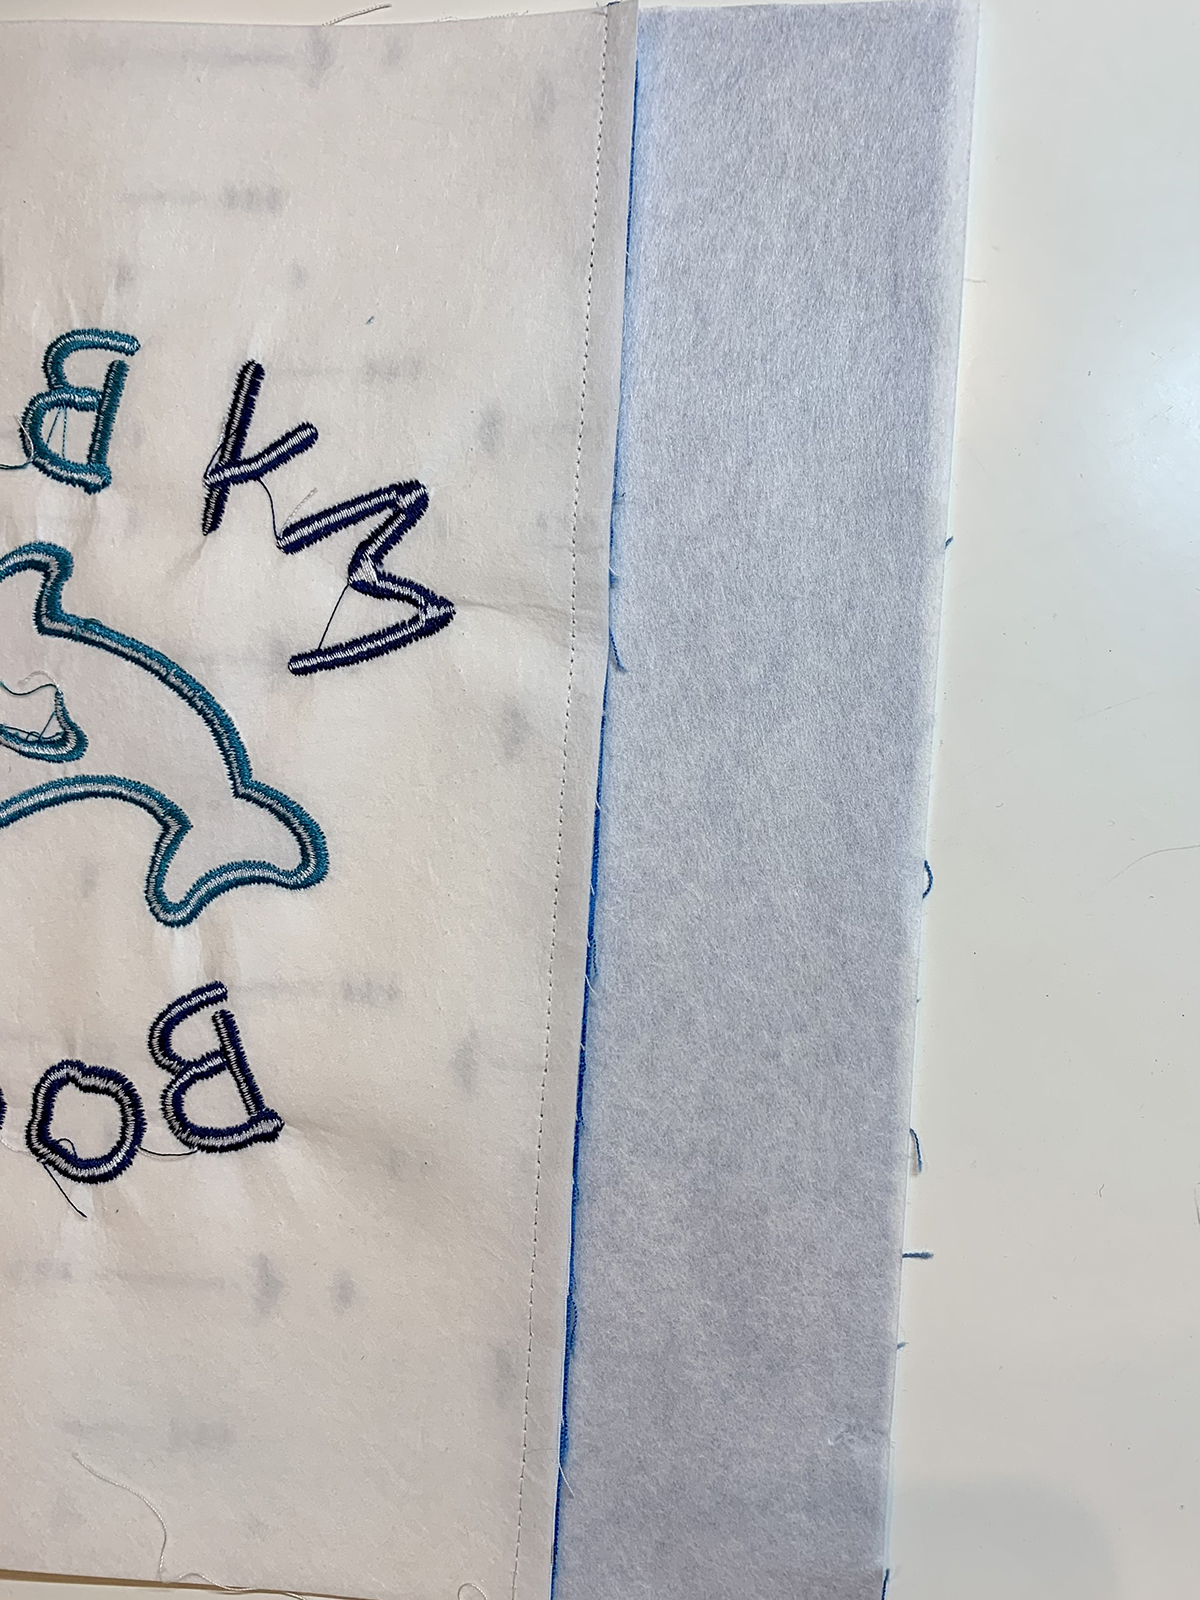
Press seam toward accent fabric. Cut a piece of stabilizer 1 3/4” x 10” and place under accent fabric tucking under the seam allowance. Fuse in place with iron.
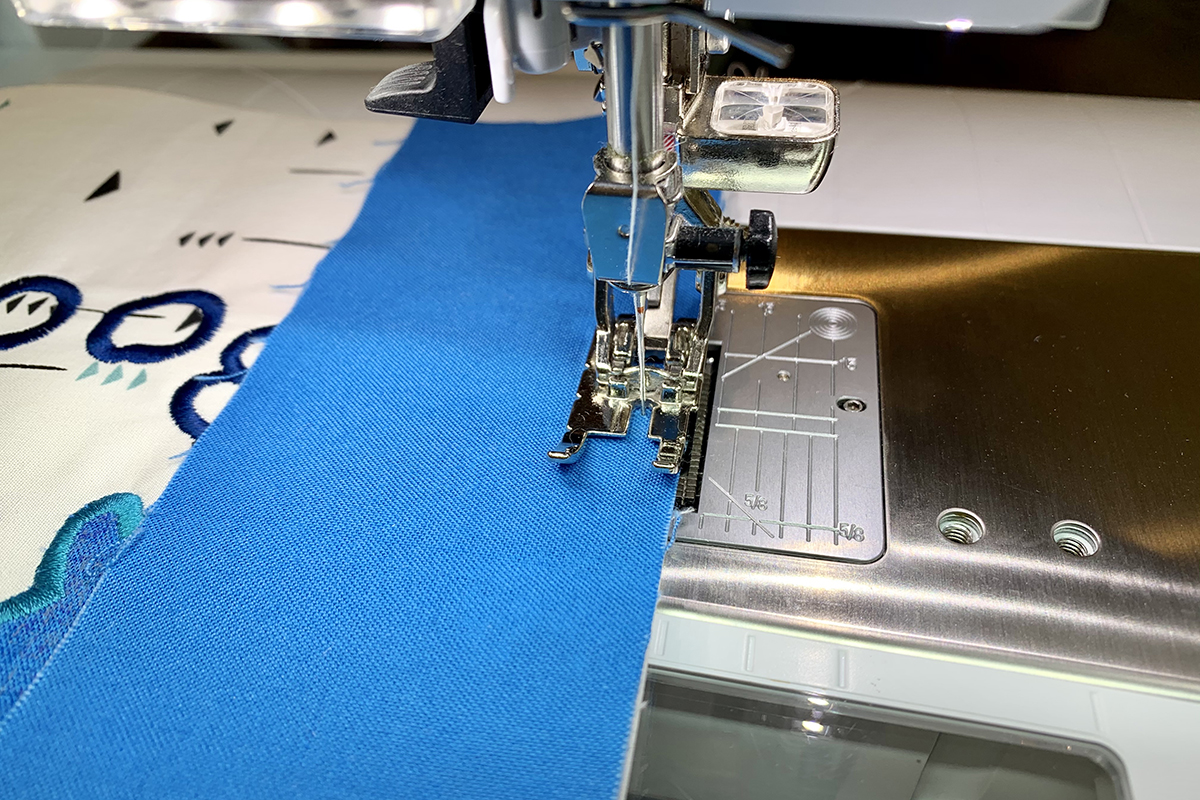
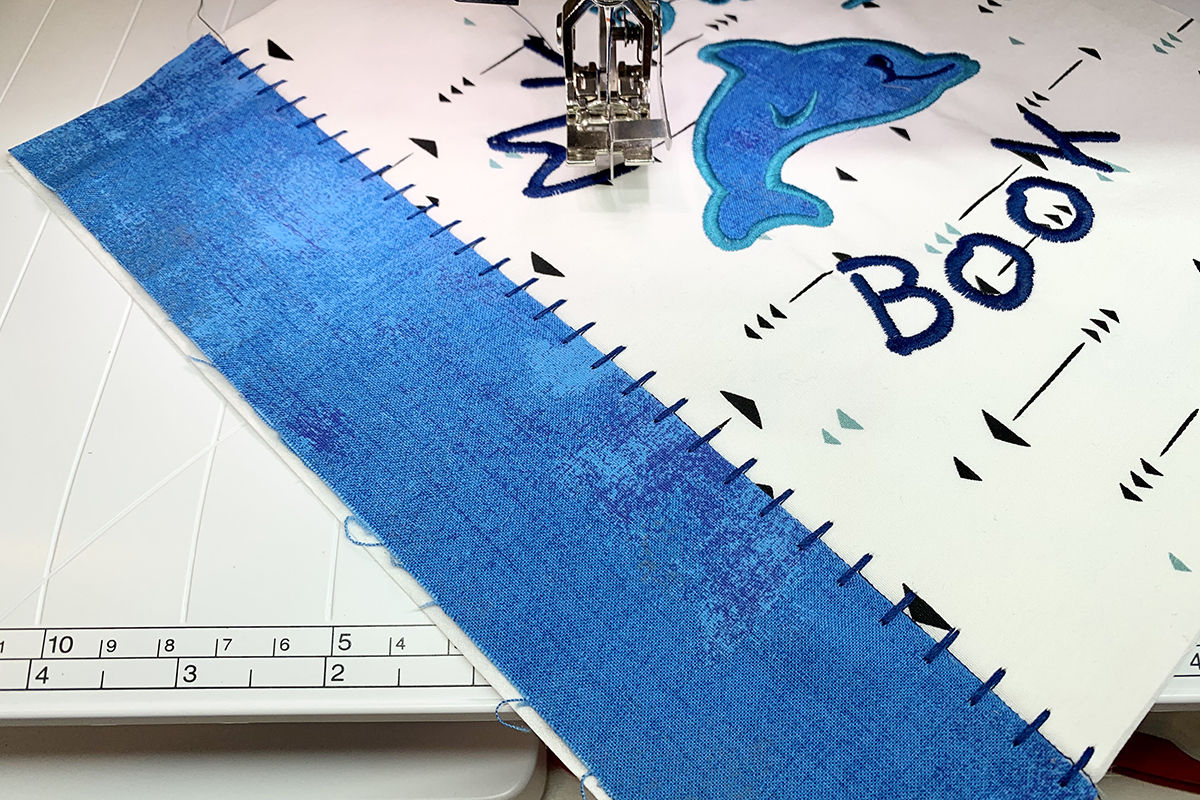
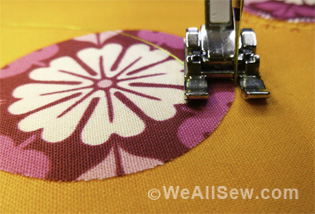
Attach Edgestitch Foot #10/10C/10D and add thread color of choice. We are going to add a decorative stitch along the seam. Place the Edgestitch Foot on the seam so that the center guide is on the main fabric and butted up against the accent fabric. The needle stitches directly behind the center guide.
Here is a close-up picture.
For the dolphin page, I selected decorative stitch 1321 which is in the Quilting tab. Remember we are on the sewing side of the machine now.
Stitch to the bottom keeping the center blade butted up against the accent fabric.
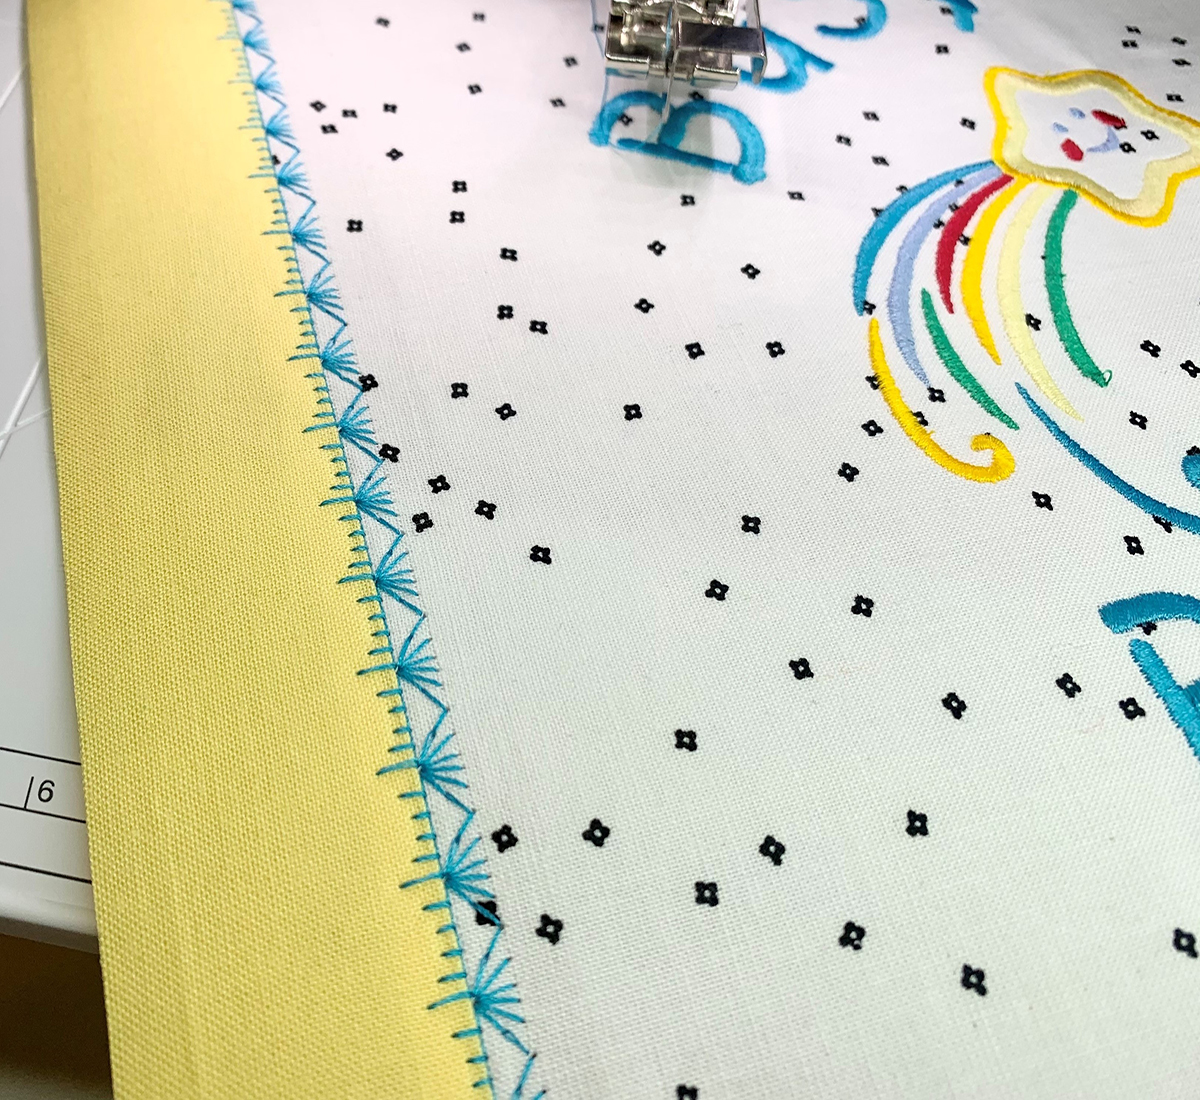
For the star page, I selected decorative stitch 624 which is in the Decorative Stitches tab.
Looking good! Using your rotary cutter and ruler, square up the page to 10” x 10”. The accent piece was cut slightly larger to accommodate the fabric pulling in from dense stitching.

For the dolphin page, I used an accent piece an inch wider.
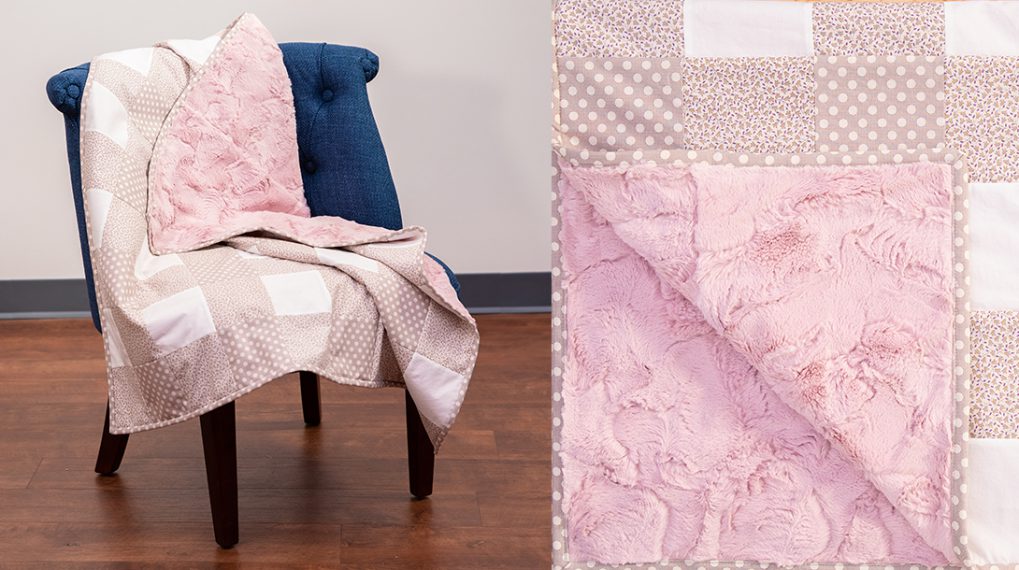
To finish the title page, find a coordinating fabric to go on the backside. Cut the fabric into a 10” square and fuse with Ultra Clean and Tear stabilizer.
To finish the page edges and add buttonholes, refer to How to Sew a Kids Busy Book, Part 6 : Assembly.
Enjoy!
Kids Busy Book Series
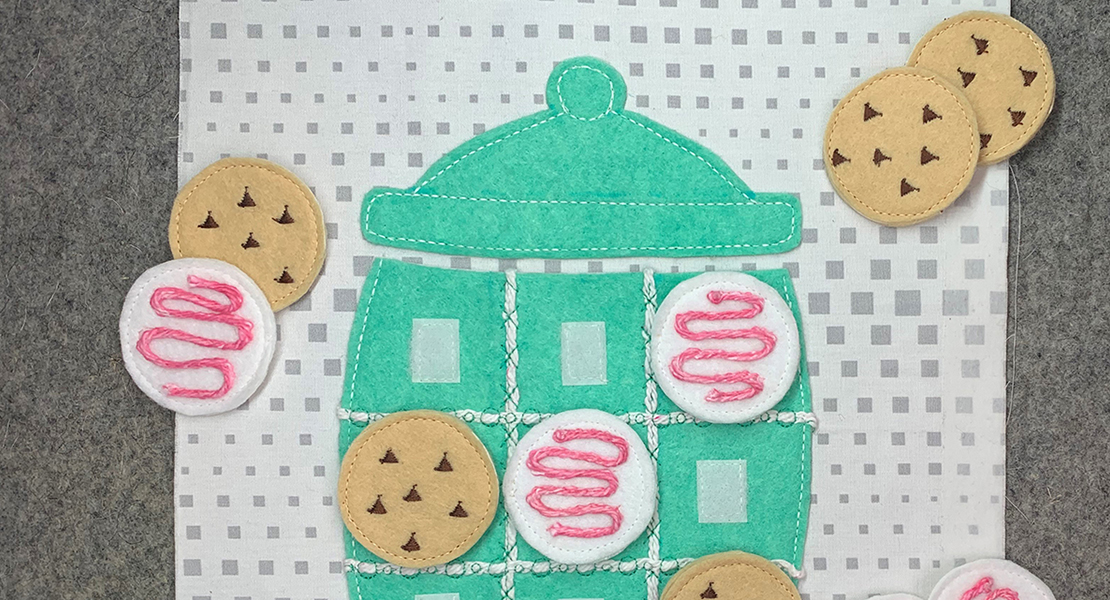
Part 4: Cookie Jar Tic Tac Toe
Used Products


What you might also like


10 comments on “Kids Busy Book Series, Part 8: Title Page”
-
-
Thank you! If you click on the three dots at the top right corner of screen, there is an option to print the pages.
-
-
Hi, I have my two books completed up to this point and have a question. There is one page (the one with the honey pot and pony beads) that does not have a back. Is there a back planned or should I go ahead and put a back on it. I am planning to give one of these as a Christmas gift but if there are any more pages coming, I’ll leave that page unfinished for now. Thank you. These have been SO much fun!
-
Wow! Two! That’s incredible! You can add the title page to one of the pages. The series is complete for now so if you add the title page to the last page, you should have enough backs for all the pages, except the 2 for 1 page which shouldn’t have a back. So glad you are having fun with the pages!
-
-
Hi Julie when is the next installment? I’m ready!
-
Hello. This was the last post I did as of today. We originally planned for 10 but covid derailed a few projects. This is the 8th post. We may pick up a few more pages in the future. I am so happy you have been enjoying them. Which one is your favorite?
-
-
When is our next installment? January was missed
-
Hello. This was the last post I did as of today. We originally planned for 10 but covid derailed a few projects. This is the 8th post. We may pick up a few more pages in the future. I am so happy you have been enjoying them. Which one is your favorite?
-
-
I have an 880 and the star design is not part of my ‘canned’ designs. Where can I find this design?
-
Hello! The designs are ideas for your title page. You might have something similar or better in your machine’s built-in designs. Also, you can go to embroideryonline.com to find hundreds of designs. The options are endless!
-
Leave a Reply
You must be logged in to post a comment.

Good morning,
I would like to suggest that a feature be added to print the instructions.
This is such a cute idea!
Thanks, Kay