Machine Appliqué Tutorial
Hello, I’m Jill Finley from Jillily Studio. I love to appliqué! And I love my BERNINA machines! When I choose to appliqué by machine, my BERNINA makes it a breeze. Let me show you how I do it.
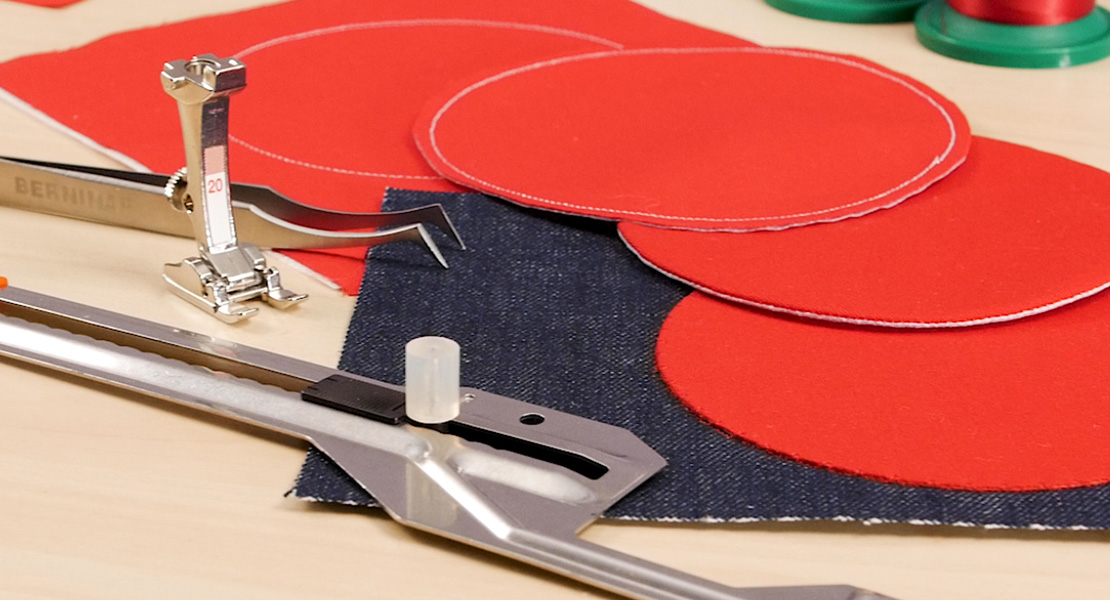
Materials to Machine Appliqué
- monofilament thread (nylon) for the needle
- cotton thread for the bobbin
- quilting machine needle size 70 or 75
- fabric glue (I use Appli-Glue)
- tailor’s awl
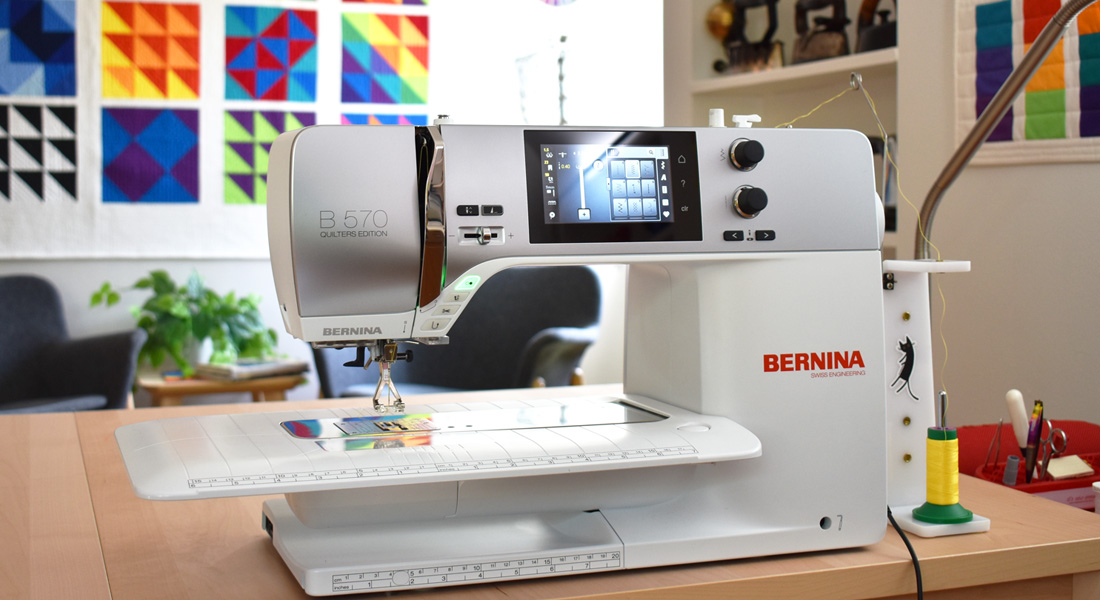
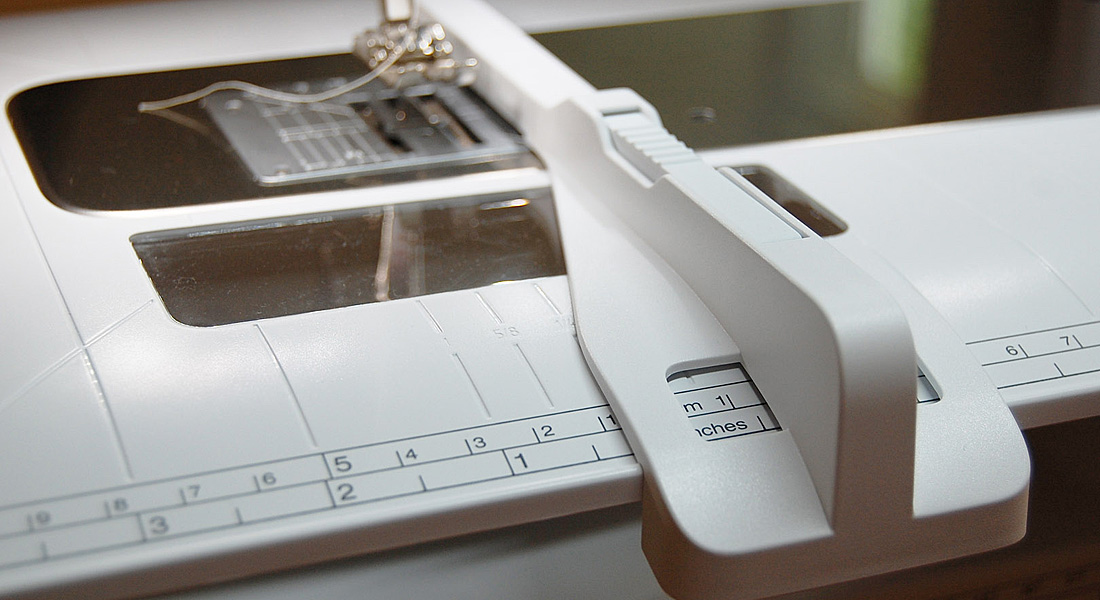
- sewing machine (I use a BERNINA 750)
- Open embroidery foot #20/#20C/#20D
Tips for Sewing with Monofilament Thread
Working with monofilament (nylon) thread is easy and is perfect in certain situations. If you have had trouble sewing with it before, try these tips:
1. Make sure you use a good quality monofilament thread. This should eliminate any trouble you may have with brittle thread, breaking, and tangling.
2. All of the nylon thread spools I have seen are straight-wound onto the spool, so you will want to place your spool on a vertical pin on your machine. That way, the spool can turn to let the thread come off.
3. Thread your machine in the normal way, through the tension disks and down through your needle. Make sure you have a sharp, thin needle—such as a size 70 or 75. I use a Schmetz Quilting Needle, size 75/11.
4. Use high quality cotton thread in the bobbin. I use Aurifil size 50 in a neutral color.
5. Test your tension first on similar fabrics. Adjust your tension down if your top thread (nylon) is sitting on top of your fabric in a straight line. If you can see a “shiny” continuous line, that is your thread sitting on top. (You want it to be able to go down through the fabric to the wrong side and loop with the cotton bobbin thread.) So loosen your top tension.
Another tension problem is puckering of the fabrics caused by stretching of the nylon thread. Again, lowering your top tension will fix this.
6. Also check your tension using the narrow zig-zag stitch that you will be using on the appliqués. Sometimes a difference in stitch patterns will require a tension adjustment.
How to Create Appliqué with Your Sewing Machine
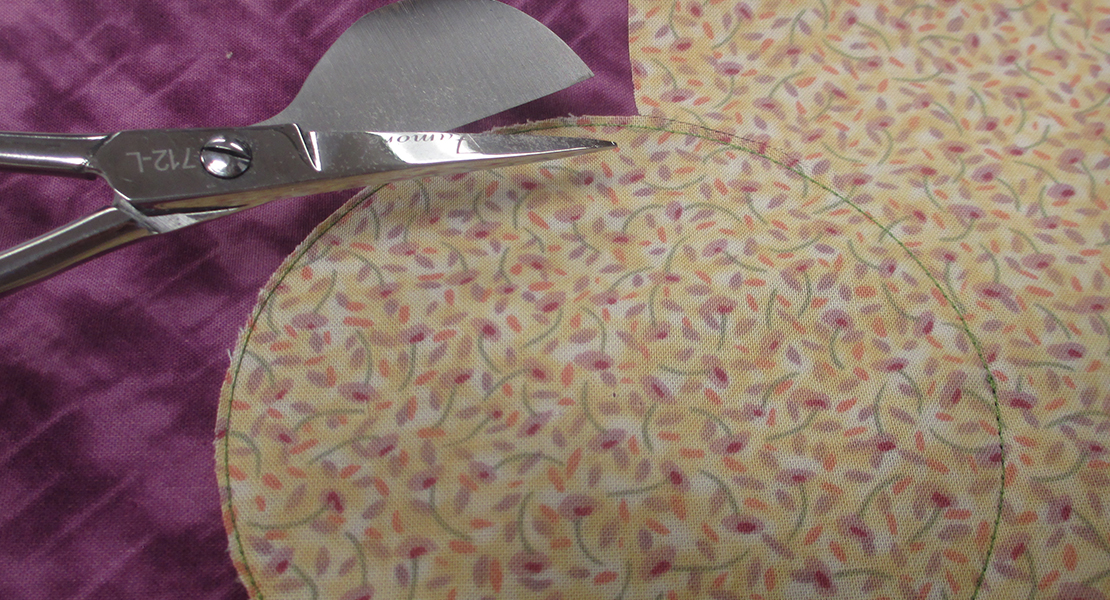
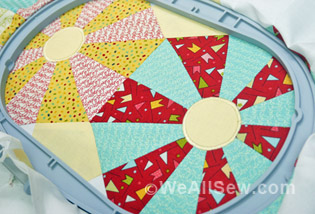
1. I prepared all of my appliqué pieces by turning the seam allowance—and the raw edges—to the wrong side of the shape. (To see how I prep pieces, you can visit my website here.)
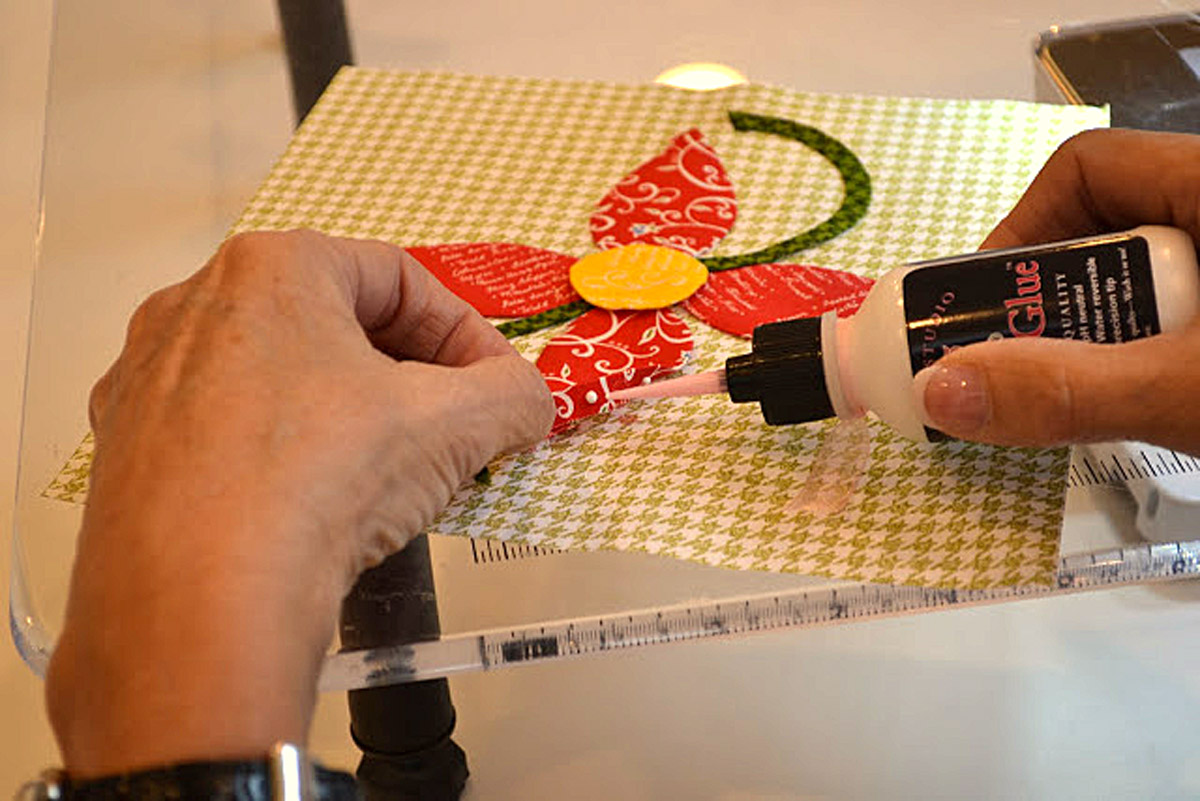
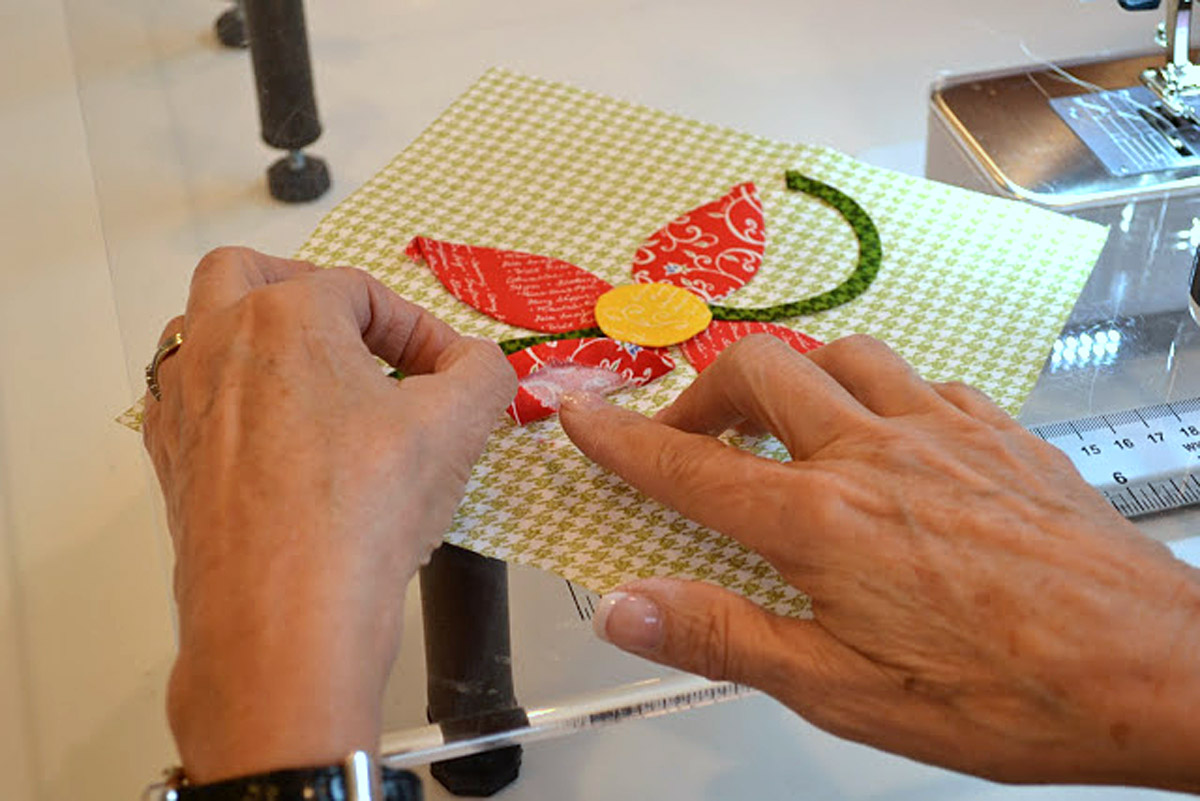
2. Put a dot of Appli-Glue every 1/2″ to 1″ to hold your appliqué down while you sew. This is important so that your pieces don’t shift as you are moving them under your needle.

2b. Notice how flags of extra fabric stick out at the points of the appliqué pieces? When I am hand stitching, I tuck those under as I stitch, but to machine stitch, those need to be tucked under before going to your machine.
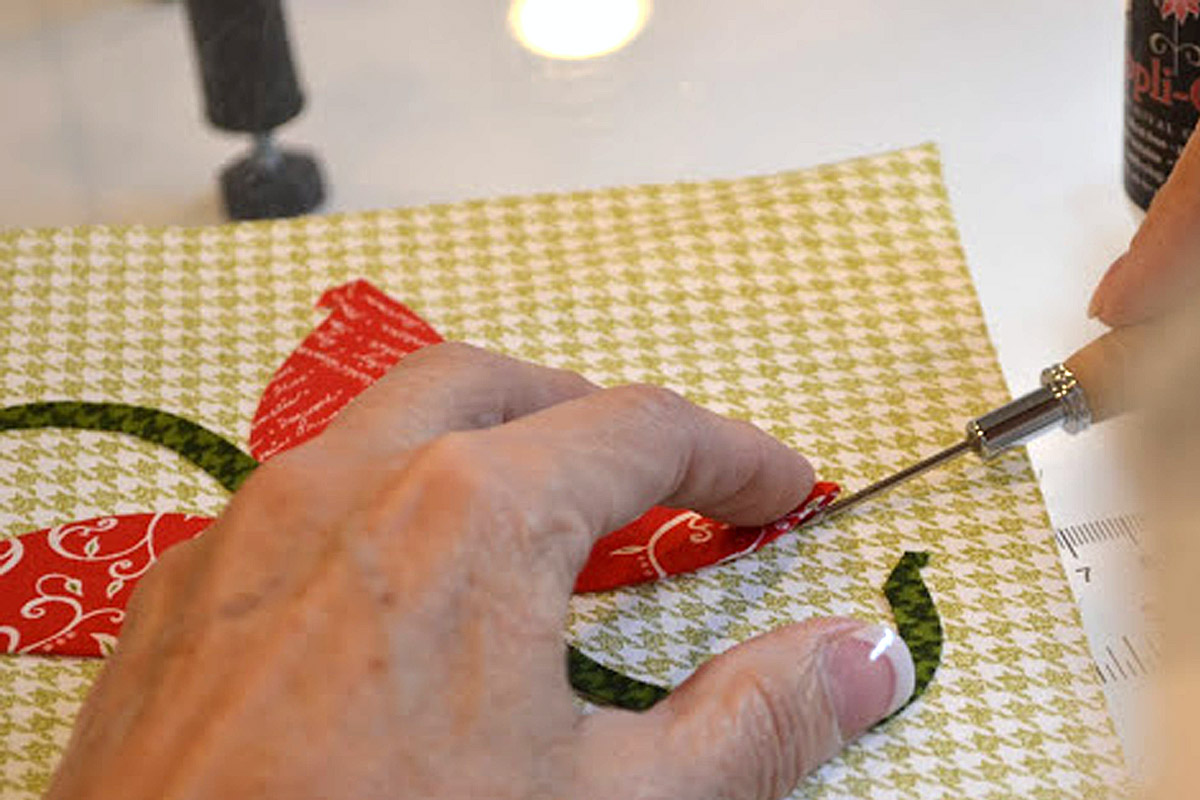
3. Use a tailor’s awl to turn the flags under.
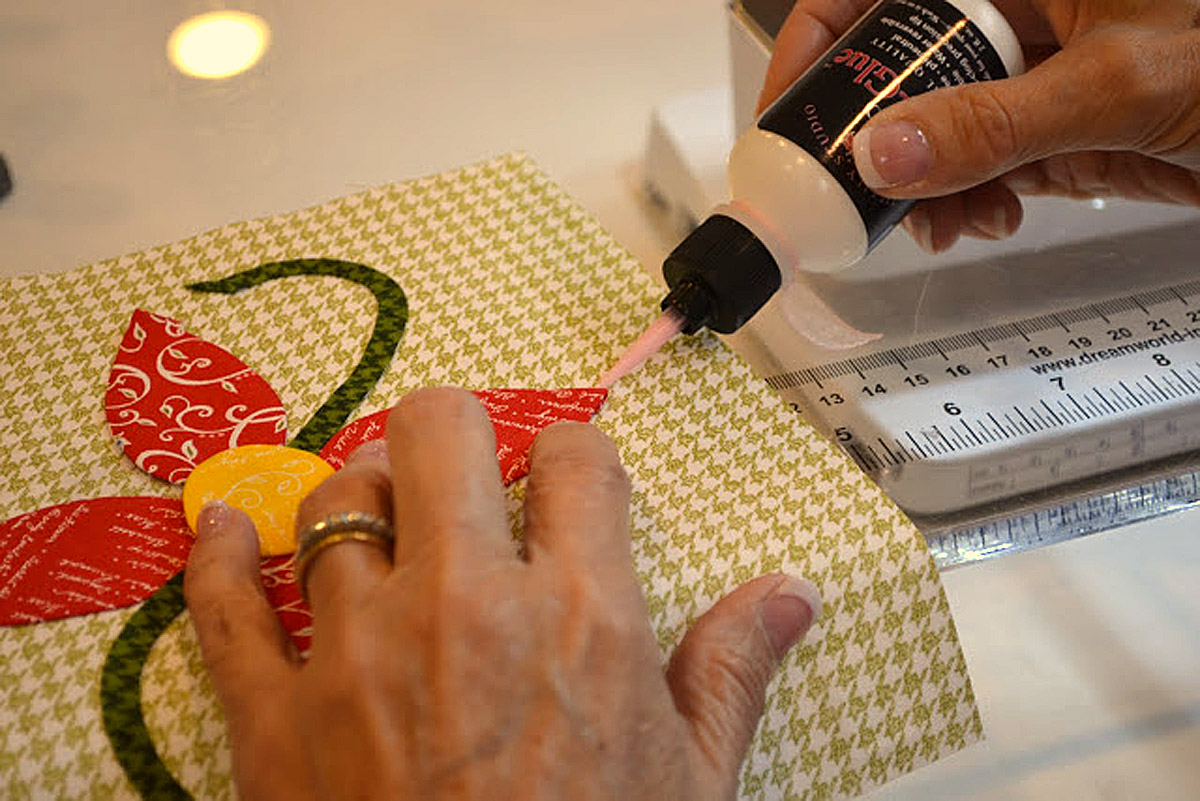
4. Place a dot of Appli-Glue under the corner to keep the flag in place.
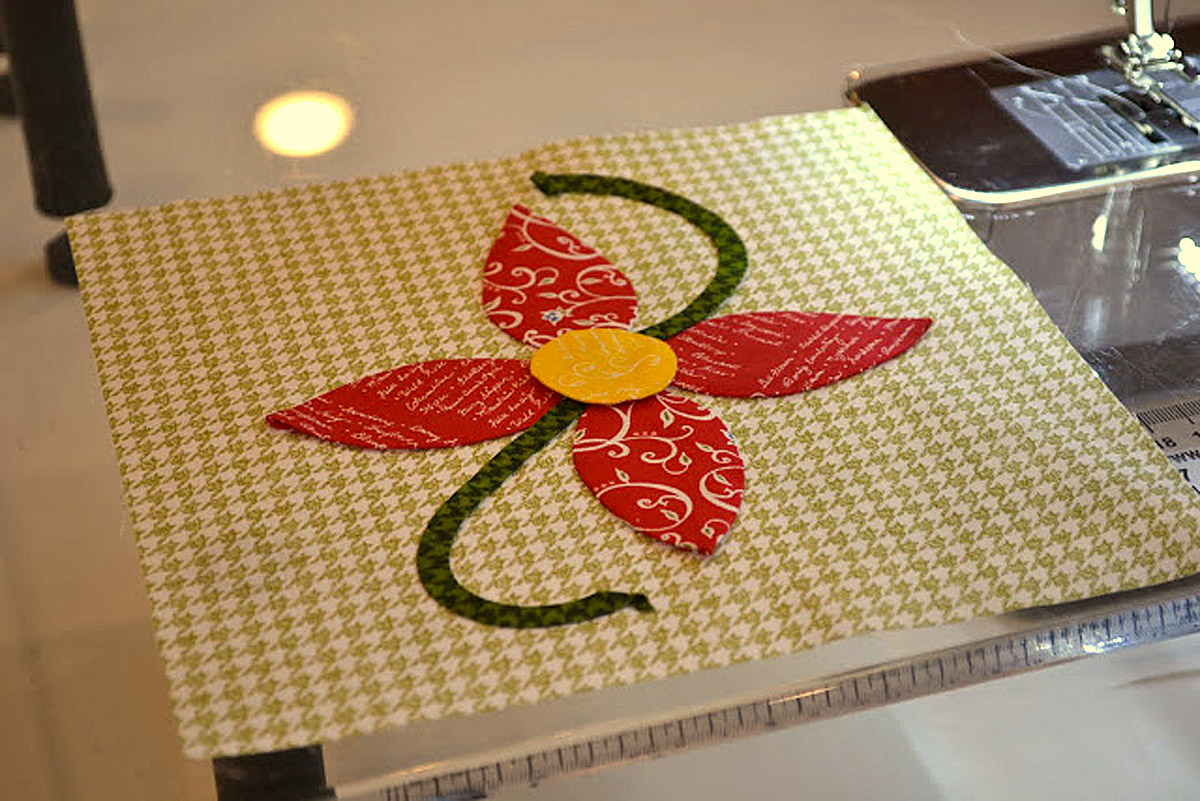
5. Now the flower petals are all turned under and it’s ready to be sewn.
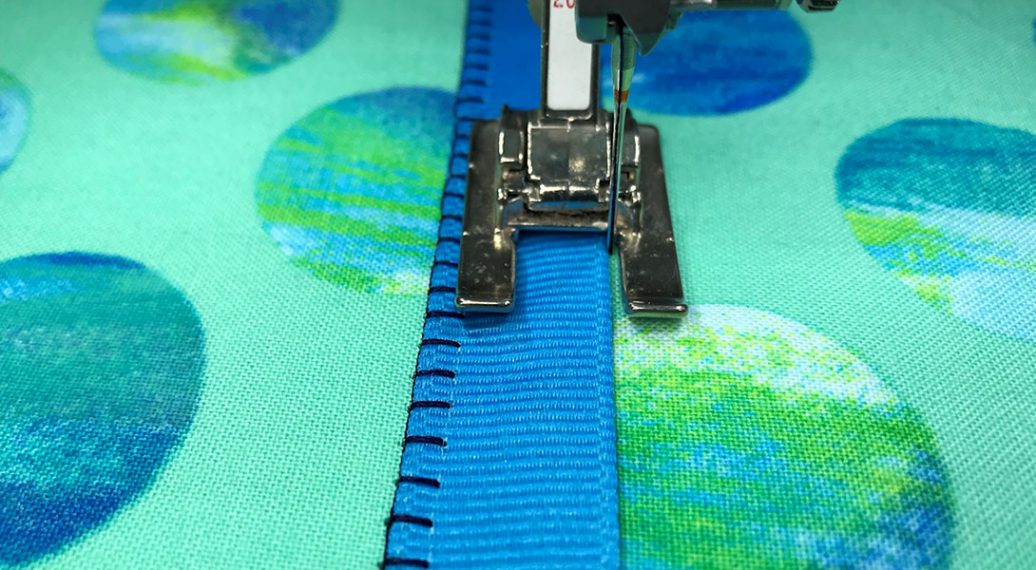
6. I’m using clear, monofilament thread on top. Since this thread is straight wound on the spool, I have it sitting on my upright spool pin. NOTE: If the thread spool was cross-wound, I would want it to be on my horizontal spool pin.
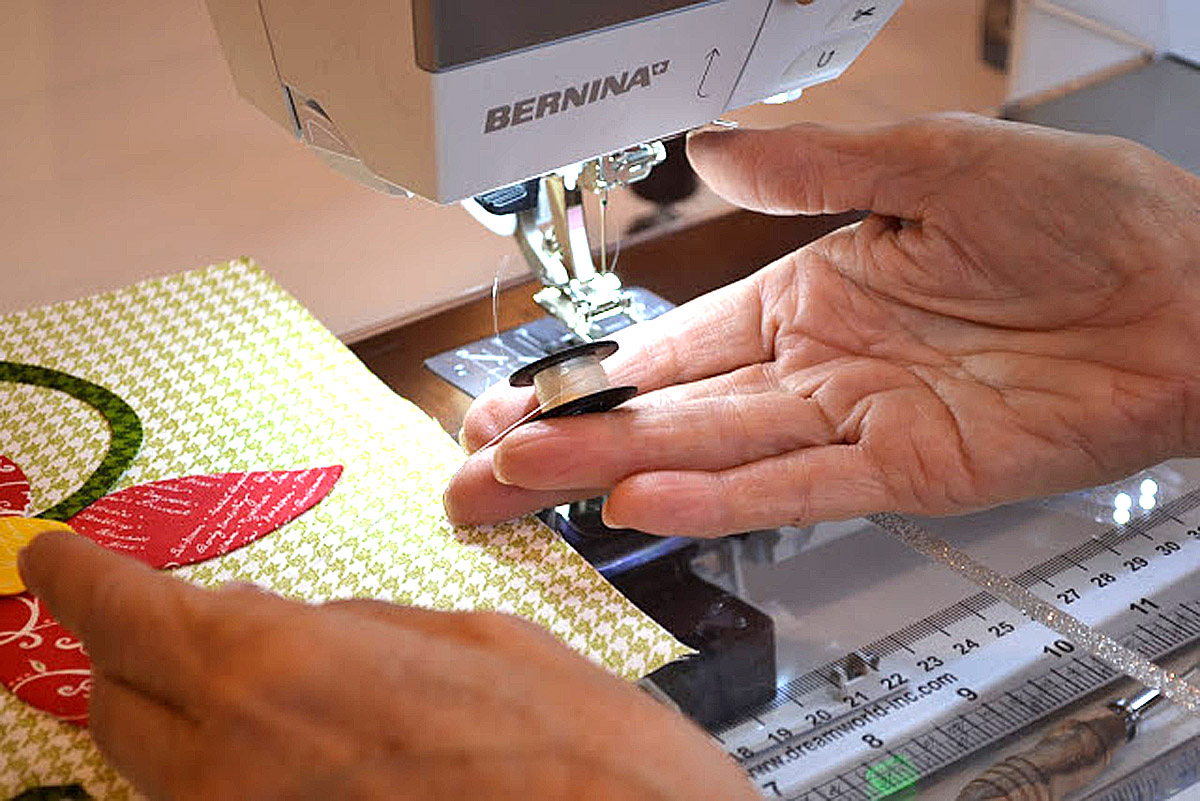
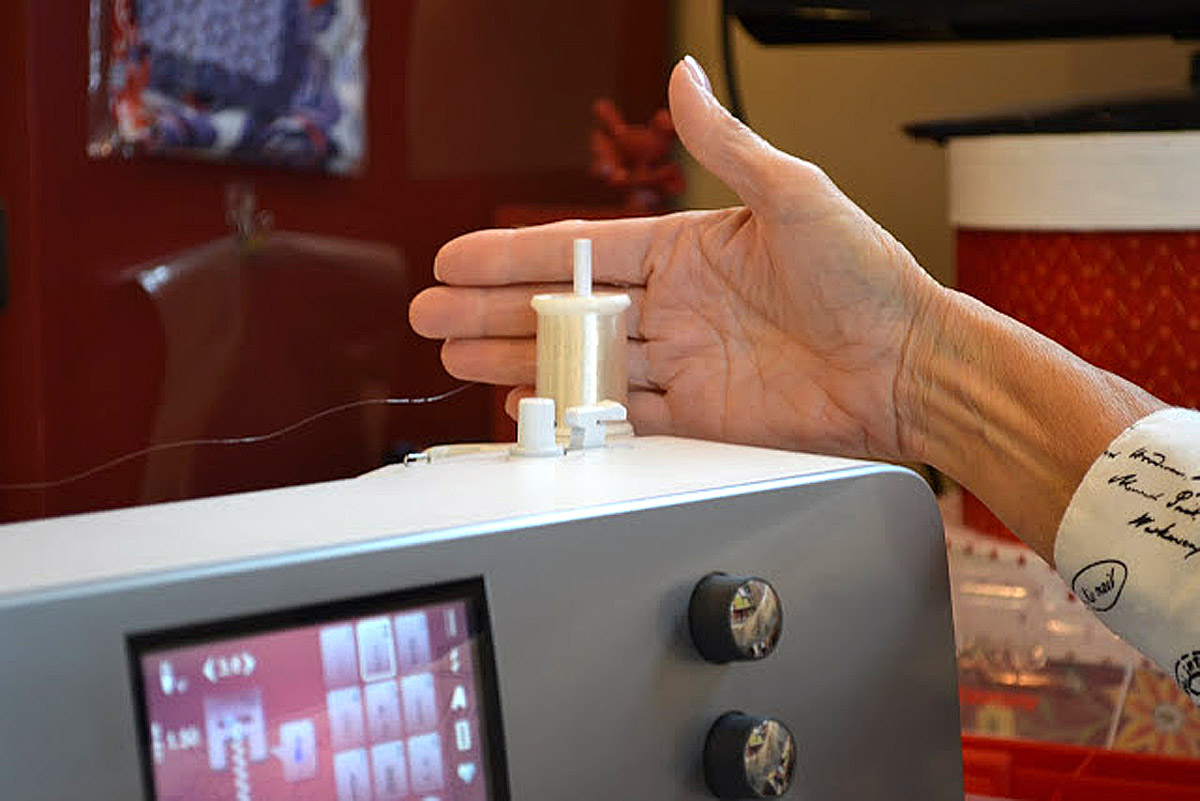
7. I’m using Aurifil 50 weight cotton thread in my bobbin.
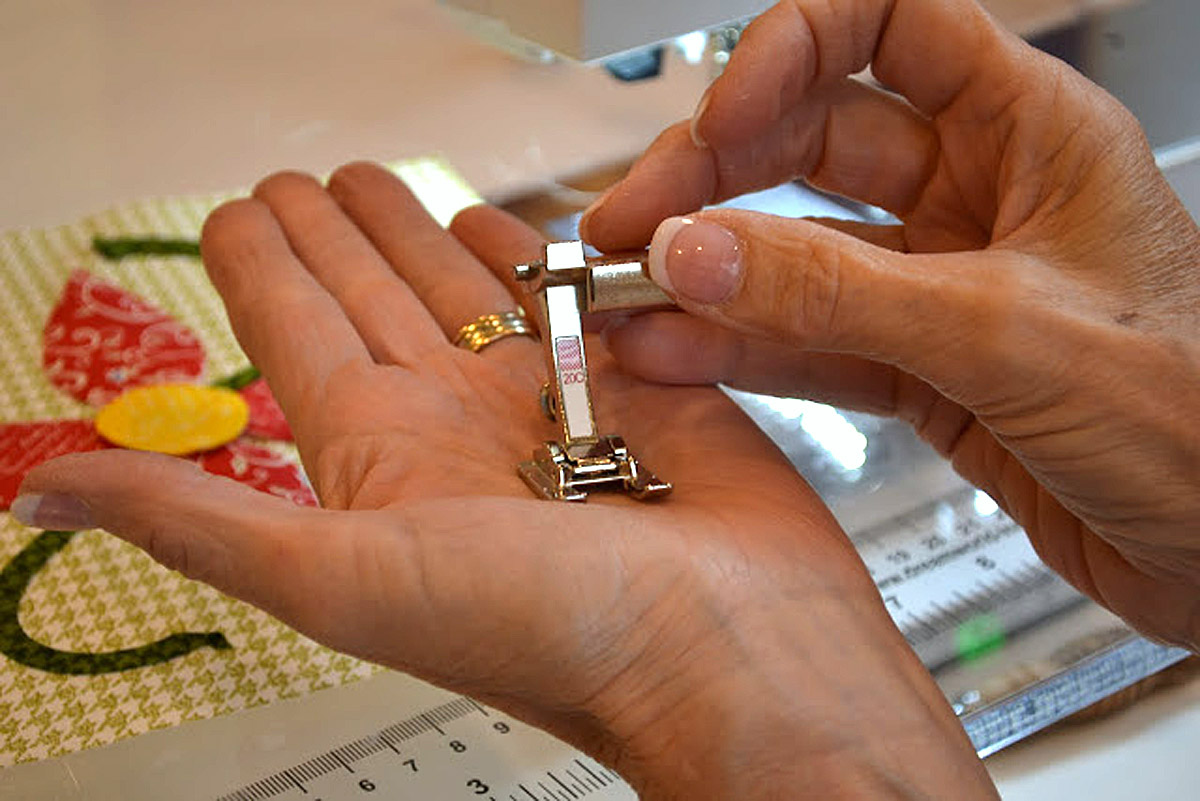
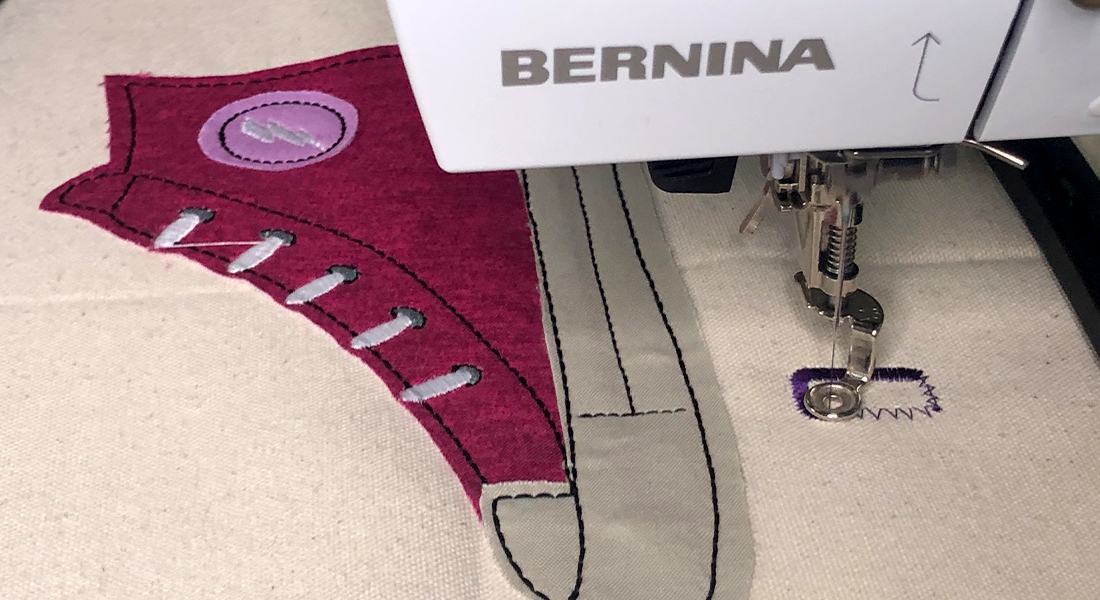
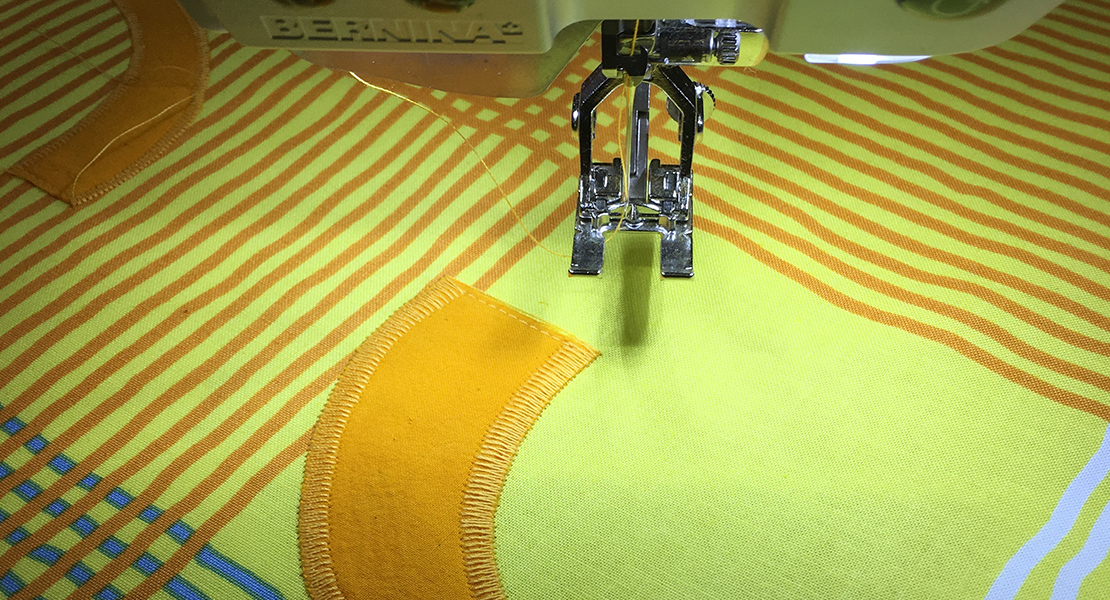
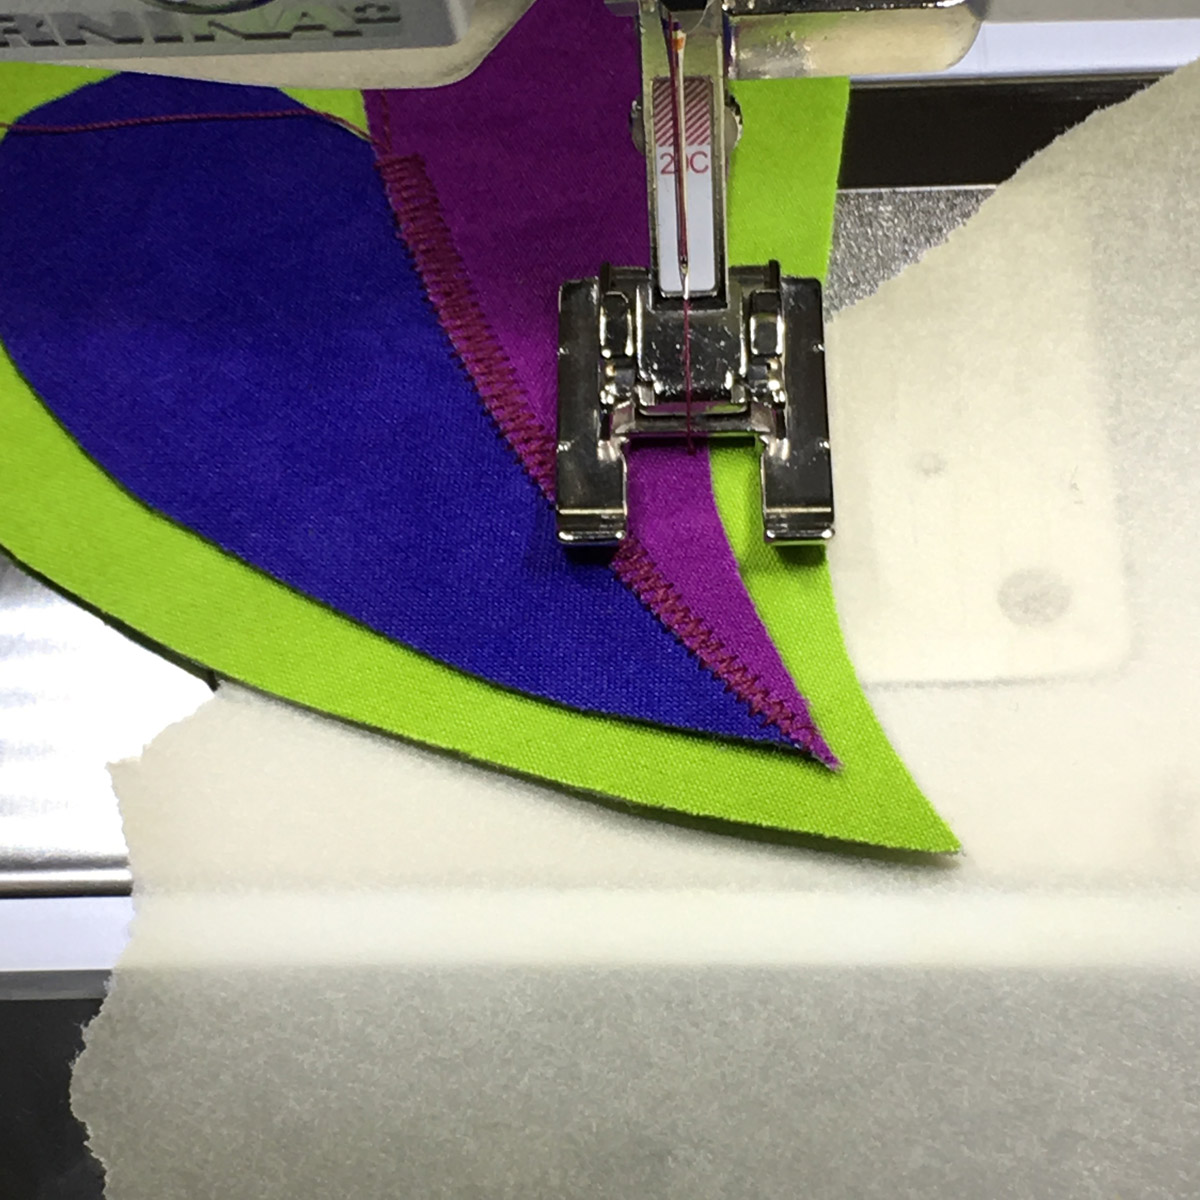
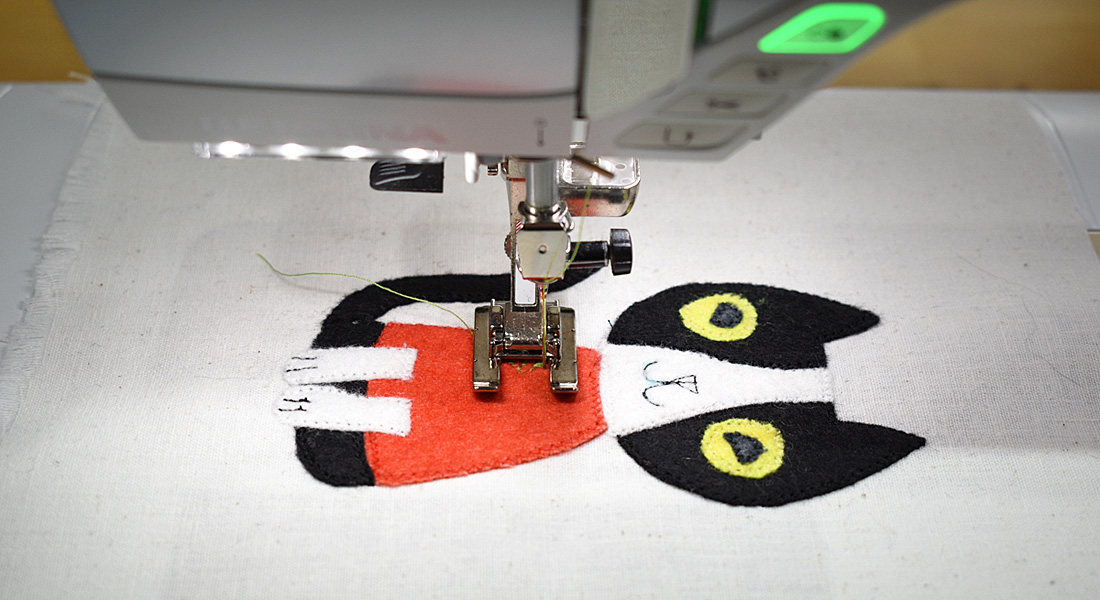
8. I use the Open Embroidery foot #20C—because it is open enough for me to see where the needle is going. Any open toed foot will work.
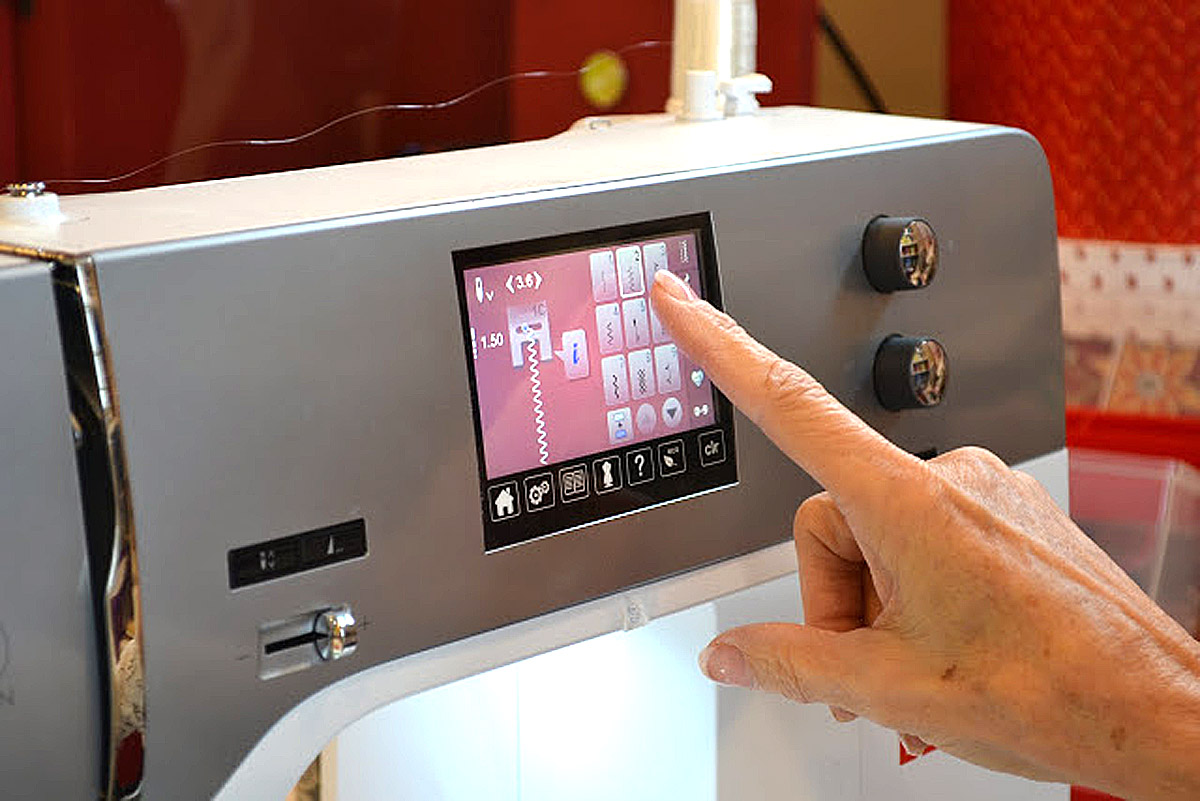
9. I choose the zig-zag stitch on my machine.
10. Change width to .7 and length to 1.10.
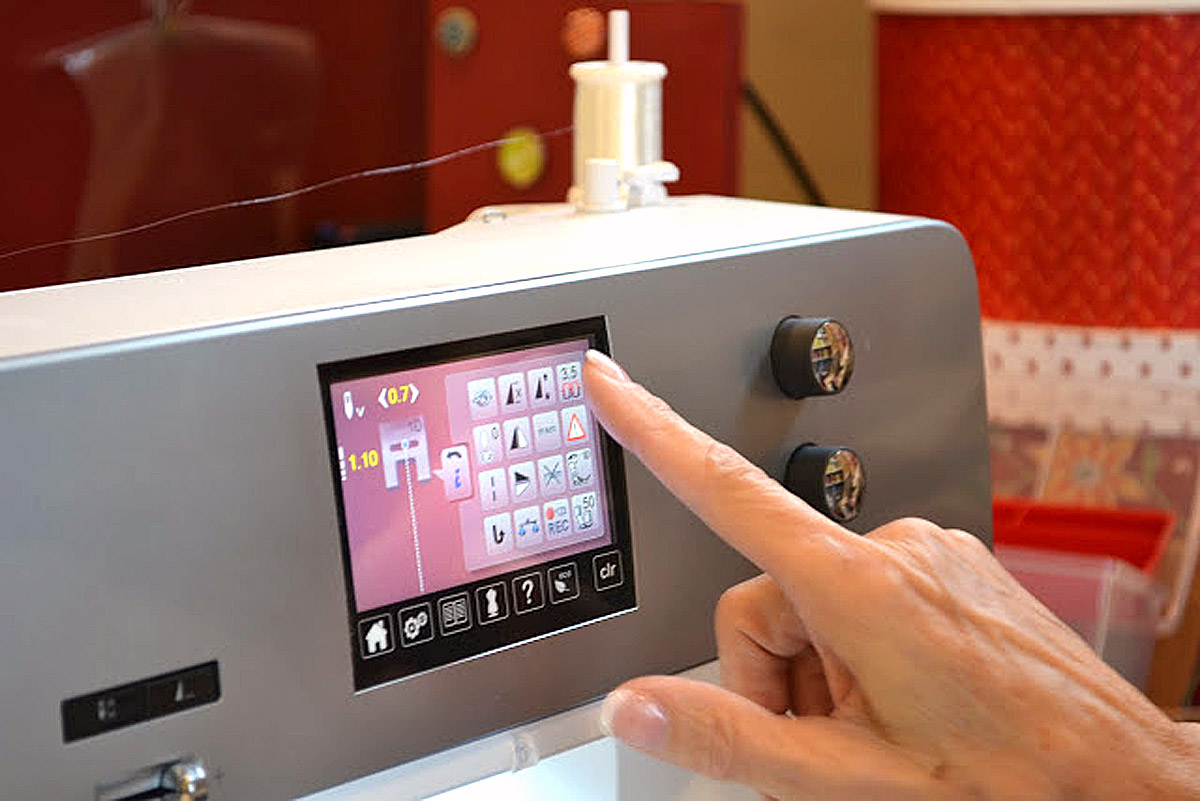
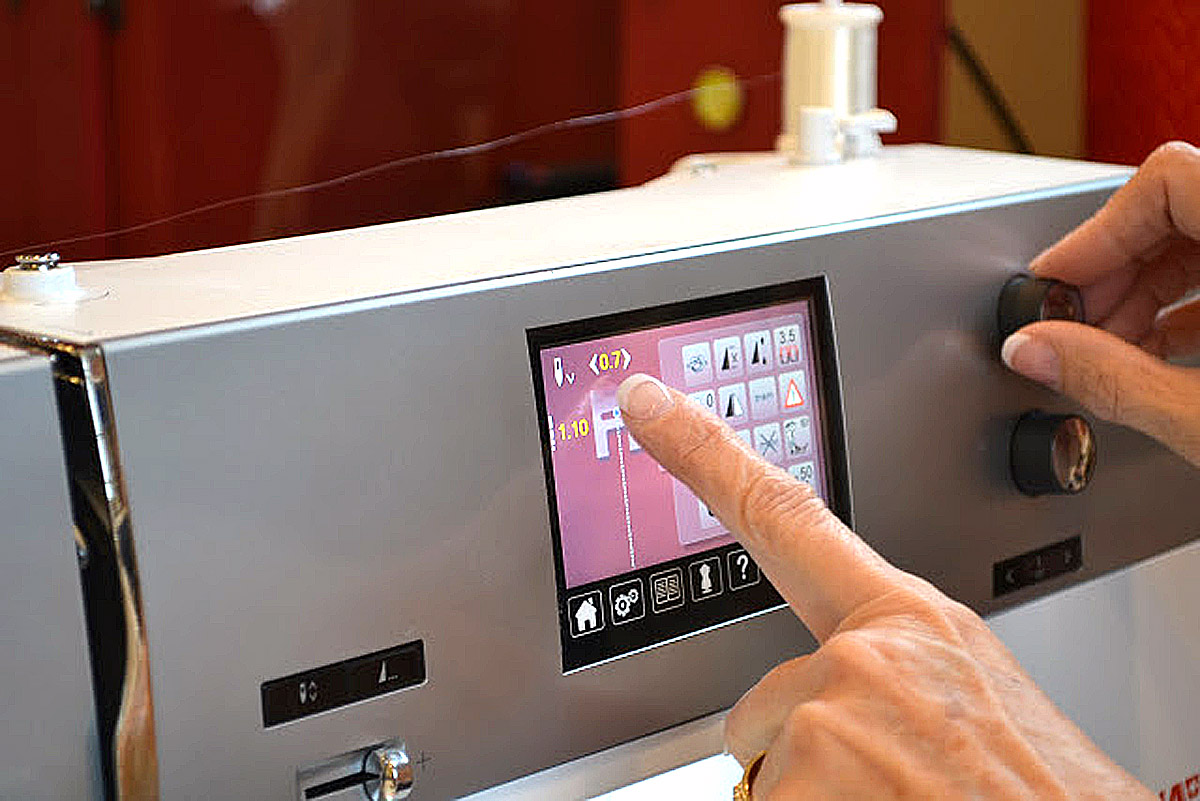
11. I click in the top right corner to change my machine’s tension because I’m using two different kinds of thread, and nylon thread tends to stretch a lot.
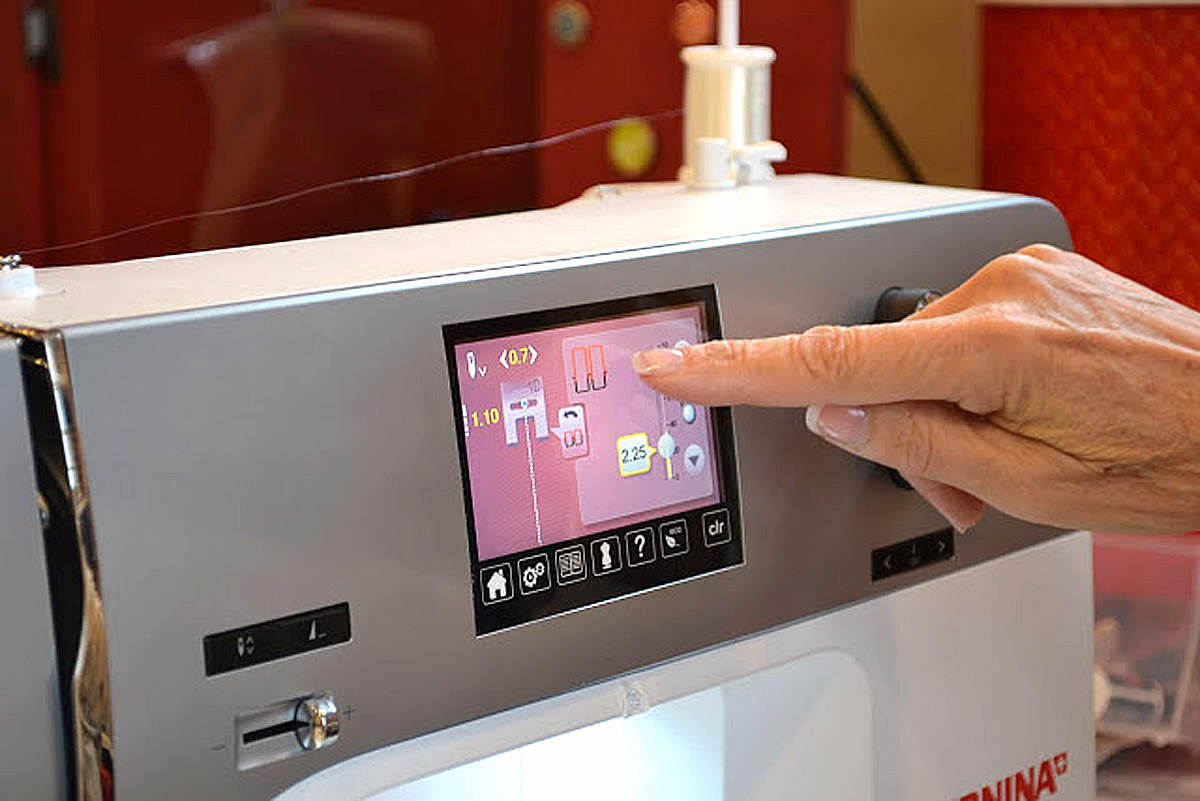
12. Change the tension to 2.25. This varies from machine to machine. On my older model BERNINA, I would change the tension to almost 0.
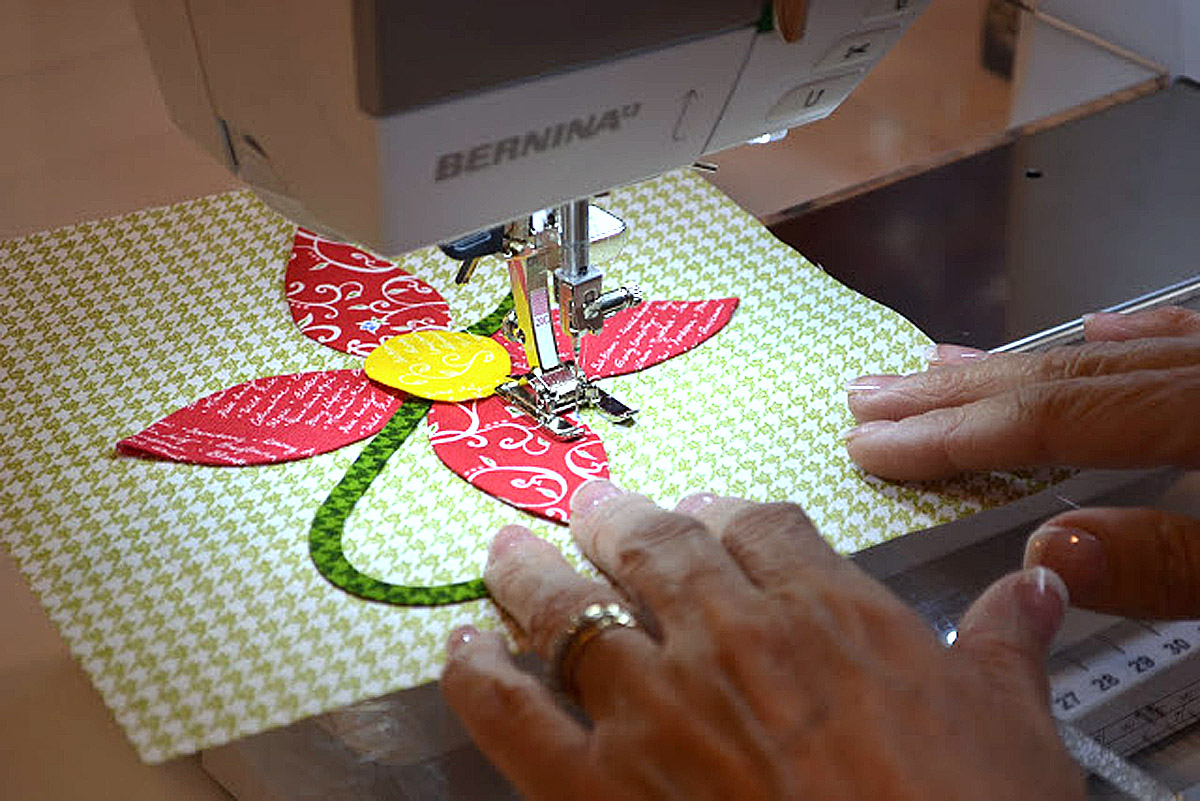
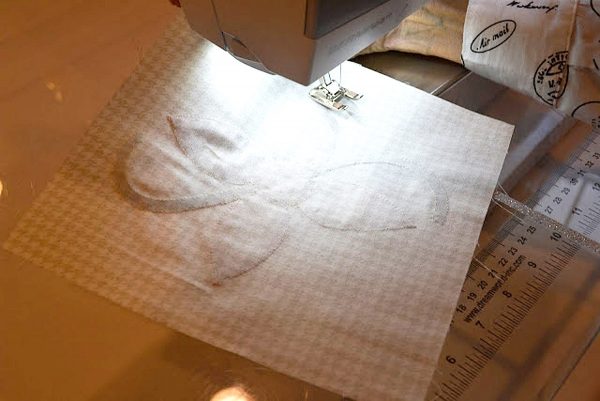
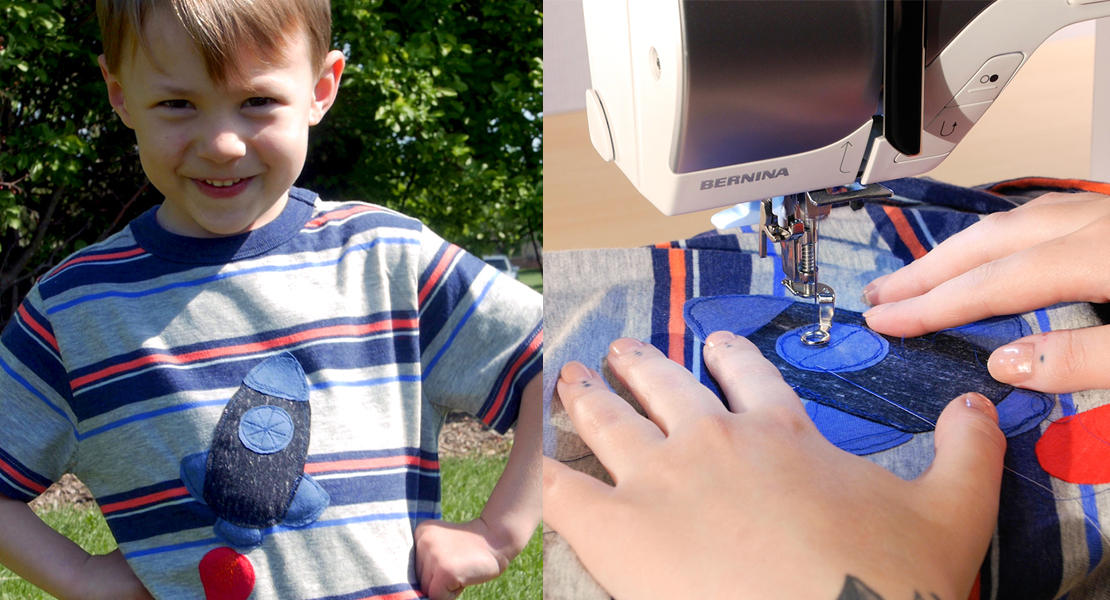
13. Position your block so the needle zigs into the appliqué piece, then zags into the background right next to the edge of the appliqué shape.
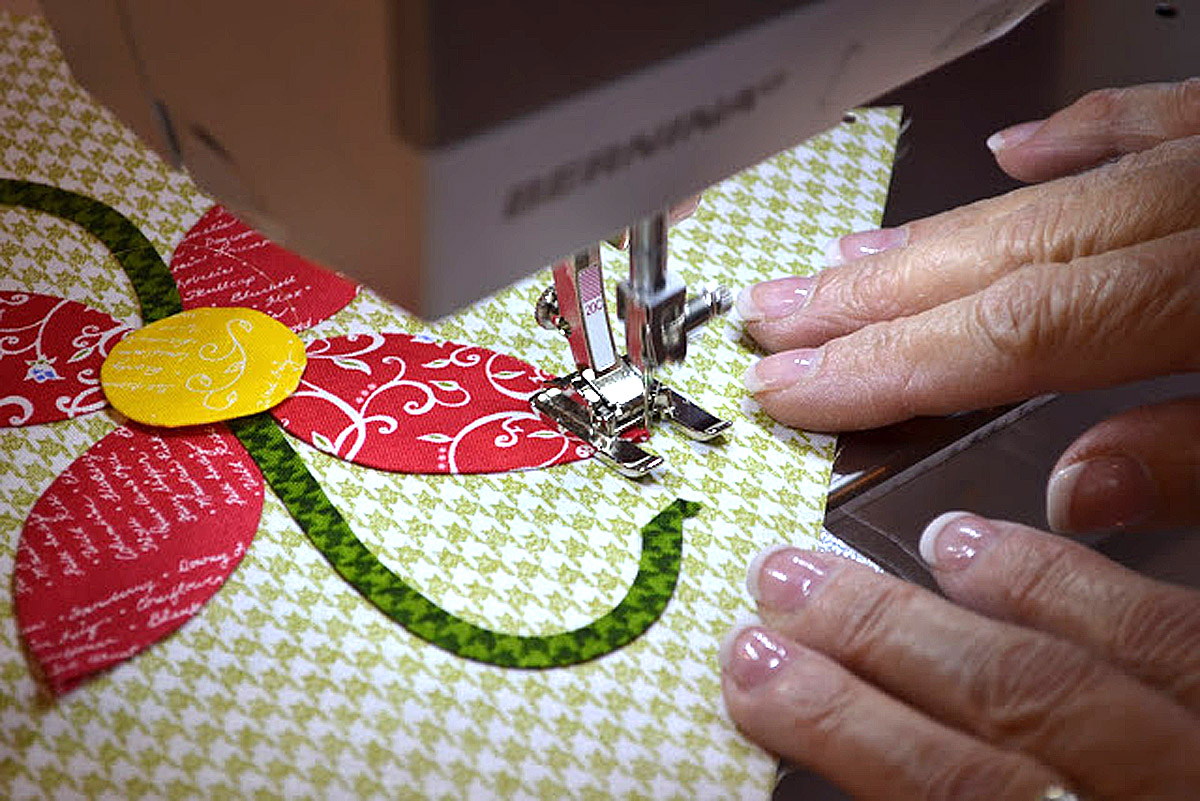
14. When I get to the corner, I make sure to keep my needle down (I use the ‘needle-down’ setting) in the corner of the appliqué shape and turn the block to go down the other side. I have set my machine to “hover”, so that I do not have to lift my presser foot every time I want to turn or adjust a little. This feature is great! I just sew along, and when I pause, my presser foot lifts a tiny bit, (hovers)—just enough to take the pressure off the material under the foot so that I can move it. Then I just start sewing again—I don’t have to lower the presser foot.
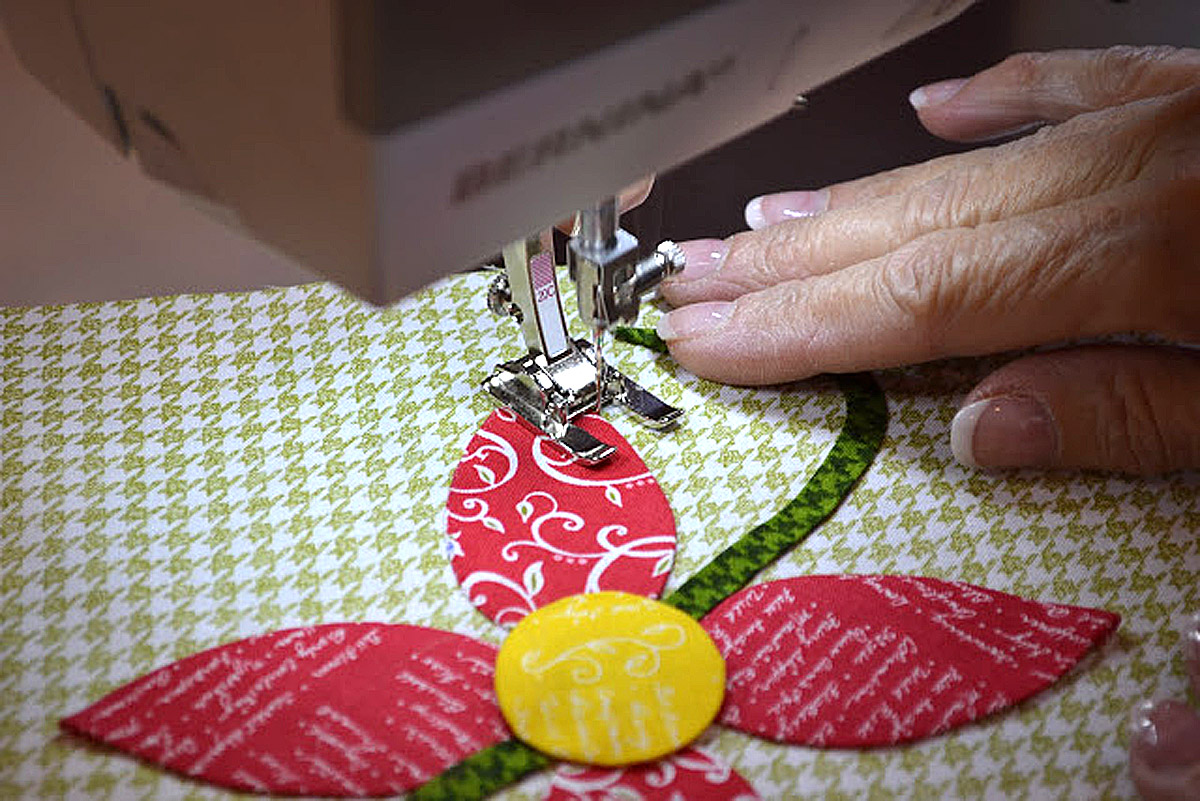
15. Repeat around all of the individual appliqué pieces.
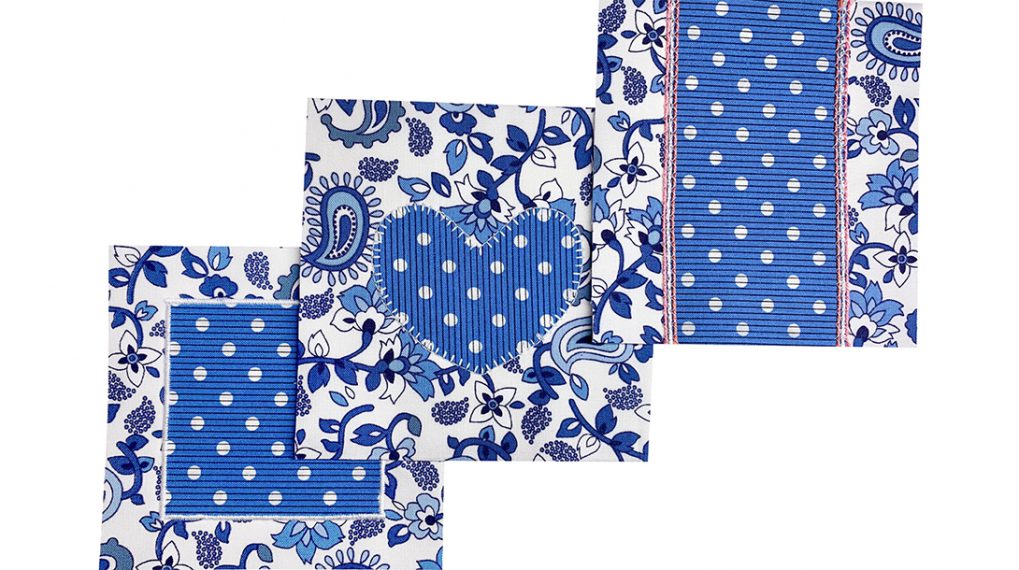
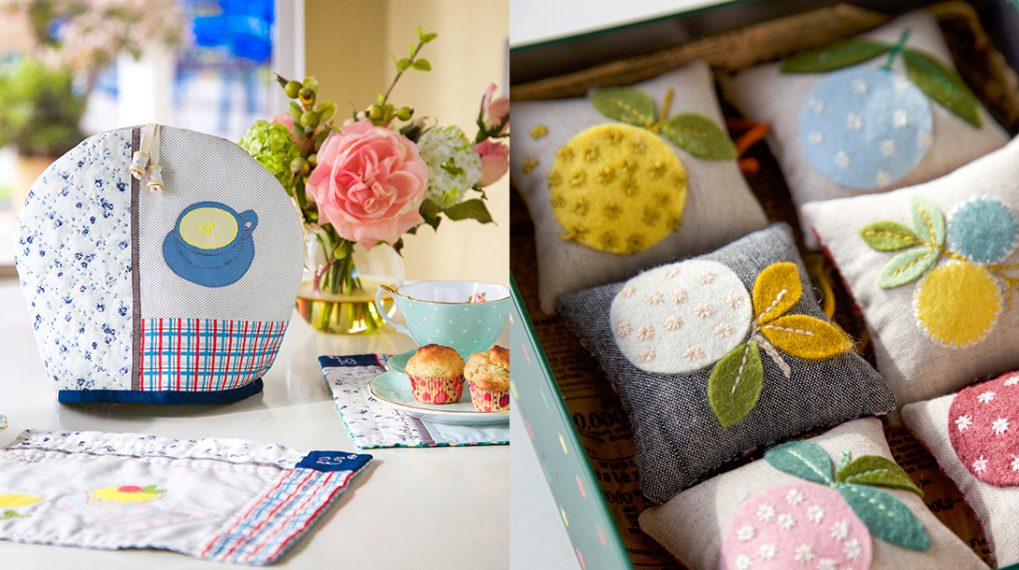
16. When it’s all stitched down, you can really only see the stitching from the back. This is a quick way to get the look of hand-stitched appliqué with no raw edges in a fraction of the time!
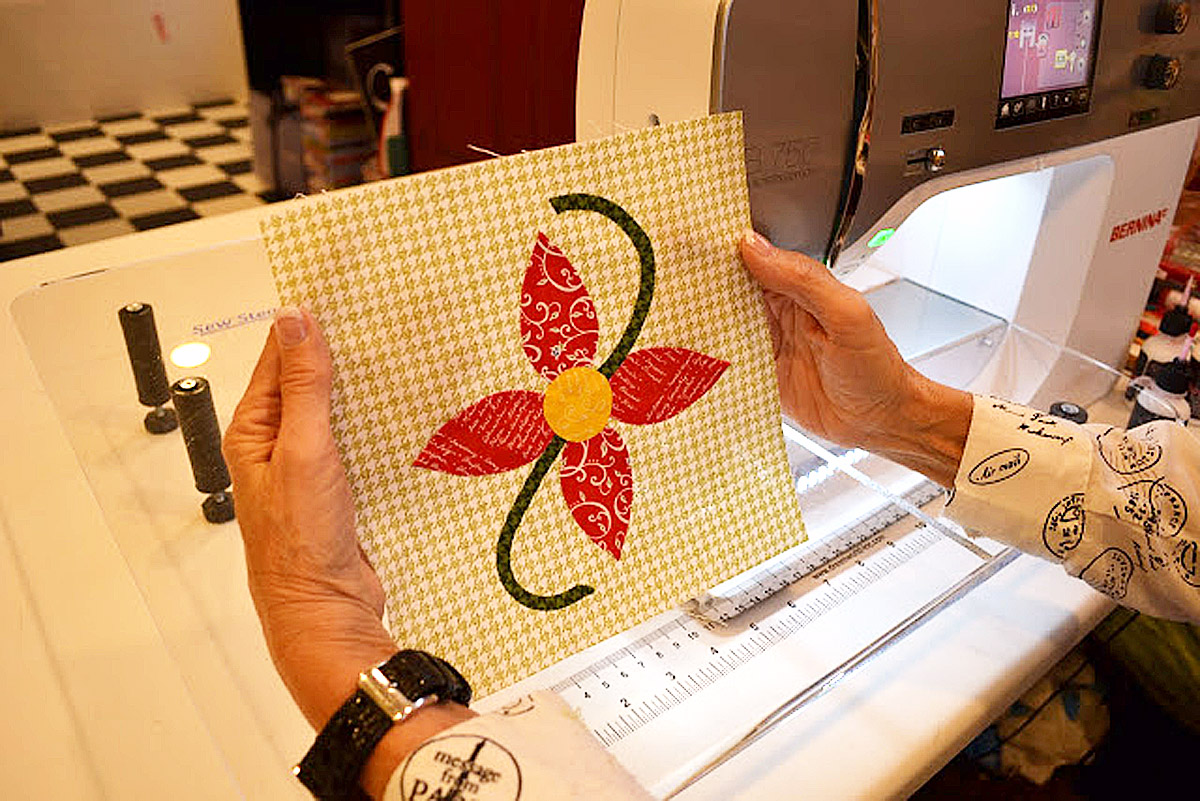
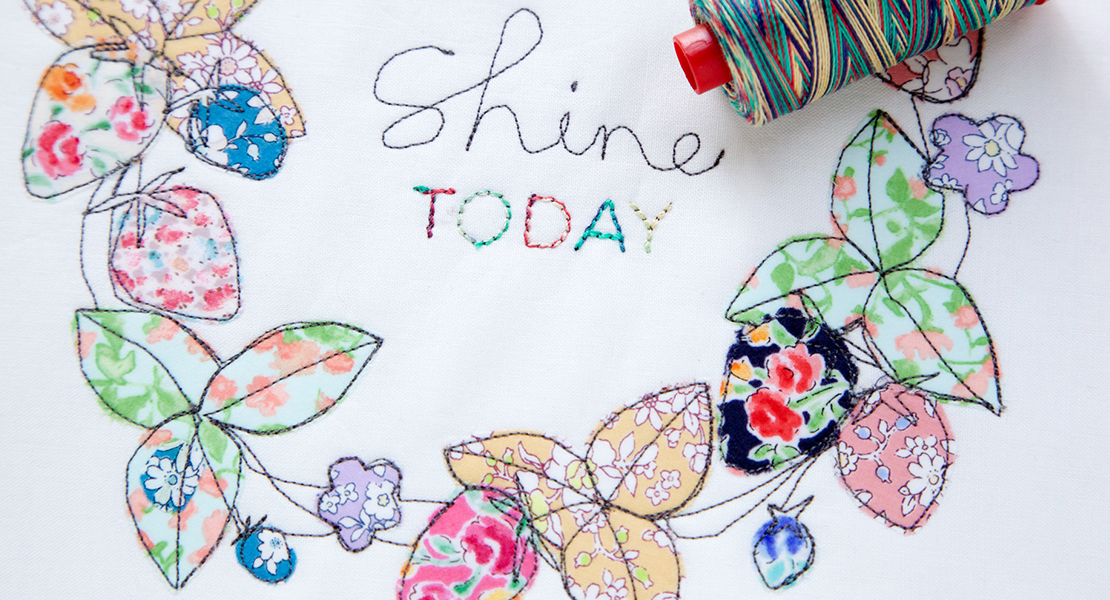
The finished product—doesn’t it look great?
Enjoy!
What you might also like


3 comments on “Machine Appliqué Tutorial”
-
-
You can check the wind by sewing a little, then snip the thread at your piece and pull a little extra from the needle so you have a few inches to work with, Double back this ‘tail’ onto itself and see if the thread twists together. If it does, it’s pulling off the spool wrong; if not, then everything is fine! The thread should not have a twist in it, but if it does it gets worse the more you sew… I hope this helps!
-
To answer 211sew above – a straight wound thread is wound round and round from top to bottom and back to top again – there is no visible pattern of the thread on the spool. With a cross wound you will see a crossing pattern of thread when you look at the spool of thread. It will have large X patterns on it.
Leave a Reply
You must be logged in to post a comment.

I am curious about how it can be determined whether my upper thread is ‘straight wound’ (use upright pin) or cross-wound (use a horizontal pin). Is it most likely found with mono-filament thread or can that be the case for any type thread? I see in reading that cones are a special case & since most of my thread is cone thread, it’s key for me.
I found added info on this topic at heirloomcreations.net & when handled wrong can result in broken needles!