Made to Create Pillow Featuring Zipper Foot with Guide #14 and Double-Cording Foot #59/60
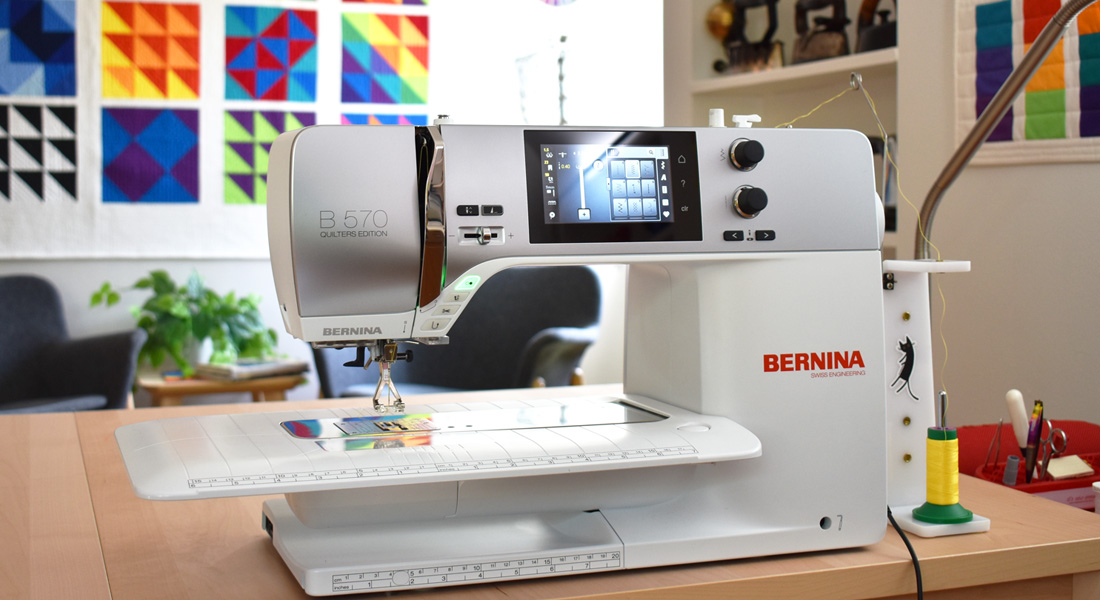
A while back I told you about the Made to Create pillows made by BERNINA Educators, each one featuring a different set of presser feet or accessories. Today I’m going to show you mine and tell you a little about the feet I used.
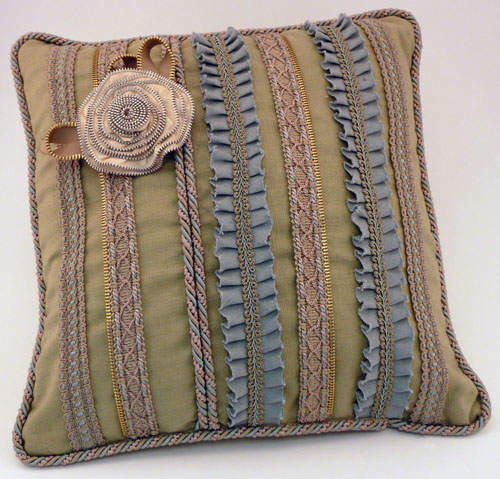
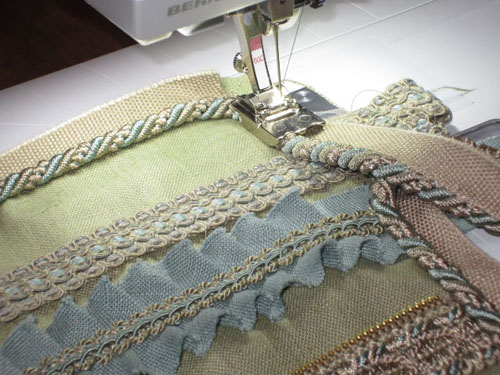
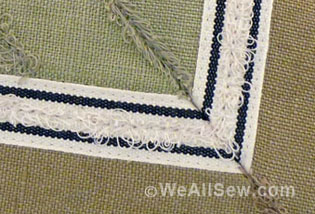
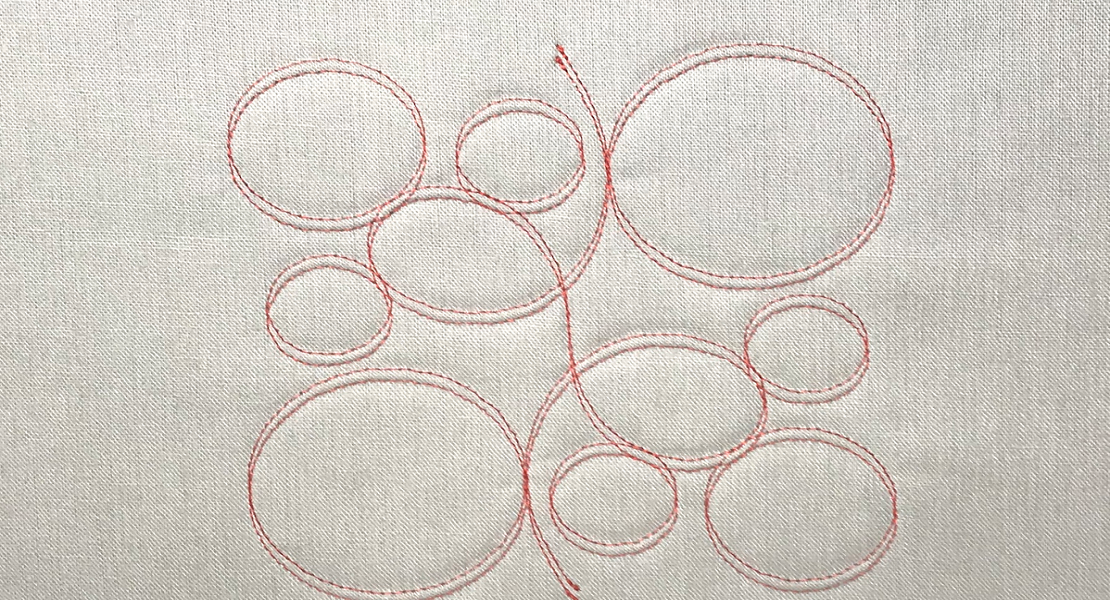
To start, here’s a look at the whole pillow, plus a detail shot showing the trims and stitching. My assigned presser feet were Double Cording Foot #59 or 60 and Zipper Foot with Guide #14, plus two more of my choice.
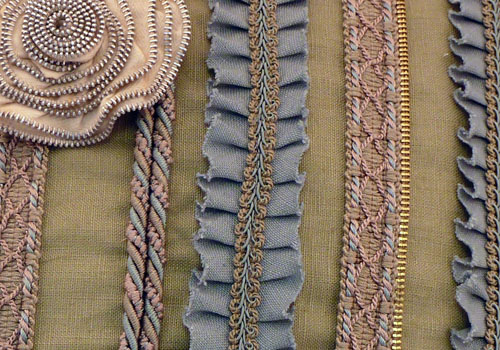
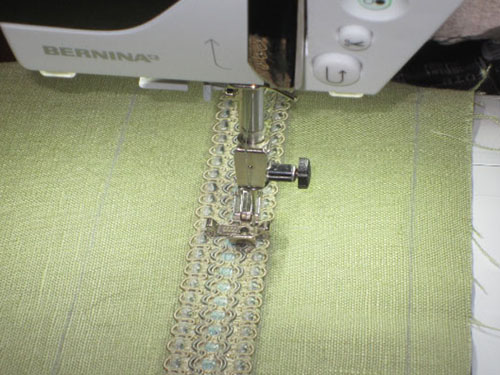
Let’s start with Zipper Foot with Guide #14. It’s not just for inserting zippers! Here I’ve used it to stitch flat trim to my pillow base. “Flat” is a misnomer; home decor trims are actually rather bumpy and uneven. To stitch this one down I first positioned the sole of the foot in a flat “valley” of the trim, then adjusted the guide to ride along the edge of the trim.
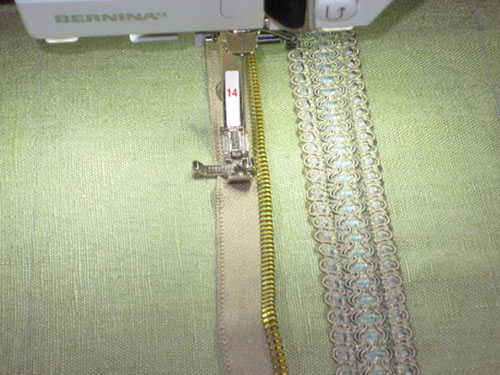
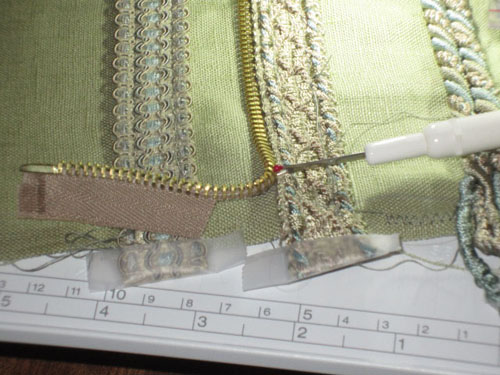
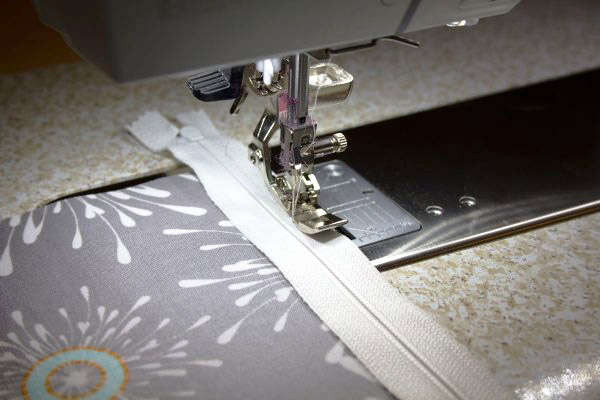
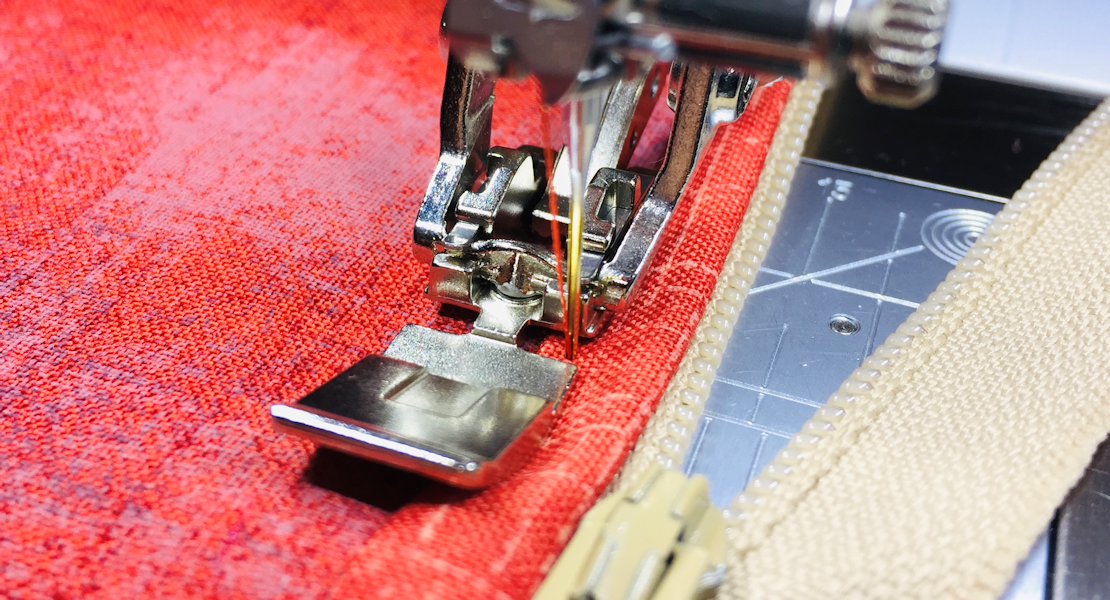
You might have noticed the shiny “mini-piping” next to some of the trims. For this I used heavy upholstery zippers and stitches them in place with Zipper Foot with Guide #14. See how nicely the guide holds the zipper teeth in place, making it easy to stitch a straight line?
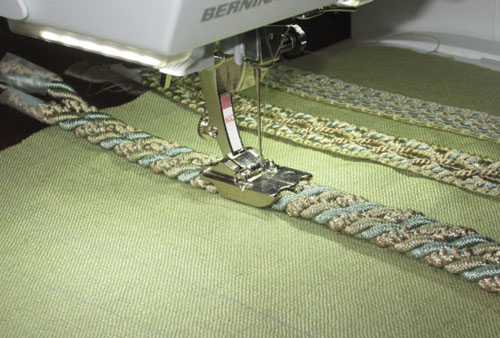
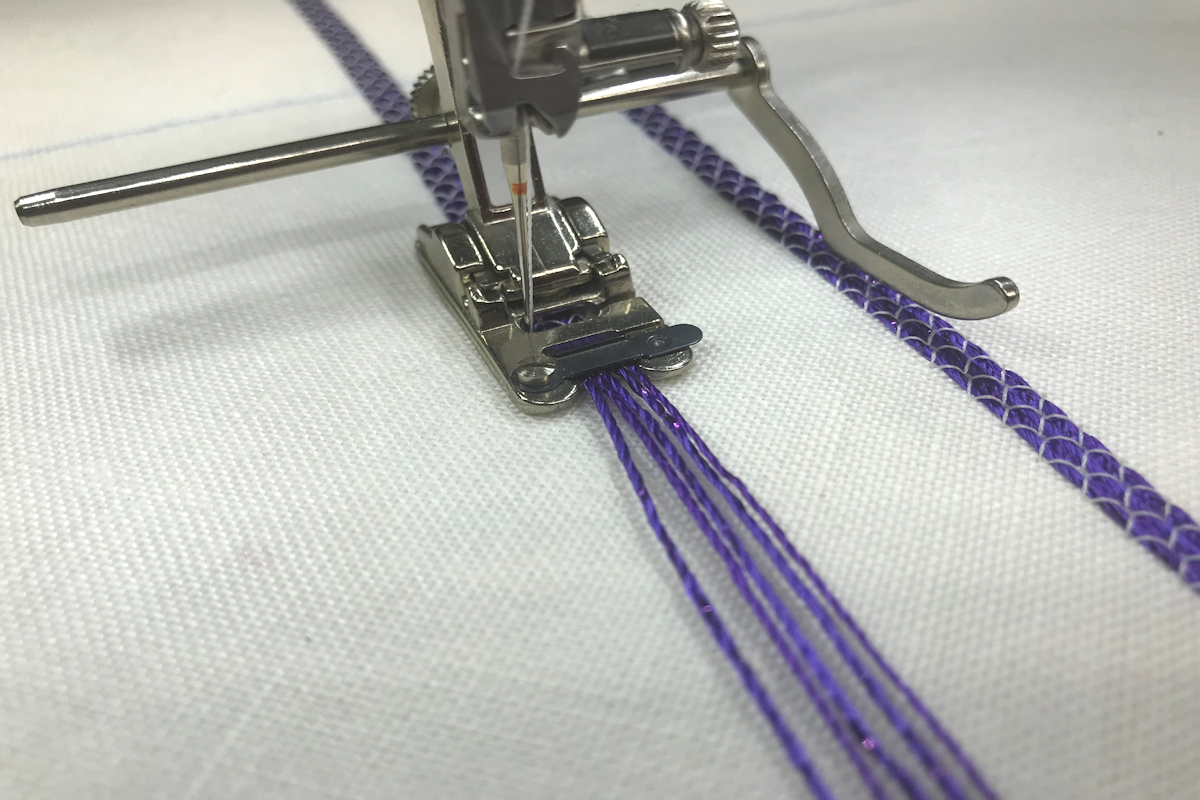
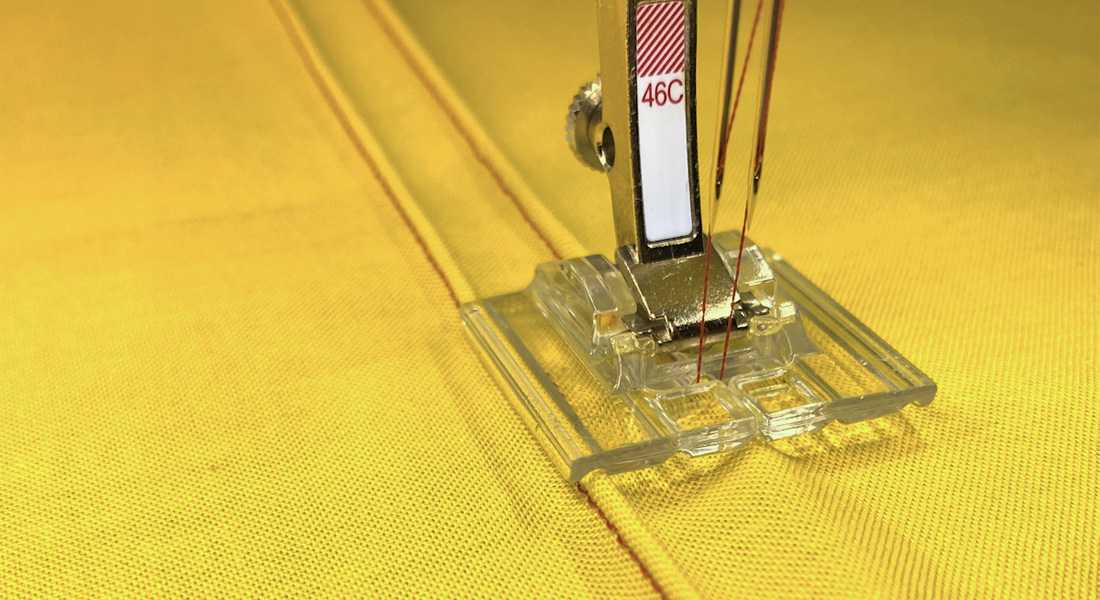
I used Zipper Foot with Guide #14 once again for stitching the heavy braided trim over the zipper tape. This time place the foot so that the needle would land between the braided edge and the X design in the center, then I aligned the guide with the “ditch” between the two cords along the edge of the trim. The result – nearly invisible stitching.

Next – two strands of cord held in place by Double Cord Foot #60, stitched together and to the base at the same time with a zigzag stitch. (We’ll revisit this foot a bit later.)
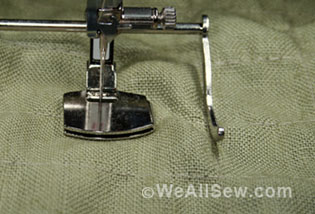
The first of my “two additional feet” – Ruffler #86. (It looks scary and complicated, but it’s not really – just very adjustable for depth and frequency of pleats.) I cut strips of fabric on the bias (no loose threads to shed!), set my Ruffle for a deep pleat every six stitches, and stitched along the middle of the strip to create my ruffled trim.
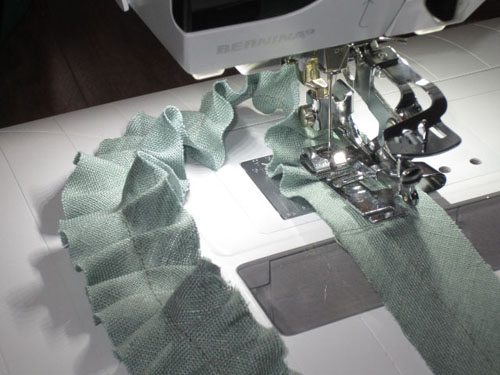
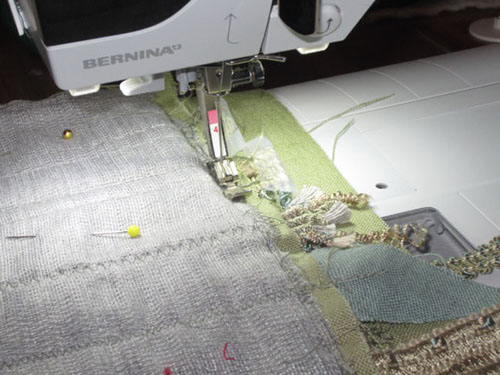
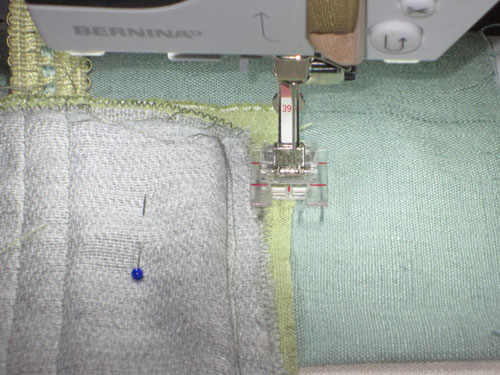
Second “extra” – Clear Embroidery Foot #39. I used this to stitch the pleated ruffle to the base fabric, placing the center of the strip on my penciled guideline. The clear sole is great for sewing what’s under the foot while also holding the fabric in place. As I neared the end, I unstitched a few of the pleats so there would be only a single layer of ruffle in the pillow seam later.
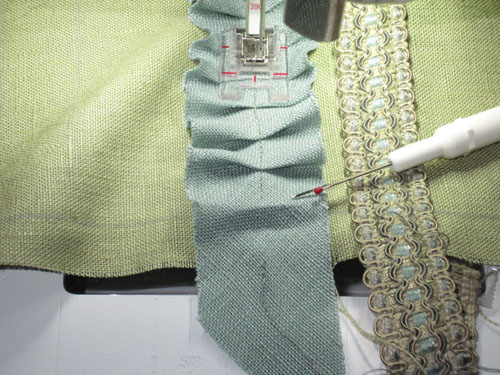
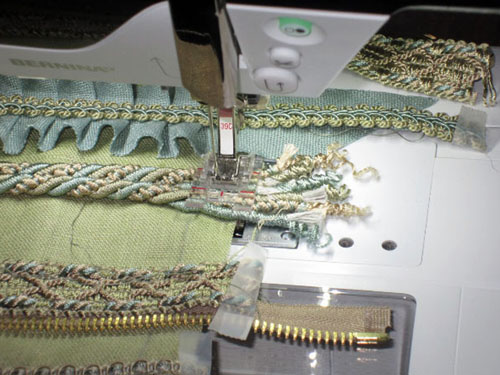
To finish, I stitched a piece of braid over the stitching, again using Zipper Foot with Guide #14 (there it is again!).
Time to put the pillow front aside and work on the back panels. I don’t really think of the feet I used here as “specialty” feet, as they’re part of my basic sewing collection, used for general craft and garment construction.
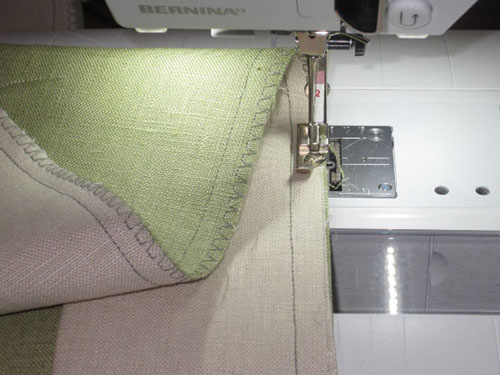
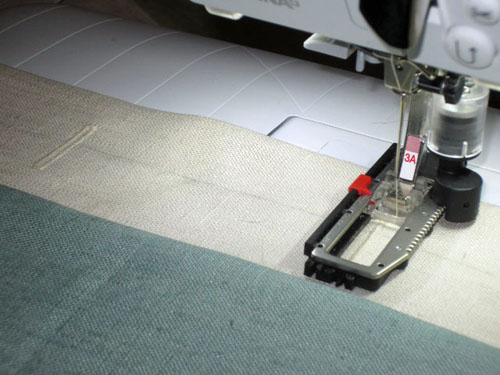
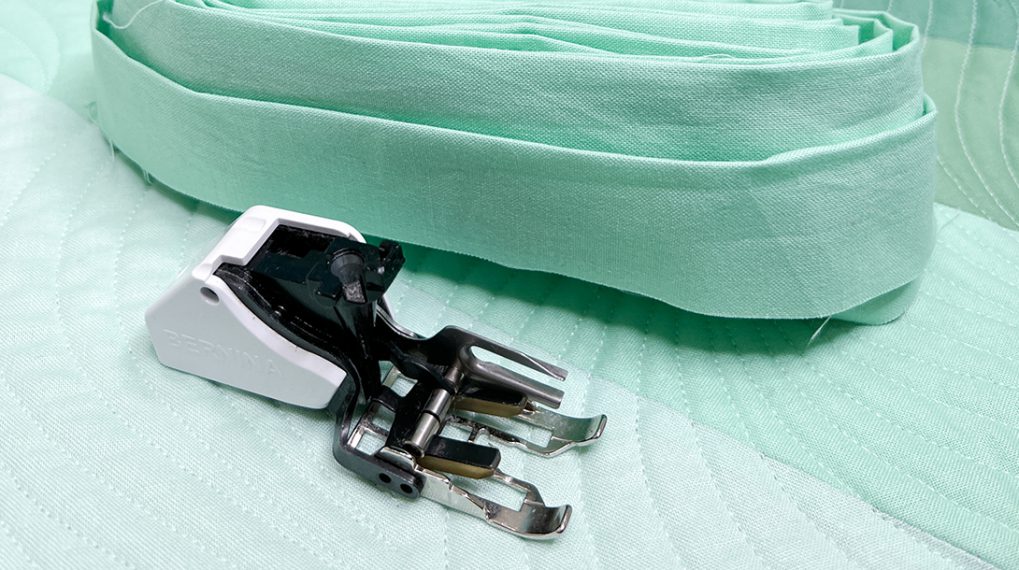
For each placket I simply folded a strip of fabric in half, matched the raw edges to the edge of a pillow back, stitched them together, and pressed the contrast strip away from the pillow back. To keep the raw edges from raveling I overcast them together with an overlock stitch; the pin in the sole of Vari-Overlock Foot #2 keeps the edge flat, preventing it from drawing up and tunneling.
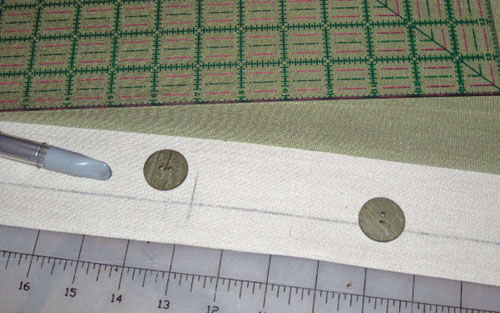
On one placket I marked placement lines for the buttonholes . . .
. . . then stitched them using Automatic Buttonhole Foot #3A after programming the machine to automatically stitch the required size. (Isn’t that a beautiful buttonhole? And I didn’t do anything but mark the placement; the machine did all the rest.)
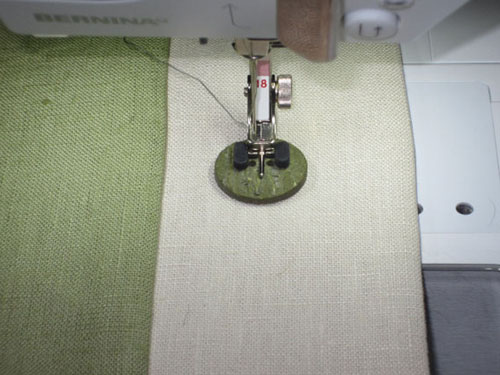
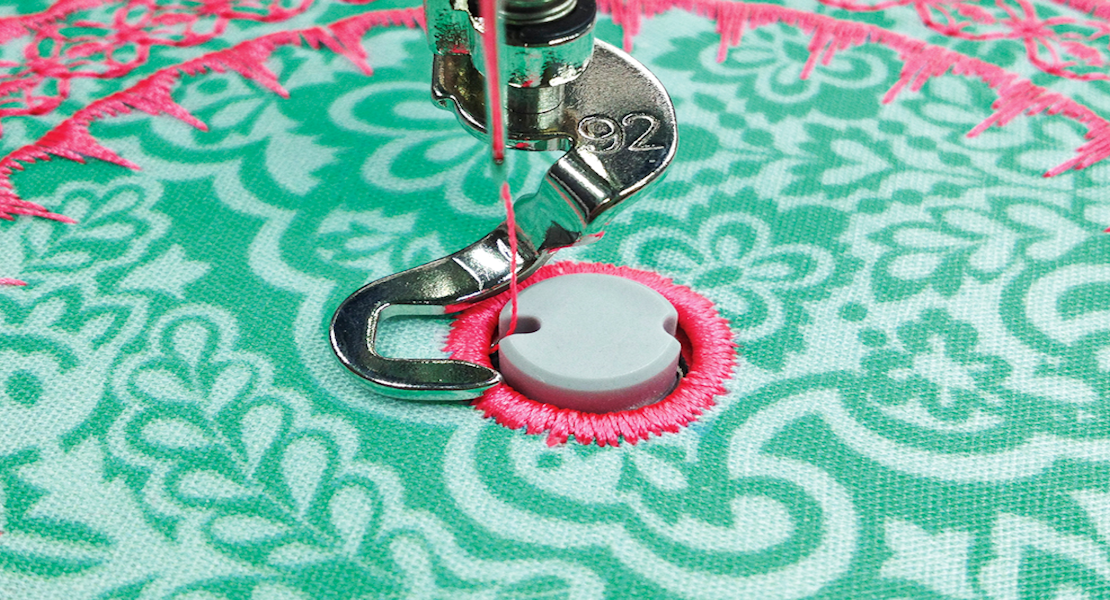
I made pencil marks to indicate the button placement points, then attached them using Button Sew-On Foot #18.
The front and back panels are finished;now it’s time to put them together. First, a little prep work on the edges of the front panel. There’s quite a bit of bulk at the ends of the trims that needs to be dealt with before the front is stitched to the back.
To keep the trim ends in place I basted around all four edge of the pillow, inside the seam allowances, using Clear Embroidery Foot #39 again. The clear sole allowed me to see exactly what was passing underneath the foot.
Next, the zipper teeth. Don’t want to hit one of those with the sewing machine needle! I used my seam ripper to cut away the zipper tape in the seam area . . .
. . . then used my pliers to cut between the zipper teeth. Don’t try this with your sewing shears, or even with your paper scissors! I keep a set of pliers/wire cutters in my sewing kit, but you might need to hunt down your toolbox or borrow some for this sort of task.
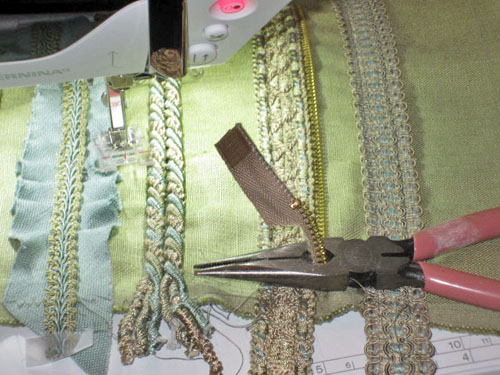
Much better! Given how hard it was to cut through the zipper, I’m not worried about the tape unraveling or the teeth falling out even though the end of the zipper won’t be secured by the pillow seam.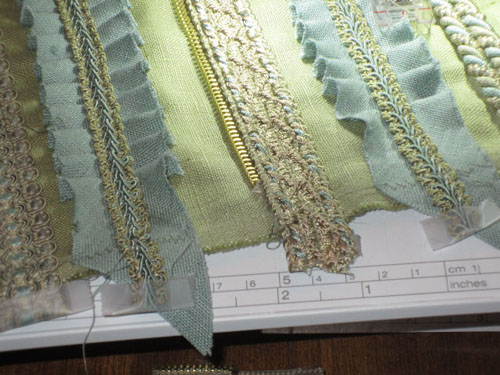
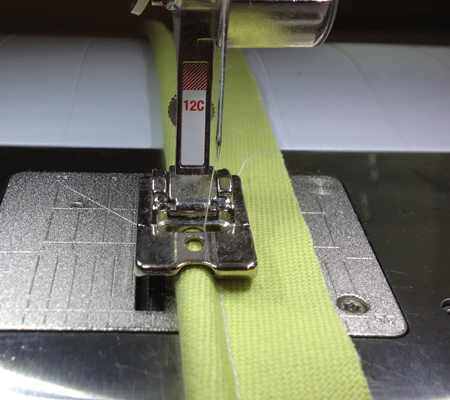
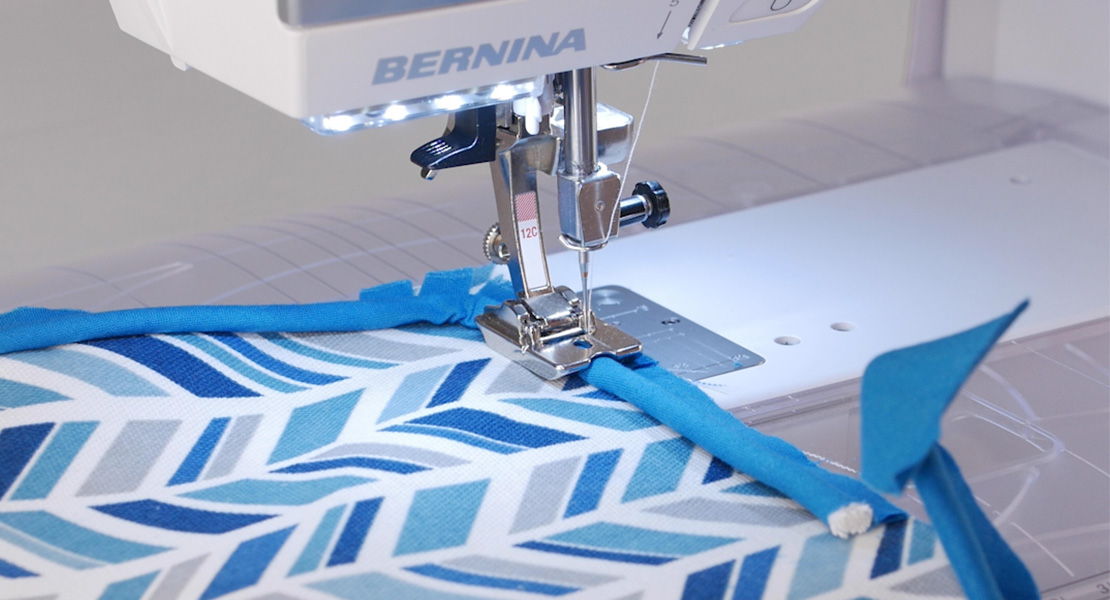
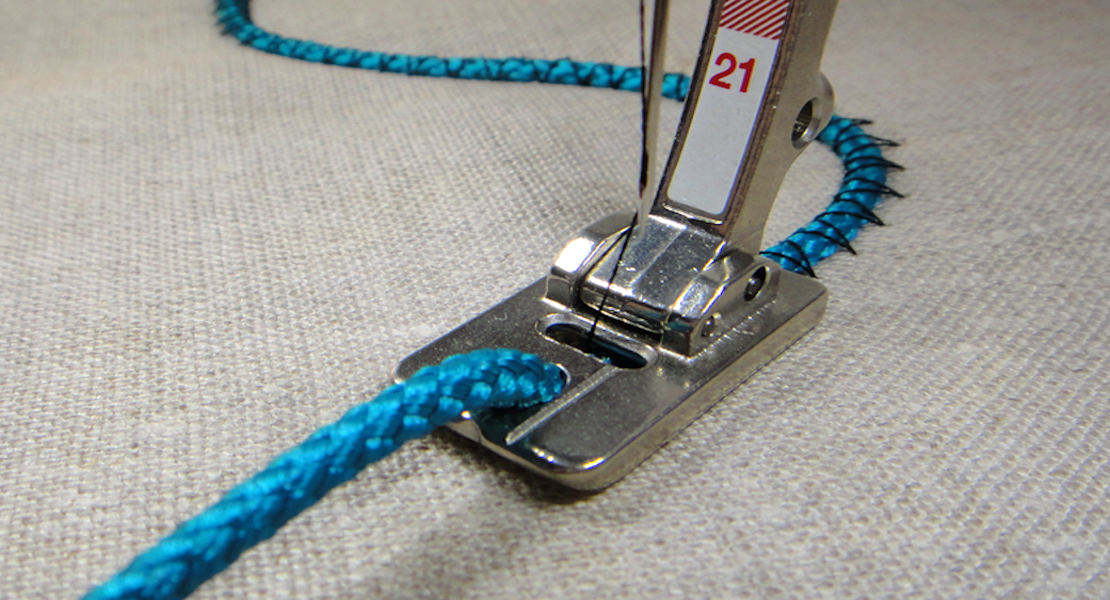
I like to add cording to my pillow edges. Not only does it create a nicely-finished edge, but it makes it easier to turn the pillow right side out neatly. Making covered cord is easy – just wrap filler cord in a strip of bias-cut fabric, place it under one side of Double Cording Foot #60, and stitch (there it is again!) – the needle stitches right at the base of the cord. (Using giant cord? Leather Roller Foot #55 is super for over-size piping.)
Tip: When stitching around corners, round them slightly and clip the flange/tape to allow it to bend around the curve.
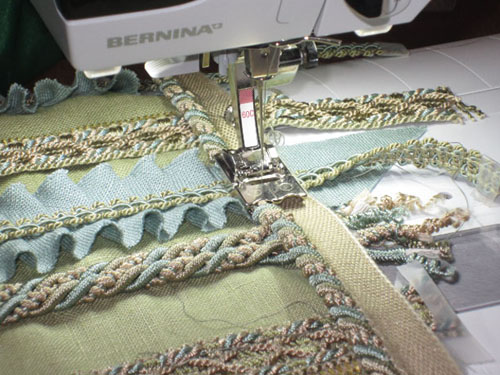
Nearly finished! With the front and buttoned-together backs right sides together, with the wrong side of the pillow front showing on top, I stitched right over the previous stitching using Zipper Foot #4 with the needle position moved all the way to the left. (With lighter-weight fabrics and trims I could have used Double Cording Foot #60 again, but these layers were just too bulky for that.)
 Before cutting away the excess fabric, I zigzagged around all four side of the pillow. I could have done this afterward, but it’s easier to manage all those uneven layers before they’re trimmed.
Done! Oh, but wait . . . “What about the flower?” I’ll show you how to make that in another post, sometime later this month. Stay tuned! Jo


One comment on “Made to Create Pillow Featuring Zipper Foot with Guide #14 and Double-Cording Foot #59/60”