Mask Sewing Tips and Techniques
Mask Making Made Faster, Easier, and More Fun
With the CDC’s recent recommendation that the general population wear face coverings in public, many of you are already making masks by the dozen! Mask patterns and tutorials are readily available all over the internet, and you can also find instructions from the CDC here.
No matter what pattern you’re using, here are a few tips for you:
Making ties with the bias binder
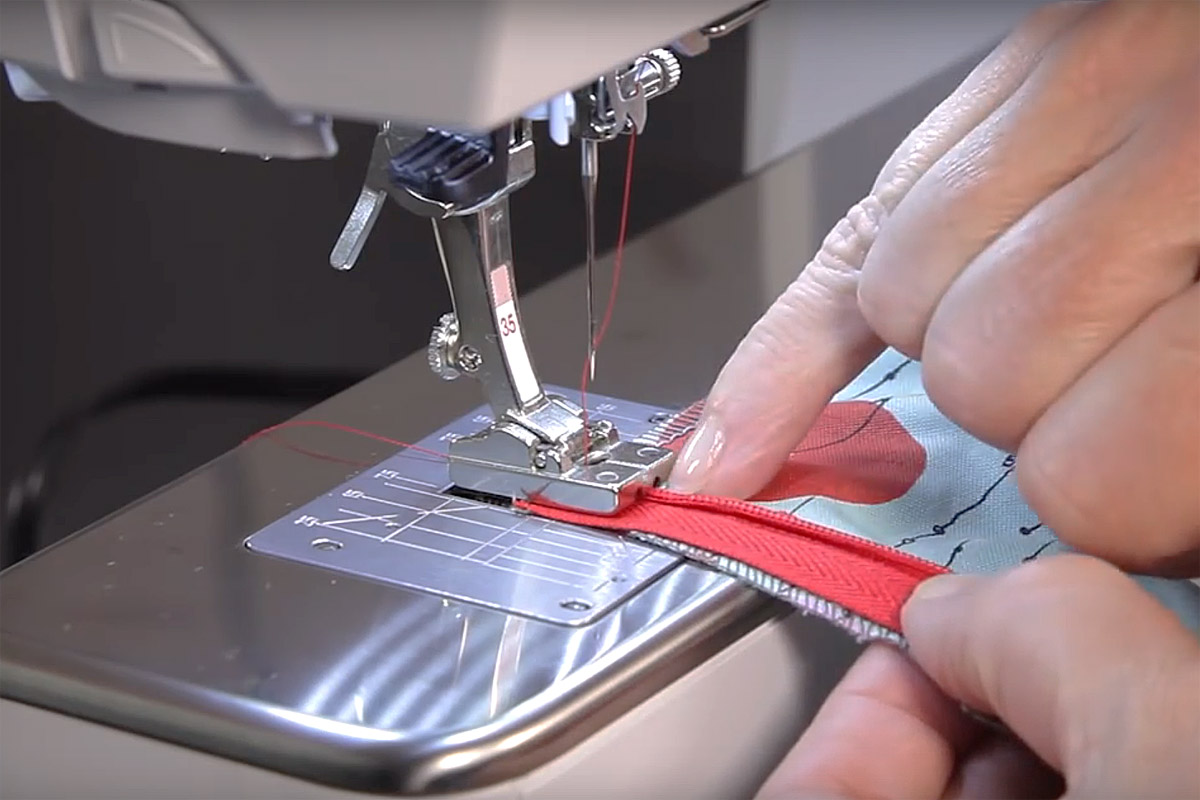
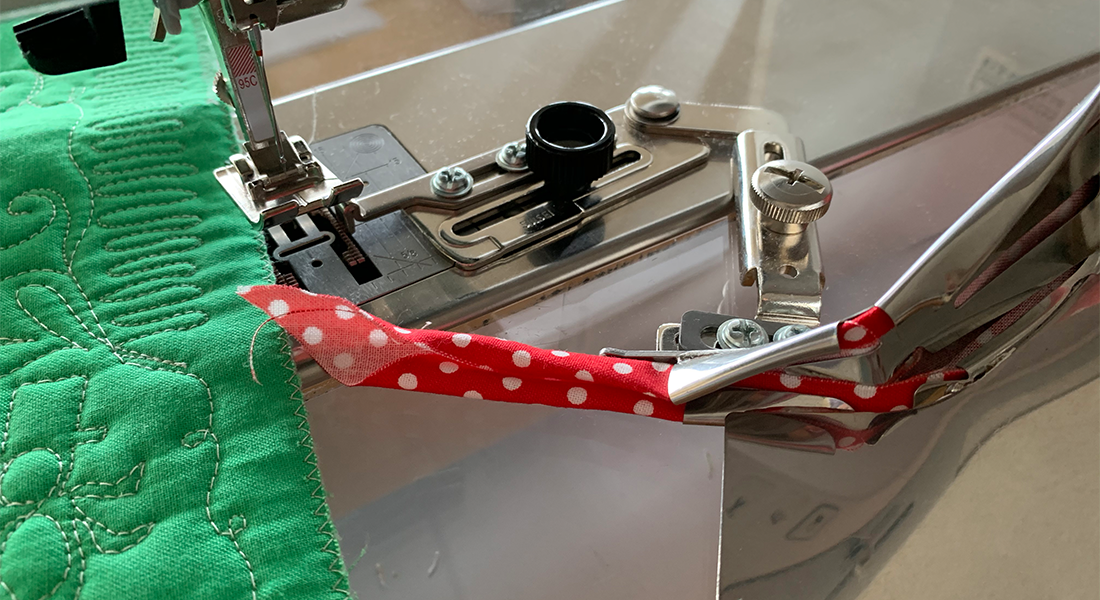
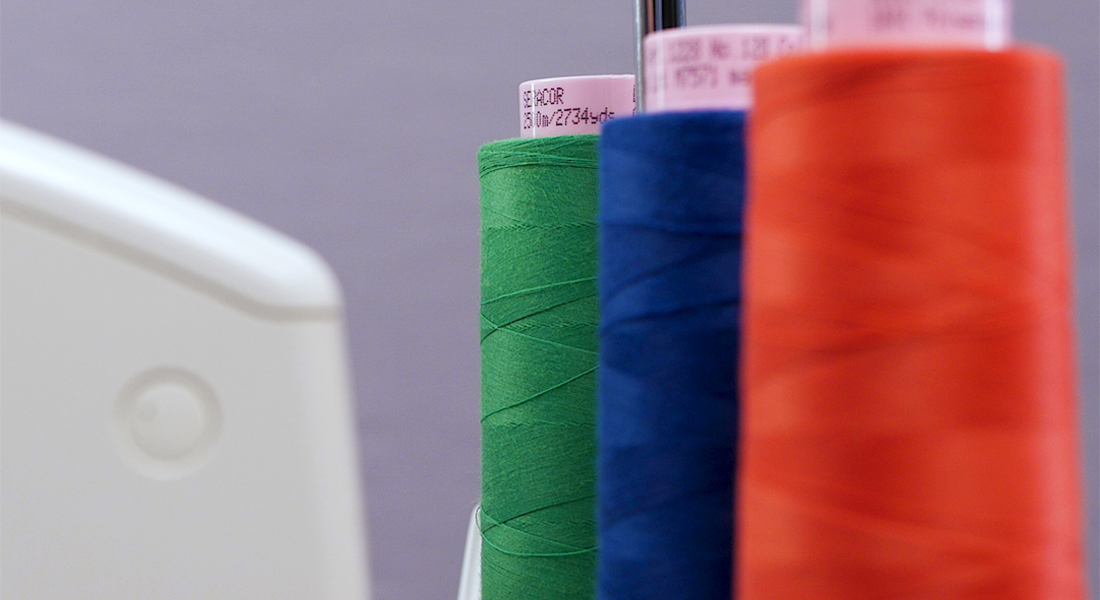
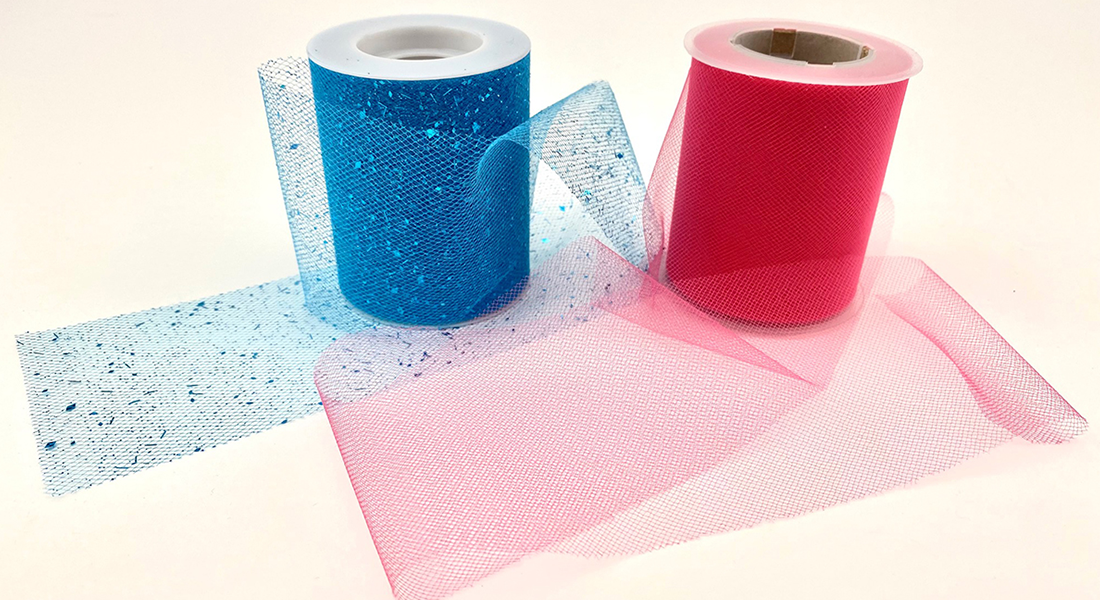
If you’re using a pattern that calls for ties, these can be made super-fast with the BERNINA Bias Binder Attachment #88! While normally it is recommended to use bias strips in the binder, for ties that don’t have to be attached to a quilt, you can use straight-of-grain strips. Just be sure you cut them accurately to size and press them well. Starch helps too! For more ideas on using the binder, check out this post.
Watch this little video on how to feed strips quickly and easily every time:
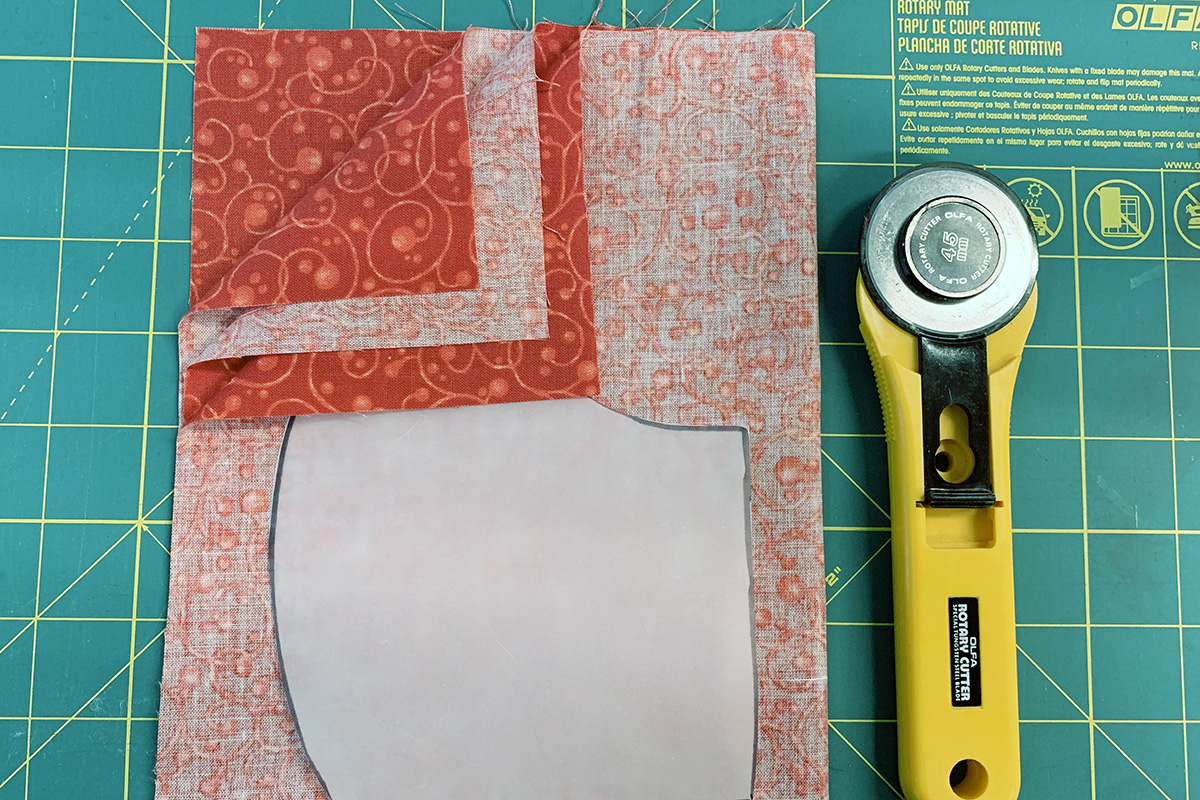
Assembly-line cutting When Sewing Masks
If you’re using a pattern to cut your mask, stack your fabrics right sides together when you cut them. This way the pieces are already lined up and ready to assemble. Use a sharp rotary cutter blade and cut multiple layers at a time.
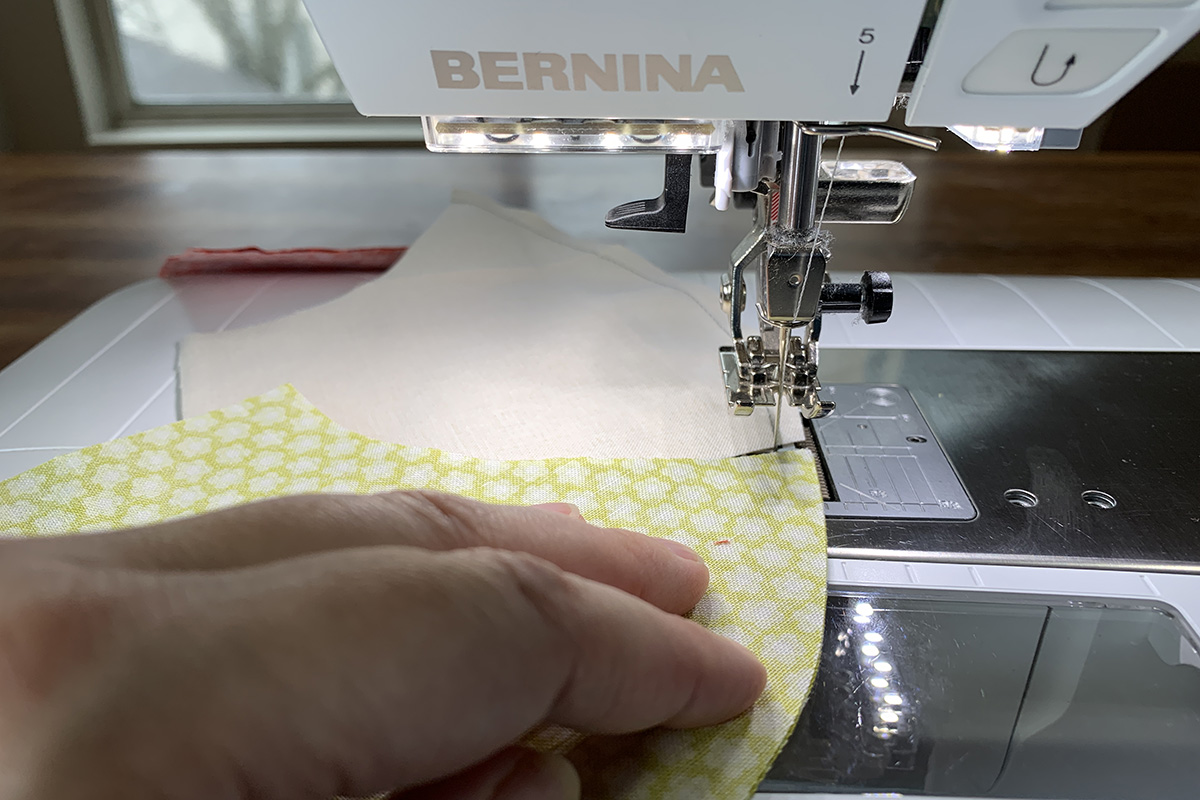
String it along
Sewing a lot of masks? Rather than cutting at the end of each seam, lift the presser foot with your Free Hand System and slide the next fabric under the foot and keep stitching. Use your Needle Down function so that the machine stops with the needle down when you stop sewing. This way you can slide your next piece of fabric right up next to the needle and begin stitching.
Don’t forget to Secure
If you are normally a quilt piecer, you may have gotten in the habit of not securing your seams; but for these masks, which will be washed and worn frequently, securing your stitch is a must! Fortunately, it’s super easy to do – and there are options! Simply use the backstitch button on your machine, or if your machine has it, use the securing function. With one press, your machine will take several stitches in place to lock your stitch.
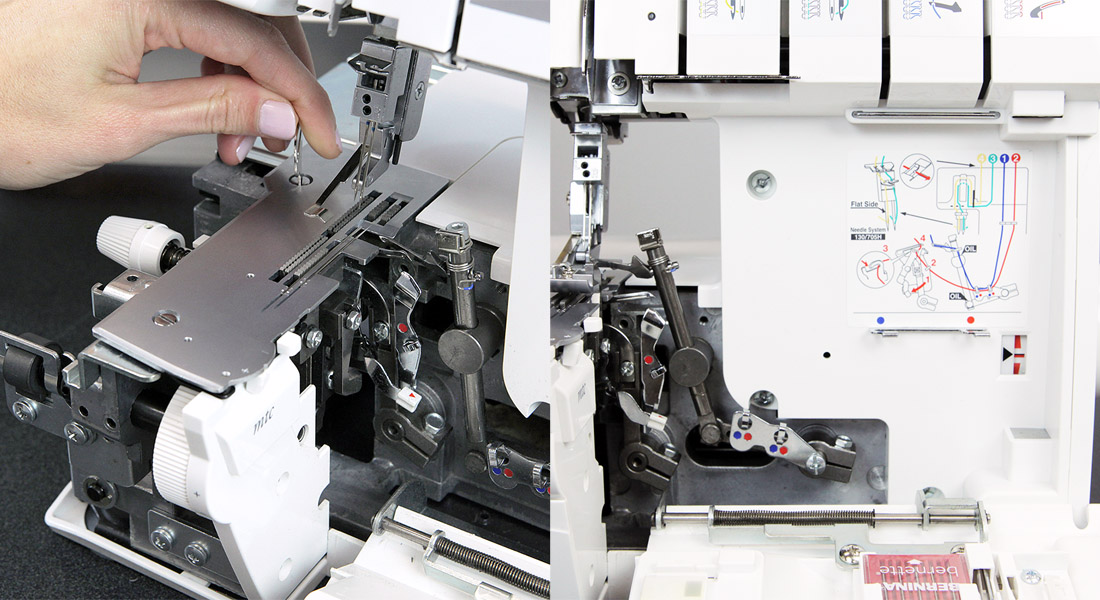
Use your Serger
An overlocker actually stitches faster than your sewing machine, so doing your assembly on the overlocker can really speed things up!
Check out this video to make a mask entirely on the overlocker in five minutes!
Visit the 5-Minute Mask tutorial here.
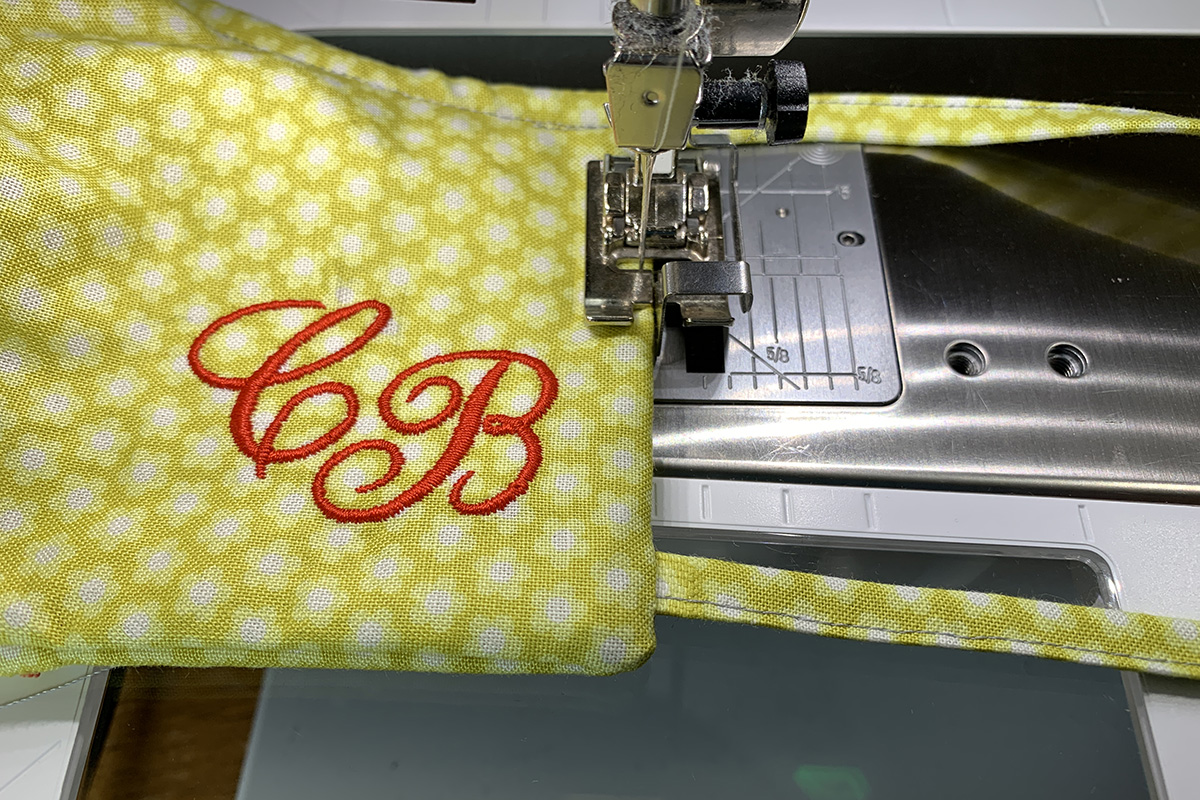
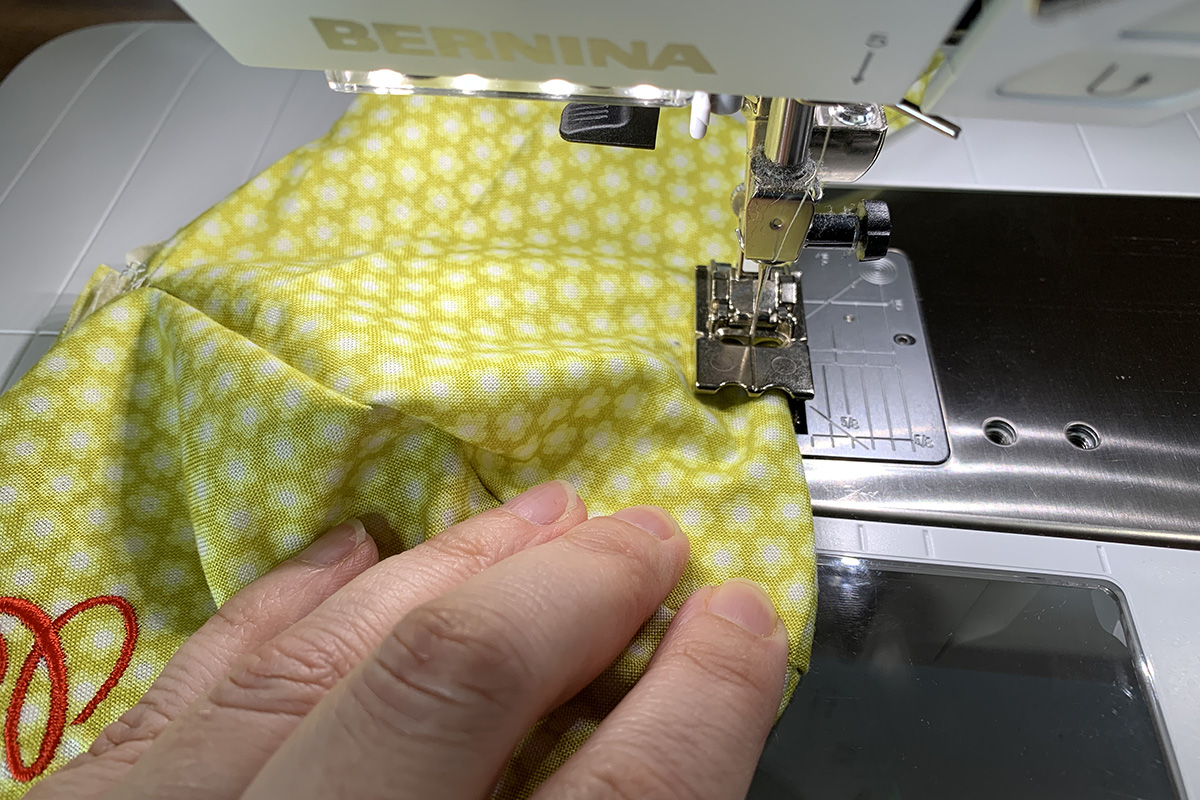
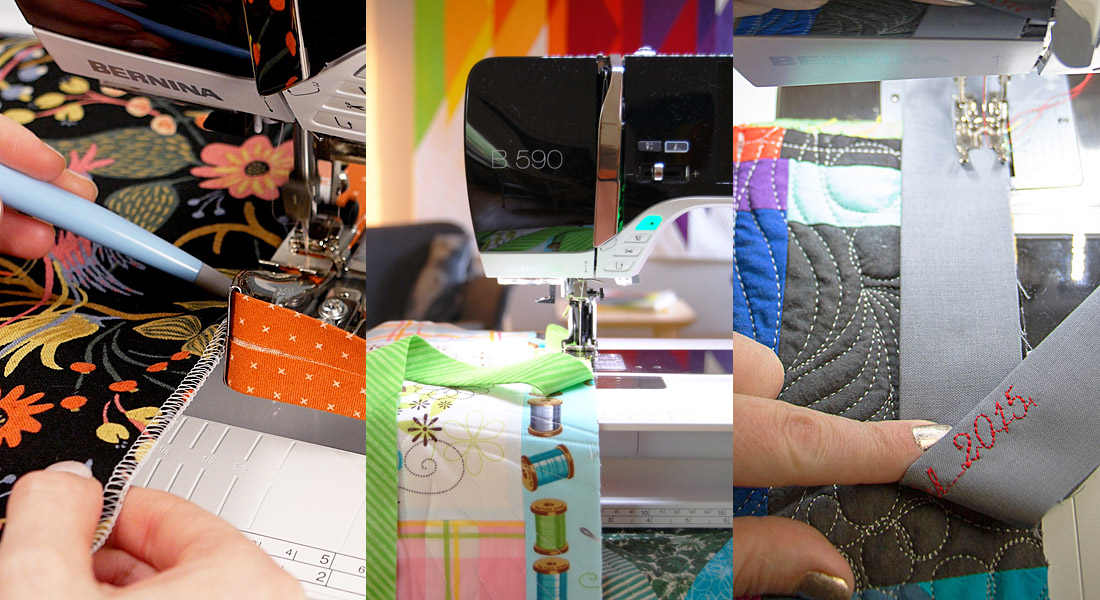
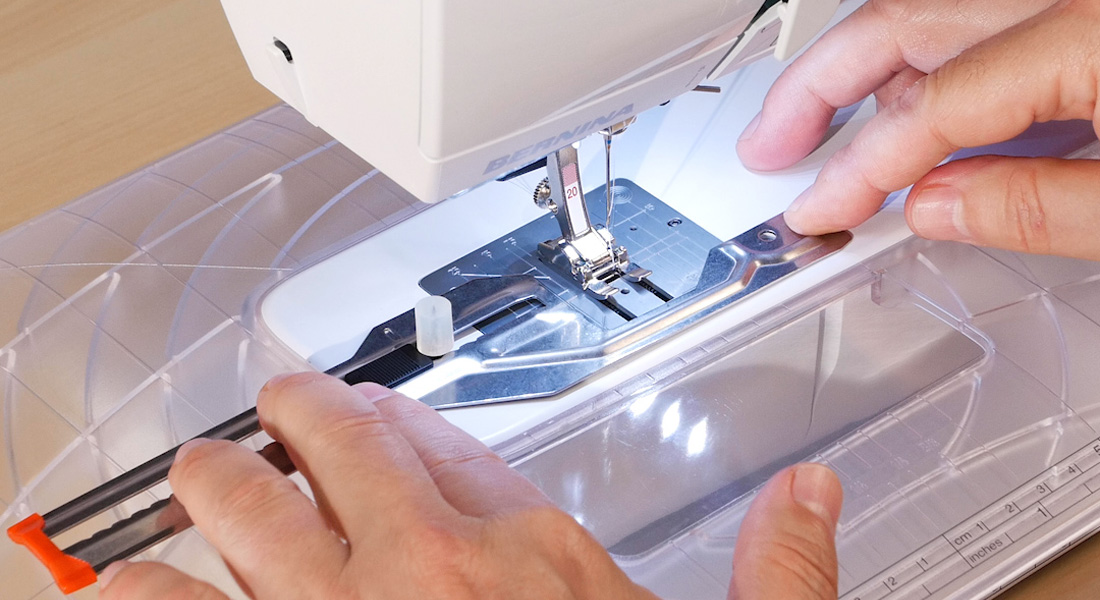
Use the right presser foot
Use your patchwork foot to assemble your mask – a 1/4″ seam allowance is perfect for most patterns. Another favorite foot is the Edgestitch Foot #10/10C/10DD – it makes finishing on masks look professional every time.
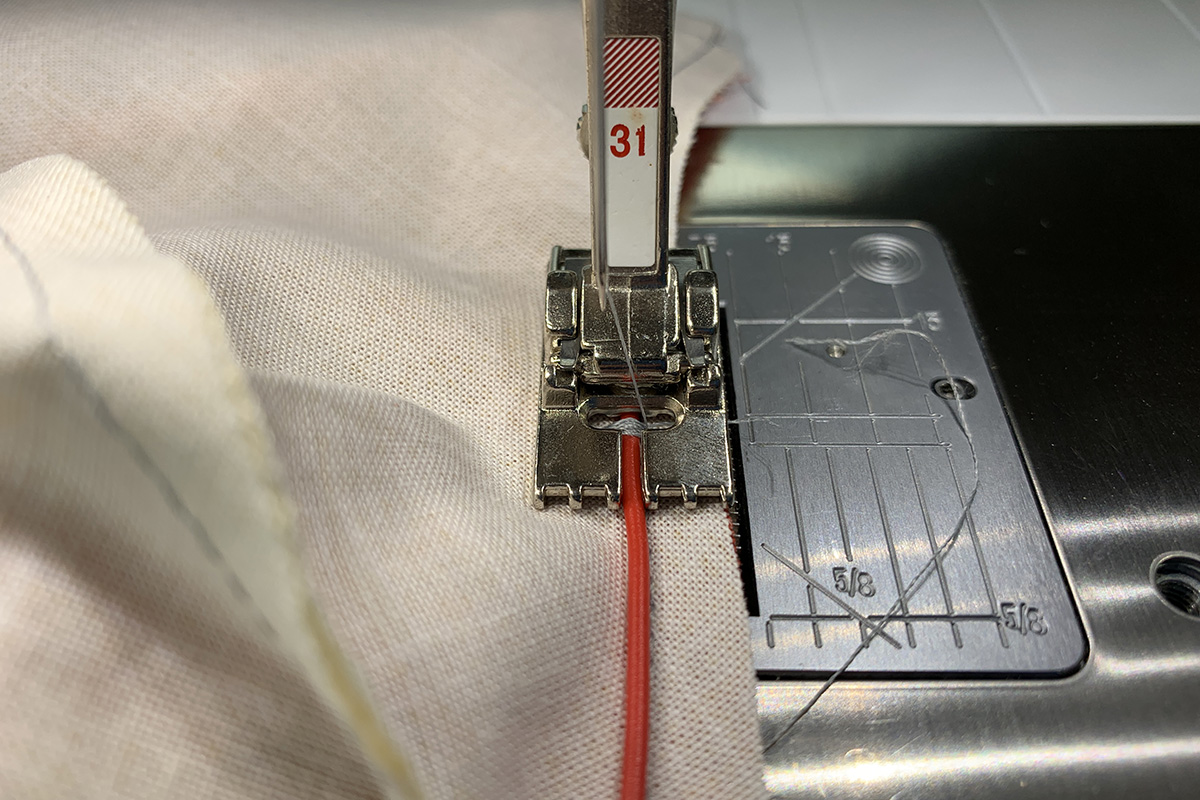
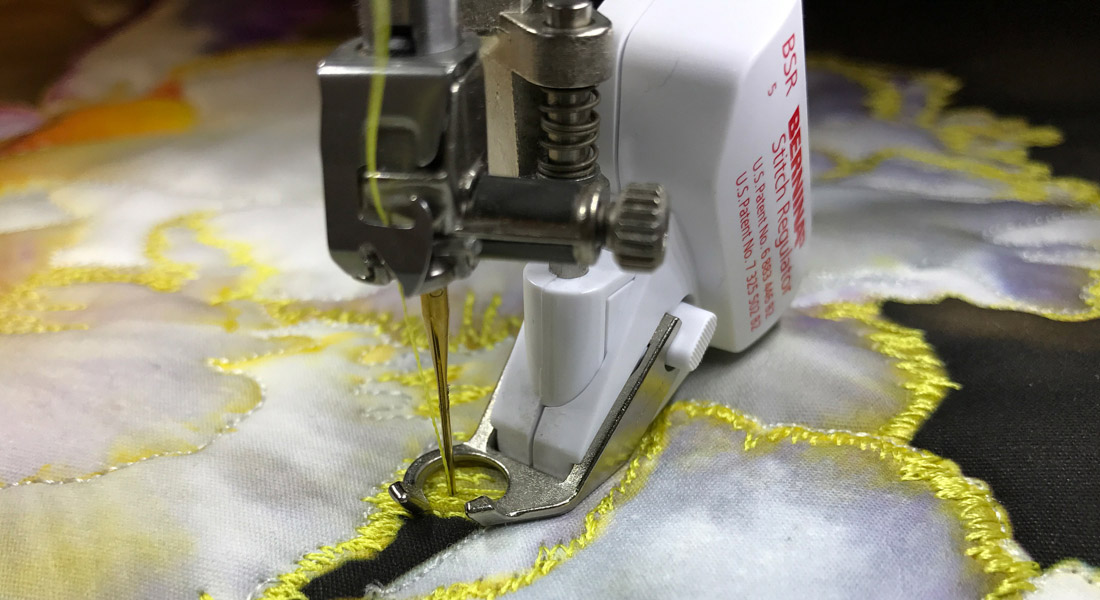
If you’re using wire in the nose of your mask, use Pintuck Foot with 5 Grooves #31 to tack it in place before turning it. Designed for pintucks, this foot has a groove that a 22 gauge electrical hookup wire fits in perfectly. Be sure to choose solid core hookup wire as opposed to stranded, as stranded wire is soft and won’t hold the bend. Turn in the ends of the wire so it doesn’t poke through the mask. Secure the wire with the Button Sew-on Stitch in your machine.
When adding the edgestitching of your mask around a wire, use Zipper Foot #4 to keep from stitching into the wire. Or, you can try Double Cord Foot #59C. This foot is designed for double cording, but works nicely to keep your wire in place while you stitch. Simply line up the edge of your fabric at the edge of the right tunnel and stitch, keeping the wire in the tunnel to the right of the needle.
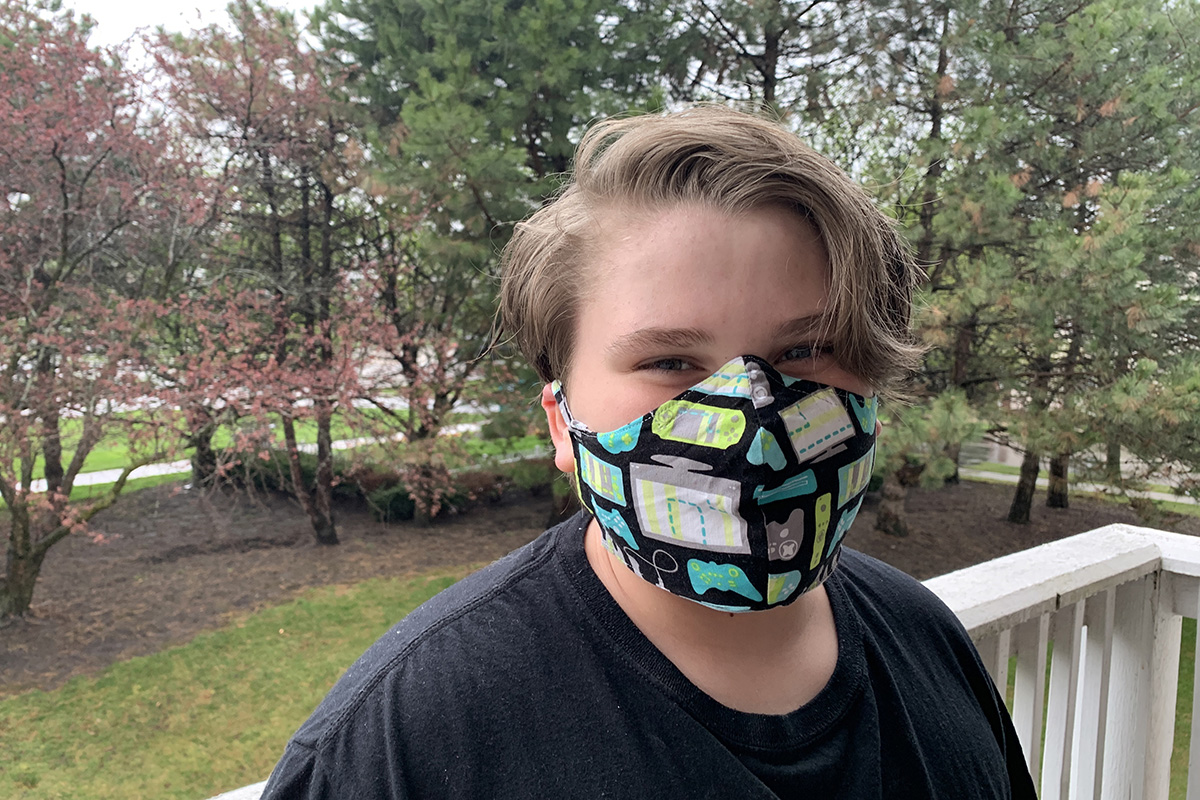
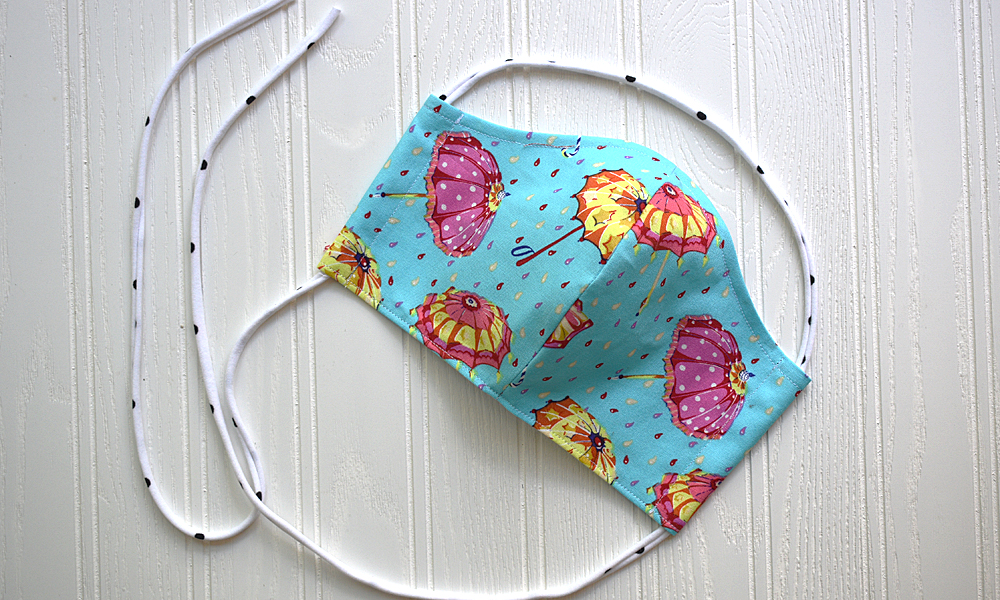
Make Your Mask Unique
Now’s the time to use up those novelty prints in your stash, and letting everyone pick their own fabric makes them more likely to wear it.
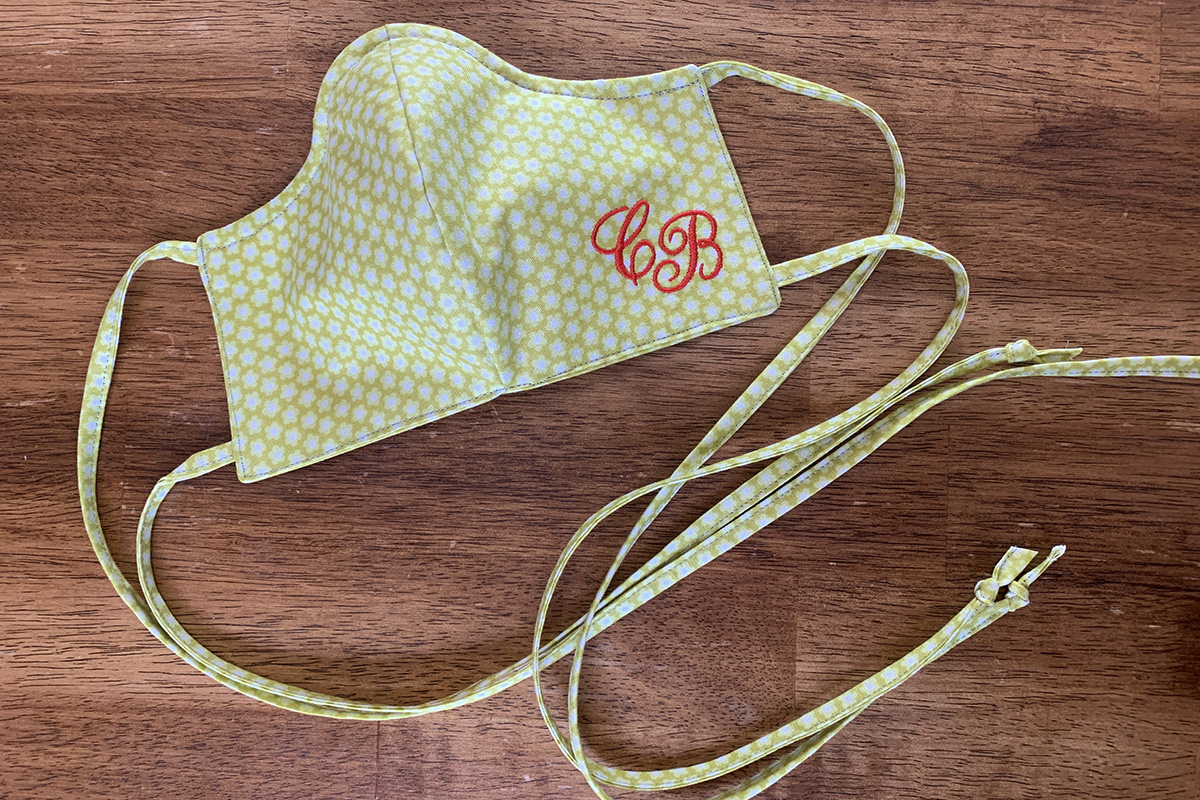
How to Monogram Your Mask
Why not embroider a monogram on your mask? If you’re using a pattern, embroider the fabric first, and then lay the pattern over it and cut it out. Tracing your pattern onto vellum or lightweight stabilizer will make it easy to see where your embroidery will be positioned.
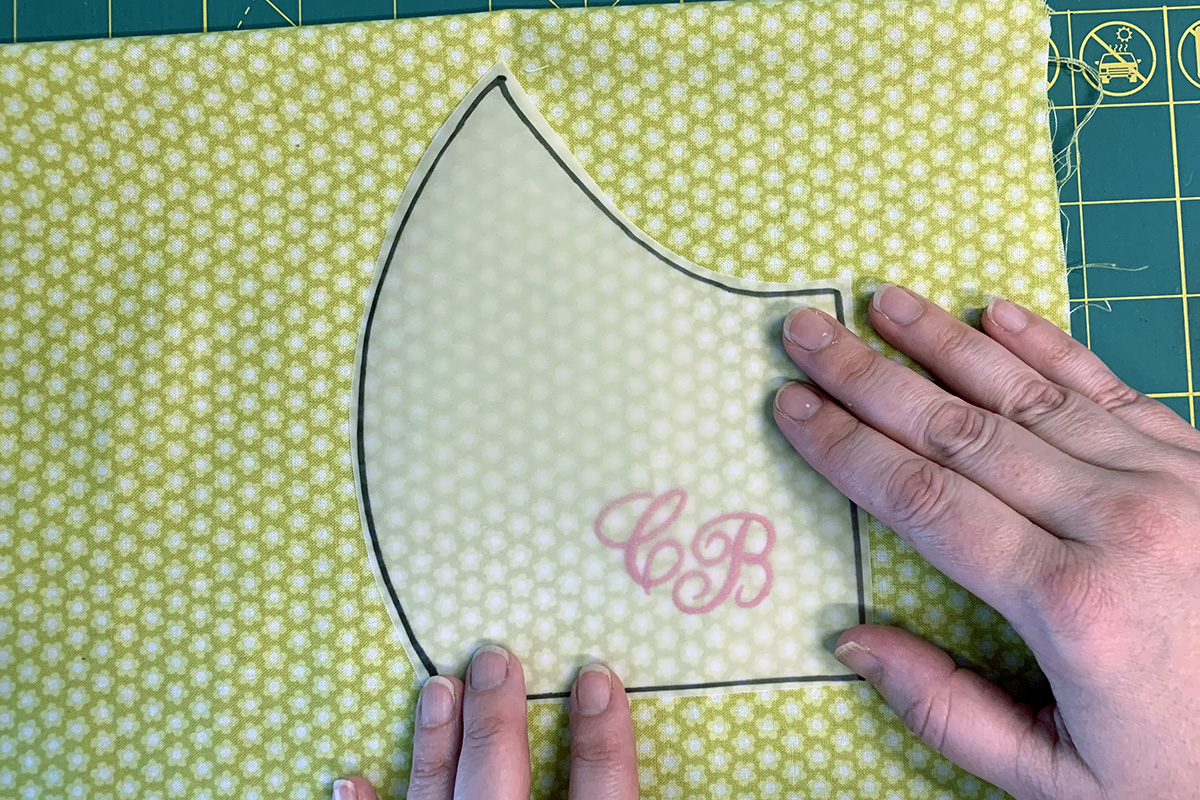
Note that embroidering fabric creates holes in the fabric, so you’ll want to have the embroidered layer as an extra layer on the outside of two additional layers of fabric to provide full protection.
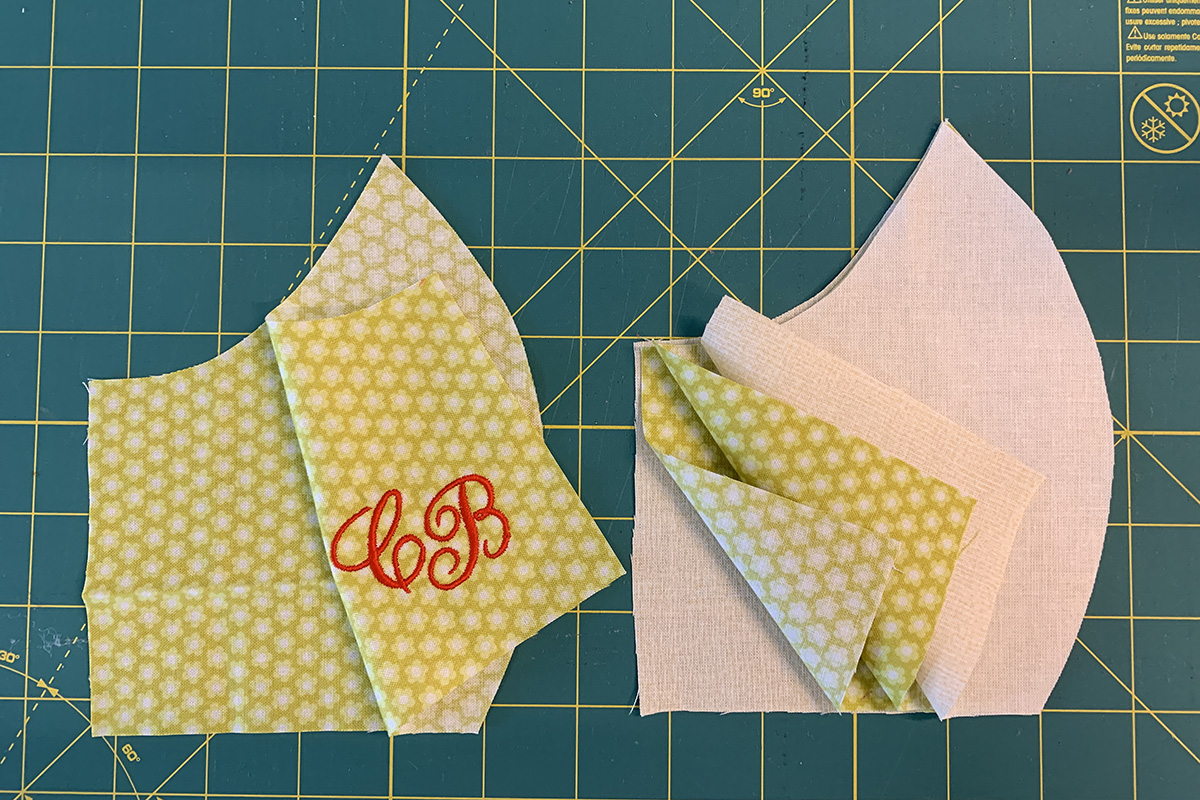
Your finished mask will not only be stylish – you’ll easily know which one is yours! Read tips on monogramming here.
What are your mask-making tips?
The face mask that is described here as a creative project does not meet any medical guidelines for face masks and there is no guarantee of it reducing the risk of infection. No responsibility or liability in this respect shall be accepted.
What you might also like


28 comments on “Mask Sewing Tips and Techniques”
-
-
Yes, I was wondering the same thing, please…
-
Hi! I adapted this one from the one found at 405maskmakers.com, using ties instead of elastic.
-
-
Agree with other posters. Pattern should be provided here. Should not have to go to the CDC to get it.
-
Hi, Christy…outstanding video, really appreciate all of the tips, especially the link about how to set up the binder attachment. I have now completed 591 masks with binding and ties within the past month using Binder Attachment #88 (38 mm) and Foot #95C. They have been donated to our county Office of Emergency Management, distributed to hospice, home health, oncology and EMT nurses and workers to be worn over N95 masks. In my county, the healthcare workers prefers masks with ties, because they are adjustable and more comfortable to wear for long periods of time. Since there is still a need, I will be making more starting tomorrow. Obviously, the binder attachment is the best, fastest, easiest tool to use for making binding and ties!
-
I’ve been looking at all the different patterns and tips and there are a couple I really like. Instead of adding the metal nose bar while you are making the mask, you wait until the mask is finished, before you add the ties and sew a piece of bias tape to the top of the mask and then insert the metal wire in afterward. And instead of using elastic or 2 ties you use one long, 44 inch bias tape or 44 inch shoe lace. You make 2 tubes one on each side of the mask by folding the sides onto itself, about 1/2 inch, and sewing it down. Then you insert the shoe lace into both tubes. You leave a loop on the top that goes around your head and use the tails of the shoe laces to tie them behind your head.
-
I’m doing a version of the shoelace ties…I have ordered large quantities of plastic clips and used them to achieve a perfect fit with elastic or shoelaces. For some of the older folks it is easier than tying them behind their head. They love the. I have found them on Etsy and China (disinfect on arrival!)
-
Could you please describe what you mean by plastic clips? Do they have a more technical name that I could google search on? Thanks!
-
Hi! You can search for Wonder Clips!
-
Hi, thank you. Do you think that’s what she meant? I have used Wonder Clips for sewing, but I didn’t think they would secure ties well enough.
-
Oh yes, I misread that! Definitely cord locks and not wonder clips!
-
-
I use cord locks (same as cord stops or toggles) with tie masks. They are great! They have a button to push which opens a hole in the middle you slide the ties into (i like shoestring ties because they are easy but any kind of ties that aren’t too thick will work). Then just push the button and pull the strings to tighten and you get a quick, easy perfect fit that stays secure. To take mask off, push the cord stop and pull the stop to release enough of the ties to take mask off. It’s great for those who struggle to tie behind their head. And a much quicker than trying to tie. They are sold at craft stores, Walmart, Amazon, etc. Often used for jacket strings and drawstring backpacks.
-
Hi, thanks for the suggestion. I am using boot laces, which are thicker than shoelaces, and I wasn’t sure they would pass through the average cord lock. Maybe I can find some with bigger holes. They would definitely be secure.
-
-
-
-
Love the apply metal piece after idea. CUDOS to you.
-
-
Has anyone used the ruffler attachment #86 for making pleats in the mask? I am not able to get the pleat deep enough with the foot and have been folding pleats by hand. Thank you.
-
Hi! I haven’t tried it, with the ruffler. While the ruffler can handle two layers of fabric no problem, with the number of layers required for most masks, a hand-folded pleat is going to work best.
-
-
I have now made about 100+ masks. Being a retired ER nurse, I really do prefer the masks with the pleats, and the ear elastic as they are much easier to put on and take off without having to use your hands to touch the ties, especially since they are tied at the back of your head ( which slide, making multiple adjustments on your face).
If you use about 9” of the treasured elastic at each ear, given a half inch seam allowance on each side, I found this to be the most comfortable to wear without making so many adjustments. If it is too large, a quick hand stitch to tighten the elastic does the trick.
Now go wash your hands. -
I would just like to add, for those that have embroidery capability, that Urban Threads has a great, free, in the hoop mask in two sizes, adult small and large, that can be done with fabric ties or elastic. It is surgical style (pleated), fits well on the face without the need to add metal bands, and can be done quickly. It fits the oval hoop and has little fabric waste. You can use a washable tearaway like OESD’s Clean and Tear or a water soluble. There are step by step instructions on their website, but other than the step of pressing the pleats, it only has 4 steps – outline, tack down of the pleated fabric, tack down of the elastic, and final satin stitch around the edge. I have made a lot of them for my family’s health care workers – they can put them over their N95s and wash and reuse the covering. Urban Threads also has a state by state list of nursing homes that need them.
-
Love the tip for using a pintuck foot for securing a wire! From my experience, a fitted mask with side pleats is much easier to breathe in. I adapted the pattern from the Riley Blake blog to add a 1/4” seam allowance to all sides and instead of binding the top and bottom with bias, I sew the mask together along the top and bottom, stitch down the pleats, then add a casing to the sides. You can use just about anything that fits within the casing as a tie, even elastic.
-
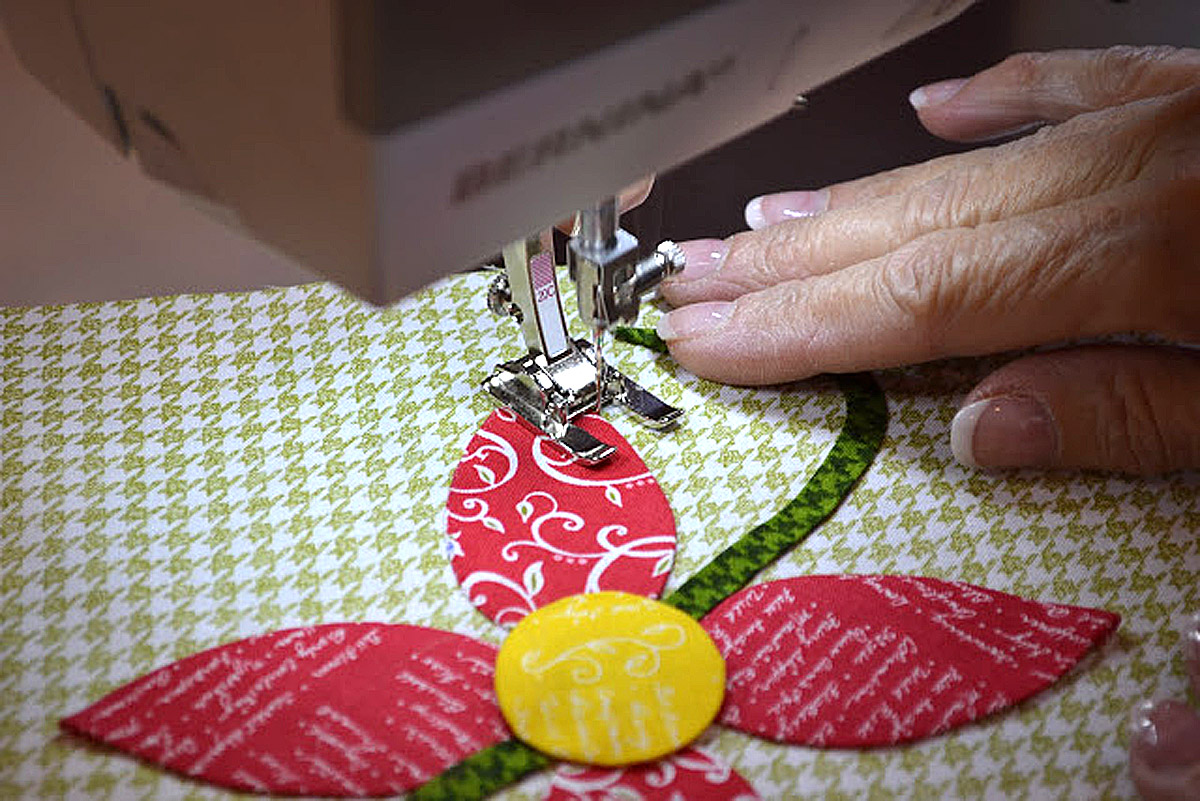
The pattern with this article is not the one the person is sewing. The one has two pieces and a center seam. Where is that pattern? I have been using a similar one to that, but like to see the one in this photo.
-
Hi! The one with a seam is adapted from 405maskmakers.com
-
Leave a Reply
You must be logged in to post a comment.

You showed or directed us to lots mask pattern/directions, except for the one you made. Where’s the pattern for that. I have one that’s similar but your’s is slightly different and I think I might like it better.