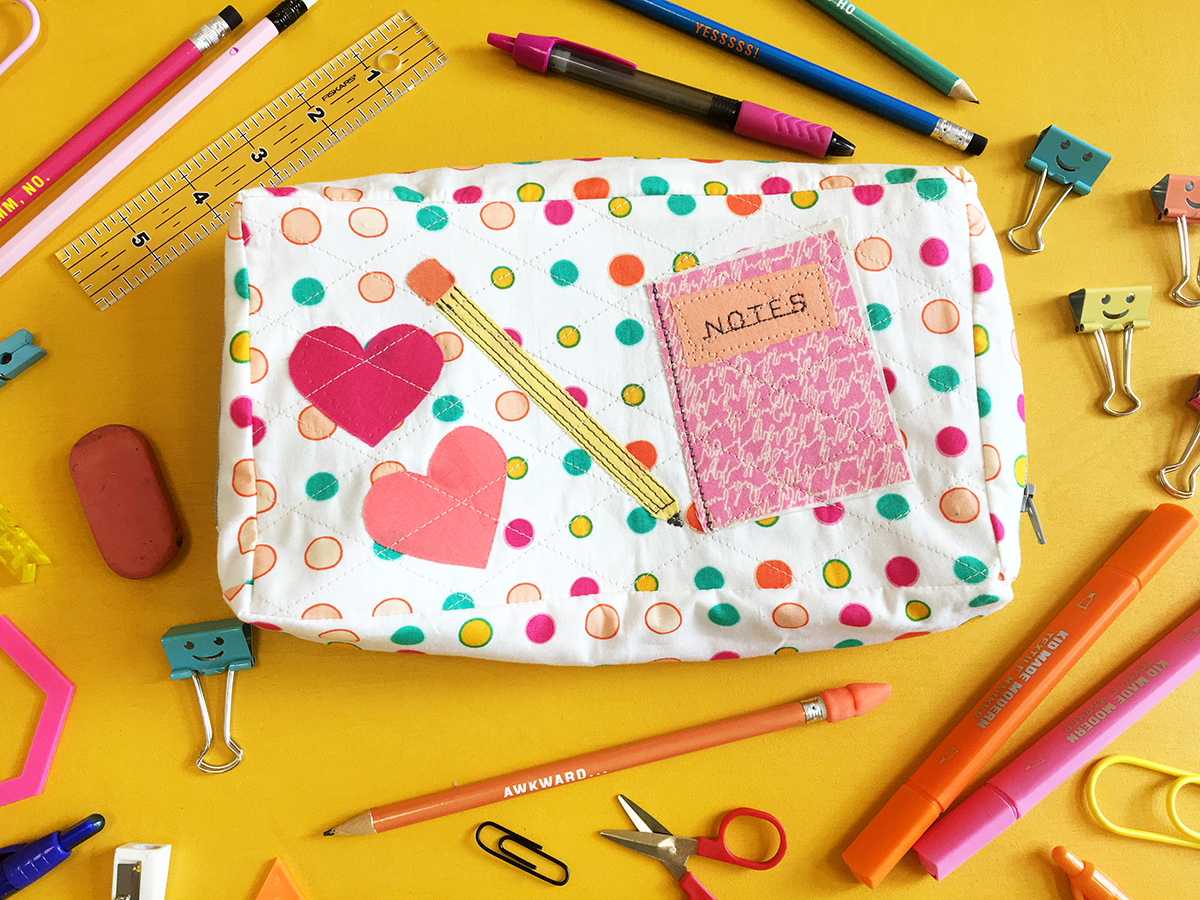
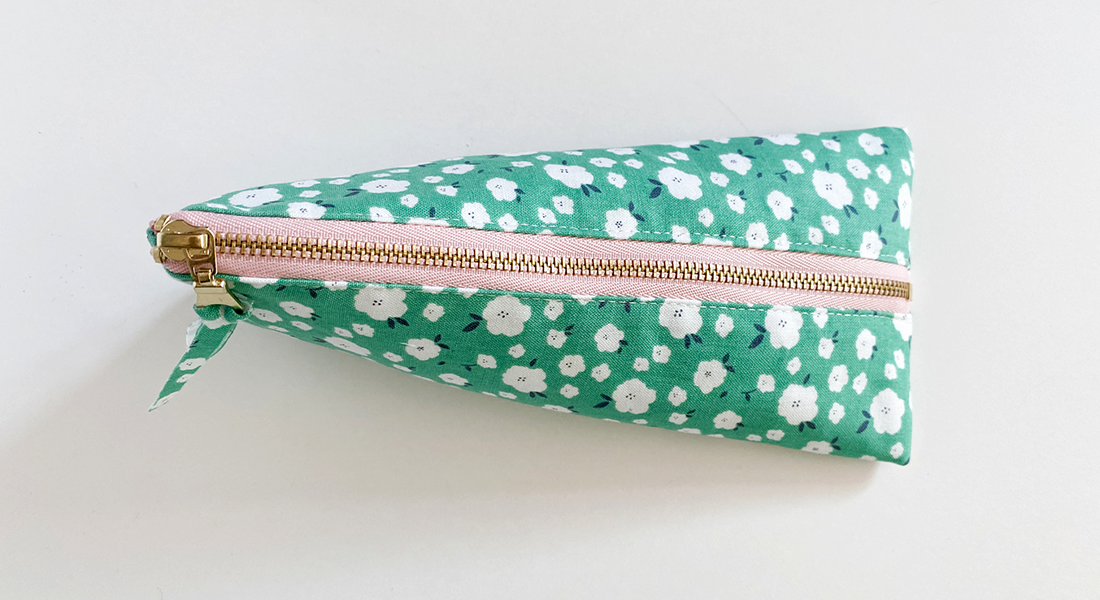
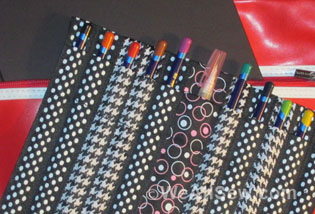
Open Wide Pencil Case
Hello Makers,
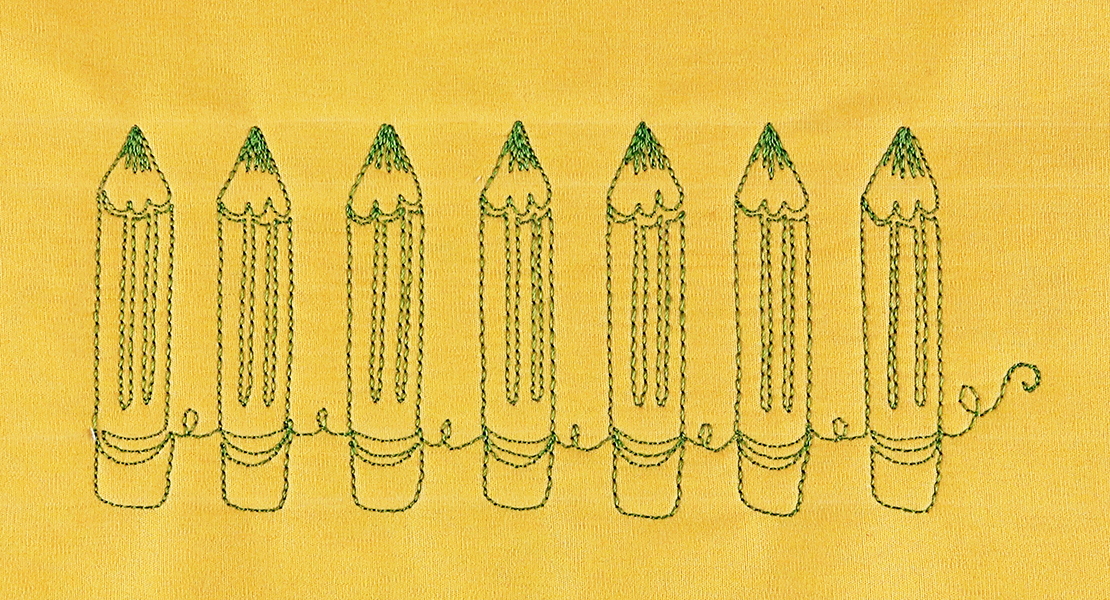
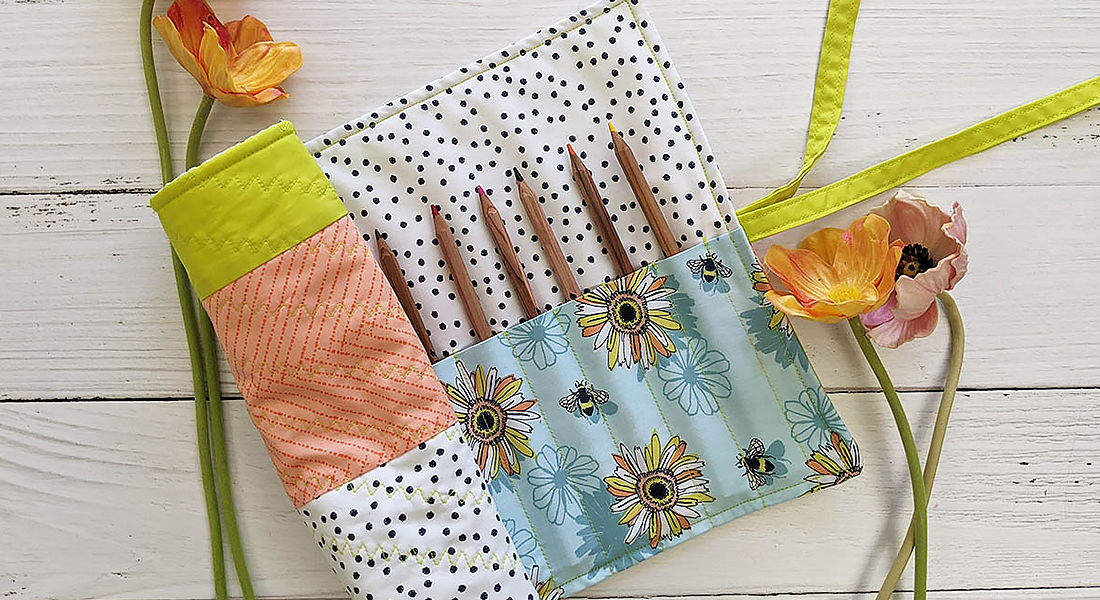
It’s officially back-to-school season and it can be both exciting and nerve racking. With another new school year of challenges and successes ahead we want to send you off to school with a great back-to-school project! Which is why we created the Open Wide Pencil Case made with Joyful Fusions fabric made by AGF. This collection has fun fabric perfect for making trendy cute pencil bags. We love the appliqué in the front of the bag, it makes going to school more fun when you have the right accessories to store all your supplies.
Don’t think you need to be going back to school to make one for yourself! Everyone needs a nice pencil case to store all their goodies. This project makes a super sweet and thoughtful gift as well.
Materials to Make an Open Wide Pencil Case
- Sewing machine: We used the BERNINA 350 PE
- Fabric requirements (see below)
- 18″ zipper
- Steam-A-Seam
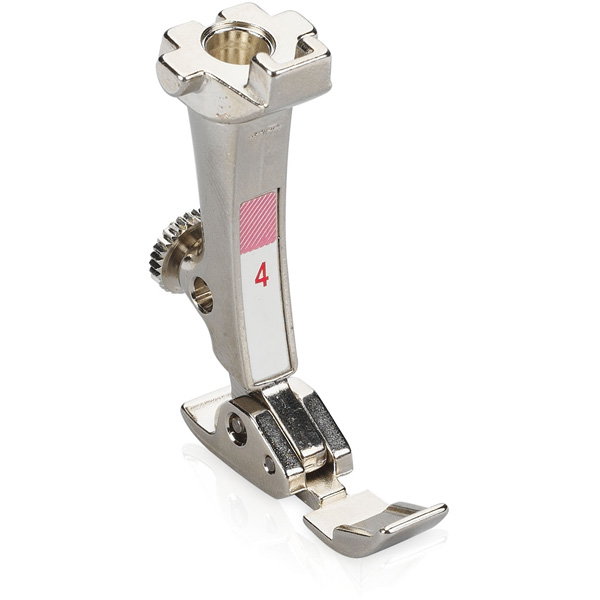
- Zipper foot #4/#4D
- Medium weight fusible webbing
- Light weight fusible webbing
- Open Wide Pencil Case Printable Template

Cutting Directions
Two (2) 1 1/2″ x 4 1/2″ rectangles from Fabric A (Zipper Tabs)
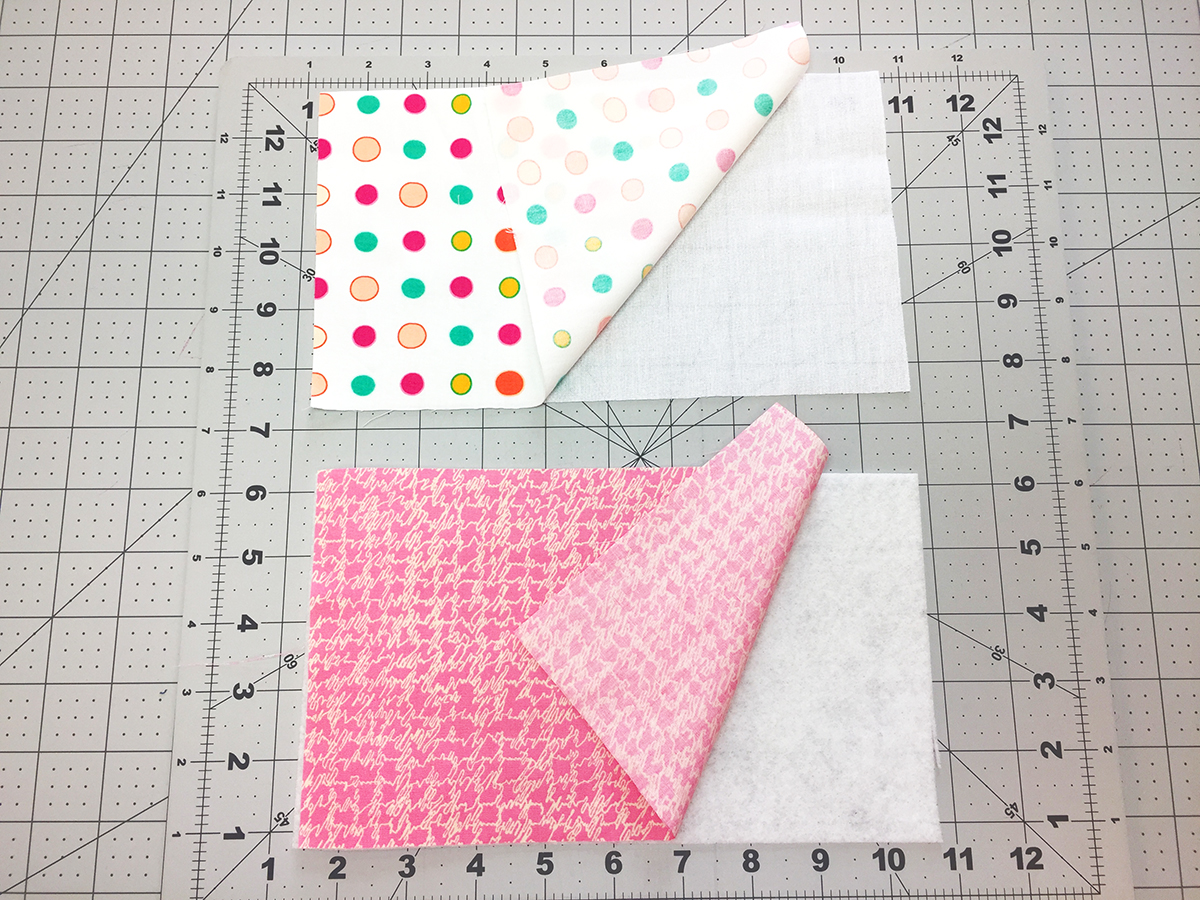
Two (2) 5 1/2″ x 9 1/2″ rectangles from Fabric A, B, medium weight and lightweight woven fusible (Exterior and Interior)
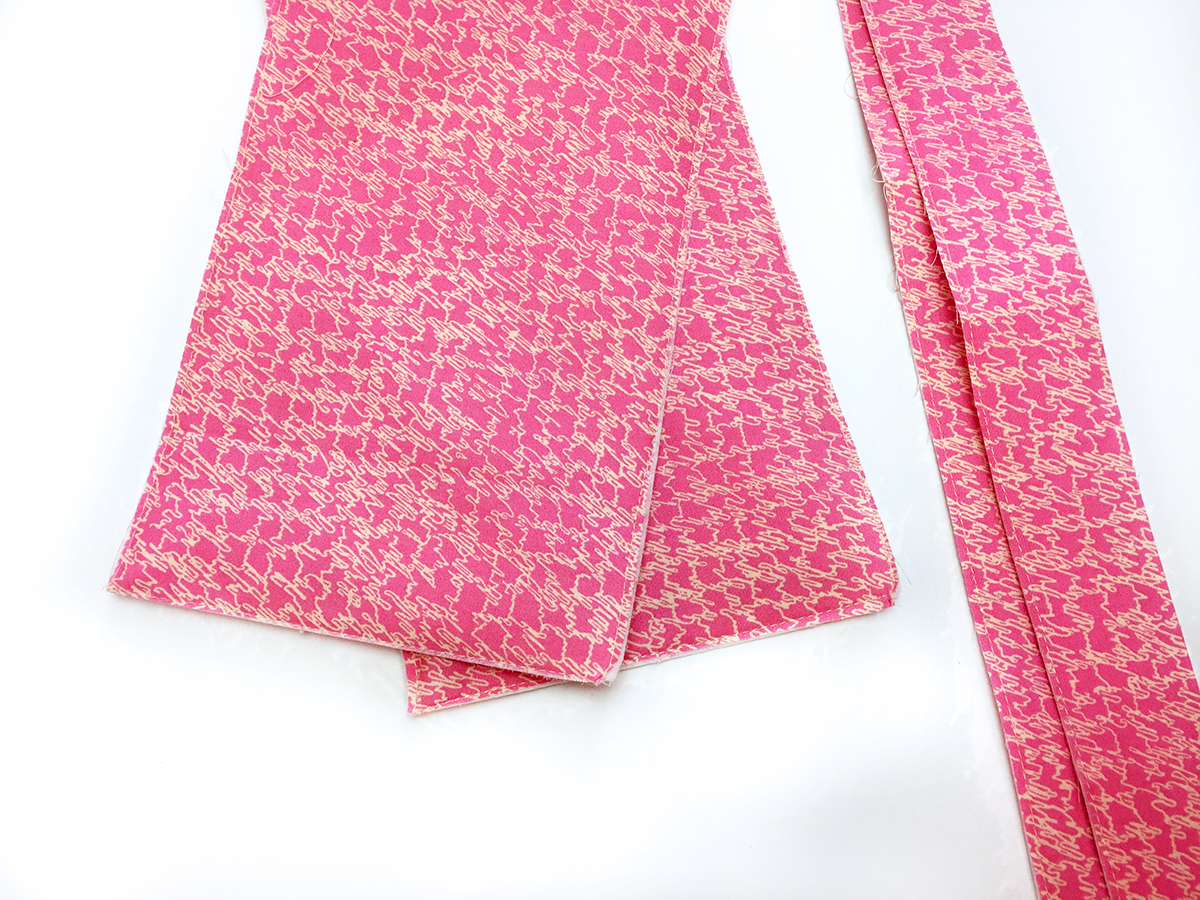
Two (2) 1 1/2″ x 20″ strips from Fabric A, B and medium weight and lightweight woven fusible (Zipper sides)
Two (2) 1 3/4″ x 10 1/2″ strips from Fabric A, B and medium weight and lightweight woven fusible (bottom)
One (1) 5 1/2″ x 13 1/2″ rectangle from Fabric C
Fabrics D through H use scrap pieces of fabric that fit the pencil bag templates.
How to Make an Open Wide Pencil Case
Make sure to Download the TEMPLATES!
Step 1: Fusible
Take your exterior pieces from Fabric A and attach the lightweight fusible. Next, take your interior pieces from Fabric B and attach your medium weight fusible. Take your 1 1/2″ x 20″ strips from Fabric A and attach your light weight fusible. Attach your medium weight fusible to the 1 1/2″ x 20″ strips from Fabric B. Repeat this same process with your 1 3/4″ x 10 1/2″ bottom pieces.
Step 2: Appliqué and Quilting
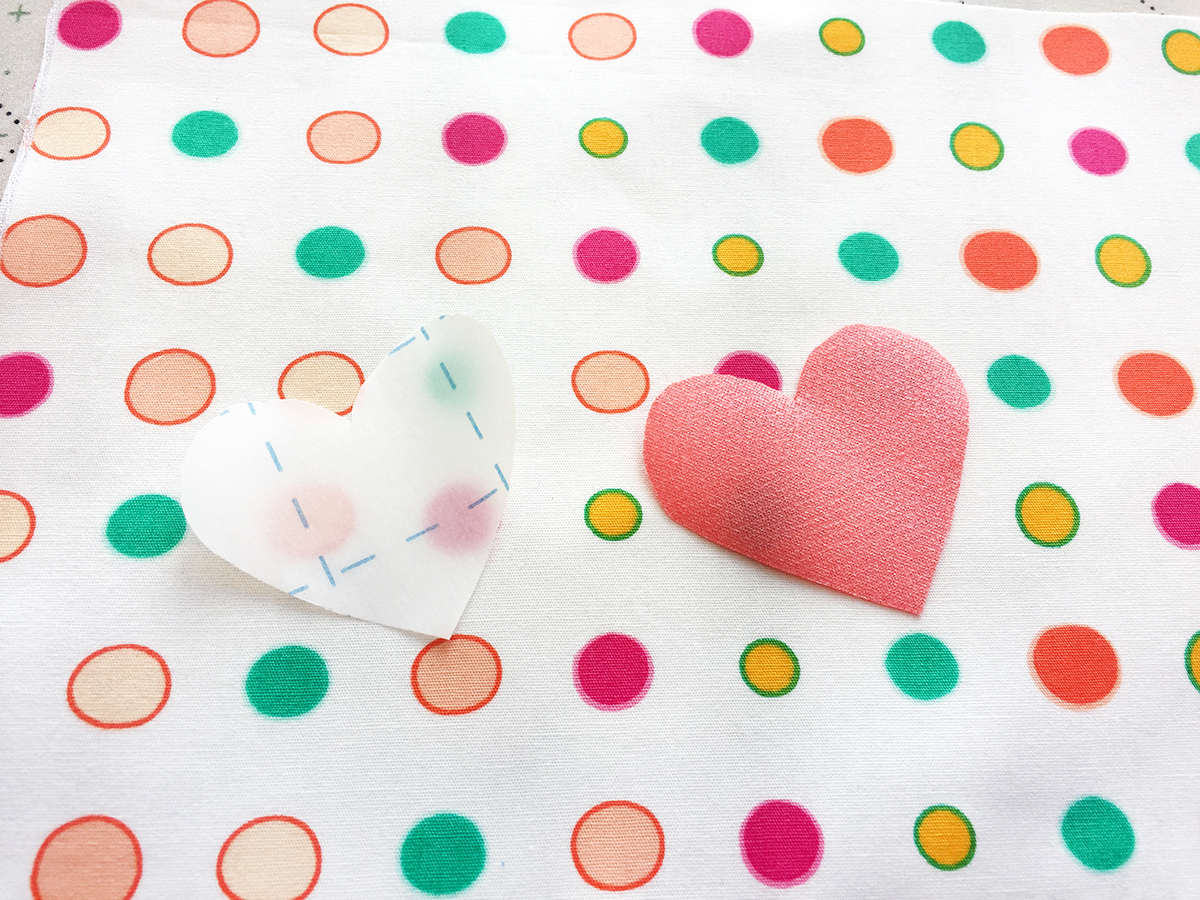
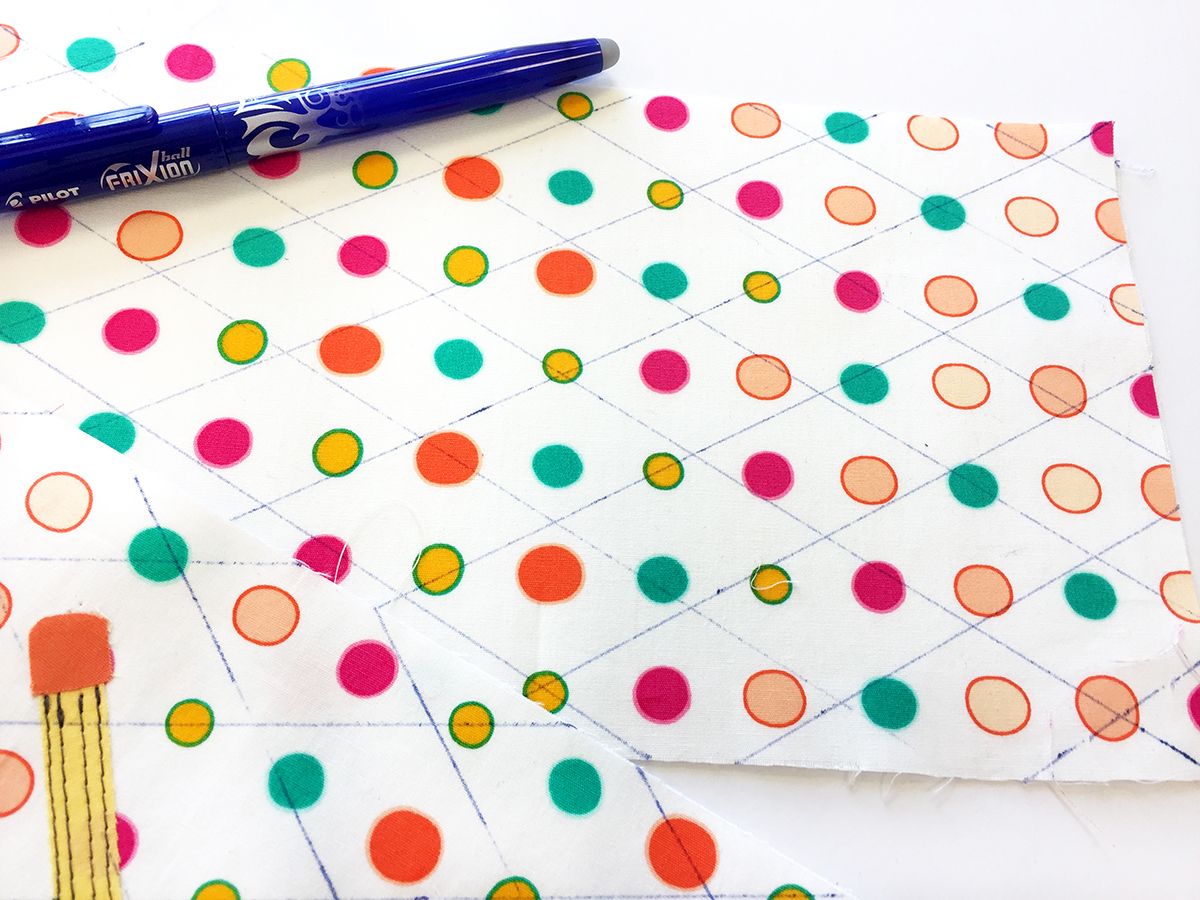
Apply Steam-A-Seam to the back of the fabrics you will be using to cut out your templates. Trace your template onto your fabric with a fabric marking pen and cut out design. Arrange your pieces on your front pencil bag and press into place.
Stitch your appliqué down and quilt as desired. We did some diagonal straight line stitching for some fun detail. We stitched lines in the pencil to make it come to life and added letters on the notebook using BERNINA’s letters and numbers feature. Make sure to quilt the back piece as well.
Tip: Test out your letters on a scrap piece of fabric to measure how long the word will be and to help with placement on your project.

Step 3: Applying the Zipper
Take your 1 1/2″ x 4 1/2″ rectangles and press raw edges to the center and then fold in half and press. Encase your zipper ends and stitch as close to the edge using Zipper foot #4 to secure zipper ends.

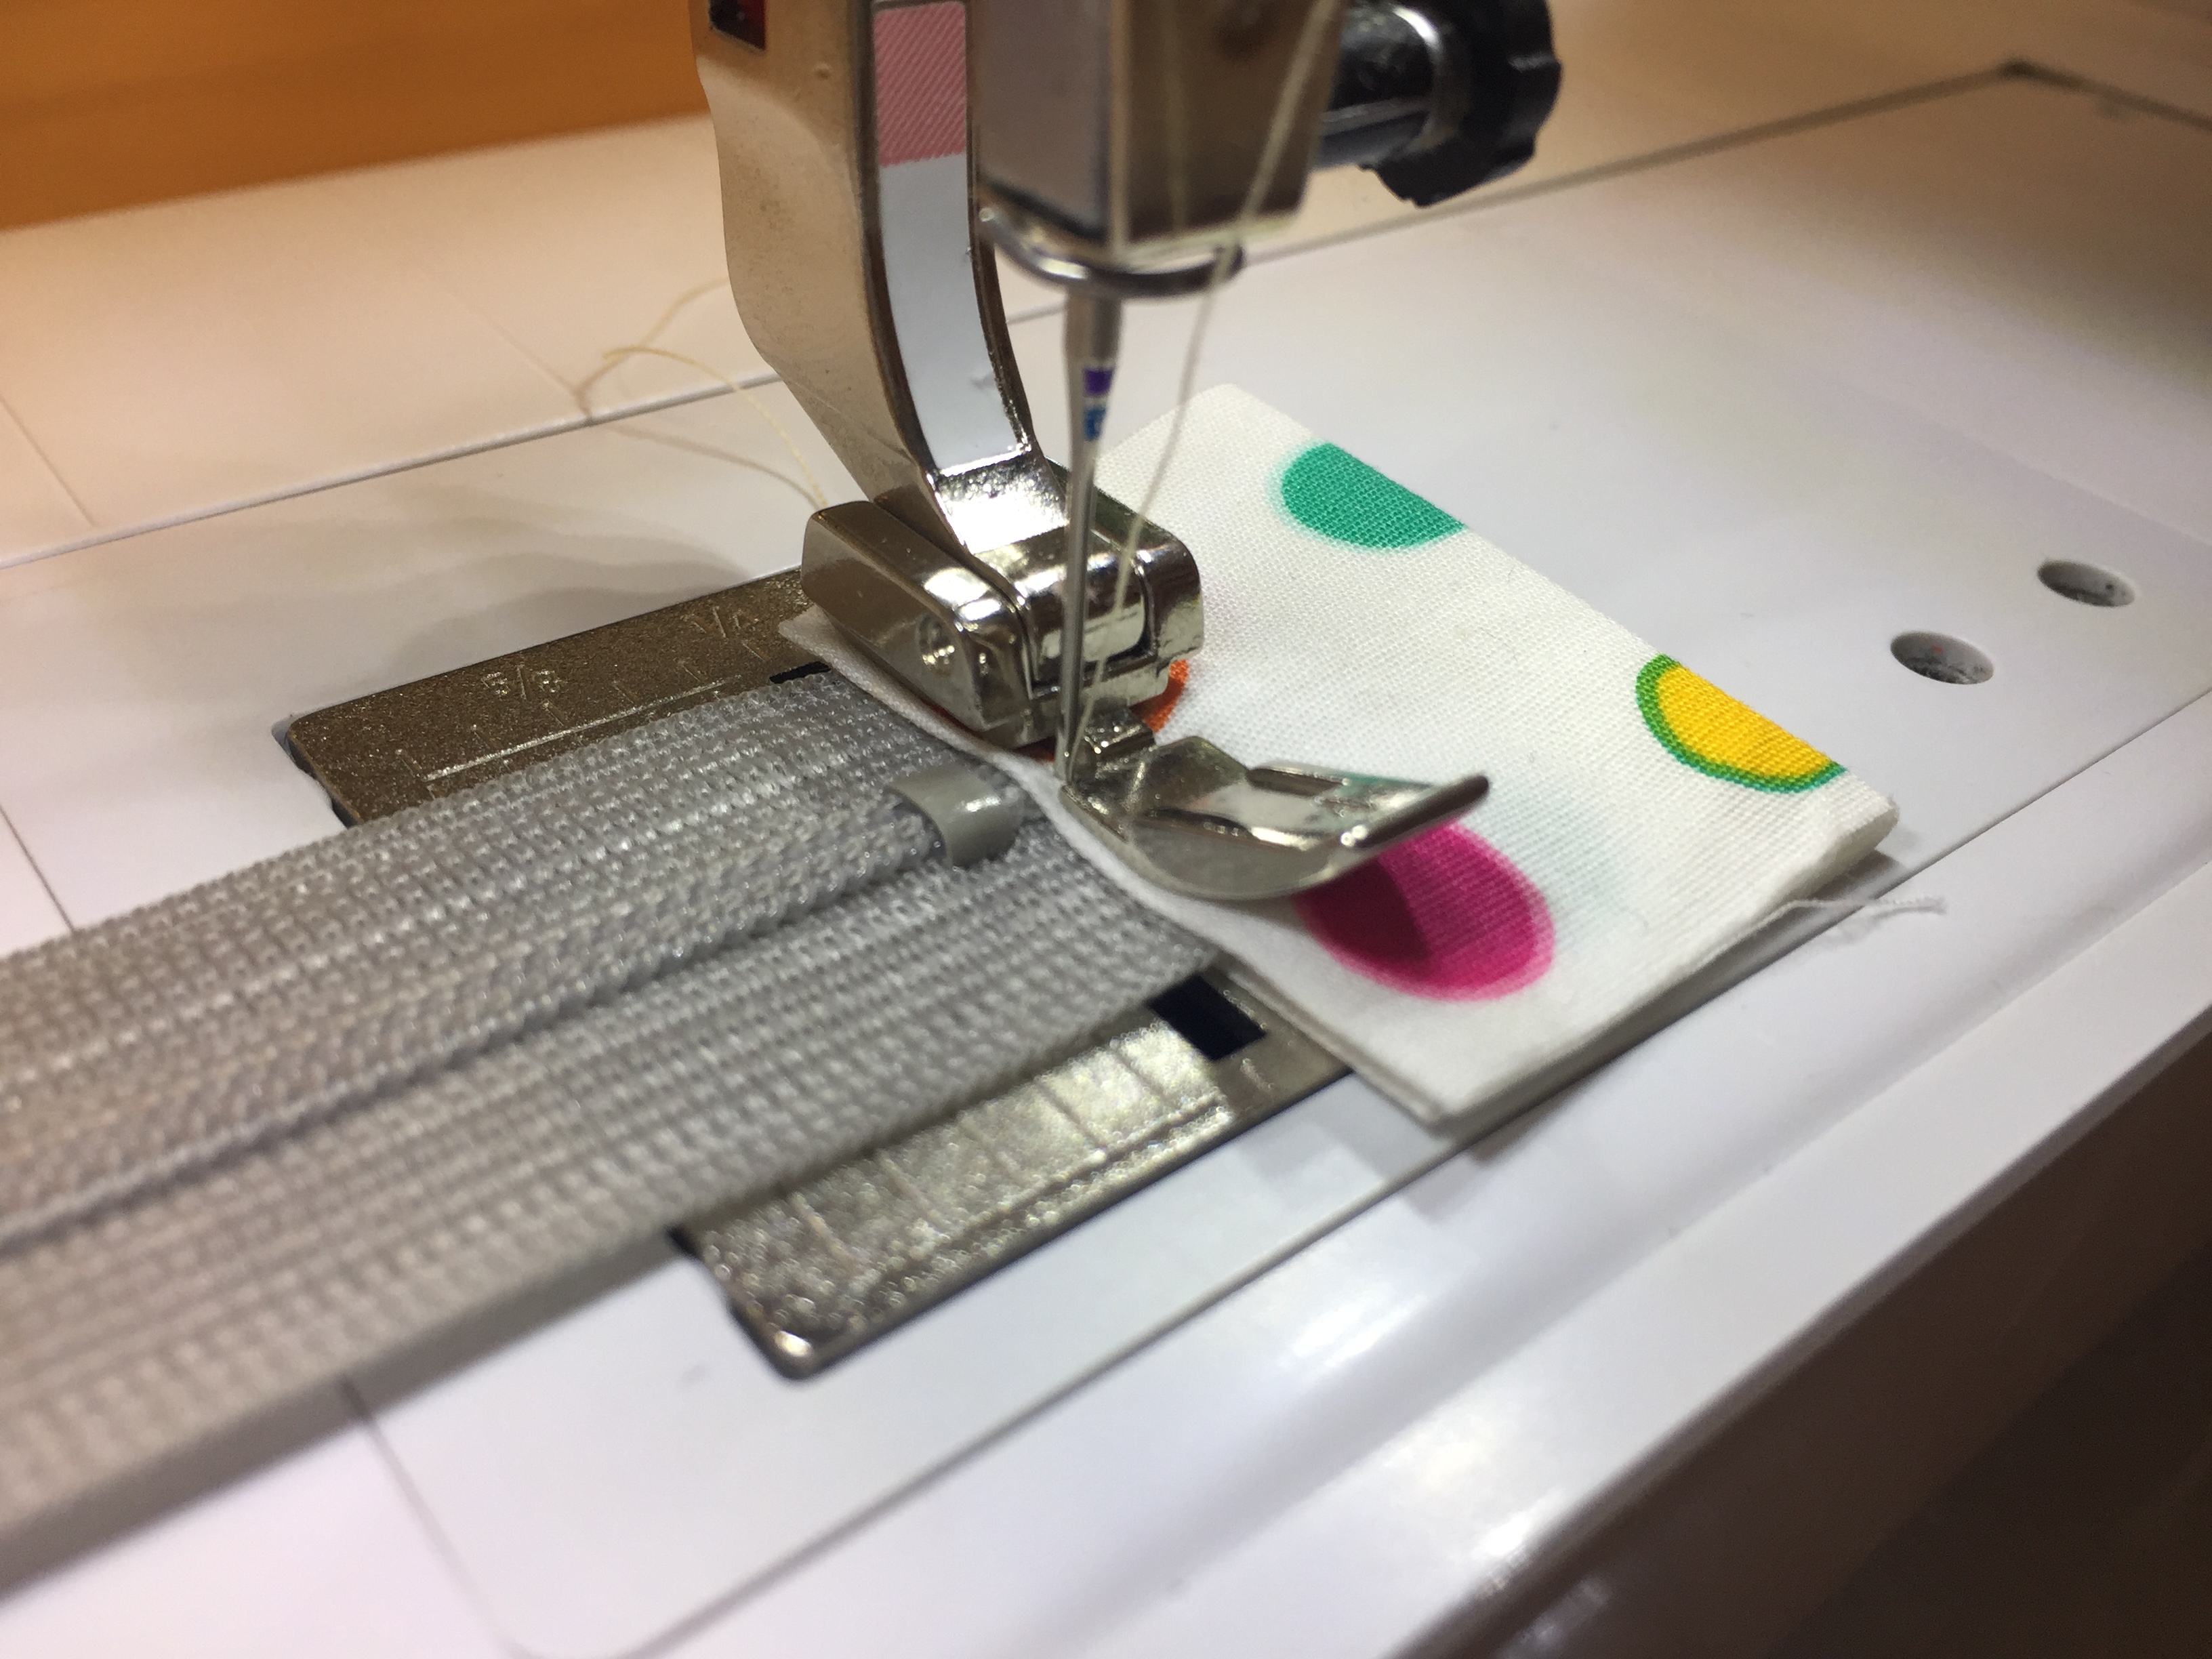
Place 1 1/2″ x 20″ strip from Fabric B with the right side of the fabric facing you. Place the right side of the zipper up on top of Fabric B and then place a 1 1/2″ x 20″ strip from Fabric A with right side of the fabric facing down. Sandwich the zipper between the fabrics and pin in place.
With your zipper foot attached to your machine sew from one zipper end to the other. Open zipper half way. When you get to the zipper pull, stop sewing
with needle in the down position and lift presser foot. Pull zipper shut and out of the way and keep sewing to the end of your zipper.

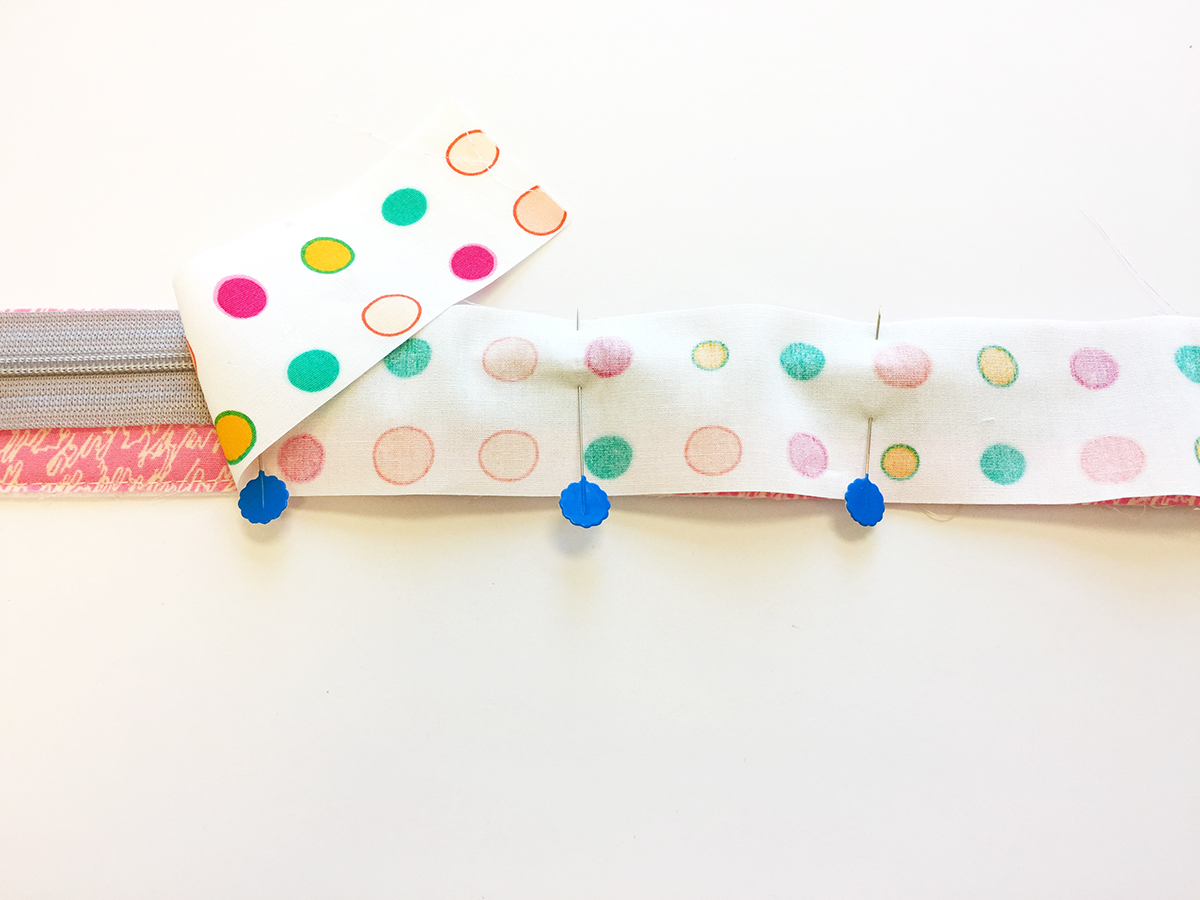
Repeat this same process to sew the other side of your zipper. Topstitch the lining of your zipper down to make sure that the lining will not get in the way of your zipper when opening and closing your bag.

Step 4: Sewing the Bottom Bag to the Zipper
Pick open a few stitches to separate the ends of Fabric A and B on each side of your zipper enough to be able to sew your bottom strips at 1/4″ seam allowance. Start by attaching your bottom piece from Fabric A, making sure your sewing with fabrics right side together.

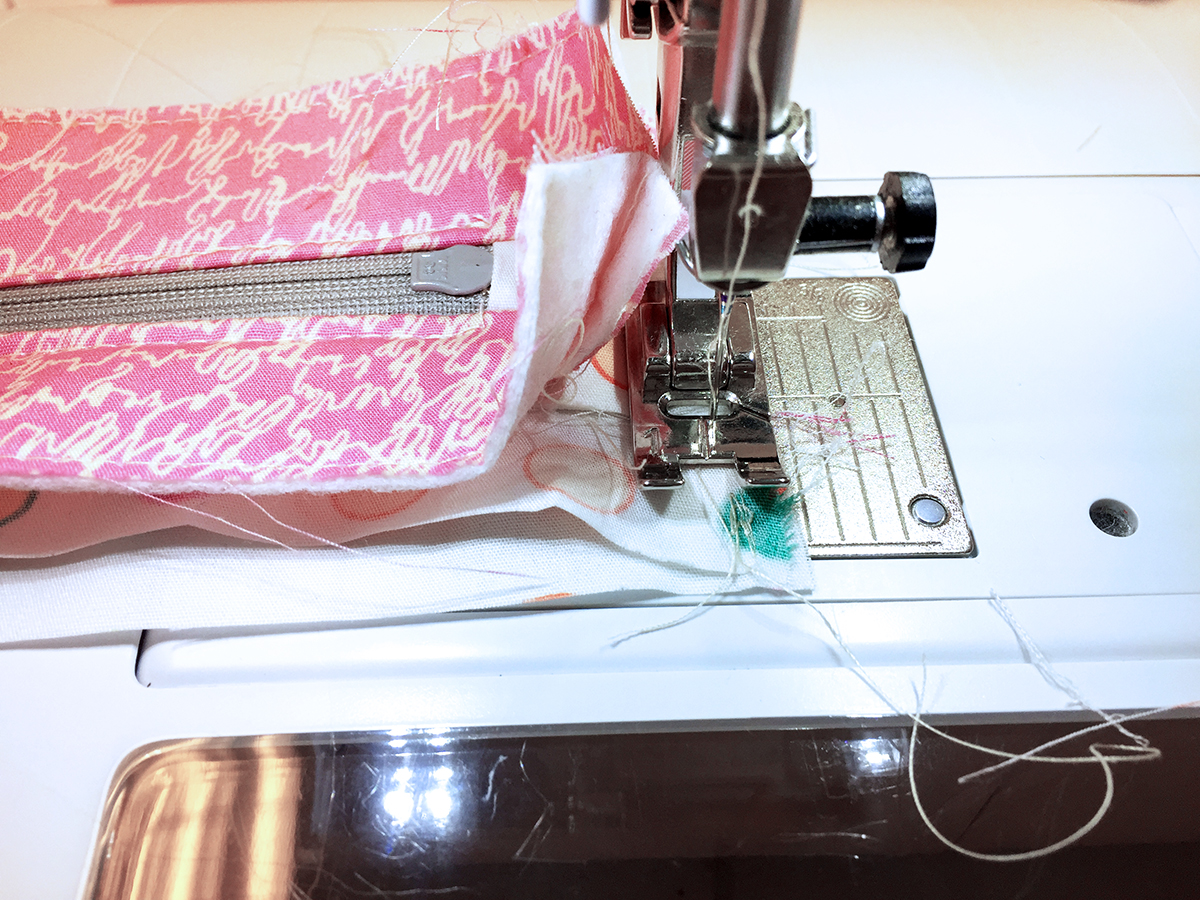
Now that your exterior bottom piece is attached sew the ends of your interior piece to the your zipper piece using the same method you
did to sew the exterior.
You should get a complete circle side panel piece that is perfectly finished with the seams hiding on the inside of the piece.

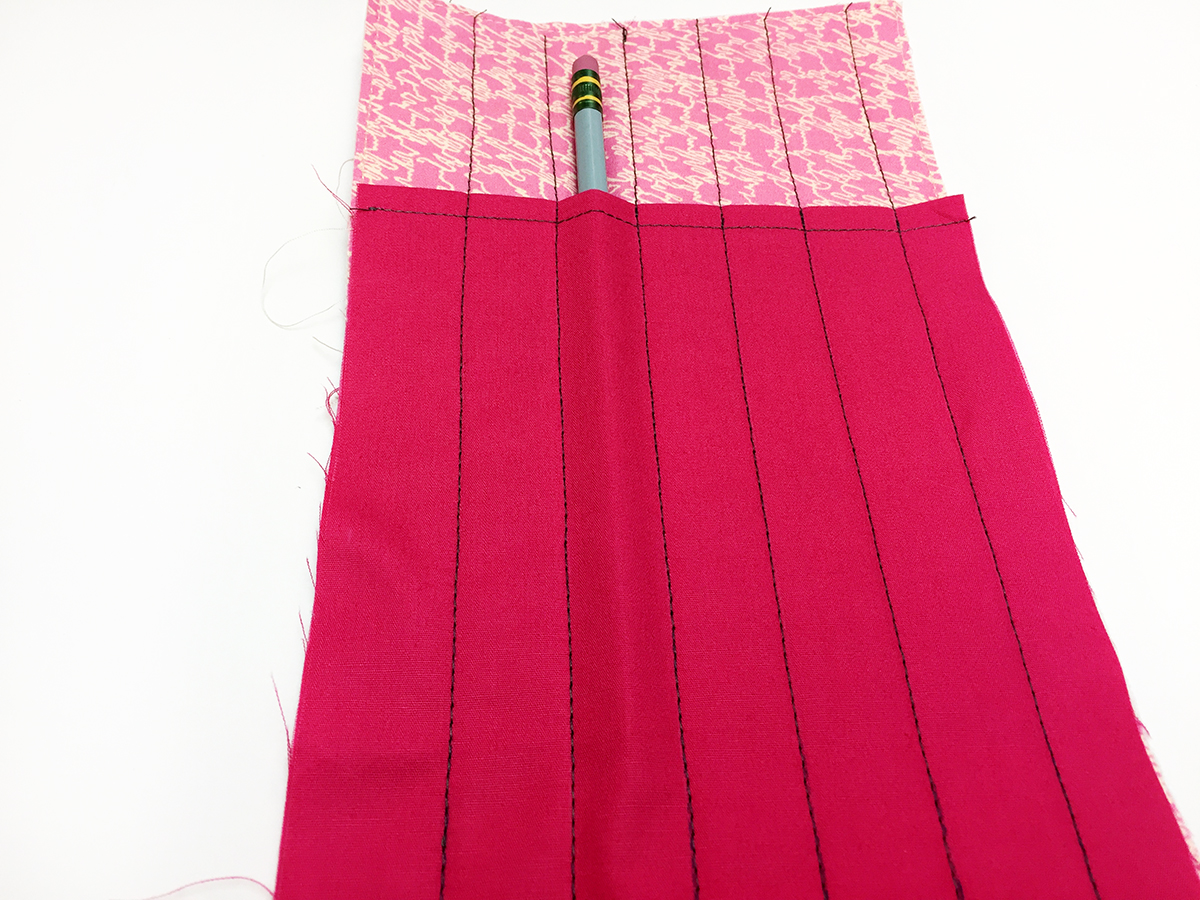
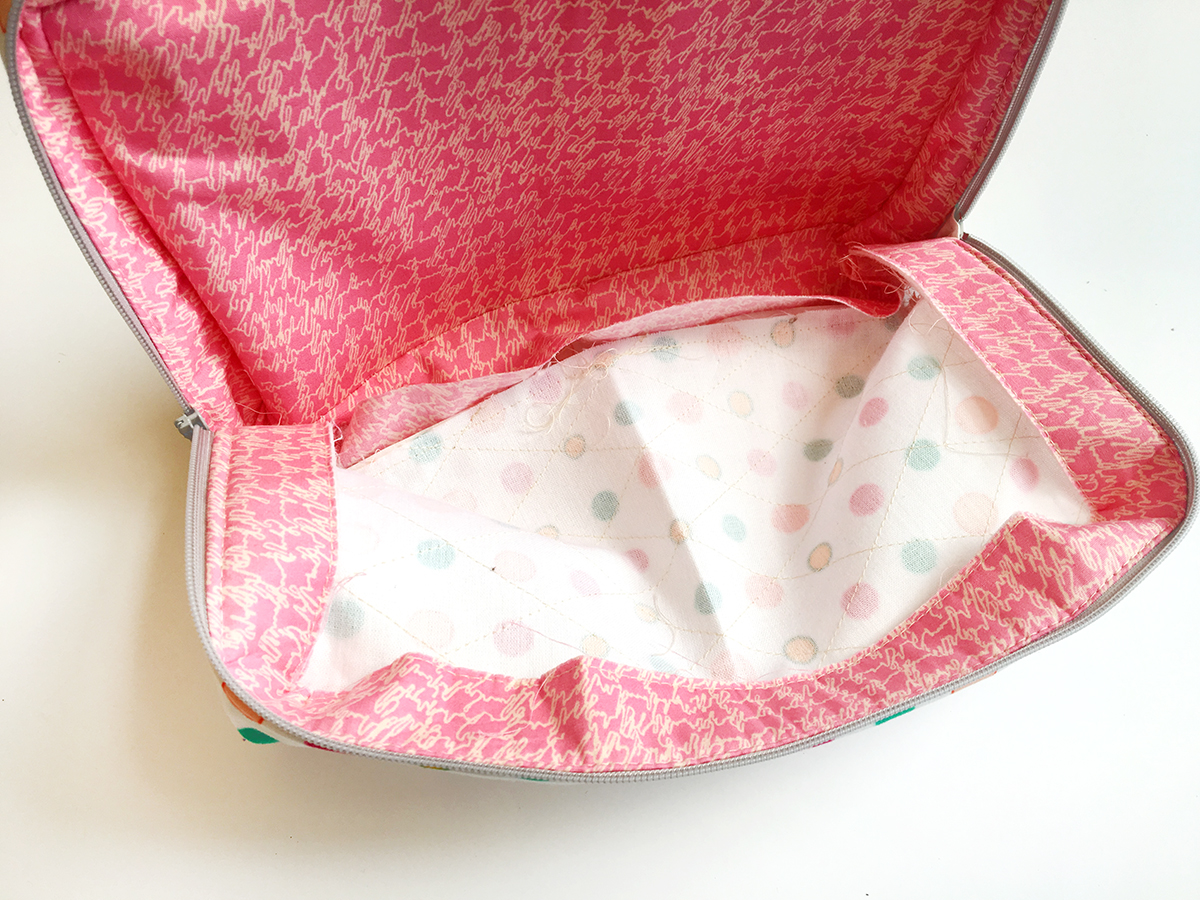
Step 5: Pencil Divider
Fold your 5 1/2″ x 13 1/2″ rectangle from Fabric C in half and sew 1/4″ topstitch on the folded edge. Place on one of your 5 1/2″ x 9 1/2″ interior pieces from Fabric B.
Pin into place and draw lines 3/4″ apart with a fabric marking pen. Stitch on the lines you drew to create your pencil dividers.
Step 6: Attaching your Exterior and Interior Pieces
Pin your front bag to the outer zipper fabric (Fabric A) and sew all the way around. Next sew your interior in the same manner.
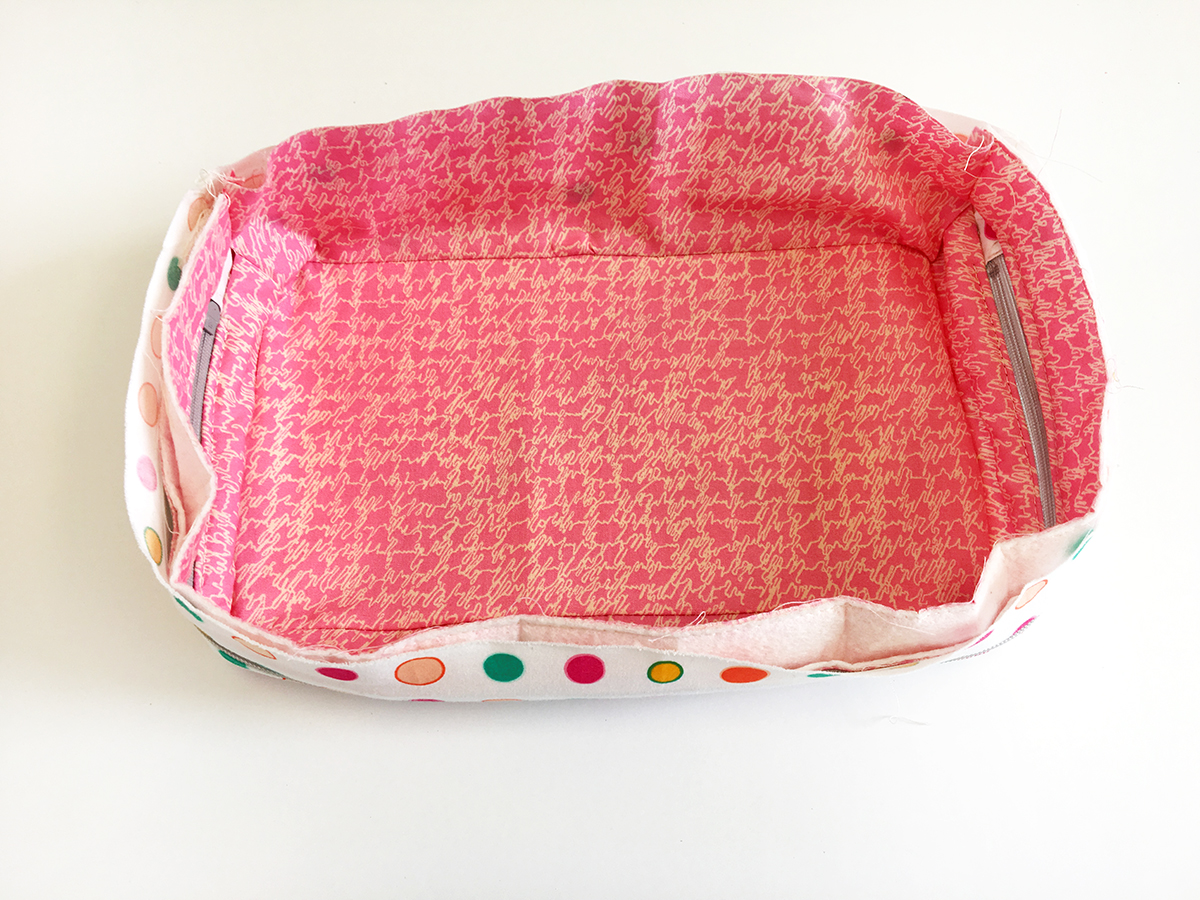
Repeat this process with the other exterior piece making sure zipper is unzipped. The last piece to sew is the last interior piece.
Make sure to leave a small unsewn portion to flip project through. Flip project through and hand stitch opening shut!
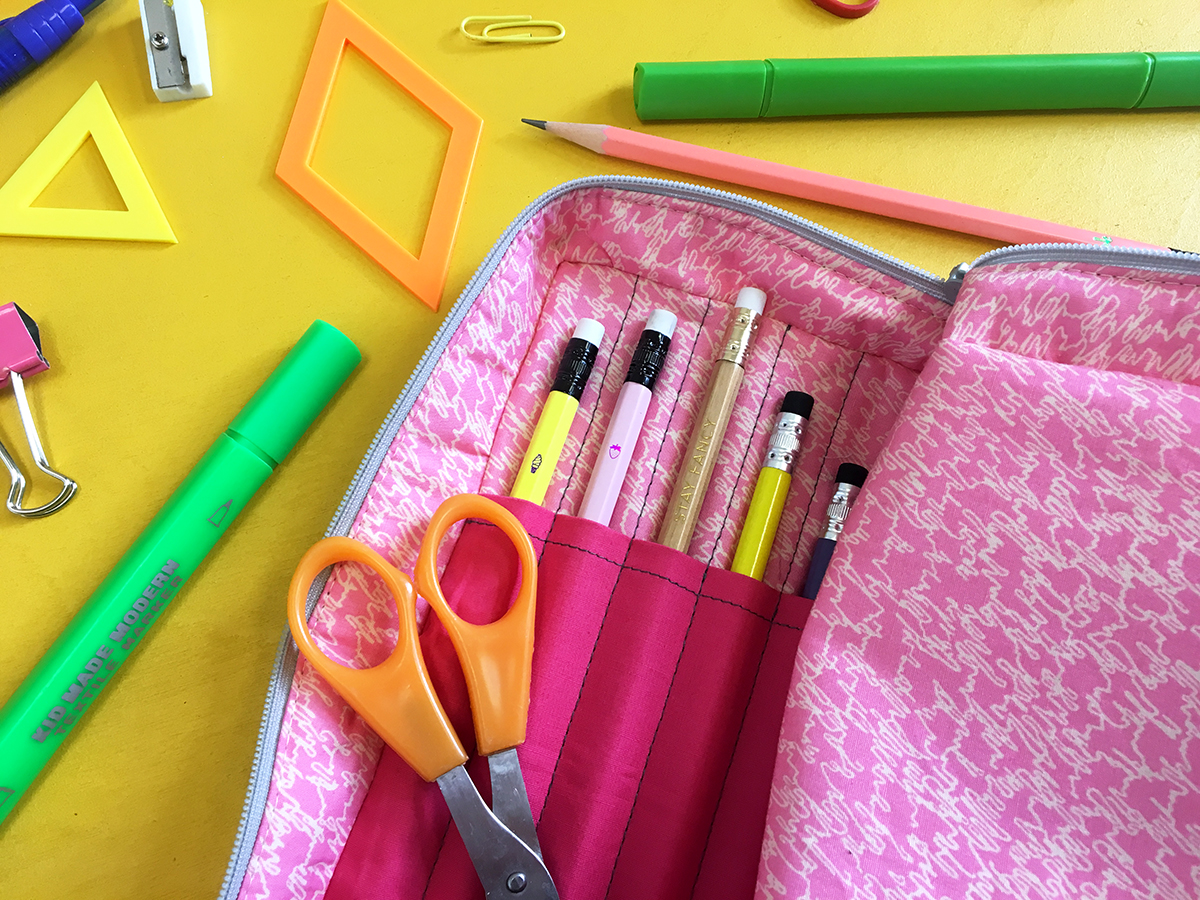
Have fun filling your pencil bag with all your favorite pencils and supplies.
Happy Sewing,
AGF
Used Products

What you might also like


6 comments on “Open Wide Pencil Case”
-
-
Hi !Thank you so much! Let’s see if I can help. To attach the pencil divider place your folded 5 1/2″ x 13 1/2″ rectangle from Fabric C on top of your 5 1/2″ x 9 1/2″ rectangle interior piece from Fabric B and stitch lines about 3/4″ apart (big enough to fit your pencils).
To attach all the 5 1/2″ x 9 1/2″ rectangles from Fabric A and B (the interior and exterior pieces) I first started with the front of my pencil bag to the outer zipper layer, all the way around. I repeated this step by sewing the front interior layer. Making sure right sides are always together. Make sure to use a lot of pins and pull them out as you sew.
Then to sew the other two interior and exterior pieces it gets a lil tricky. But I found it easier to do this by having the zipper open. You have to maneuver your pencil bag around turning it inside out to be able to pin your 5 1/2″ x 9 1/2″ rectangle interior and exterior pieces all the way around your zipper piece.
The last step is to attach the interior with the pencil holder attached to it to your inside zipper piece.
Turn your bag inside out pin and sew all the way around leaving a hole big enough to where you would be comfortable turning the bag right side out. Then you can hand sew the hole shut.I loved the way the bag turned out because the insides of your bag is completely lined and no raw edges are seen and using this method you don’t have to worry about binding any exposed seams!
Once you have mastered it will be very rewarding and you can incorporate this into all your bag making.
Keep working on it and let me know if you have any questions and I will try to help the best I can!
-
-
I have been sewing for years and this was a very difficult project to follow. First of all, it would be helpful to explain the cutting instructions more clearly as to the number of pieces needed. Next, I had trouble understanding what you wanted us to do with the zipper tab piece of fabric, which I eventually figured out, but your photos were not very clear and your explanation did not include that the three parts of the tab would be raw seams that would be covered over later, so I thought I needed to finish the seams of the tab opposite where the zipper was attached, but as it turns out, that piece is covered inside a seam later. Also, when sewing the zipper unit to fabric A and fabric B, it would be helpful to know if the “bottom strips” (1 3/4 inch by 10 inches piece) that is sewn to the zipper unit is to be based together first, or not, before sewing the zipper unit to fabric A and then fabric B. Also, I ended up taking a single clip to only the zipper unit at each corner connection to make the corners turn when I attached the zipper unit to fabric A and then fabric B, but there is no mention of this in your instructions. Did you clip your seams to turn the corners? Looking forward to making a second pencil case, as I think it may get easier with practice, and I have two grandchildren, so I can’t make only one…
-
the pencil case is cute, but after the cutting directions, the instructions make no sense. and given the lack of reply to the august 2018 comment, it appears that Bernina has no interest in clarifying this tutorial.
what is the point of sending a link to this project to the list, if Bernina isn’t willing to clarify the instructions?
-
Thanks for this nice pattern! Though I’m an artist who adores all cases involving pencils & art supplies, I’ve been casting about for a cosmetic case that would hold my cosmetic brushes-and with a little customization this one will fit the need I have. I’ll send pix when I finish!
<3,
map -
I sew items like this all the time, this isn’t my first rodeo. But these instructions are poorly written and I’m at a point where it doesn’t make sense – even to someone with my experience. Once you sew the 20″ x 1-1/2″ strips to the zipper on each side you now have a 3″ wide unit. Then you are instructed to sew the “bottom strips” to the end of this unit in order to make a complete circle. That all makes sense EXCEPT that the bottom strips according to the pattern are FOUR strips (two main fabric, two lining) of 1-3/4″ x 10-1/2″. I wish the designer would come back here and explain how – in Step 4 – those four 1-3/4″ wide strips are supposed to be sewn to the ends of a 3″ wide piece. Seriously, it doesn’t add up. Why don’t we have two 3″ x 10-1/2″ strips to complete that circle? (That is what I will do, I guess.)
Leave a Reply
You must be logged in to post a comment.

This is super cute! But I am having trouble understanding Steps 6 thru to the end. How does the pencil holder part get sewn in? Thank you.