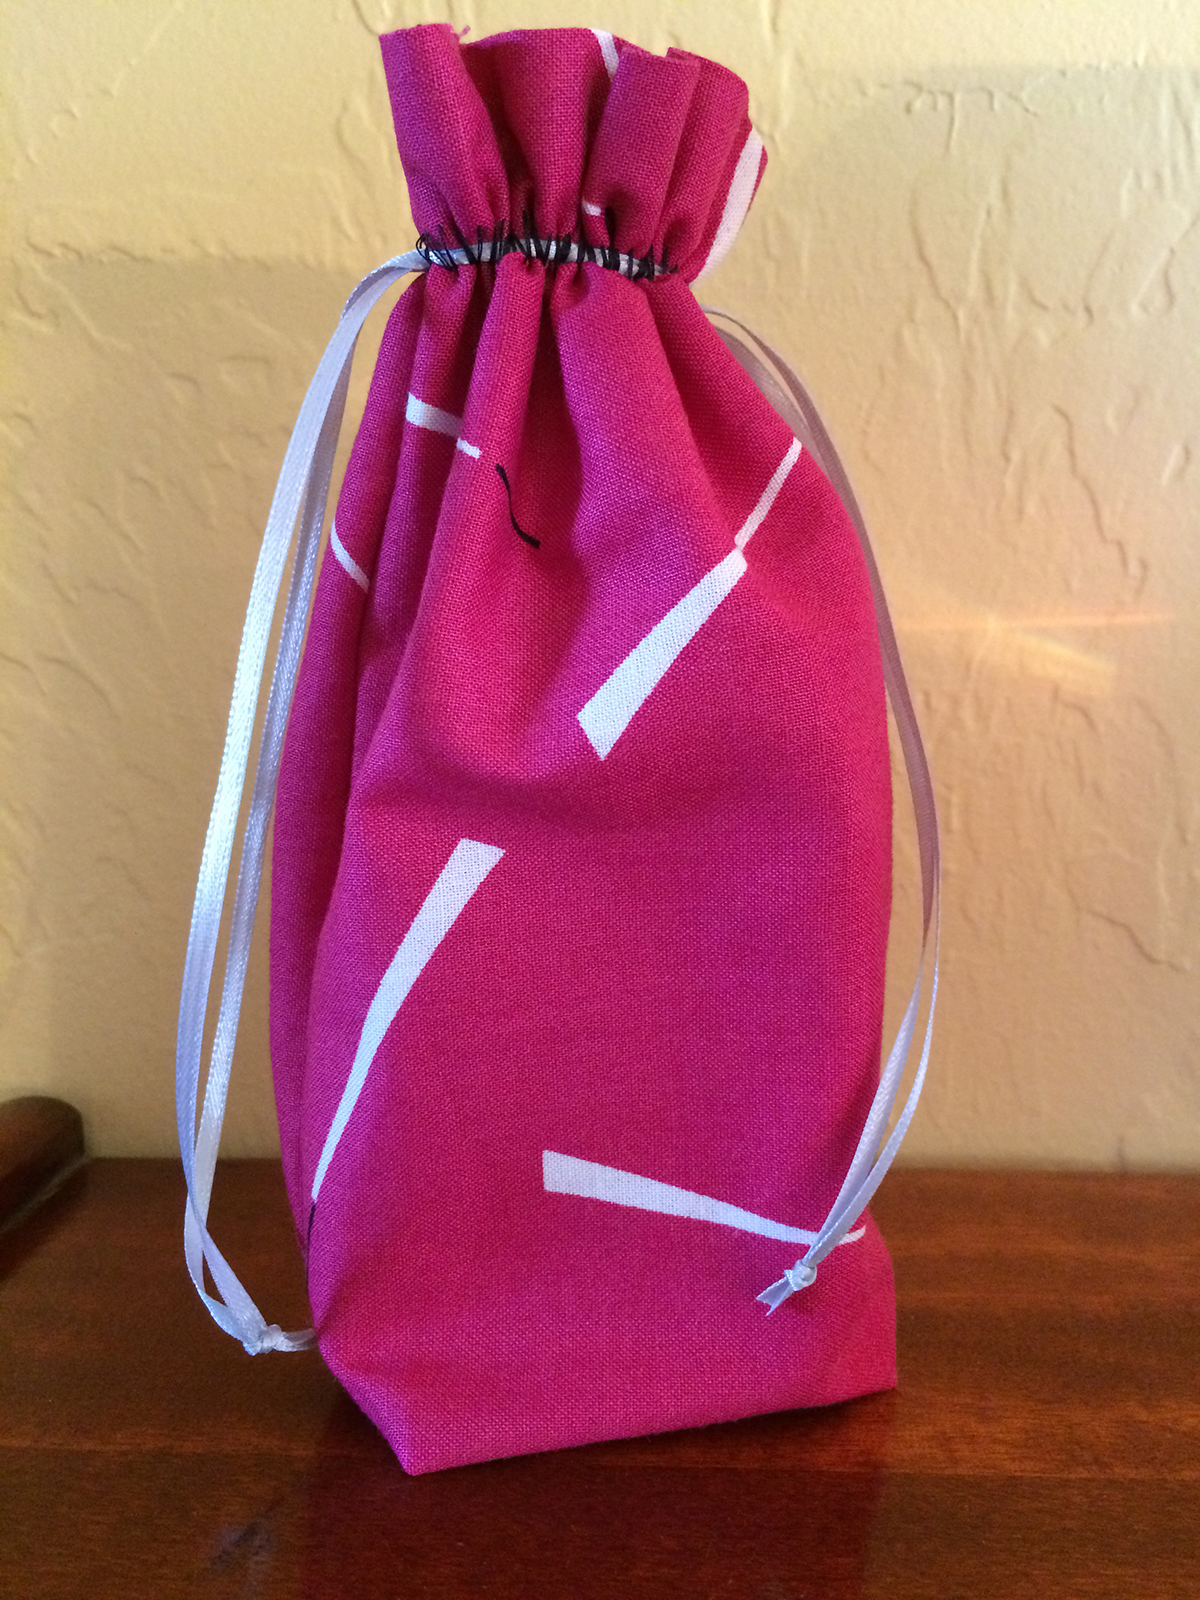
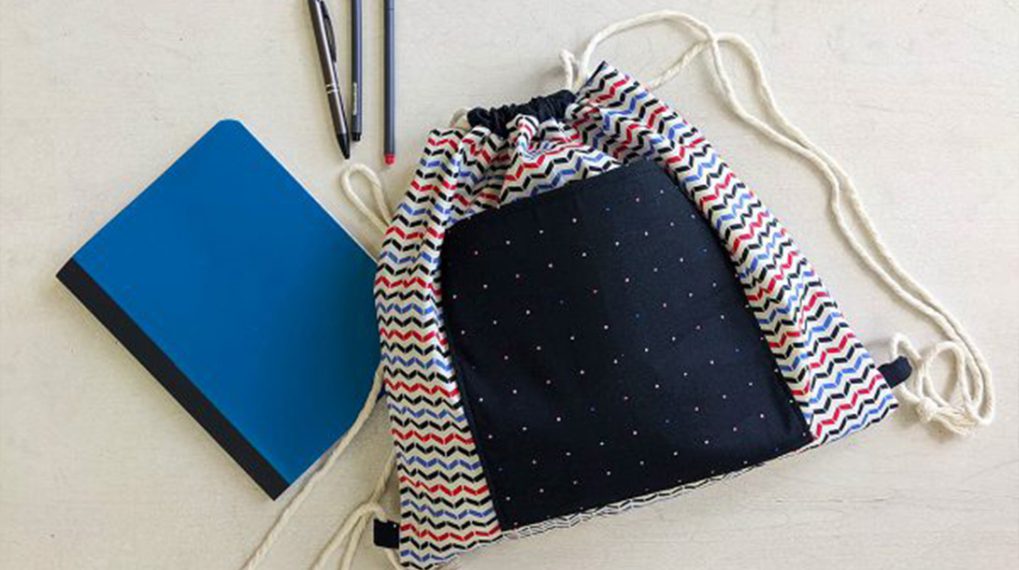
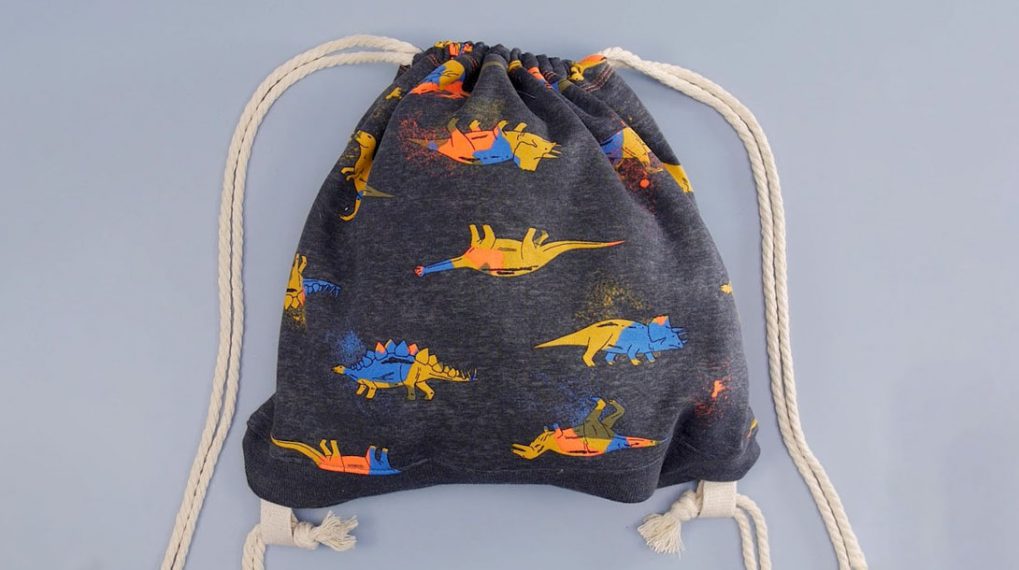
Overlocker Drawstring Bag
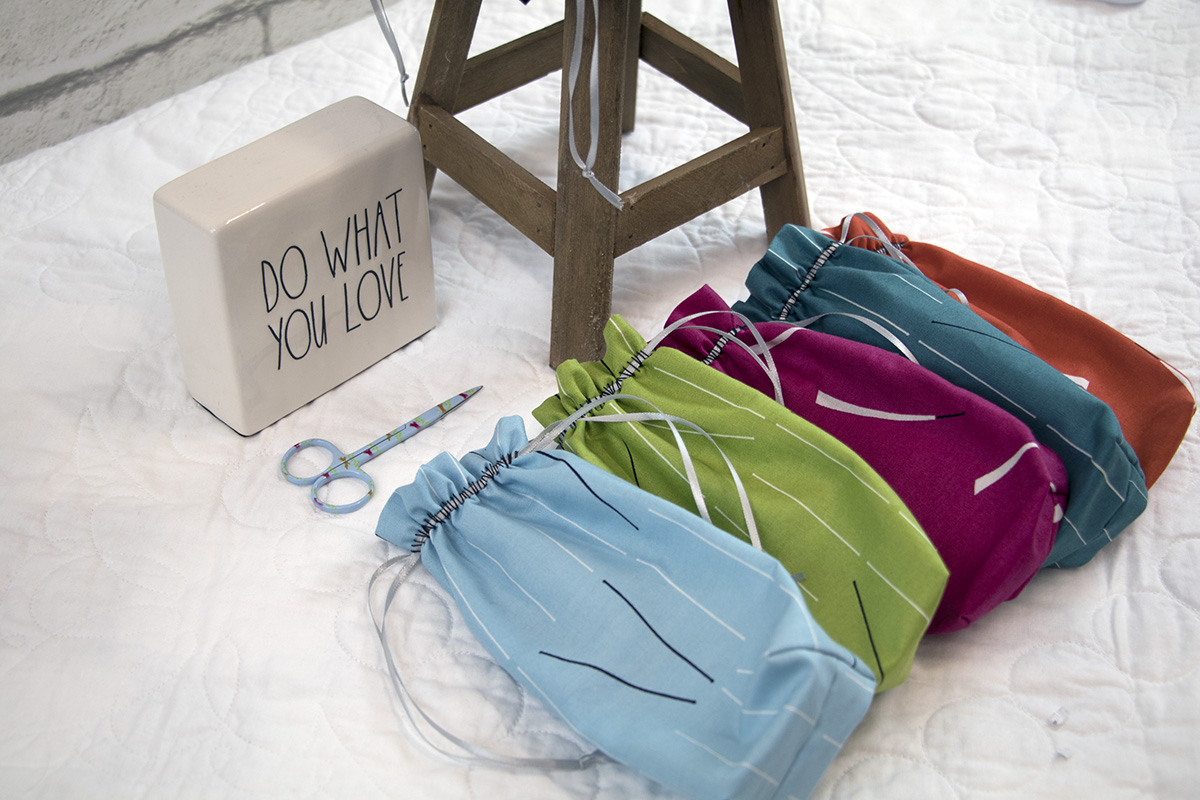
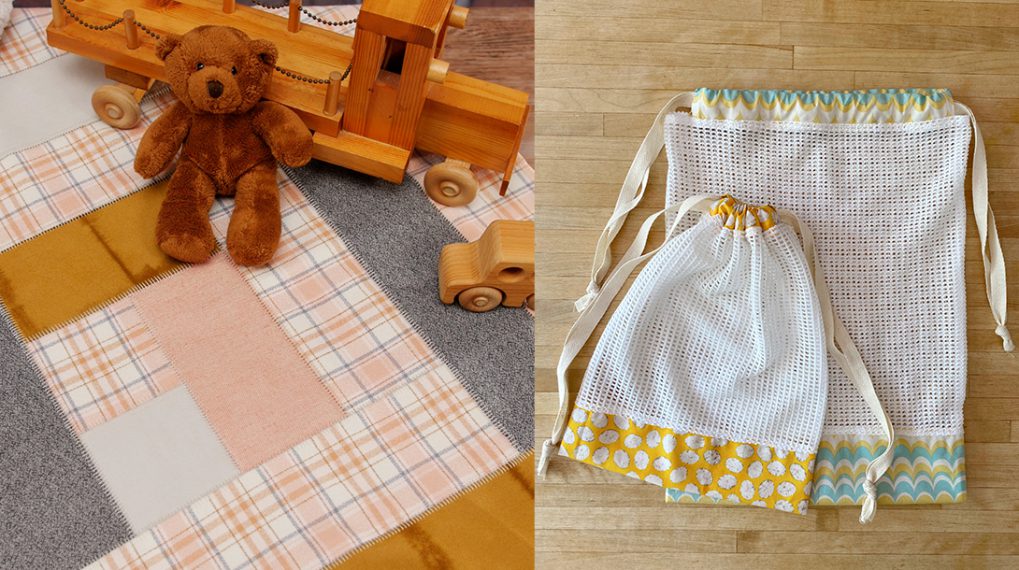
This project came about as I discovered some orphan 10″ squares in my quilting stash. What was I going to do with them? Well, they are the perfect size to make little gift bags! The BERNINA Overlocker made them quick to stitch, especially the “casing” for the drawstring—a flatlock stitch that was also the hemming stitch for the top! It went so fast I made a bunch. Wouldn’t these be fun in themed fabrics for a shower or birthday party? In different sizes, too! Let me show you how easy they are to make!
Materials to make an Overlocker Drawstring Bag
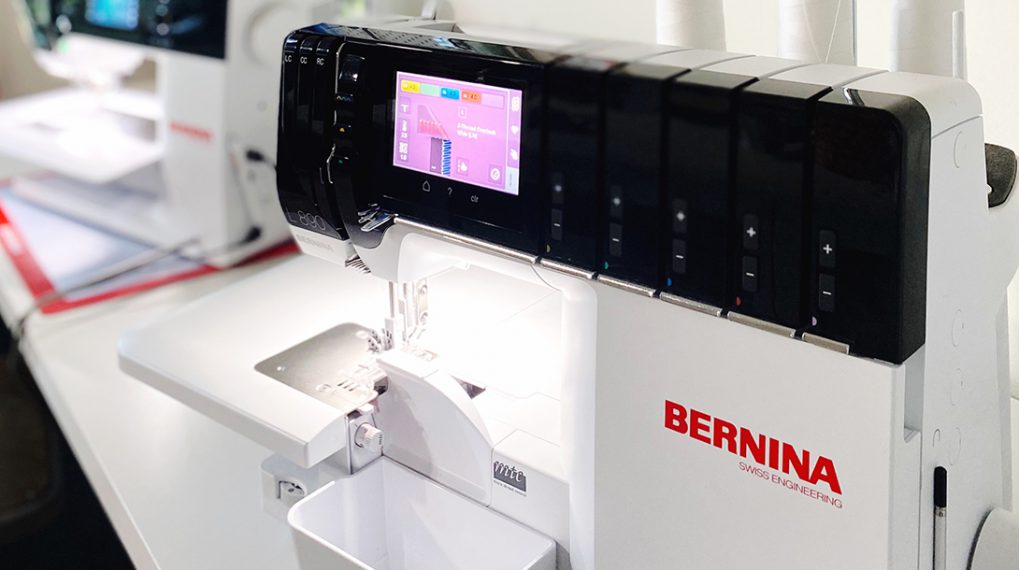
- BERNINA L 460
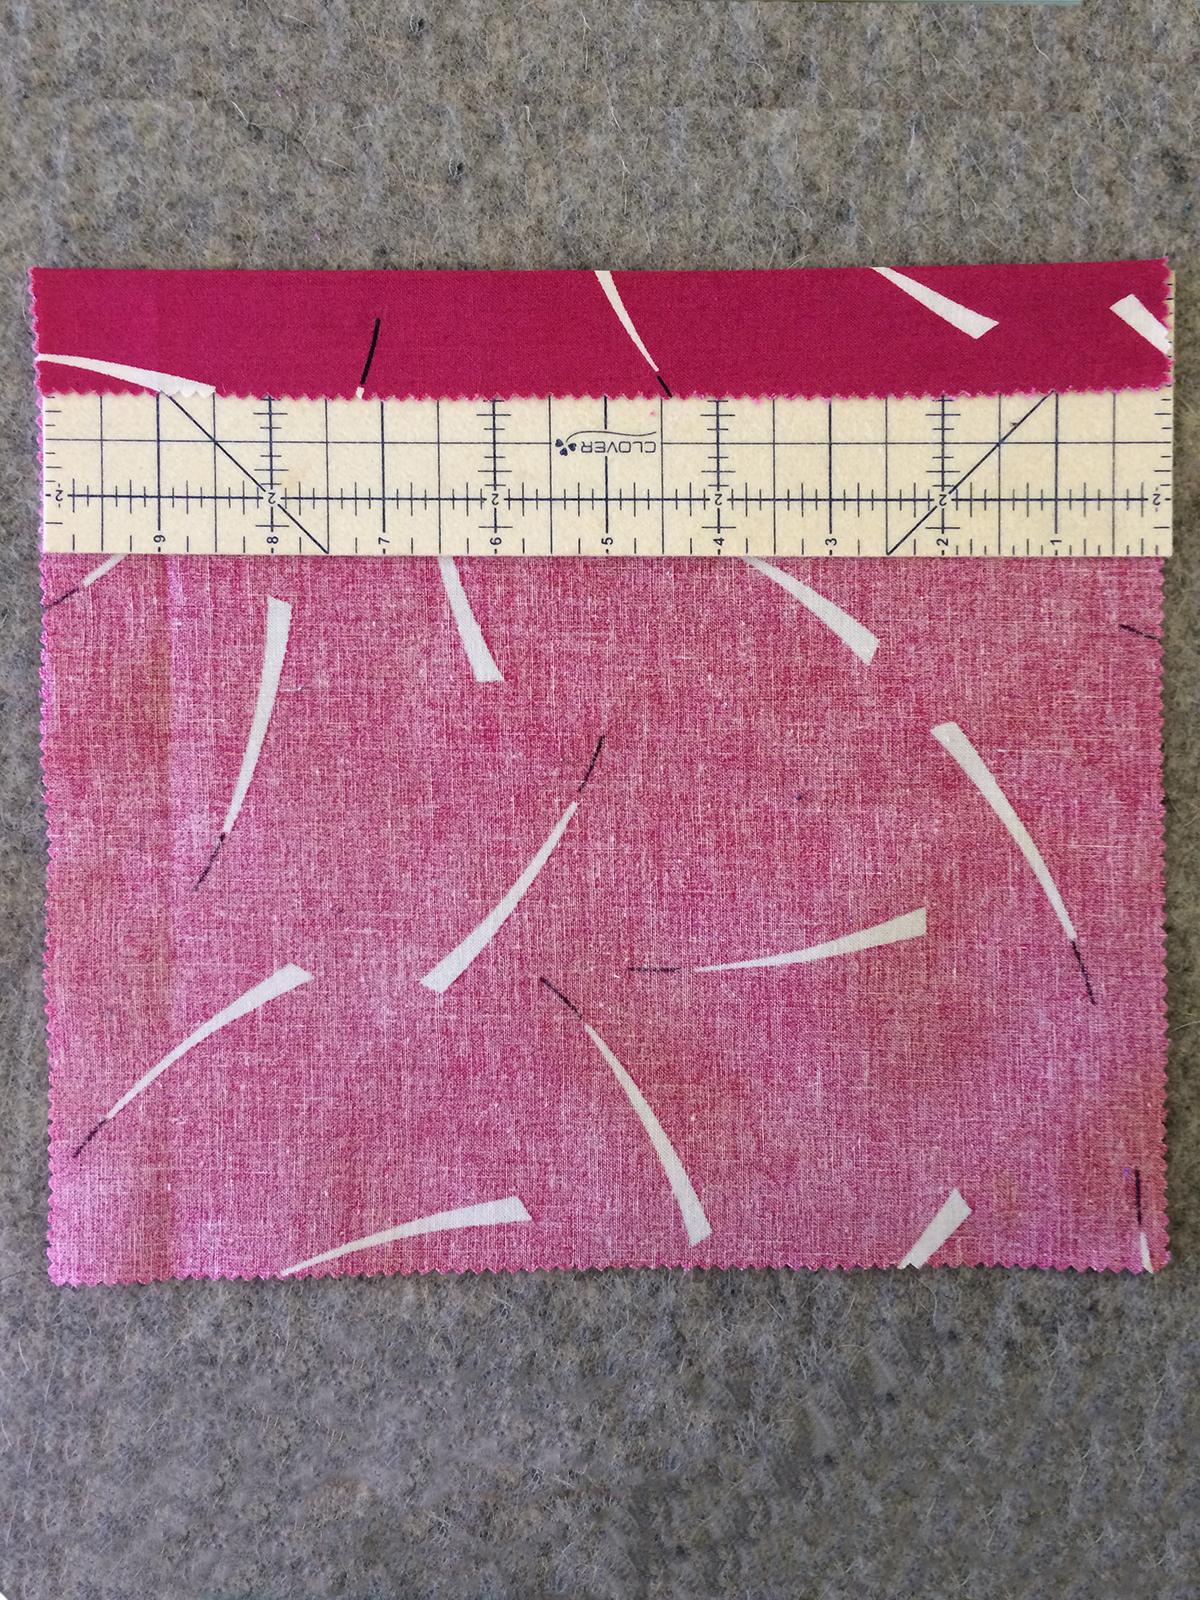
- 10″ square of cotton fabric
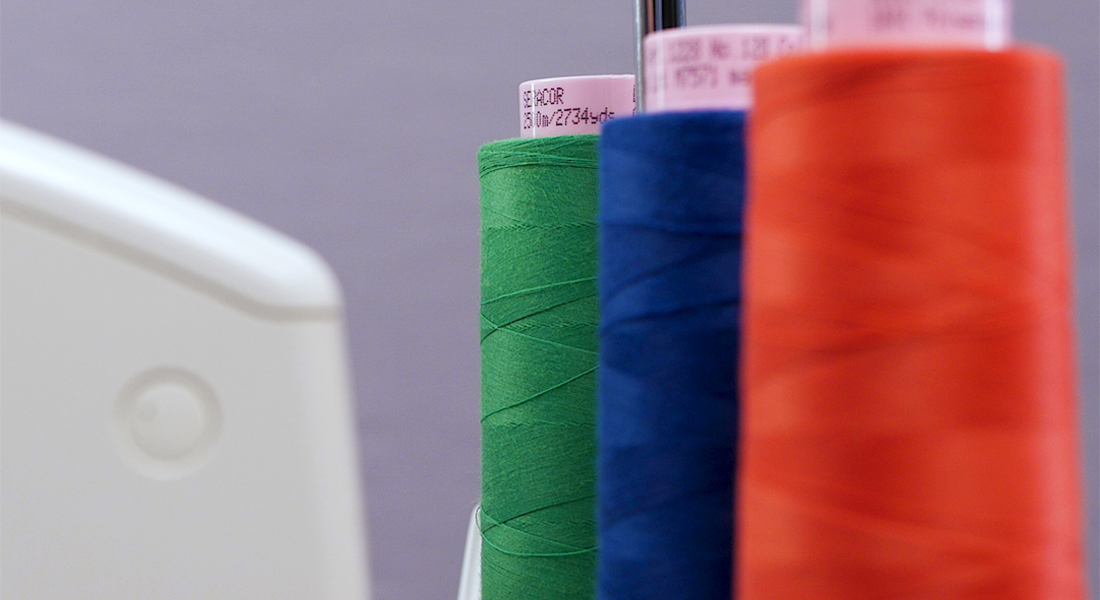
- 3 spools of coordinating serger thread
- 1 yard of 1/8″-wide ribbon, cut in half
- Large-eye needle for threading the ribbon
- Blindstitch 0.5mm presser foot
- Standard presser foot
Steps for sewing gift bag:
Step 1. Prepare Fabric
Press a 1″ hem to the wrong side of one edge of your square.
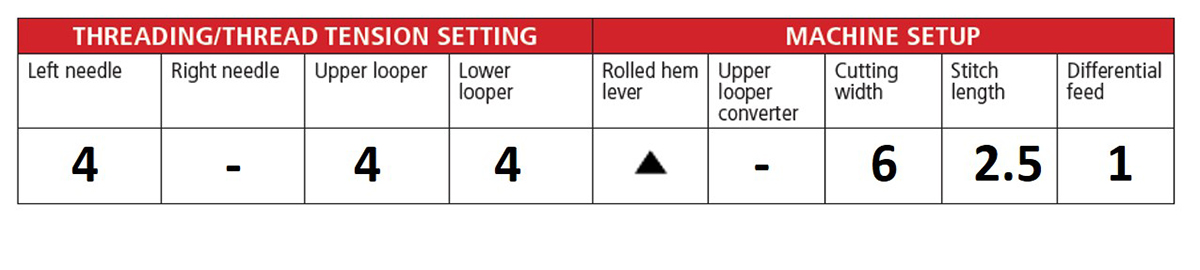
Step 2. Set-up Overlocker for 3-thread Wide Flatlock stitch.
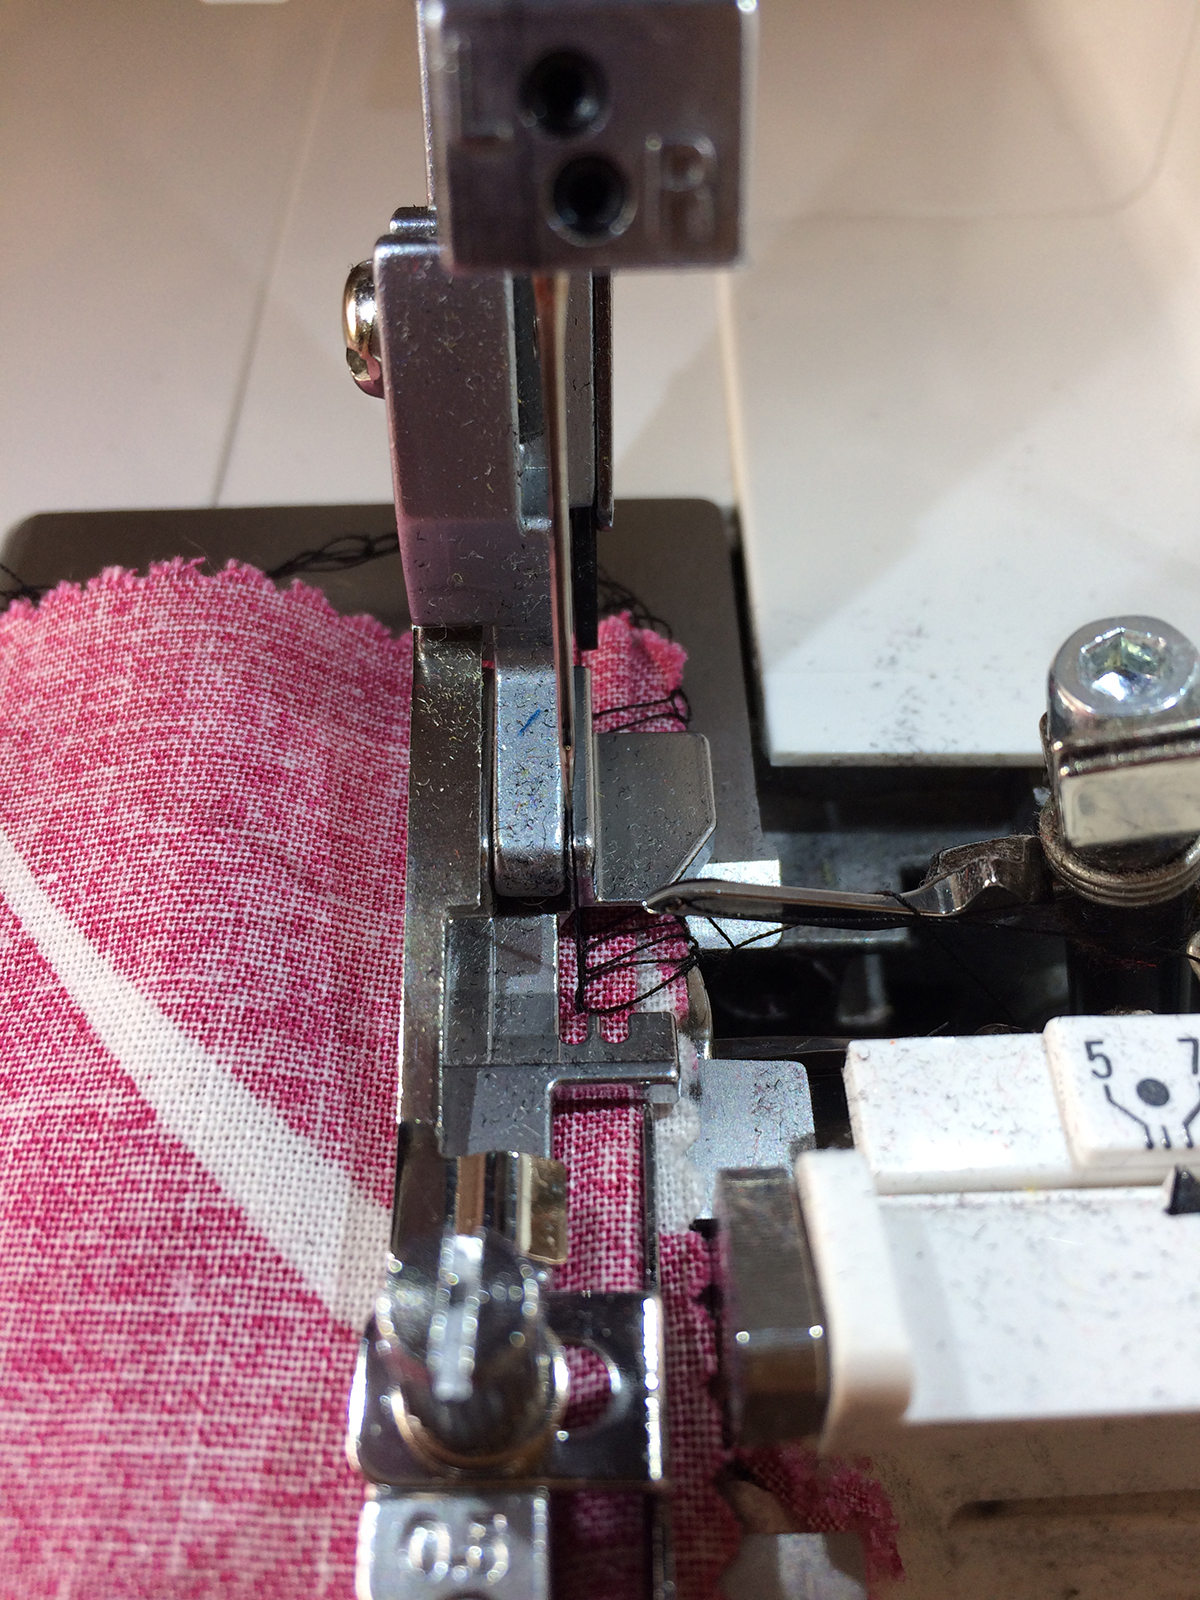
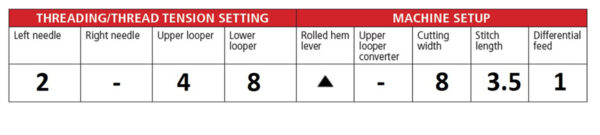
Set your overlocker up for a 3-thread wide flatlock, using the left needle. Attach the 0.5mm blindstitch presser foot. Using the blindstitch foot protects the folded edge of the fabric from the blade, ensuring a nice flatlock stitch on the right side of the fabric. I adjusted the blade of my blindstitch foot so that it aligns with the right “pin” next to the stitch finger in the stitch plate. The goal is to get a wider ladder stitch than you would normally want when stitching a flatlock. It would be a good idea to practice stitching this on some scrap fabric and fine tune the settings for your machine. Here are the settings that I used.
Step 3. Press flatlock hem
Press the hem up so that you see the ladder stitch on the right side of the fabric.

Step 4. Sew the side seam
Fold the bag right sides together matching raw edges on the side and bottom. Change the settings on your overlocker to a 3-thread wide overlock. Changing from a flatlock to an overlock simply requires some tension adjustments shown here:
 Sew the side and bottom seams. Lightly press to get a slight crease along the folded edge near the bottom.

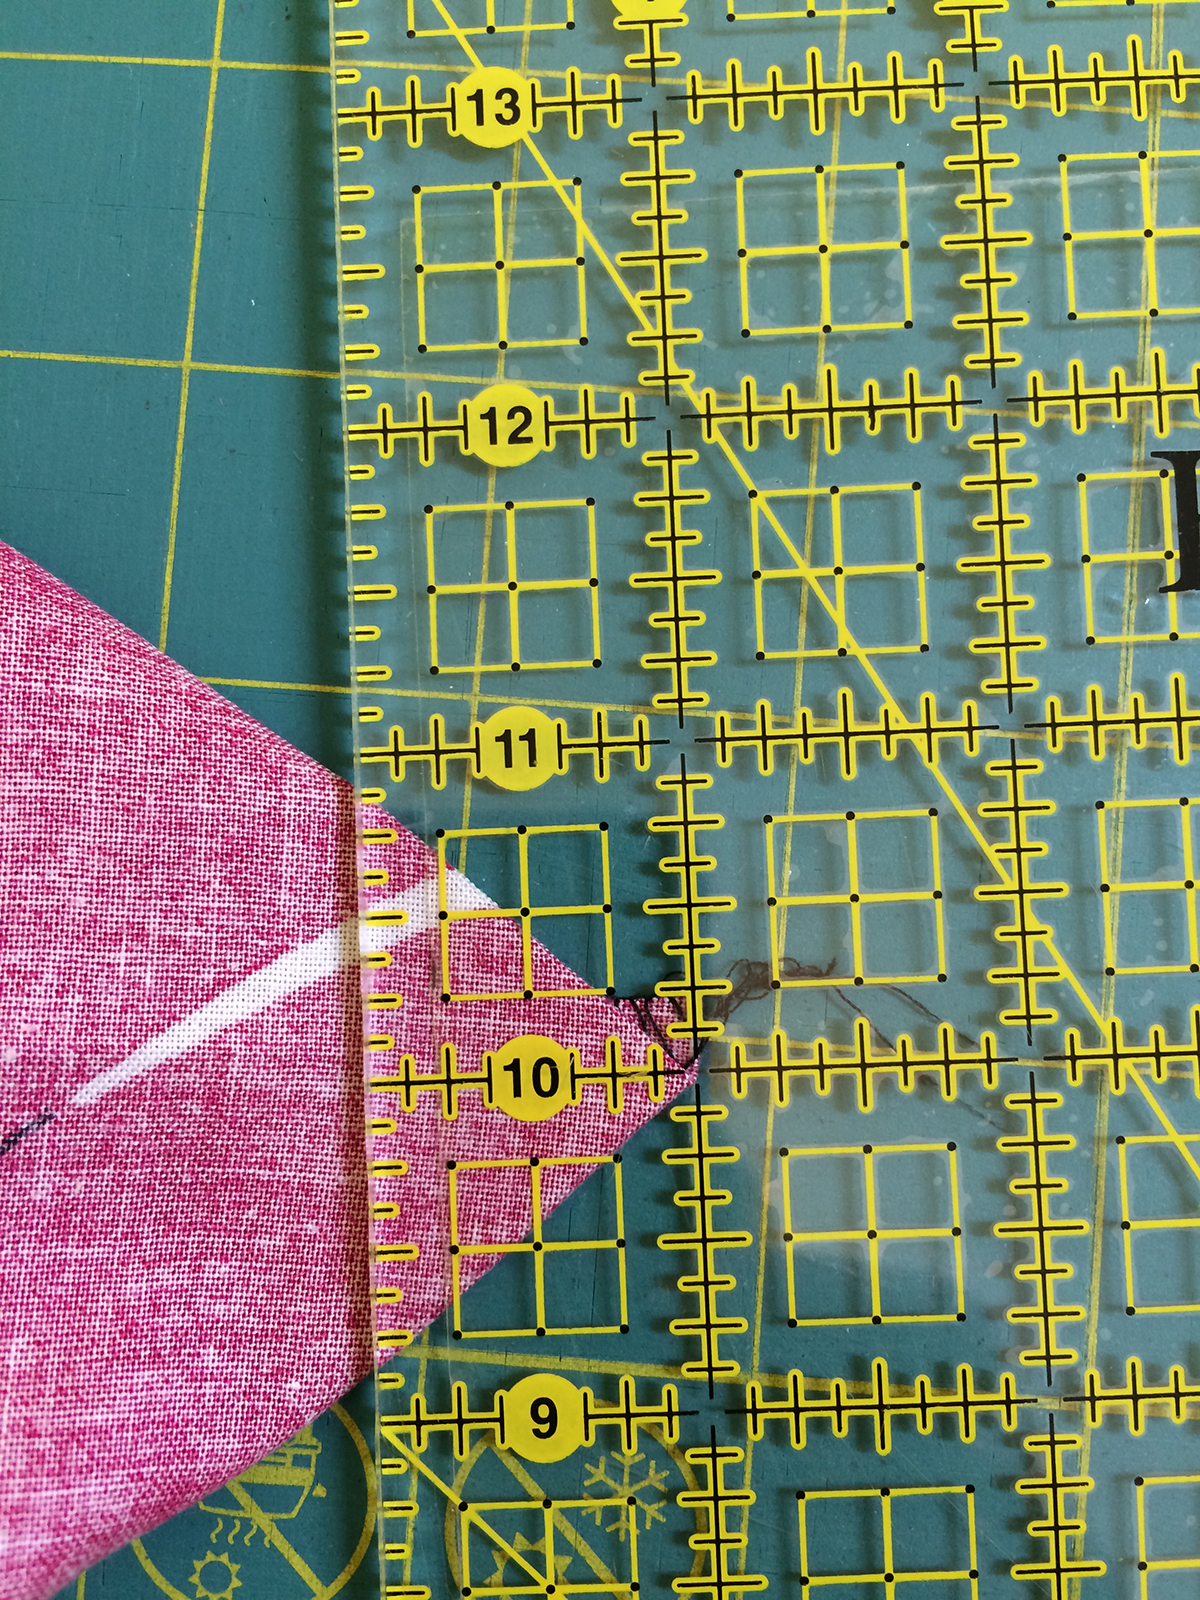
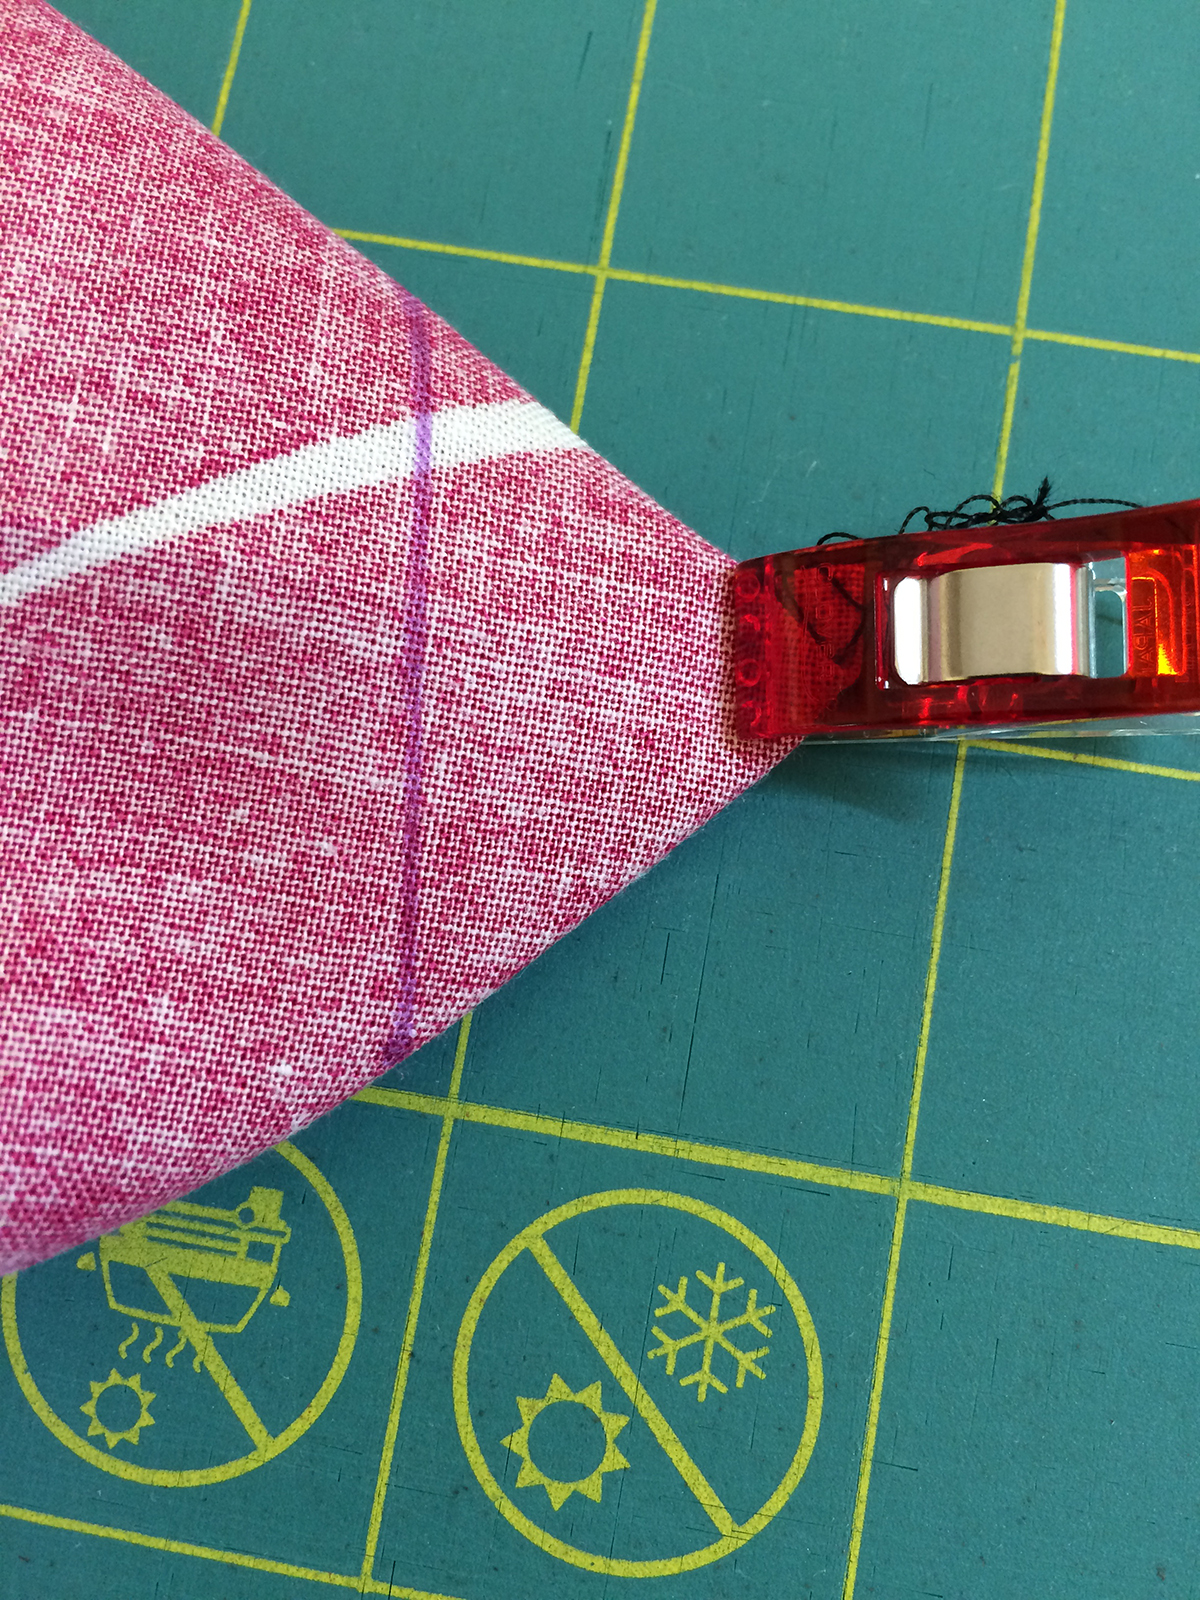
Step 5. Box the corners
To box the corners on the bottom of the bag, match the side seam and bottom seam on one side to make a triangle. Draw a line 1” away from the corner. A clip is helpful to hold it together. Repeat on the other side, matching the pressed crease and bottom seam.
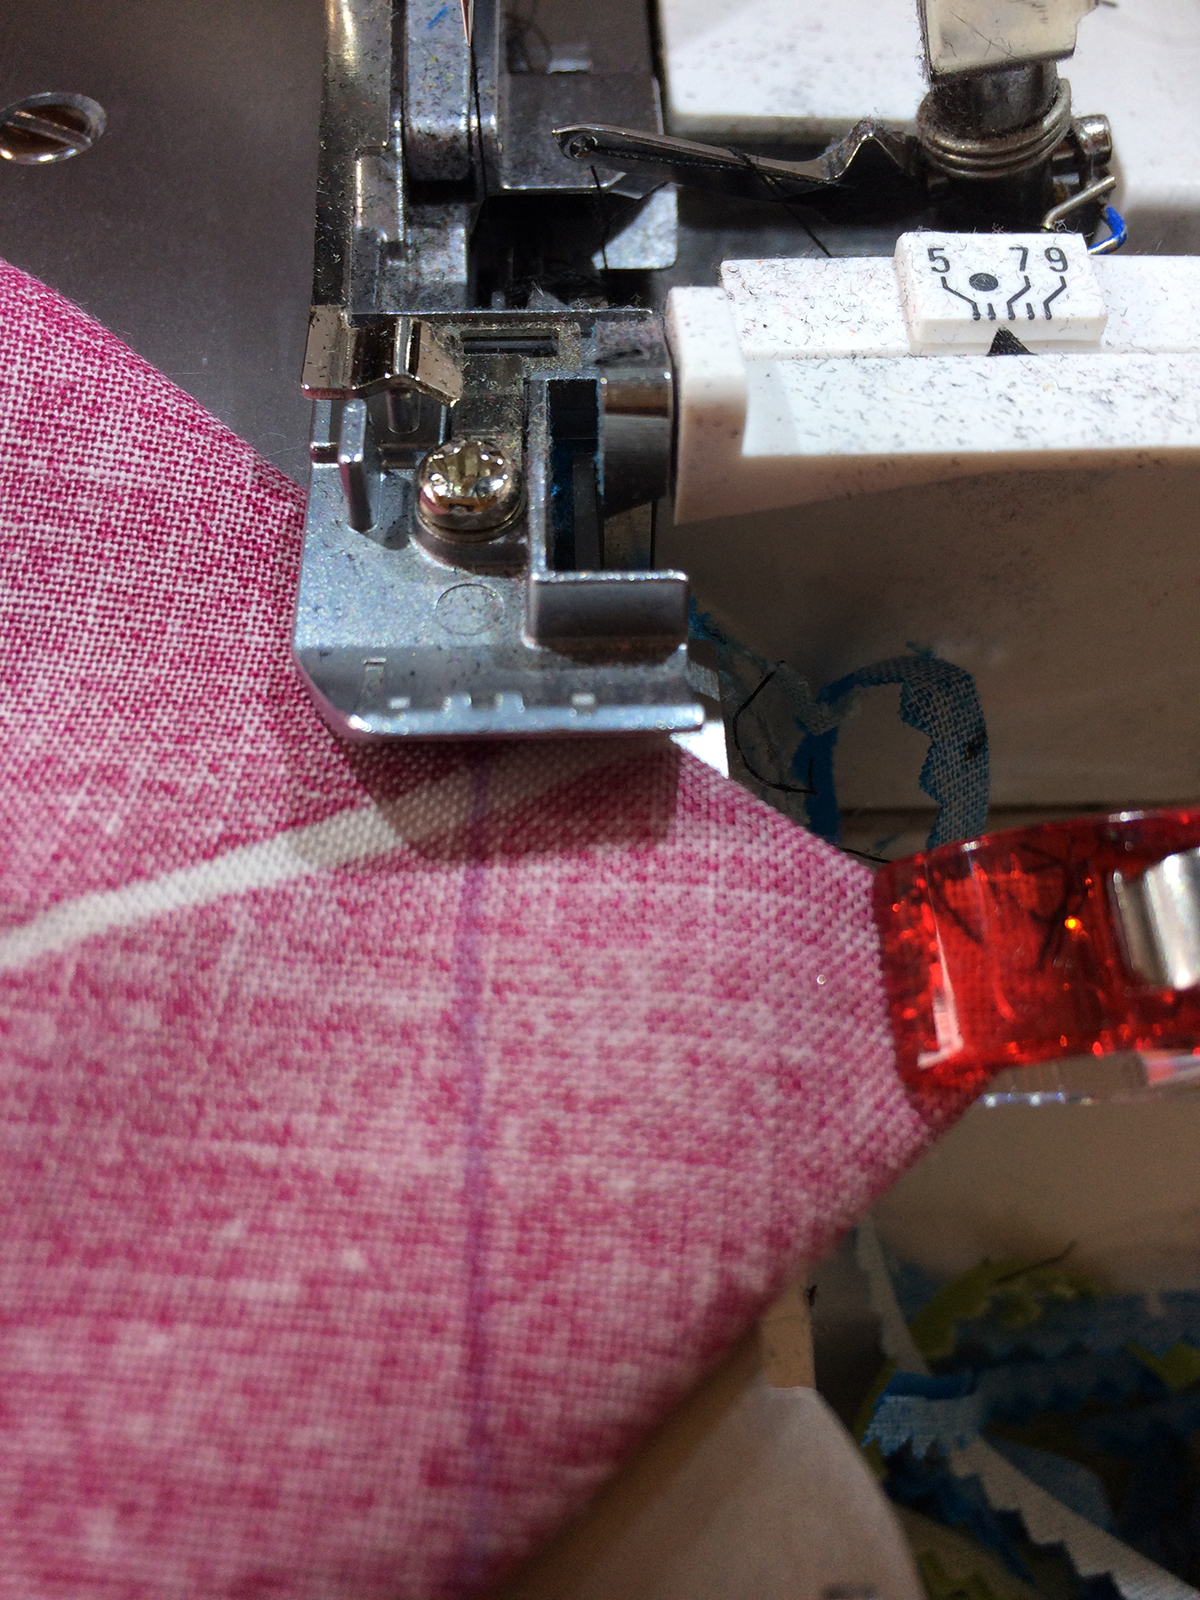
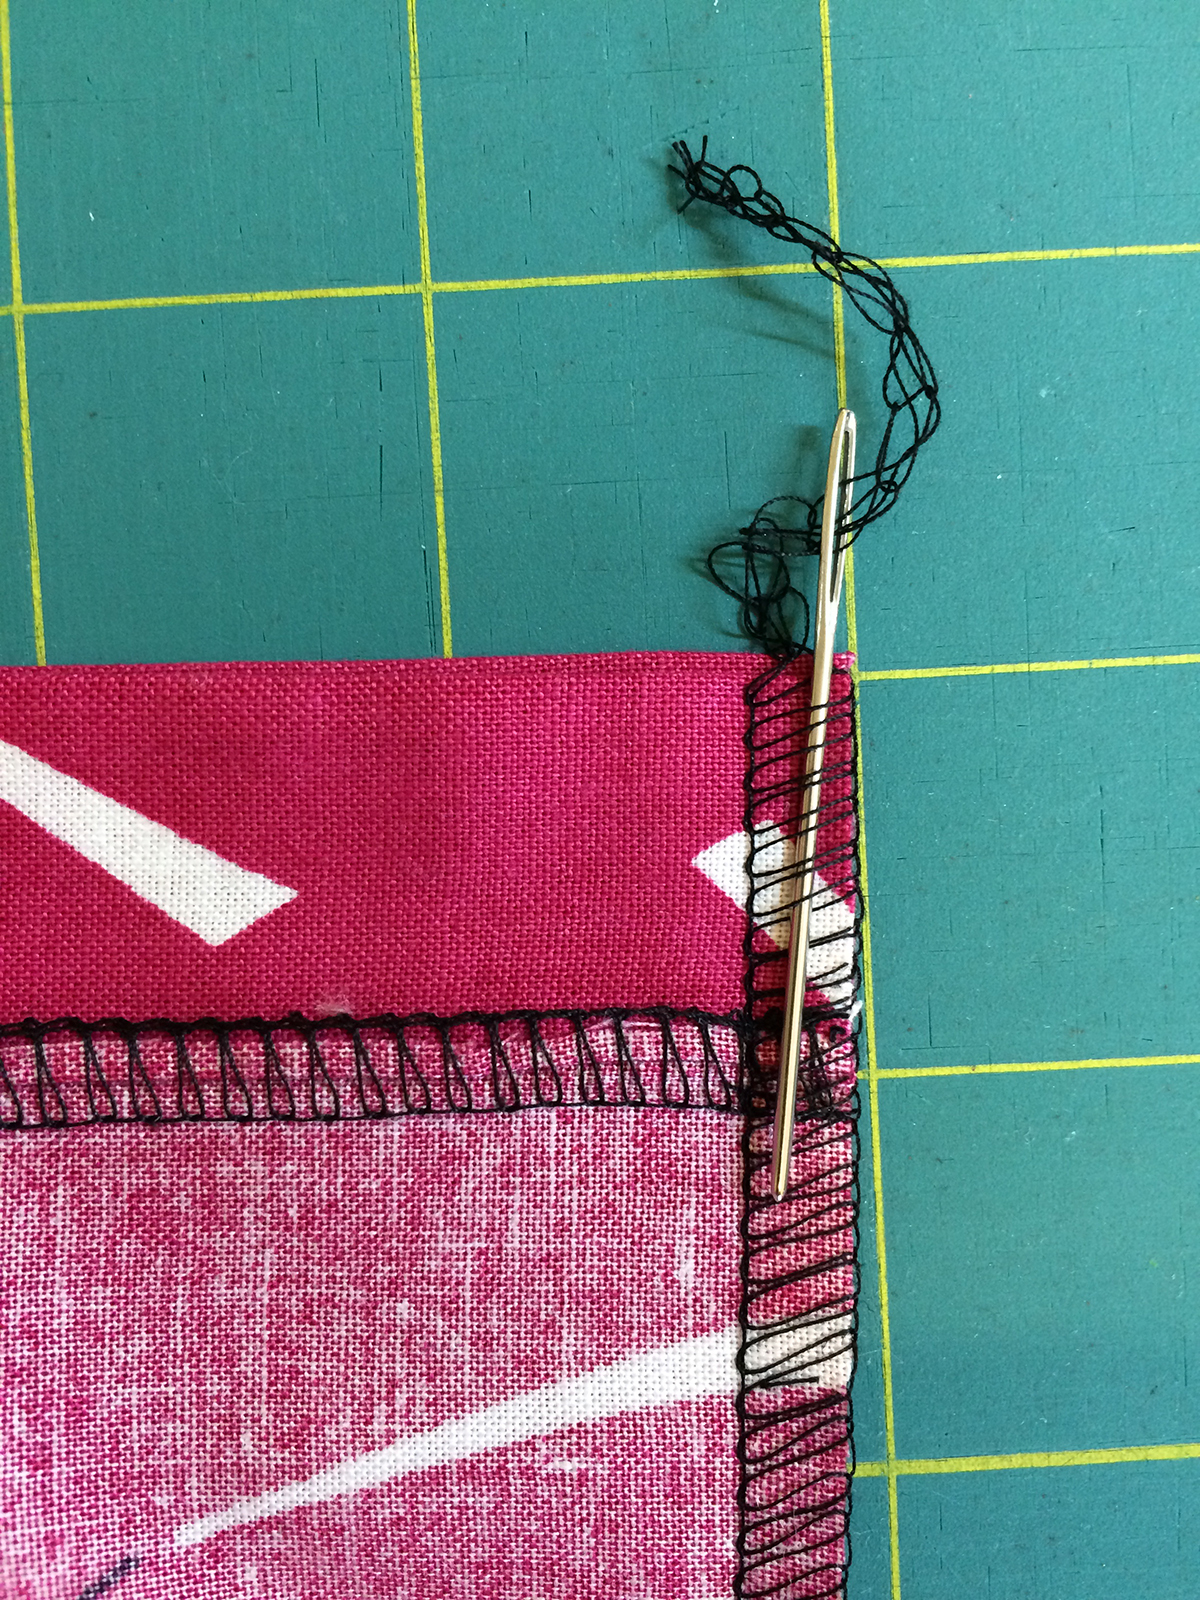
Stitch along the lines to box both corners on the bottom of the bag. On the standard presser foot there are raised marks on the front of the toe that match up with the needles. Align the drawn line with the left needle mark and guide the fabric through the machine.
Use a large-eyed needle to weave the thread tails into the stitching on the boxed corners and at the top of the side seam for a secure finish.
Step 6. Finishing details
Turn the bag right side out. You’re almost done!
Thread one of the 18” ribbon pieces in the large-eyed needle. Starting at the side seam, thread the ribbon under the ladder stitches all the way around back to the same side seam. I found it best to go under 8 or 10 stitches at a time as it was then easier to straighten the ribbon if it got twisted.
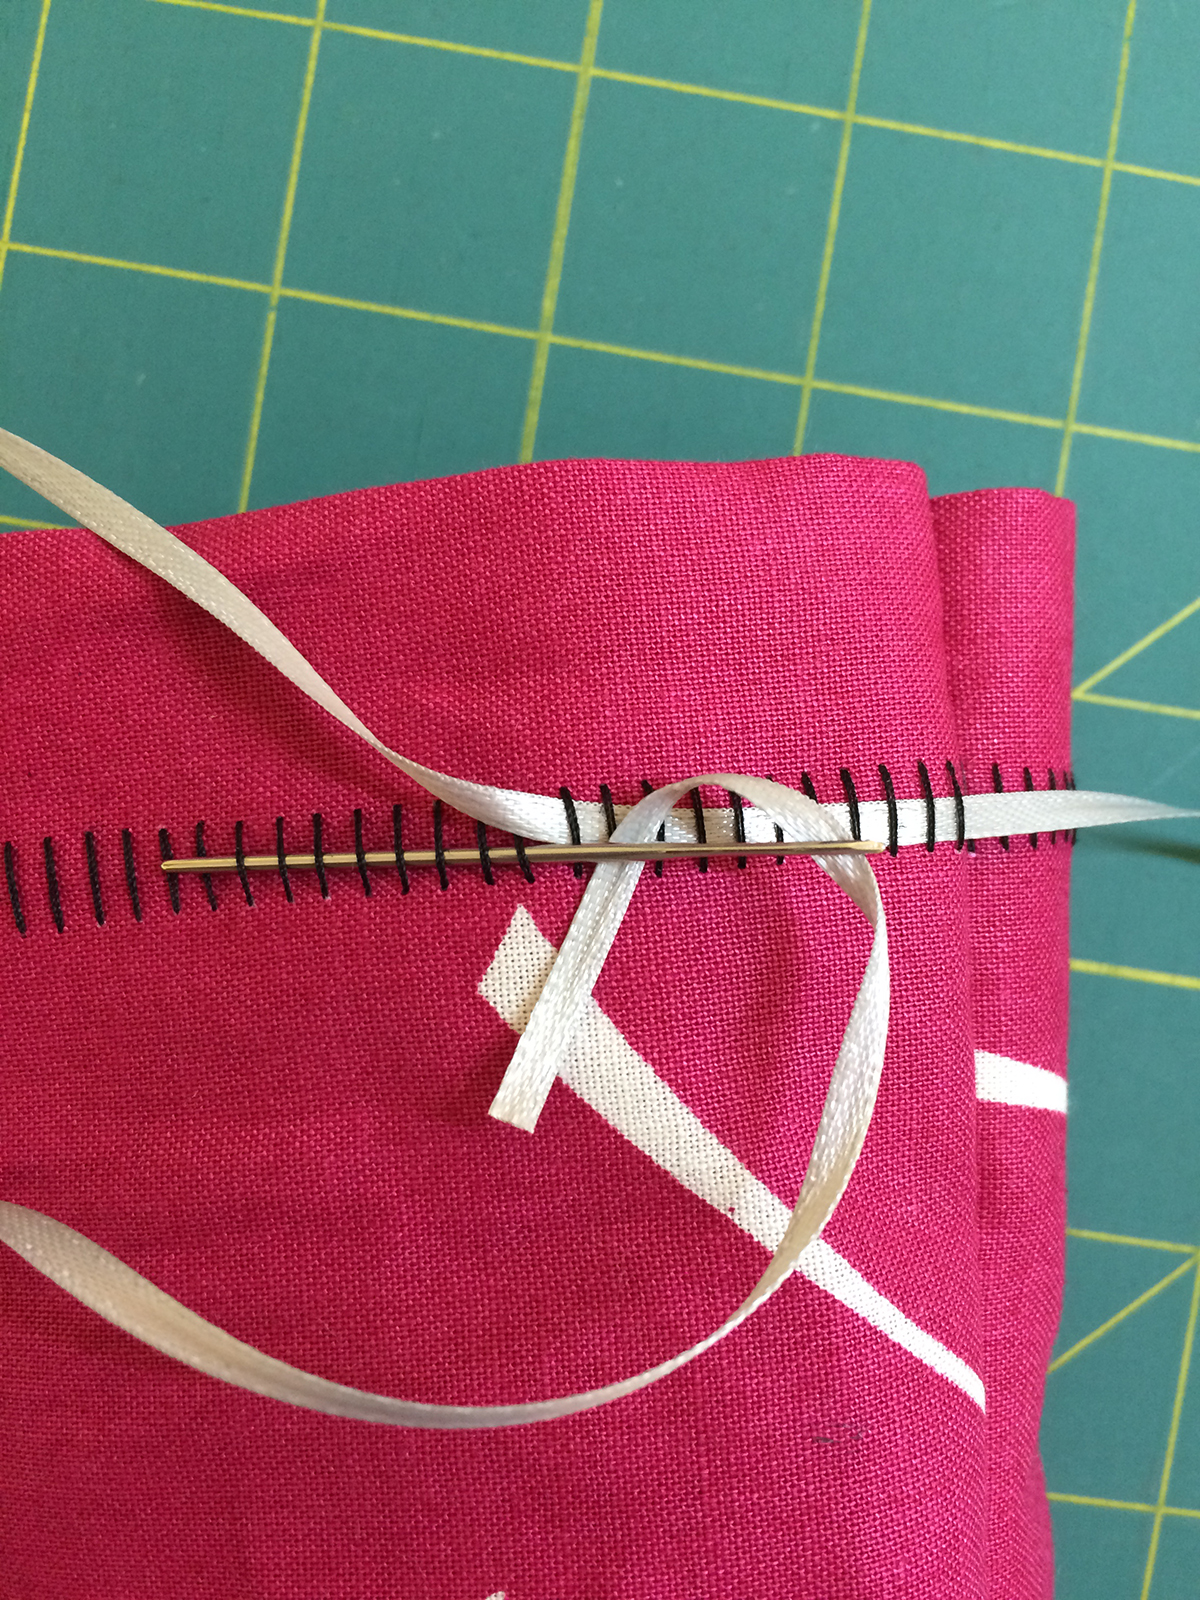
Repeat this process with the other 18” ribbon piece, but start on the opposite side of the bag. Tie the ribbon ends together in a knot.
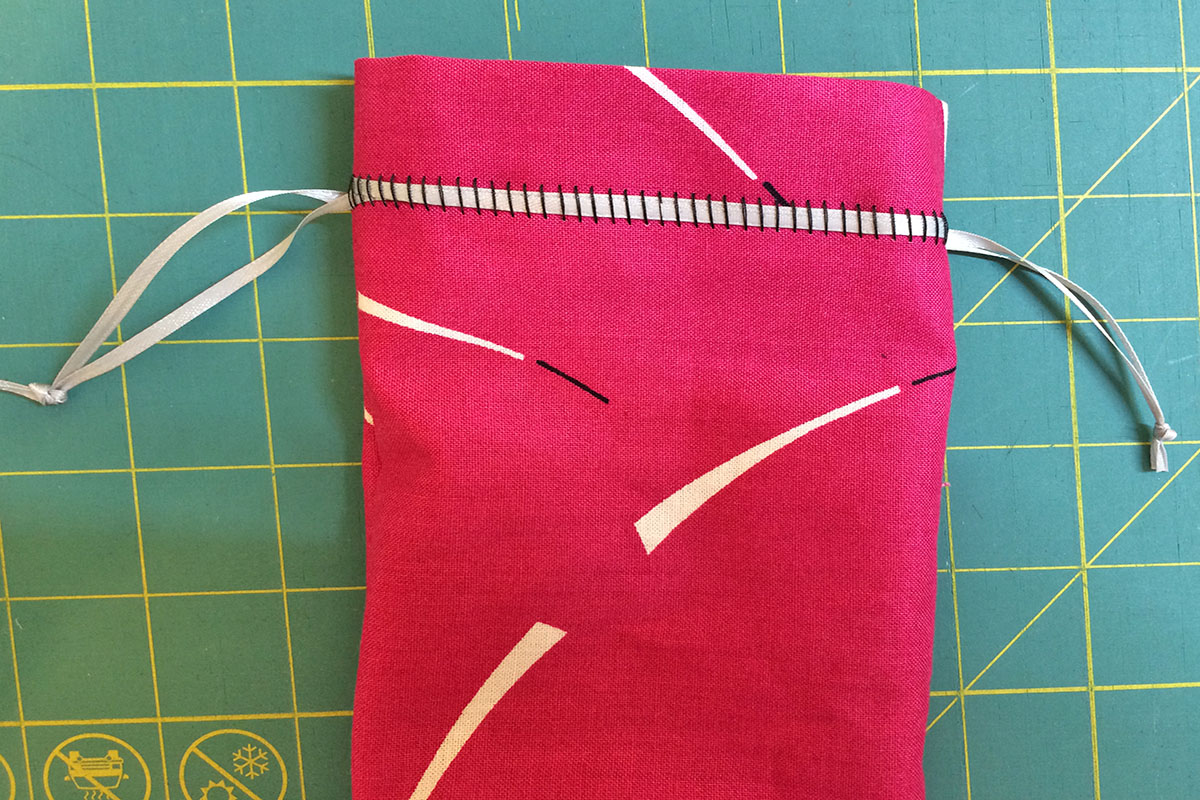
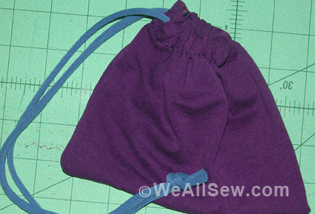
Now your bag is ready to hold a small gift or treat. Whether you make one or several at a time, I hope that you have as much fun making these as I did!