Overlocker for Beginners: Introducing Sergers
Welcome to the world of overlockers! Maybe you have never worked with a serger before, or it could be that you just haven’t tried one in a long time. Either way, I’m here to walk you through all the essentials.
In this series of posts, we’ll start from square one and slowly walk through all the cool techniques your overlocker can do. By the time we wrap up this summer, you’ll be serging with confidence! Let’s start by answering a few basic questions.
What is an overlocker?
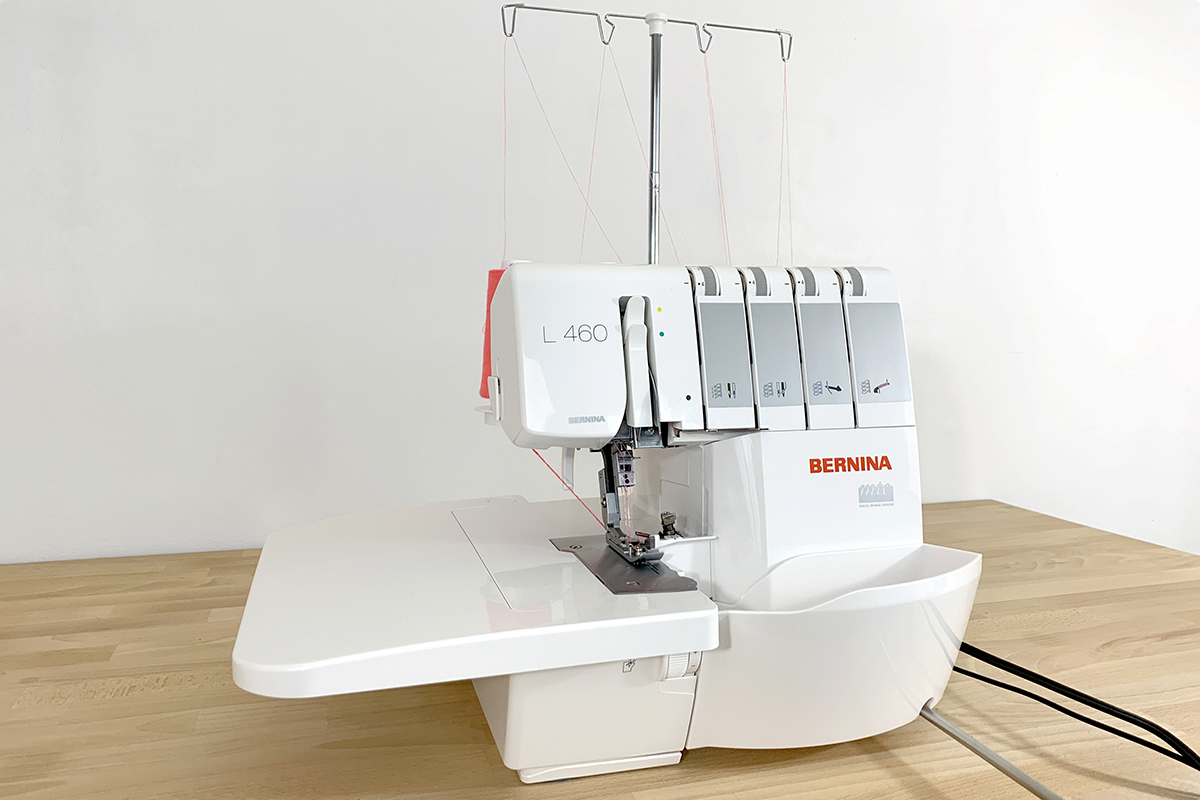
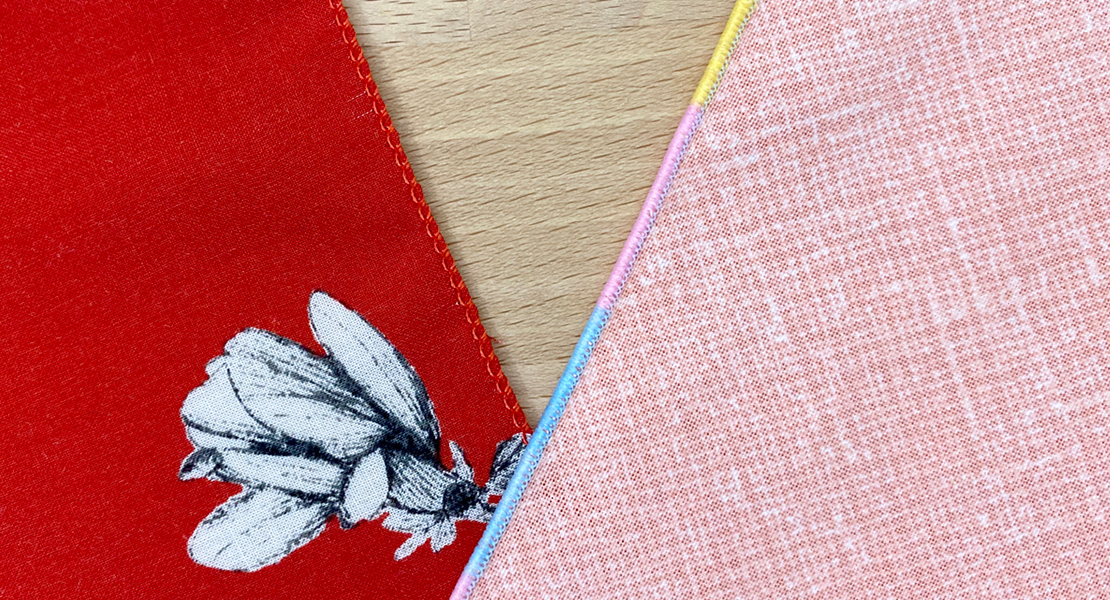
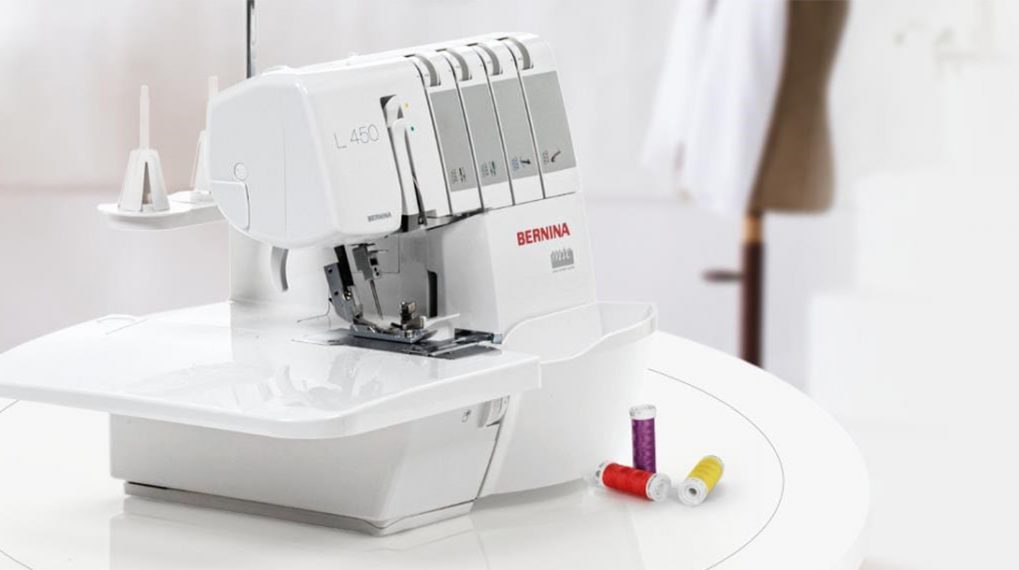
Your first question might about what this machine actually does. An overlocker (or serger) is a type of sewing machine that uses multiple threads to seam fabric while also overcasting to cover raw edges. It can be used for construction, finishing, or both at the same time. This can involve as few as two or as many as eight threads depending on the make and model of the overlocker and the stitch selected. Most stitches or technique use three or four—we’ll talk about the cases for all these different things later on.

What is a serger?
A serger is an overlocker. An overlocker is a serger. The terms are interchangeable—basically it boils down to who’s talking about the machine. Overlocker (and overlocking, as a verb) is the more common term in European countries, while serger/serging is more common stateside. Because BERNINA is a Swiss-based company, we tend to use the word overlocker around here.
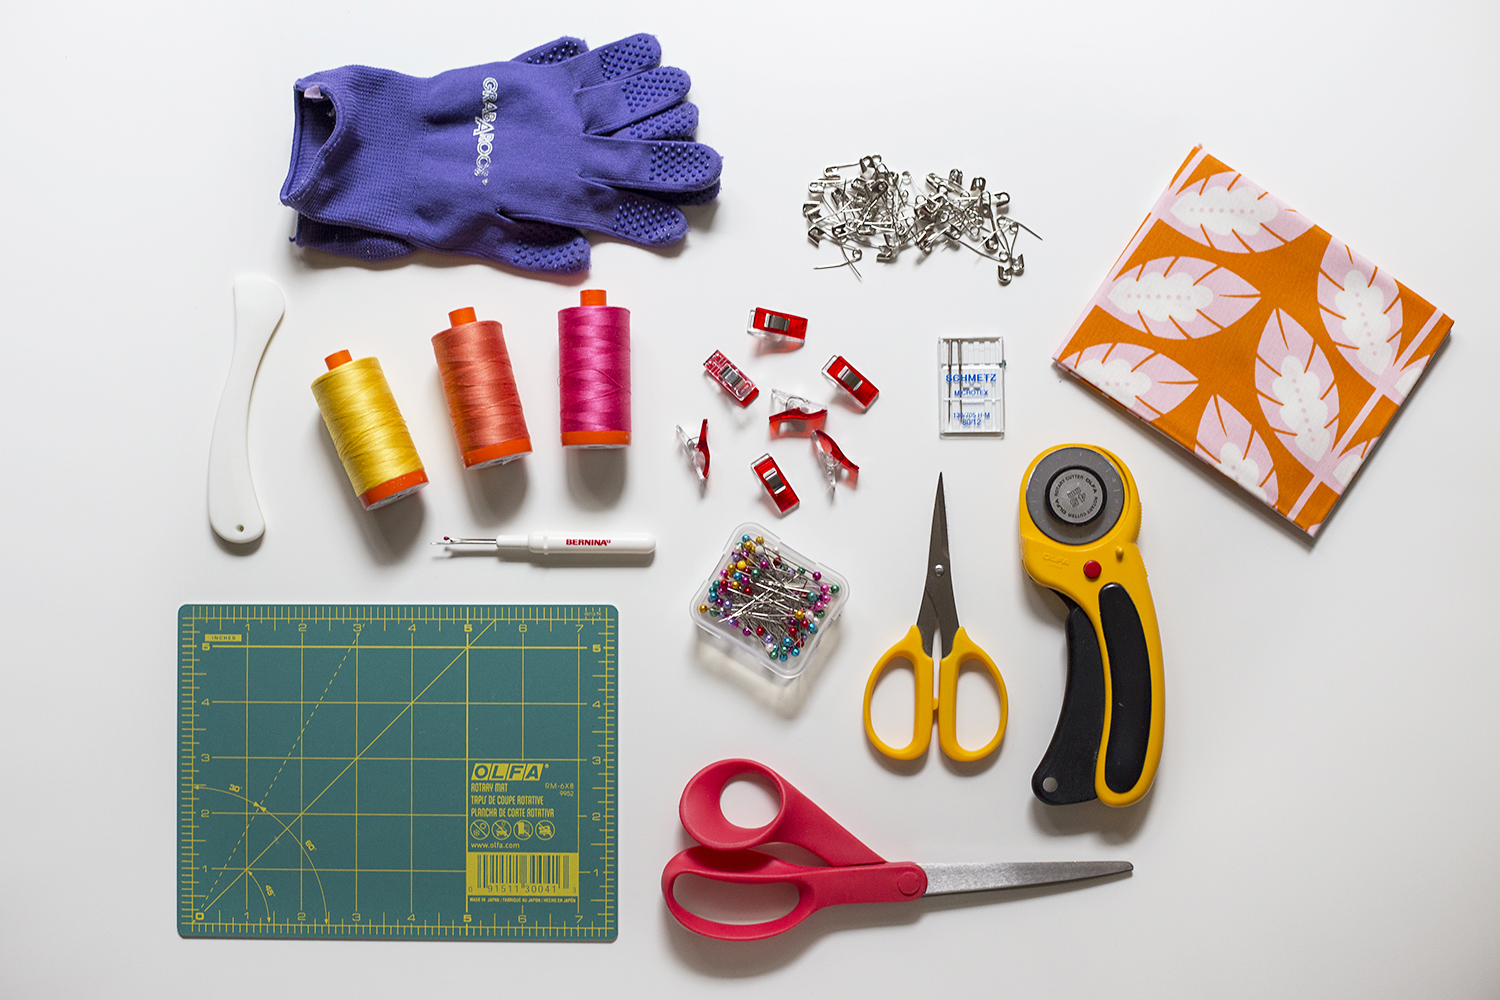
What tools do I need for my overlocker machine and projects?
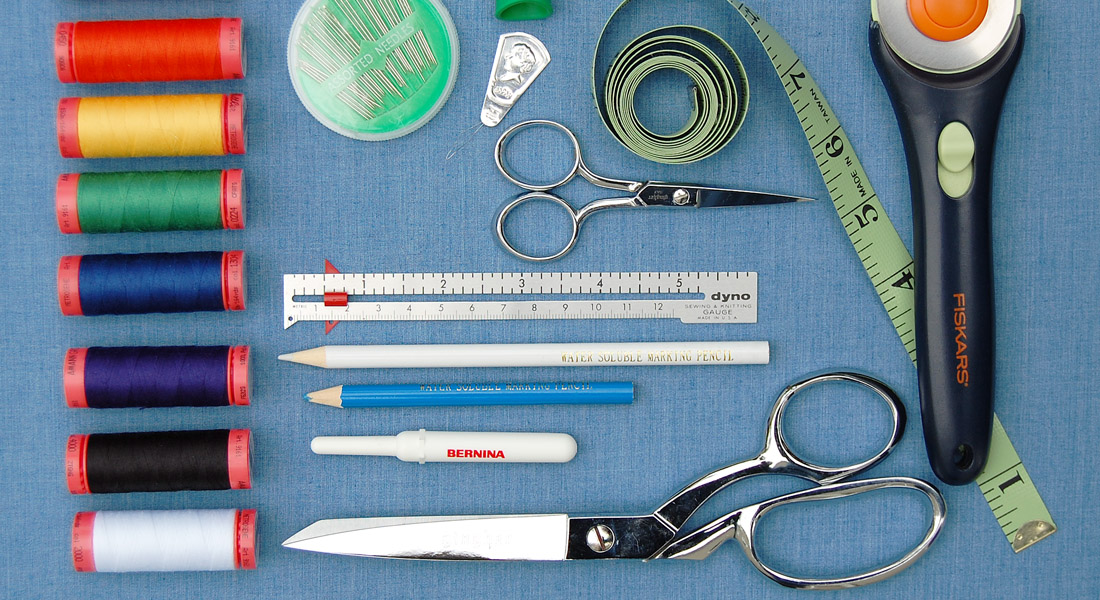
For your machine, the essentials for machine maintenance will come in the box (things like screwdrivers, thread nets, and oil). It’s important to know that the oil used on your overlocker is different from the oil used on your standard machine—these bottles are not interchangeable! You can read more about overlocker cleaning and care over here.
There are some other notions that you might find handy to use alongside your serger:
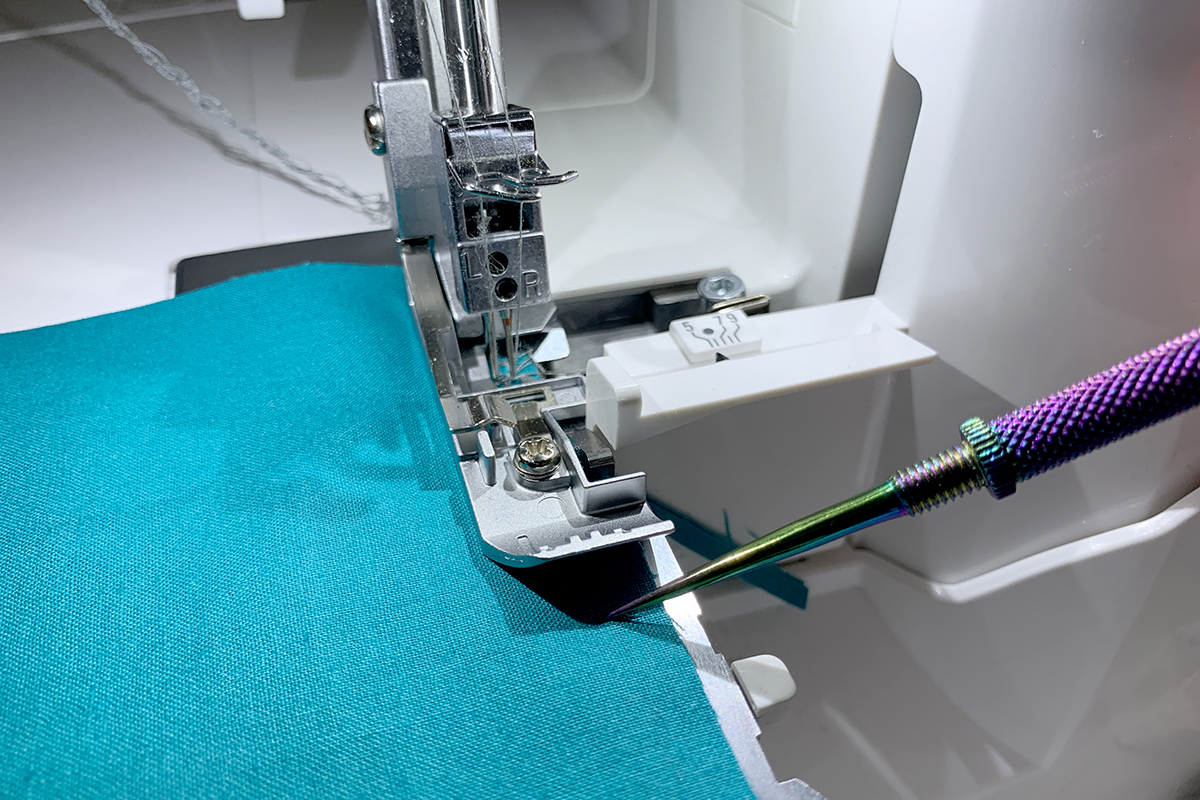
- An awl or stiletto. A pointed tool like these can be helpful when it comes to feeding fabric close to the presser foot and more importantly, the cutting knife. Keep those fingers away, and use an awl to keep the fabric moving where you want it!
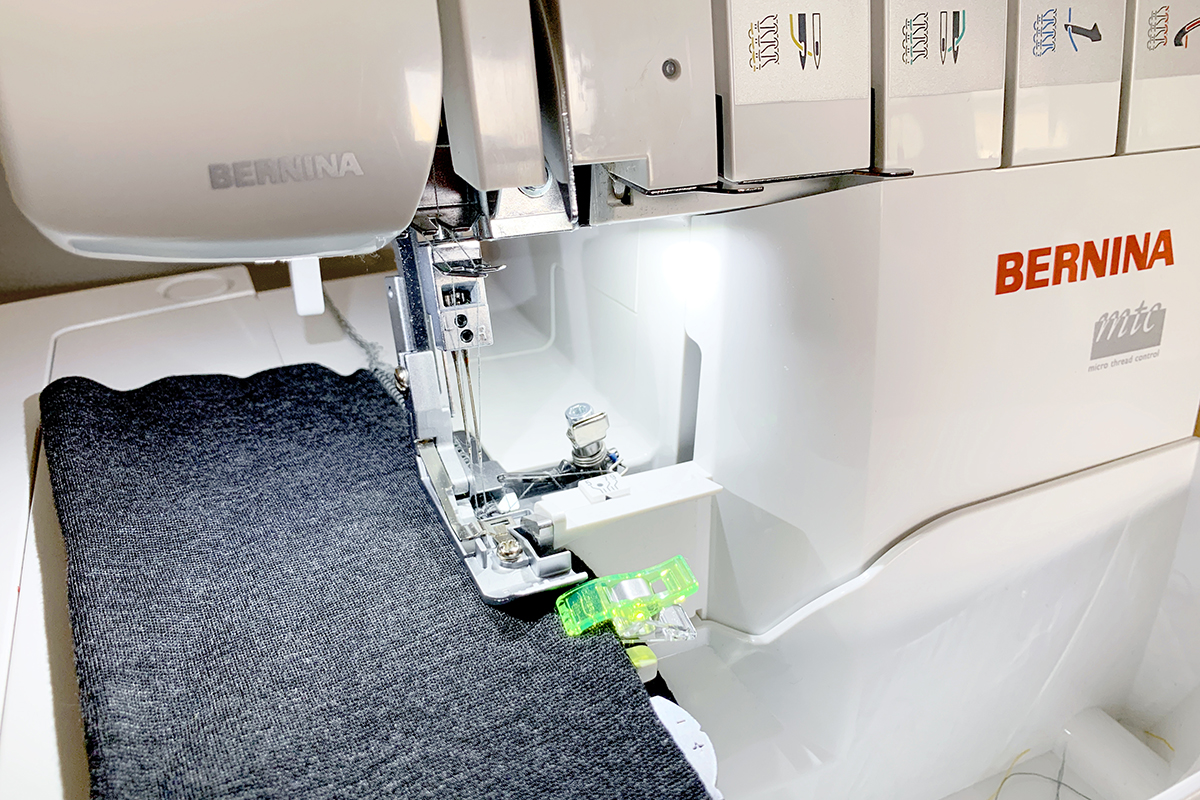
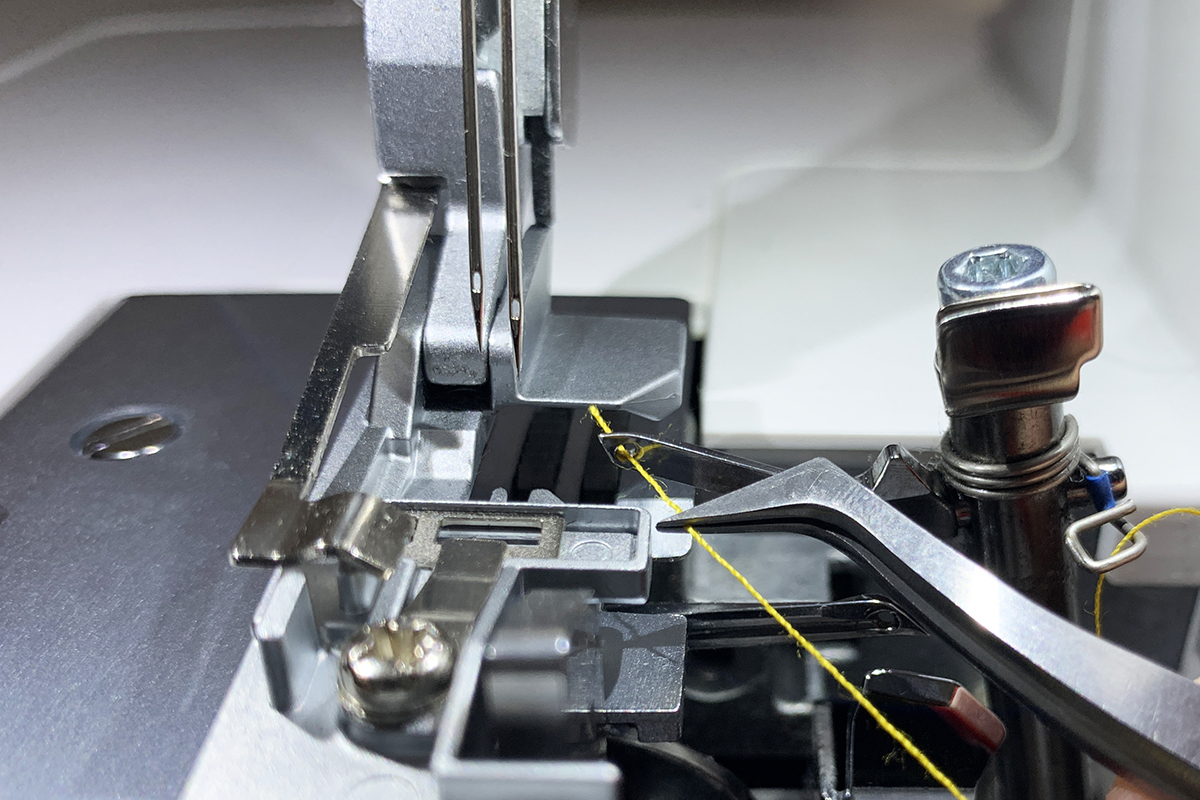
- Wonder Clips by Clover. Aside from your fingers, another thing you want to keep clear of the cutting knife is a metal pin. Some of us are in the habit of sewing over pins on our standard sewing machine (tsk tsk!), but this is an absolute no-no, if not an impossibility, on a serger. Your cutting knife will be severely damaged if you accidentally clip one of those pins, and worse yet, you run the risk of being injured by the shrapnel in that incident. Avoid the chaos altogether by using Wonder Clips to hold your fabric together!
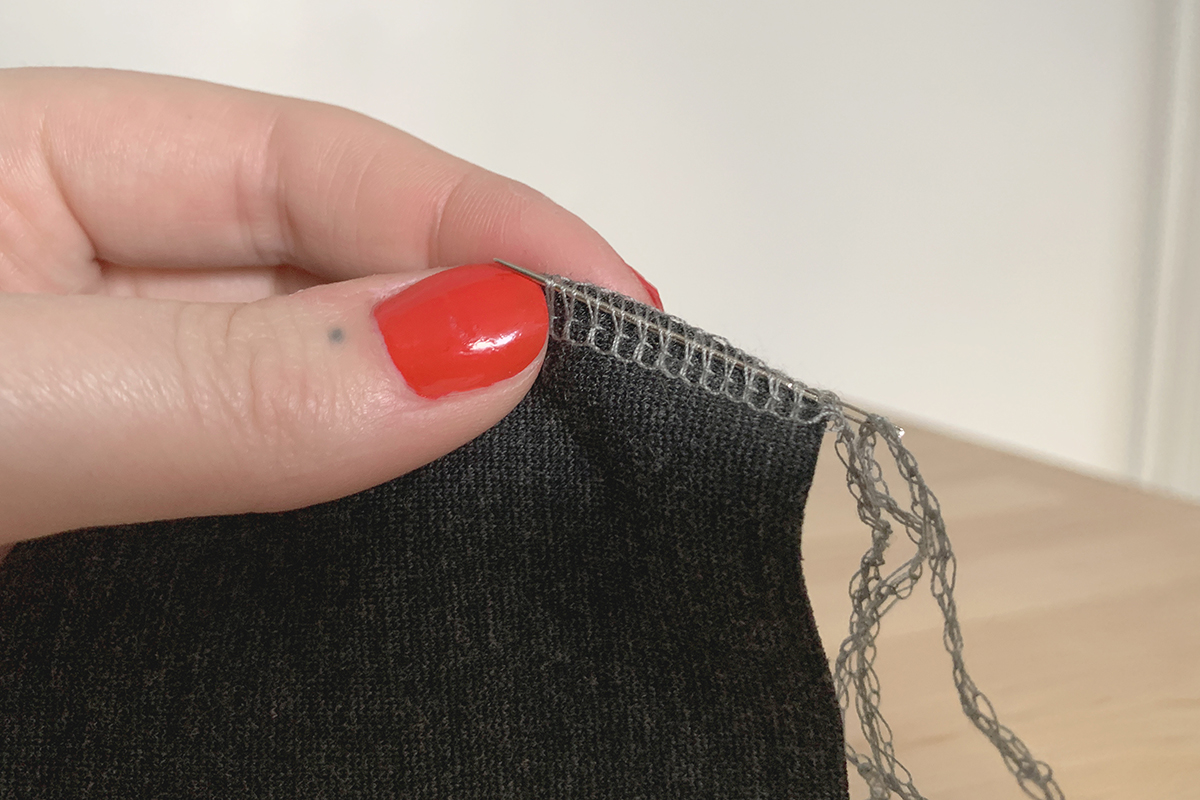
- Tapestry needles. At the end of your serged seams, your thread chains should be secured by weaving or tucking them back into the seam about an inch or so. This is most easily done with a large-eye, blunt-tipped tapestry needle.
- A pair of nice sharp tweezers comes with the L 450 and L 460 (stashed conveniently in the looper door when you pull it down), but I always keep an extra pair in my tool kit. They make it easy to thread loopers, needles, or in any tight spaces where your fingers might not be able to maneuver with grace.
- Narrow clear elastic. This one may be a bit more advanced, but layering clear elastic with knit seams can add stability. If you aspire to work with lighter weight or super stretchy knits, this is a great thing to have on hand!
What’s up with serger thread? Why the big cones? It seems expensive to buy so much thread to match every new project!
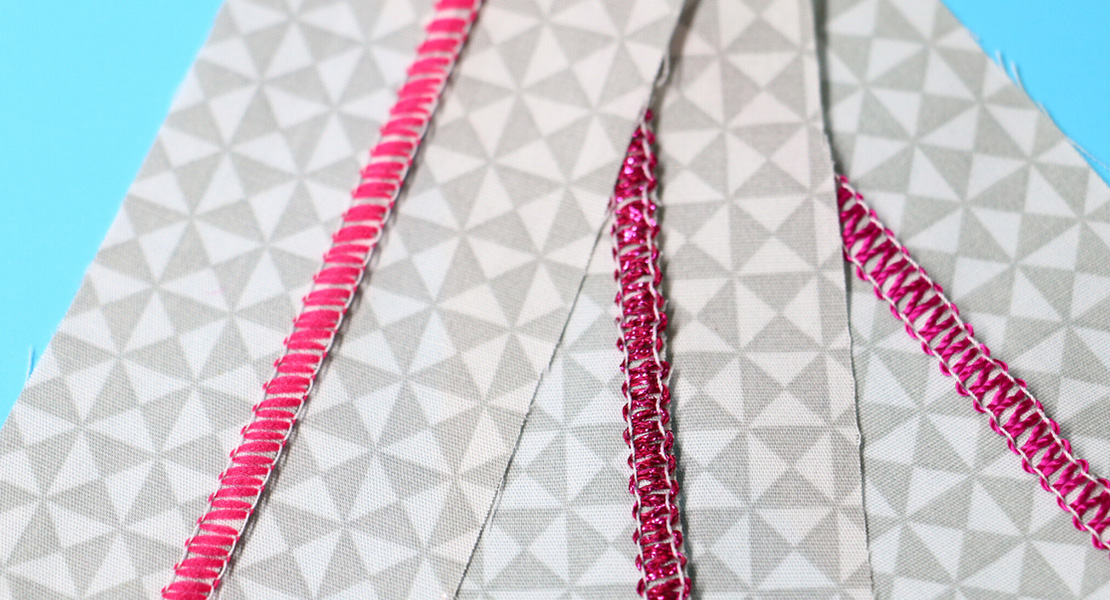
First off, it’s important to know that you can use lots of different kinds of thread in your overlocker. Just like traditional sewing applications, you just need to consider the project you’re working on and choose the best thread suited for that fabric and application. You may choose to use a decorative thread for some things.
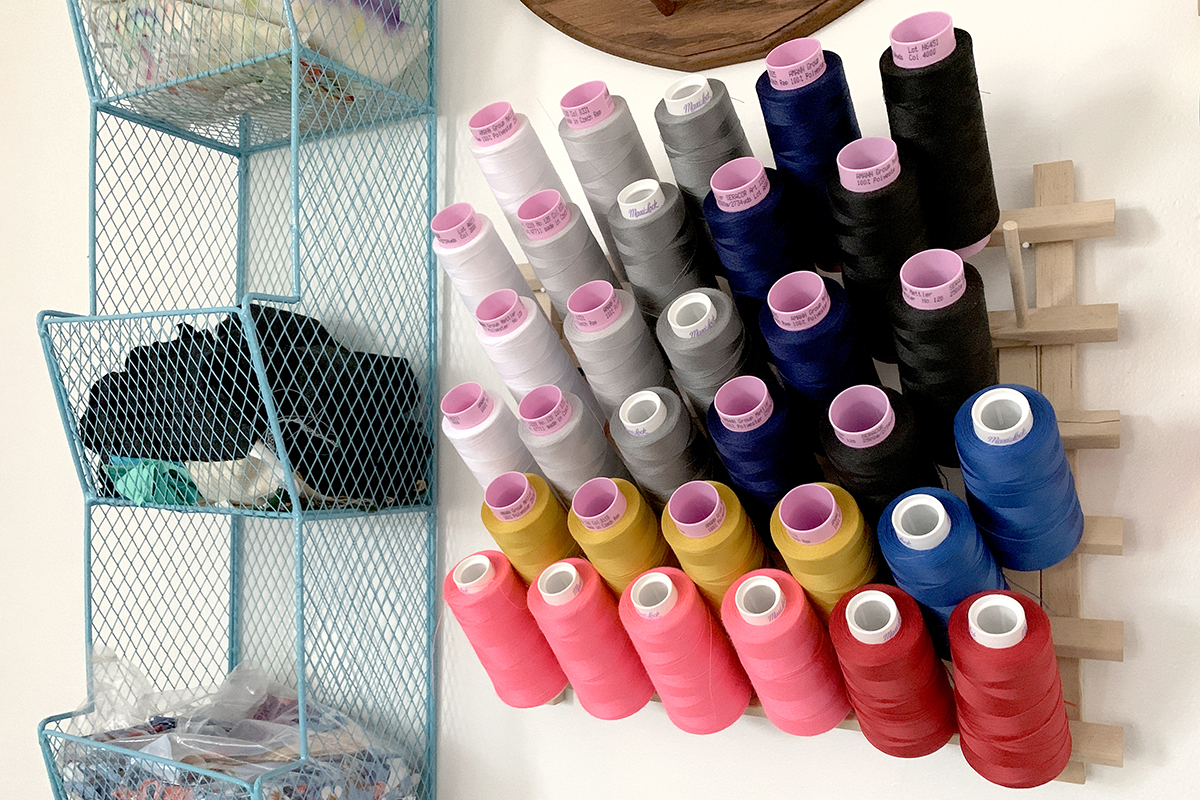
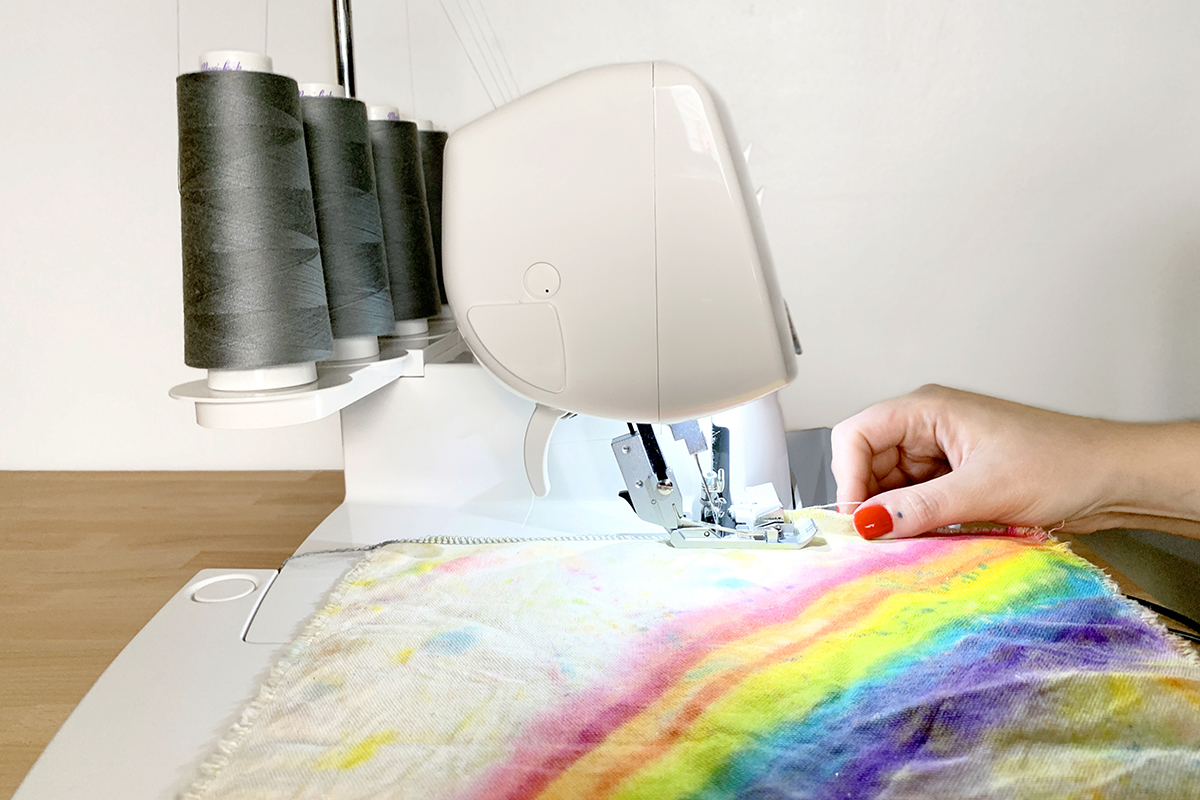
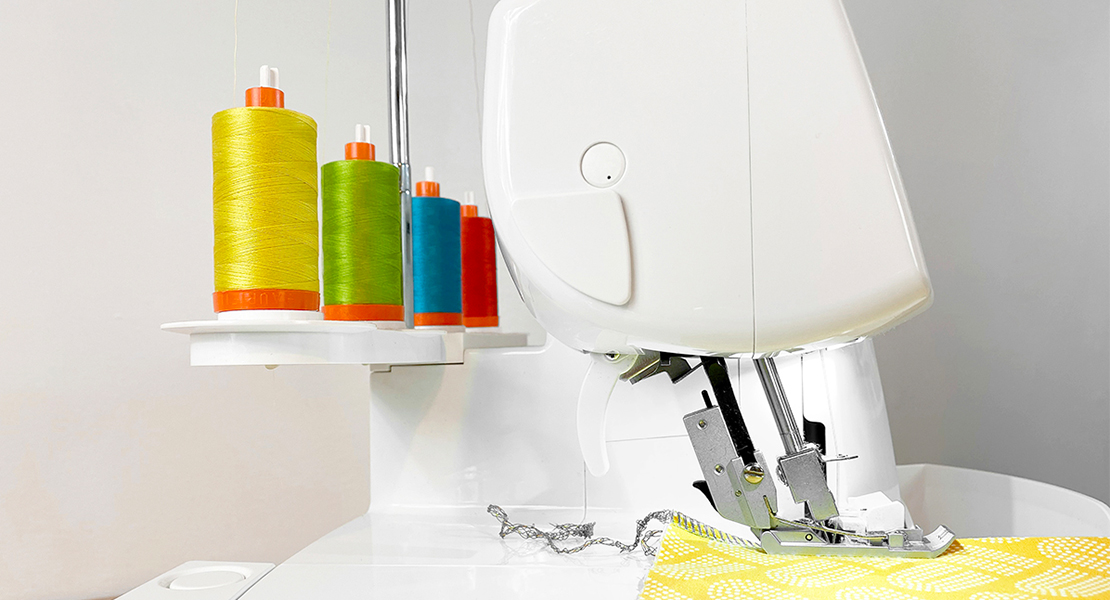
That being said, most of the time you will want to use cones of polyester “serger” thread. Polyester threads are more durable and will hold up to more stress, stretching, washing, and wearing—all things that come in to play for the kinds of projects constructed on the overlocker. This thread is usually found on larger cones because an overlocker uses more thread to create a stitch than a standard machine. When those loopers are wrapping thread around the edge of your fabric, you end up using quite a bit more than a typical straight stitch would.
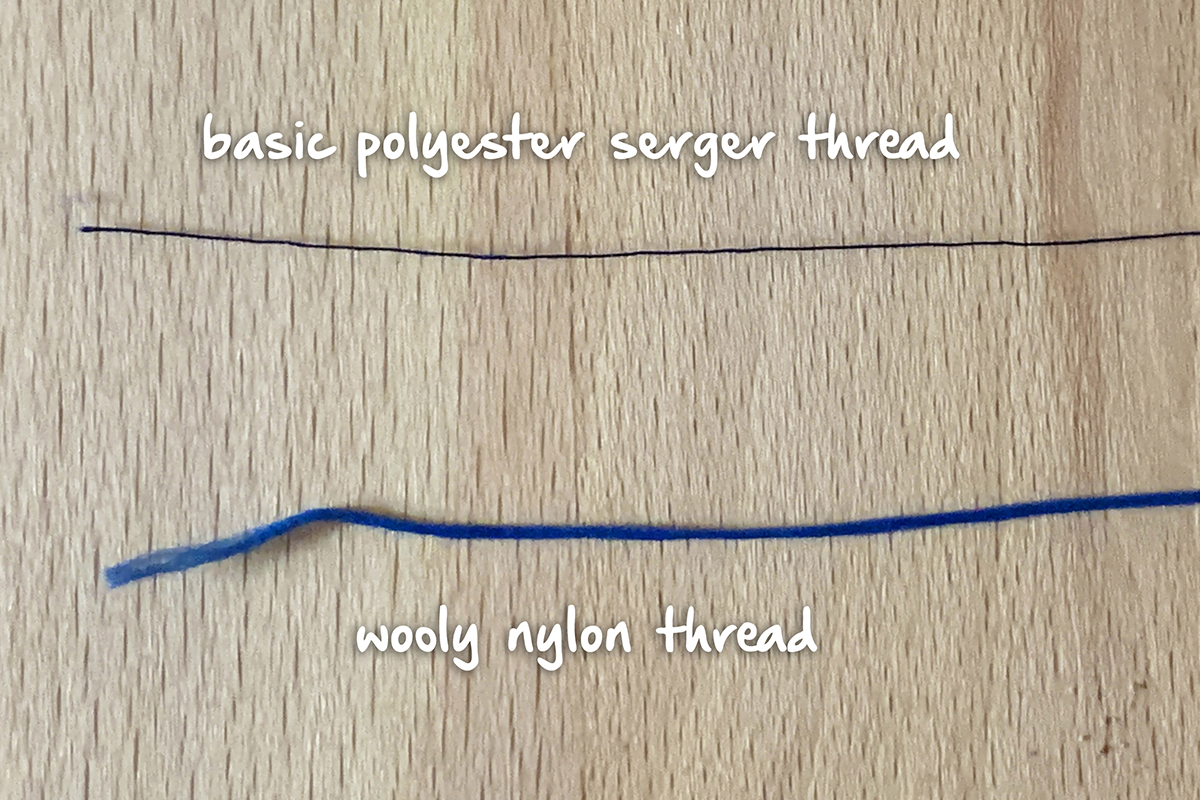
There is one type of thread that is occasionally used in overlockers that you may not be familiar with—texturized nylon thread. (A common brand is Wooly Nylon.) It’s a fluffy, stretchy thread that you may opt to use for a variety of reasons. Because of its fluffiness, it’s softer than typical poly thread, so it’s great for seams at cuffs or anything that’s close fitting. The added stretch also makes it the best choice for super stretchy fabrics like spandex or swimwear. We’ll talk more about this thread as we dive into those techniques, but I wanted to make mention of it early on because it’s often an overlooked choice for finishing.
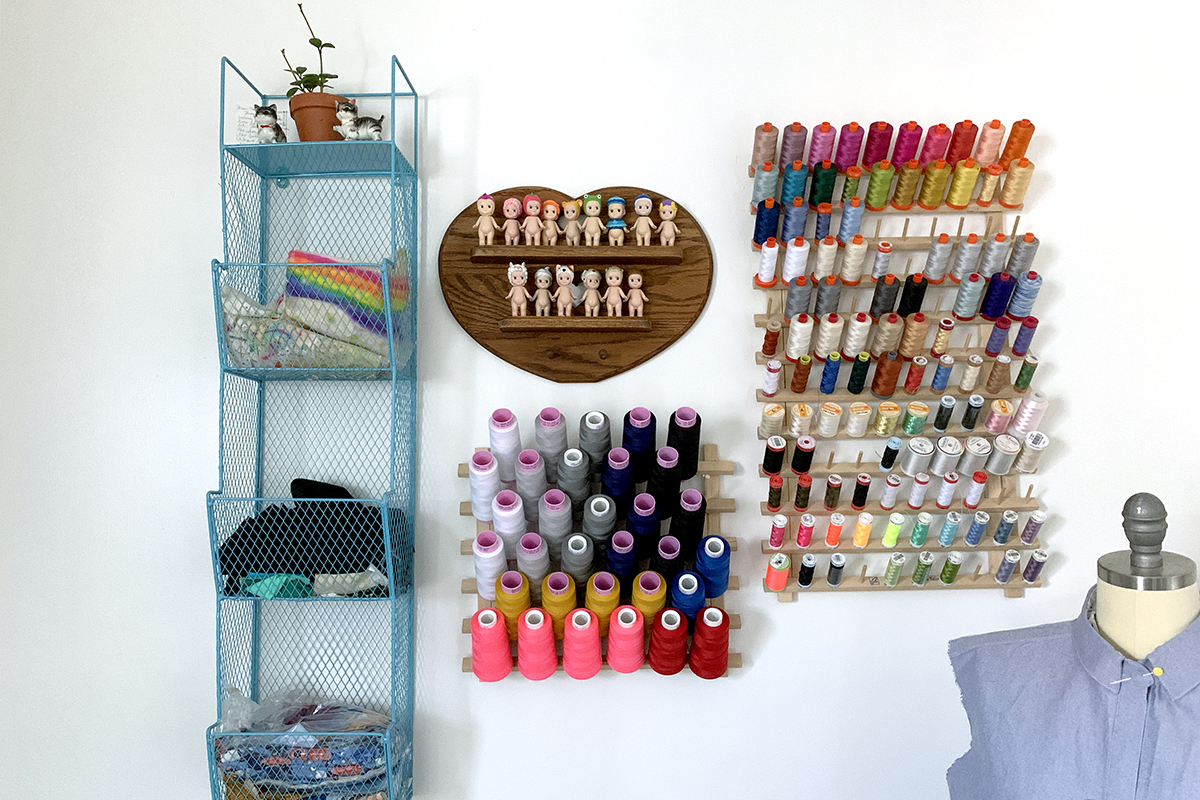
Finally, take a deep breath and repeat after me: “My serger thread does not need to match my fabric perfectly.” That’s a hard habit to break. But when you’re buying four spools at a time, rather than just one, there is no need to spend an arm and a leg on thread to match every single project.
Instead, keep a few neutral shades on hand and choose them to match the value of your fabric. You’ll want white (or off-white), light grey, dark grey, and black. Hot tip: If you’re not sure what shade is the best match for your fabric, take a photo of it in black and white and choose what blends in best!
Okay, I think I’ve got it. Now what about threading?
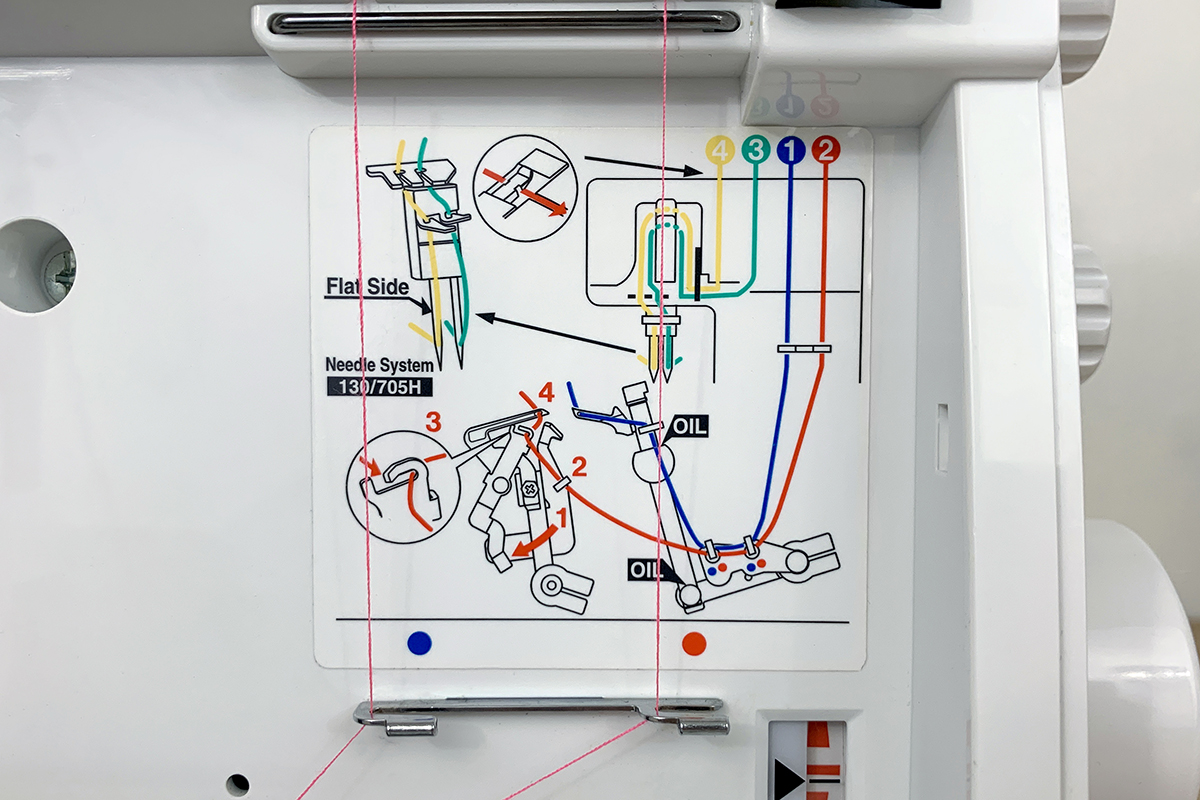
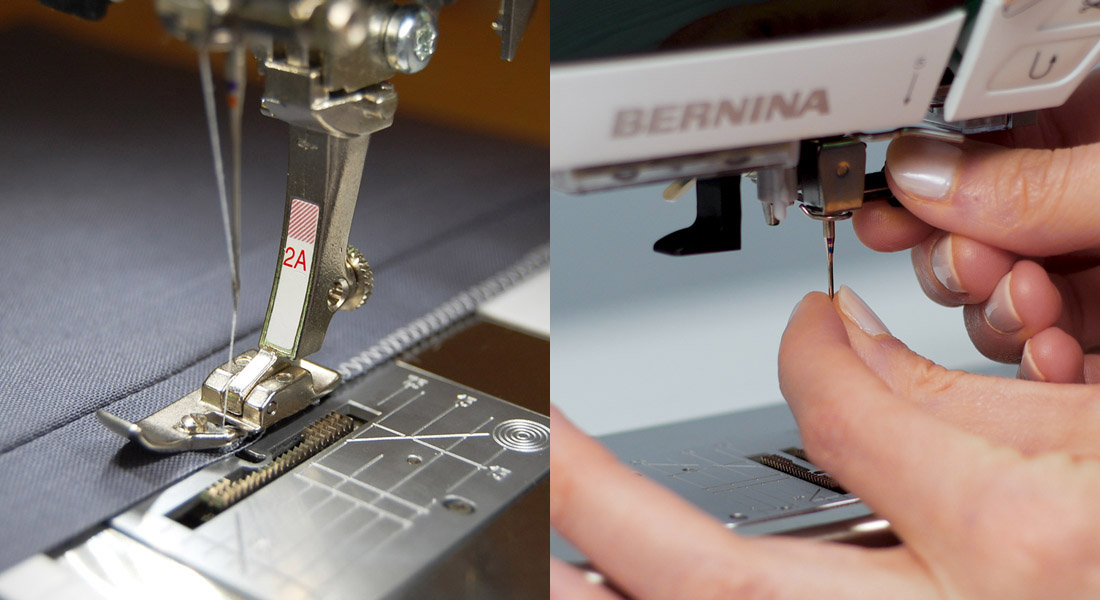
Threading is usually the most intimidating hurdle for folks new to overlockers, but I am here to assure you that you can do it. It is not a difficult process, but it is certainly a process. Just be patient and take your time to thread all the appropriate guides. After you do it a few times, you’ll get the muscle memory down!
BERNINA’s resident Overlocker Specialist, Jaime David, has taken the time to lay out all the steps in detail in this blog post here. These steps are going to be pretty universal for manual threading sergers, but be sure to read through the manual for your particular machine to double check.
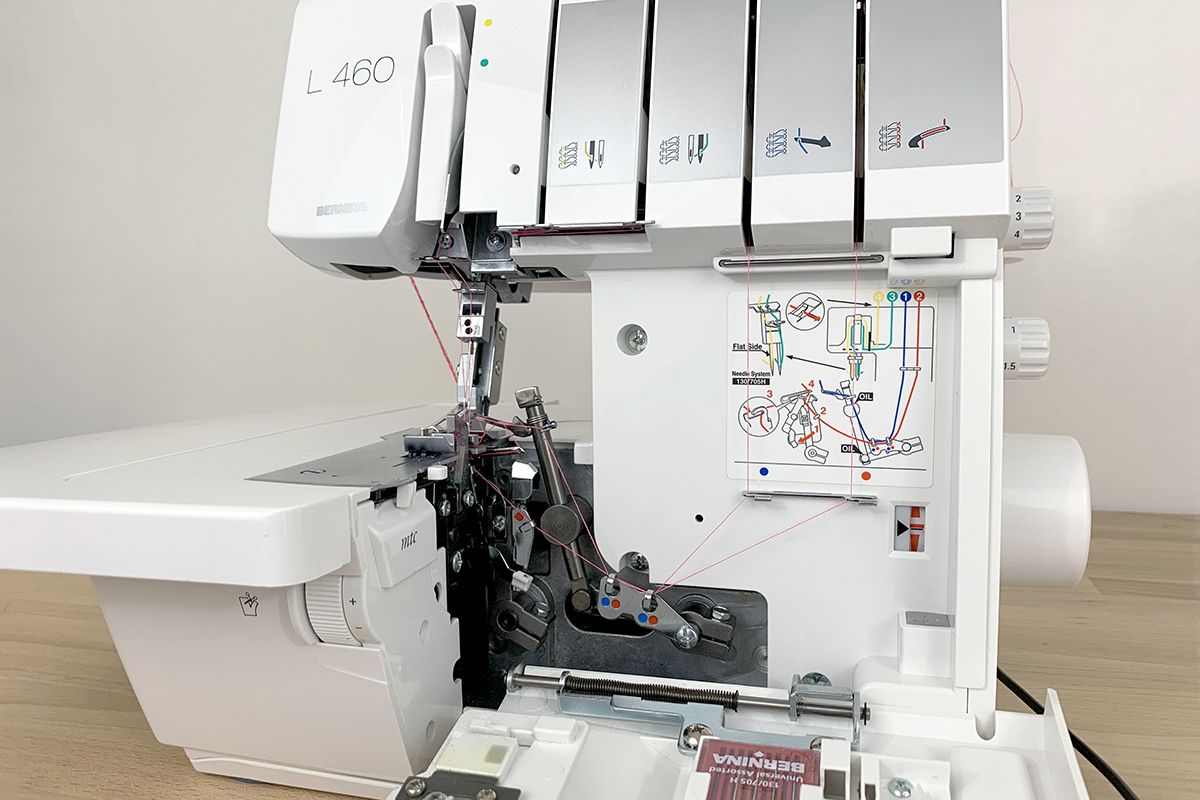
One of the best parts of our BERNINA L 450 and L 460 overlockers is that when you bring down the looper door, there’s a schematic of the threading paths right in front of you to reference and everything is color coded. Simply follow each color’s path and you’ll be stitching in no time.
I have it threaded. How do I know it’s working? Do I need to adjust any settings?
When you have the machine locked and loaded, you just need to hit the gas pedal! Unlike a standard sewing machine, it is perfectly safe (and often encouraged) to stitch in the air, meaning sewing without fabric under the presser foot. Your threads should form a tiny chain even without fabric. Throw a scrap of fabric under the foot to test it for sure, and you’re ready to go.
If your machine isn’t forming a complete stitch, something probably got missed and it’s most likely in the looper threading. Cut those two threads and give them another go. Remember that it all boils down to muscle memory. It’s unlikely you’ll get it perfect on the first try! You’re learning how to operate a whole new piece of equipment and that takes practice, patience, and time.
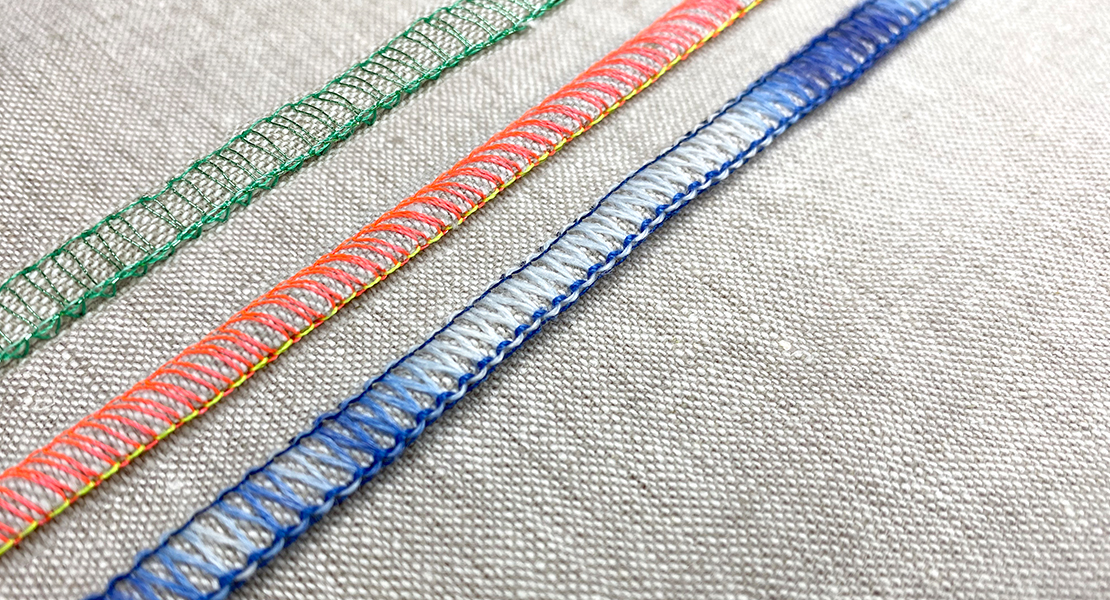
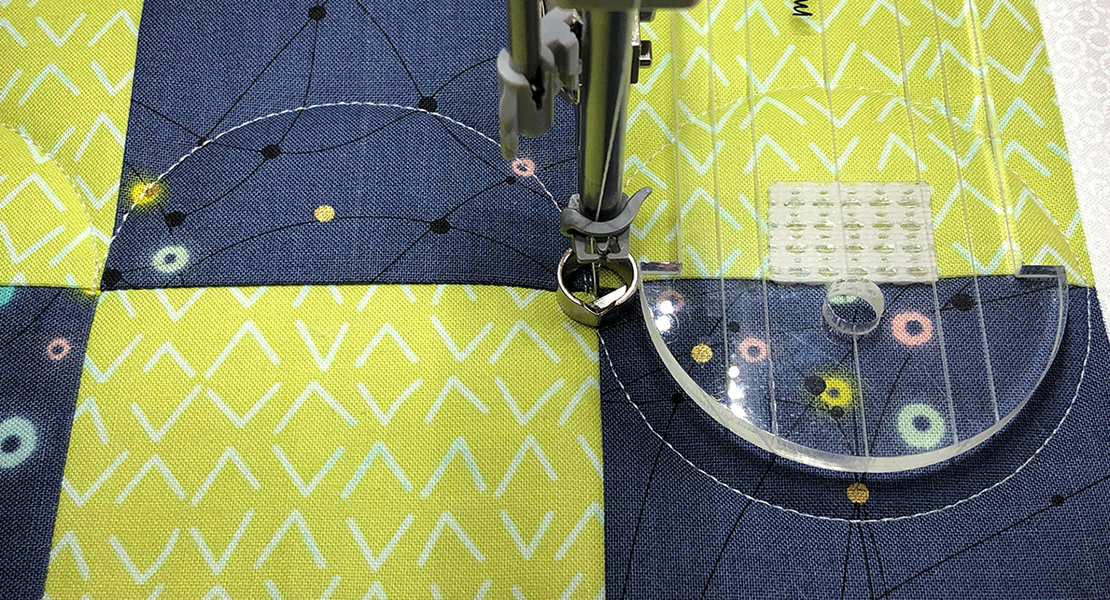
At this point, the machine is prepared for anything. Over the next few months, we’ll take a look at how to set up different stitches from this point. We’ll cover all the essentials—an overlock stitch, flatlocks, rolled hems, and troubleshooting all these techniques. Will you be following along? What do you feel you need the most help with on the overlocker?
Overlocker/Serger for Beginners Series
Part 1: Overlocker for Beginners—An Introduction to Sergers
Part 2: Overlocker for Beginners—The Essential Overlock Stitch
Used Products

What you might also like


21 comments on “Overlocker for Beginners: Introducing Sergers”
-
-
This is such wonderful info! I look forward to learning more things I can do with my serger!
-
-
This is perfect timing, I just bought an L450 and am pretty much a beginner when it comes to sergers. I managed to make a nice shirt, though
-
This is great!
Looking forward to the next lesson! -
Thanks for calling out that wooly thread. We rarely use it in the alterations shop I work in but I’ve found it in many a garment knit cuff that I’ve needed to repair or alter. So now I know what it is best used for! Can’t wait to follow along this series!
-
I’m really excited about this series. I have a new serger – er overlocker – and want to learn about it.
I have trouble threading the needles at the end, I can’t seem to use the little threading tool, so I think I’ll try a hand needle threader from the back side – I hope that will workMiki – Beaverton, OR
-
Miki, the tweezers that came with the machine are great for threading the needles! 🙂
-
-
This is perfect! I sometimes forget what stitch to use on what fabrics/seams, etc.. Plus I’d love to learn about decorative thread use with my L460! Thank you for this blog post!
-
I inherited a used Bernina serger and sewing machine to take on retreats from an avid quilter. I have never used the serger and looking forward to lessons. I hem a lot of my clothes and think this will really help.
-
Love this post. I had an Elna overlocker for years but really didn’t use it to it’s full capacity. Just bought the Bernina L460 and LOVE it. I have already learned new things from this post – including the fact that you can’t use the same oil for an overlocker as you can for a sewing machine. Who knew!! Also just ordered the Wooly Nylon. This having to stay at home isn’t all bad… 🙂
-
I am very excited to have found this and finally get to learn how to use my serger. Thank you so much for offering this tutorial. Looking forward to the lessons!
-
Looking forward to this series!
I have been sewing on my serger for about a year now. I took classes at the store where I purchased it as well as at a local fashion institute. But, I still struggle with curved seams like necklines and sleeves.
I also am not sure how to quickly and effectively remove a finished seam if I need to sew it again. -
This timing couldn’t be better as I just purchased the L460 and am basically a beginner. I can’t attend classes due to COVID so this will be of immense help! Thank you!
-
I found your blog this morning and am quite excited to learn about my L450. My hubby surprised me for Christmas and I’ve been playing with it but with basic 4 thread simple seams. This is going to be fun!
PS. Thanks for explaining serger vs. overlocker!
-
My partner in crime, Marino, was very thoughtful and purchased, without my knowledge, a new Bernette b44 that he purchased new in an unopened box from a company in Texas on Ebay. I was looking at the L450 and 460. I have registered it on the Bernina site. Being that I am new to this serger it is very trying, however, I am persevering. My question is this: as I was going through manual I came across the part for the (ULC) that says” when NOT threading the upper looper, the upper looper converter must be engaged into the upper looper eye. It states that the ULC would be in the area inside the machine that holds some tools, there is an area for the ULC but it is empty. Do I really need this, now remember I am new to this, therefore, I can’t answer that question so hoping that you can?
Thank you in advance for any information you can provide.-
Hi! Great news– this is not a SUPER necessary piece for the beginner. We haven’t touched on the Upper Looper Converter just yet so keep your eyes peeled, but for now you will do just fine without it. As you get to know your machine and all the incredible things it can do, you may decide you do want to sew some of the stitches that require this part. At that point, you can talk to your local BERNINA/bernette dealer and they can order one for you. But don’t fret about missing it just yet 🙂
-
-
Having just purchased the 460 I am thrilled to see this series…
-
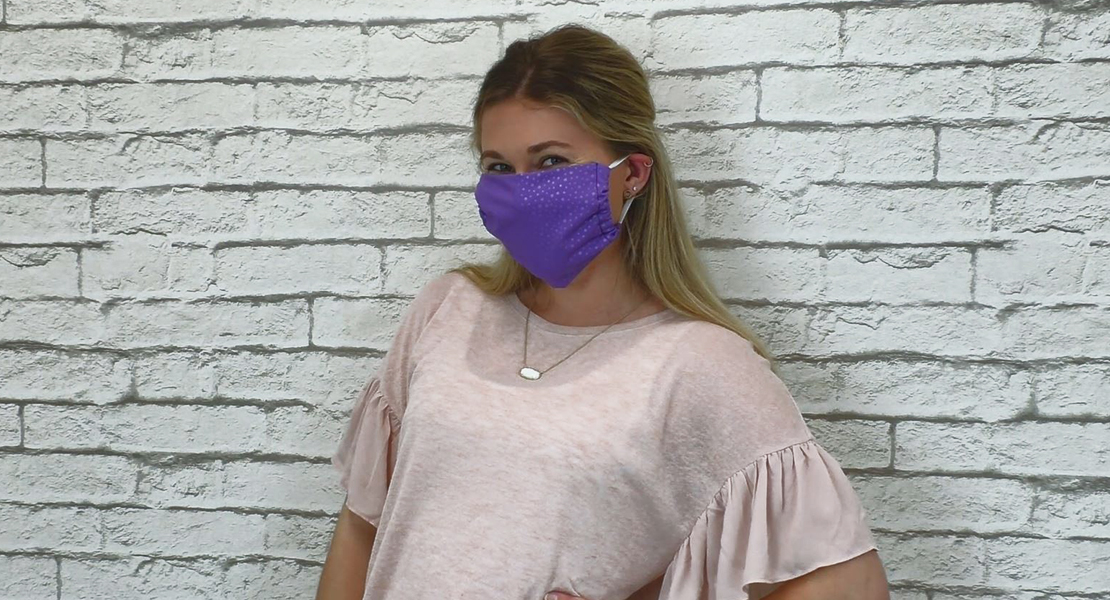
I’m sew thrilled to learn about this series! I purchased my L460 last July during a big sale at my favorite San Antonio quilt shop, but then never had the time to take the classes to learn how to use it! Before I left the store to take home my Little Bundle of Joy, I had them help me thread it with a neutral thread (light grey)…and she’s been sitting on the counter in my sewing room ever since!! Lol. I own a B880 (a real workhorse) and also a smaller and more retreat-friendly B570 QE, so most of my sewing time is spent making quilts using these two magnificent machines. With COVID-19 and having to WFH now, most of my free time is being spent making masks for local healthcare professionals and family, friends & neighbors. I fired up the L460 the other day in an attempt to use it for finishing the seams on my masks (the pattern I’m using has a pocket on the backside for inserting a filter) and I just couldn’t get it to do what I needed it to do. The tension wasn’t quite right and I probably only needed 3 threads (not 4) and only 1 needle (not 2), but I was under a time crunch in order to get these masks into the mail, so I didn’t really have time to fiddle around re-learning what to do. This online series is just what I needed! Thanks so much for covering this topic for us “newbies”!! Cheers!
-
I just got an L460 recently. I had a Husqvarna-Viking 936 before that was damaged when my basement flooded. I must say, I absolutely LOVE my L460. It is super easy to thread and sews wonderfully. I think I’m pretty serger savvy, but I’m looking forward to these posts to learn more.
-
I was given a serger by a friend and I can hardly wait to learn how to use it!
-
I have a beautiful Bernina 1300DC Serger that I hardly use. Threading the machine is so cumbersome that it is tucked away. I have been sewing for over 55 years and this machine is just hard. Every time I have tried to thread it. It gets screwed up and isn’t right. The thread breaks and then I have to try again. It is so frustrating. I have my Bernina Jubilae Model 801 and I am so happy with it. I am going to read through this series again and hope I will have new inspiration to try again.
Leave a Reply
You must be logged in to post a comment.

So excited and happy about learning how to use my serger! Thank you!