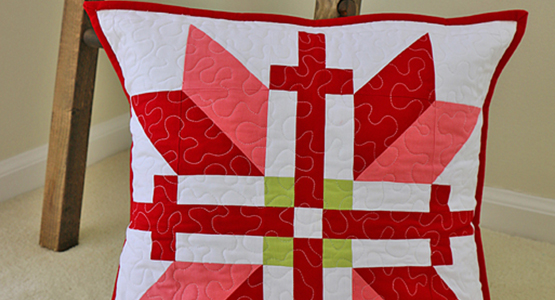
Peppermint Candy Pillow Tutorial
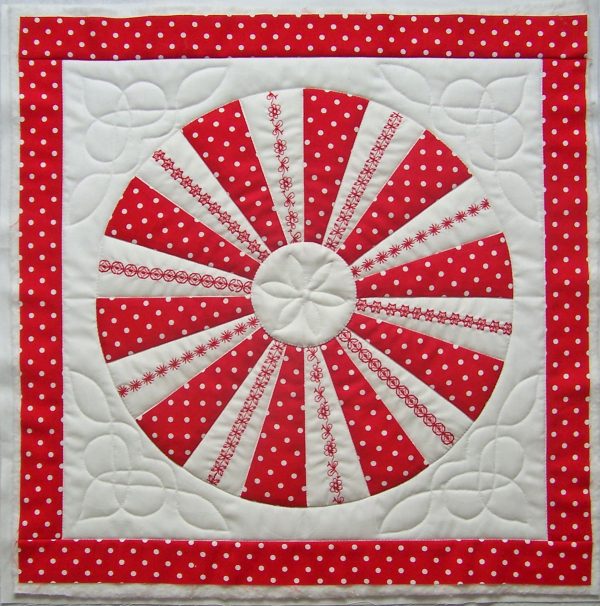
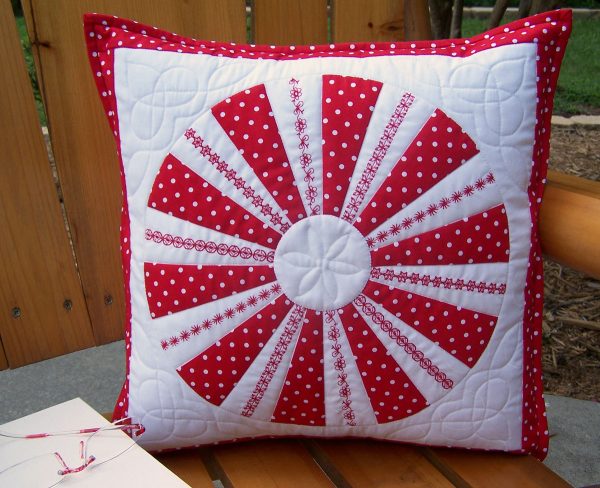
This adorable Peppermint Candy Pillow by BERNINA Ambassador Nancy Mahoney will give your decor a new look, whether for your bed or a decorative pillow for your couch.
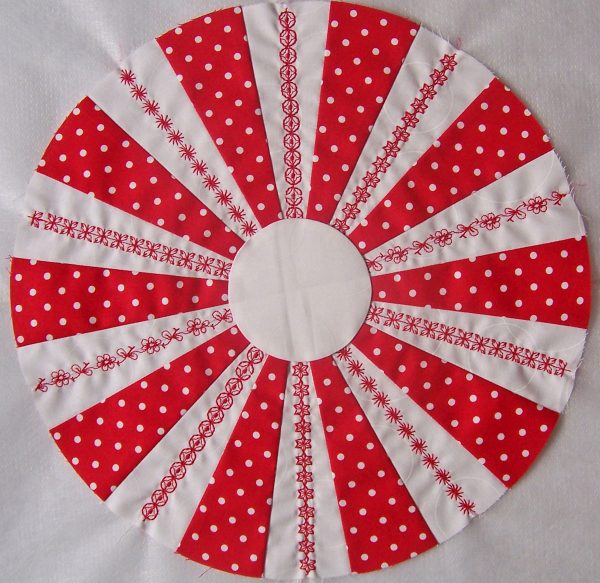
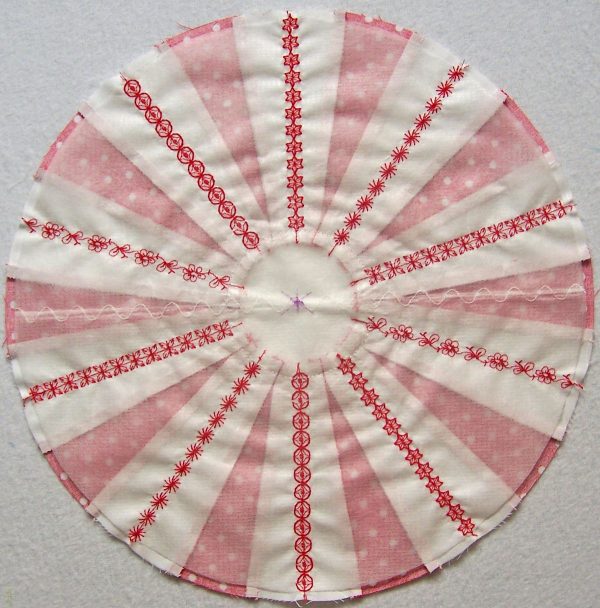
The Dresden Plate block variation reminds me of Peppermint Candies. So, I chose a fun red-and-white polka-dot and a white-on-white print to create this embellished pillow. After joining the wedges to make a ring, I used red thread and decorative stitches to add the look of redwork stitching to the white wedges. The patchwork and appliqué is so easy, you can make this project in a few hours.
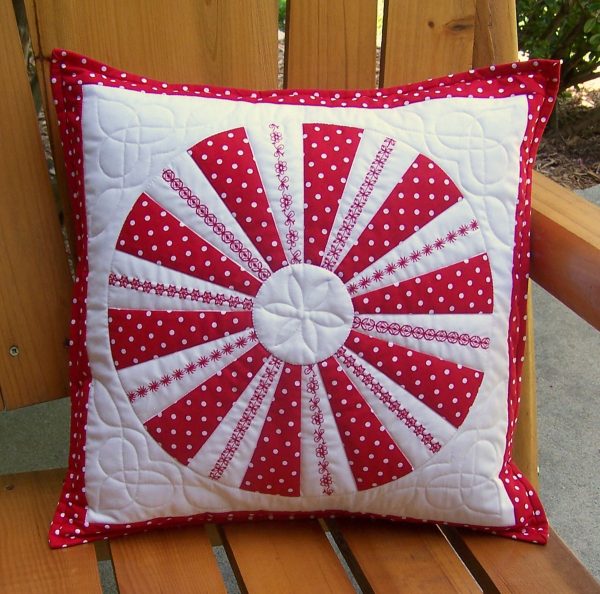
Finished size: 16″ square
Materials for Peppermint Candy Pillow
- 3/4 yard of red dot for block, pillow back, border, and binding
- 1/2 yard of white tone on tone for block
- 1 fat quarter of white solid for backing
- 17″ square of cotton batting
- 16″ square pillow form
- 13″ square of OESD Cut Away Poly Mesh stabilizer
- 30-wt. red thread
- Mettler 60-wt. red and white thread
- Monofilament thread (optional)
- 3″ x 6″ rectangle of template plastic
- Your sewing machine, I sew on a BERNINA 780
- BERNINA Patchwork foot # 37/37D or BERNINA Patchwork foot #97/97D
- Reverse pattern foot with clear sole # 34/34C/34D
- Open embroidery foot # 20/20C/20D
- Straight stitch plate
- 9mm stitch plate
- Double-stick tape (optional)
- Temporary spray adhesive (optional)
- Appliqué glue (optional)
- Compass
Wedge Pattern Template: Peppermint Candy templates
Cutting
From red dot, cut:
• 1 strip, 5-1/4″ x 21″
• 2 strips, 1-1/2″ x 42″; crosscut into 2 strips, 1-1/2″ x 14-1/2″ and 2 strips, 1-1/2″ x 16-1/2″
• 1 strip, 10″ x 42″; crosscut into 2 rectangles, 10″ x 16-1/2″
• 2 binding strips, 2-1/4″ x 42″
From white tone on tone, cut:
• 1 square, 15″ x 15″
• 1 strip, 5-1/4″ x 21″
Sewing Instructions
Pillow Front
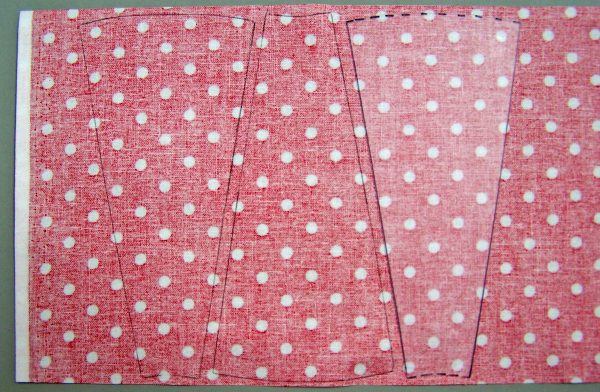
Trace the wedge pattern onto template plastic, and then cut out the template. Using the template, trace 10 wedges onto the wrong side of the red-dot 5-1/4″-wide strip, rotating the template as shown. (Tip: Place a piece of double-stick tape on one side of the template to hold the template in place as you trace.) Cut out each fabric wedge. Repeat the process to cut out 10 wedges from the white 5-1/4″-wide strip.
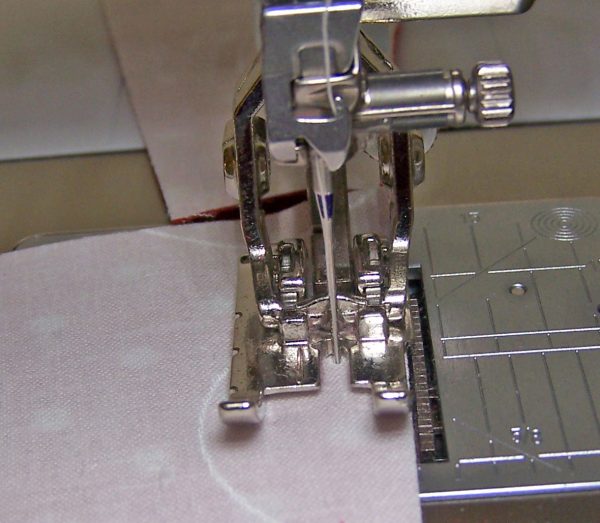
Using a Patchwork foot and a Straight stitch plate, sew the red-dot and white wedges together in pairs. Make 10.
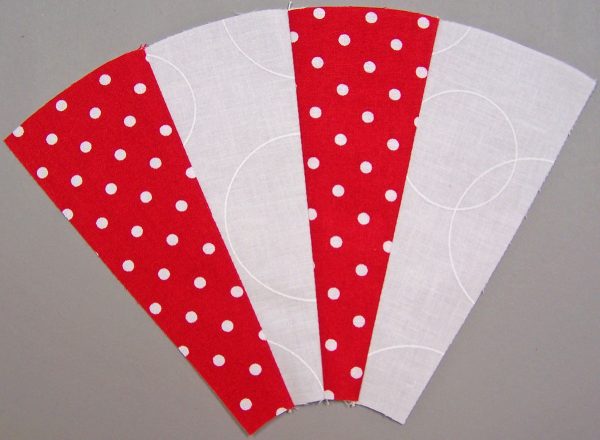
Join the 2-wedge units to make five 4-wedge units.
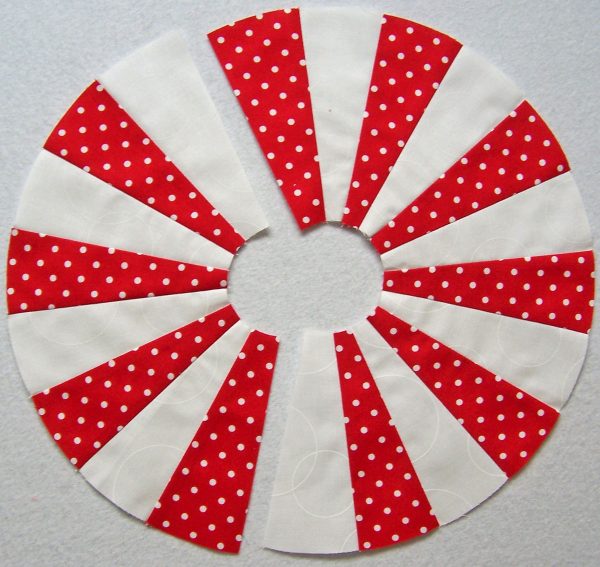
Join two 4-wedge units to make half of the pieced ring. Join the remaining three 4-wedge units to make the other half of the pieced ring.
Join the two halves to complete the pieced ring. Don’t worry about the hole in the center, that will be covered in a later step.
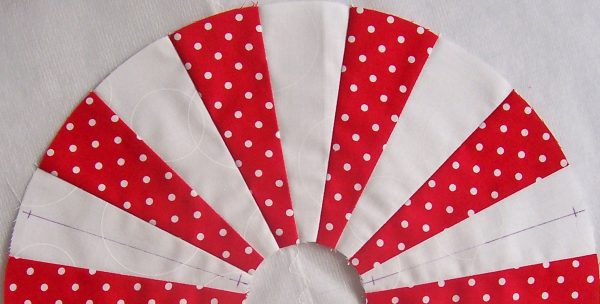
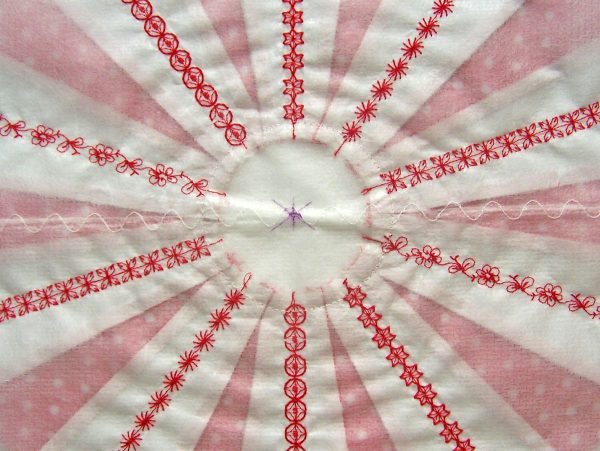
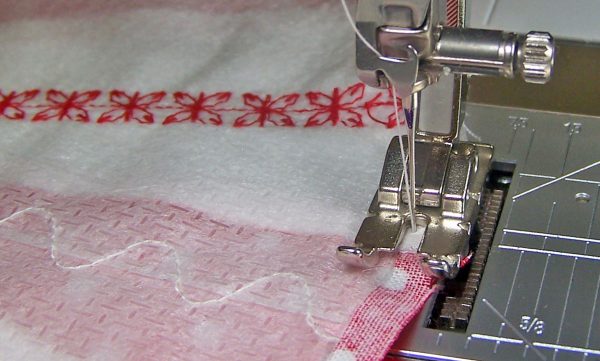
Place the pieced ring on top of the square of stabilizer. Pin in place or use a temporary spray adhesive (such as Sulky KK2000) to hold the stabilizer in place. (Tip: If the stabilizer isn’t wide enough, butt up two pieces and use a running stitch to join the pieces. Then position the circle so the stabilizer seam is underneath two red-dot wedges.) Using a removable marker, mark a center line on a white wedge. On each end of the wedge, place a mark 1/4″ from the raw edge.
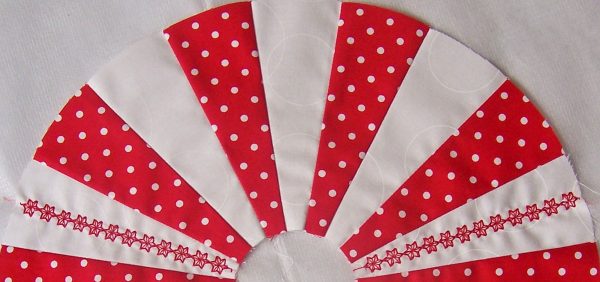
To sew an decorative stitch, change to a 9mm stitch plate and install a Reverse pattern foot. Thread your machine with the 30-wt. red thread and use 60-wt. red thread in the bobbin. Select a decorative stitch (I used stitch 133 and set the stitch length to 10.0.) Start on the 1/4″ mark in the center and align the center mark on the foot with the center line on the wedge. Using Pattern Begin, stitch on the marked line. Stop sewing 1 repeat from the end, select Pattern End to stitch the remainder of the line with a complete pattern.
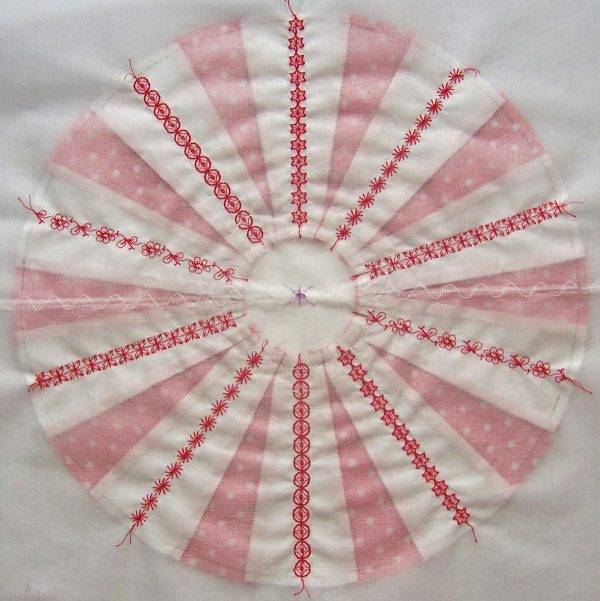
In the same way, sew a decorative stitch in each white wedge. I used each decorative stitch twice, but you can use a different stitch in each wedge. Or, use the same stitch in each wedge. I used the following stitches:
Stitch 133, stitch length 10.0
Stitch 158, stitch length 27.2
Stitch 606, stitch length 10.2
Stitch 651, stitch length 10.0
Stitch 655, stitch length 10.2
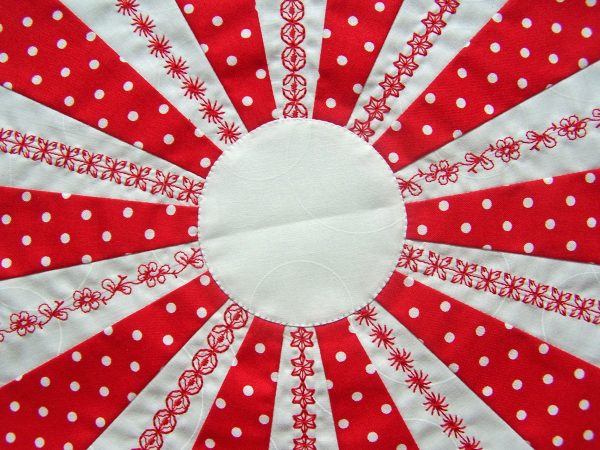
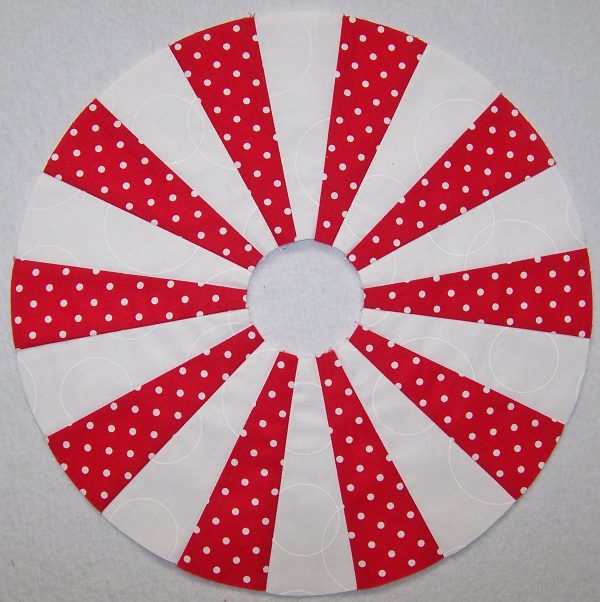
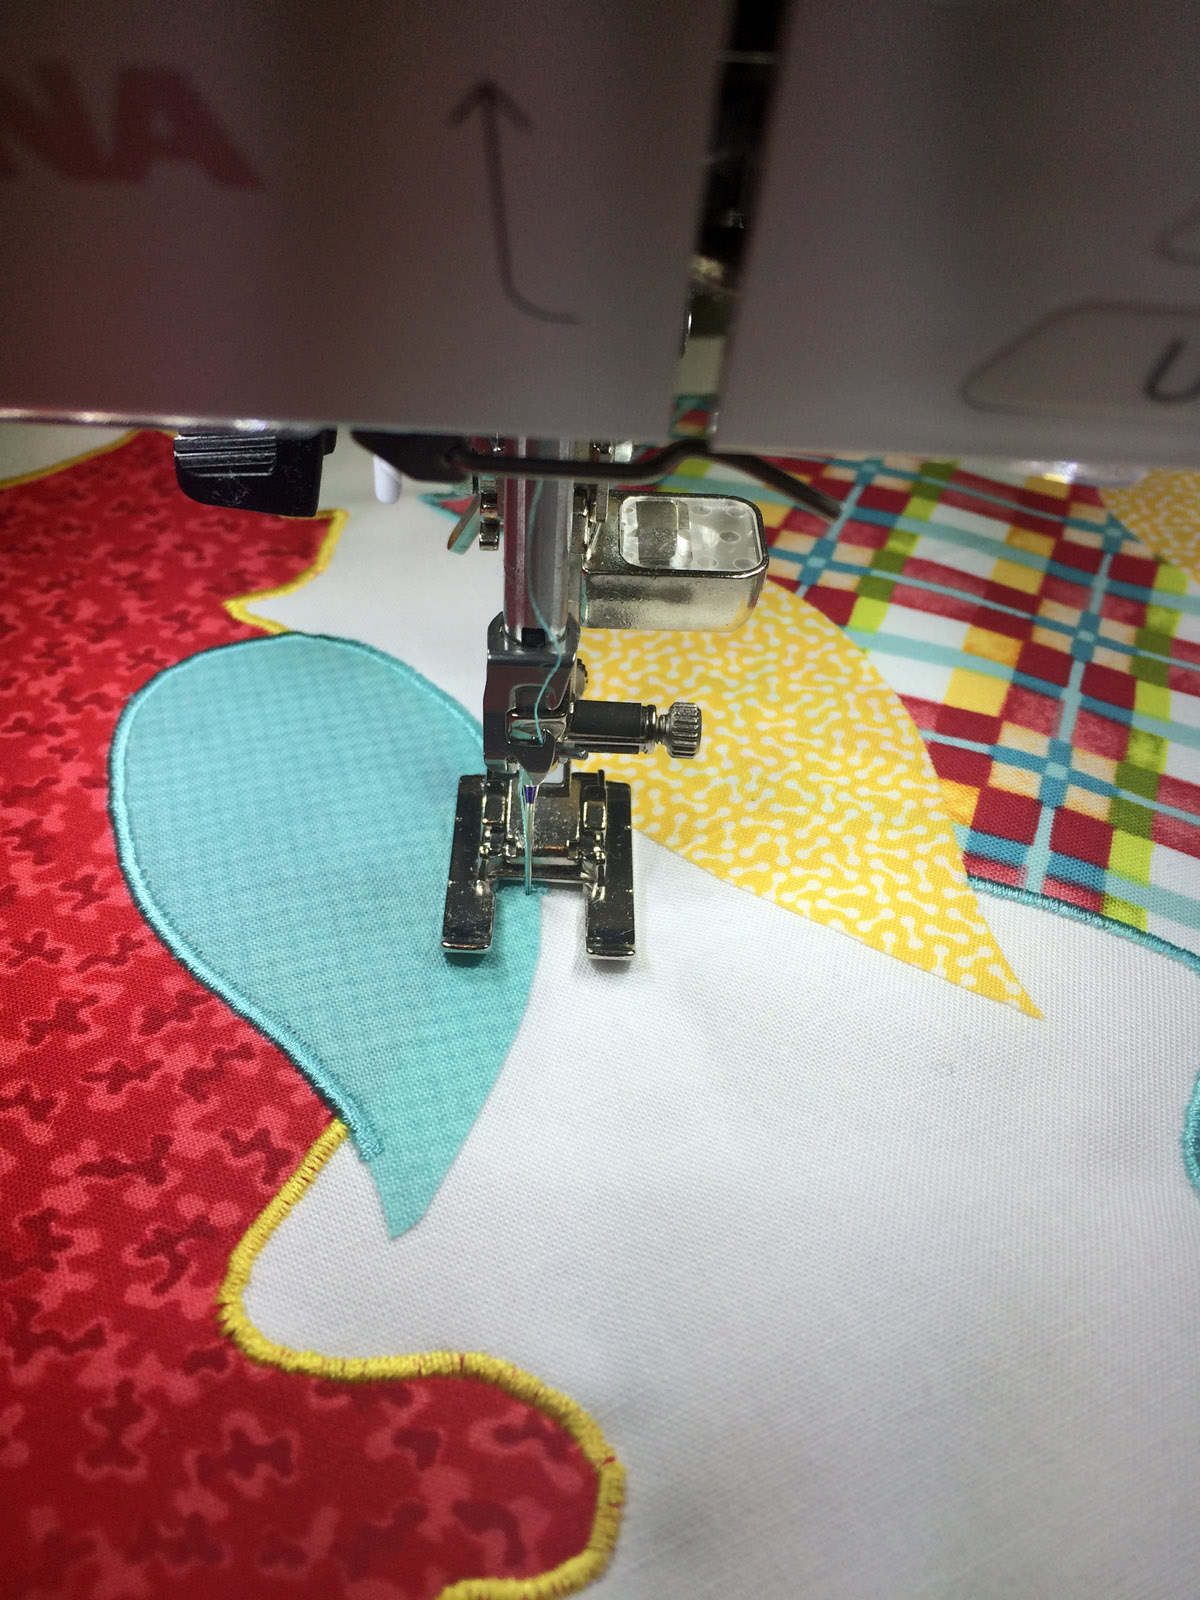
Using the appliqué method of your choice, prepare a white 3″ circle for appliqué. Fold the circle in half vertically and horizontally, and finger press to crease. Matching the seam lines and creases, center the white circle in the middle of the embroidered circle. Appliqué the white circle in place. (I installed an Open embroidery foot and threaded my machine with monofilament. I used a 60-wt. white thread in the bobbin or you can use monofilament in the bobbin. I selected a blanket stitch (1329), set the stitch width to .9 and reduced the tension to 1.5. Then I slowly stitch around the white circle. Note that the tension adjustment depends on your machine, you want to reduce the tension so that the bobbin thread is not visible on the top.)
On the wrong side, mark the center of the circle.
Using a compass, draw a line around the outer edges to make a 12″ diameter circle.
Cut away the stabilizer, leaving about 1/4″ of fabric beyond the stabilizer circle. Tip: I cut away the stabilizer from the seam allowance only, leaving the stabilizer in the rest of the block. The edge of the stabilizer circle is a guide for turning the seam allowance. The stabilizer also adds a little dimension to the Dresden block.
Install a Patchwork foot and move the needle 1 position to the left. Use a straight stitch and set the stitch length to 3.0. Using white thread and aligning the inside of the foot with the raw edge of the stabilizer, sew around the circle. The line of stay stitching will secure the ends of the seams and decorative stitches, and makes it easier to turn the seam allowance under around the outer edge of the circle.
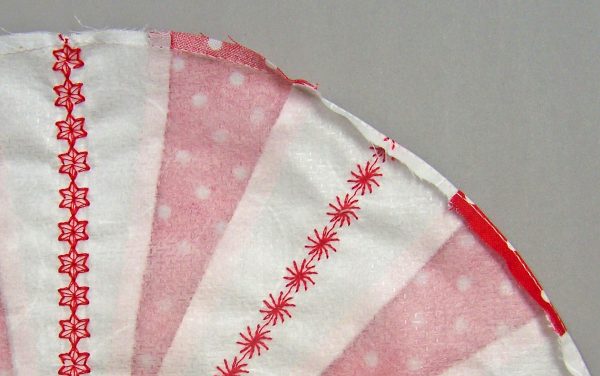
Using the edge of the stabilizer circle and the line of stitching as a guide, fold the seam allowance to the wrong side of the circle and press with a dry iron.
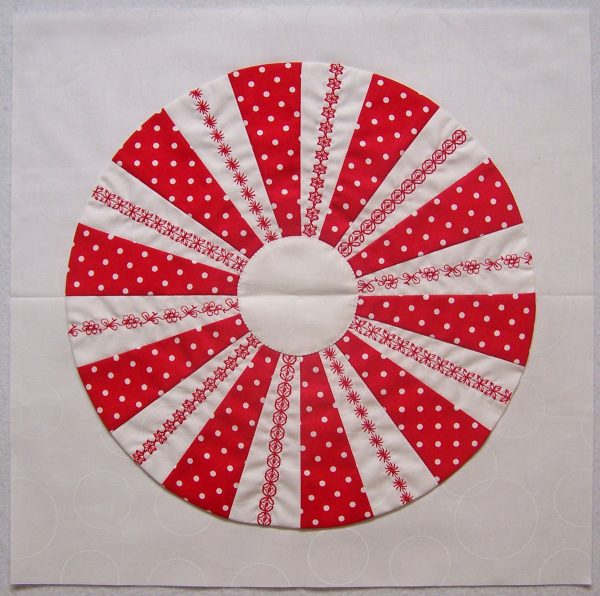
Fold the white 15″ square in half vertically and horizontally and finger press to crease. Matching the seam lines and creases, center the pieced circle on top of the white square. Glue baste in place. Appliqué the pieced circle in place. (I used the same method described in step 9.) Trim the block to measure 14-1/2″ square, making sure to keep the pieced circle centered.
Sew the red-dot 1-1/2″ x 14-1/2″ strips to the left and right sides of the block. Sew the red-dot 1-1/2″ x 16-1/2″ strips to the top and bottom of the block. Layer the pillow top, batting, and white solid backing; baste. Quilt as desired. Trim the batting and backing even with the edges of the pillow top.
Pillow Back
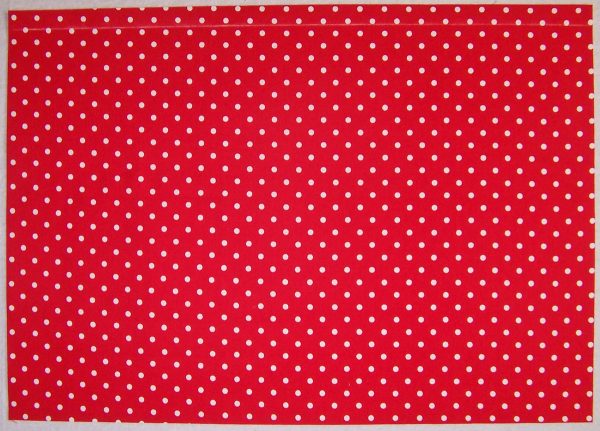
On one 16-1/2″ edge of both red-dot rectangles, mark a line 1/2″ from the raw edge. Tip: After quilting, the pillow top may be slightly smaller than 16-1/2″. Trim the length of both red-dot rectangles to match the length of the pillow top.
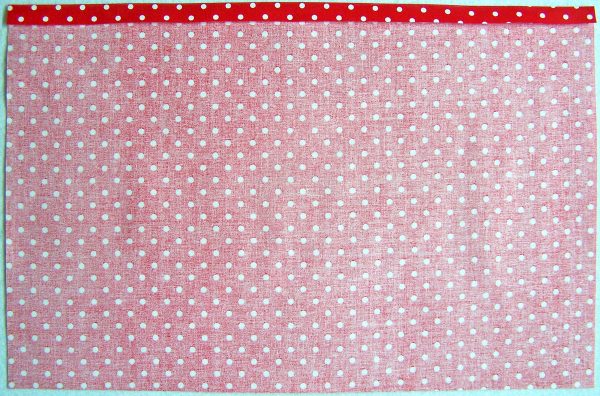
On both red-dot rectangles, fold over on the line and press. Then fold under 1/4″ and press.
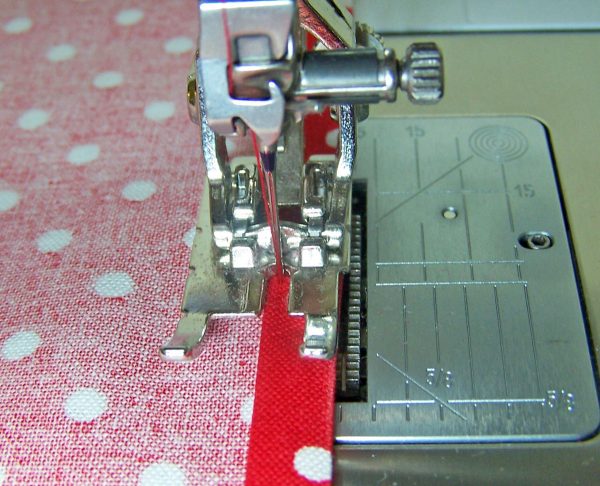
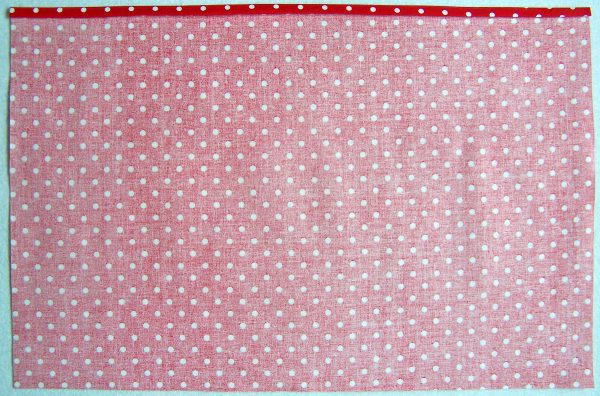
Install a Straight stitch plate and Patchwork foot. Using a straight stitch and matching thread, stitch along the folded edge to make a hem.

With the wrong side facing up, overlap the pillow backs about 2-1/2″. Measure the width of the pillow top and adjust the overlap so that the pillow back is the same width as the pillow top. Machine baste 1/8″ from the raw edge on both edges to secure the overlapped pieces.
Finishing
Place the pillow top on top of the pillow back, wrong sides together. Pin well and then machine baste 1/8″ from the raw edge all around the pillow.
Stitch the red-dot binding strips end to end using a diagonal seam. Fold and press the resulting long strip in half lengthwise with wrong sides together. Stitch to the pillow-top front, matching raw edges and mitering corners. Fold the binding to the back of the pillow and hand-stitch the folded edge to the back.
Insert the pillow form through the opening in the back.
What you might also like


7 comments on “Peppermint Candy Pillow Tutorial”
-
-
I like this pillow very much
is there pfd print out?
Thanks-
Hello sjbrown, there is a PDF pattern to print out the template for the pillow, it’s listed towards the top of the post under Materials.
-
sjbrown,
If you highlight part of the sentence at the top of the article, then right click and choose “save as” it will save the
whole article so you can use it later. Hope this helps.
-
-
The stitch lengths listed on this pattern seem wrong. My stitch length can go to 6.0 on my 830
-
A great project using those wonderful decorative stitches! I think I will make a table topper instead of a pillow. Thanks.
-
I made 3 candy blocks adding sashing and border to create a pretty Table Runner. It will look lovely in my red and white kitchen!
Leave a Reply
You must be logged in to post a comment.

Your tutorial is well explained, and I look forward to making this pillow. It’s neat!