Perfecting a Balanced 4-Thread Overlock Stitch
Often when switching between fabrics and thicknesses, an overlock stitch can become unbalanced. The tension of the lower looper could be too tight, causing it to pull the thread of the upper looper to the back. Or the right needle could be looser than the left needle, creating loops on the front and back of the fabric. This lesson will teach you how to balance the 4-thread overlock stitch, while creating a booklet of overlock stitches to help troubleshoot future tension problems when switching between fabrics and techniques.
Supplies:
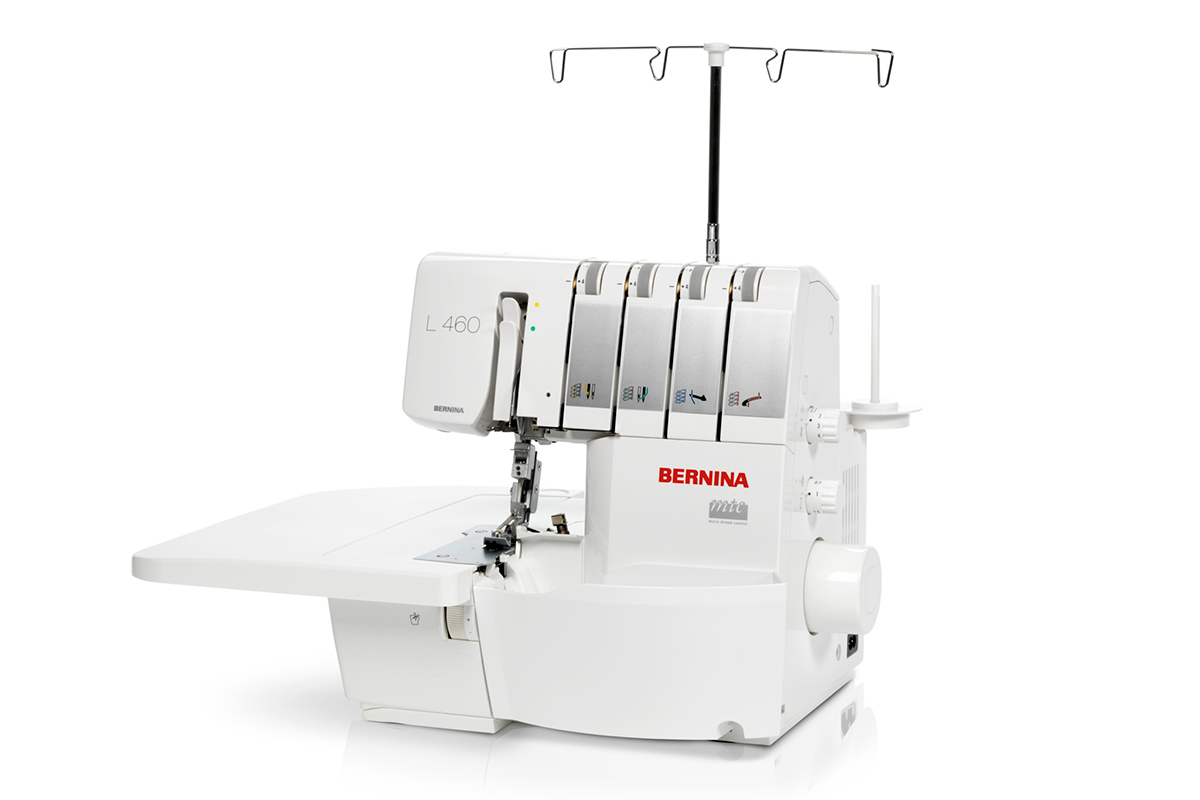
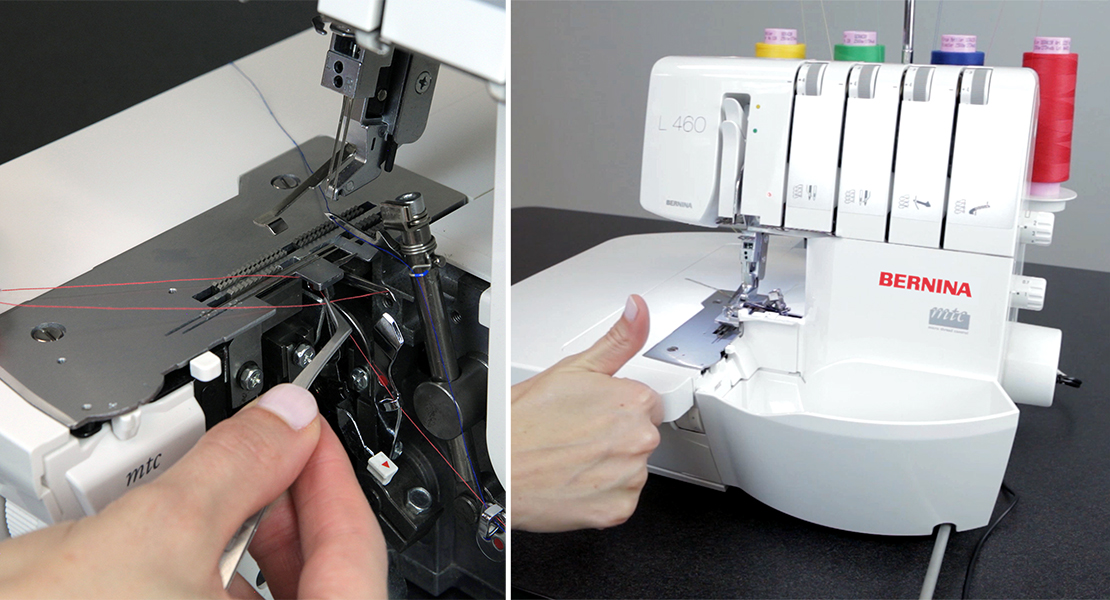
- BERNINA Overlocker (the BERNINA L 460 was used for this lesson)
- 10 – 4″ x 8″ pieces of light-colored muslin
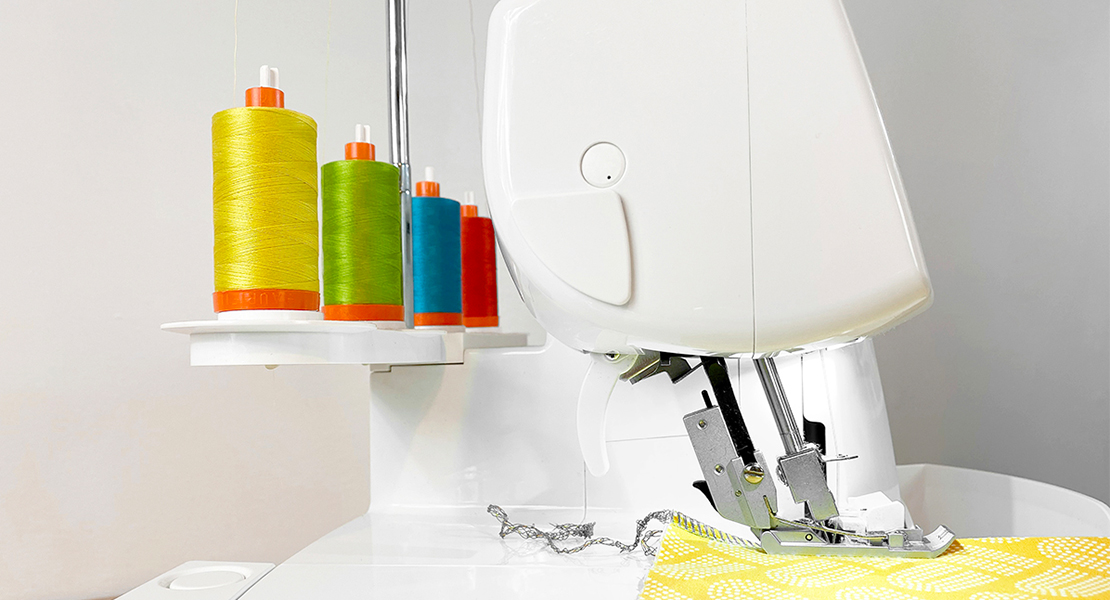
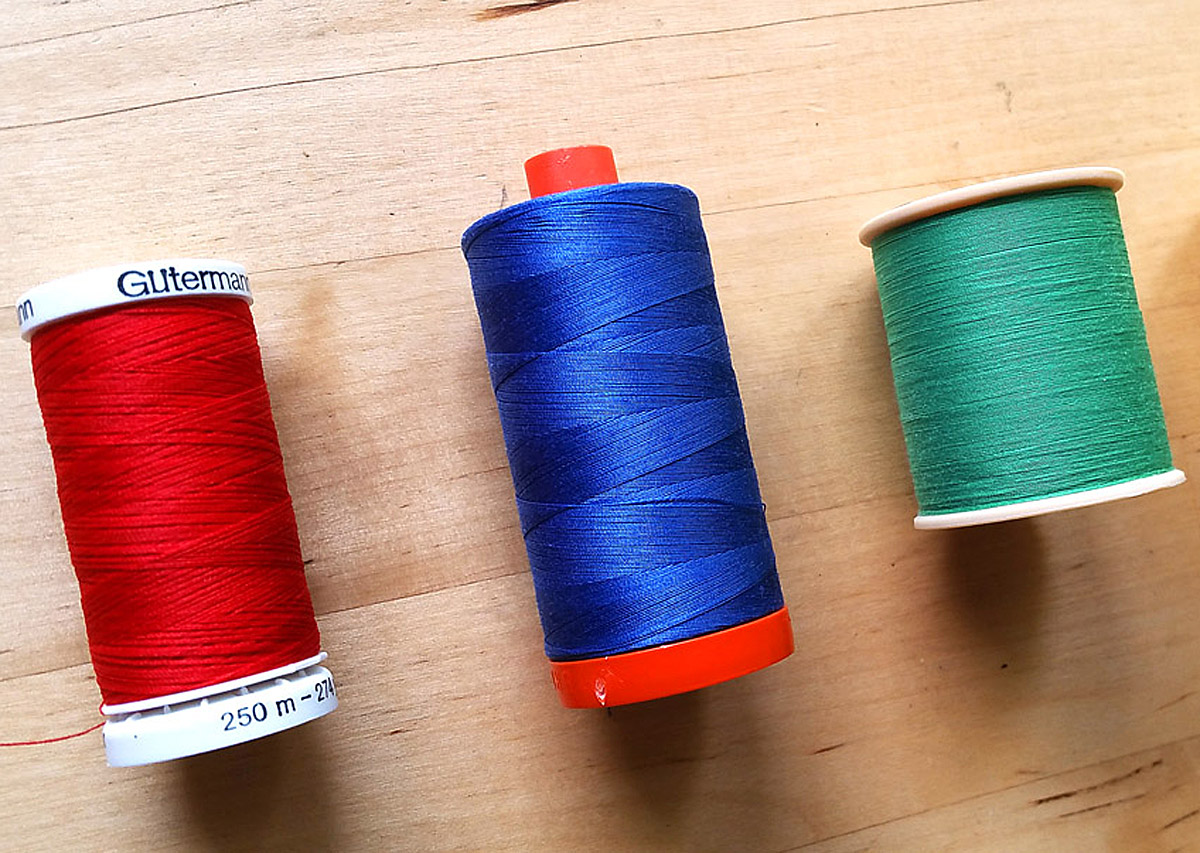
- Red, blue, green, and yellow Seracor thread
- Micron pen or permanent fabric marker
Download the lesson handout here
Instructions:
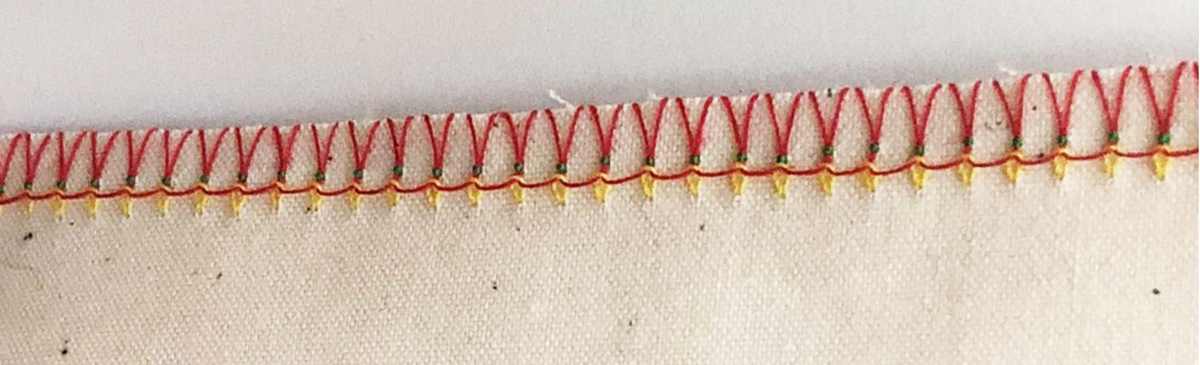
Create the Balanced Stitch Sample:
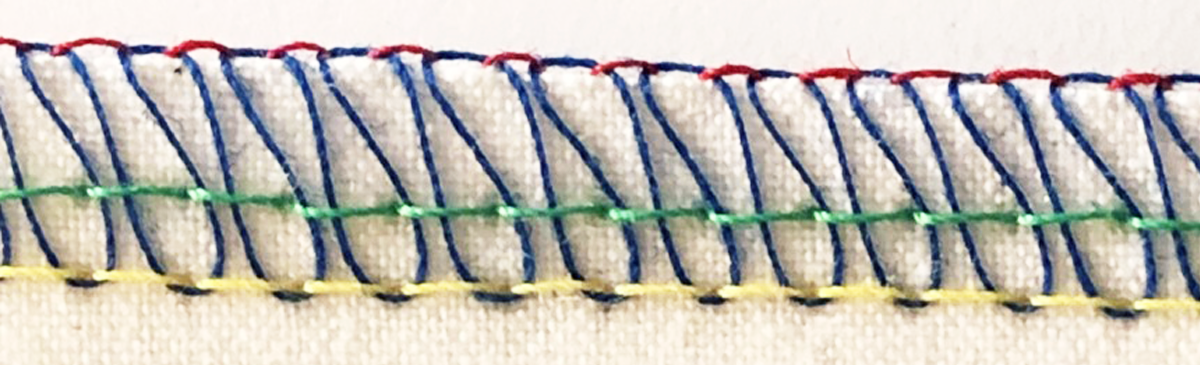
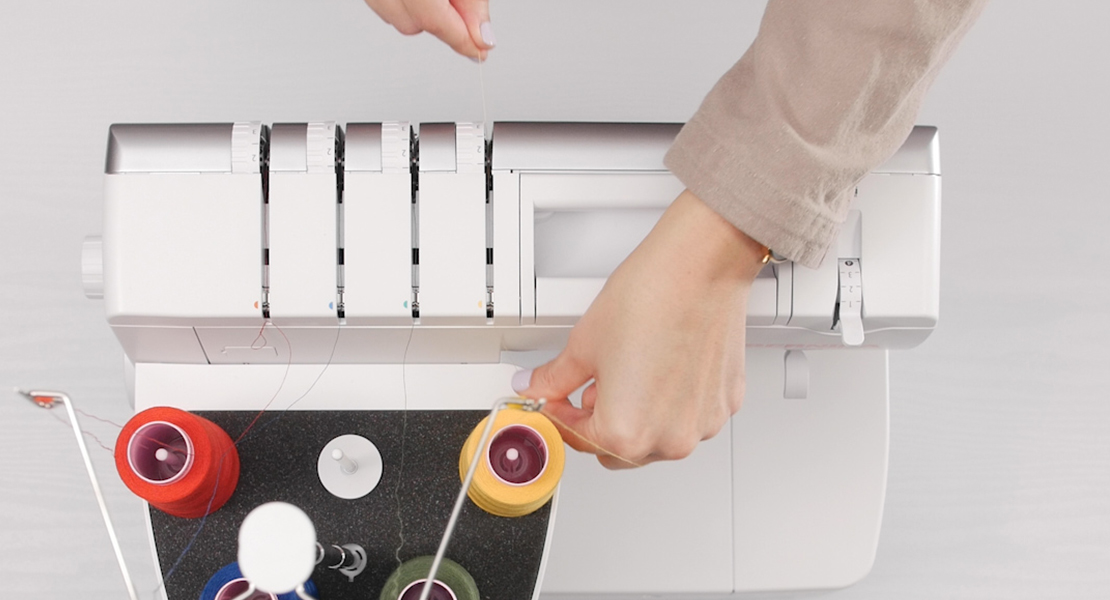
Thread the machine, matching the thread colors to the corresponding color code on the thread paths of the L 460. After threading the machine, set all the tensions (Upper Looper, Lower Looper, Right Needle and Left Needle) to the default setting of 4 using the thread tension dials on the front of the machine.
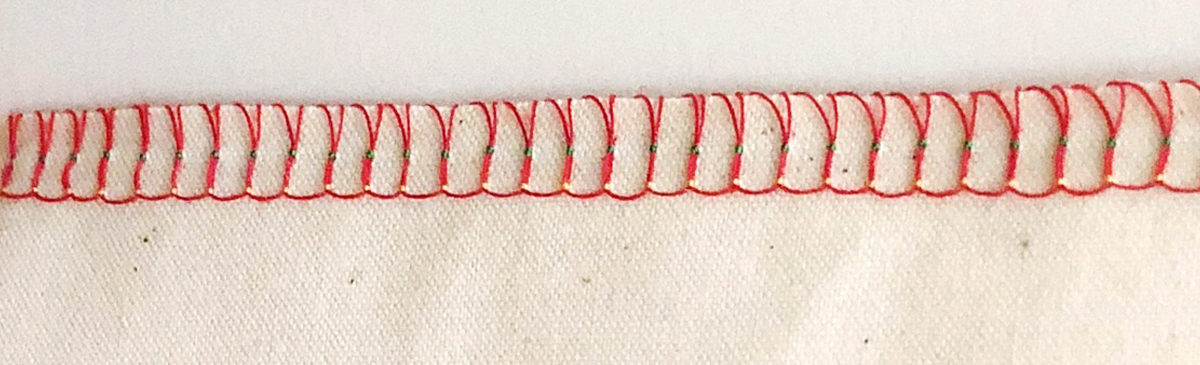
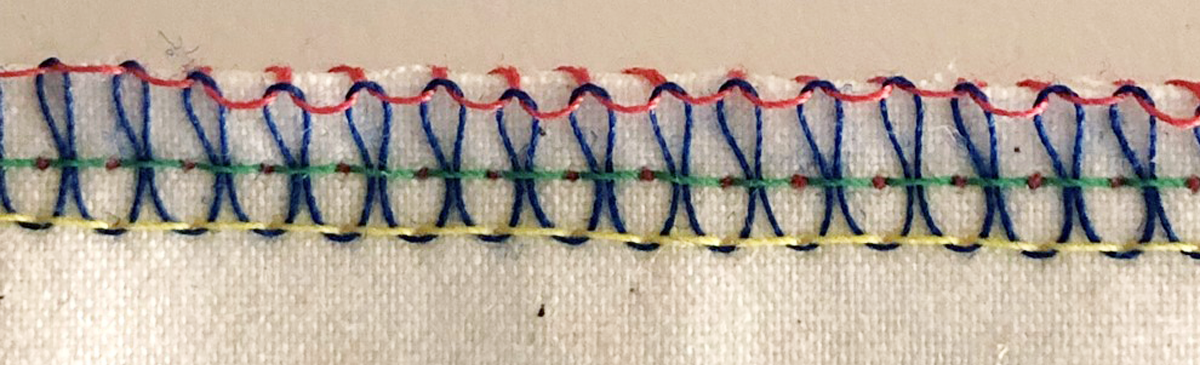
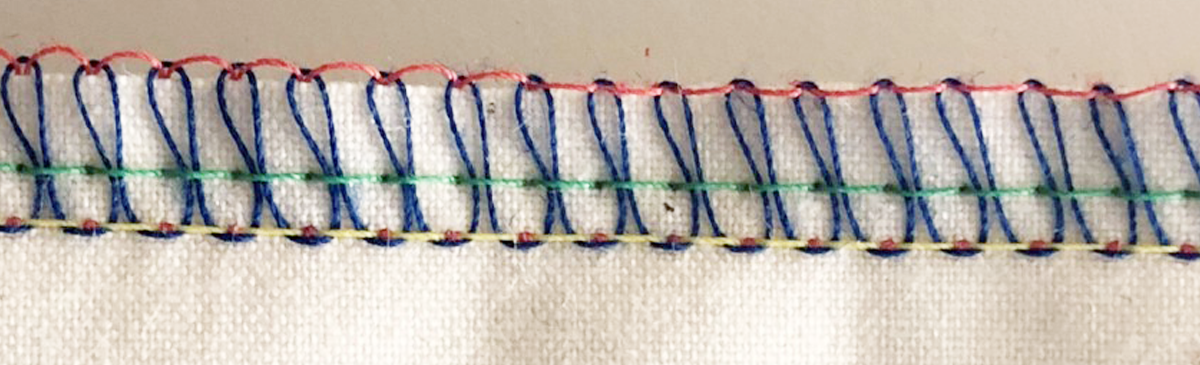
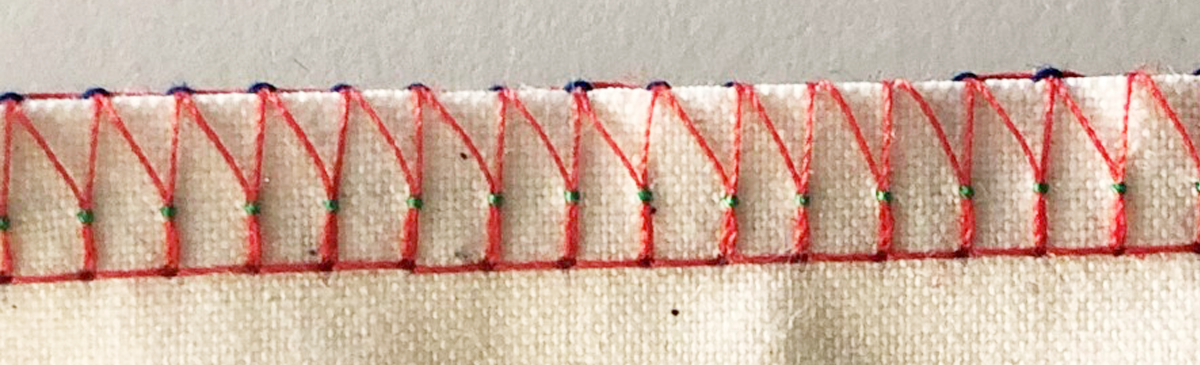
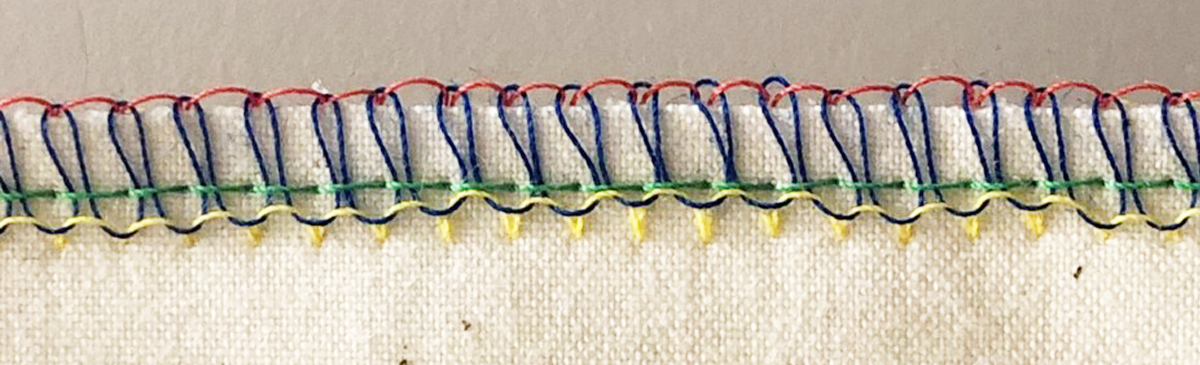
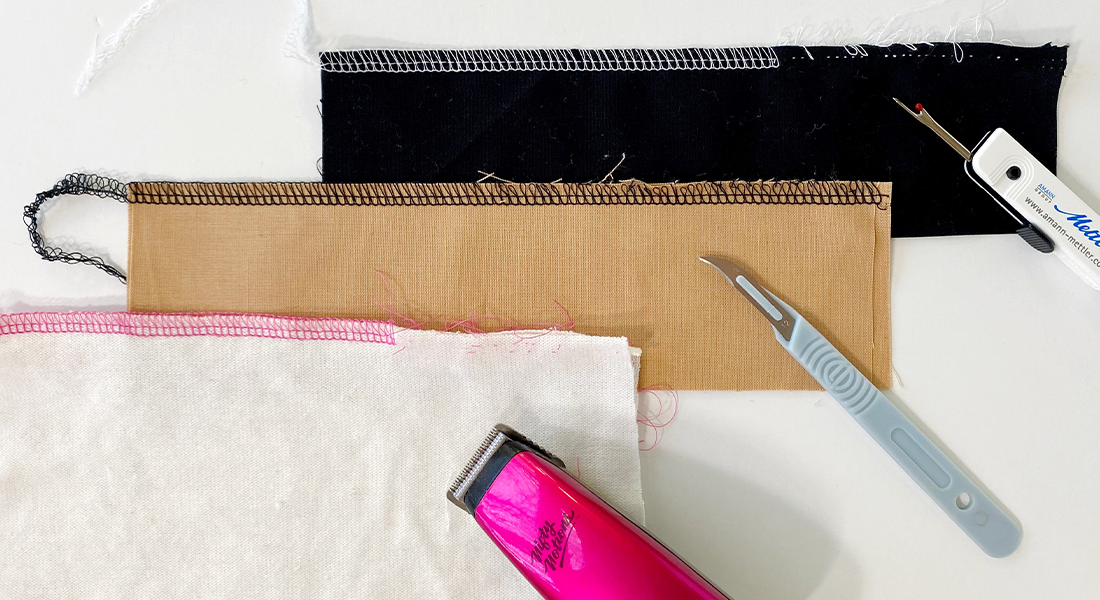
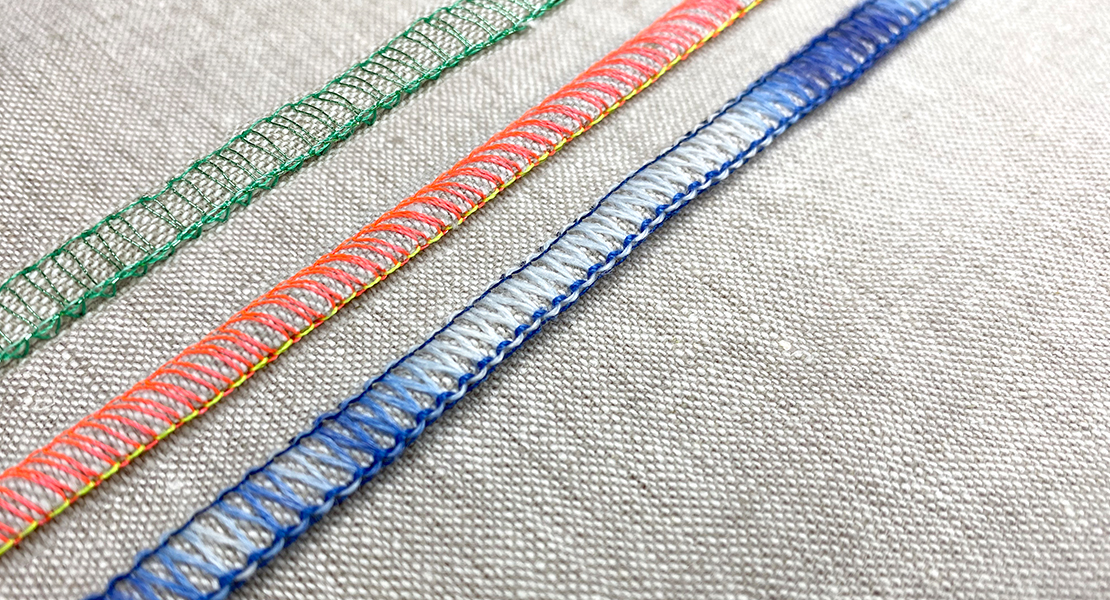
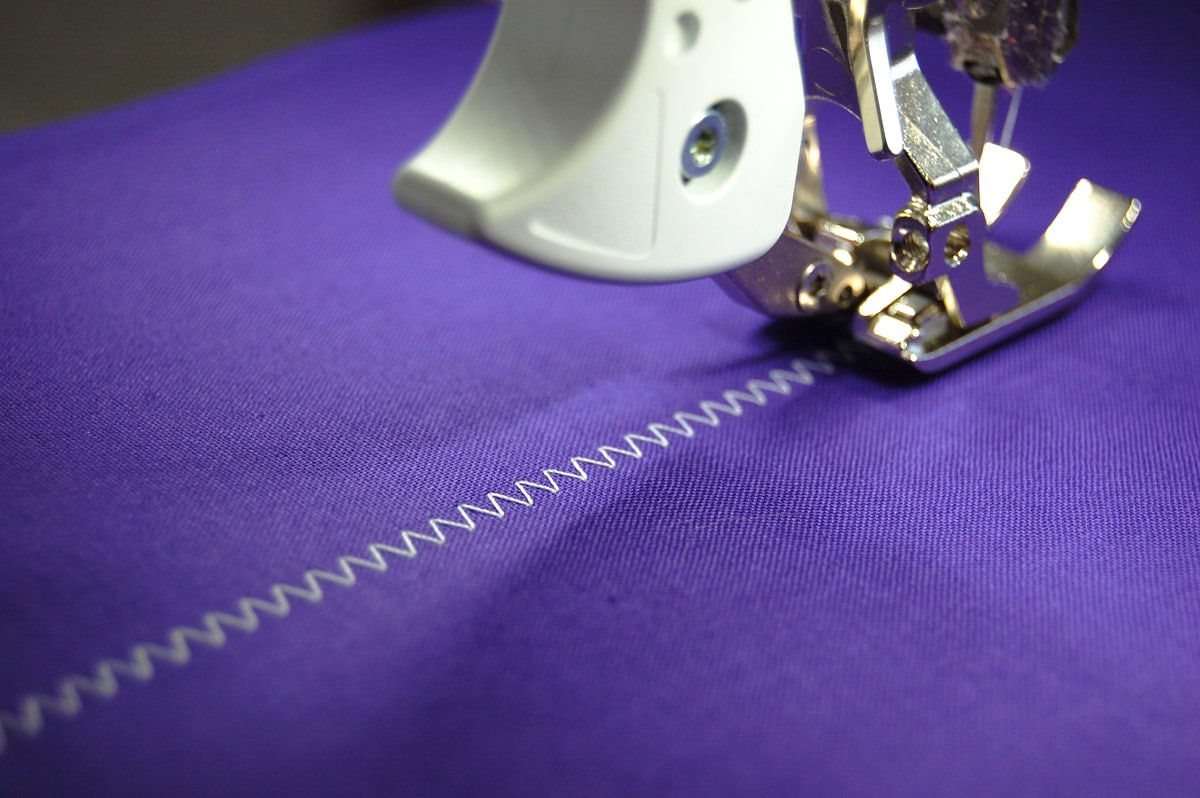
Place two pieces of muslin together. Label this “Balanced Stitch”. Label “front” and “back”. Sew down one long edge. See the images below for how the stitch should look once sewn.
Create the Upper Looper Sample:
Place two pieces of muslin together. Label this “Upper Looper”. Label “front” and “back”.
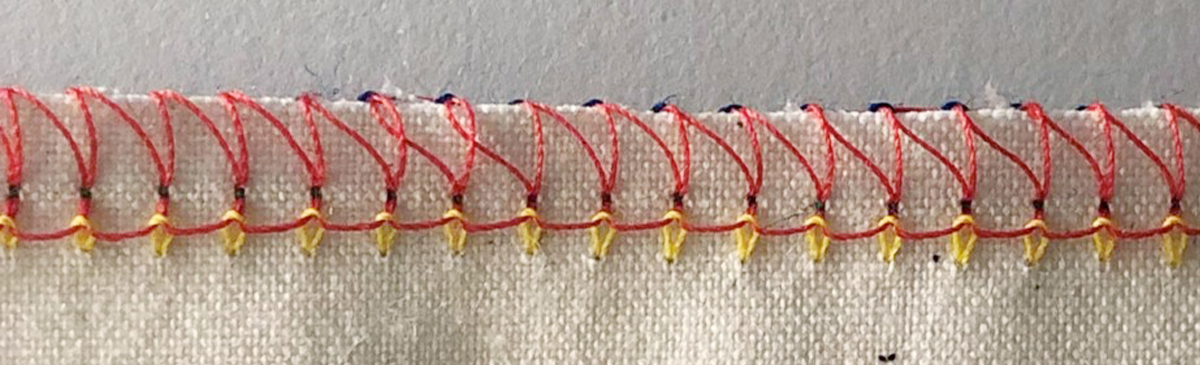
Tighten the Upper Looper tension to 9 and sew down one long edge. Label this seam “Too Tight”.
Loosen the Upper Looper tension to 1 and sew down the other long edge. Label this seam “Too Loose”.
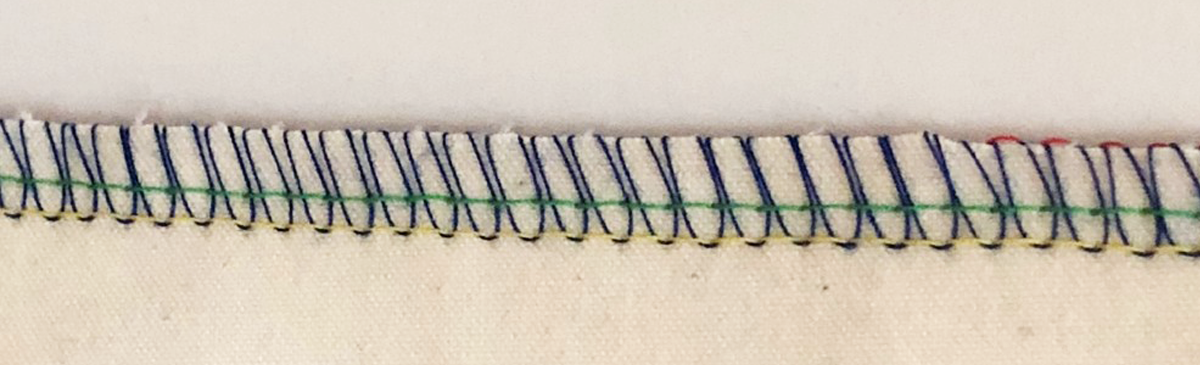
Create the Lower Looper Sample:
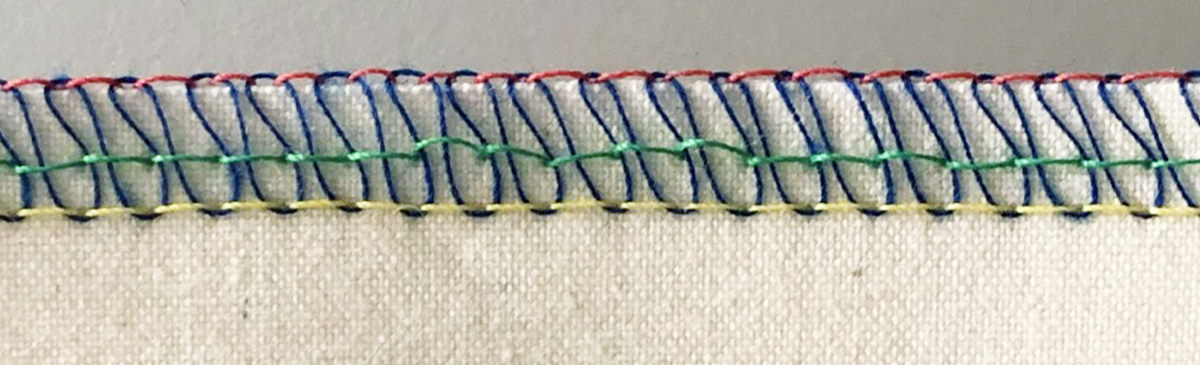
Reset the Upper Looper tension to 4. Place two pieces of muslin together. Label “Lower Looper”. Label “front” and “back”.
Tighten the Lower Looper tension to 9 and sew down one long edge. Label this seam “Too Tight”.

Loosen the Lower Looper tension to 1 and sew down the other long edge. Label this seam “Too Loose”.

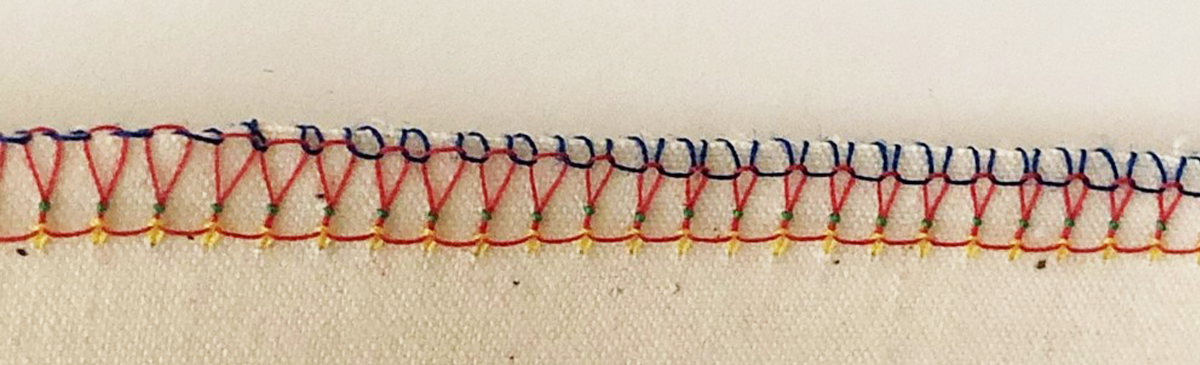
Create the Right Needle Sample:
Reset the Lower Looper tension to 4. Place two pieces of muslin together. Label “Right Needle”. Label “front” and “back”.
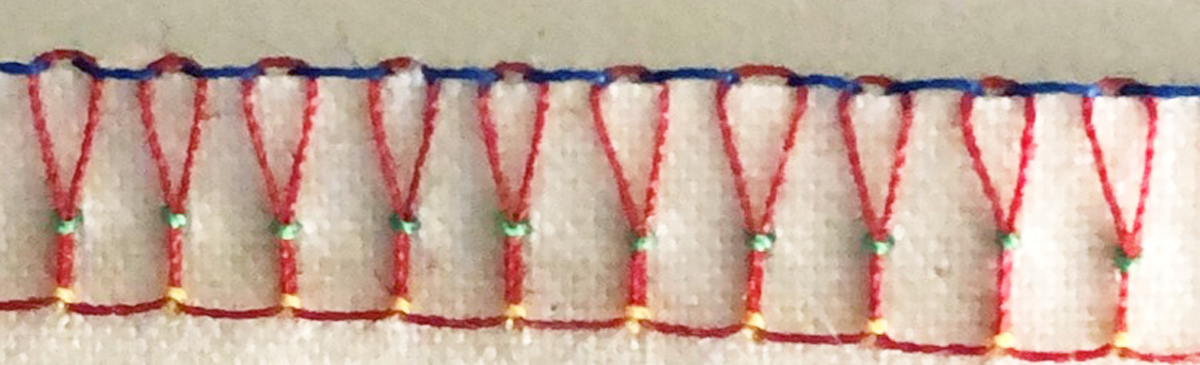
Tighten the Right Needle tension to 9 and sew down one long edge. Label this seam “Too Tight”.
Loosen the Right Needle tension to 1 and sew down the other long edge. Label this seam “Too Loose”.

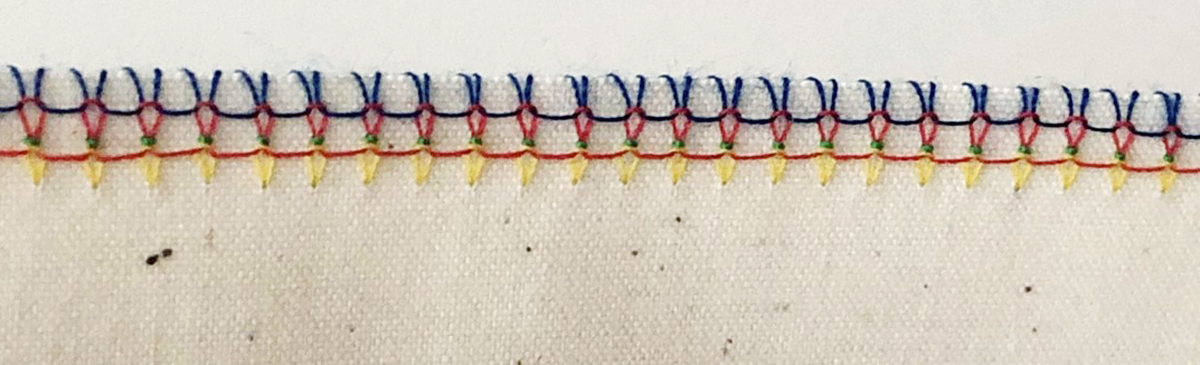
Create the Left Needle Sample:
Reset the Right Needle tension to 4. Place two pieces of muslin together. Label “Left Needle”. Label “front” and “back”.
Tighten the Left Needle tension to 9 and sew down one long edge. Label this seam “Too Tight”.
Loosen the Left Needle tension to 1 and sew down the other long edge. Label this seam “Too Loose”.

Assemble Booklet:
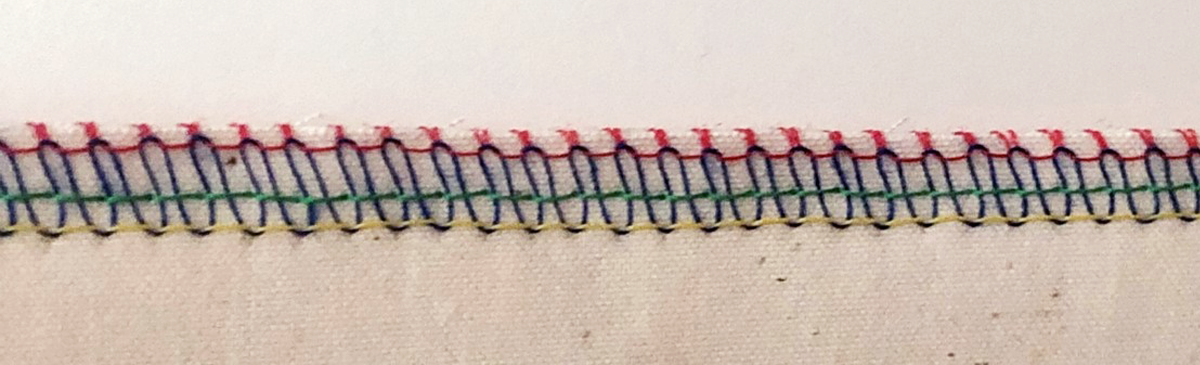
Place the samples together, overlapping them by a few inches. Sew a balanced overlock stitch across the top to hold the samples together.
Now you will know how to balance the stitch and troubleshoot any errors when sewing the 4-thread overlock stitch!
BERNINA Made to Create Studio Online Lessons
Equilateral Triangle Table Runner
Free-motion Quilting with Rulers
How to Quilt Feathers with Free-motion and Rulers
Free-motion Couching Techniques
Perfecting a Balanced 4-Thread Overlock Stitch
Used Products

What you might also like


One comment on “Perfecting a Balanced 4-Thread Overlock Stitch”
Leave a Reply
You must be logged in to post a comment.

Great lesson!