Pillow with sketch-like Machine Embroidery
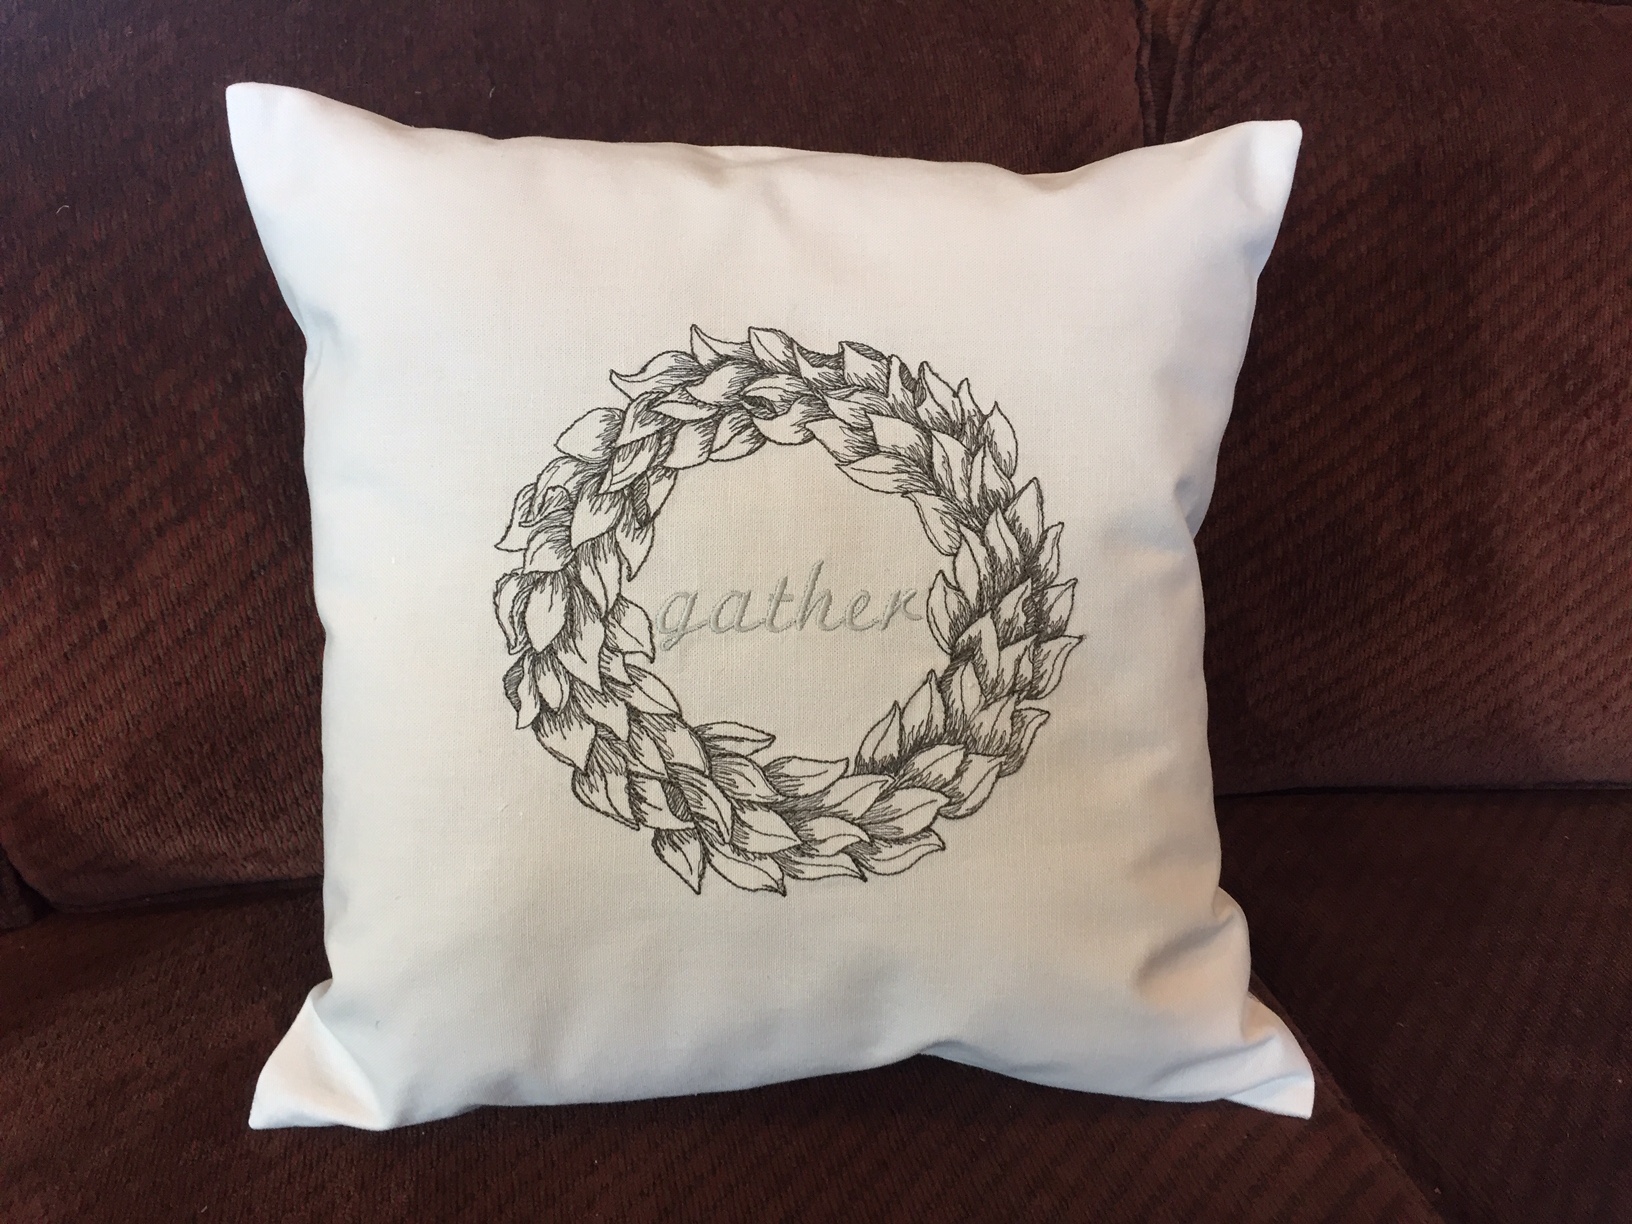
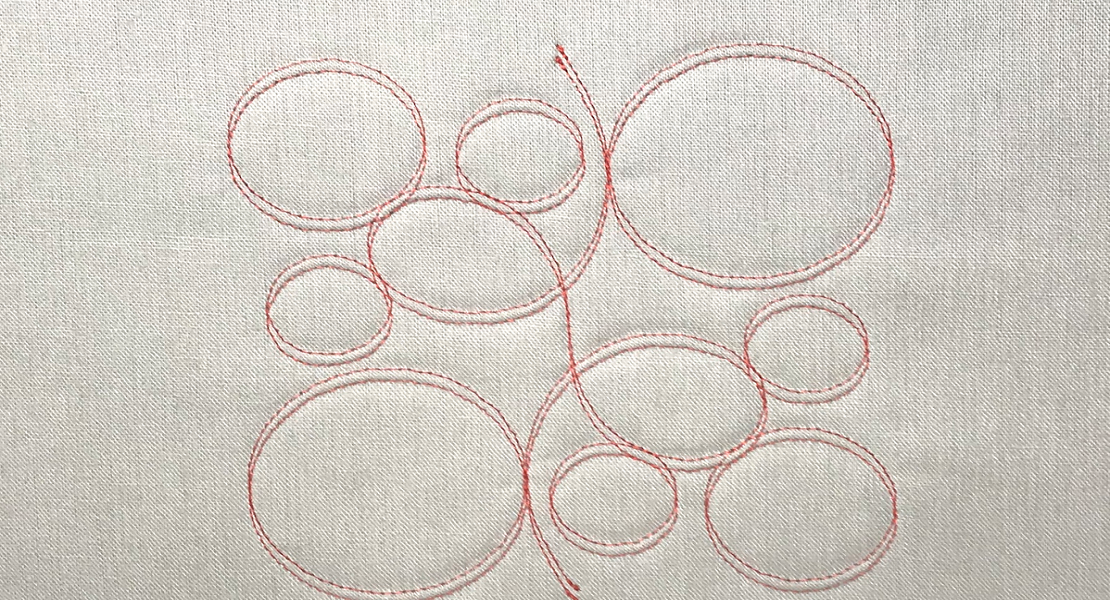
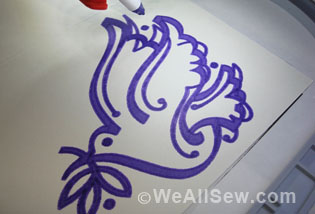
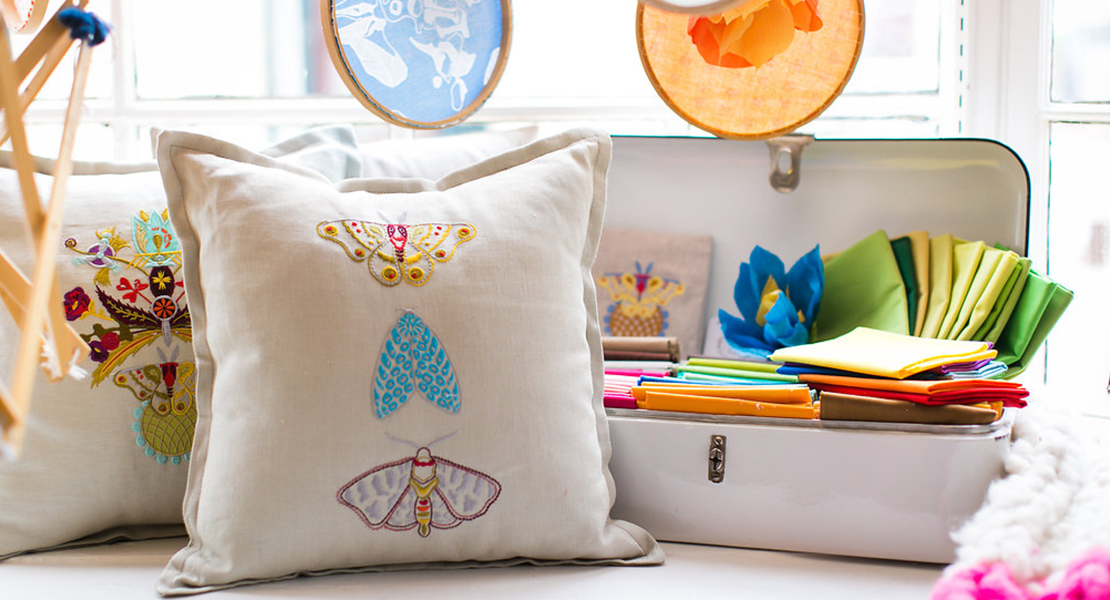
Accent pillows can add a new look and freshen up any room, and with the addition of simple sketch-like machine embroidery design it’s the perfect combination. Accent pillows are a creative way to try out new embroidery collections and fabric choices without a lot of time invested in creating the project. In home décor right now, less is more and simple is trendy.
By combining embroidery designs and adding lettering directly on your machine, the process goes quickly! Other changes to the designs being combined, such as the size, rotation and position—just to name a few, can also be accomplished on the machine screen with no embroidery software needed. Another great tool that many BERNINA Embroidery machines have is the ability to use Rearrange to change the stitch order of the combined designs for the best possible stitching results. The order that elements of the designs stitch out will have a big impact on the appearance and quality of the final embroidery project. And last but not least is placing the design perfectly using Pinpoint Placement. Using these built-in tools to combine designs and lettering for these quick accent pillow was fun and easy.
The ability to combine designs is available on BERNINA embroidery machines. Rearrange and Pinpoint Placement are features that are included on the B 880 PLUS, B 790 PLUS, B 700, B 590, and B 500.

Materials to Make a Perfect Combination Pillow
- Fabric for Pillow (medium weight home décor fabric)
- Cut 1 piece 18” x 18” for top
- Cut 1 piece 17 1/2” x 17 1/2” for back
- OESD Ultra Clean and Tear Stabilizer, cut 15” x 20” to fit the Maxi Hoop
- 505 Spray Adhesive
- 40 Wt. Embroidery Thread
- 60 Wt. Embroidery Bobbin Thread
- Invisible Zipper 12-14 inch in length
- Pillow Insert, 16 inch size
- BERNINA Exclusive Design Collection #82022 Home At Heart (Design #82022-17)
- Drop-Shaped Embroidery foot #26
- Invisible Zipper foot #35
- Reverse Pattern foot #1D
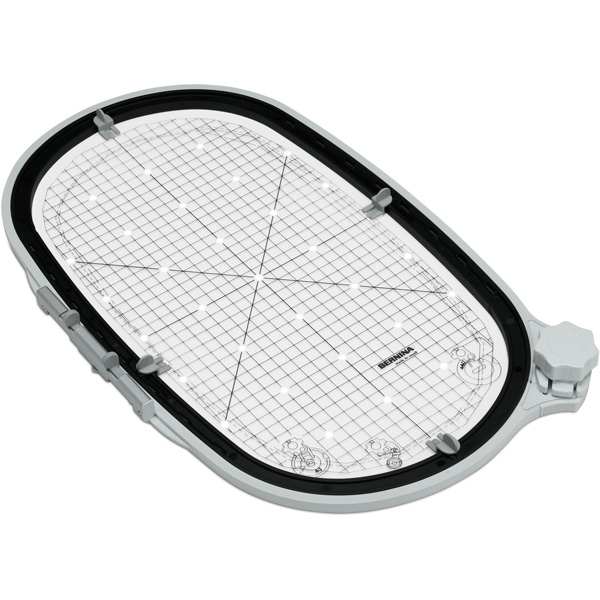
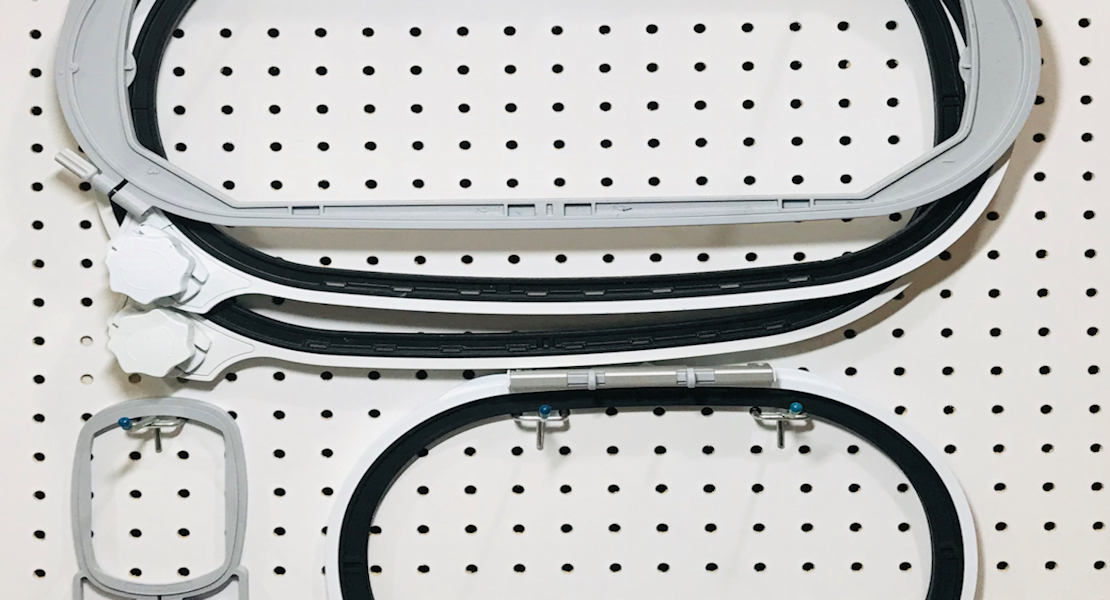
- BERNINA Maxi Hoop
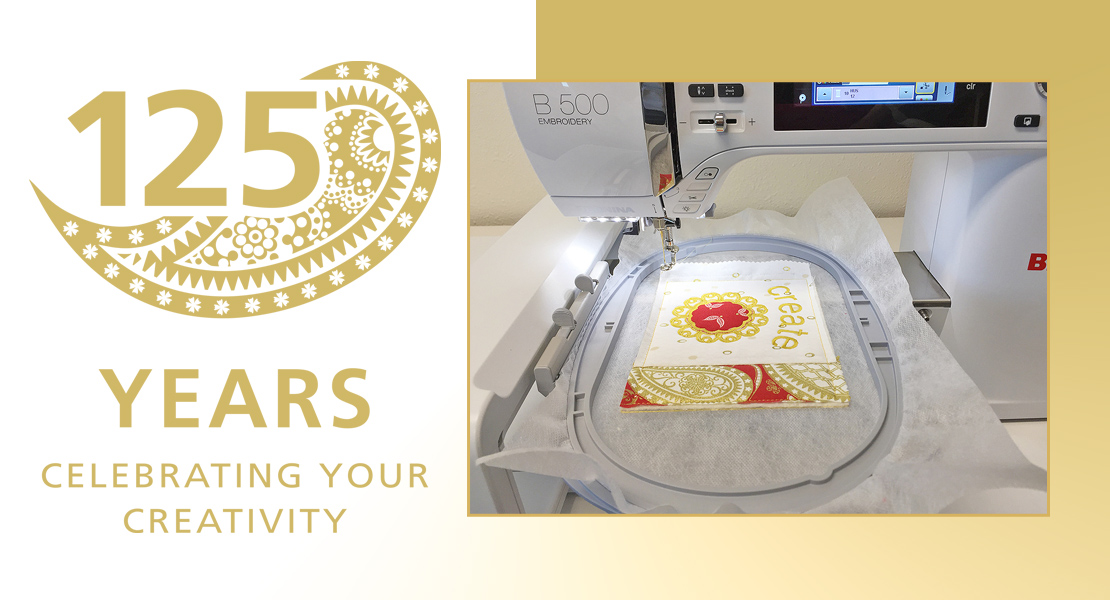
- BERNINA 880 PLUS (I used the B 880 PLUS, but the 790 PLUS, 700, 590 and 500 embroidery machine machines also include the Rearrange and Pinpoint Placement features)
Setting up the design
Save the embroidery designs to a USB drive in the BERNINA EXP format and insert the stick into the machine. Select the USB icon on the screen, and touch design #82022-17 (wreath).
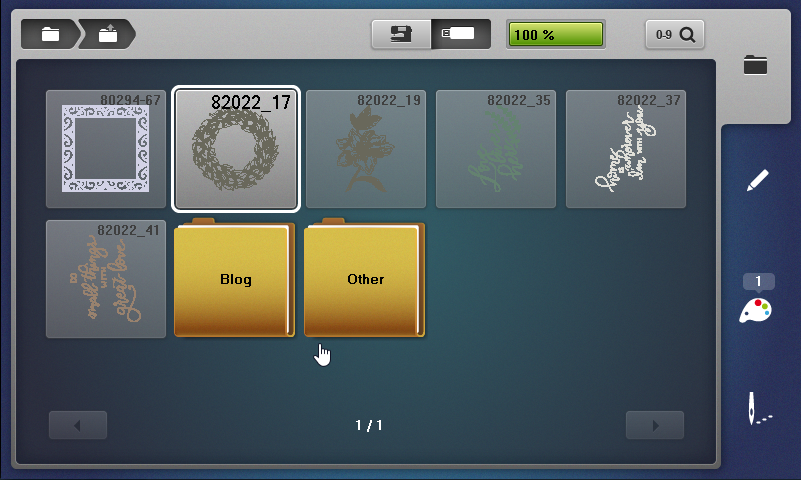
The design opens in the hoop size closest to the design’s size. This design will be stitched in the Maxi hoop.
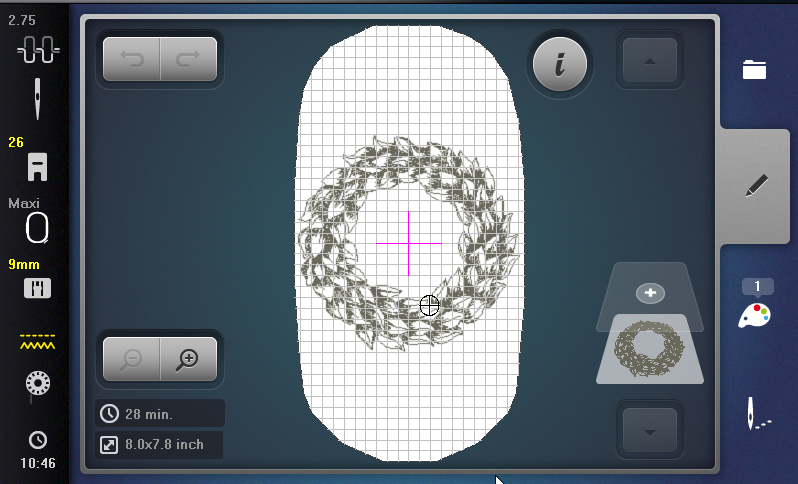
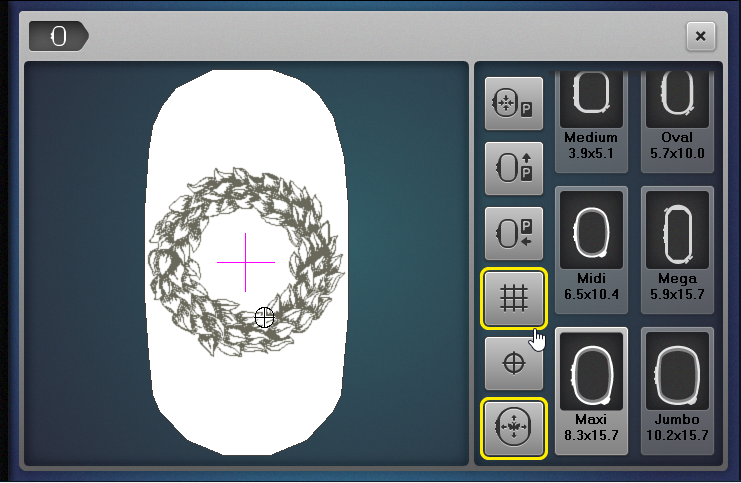
Touch the Hoop Selection/Hoop Display icon. Touch the Grid to scroll through the Grid on/off settings (the machine will default to the last setting you activated). Keep scrolling until you activate the hoop center without the grid and close the screen.
Touch the Add Motif icon (the + above the design in the Layer Panel) to add a new design, which in this case will be lettering.

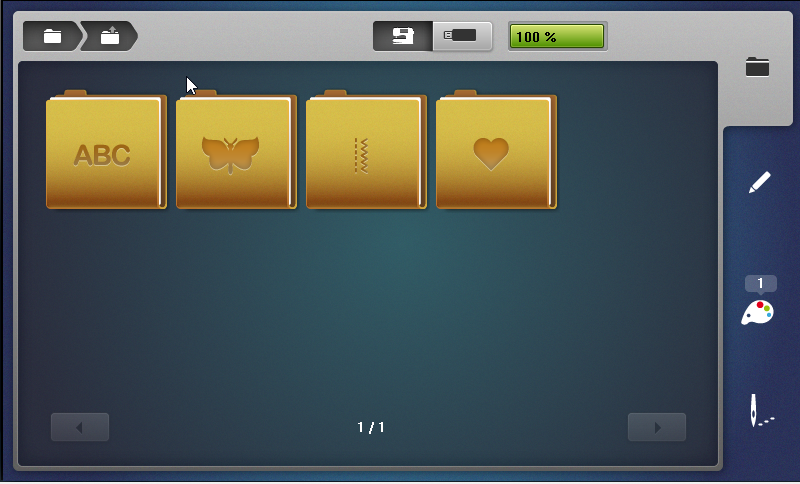
Touch the embroidery machine icon; touch the Alphabets folder.
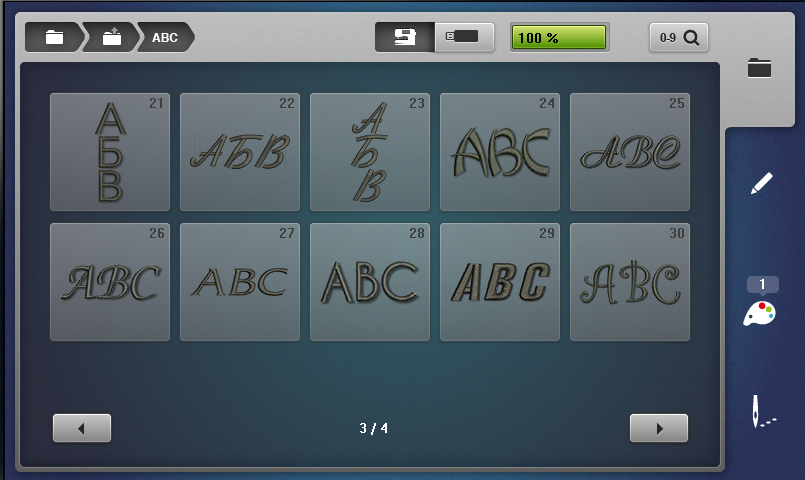
Scroll and touch Font #25 Lisa Block on the B 880 PLUS. (This font is #16 on the B 790 PLUS and B #14 on the B 700. The Lisa Block font is not available on the B 590 or B 500, so use any font of your choice.)
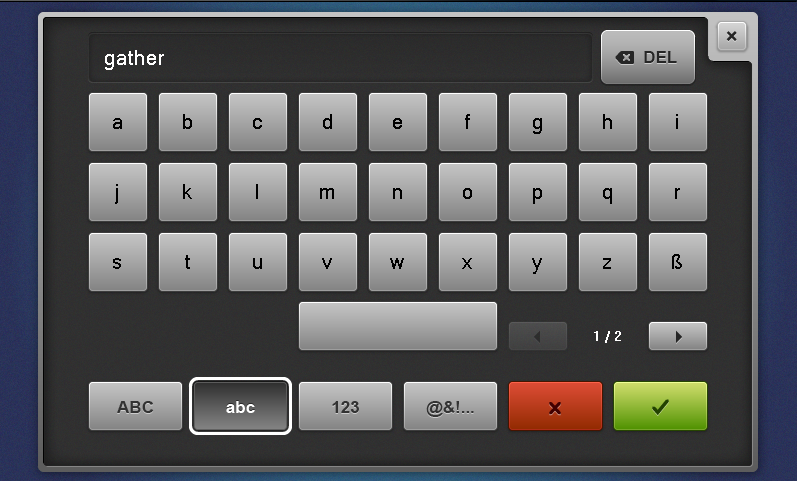
Touch lower case letters and enter text “gather”. Touch Confirm (the green check).
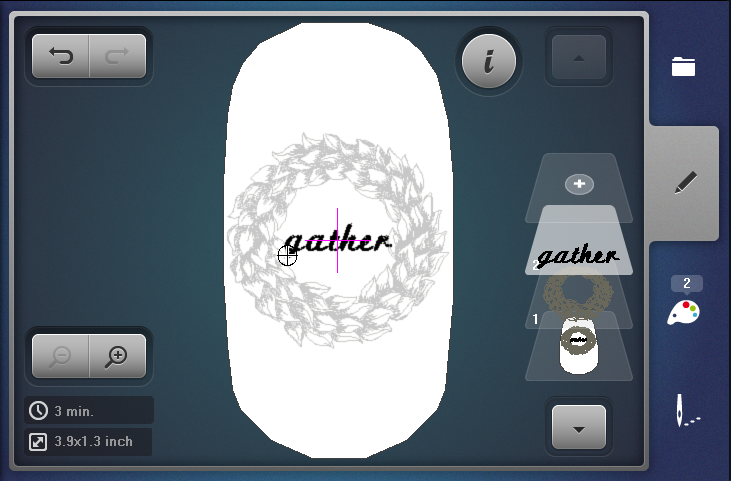
The lettering appears on the Editing Screen.
Touch the Information icon and touch Altering the Size; change the size to 92%.

Tip: It is recommended that the lettering stitch out first and then the wreath, to eliminate any push and pull of the fabric. Stitching designs from the center out reduces the chance of unwanted puckering.
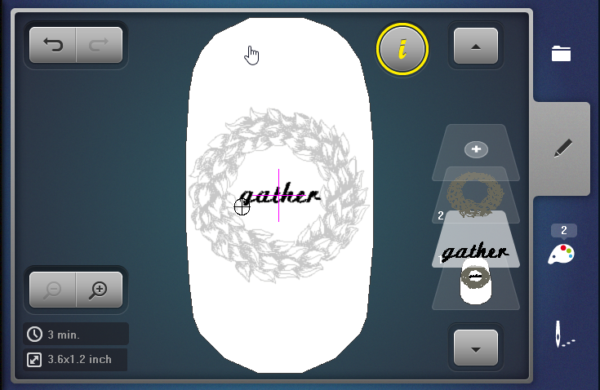
The machine will stitch the elements of a combined design in the order in which they were entered. However to change the stitch order after an entry has been made, you can use the Rearrange feature on available machines. To do so, touch the yellow “i” in the breadcrumb trail. Scroll down and touch the Resequence icon.
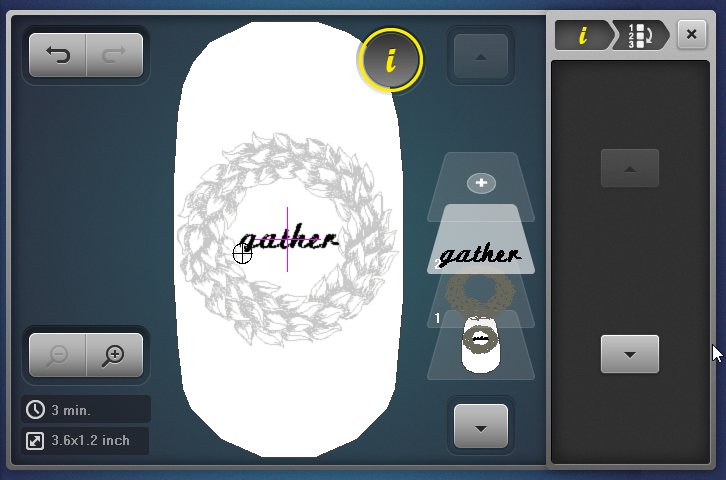
Now touch Layer 2 (the word gather), and touch the down arrow one time. The word “gather” will now be Layer 1 and the first design to stitch out.

Close the Information menu. The design is ready to stitch.
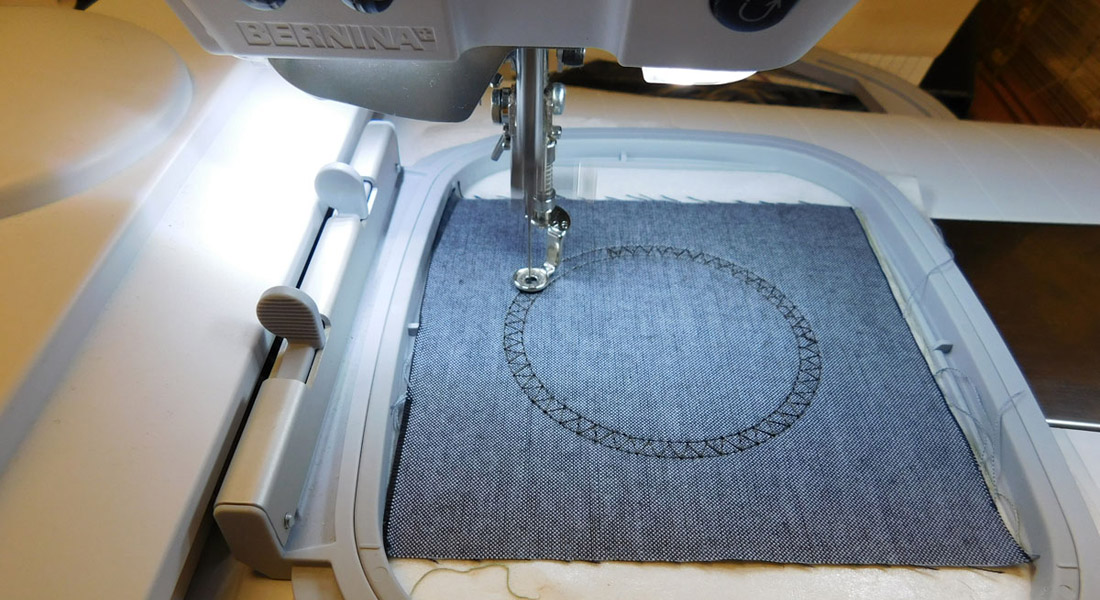
It’s time to stitch pillow top

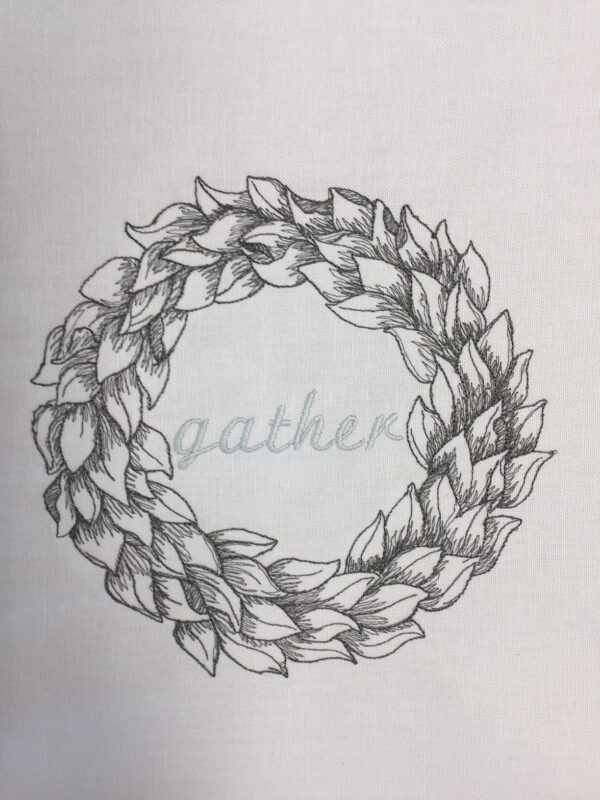
Prepare your pillow top fabric for embroidery; mark the x and y center lines for placing the design. Use temporary spray adhesive to adhere the Ultra Clean & Tear Stabilizer to the wrong side of the top fabric. Hoop the prepared fabric in the BERNINA Maxi Hoop.
Use the Pinpoint Placement feature to position the design precisely. Follow the prompts on the embroidery machine to attach the hoop. Position the design so it is centered and straight using Grid placement. For more information on Pinpoint Placement, take a look at the “Design Positioning in Machine Embroidery” blog post.
You are ready to stitch out the design.
Finishing the pillow
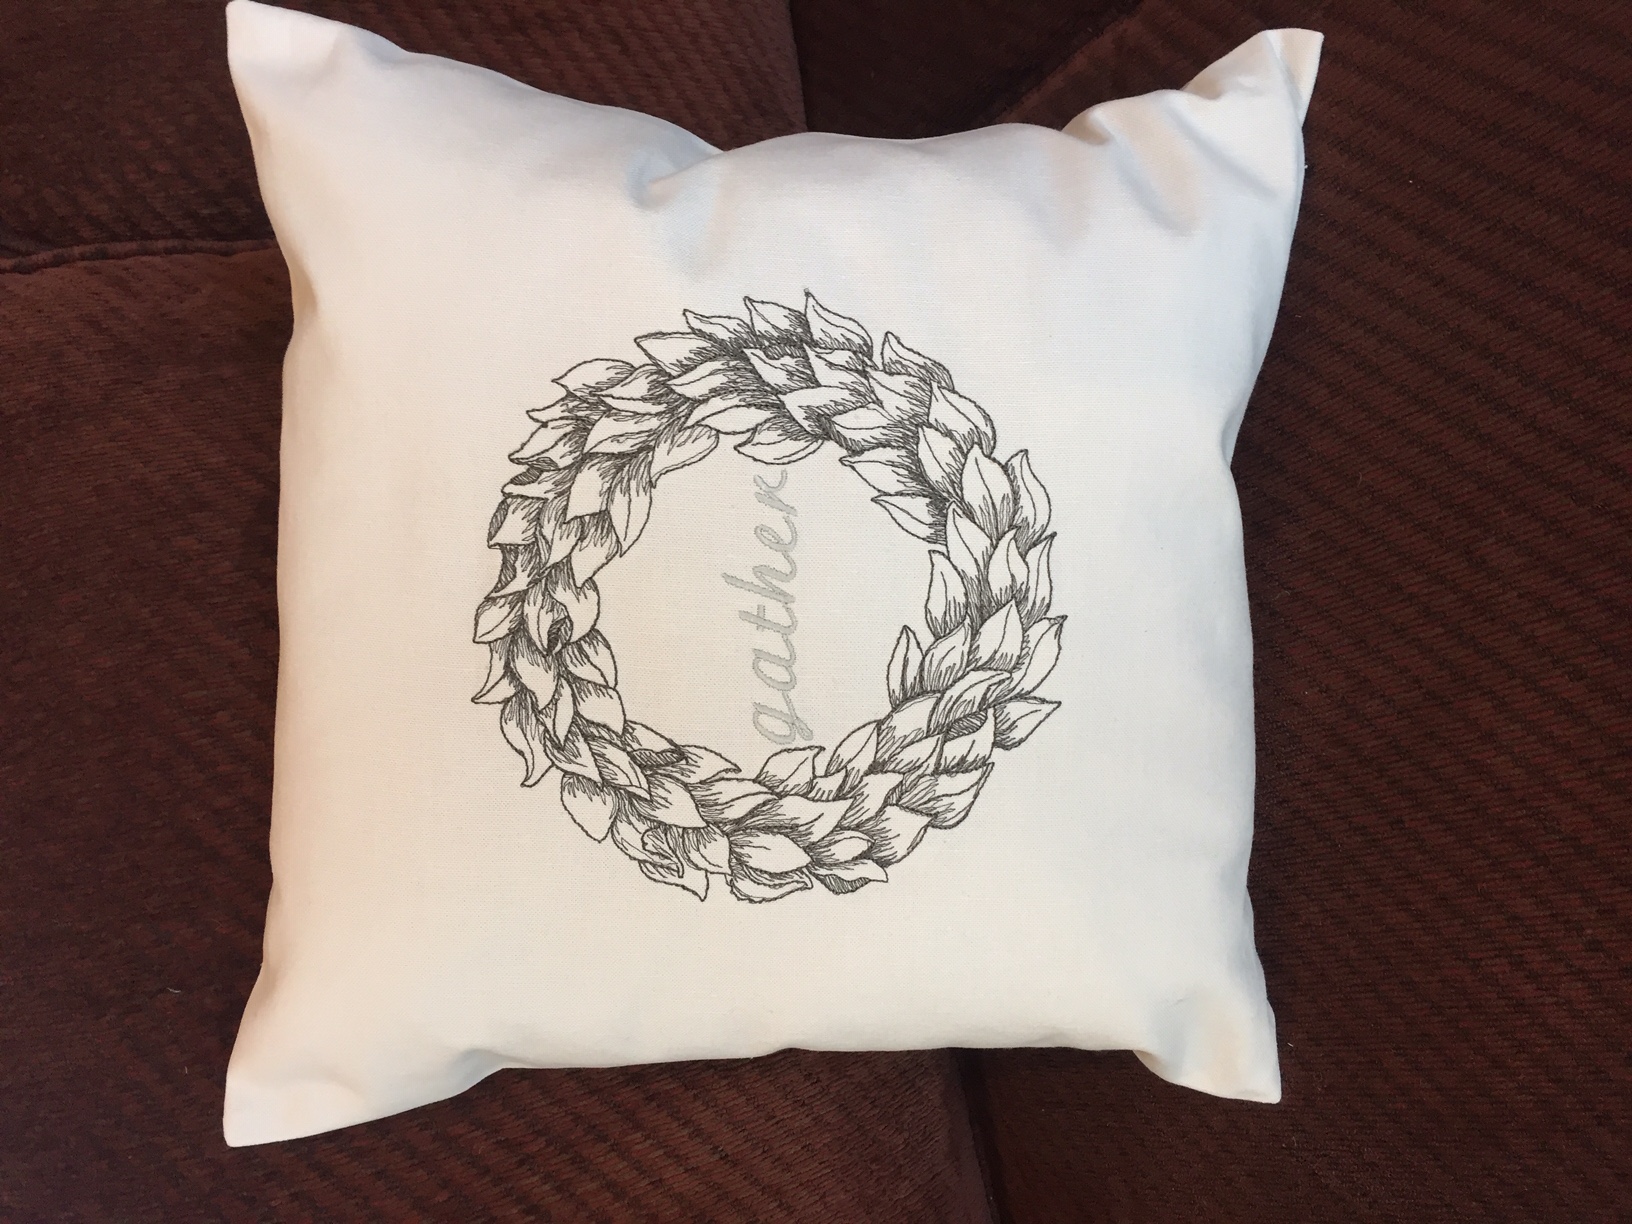
Now that the accent pillow top has been embroidered, you are ready to finish the pillow. I trimmed both the embroidered fabric square and back pillow fabric to 17 1/2 inches square. I used the BERNINA overlocker to serge stitch the edges of both squares without cutting off any excess fabric.
Then I sewed an invisible zipper in the bottom of the pillow with the Invisible Zipper foot #35 using a 5/8 inch seam allowance. Making sure that the zipper was open, I then stitched the remaining three sides with a 5/8 inch seam allowance using the Reverse Pattern foot #1D. Turn, press and insert a 16 inch purchased pillow insert, and you’re done!
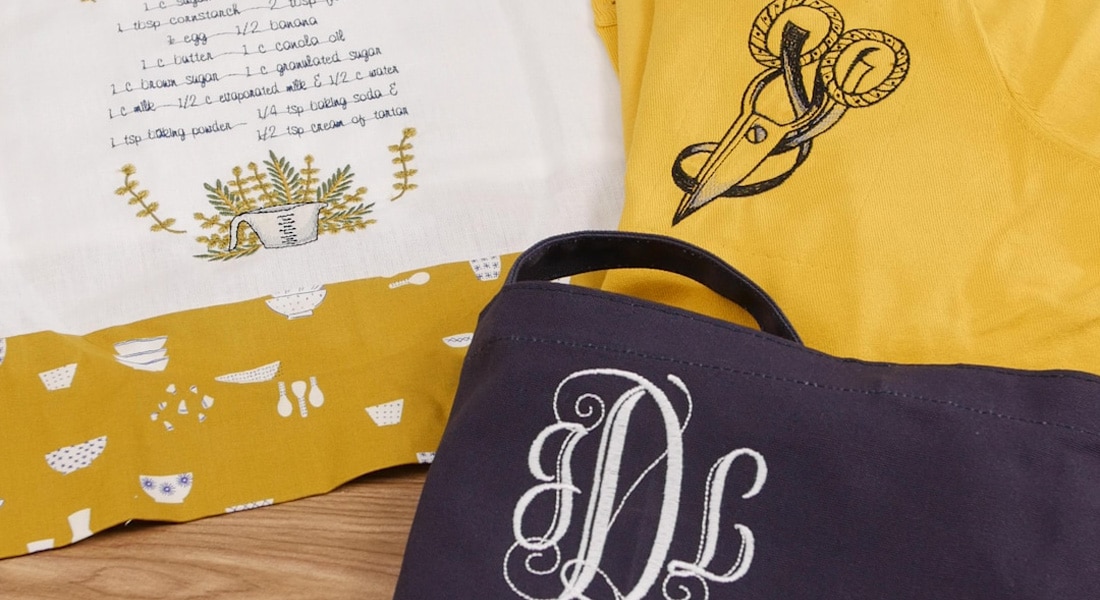
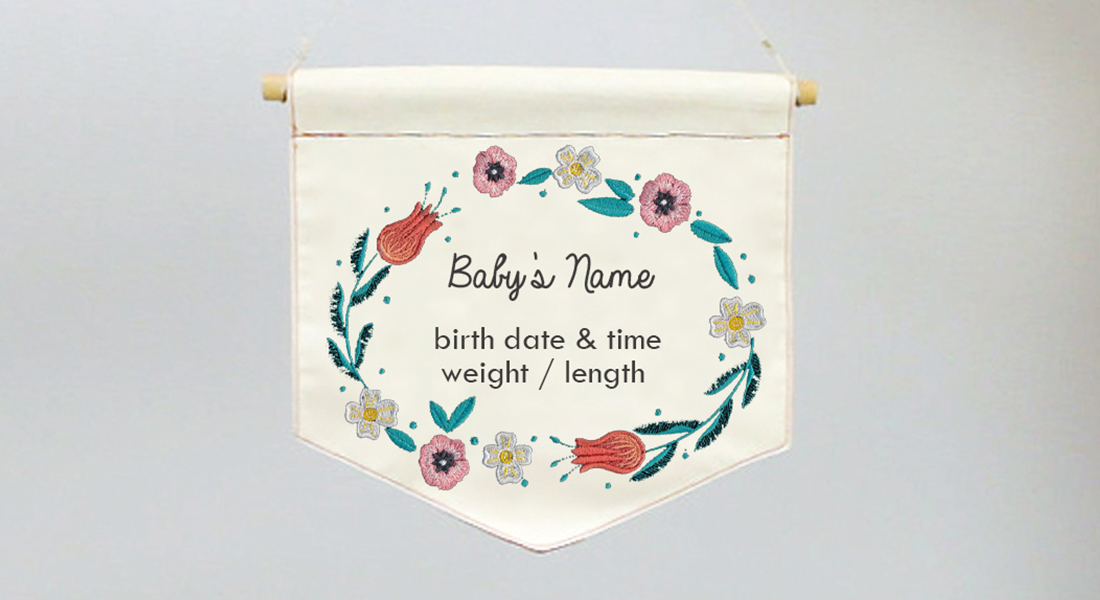
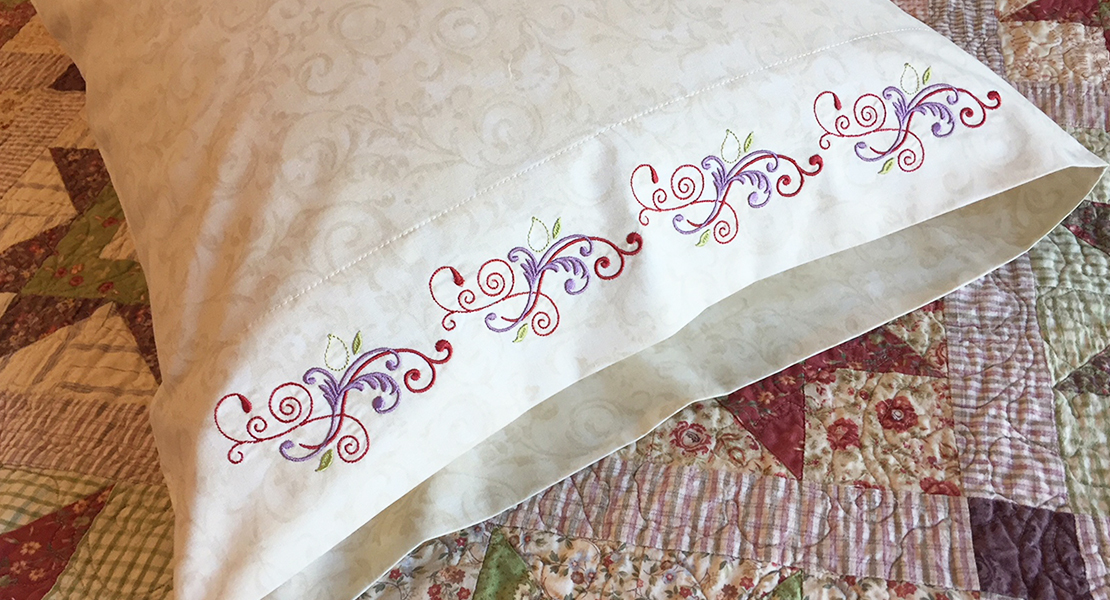
There are some other designs in the Home At Heart design collection that would also work perfectly for a nice collection of accent pillows.
Time to get started. Happy stitching!
Used Products


What you might also like


One comment on “Pillow with sketch-like Machine Embroidery”
Leave a Reply
You must be logged in to post a comment.

I don’t know what I am doing wrong, but something is not working for me. I downloaded the Home at Heart 82022 to my computer. I cannot get the designs loaded to my USB stick! How do I save the designs to my USB stick? Do I have to buy the designs from OESD before I can use them? What am I doing wrong? Any help is appreciated.