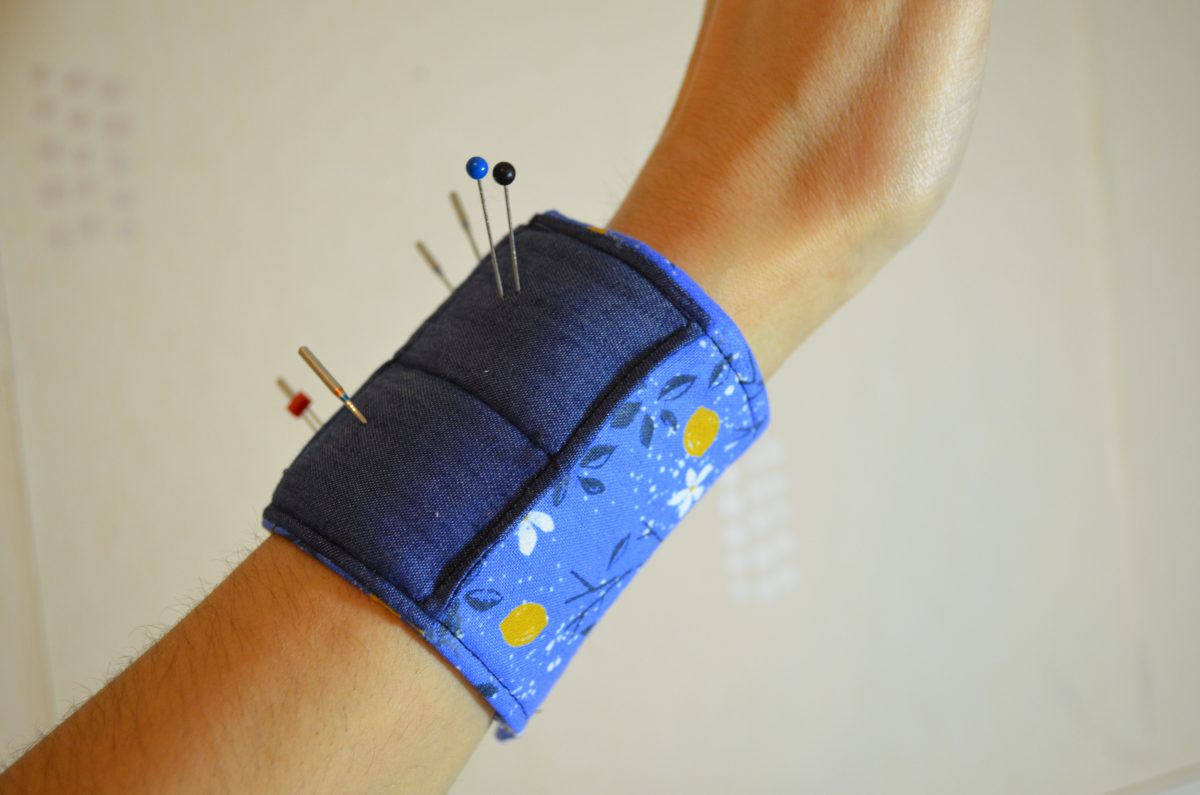
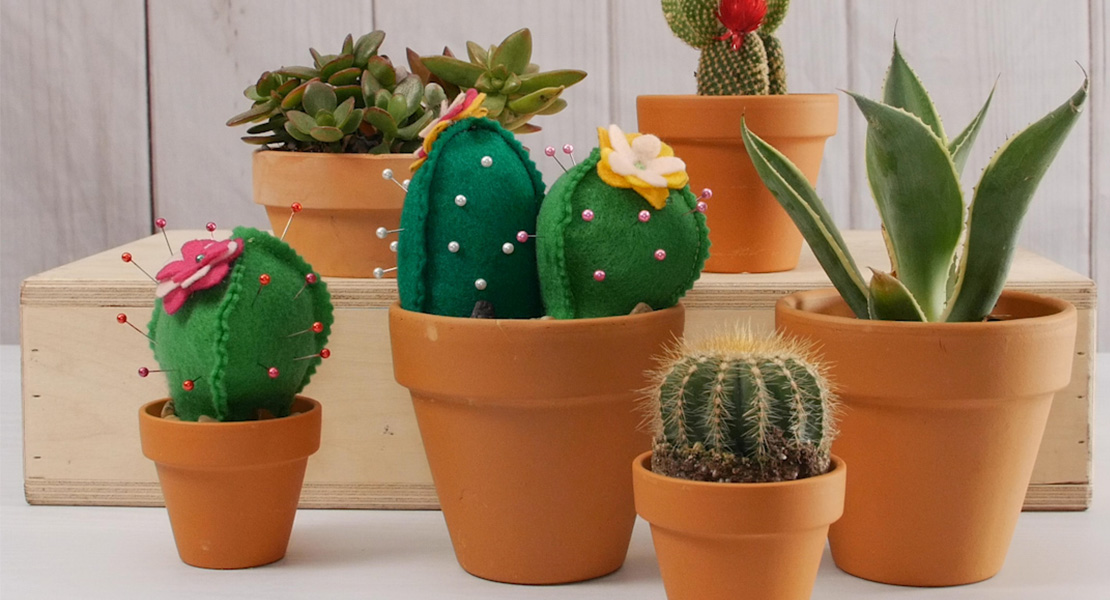
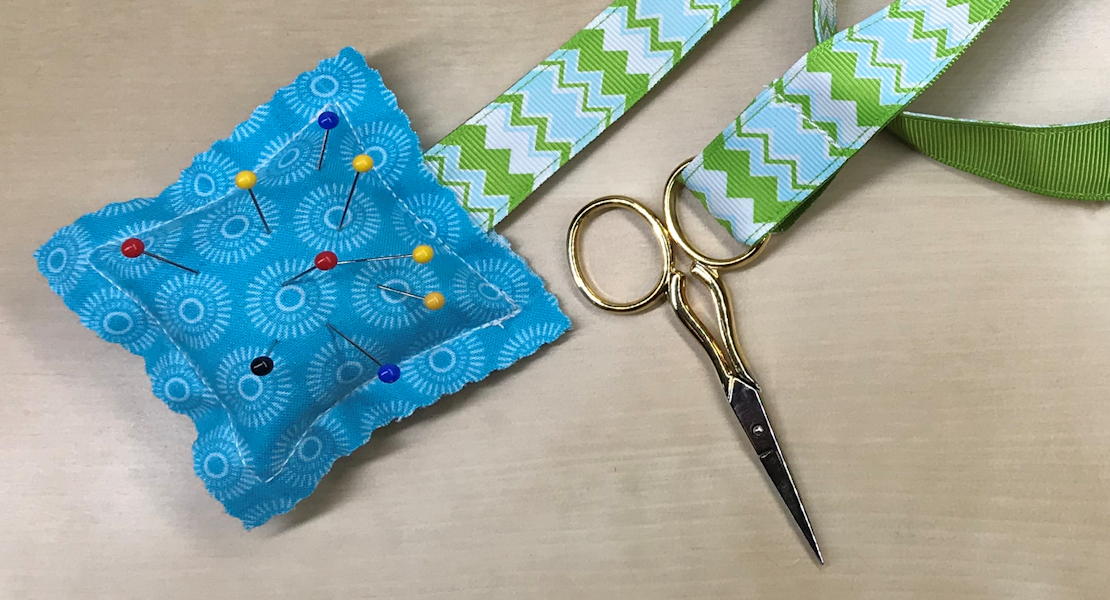
Pincushion Wristband
Hello everyone,
This is Daniela from On the Cutting Floor. I am glad to be here again to show you an easy sewing tutorial to make a pincushion wristband.
Materials to make a Pincushion Wristband
- 2 10” x 4” pieces of quilting cotton
- 1 10” x 4” piece of batting
- 2 10” x 4” piece of woven interfacing
- 2 1/2 inches of Velcro
- 1 4” x 7” piece of quilting cotton for the pincushion
- coordinating thread
- handful of fiberfill stuffing for the pincushion
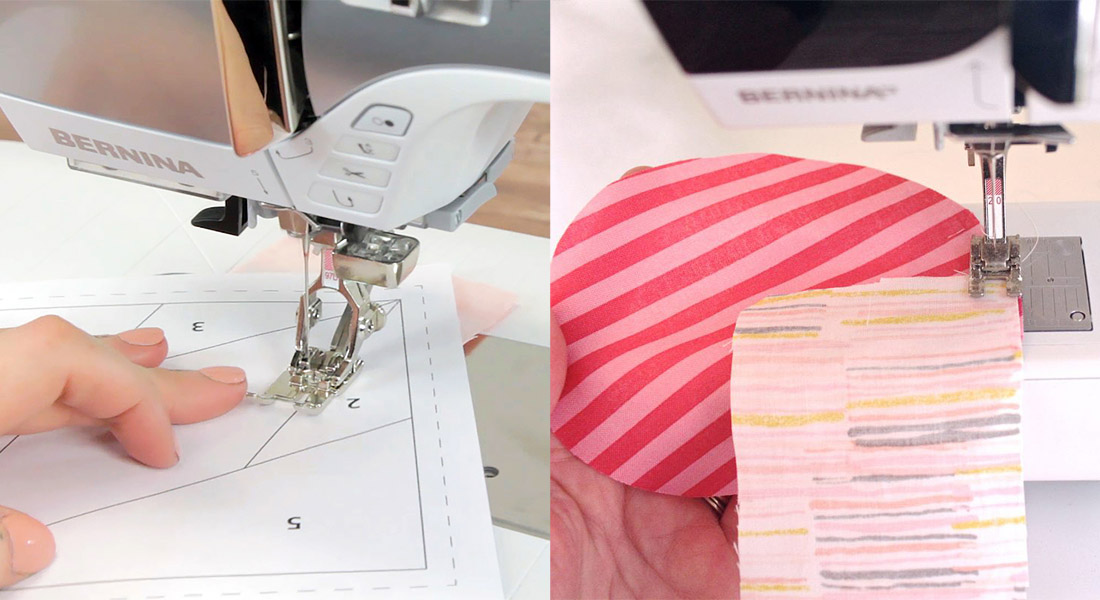
- Sewing machine (I use a BERNINA 330 PE)
- Blindstitch foot #5
How to Make a Pincushion Wristband
Gather together your materials to create the pincushion wristband.

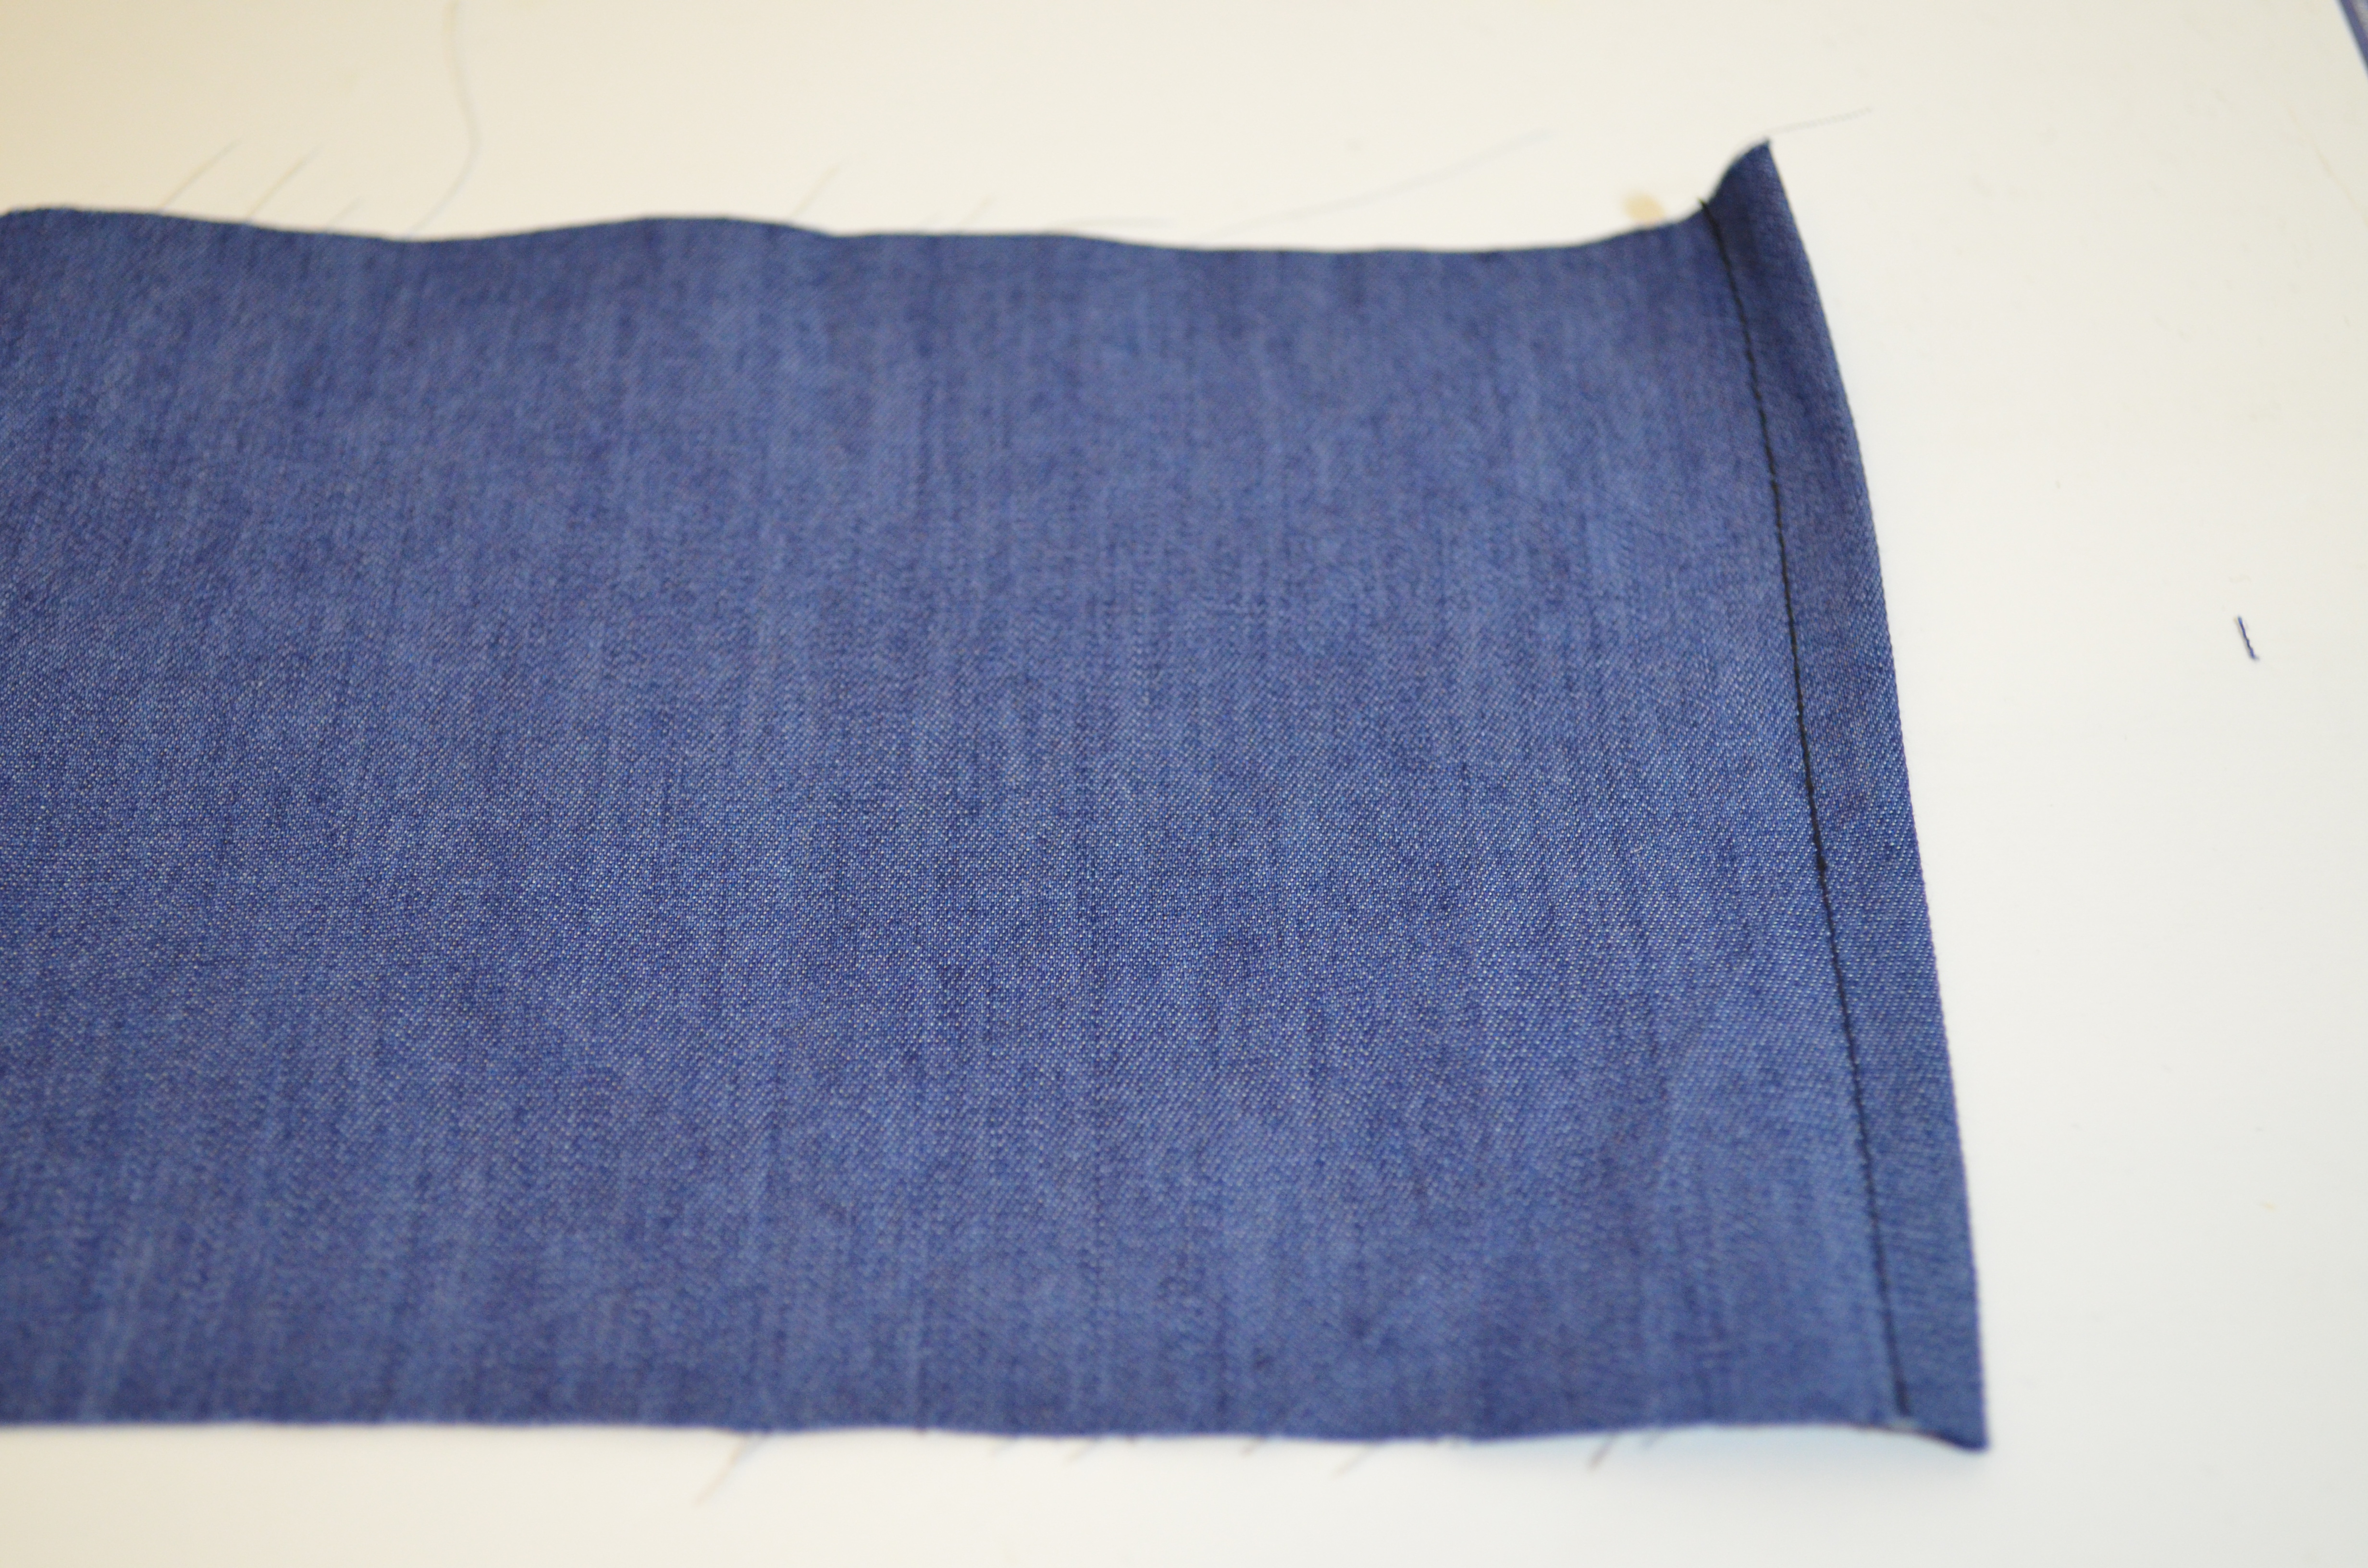
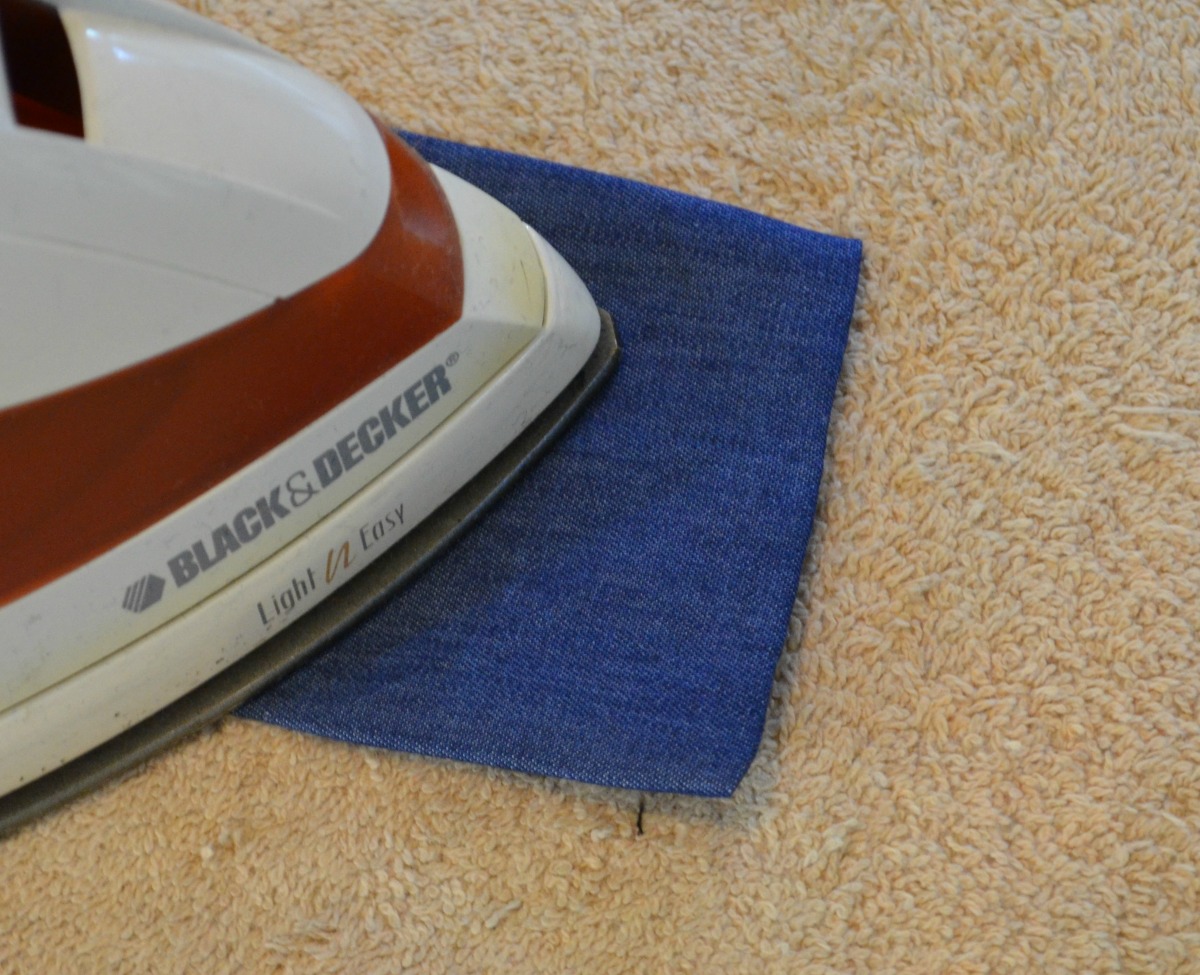
1. Grab the piece of fabric for the pincushion and fold the longest sides 3/8 inch to the wrong side of the fabric, and stitch it with a straight line.
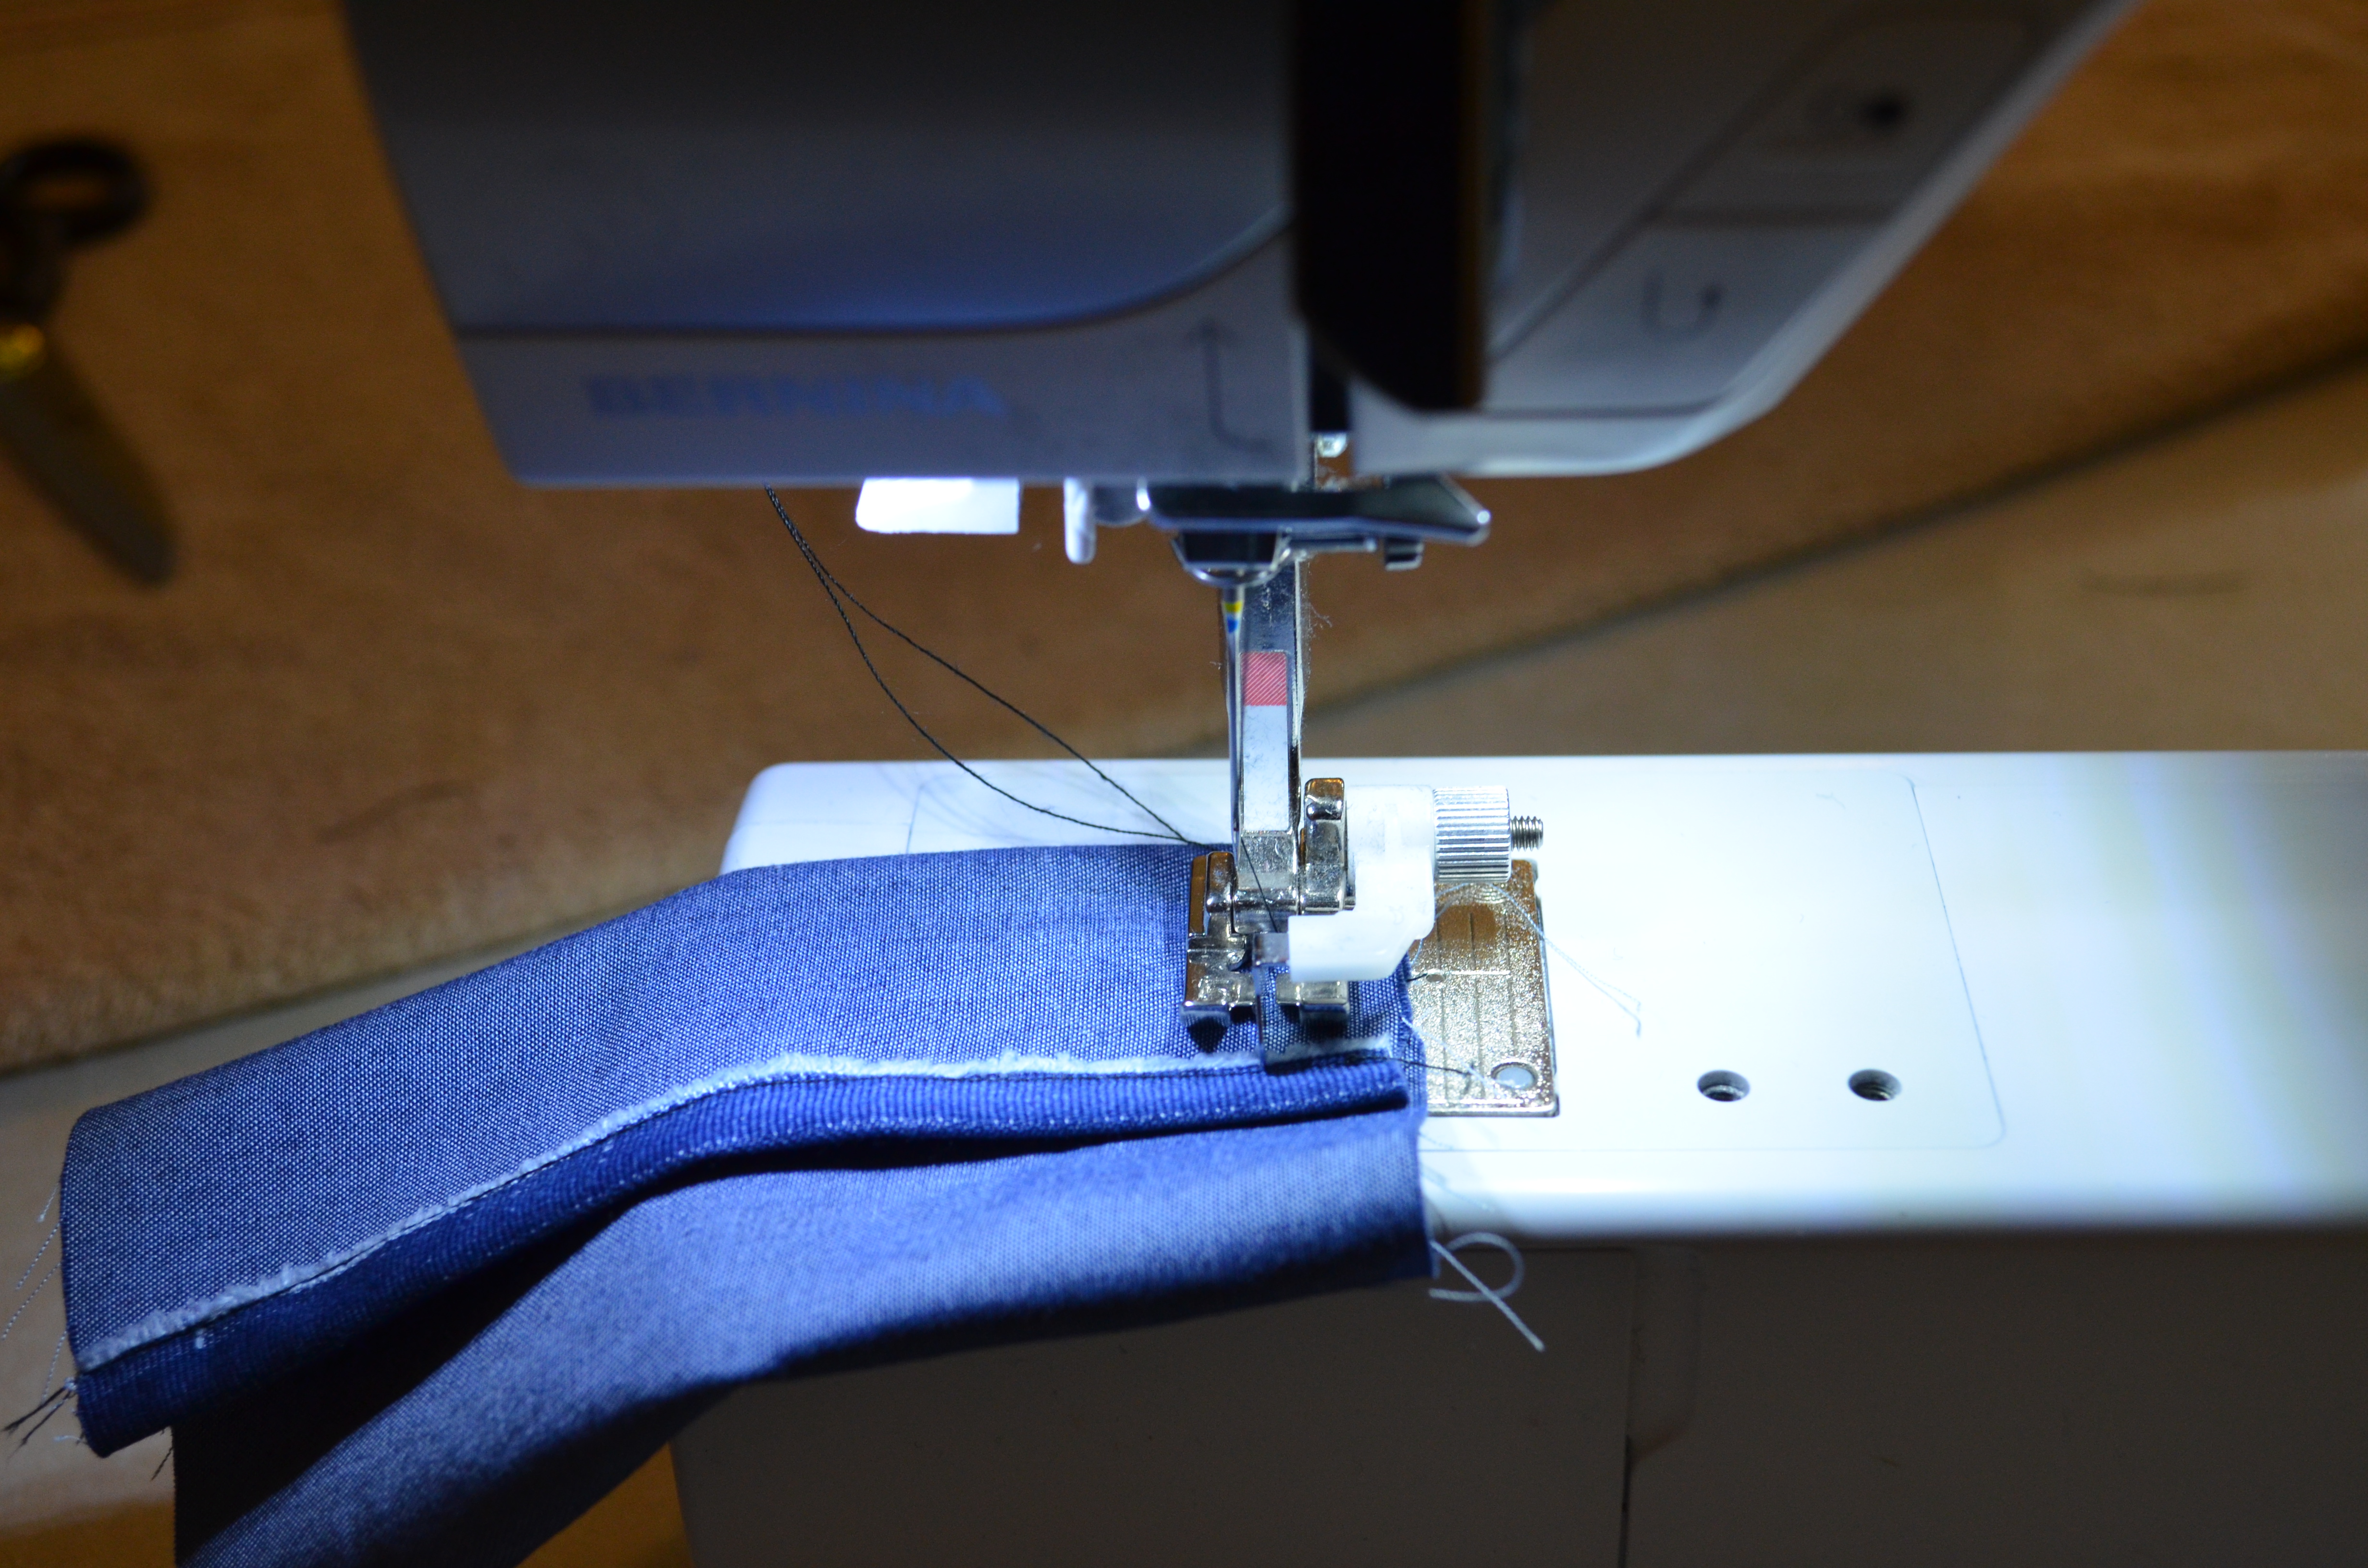
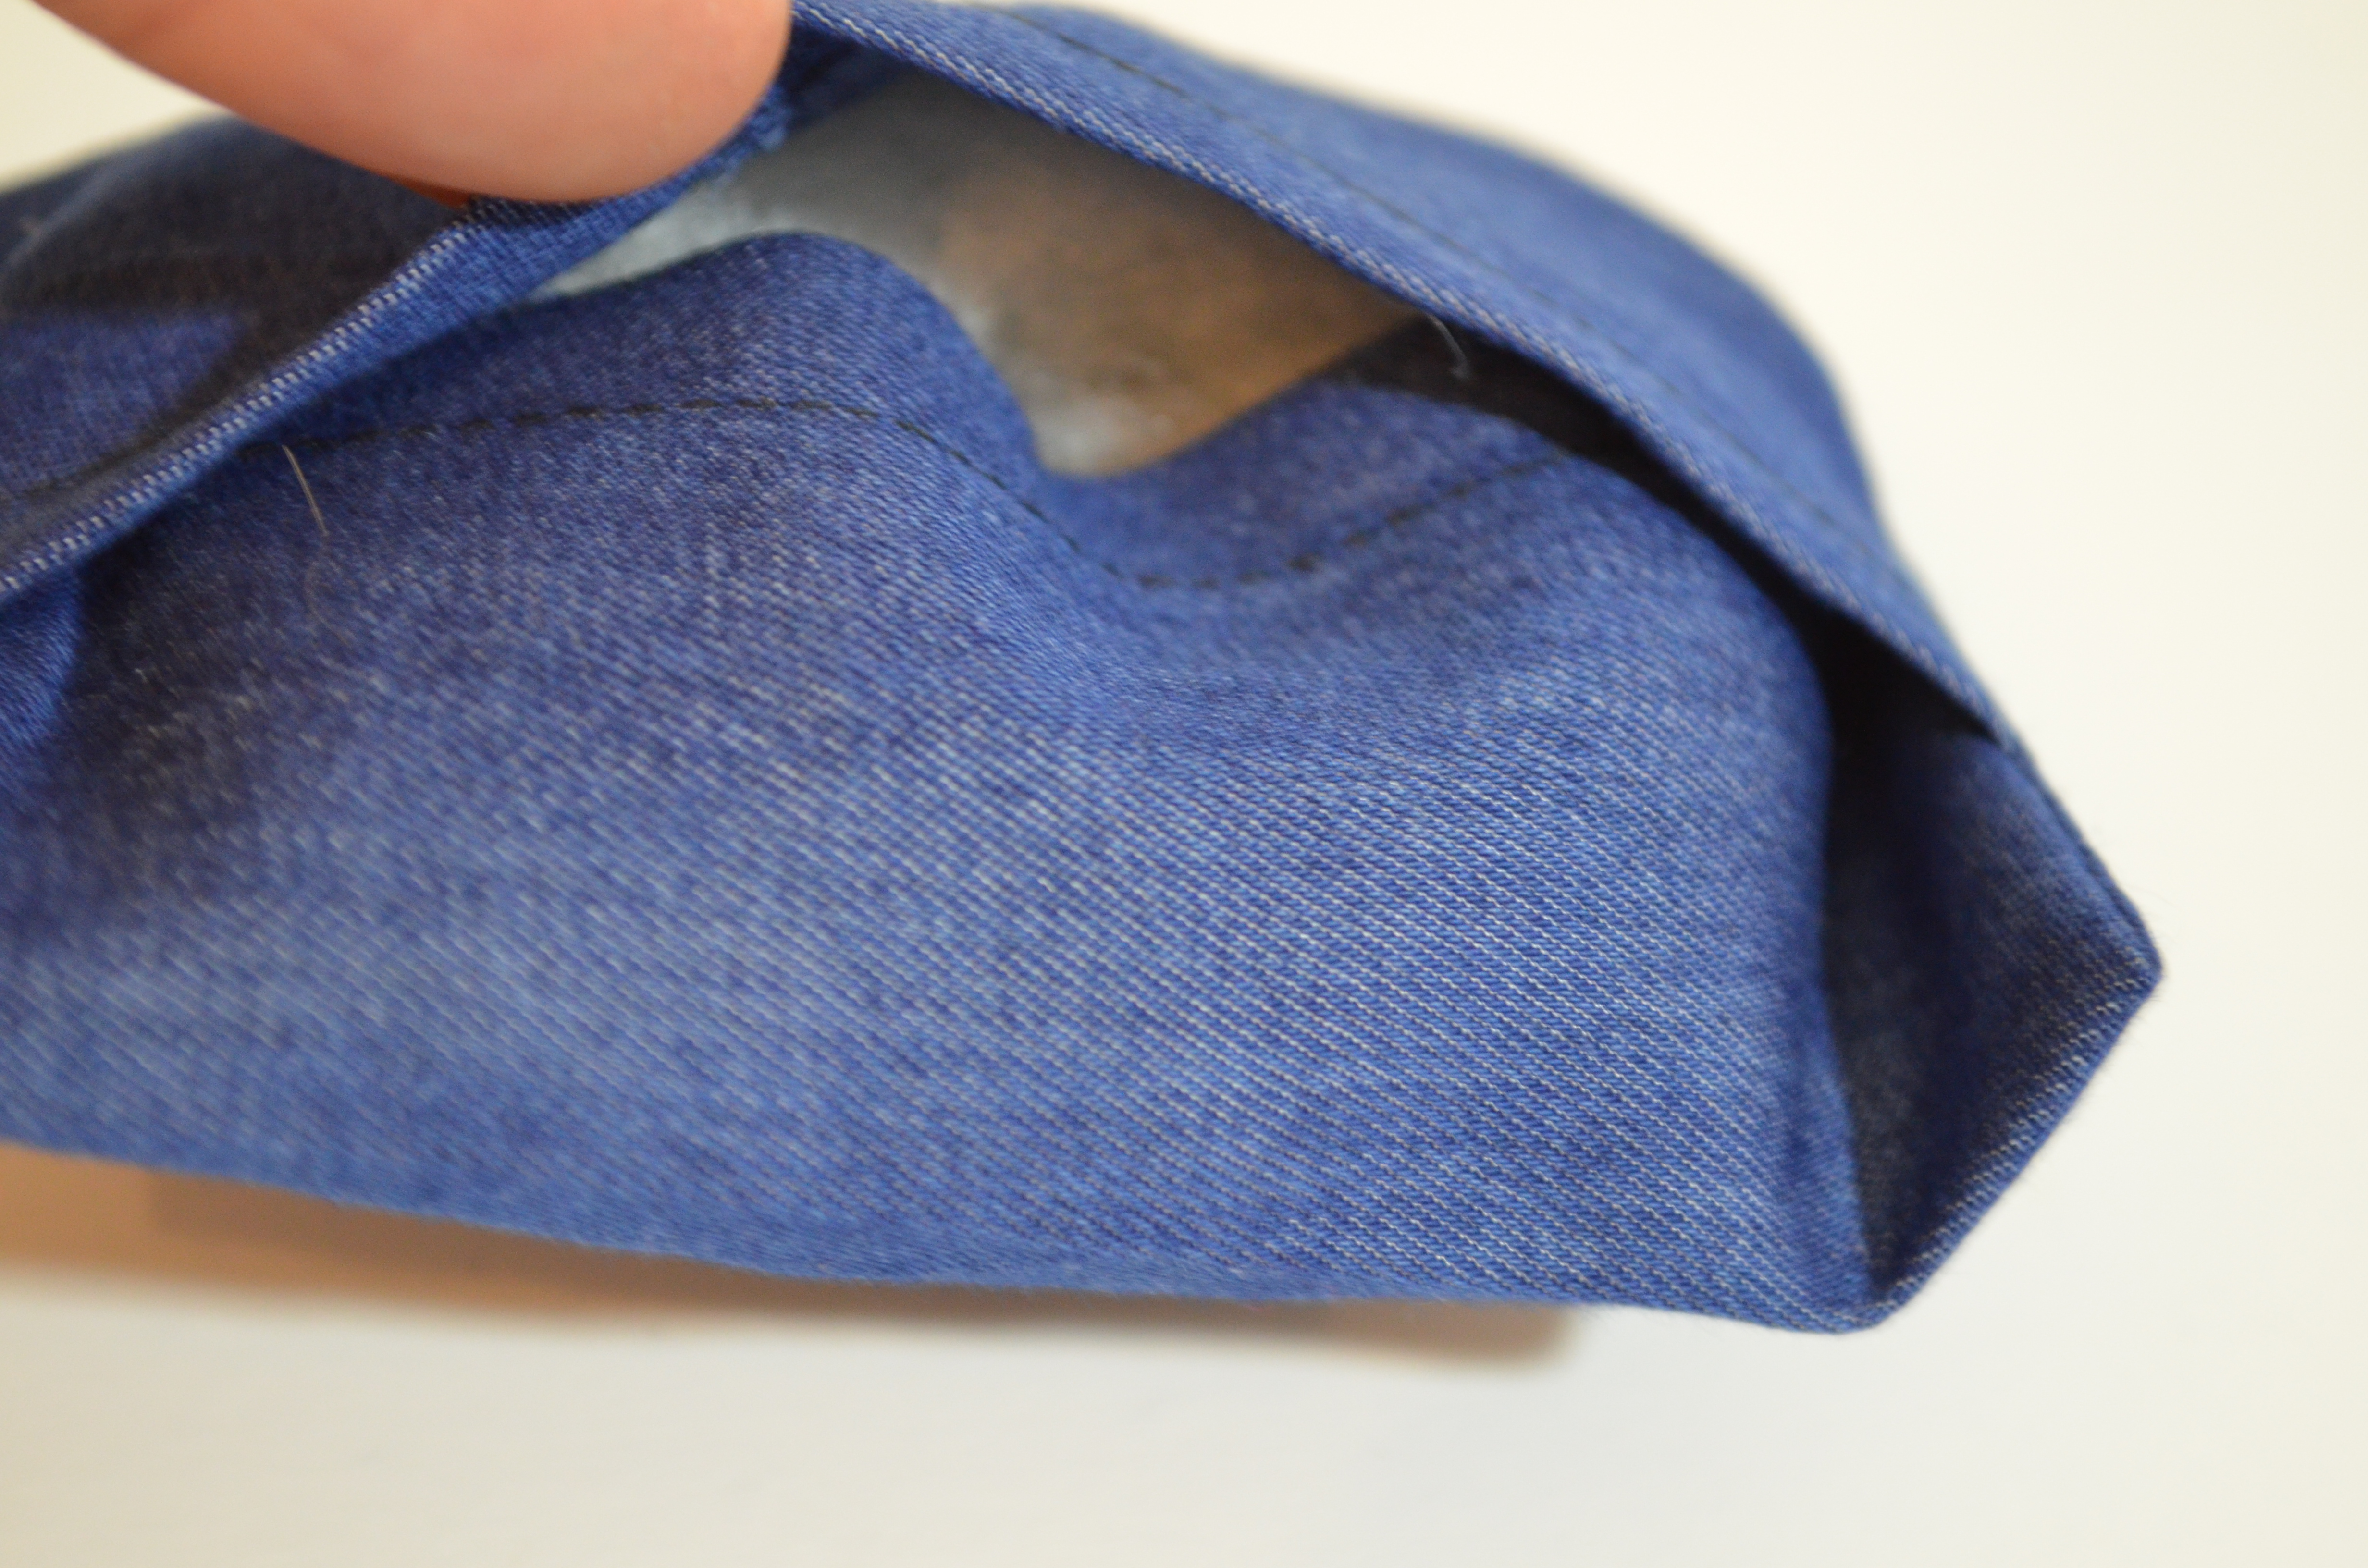
2. After this, fold the pincushion in two, on the longest side. Overlap the fabric 1 inch and press flat.

3. Stitch the sides of the pincushion with a 3/8 inch seam allowance.
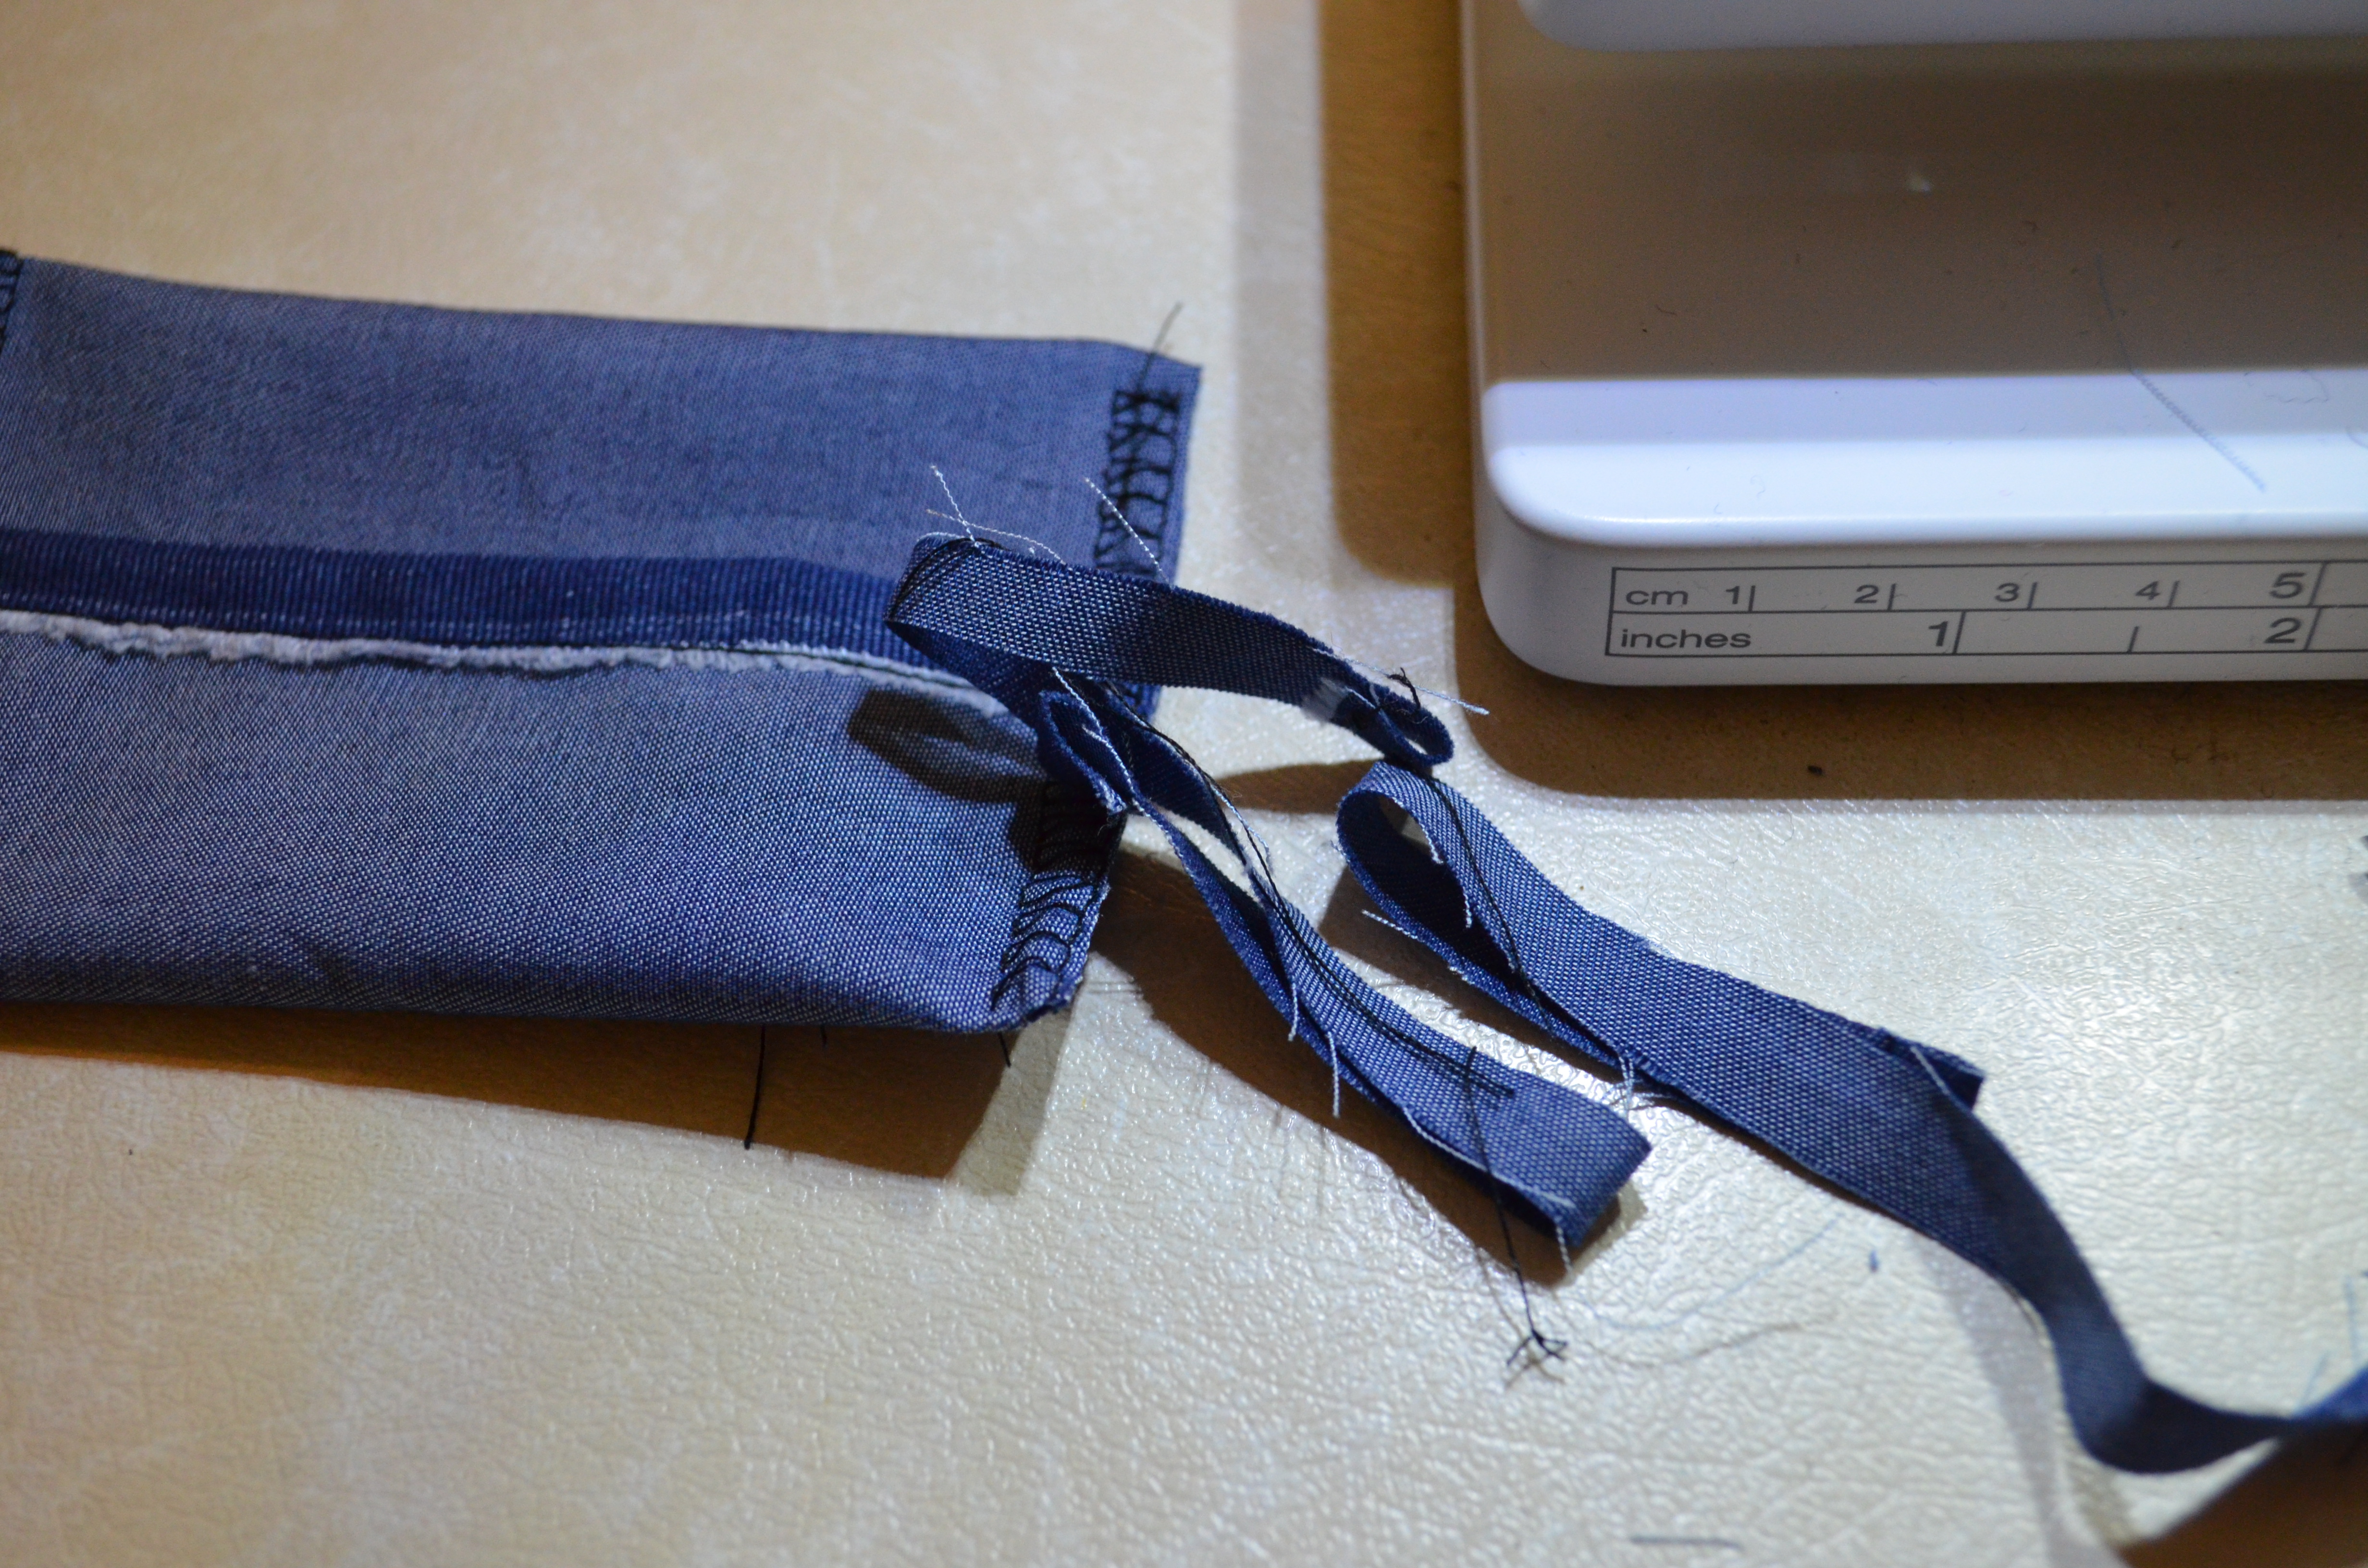
For this step I used the overlock stitch. Then, cut the excess fabric.
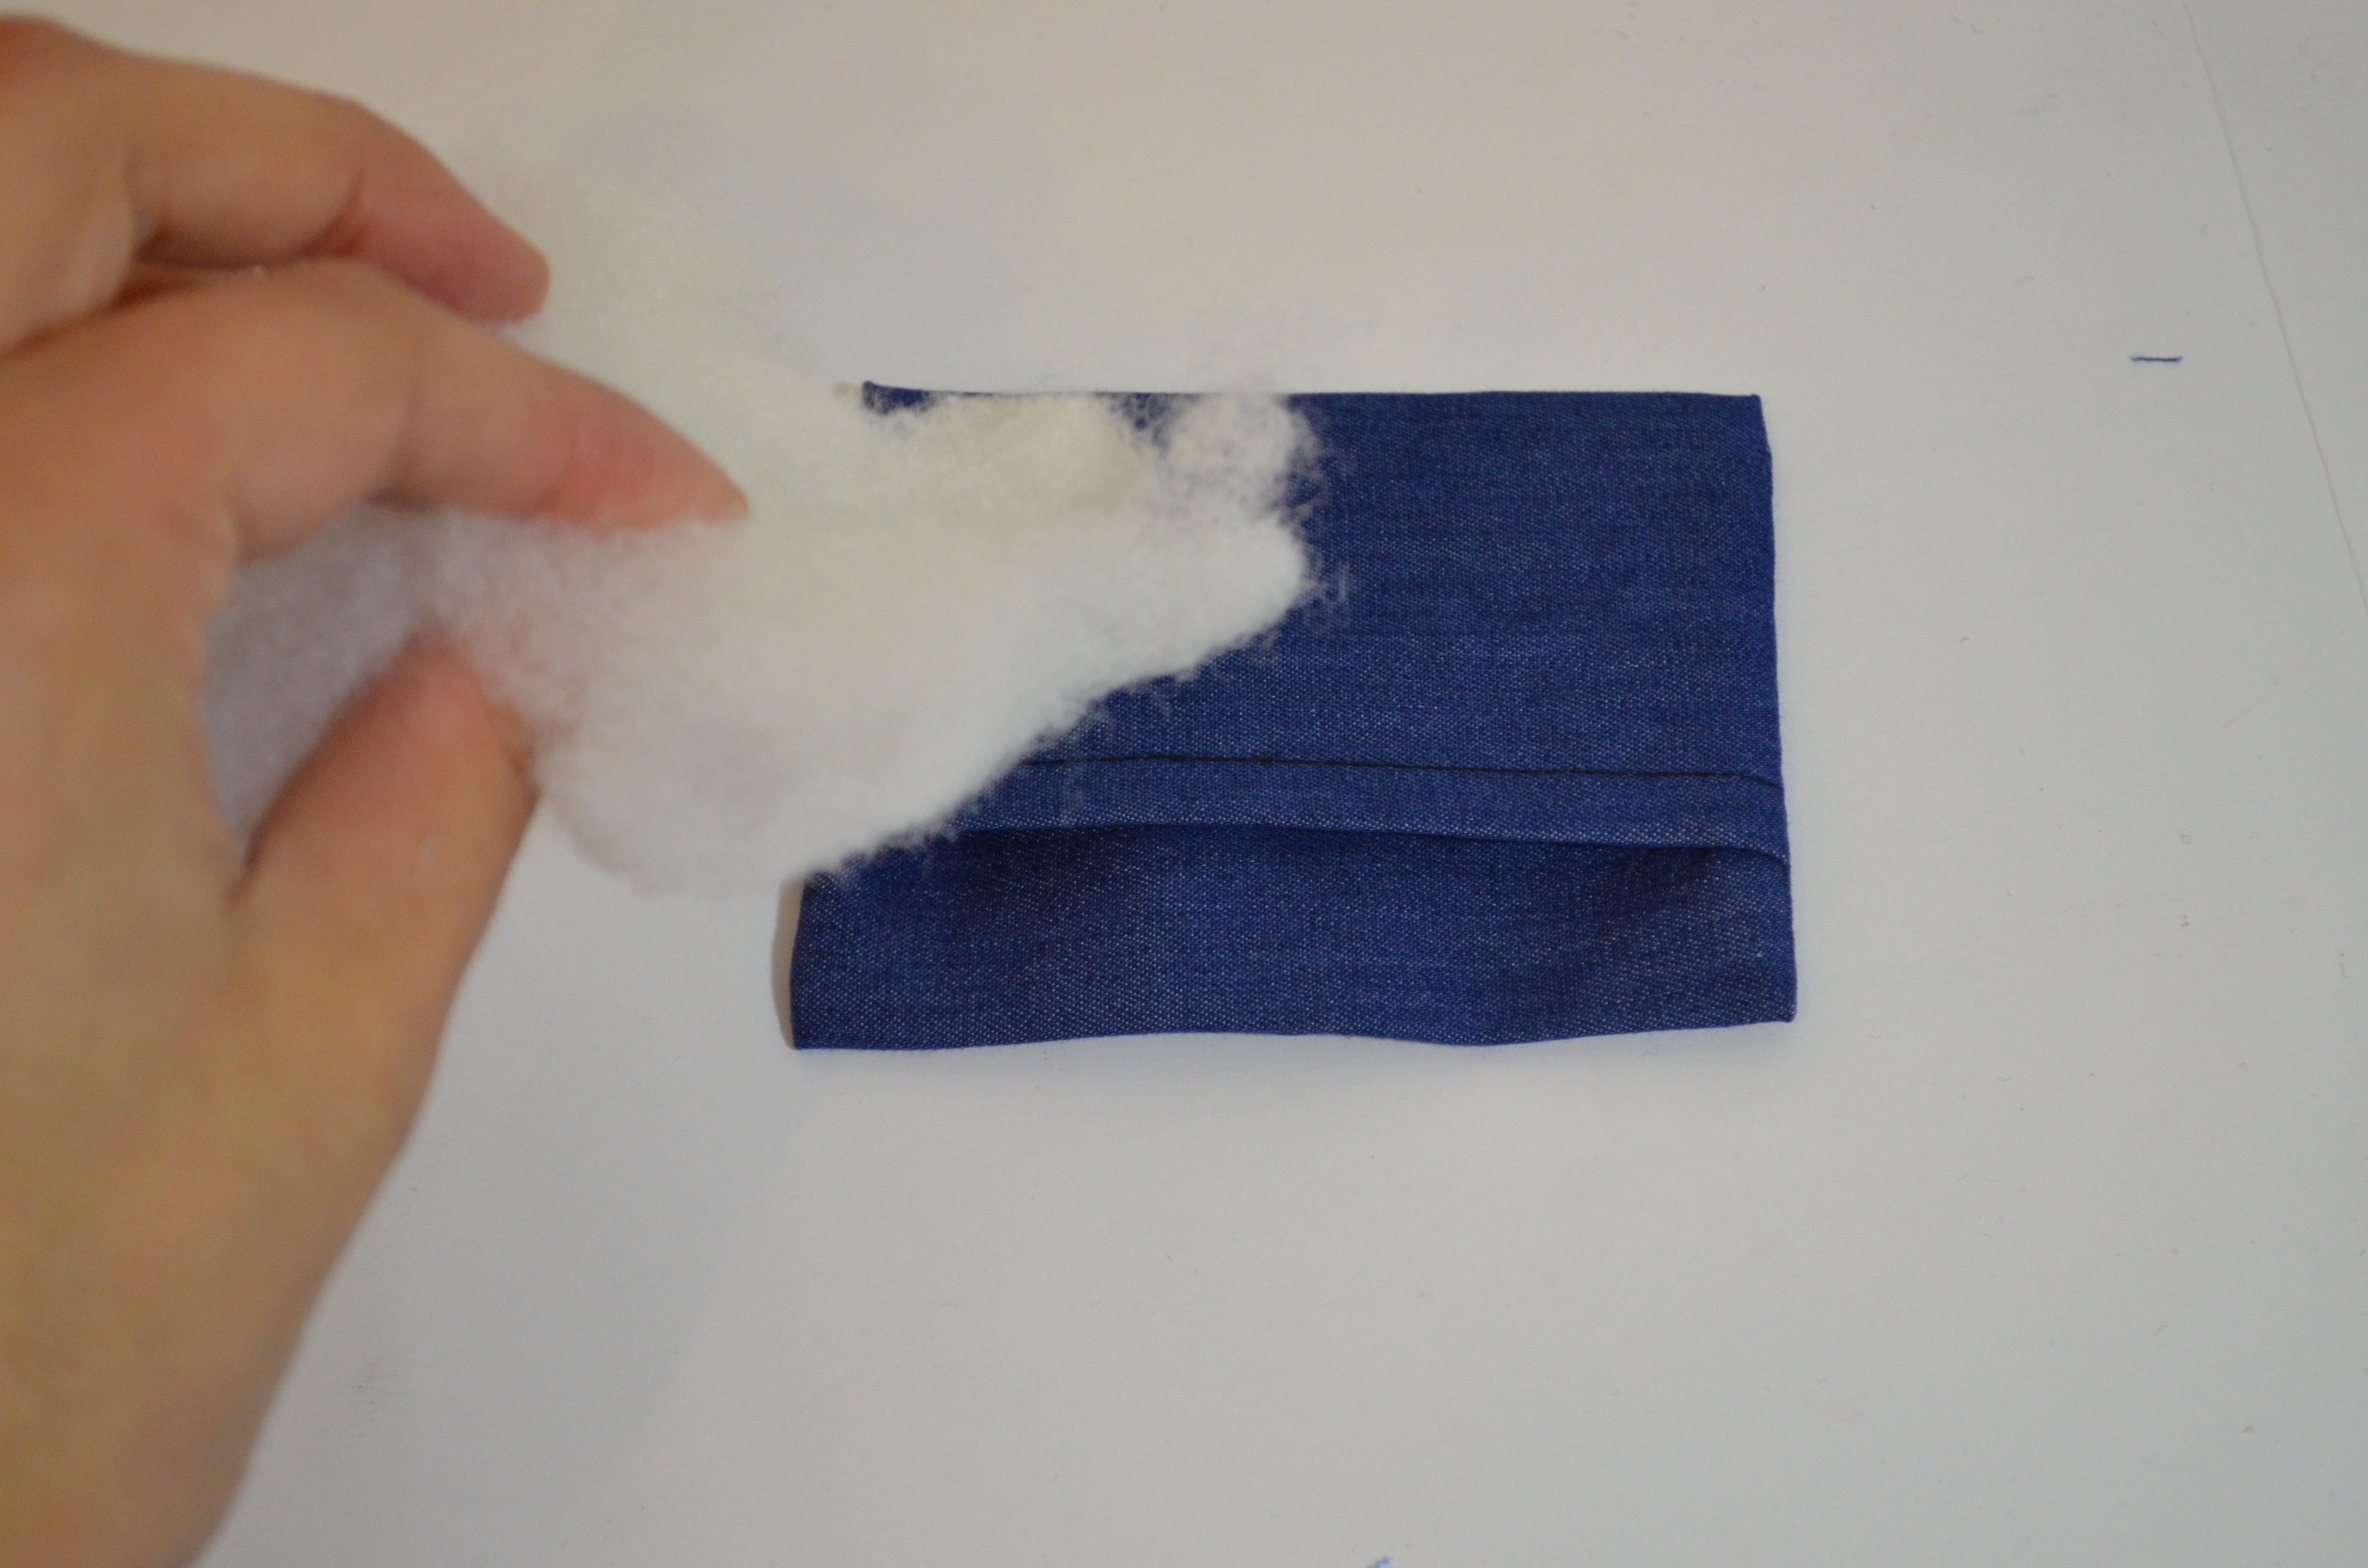
4. Turn the pincushion to the right side and press flat.
5. Add the fiberfill stuffing to the pincushion.
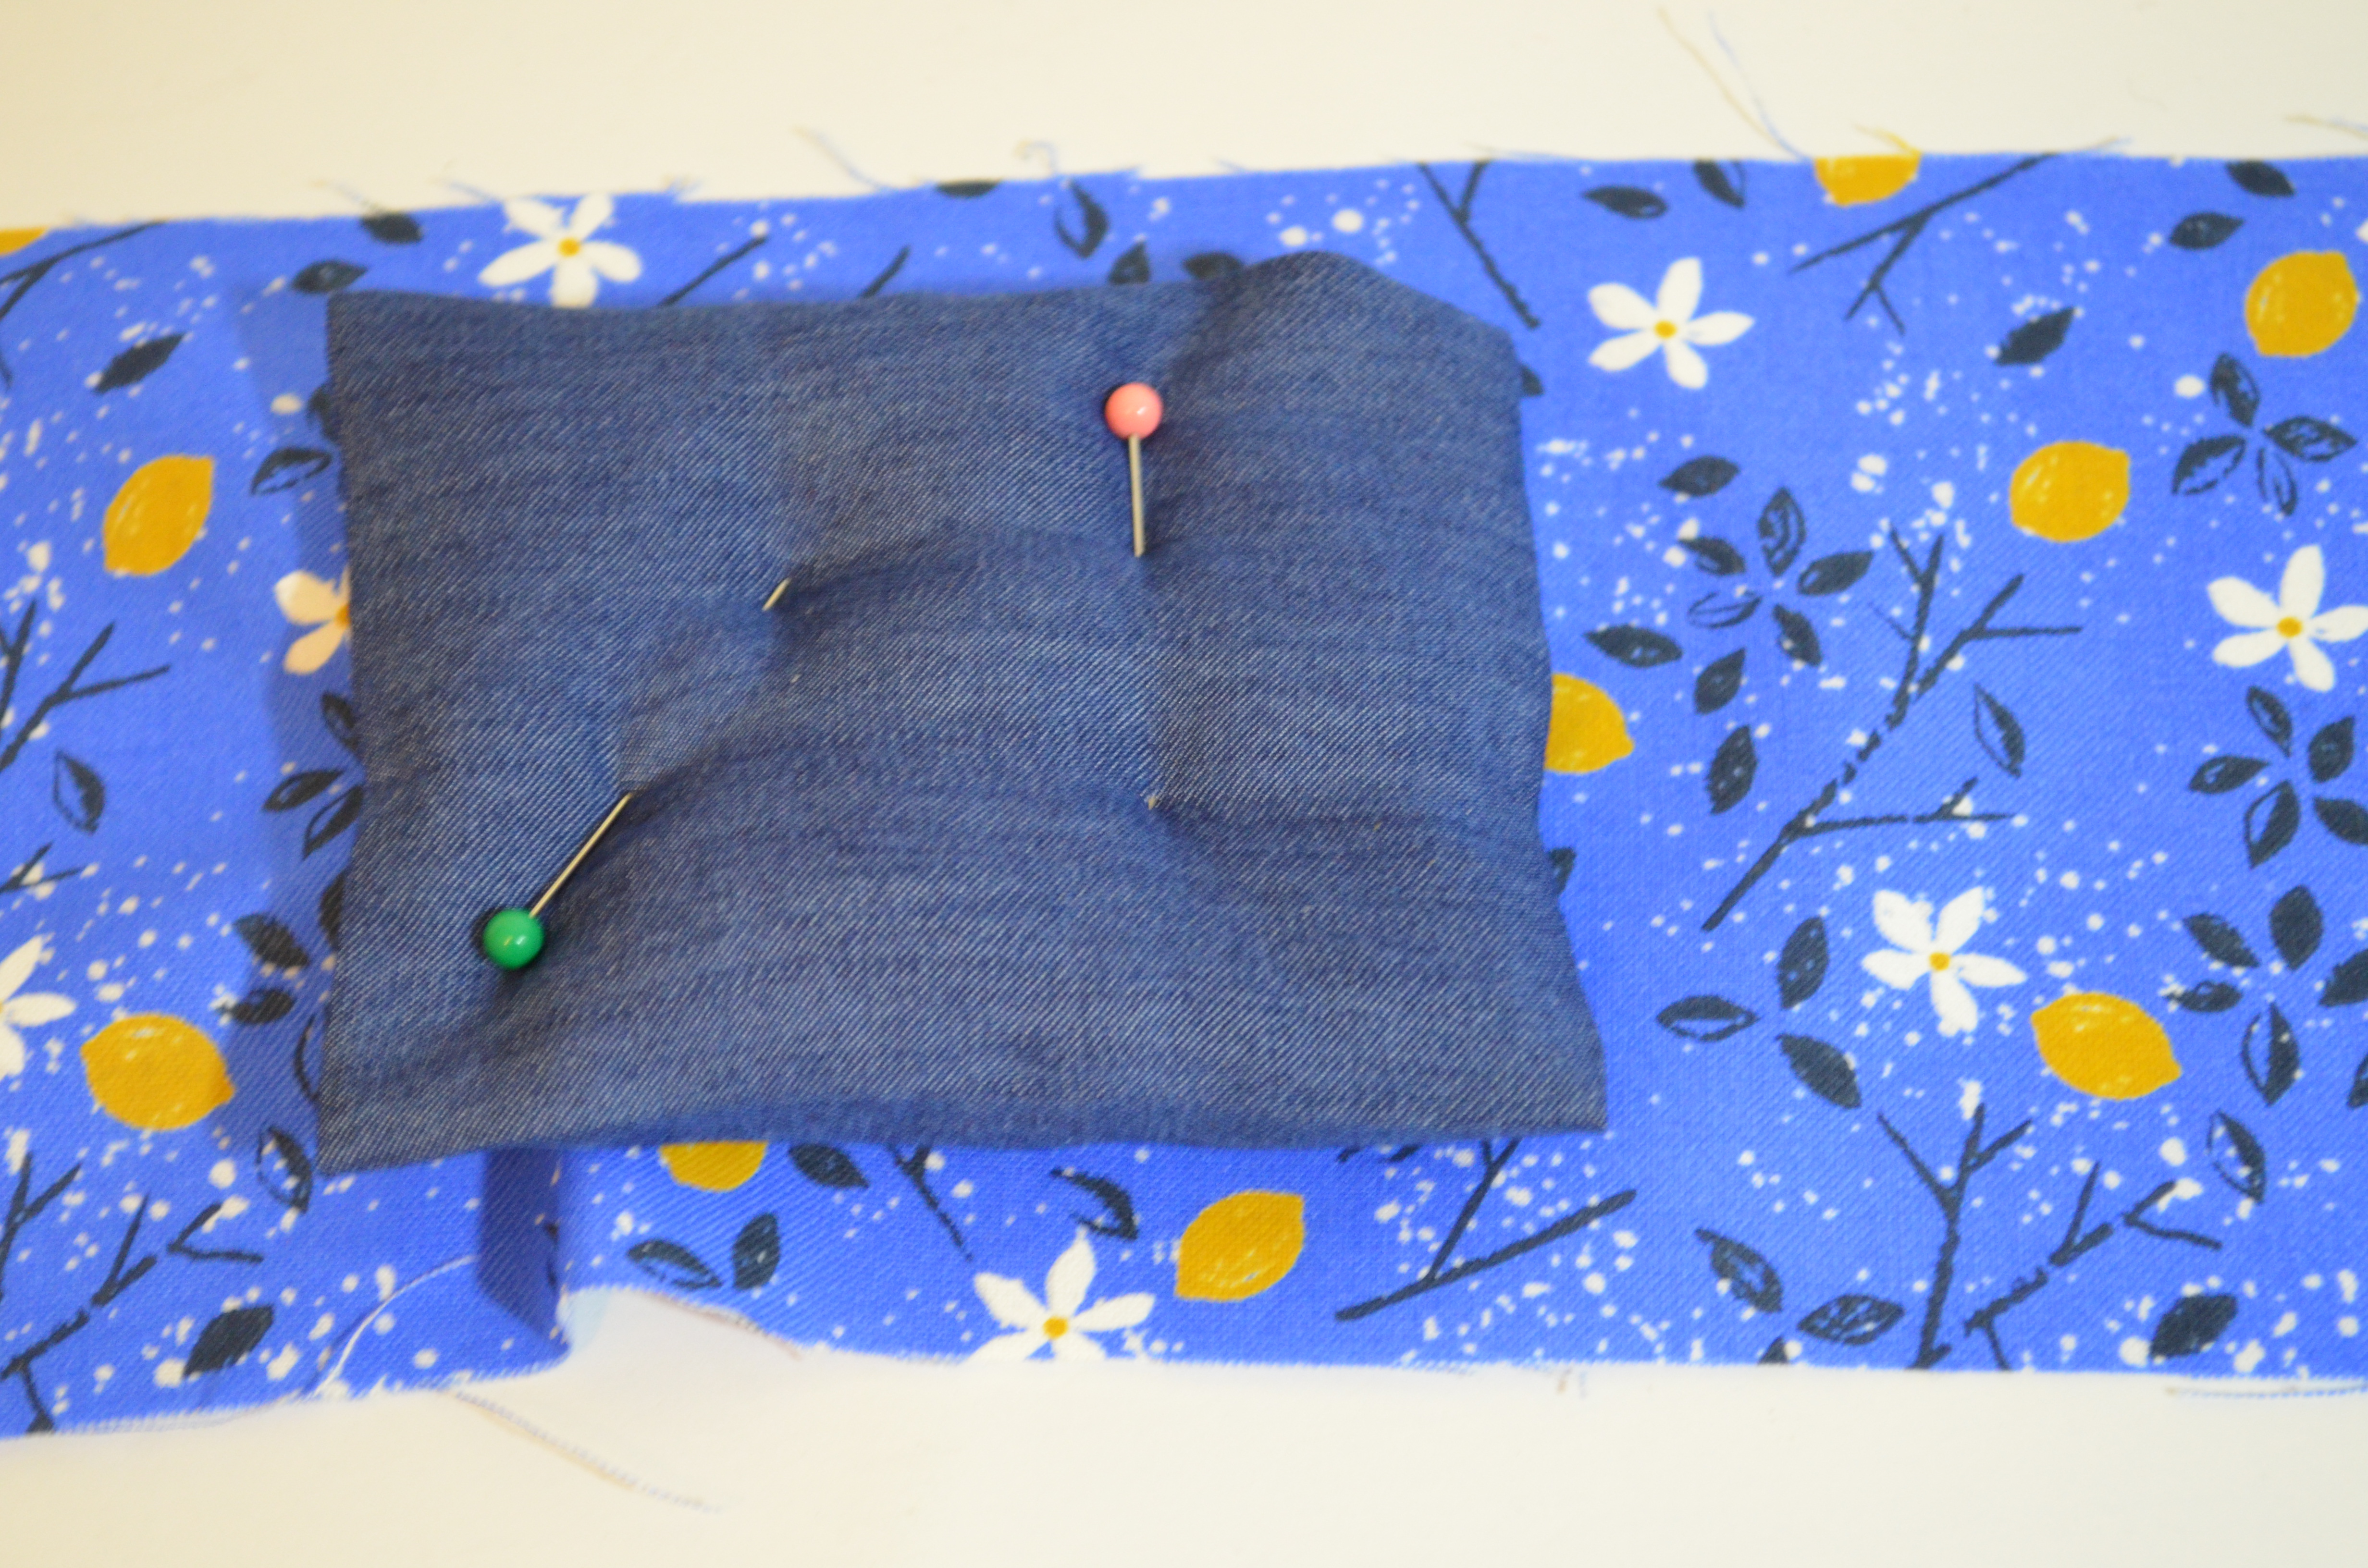
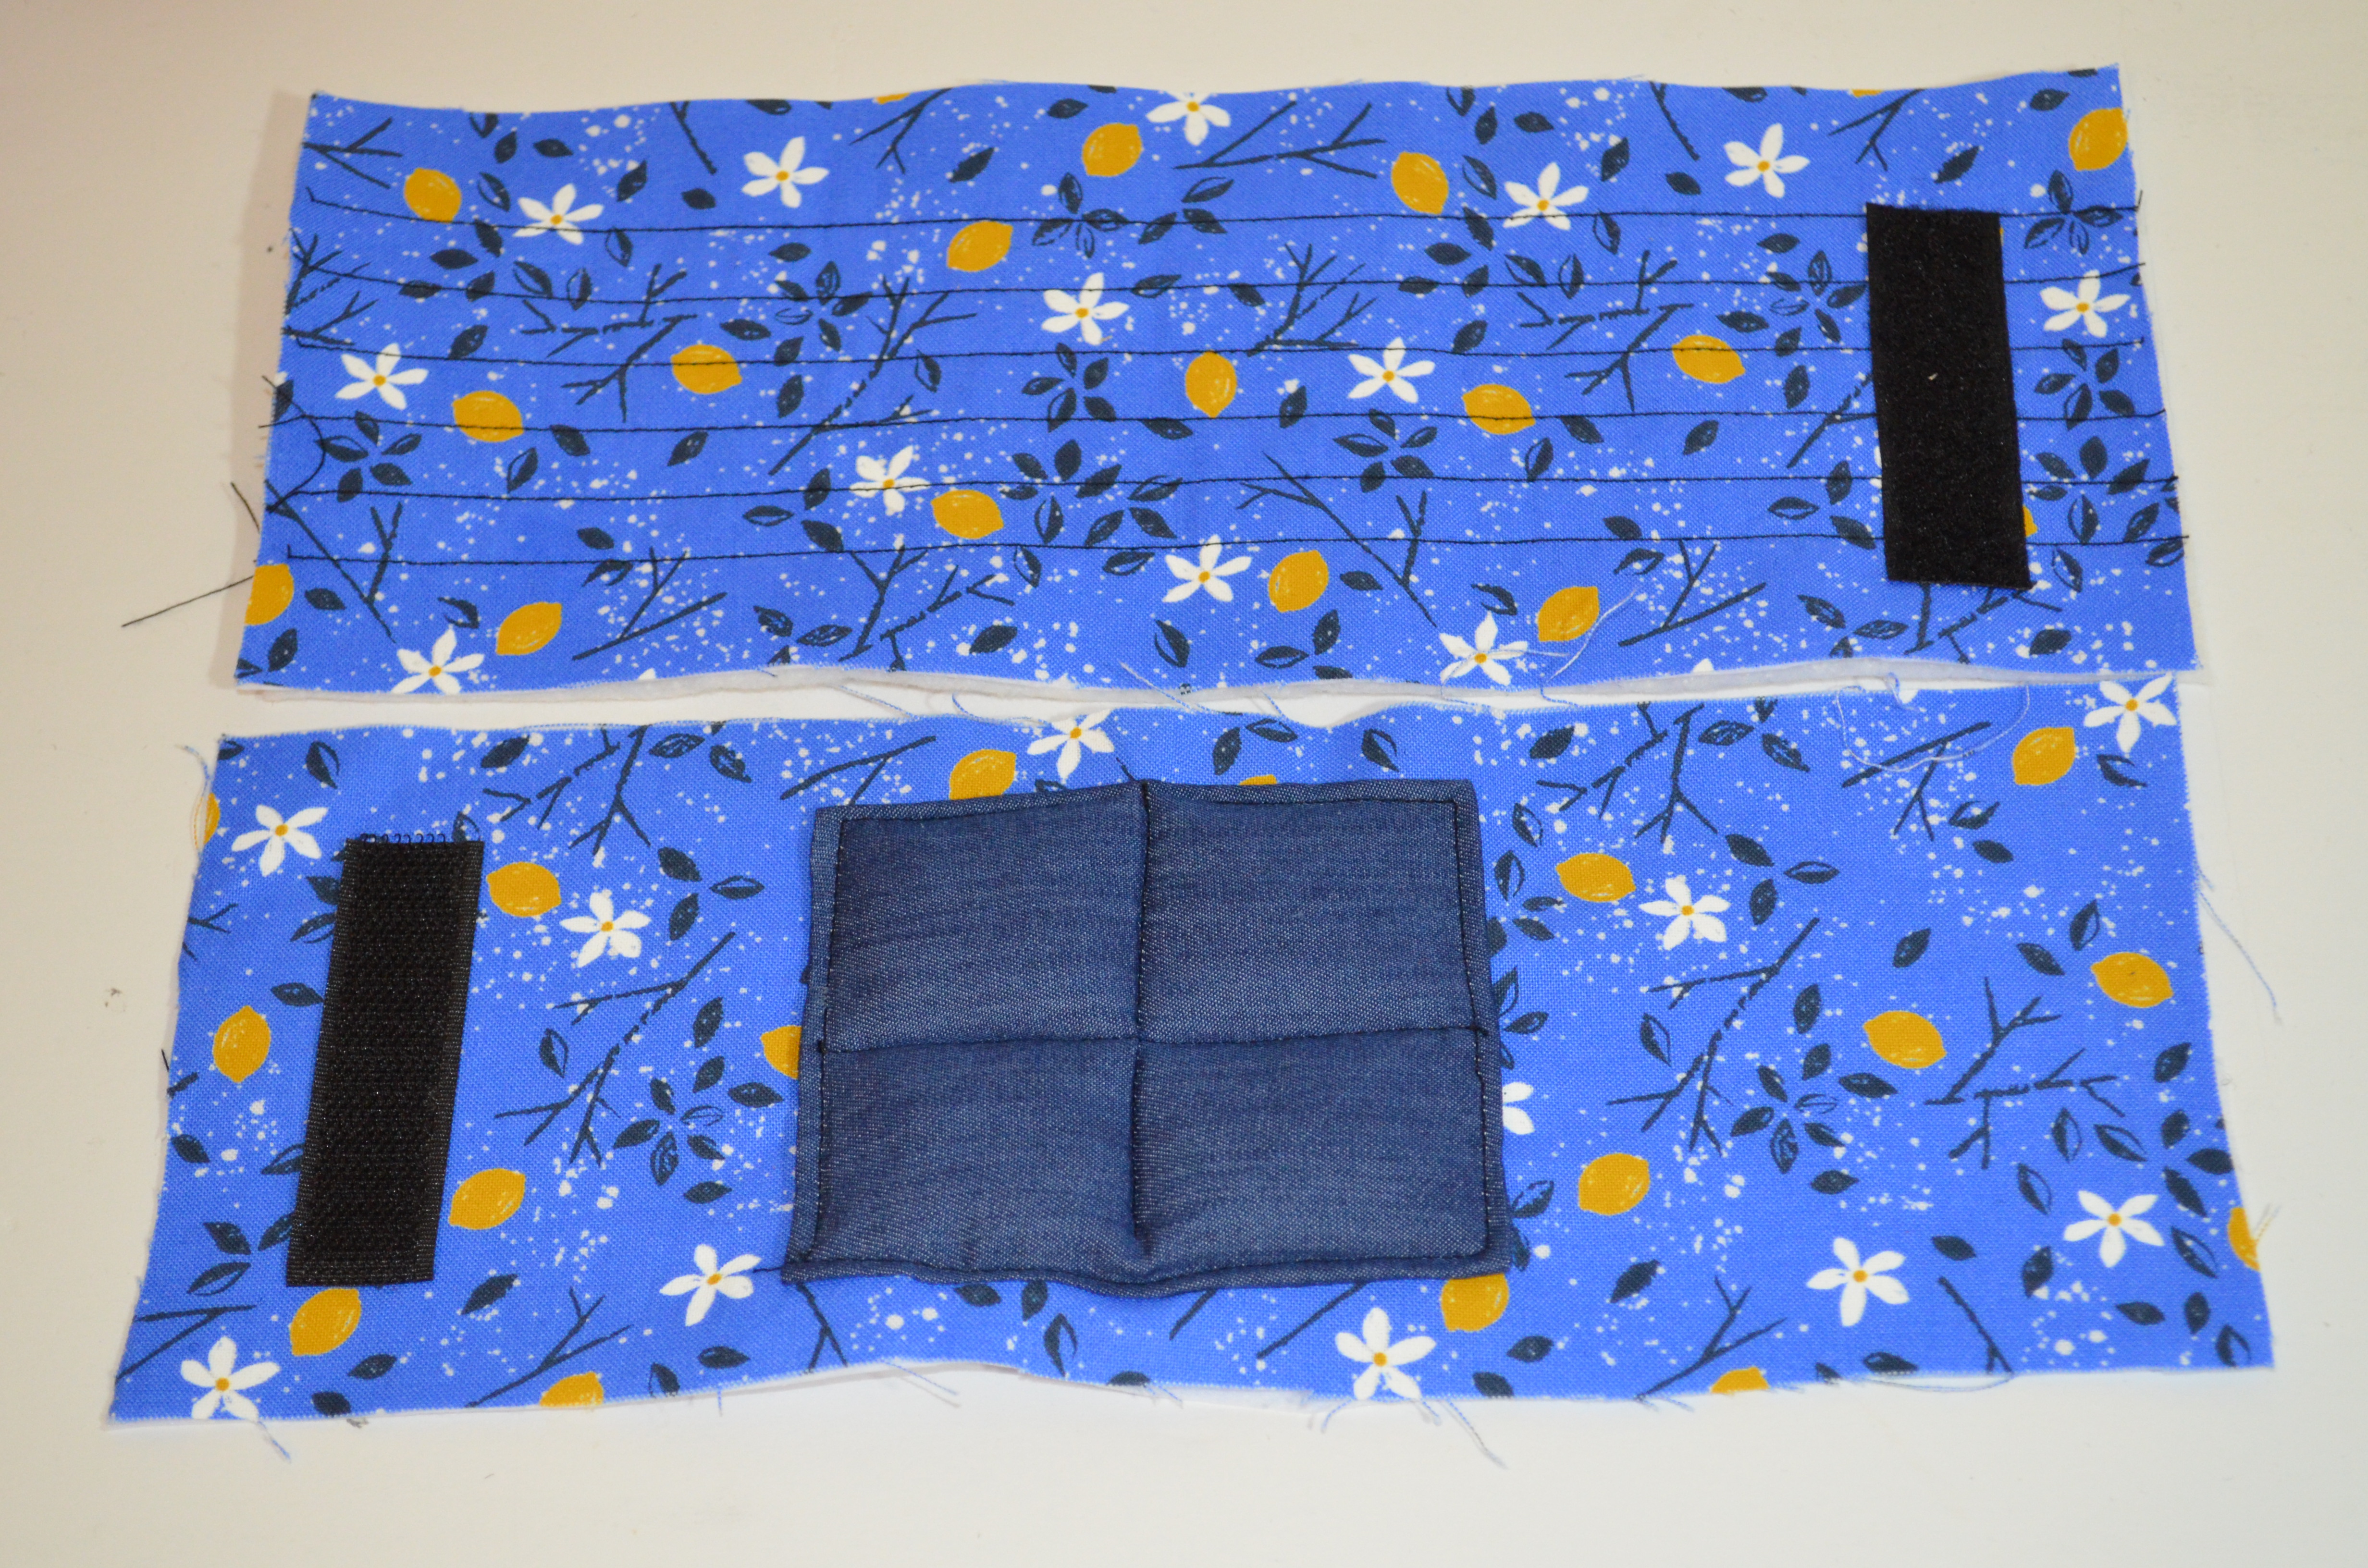
6. After than, place the pincushion over the fabric wristband. The pincushion must be placed in the middle.
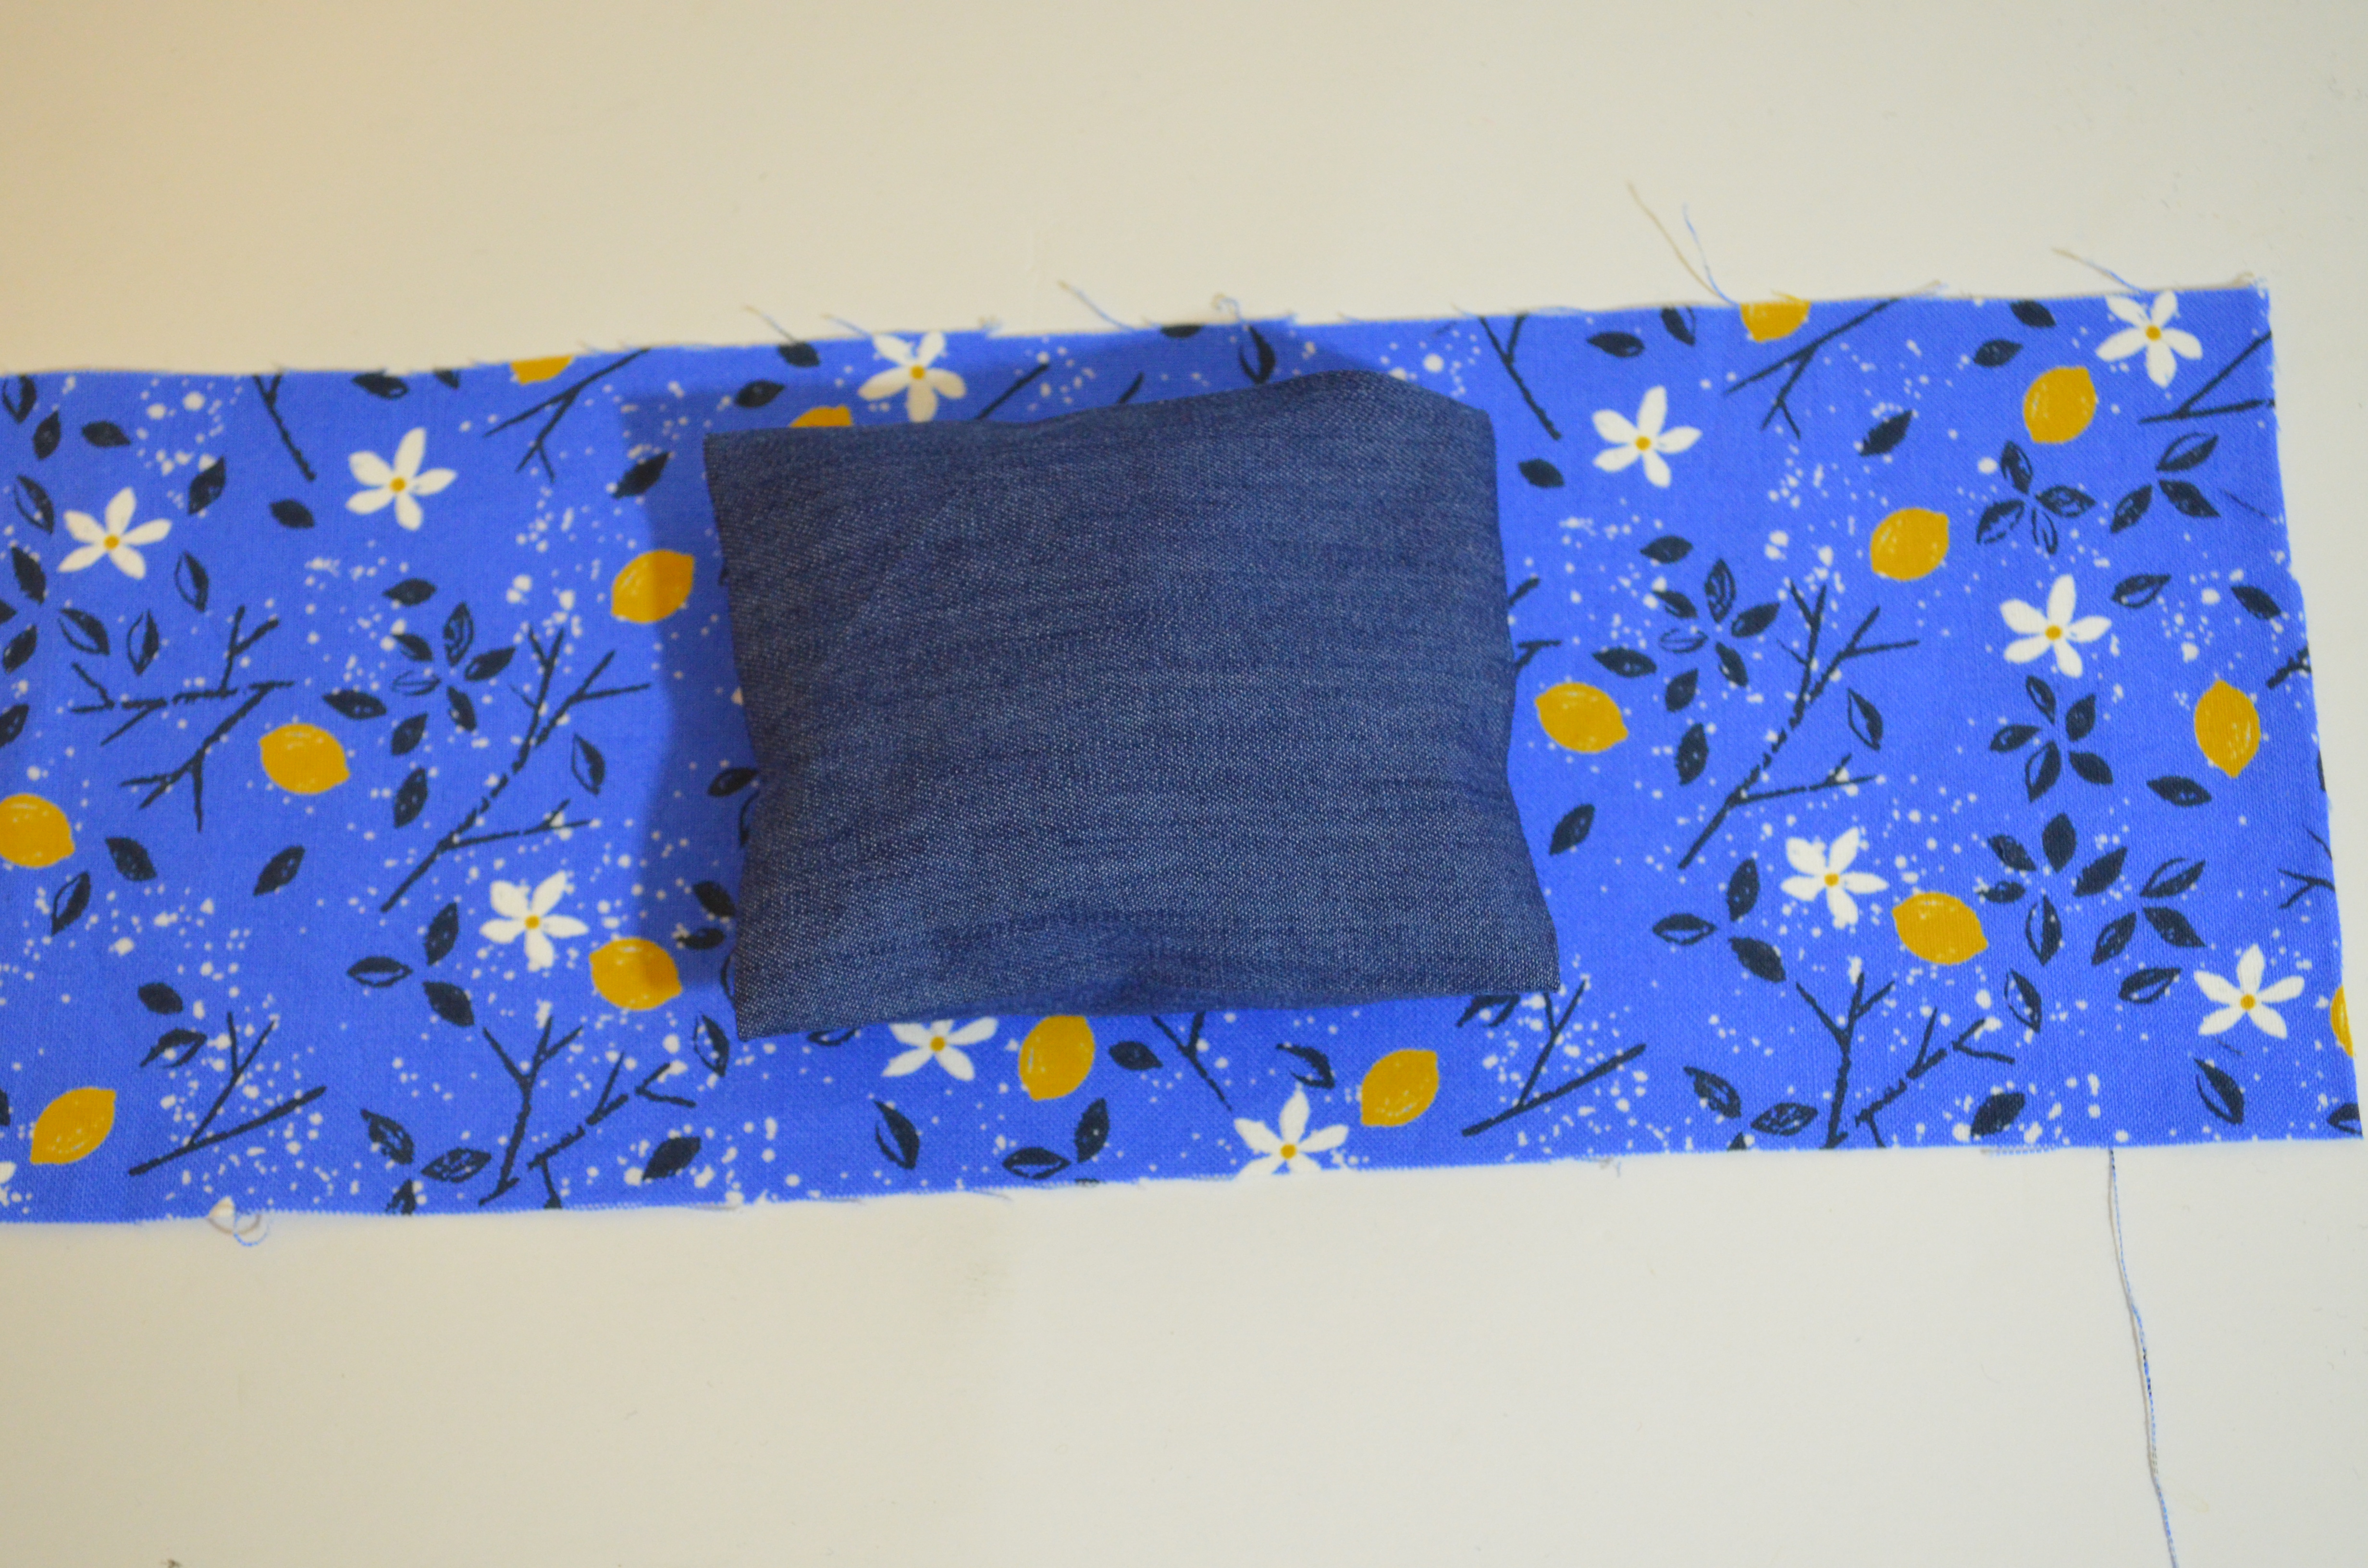
7. Pin the pincushion to the fabric.
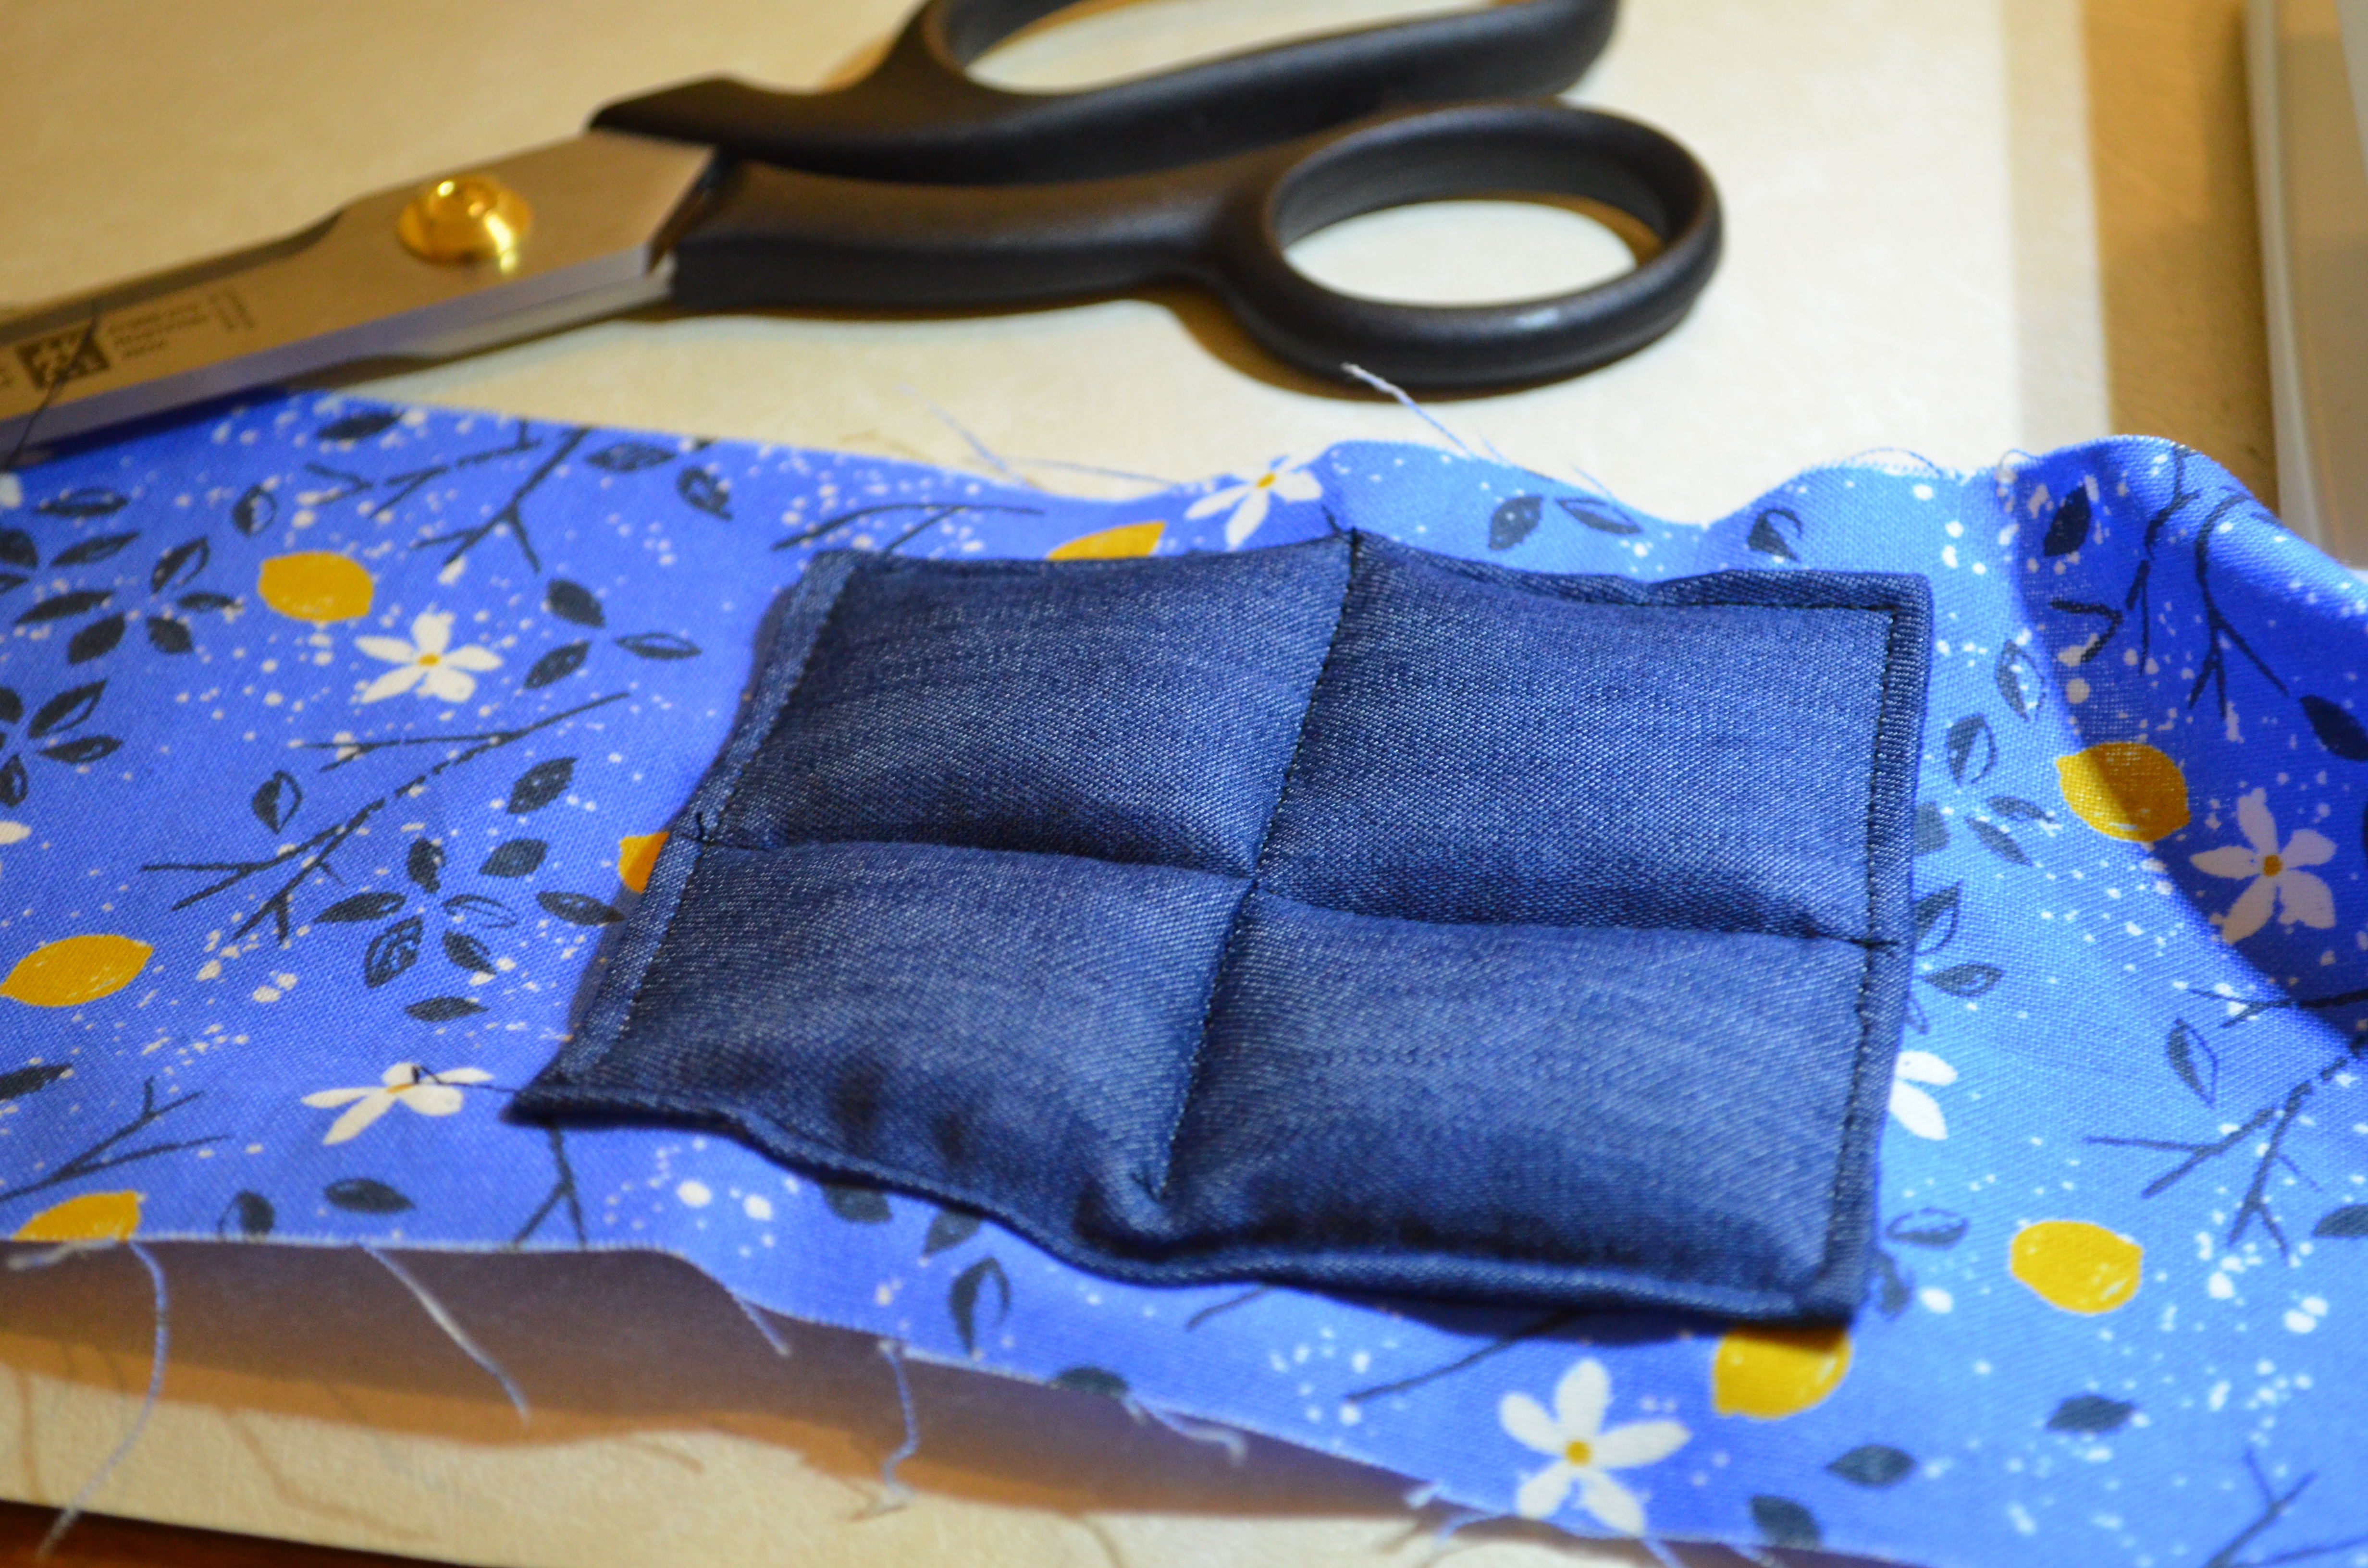
8. And stitch the sides, top and bottom. Then, make 4 squares as shown in the picture below.

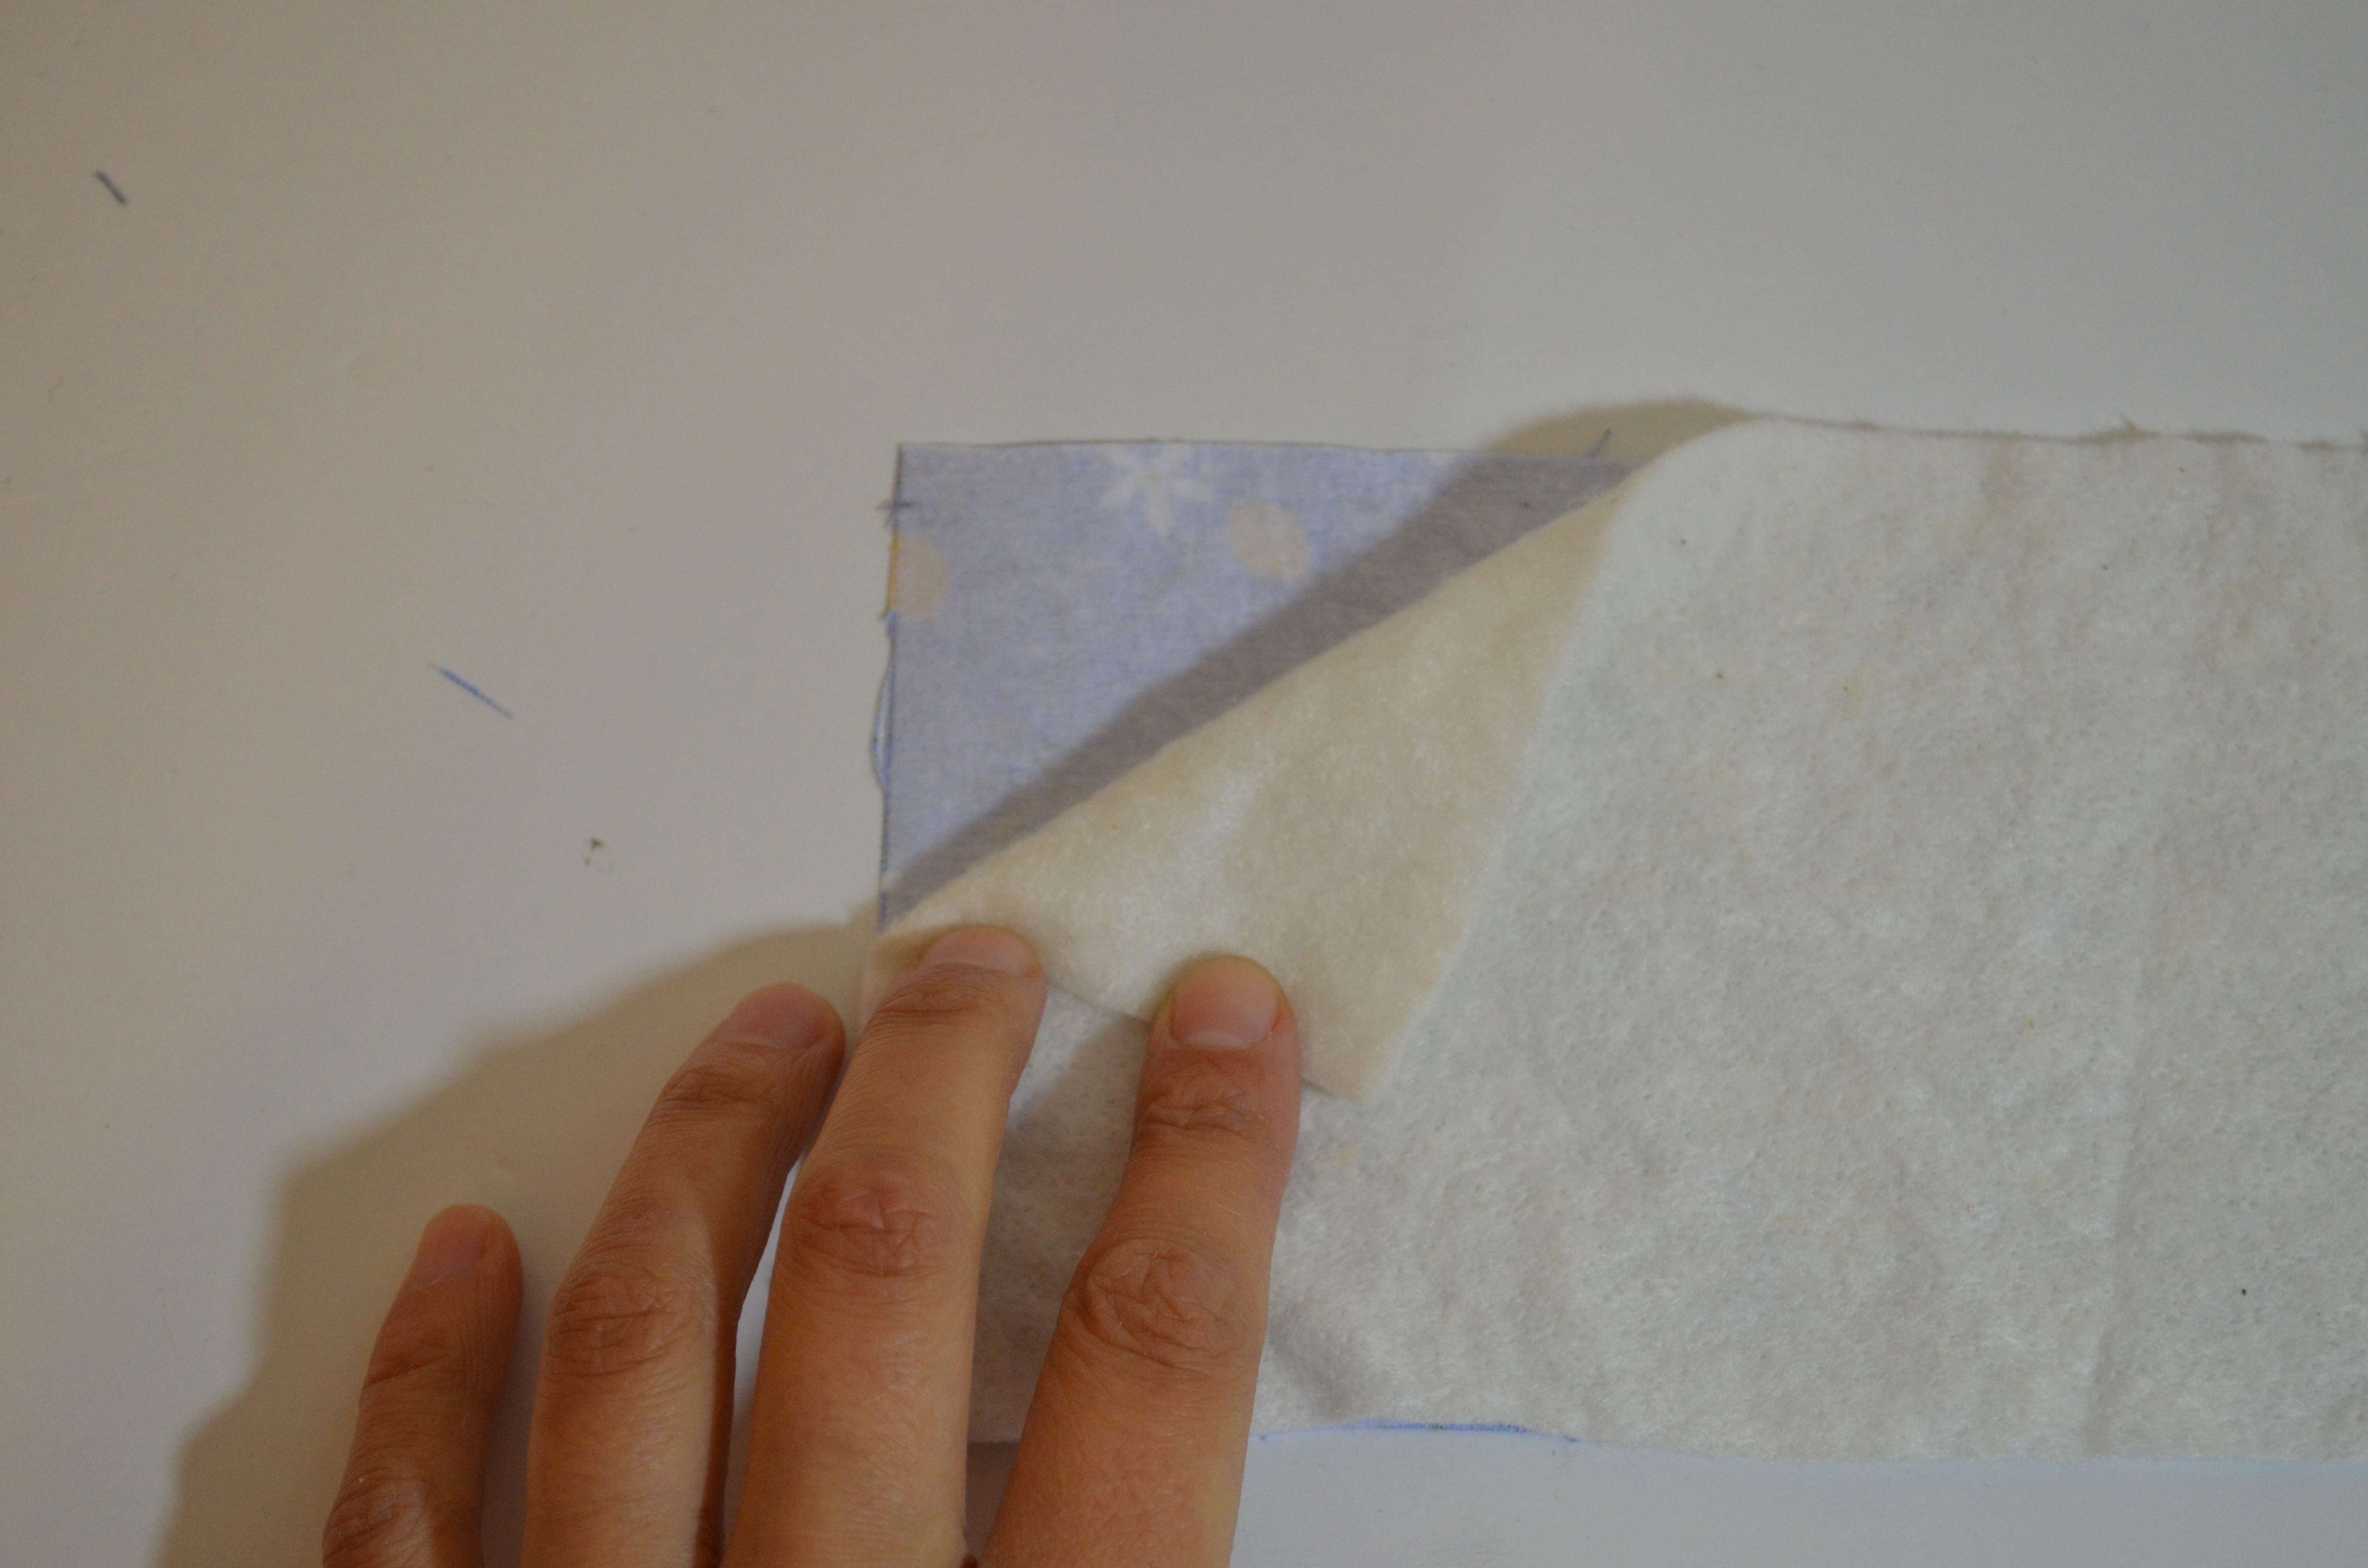
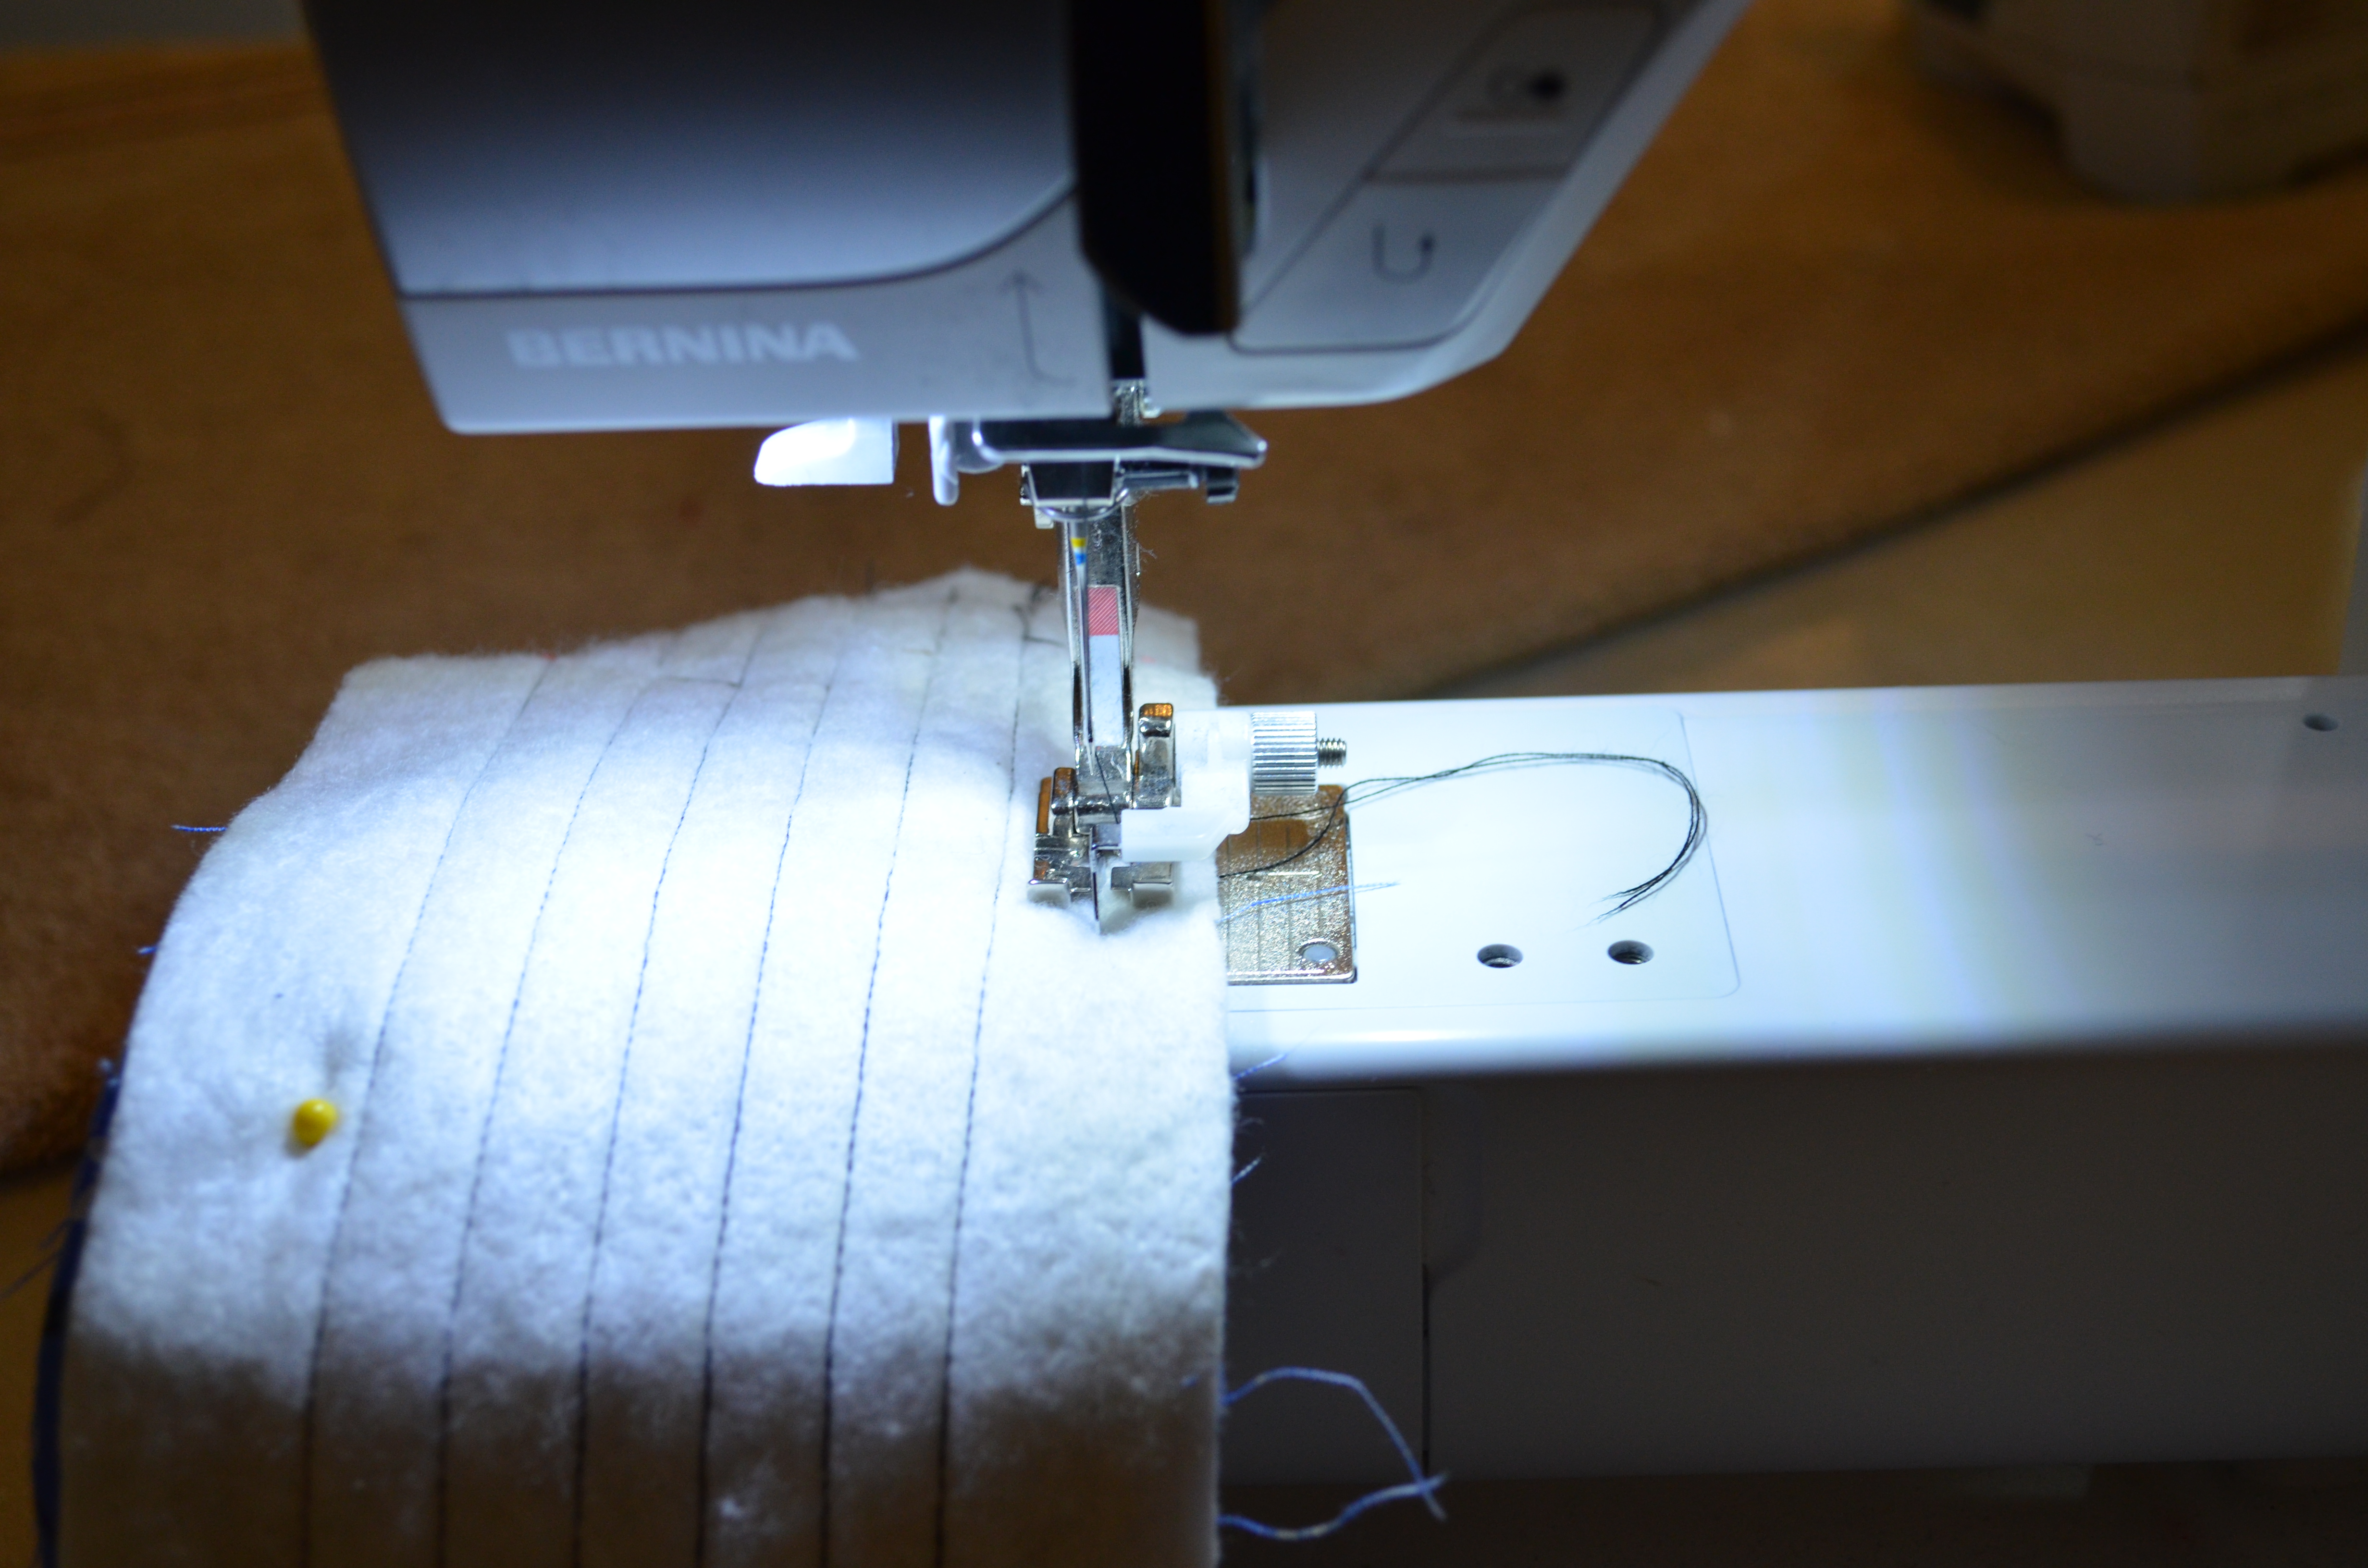
9. Place the batting to the wrong side of the inner fabric.
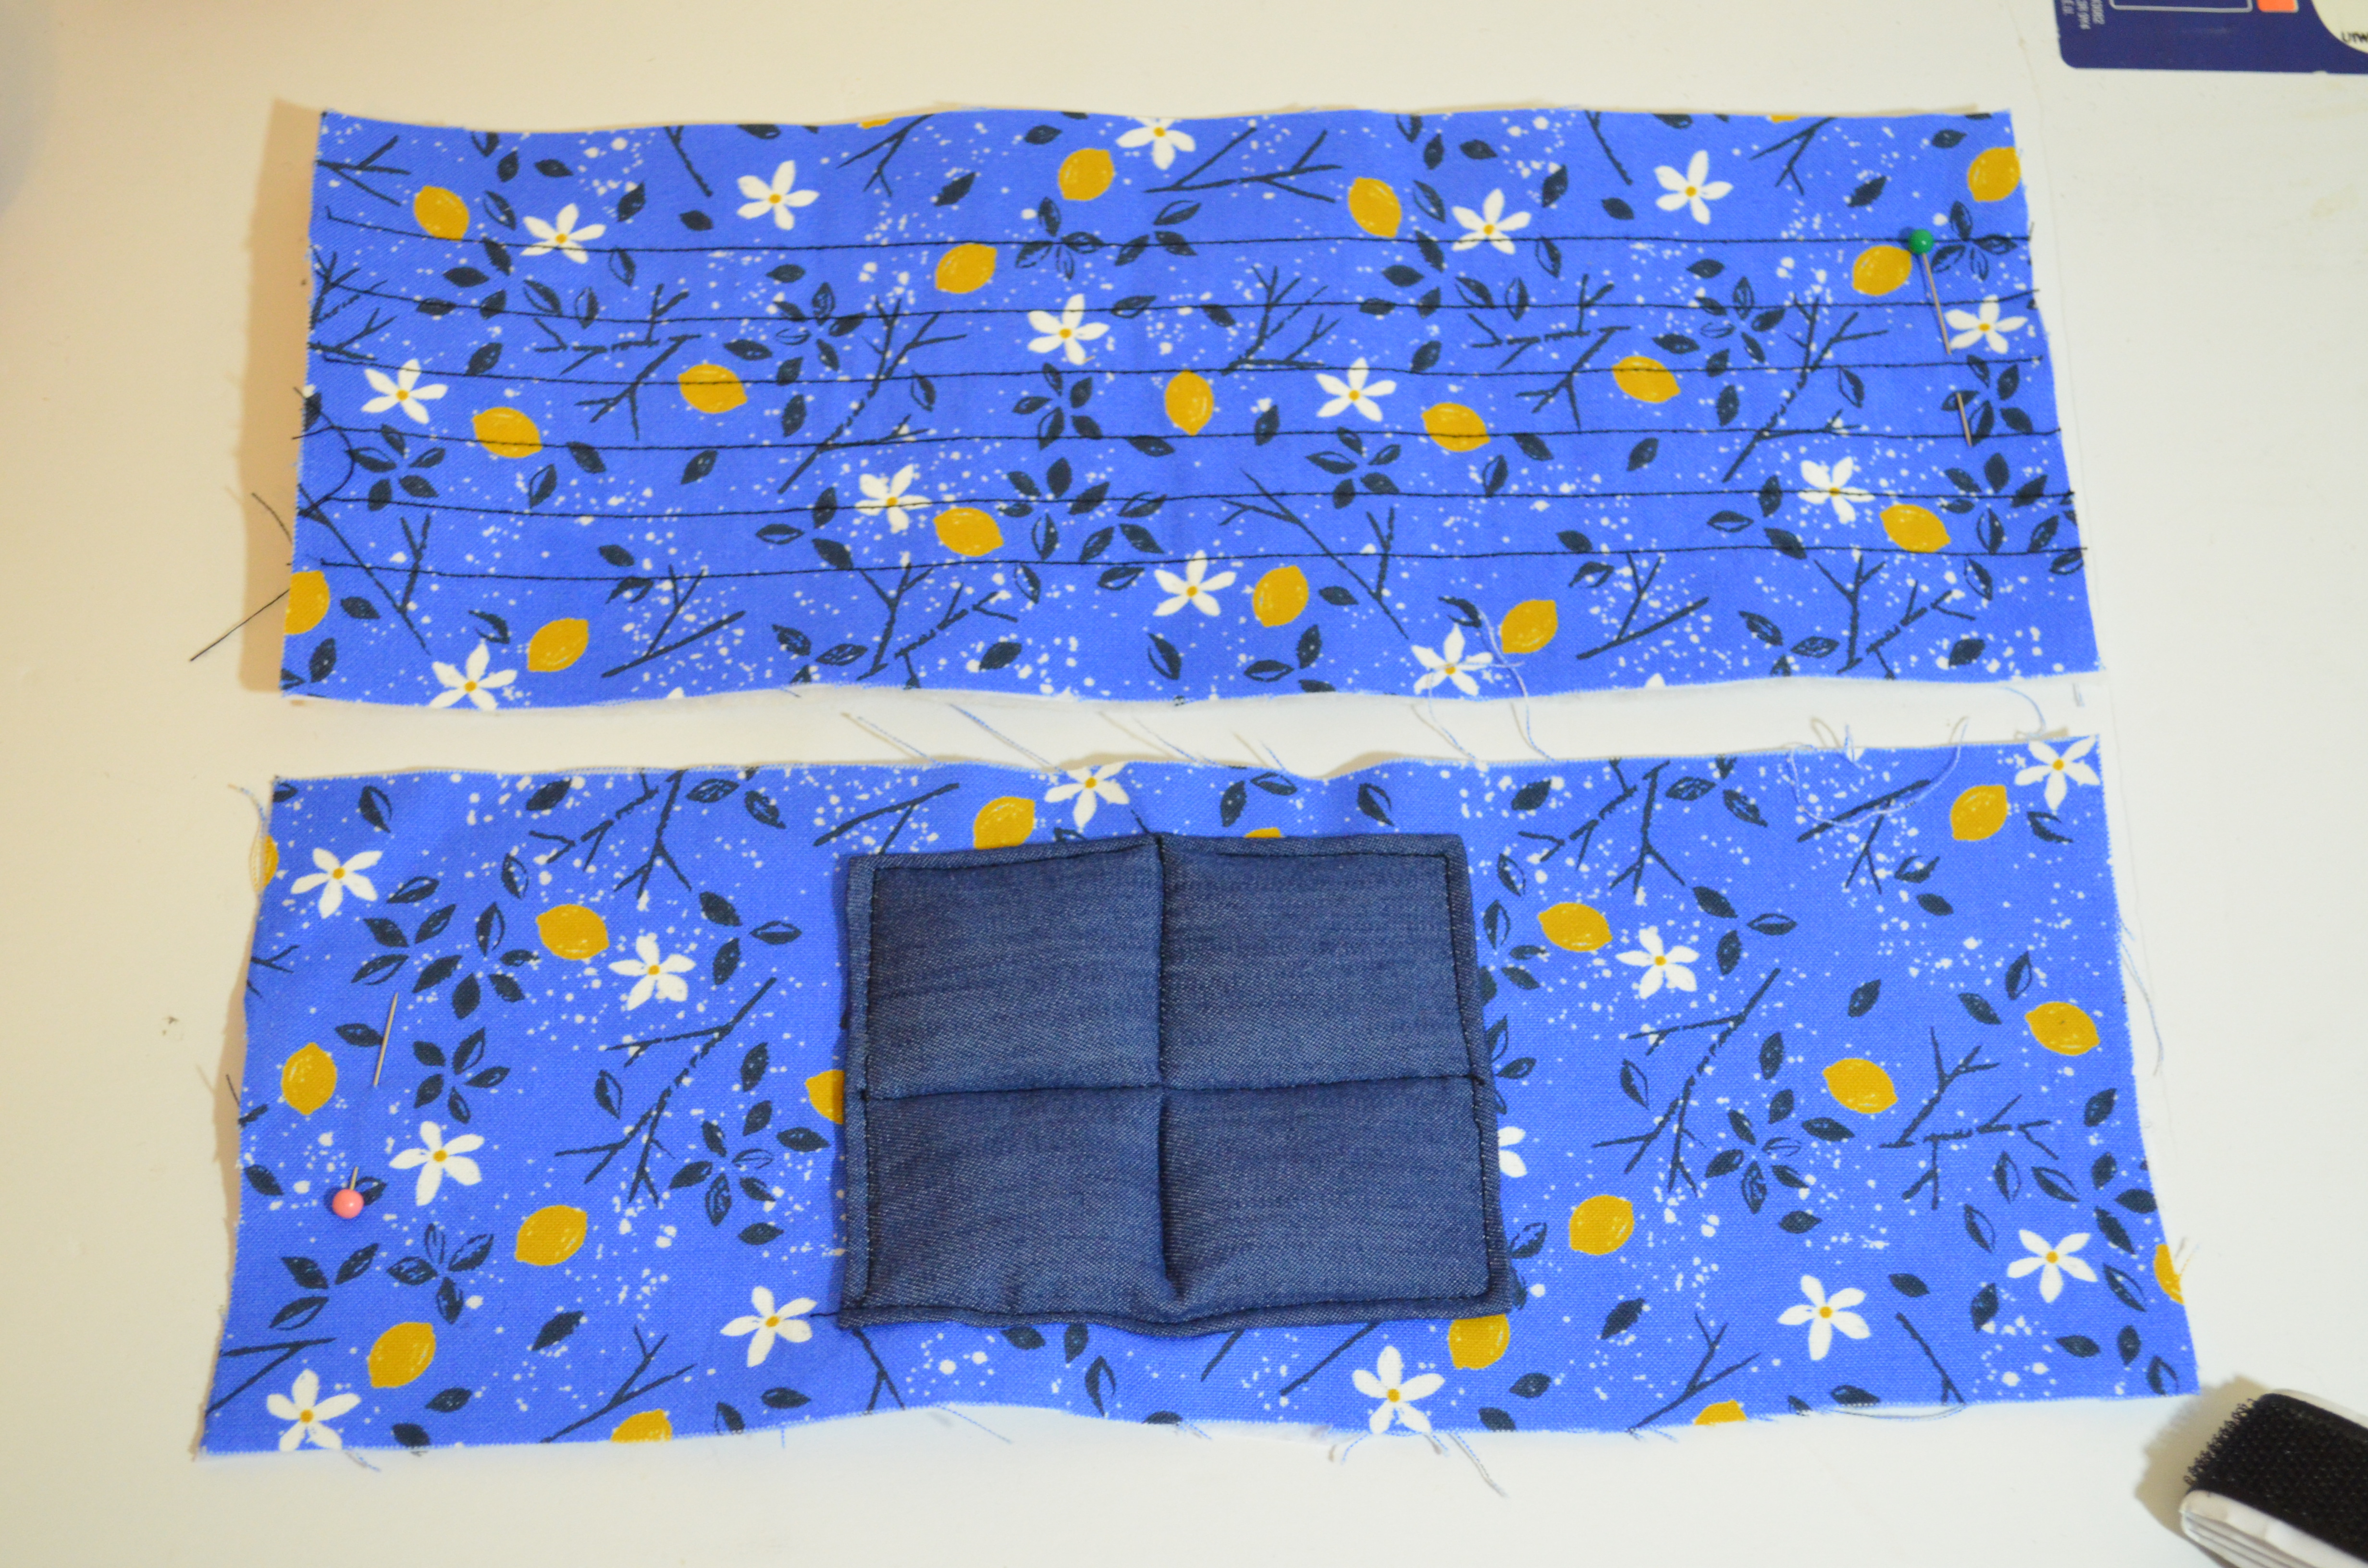
10. Make straight lines across the fabric with a 3/8 inch seam allowance. Top and bottom will have 1/2 inch seam allowance.

11. Now, both sides of the wristband are ready.
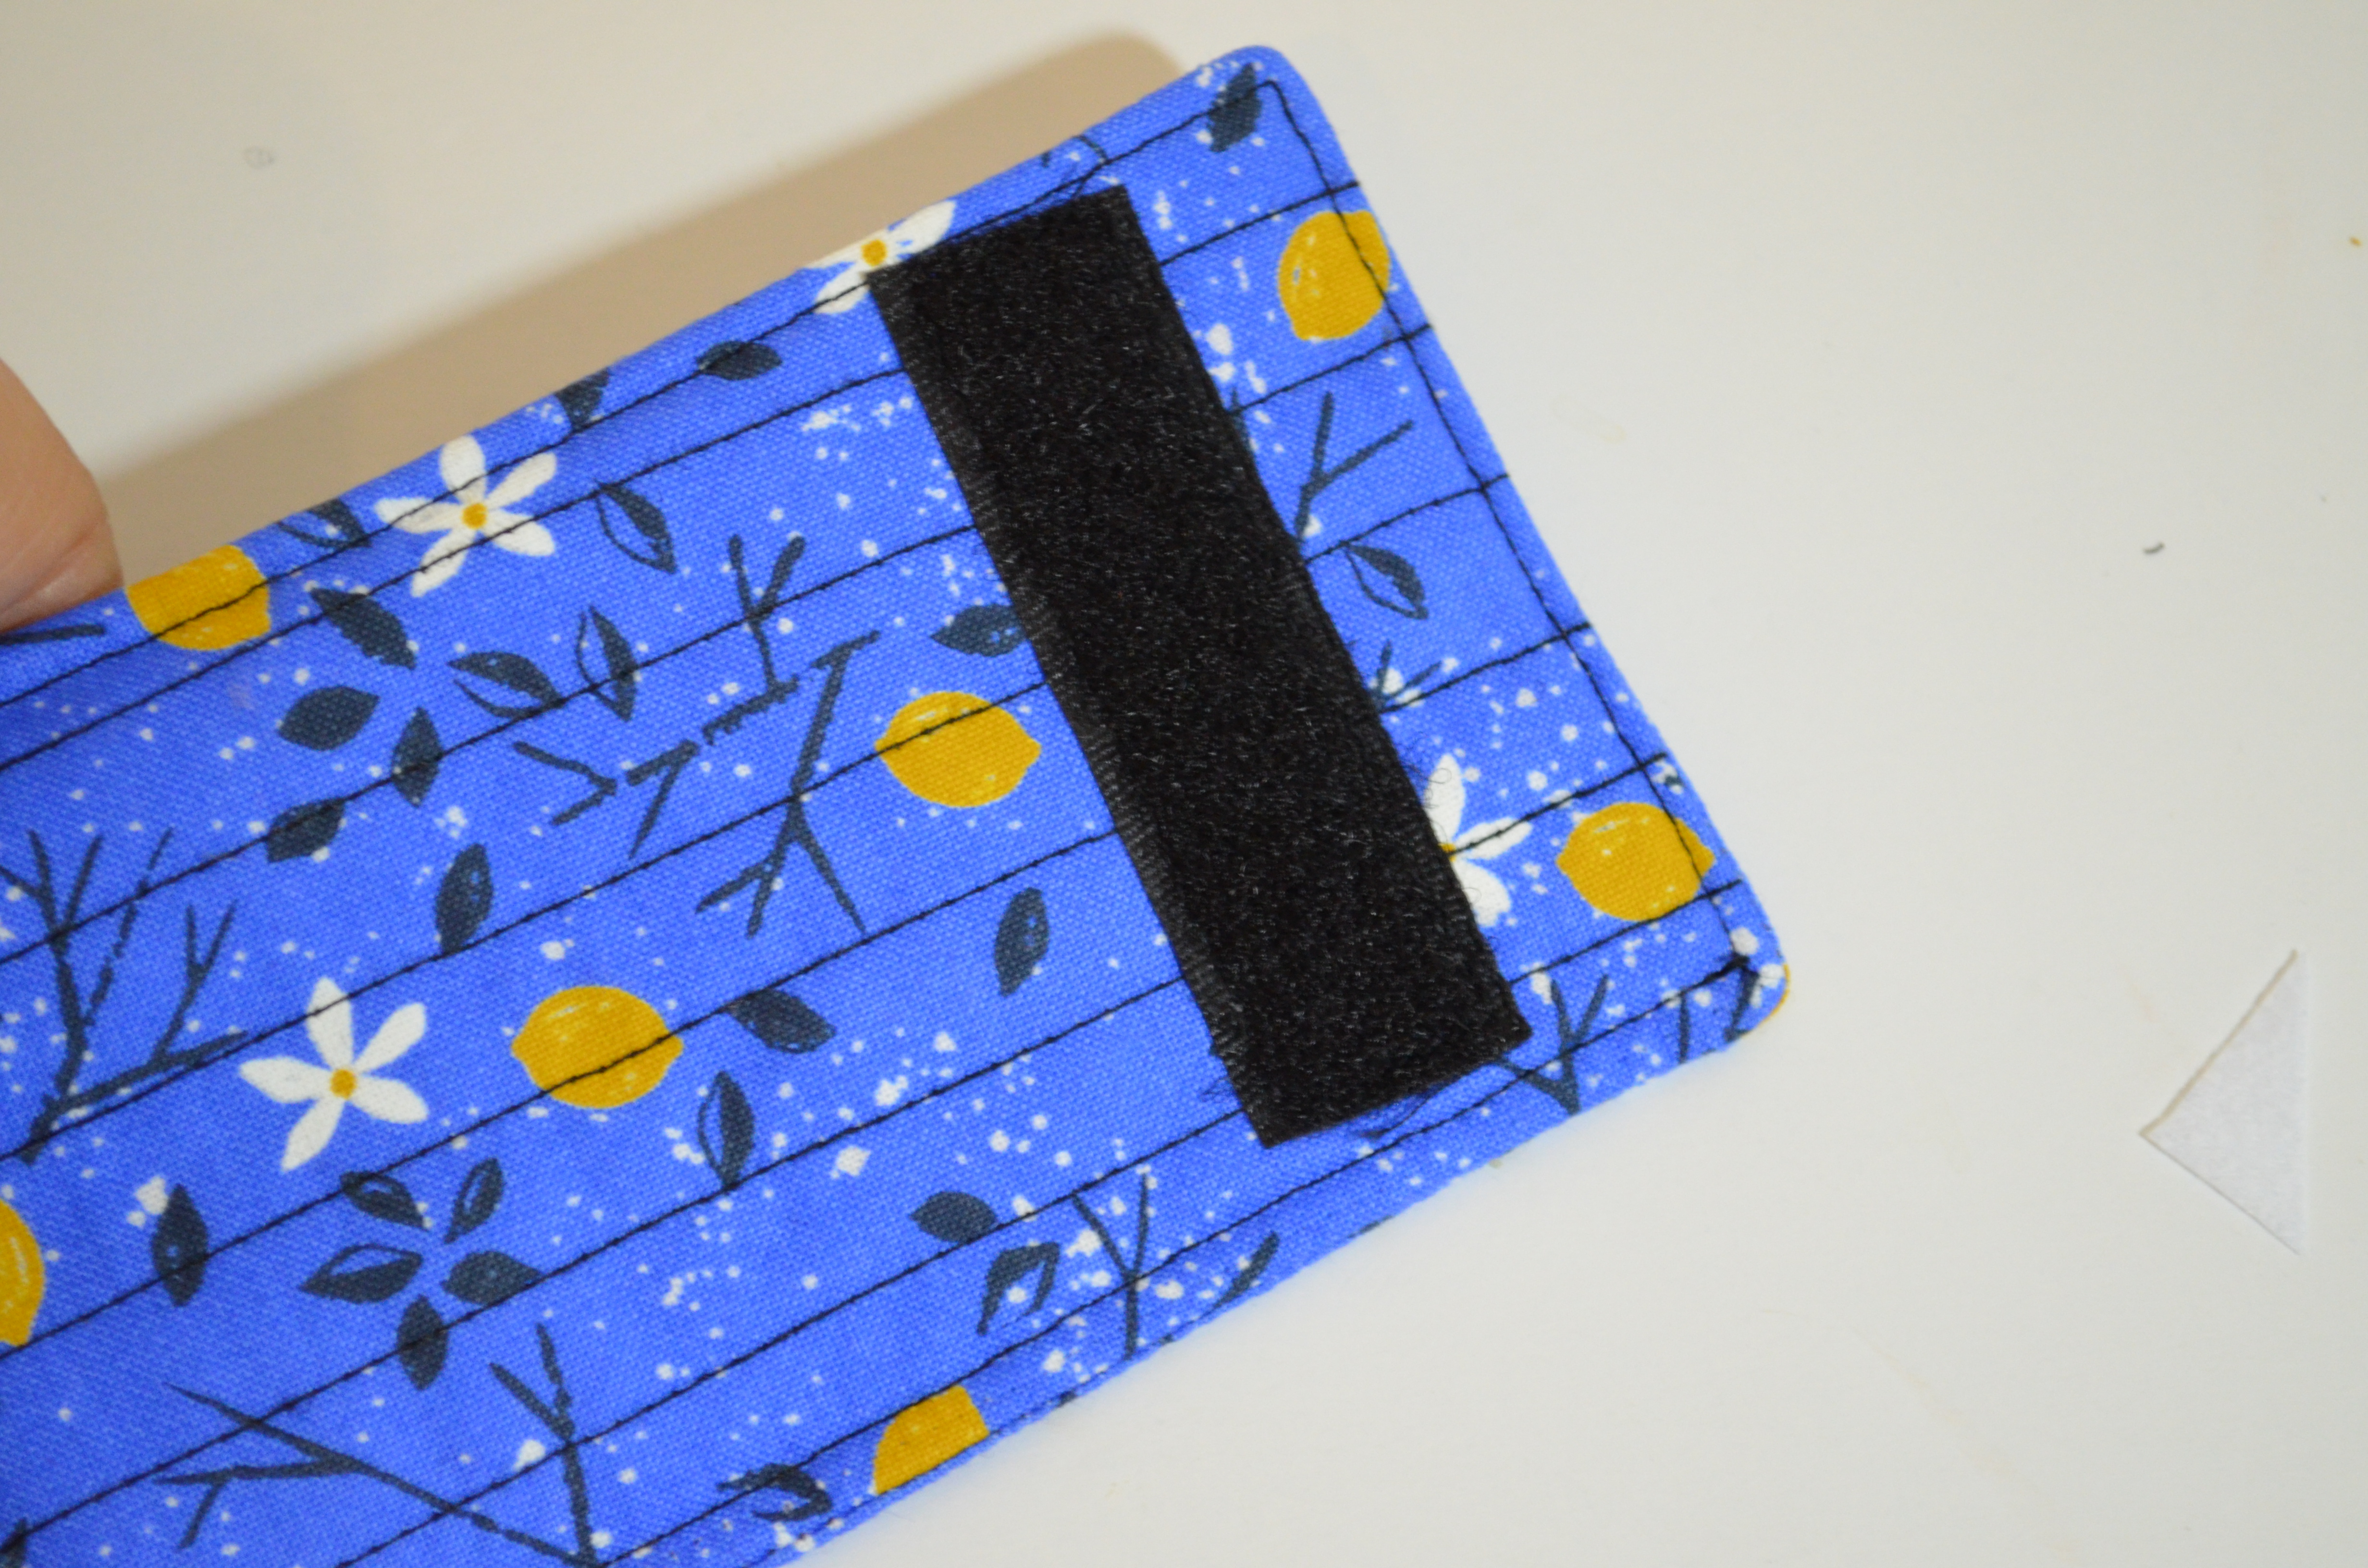
12. Place the Velcro on the sides of the wristband, as shown in the picture below. Then, stitch them to the wristband 1/8 inch from the edge of the Velcro.
13. Now, place the two wristband pieces, together, right sides facing, and pin.

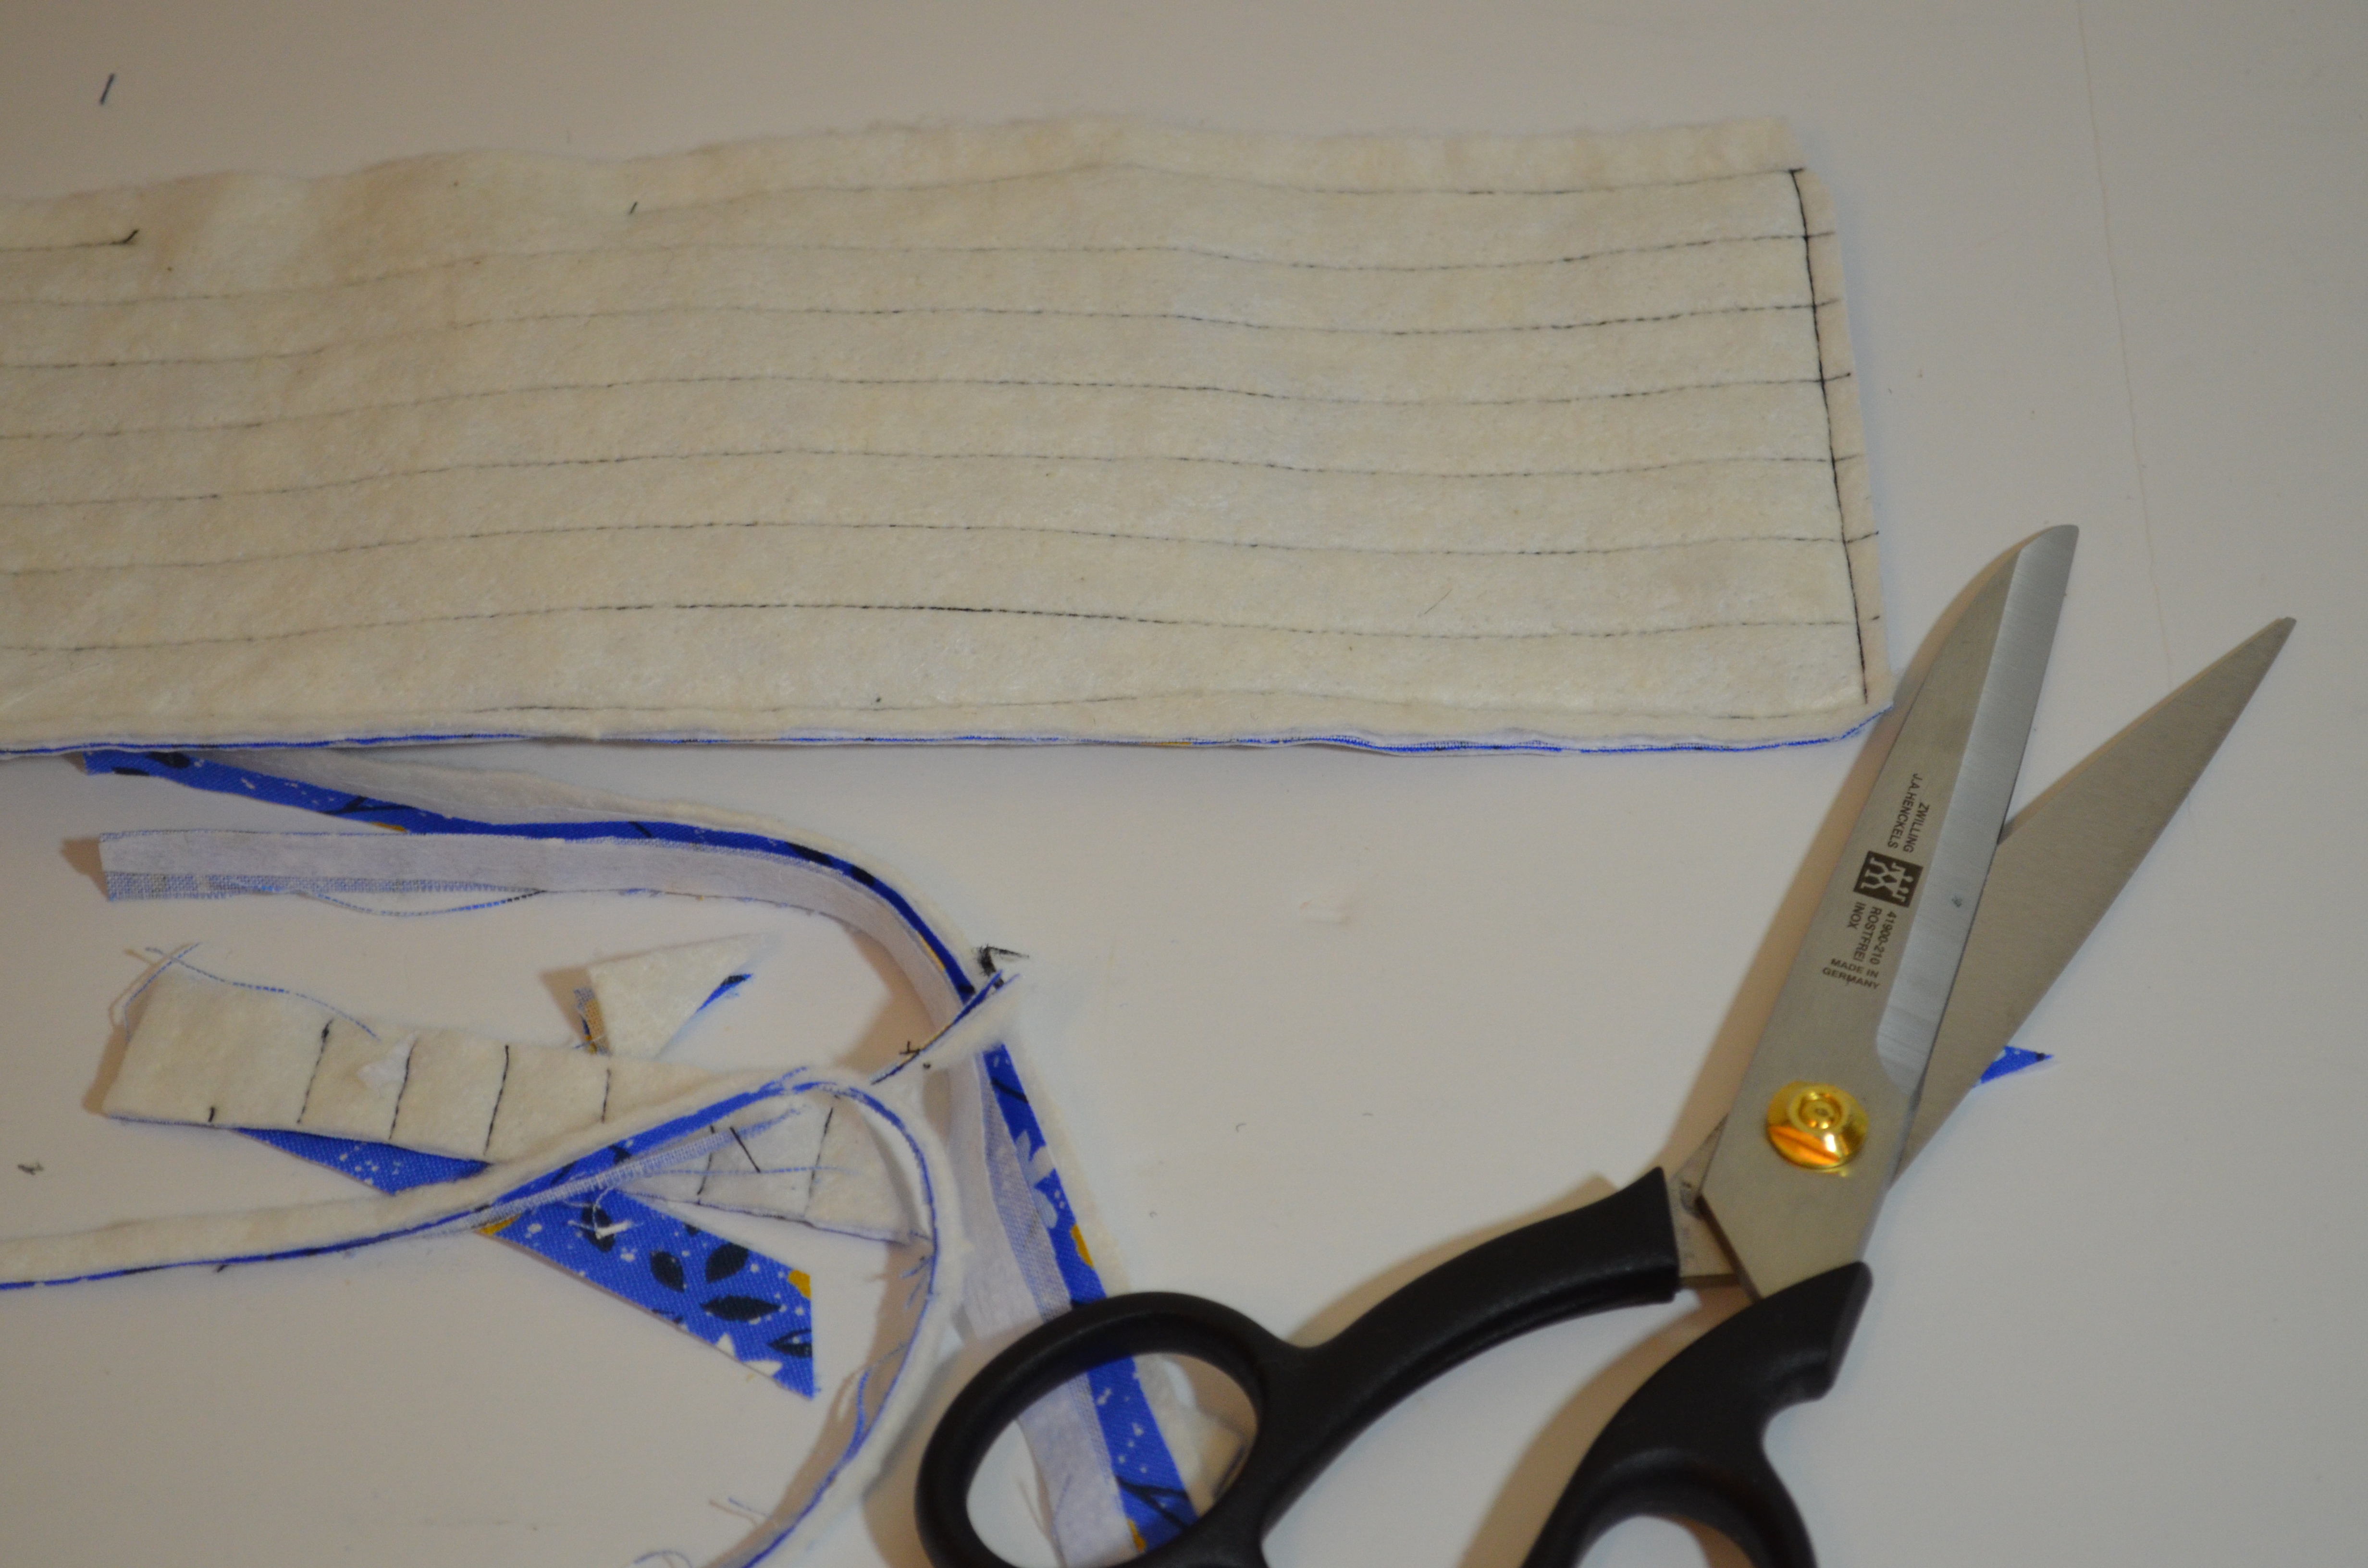
14. Now, starting in the middle of the upper side, sew around the wristband with a straight stitch. Leave a 4” opening to turn the wristband to the right side.
15. Cut the excess fabric.
16. And turn the wristband to the right side.

17. Press the wristband and top-stitch it.
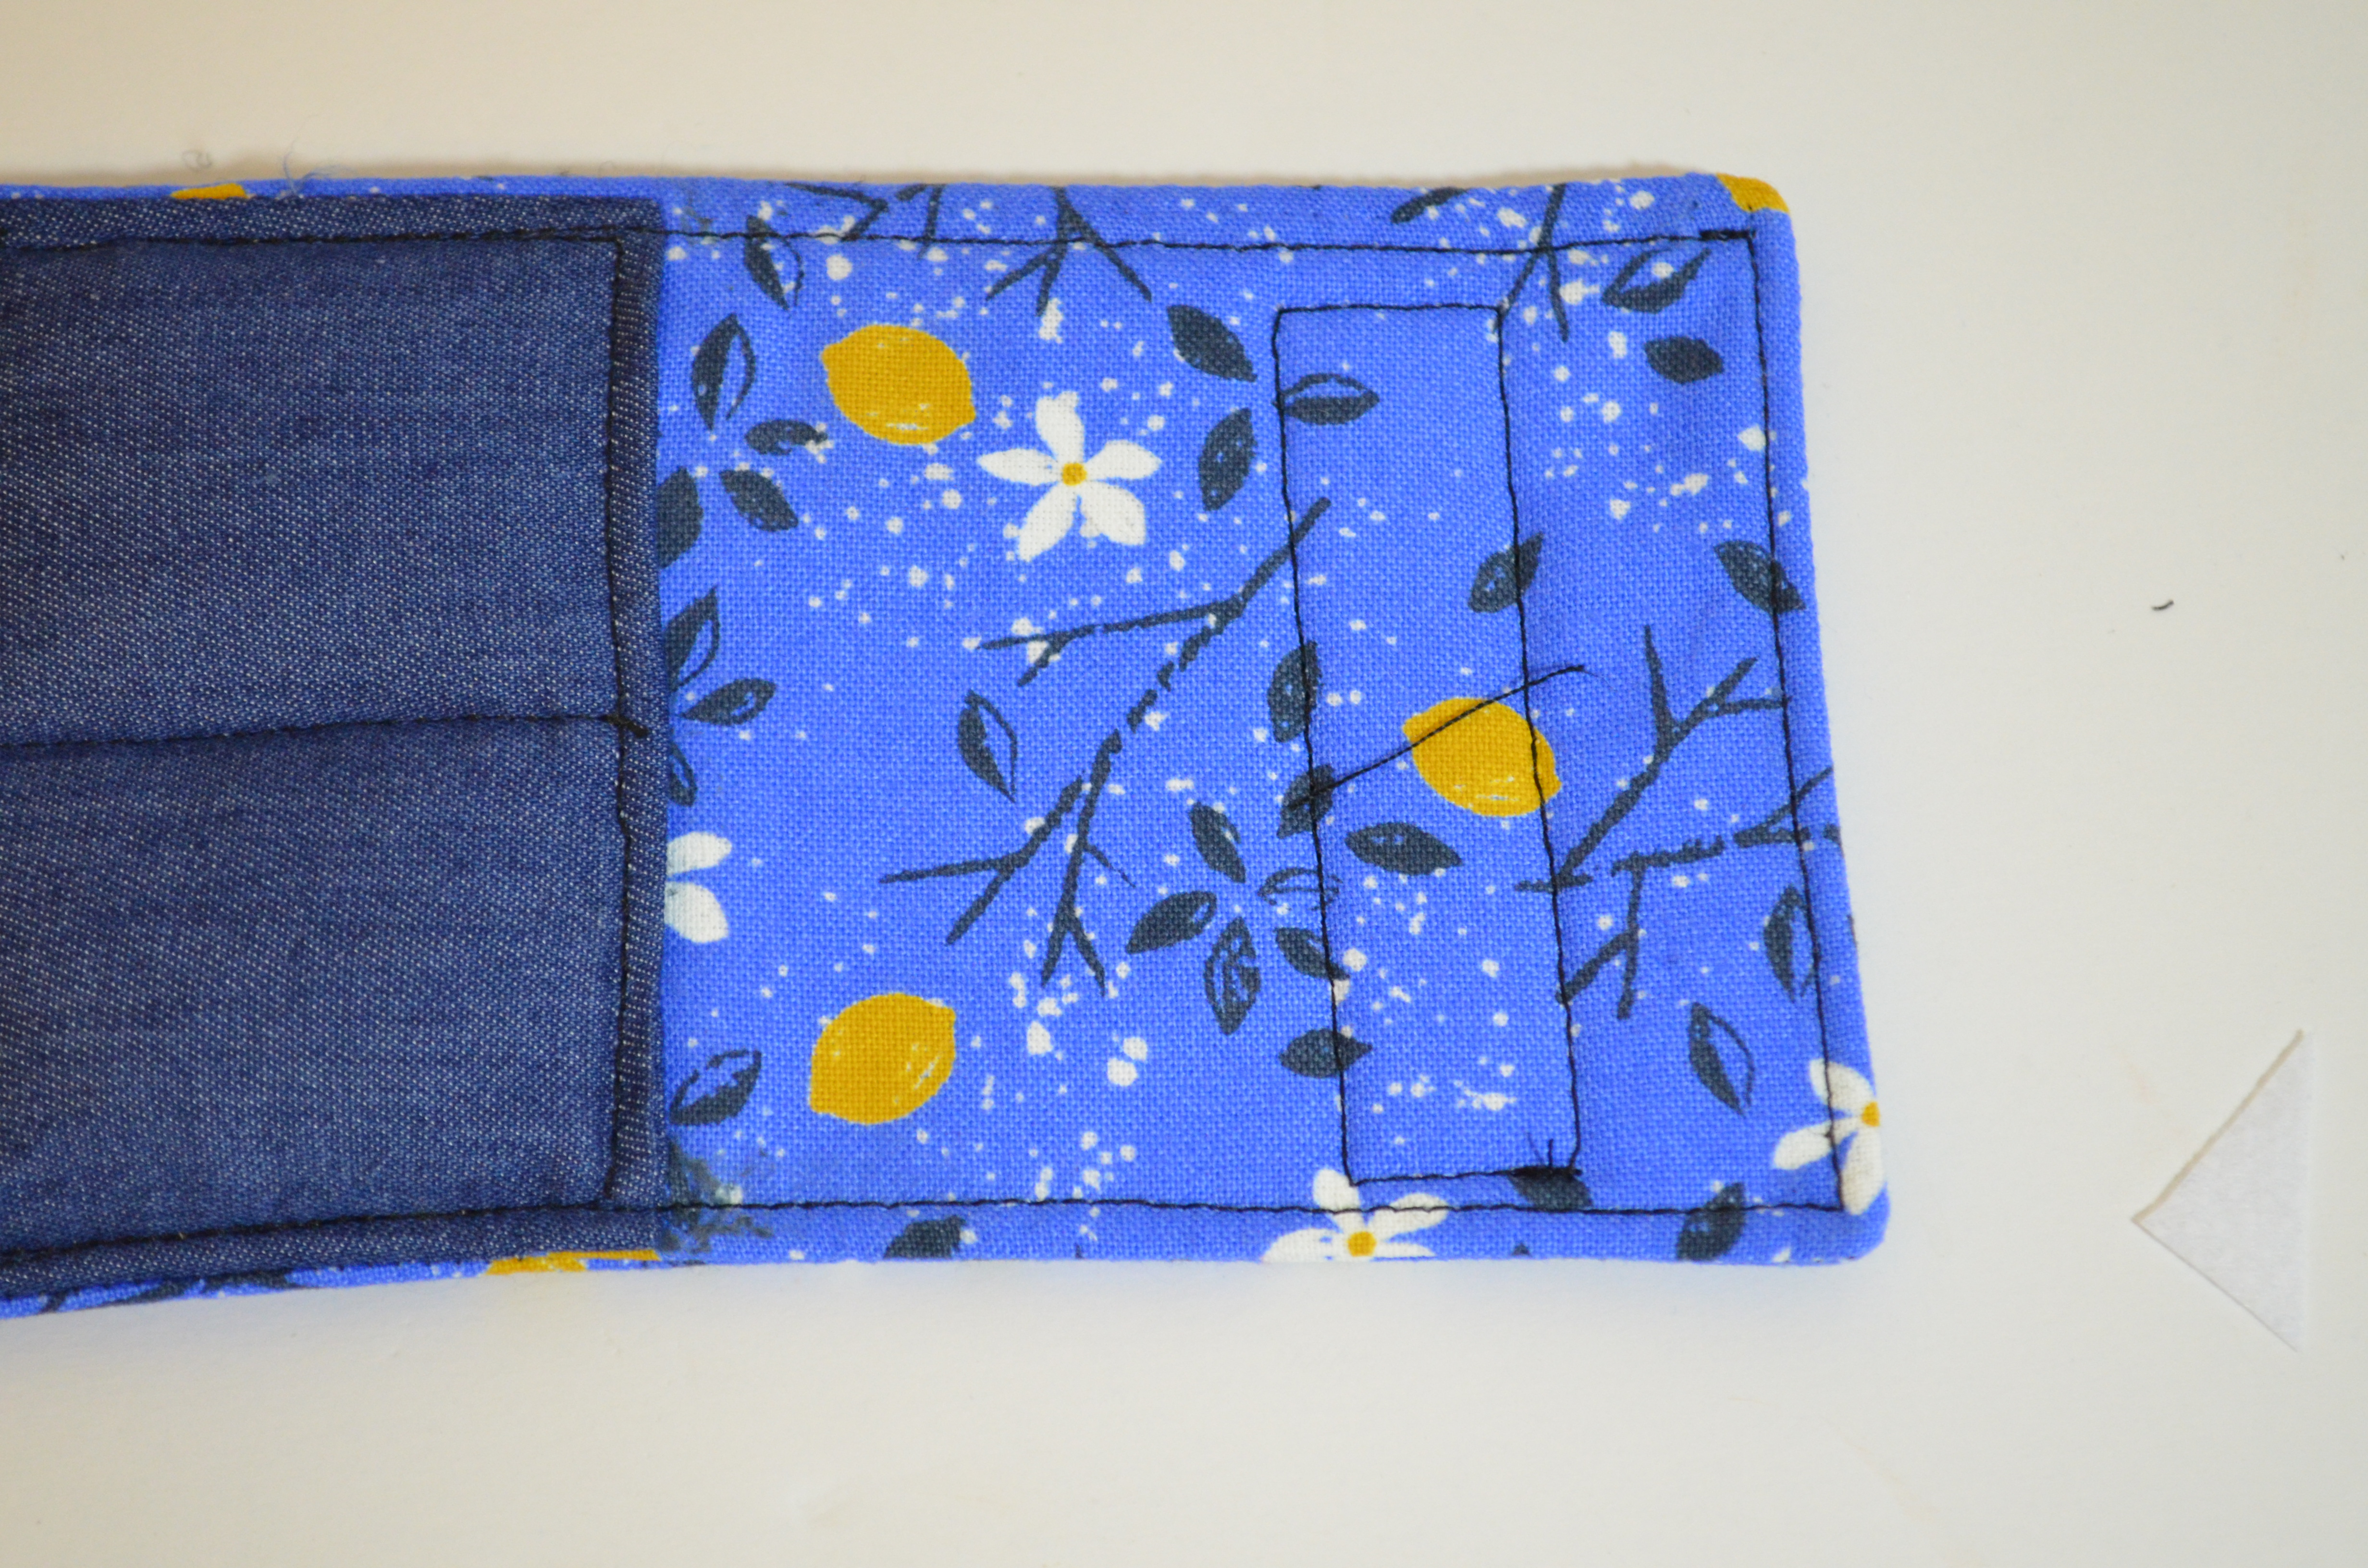
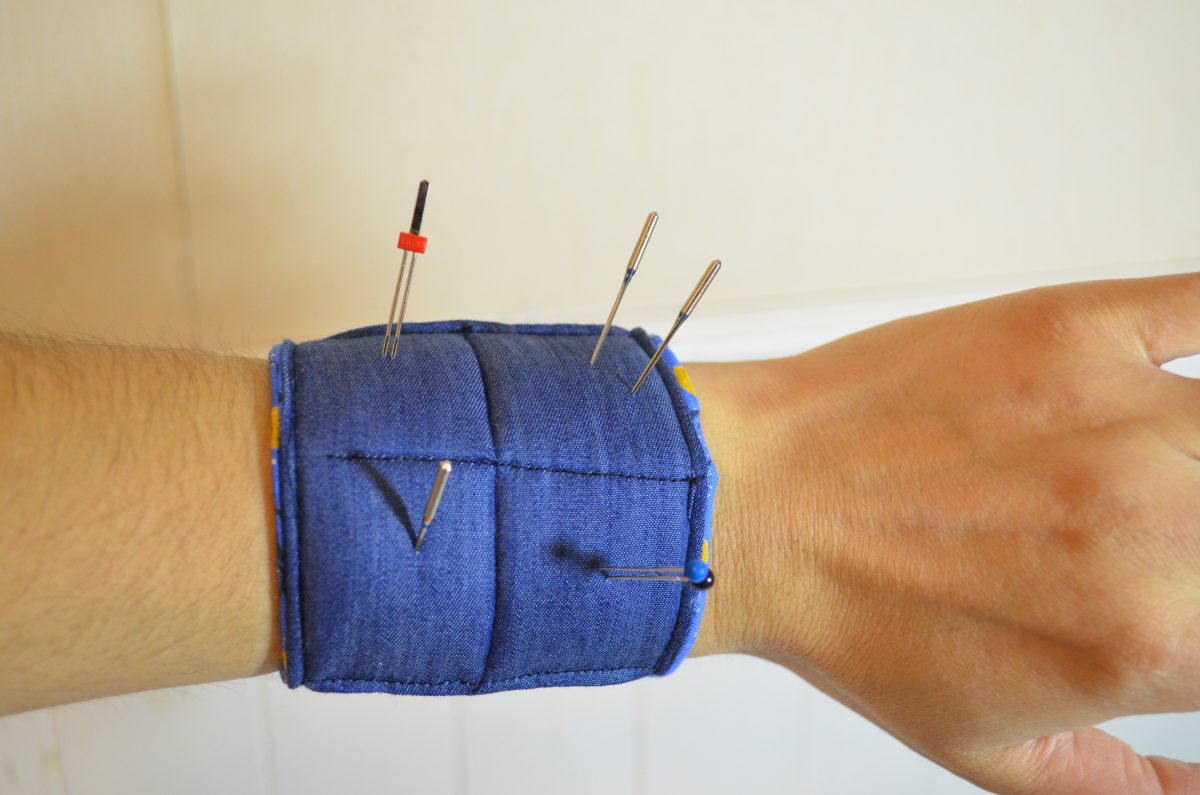
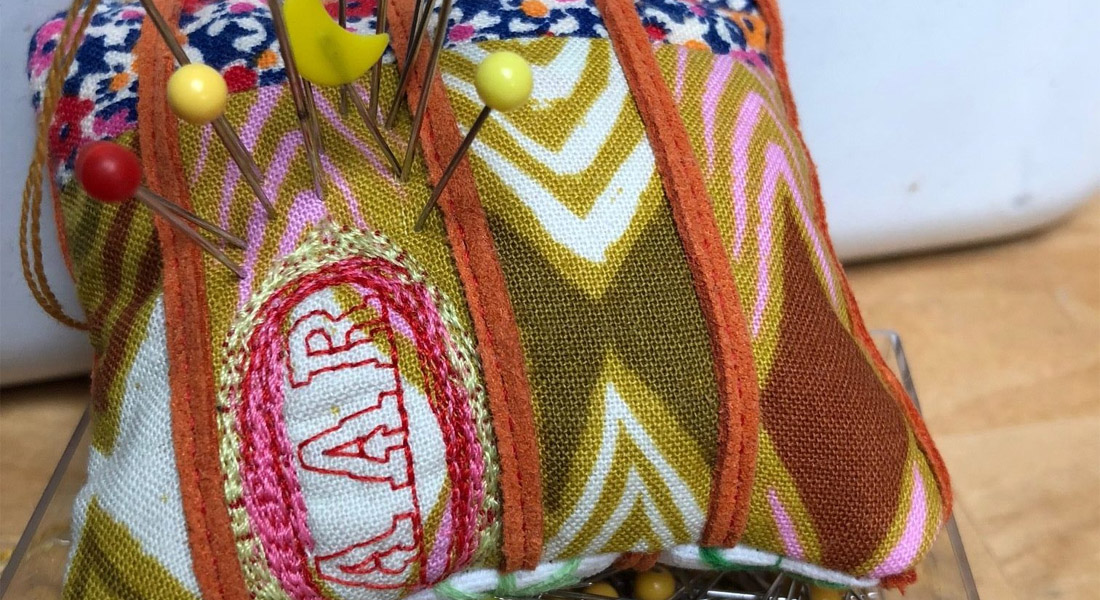
And now it is ready to use!
Thank you for reading this tutorial and I hope you enjoy your sewing wristband as much as I do.
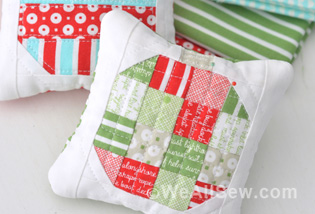
What you might also like


5 comments on “Pincushion Wristband”
-
-
I like to put something into the wristband so the pins don’t go through and stab my wrist. One of my favorites is a credit card size refrigerator magnet. We get lots of them as advertisements. They are thin and flexible and can be trimmed to any size.
-
I agree… I would put some plastic template in the bottom of the cushion before sewing it in to the wristband.
-
-
I wondered what the interfacing was for since it wasn’t mentioned in the directions or pictures. I added a flange to the bottom of the pincushion to use with wonder clips.
-
I really liked the look of this pincushion and thought I’d give it a try (newbie :-). Anyhow, I had trouble right out of the gate. Step 1 says to “…fold the longest sides 3/8 inch to the wrong side of the fabric, and stitch it with a straight line.” However, in the picture it appears to be the shorter side that is stitched. Then step 2 is to fold the pincushion in two (not sure how that could be done), and overlap the fabric by one inch. I’m not sure what is meant by this, especially since i was already confused in step 1. Am i a lost cause, sewing wise? ;-/
Leave a Reply
You must be logged in to post a comment.

Very detailed instructions but you forgot to mention the interfacing. Beginning sewers might miss that step since it is not explicitly called out. Also, in step 1 I think you mean fold under 3/8″ on the 4 in sides, not the longest (7in) sides. I sewed mine out of some funky Star Trek fabric. It looks great. Thanks for the tutorial.