Pre-cut Friendly Drawstring Bag Tutorial

Hi there! My name is Melissa Mortenson and I’m the owner of the Polka Dot Chair Blog. I also work as a fabric designer for Riley Blake designs and am a proud BERNINA Ambassador!
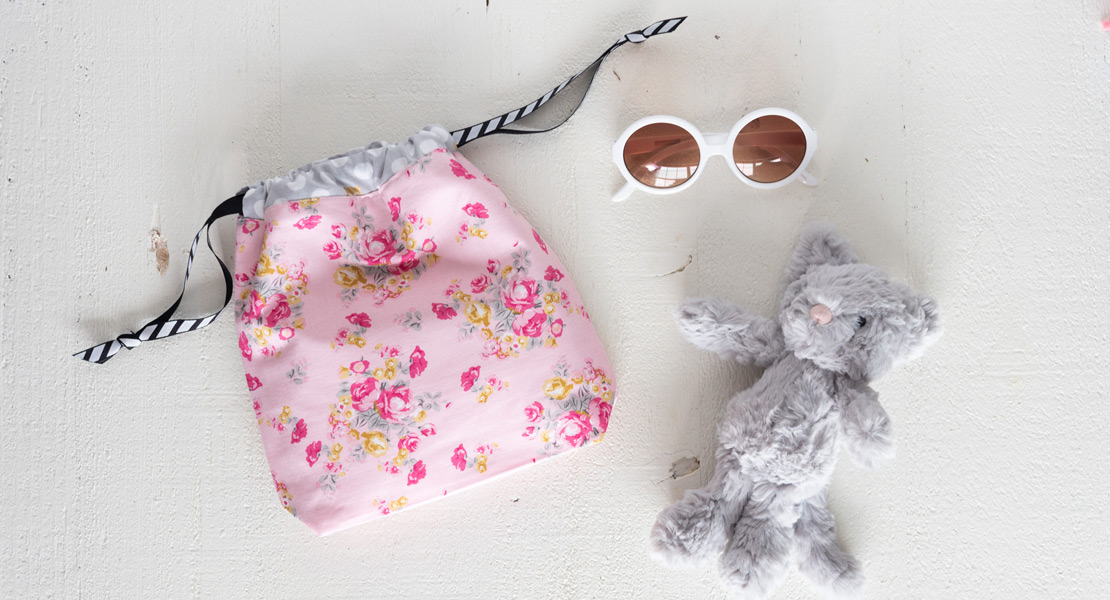
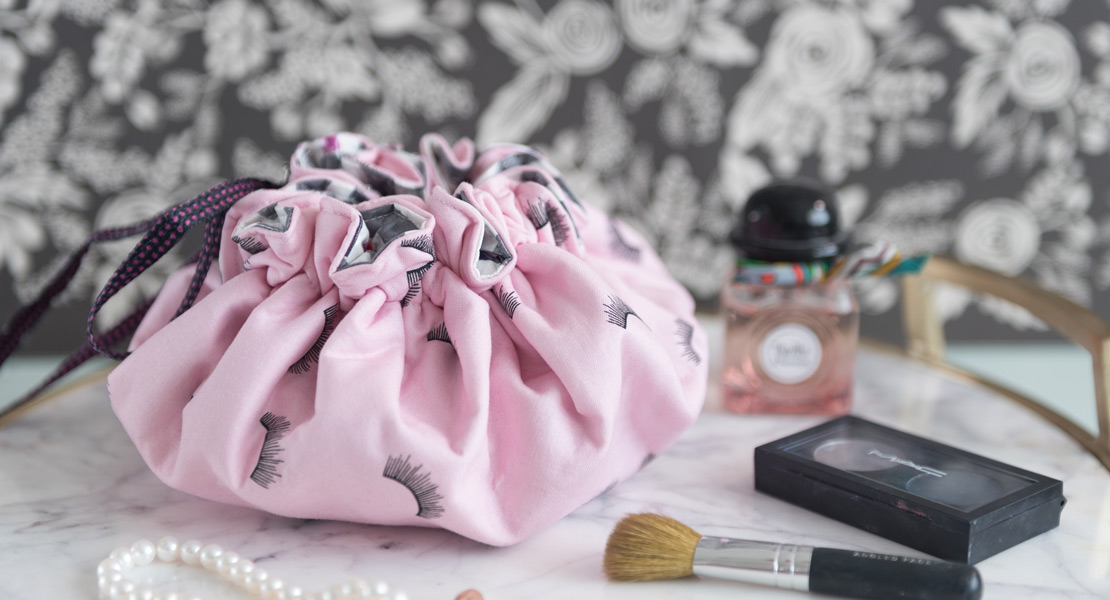
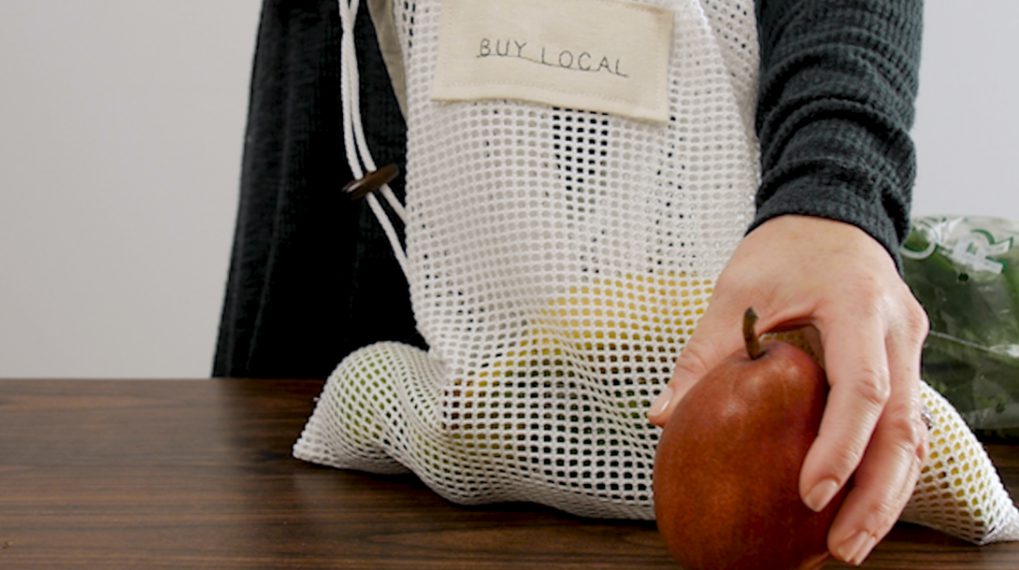
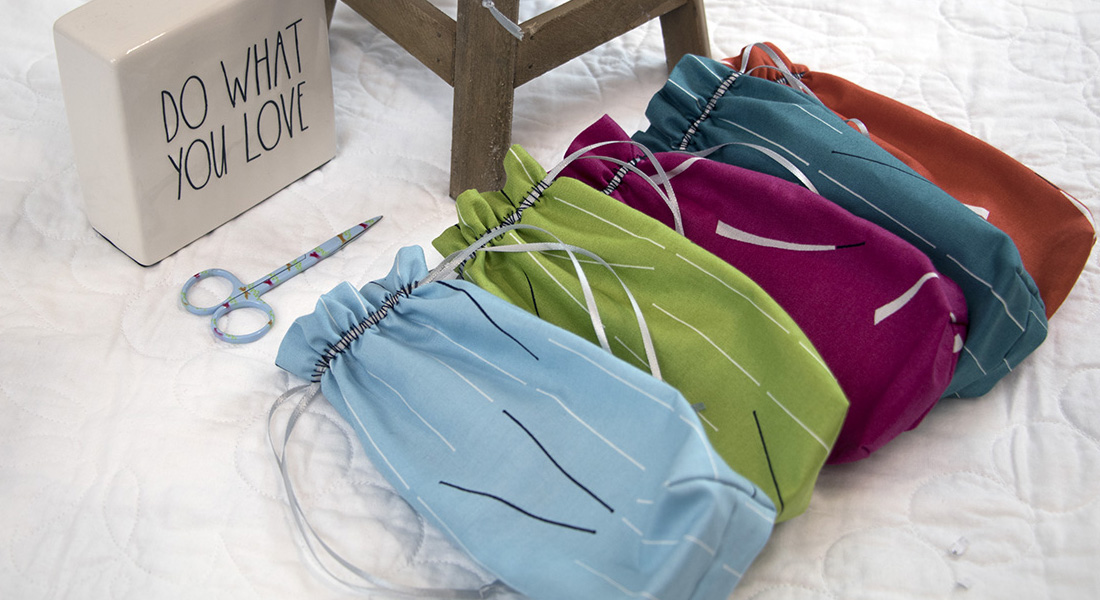
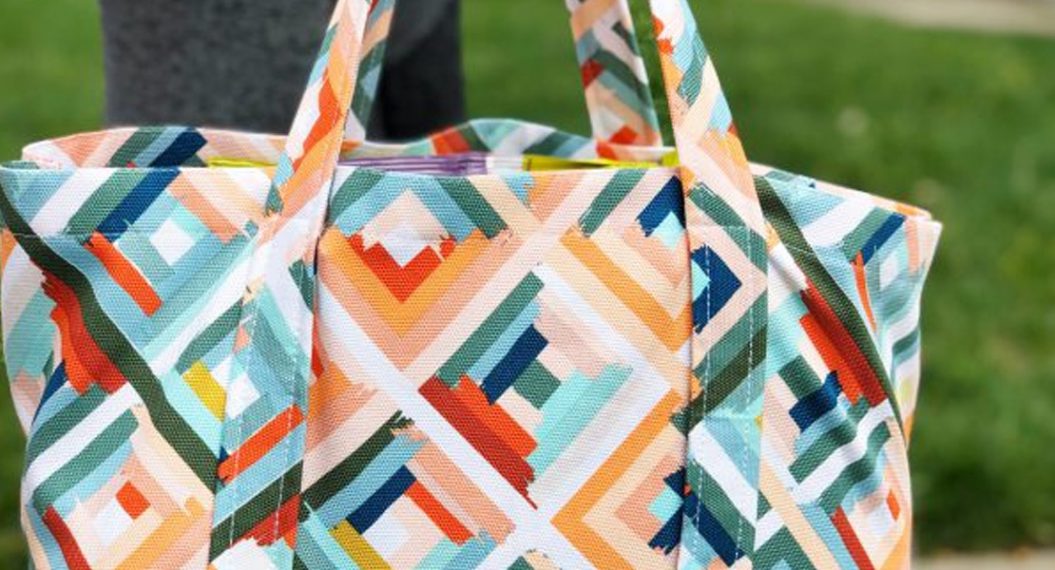
If you’re looking for a simple and quick gift then I think you’re going to like today’s project. Its made using only 10″ pre-cut pieces of fabric, and you only need 5 pieces! You can also make this bag from yardage if you like. You can give this little bag as a gift all by itself or fill it with goodies and use it as a gift bag.
Supplies to Create a Pre-cut Friendly Drawstring Bag
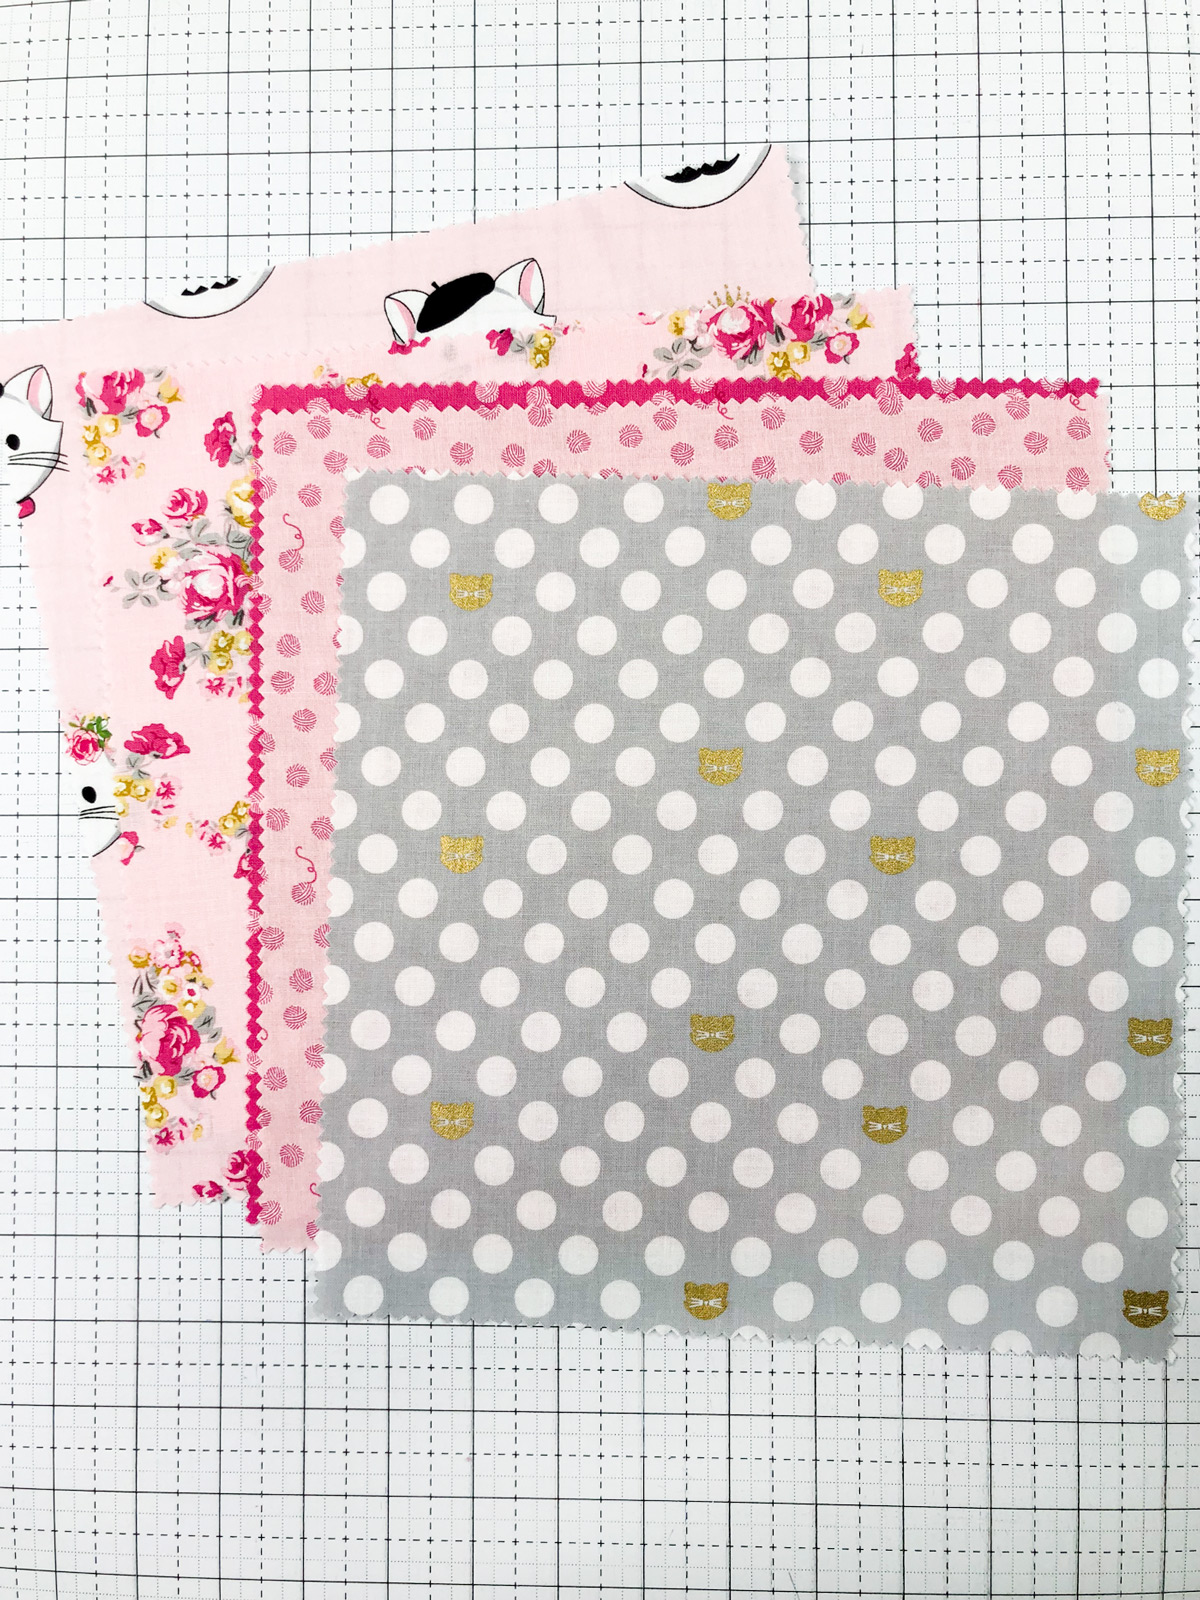
- 5 Pieces of Fabric Each 10″ x 10″. I used some leftover pieces of a 10″ Pre Cut Stack of Fabric.
- 2 Yards 1/4″ Ribbon
- Safety Pin
- Basic Sewing Supplies
- Sewing Machine; I sew on a BERNINA 770QE
- 1D Presser Foot
Cutting Directions for Pre-cut Friendly Drawstring Bag
- If you do not already have 10″ pieces of fabric, cut:
- 2 10″ x 10″ pieces of fabric for the Bag Outside
- 2 10″ x 10″ pieces of fabric for the Bag Lining
- Also cut:
- 2 pieces 3″ x 10″ for Bag Casing
All seam allowances are 1/2″ unless otherwise noted.
After you have cut out your pieces, you need to cut a 1″ x 1″ square out of the bottom corners of the bag outside and bag lining pieces, refer to the photo below if needed.
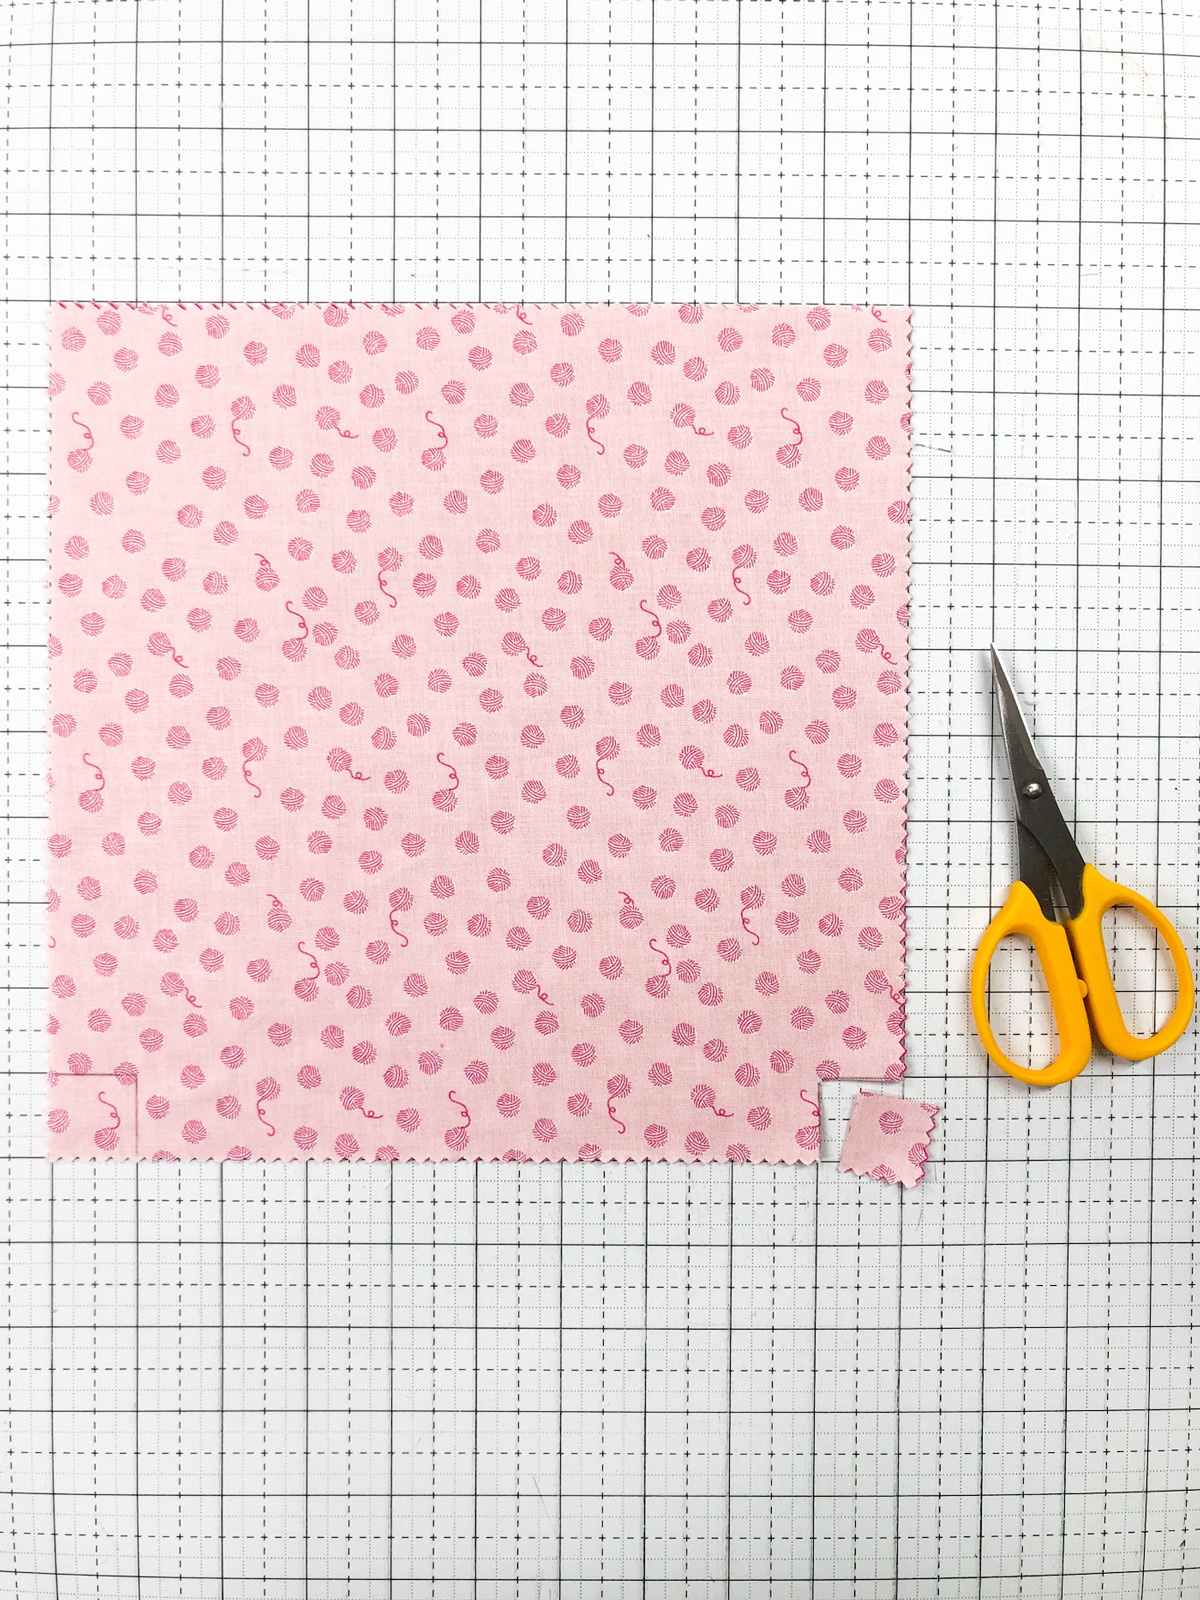
You will cut the square from the bottom two corners of the bag lining, and bag outside pieces.
Construct the Casing
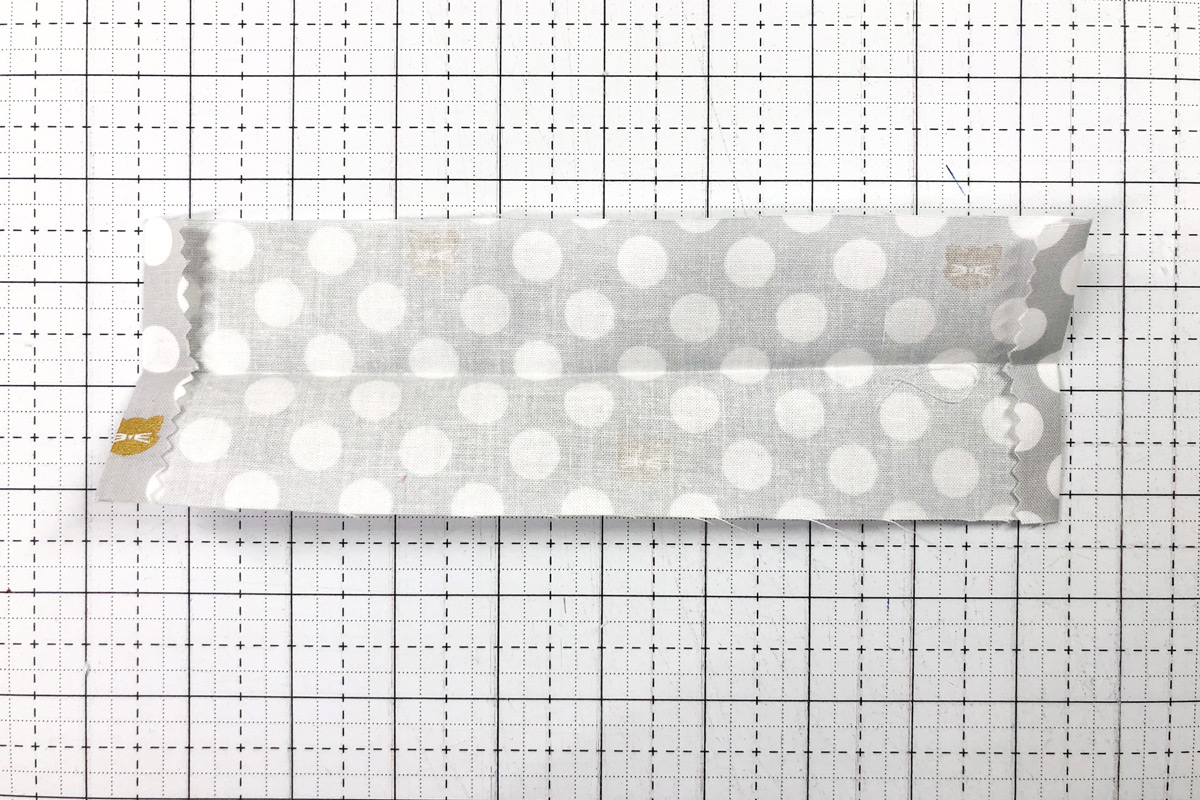
Begin by pressing the short ends of one of your bag casing pieces in 1/2″ on each edge. I recommend using a seam gauge for this step. Next, fold the piece in half lengthwise and press. Repeat for other bag casing piece.
Sew the Bag Outside & Lining Pieces

Place the bag outside pieces together, right sides facing. Stitch along the two sides and the bottom of the bag. Do not stitch inside the square you cut out on the bottom of the bag. Press seams open.
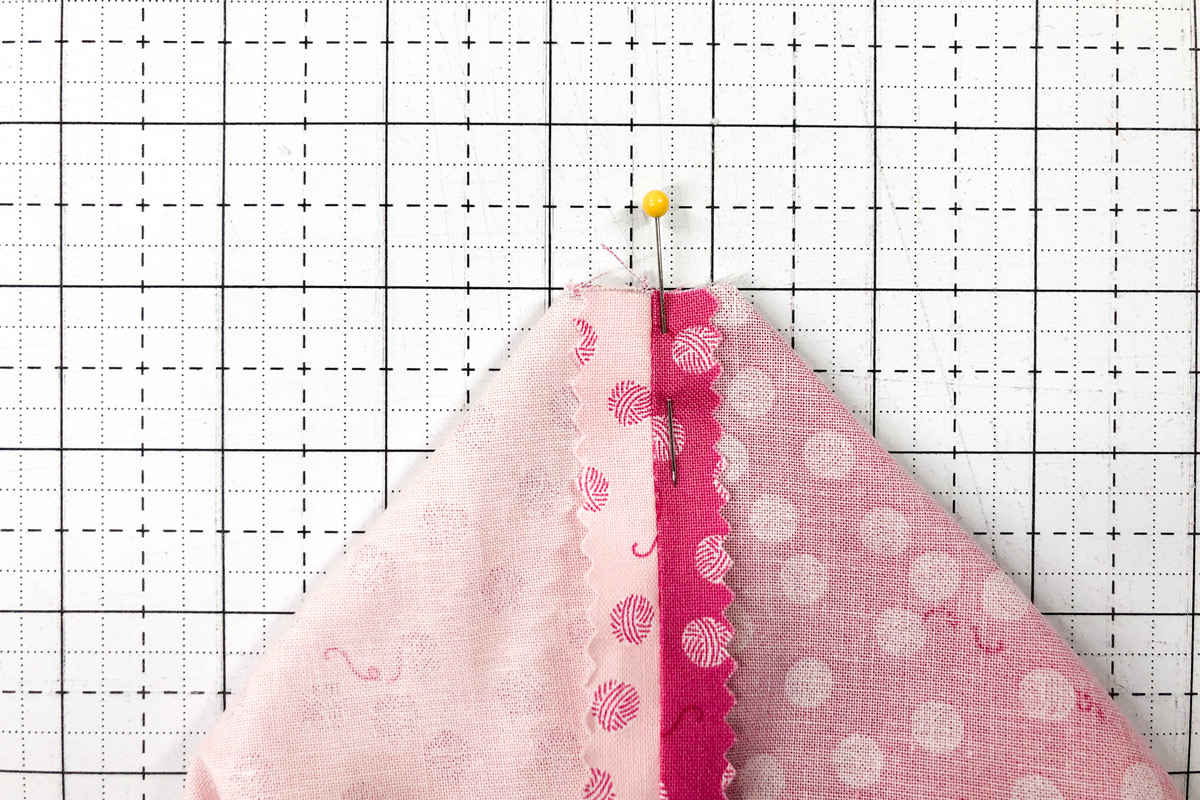
Pinch the bottom corner of the bag so that the side and bottom seams are on top of each other and the raw edges of the cut out square are even. Stitch in place. Repeat for the other bag corner.
Repeat for the bag lining pieces.
Assemble the Bag
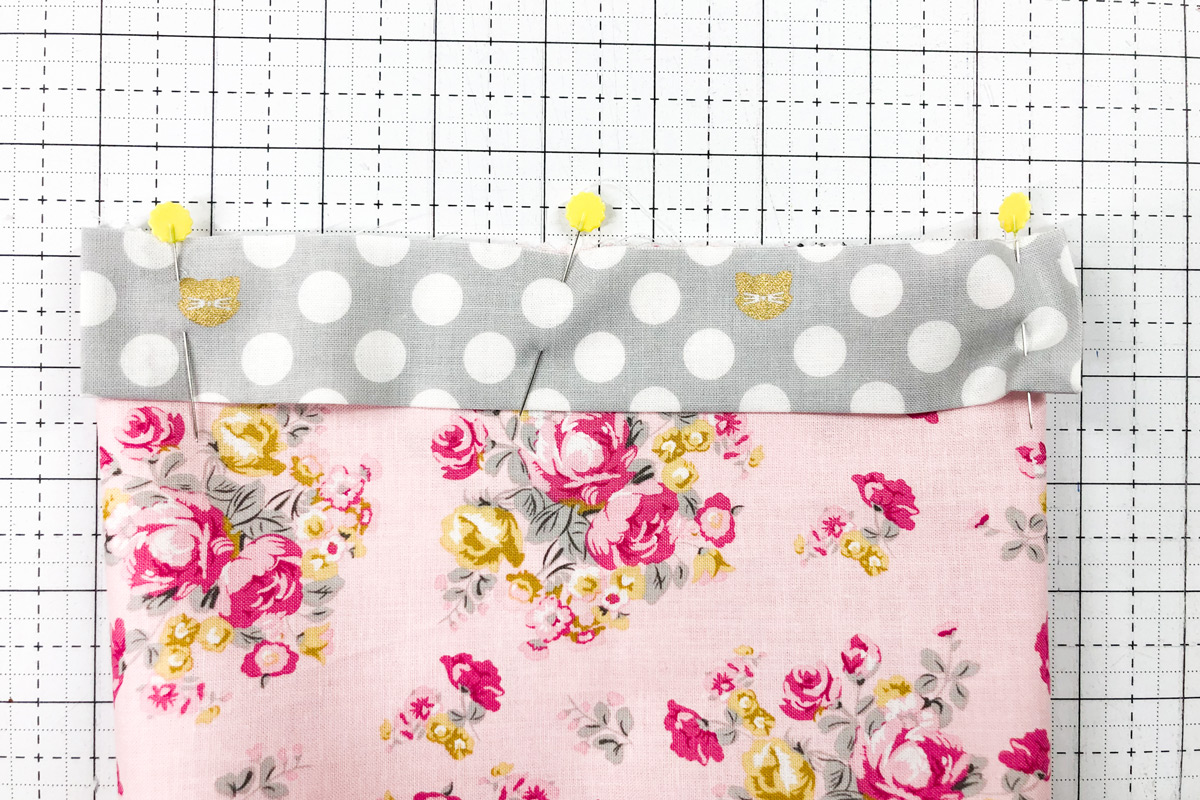
Turn the bag front right side out. Leave the lining wrong side out. Pin the folded and press casing piece to the bag so that the RAW edge of the casing is flush with the top edge of the bag. Repeat for the other casing piece on the other side of the bag. Baste in place.
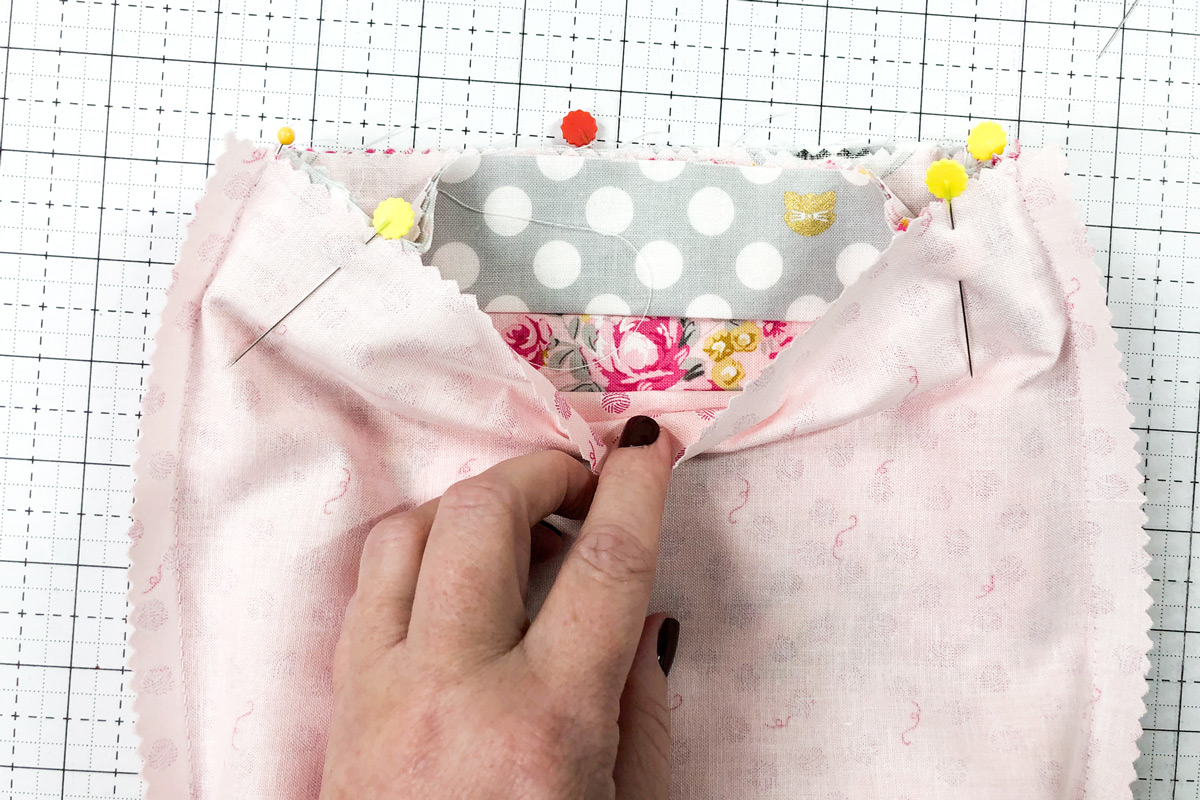
Slip the bag outside piece into the bag lining piece. Right sides facing and matching the side seams. Pin along the top edge and stitch in place. Leave a 3″ opening on one side of the bag so that you can turn it right side out.
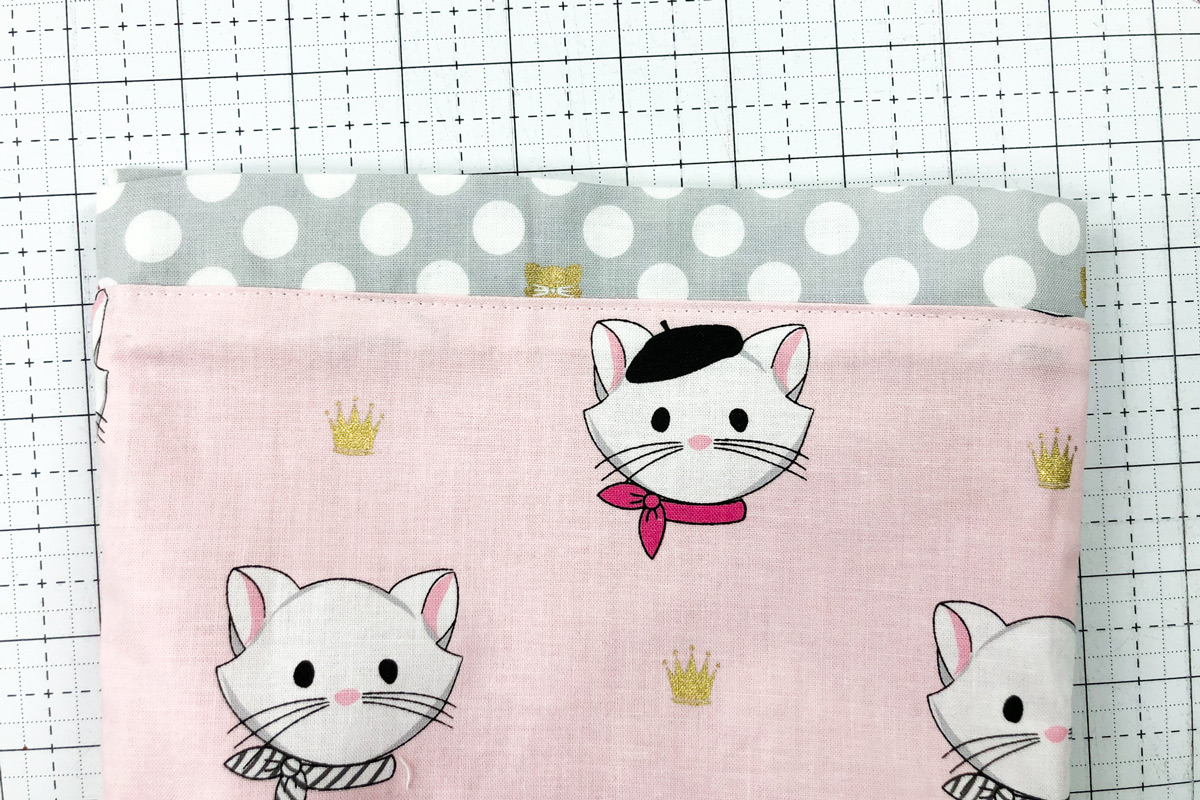
Turn the bag right side out and press. Topstitch the top of the bag making sure to catch the opening in the casing as you sew.
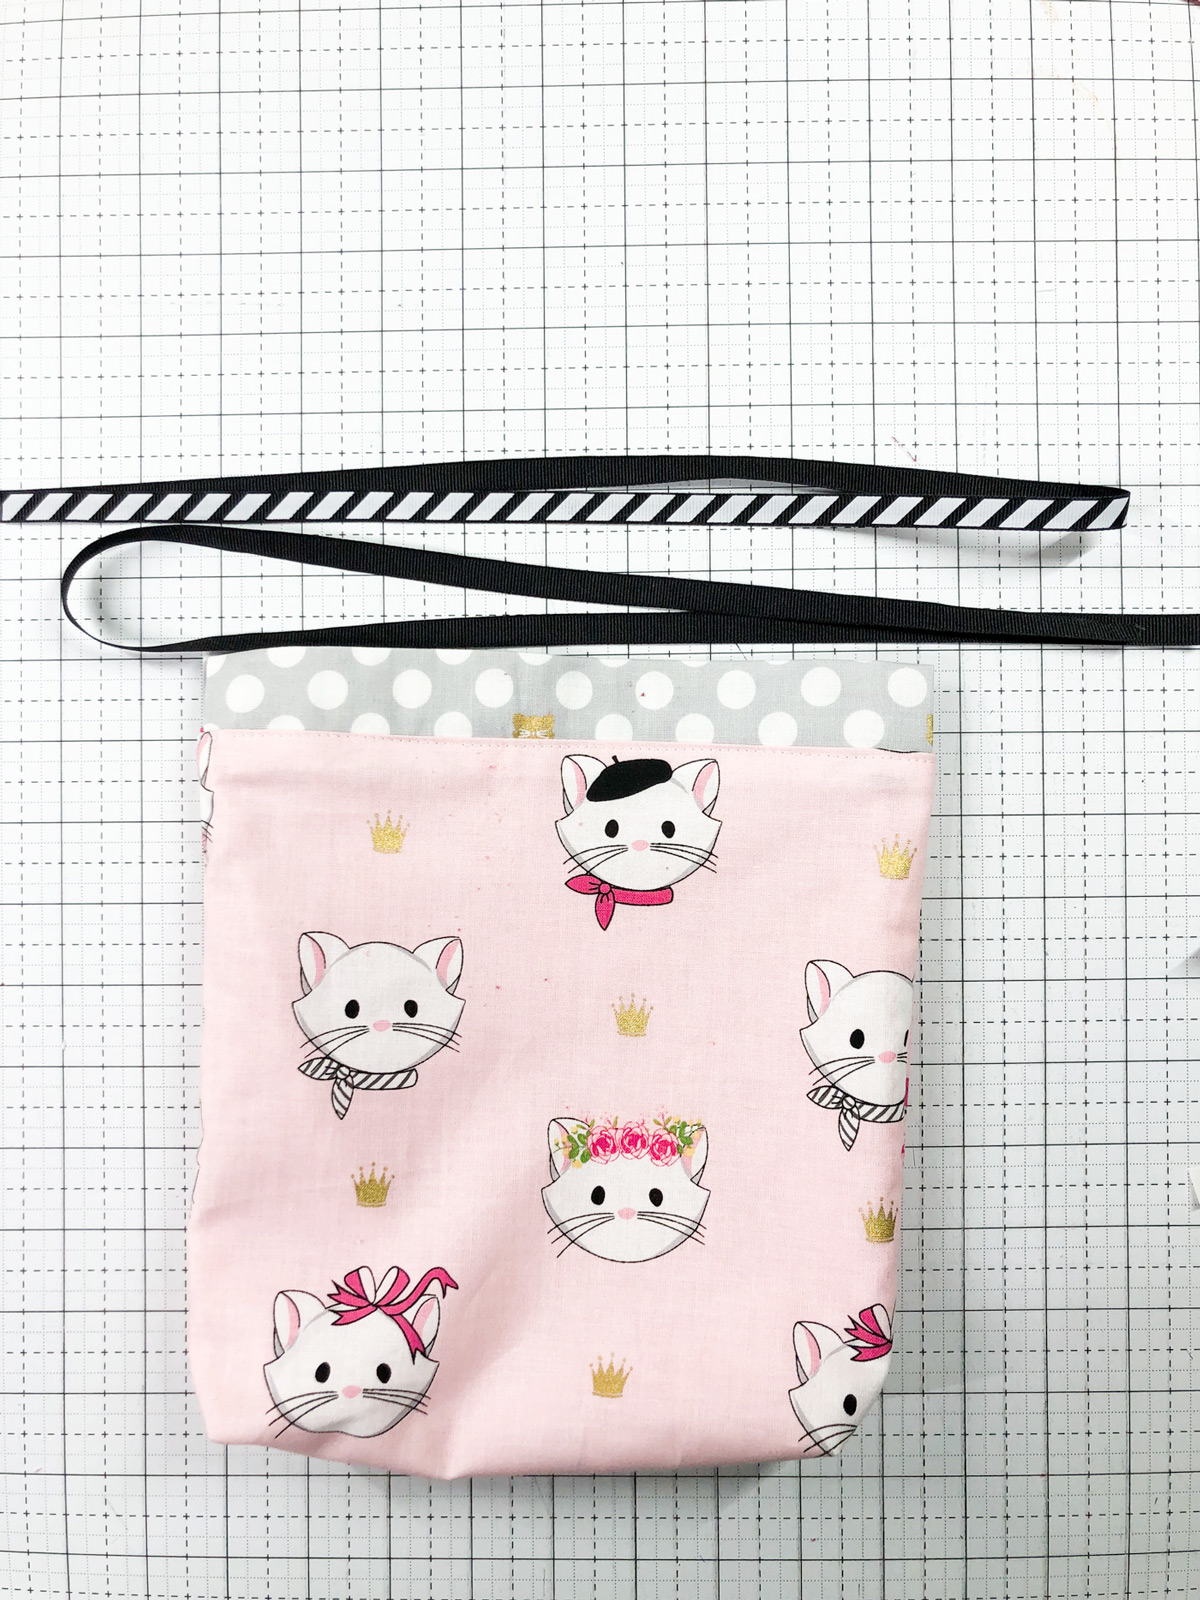
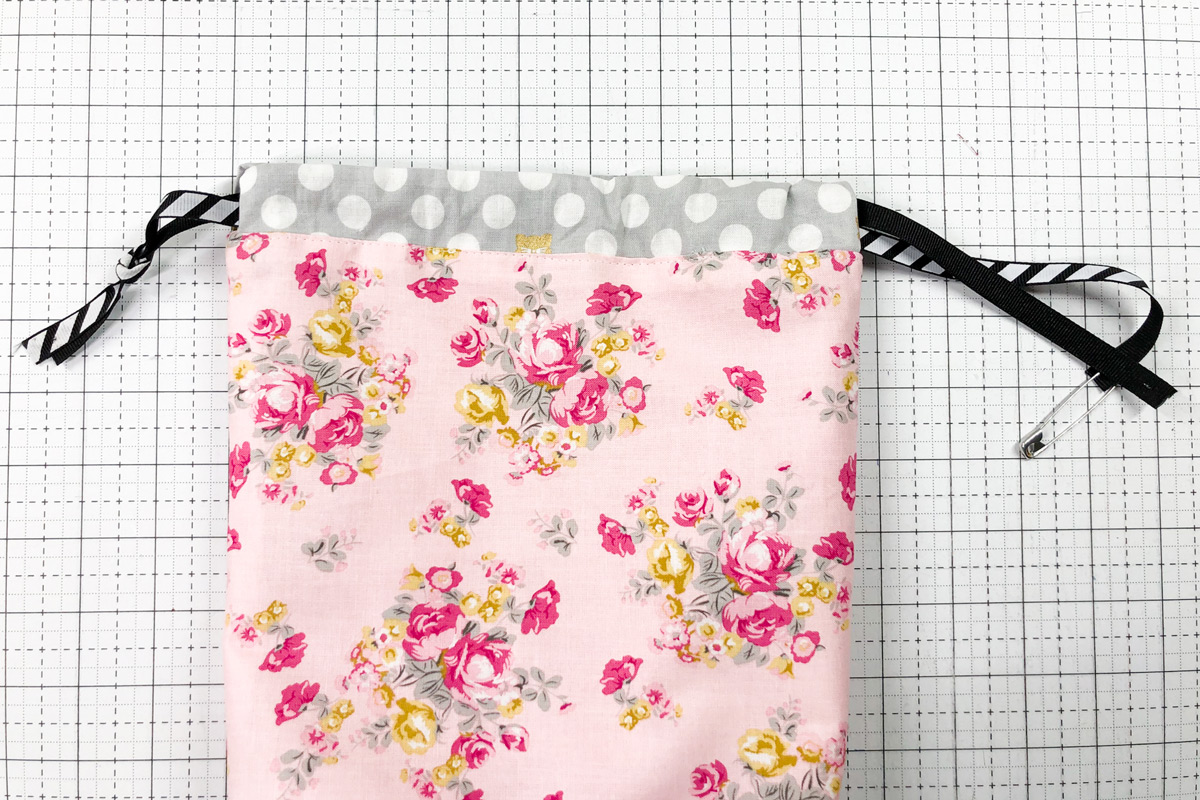
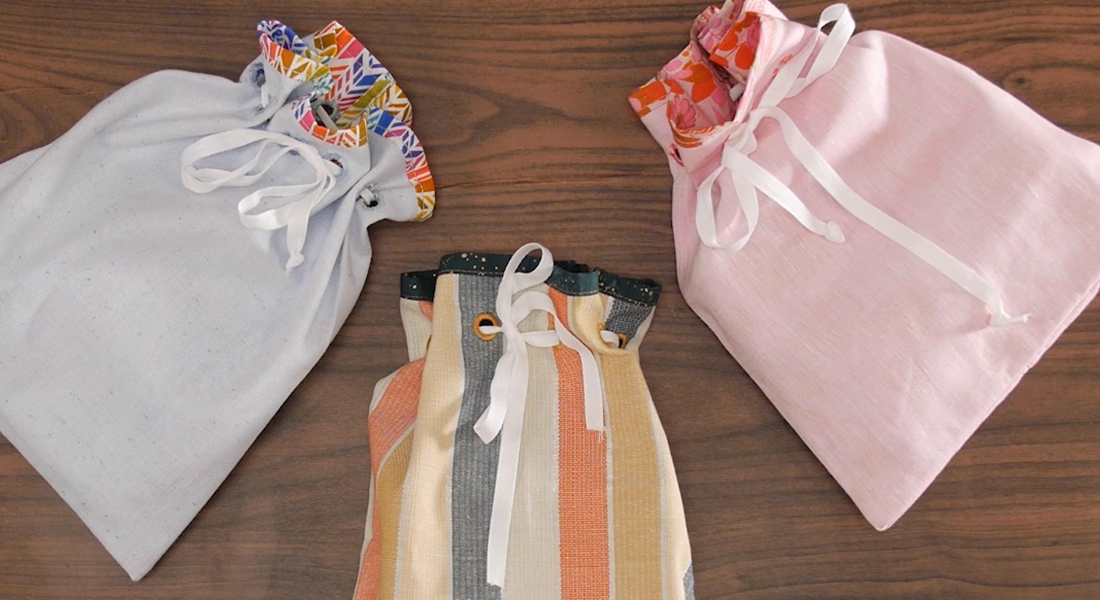
Cut two pieces of ribbon to 28″ long. Feed them through the casing going in opposite directions. I like to use a large safety pin to feed my ribbon through the casing.
Tie the ends of the ribbon into a knot on both sides. Trim ribbon if necessary.
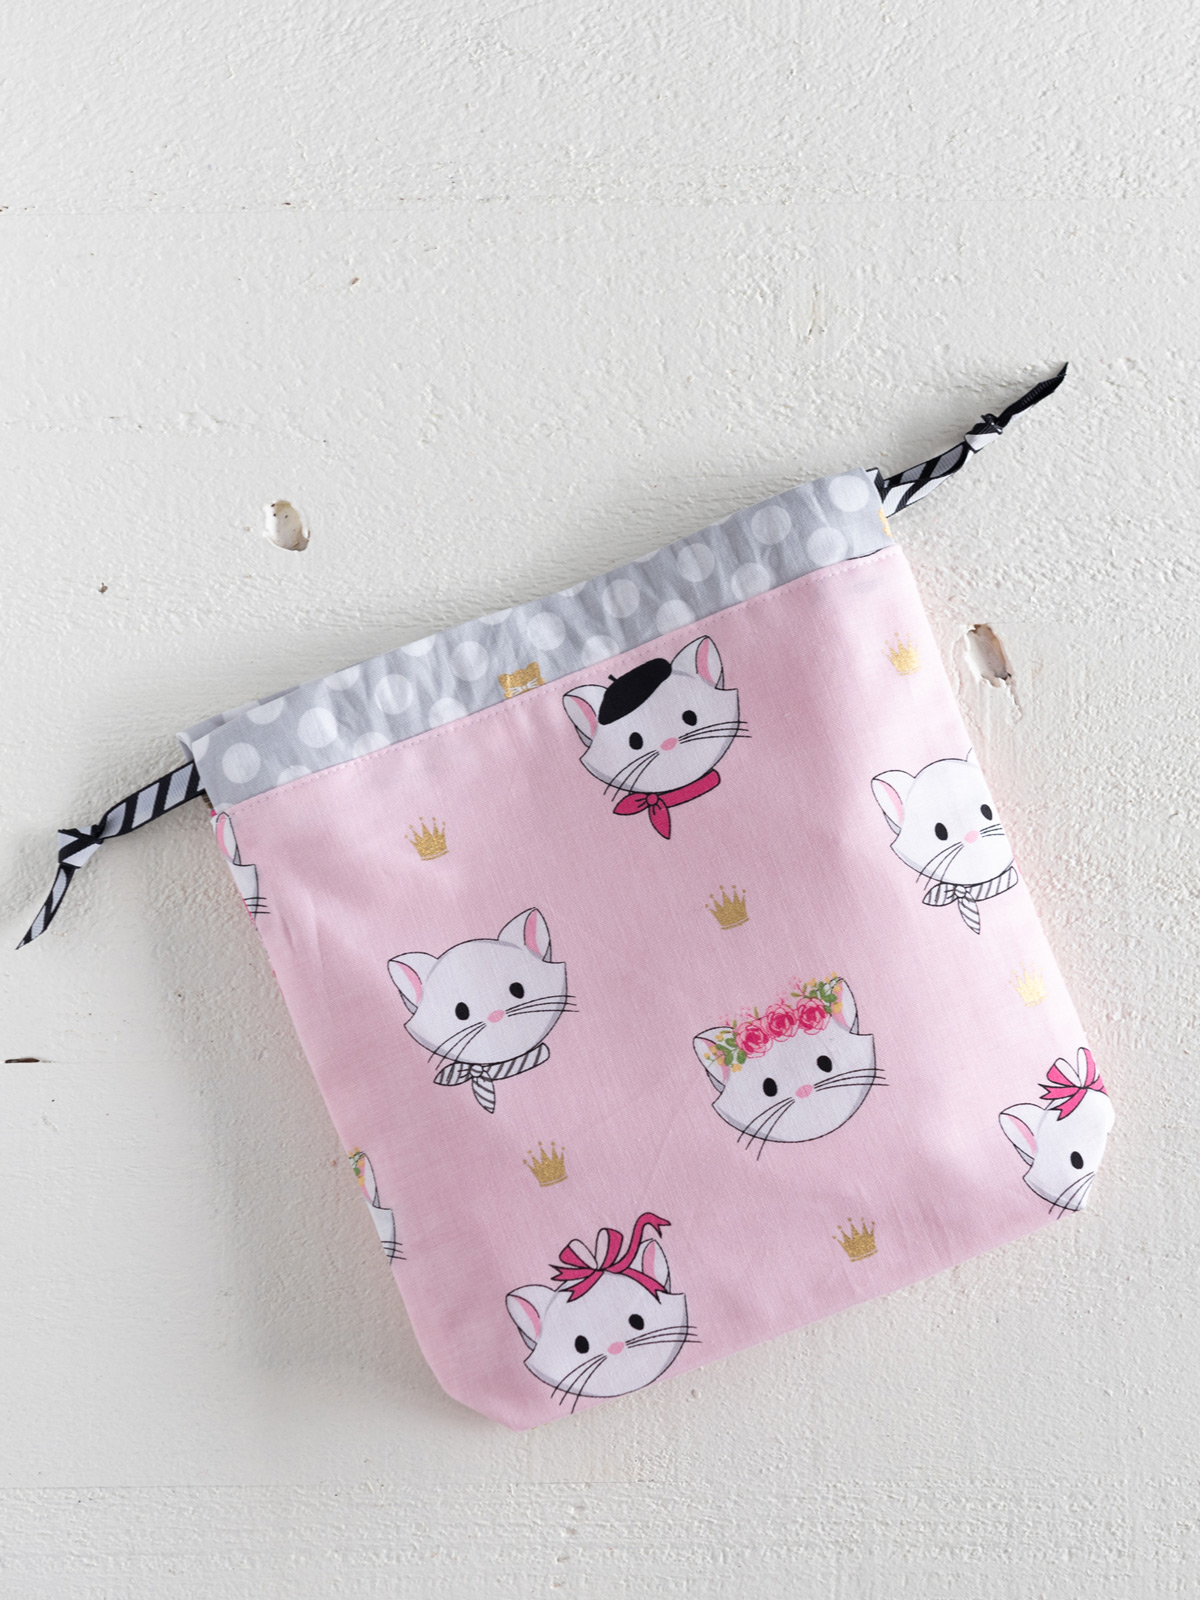
Pull up on the ribbon to open and close the bag.
Used Products


What you might also like


2 comments on “Pre-cut Friendly Drawstring Bag Tutorial”
-
-
Just finished making this adorable bag. What an easy project and love how it turned out. I think the confusion lies in the photo under the “Assemble the Bag” header. It says to “turn the bag front ride side out”, then “leave the lining wrong side out. The photo shows just the opposite, but it doesn’t matter if you turn the lining or main fabric inside or outside out, as long as both right sides are facing each other with the casing sandwiched in between them. I had to read it several times, then realized how ingenious this pattern is to make. No hand sewing the casing shut. It looks so professional when completed. Thank you for creating this really easy and useful little draw string bag.
Leave a Reply
You must be logged in to post a comment.

Cute project. Did you leave out when to put the lining into the outer bag?