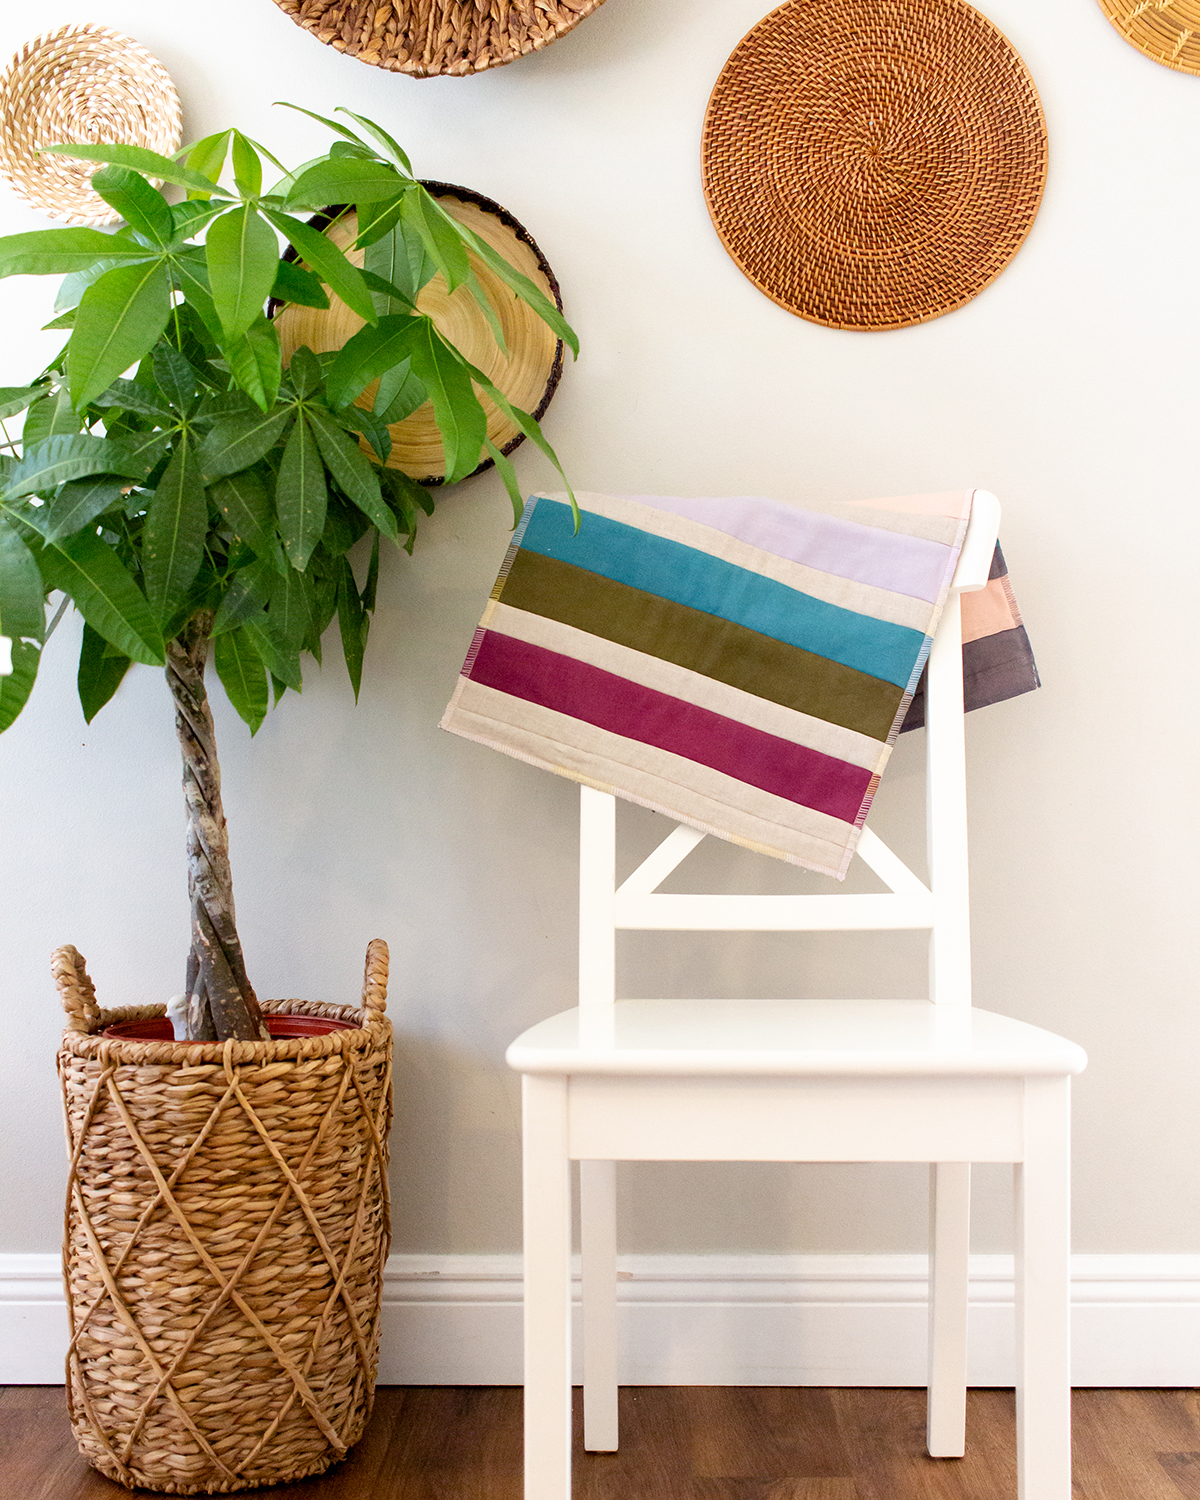
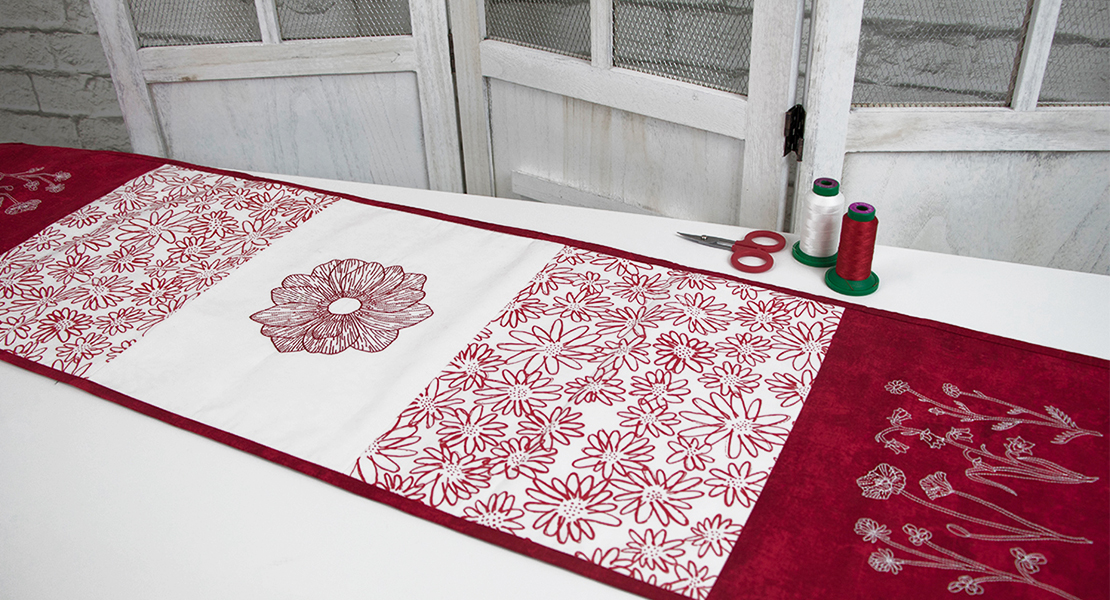
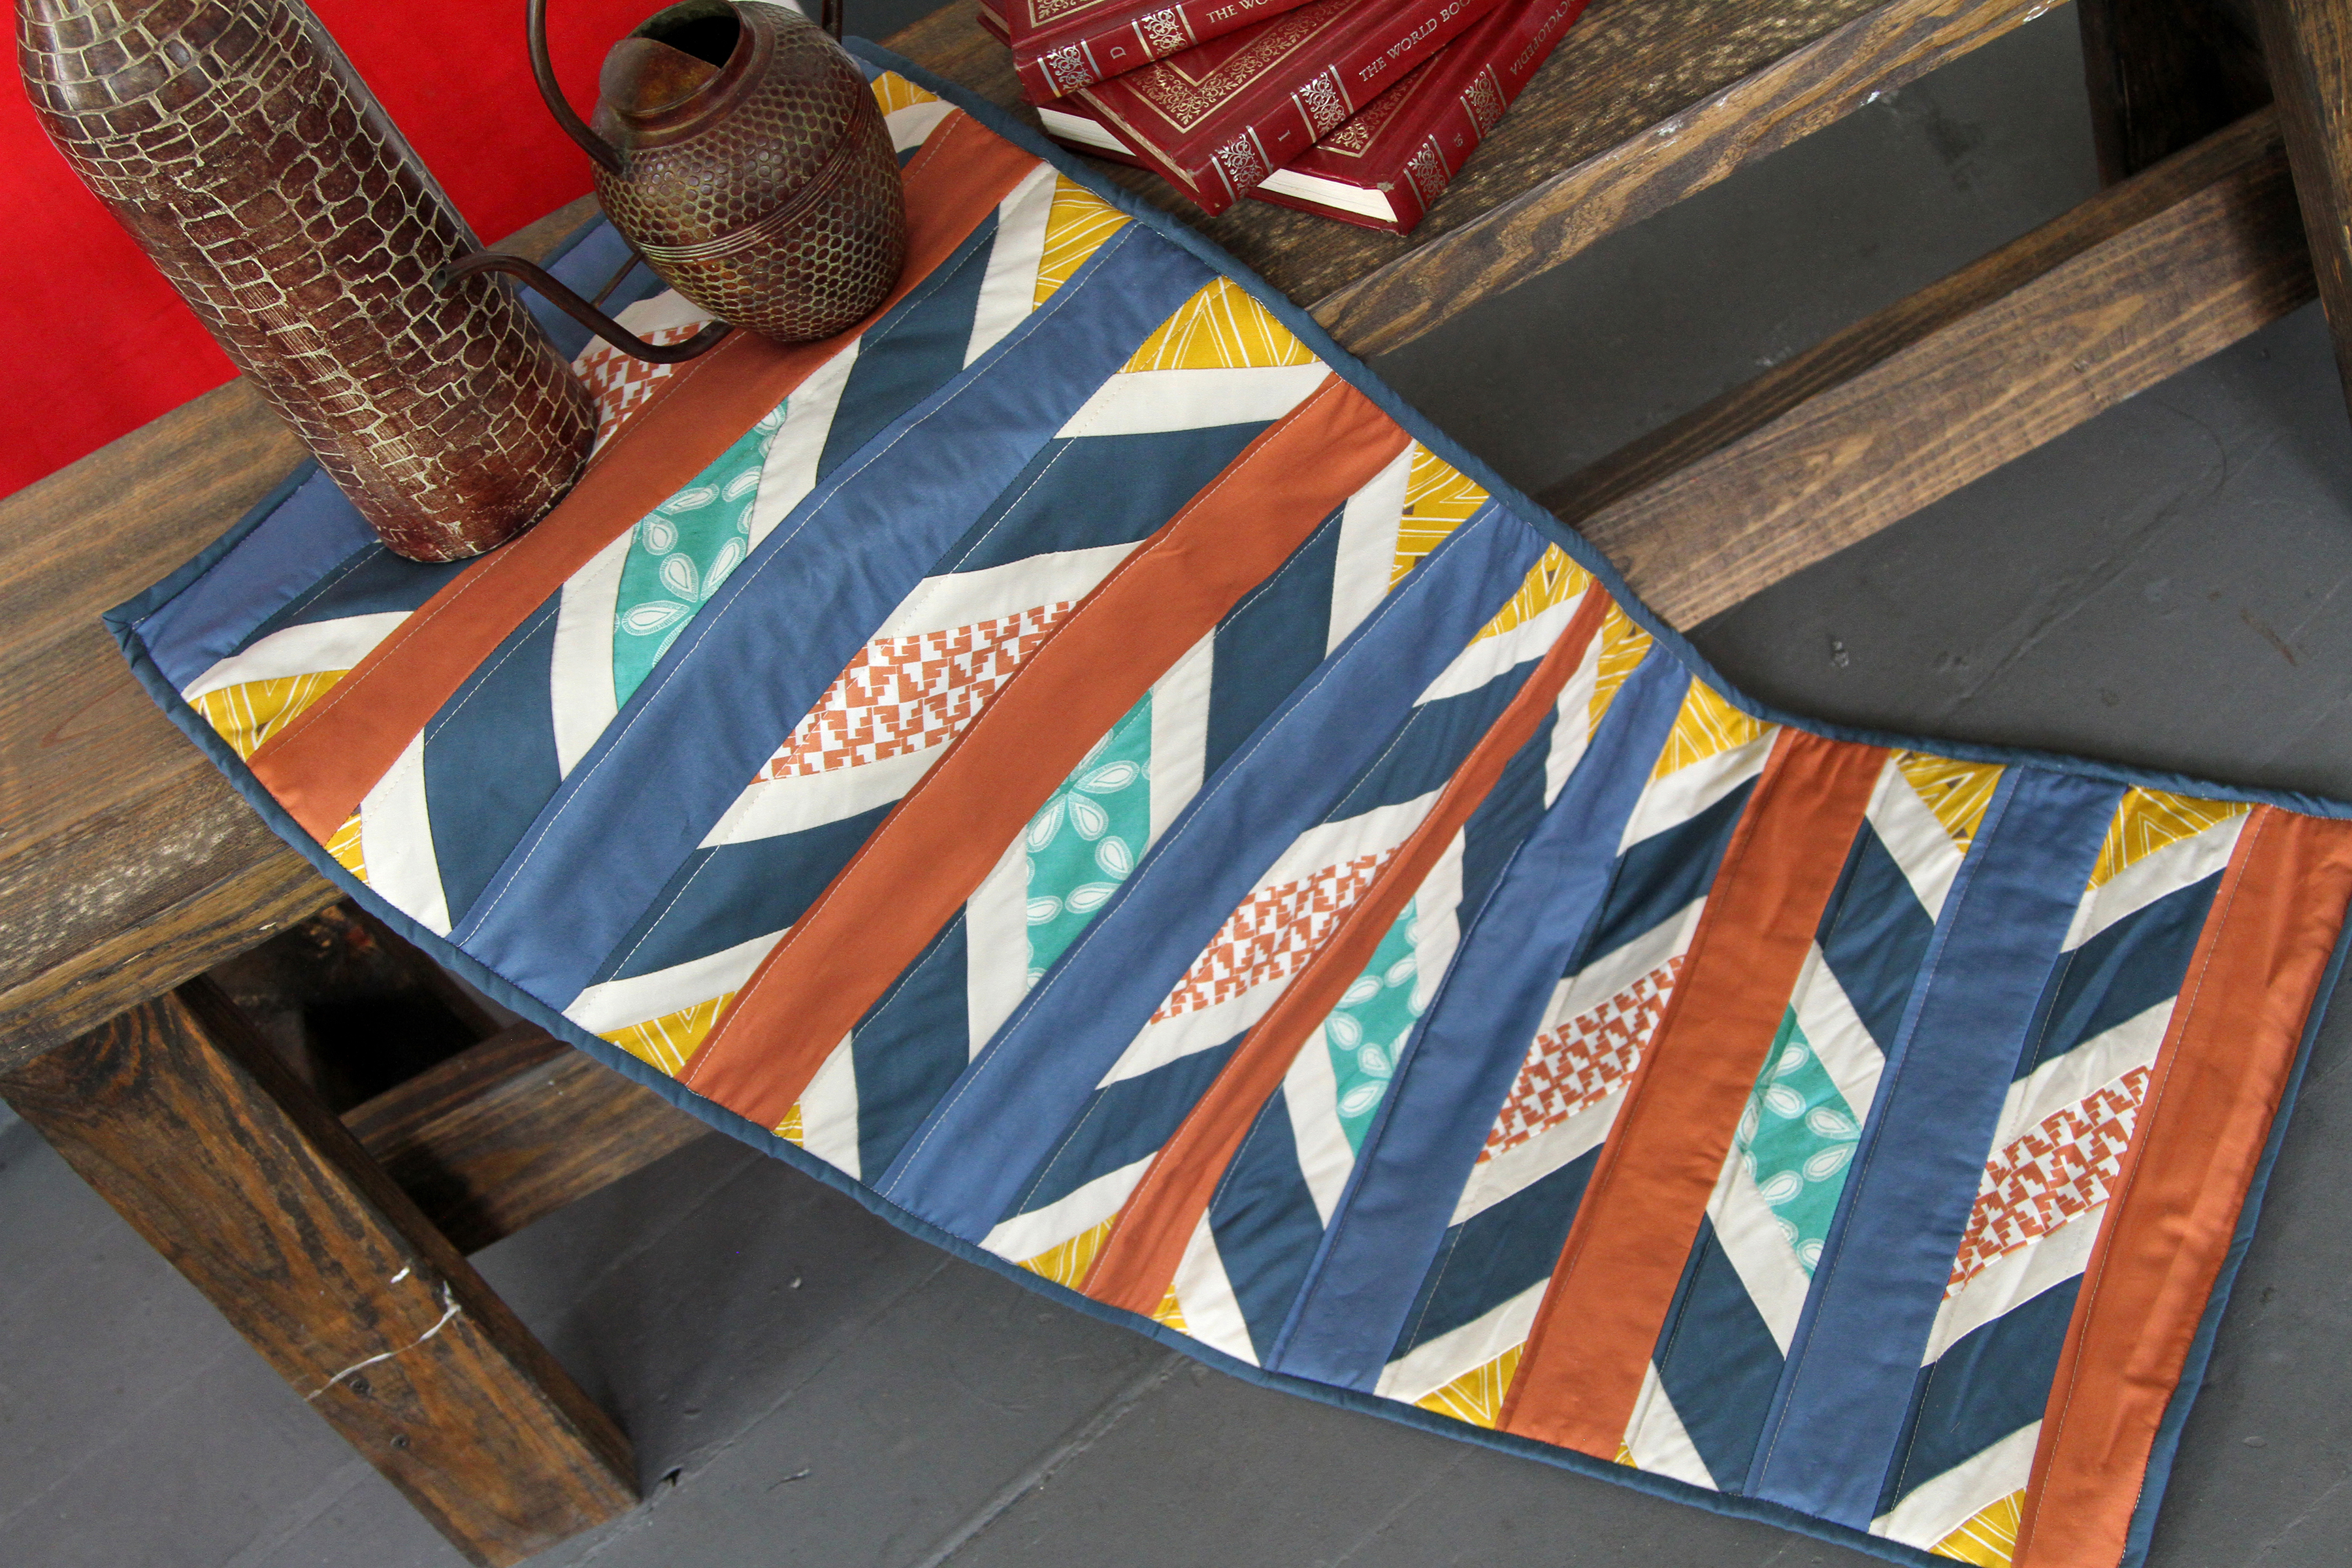
Quilt As You Go Table Runner
I love a quick project. Being able to quickly whip up something beautiful feels a little like a super power.
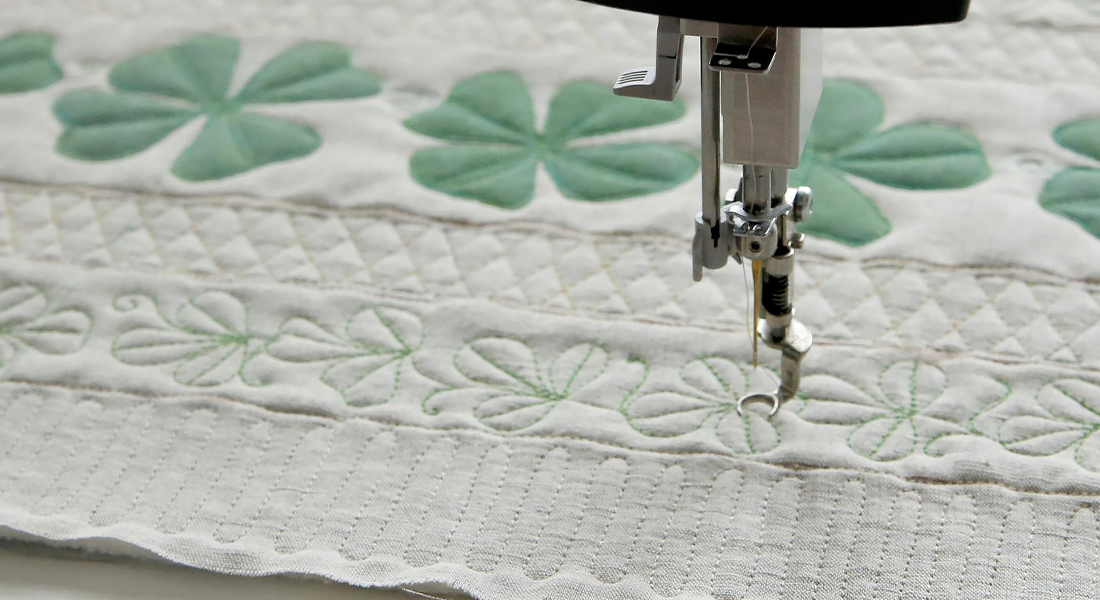
My BERNINA L 460 Overlocker is always the star of the show when I want to make something fast, and I think she really outdid herself this time. When you’re looking for a quick project, quilt-as-you-go on the overlocker is about as quick as it gets.
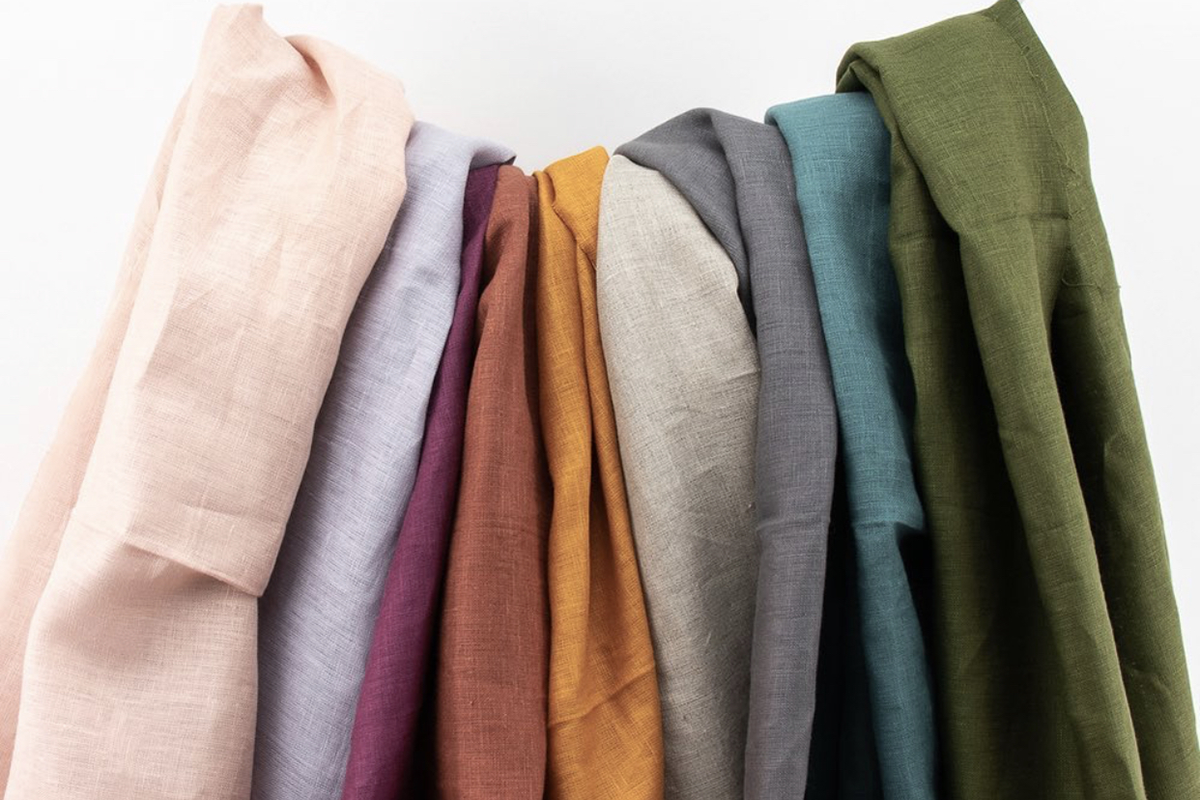
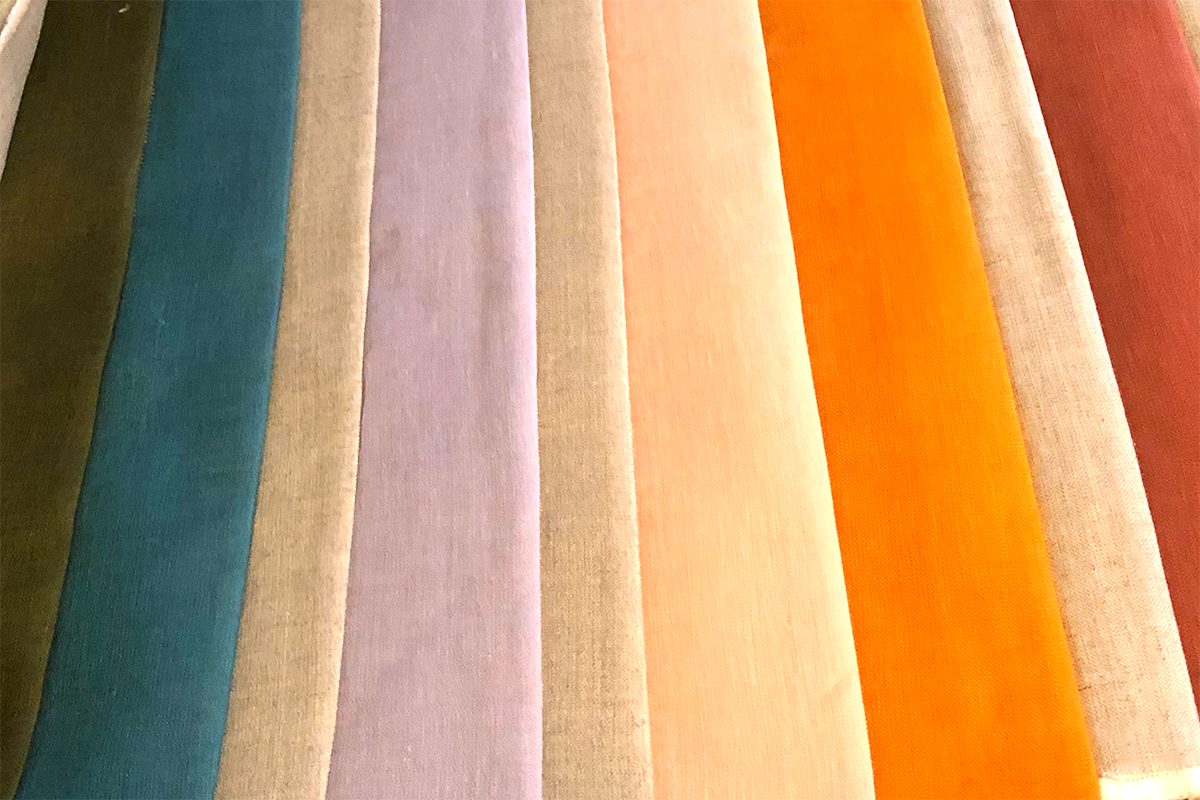
When Birch Fabrics sent me their new colors of their organic linen for this table runner, I was immediately smitten with the color and texture. Once I started sewing, I was pleasantly surprised how they sew up. Don’t worry if you have never worked with linen before or don’t have much experience on the overlocker! This project is incredibly forgiving and designed to be beginner friendly.
Cutting List
- (14) 3” x 18” strips of Birch Fabrics Linen in various colors (Fabric A)
- I used 2 strips each of the following colors: Cheeky, Hippo, Apricot Brandy, Rum Raisin, Yam, Pacific Blue, Jungle Green.
- (8) 2” x 18” strips of Birch Fabrics Linen in Natural (Background A)
- (8) 2” x 18” strips of Birch Fabrics Linen in Charcoal (Background B)
- (7) 3” x 18” strips of batting (Batting A)
- (8) 2” x 18” strips of batting (Batting B)
Supplies:
- Cutting Mat
- Rotary cutter
- 24” Cutting Ruler
- Clover Wonder Clips
- BERNINA L 460 Overlocker
- Serger Thread (I am using Aurifil 50 weight spools in 1310, 2145 and 4651)
- Tapestry needle or Lil’ Hookey for finishing threads
Cut all your fabric and batting before getting started. When I sew with linen, I like to heavily starch it and let it dry completely before pressing. The same loose weave that we love in linen also causes our difficulty when we sew it because it likes to move and stretch much more than quilting cotton.

Create a small quilt sandwich with Background A on top, Background B on bottom and Batting B in the middle, taking care to align the long edges for sewing.

Take a strip of Fabric A in Cheeky and place it underneath our small quilt sandwich, making sure that one long edge of Fabric A aligns with one long edge of the quilt sandwich.
Now place a strip of Fabric A in Apricot Brandy on top of the quilt sandwich and a strip of Batting A on top of that. Now you should have four pieces of fabric and two pieces of batting all aligned on one long edge. We need to be careful that our strips are lying flat and even, but don’t stress too much with making sure everything is perfectly lined up. We will set up our overlocker to take care of that for us.
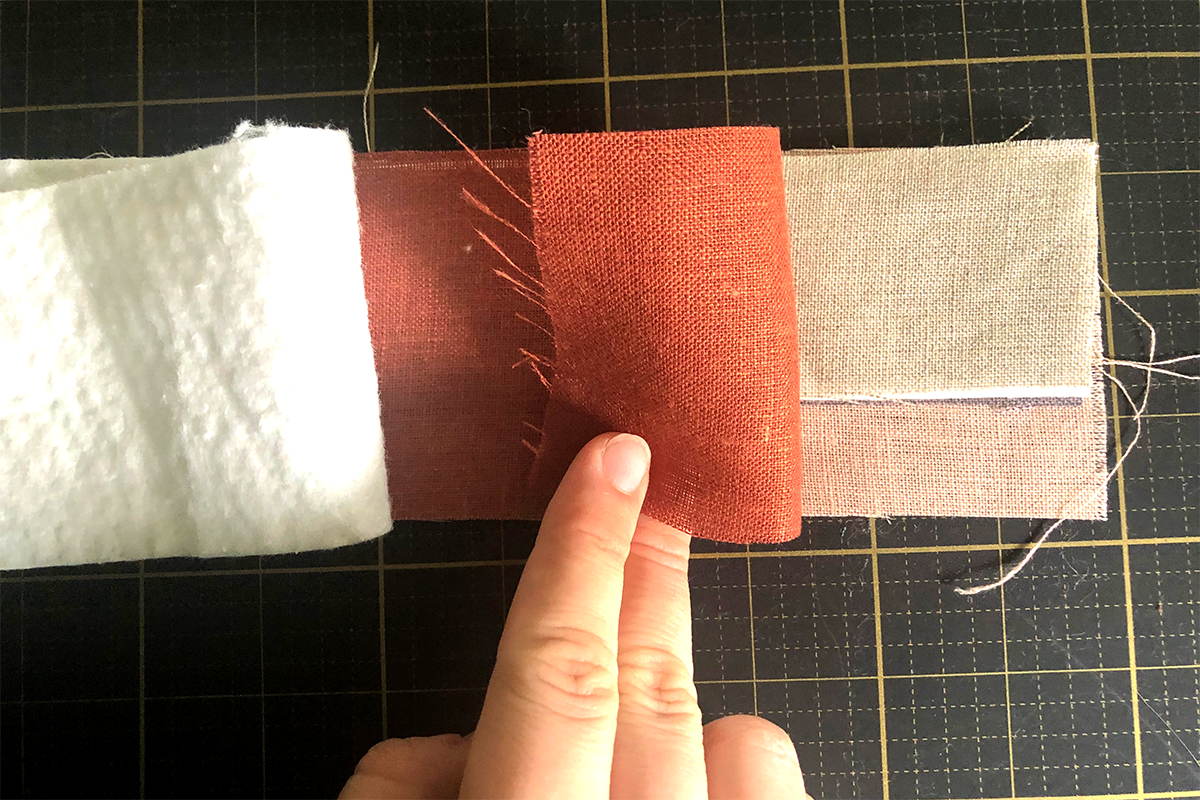
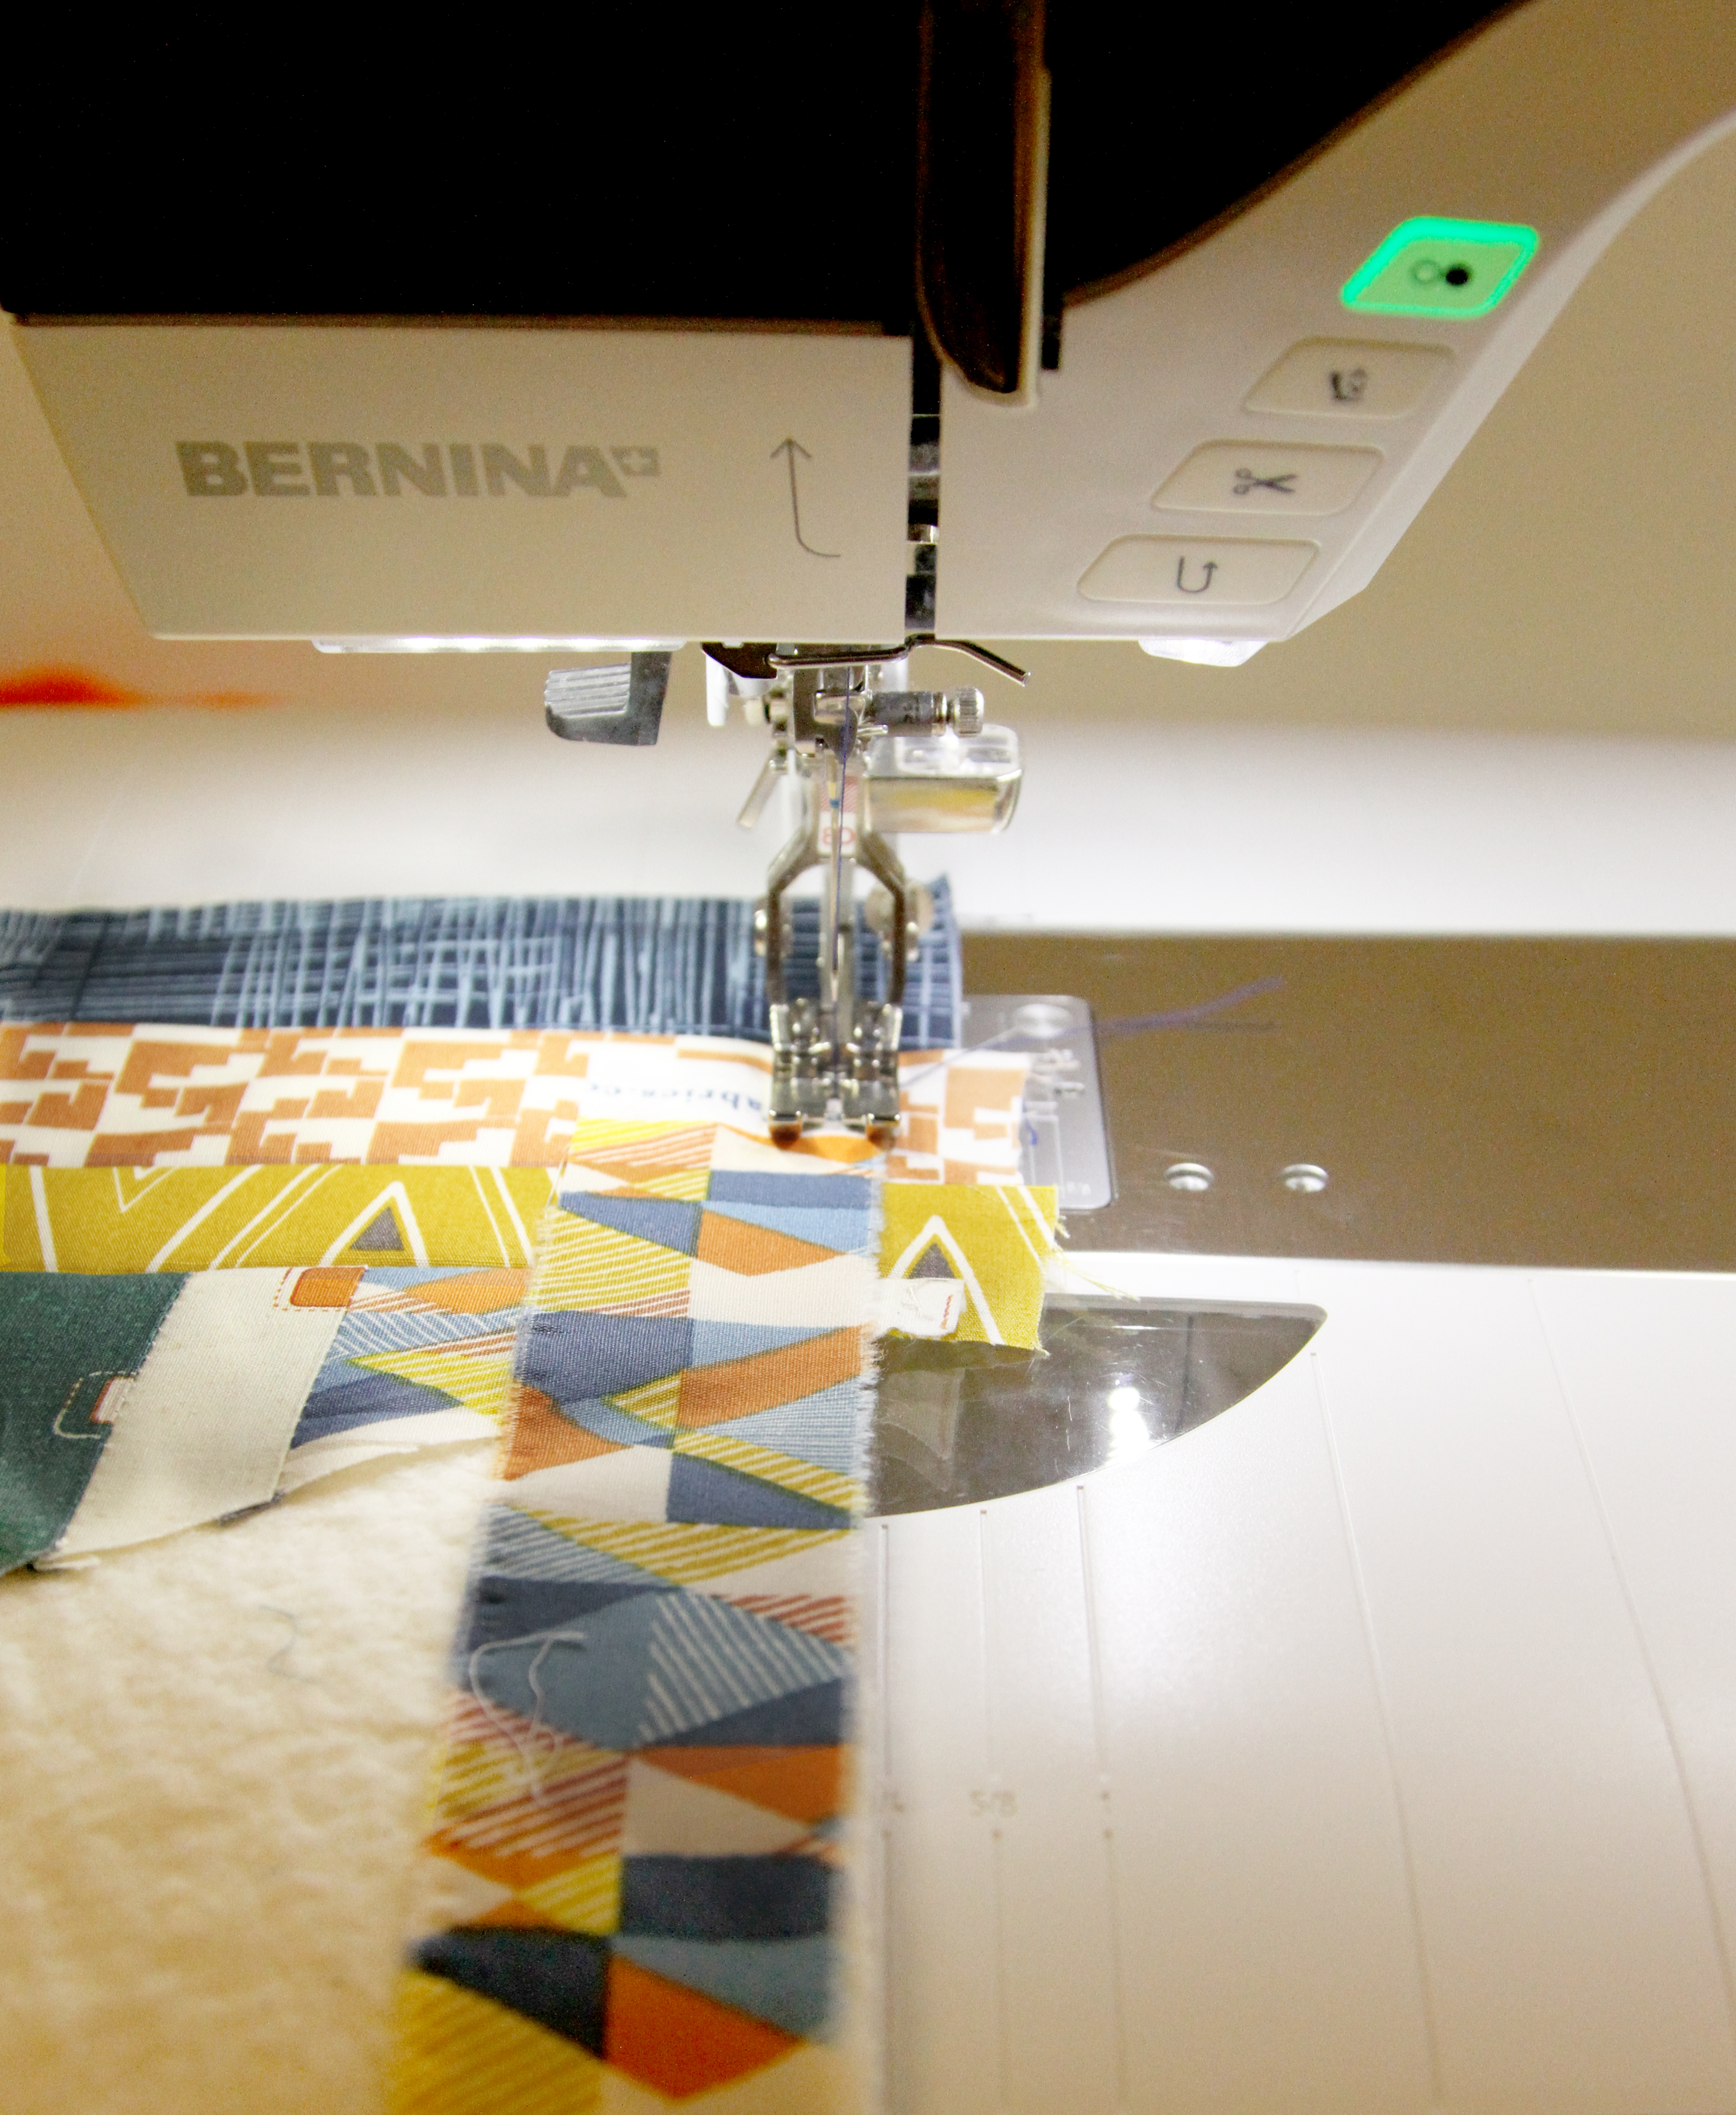
Use Wonder Clips to secure the edge you will be overlocking, and then take your fabric to your overlocker.

Set up your machine for a 3-thread right needle overlock with a cutting with of 9; set your seam allowance at 1/2” and use and overlocker thread to blend well with your project. Overlock along the side with all the fabric aligned.
We are going to use a nice big cutting width to ensure we have a wide stitch so that we don’t have any issues with our linen unraveling on us. We are also using a 1/2” seam allowance to make this a super easy and forgiving project; you know the linen loves to move around, so this helps us get clean, straight edges easily without missing any fabric.

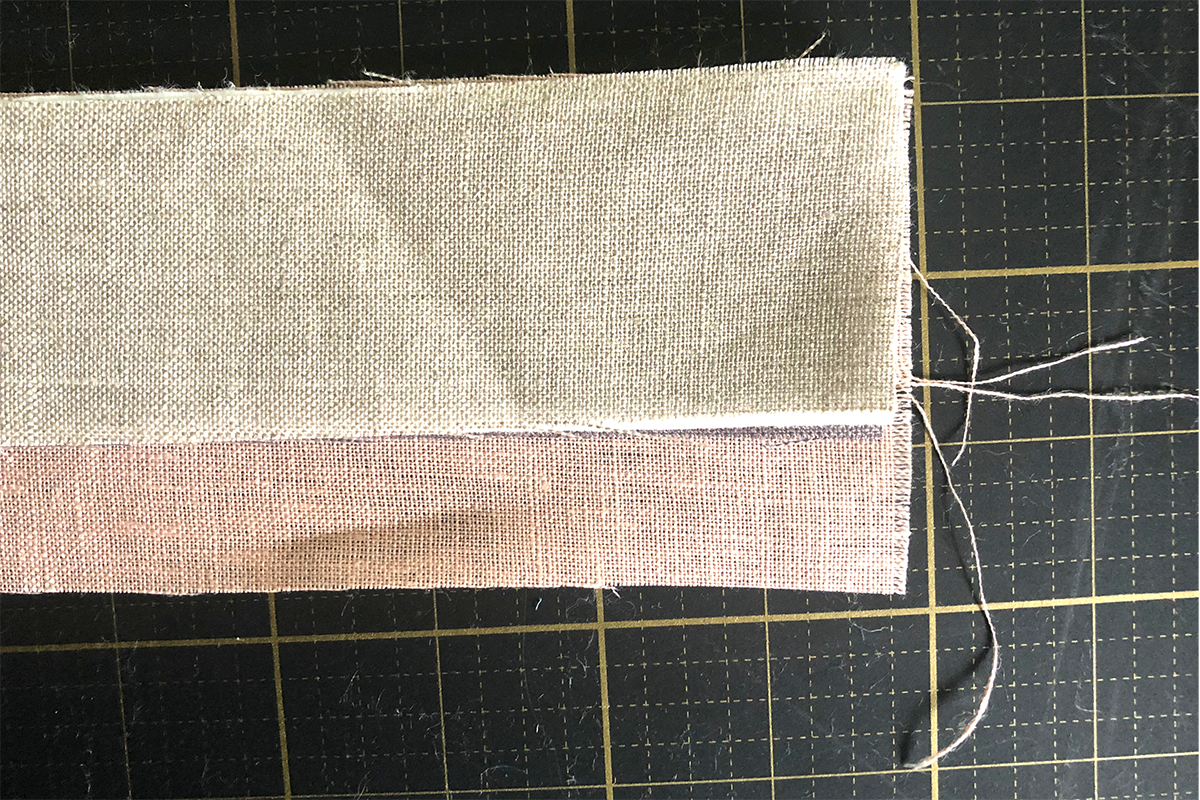
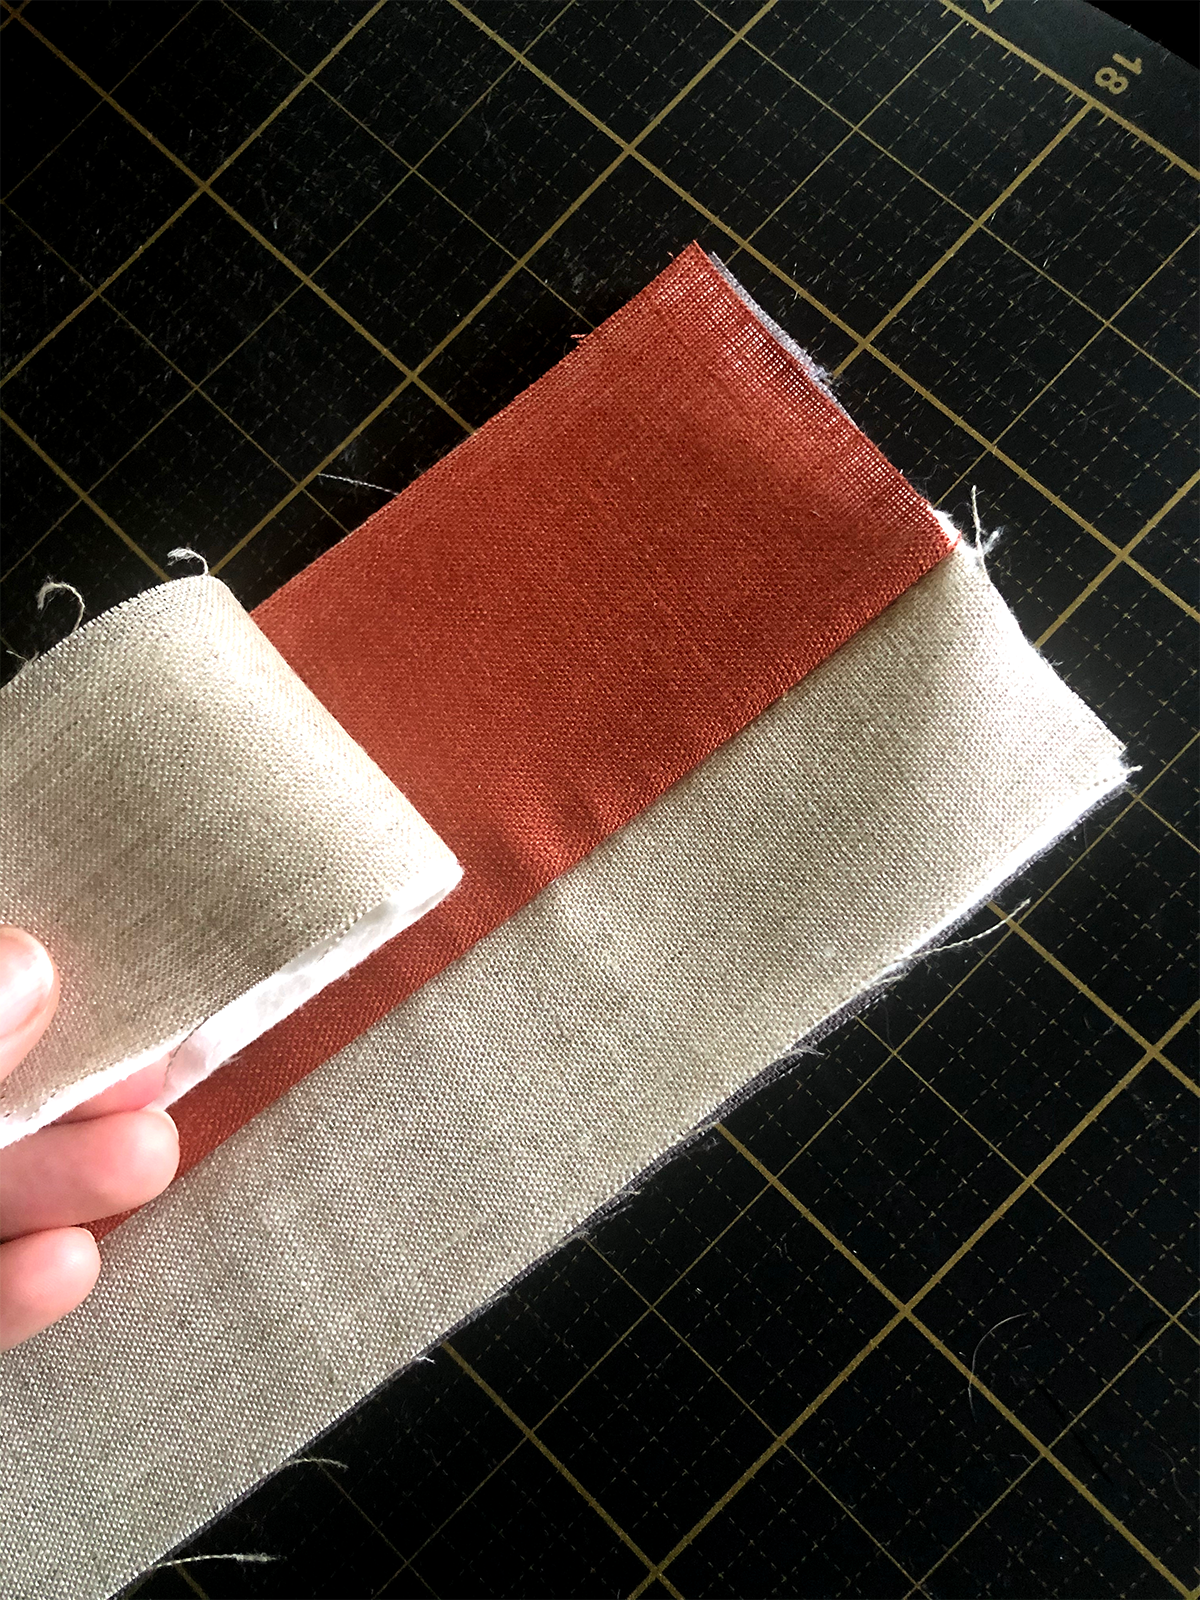
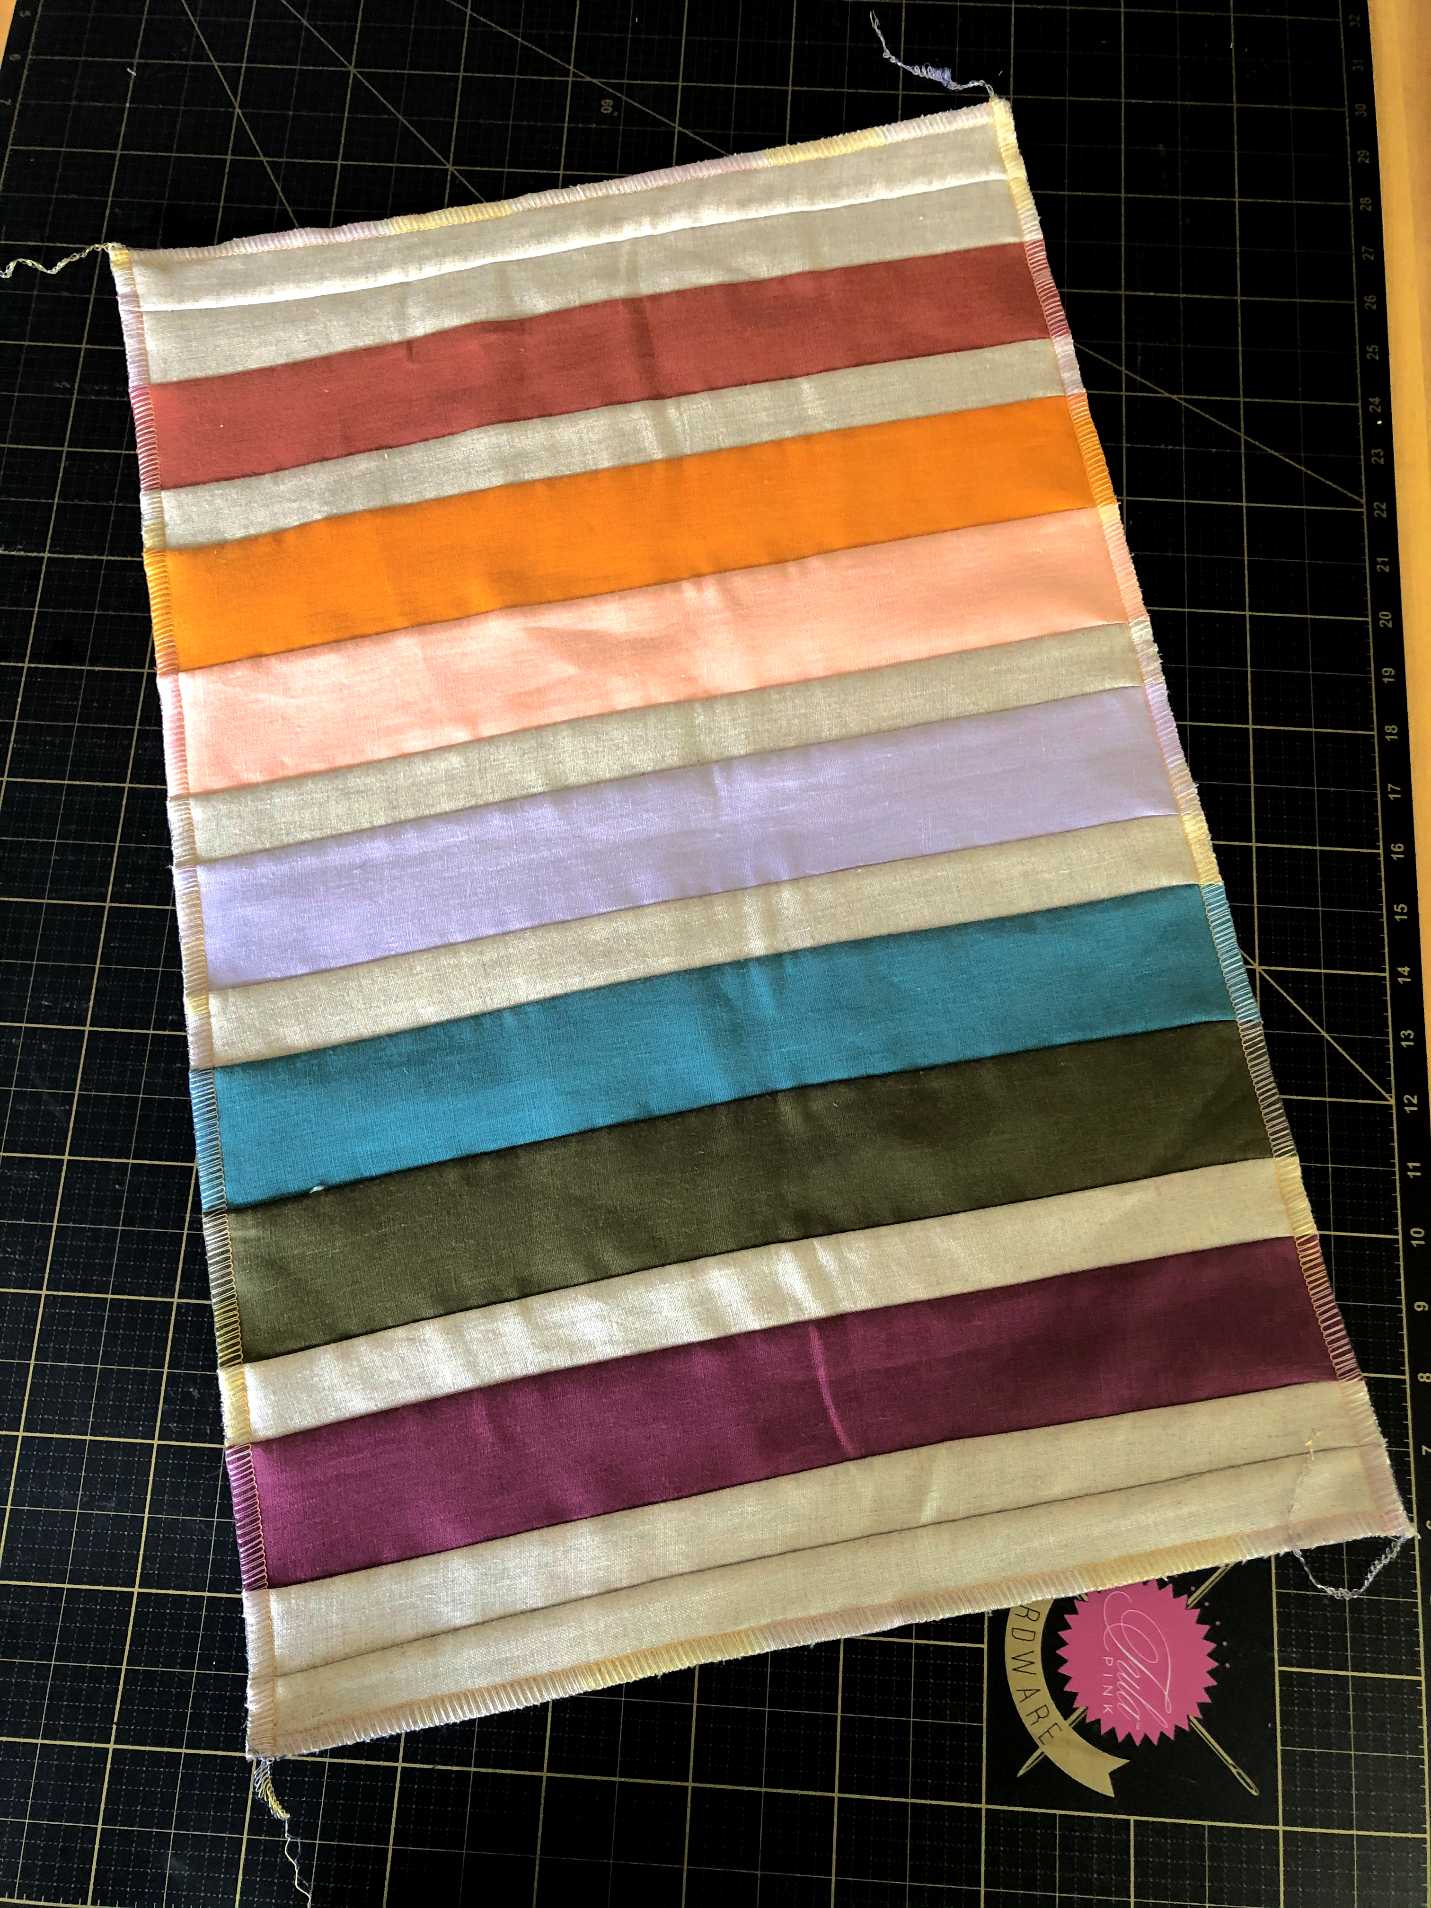
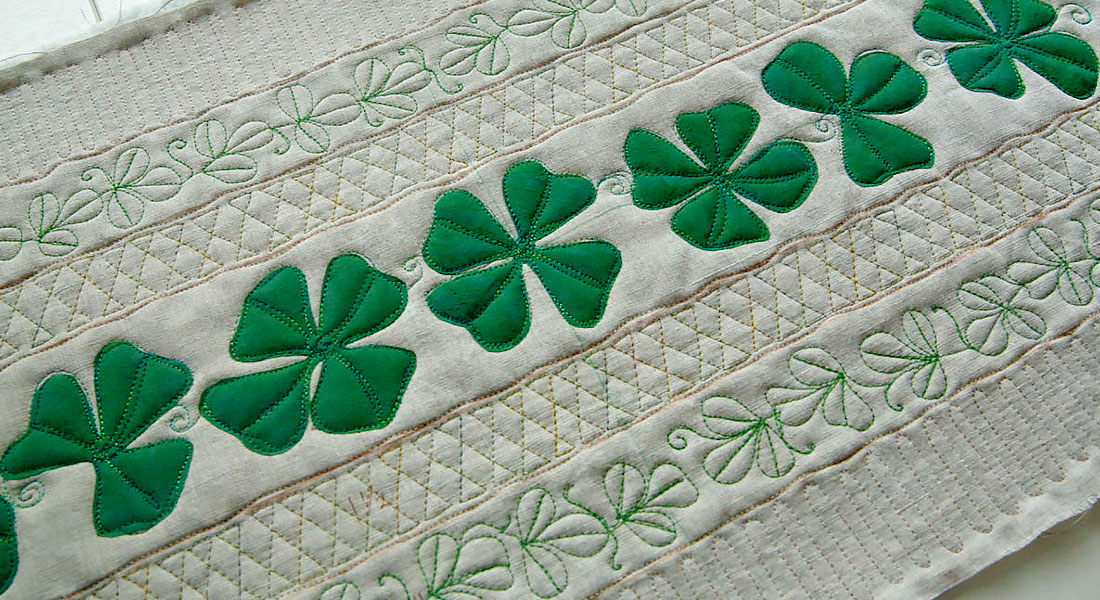
Press the Fabric A and Batting A “up” so the stitching is now hidden. Tada! Now you have two stripes of your runner done.
Take care to press each stripe well as you will not be able to go back and fix it. There were a few times I took my work back to my ironing board to touch up the pressing for this exact reason.

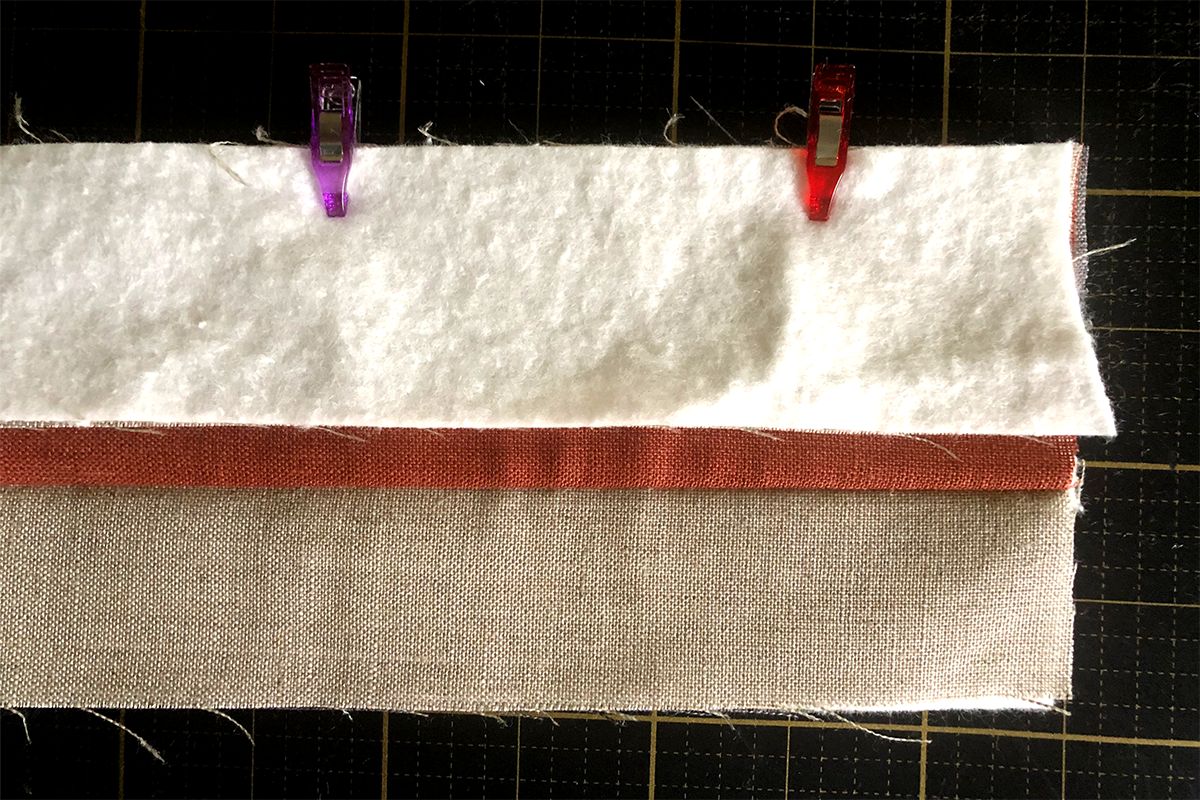
Now we will take the start of our table runner and keep on going. With Background A facing up (we will consider this the right side) take background B and place it underneath your table runner, aligning the long edge again. On the right side, place Background A then batting B, layering just as we did before.
Make sure all your edges are aligned properly and then secure with a Wonder Clip. Take it to the overlocker and stitch the long edge.
That’s it! Keep adding stripes to your runner in this manner and pressing carefully in between.
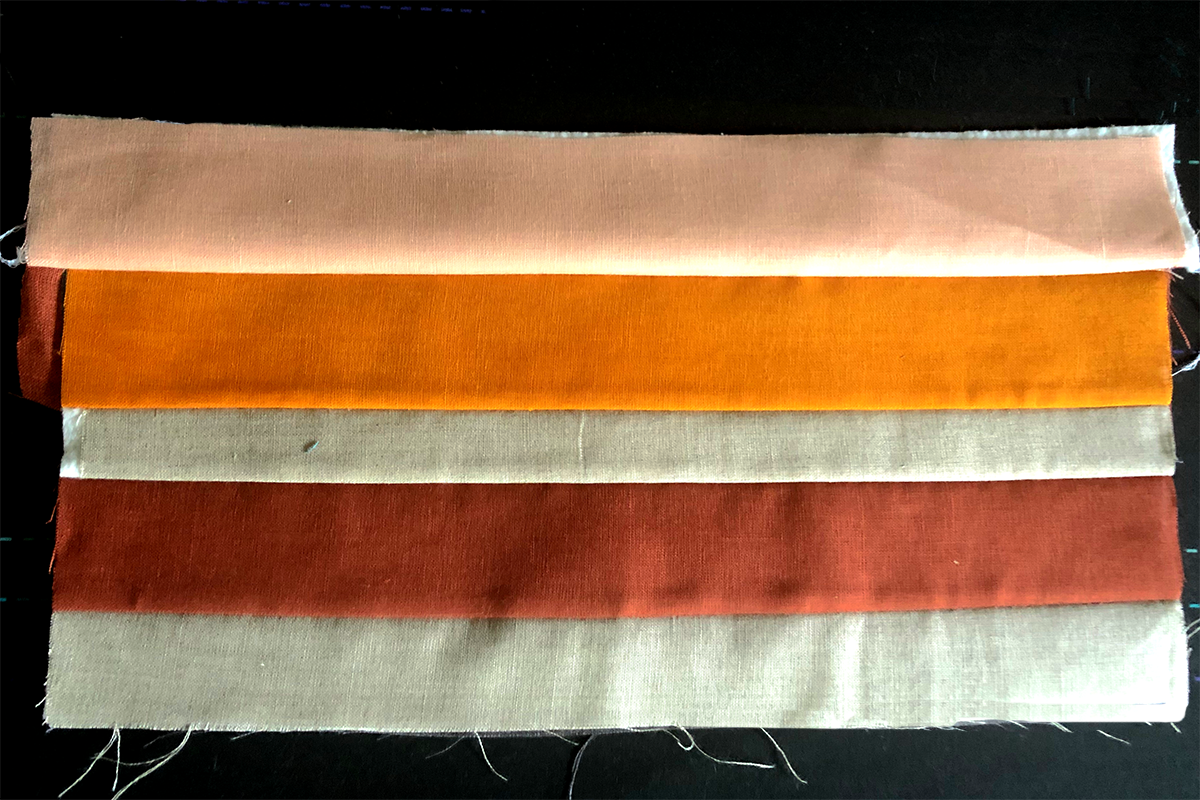
This runner is approximately 22”, but feel free to continue the pattern for your desired runner length and attach your stripes in whatever pattern you like.
You’ll notice I added a second background fabric to either end of the runner. I did this to add a little length and because I happened to have some extra fabric. Also, that double stripe look you see here—it’s absolutely because I wasn’t paying attention and did my stripes wrong, so I went with it. All that to say, have fun and roll with it! This is so incredibly easy and there are so many ways to finish this project and have something you love.
Oh yeah! Finish this project.
If you prefer you can do a traditional binding but I am all about the ease and look of an overlock. To finish these edges, change to a left needle overlock and change your threads to colors you don’t mind showing on the outside of your project; leave everything else on the machine the same. I used 50 weight Aurifil 2145 in the needle and 1310 in the lower looper. In the upper looper I used 4651 in 40weight—this thread was 40 weight for no other reason than it’s what I had on hand.
Overlock down each side and right off the edge, cut your thread then go down the next side.

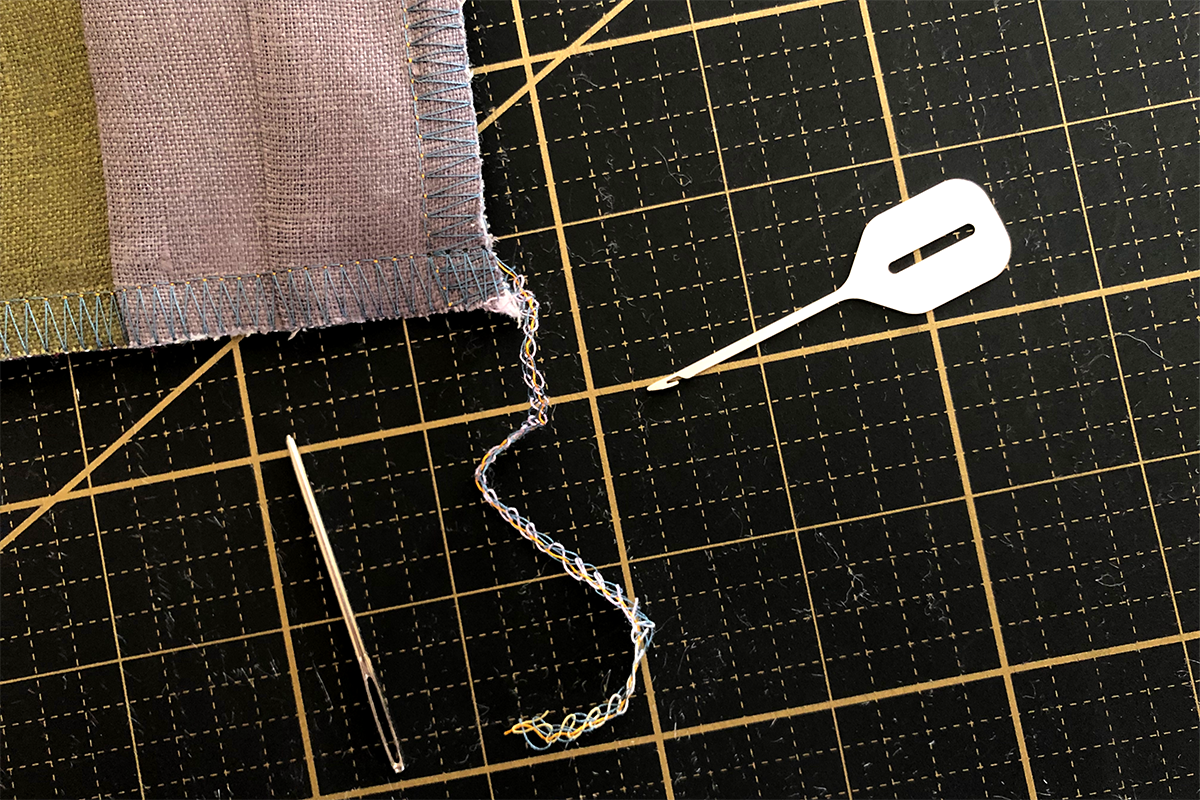
Once all four sides are done we can finish our thread tails.
You may use a tapestry needle, small crochet hook (not pictured) or a tool called the Lil Hookey. Use one of these tools to pull your thread tails under the loops of the overlock stitch, on the backside of your project.
Viola! All donezo!
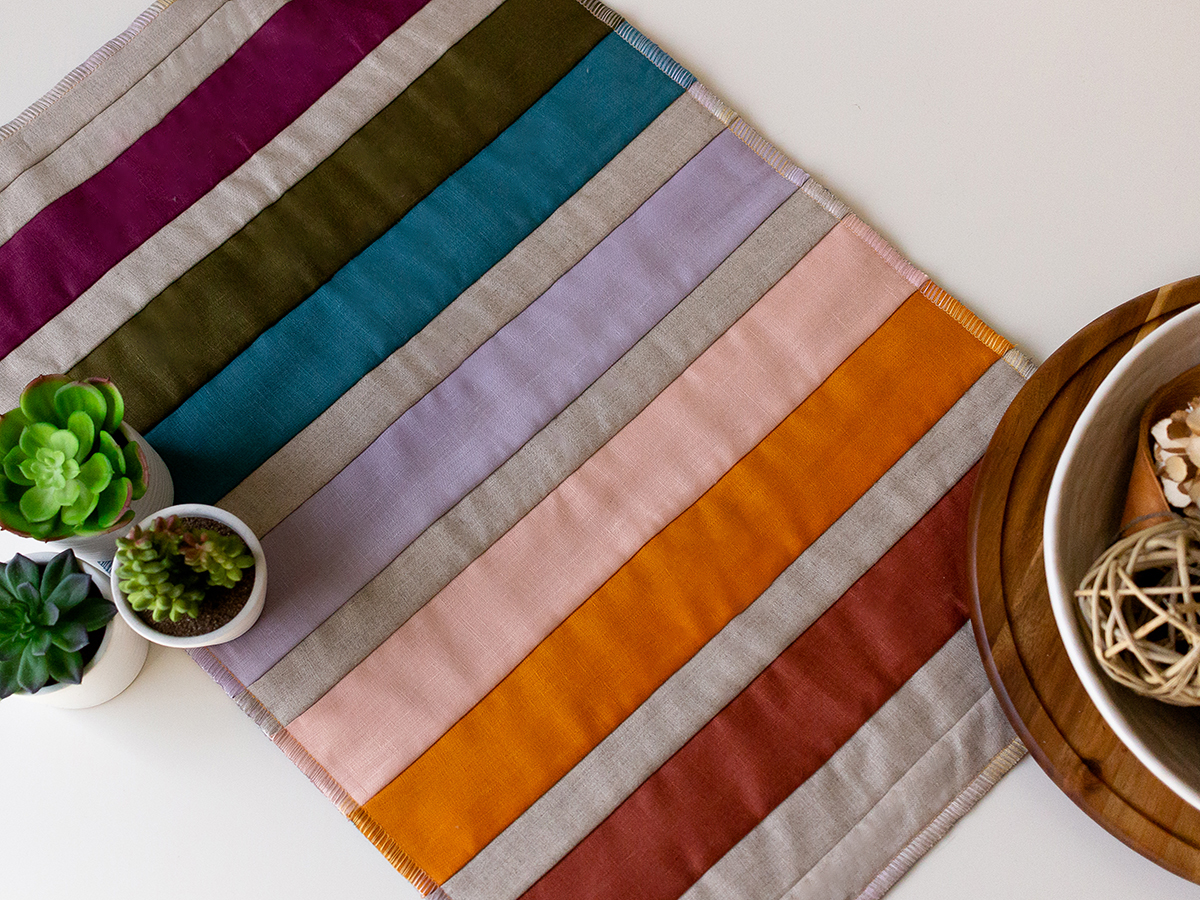
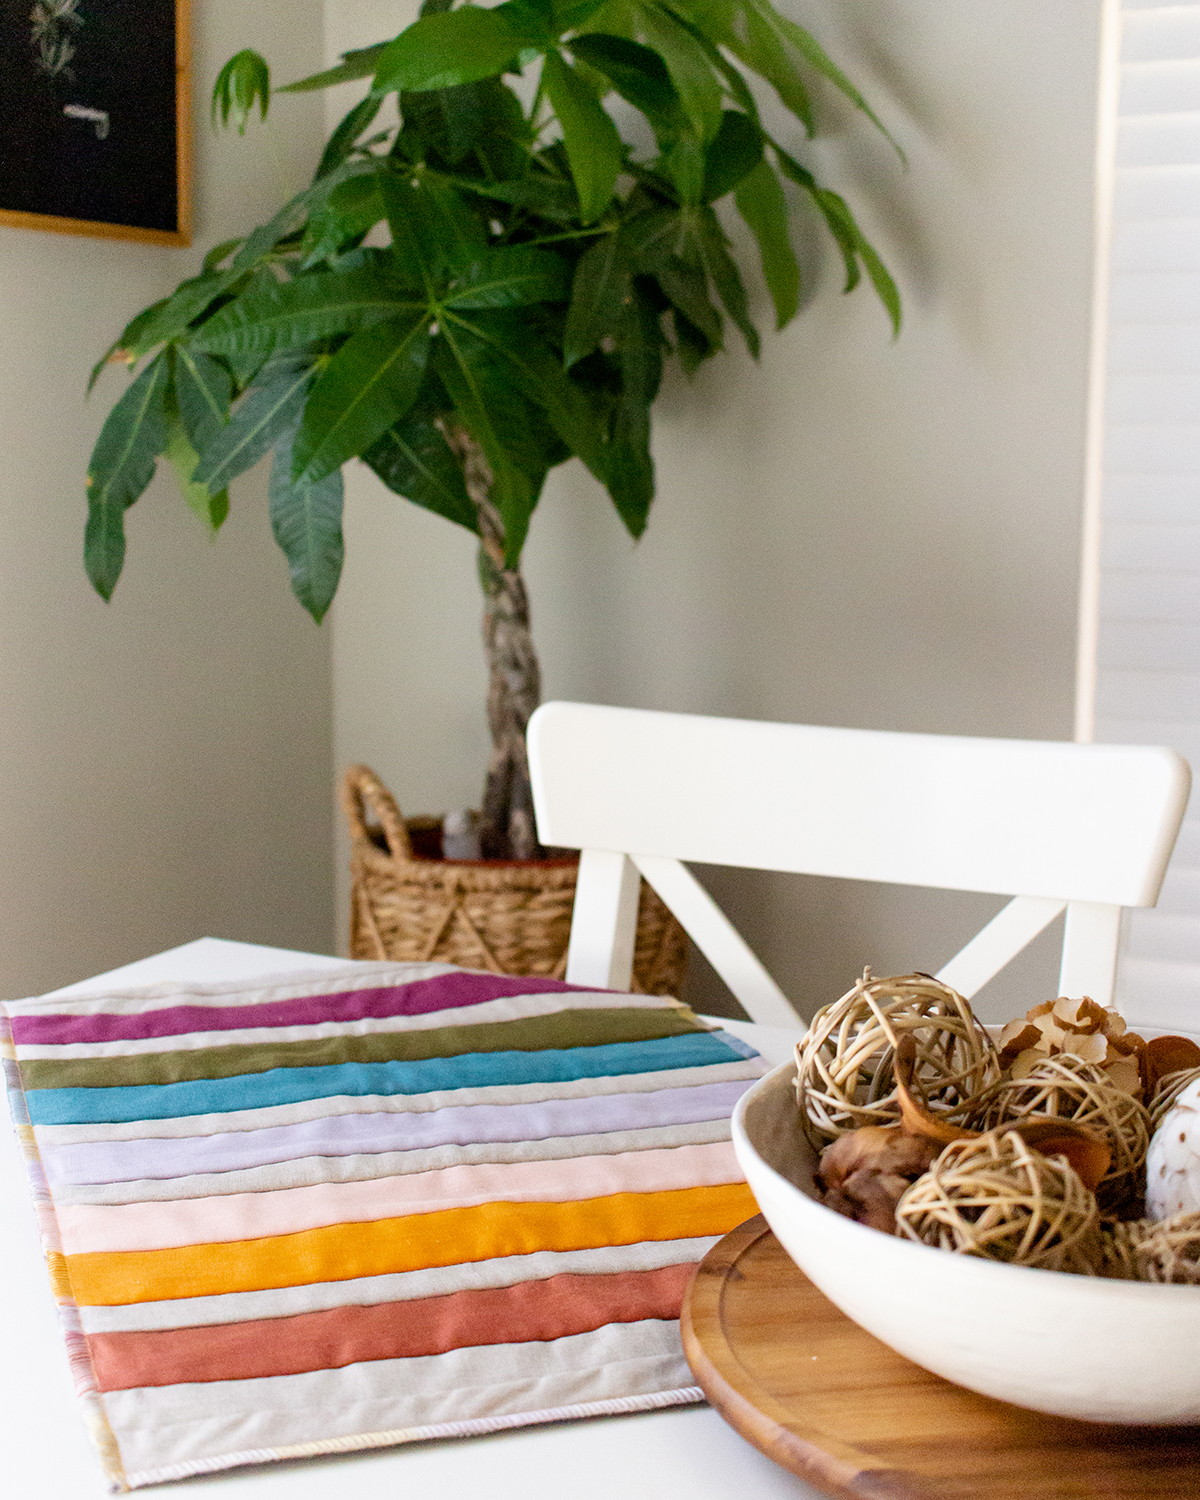
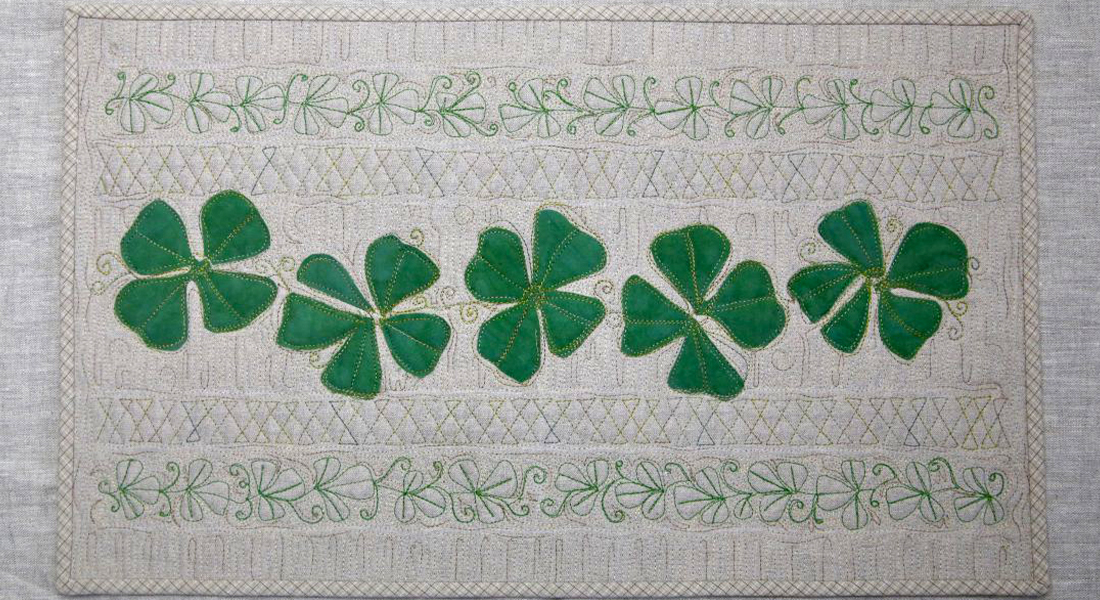
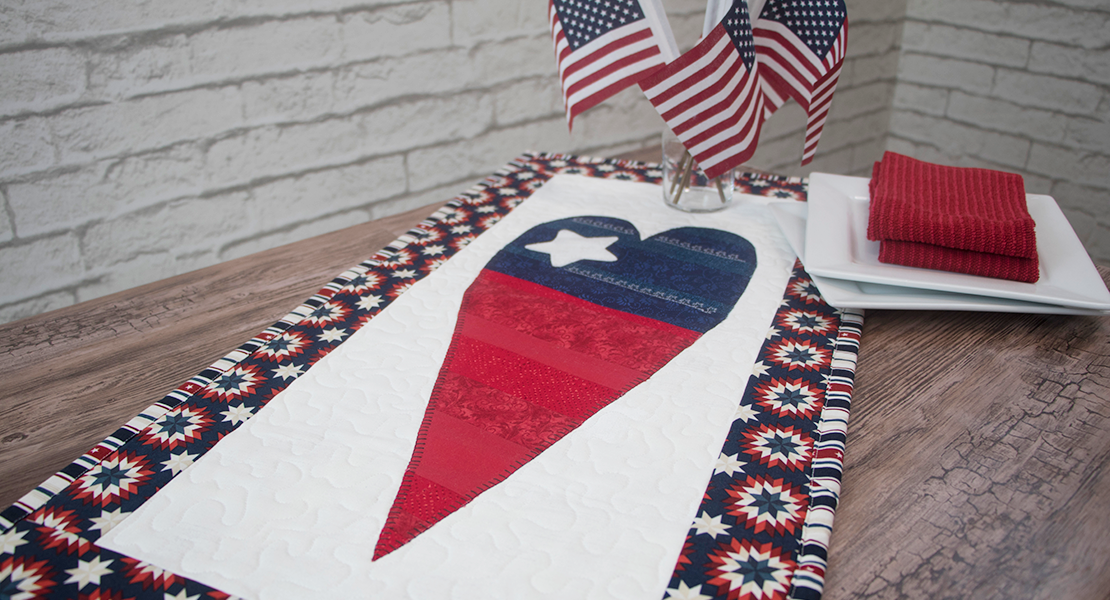
Ready for your table and ready to be made in a thousand different variations for all seasons and holidays.
I can’t wait to see your version of this quilt-as-you-go runner! If you share it on Instagram, be sure to tag me @ToughKittenCrafts
Used Products

What you might also like


One comment on “Quilt As You Go Table Runner”
Leave a Reply
You must be logged in to post a comment.

Thanks for a great project, but there is no mention of the linen weight. What is the weight?