Quilt Binding on a Longarm
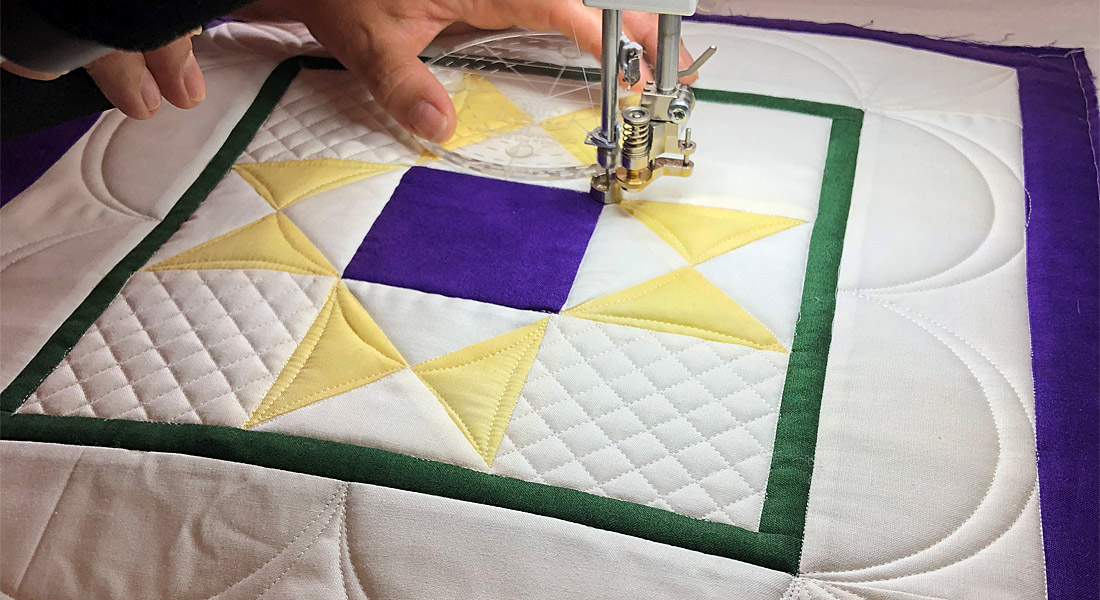
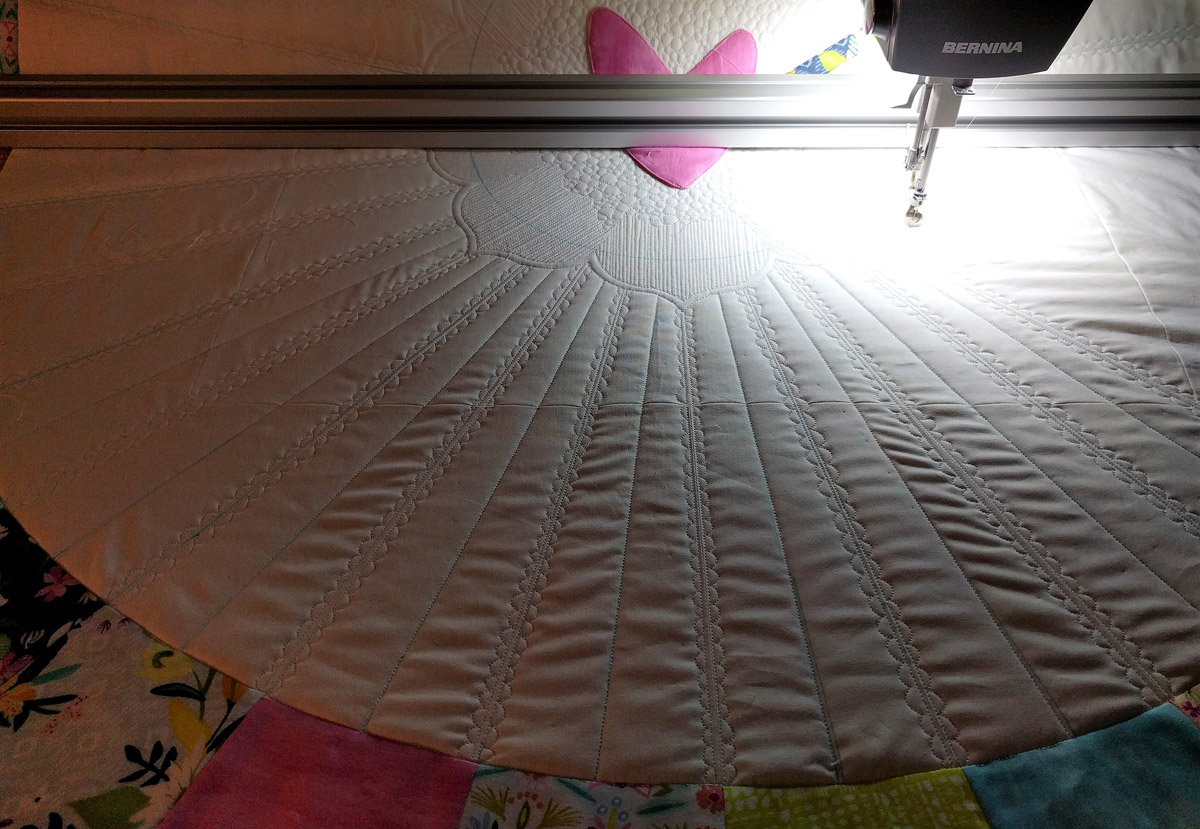
What if I told you that it’s possible to attach your binding to your quilt while it is still on your longarm? Pretty amazing, right? Imagine that enormous king size quilt that you’ve been neglecting because the thought of wrestling it through the sewing machine to attach the binding is just too daunting. Well, those ugly visions don’t need to be a part of your quilting process. Once your piece is fully quilted, stop. Do not remove it from the longarm. Instead, return to the top of the quilt. Take your binding and lay it along the left hand side with the tail end closest to you. (Note: if you are using a ruler as I do, you will need to use the 96 foot.)
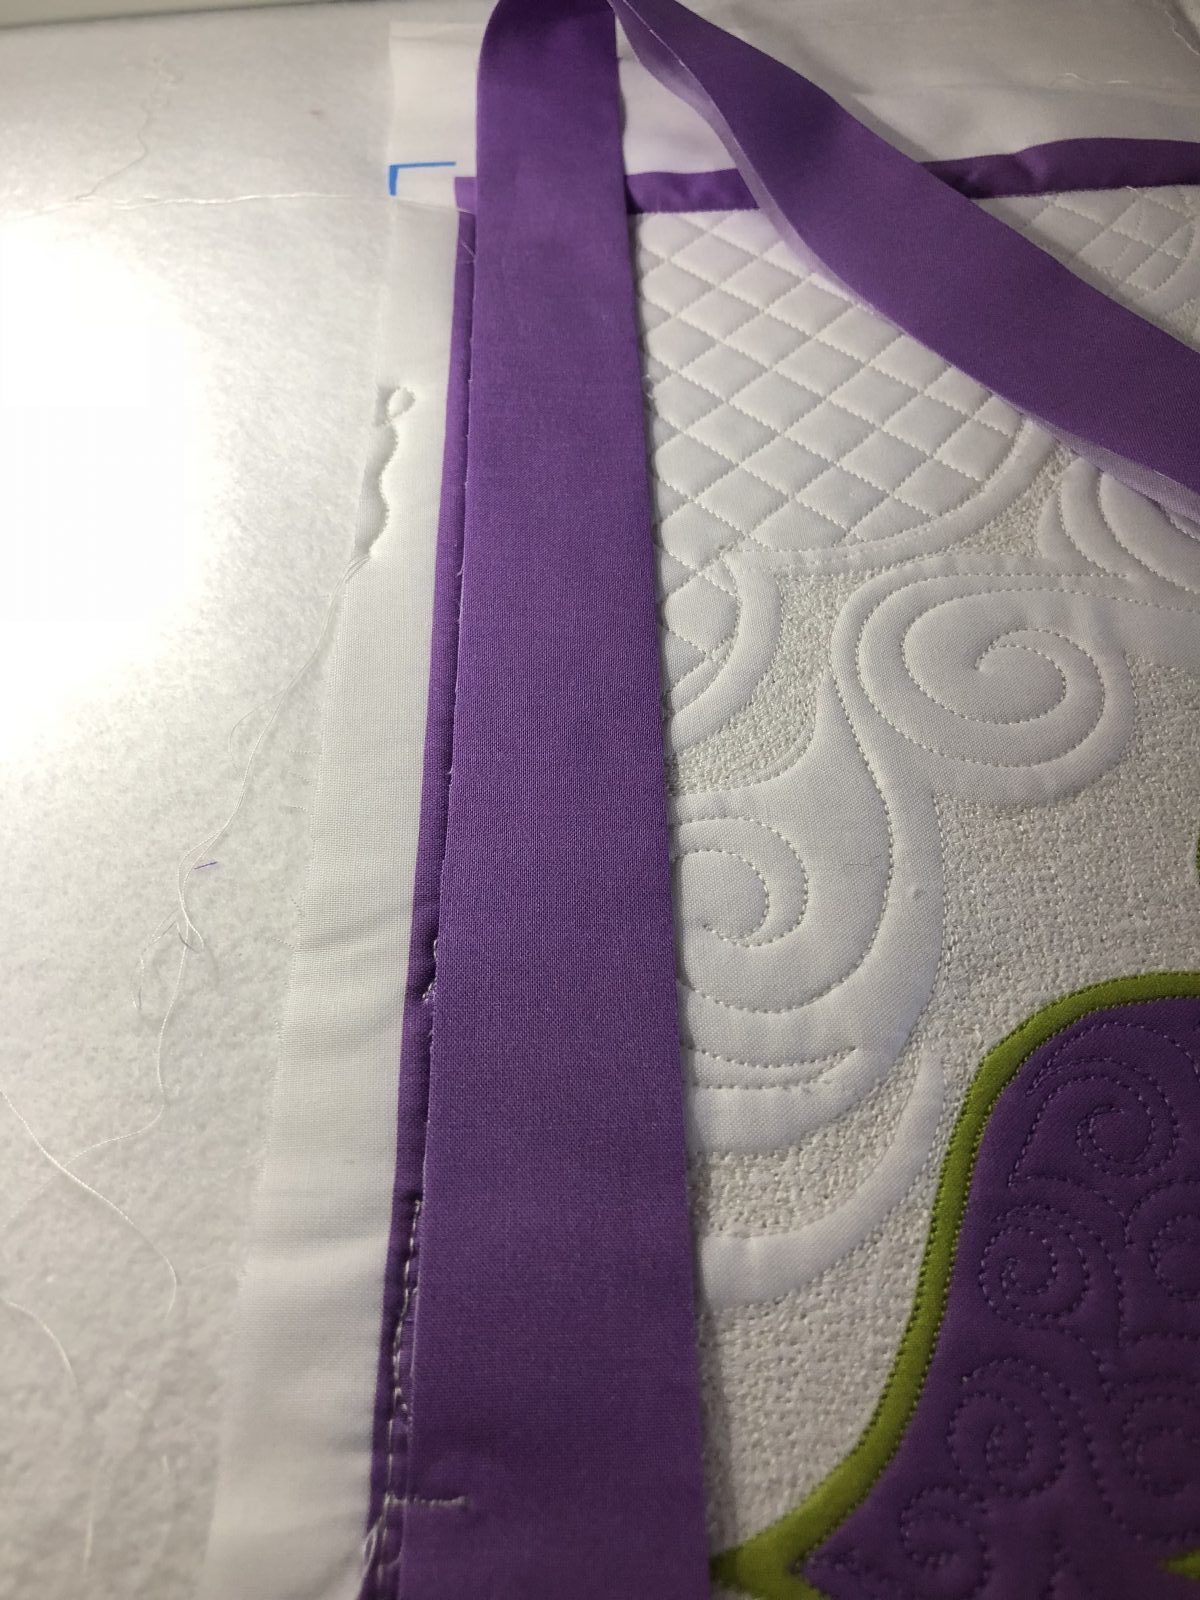
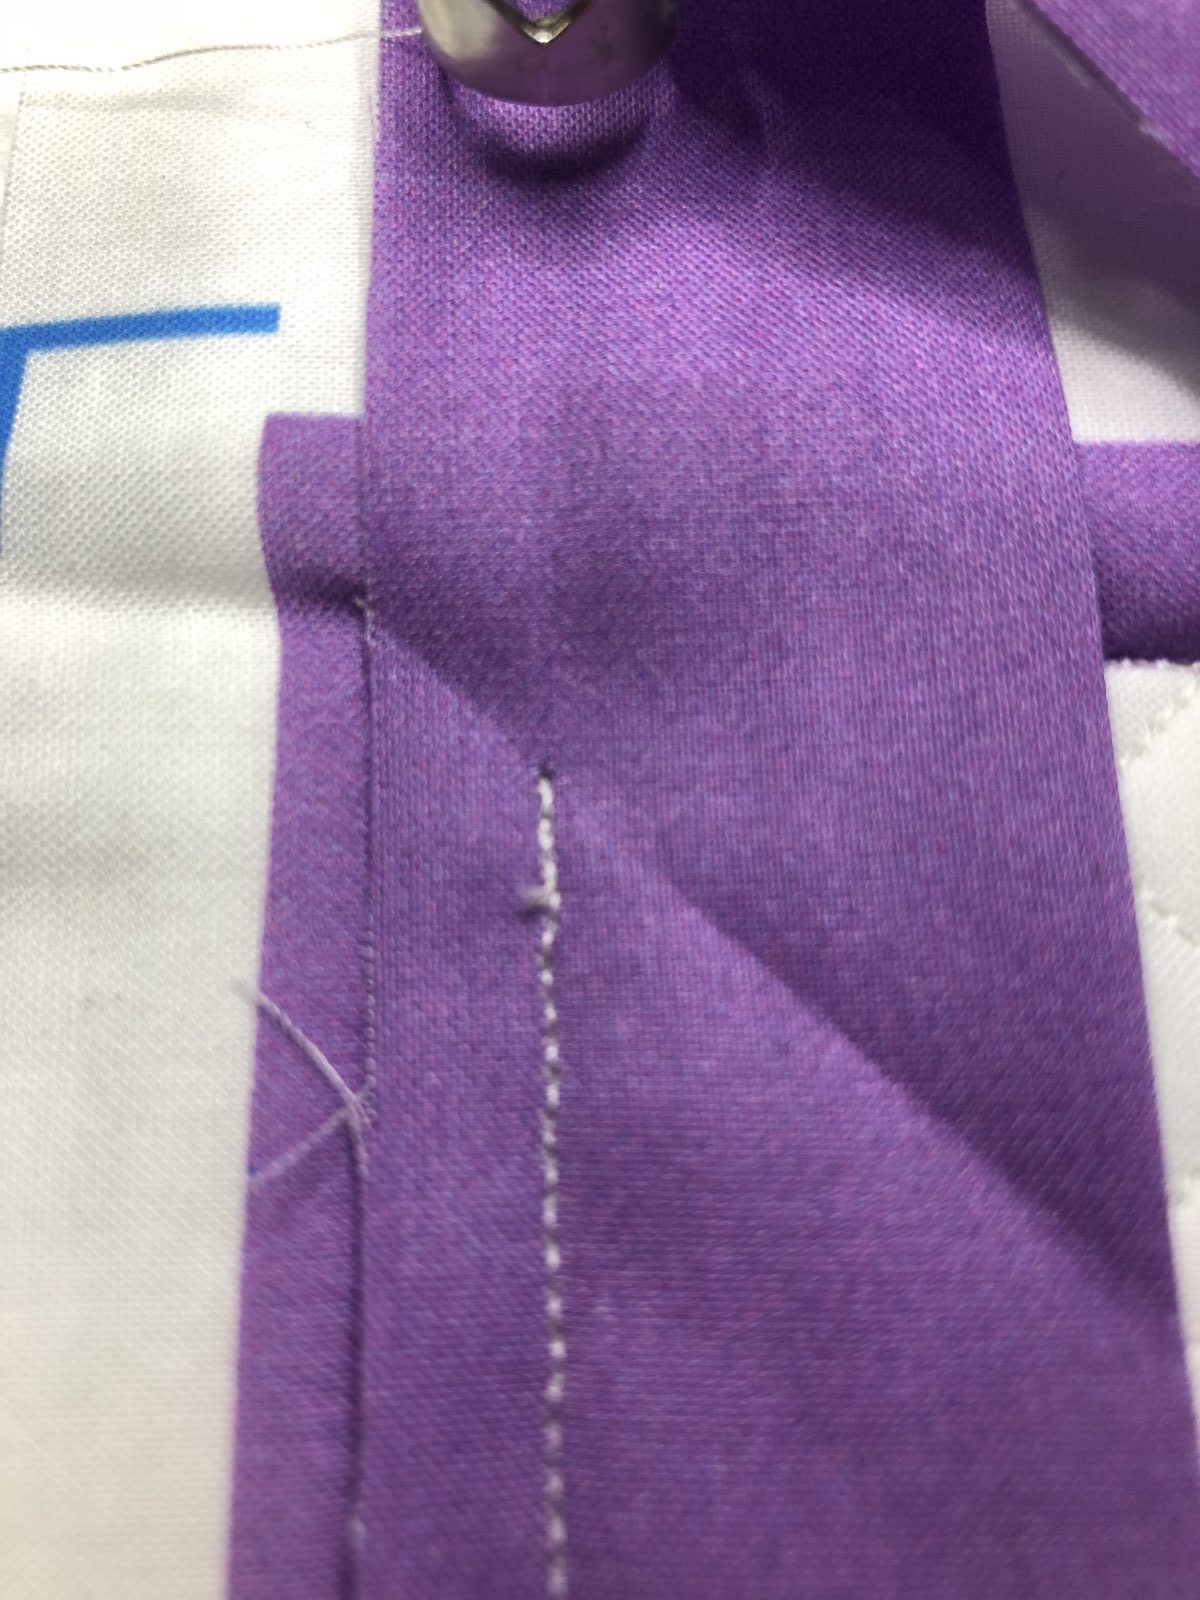
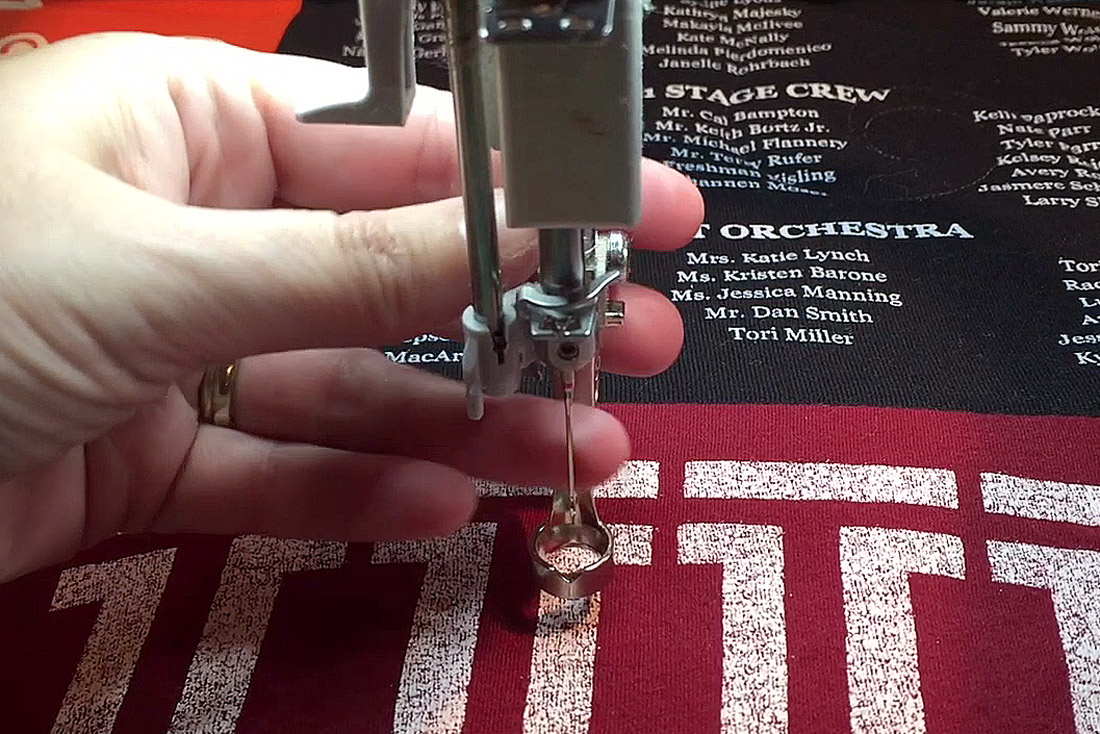
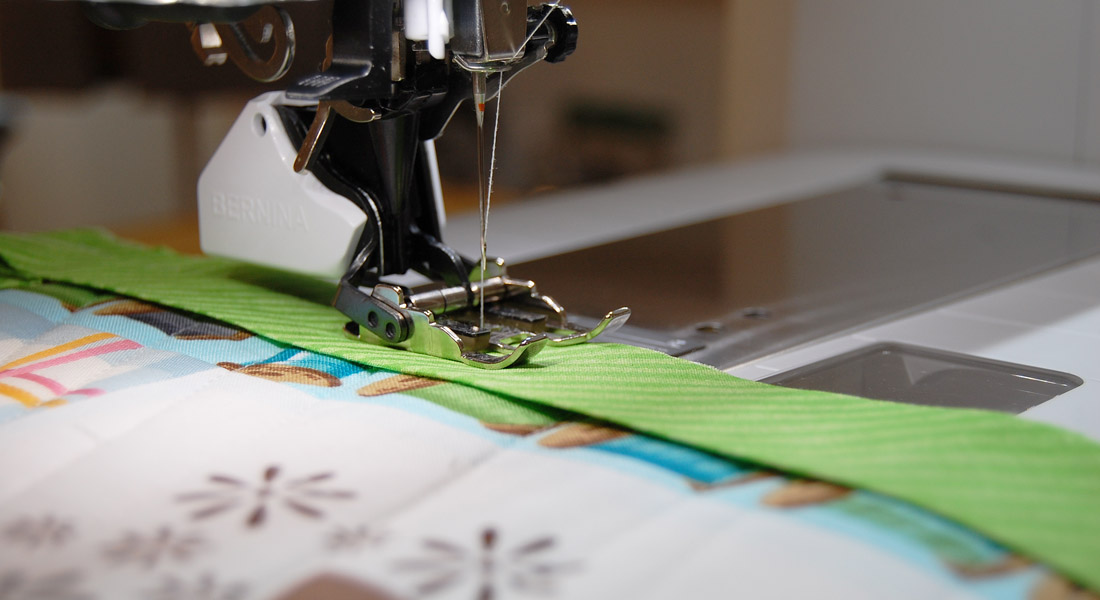
Drop your needle in 1/4″ from side of quilt but not at the end of the tail. Leave about 7″ of a tail, you will need this to join the ends.
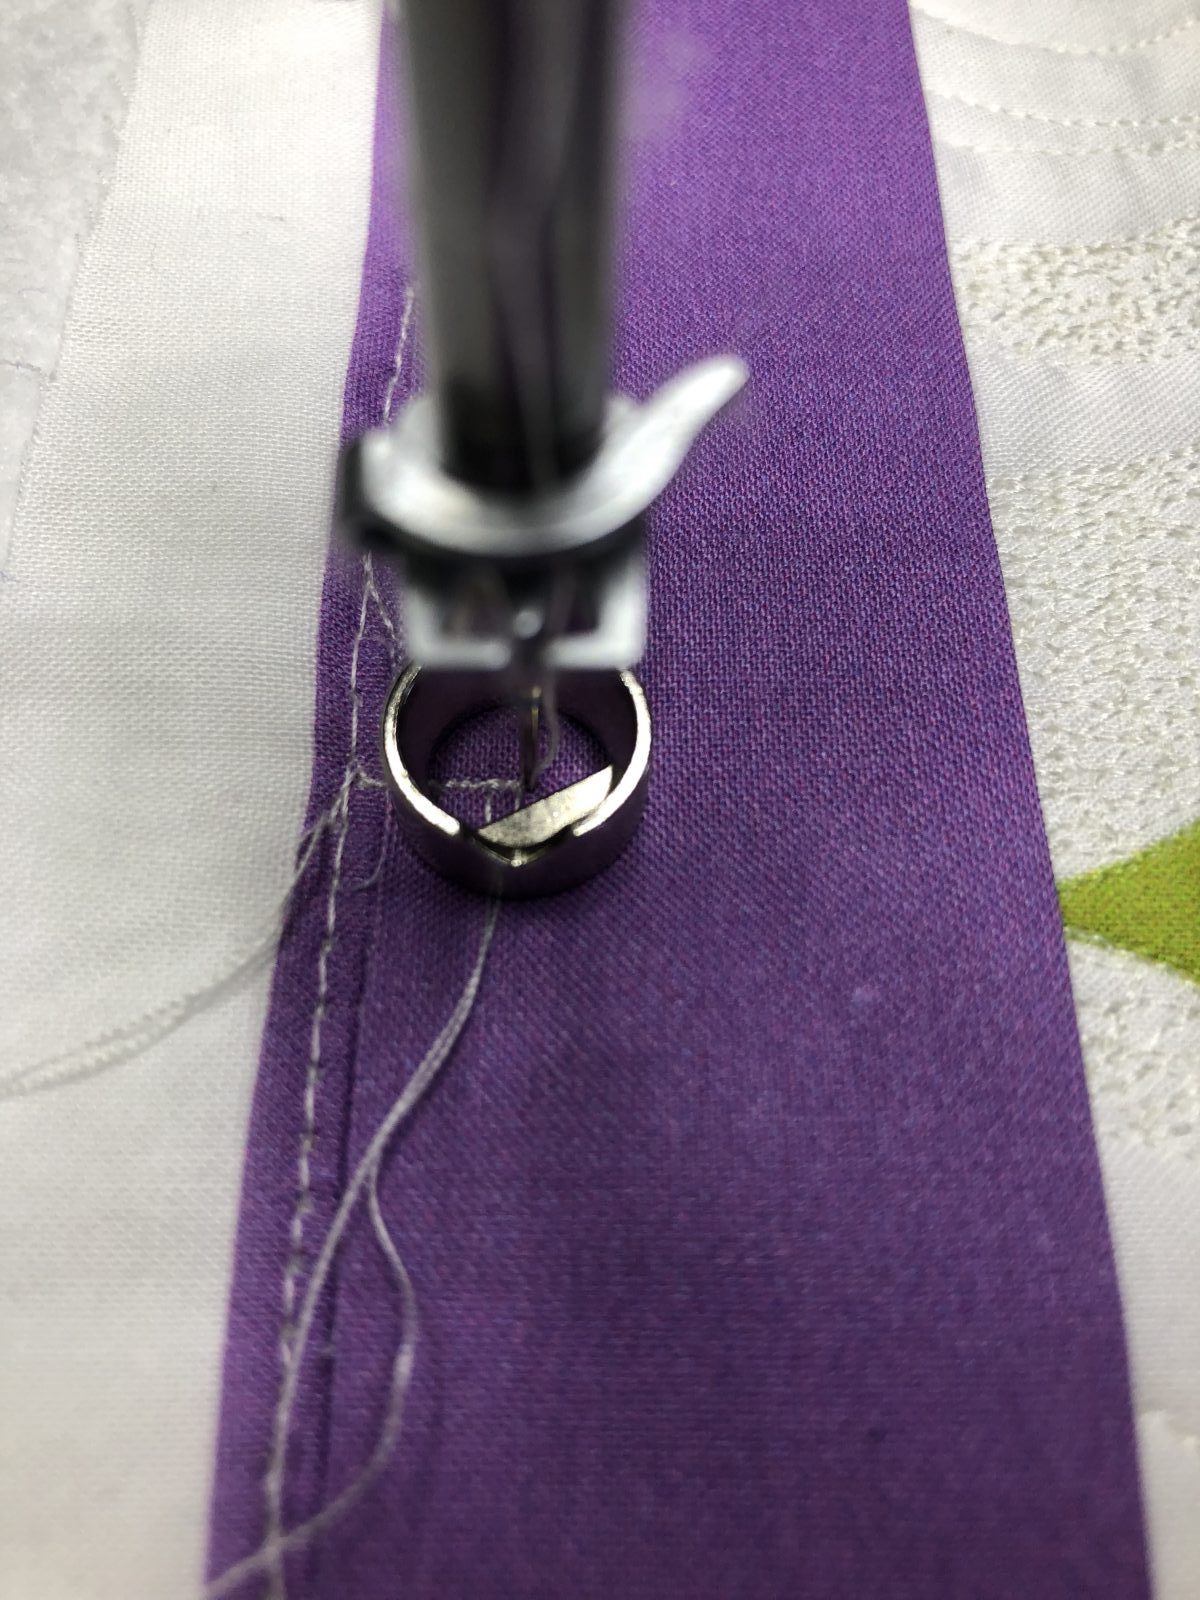
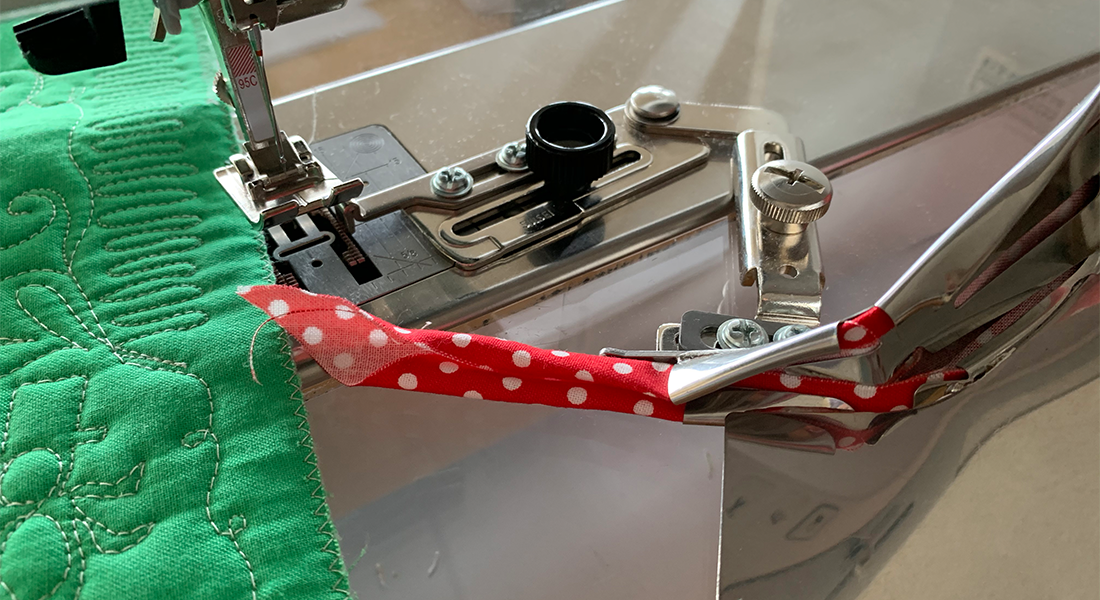
I utilize my Quilter’s Groove® ProLine 16 when applying the binding. The Proline 16 doesn’t provide much room to move in the groove and the edges aid in holding down my binding.
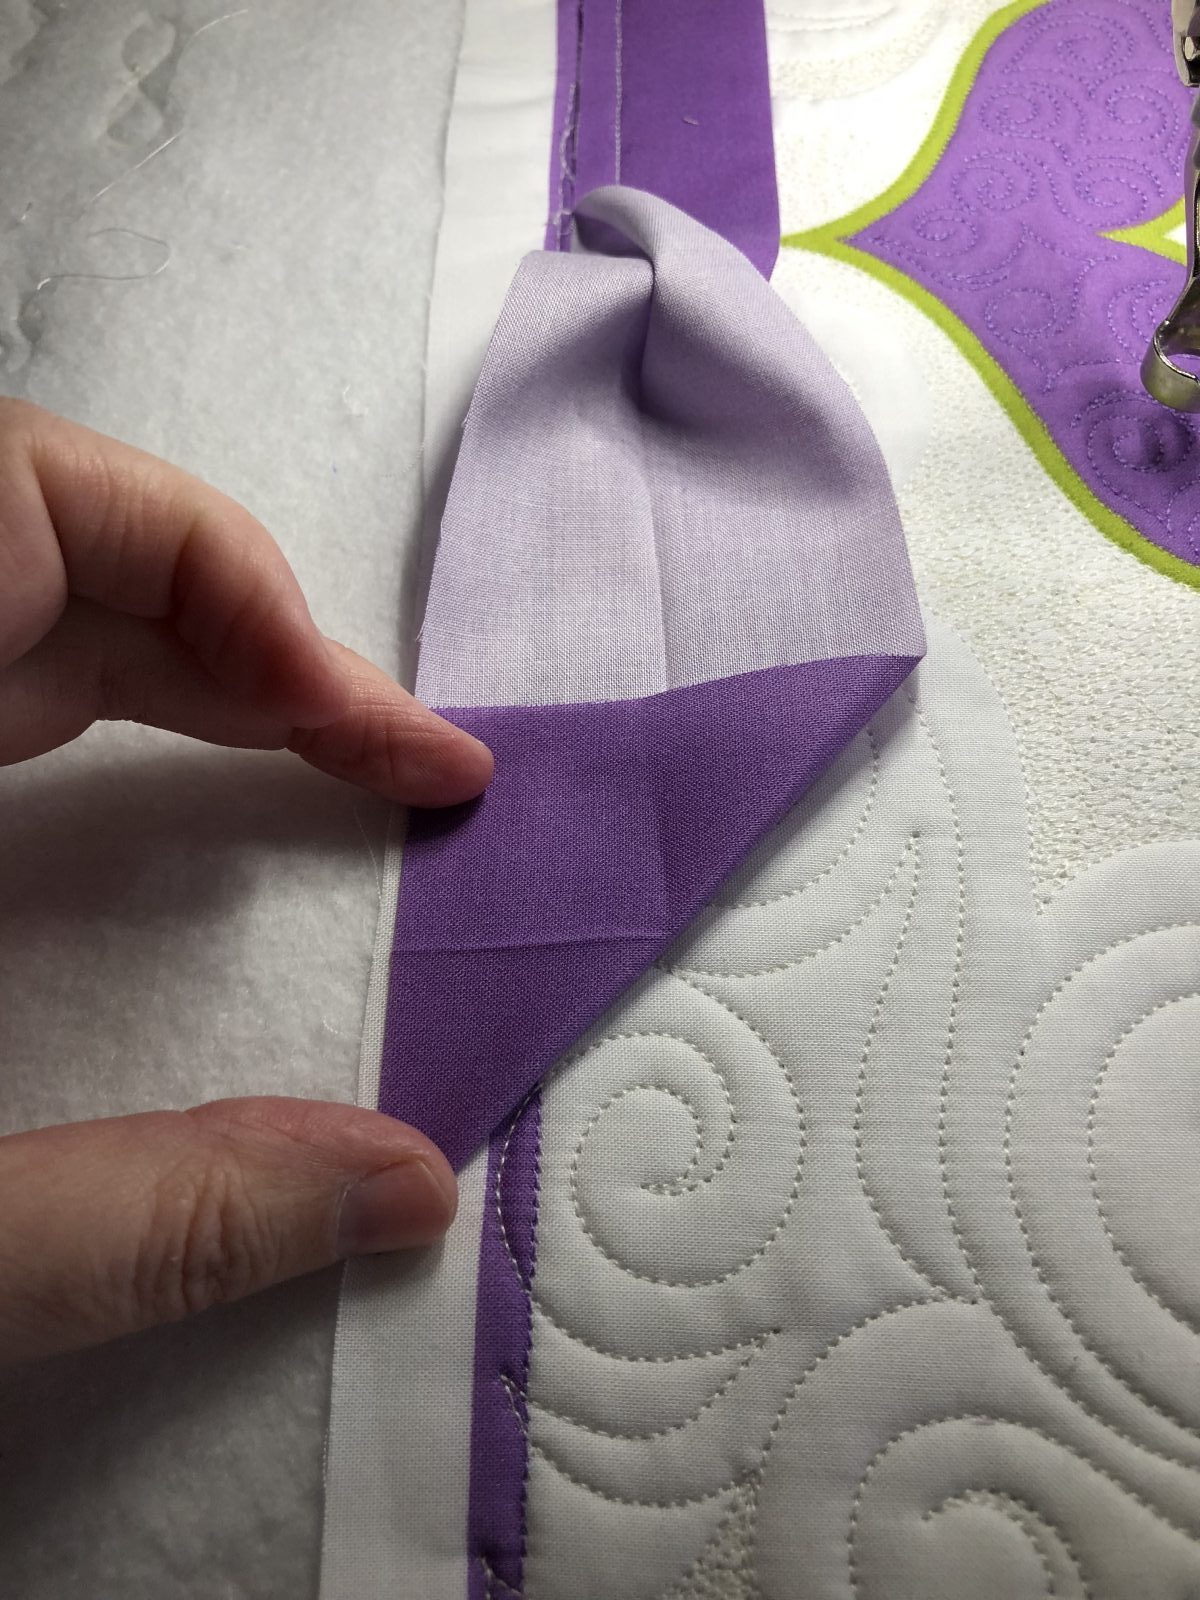
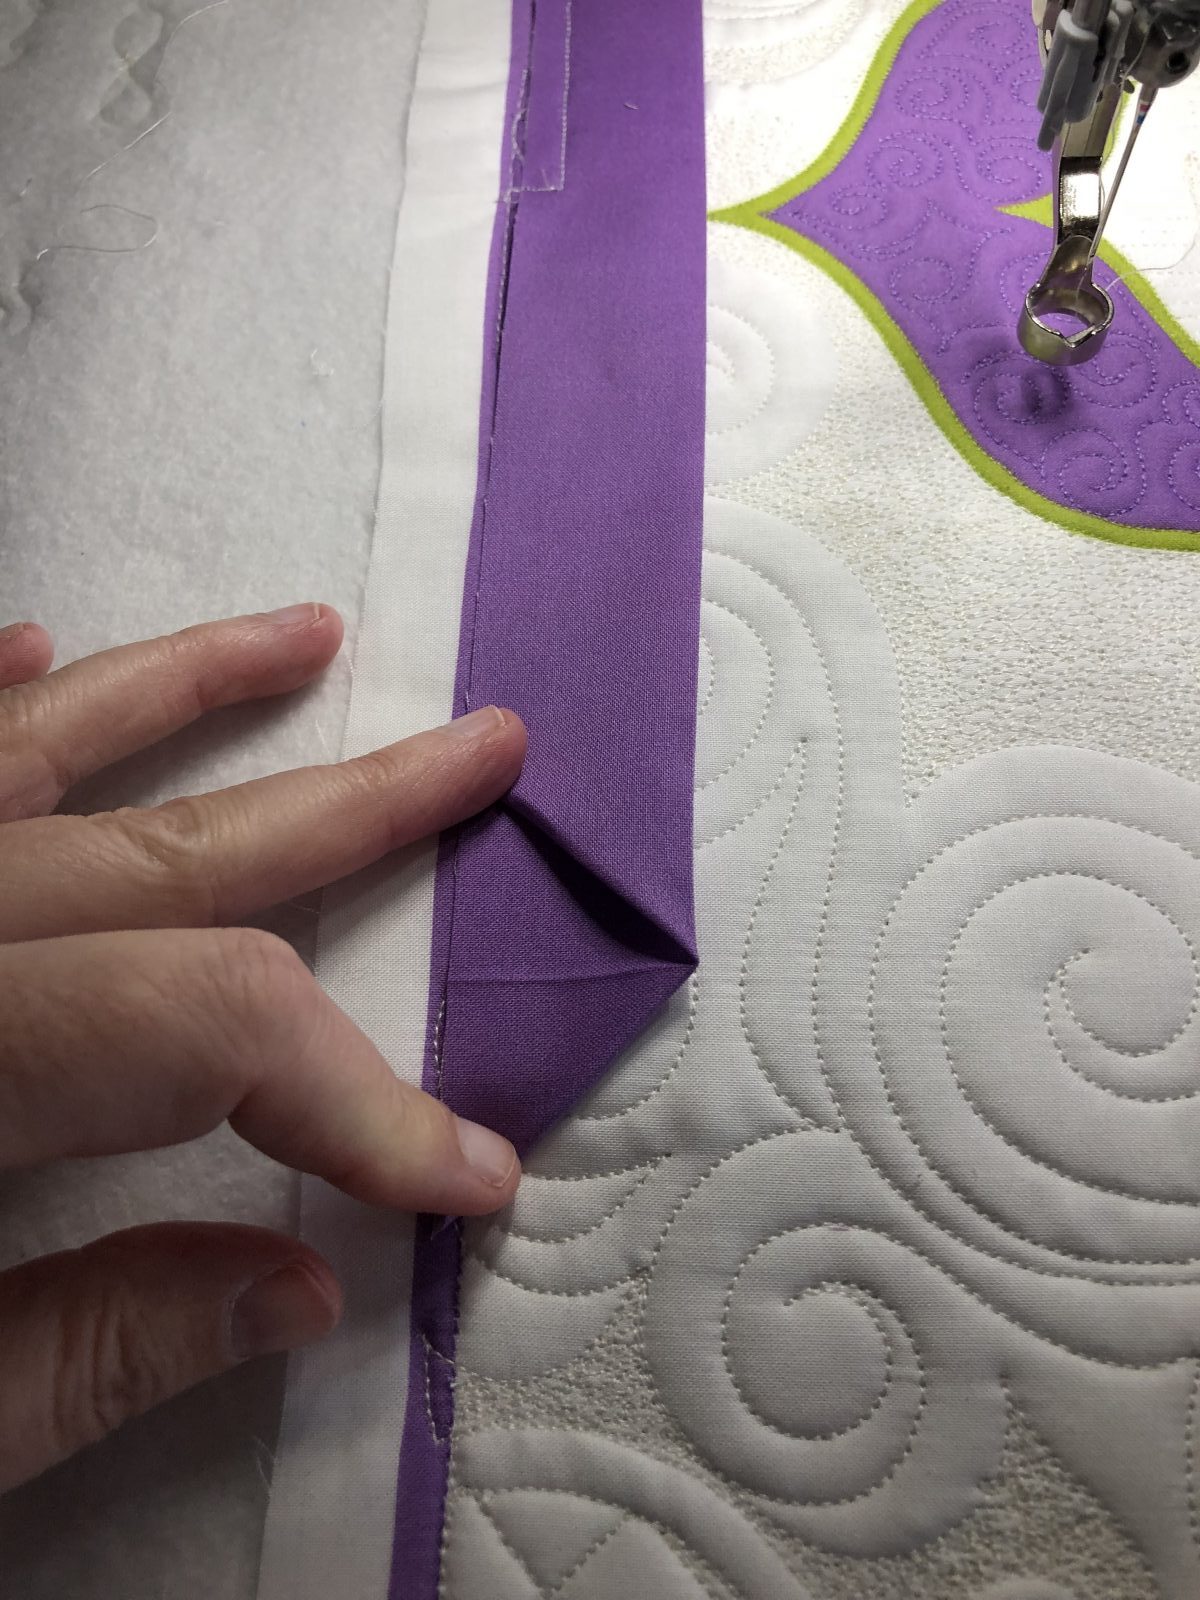
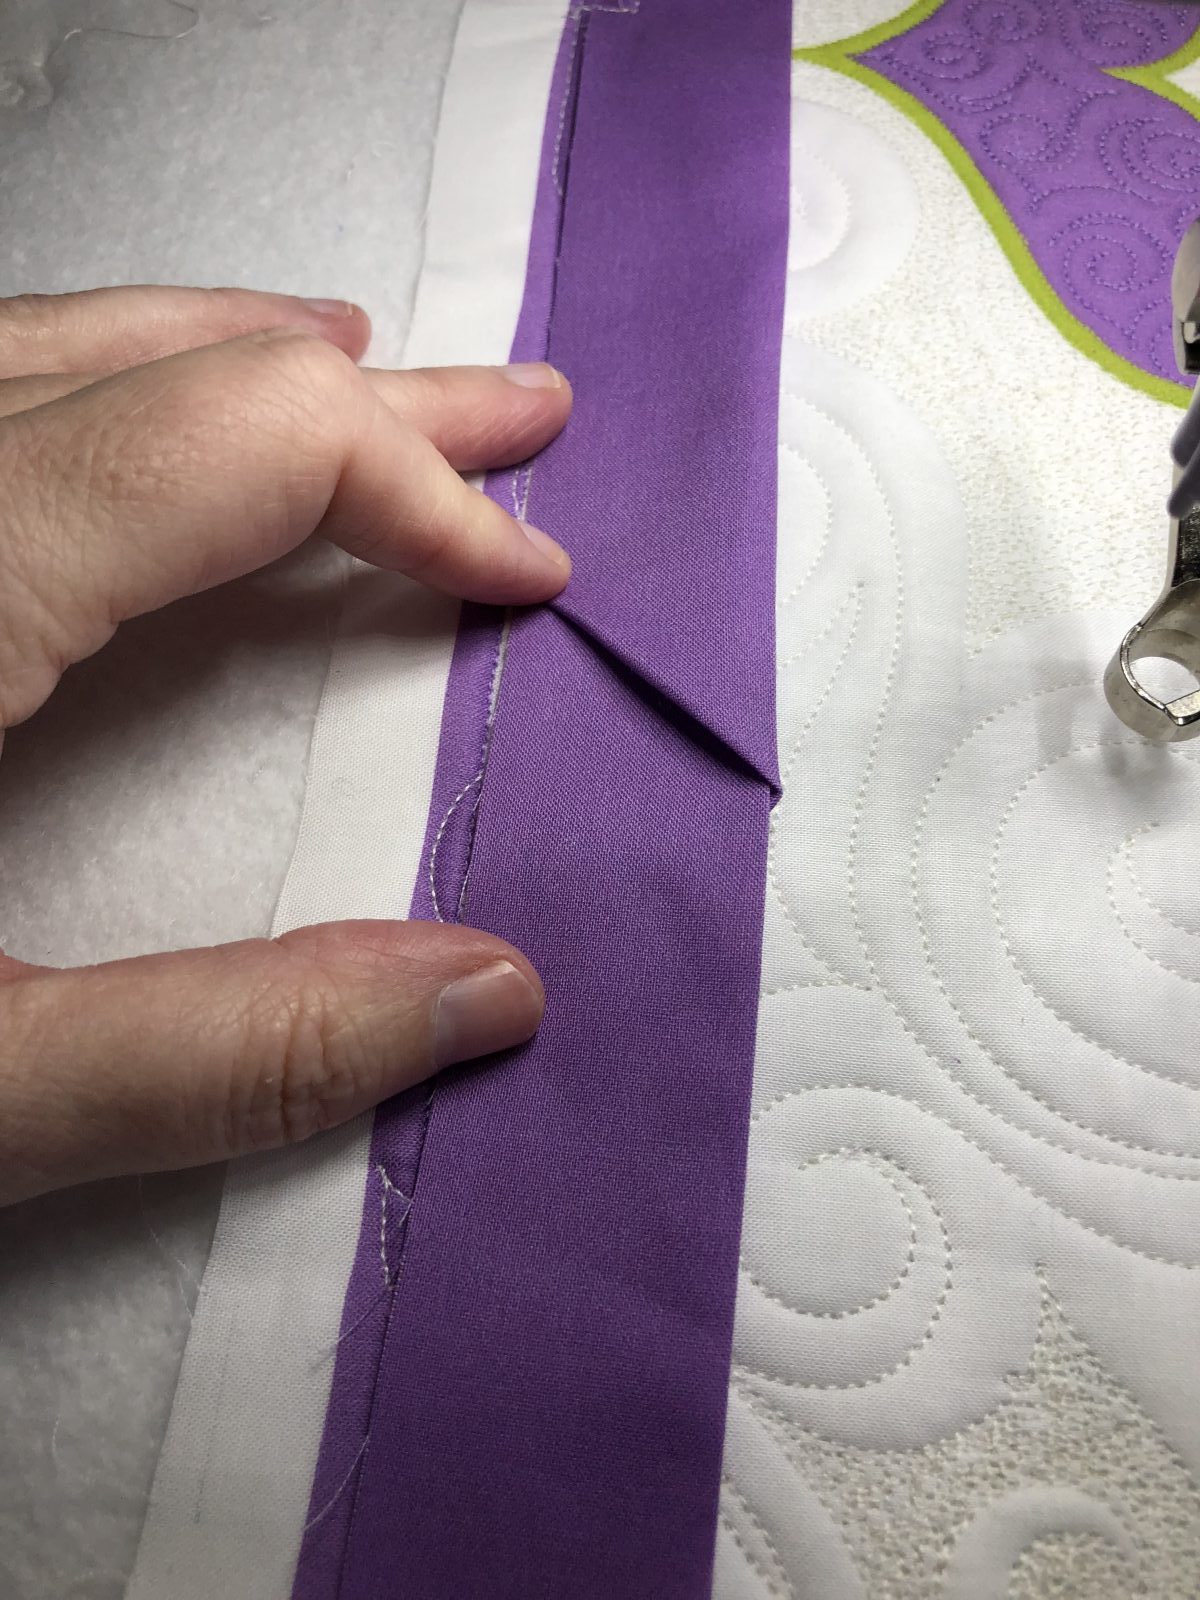
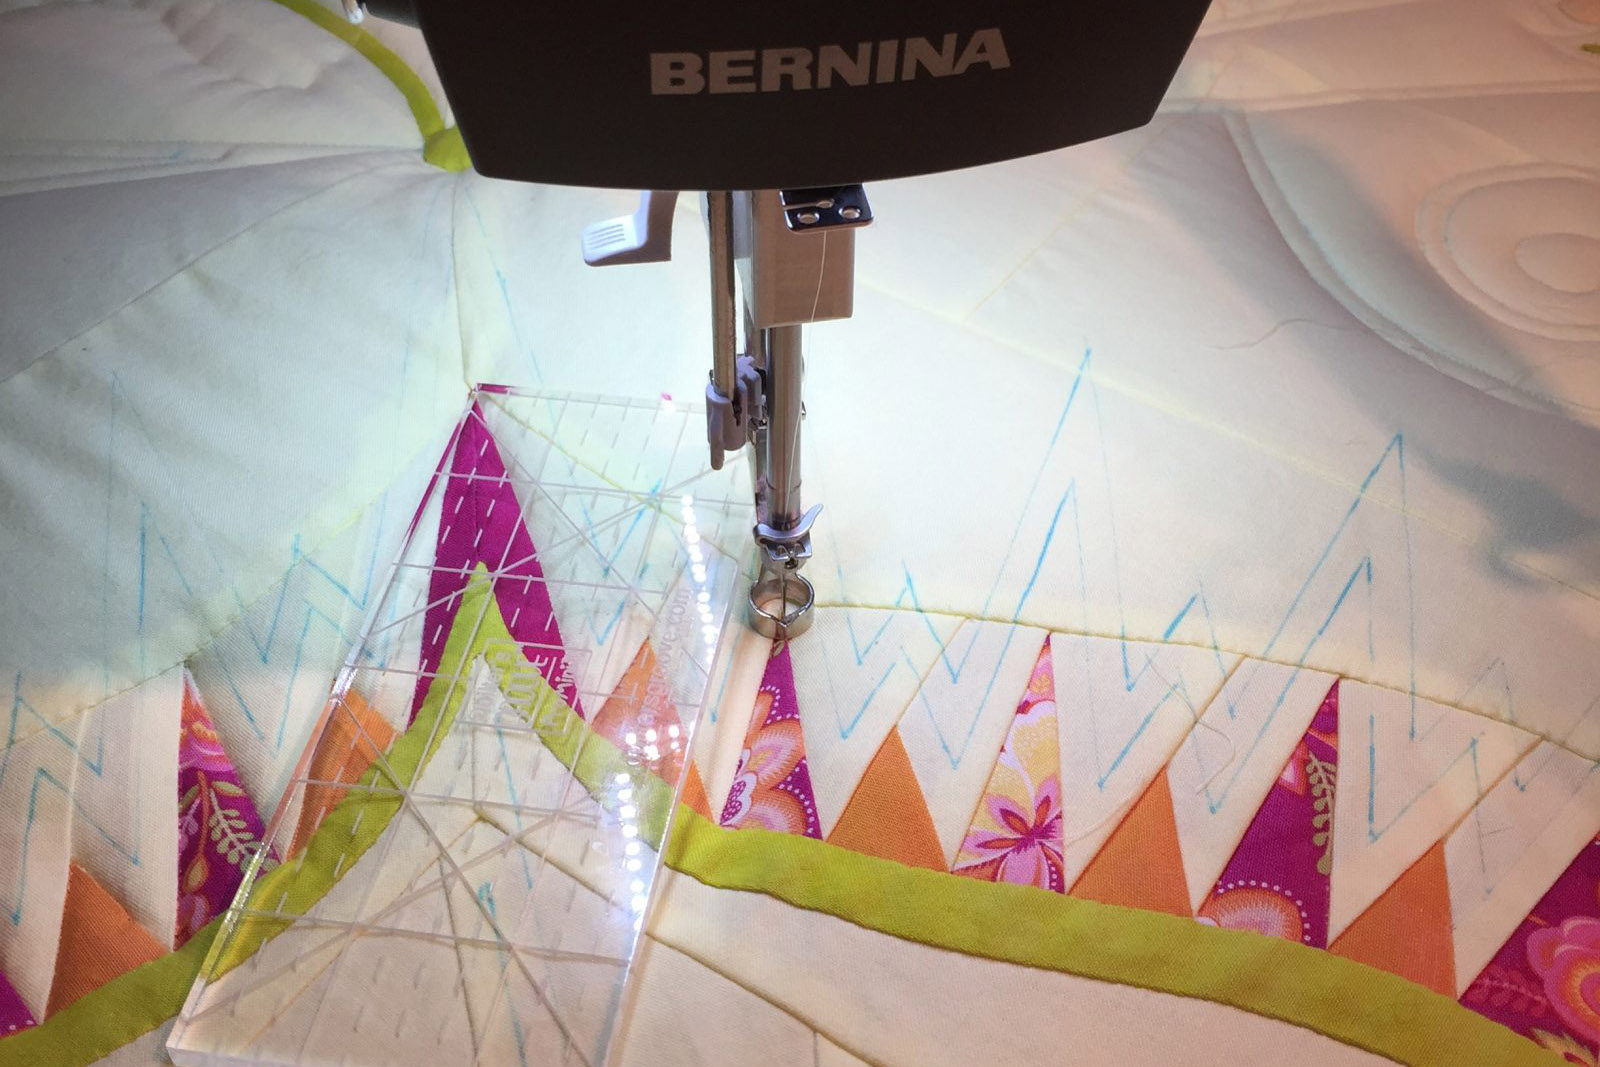
I fold back my binding at the top and finger press so I’m aware of when I need to stop sewing. To fold the binding, bend it back so there is a straight line along the top edge of the quilt and the fold is at a 45 degree angle. This will create a nice mitered corner.
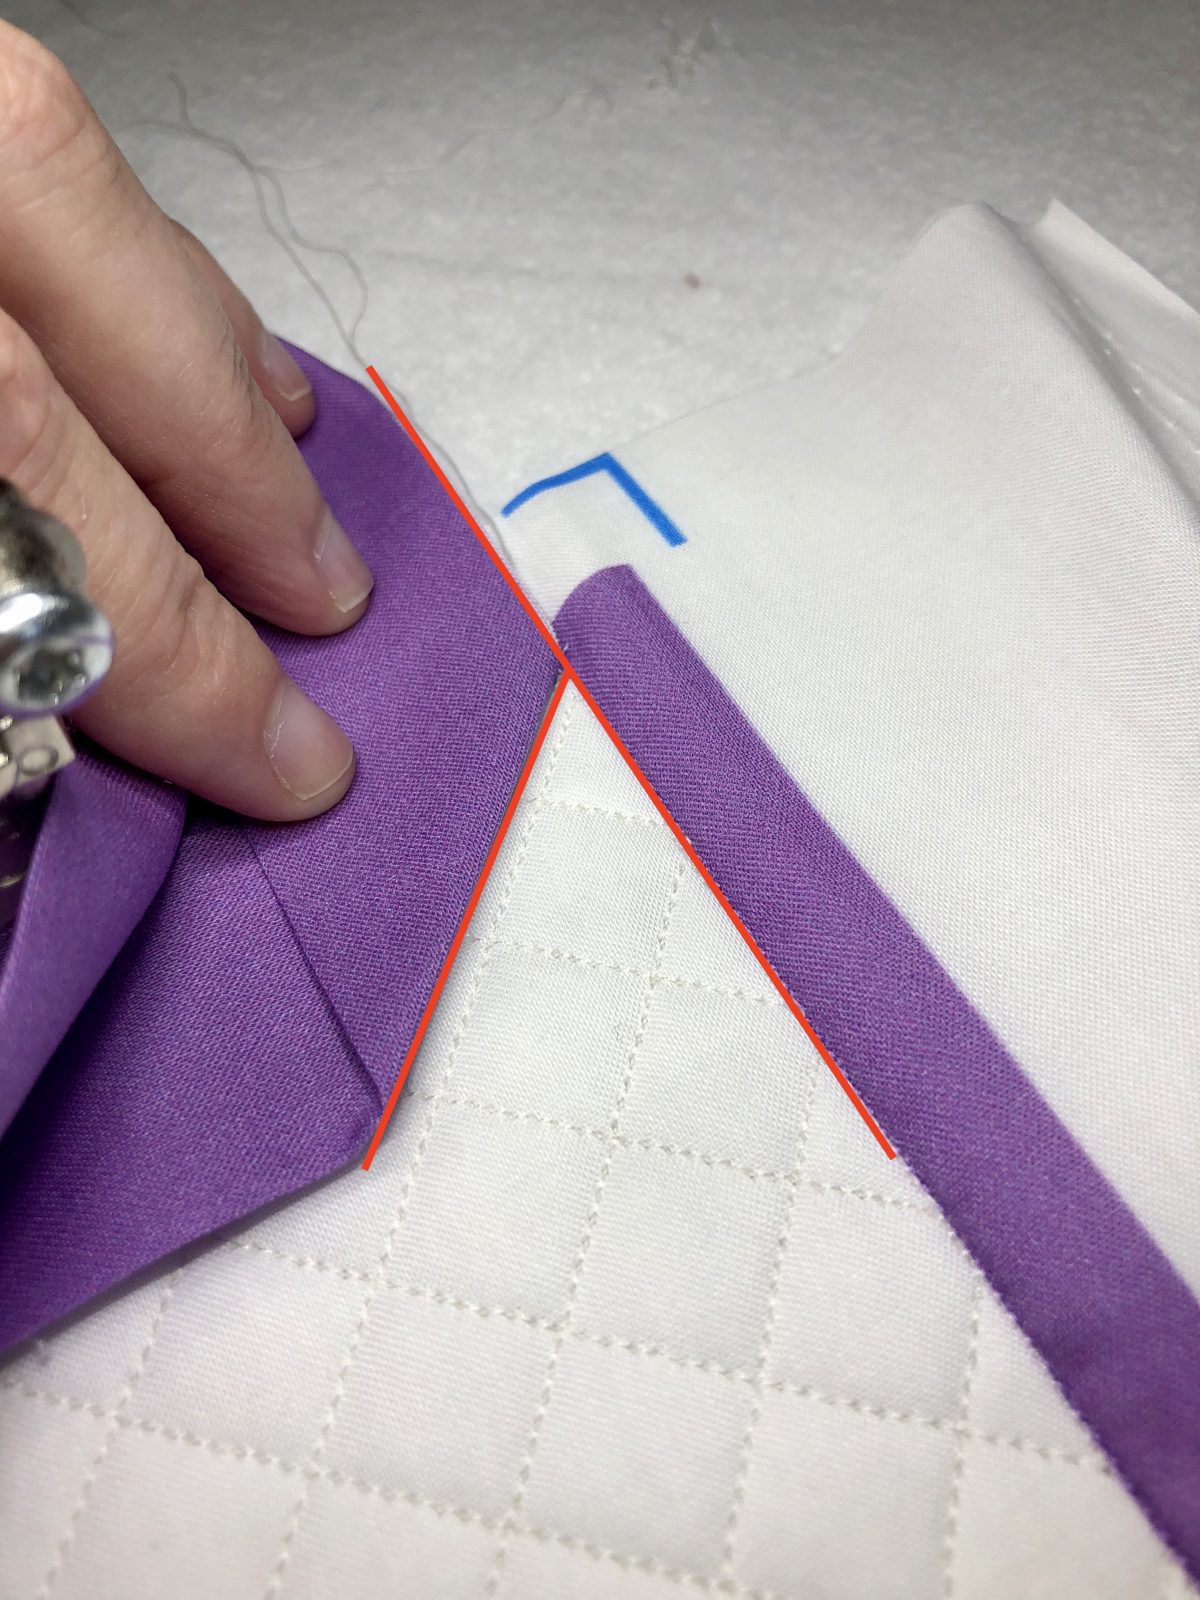
Next, stitch up to that fold line and do a little back stitching to secure the stitches.
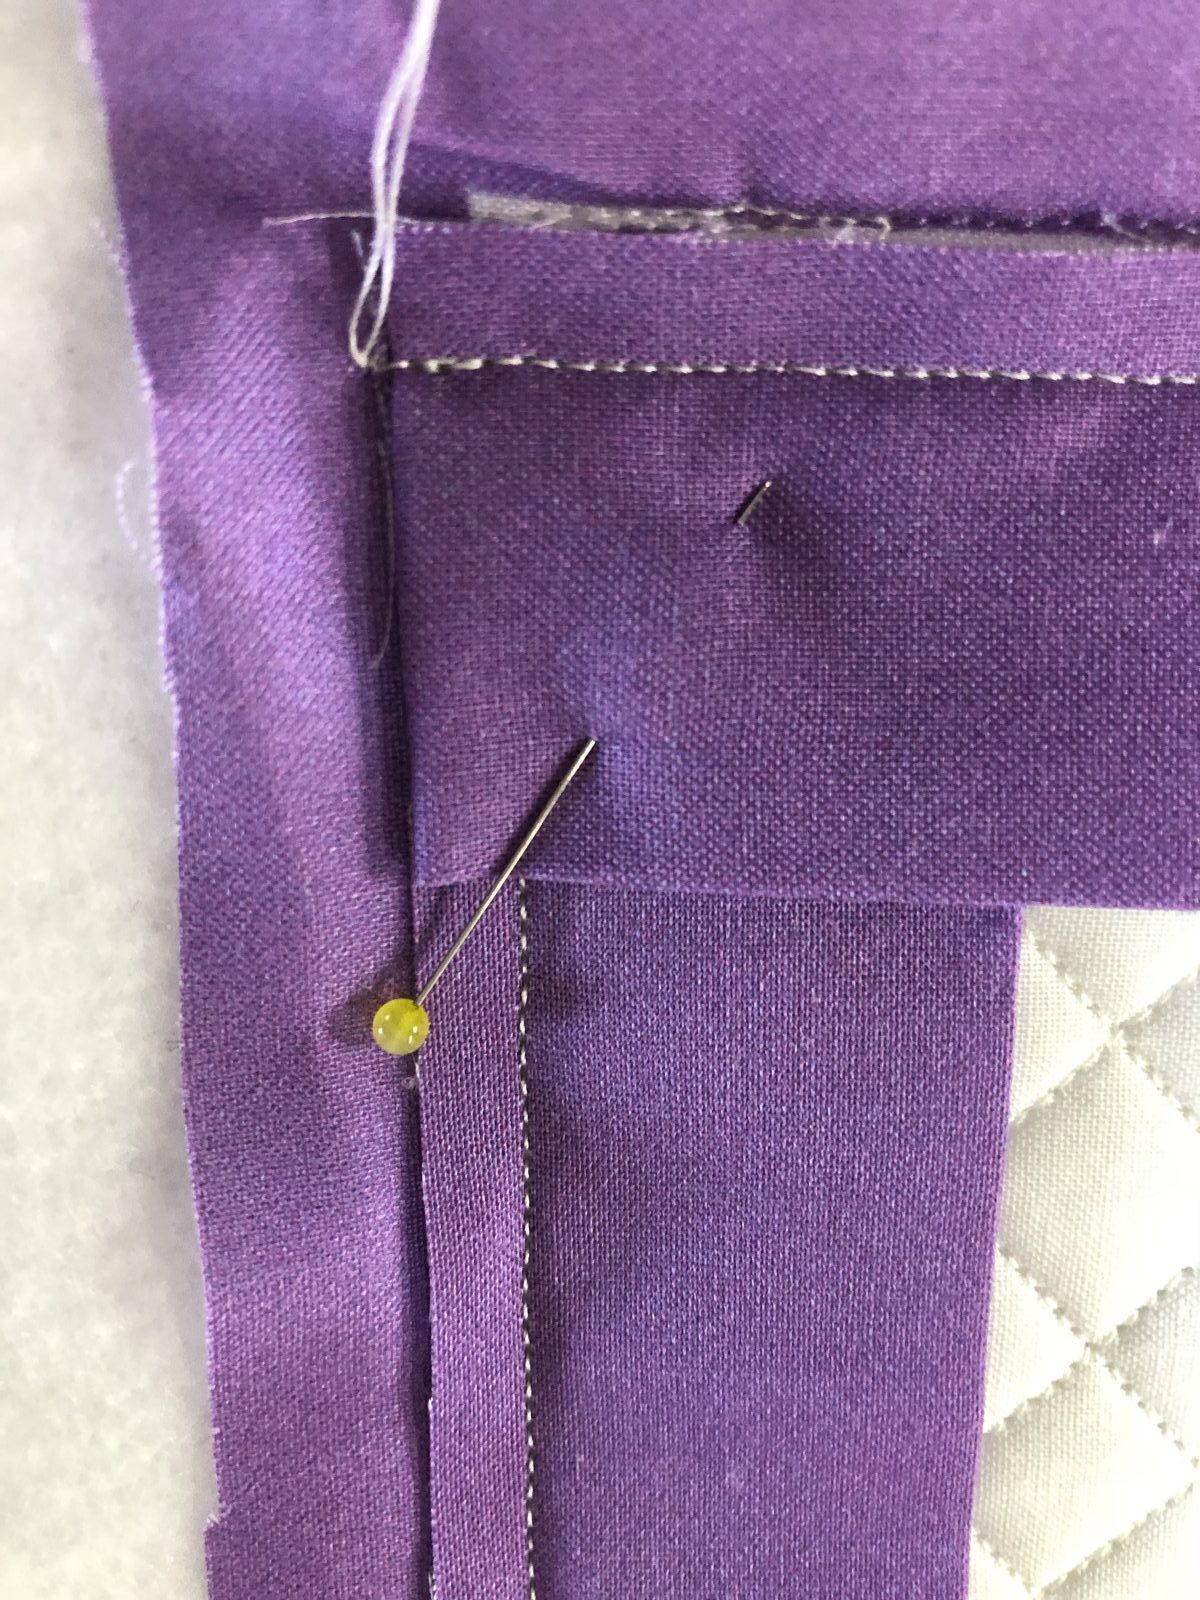
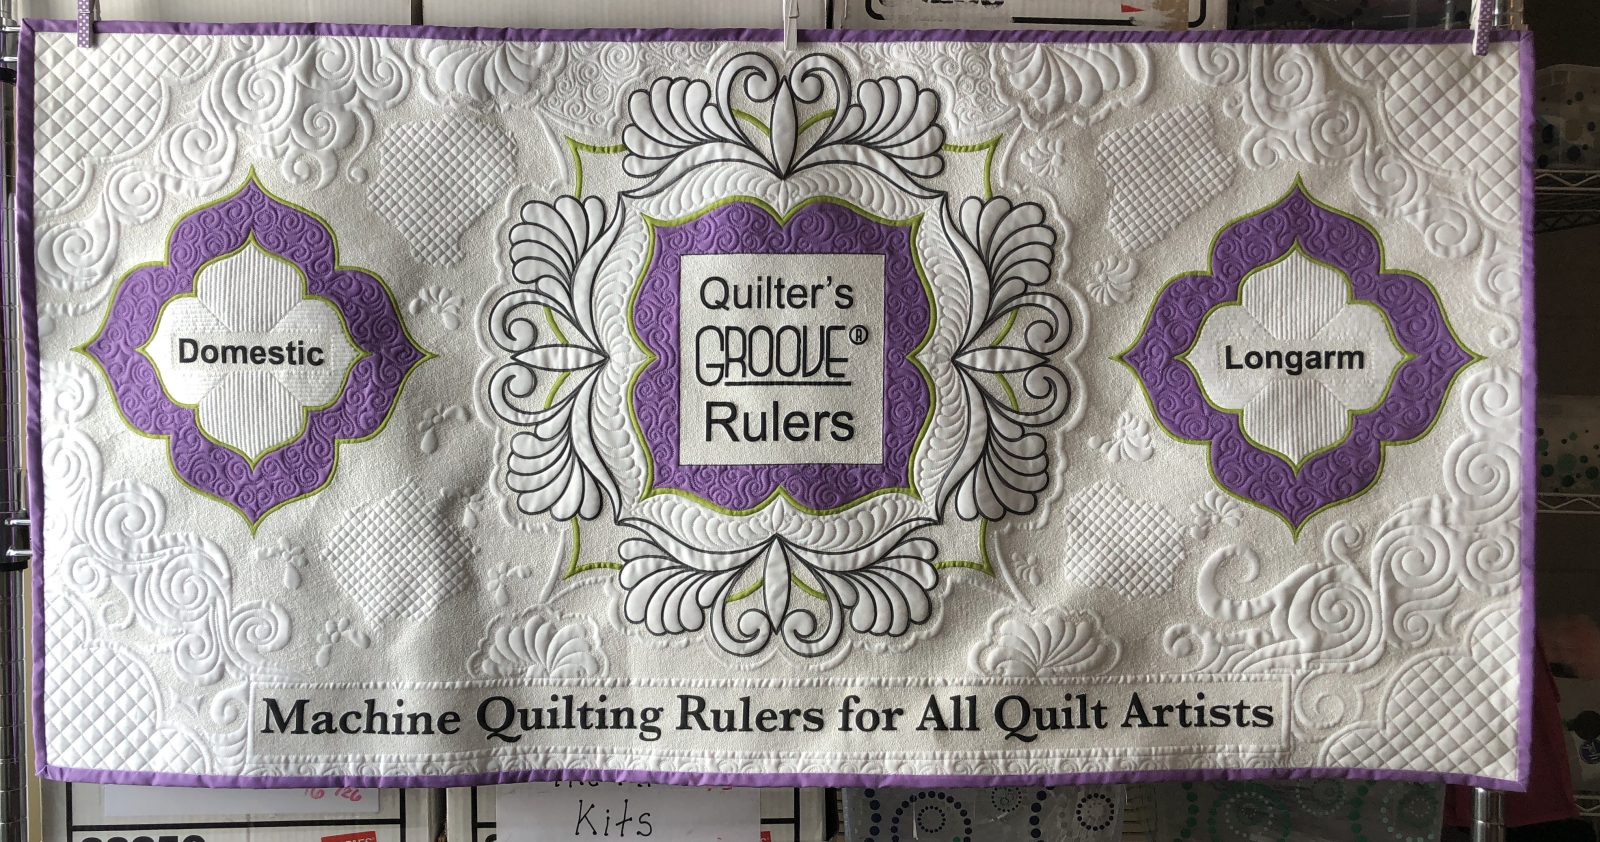
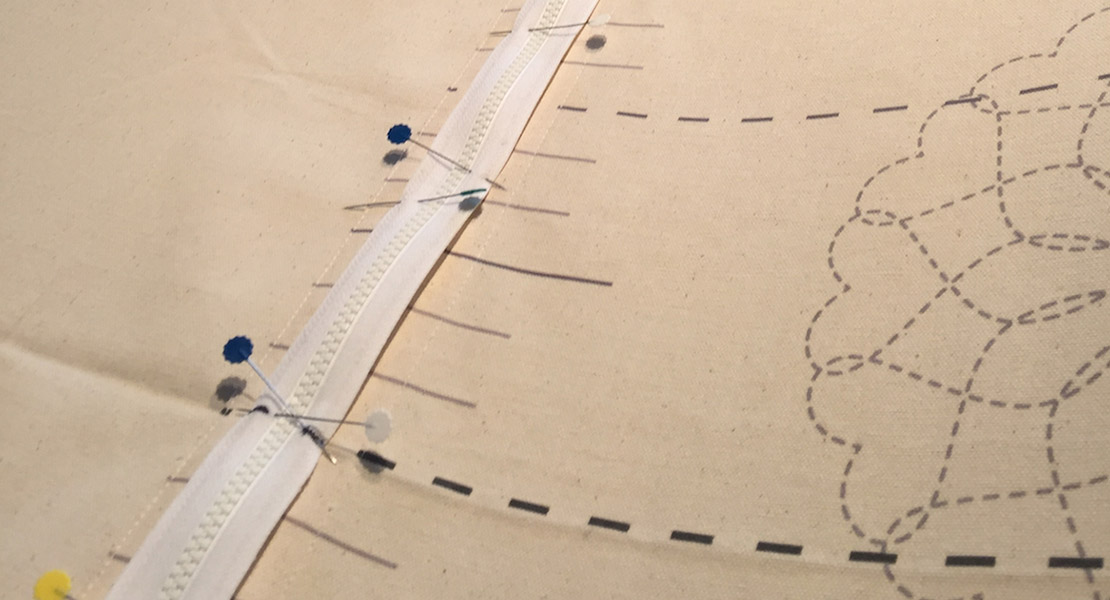
You will then fold along the finger pressed fold line and then back over along the top of the quilt, matching the edge of the folded binding to the edge of your binding/edge of the quilt (since I was working on a panel I used the edge of the raw edge binding to line up to). I secure it with a pin to make sure that it won’t shift or move.

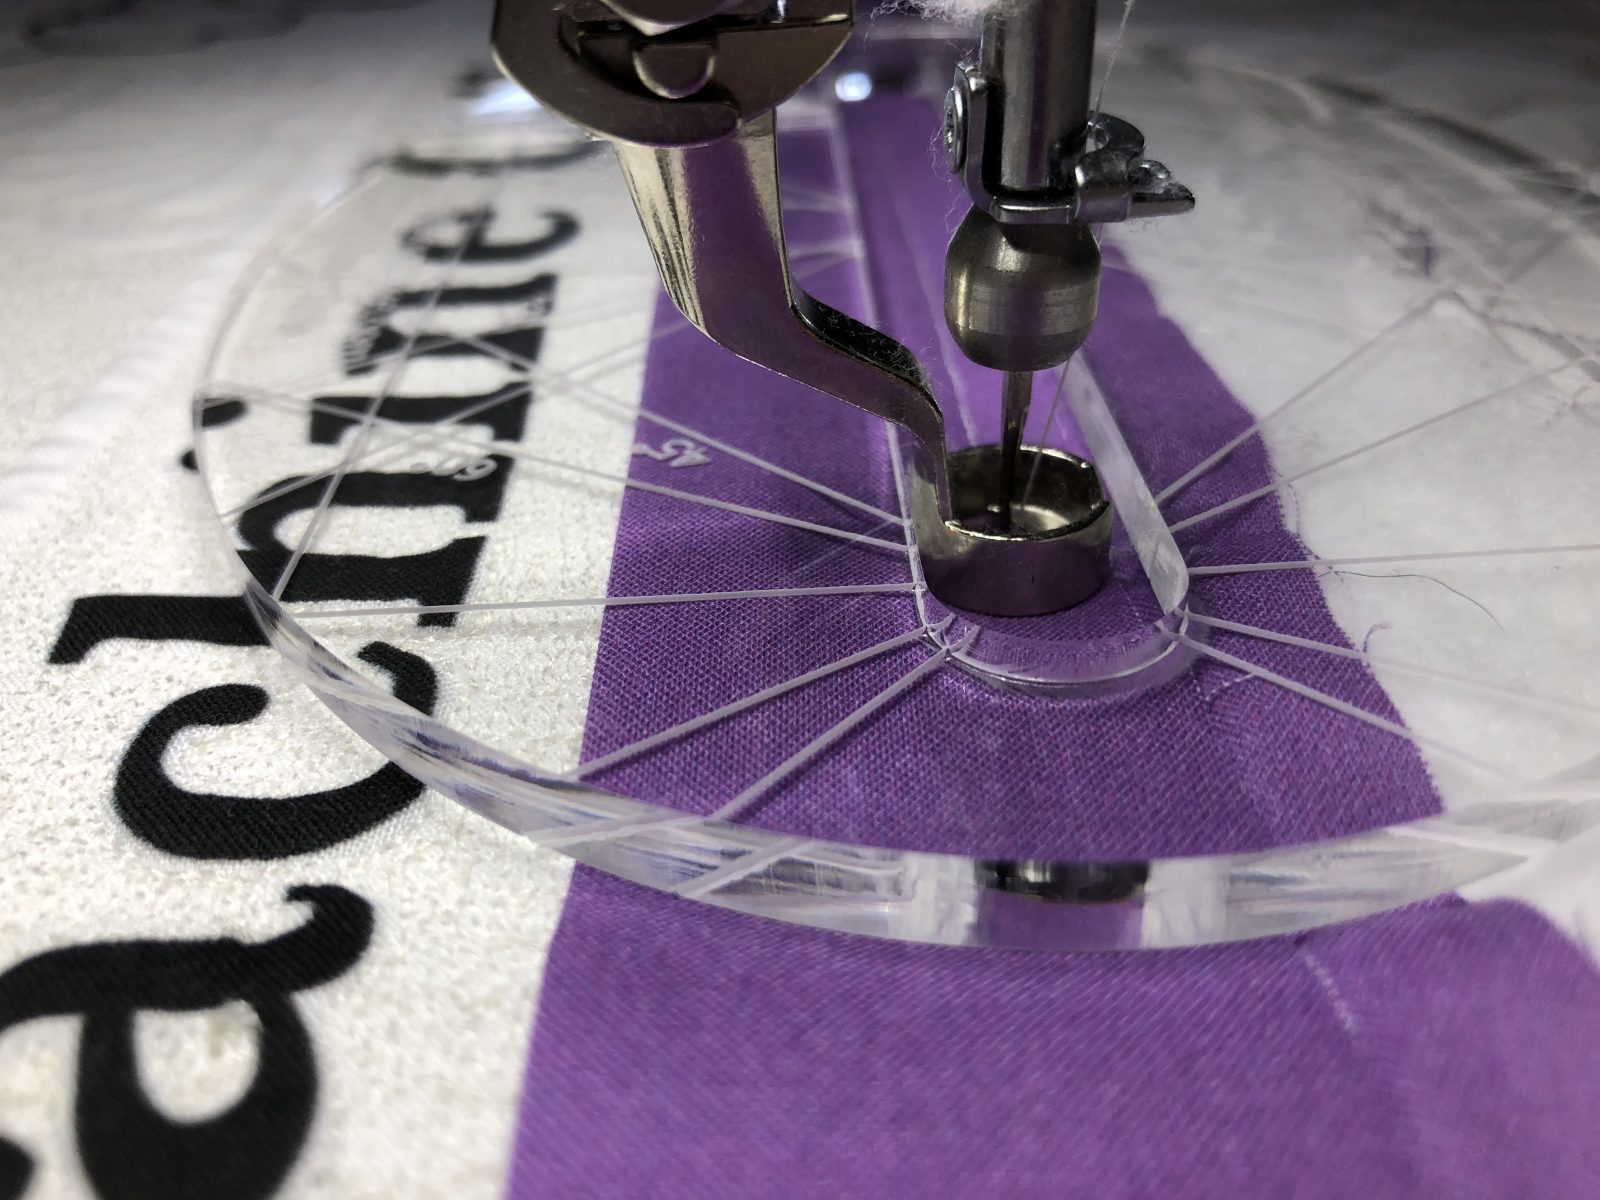
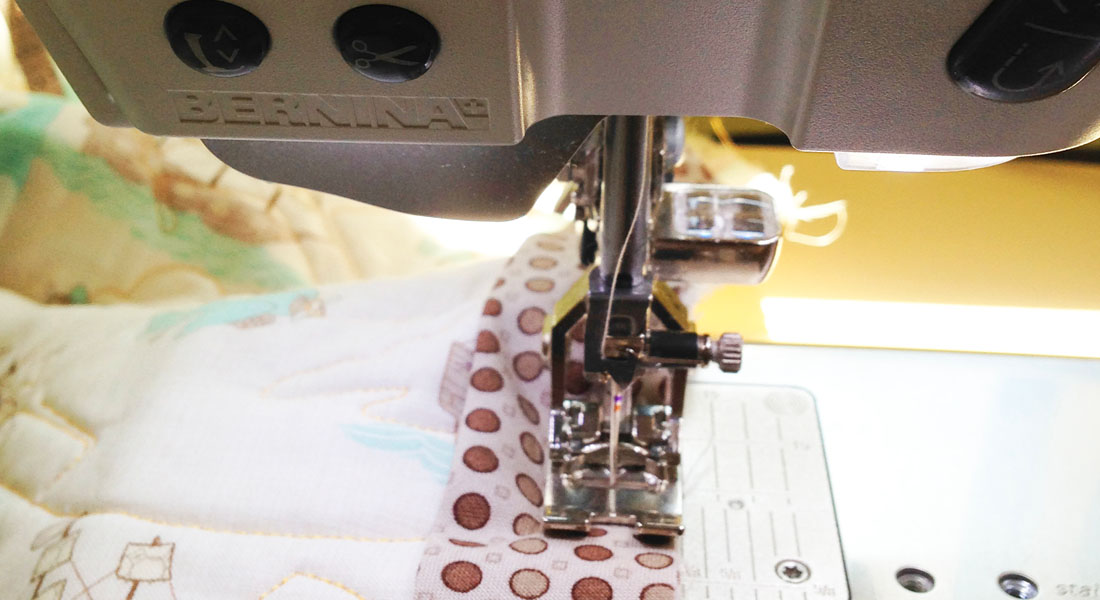
Begin stitching from the folded edge across the entire top of the quilt. Remember to be 1/4″ from the raw edge.
Repeat each corner. Once you reach the side where you began there are two things you can choose to do. Either leave about an 8″ gap and remove the quilt to finish the binding on your domestic sewing machine, or finish it off on the longarm. Below I will show you how to finish it using the longarm.

Clip the top tail to about 4 inches from the start of the sew line. You will then open it up and fold the binding at 45 degrees as shown in the below picture. Finger press.
Simply fold your binding back over.
Tuck the bottom tail into the top tail, don’t be surprised if needs to be trimmed. Just be careful not to don’t trim too much off, you want it to all be hidden inside the top tail.
If you feel the need to have your binding feeling secured, feel free to pin it. Finish stitching the binding with the same 1/4″ from the raw edge.

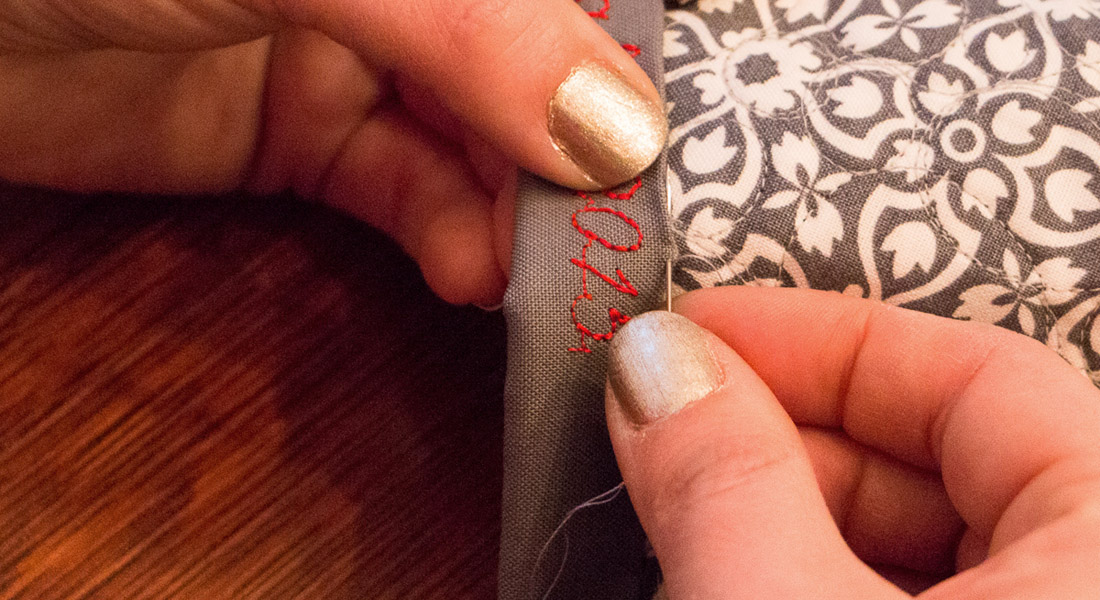
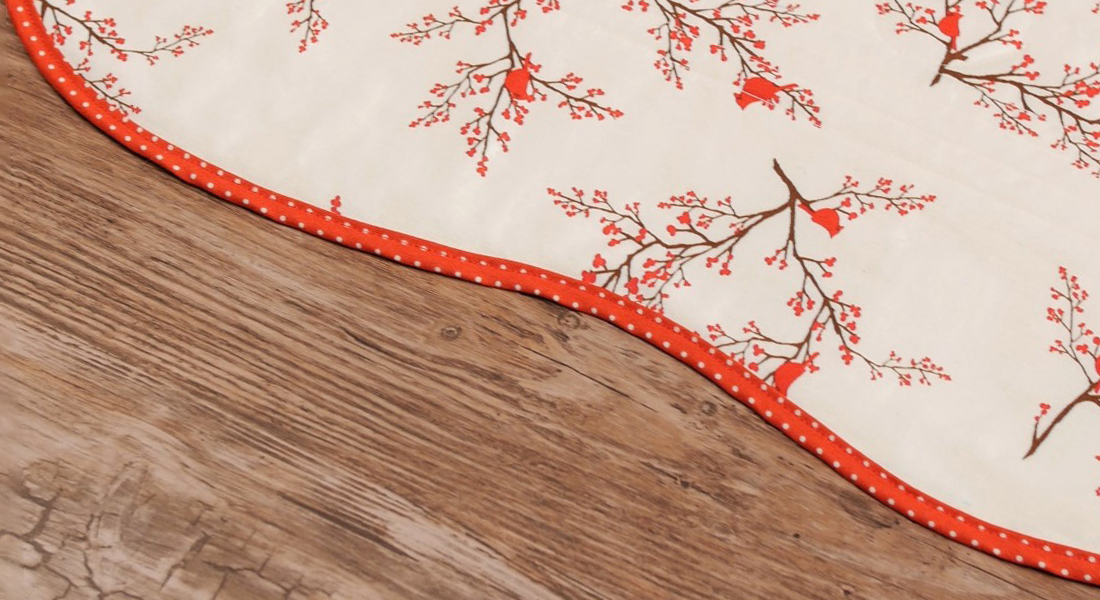
Now the binding is fully attached! You can remove it from the frame and trim away the excess batting. Lastly, you can complete binding the ends by hand or by machine. Personally, I hand sew the joining ends together. Ta-da Mission Complete!
Just a side note, I would not use this method for show quilts as I find they don’t turn out quite as good as when I do them on the domestic sewing machine. However, for samples and quilts that I will snuggle up with, it is perfect! How do you like to finish your quilts? Will you give this method a try?
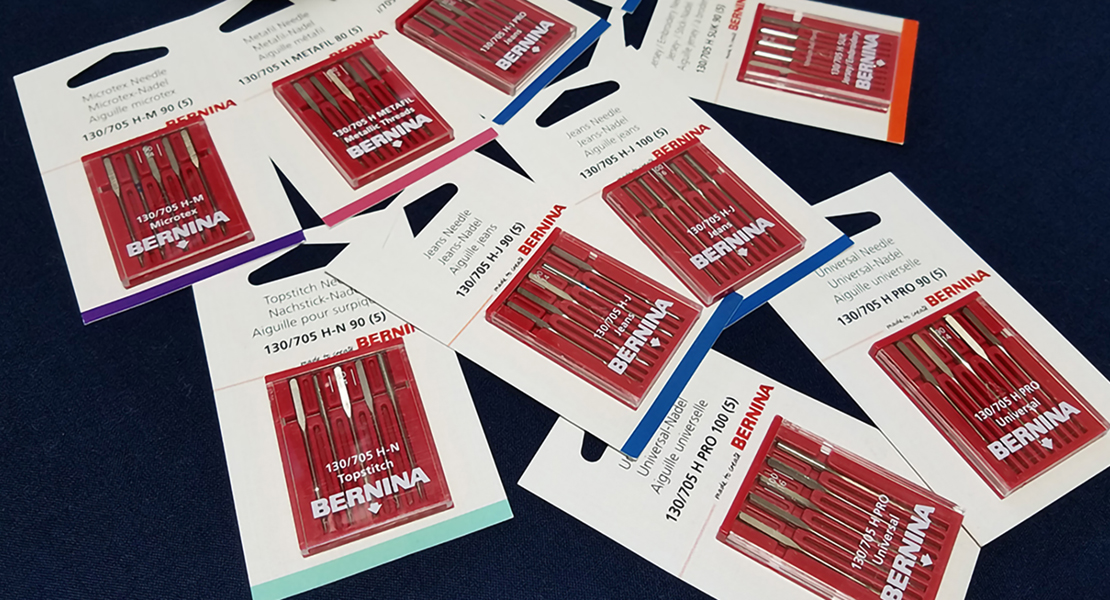
Used Products

What you might also like


4 comments on “Quilt Binding on a Longarm”
-
-
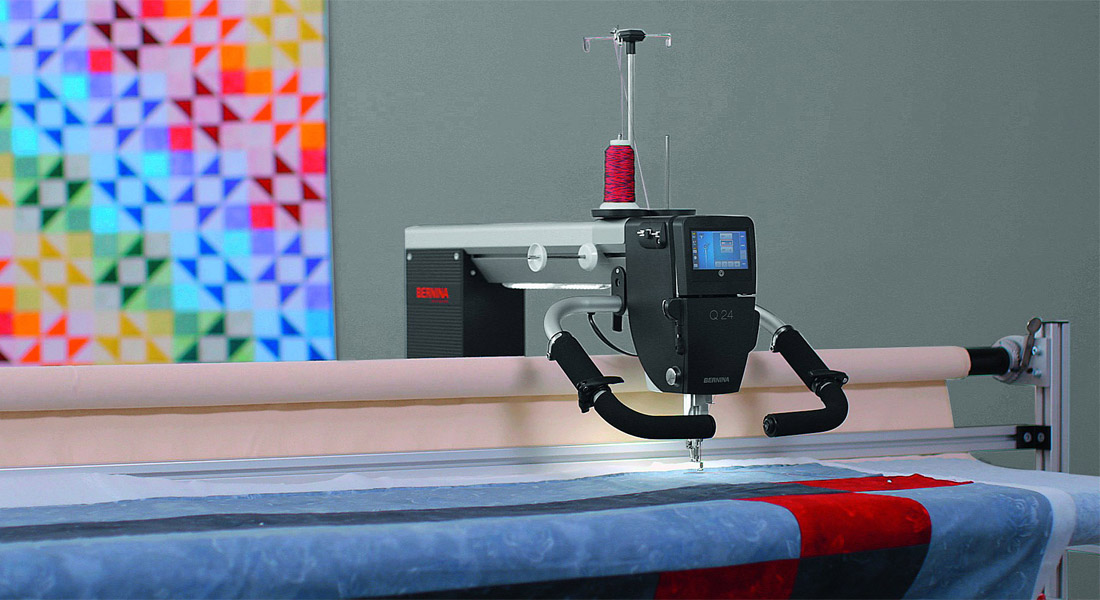
Yes, this ruler will work on the Q24 and Q20 as well as domestic BERNINA’s with the 72 foot.
-
Thanks! Gonna order a set today.
-
-
Leave a Reply
You must be logged in to post a comment.

Can this ruler be used with the Q20?