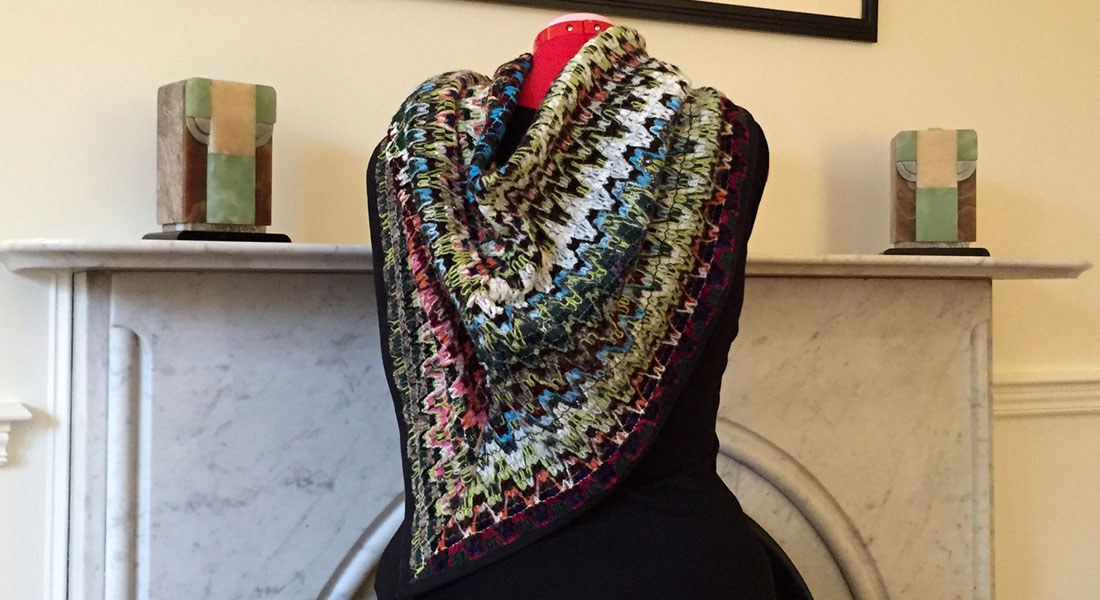
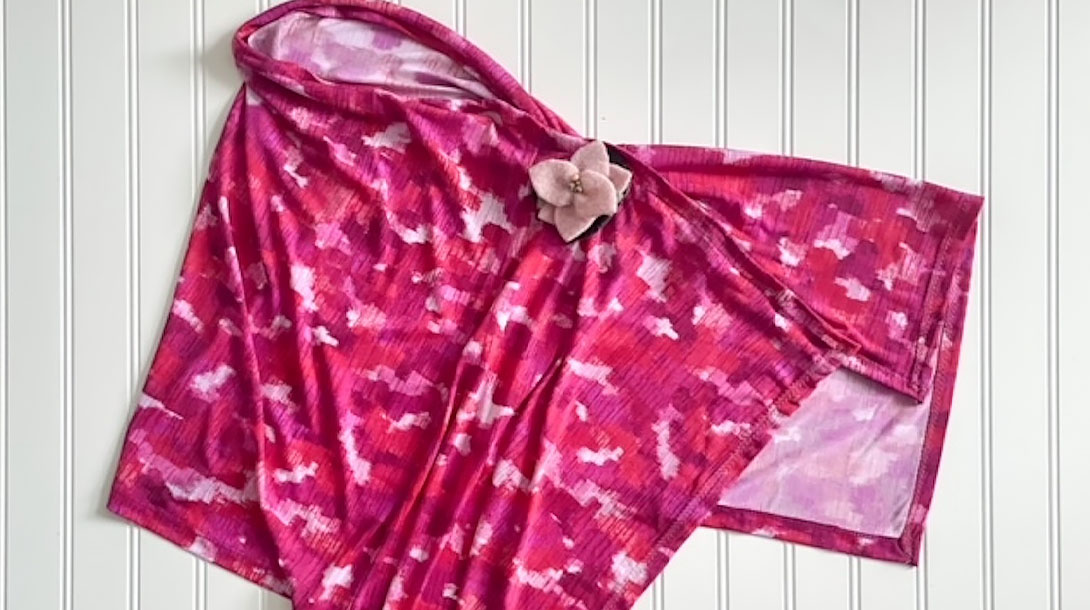
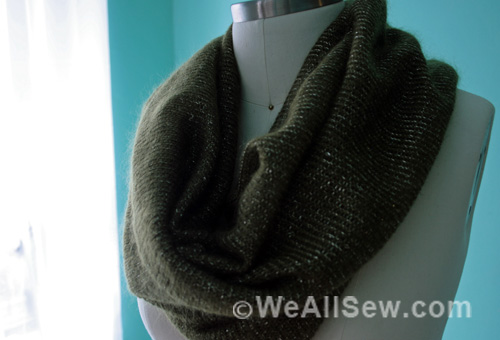
Reverse Appliqué Knit Blanket Scarf
One of my favorite fashion trends in recent seasons has been the blanket scarf—as someone who loves to be bundled and cozy (something much needed in the never ending winter here in Chicago), a blanket-like garment I can wear out in public is a dream come true.
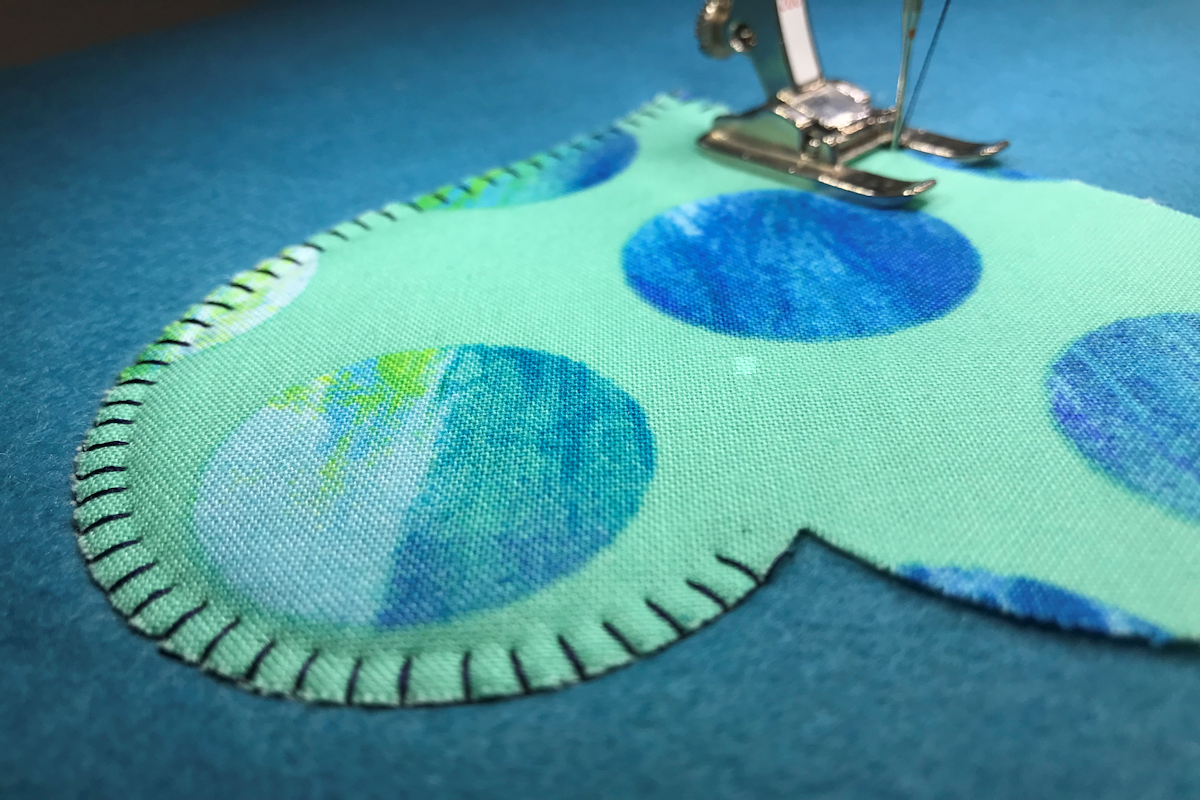
I adore the texture of raw-edge reverse appliqué with knit, inspired by artists like Alabama Chanin or Alison Glass. The joy of knit is that it doesn’t fray so does not necessarily need a finished edge. However, many of these kinds of projects are stitched by hand, something I do not always have the patience for. This project uses designs in the BERNINA Q-matic software to create our reverse appliqué motifs to save me time (and save some wear on my hands).
Materials for Sewing a Reverse Appliqué Knit Scarf
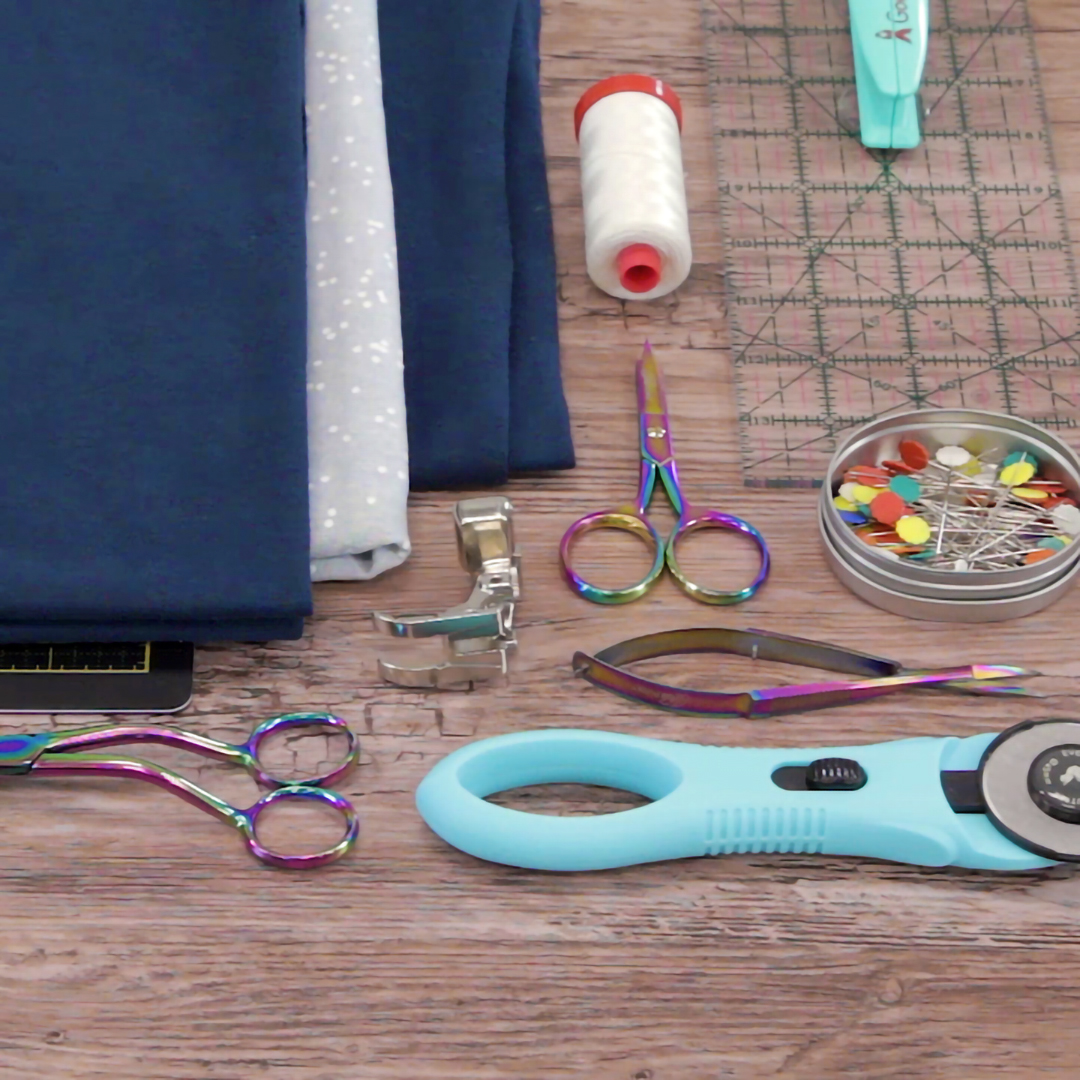
- Knit fabric
- 24” x 72”
- Low to no spandex cotton knit
- Printed, woven fabric
- 18” x 72”
- Heavier wovens add extra warmth, lighter weight (lawn, lightweight linen) will breathe more in warmer weather
- 40 wt cotton thread
- 12 wt wool thread
- Topstitch needle
- Scissors
- Rotary cutter
- Cutting mat
- Pins
- Open toe embroidery foot #20D
- B 790 PLUS
- Q24 on a frame
- With Q-matic software
Steps to Sew a Reverse Appliqué Knit Scarf
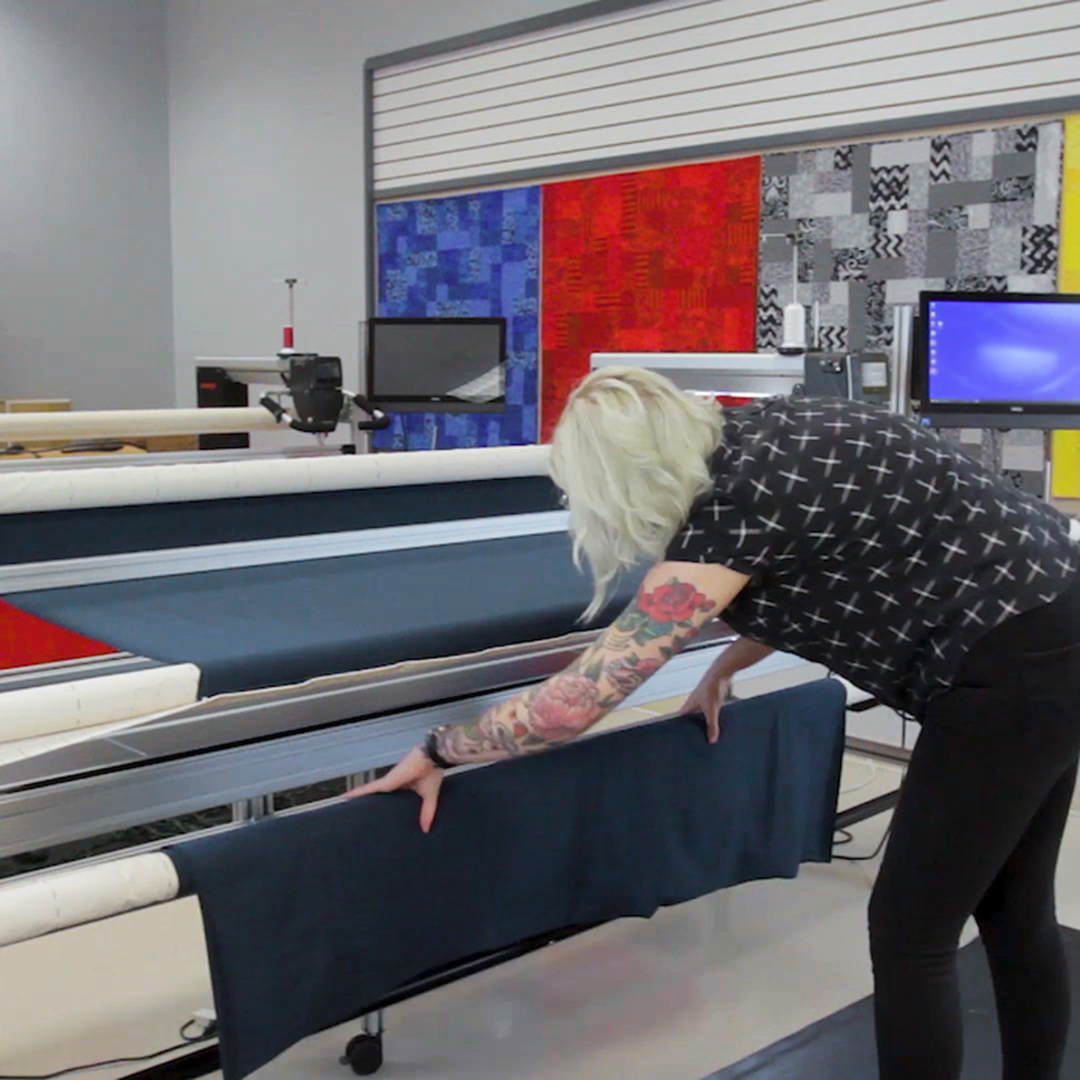
Step 1. Load knit fabric onto longarm frame
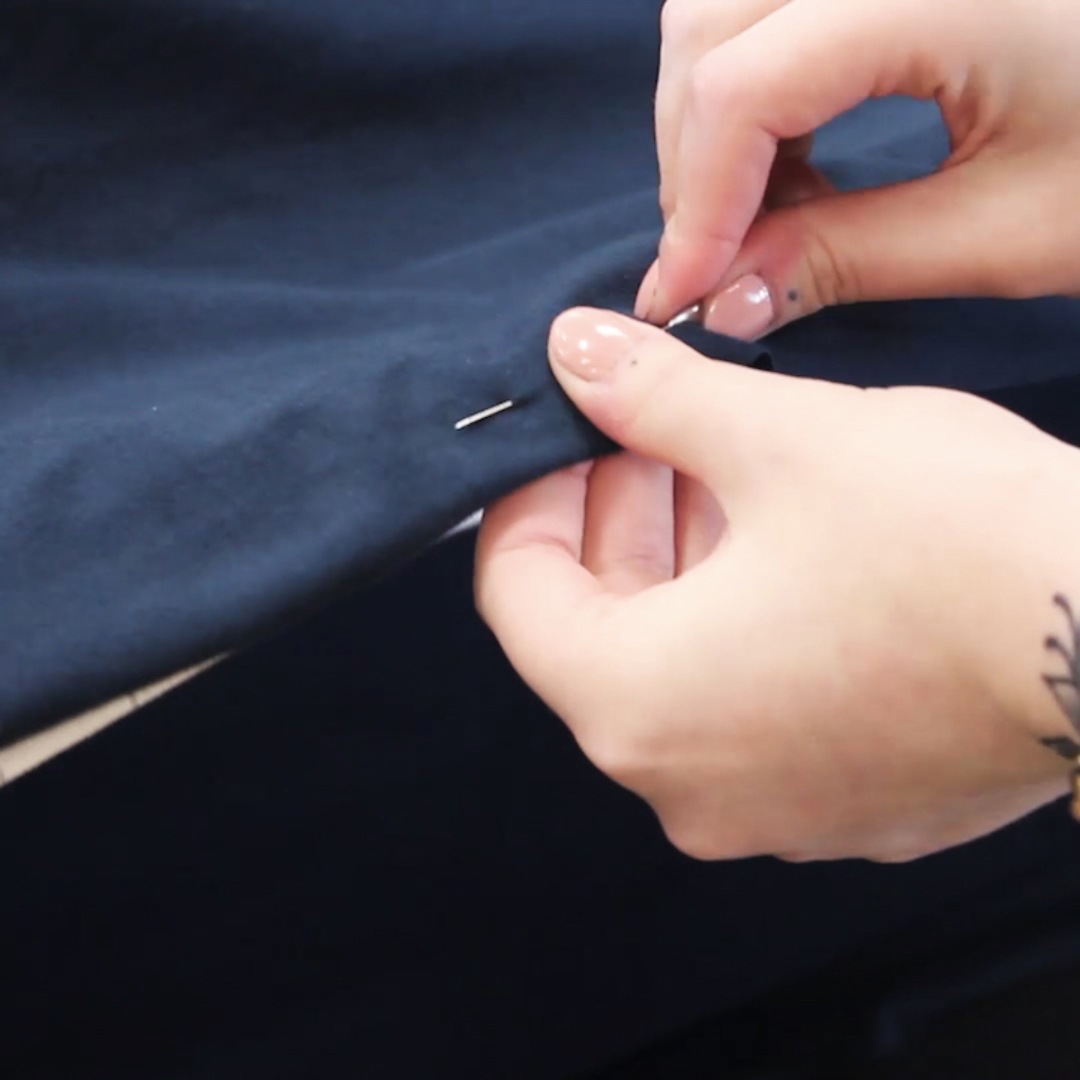
Start by loading your knit onto the frame. Start by loading your “backing fabric”. Lay your backing on the frame, wrong side up. With the backing centered on the frame, I begin by pinning the top edge to the take-up leader.
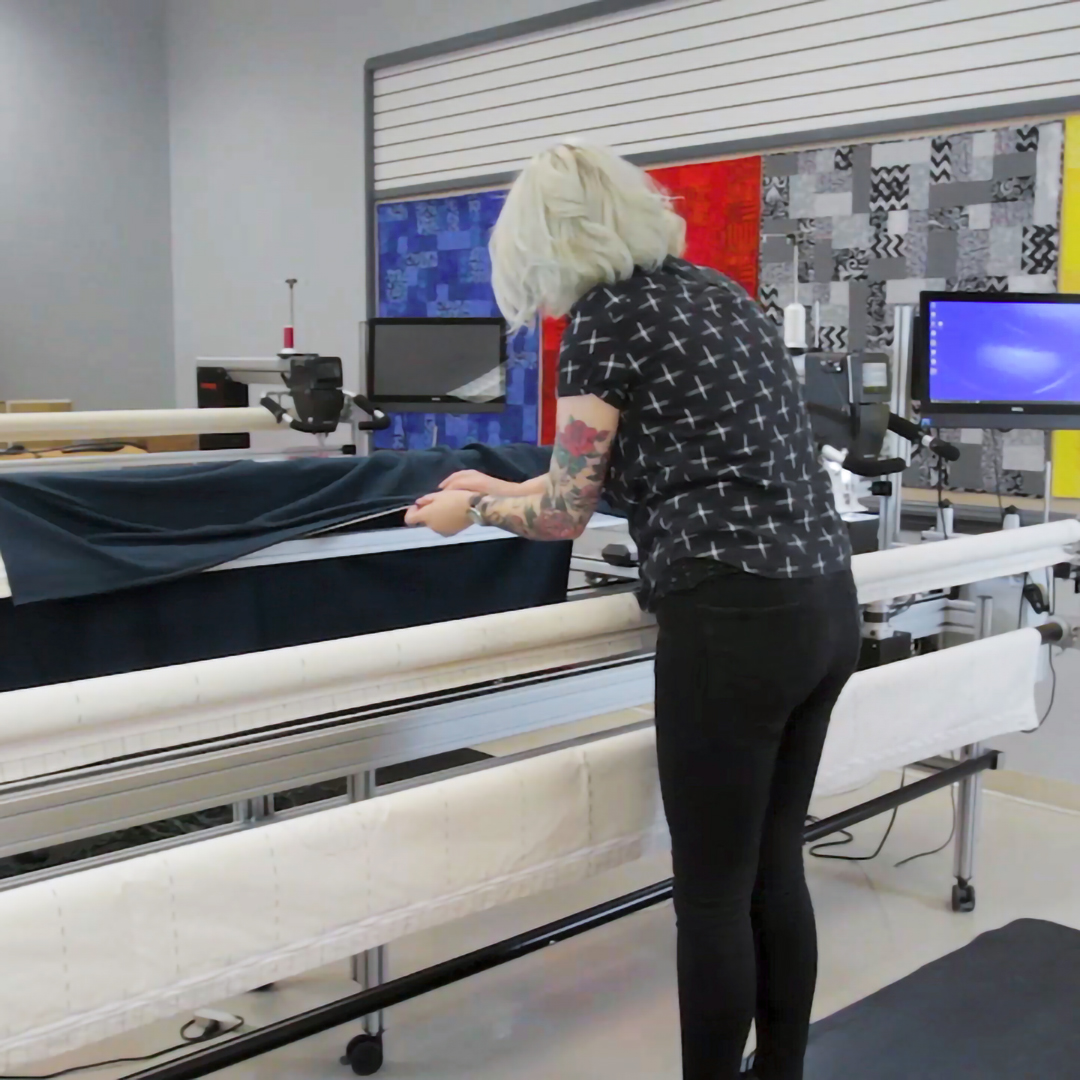
Remember to run your pins parallel to the edge of the leader/ fabric.
Then, running the backing under the dead bar, bring the bottom edge over the backing leader bar and pin to this leader. Roll the rails to make the backing taught on the frame, but not to stretch the knit.
Next, load the top layer of knit to the top leader (which is actually the lowest one on the frame). Lay the top layer right side up across the frame then bring the top leader up to the bottom edge of the fabric and pin in place.
Then, roll the rail roll up the top layer and keep it off the floor.
Use the clamps on the left and right sides to keep the backing taught if desired. This may be too much pull, depending on your knit fabric.
For a slower paced, more thorough visual on how to load a longarm quilt frame, check out this video.
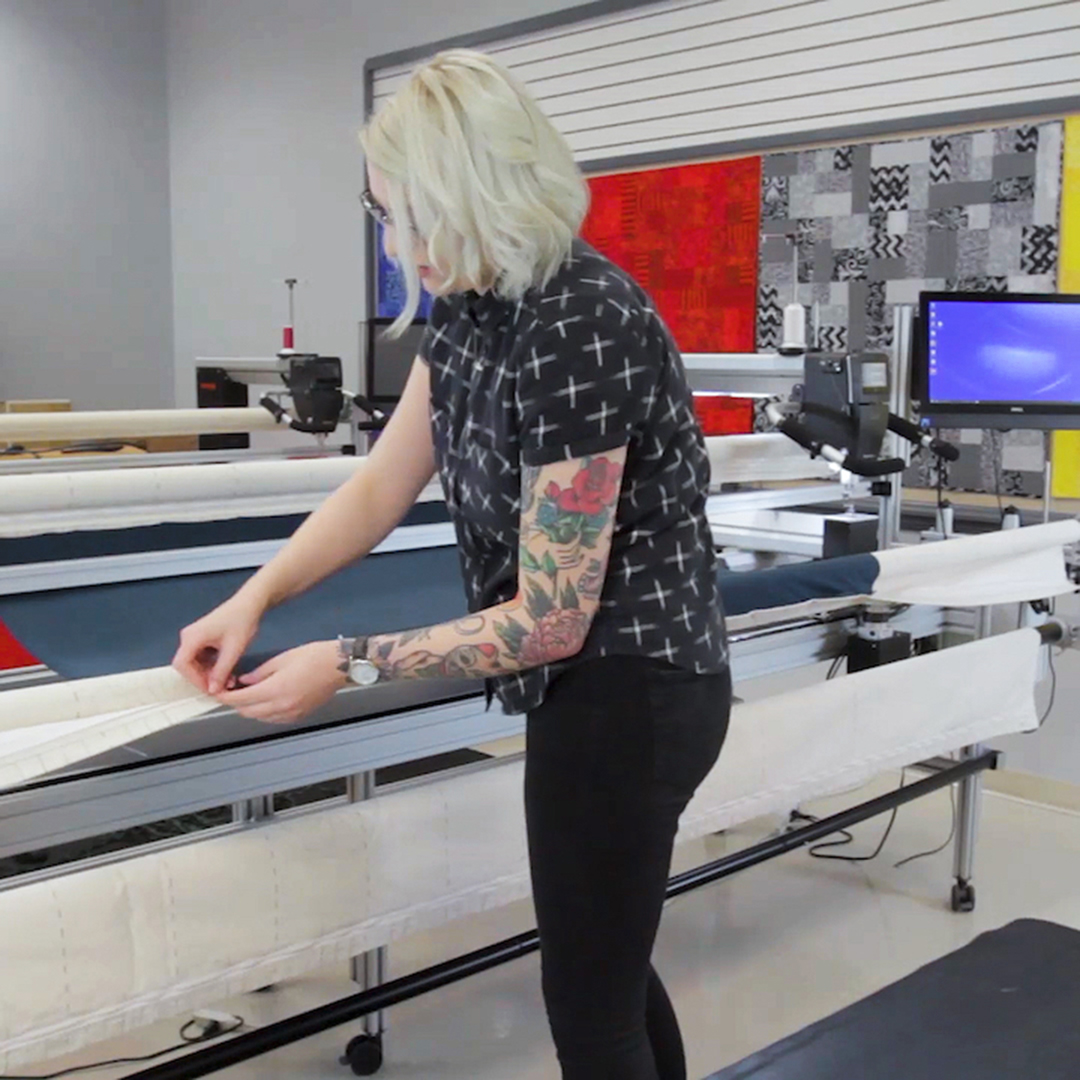
Step 2. Add woven fabric
Lay your woven fabric across the frame, on top of your backing fabric. Secure this layer in place with a row of basting stitches along the top edge (furthest away from you).
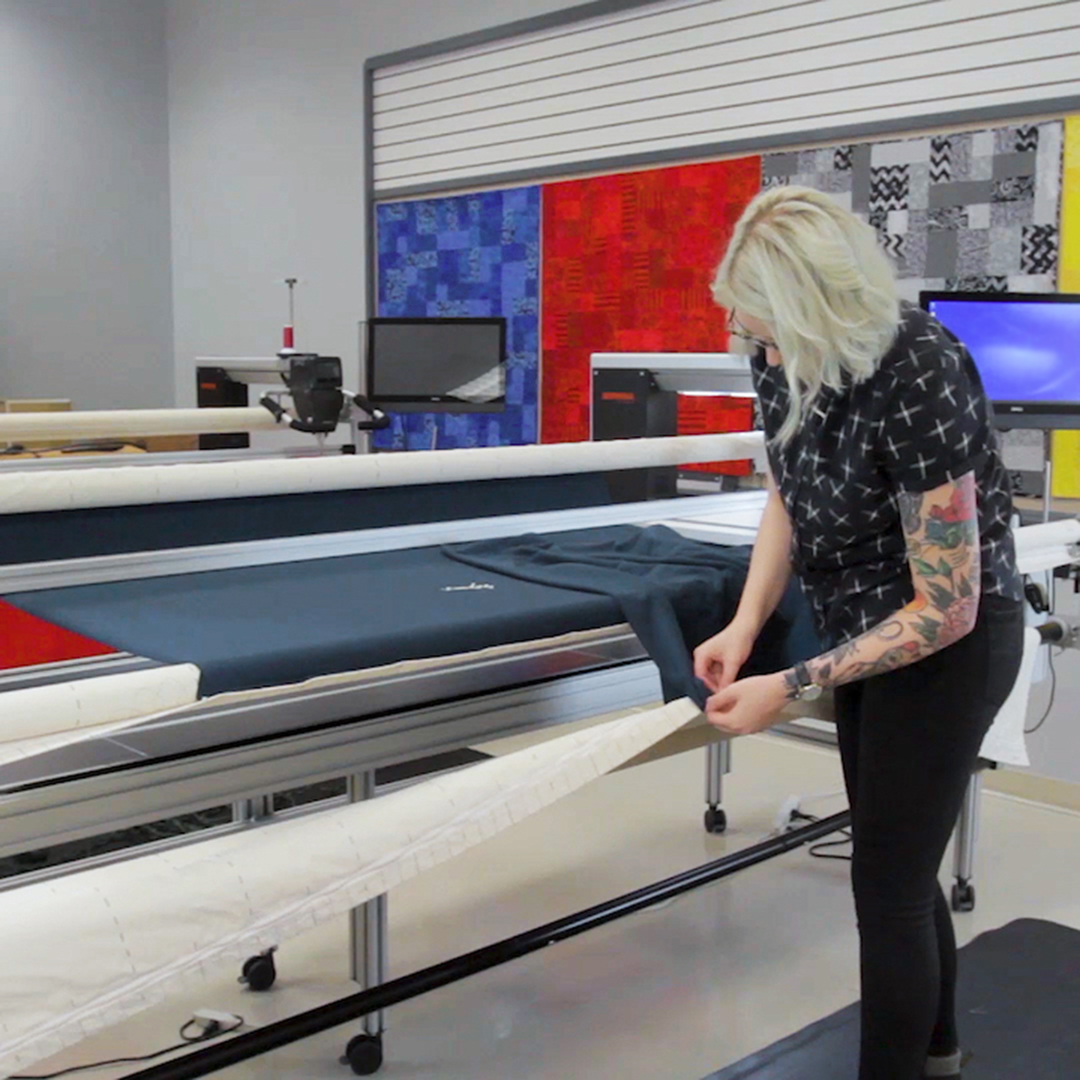
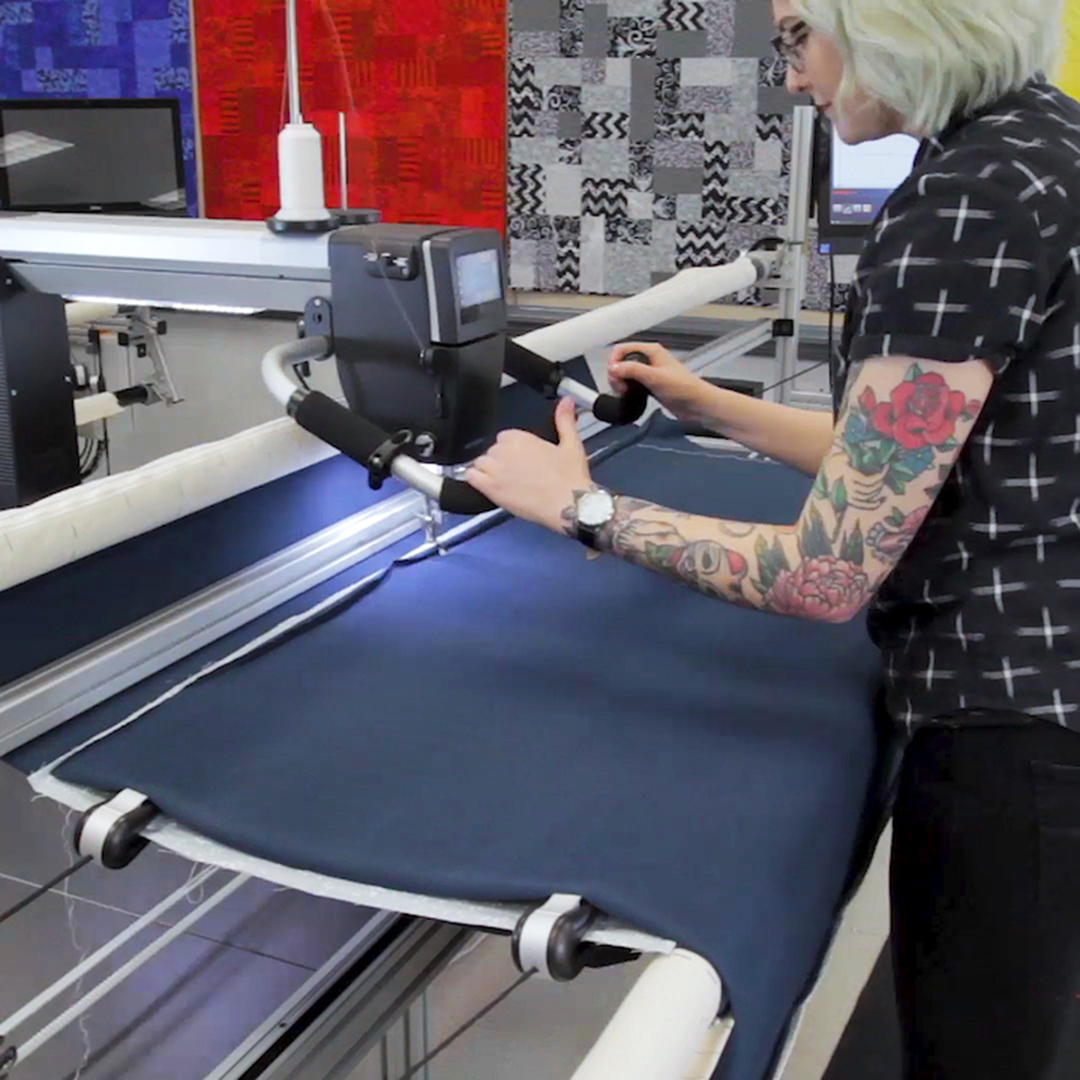
Step 3. Baste all layers
Next, bring your top layer up to lay over the woven fabric by rolling the rail. Baste this layer in place with a row of stitching along the top edge as well as along the left and right sides.
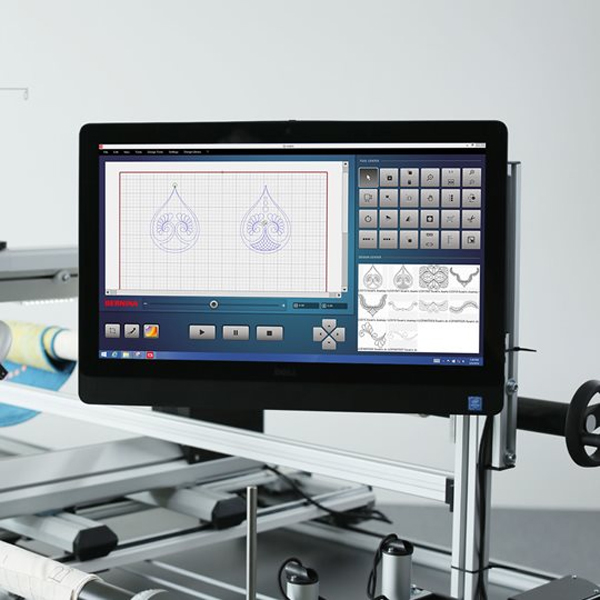
Step 4. Layout Q-matic design
Using the Q-matic software, layout your design. It’s best to use a standalone, closed object (meaning the end point meets back at the beginning point with no open gaps in the design). Any of the designs shown in the Design Center here would work great. For our scarf, we will use the last design shown—a flower designed by Tula Pink.
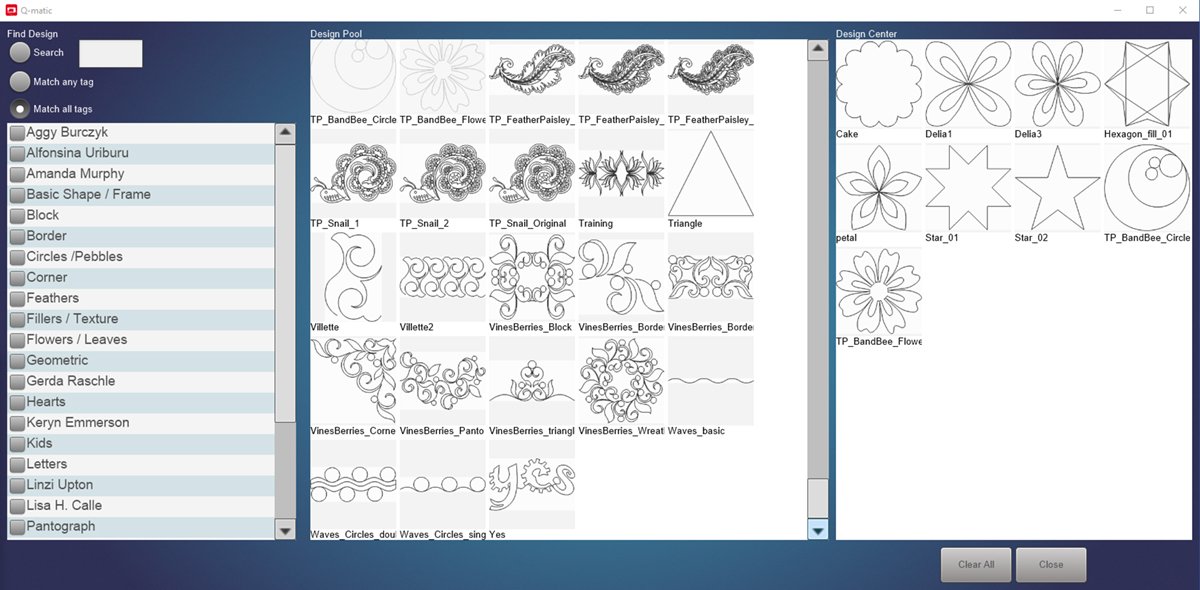
Resize the flower as desired and layout multiples across the working area as desired. I used multiple sizes of this flower to create my design. The great part about Q-matic is that when I resize a motif in the software, it automatically recalculates the stitches for me to make sure it sews out nicely.
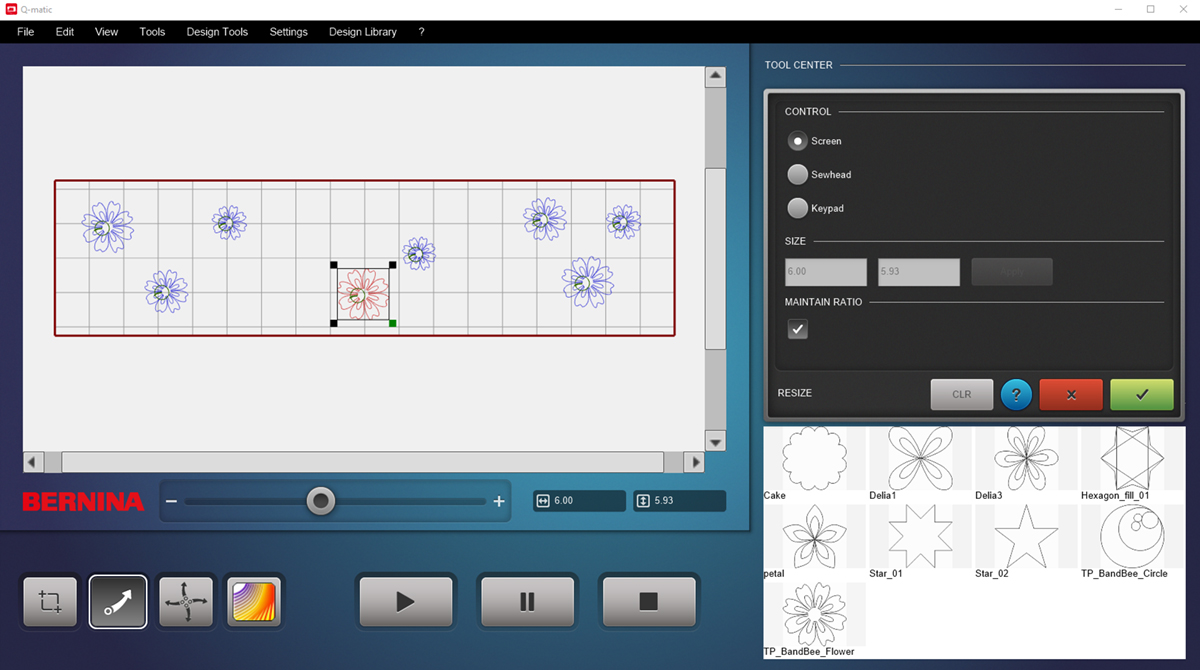
When you have things laid out just how you want them, queue up the designs in the order you want them to sew and you’re ready to stitch!
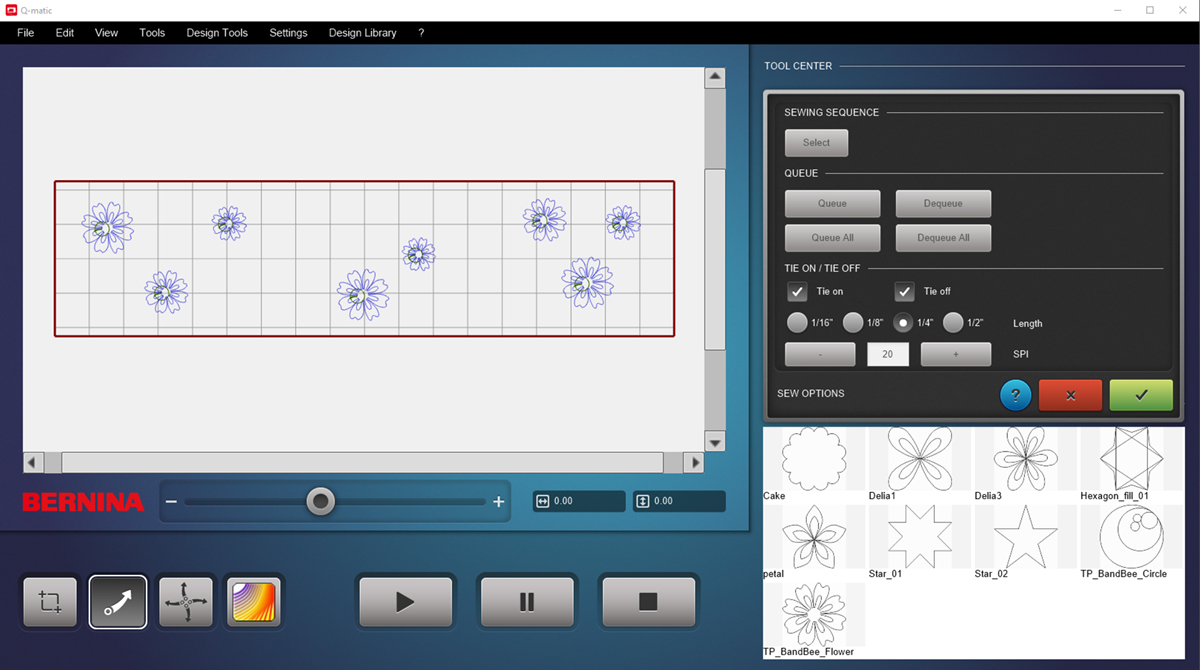
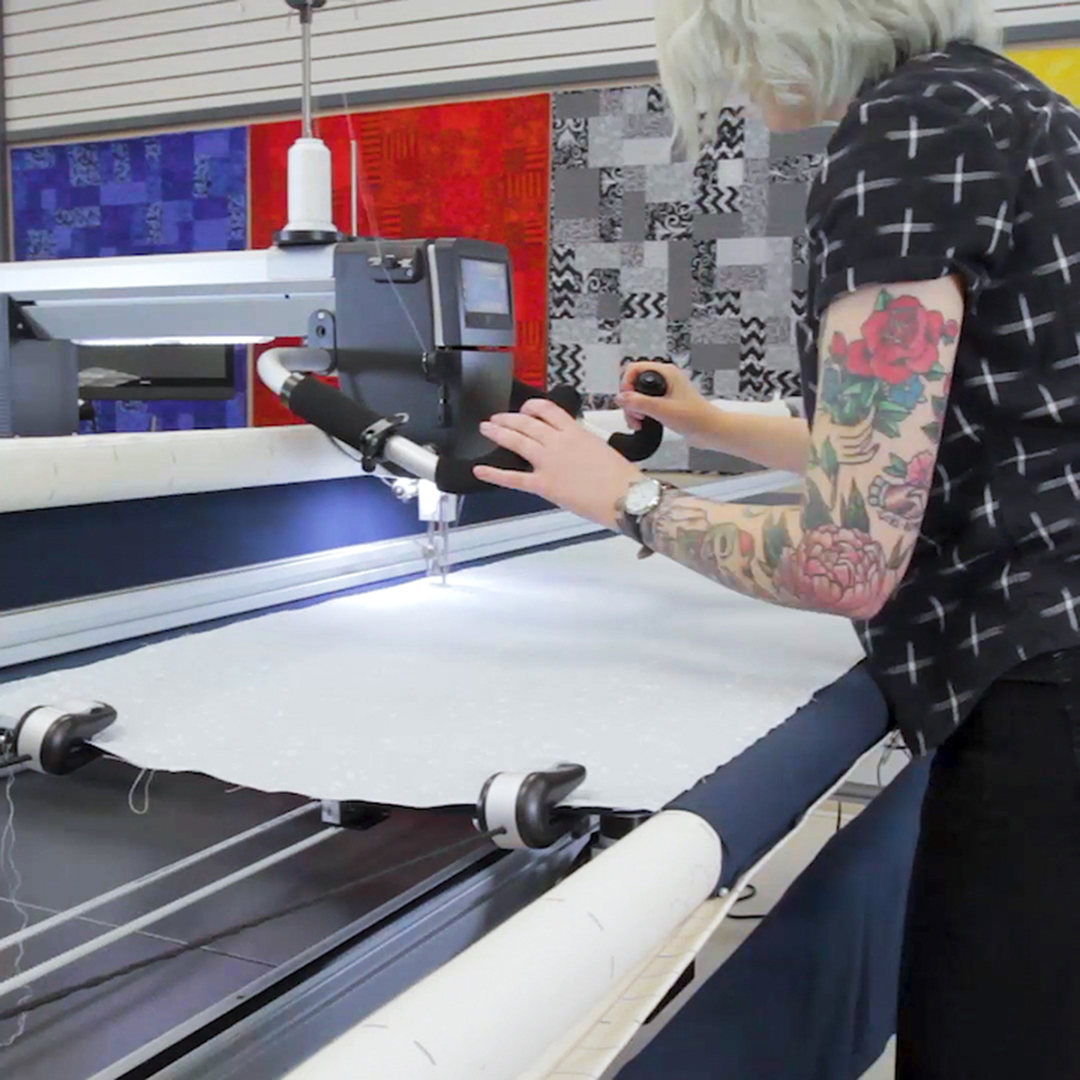
Step 5. Stitch out
The machine will begin stitching out with the first design you have queued. The machine head will first move to the correct position then pause for you to bring up your bobbin thread. Once you have done that, it will begin stitching with a few short locking stitches. Pause the machine again after the first couple stitches to trim your threads if you like.
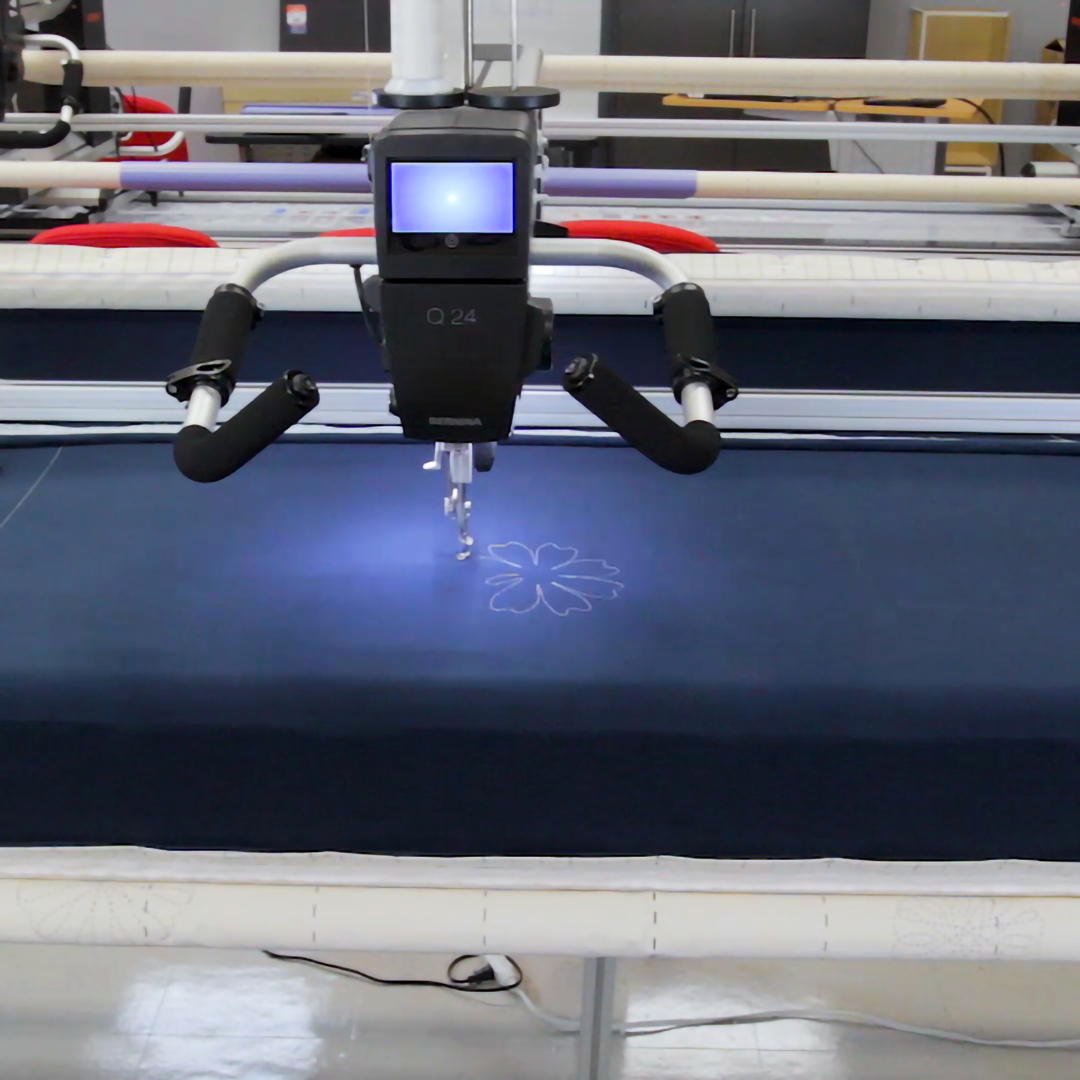
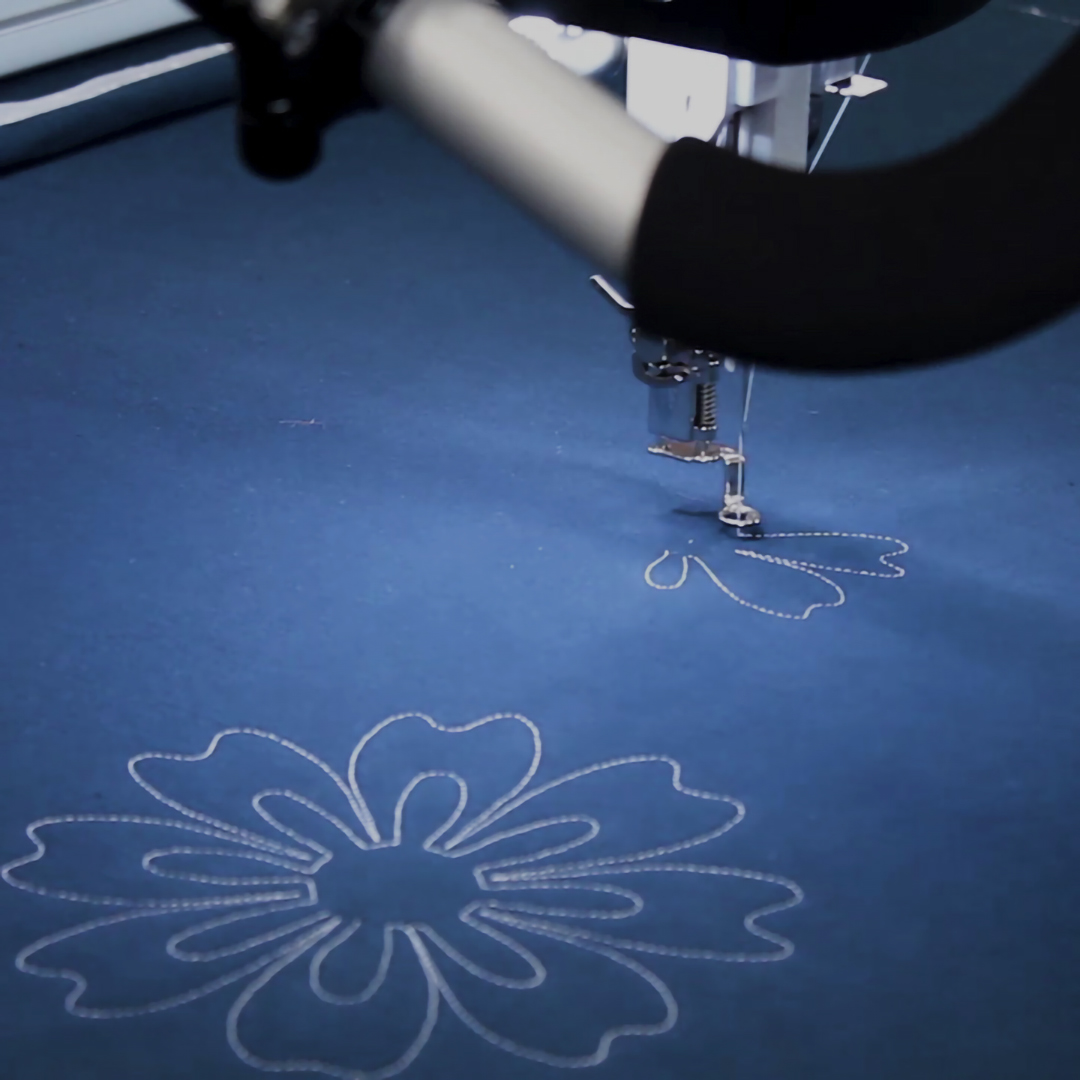
The machine will then sew the motif to completion. Once it reaches the end, you will need to again bring the bobbin thread up to the top and cut both threads, then advance the machine to the next motif. Repeat the process until all motifs are sewn out. Once they are all stitched, you can remove the scarf from the frame.
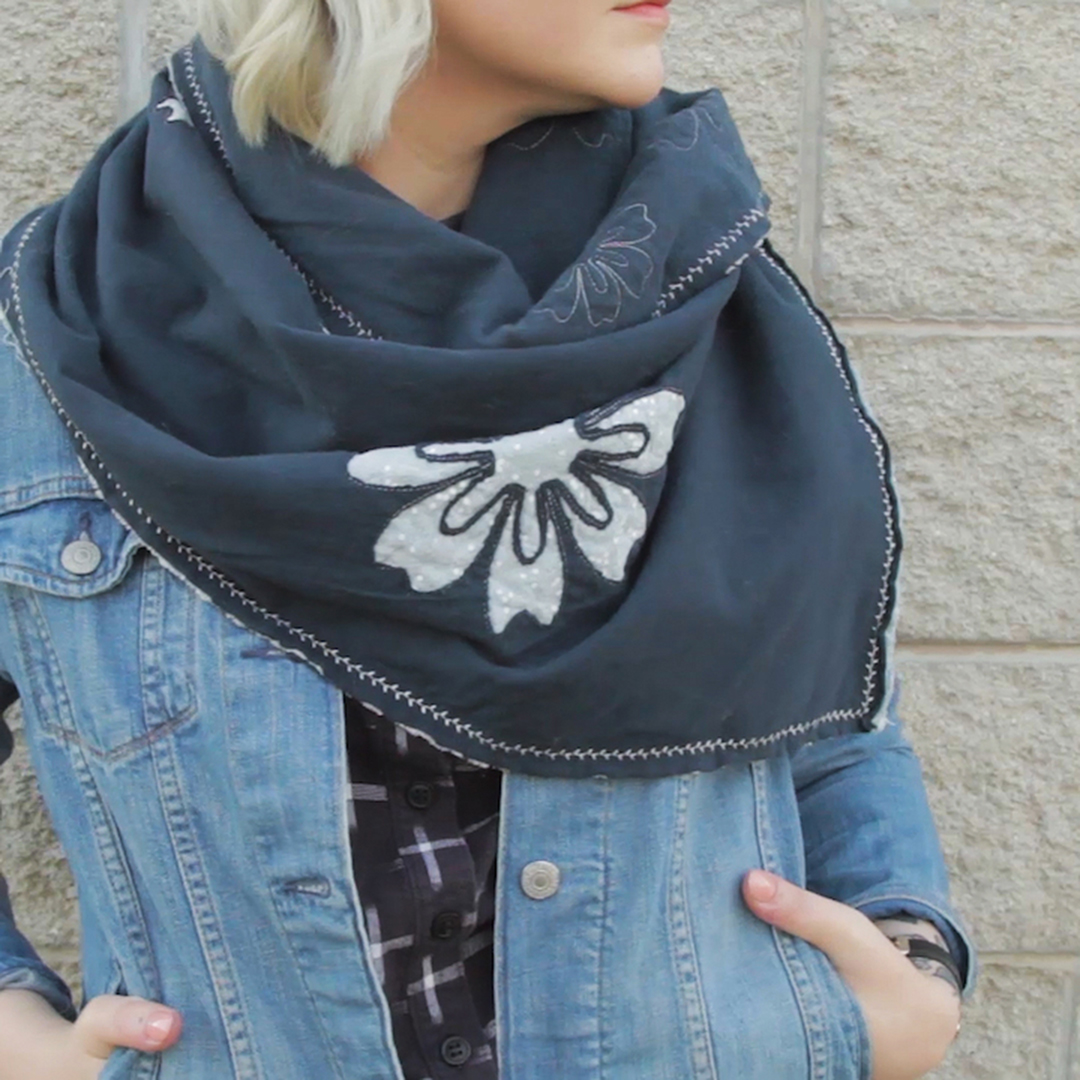
Step 6. The big reveal
The next step is the key to our reverse applique. Using micro tip snips, cut a small hole only in the top layer of the knit fabric inside one of the stitched motifs. Then, using the duck bill applique scissors, cut away fabric as close to the stitching as possible (about 1/16”). Be sure not to cut through the stitching! Cut out the shape inside the stitching to reveal the print fabric that is sandwiched between the knit layers.

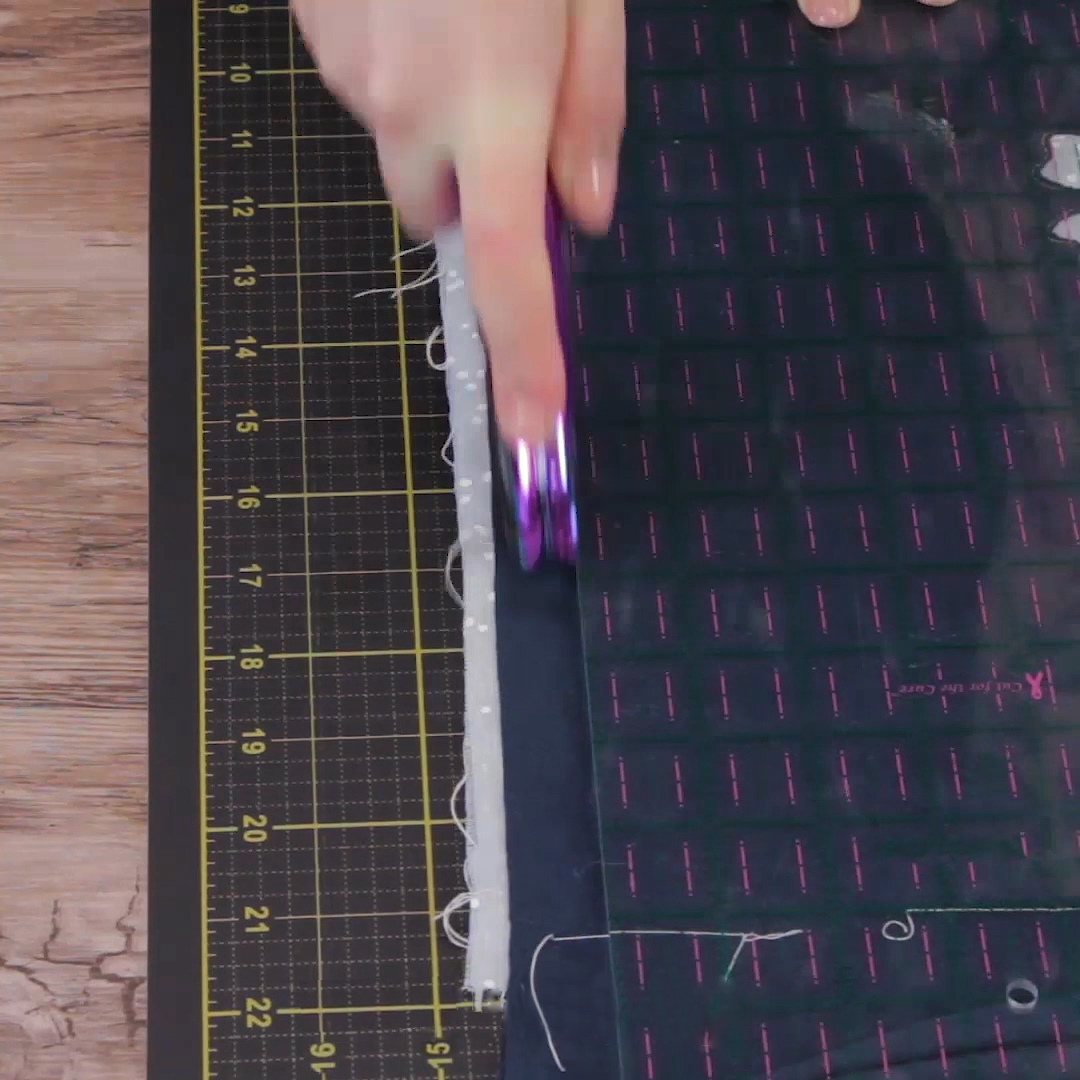
Step 6. Trim down
With a rotary cutter and mat, trim the scarf down to cut off the basting lines, approximately 16” x 70”.
Step 7. Setup for stitching
We’ll next set up the machine for stitching the perimeter of the scarf. To add a little bit of texture to this, there are two design choices we will make: using a heavier, wool thread and using a decorative stitch. Select the feather stitch (#1332 in the B 790 PLUS).

Next, insert a size 90 topstitch needle into your machine and thread the machine with 12wt wool thread—I love Aurifil’s wool 12wt. Attach the #20D open toe embroidery foot the machine for optimal visibility in stitching. Pin (or use WonderClips) around the edge of the scarf.
Step 8. Sew perimeter
Lining the raw edge of the scarf up with the edge of the #20D presser foot, sew all the way around the perimeter of the scarf, stopping with needle down and pivoting at each corner.
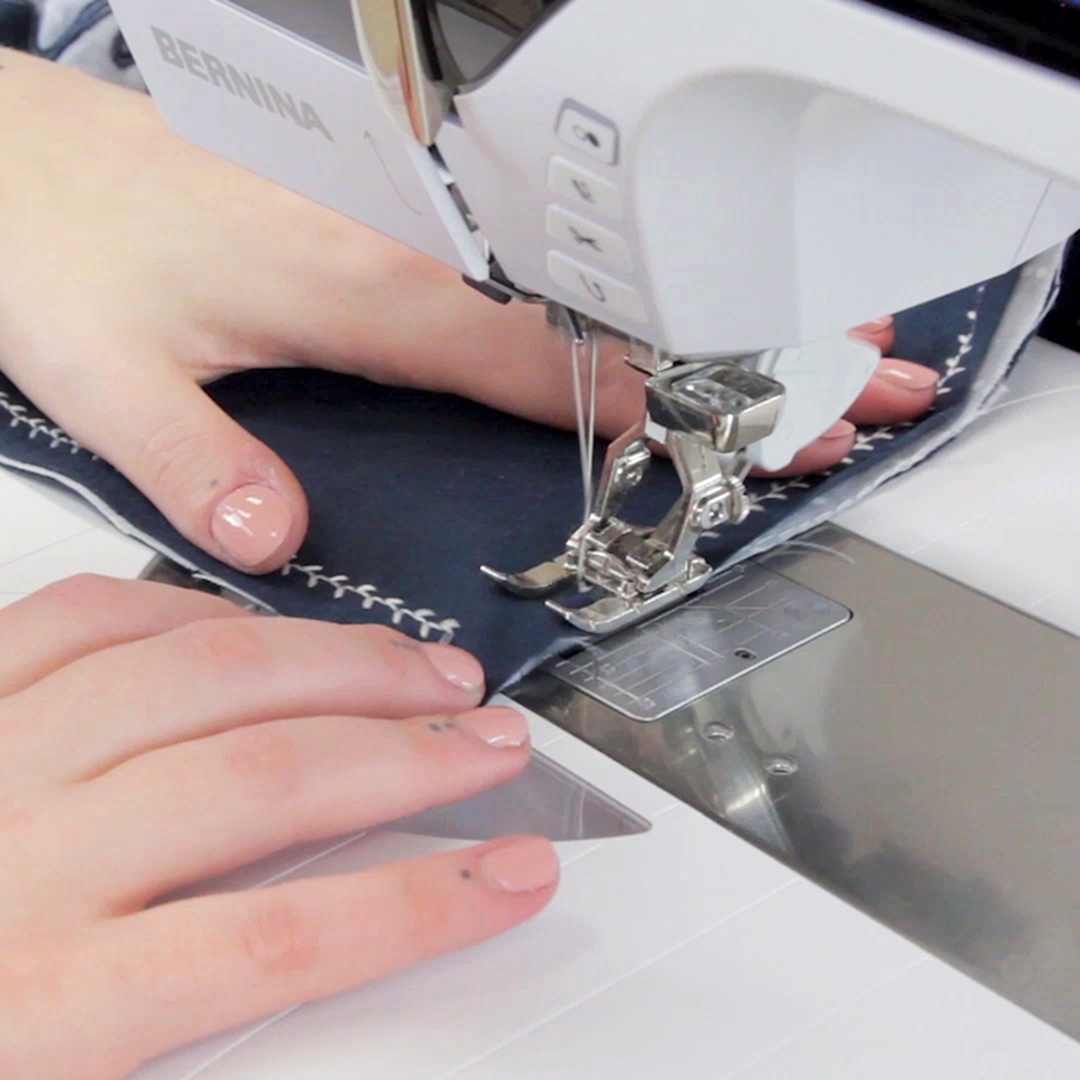
Your blanket scarf is ready to wear! As you wash and wear this snuggly accessory, your knit edges will roll slightly and the exposed woven edges at the perimeter will fray just slightly for a little bit of texture.