Rulerwork: BERNINA Cable Ruler
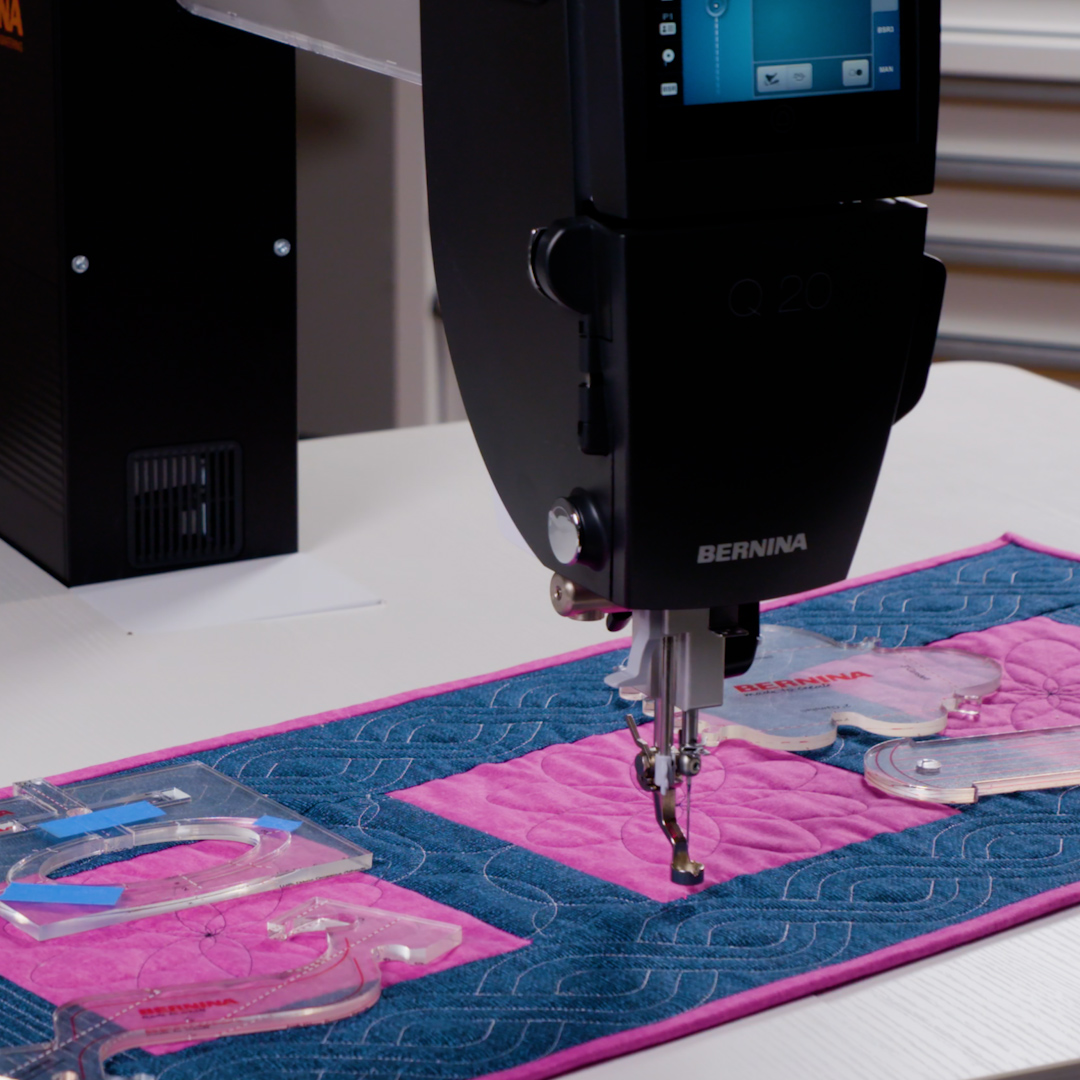
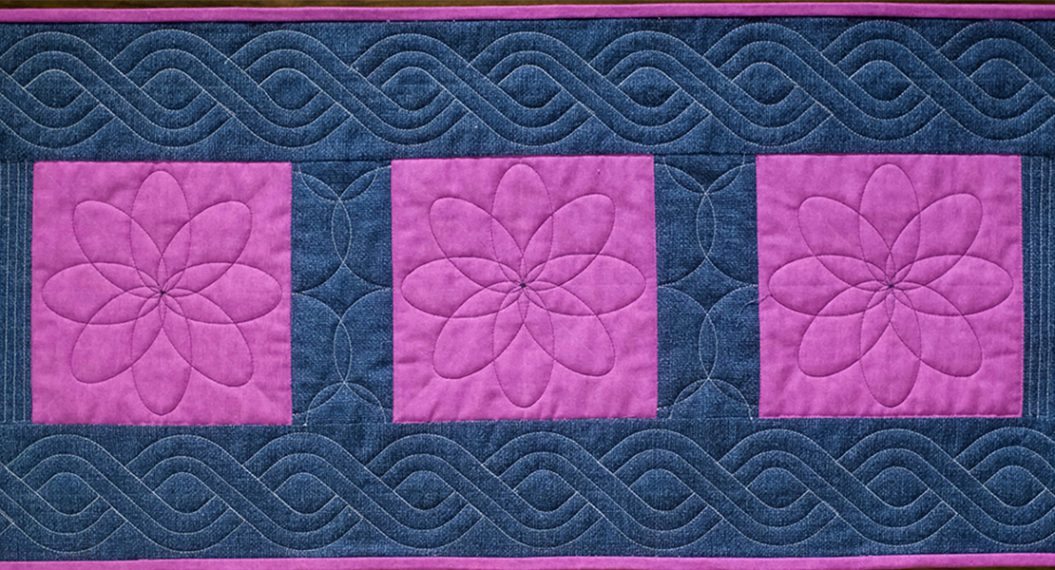
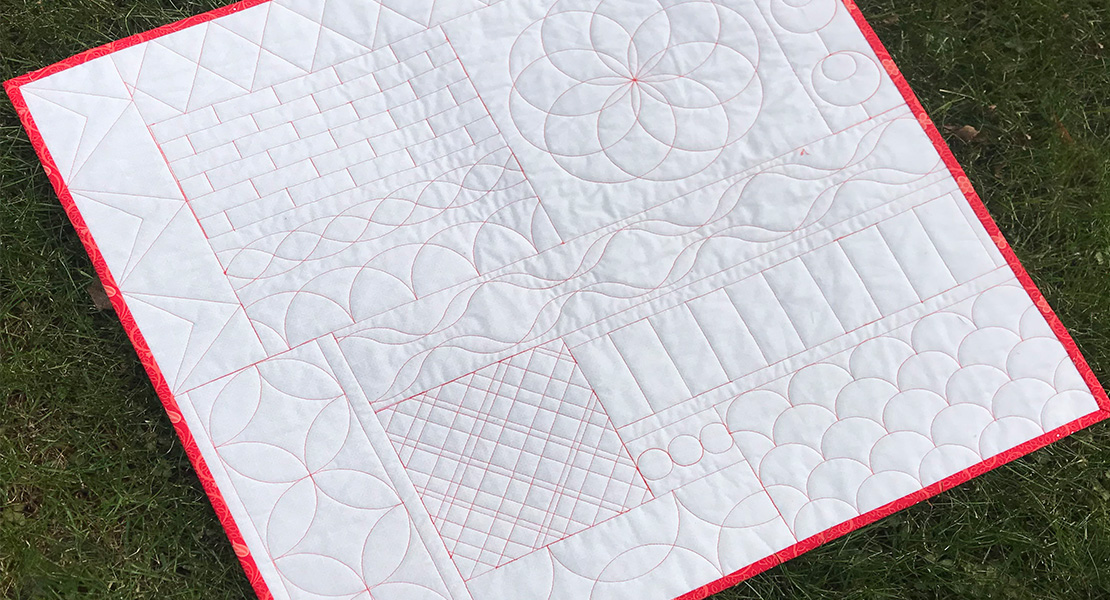
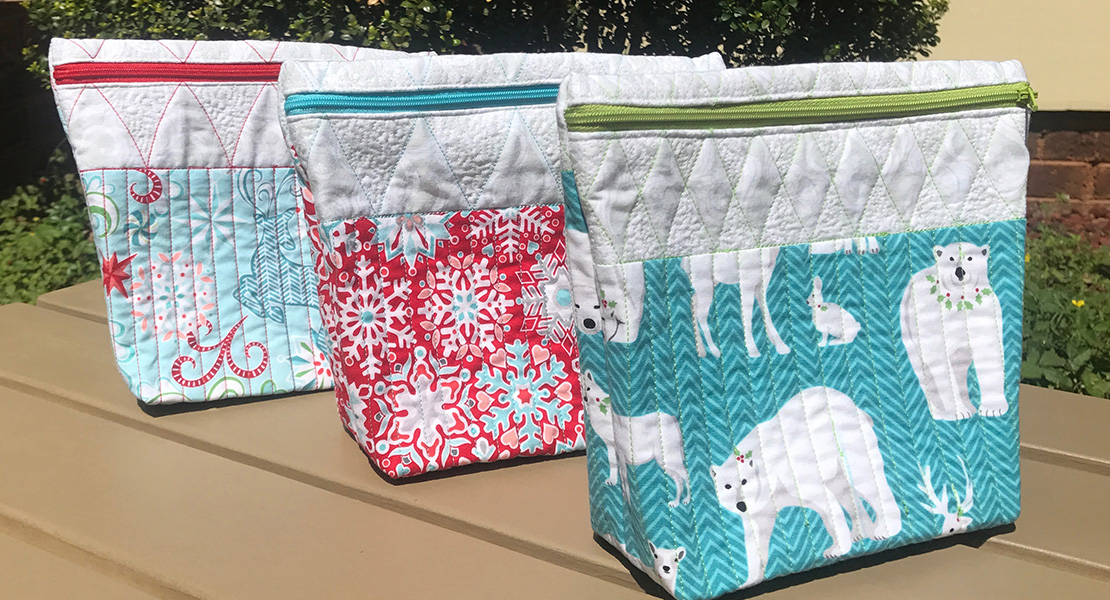
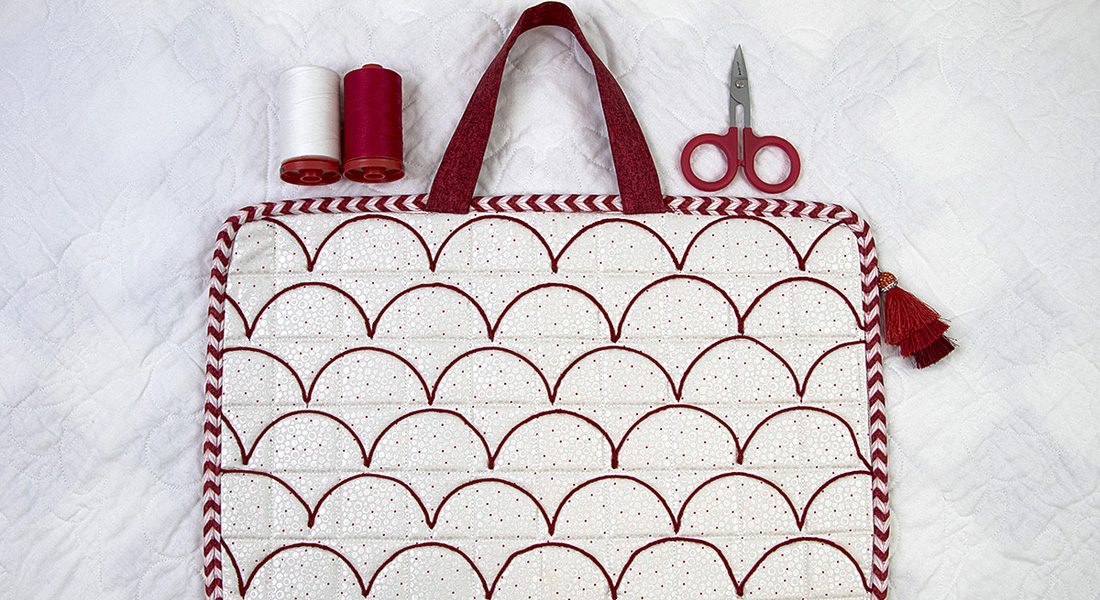
The BERNINA Cable Ruler is the perfect ruler to create professional-looking borders. One simple ruler can be rotated and flipped to create this complicated looking, but easy to stitch, border. Let’s take a look at the table runner above and break it down into easy steps.
Supplies
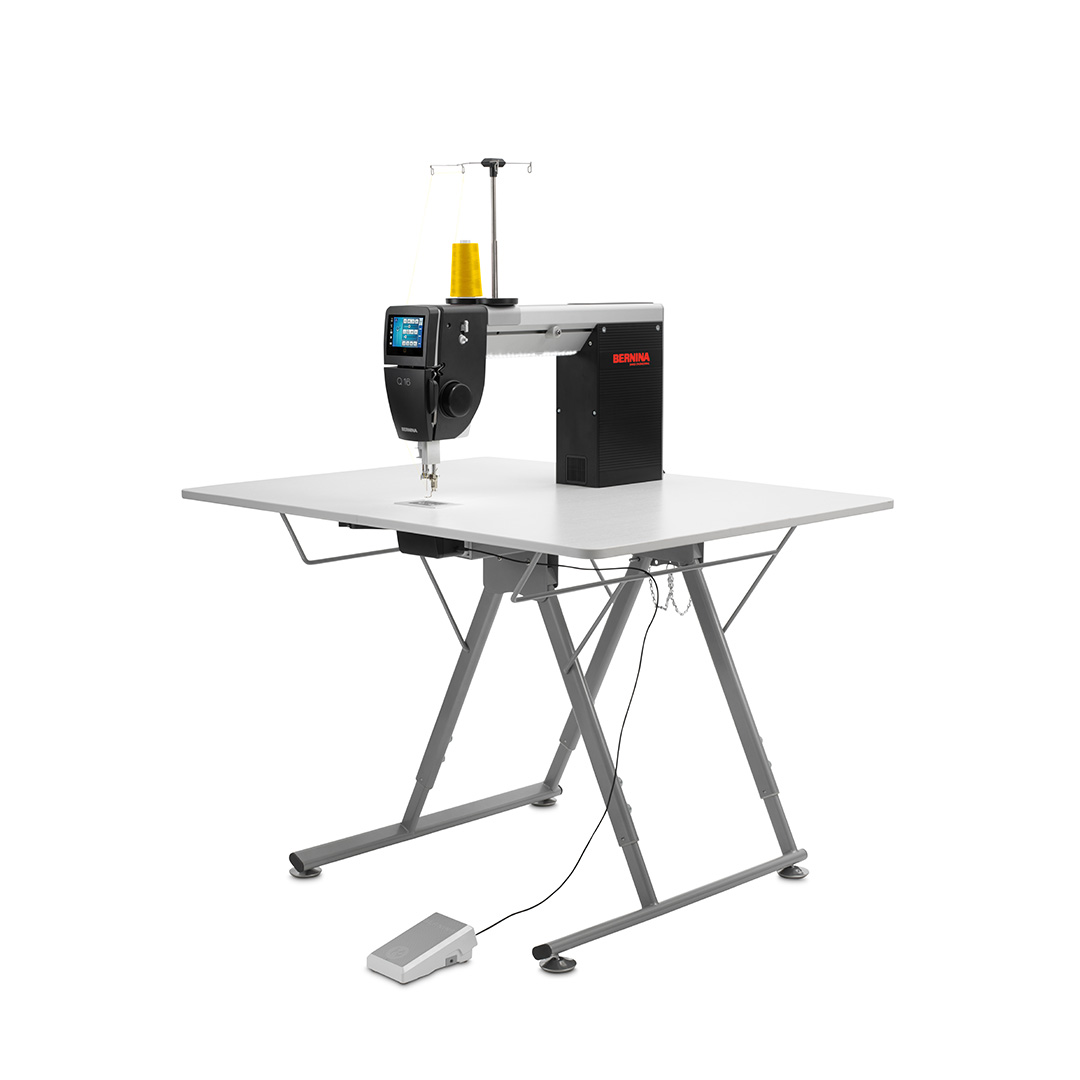
- BERNINA Table Model Q 16, Q 16 Plus, or Q 20
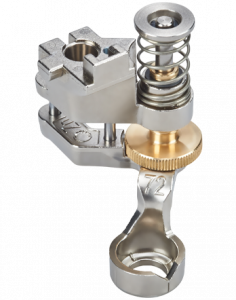
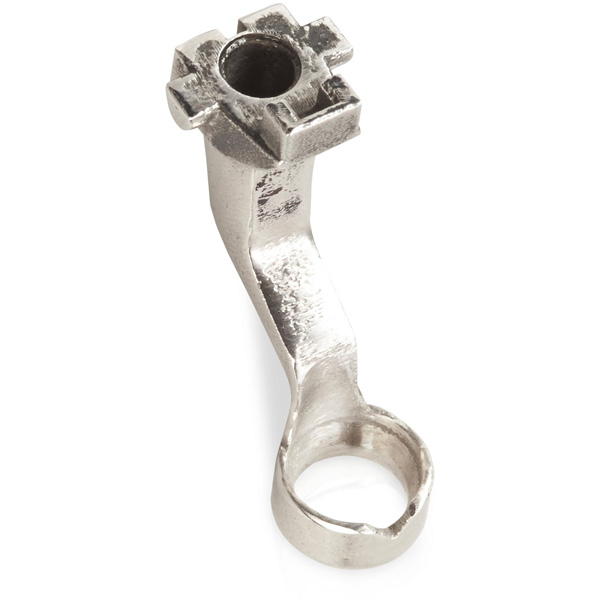
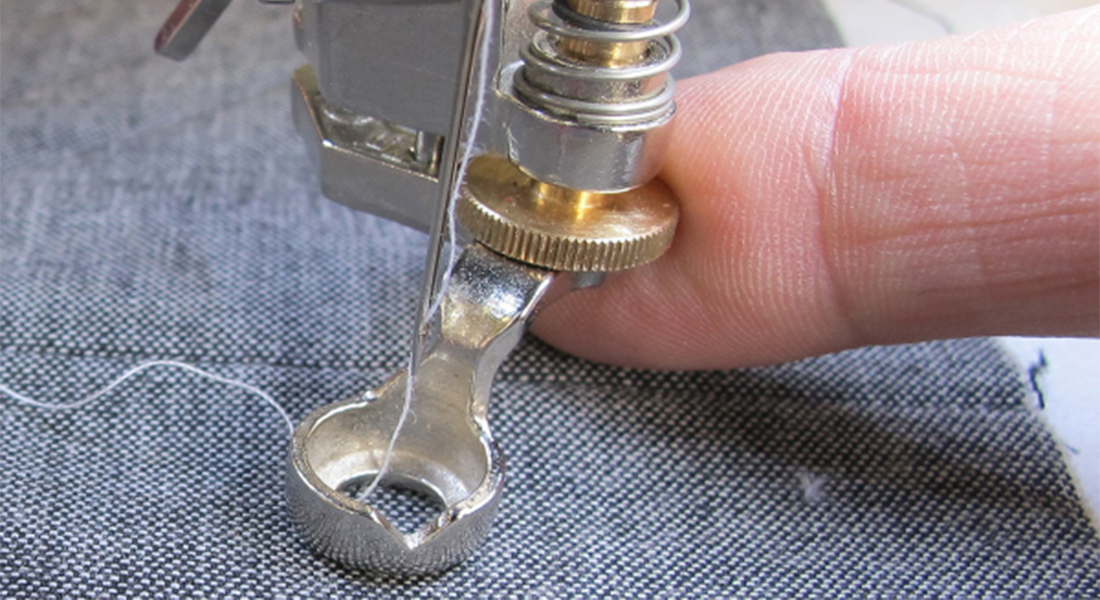
- Ruler Foot – Chose from Ruler Foot #96, Adjustable Ruler Foot #72 or Adjustable Ruler Foot with Slit #72S. The #96 foot can only be used on the BERNINA Q Series longarms. The #72 and #72S can be used on both the BERNINA longarms and domestic sewing machines.
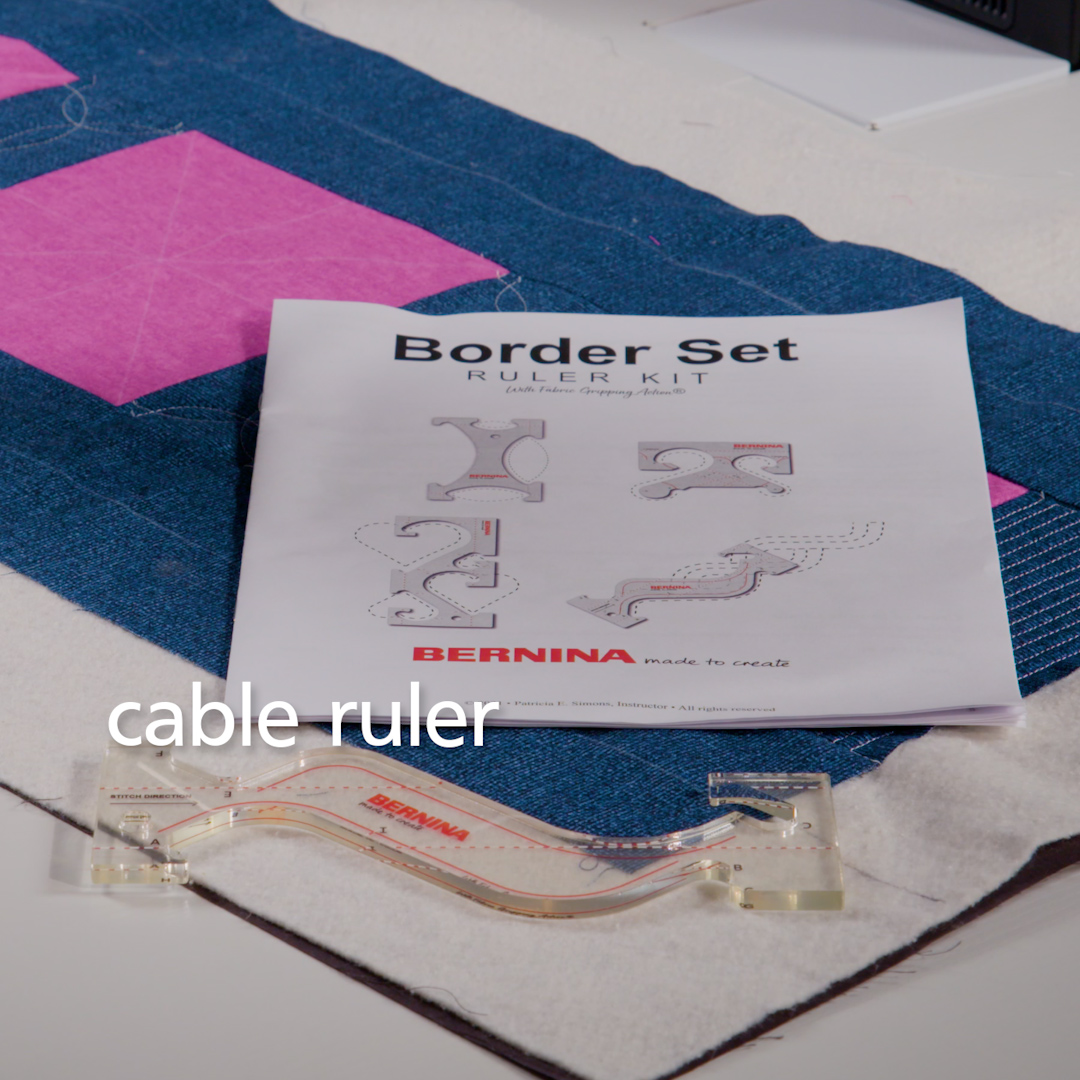
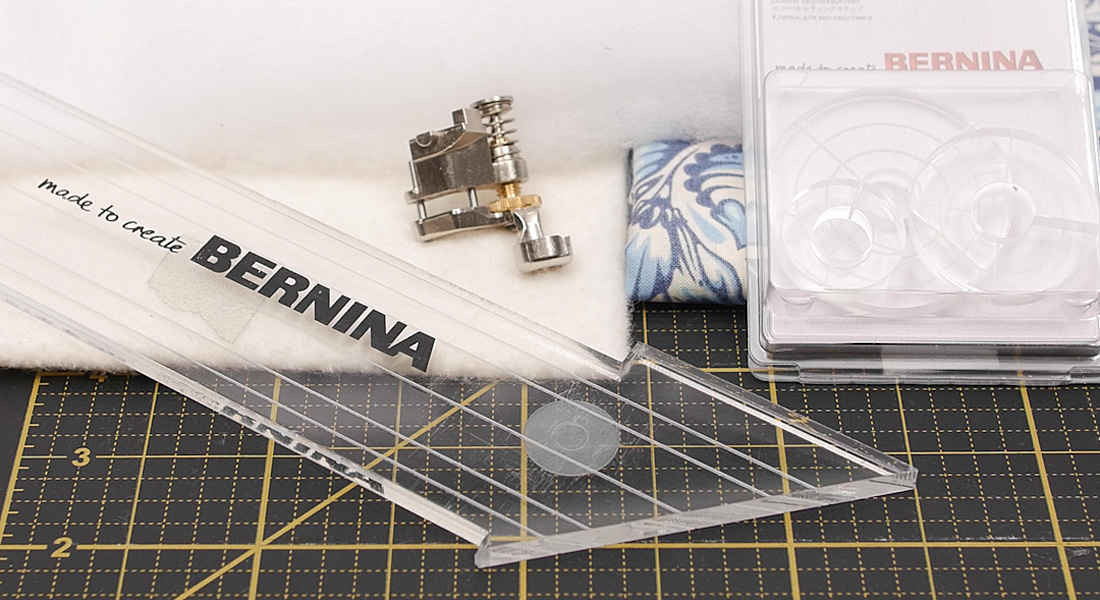
- BERNINA Border Set Ruler Kit
- Backing, batting and pieced top (see below for my measurements)
- New 90/14 Quilting Needle and thread of choice (40 or 50 wt)
- Quilting gloves – recommended
Creating the table runner in this example is super simple. Here are the measurements. I chose fabrics and thread to highlight the quilting but you could use any fabrics you like.
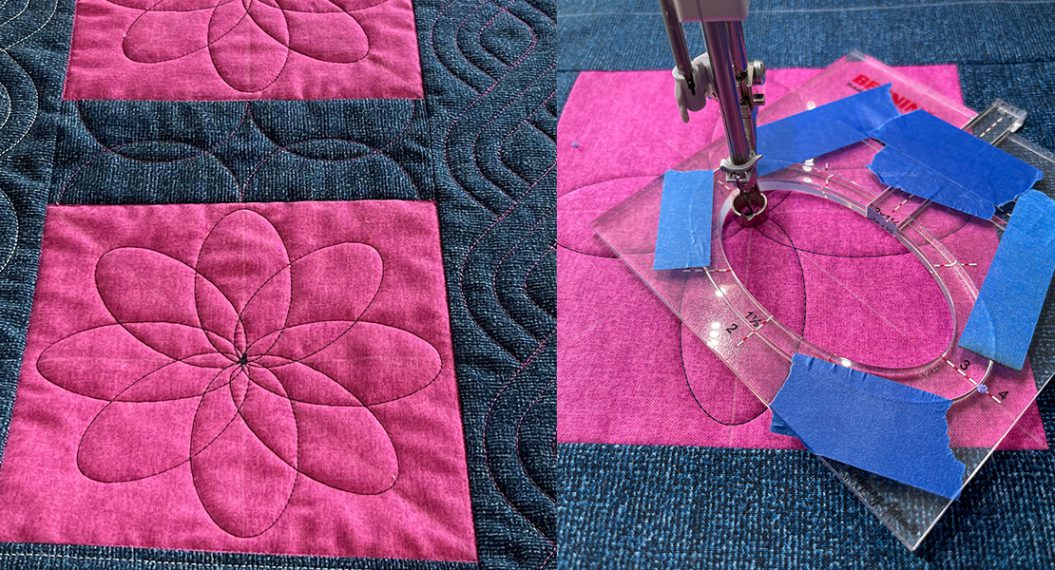
3 – 7″ Squares (pink)
2 – 7″ x 3″ inner sashing
2 – 7″ x 4″ outer border – short side
2 – 31-1/2″ x 4″ – outer border – long side
For smaller projects, I simply spray baste my layers together to prevent shifting and puckering while I quilt.
BERNINA’s Border Set Ruler Kit comes with 4 different rulers and a really informative instruction manual showing how to use each one. Today we’re going to focus on the Cable Ruler.
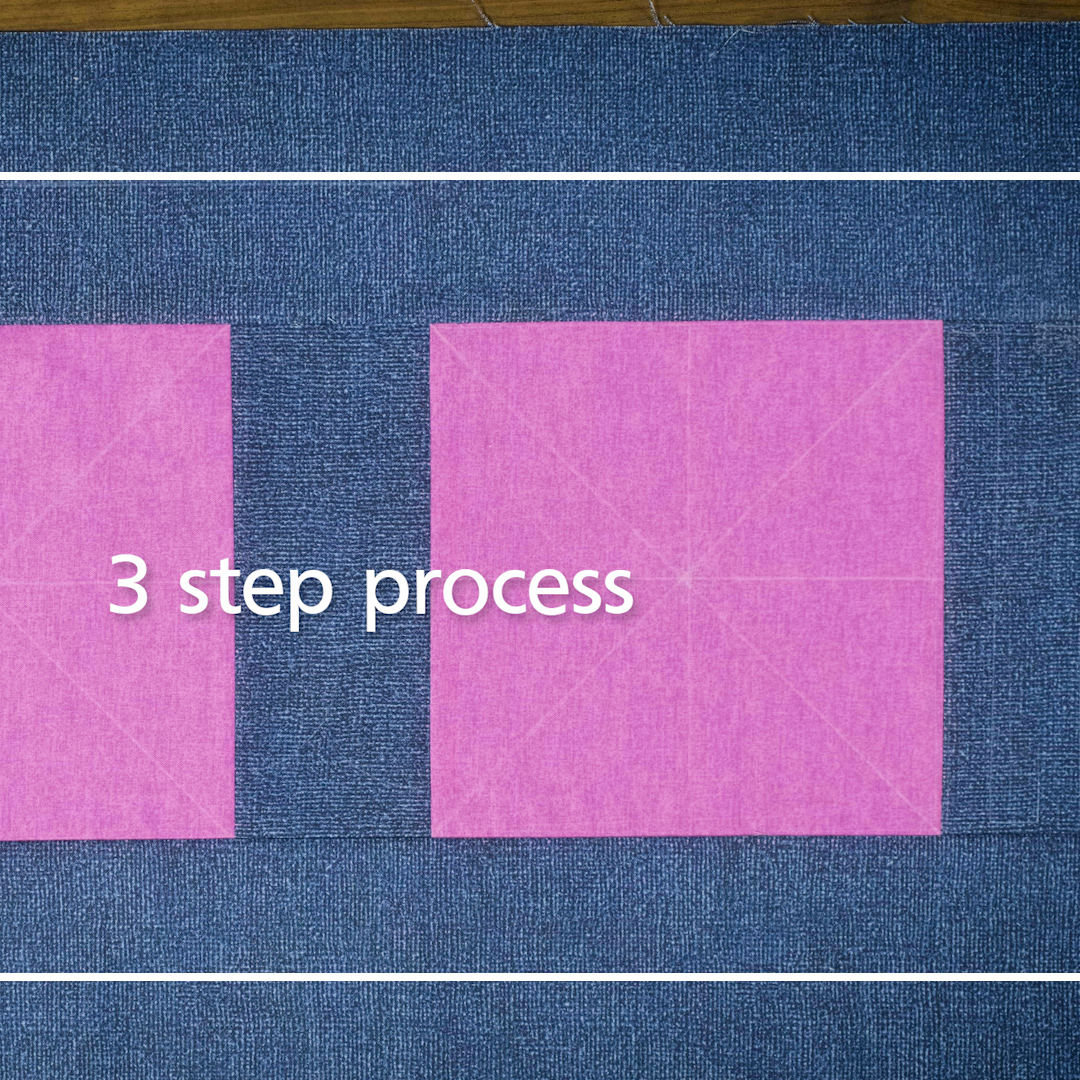
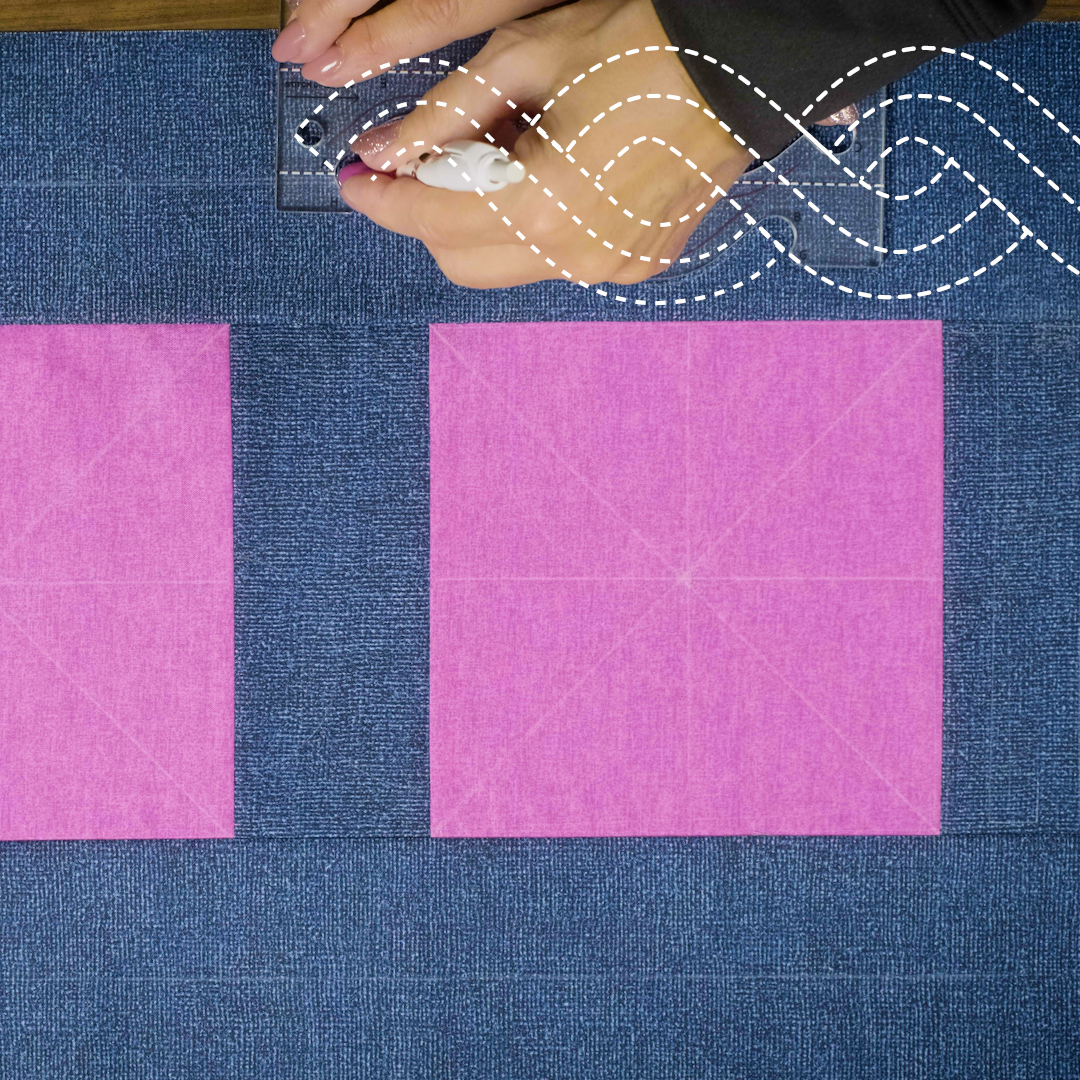
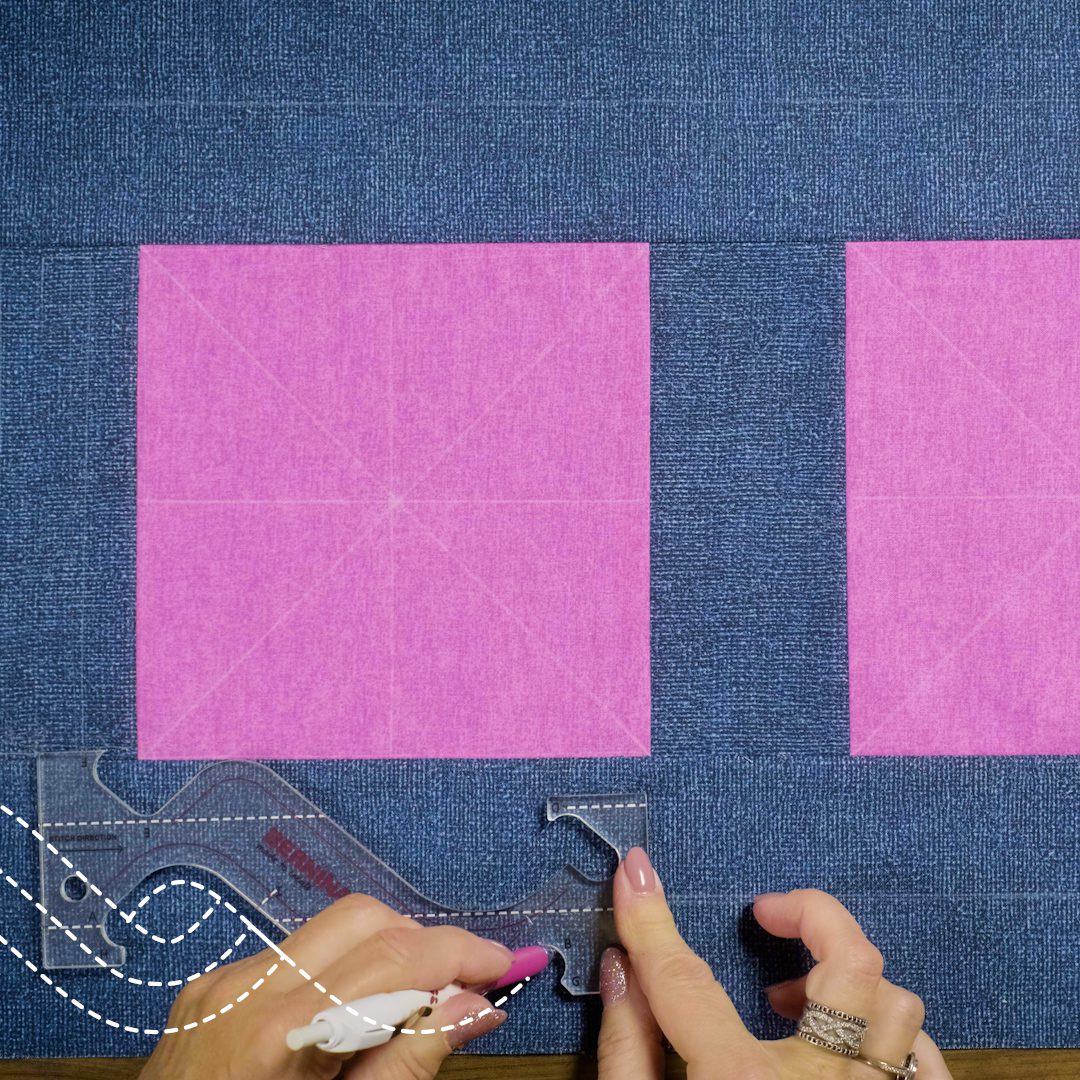
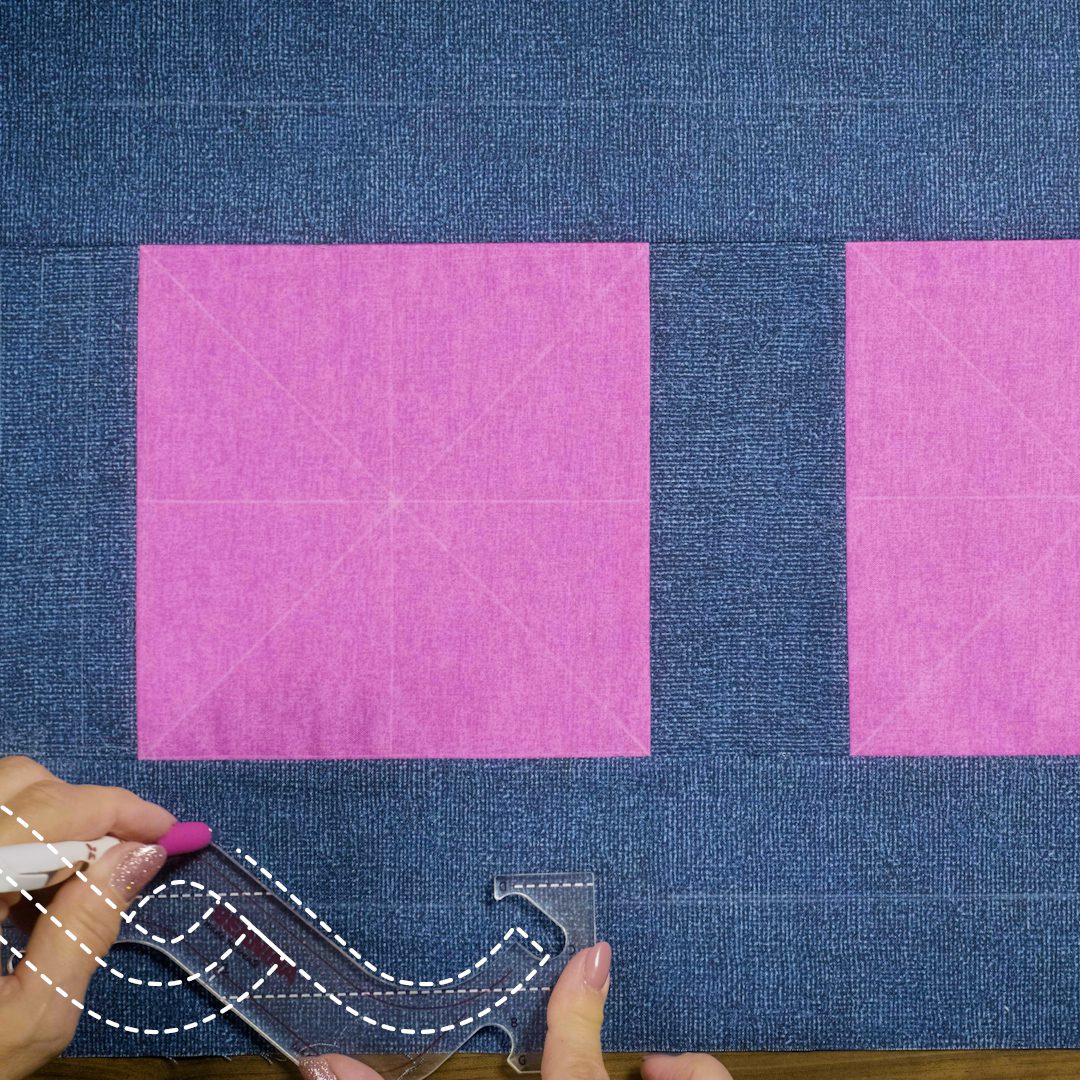
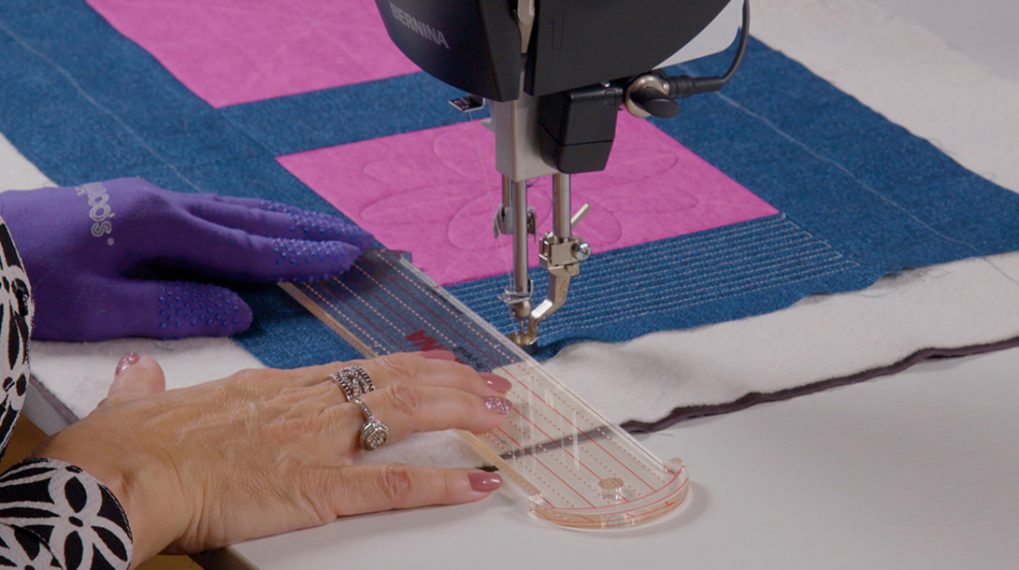
Begin by marking the center of your borders keeping in mind the 1/4″ that will be covered by binding. I used a white chalk pencil because it showed up really well on the blue fabric, but you can use whatever works best for you.
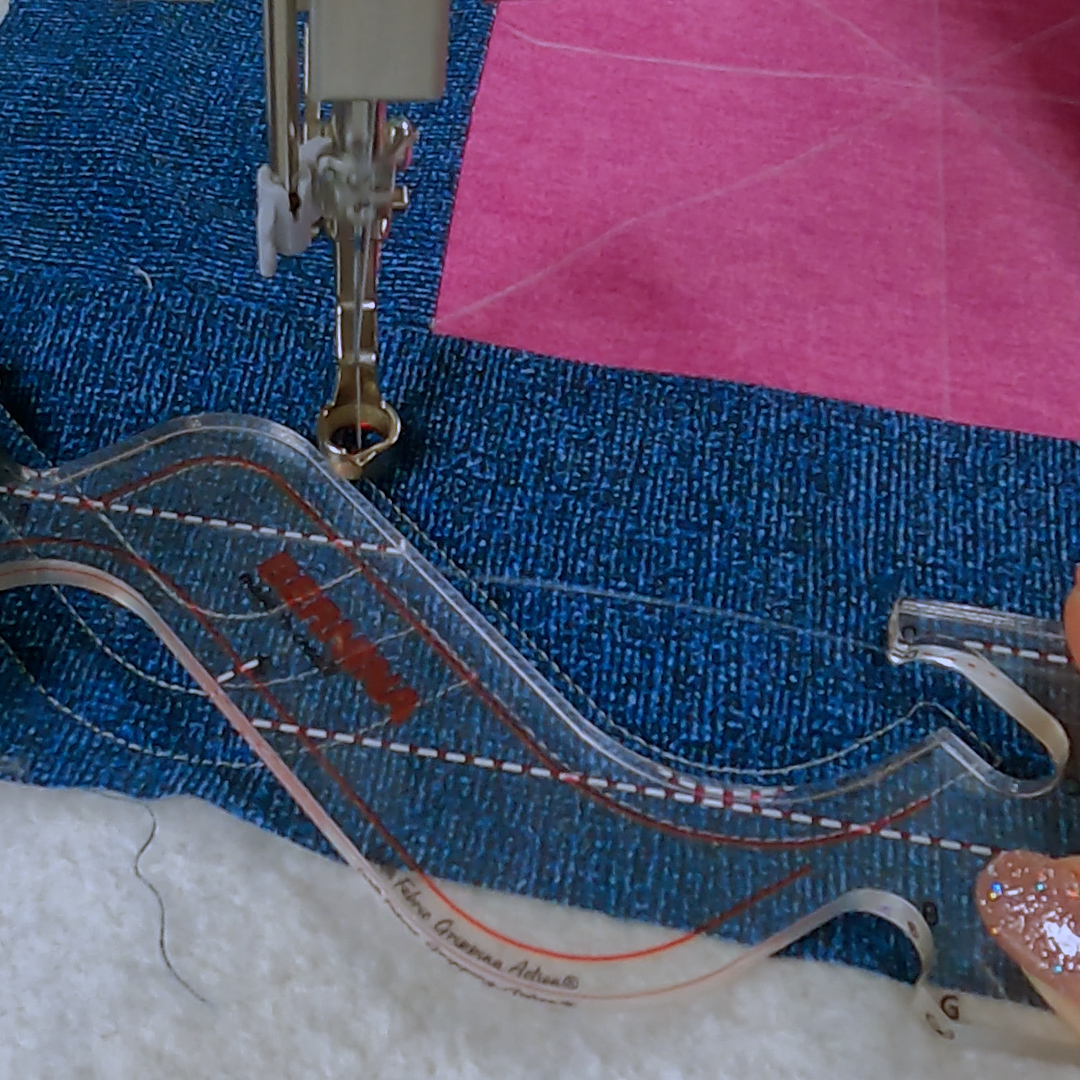
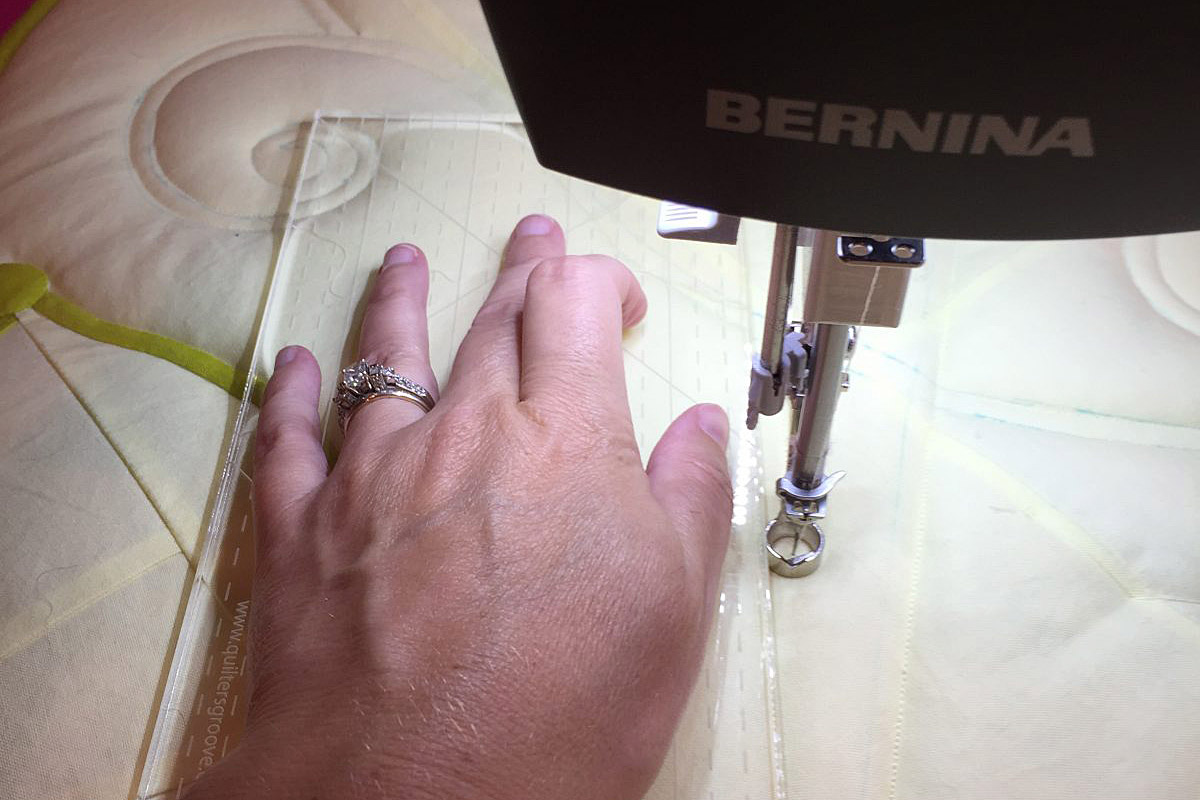
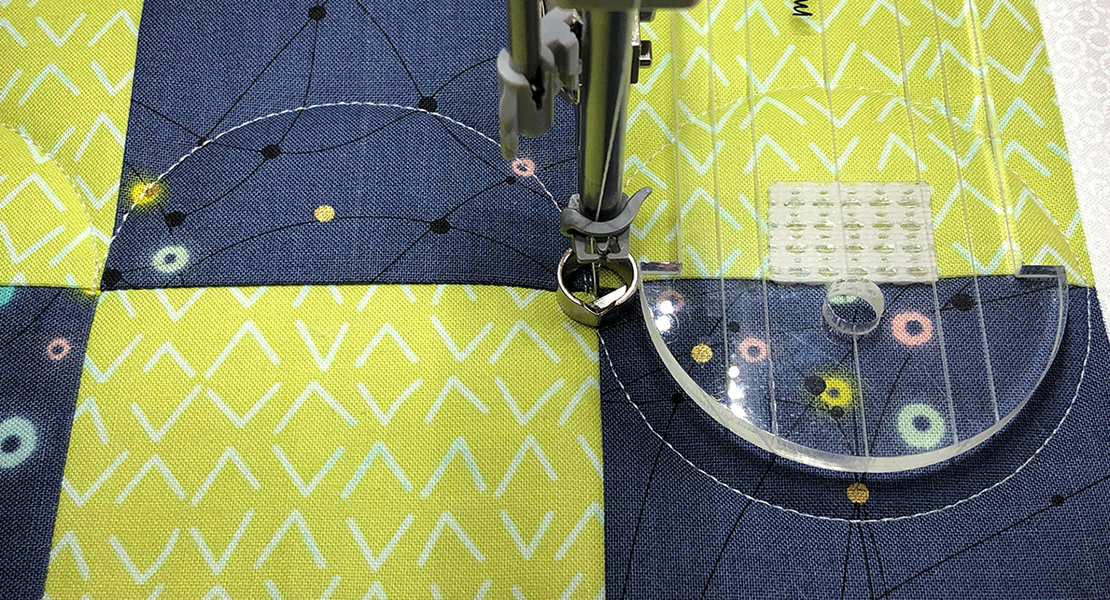
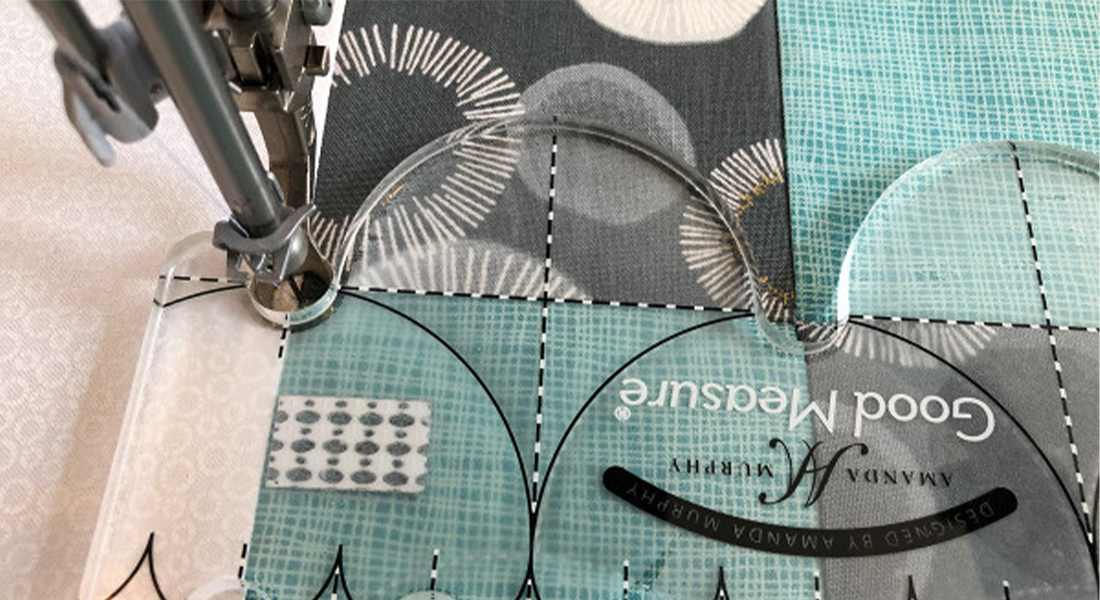
To stitch the cable, you will need to use the ruler 3 times for each cable. The first pass requires you to line up the dashed line on the lower half of the ruler with your drawn centerline. Step one is to stitch from “A” to “B” and stop in the needle down position.
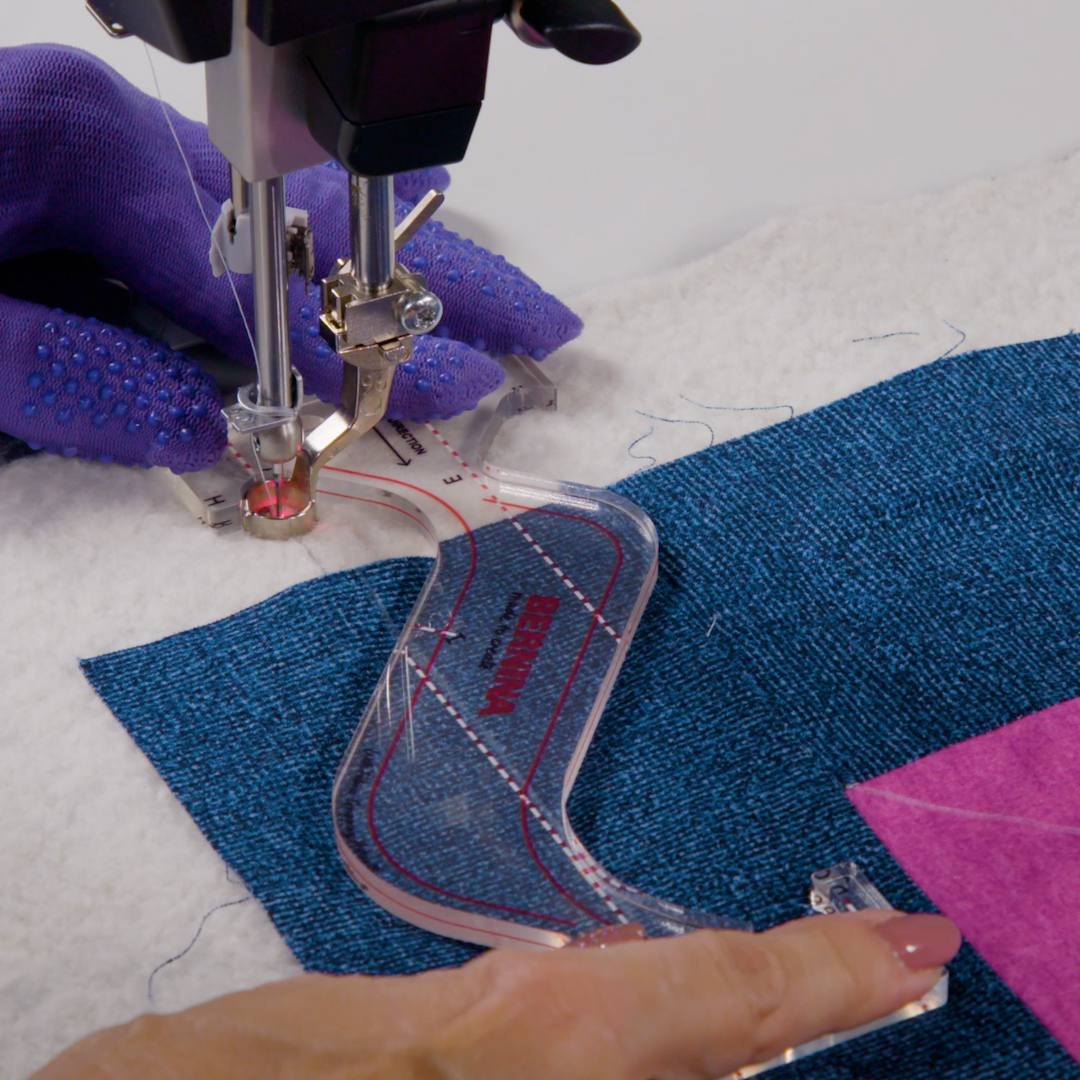
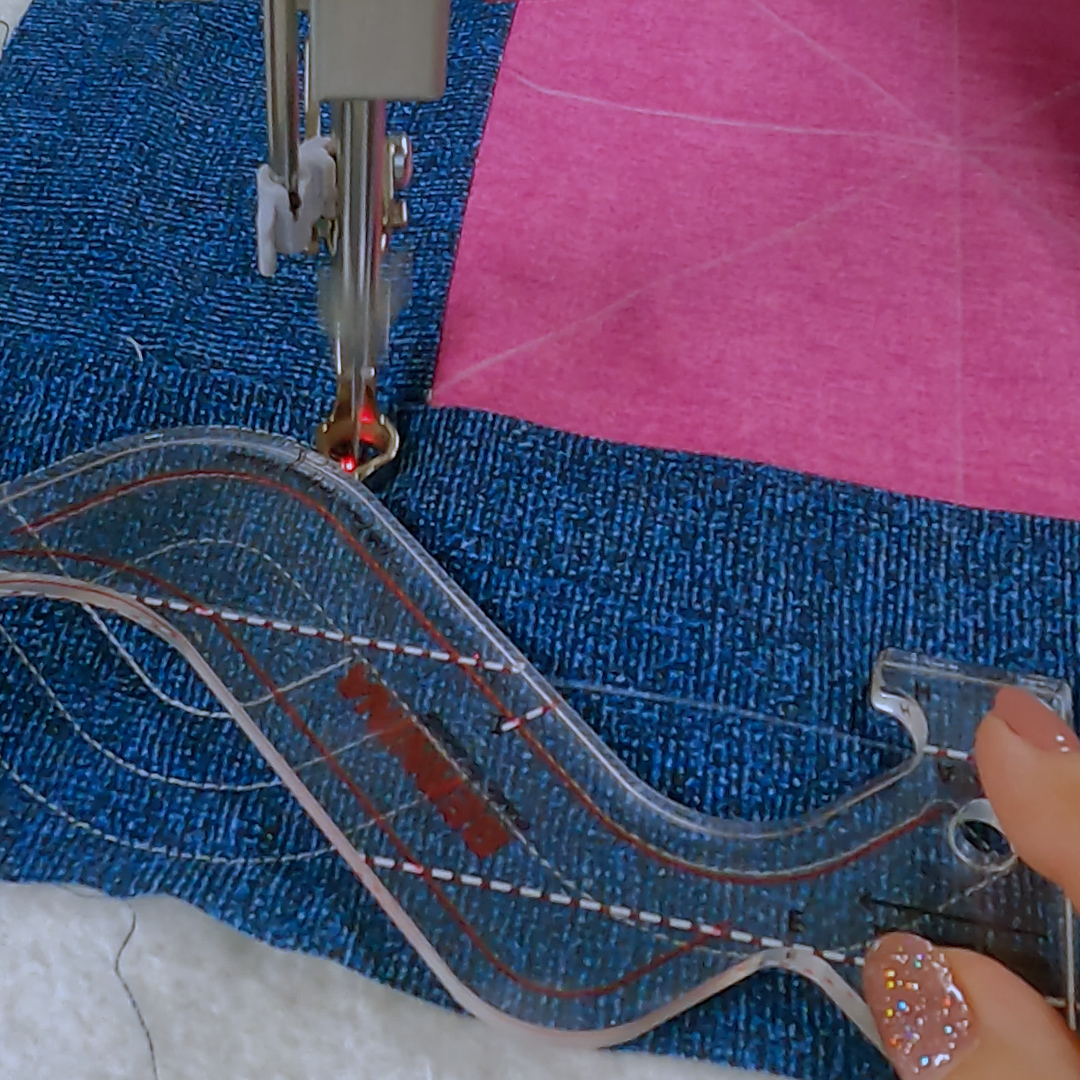
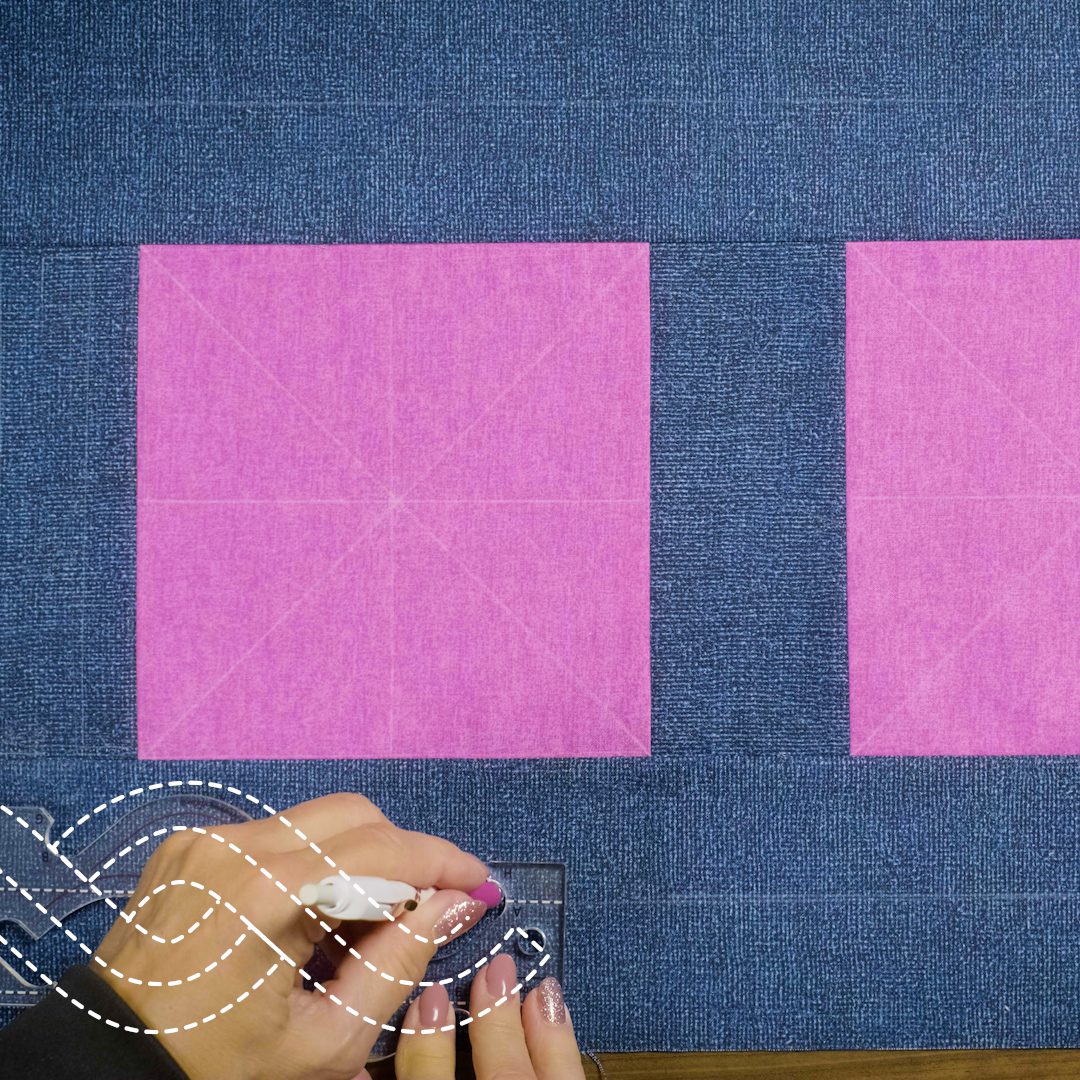
Next, you will reposition the ruler so the upper dashed lines are now on the drawn centerline. The cable ruler should hook onto your foot at the “C” position. When you have control of the ruler and it is positioned properly, stitch from “C” up to “D” and then over to “F” and stop in the needle down position. This is step two.
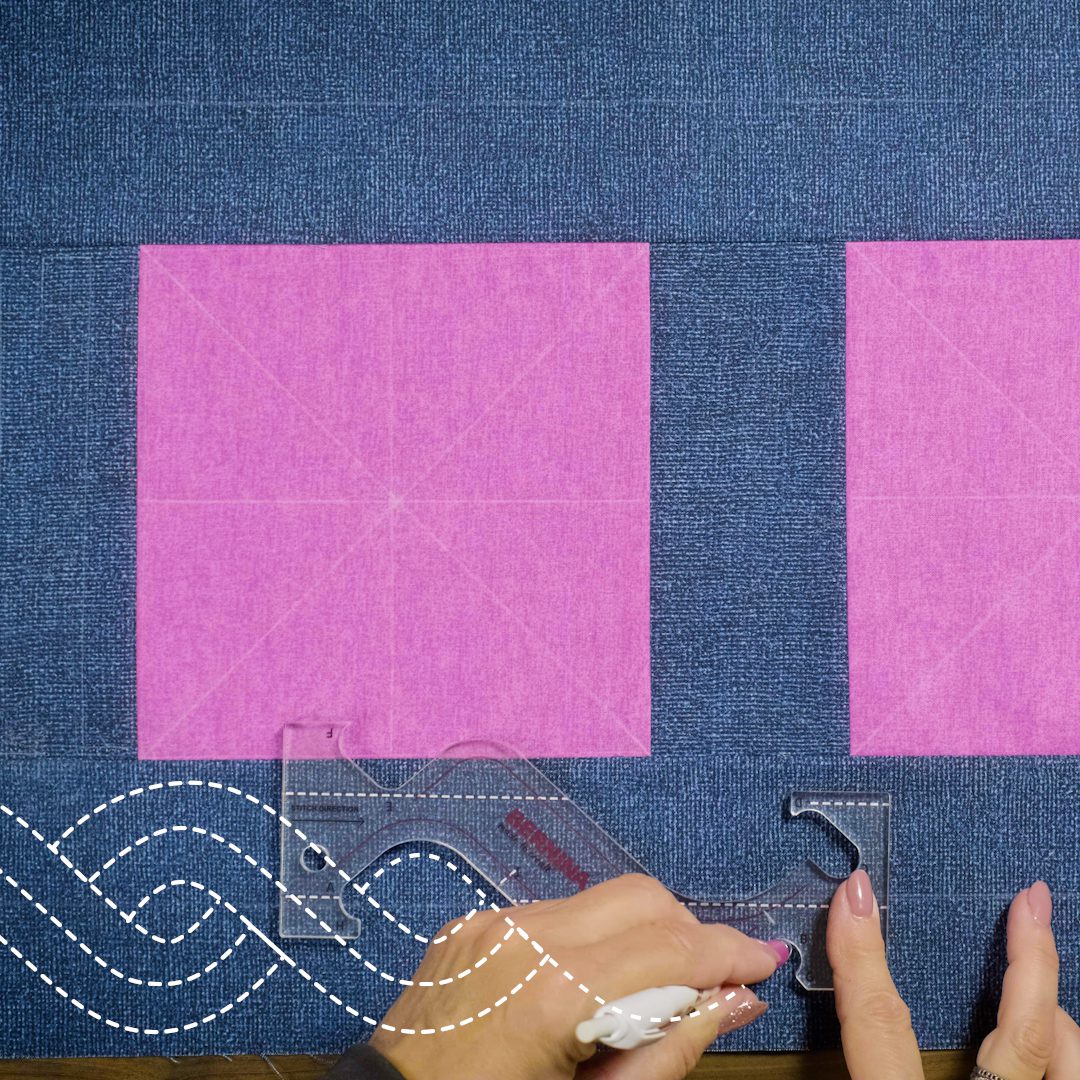
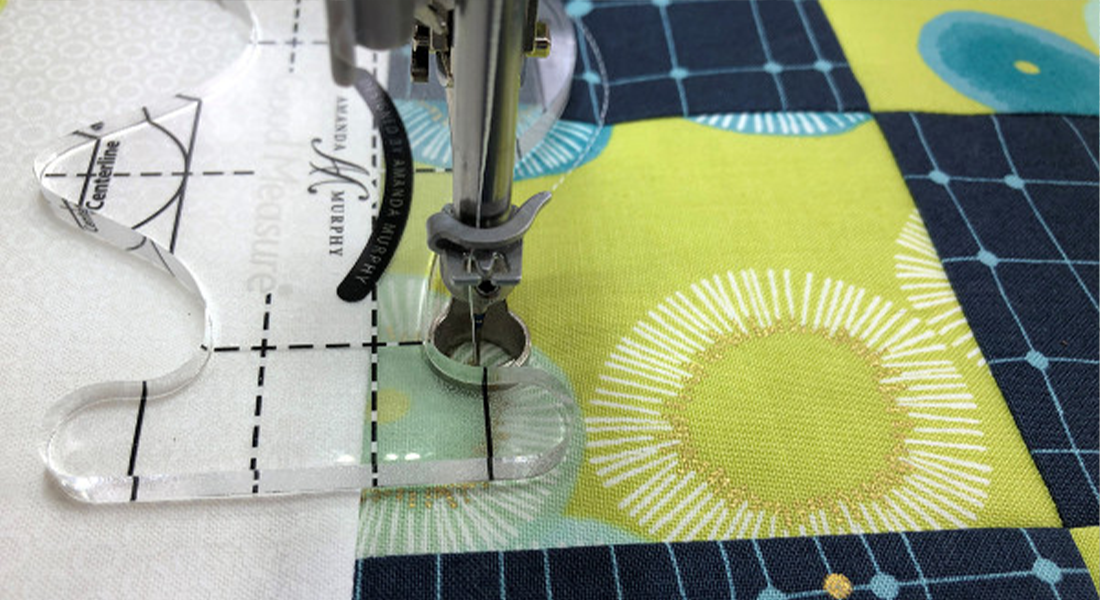
Step three is the only tricky part to remember. With the needle in the down position at “F”, rotate the ruler so it is now upside down and hook the “G” onto the ruler foot, reposition to the drawn line on your quilt using the dashed marks on the upper part of the ruler and stitch from “G” to “H” and then back to “I” and stop in the needle down position.
At this point, you should have 3 stitched lines on your quilt.
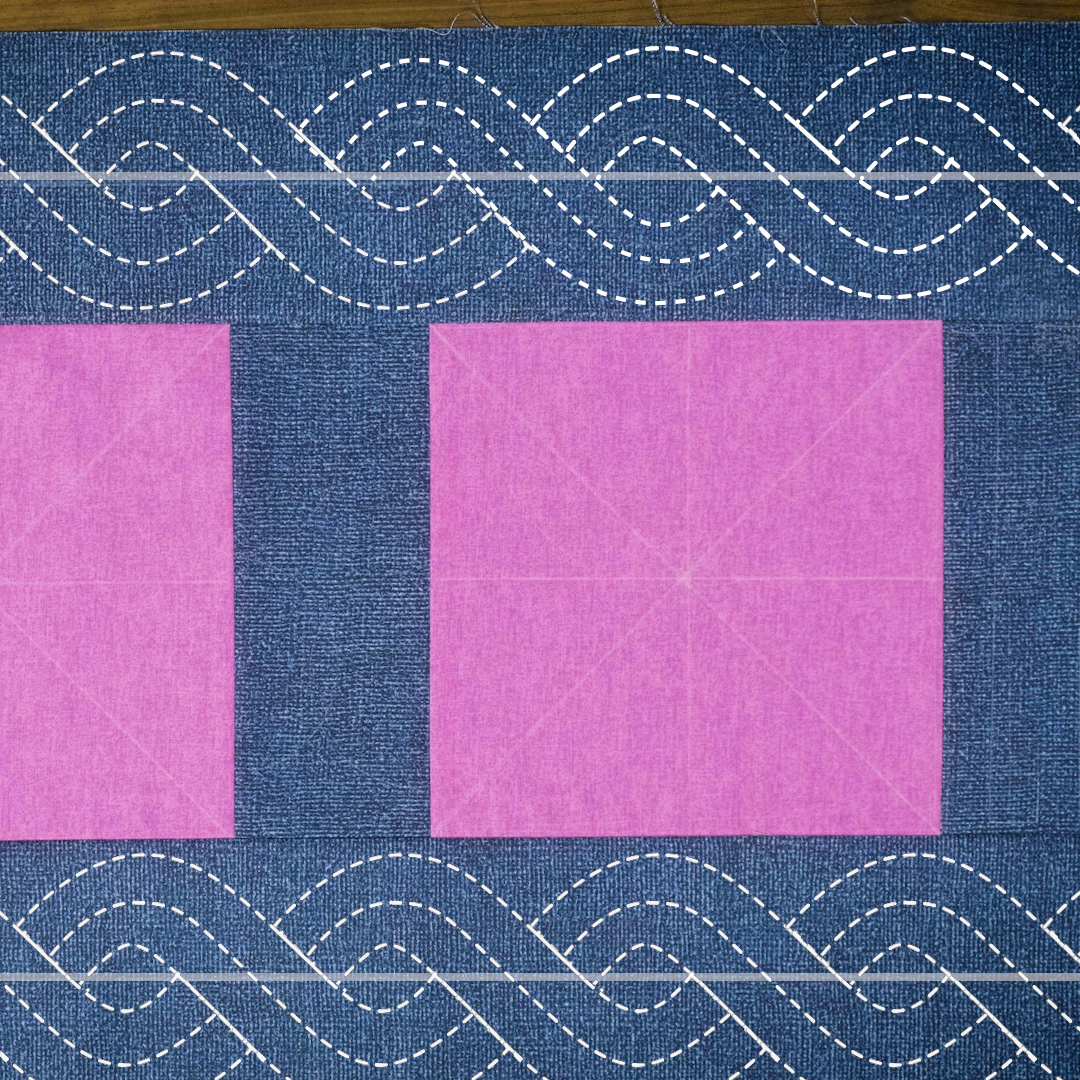
With the needle still in the down position at letter “I”, begin these three steps again by rotating the ruler and hooking it onto the foot at “A” on the ruler and the dashed lines of the ruler aligned to your drawn centerline. As you begin stitching from “A” to “B”, you create the center loop of your cable.
Step 1: A to B and stop needle down
Step 2: C to D to F and stop needle down
Step 3: Rotate ruler, G to F and back to I and stop needle down
Repeat these steps by positioning ruler so A is at the foot.
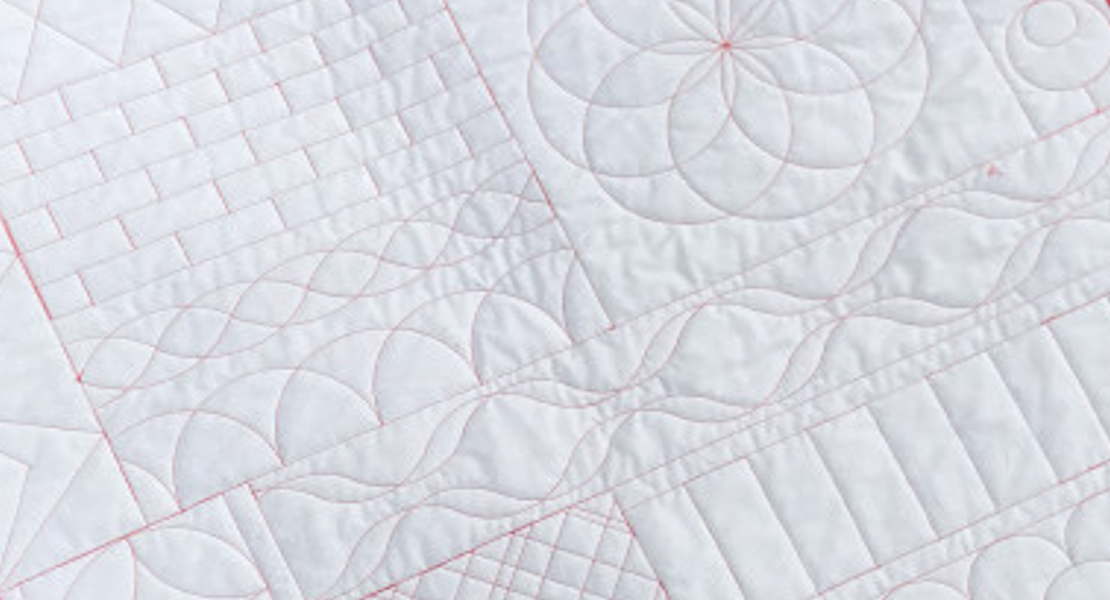
Simply repeat this three-step process across the entire border of your quilt. I usually have extra batting and backing so I can finish any half-started cables off the edge of my quilt.
As with all rulerwork, always look ahead and if you notice that you are not lining up, simply adjust your ruler as you sew to “fix” it.
Remember to use the least amount of pressure necessary to move the quilt and ruler while maintaining contact with the foot. You don’t want to “drift” off the foot by using too little pressure, but if you use too much pressure it is difficult to move the ruler and quilt and you quickly get fatigued. It gets easier with practice.
If you’re new to rulerwork, remember to use the proper rulers or templates for your machine.
Happy Quilting!
Used Products


What you might also like


5 comments on “Rulerwork: BERNINA Cable Ruler”
-
-
Would love the cable ruler but not the rest of the set.
-
Hi Verna, Isn’t that cable ruler fun! I’m doing another blog series this year using another ruler in that set. It’s a really good set to have, but if the cable ruler is all you are looking for, it is made by Quilter’s Rule and is available as a single unit. Contact your local dealer for help in obtaining one. If they are not set up to do that, Quilter’s Rule has a website for ordering as well. https://quiltersrule.com
Take care and thanks for your comment. Donna-
Went to the quiltersrule web site and could not find the cable ruler. Amy suggestions?
-
-
https://quiltersrule.com/SearchThumbs.php?tier=retail&search=CABLE
Here is a link directly to this particular ruler. You need the 1/4″ thickness if using on a BERNINA longarm. Thanks for reaching out.
Leave a Reply
You must be logged in to post a comment.

Bear in mind that this ruler may not work with your longarm’s ruler foot. It didn’t work with my Handi Quilter Surefoot.