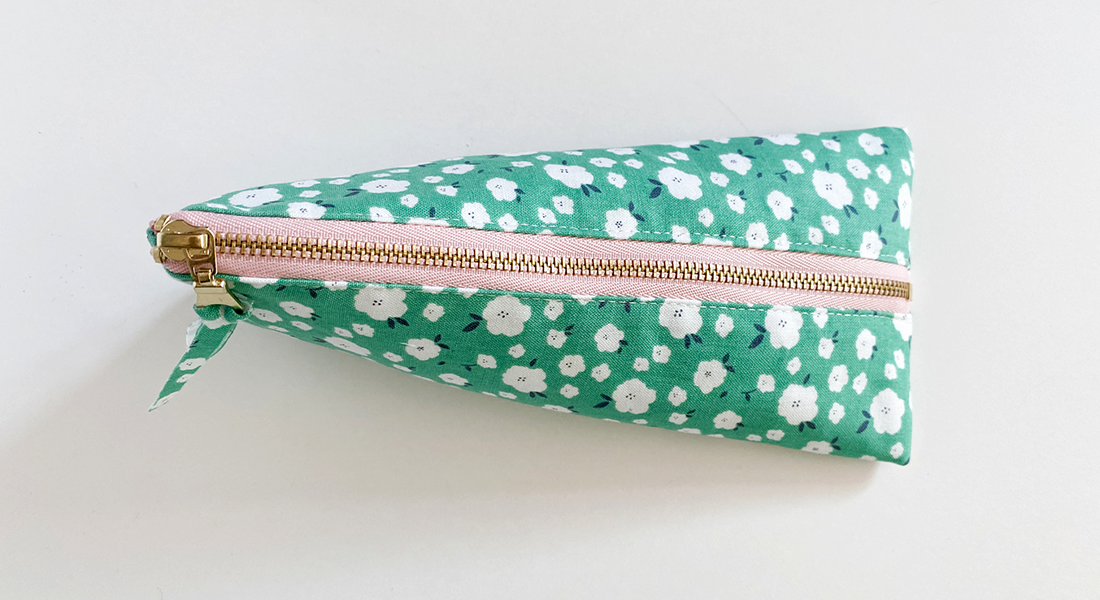
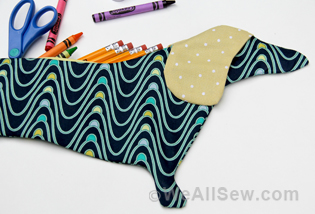
Scissors Case Tutorial
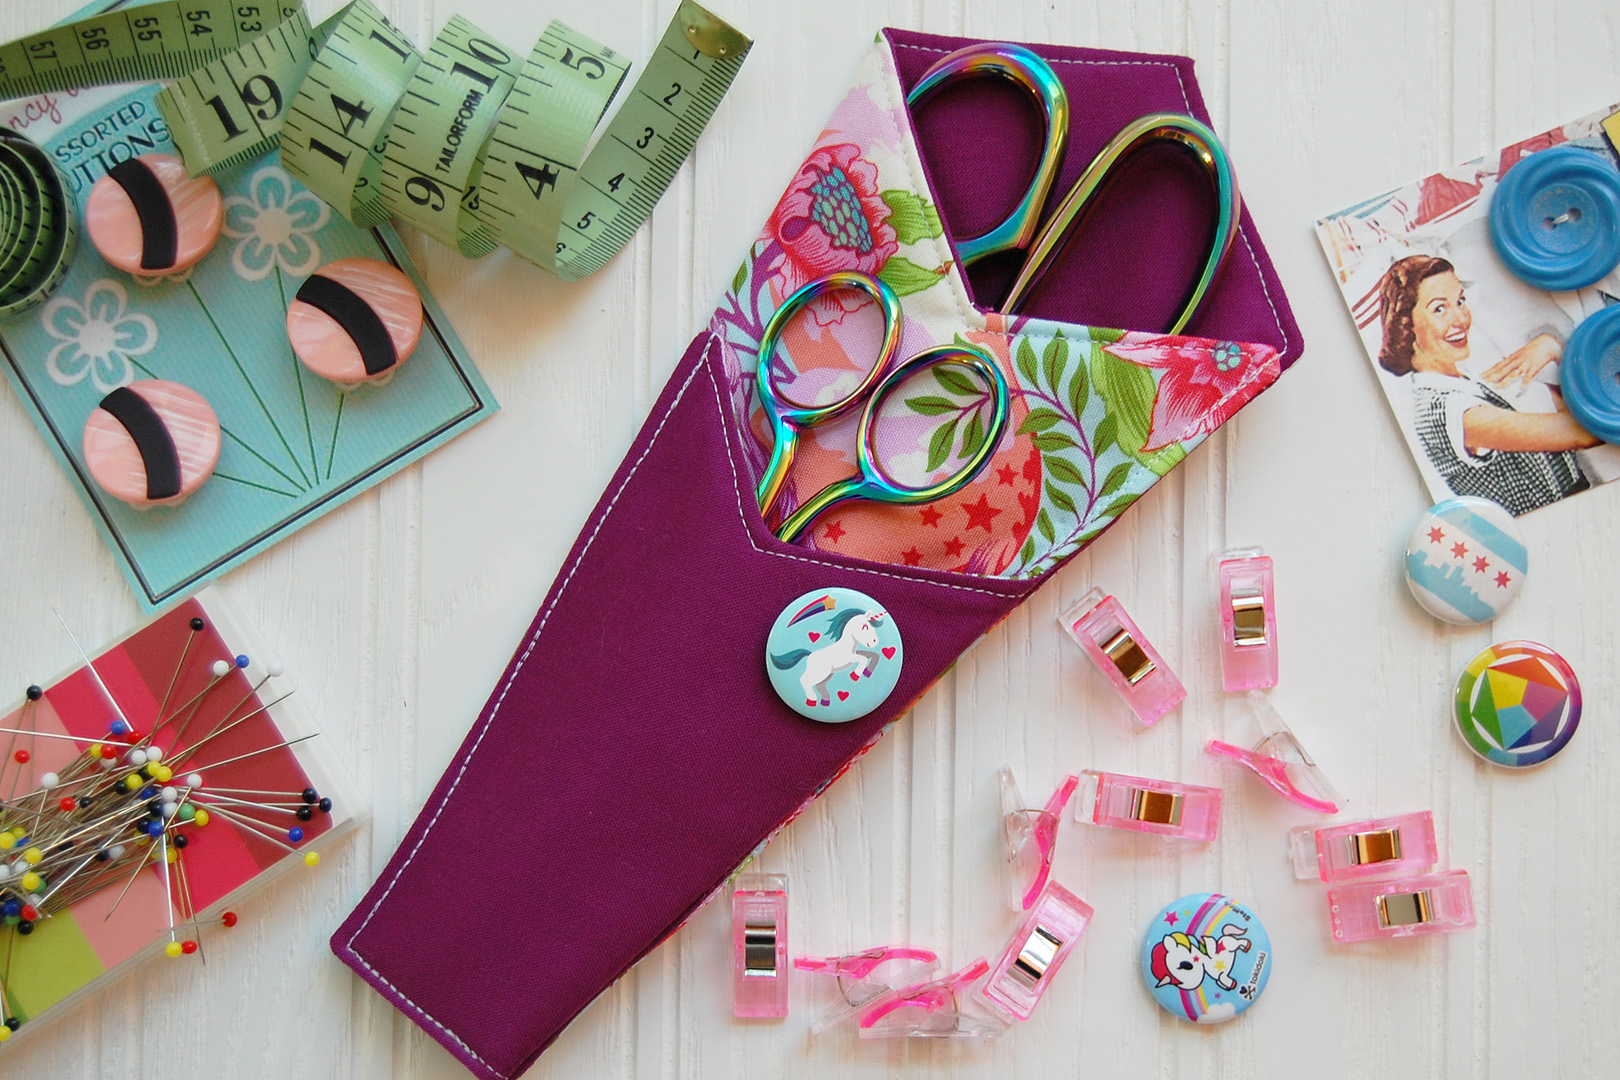
Stitch a simple case to keep your favorite sewing scissors safe and secure! This is a great project for using larger scraps or fat quarters, and you can stitch one up in just about an hour. Print out the free PDF pattern and follow along with the Scissors Case Tutorial to get started.
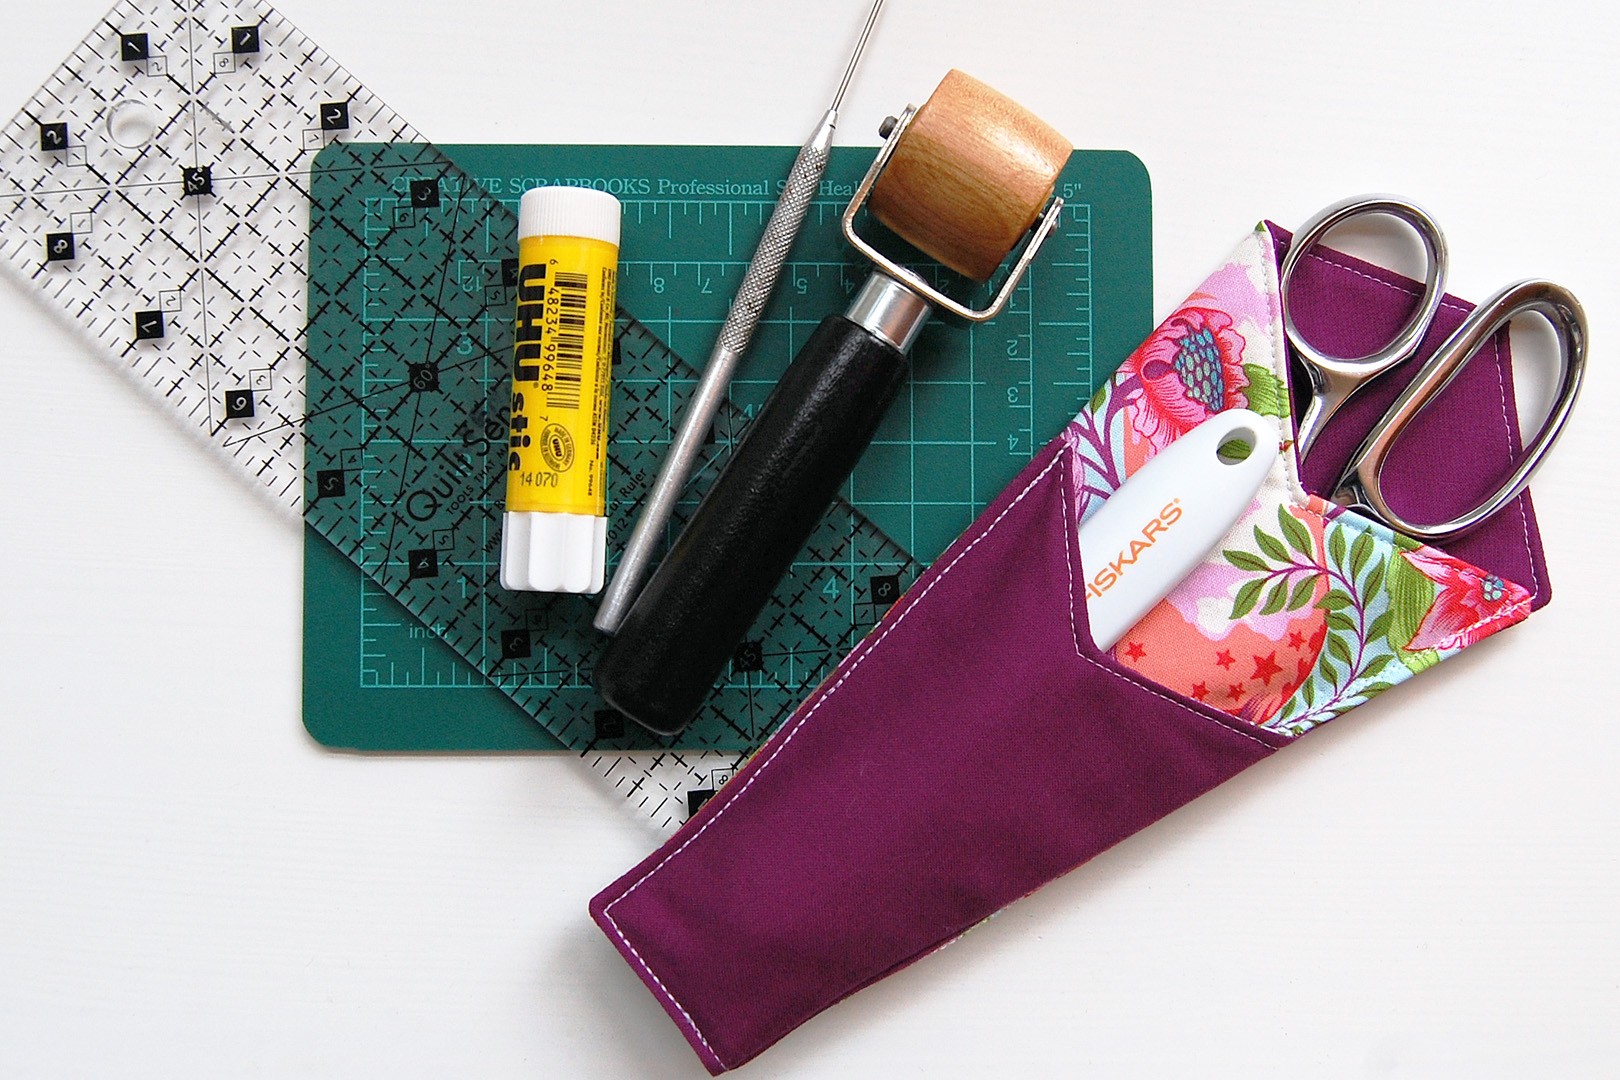
Materials to Make a Scissors Case
- Print the Scissors Holder Pattern here at 100% (no scaling/shrinking)
- Fat quarters or 12″ x 11″ scraps of fabric
- One piece for the main fabric (outside on back and middle pocket), I used a Tula Pink Imaginarium print
- One piece for contrast fabric (inside of top pocket and outside of bottom pocket), I used a solid fabric
- One 12″ x 11″ piece of fusible fleece
- Coordinating thread
- Paper craft scissors
- Tape
- Fabric cutting shears
- Glass head straight pins
- Point turner or chopstick
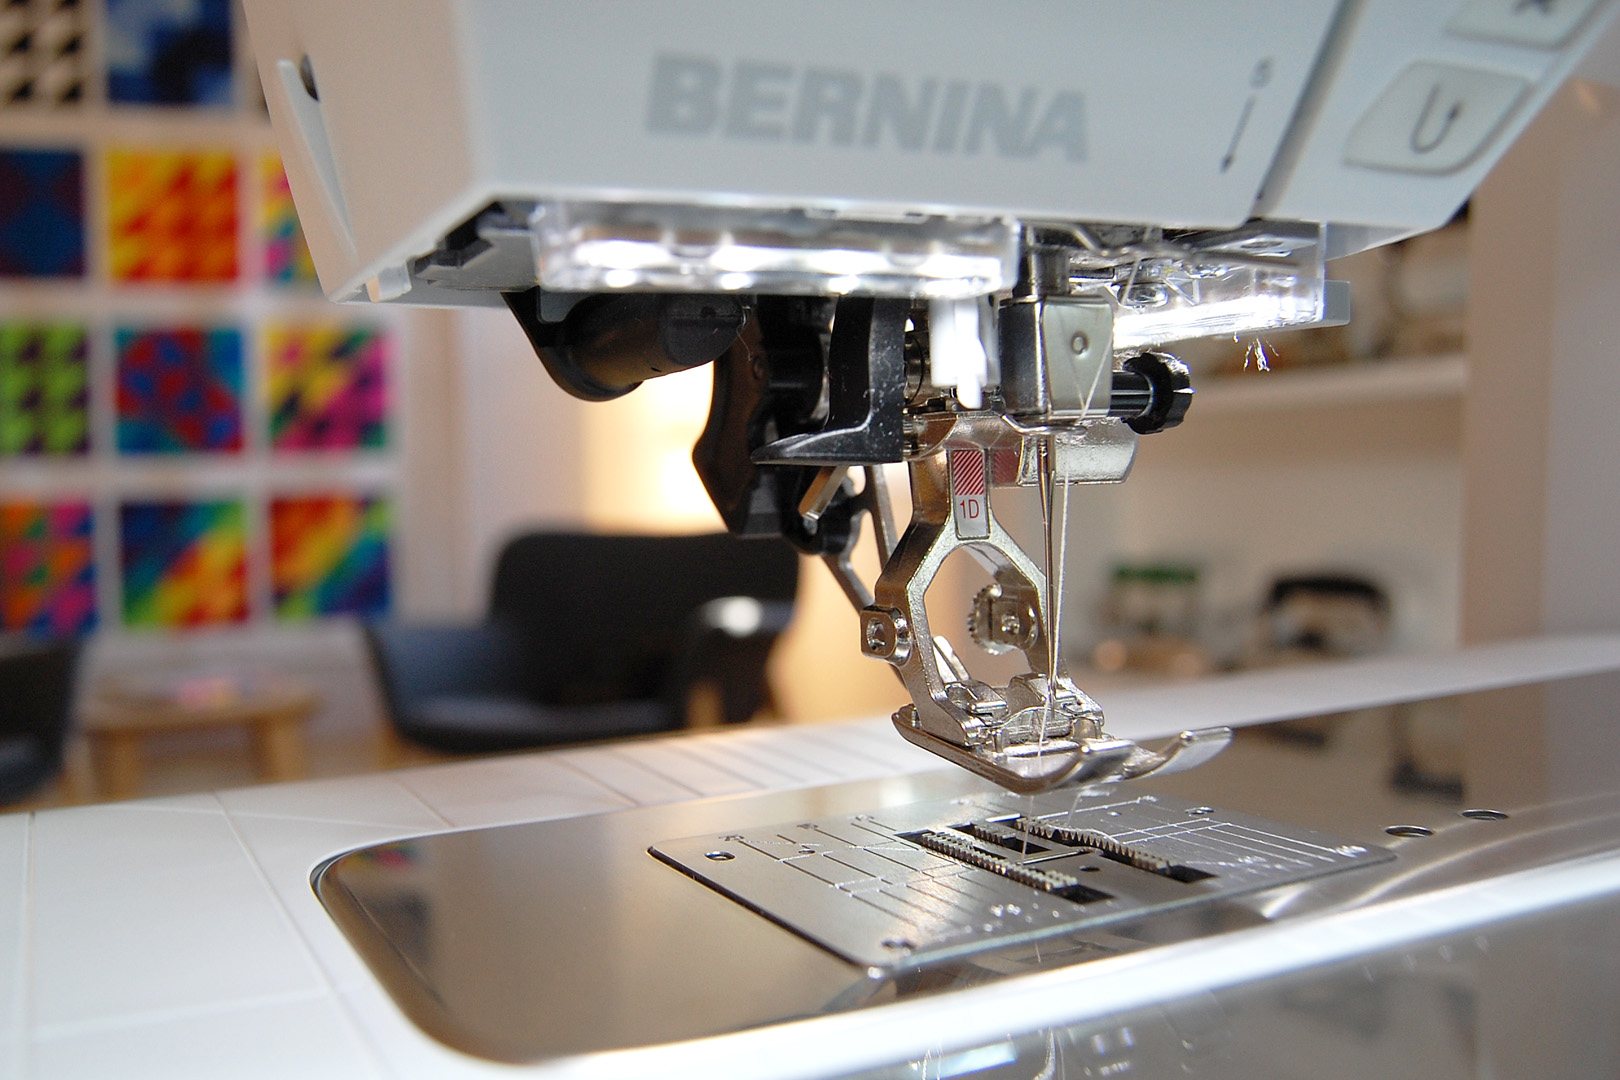
- Sewing machine (I use a BERNINA 570 QE)
- Patchwork foot #97 (or quarter inch foot of choice)
- Reverse pattern foot #1D or Walking foot #50

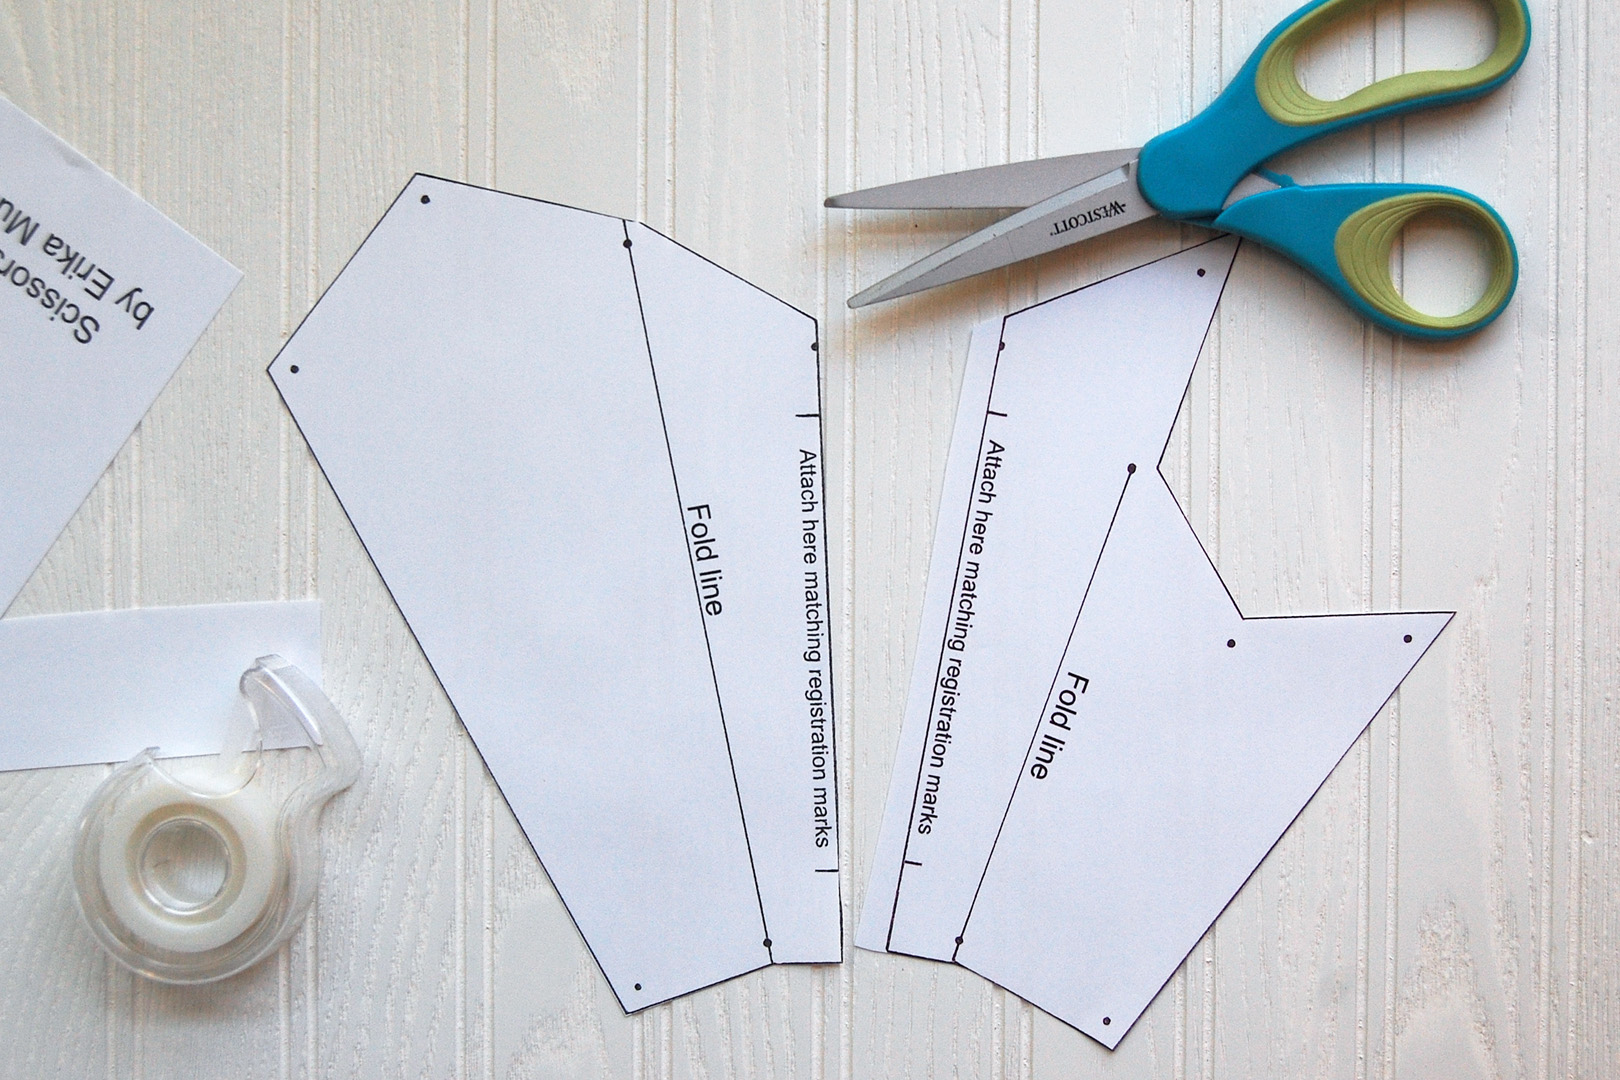
Preparing the Scissors Case Paper Pattern
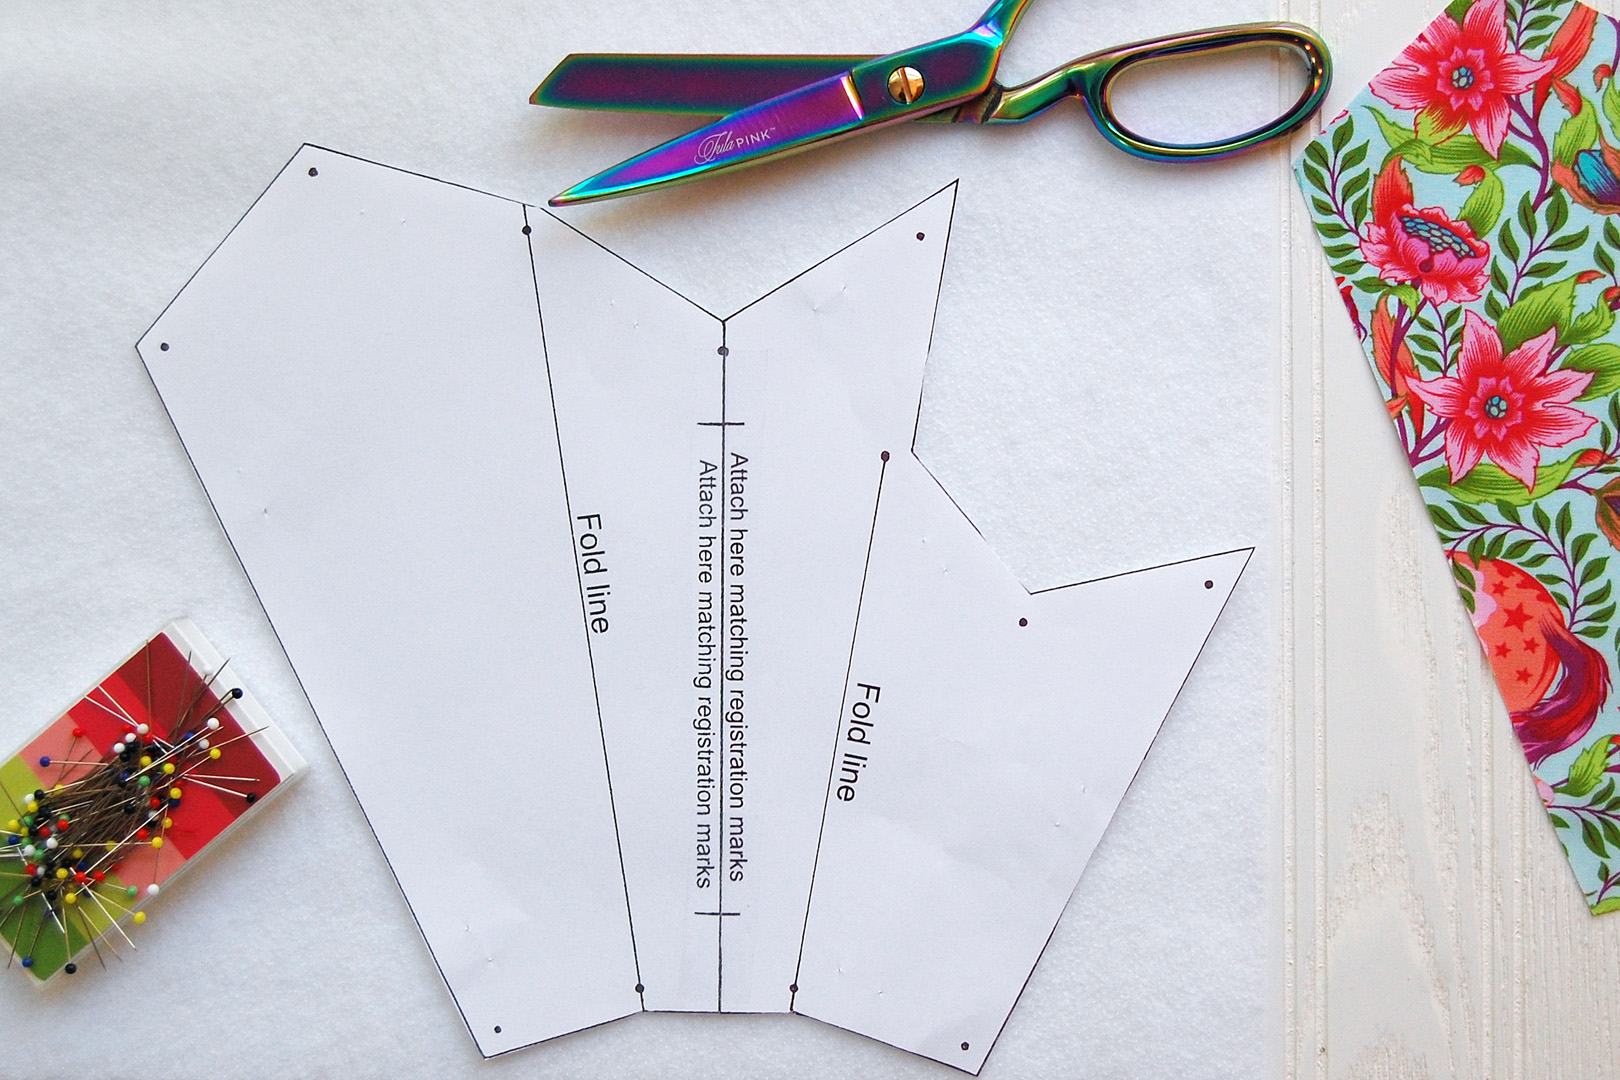
Download and print both pages of the PDF pattern at 100%, do not scale up or down to avoid distorting the pattern. Grab a pair of paper craft scissors and tape. Cut out the two pattern pieces. I found that leaving an extra half-inch on one edge where the pattern joins gives you a bit of extra stability when aligning the pieces to tape together.
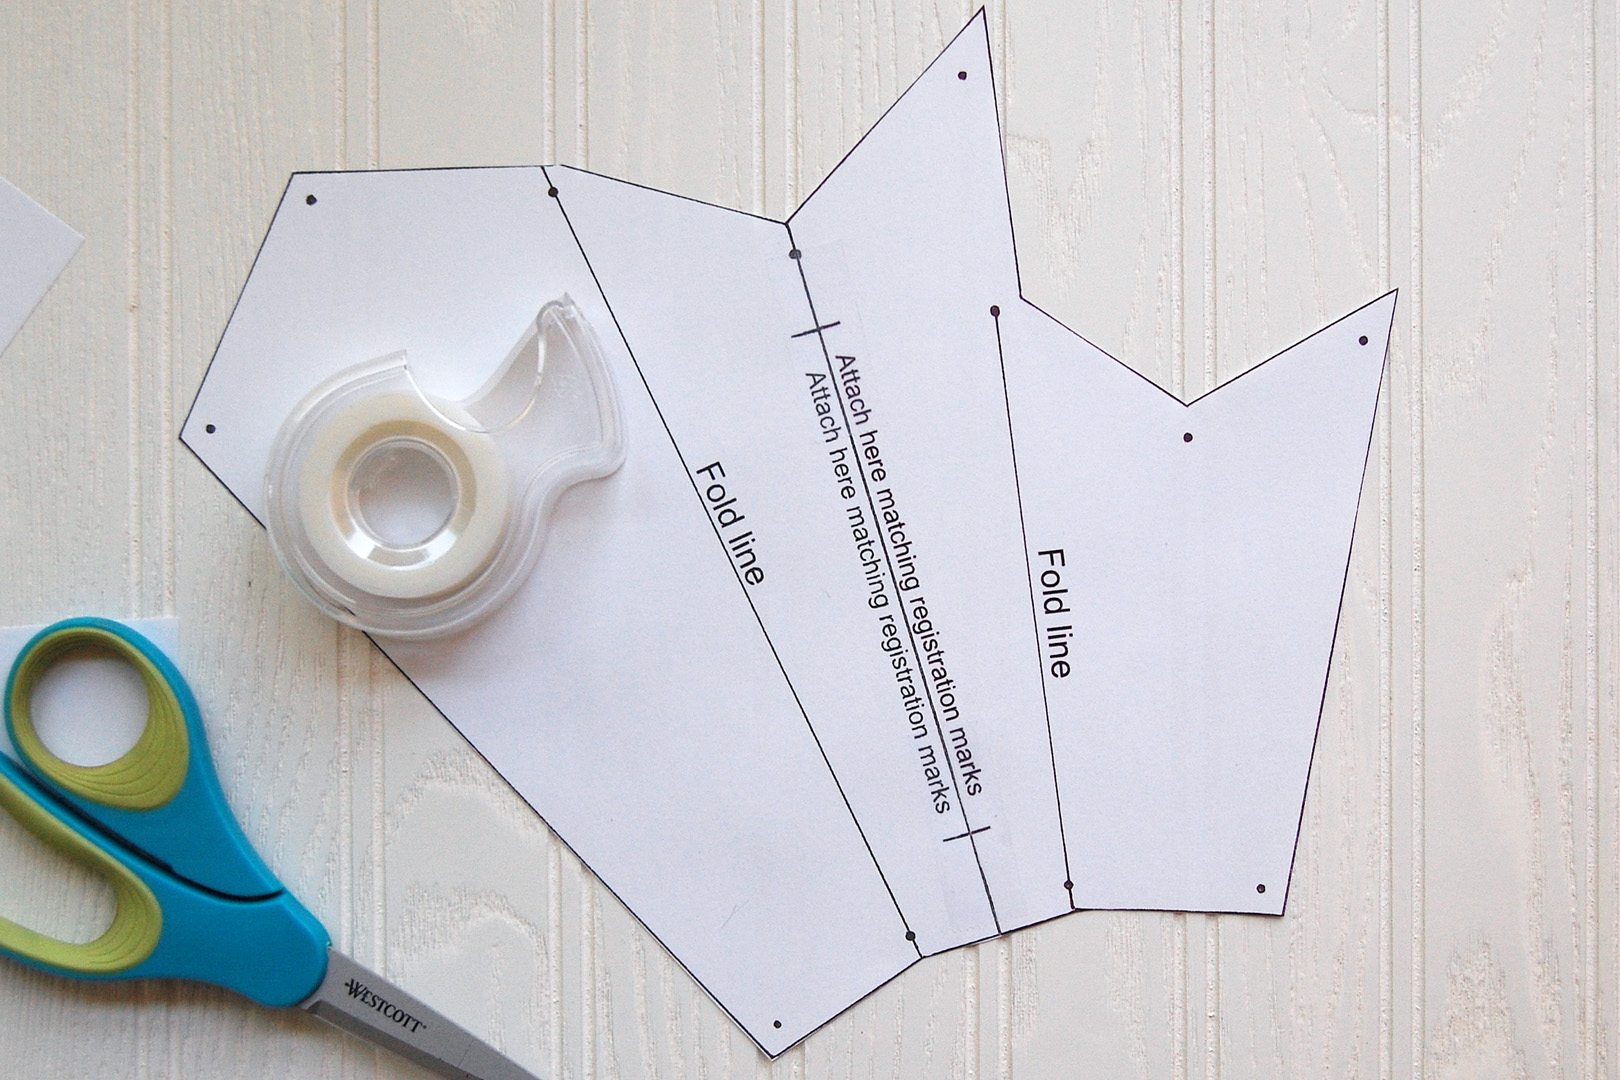
Line-up the two edges matching the short registration marks, and tape well.
Cutting the Scissors Case Pattern Pieces
You can cut the pattern pieces two different ways.
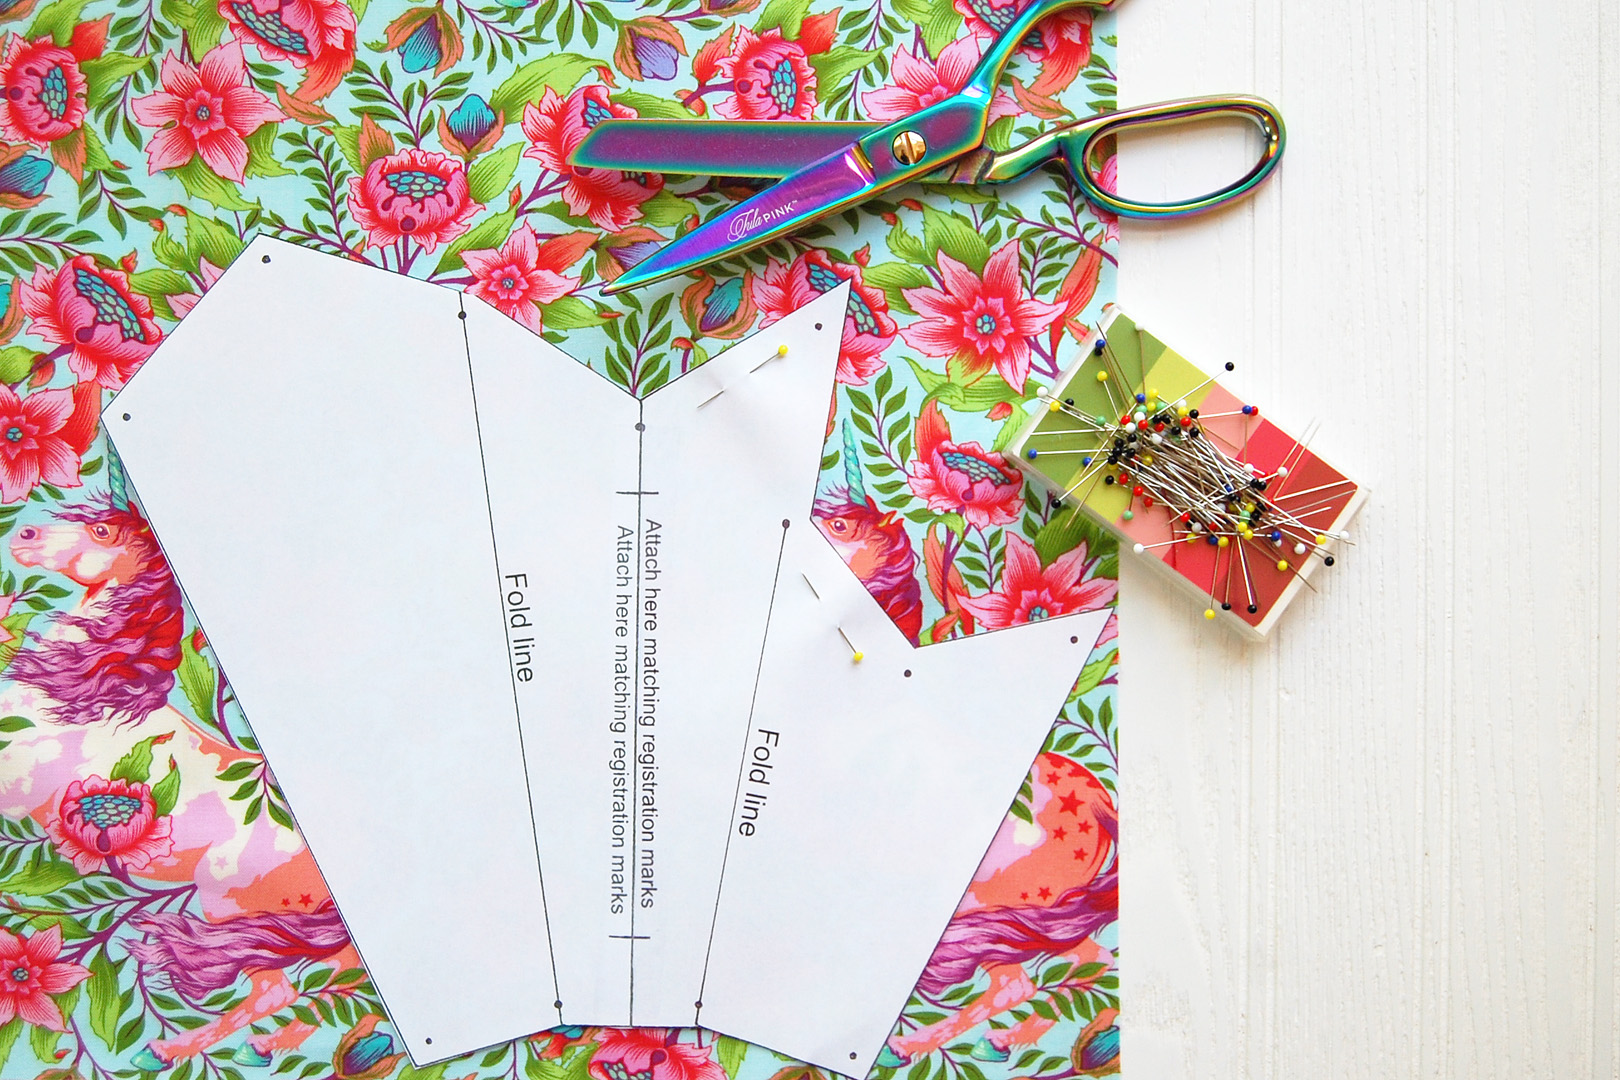
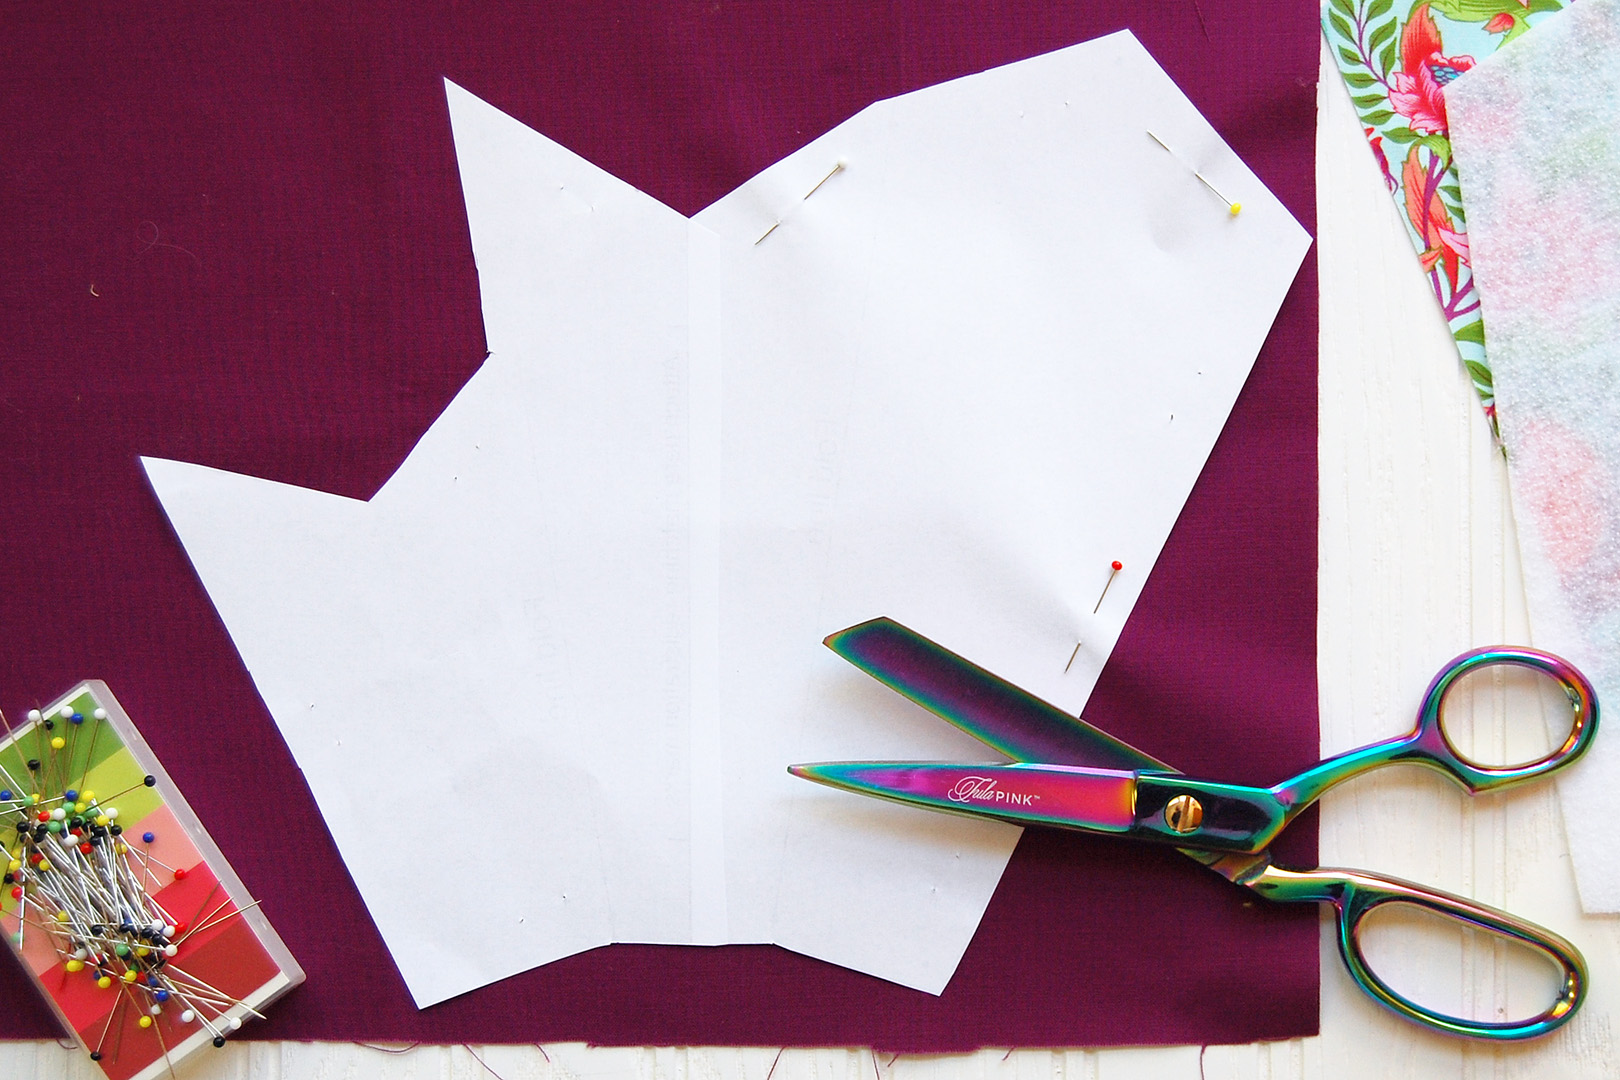
In method one, all pattern pieces are cut at one time through all layers of fabric and fusible fleece. This is a good method if you are using a small print, solids, or fabrics that you don’t need to carefully fussy cut. Start by placing the fusible fleece on your work table with the fusible side up, place the wrong side of your main fabric on top (right side facing up), and place your contrasting fabric right side down as the top layer. Pin the pattern through all layers and cut.
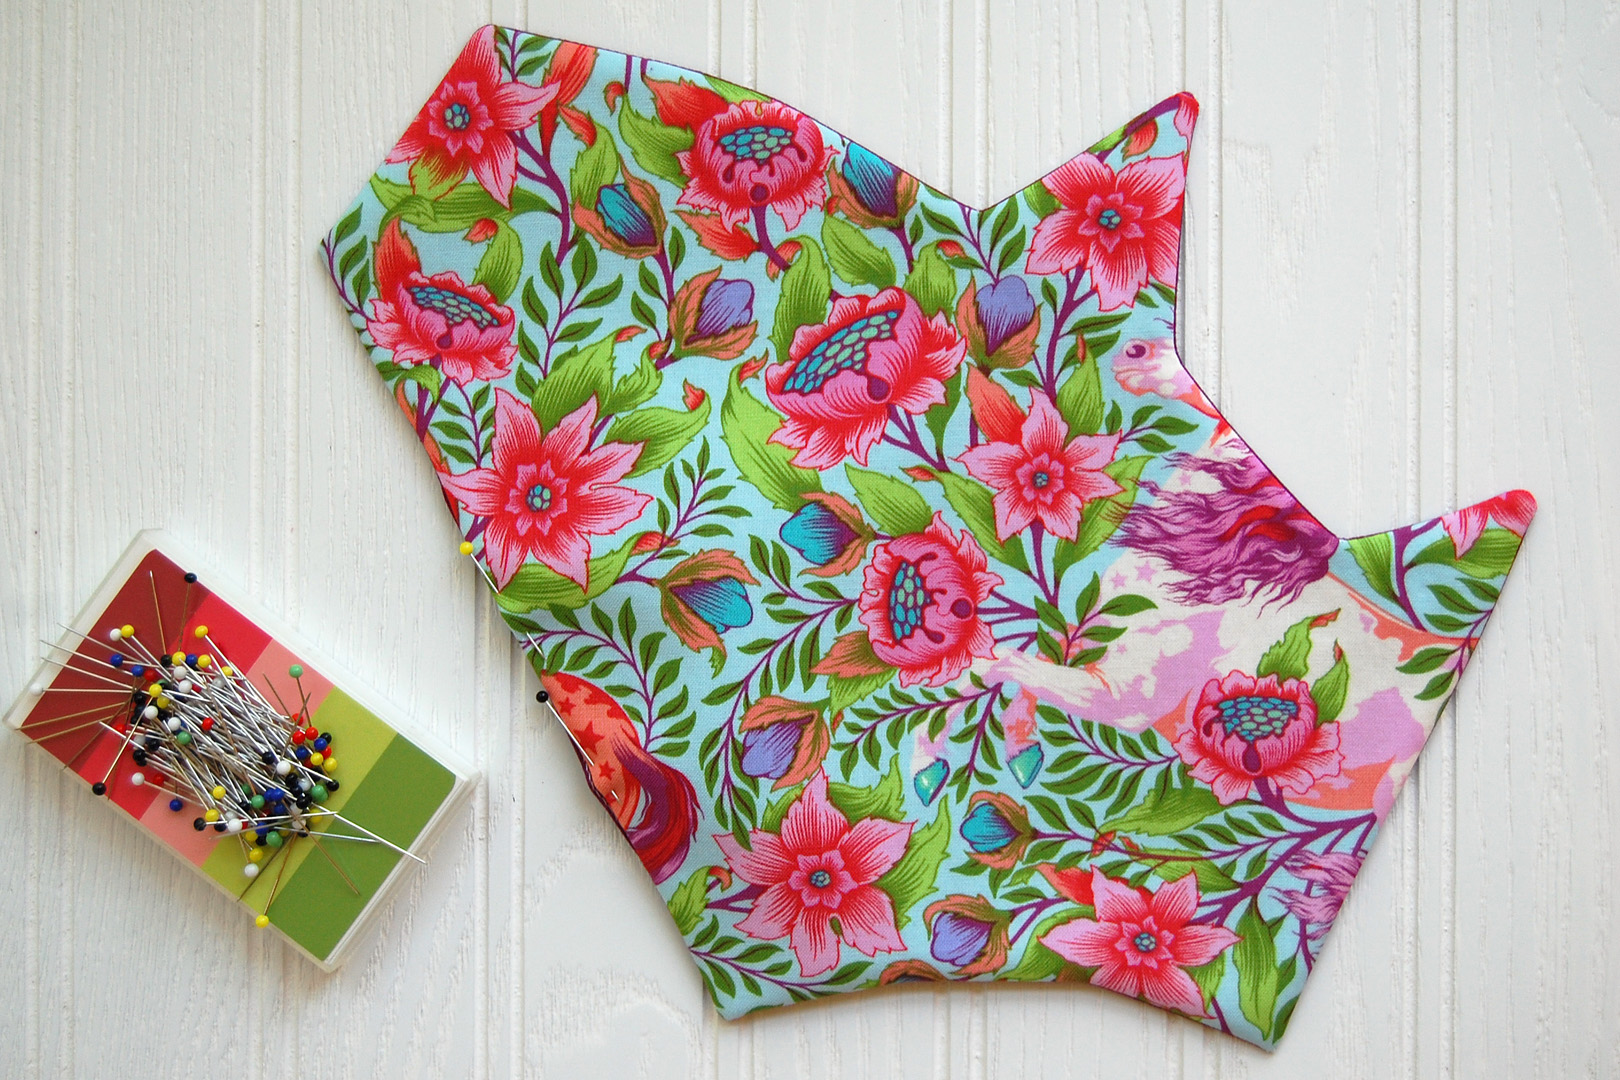
To fussy cut a larger fabric print, follow method two below. With your main fabric print right side up, place the pattern piece right side up and pin where desired. Cut out the main pattern piece and set aside.
Grab your fusible fleece and place it on the work table with fusible side up. Place the pattern piece right side up and pin in place. Cut out and set aside.
Grab your contrast fabric and place it right side up on your work table. Place the pattern piece right side down and pin in place.
Before moving on, transfer the dots on the pattern to the wrong side of the contrasting pattern piece using a fabric marking pen or pencil. These dots are there to help you pivot in the right places when sewing the scissors case together.
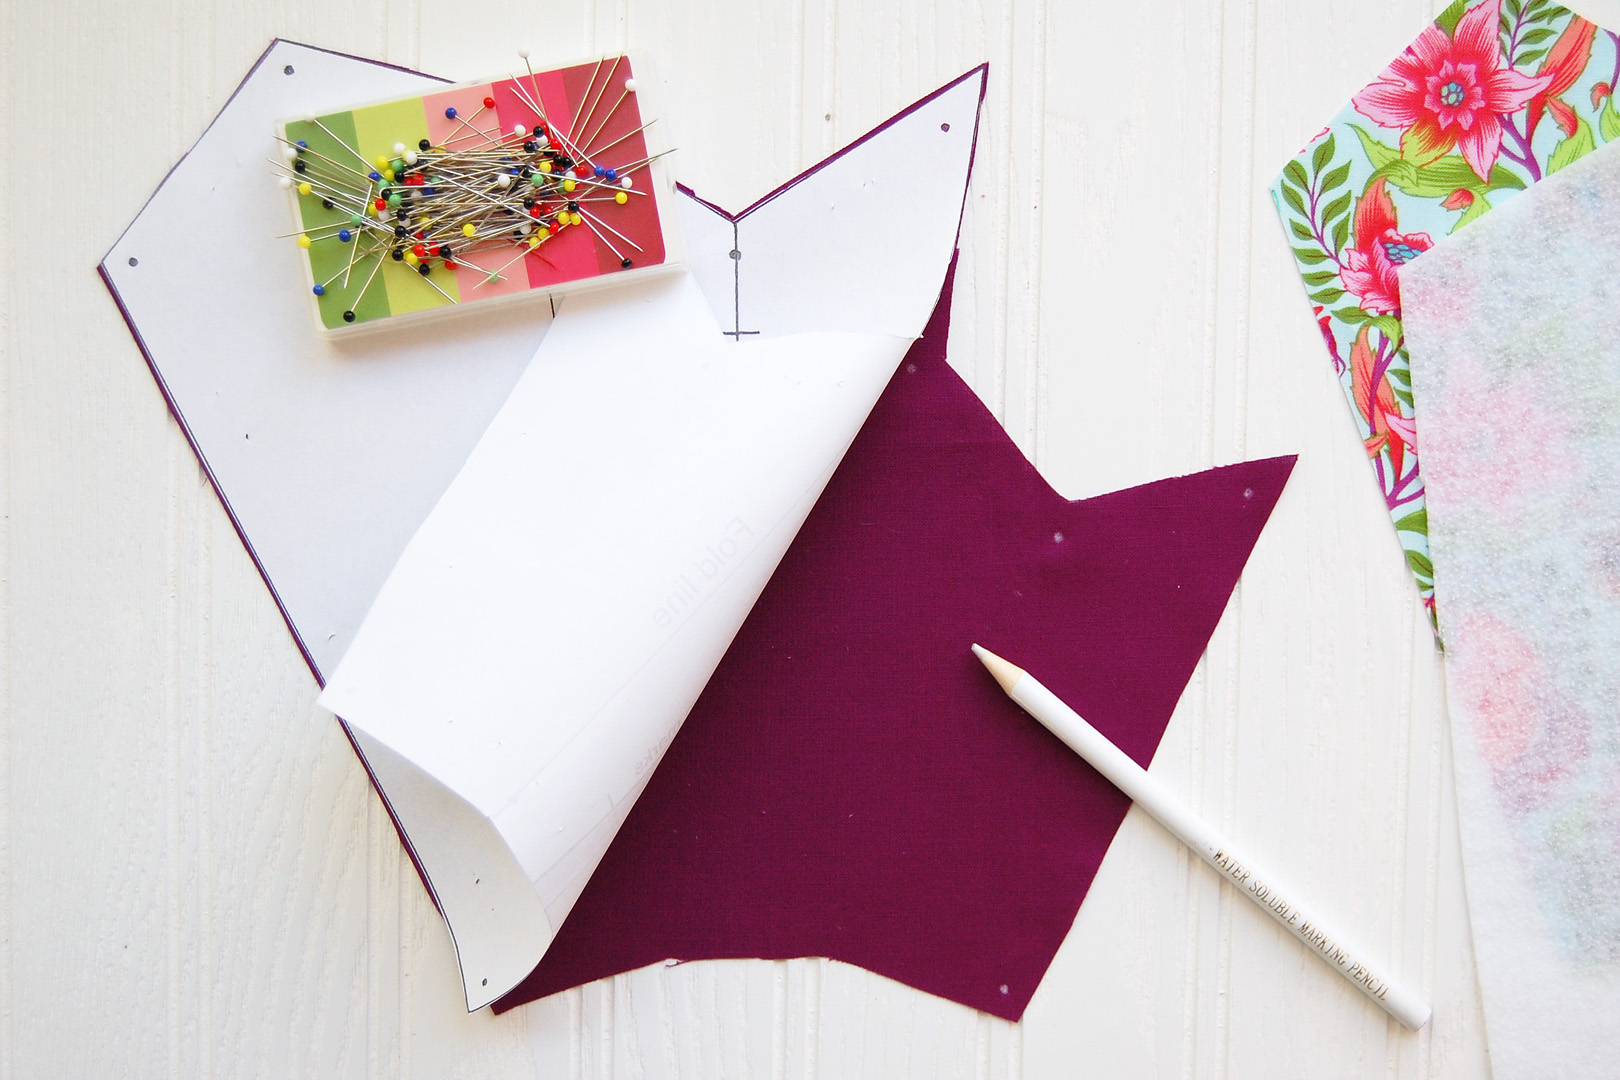
As a last step to prepare your pattern pieces, press the fusible fleece in place on the wrong side of the main scissors case pattern piece following the manufacturer’s instructions.
How to Sew the Scissors Case
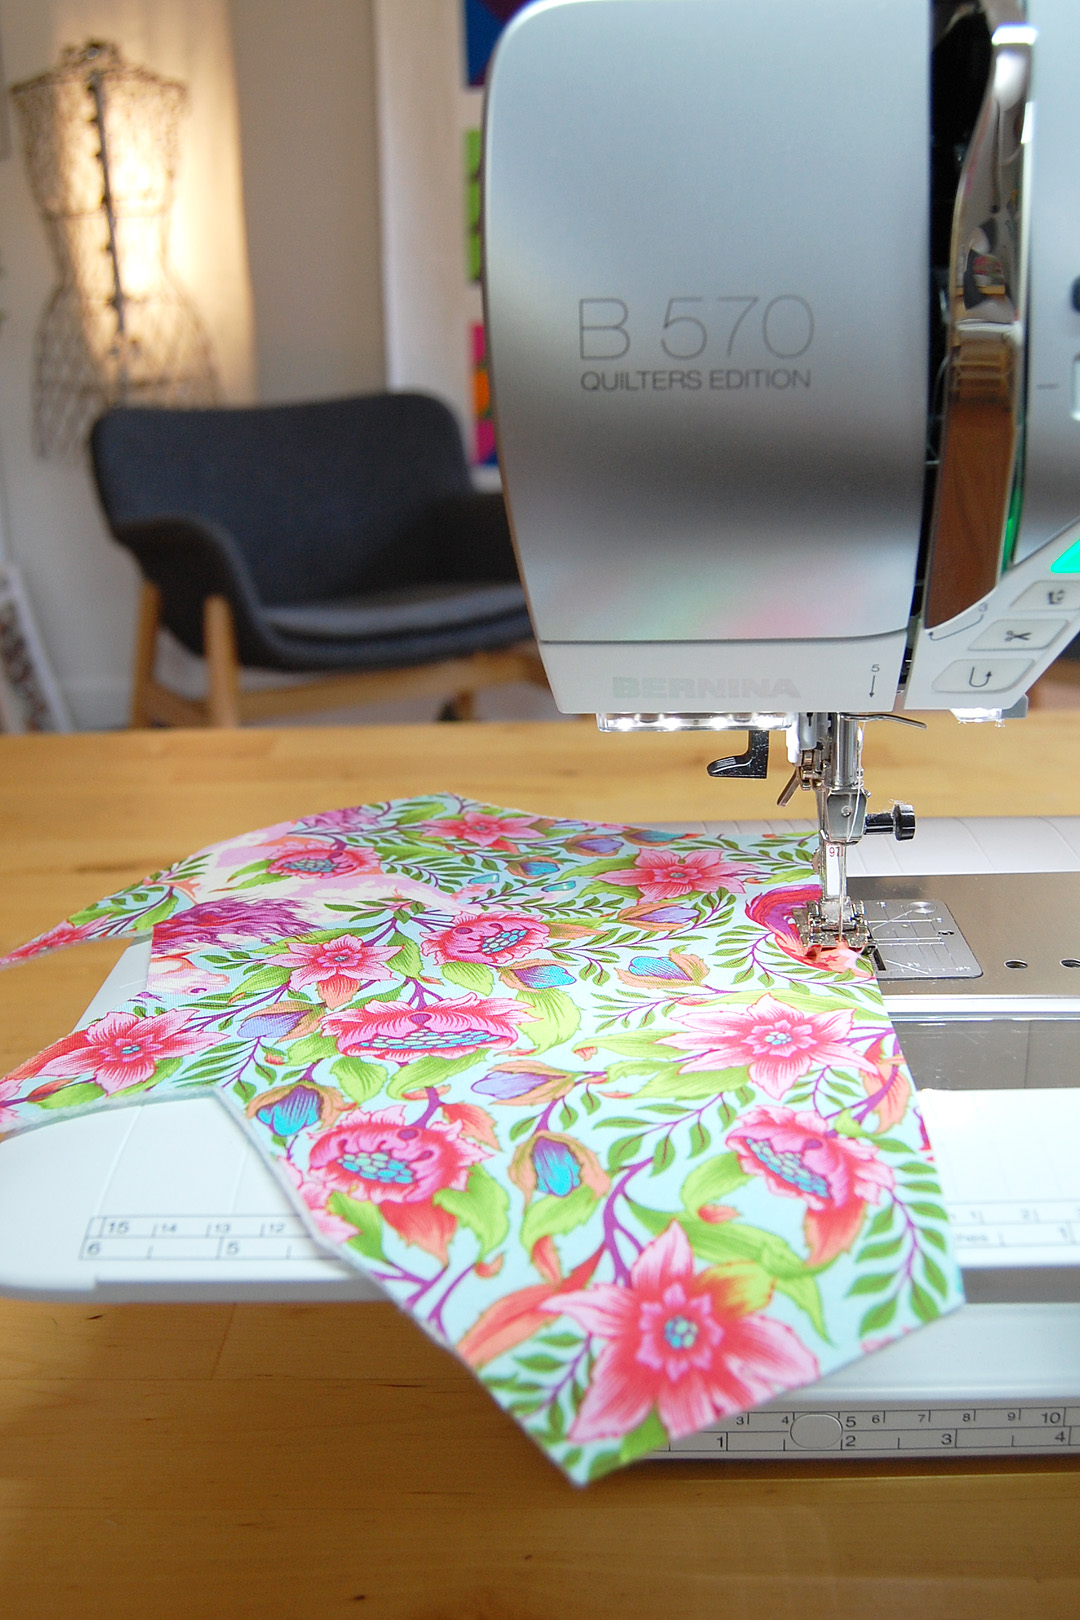
Step 1. Set up your sewing machine to stitch a quarter-inch seam. I am using my BERNINA 570 QE with Patchwork foot #97.

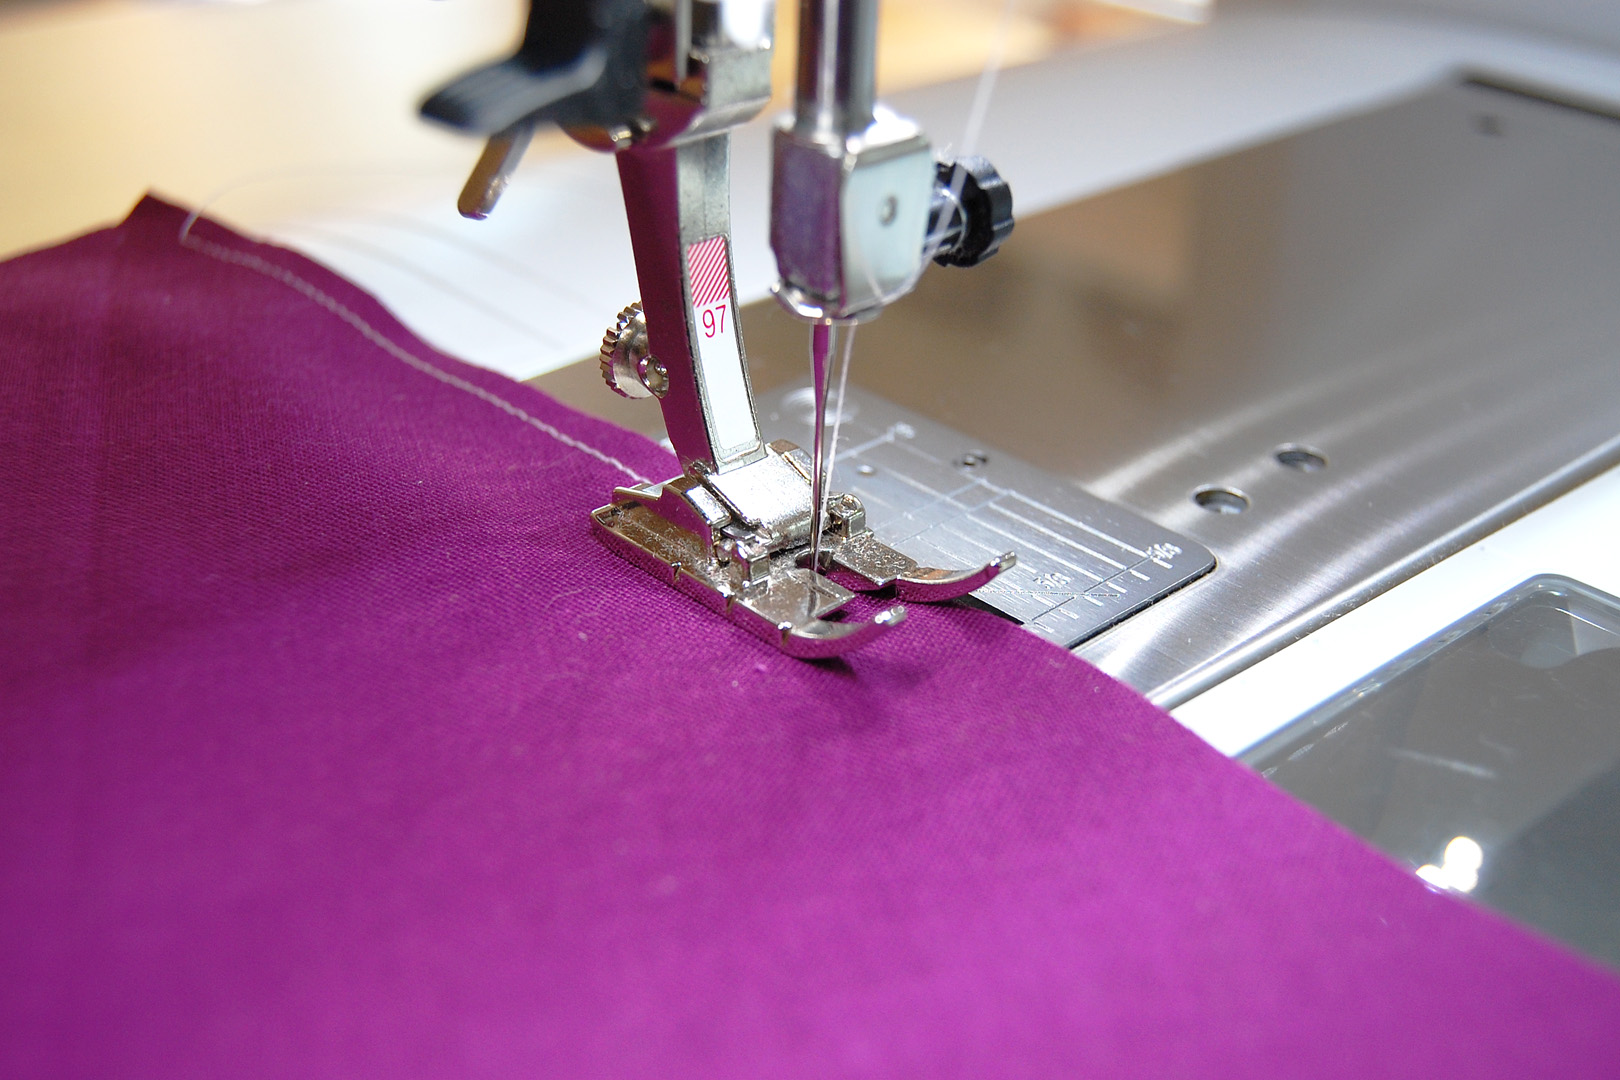
Step 2. Stay stitch the longest edge of both the main pattern piece and contrasting pattern piece to keep the edges from distorting when turning the scissors case inside-out. Set your machine to sew a straight stitch at about 1.7 to 2 mm in length. Sew at a scant quarter inch, or just shy of the quarter inch seam mark along both edges.
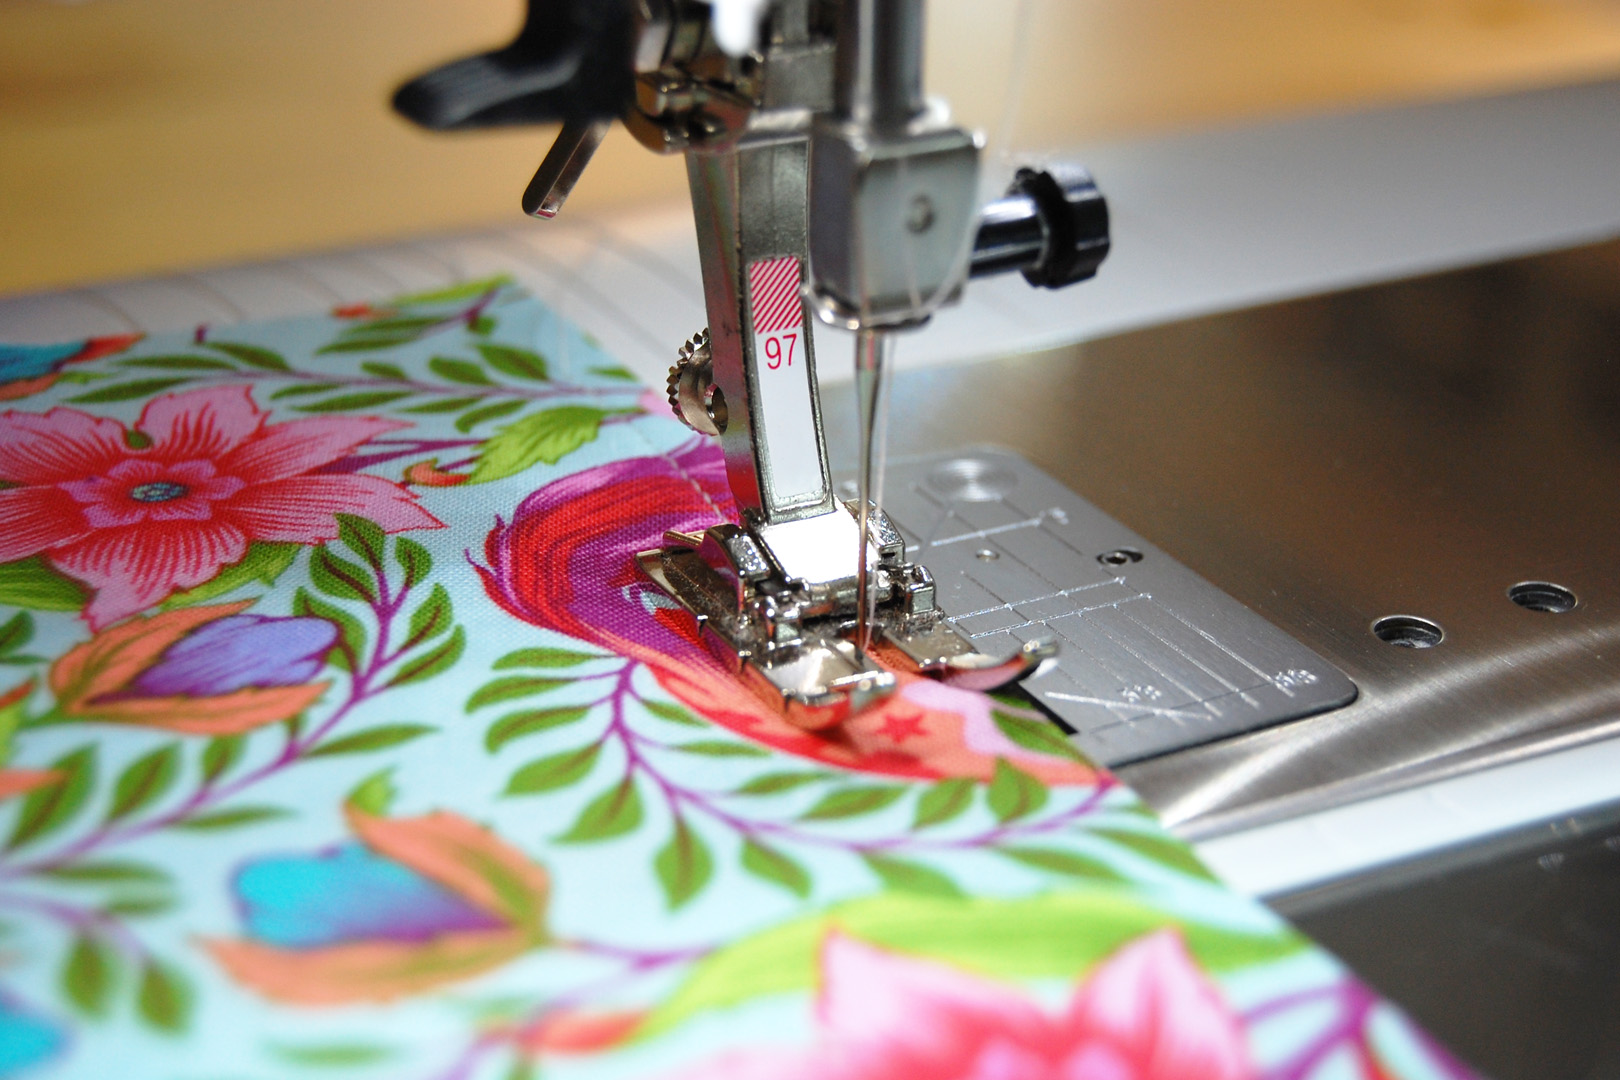
Don’t forget to stay stitch both the main pattern piece AND the contrasting piece!
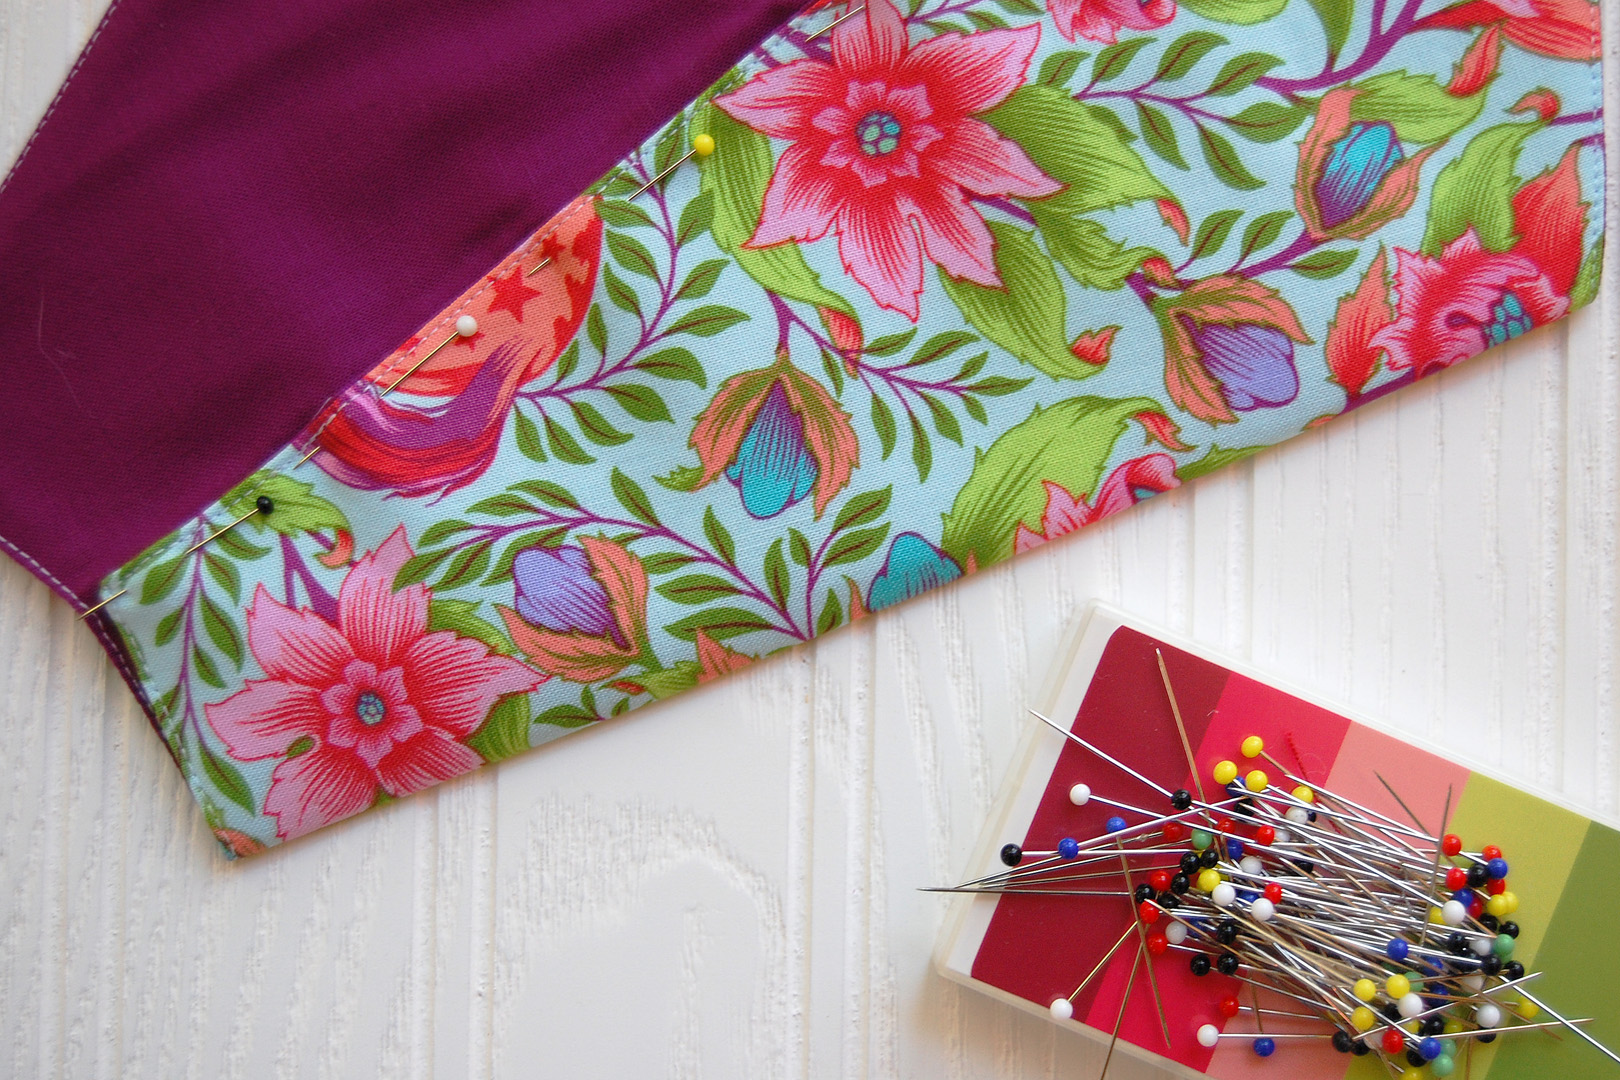
Step 3. Pin the two pattern pieces right sides together, leaving about a 3″ opening in the long, stay stitched side.
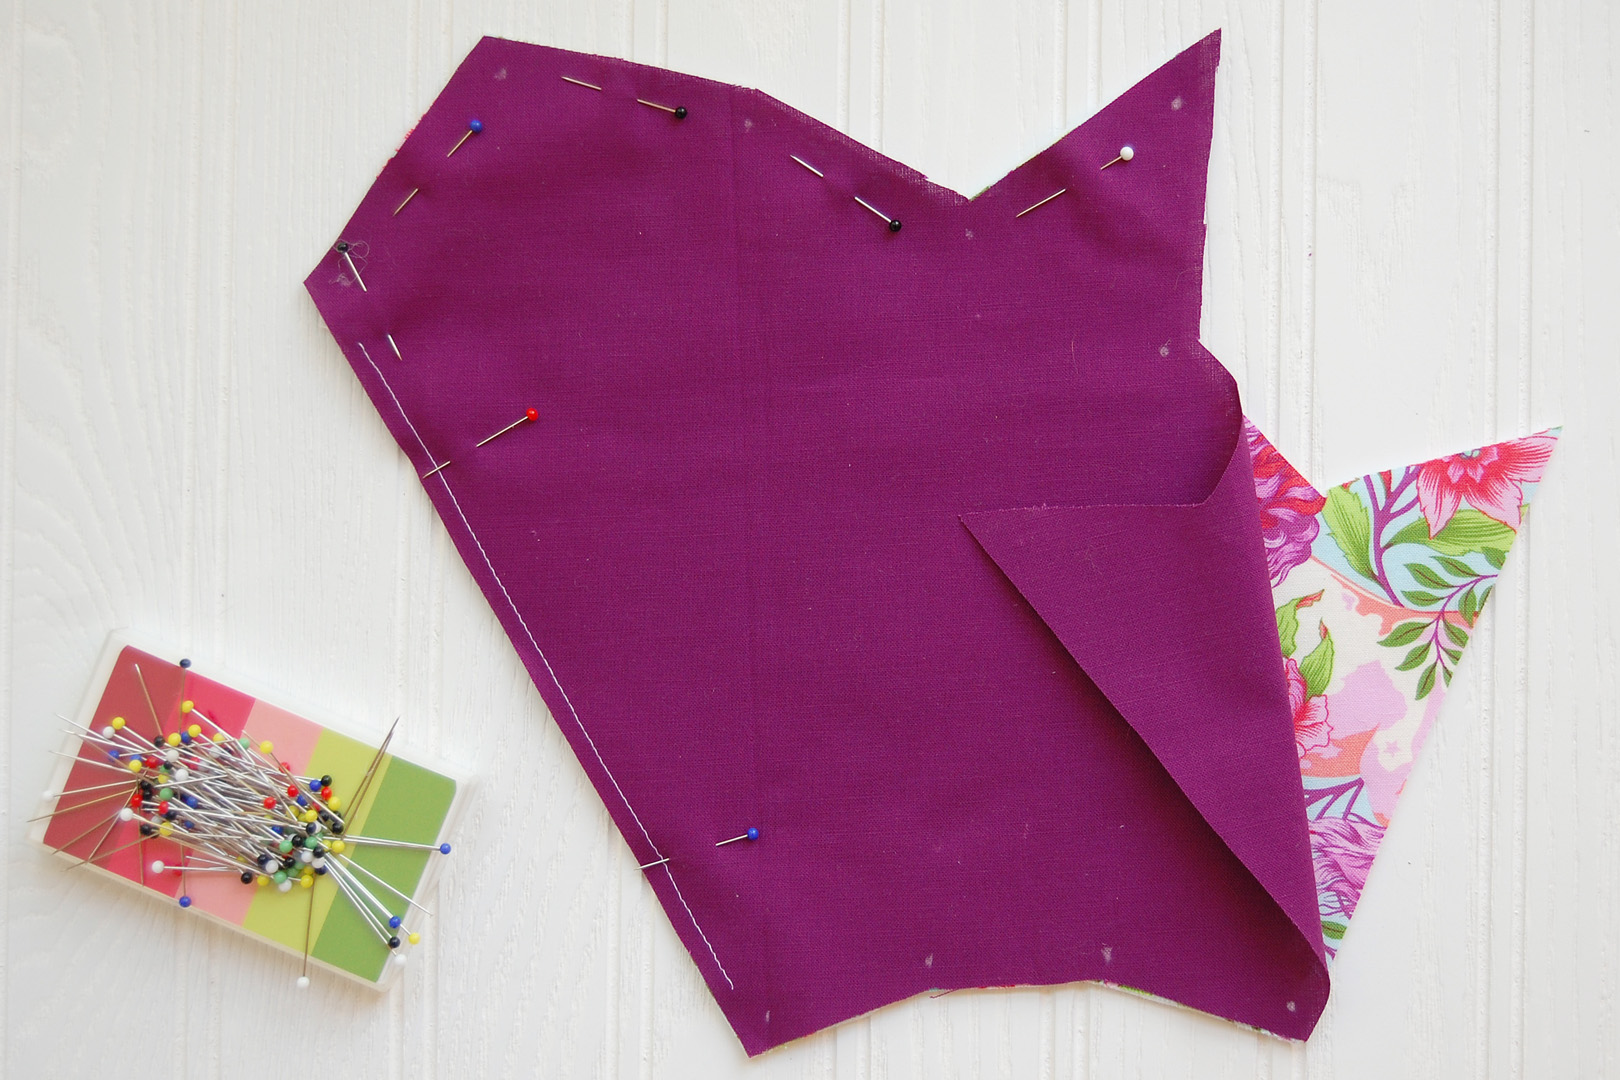
Stitch along the outer edge using a quarter-inch seam beginning on one side of the opening. Back stitch a few times when you start stitching and stop stitching on either side of the opening to help strengthen the seam for turning inside out.
Keep an eye out for the dots, these are reminders to pivot and turn in the corners. Drop the needle down as close to the dot as you can (you can set your BERNINA to stop with the needle down automatically), lift your presser foot with the Free-hand System, and pivot to continue sewing.

Back stitch at the other side of the opening.
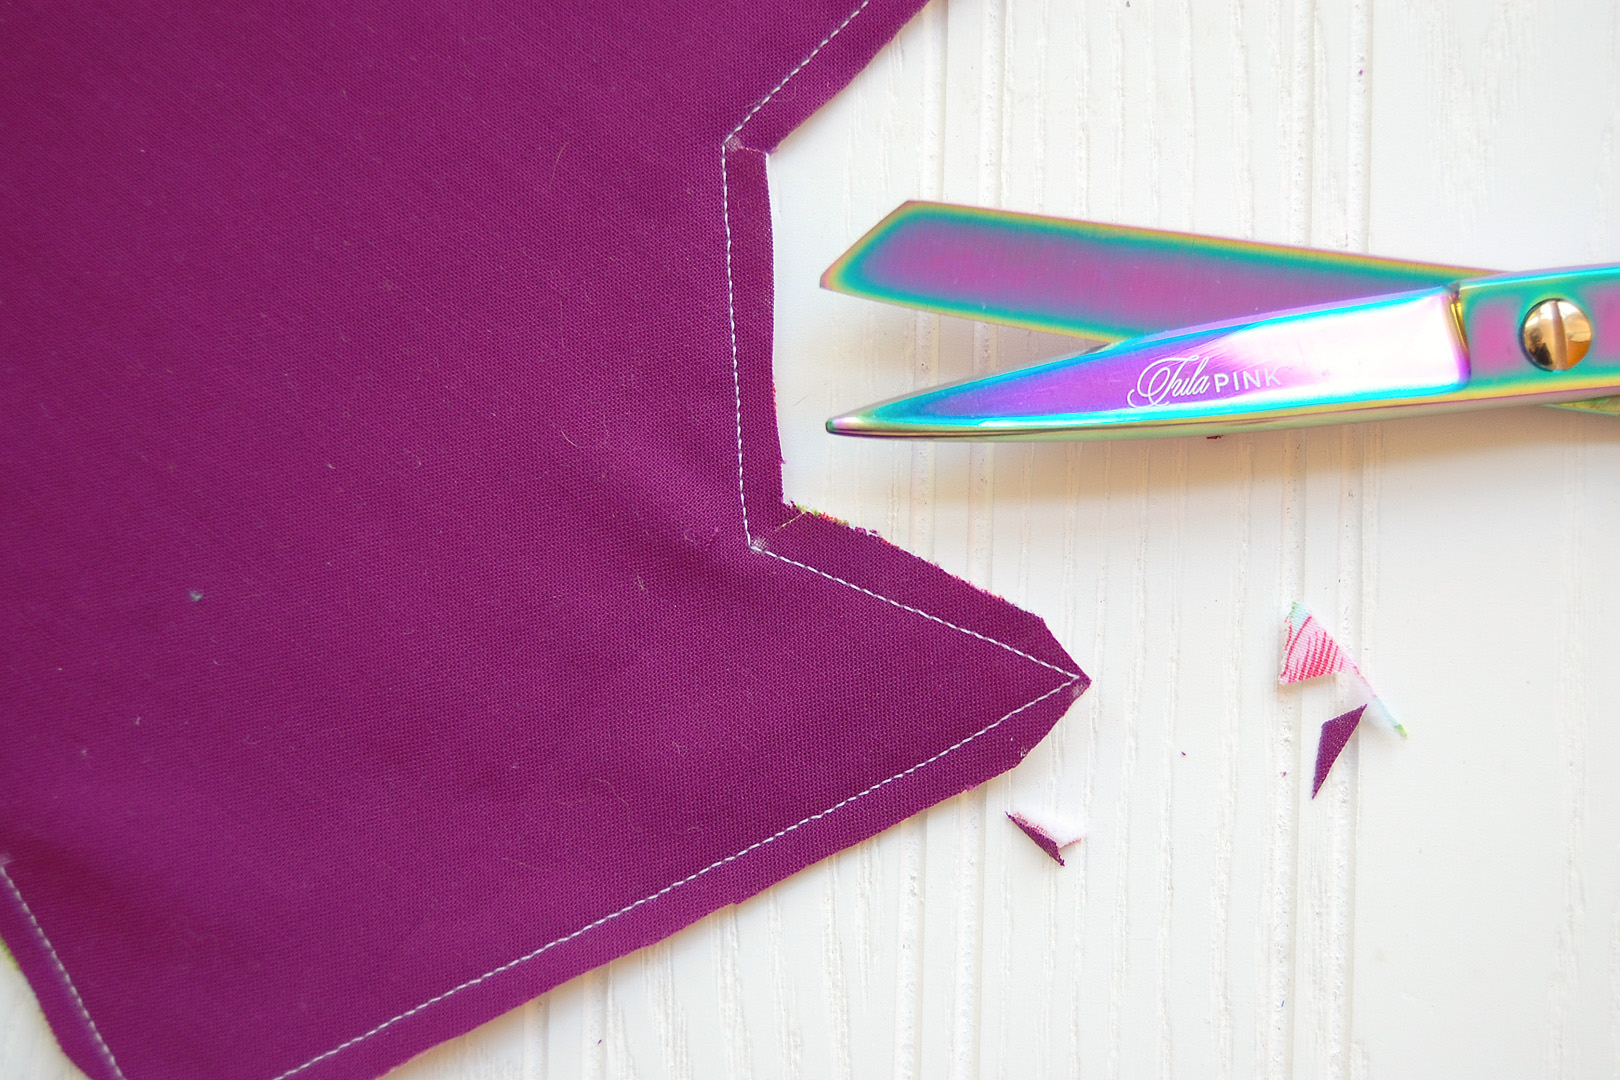
Step 4. Clip into the inside angles, and snip off the corners to help create crisp edges on the scissors case.
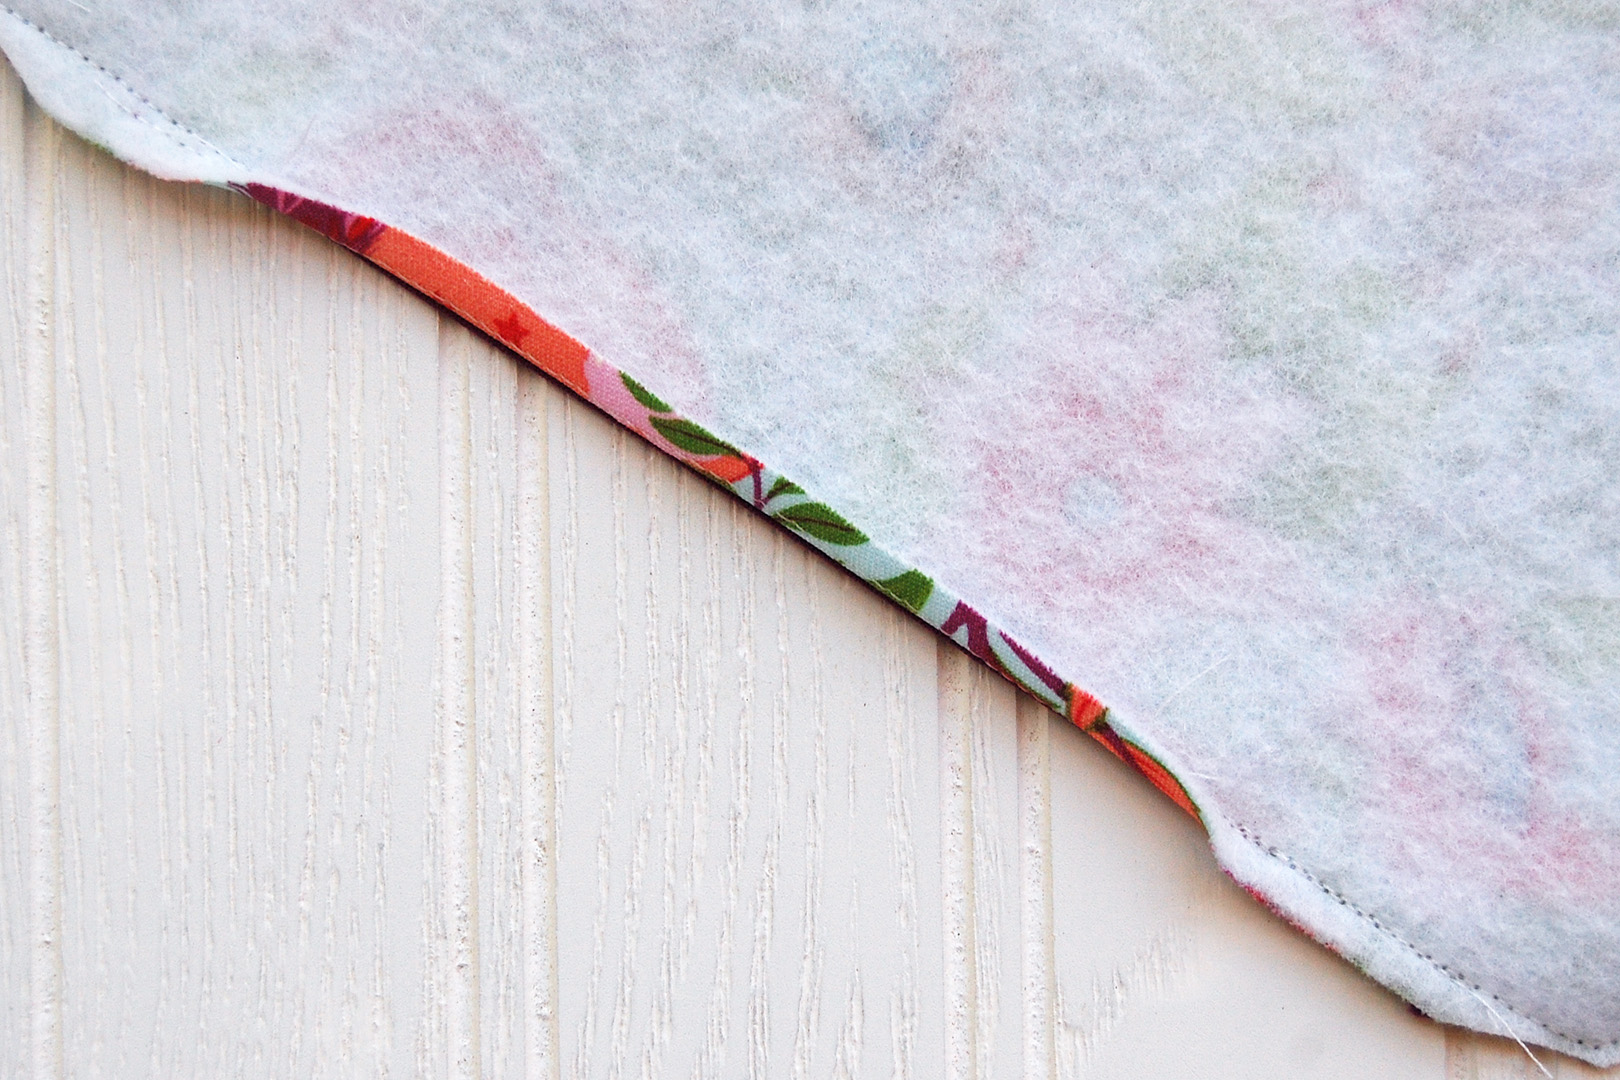
Step 5. Press one side of the opening back just to the other side of the stay stitching. This will help define the closure before the next steps.
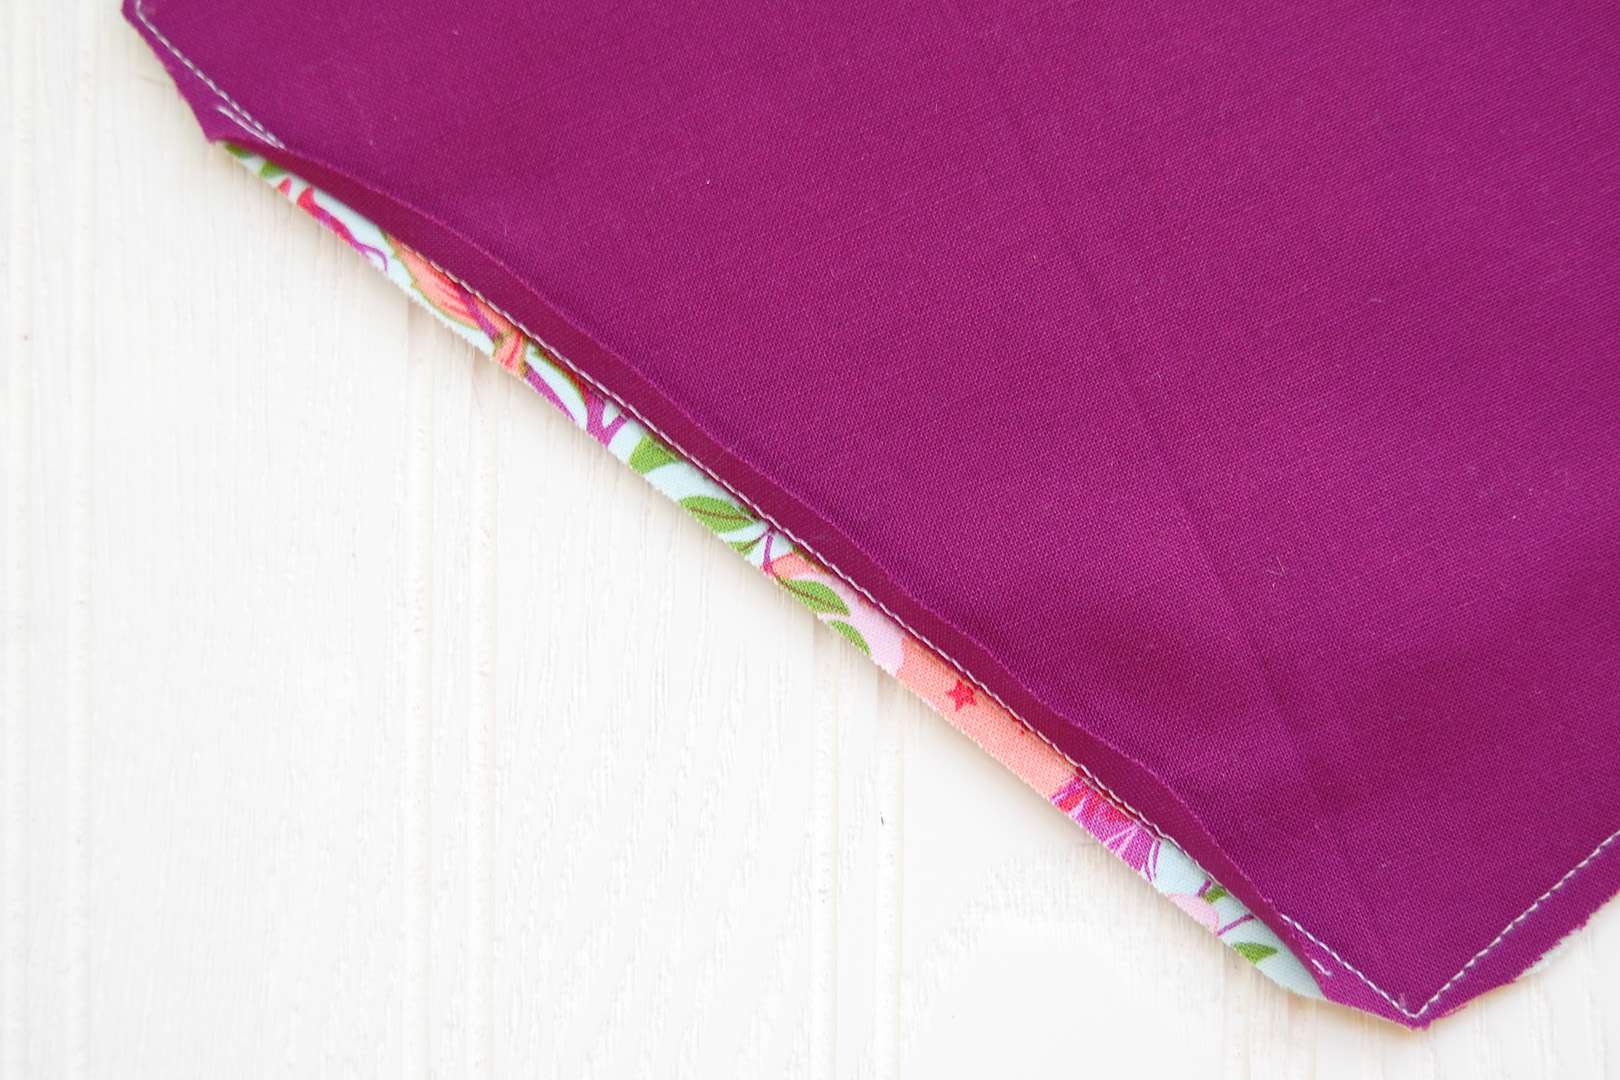
Flip the scissors case over, and press the other side of the opening over in the same way.
Step 6. Turn the scissors case right side out through the opening. Use a point turner or blunt end of a chopstick to carefully push out all the pointy bits.
Press the scissors case well, making sure the opening edges are still pressed under from the last step. Pin the opening closed.
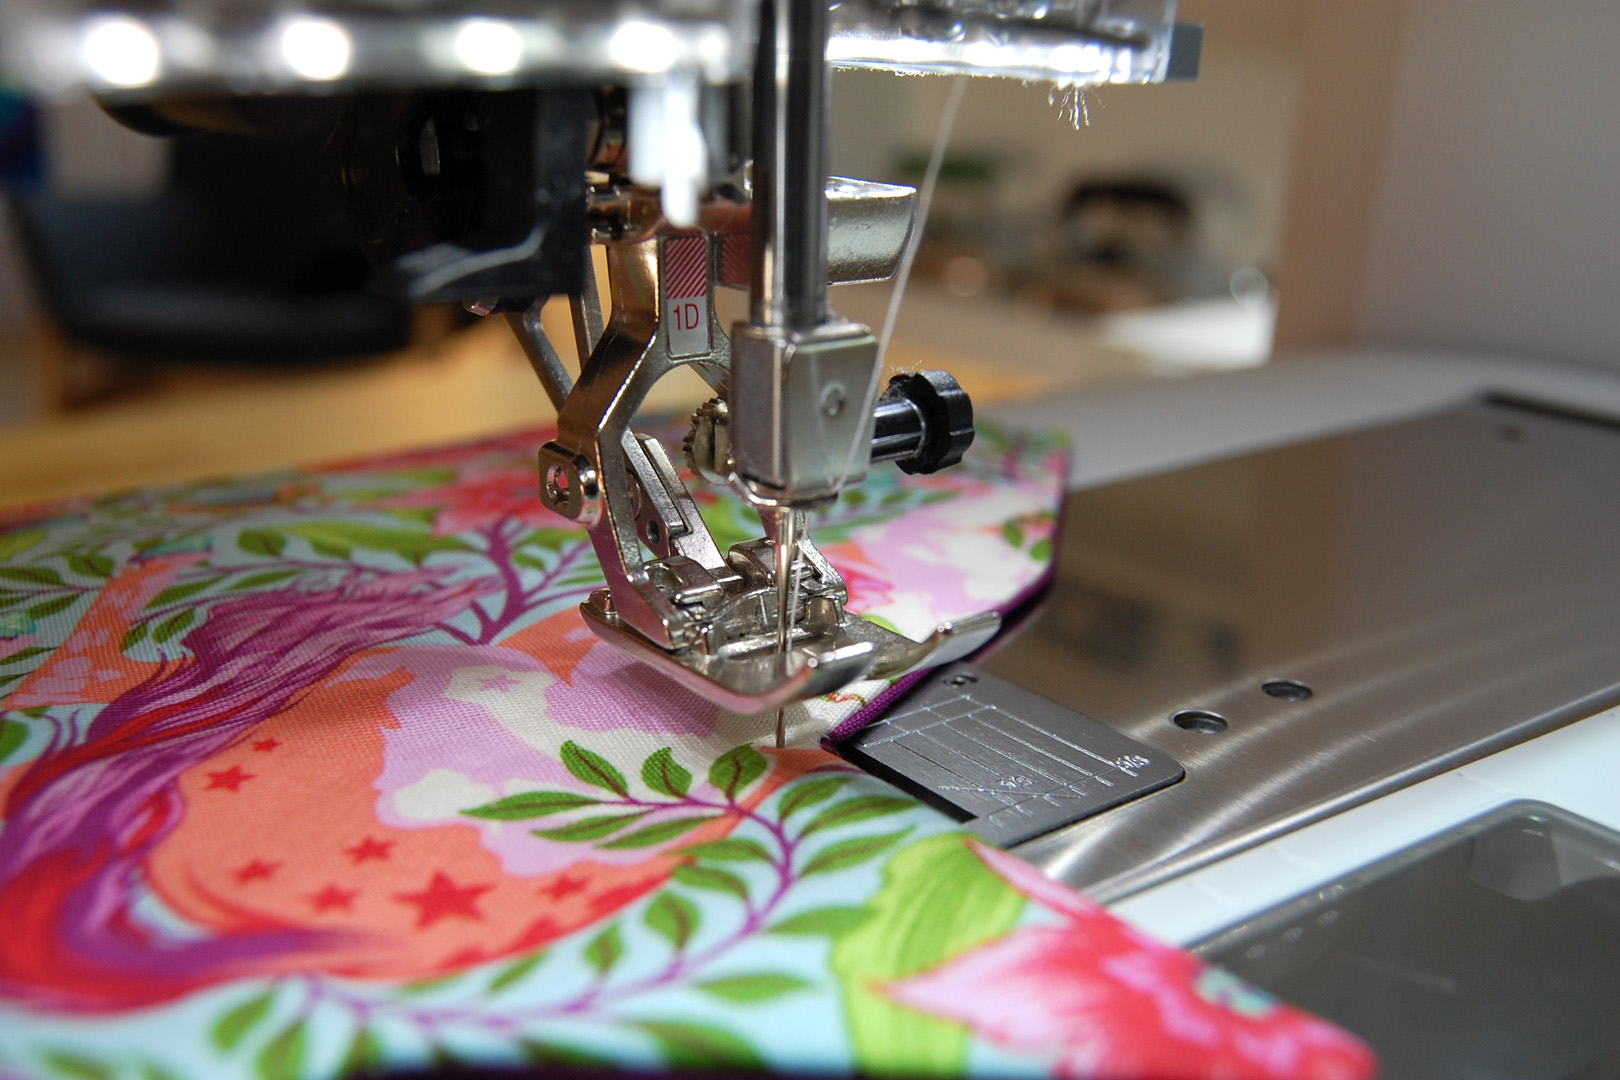
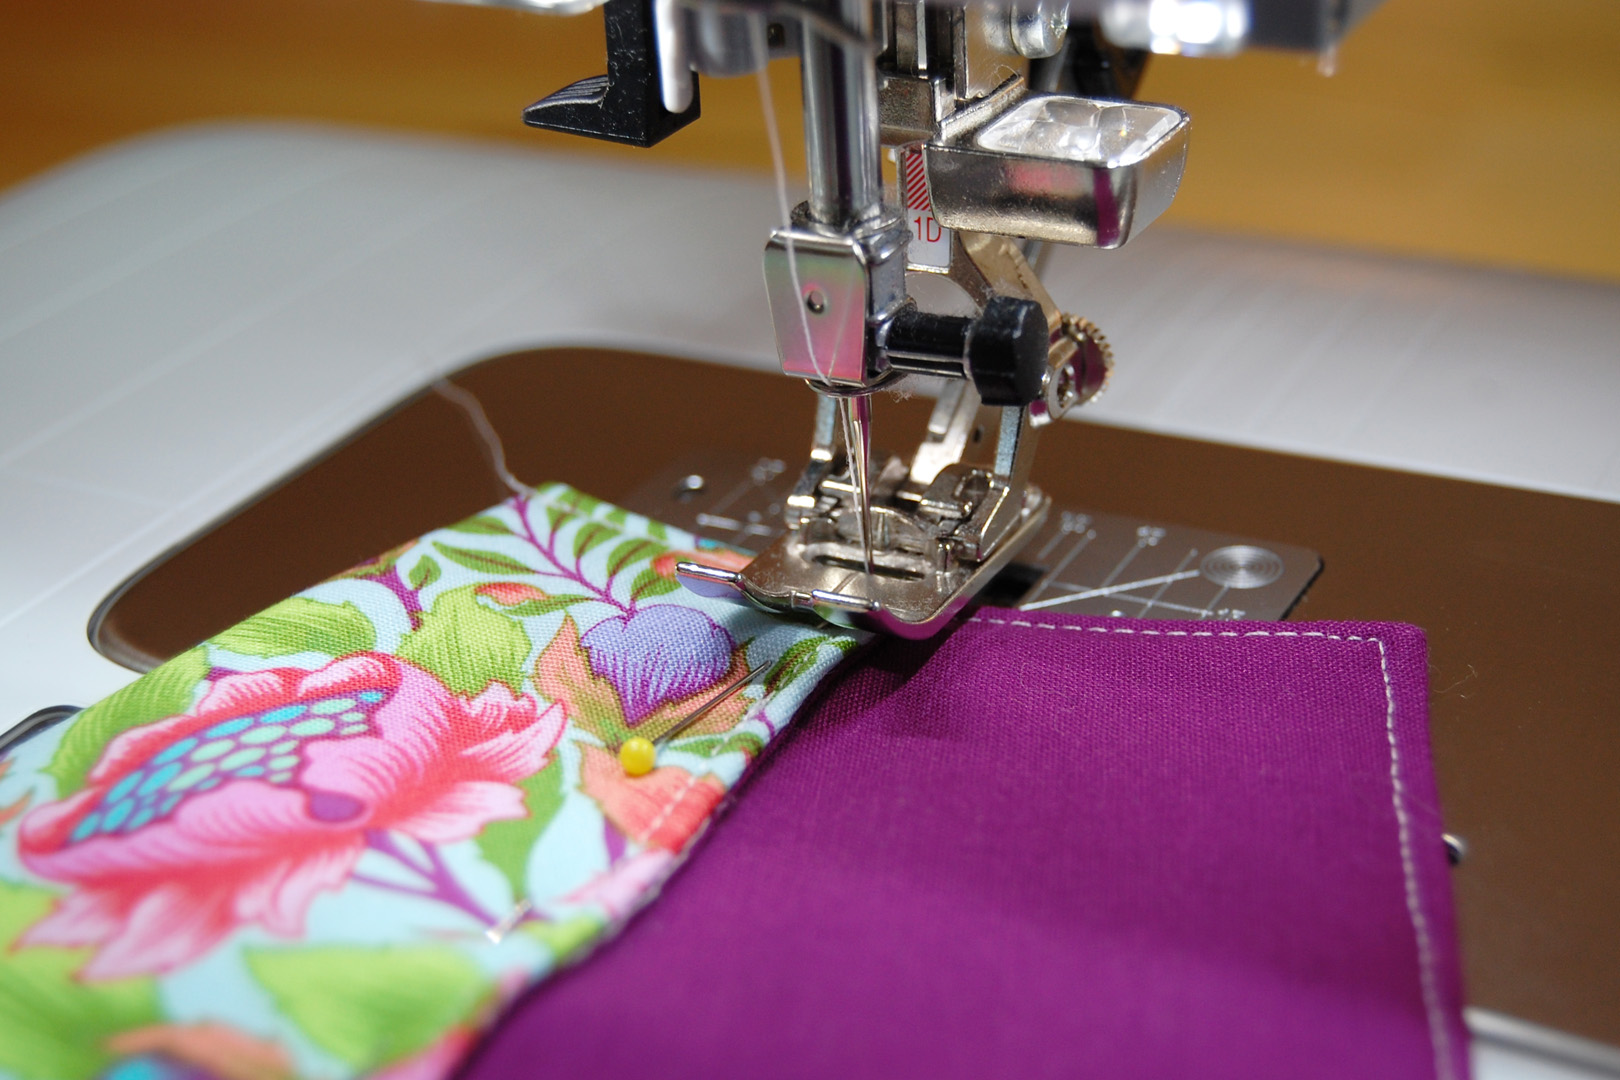
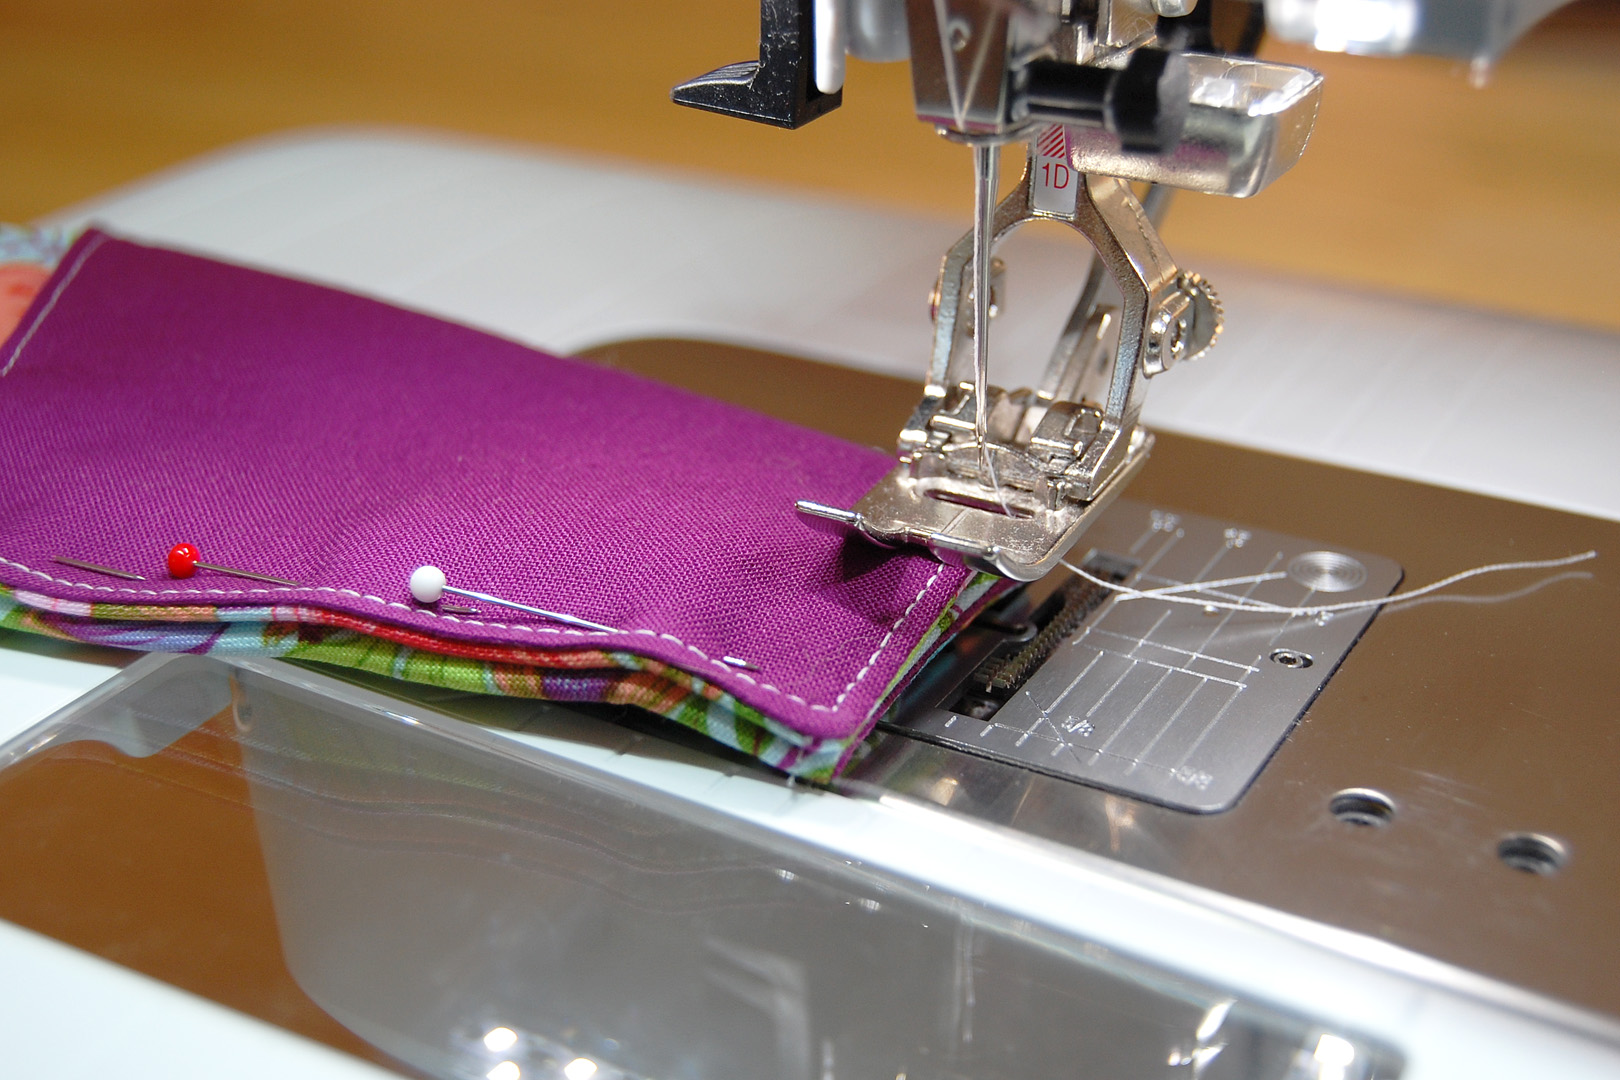
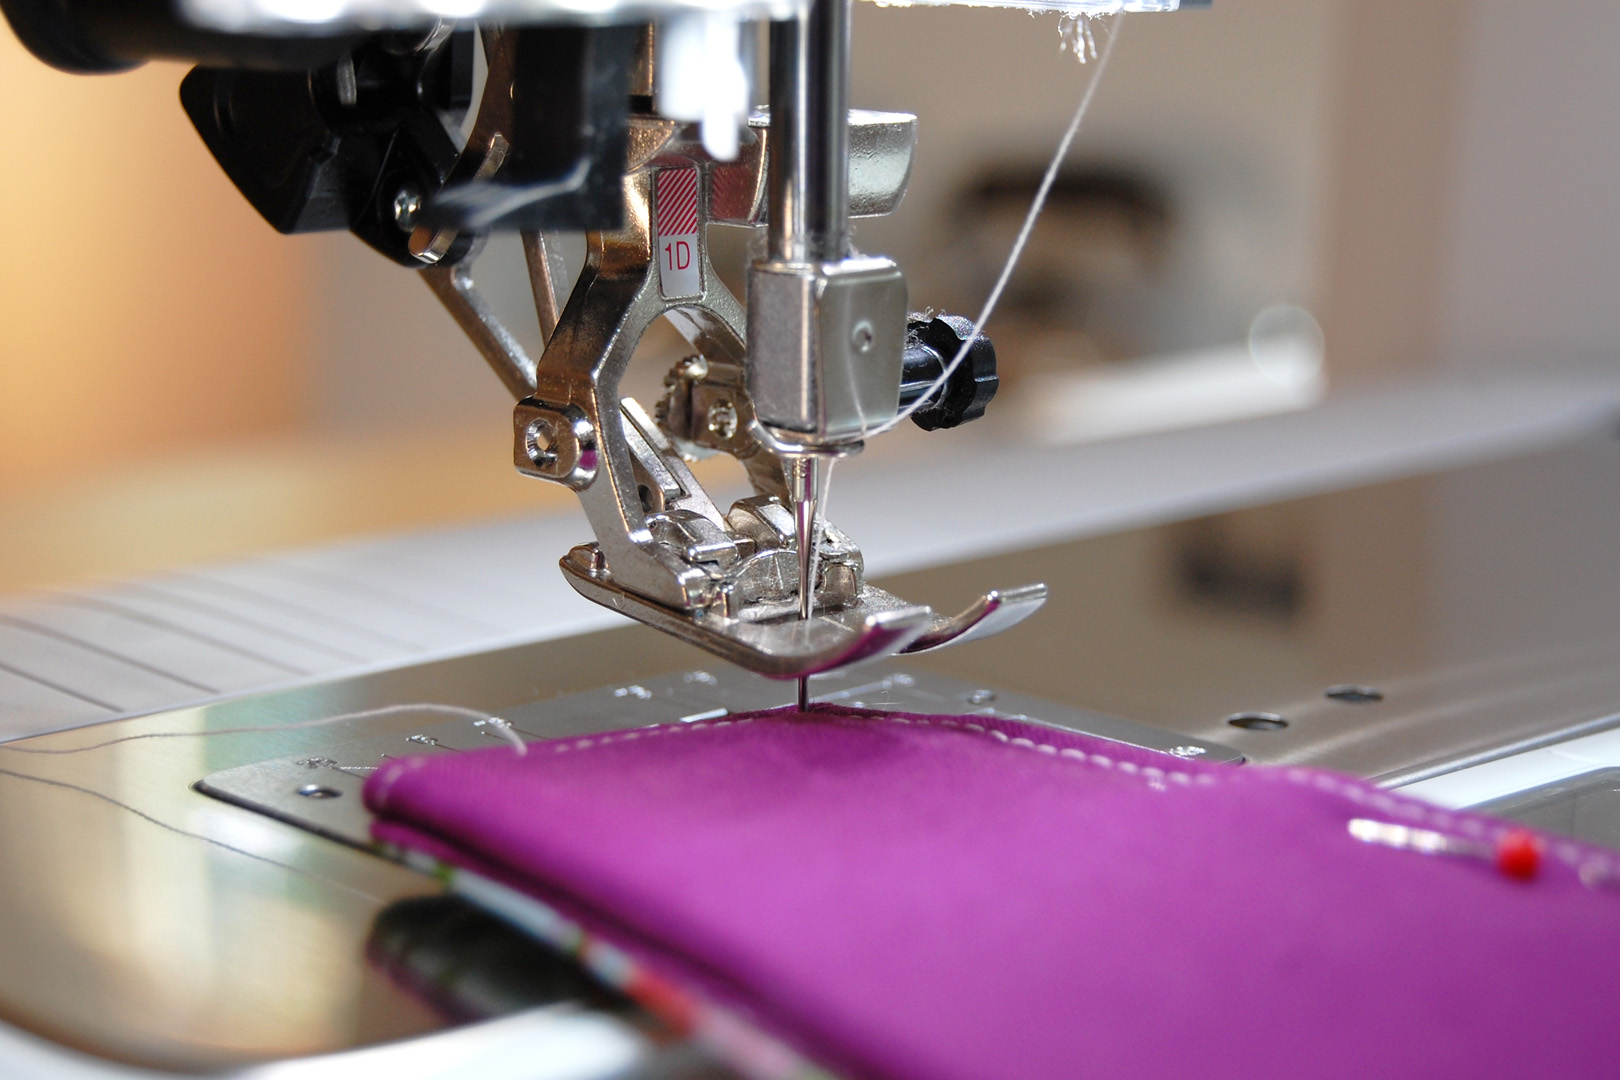
Step 7. Get ready to sew some thick layers! I am using the Reverse pattern foot #1D with the Dual Feed engaged. You can use a different Dual Feed foot for this step if you want. If you do not have Dual Feed use the Walking foot #50 to help sew the thick layers. To find tips for confidently sewing through thick layers, check out the Will It Sew Through all the Layers? tip post!
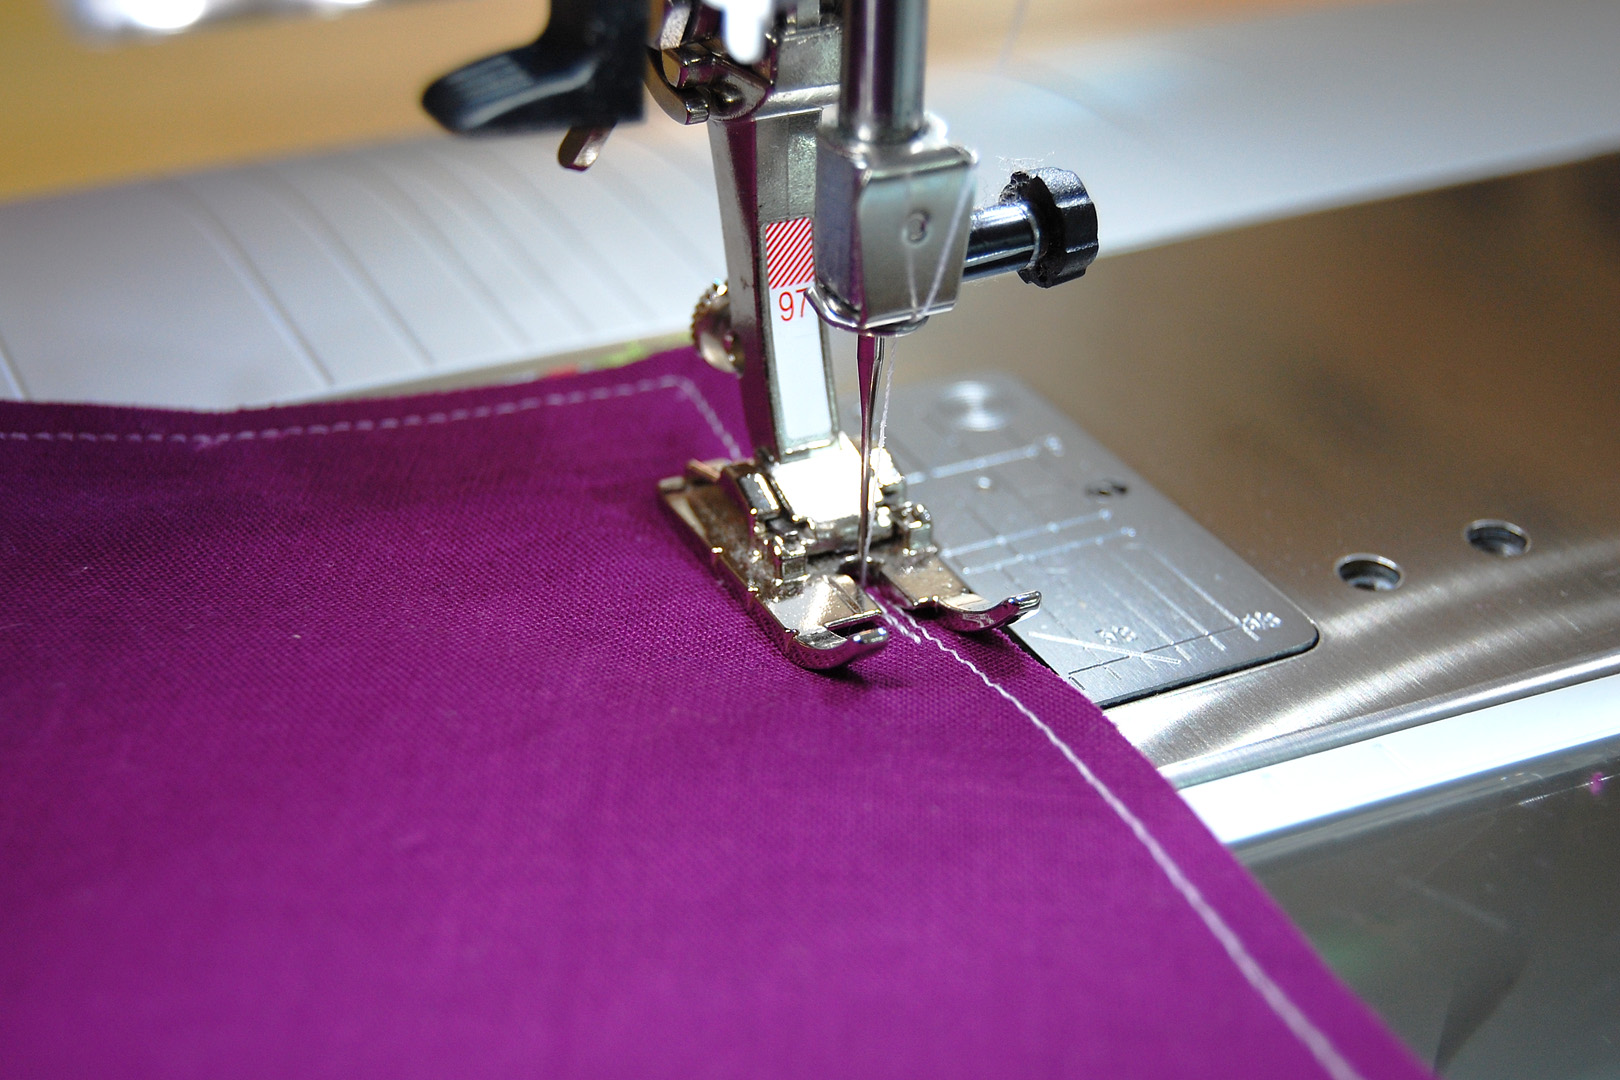
Topstitch all around the scissors case using a one eighth inch seam allowance. Start stitching on one side of the opening, and remember to pull your pins as you sew the opening closed.

Remember to pivot in the corners by dropping your needle, raising your presser foot, and moving the scissors case to sew along the next edge.
After top stitching, give the scissors case a quick press to set the stitching.
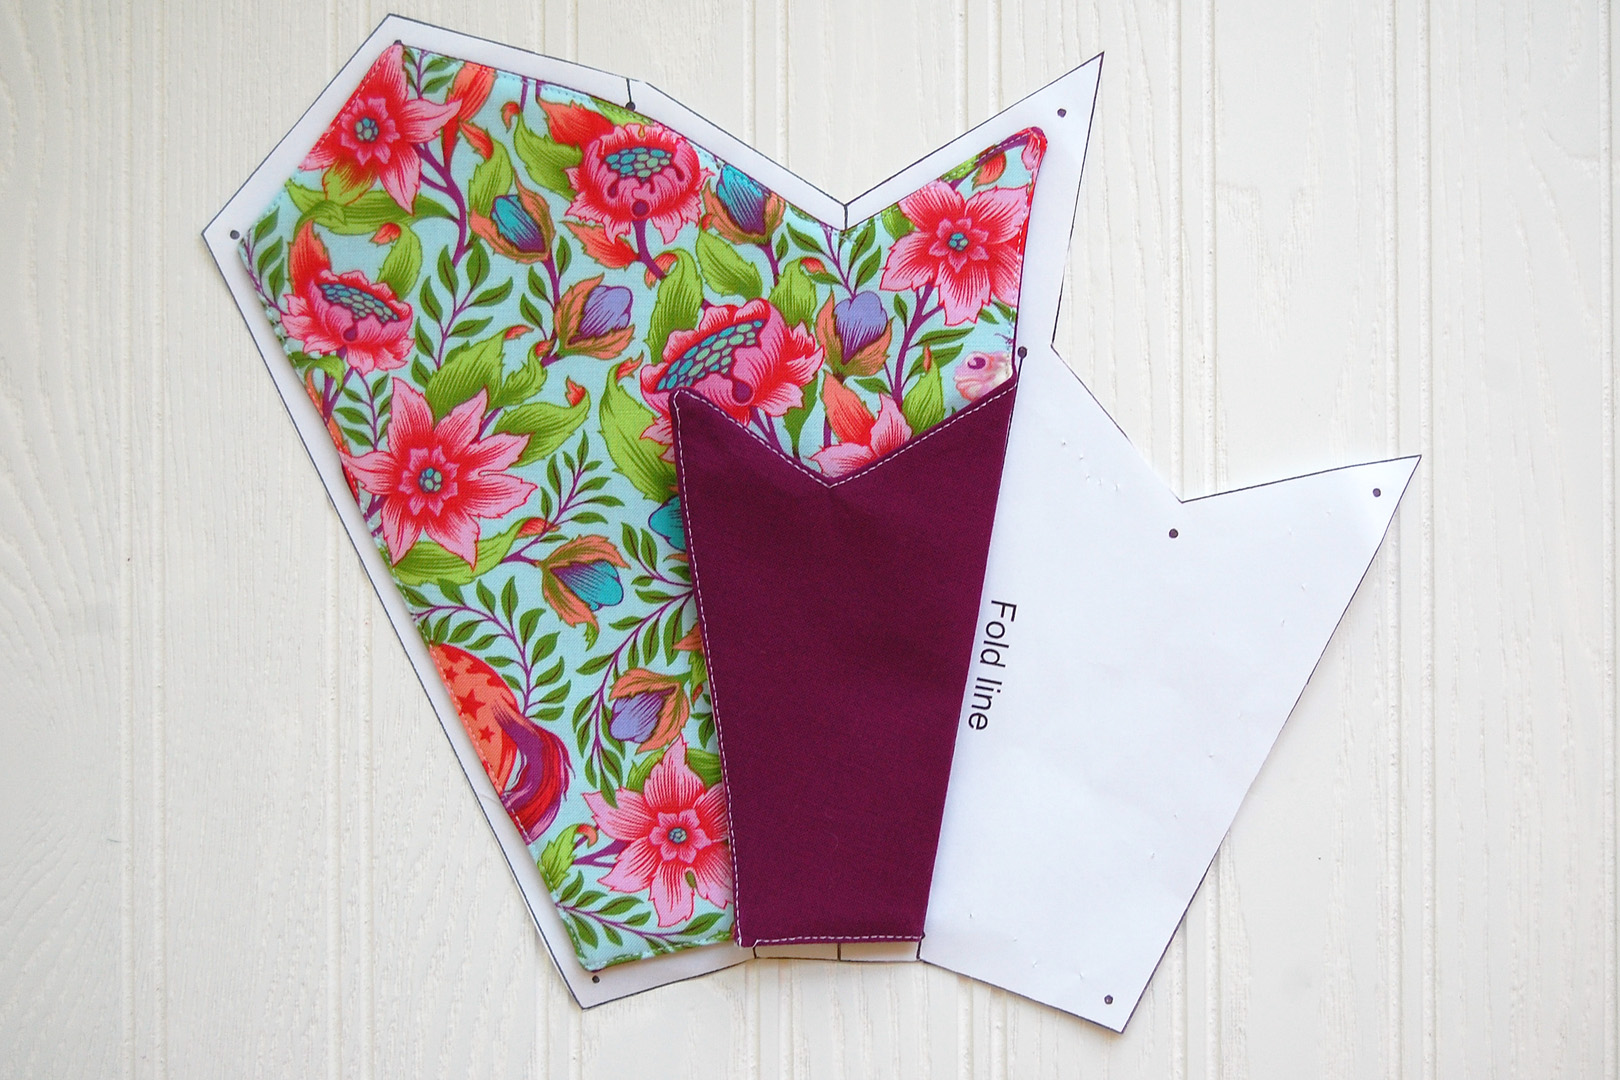
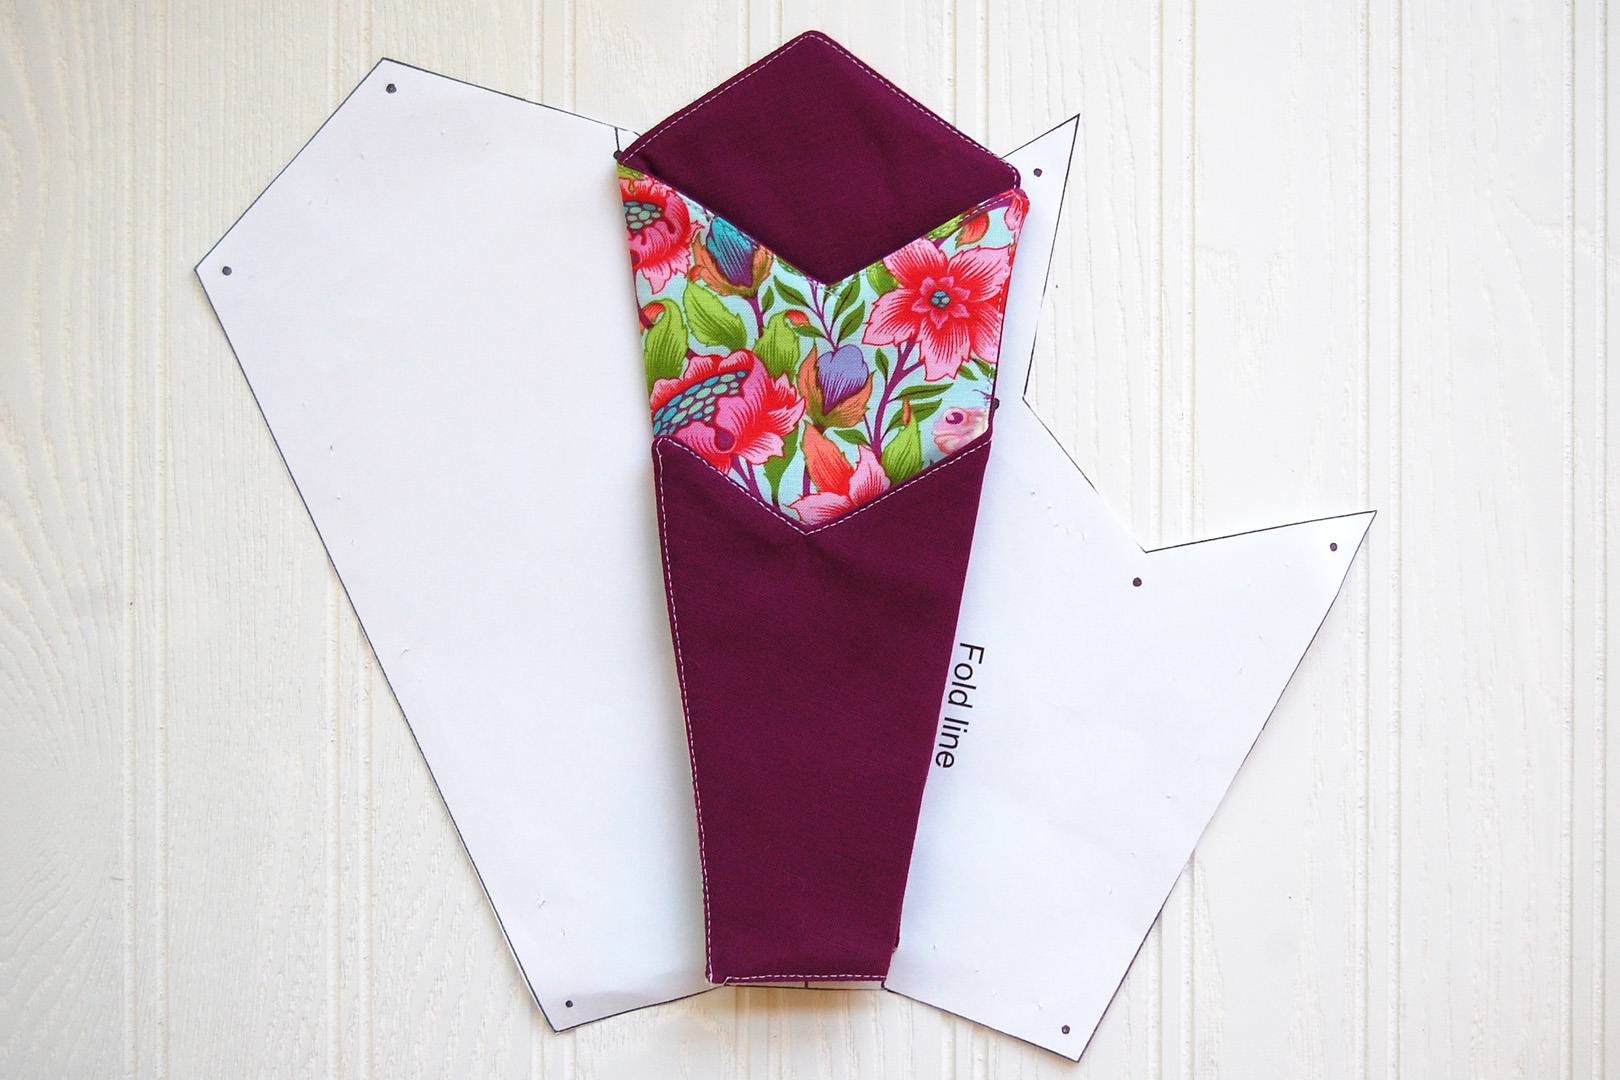
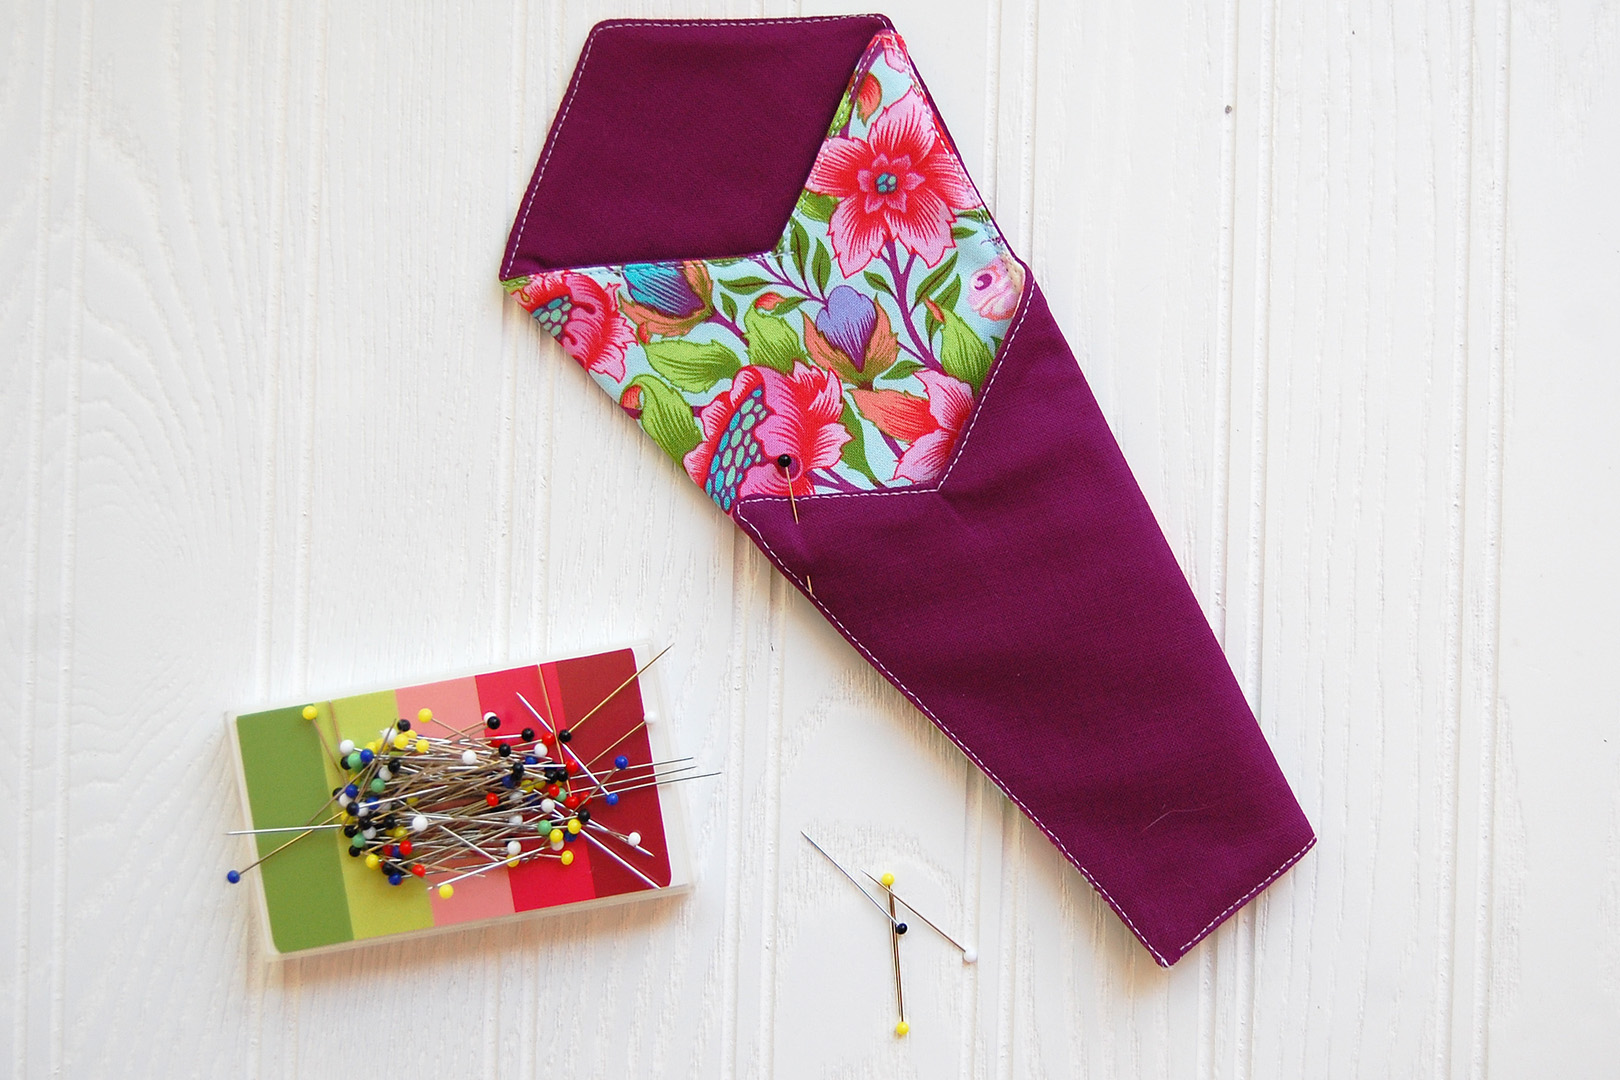
Step 8. The scissors case goes together with an accordion fold. If you fold in one direction, the print will be feature on the back and the solid on the front. If you fold it the other way, the solid will be featured on the back and the print on the front! Here is a quick tip to help you fold the scissors case the right way.
The printed pattern includes fold lines to help you get started with the accordion folds and press them into place. Center the sewn scissors case over the pattern piece as shown below.

First flip the short side over the top of the middle section following the fold line. Press well.
Next, flip the other side of the scissors case underneath the middle, and press well. You’ve now completed the accordion fold! Think you might like the scissors case folded in the other way? No problem, just flip it in the other direction and press again!
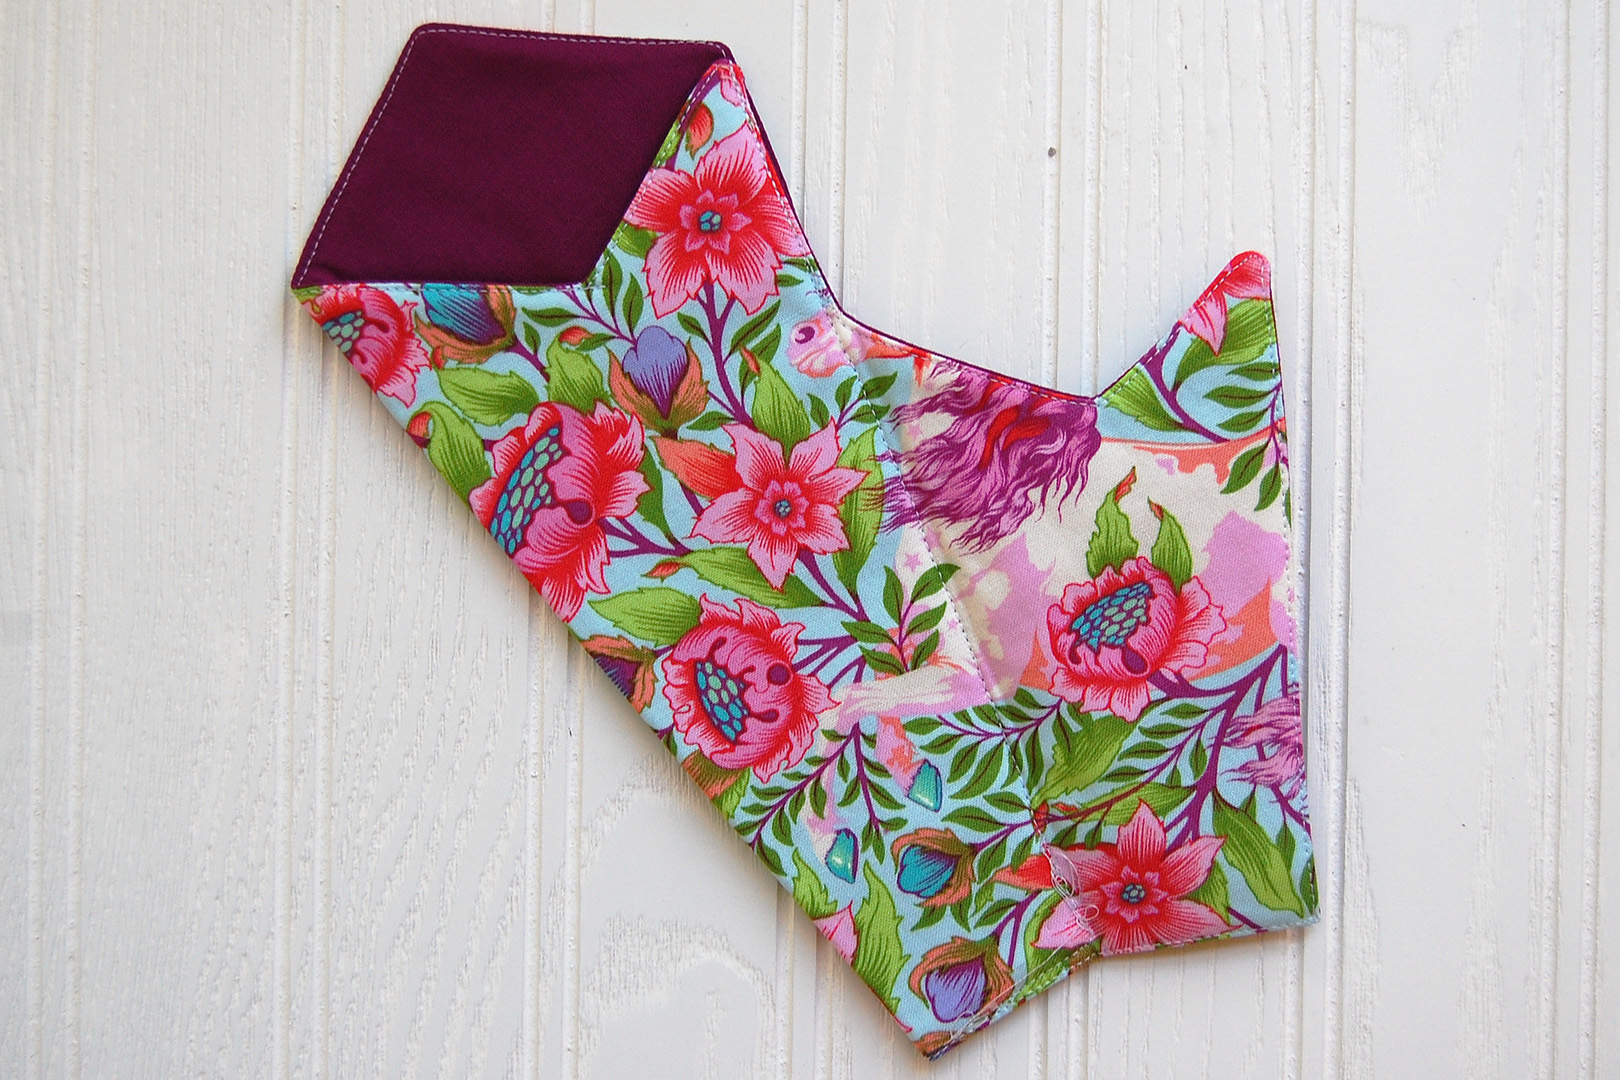
Step 9. Place the folded scissors case on top of your work table back side up. Open up the bottom pocket and flip it out to the side as pictured below. You will be creating the first pocket by stitching from the back through one folded layer.

Pin through both layers from the bottom folded edge all the way to the top. along the back edge of the scissors case.
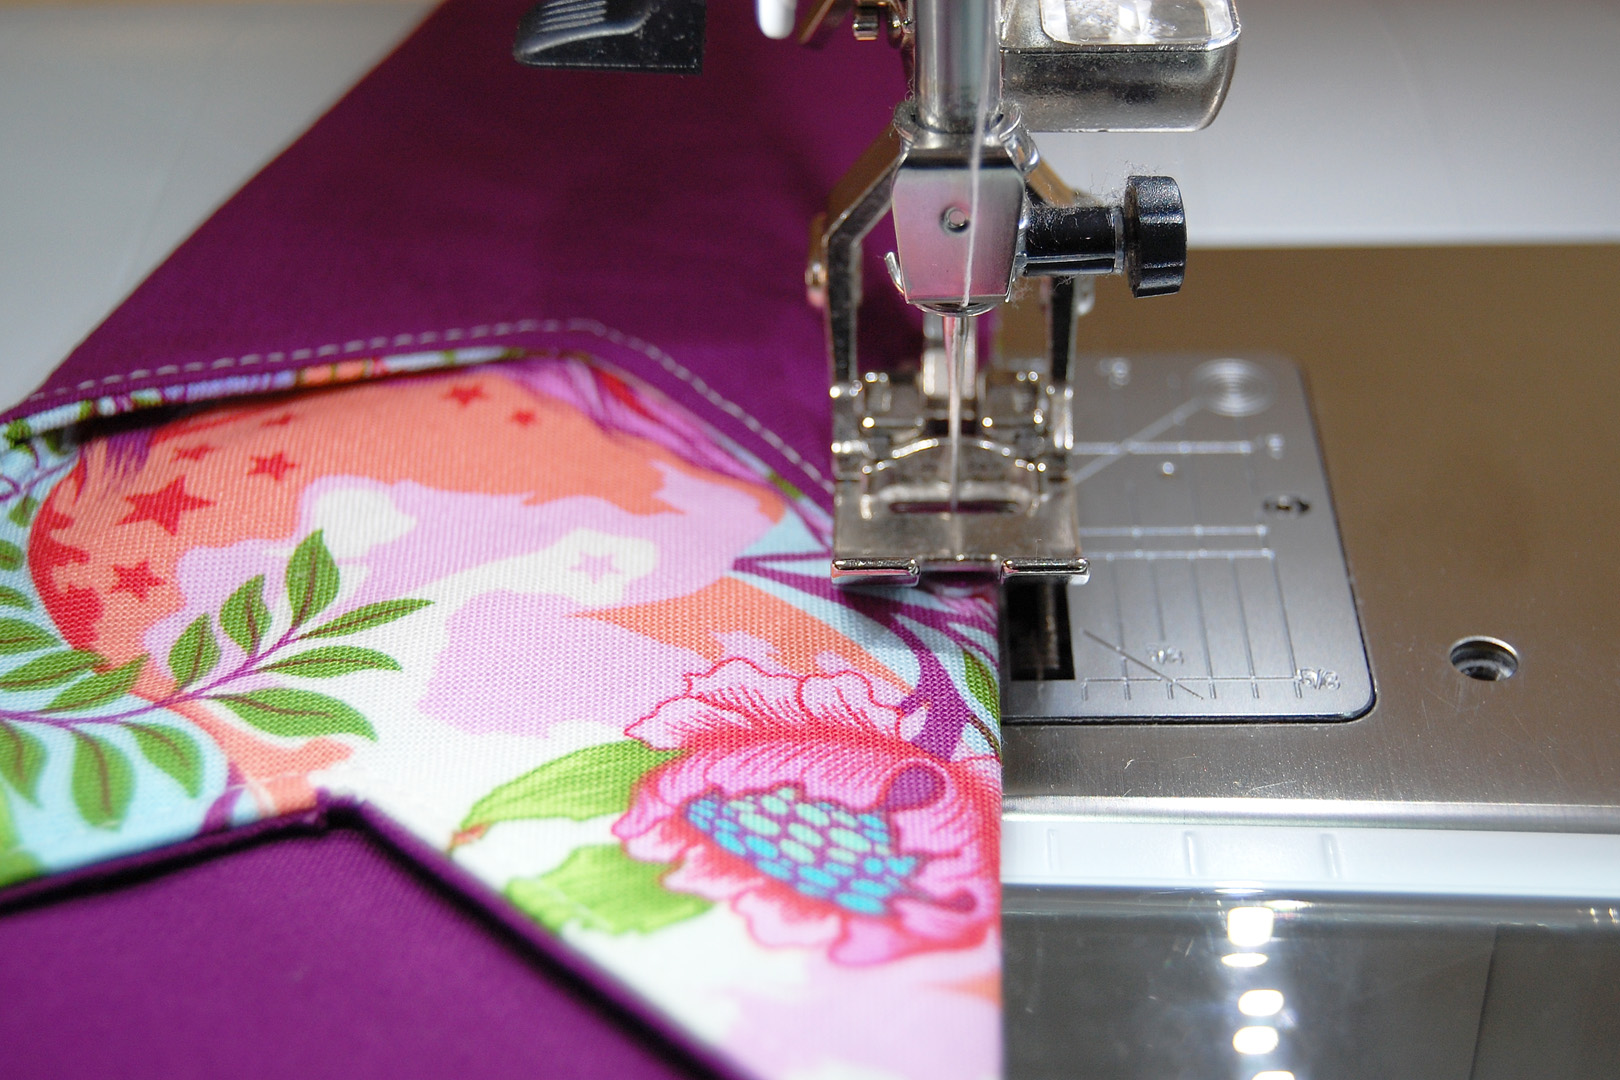
Begin stitching from the folded edge and stitch, following the edge stitching. Back stitch a few stitches when beginning to sew.

Pivot at the corner, and continue to follow the topstitching as you sew.
Stitch all the way to the end of the long edge, back stitching to create a strong corner at the top of the first pocket.

Now place the scissors case on your worktable, pocket side up.
Flip the small pocket back over the top of the scissors case, and pin in place.
Begin stitching close to the folded edge, about an eight to a quarter inch from the folded edge. Back stitch to create a strong finish to keep the pointy ends of scissors from poking through the bottom of the case.
Pivot at the corner and continue to stitch up the case following the top stitches.
Back stitch at the top of the small pocket to create a strong seam. Before walking away from your sewing machine, be sure to flip the case over and make sure that your stitches have sewn through all layers of the case. If you’ve missed a spot, it’s most likely along the bottom edge. You can simply add another layer of stitching across the bottom from the other side of the case to grab all the fabric and make sure the pockets stay secure at the bottom.
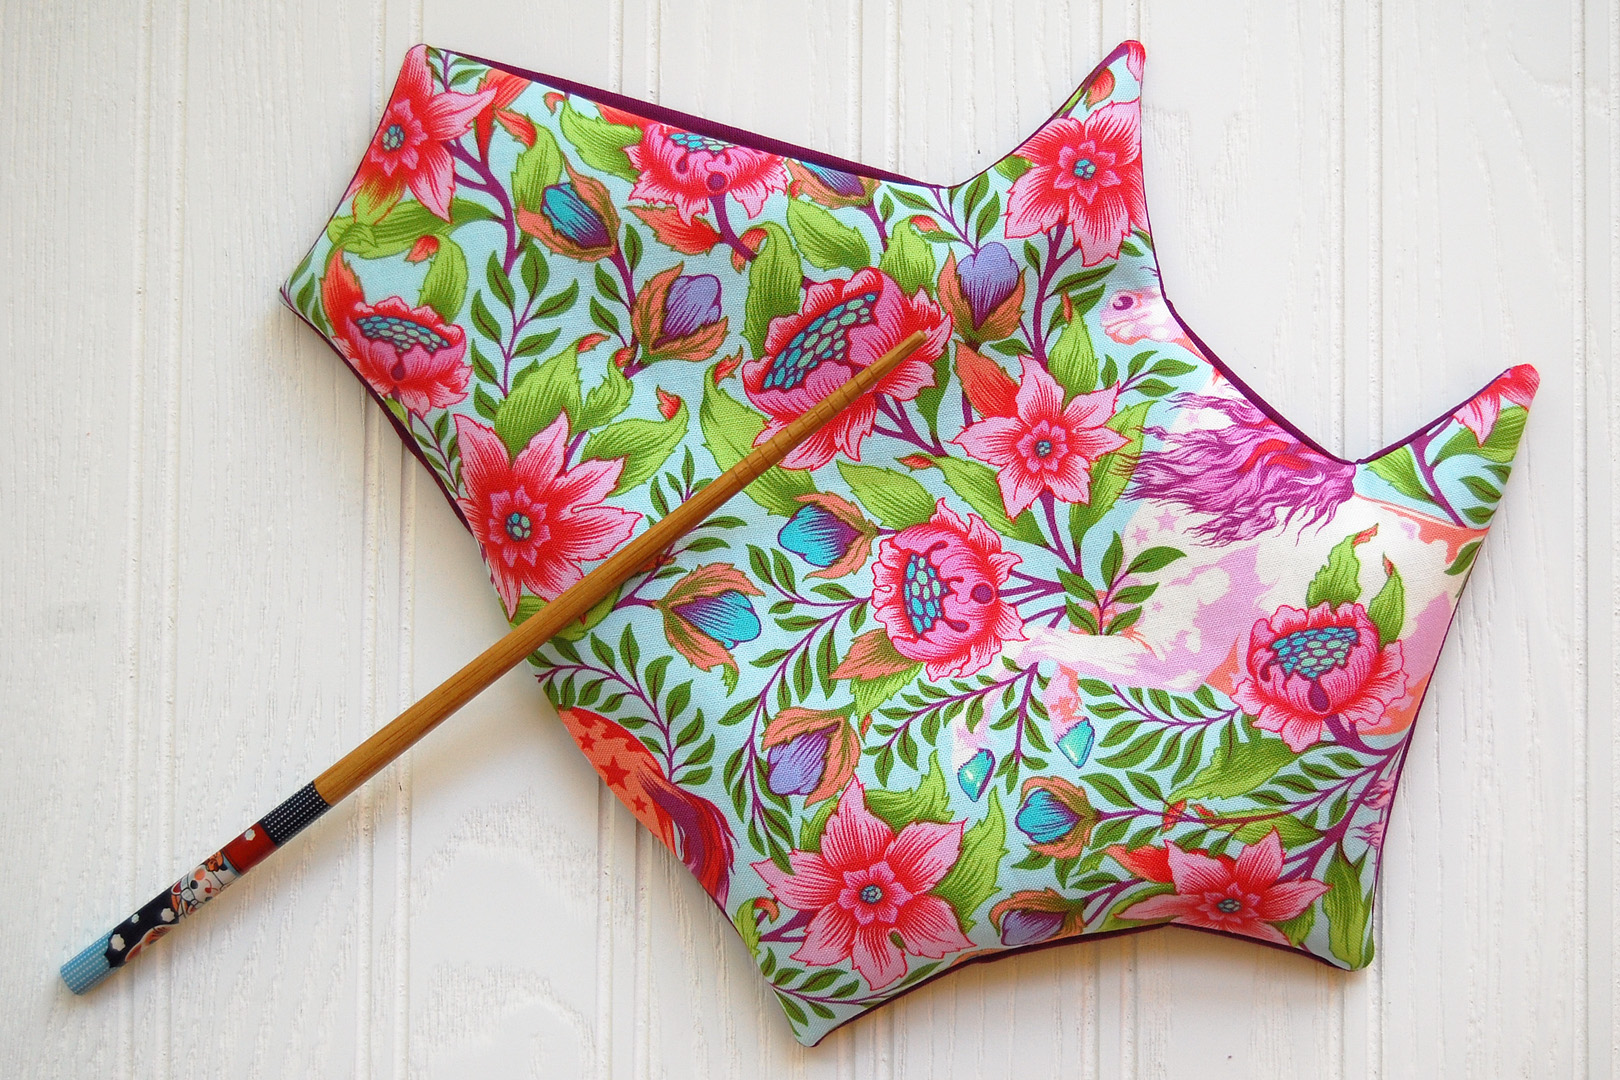
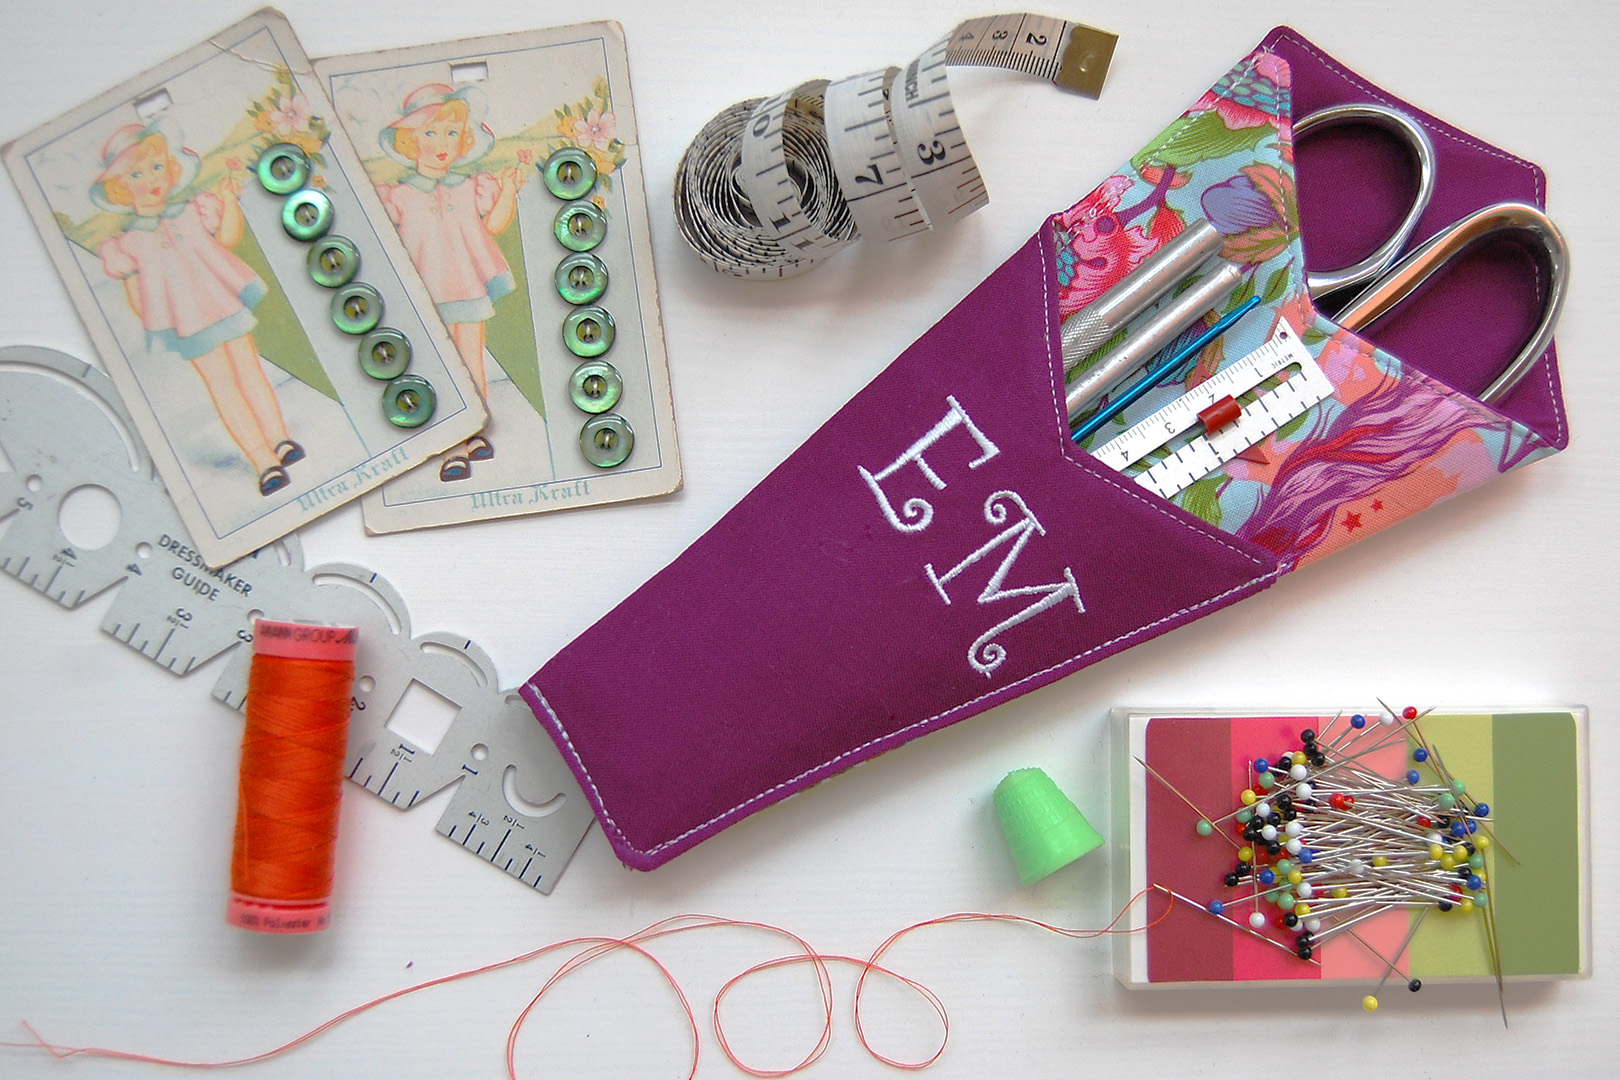
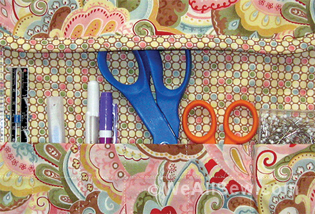
Give your case one final press, and you’re ready to fill it with your favorite sewing tools. The front pocket is a great place to add a little flair!
Make sure that everyone knows who’s scissors belong to you at your next class or retreat by embroidering your initials on the front pocket! A custom monogrammed scissors case also makes a fun gift for your best sewing friend. Want to learn how to add an embroidered monogram to this pattern? Click here for Sue O’Vary’s tutorial to Add Embroidery to a Pattern Piece!
Used Products


What you might also like


16 comments on “Scissors Case Tutorial”
-
-
I just got it to load on the other link for the same project. Thank you
-
-
Do you have to be on the computer to get it to print the correct size pattern?
-
Cute idea, but I’m having problems with the pattern. The edges do not line up properly when folded along the shorter fold line. Both the V of the lower pocket and the side opposite that fold are off by about 1/4”. ?
-
Where do you click to get the PDF file to your computer?
-
Hello galloway41, there is a direct link to the PDF pattern file in the “Materials” list at the top of the post. Just click on this link with the text “Print the Scissors Holder Pattern here” to open the PDF file. Then you can save the file where you like, or just print it out directly.
-
-
Thank you for the project & pattern. This is tutorial is nice in conjunction with one done on embroidering the case with your initial.
-
I recently bought a Bernina 590. I wanted to try the embroidery attachment. This was my first project using the it. I made 5 scissors cases with an Initials embroidered on them for Christmas presents. Wanted to post a photo but there isn’t an option to do so.
-
Hi kell, we would love to see what you created. You can share it on our community section here on WeAllSew: https://weallsew.com/share-your-projects-at-our-weallsew-community/
-
-
I love this idea and pattern!!! It’s foolproof and turns out so beautiful. Makes a wonderful gift also. ?
-
Great project & makes for cute gifts for sewist.
-
This is a great pattern! I made mine with slightly thicker fabric and maybe because of that, I had to trim more before turning. My pinking shears were very useful on this step. I love how it turned out so much that I created an account just to thank you. I found this tutorial while searching for a scissor keeper online. I guess I need to check out what else you have now! 🙂 Thanks so much!
-
When do I should use the piece of fusible fleece?
Thanks you so mush!!
A. -
Oups! I find the answers!! Thanks!!
-
May 17, 2022, No where can I find a place to download the pattern for this sew out.
??????
-
Hello, please click here to download the pattern. Happy stitching!
-
Leave a Reply
You must be logged in to post a comment.

Nothing is there when I click for the pattern??? What is wrong???