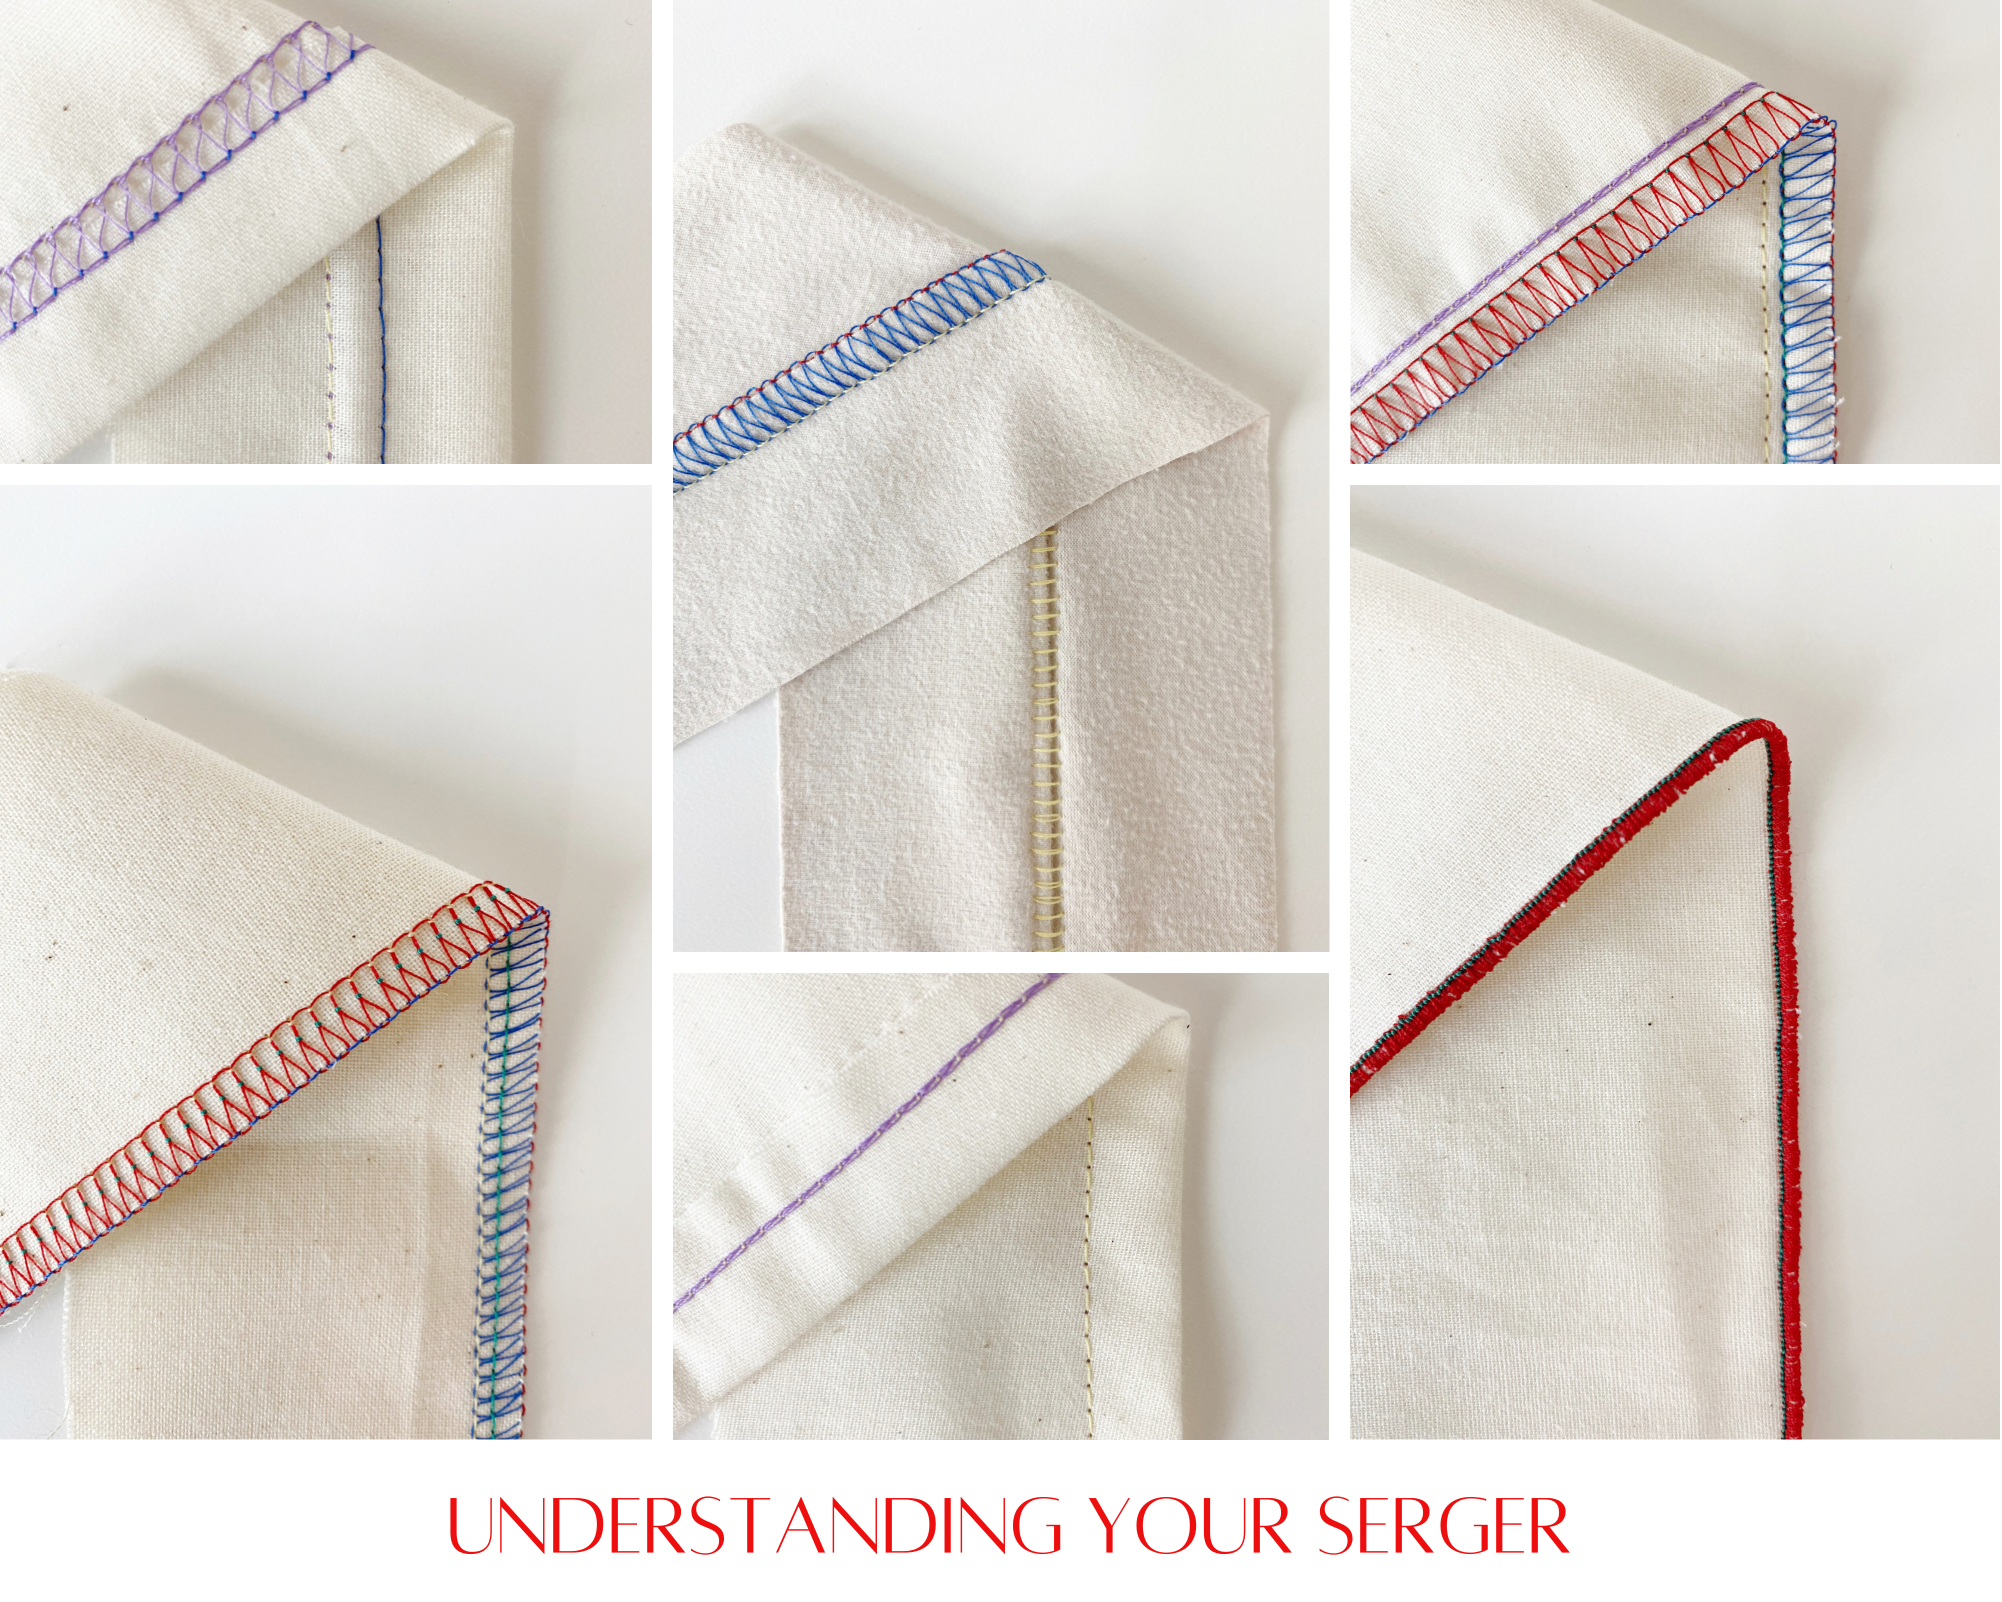
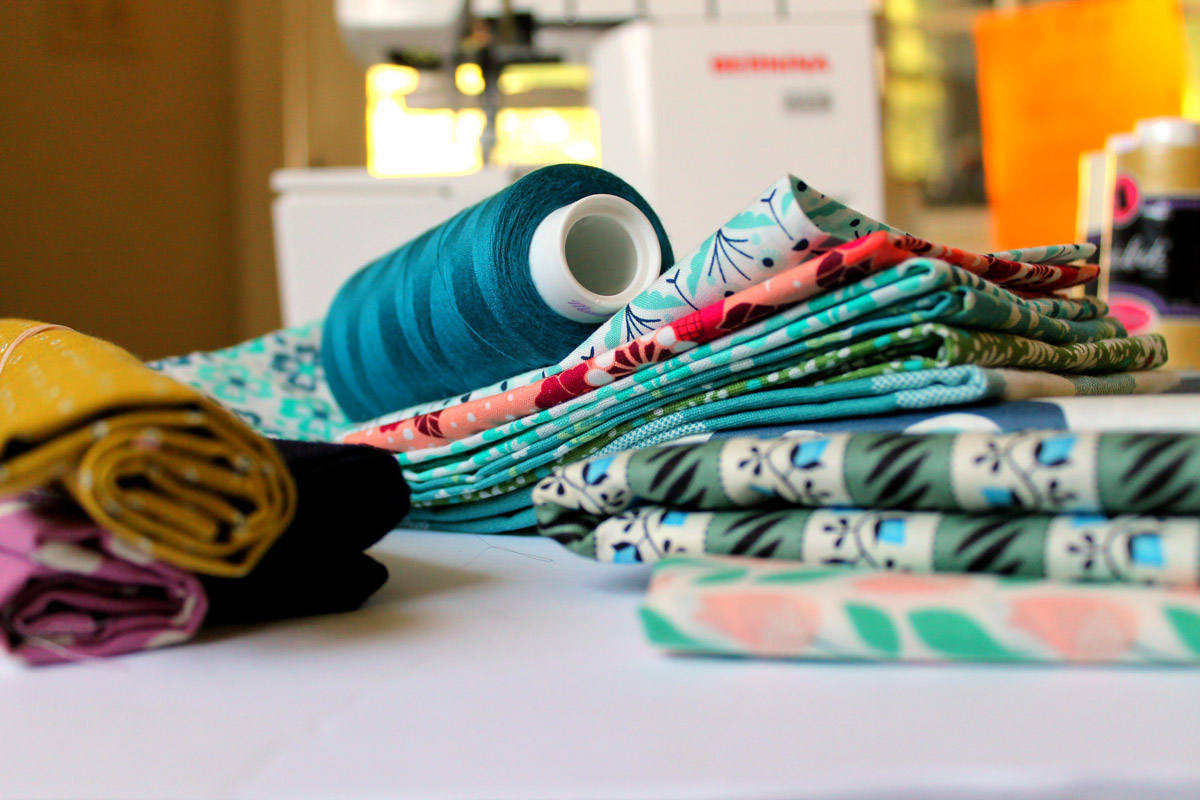
Serging 101: Understanding Your Serger
I am here today to answer a few of the most asked questions my students have when they are learning how to use their sergers. If you need help to understand your serger and want to start serging with confidence, I hope to clear up some common questions.
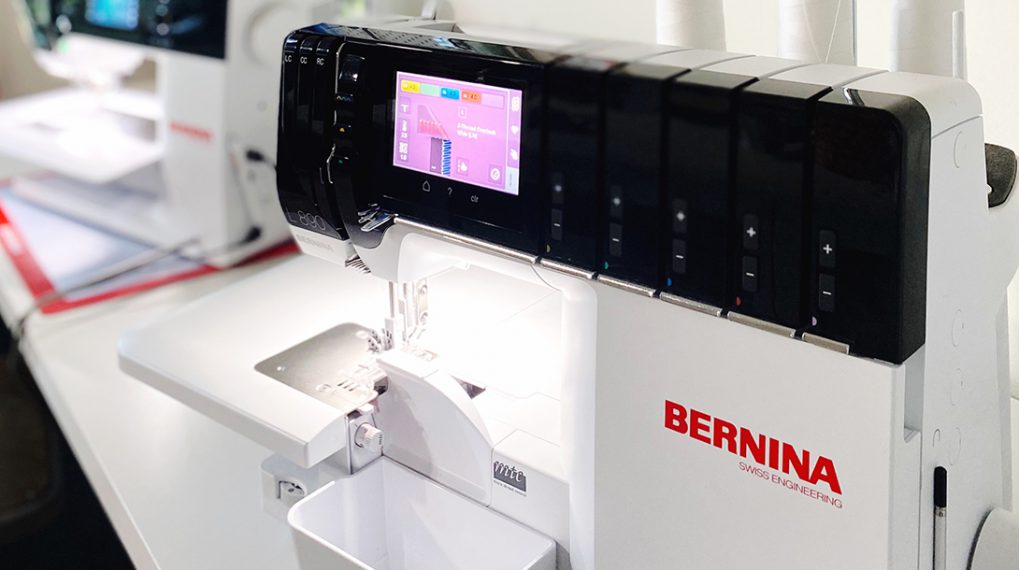
If you are new to sergers or overlockers, you might find you are not alone in the fear of using that overwhelmingly looking machine. Truly, sergers can look daunting with all the threads and needles and stitch types. Thankfully the L 890 is a very intuitive machine. The first time I used one, I was able to learn how to use the air threading feature and switch from overlock mode to coverstitch mode in minutes. Without a manual! The L 890 guides the user and shows the steps with video tutorials on the monitor. How amazing is that?
So, let’s dive in and learn how to better use your serger!
Differences Between Serger, Overlocker, and Coverstitch
The first step to learn how to use your serger is to understand its stitches, and since I already dropped some names like overlock, coverstich, serger, let’s figure out what is what.
A lot of new sewing enthusiasts will hear the term serger and overlock and I often get the question, are these the same? The answer is yes. The terms are used interchangeably. It really just depends on where in the world you live.
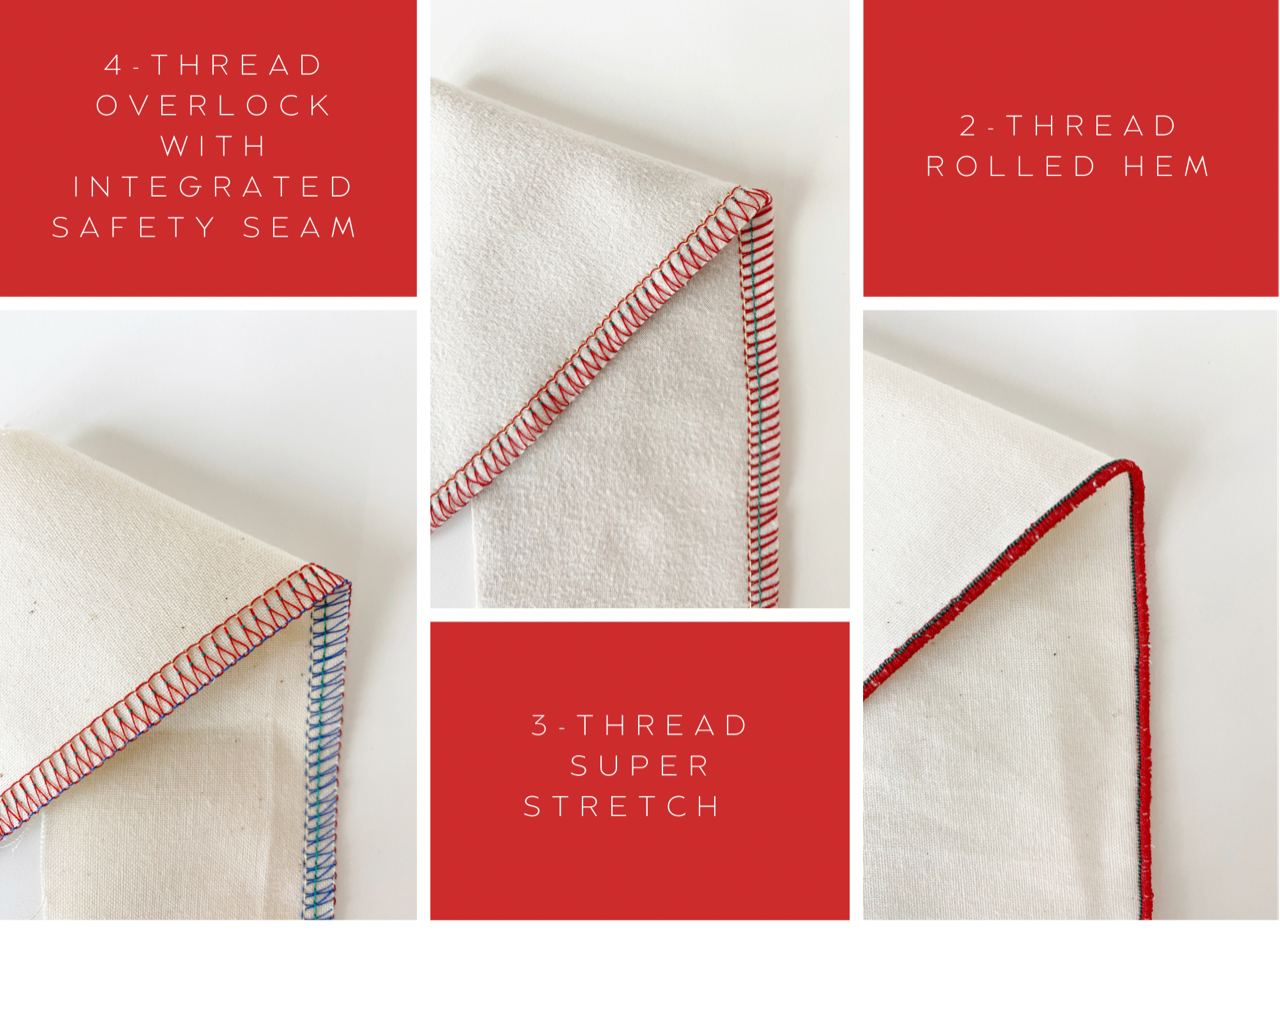
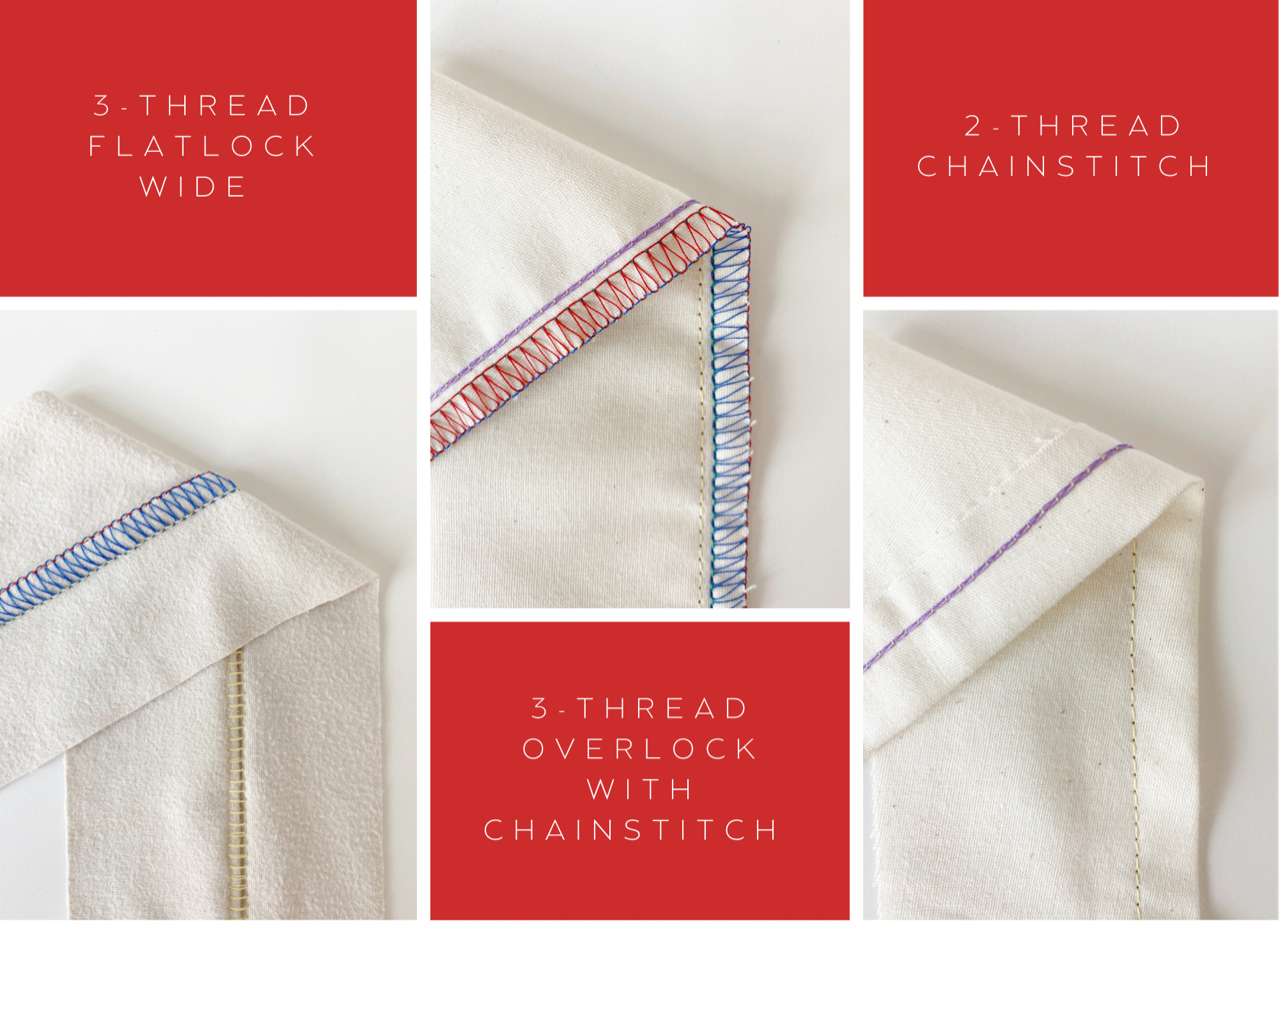
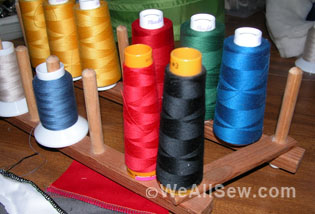
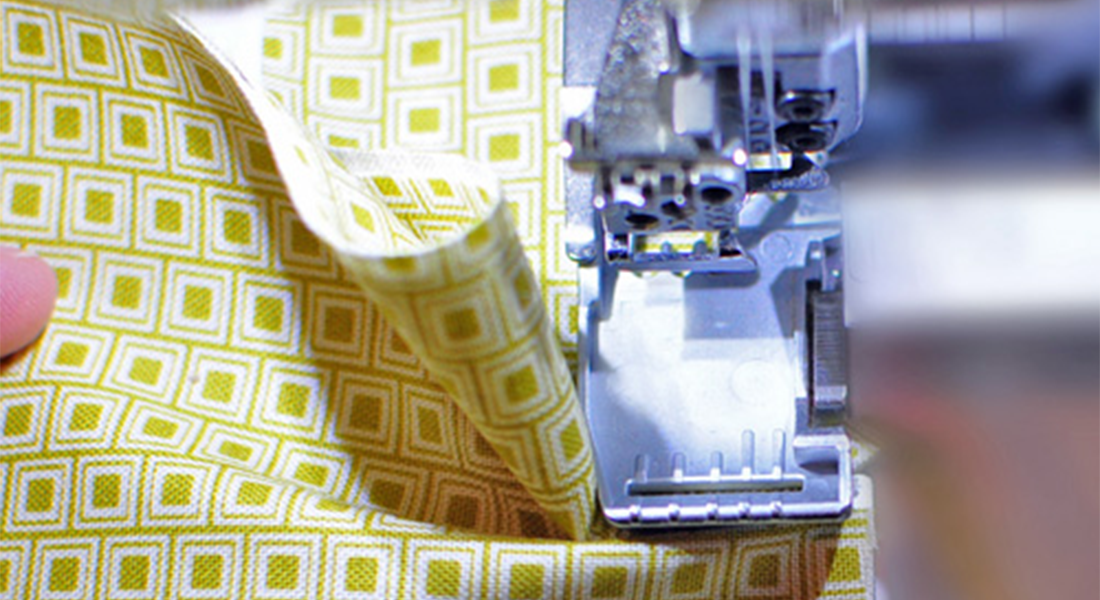
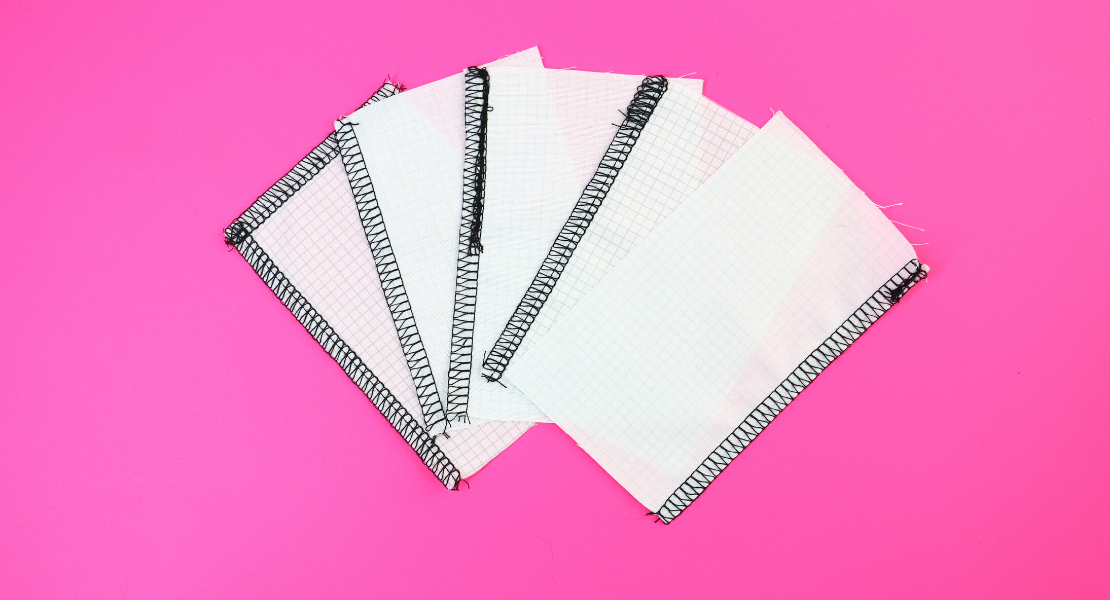
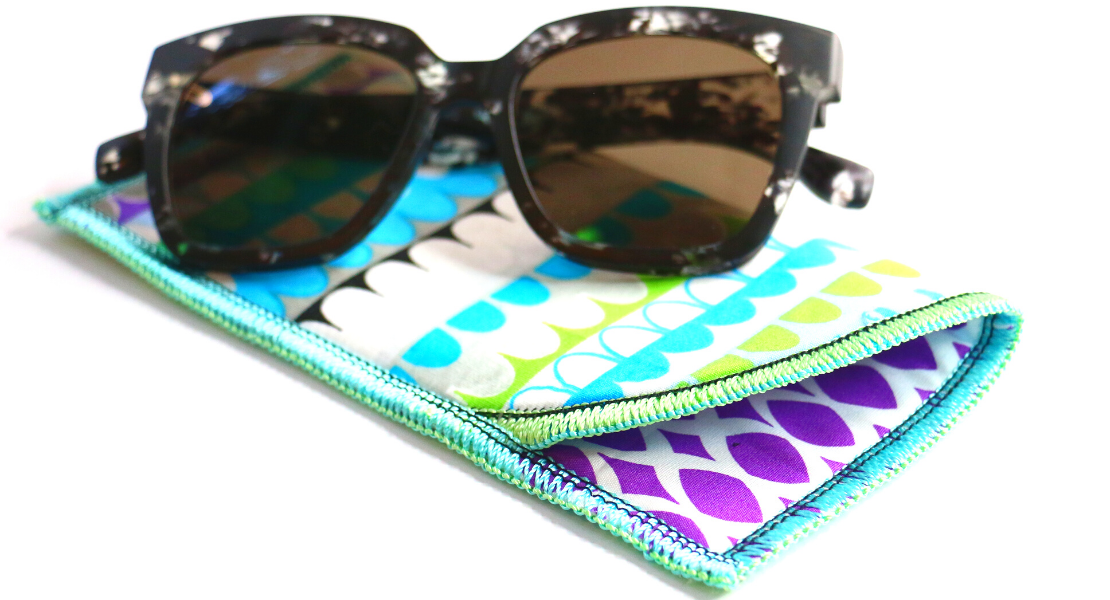
A serger or overlocker makes an overlocking stitch on the edge of the fabric, trimming any excess or fuzz while encasing the raw edge, thus preventing any future fraying. It is great to be used as a quick finish on wovens or to seam knits and stretchy fabrics. Much like a sewing machine, the serger/overlocker has a variety of stitches to choose from, depending on the application.
Some of the most used stitches are a 4-thread with safety stitch that works with most of your garment projects; a 3-thread stretch that is great for athletic wear or children’s wear; a 2-thread roll hem for a delicate finish on finer fabrics; and a 2 or 3-thread flatlock for joining fleece and other materials without adding bulk to your project.
What is a Coverstitch?
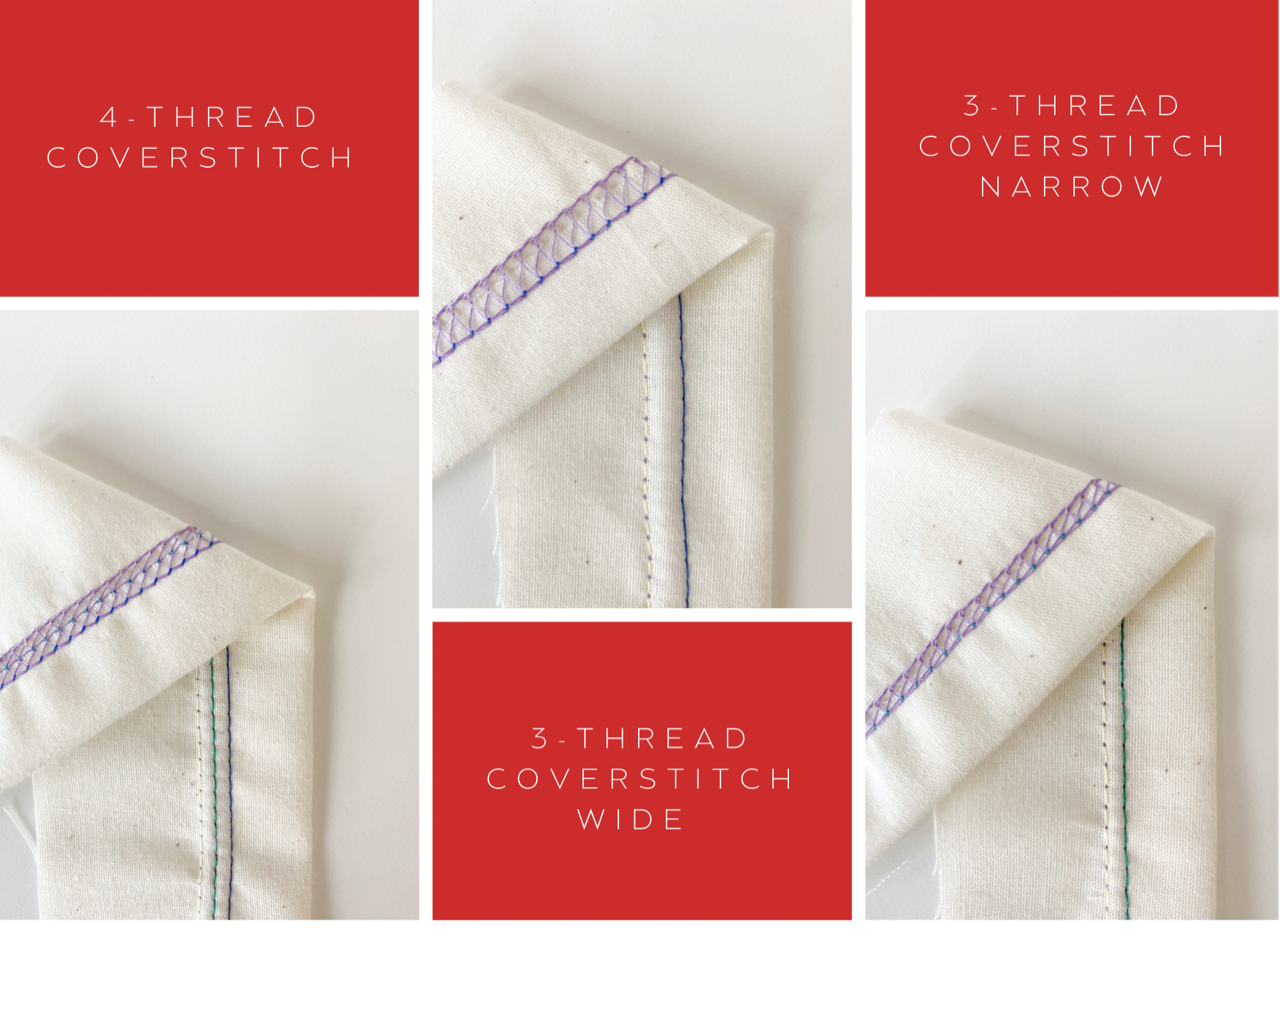
You are probably very familiar with the serger, but now, what is a coverstitch? A coverstitch machine is mostly used for hemming knits. It is the two rows of stitches that you see in your ready-to-wear T-shirt hem or sleeves. On the reverse side of this stitch, you have a loop chain that keeps it all together. The coverstitch machine does not use a knife. This machine will also have variations such as the option of using two or three needles for the top, or a wide or narrow look. A chain stitch with a single needle and a looper can also be achieved and it’s a great way to finish hems and necklines in a knit dress.
- My pattern has a 3/8” (1 cm) seam allowance. How do I change my stitch to match that?
Understanding Serger Seam Allowances
The serger/overlocker machine needles do not move like the ones on a sewing machine, but we can adjust the cutting width. However, that is mostly to accommodate the fabric that will be encased in the stitches. Those stitches will generally measure about 1/4” from the edge of the fabric to the left needle.
You can do one of two options: If it’s a lightweight material, trim about 1/8” of the seam allowance as you serge. Use your seam guide to help keep things in check. If it’s a medium to heavyweight material sew as is because the turn of the fabric (where your seam meets on the right side) will use the extra seam allowance. Also, most knit patterns have a good amount of ease, and the extra 1/4” – 1/2” ease often will not change the fit on a loose-fitting garment.
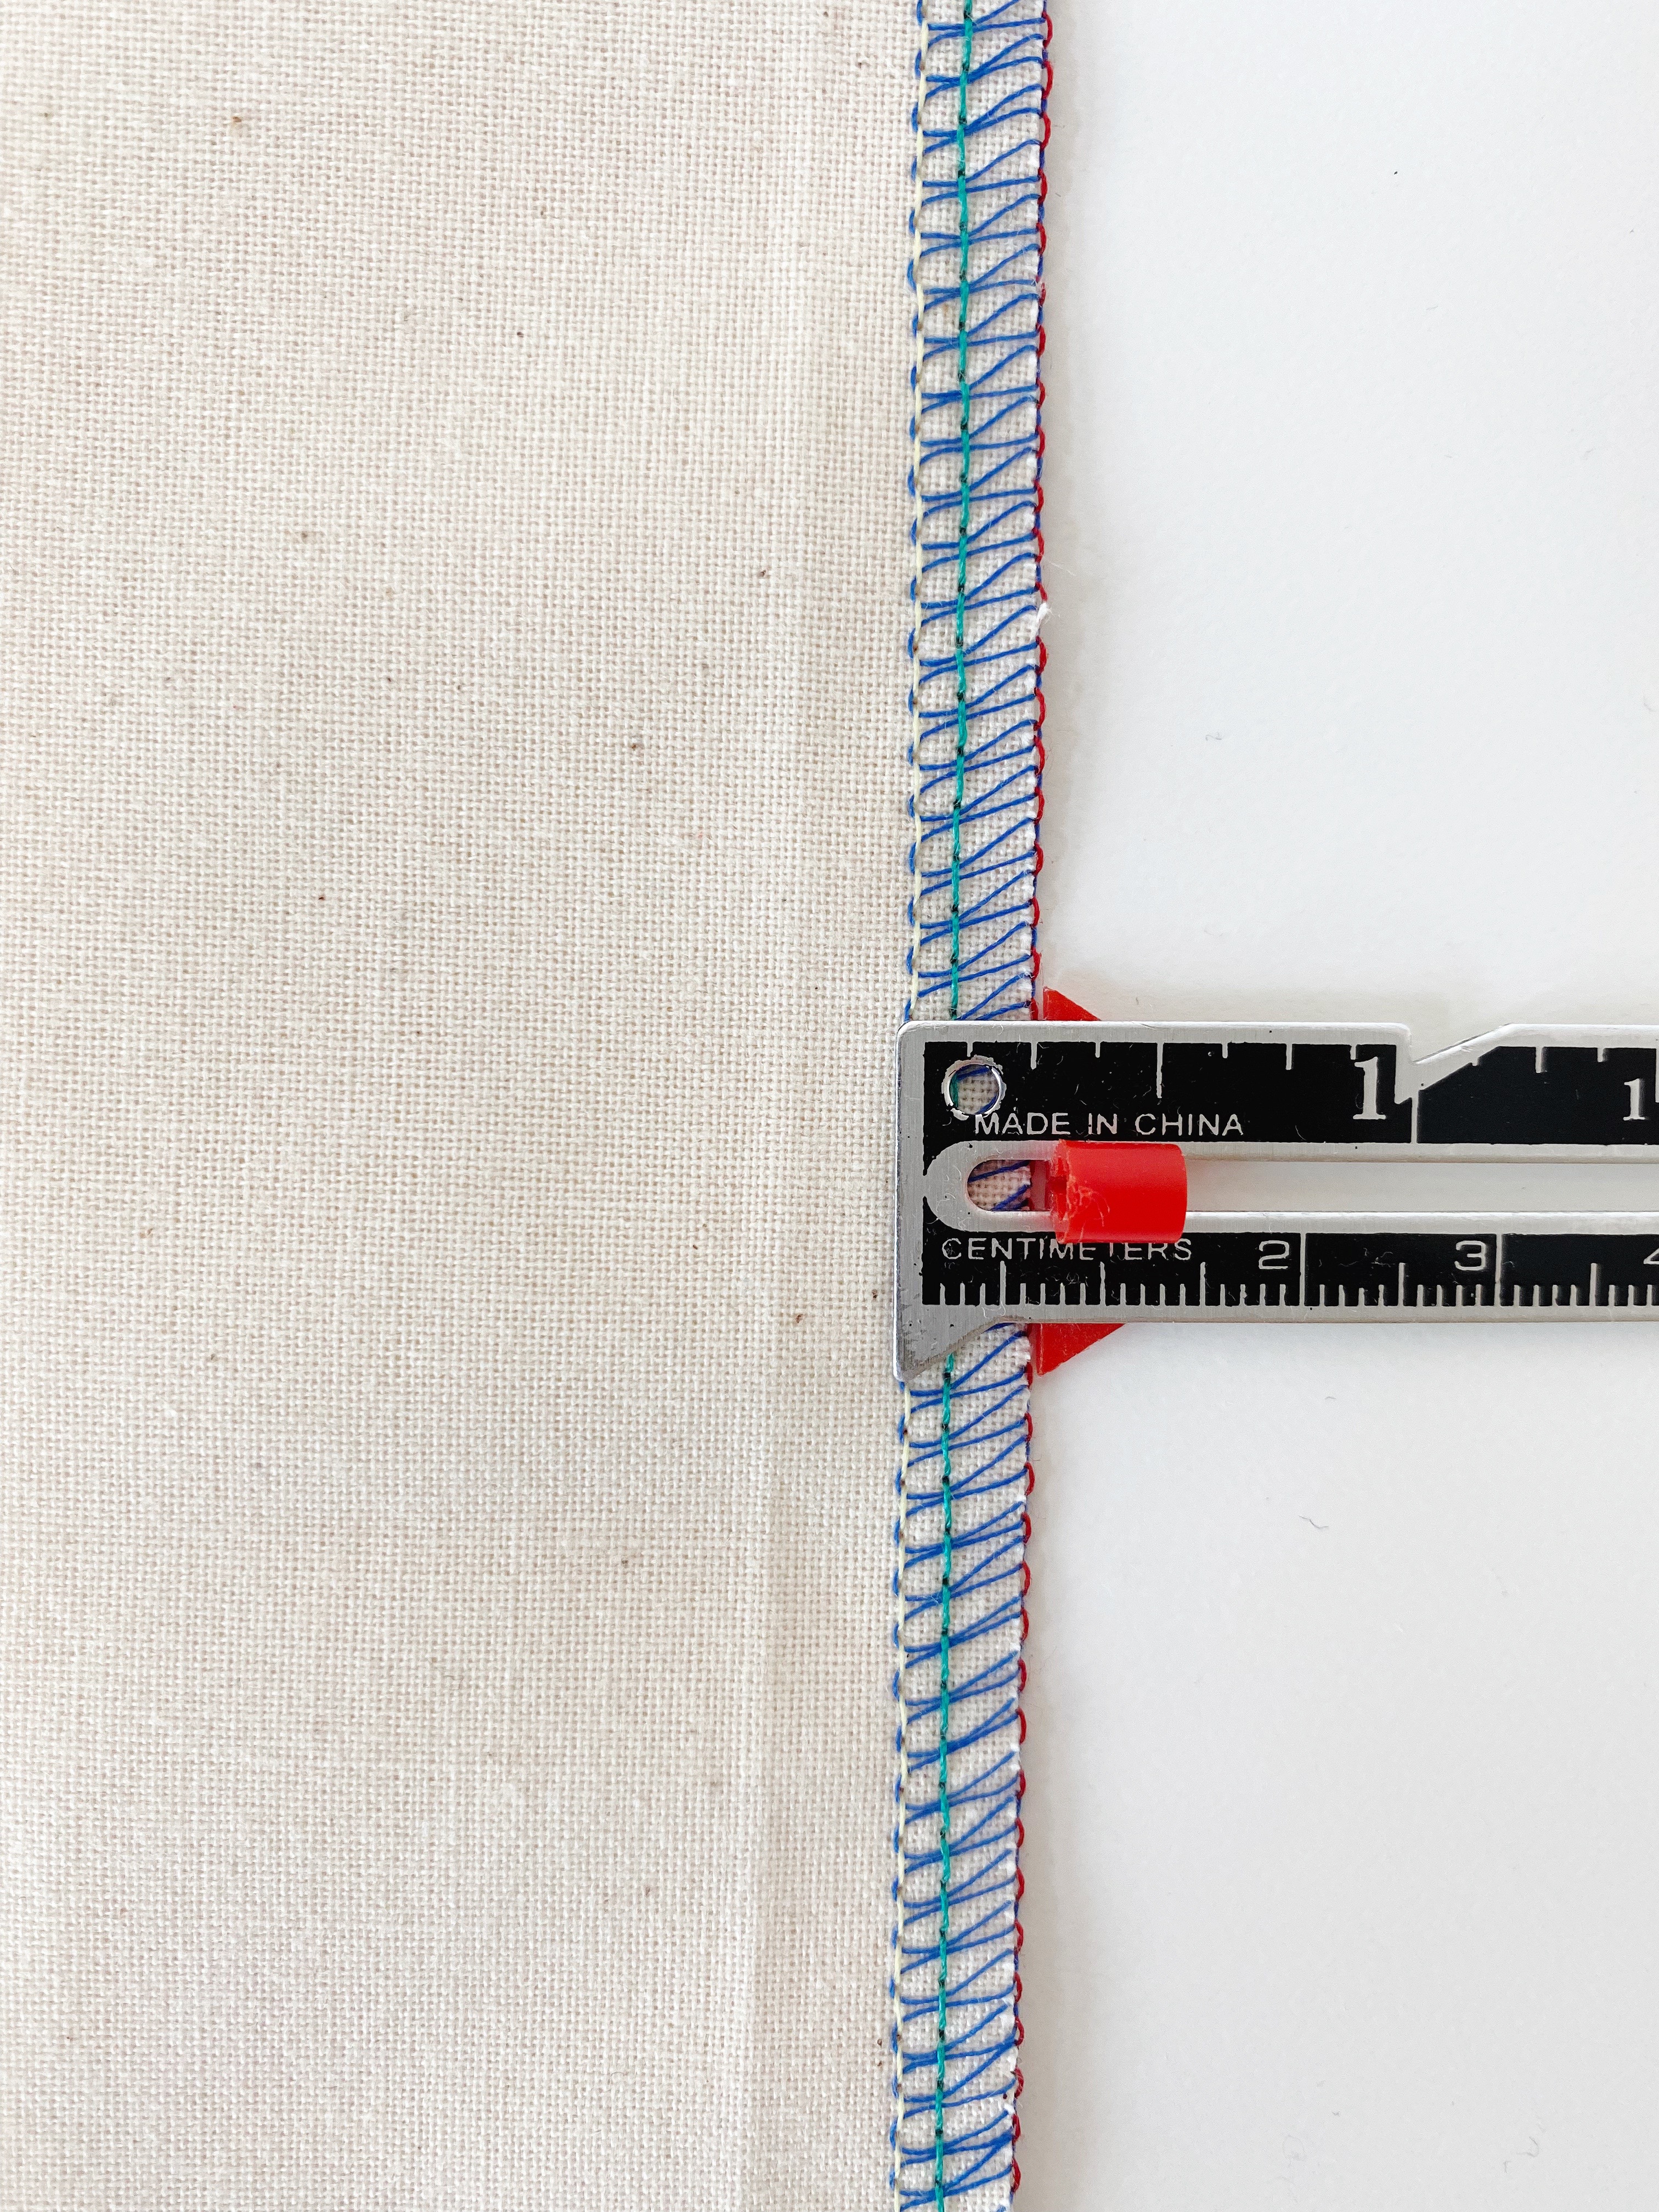
Seam Width
- Tension!!! How do I know if it is right?
Understanding Serger Tension
As long your looper stitches are nicely meeting at the edge, your tension is correct. If the stitches are a little far from the edge, it’s most likely that the knife is cutting too much of the fabric. Adjust the cutting width to a slightly higher number and test the stitch. If it is still a little off, use the mtc (micro thread control) to tune it up. However, if something feels loopy and messy, check to see if one of the threads was not placed through the tension disks (tension path) correctly and re-thread it.
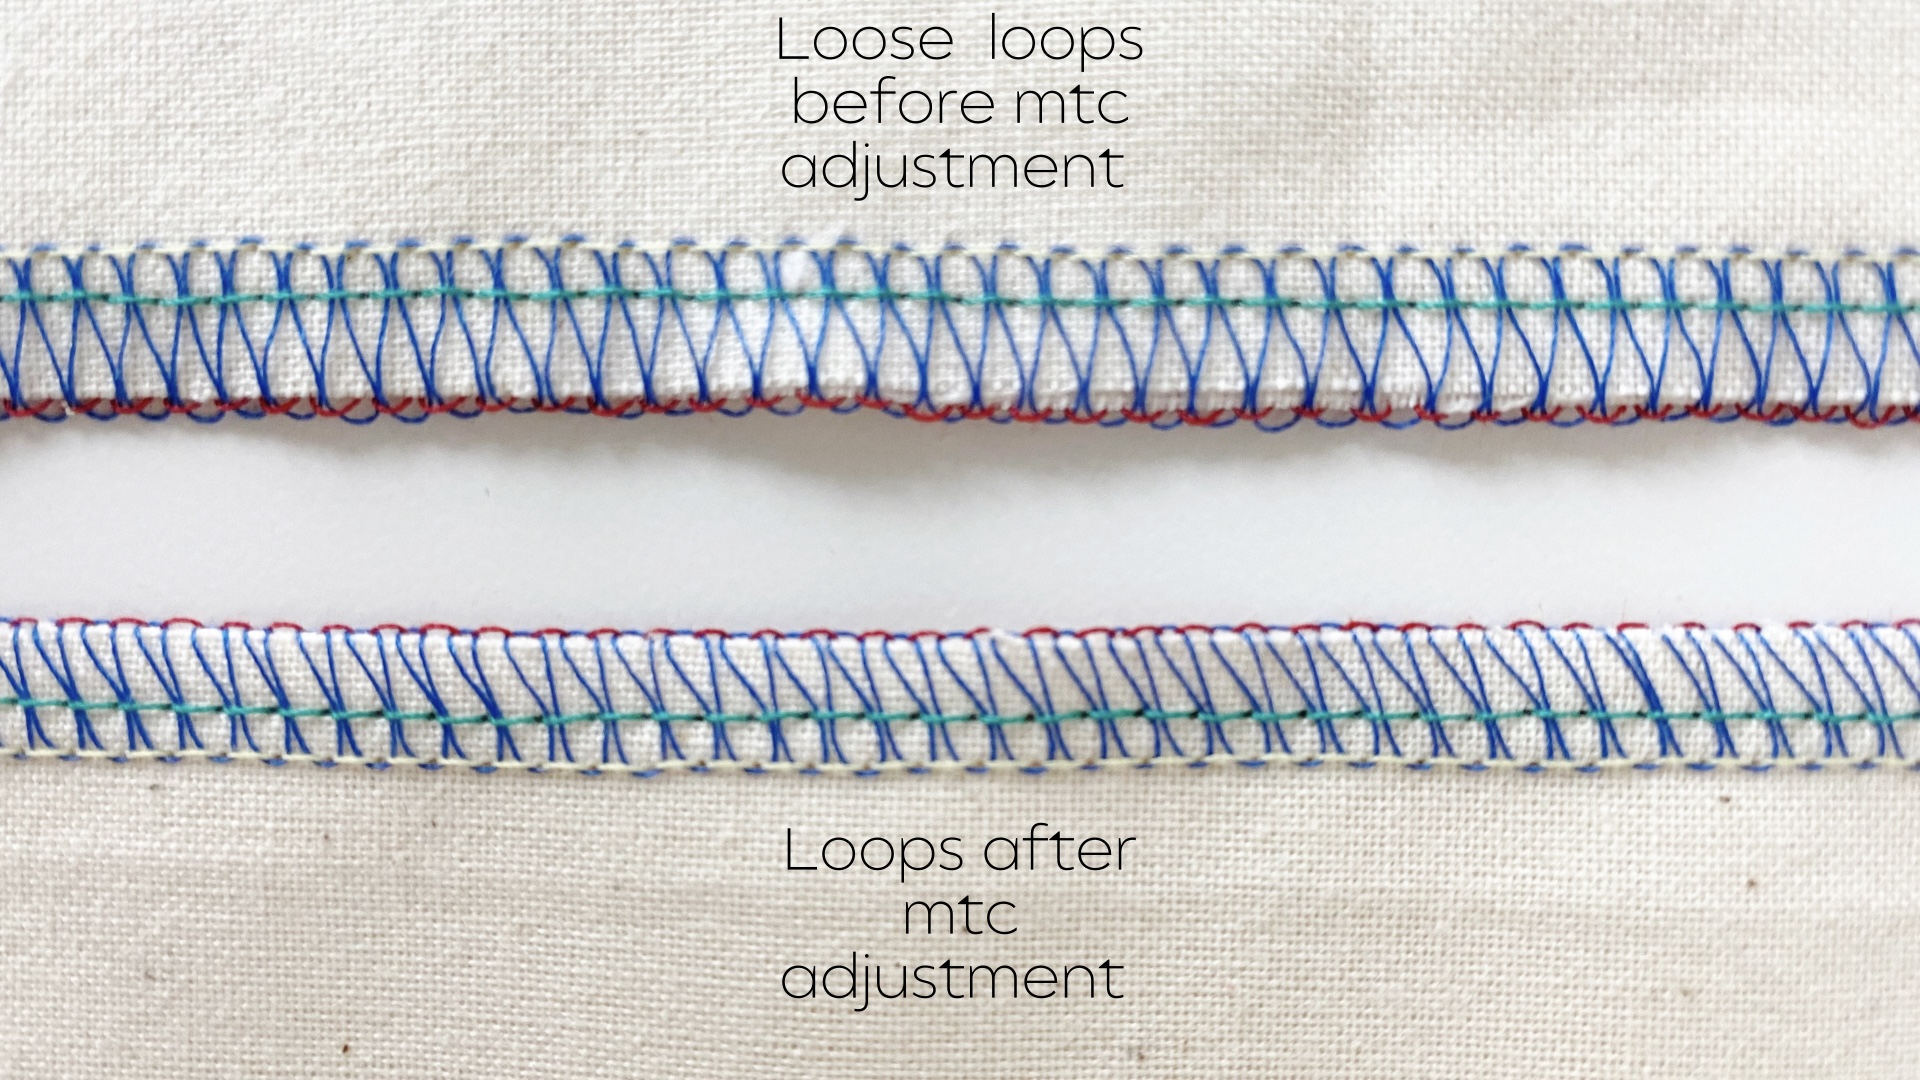
Adjusting the Micro Thread Control
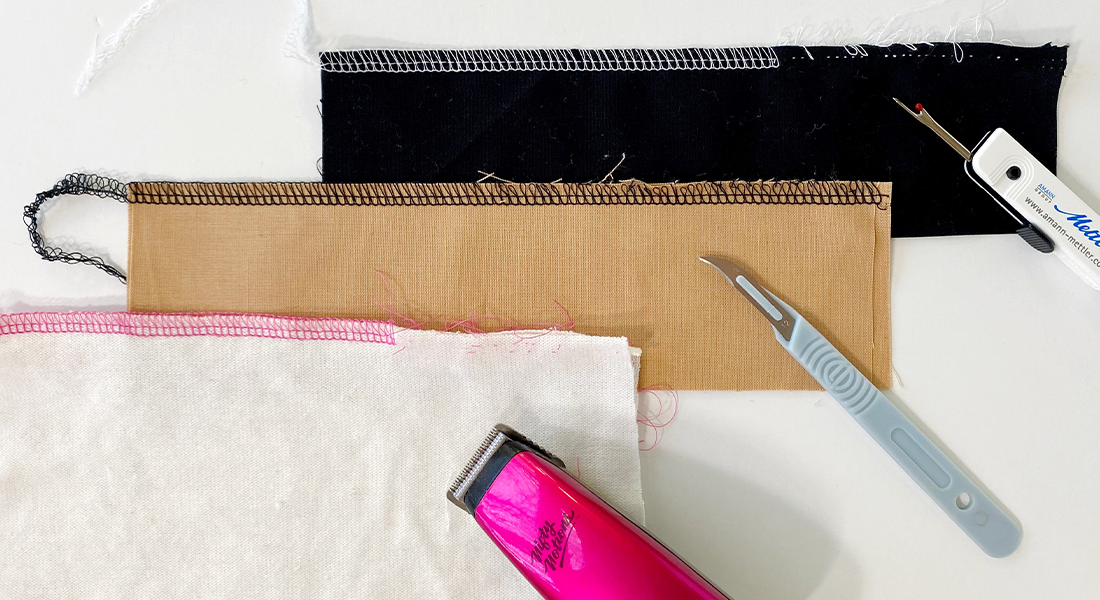
- What do I do with the tail?
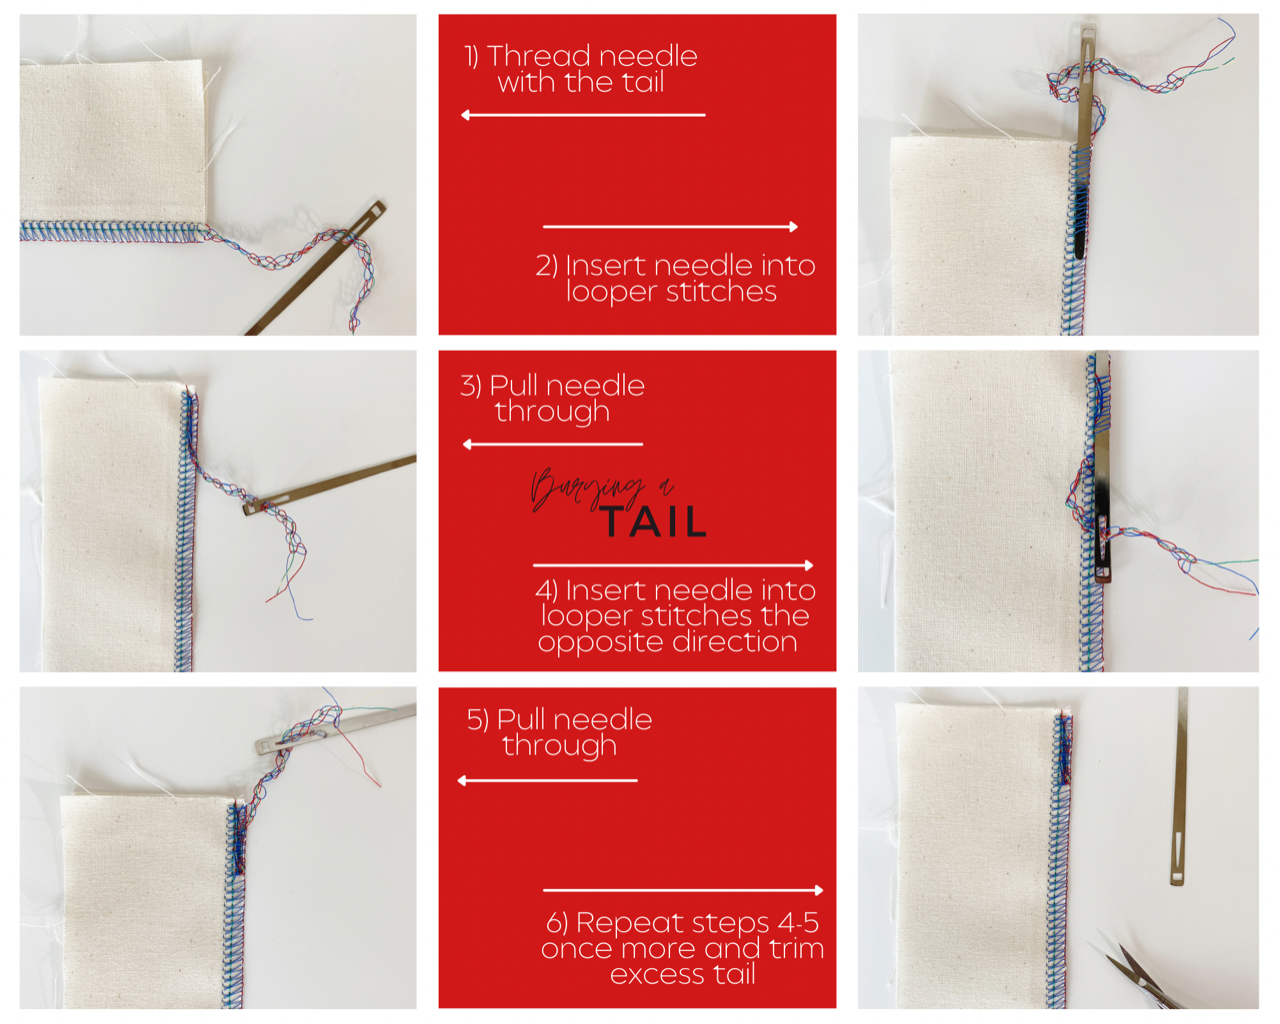
Burying a Tail
An important part of learning how to use your serger is to learn how to finish those leftover tails. However, you don’t need to tie and bury all your tails. If the seam intersects with another seam, the tail can be cut off. If it is a seam that will be hemmed or it is on the round you should make sure to secure it using a darning needle or a flat needle. I like to use this one.
- How do I finish the stitch on the round?
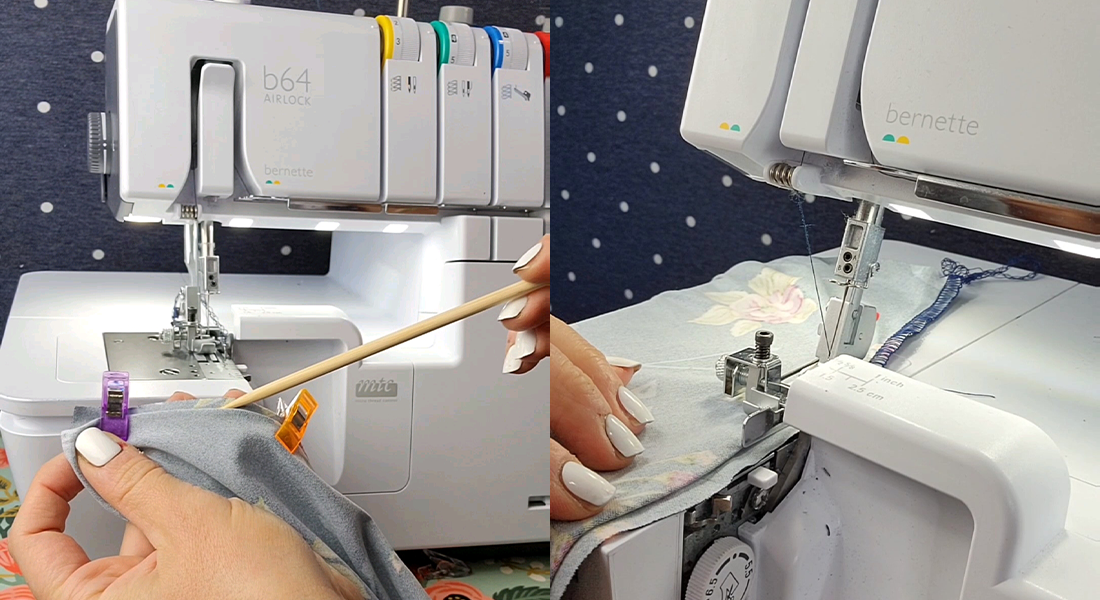
Now that you learned some of the foundation steps for using your serger, you might want to sew something on the round, like attaching a neckband or a waistband. To do that, start by serging on an angle to place the fabric under the needles, then adjust the fabric as you sew to be parallel to the knife (1). Then, sew around your piece, and as you get close to the beginning (about 1/2” to 1”), lower the knife and continue stitching until you overlap the first stitches for about 1/2” (2). Stop at this point and with the needles down, lift the foot and pivot the piece you are sewing to the left (away from the knife) at about a 90-degree angle (3). Lastly, lower feet and sew off the fabric and make a tail (4). Remove your piece from the serger and secure the tail.
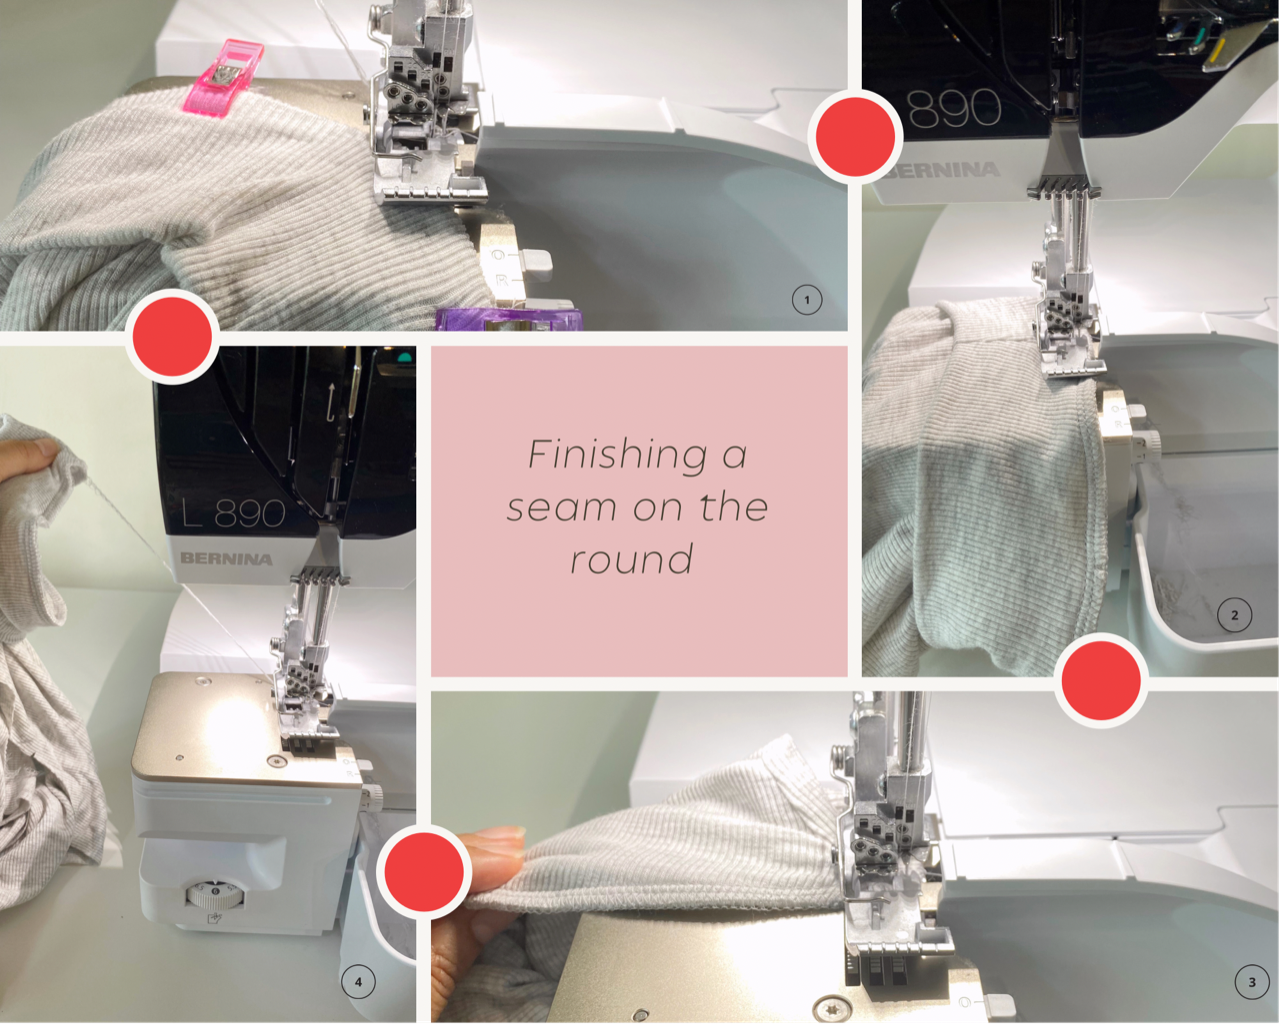
Finishing a Seam on the Round
And there you have it!
I hope these little bits of info were helpful to get you starting to understand your serger better. Now it is time to get your overlocker and try it out without fear because this is an amazing machine.
Have fun and start serging!
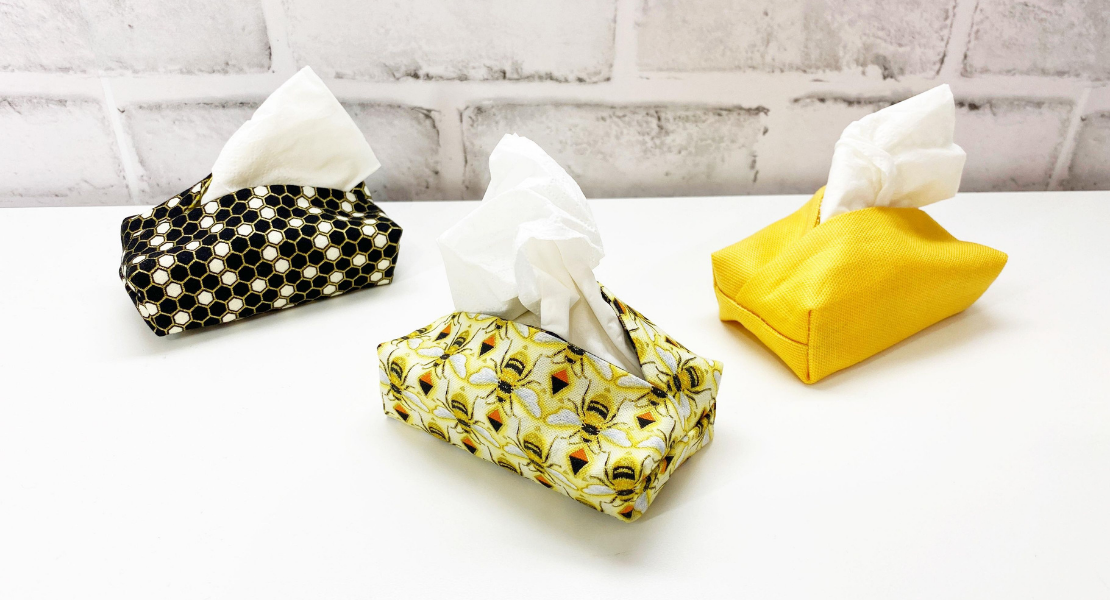
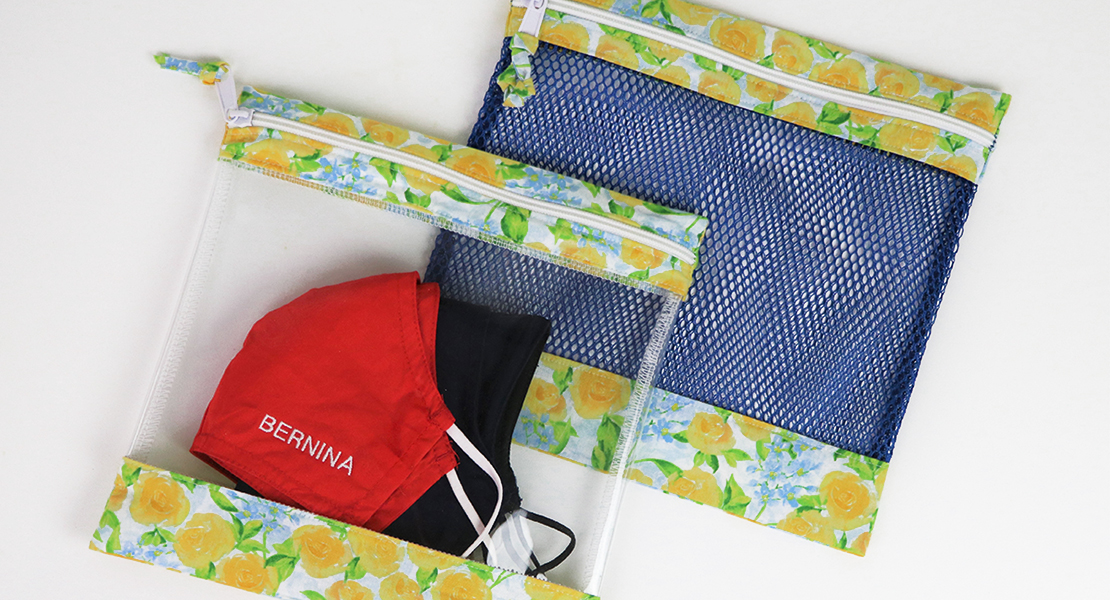
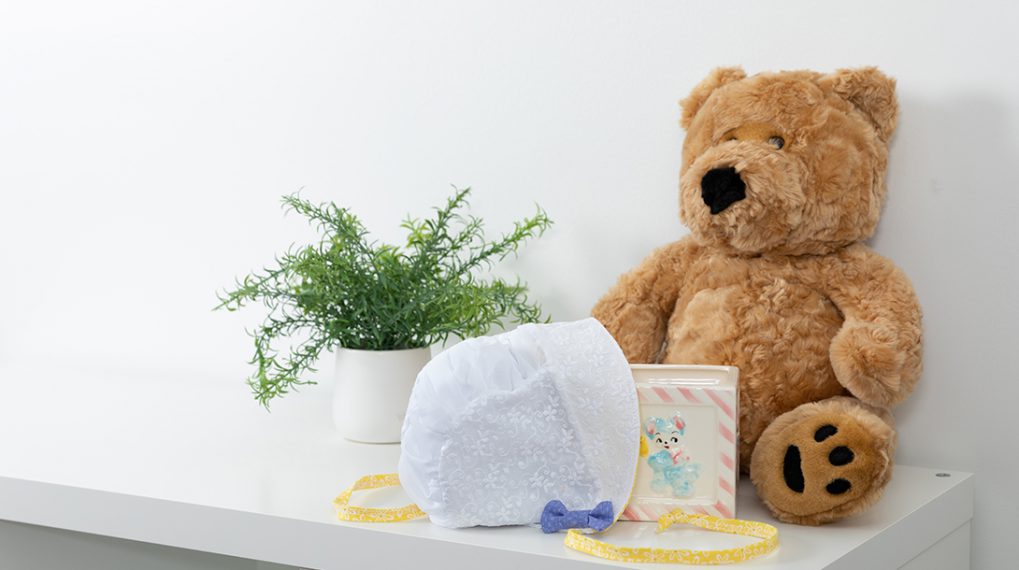
Used Products

What you might also like


2 comments on “Serging 101: Understanding Your Serger”
-
-
Just about to start a Newbie serger user. This is a great start for her to learn her machine. Will need to find someplace to help her purchase the little notions essential while serging.
Leave a Reply
You must be logged in to post a comment.

Great beginner info and pics!