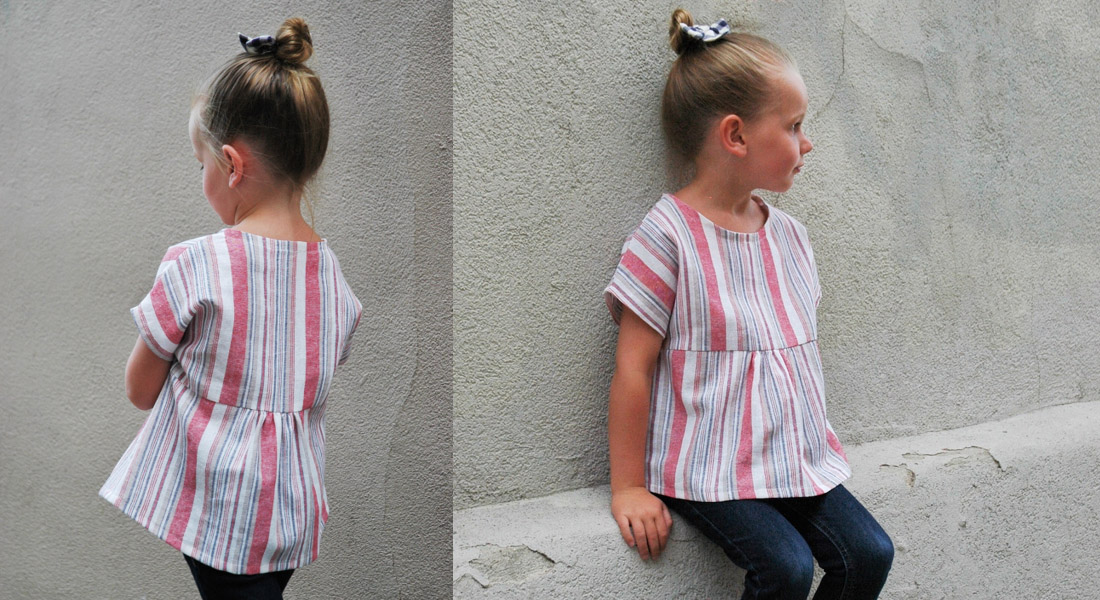
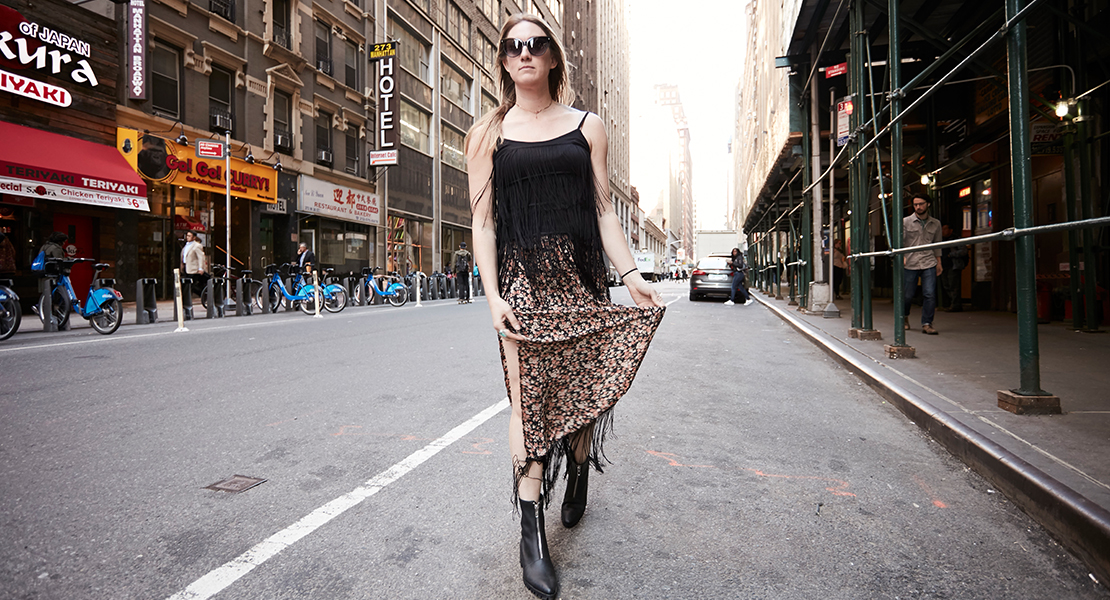
How To Sew a Womens Boxy Gathered Top

Hey everyone! Sara of The Sara Project here, back with part two of this boxy top tutorial, this time with an adult version! I loved how the girls boxy gathered top looked on my daughter so much, I decided I needed one for myself too. Even better, it’s a super quick project that could be finished in one night. Let’s begin!
Materials to Make a Womens Boxy Gathered Top:
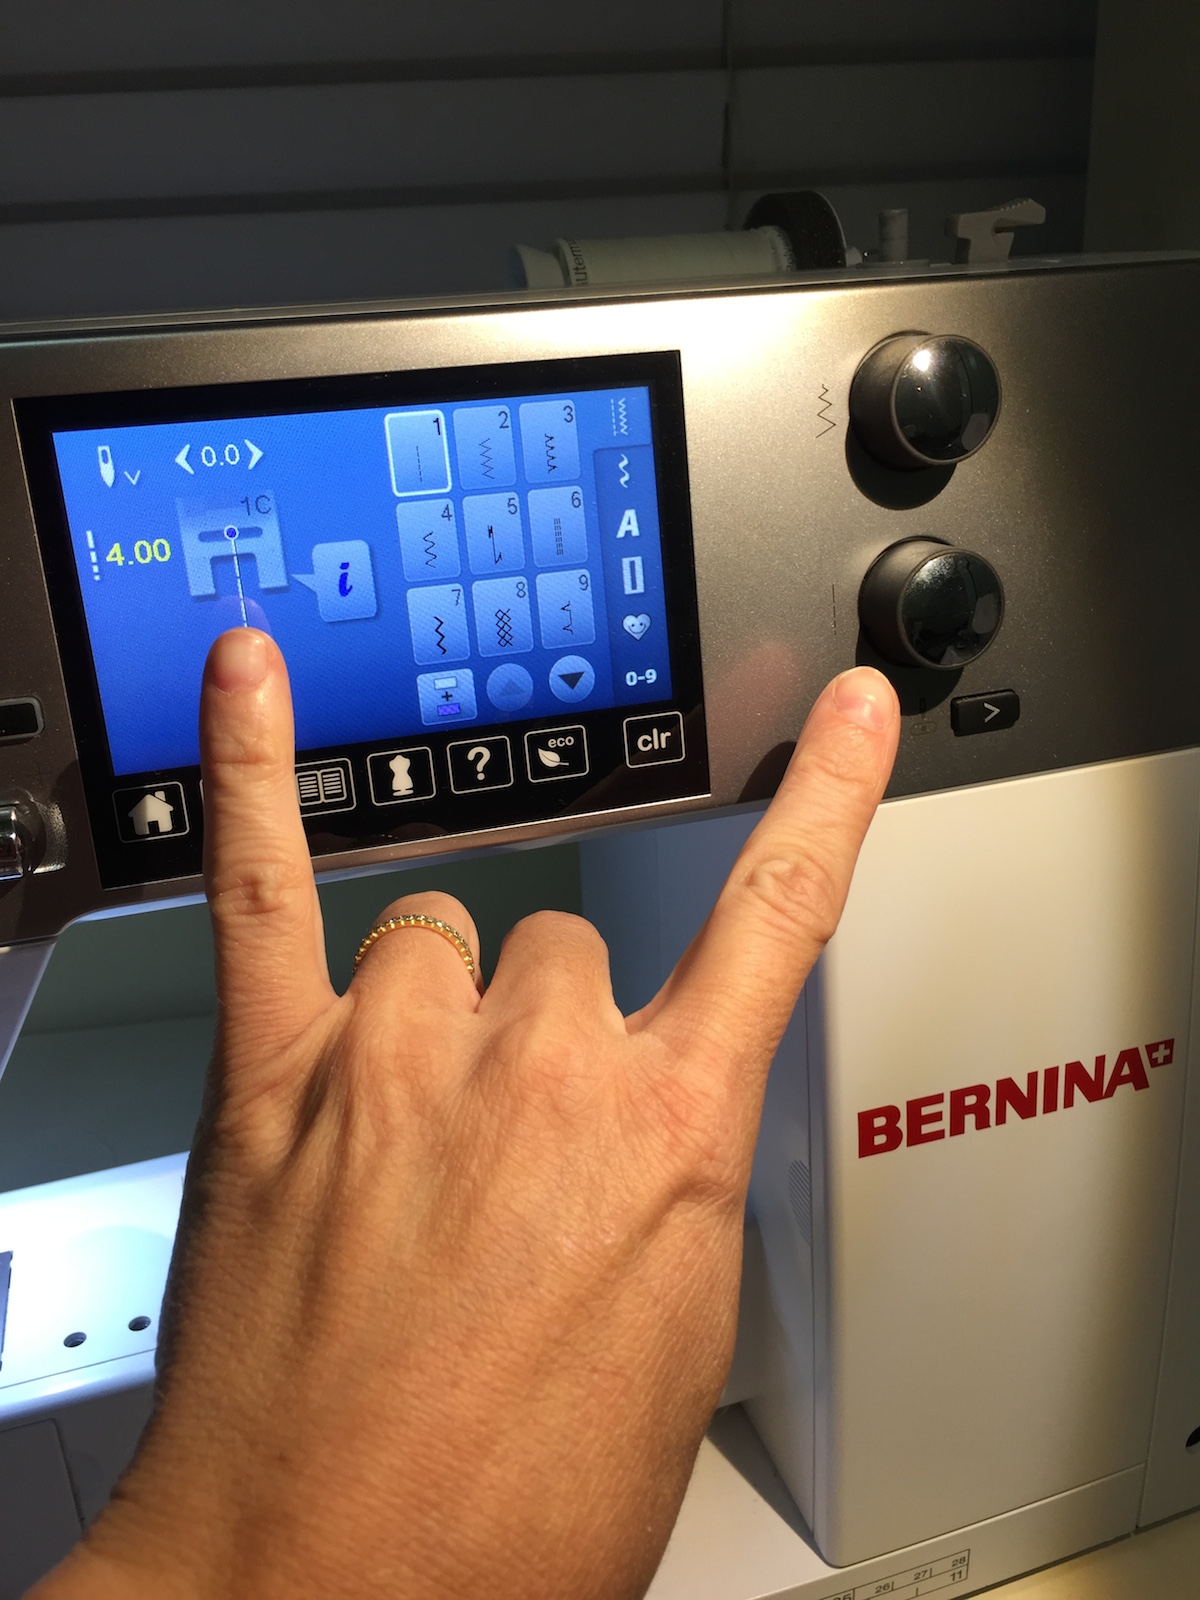
- Sewing machine (I use a BERNINA 560)
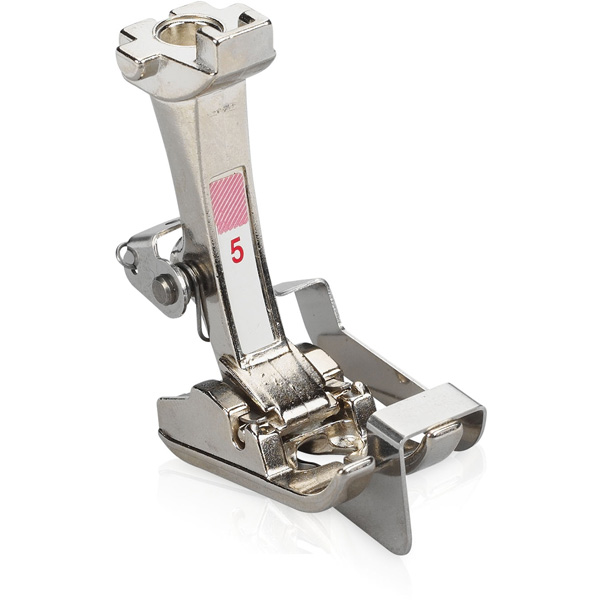
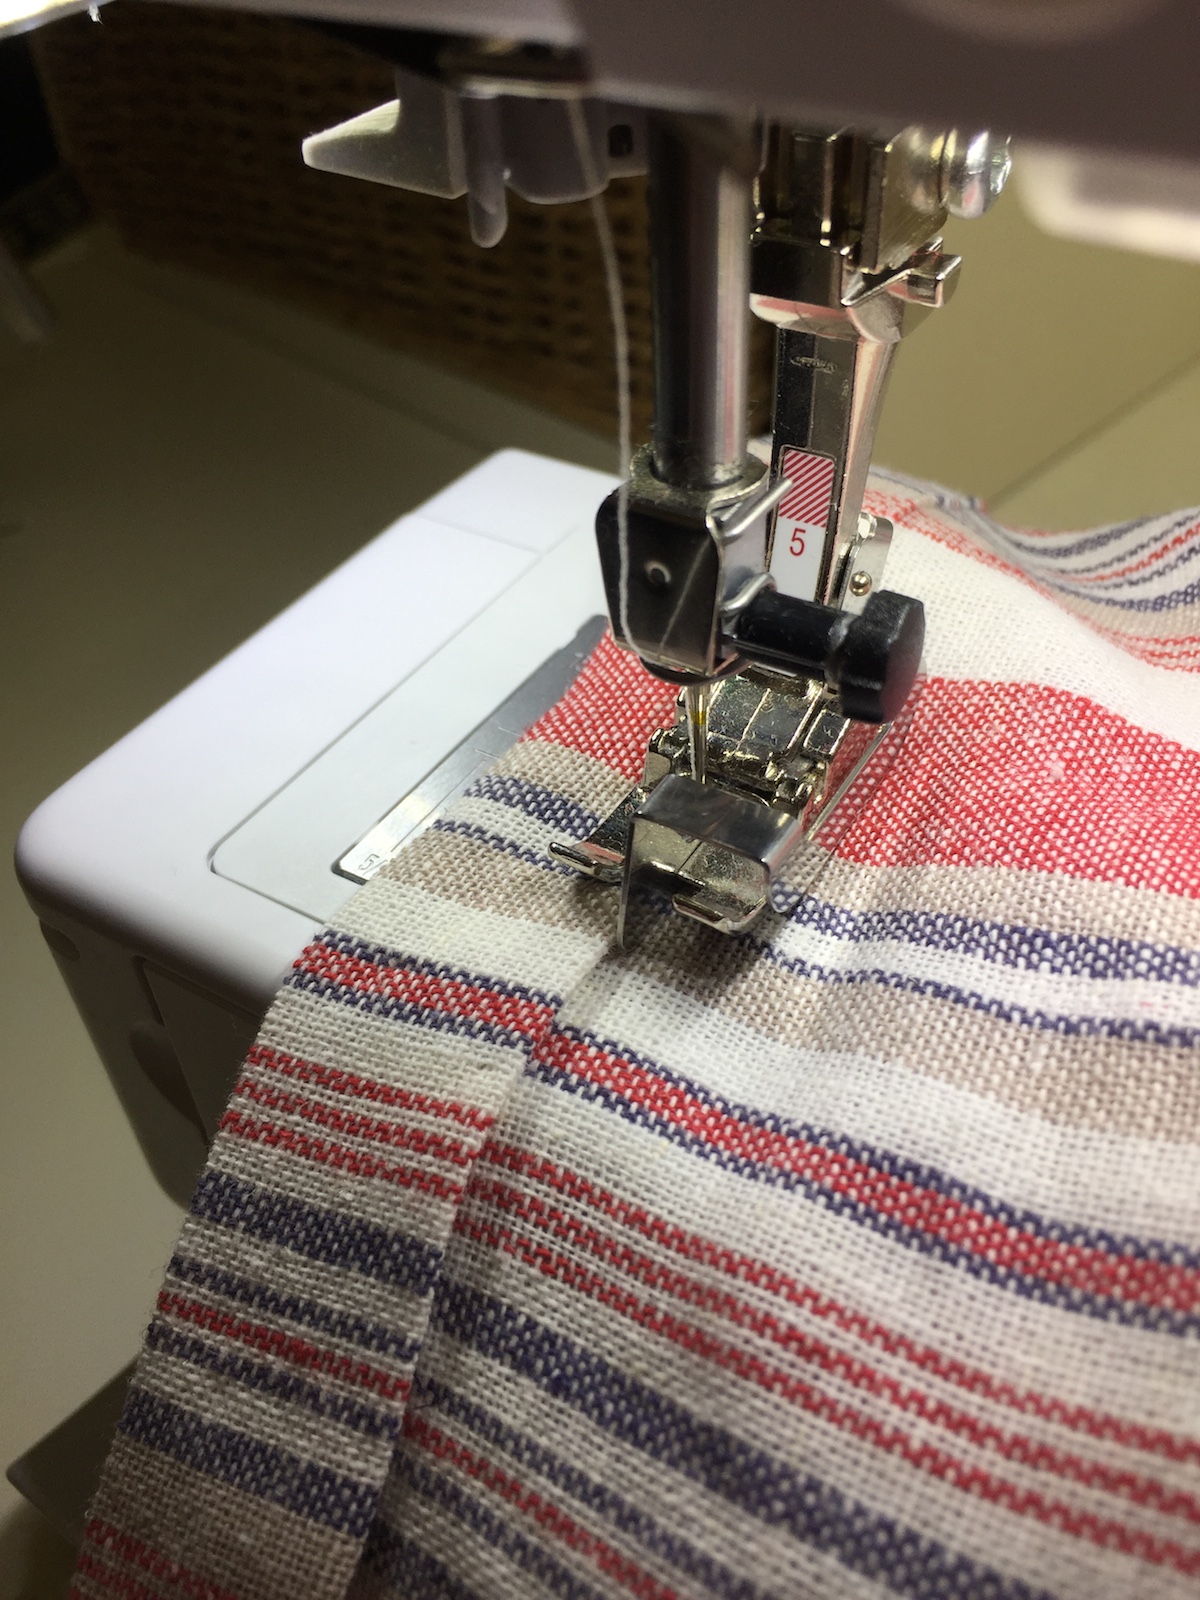
- Blindstitch foot #5
- Linen fabric (I picked mine up at Joann Fabric and used about 1.5 yards)
- Matching thread
- Single fold bias tape
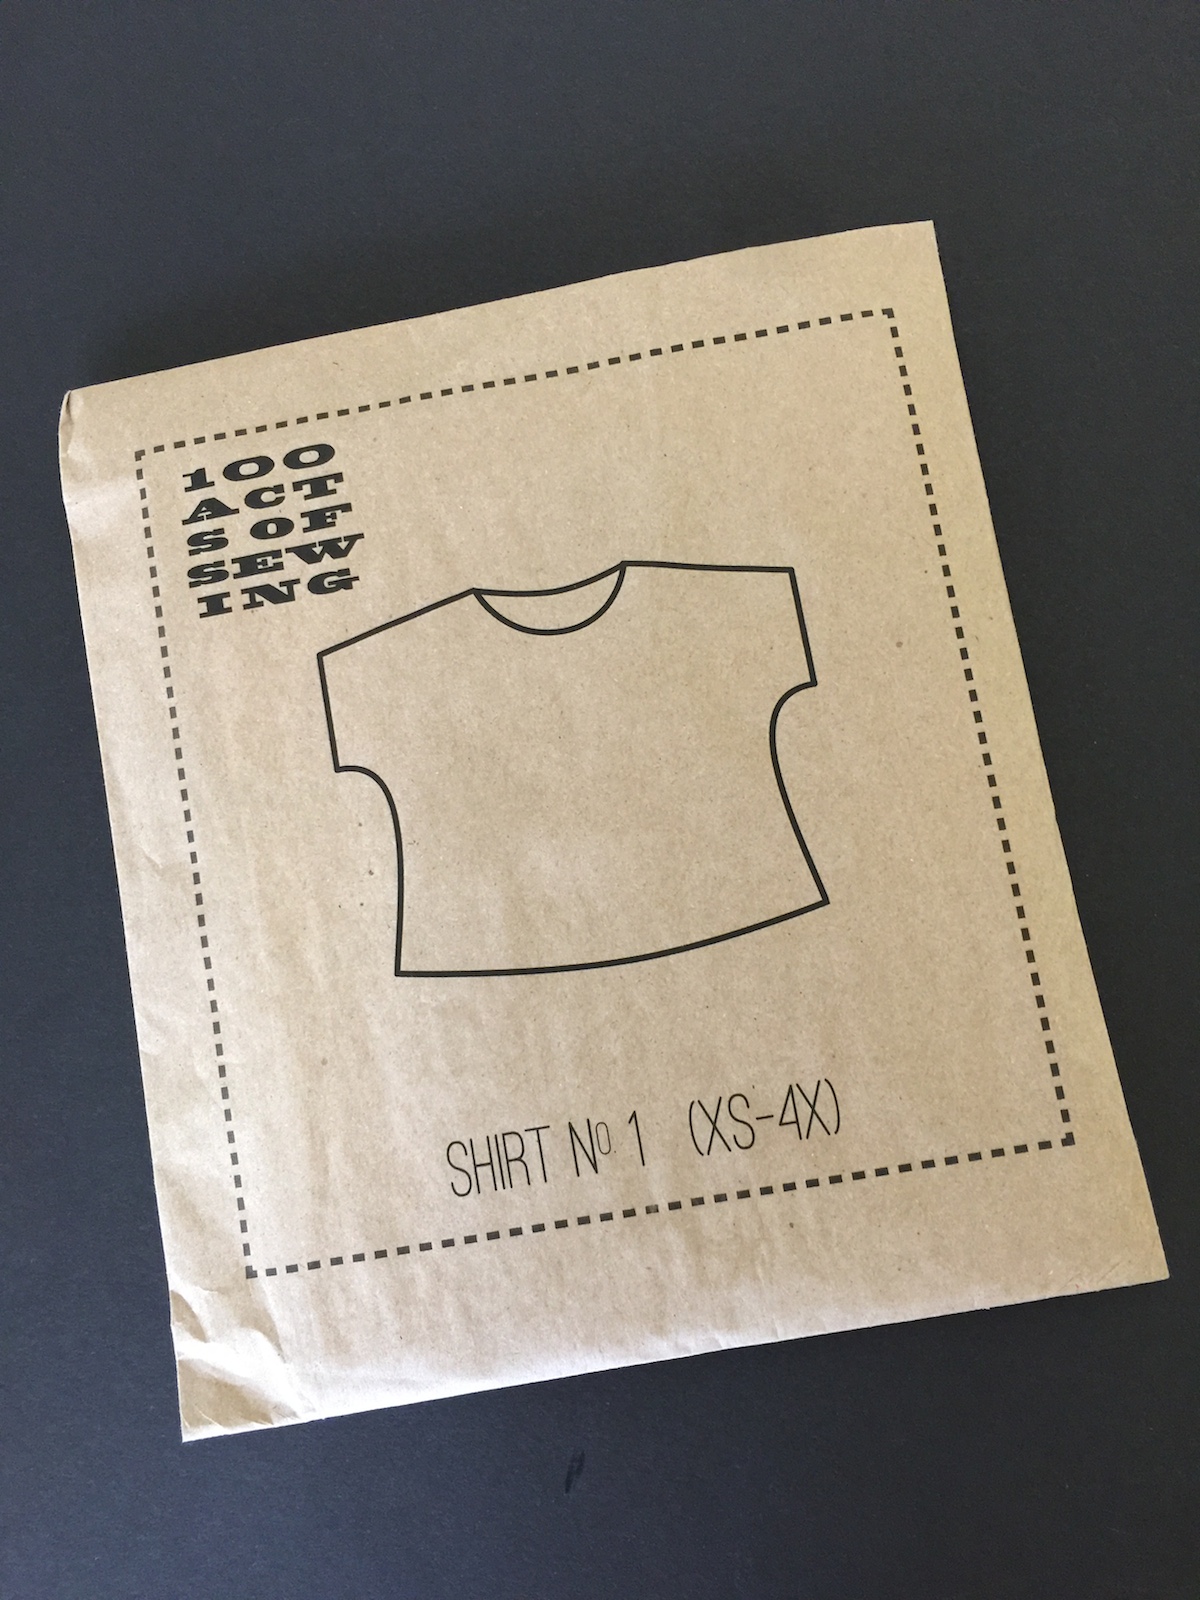
- Shirt No.1 Pattern by 100 Acts of Sewing
- Tracing paper
- Clear ruler
- Pins
Altering Your Pattern:
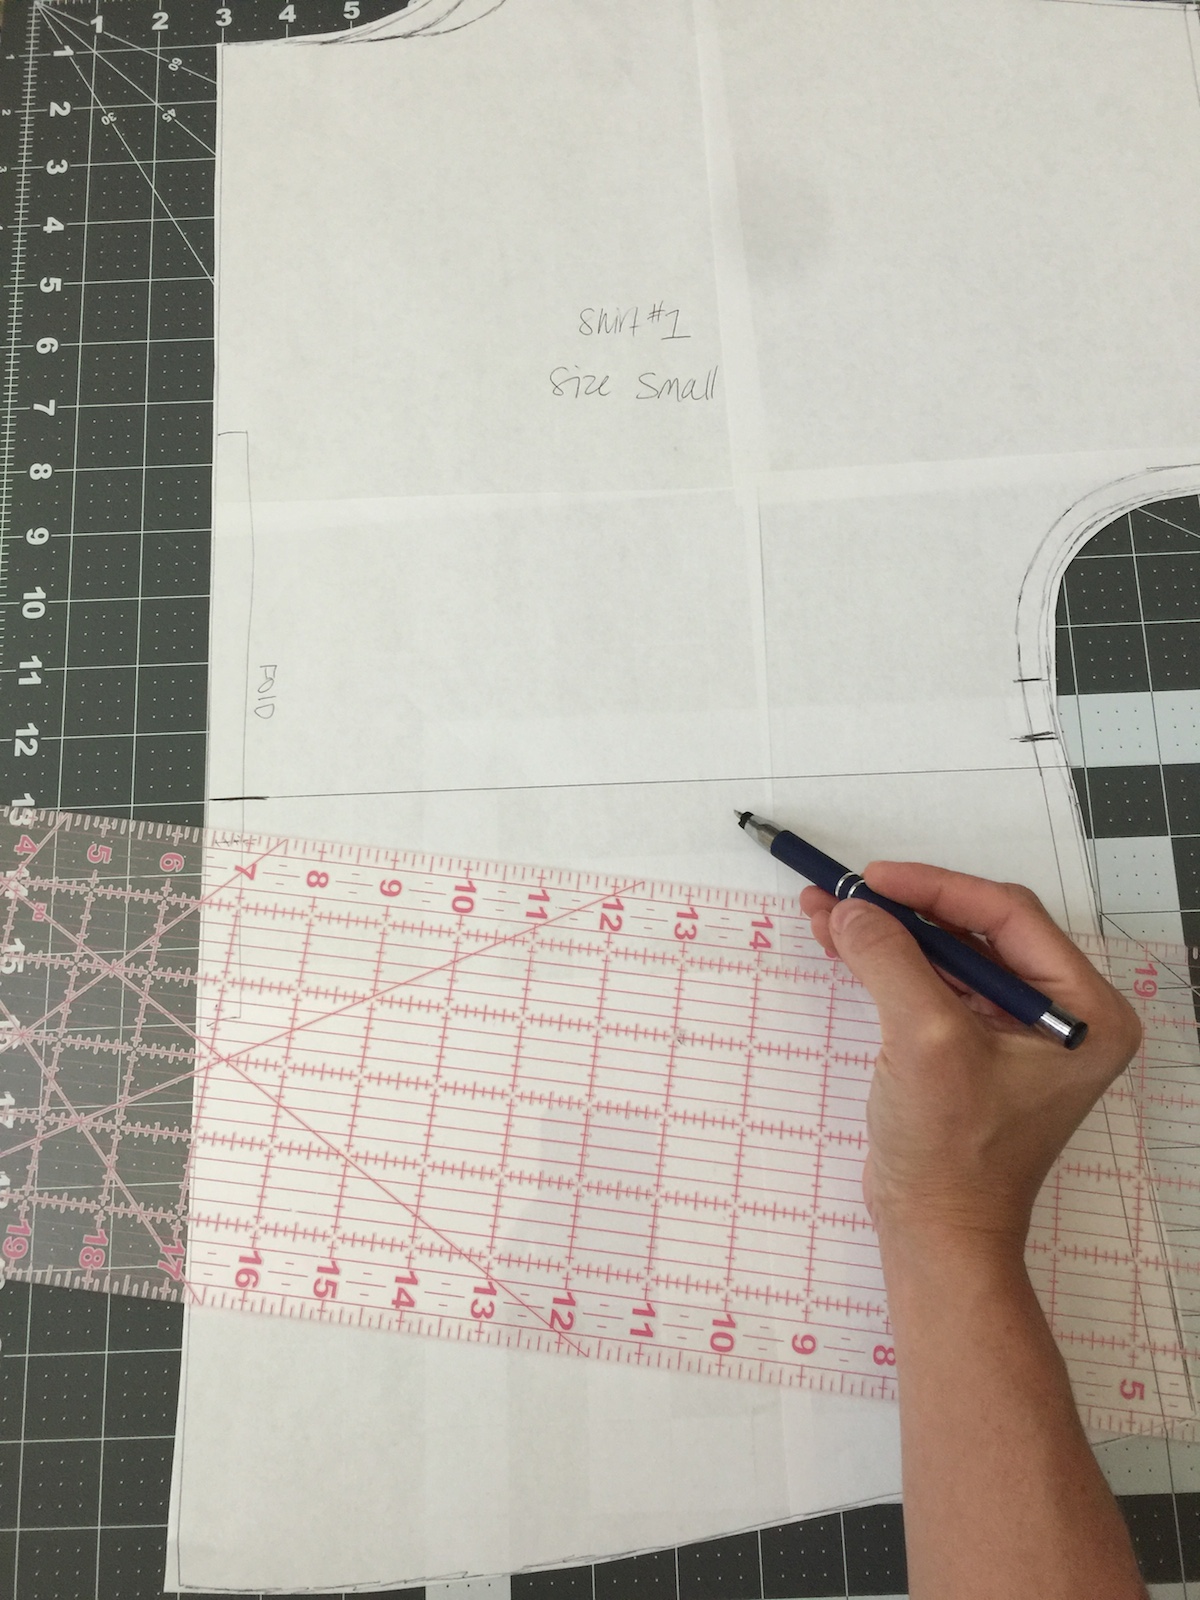
Step 1:
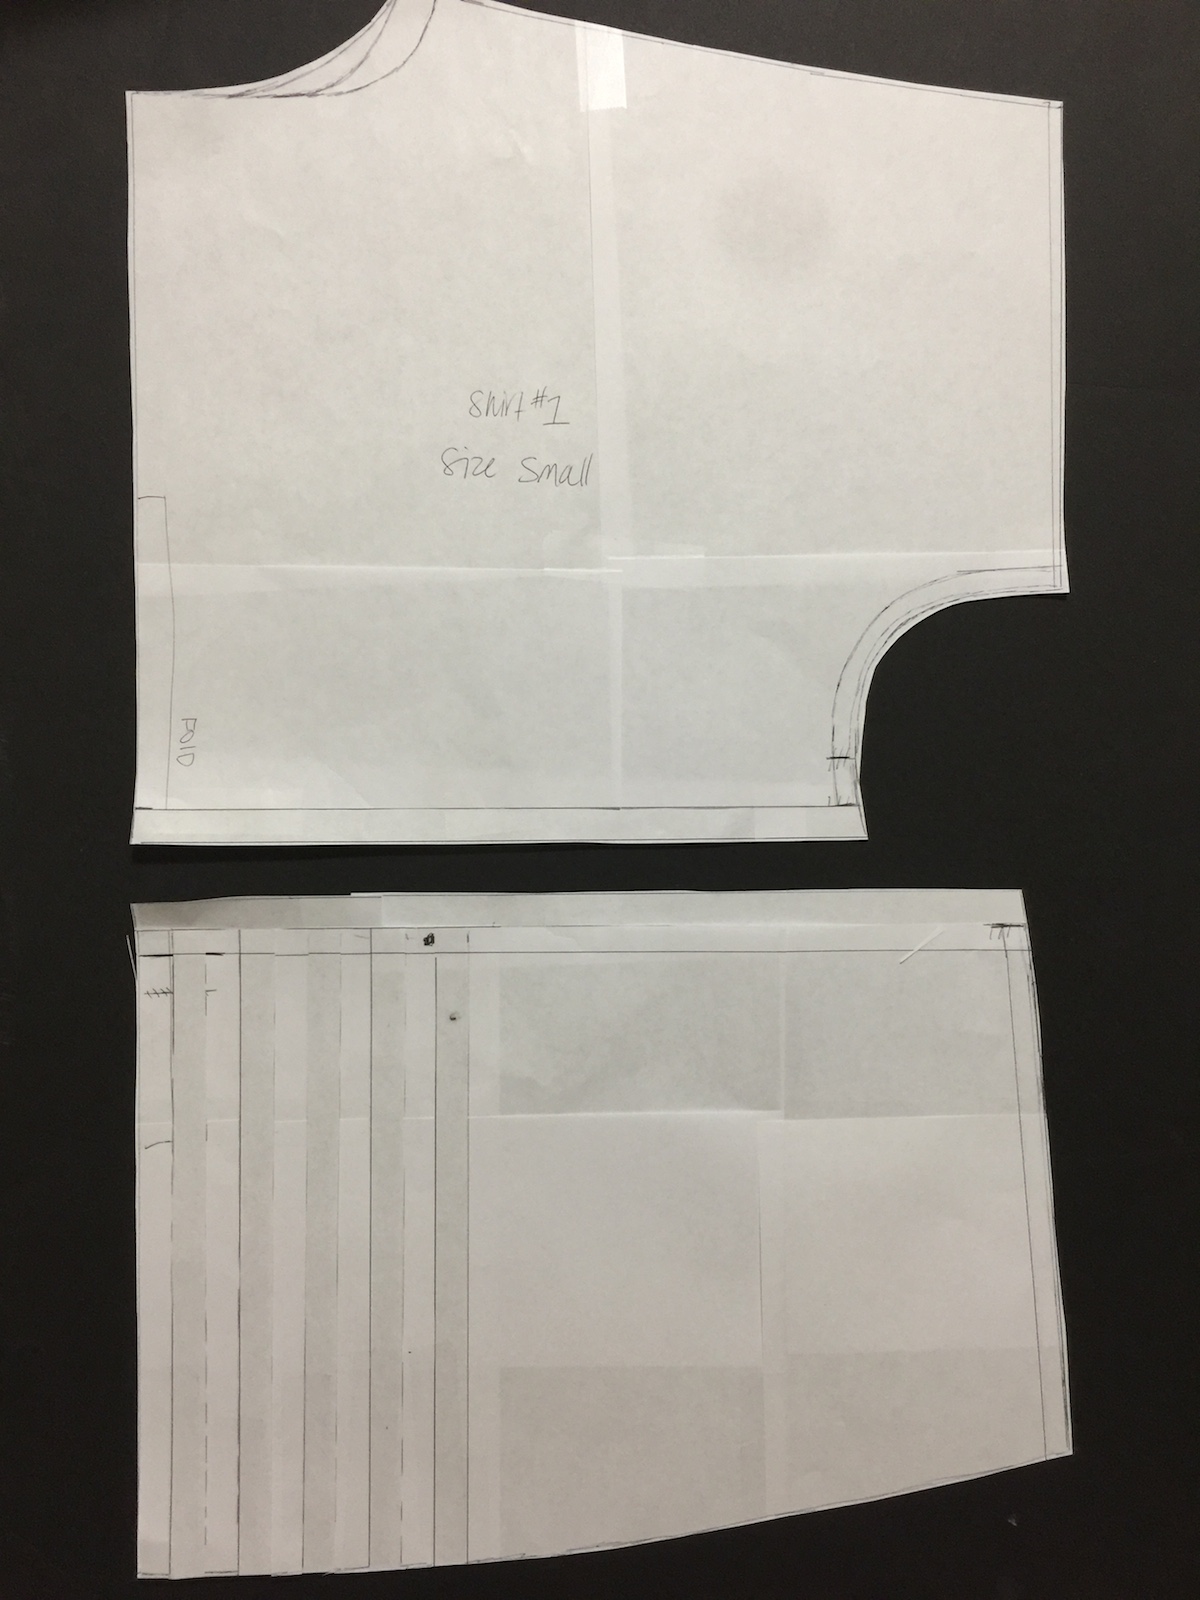
Trace your pattern in the desired size. I traced the size small. I brought in the neckline a little too.

Step 2:
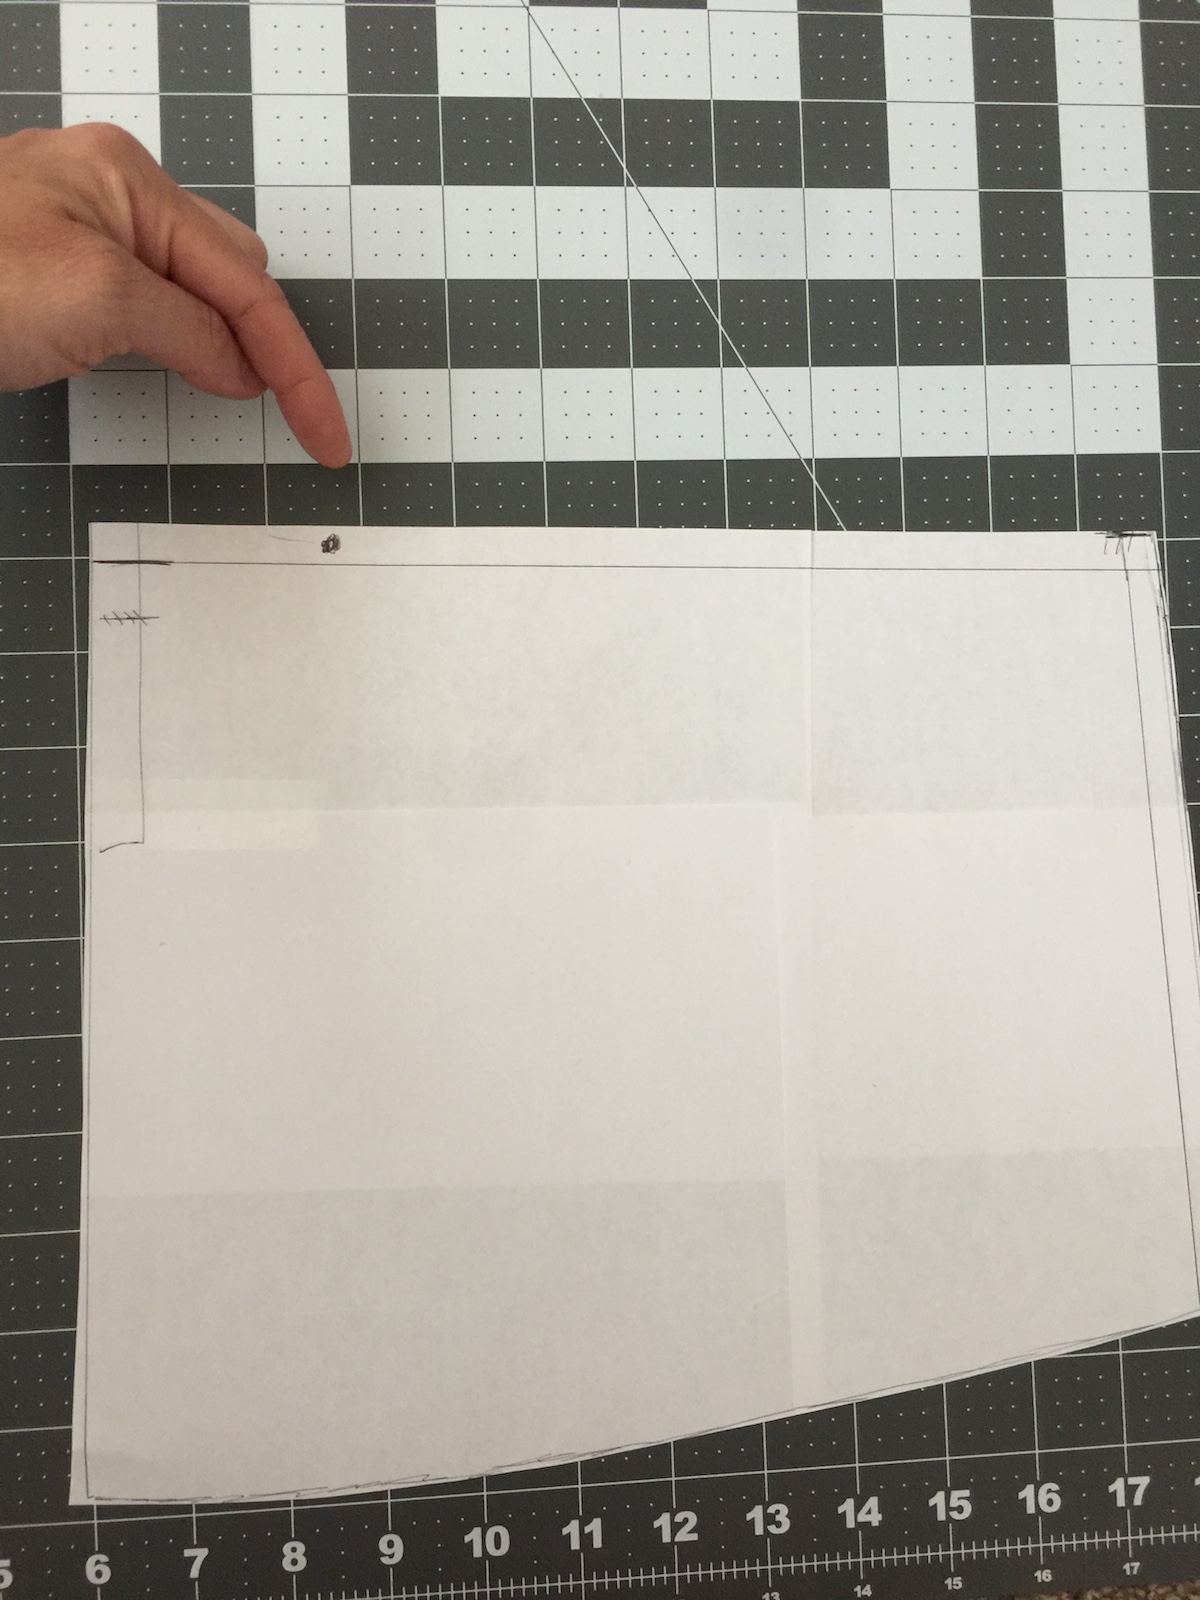
Decide where you would like the gathered piece of the bodice to begin, and mark along the fold line. I drew my mark about 12″ down from the center neckline edge.

Step 3:
Draw a horizontal line along the marking we just made. This will be our cut line. Cut along this line.

Step 4:
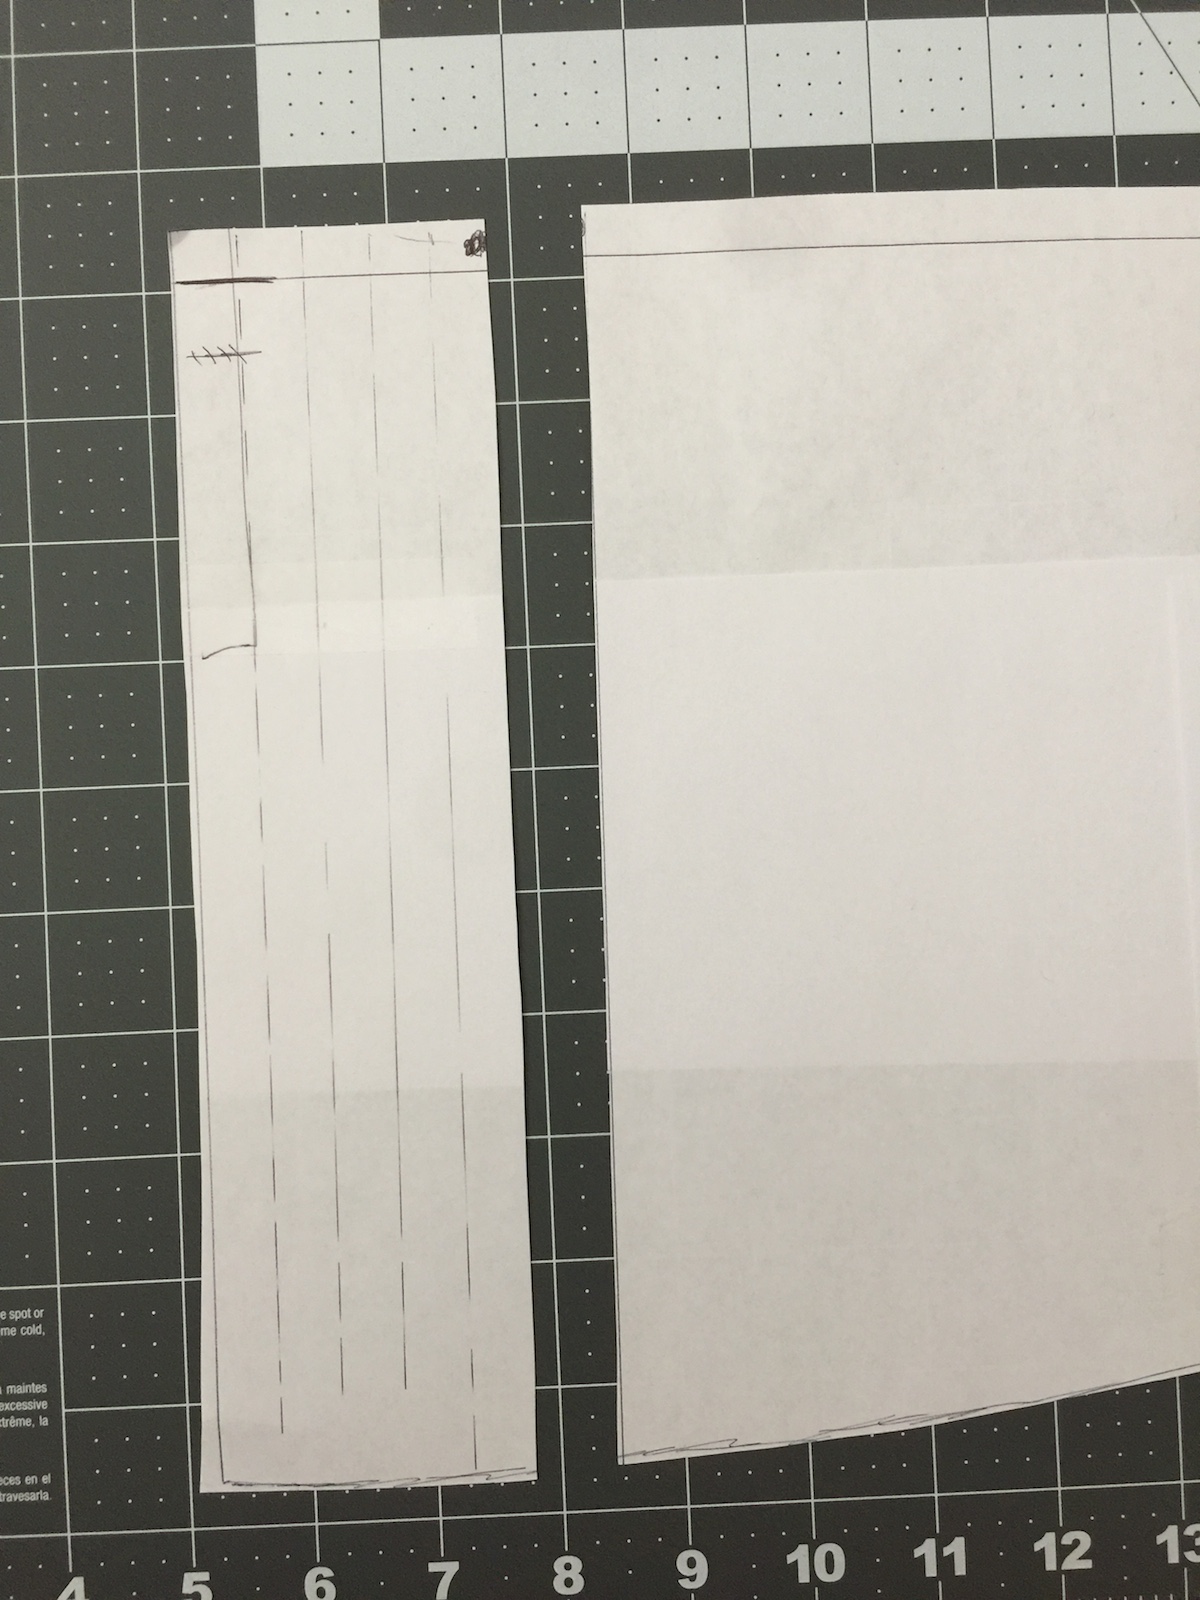
Now we need to add the extra fullness where the gathers will go. Mark about 2 1/2″ from the center front edge at the top of the bottom shirt piece.
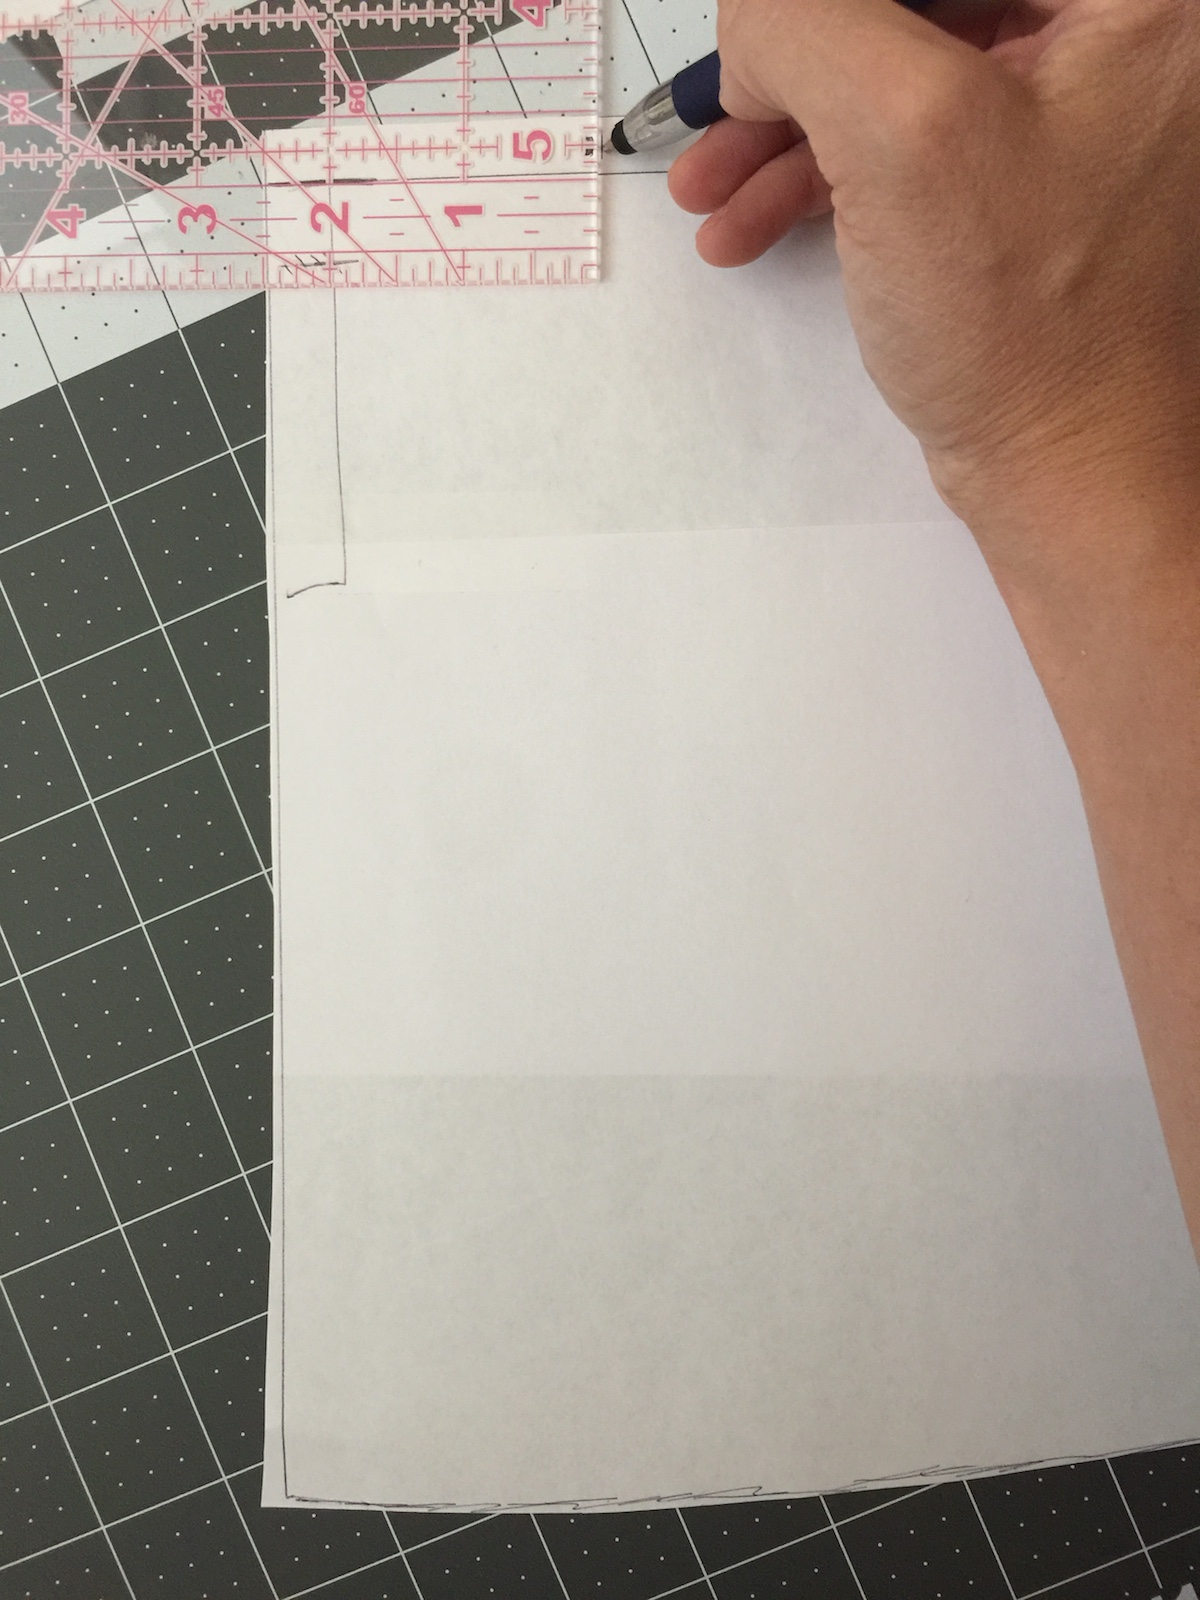
Step 5:
Draw a 1/2″ vertical line for every 1/2″ beginning at the center front edge to the marking we just made.

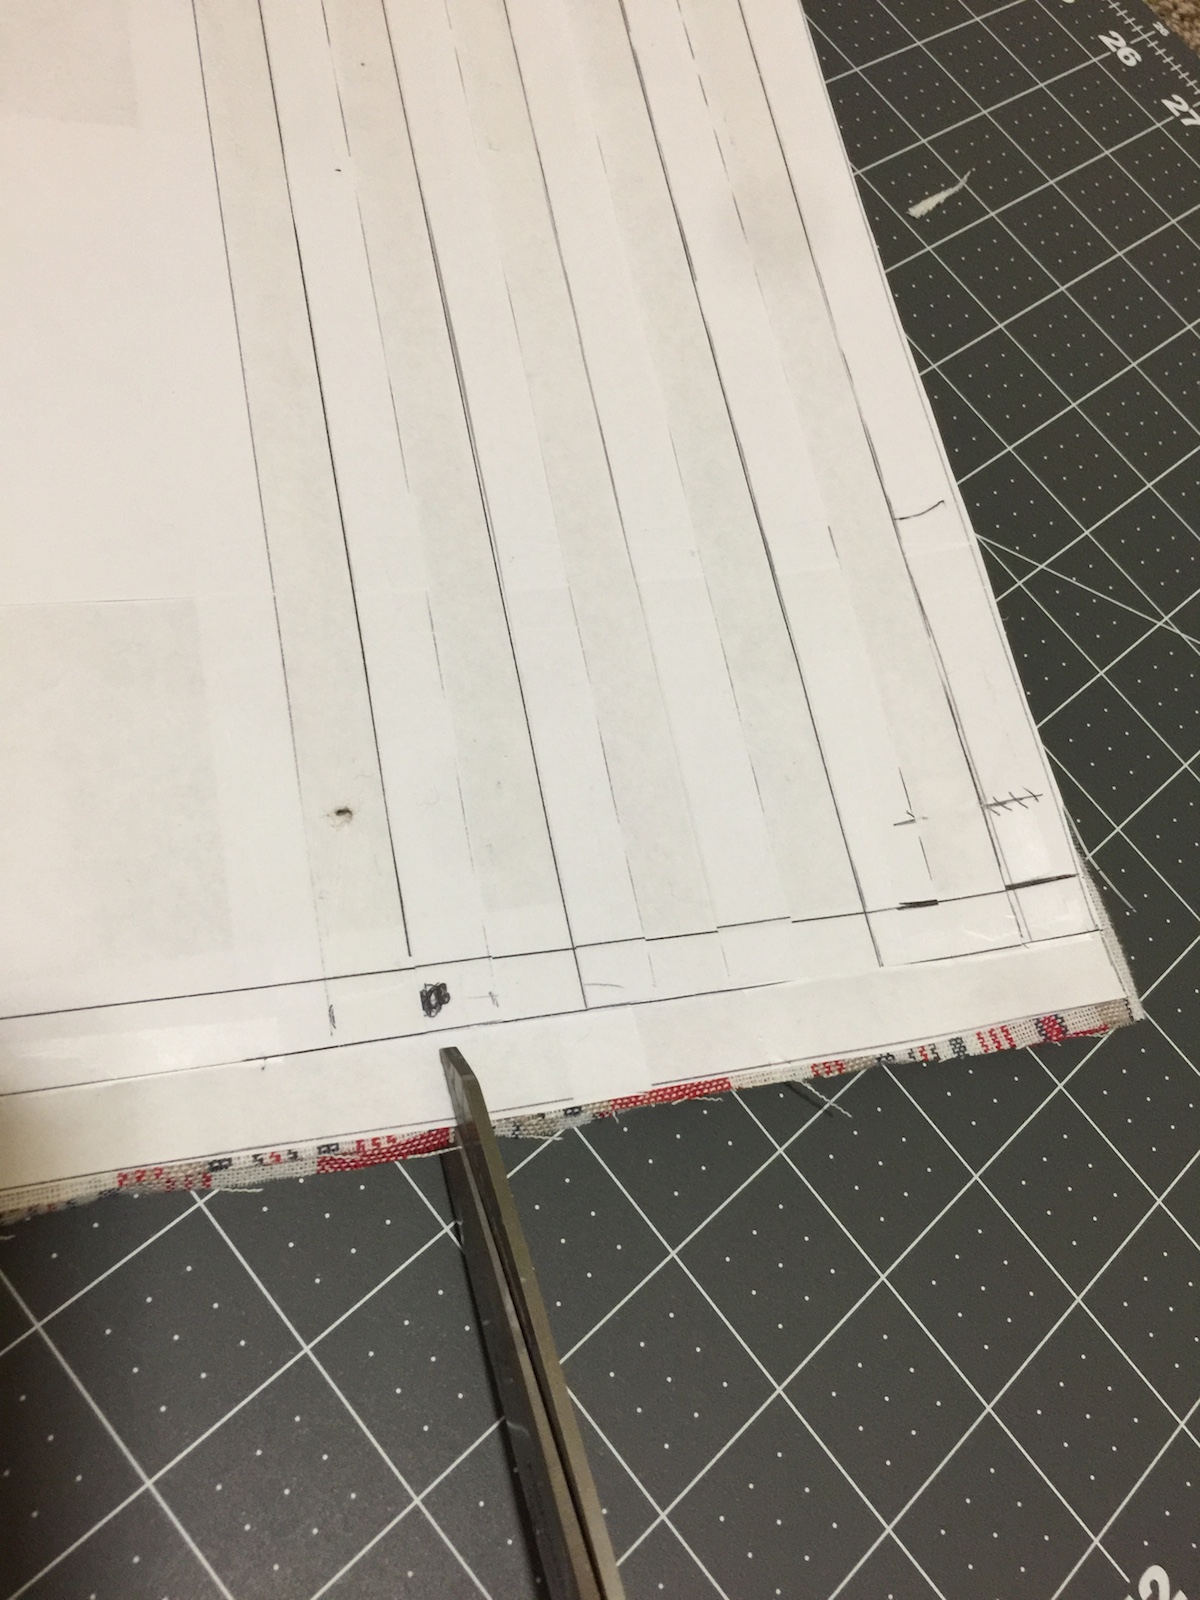
Step 6:
Now, cut along the vertical line closest to the marking we made.
Step 7:
Now, grab some tracing paper or computer paper and tape the right side of the bottom bodice piece and tape it in place. Draw a horizontal line across the blank piece making a straight line from the top of the bottom shirt piece. Draw a new 1/2″ vertical line from the edge we just taped down.

Step 8: Now we need to cut the next marked 1/2″ piece and tape it next to the line we just drew.
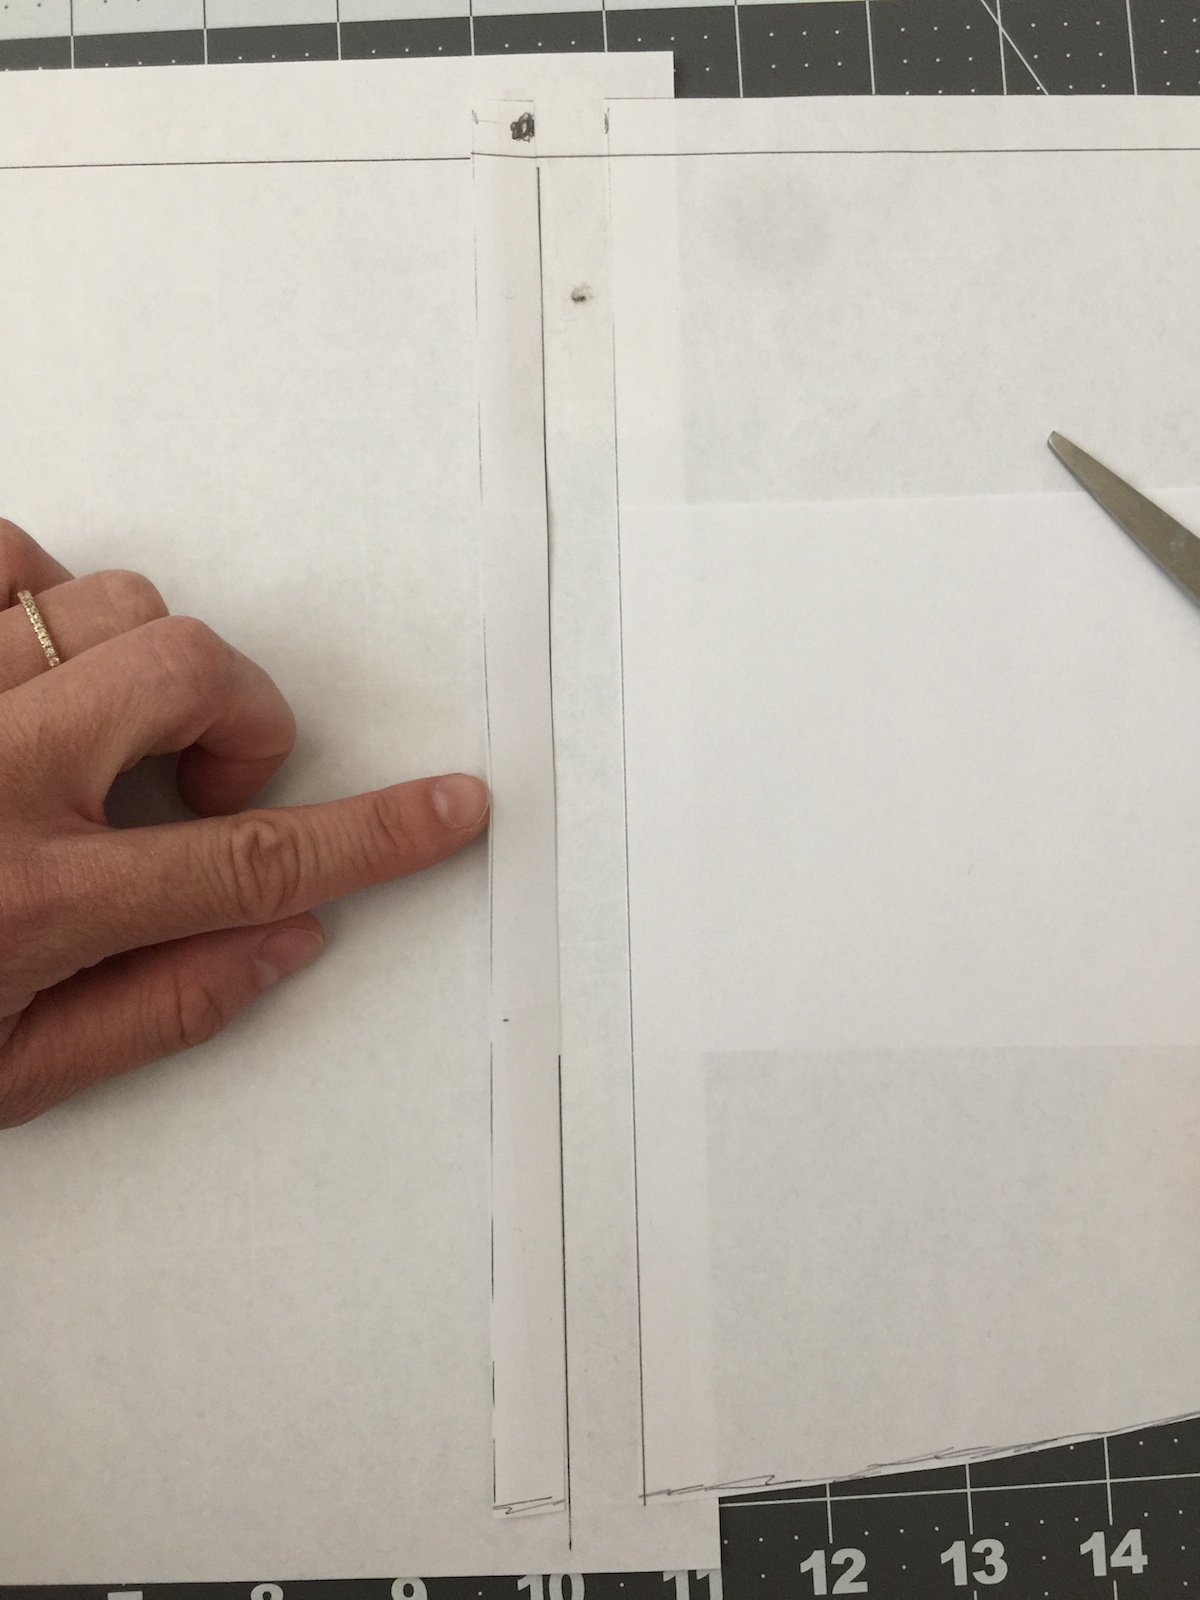
Step 9:
Continue drawing a 1/2″ line and then taping the next 1/2″ section until all of the pieces have been added. Re-draw and connect any lines and cut out the pattern piece.

Step 10:
One more step left! Add a 1/2″ seam allowance along the bottom of the bodice top and top of the bodice bottom, where we cut the bodice in half.
Sewing Your Boxy Gathered Top:
Step 1:
Cut out all of your pattern pieces, and mark by slightly clipping into the seam allowance where we marked the center gathers.
Step 2:
Set your stitch length to 4.00.
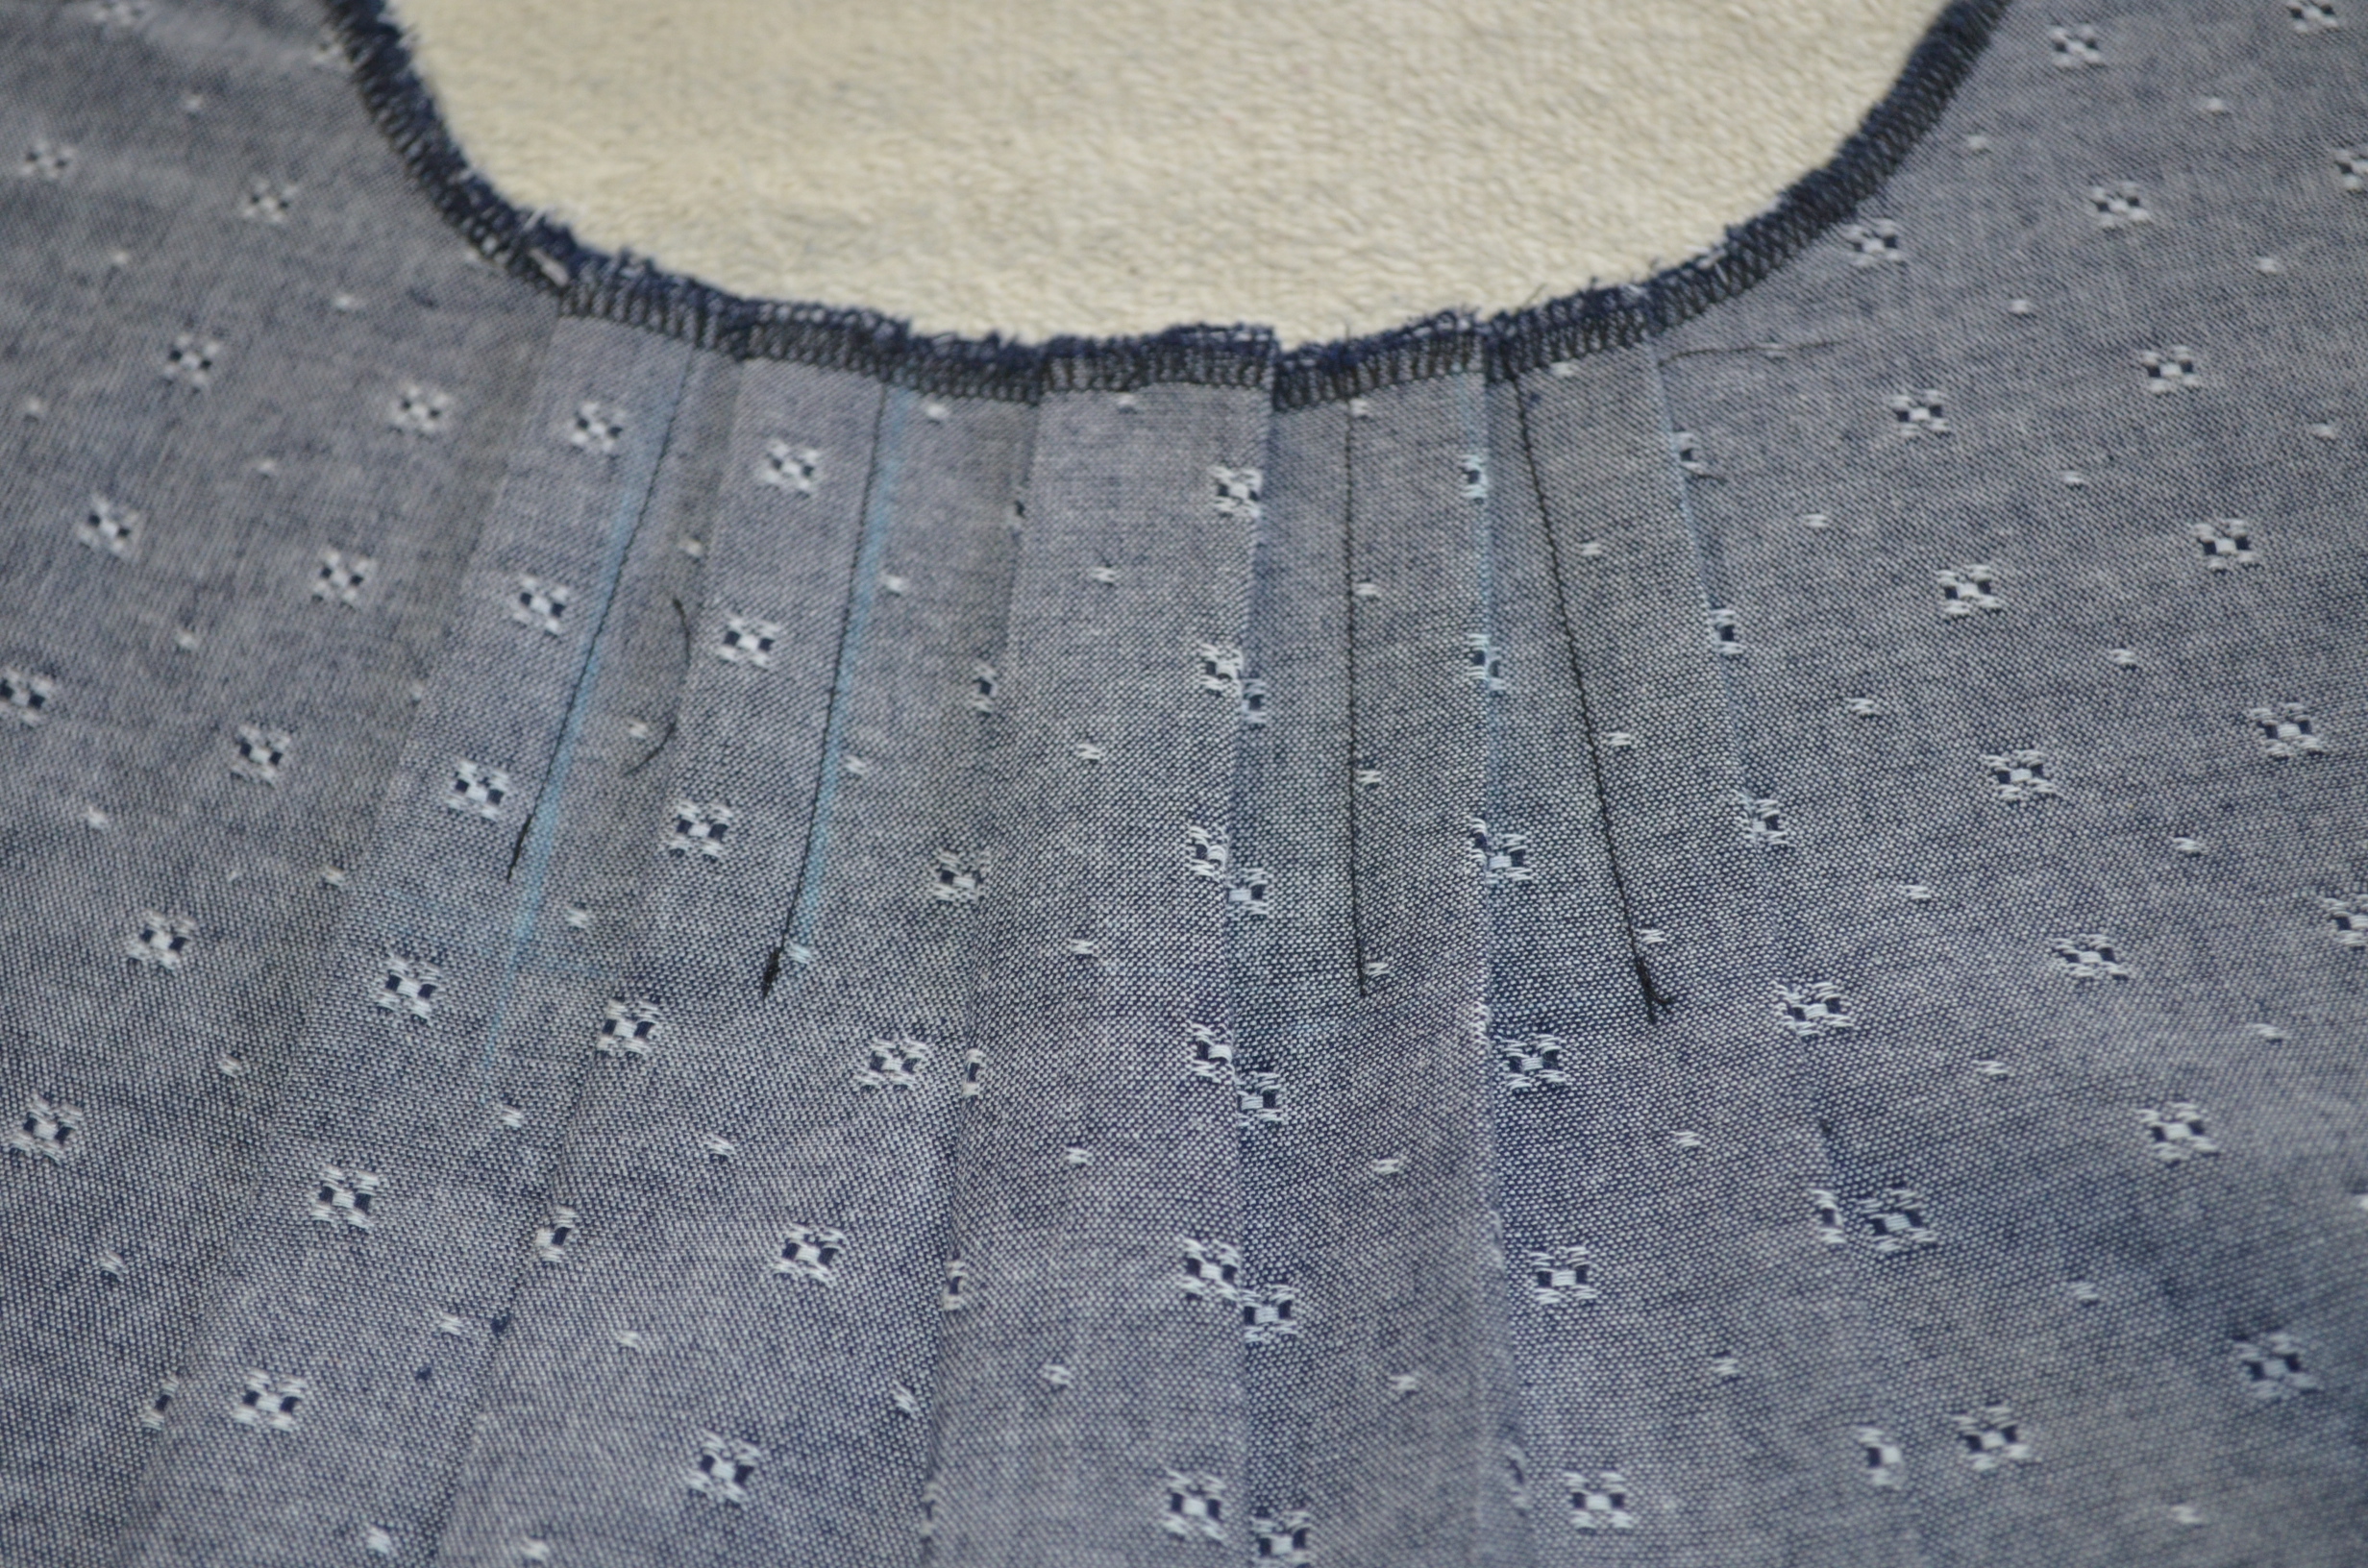
Step 3:
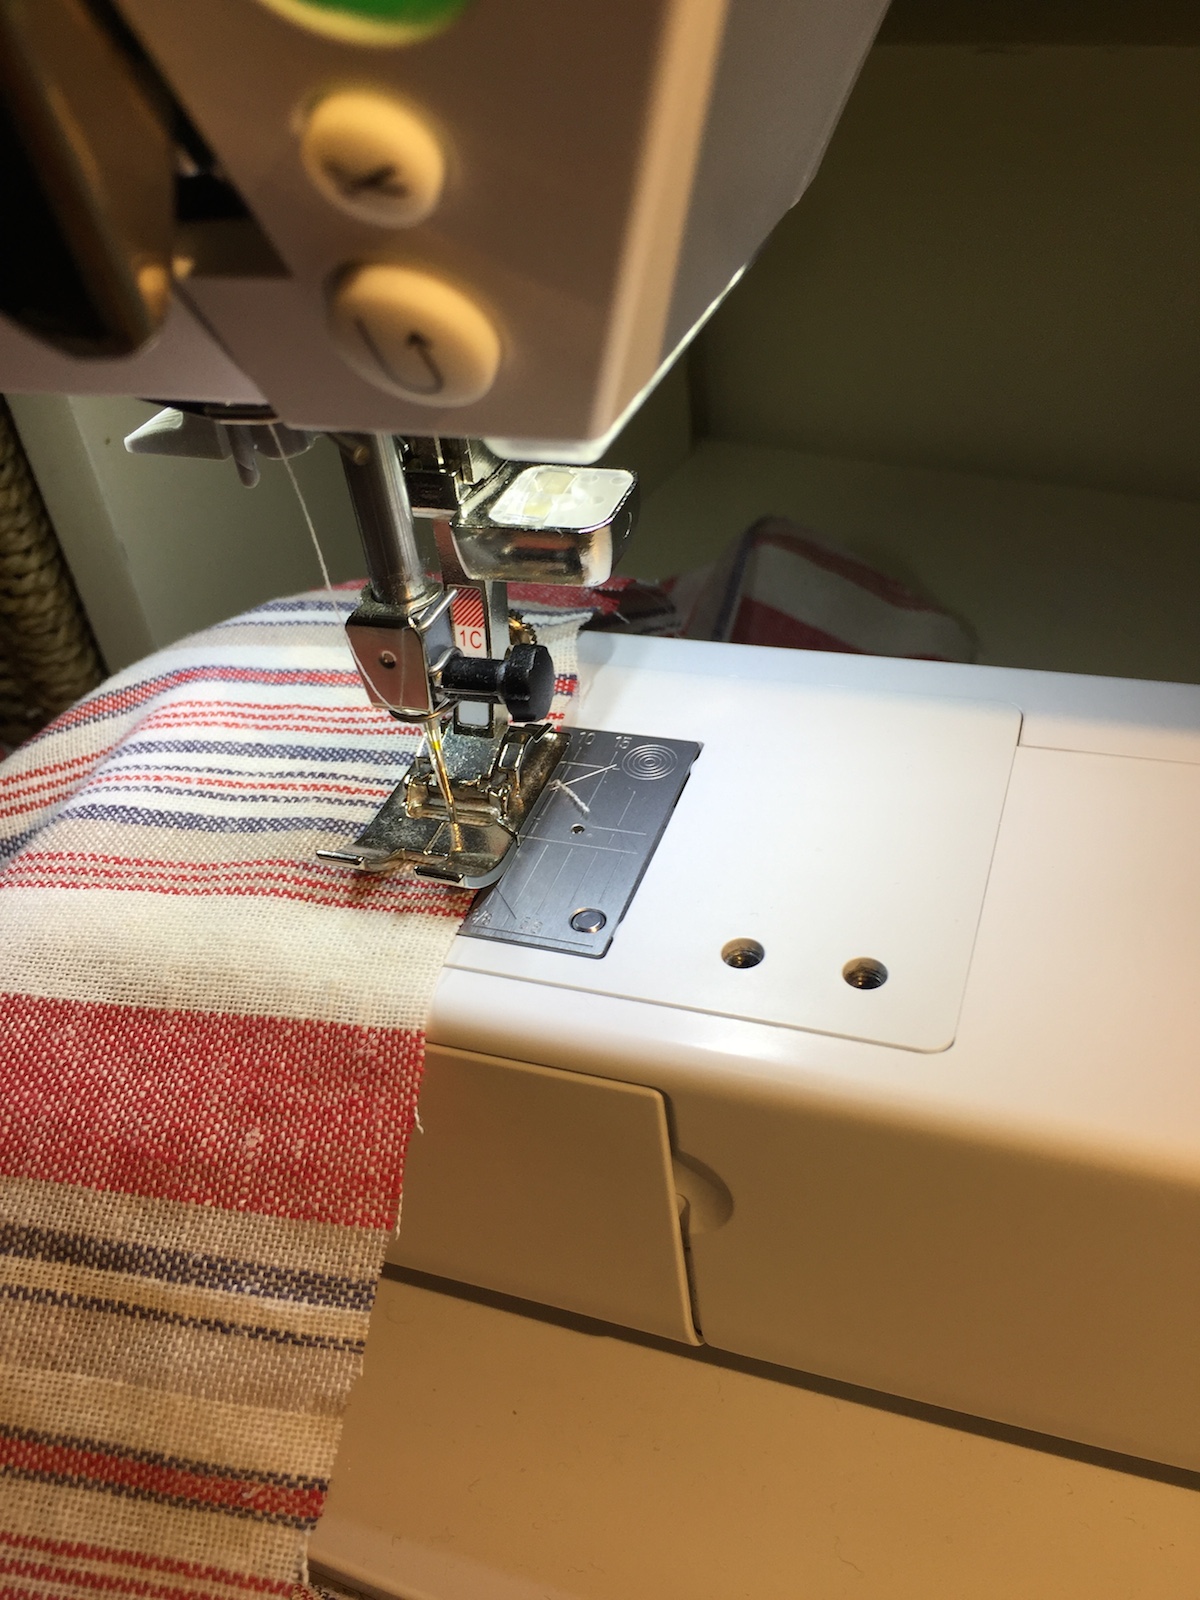
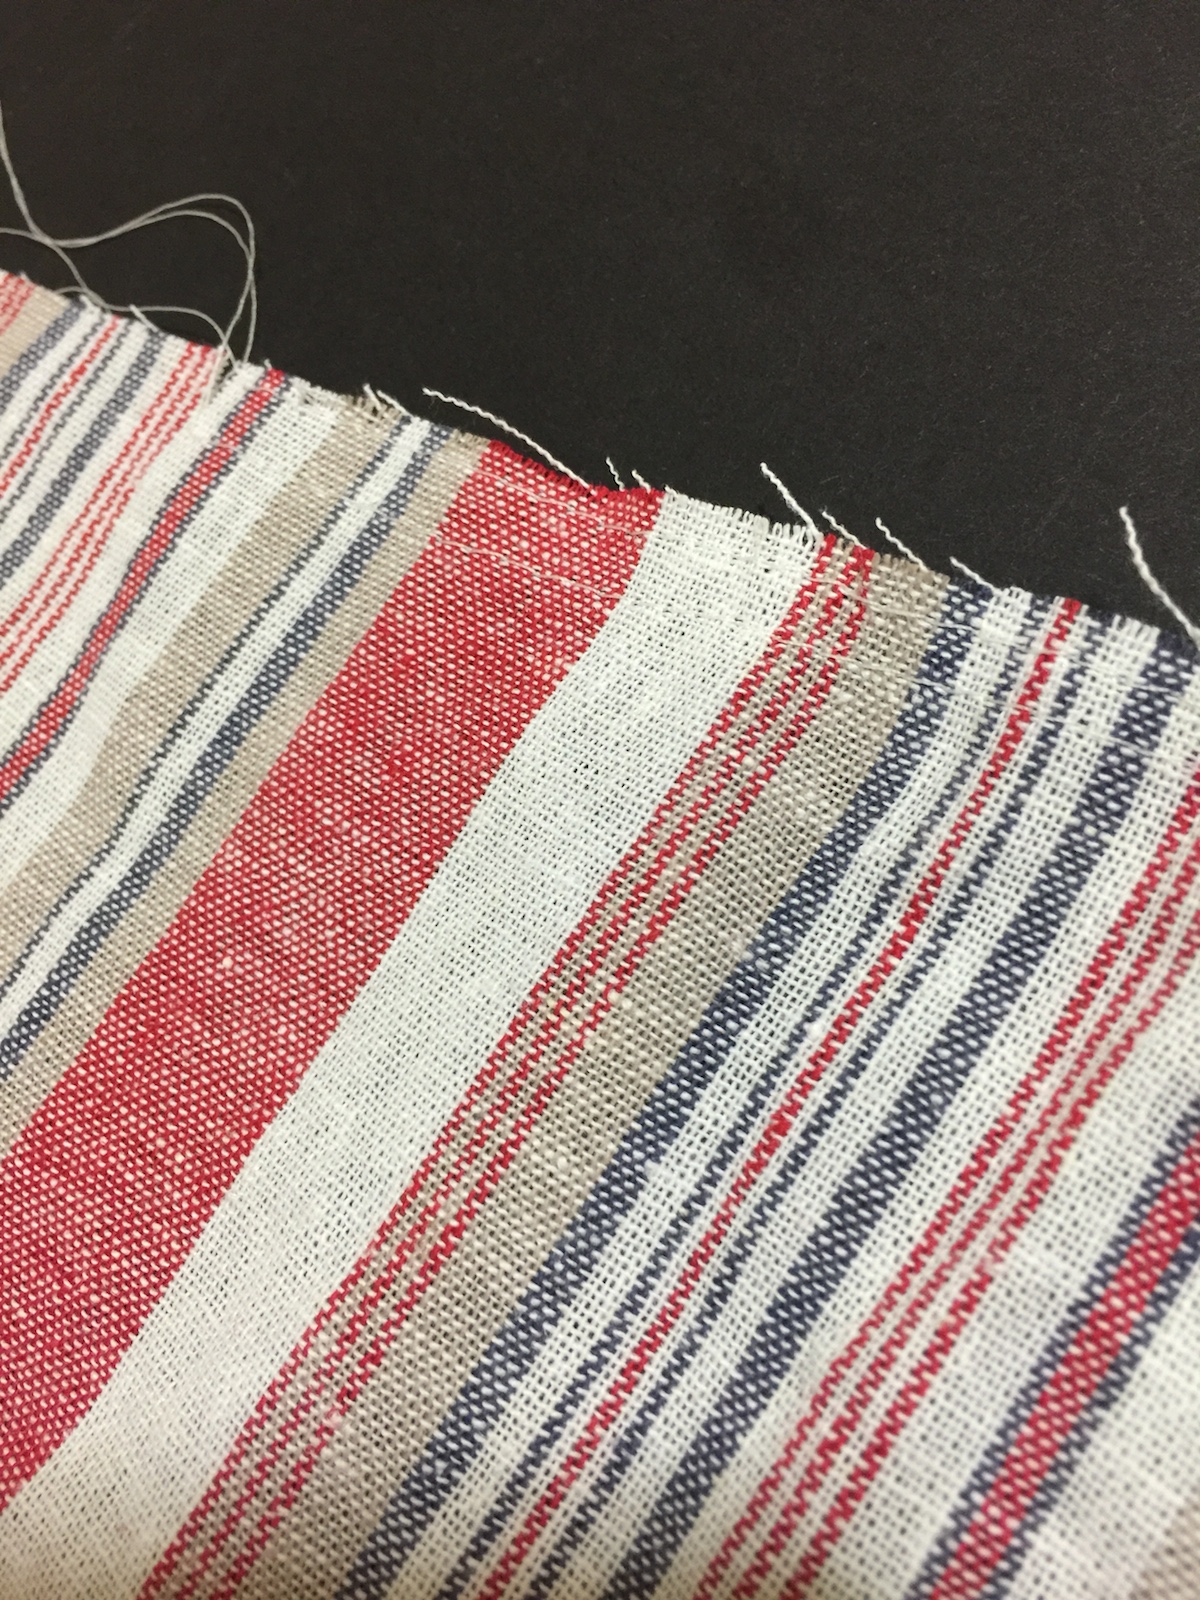
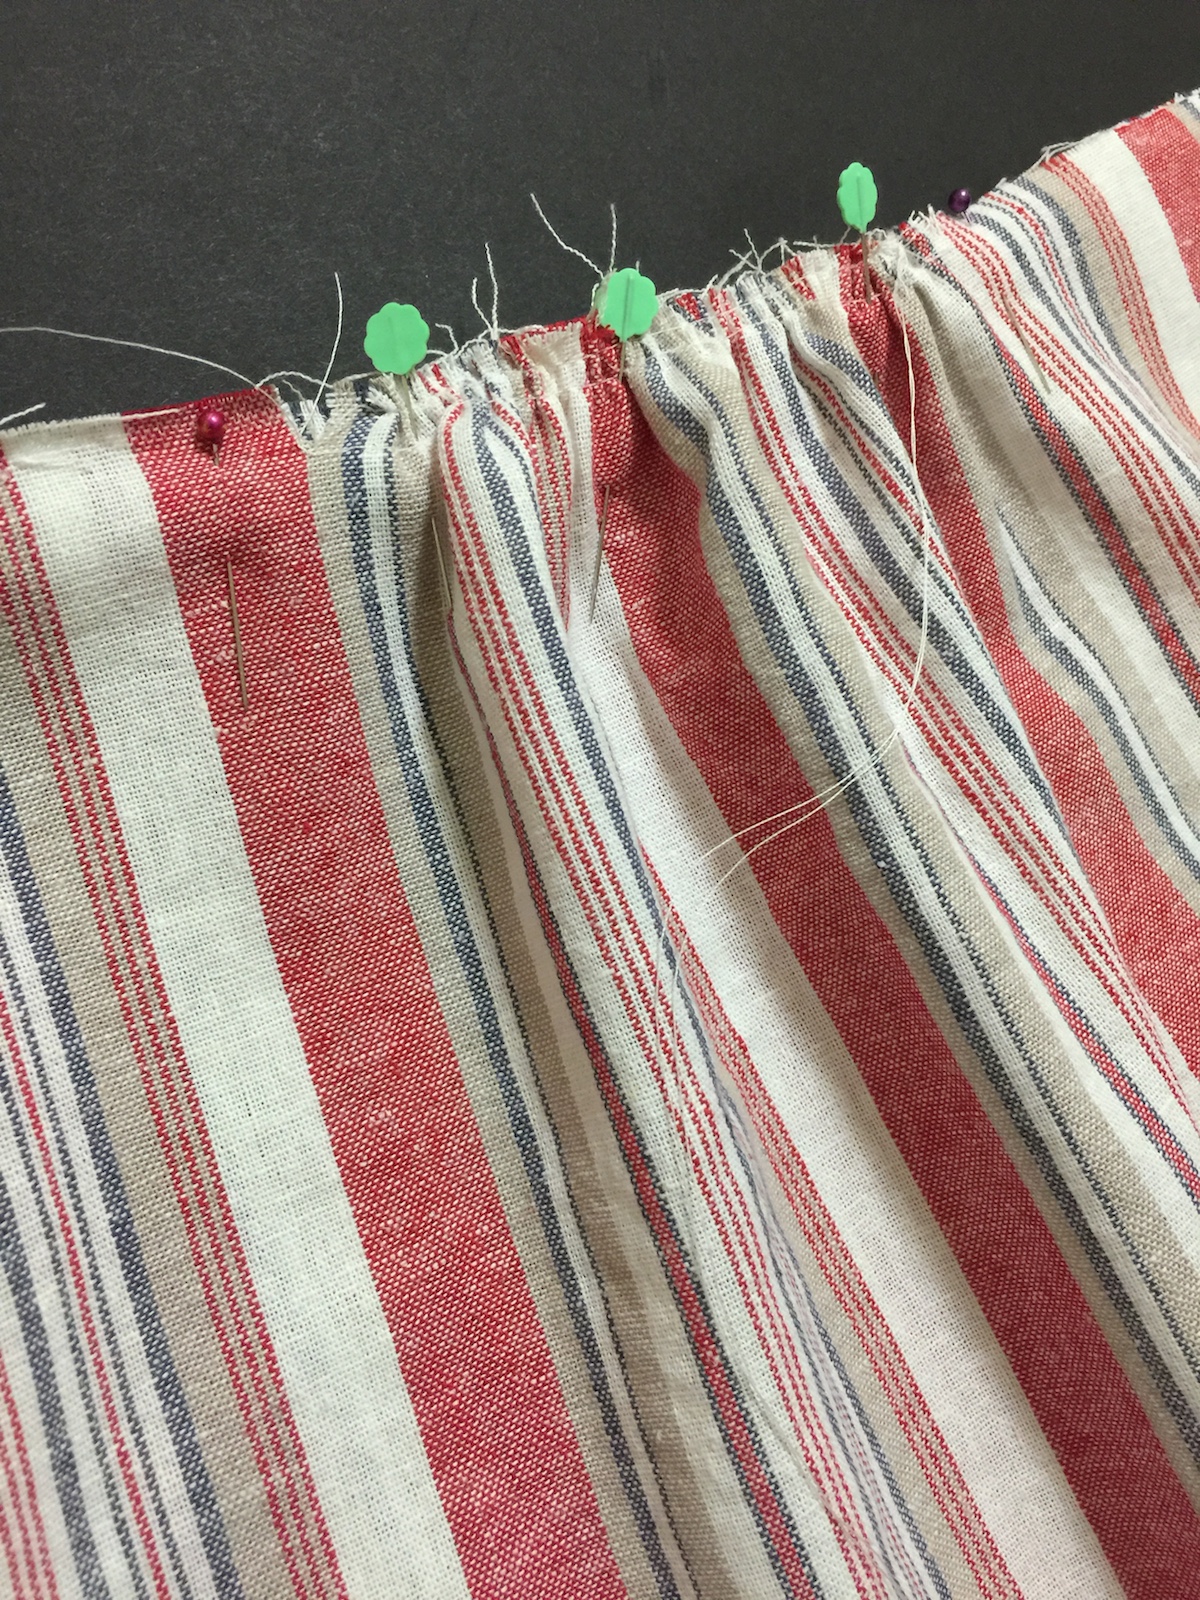
Sew two lines of gathering stitches between the marking we clipped at 1/4″ and 1/2″. Leave the threads long.
Step 4:
Pin the edges of the bottom bodice piece to the top bodice piece, right sides together, except for where the gathering begins.

Step 5:
Gently pull the gathers and distribute them evenly. I found it helpful to knot one side first to keep the gathers in place, and knotting the other side once everything is distributed evenly. Pin in place.
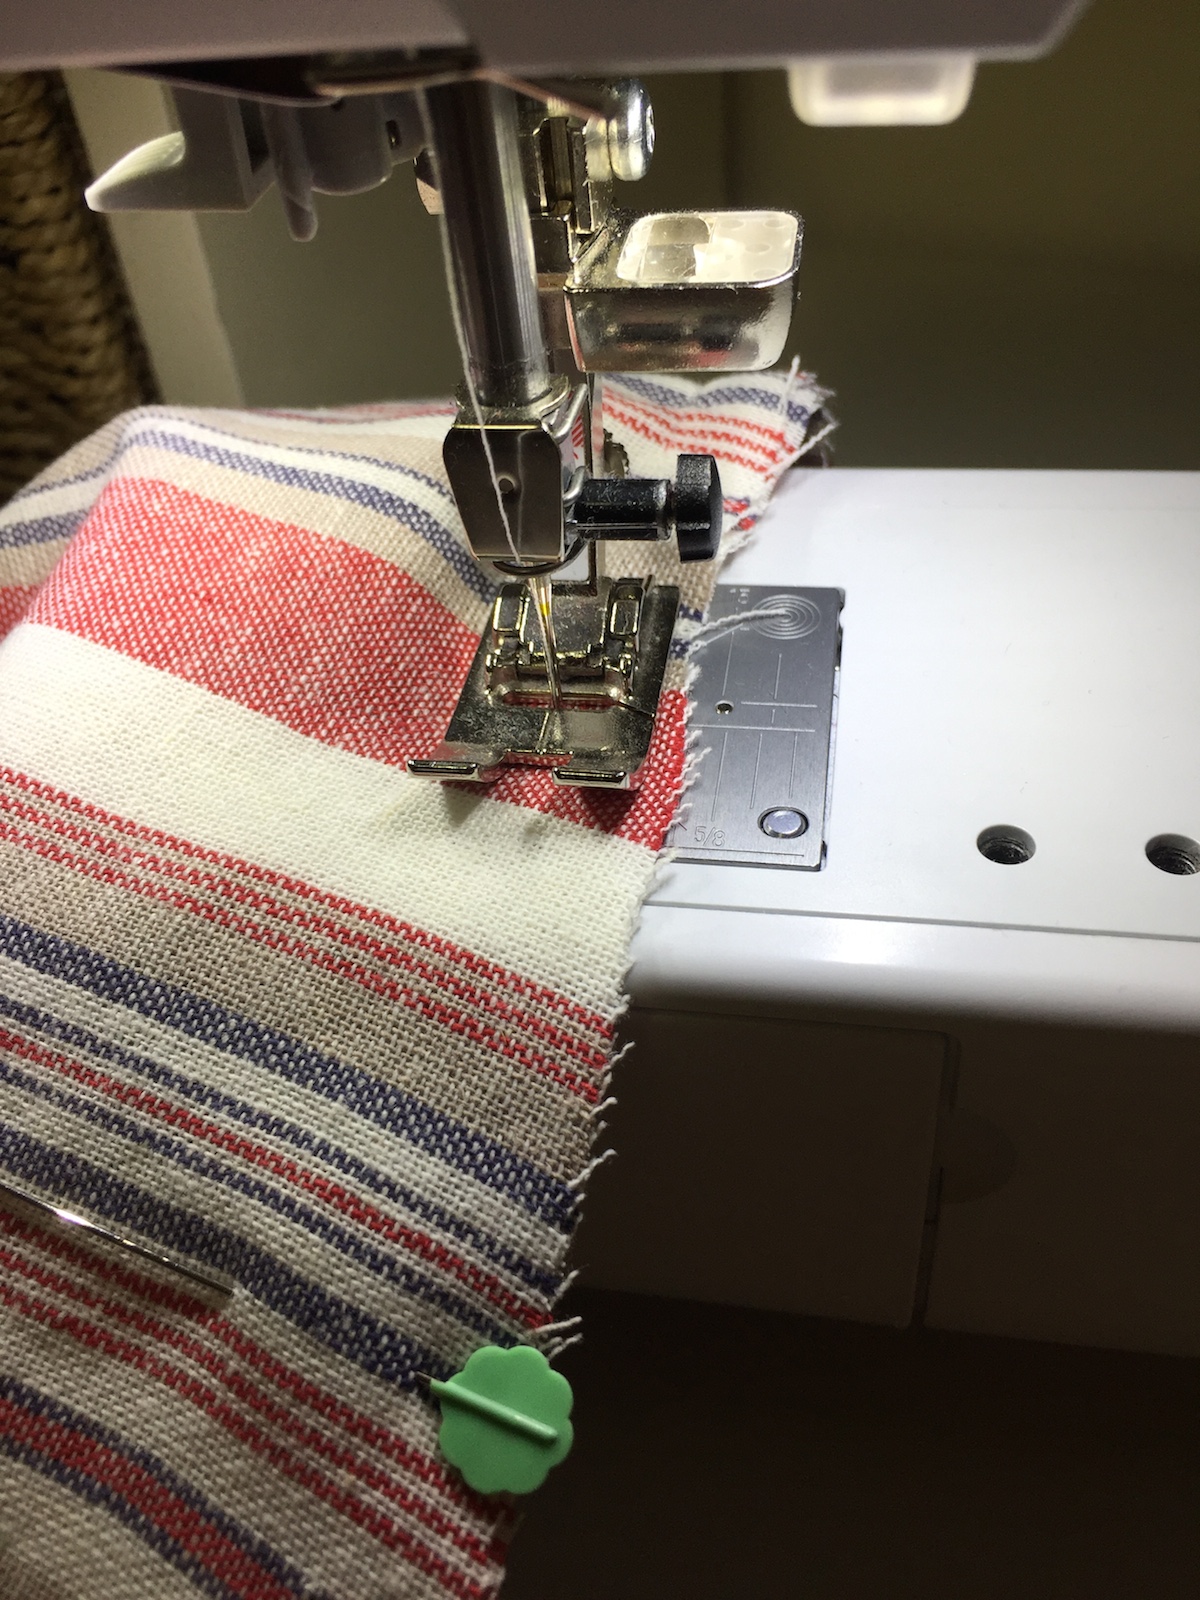
Step 6:
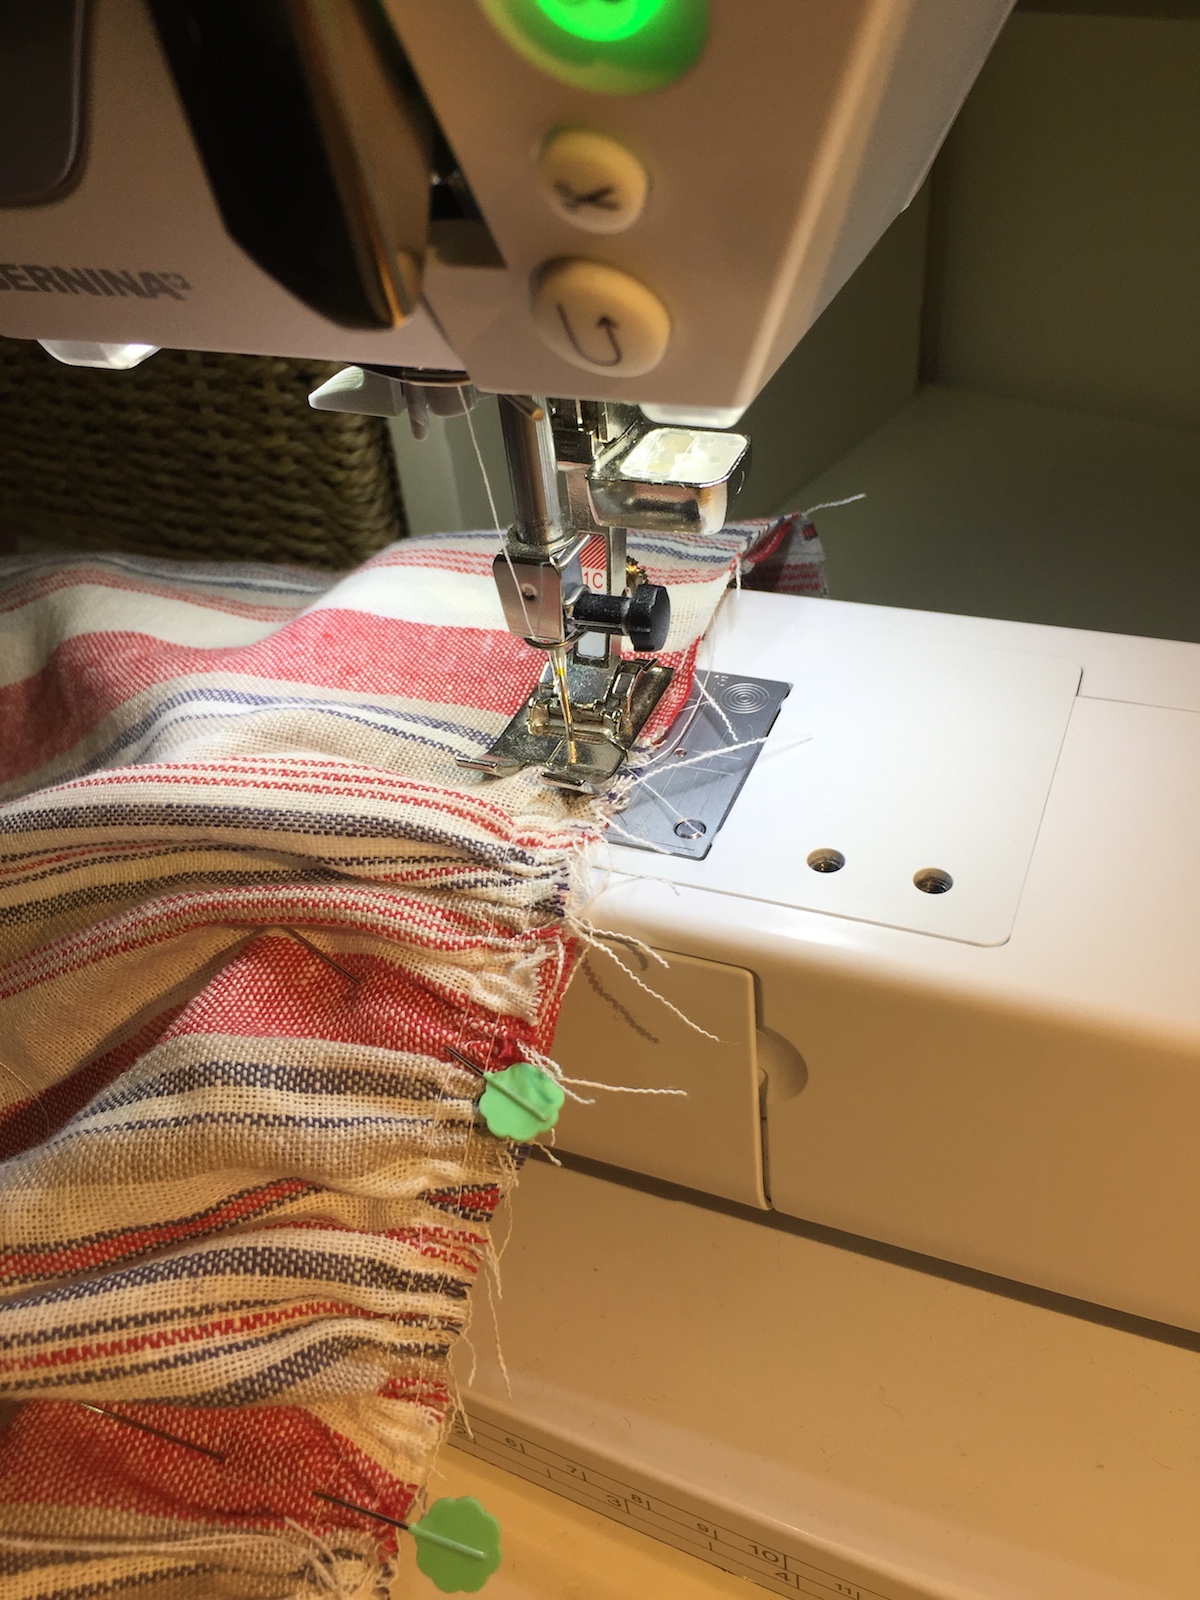
Sew the whole edge at 1/2″ seam allowance.
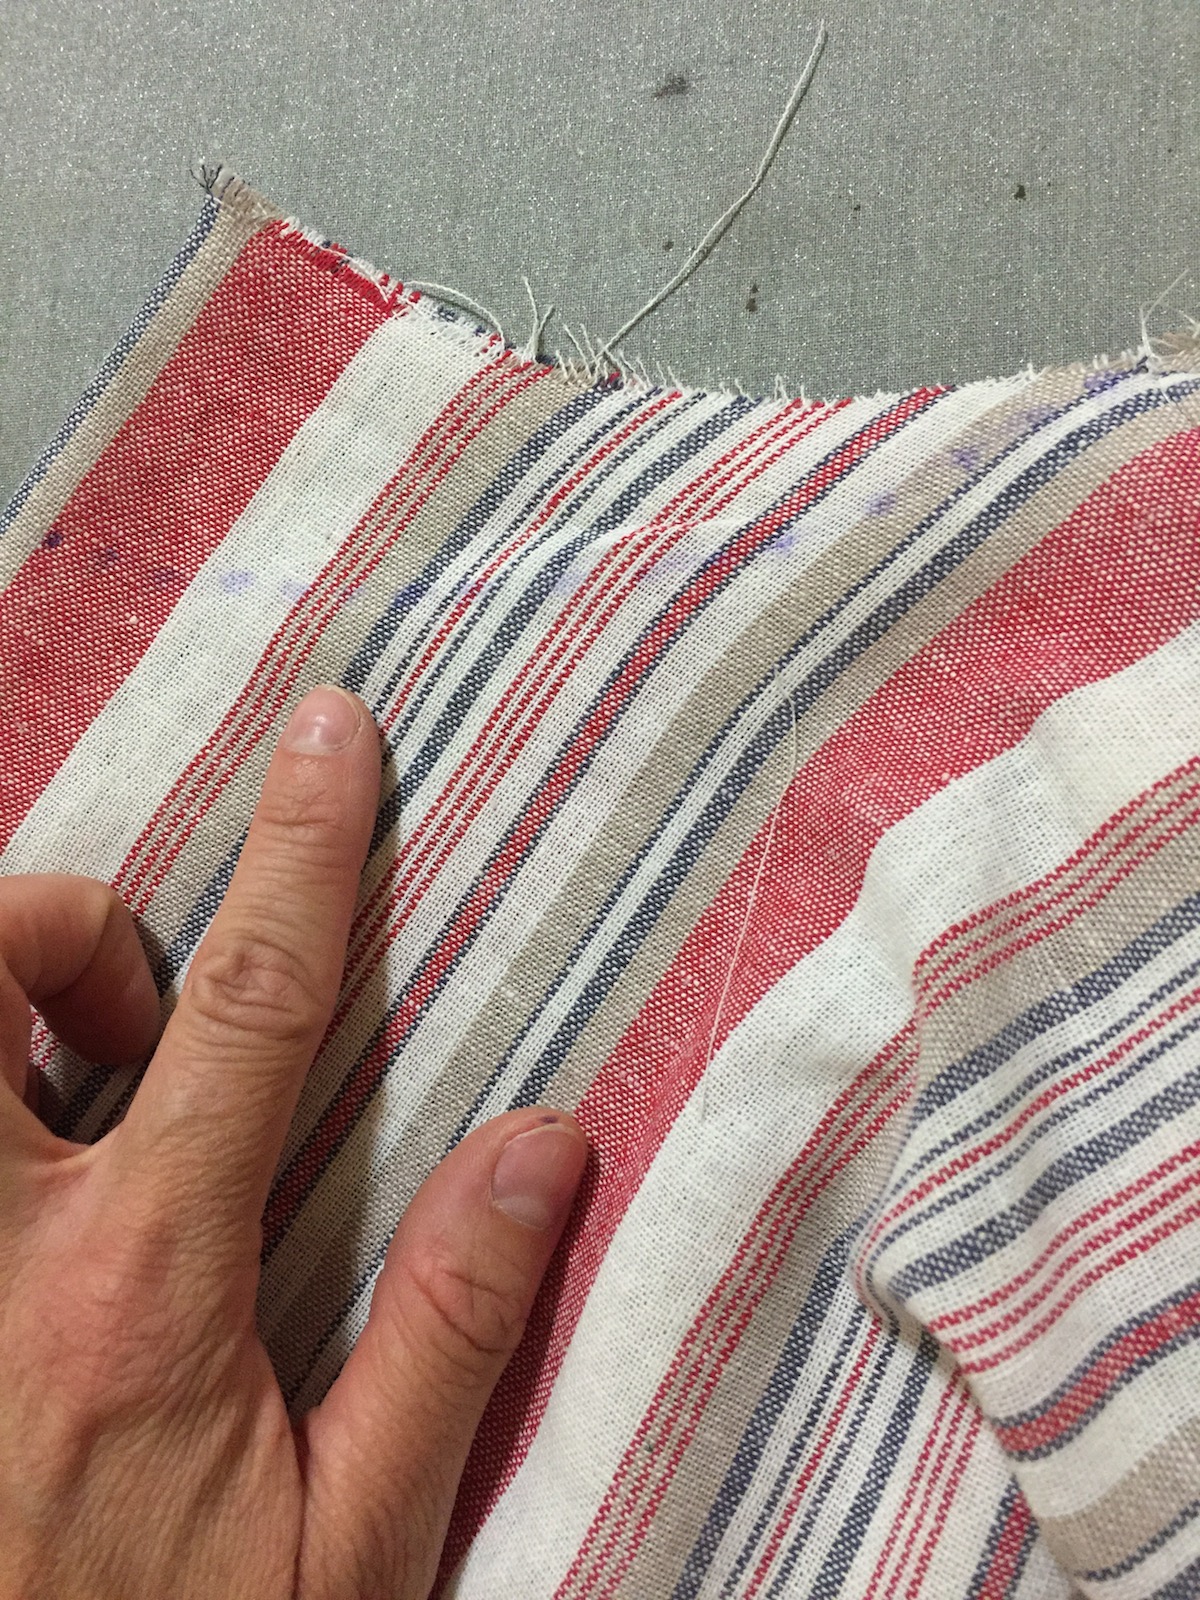
Step 7:
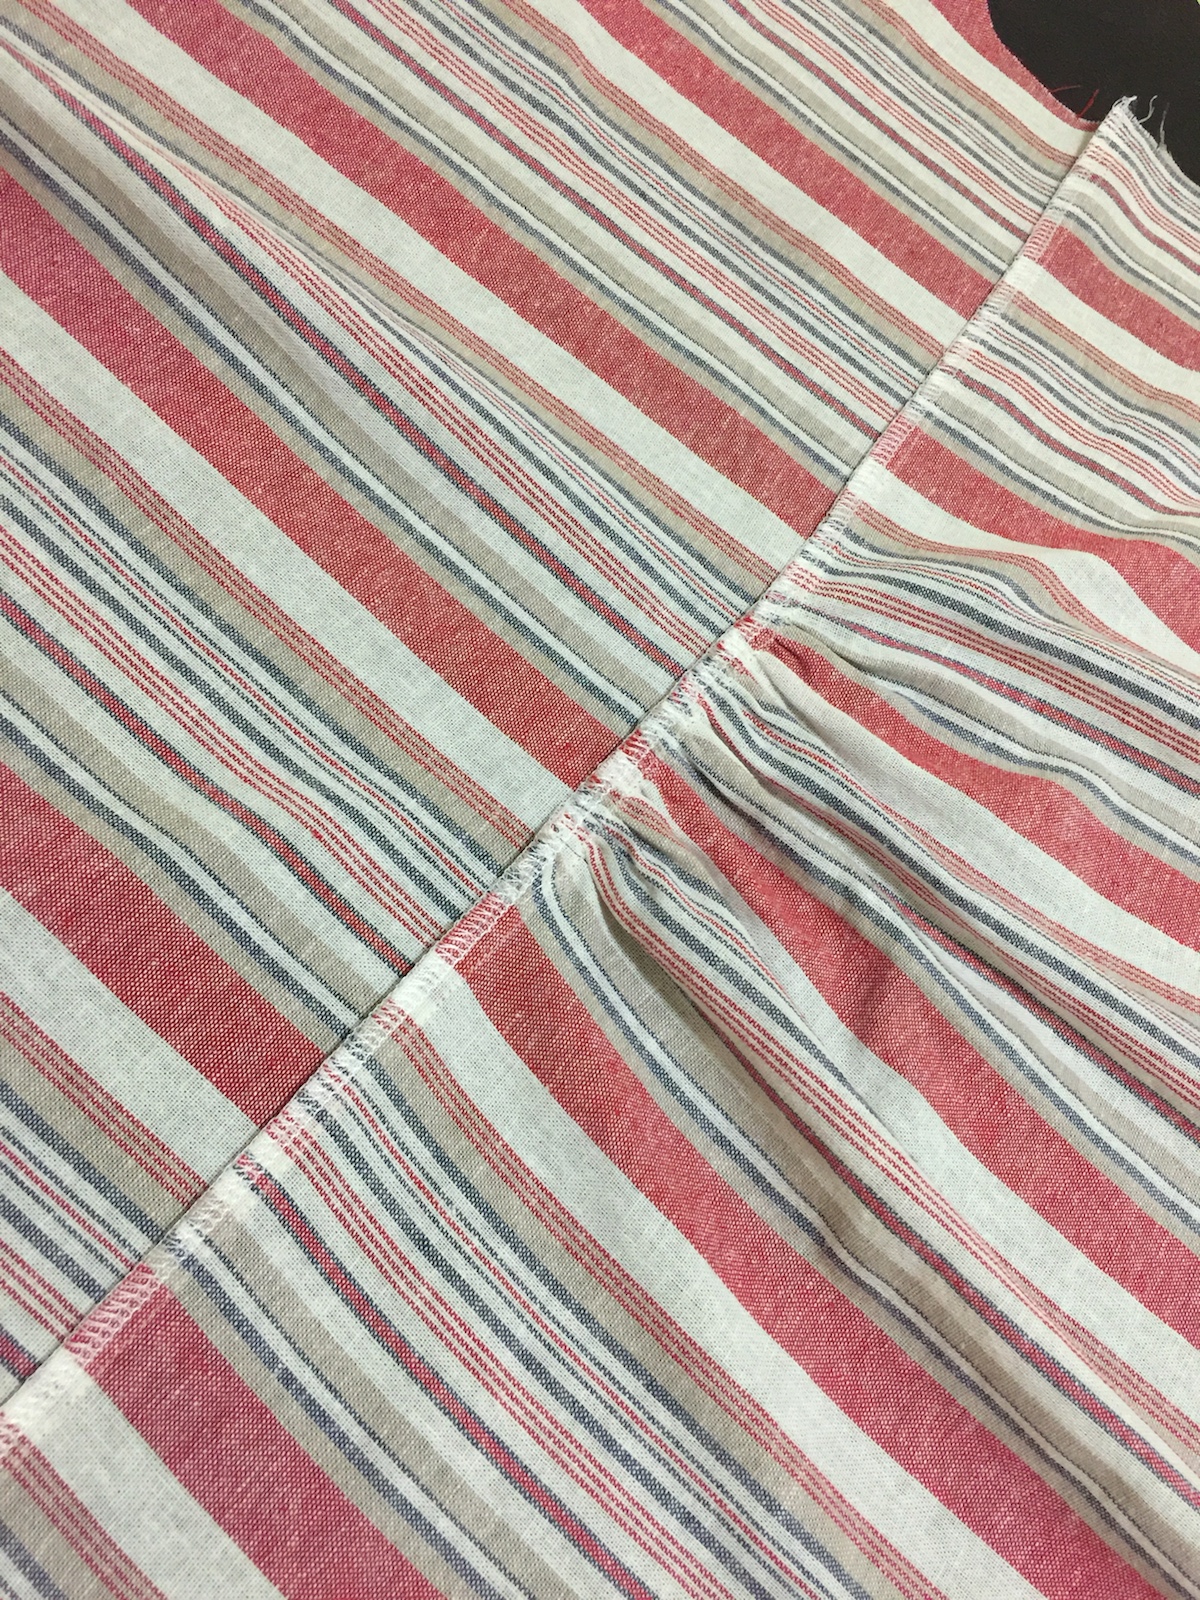
Finish the edge as desired, and iron the seam allowance towards the top of the shirt.
Step 8:
Repeat step 2-7 for the bodice back piece.
Step 9:
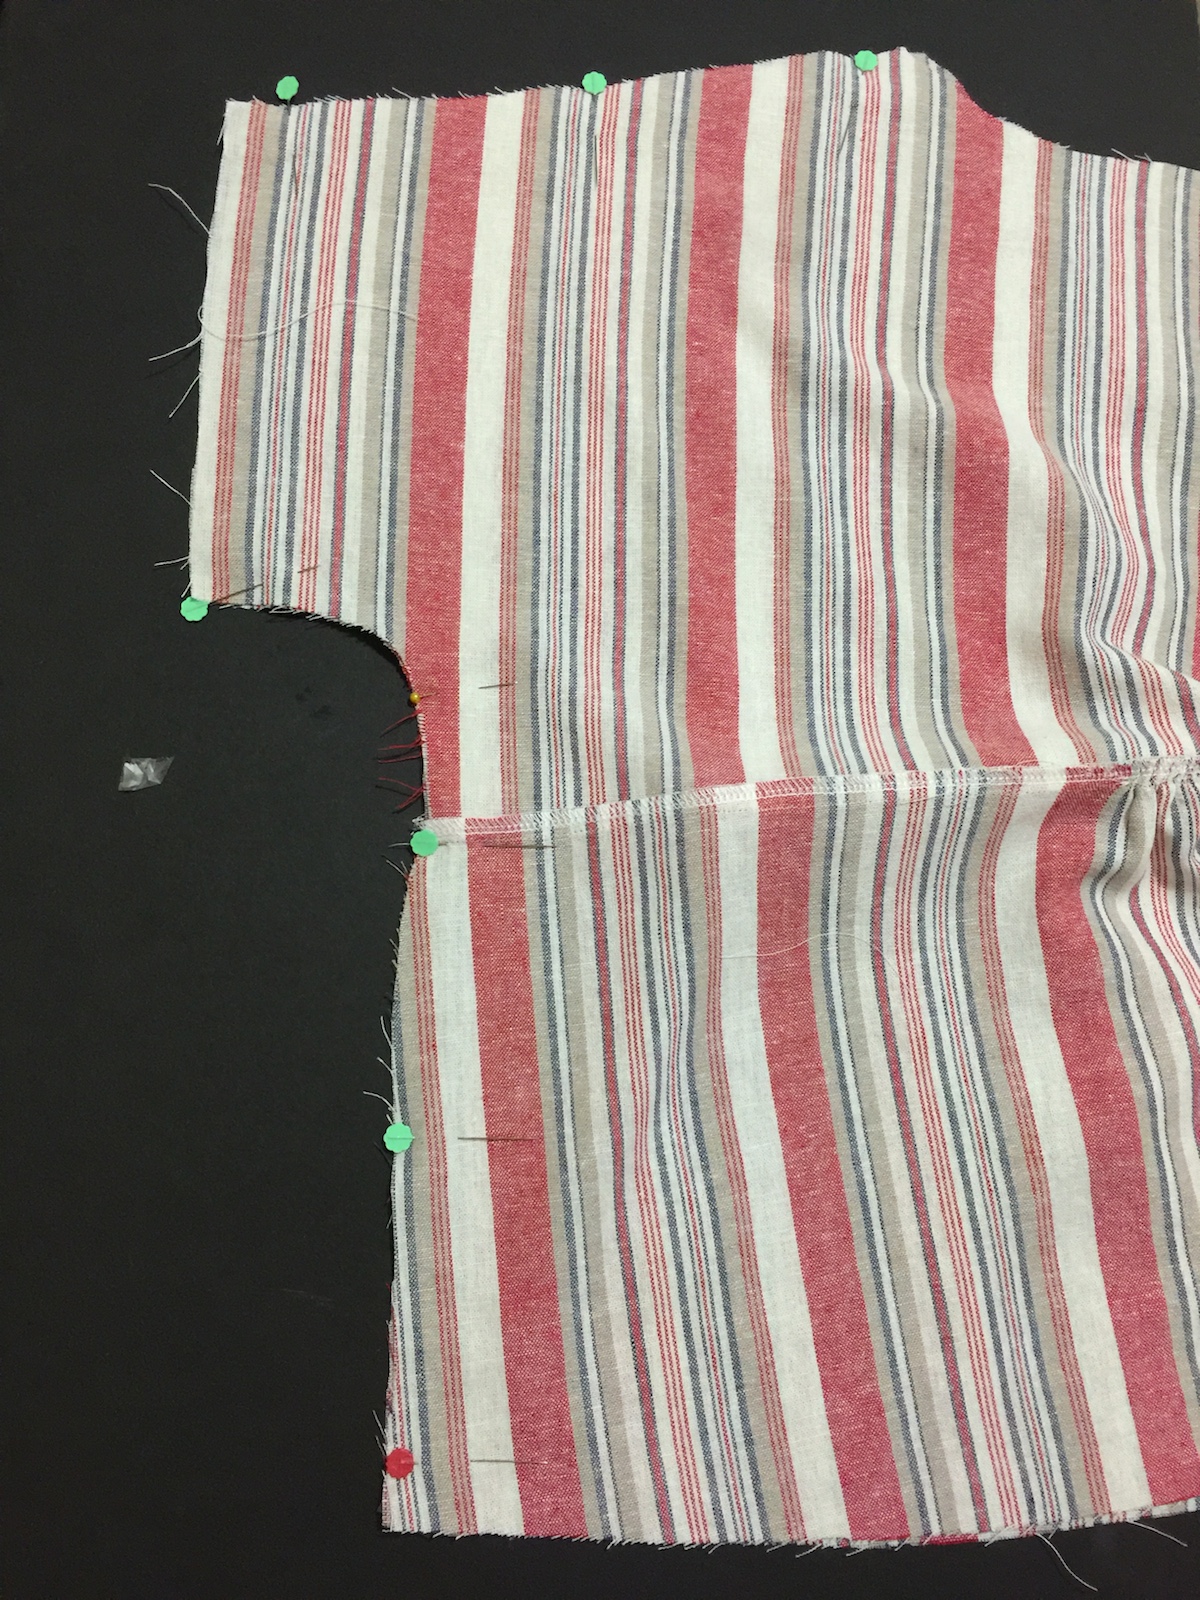
Place both bodice piece right sides together, and pin at the shoulder seam and underarm/side seam.
Step 10:
Sew the shoulder seams and side seams at 1/2″.
Step 11:
Finish all seams as desired and iron. Clip into the underarm seam to help it lay flat when turned right sides out.
Step 12:
Try on the shirt and decide how low you would like your front neckline to be. Make a little mark.

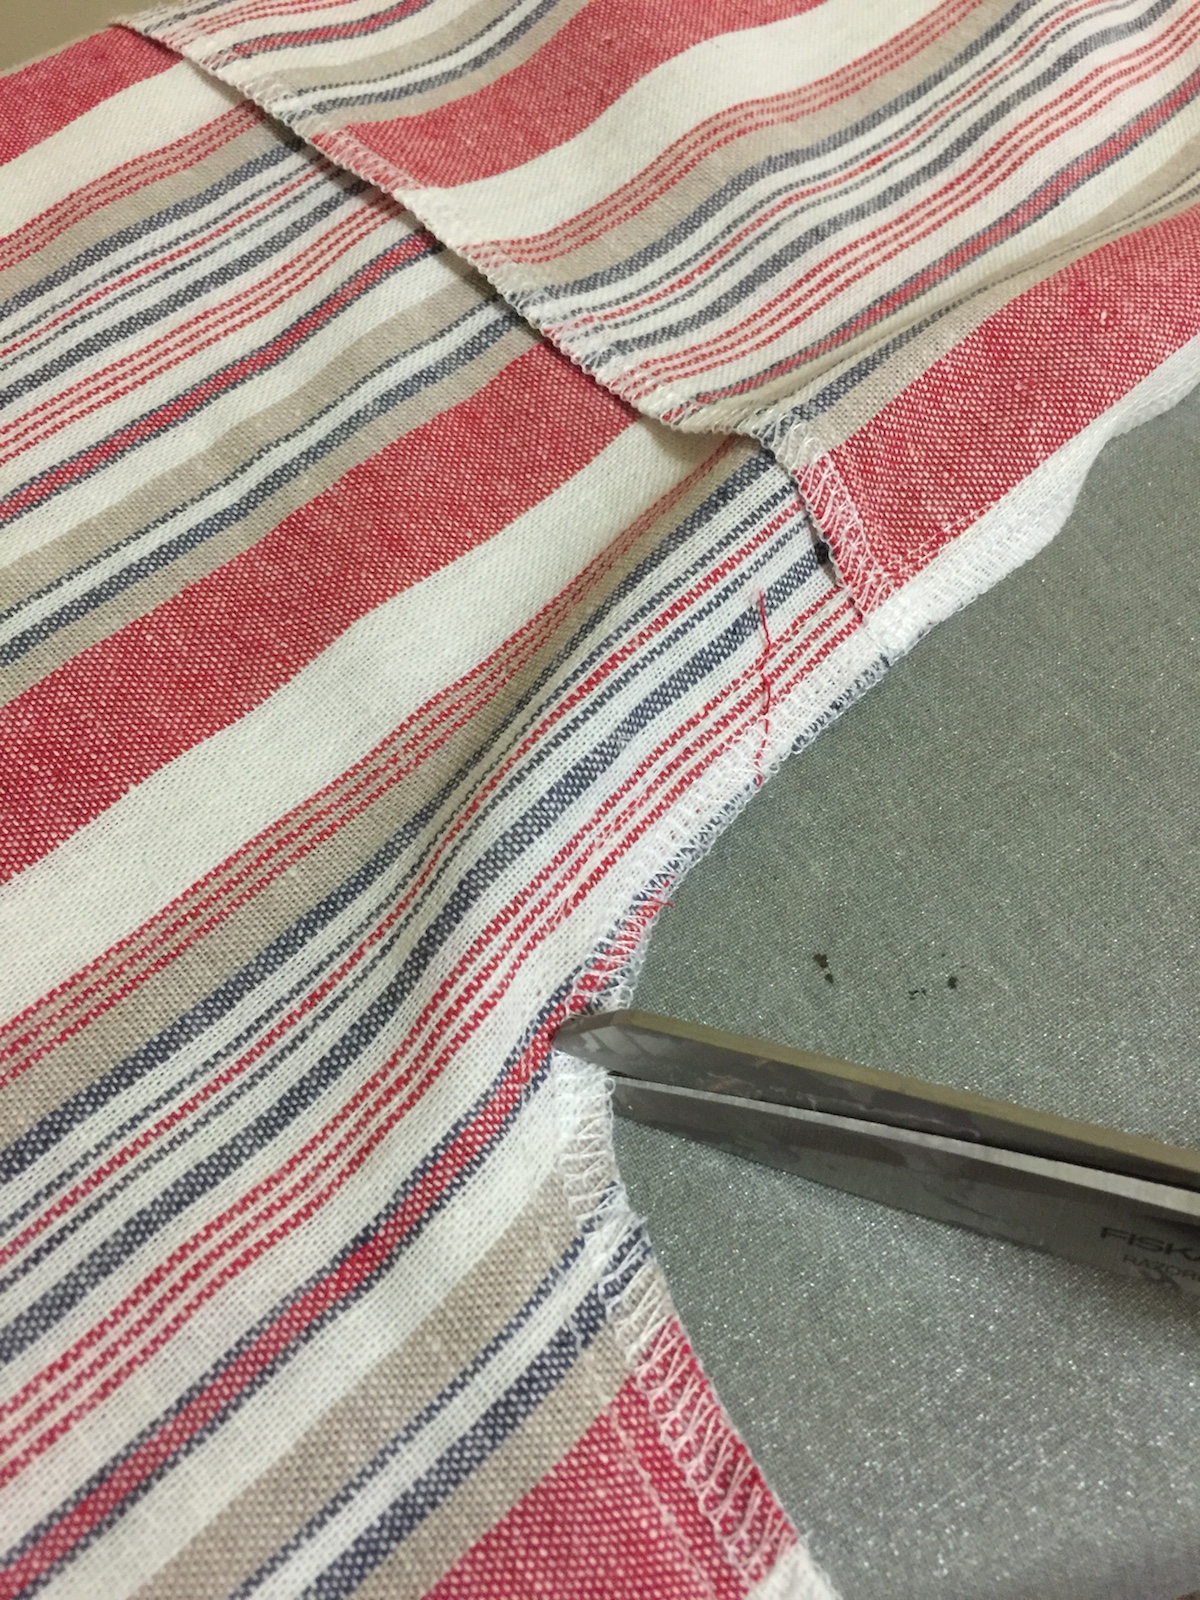
Step 13:
Take off the shirt, and fold the front piece in half, and draw a slightly curved line from your marking to the shoulder seam.
Step 14:
Cut along this line for the front bodice only in order to create your neckline.
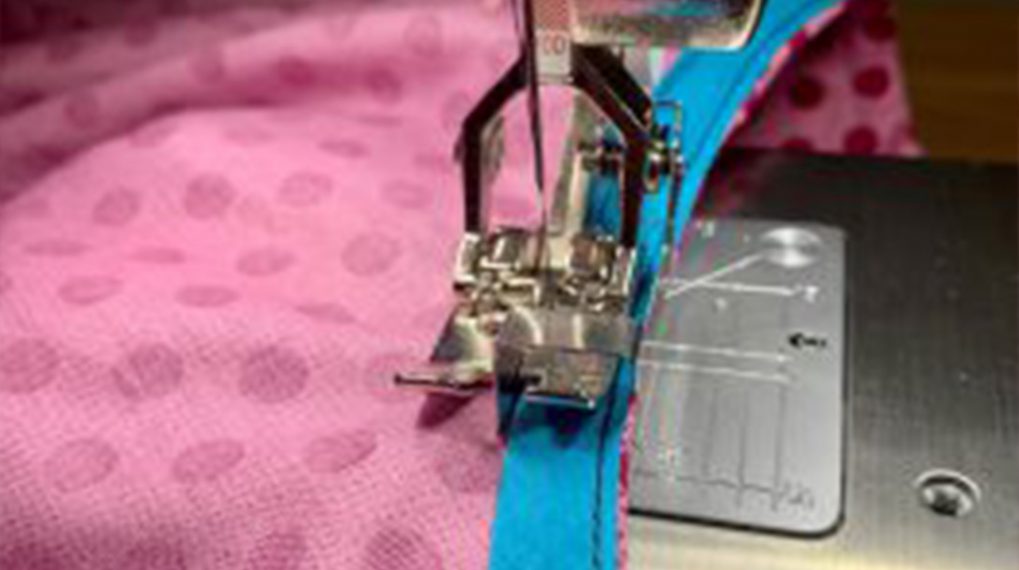
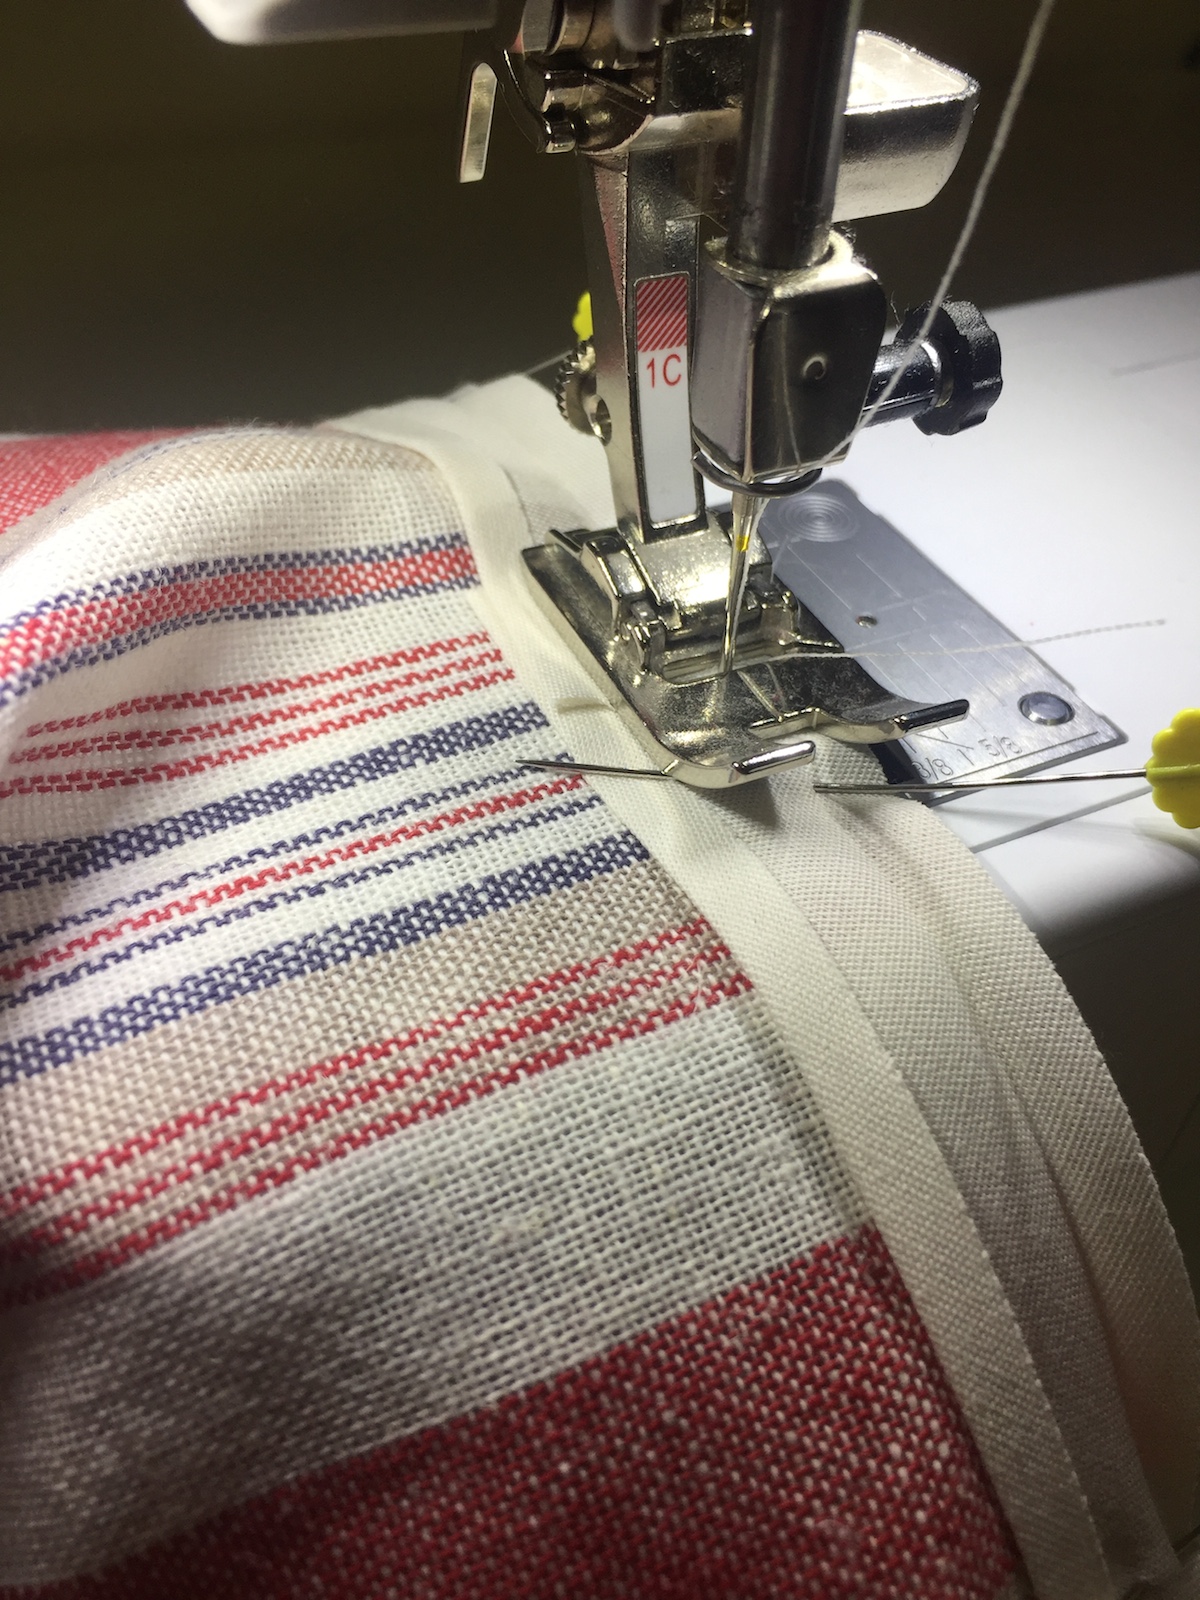
Step 15:
To finish off the neckline, get your single fold bias binding and open it up. Line up the edge of the bias binding to the right side edge of the neckline, and pin in place. Make sure to overlap the two raw edges of your bias binding. Sew along the first folded edge closest to the neckline edge.
Step 16:
Iron the bias binding to the inside edge of the neckline, and pin in place.
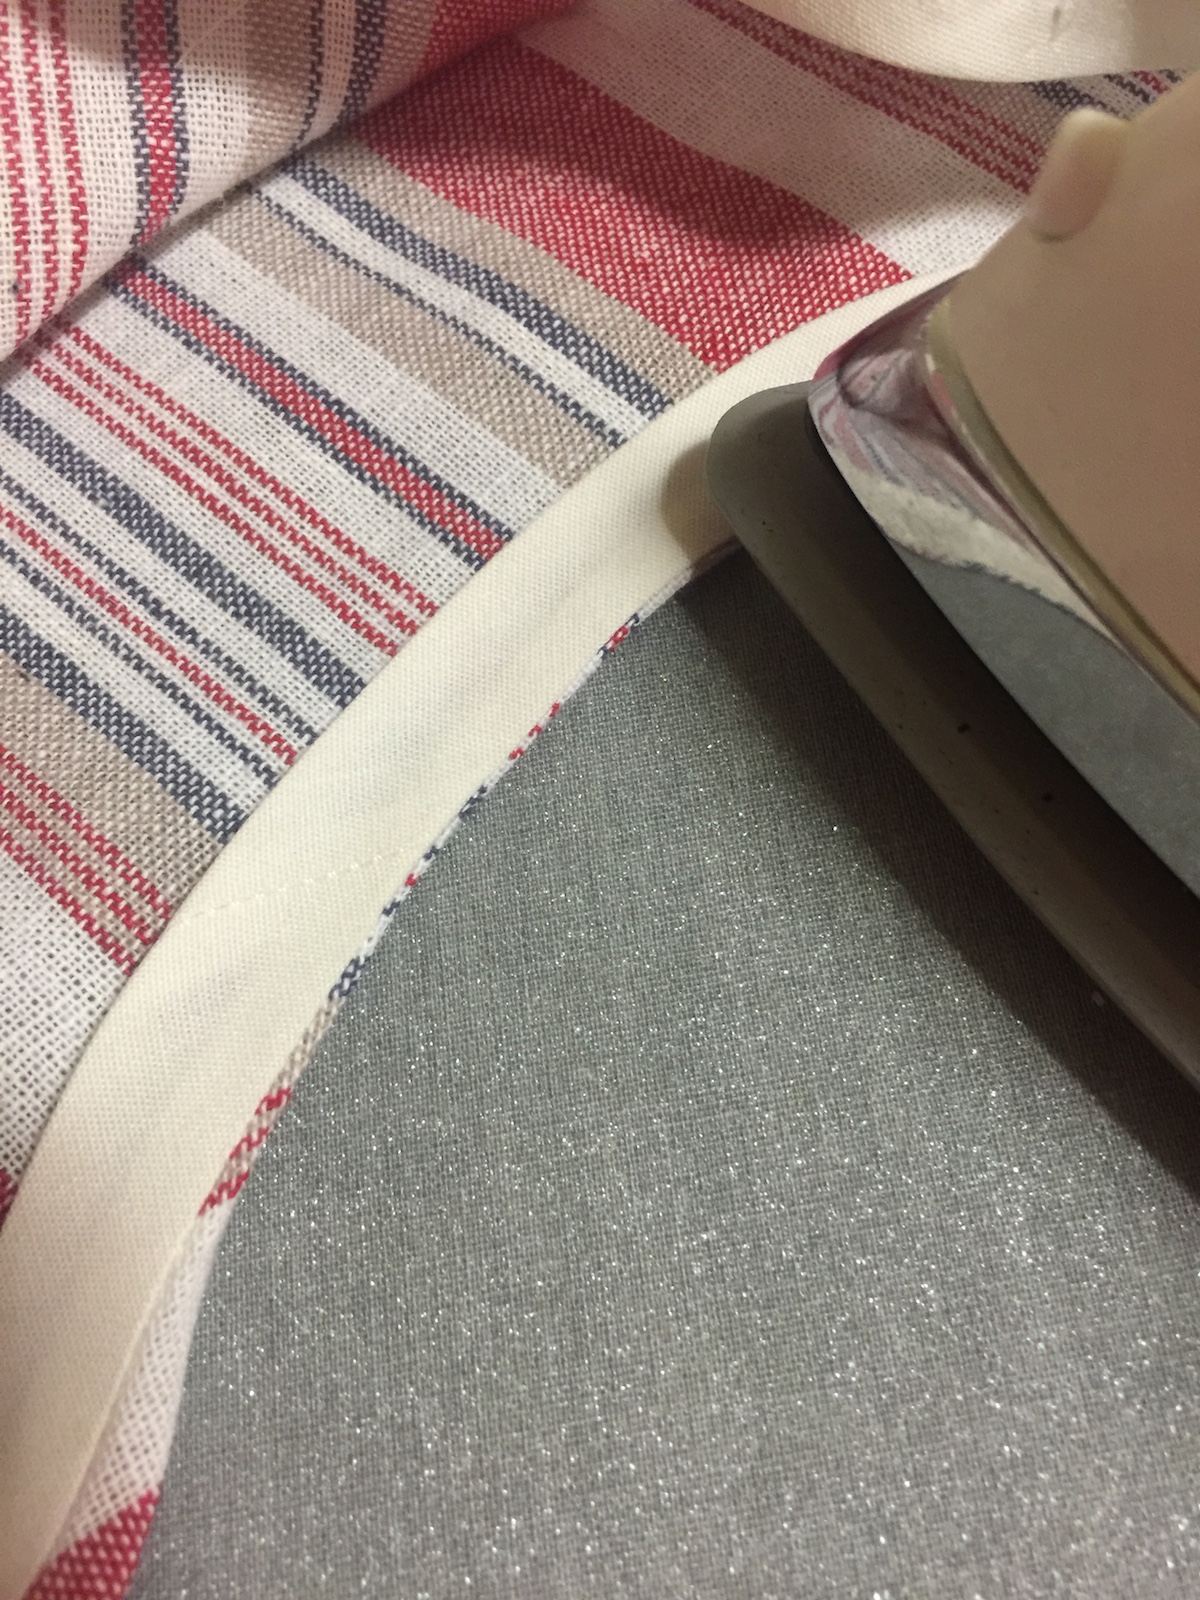
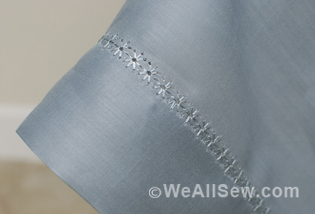
Step 17:
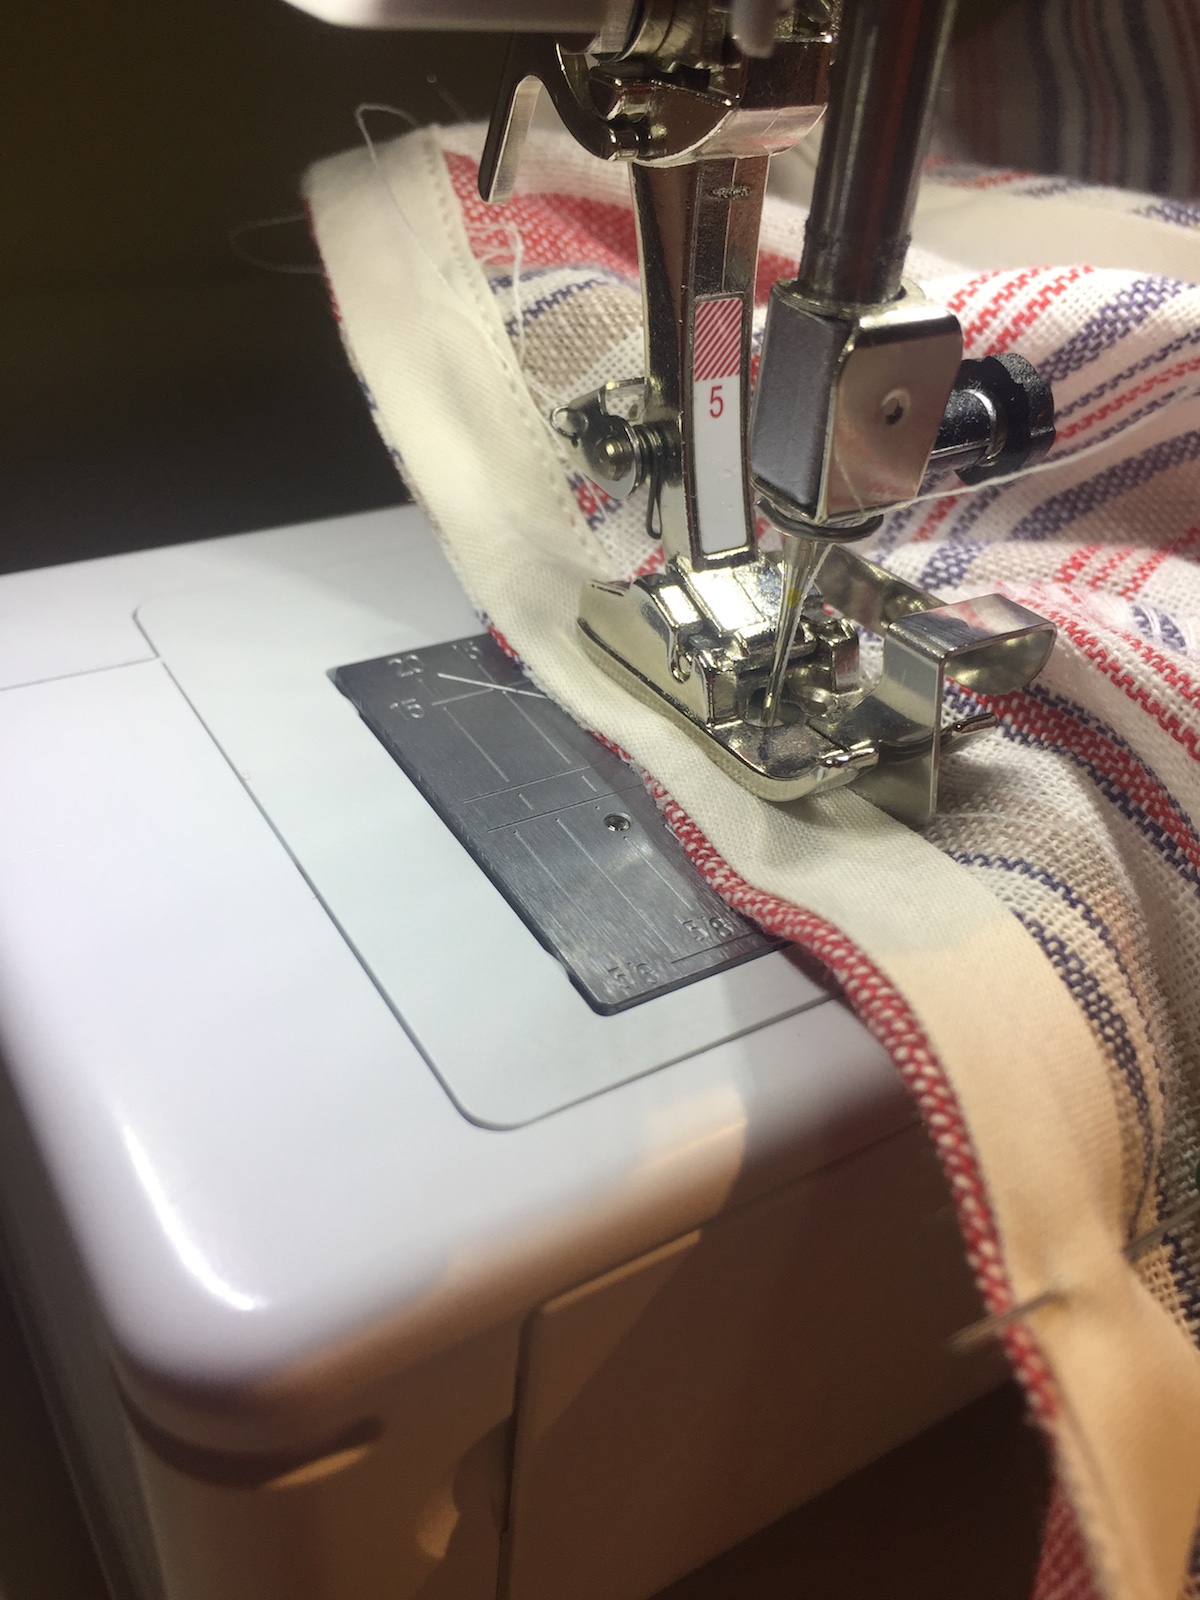
Using the Blindstitch foot #5 line up the metal bar on your foot along the edge of the bias binding. Move your needle over to the left about 3 spaces, and sew the binding in place to finish.

Step 18:
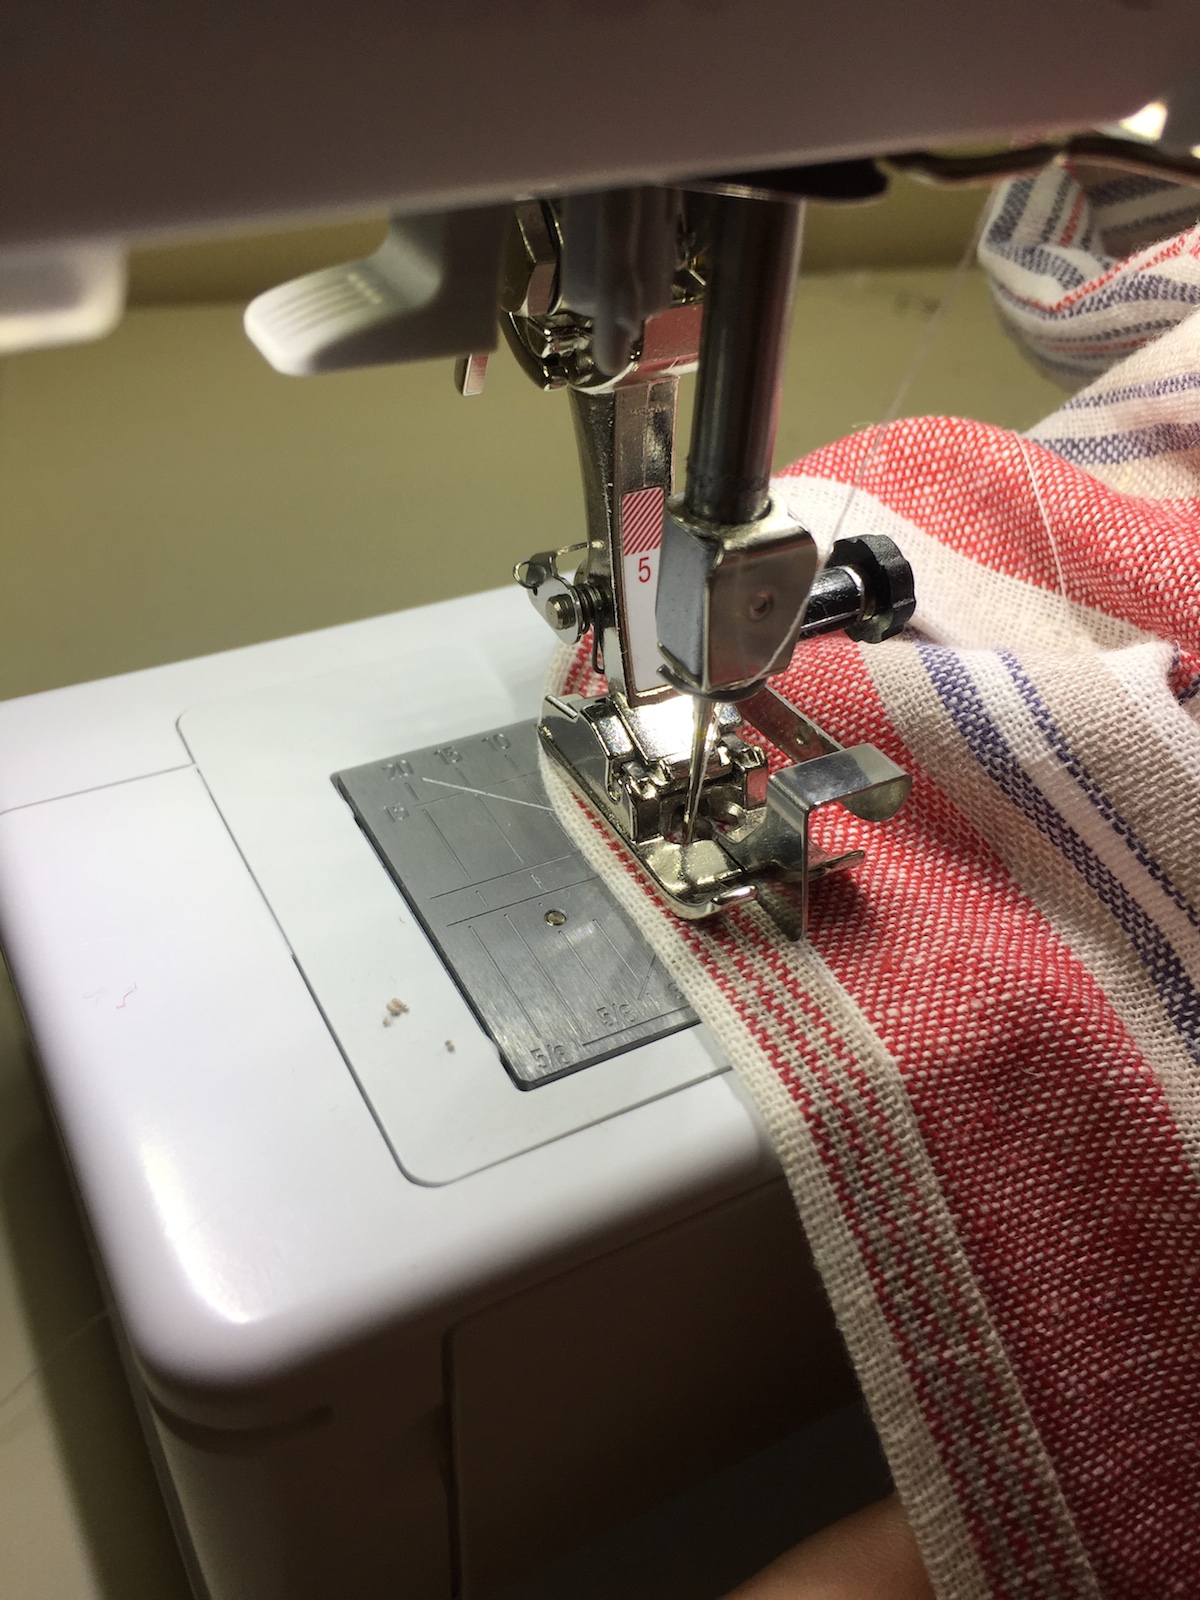
Fold and iron the raw edge of the sleeves in at 1/4″ and then once again at 1/4. Using your Blindstitch foot #5, sew along the inside folded hem.

Step 19:
Now fold and iron the raw edge of the bottom of your top in at 1/2″ and then again at 1″. I wanted a slightly more cropped look so I did a bigger hem. Pin in place.
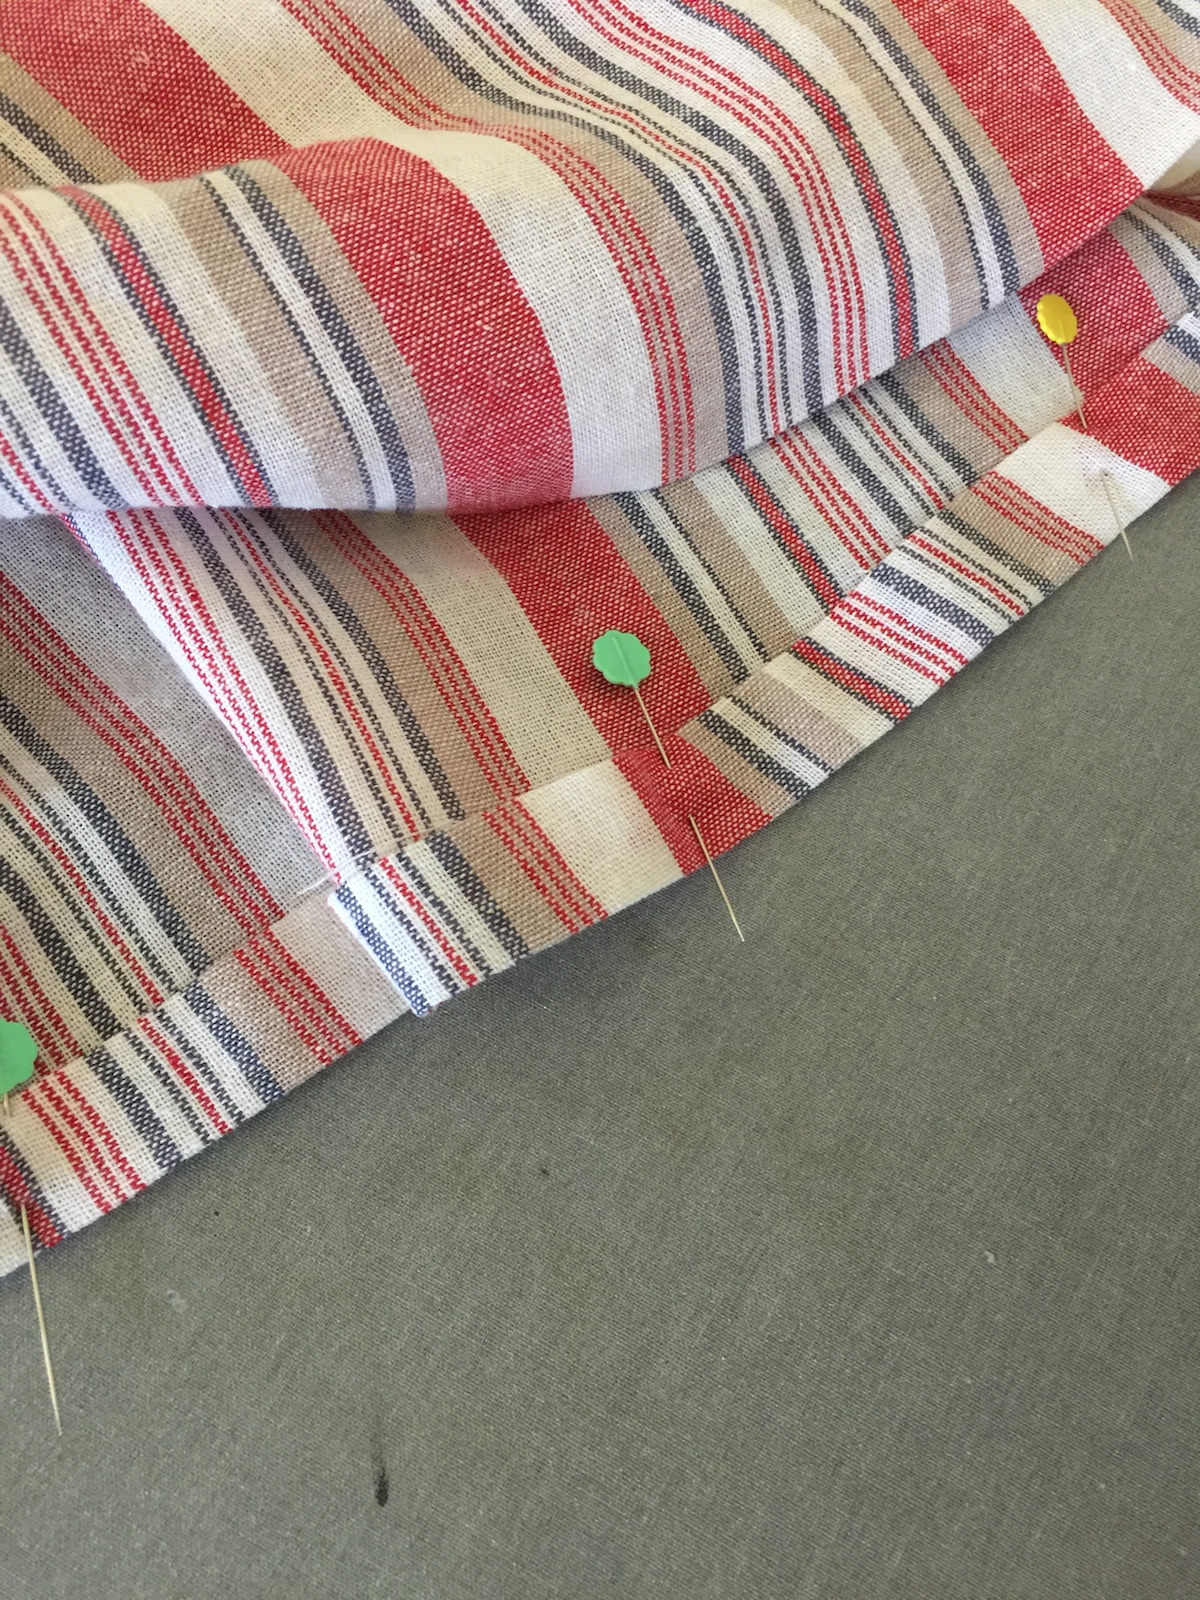
Step 20:
Using your Blindstitch foot #5, sew along the inside hem edge to finish.
Congratulations! You’re all finished with your new gathered boxy top. Thank you for reading along and as always, happy sewing! I’ll be back soon with more sewing tutorials for you!