Tips for Sewing With Velvet
Ah velvet! So romantic, so soft, with rich colors and beautiful sheen. I am so glad it is back in style! I’ve hopped on the velvet bandwagon gleefully, but quickly remembered that velvet isn’t all fun and games, there are some challenges to sewing with this tricky fabric.
After my first velvet project didn’t go as well as I hoped this winter, I did some research on some key tips and tricks for handling this luscious stuff.
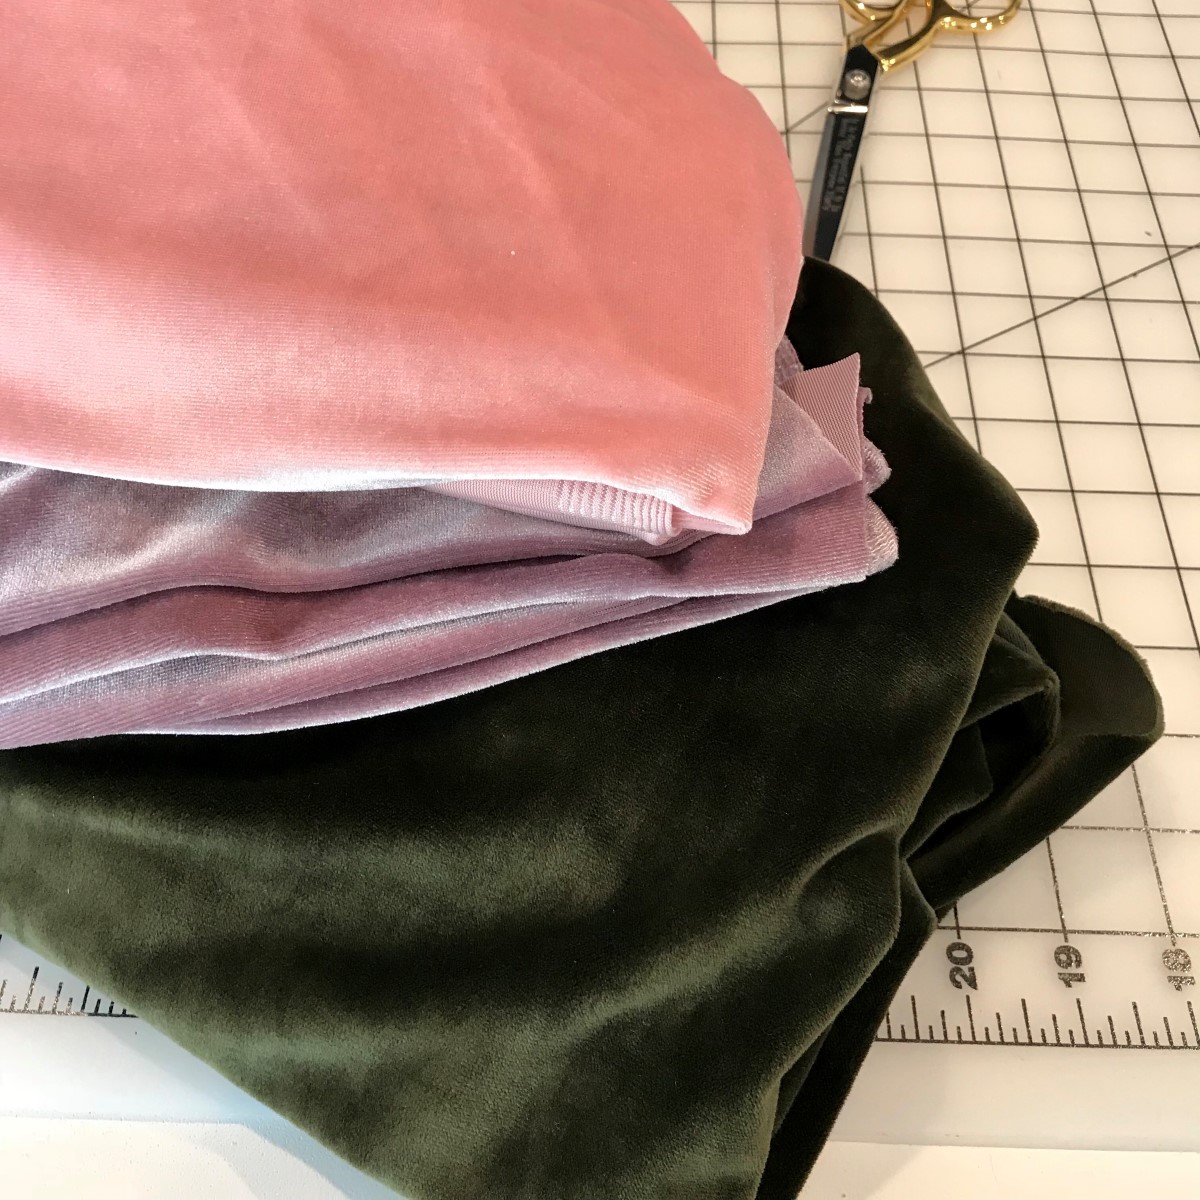
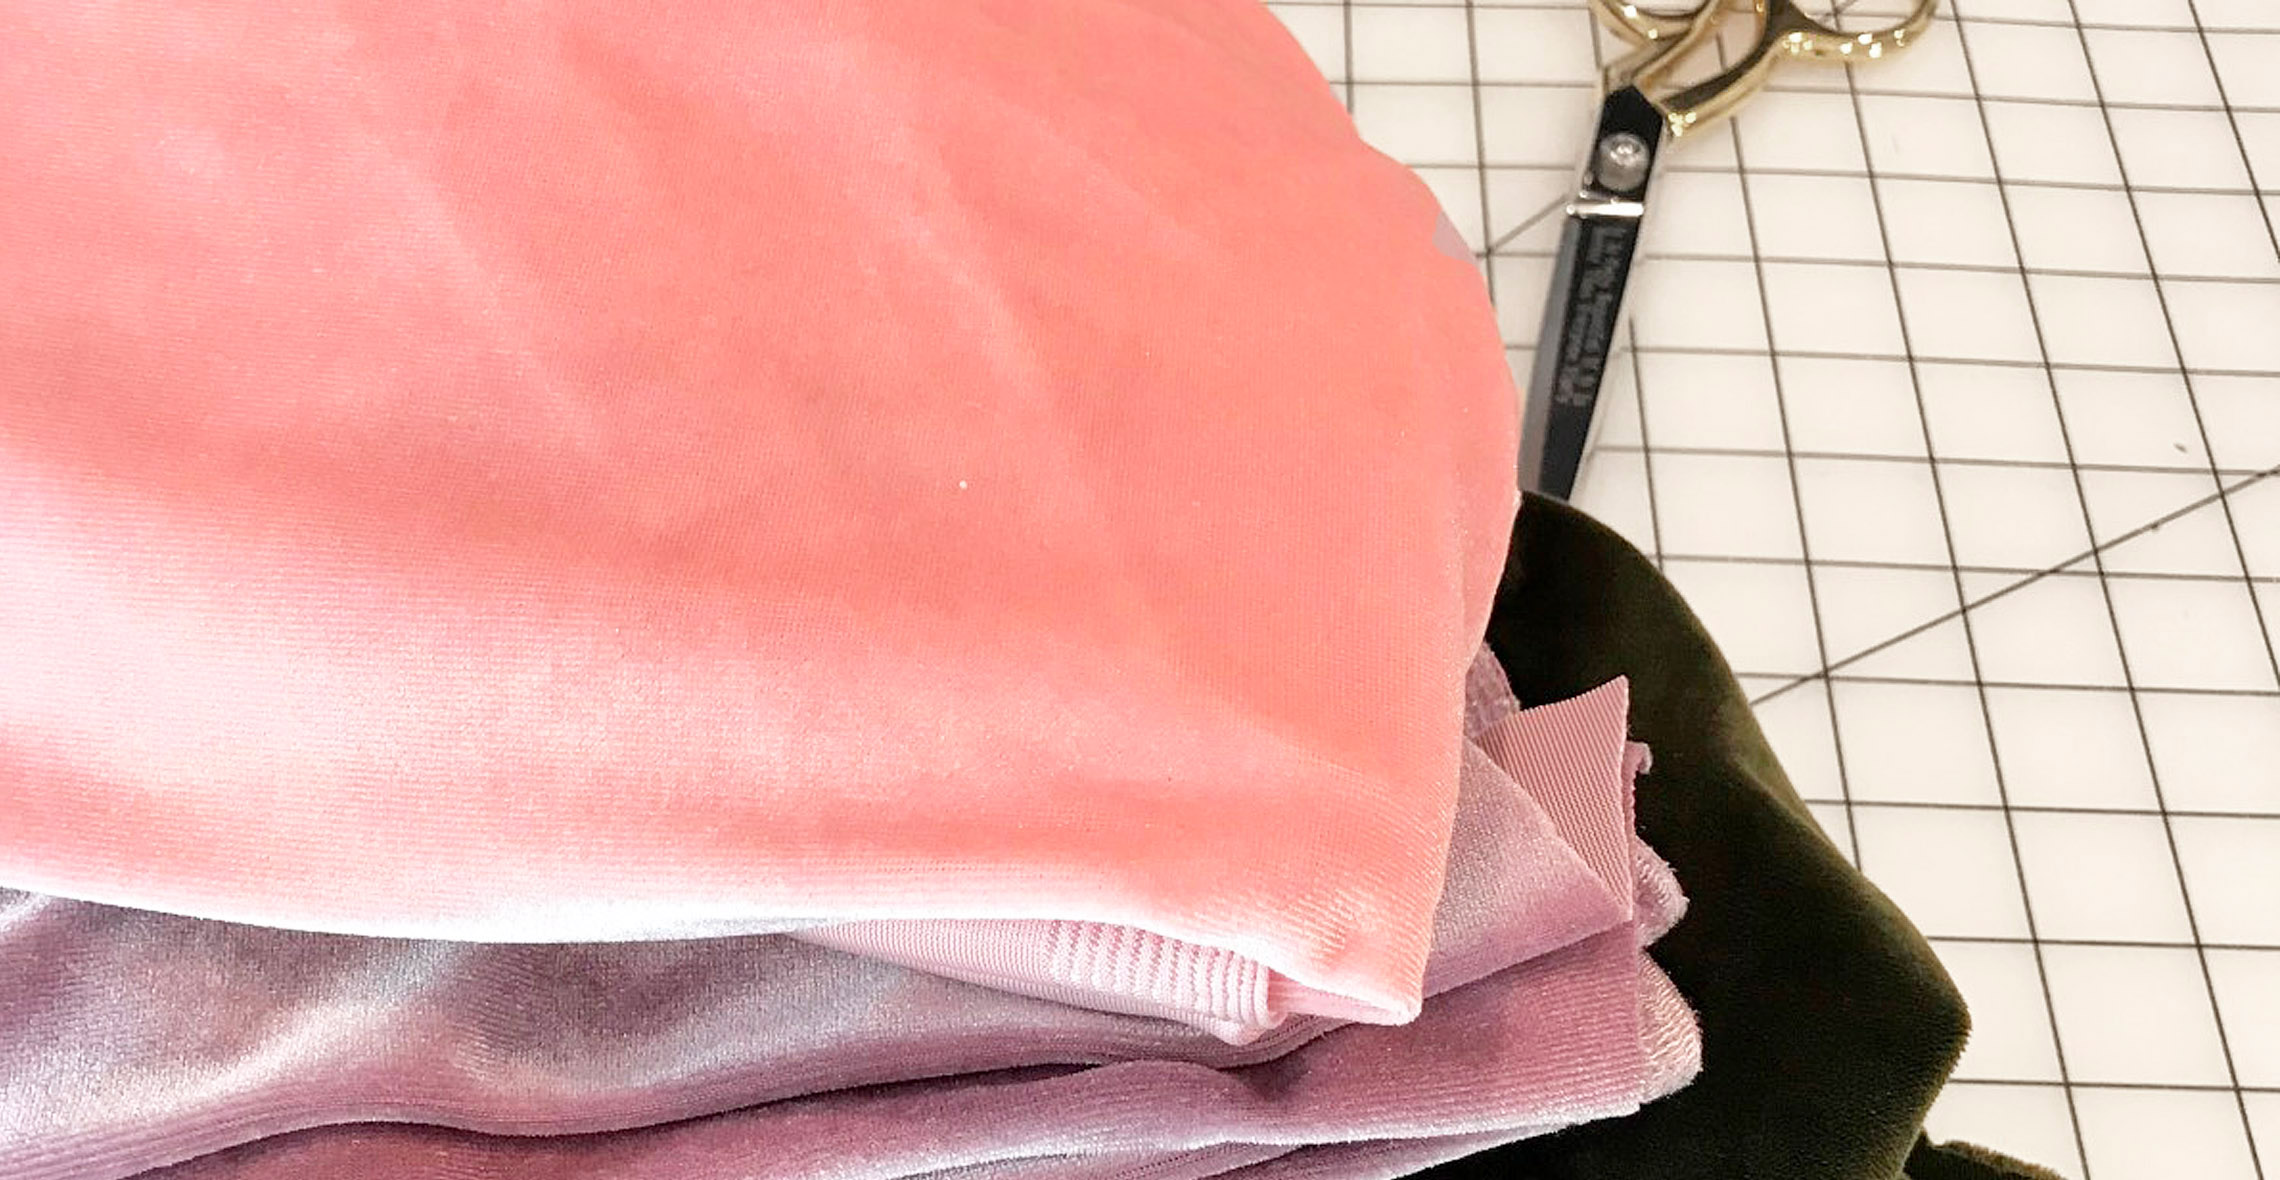
1. Mind the nap! Decide on a direction of your nap, and stick to it. In fact, nap is so important that you must really pay attention to it before you even buy your fabric, because to ensure your pattern pieces will all be facing the same way, you may need to buy a bit extra. I recommend looking at your pattern cutting layout and seeing how you will have to modify the layout to keep the nap consistent.
2. Cut it upside down and only single layer. The trickiest part of the velvet is how slippery it is, and this effects your cutting. Lay your fabric nap side down and place your pattern pieces on the back to minimize slipping. Any mirror image pieces and cut on fold pieces need to be cut in a single layer, because nap against nap is even more slippery! You’ll start in one place and end up in another, I assure you.
3. No fusible interfacing, strictly sew-in. You cannot adhere fusible to velvet with an iron, which leads us to the next tip…
4. Steam only, and don’t touch the iron to the fabric. Make things easy on yourself and embrace the soft and flowing nature of velvet and don’t expect crisp pressing. But you will need to take control of your seams with some good finger pressing, then hover your iron over the fabric and use steam to warm it up, wrong side only. I use a scrap of the same velvet to lay my piece down on, so it is nap to nap on my ironing board, and the little velvet fibers are supported. Gentle does it, or you’ll have crushed velvet!
5. Before you sew – test! This is a general tip that I do literally every time I sew. Test your stitch length, your tension, and the feel of your fabric under your presser foot before you jump into your project. Specifically for velvet, you may want to lower your presser foot pressure. My BERNINA 350 grabs my fabric so firmly I had to adjust the pressure down.
6. Pin vertically at the seam line. The trickiest part of velvet is literally sewing it together – right side to right side. Those layers want to slip in opposite directions. I carefully pin my pieces together vertically (I usually pin horizontally) and make sure my pin heads are facing down so I can whip those pins out at the last possible second. Sometimes I even just move my pin a little to give myself some room to continue sewing with the pins still in place.

7. Sometimes you have to hand baste. This is not my favorite part, and my pinning technique works pretty well for those straight seams, but if you have anything trickier, like a princess seam, or gathers, or any precision details, hand basting is your answer. Baste close to the seam line for maximum control and use contrasting thread to assist with finding those stitches later so you can remove them.
8. Pet often. OK, this tip isn’t mandatory, but it was very helpful for me to caress my fabric during the more difficult parts to remind myself why I was attempting this challenge. There is nothing like velvet, and when I’m wearing it I get more hugs and I even hug myself more often to enjoy the feel of this luxurious fabric.
I hope these tips assist in the challenge of sewing this season’s most trendy texture! It is so worth it. Look how happy I am in my gorgeous velvet turtleneck.

What you might also like


5 comments on “Tips for Sewing With Velvet”
-
-
Love the tips for sewing in velvet. Can’t wait to try them out.
-
It looks lovely on you also. Thanks for the great tips as it’s been quite a few years since i have sewn Velvet.
-
Perhaps I’m just lucky but I’ve never had the problem that you describe with velvet sliding or with it being difficult to sew. To me it’s like sewing butter…
-
I too have experienced those “velvet” challenges and have tried most of these good comments. Velvets vary in how slippery they are. I have found rayon or silk backed to be very slippery and hard to work with. Cotton backed is the least slippery and easier to work with. I once had to sew the zipper in by hand with small basting lenghth stitches to make it look good.
Leave a Reply
You must be logged in to post a comment.

When pressing I found that if I take the thickest terrycloth towel I have. Place the velvet face down on the towel. Use steam and you can lightly press the seams open. The terrycloth loops keep the nap from lying flat.