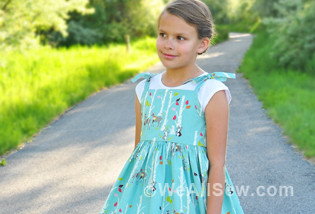
Sorbetto Top Sew Along, Part 2: Bodice Construction
Are you ready to get sewing? In this post, we’ll start sewing our Seamwork Sorbetto tops, focusing on the bodice construction. In the first post, we went over all of the prep work and cutting, so if you still need to cut your pattern out you can find that information here. Remember to share your progress in the WeAllSew Community and on Instagram (make sure use the hashtag #weallsewsorbetto and tag me (@thelilacelk) and @BERNINAUSA so we can see what you make!)
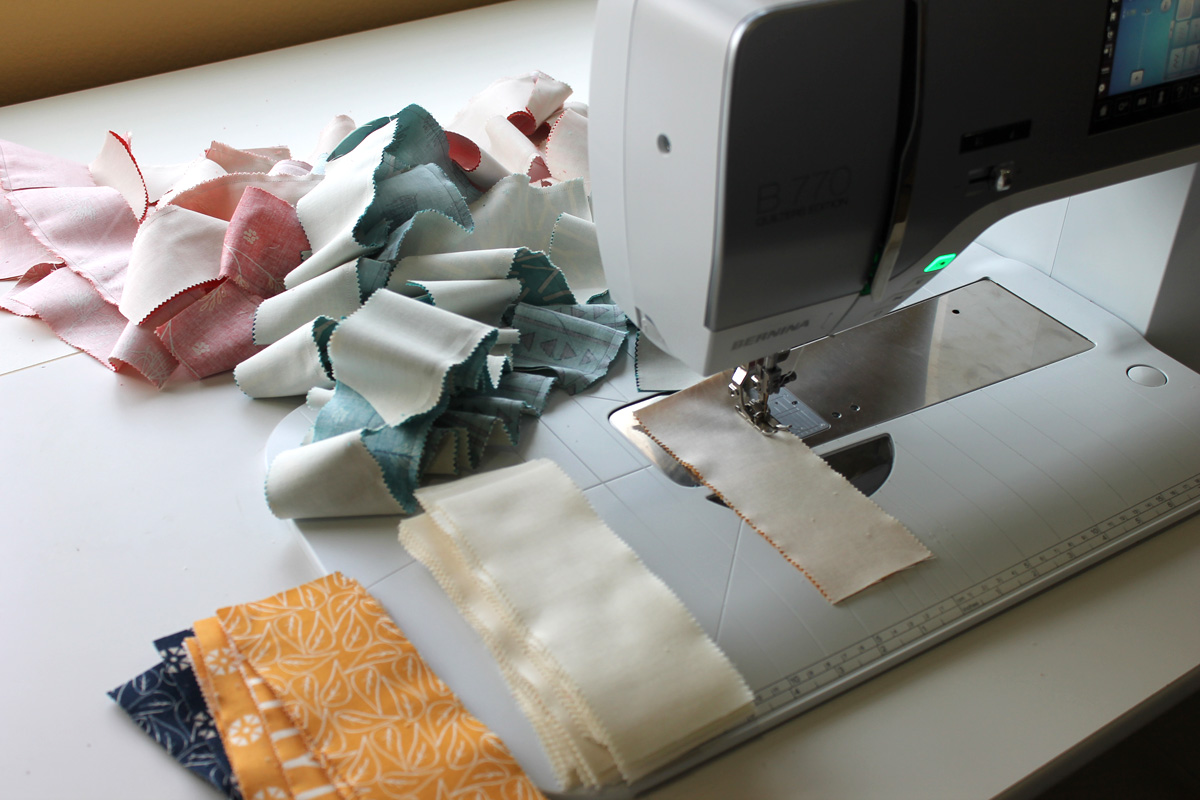
The polka dot fabric I used in this post was so kindly provided by Brewer. It’s a quilting cotton that works well for garments too!
1. Staystitching
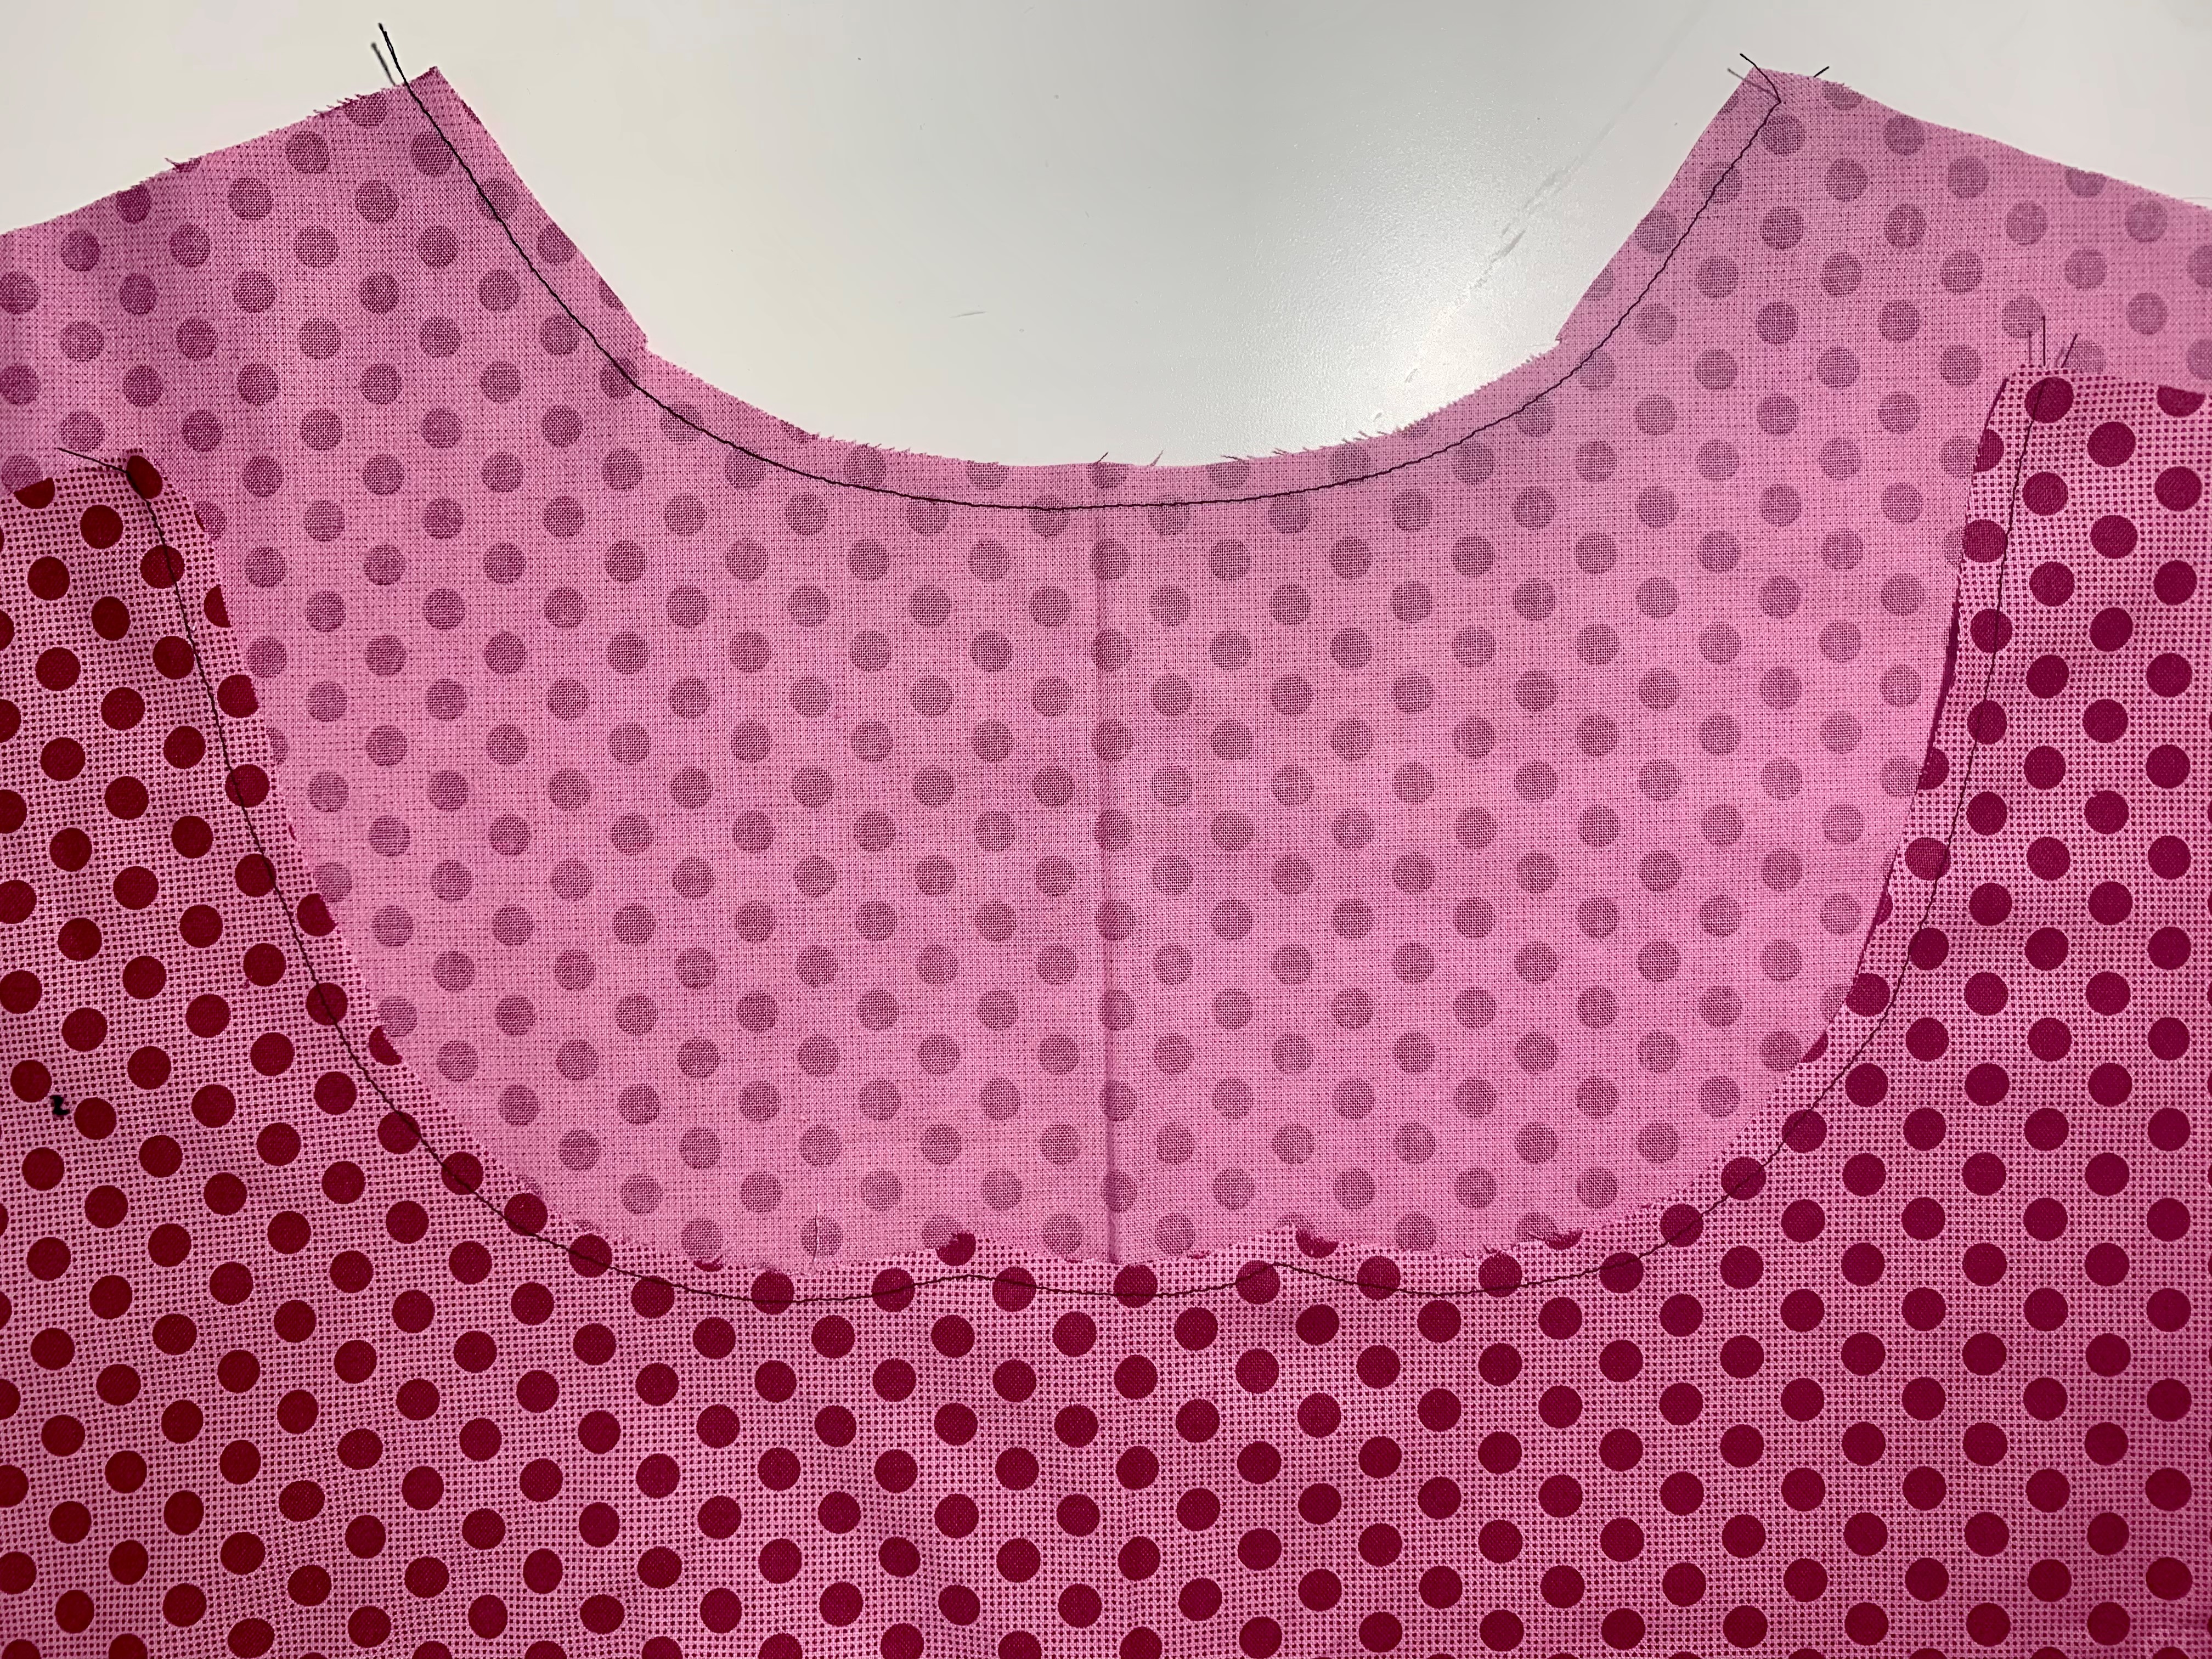
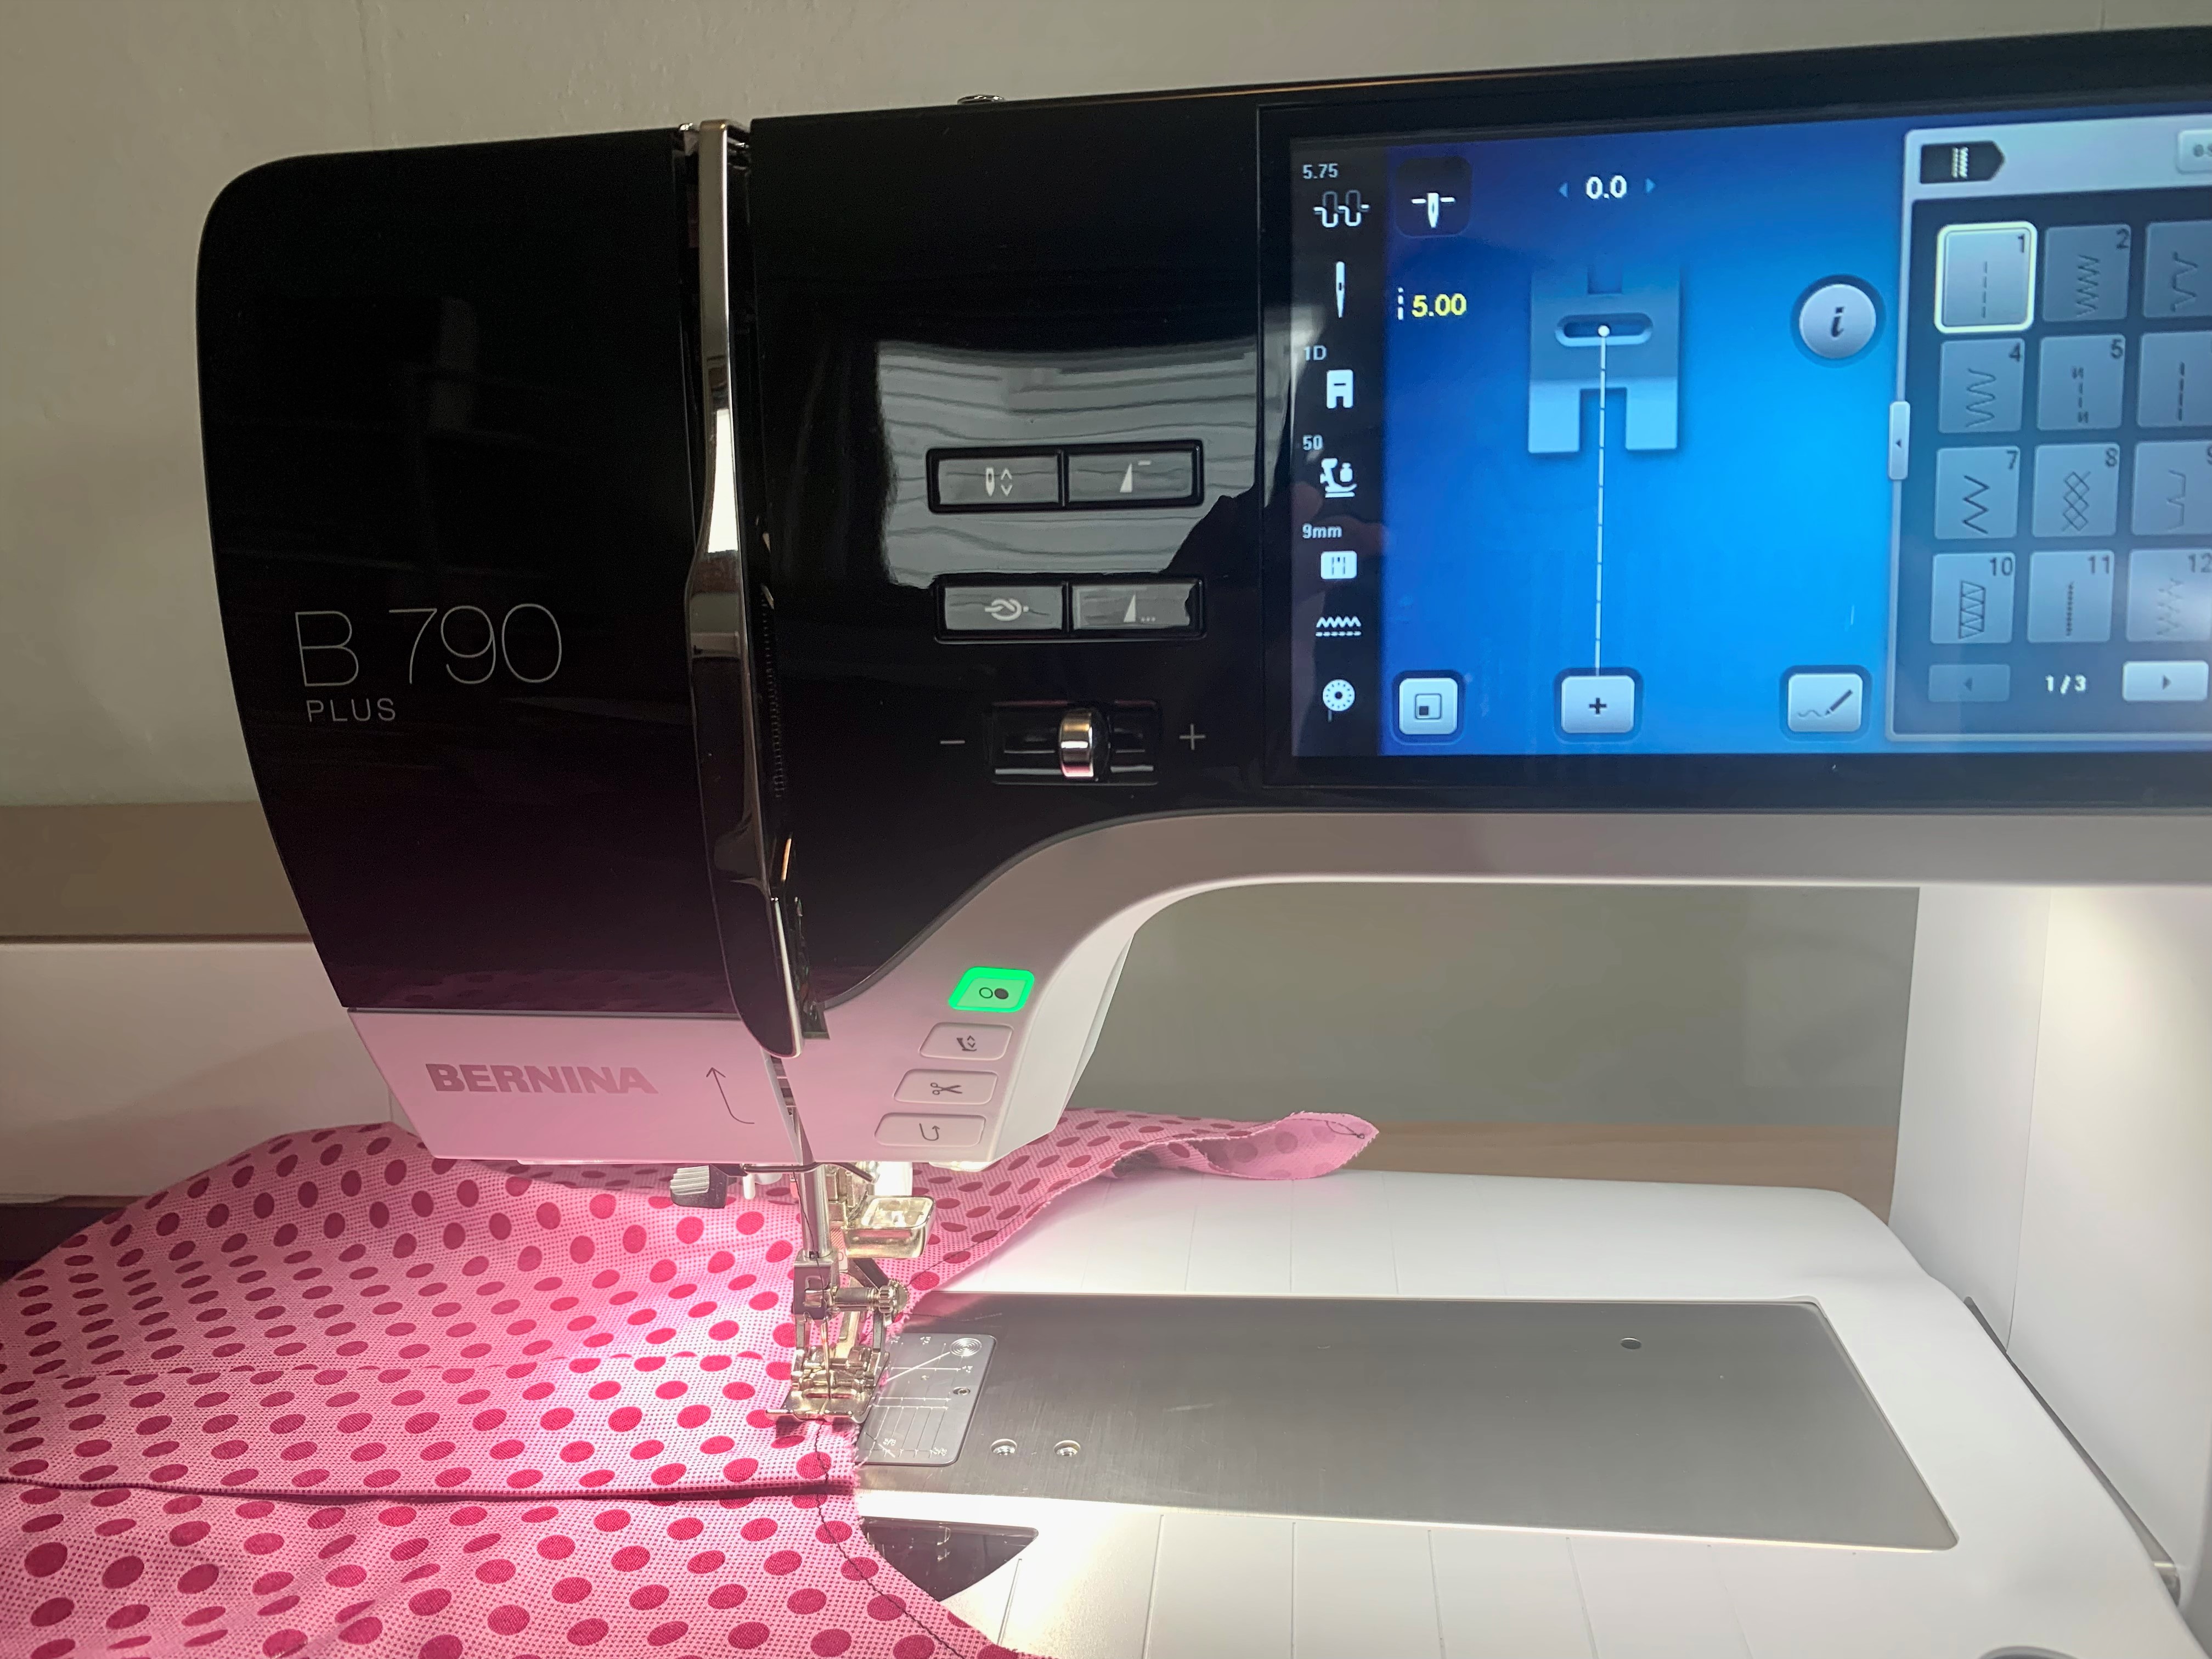
The first thing we’ll want to do it staystitch the neckline of both our front and back pieces. This is a line of stitching that will help prevent our neckline from stretching out. To staystich, sew a line of stitching about 1/4″ away from the edge of the neckline. You aren’t sewing anything together here, just providing a stable line of stitching along the edge of your fabric.
The finished staystitching on the front and back pieces should look like this:
2. Sewing Darts
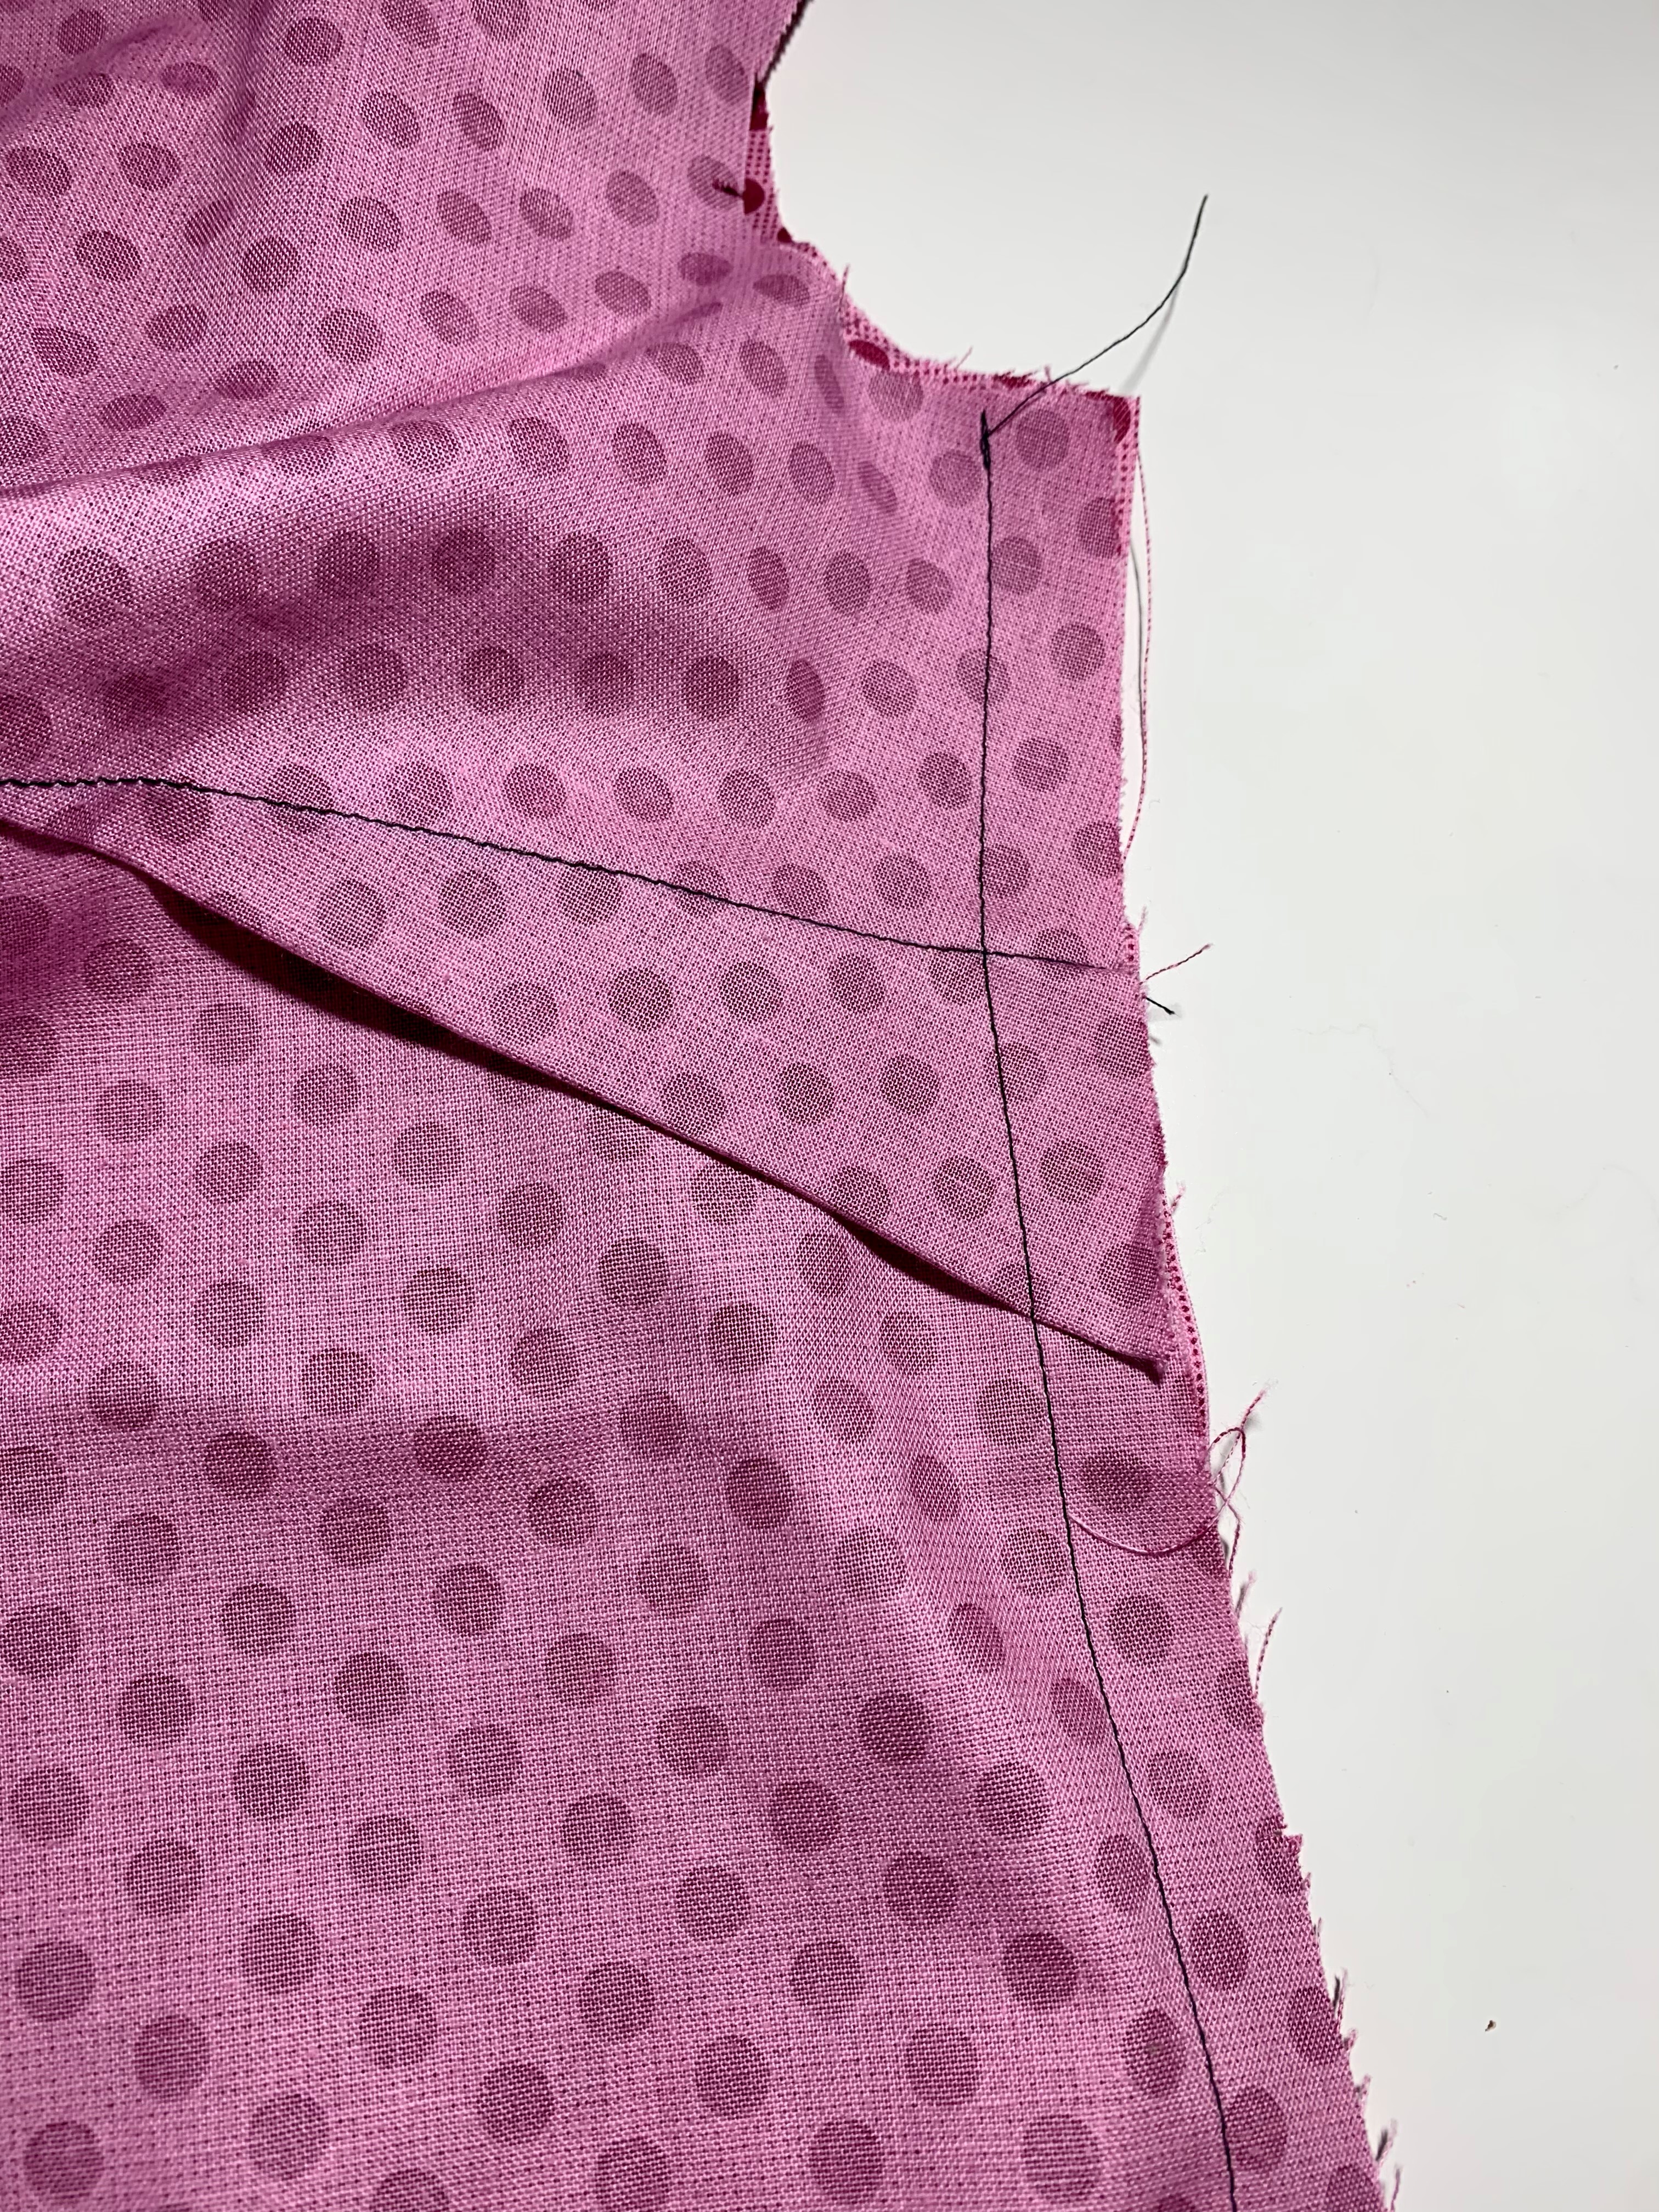
In part 1, we marked the sewing lines for the darts on the wrong sides of our fabric. To sew the darts, we’ll line up those marked lines with the fabric right sides together and pin.

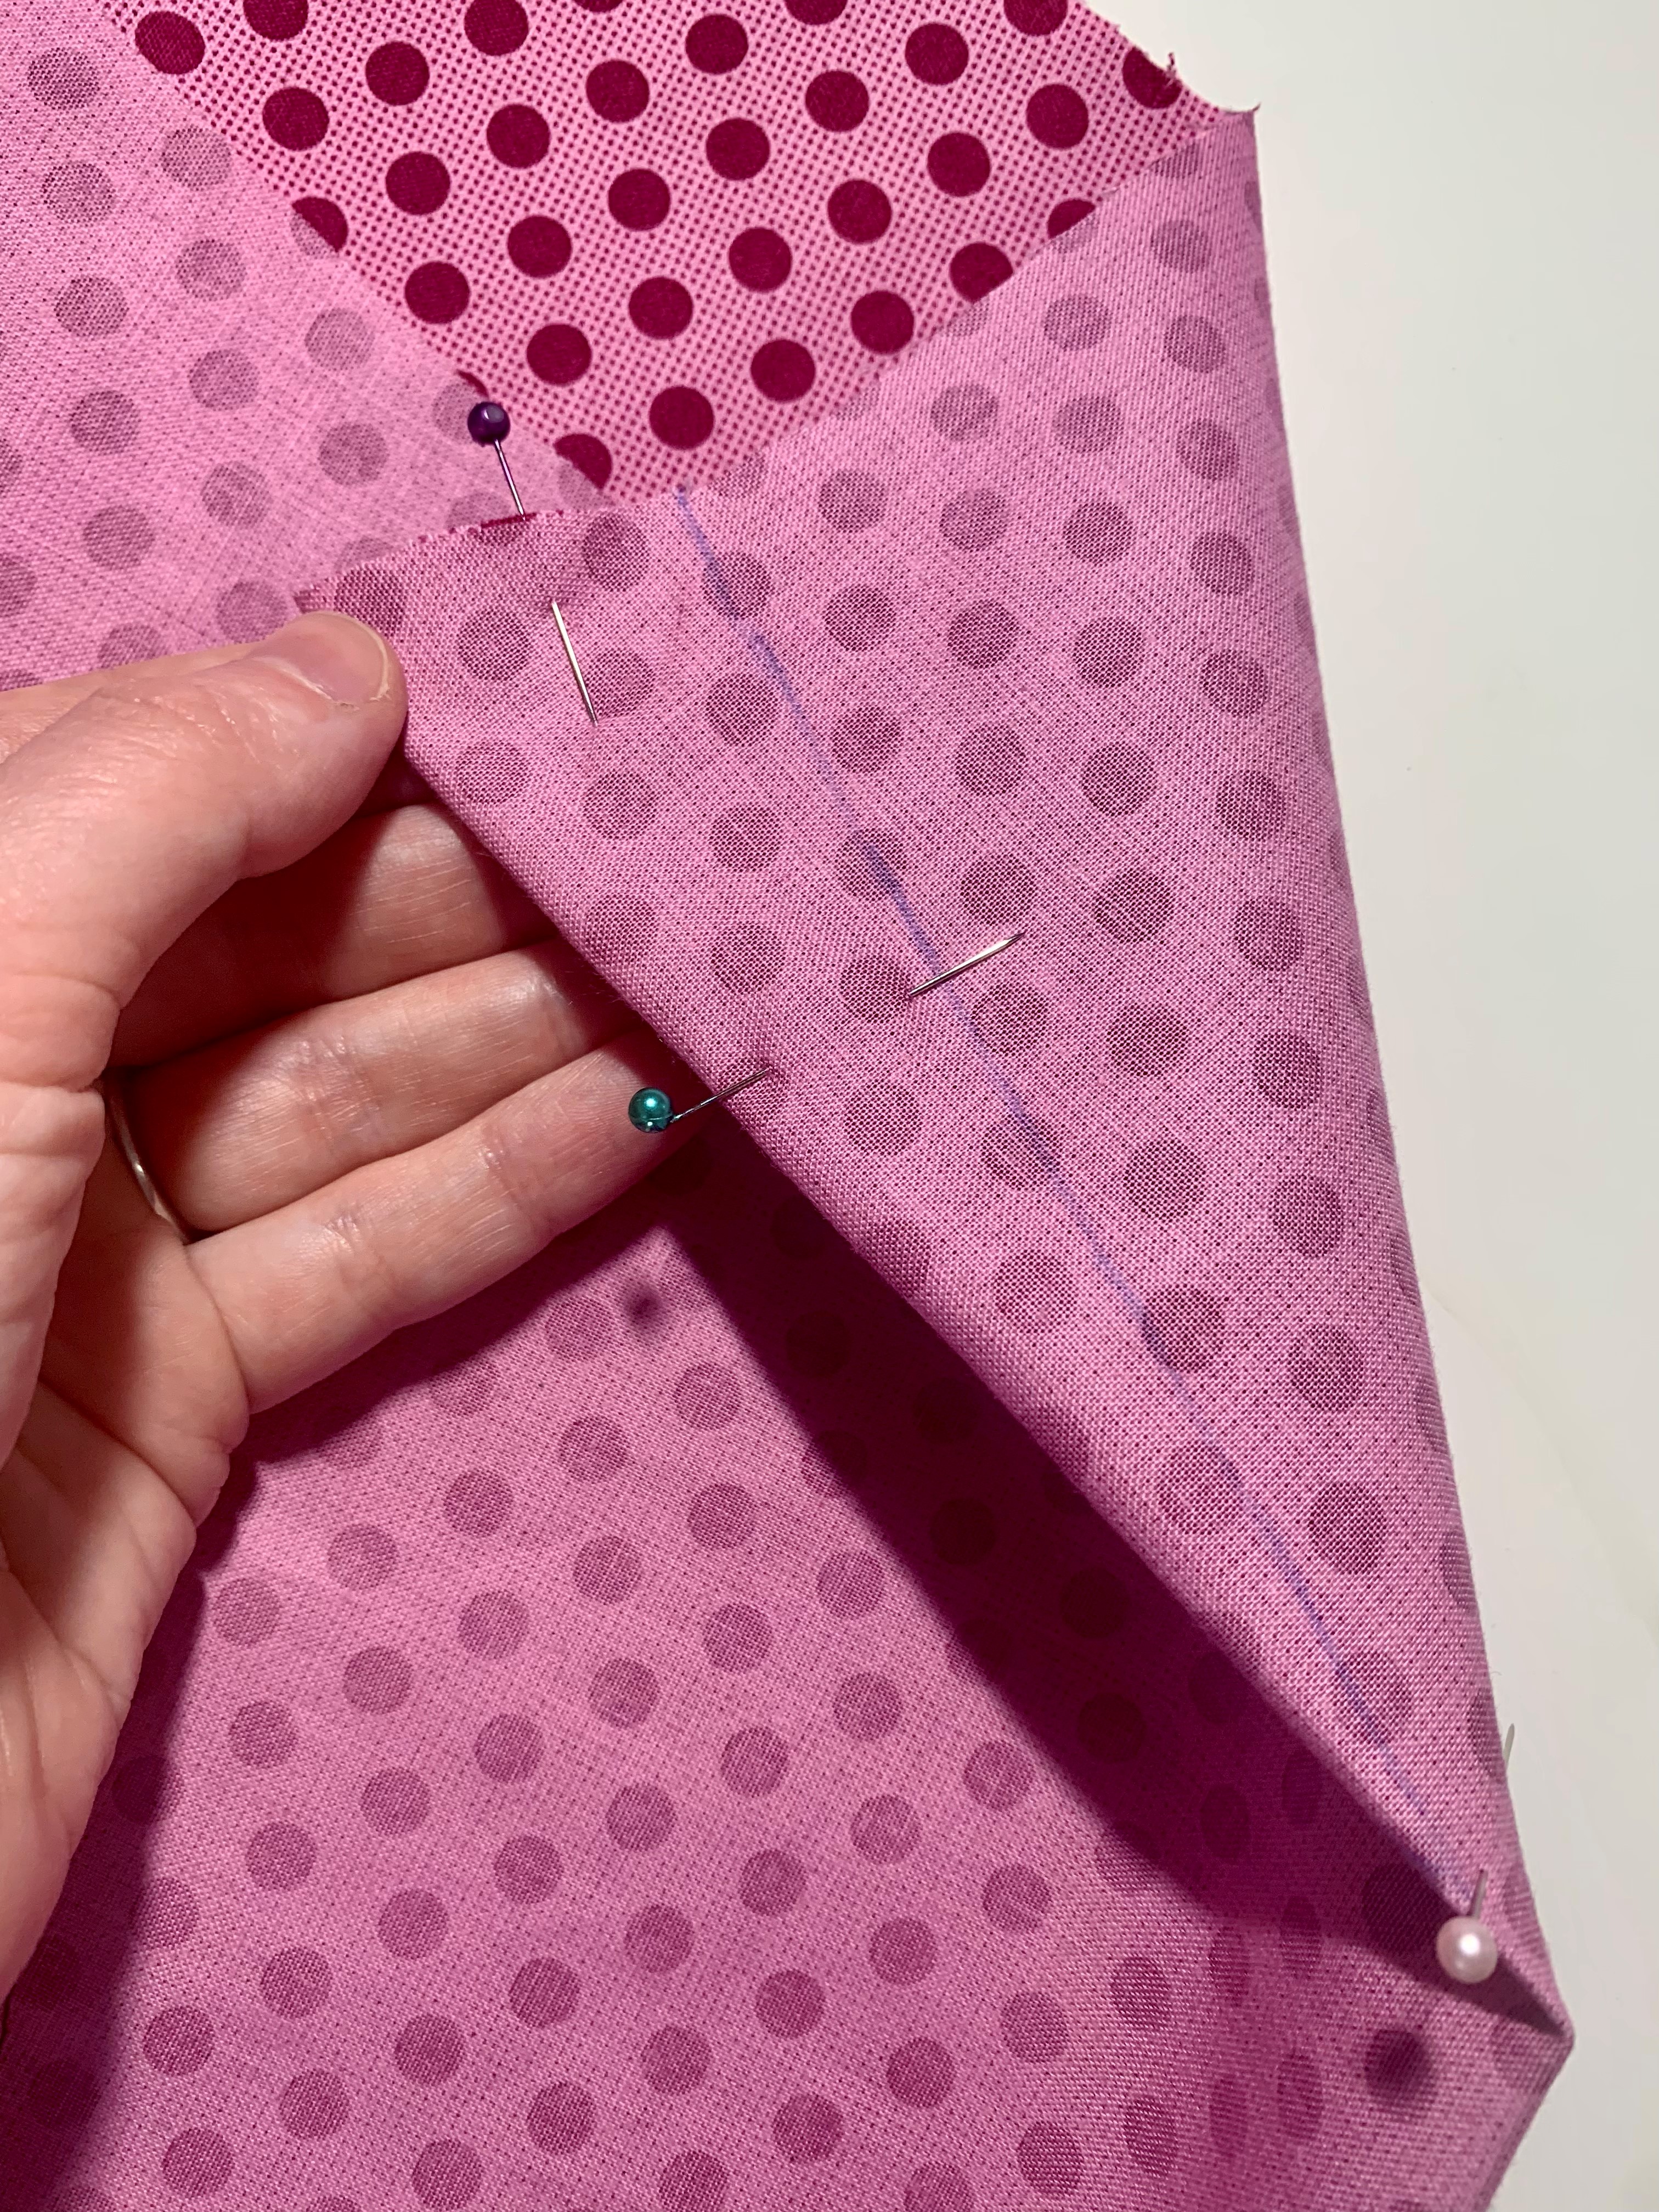
Start sewing along this marked line at the edge of the fabric and backstitch. Continue sewing until you reach the tip of the triangle, stitching off your fabric, but don’t backstitch here. Keep long threads on your fabric when you remove it from your sewing machine.

Tie the thread ends in a knot. This will prevent puckering at the tip of the dart, which can happen if you backstitch instead!
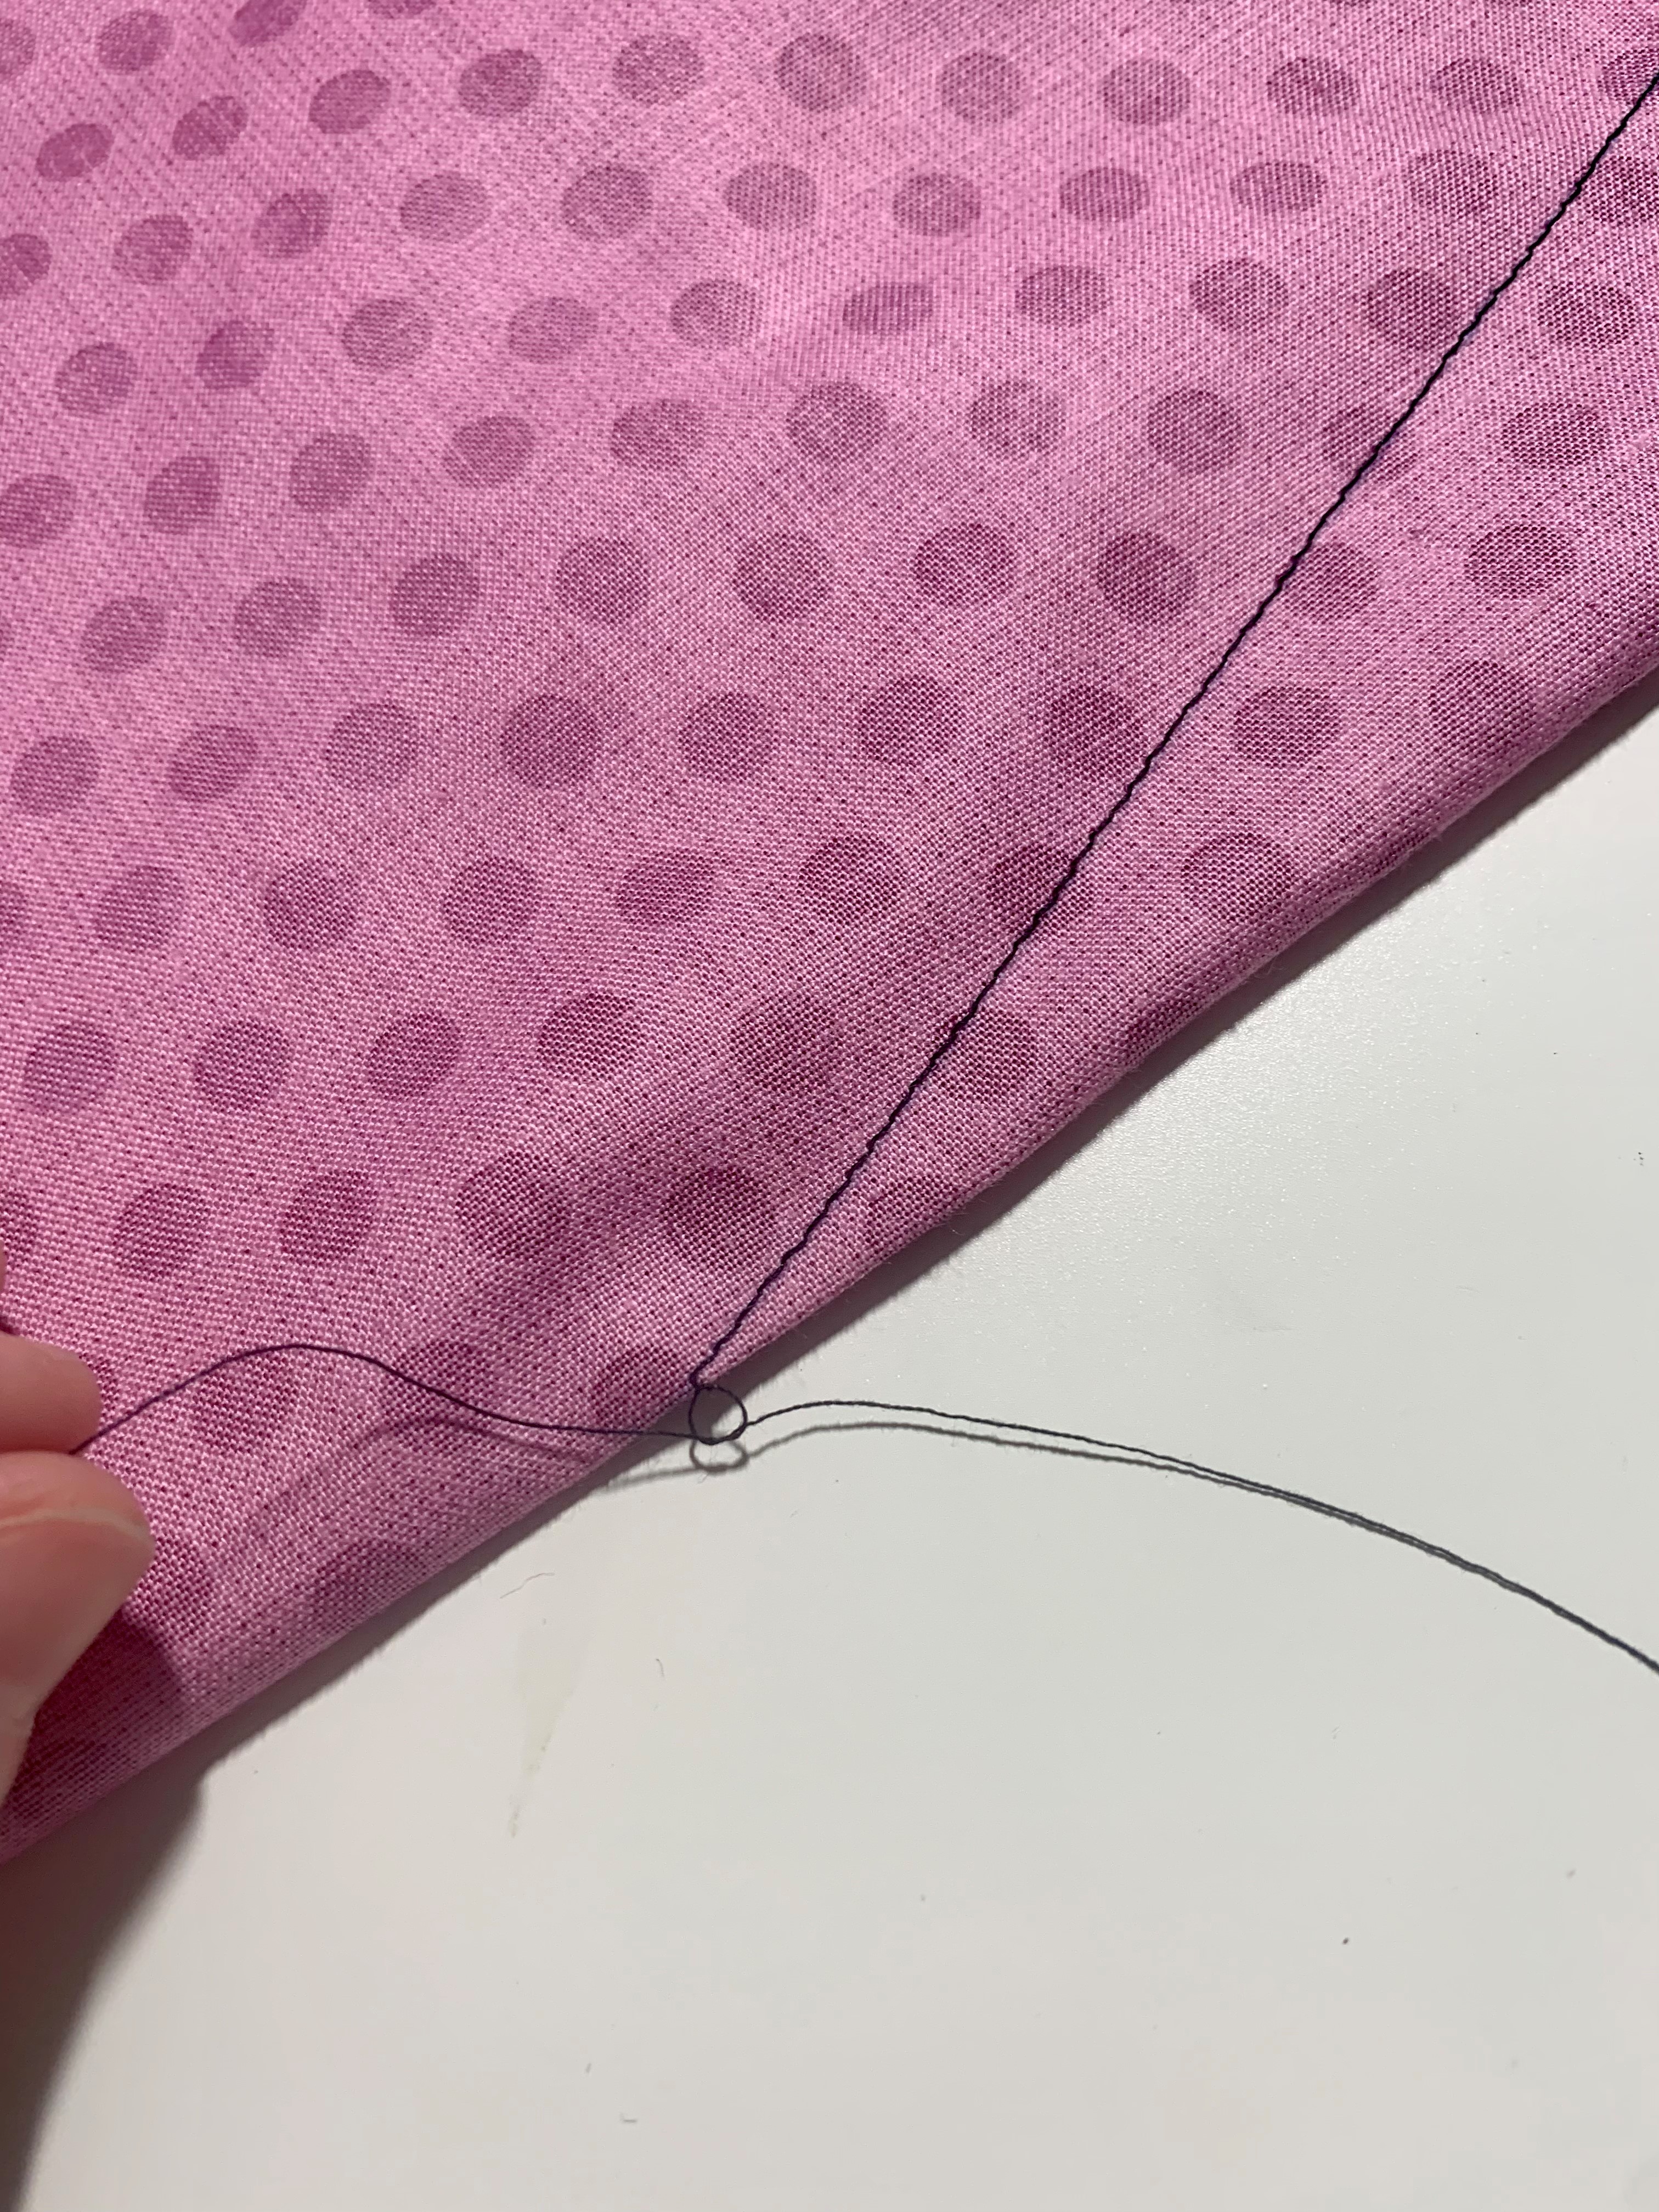
Trim your threads and press your dart down (a pressing ham can be helpful for this). Repeat the process for the dart on the other side of the bodice.

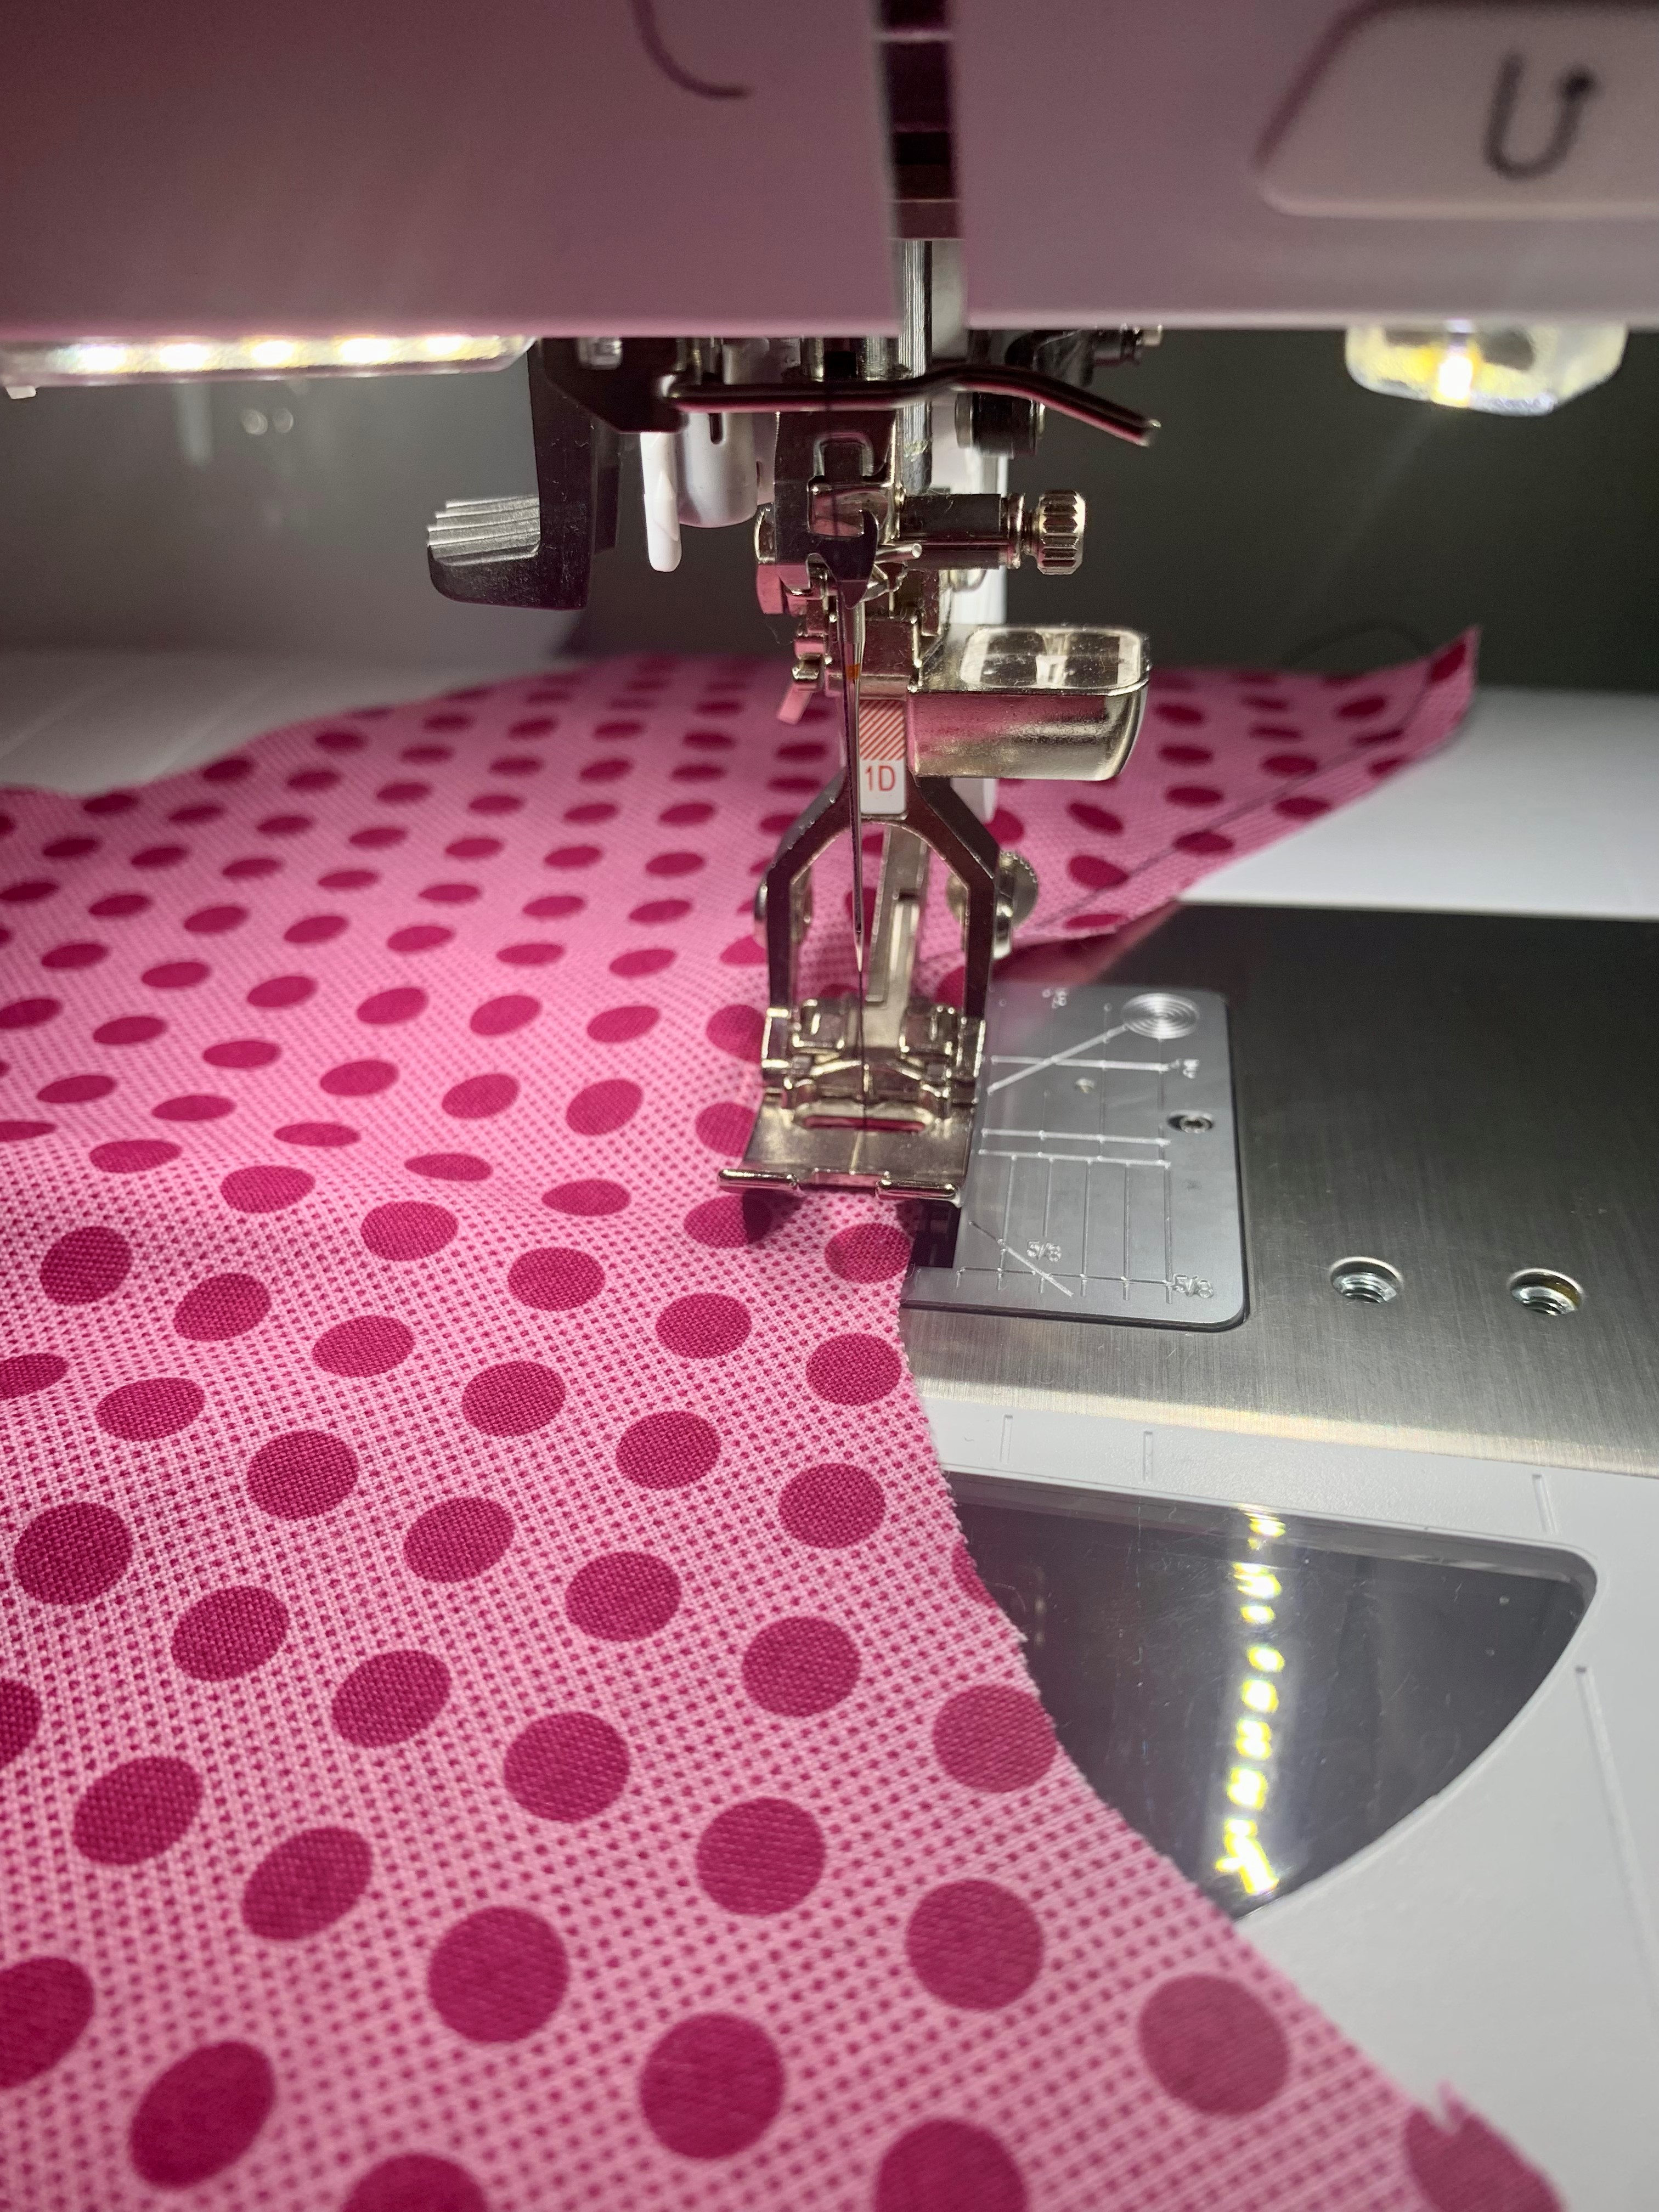
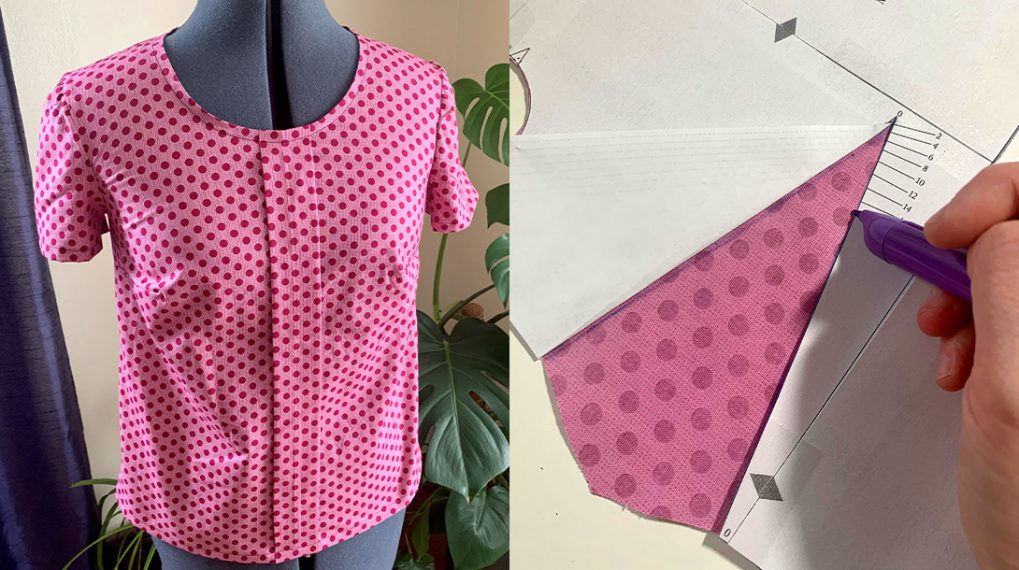
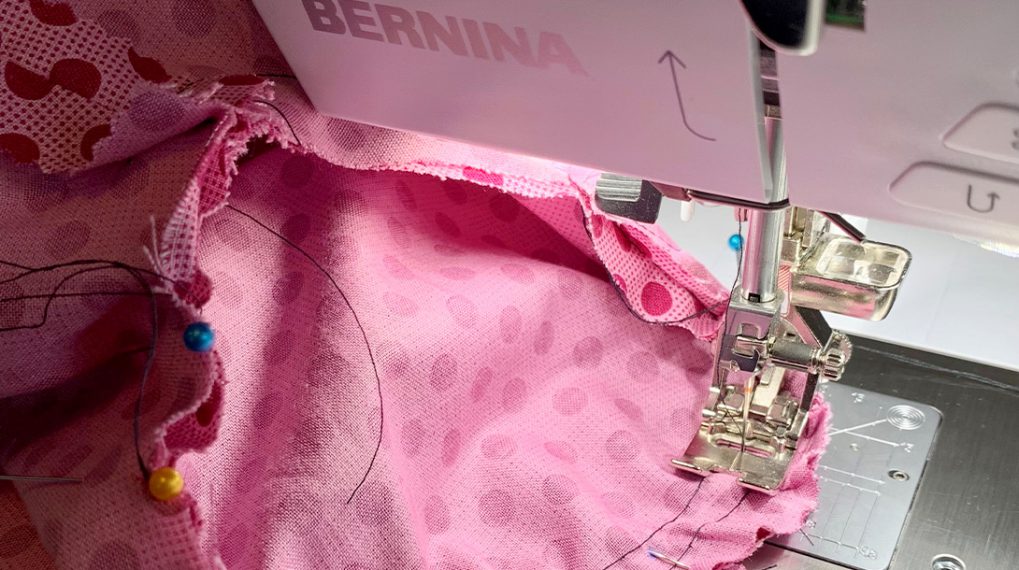
3. Sewing the Pleat
To sew the pleat on the front of the bodice, start by folding your fabric in half along the center front, placing the wrong sides together. Pin in place.
Sew along the center front of the shirt from top to bottom using a 1.5″ seam allowance, backstitching on both sides. This can be a little tricky because it is unlikely the seam guides on your stitch plate extend this far. You can mark the line to sew using chalk and a ruler (similar to how we did with the dart) and sew along that line or your can use a seam guide. I used the one that comes with the BERNINA Three-Sole Walking Foot #50 but there’s also this one that can attach to your extension table.
After sewing, unfold the pleat and press it flat.
To hold it in place, baste the top and bottom. A basting stitch is a stitch that is a long stitch length (5 – 6 mm) so that it is easily removable later. You can go this with about 1/4″ seam allowance. You don’t need to backstitch when you baste.
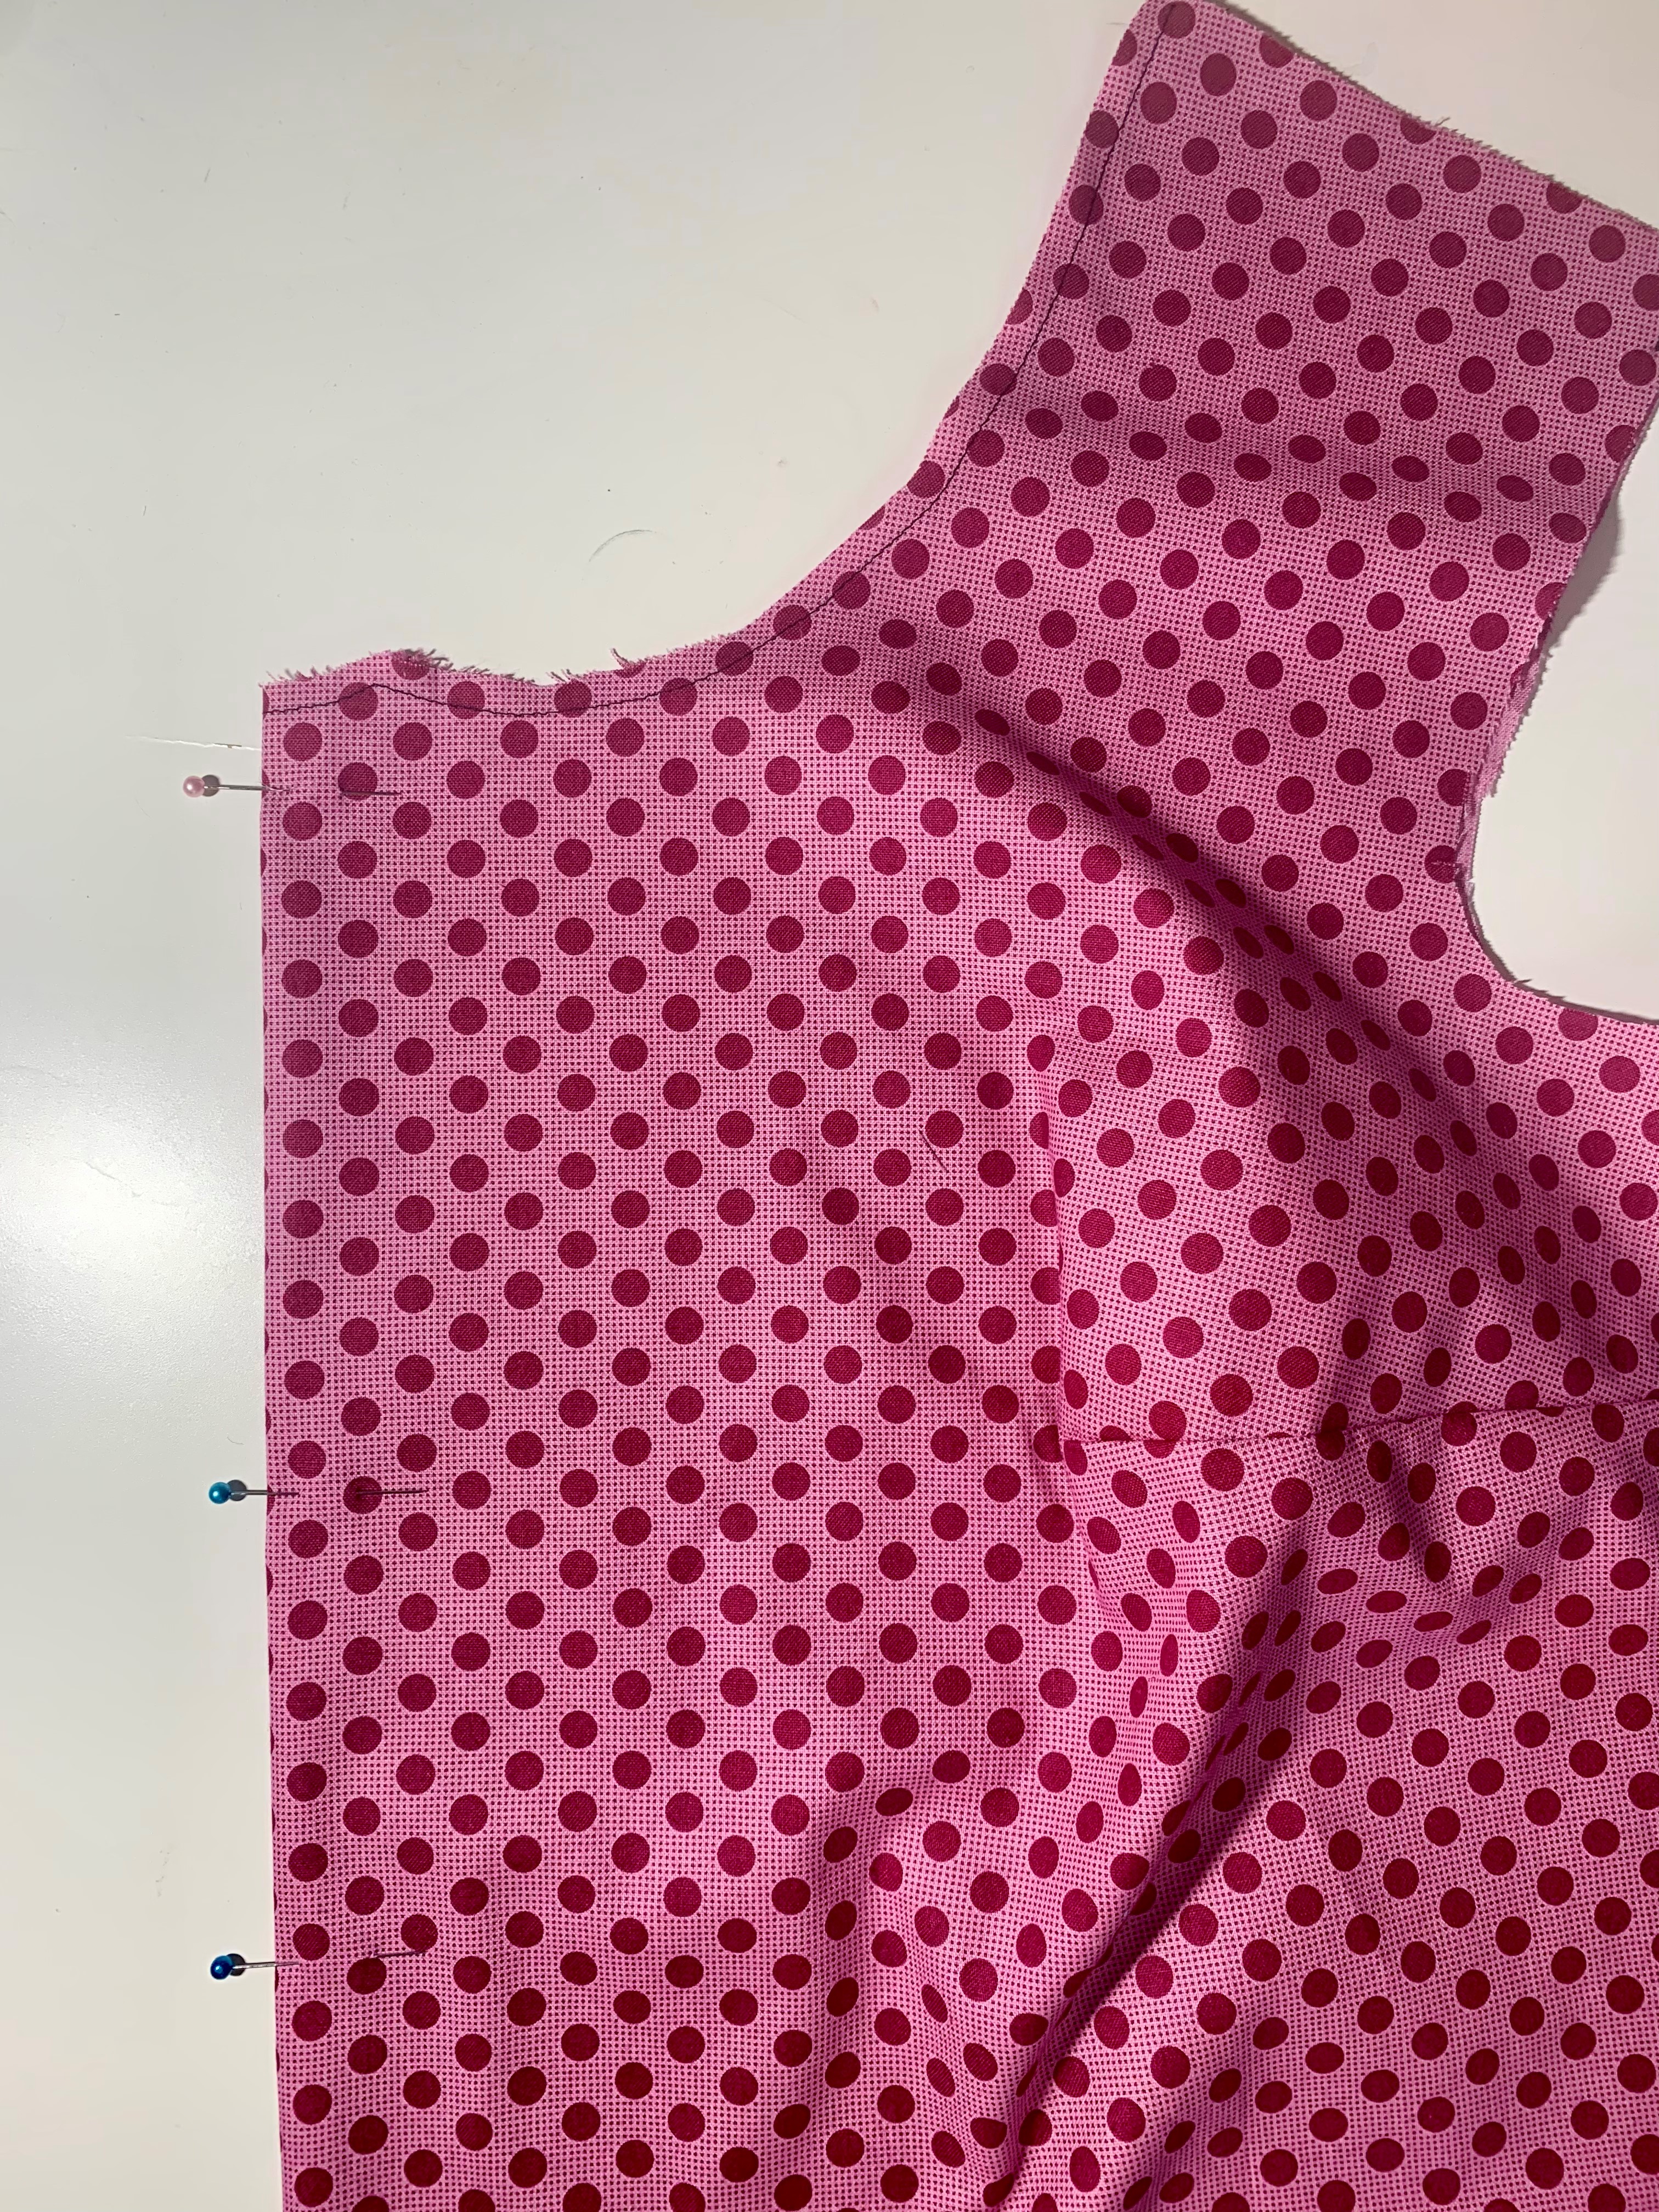
4. Sewing the Shoulder Seams
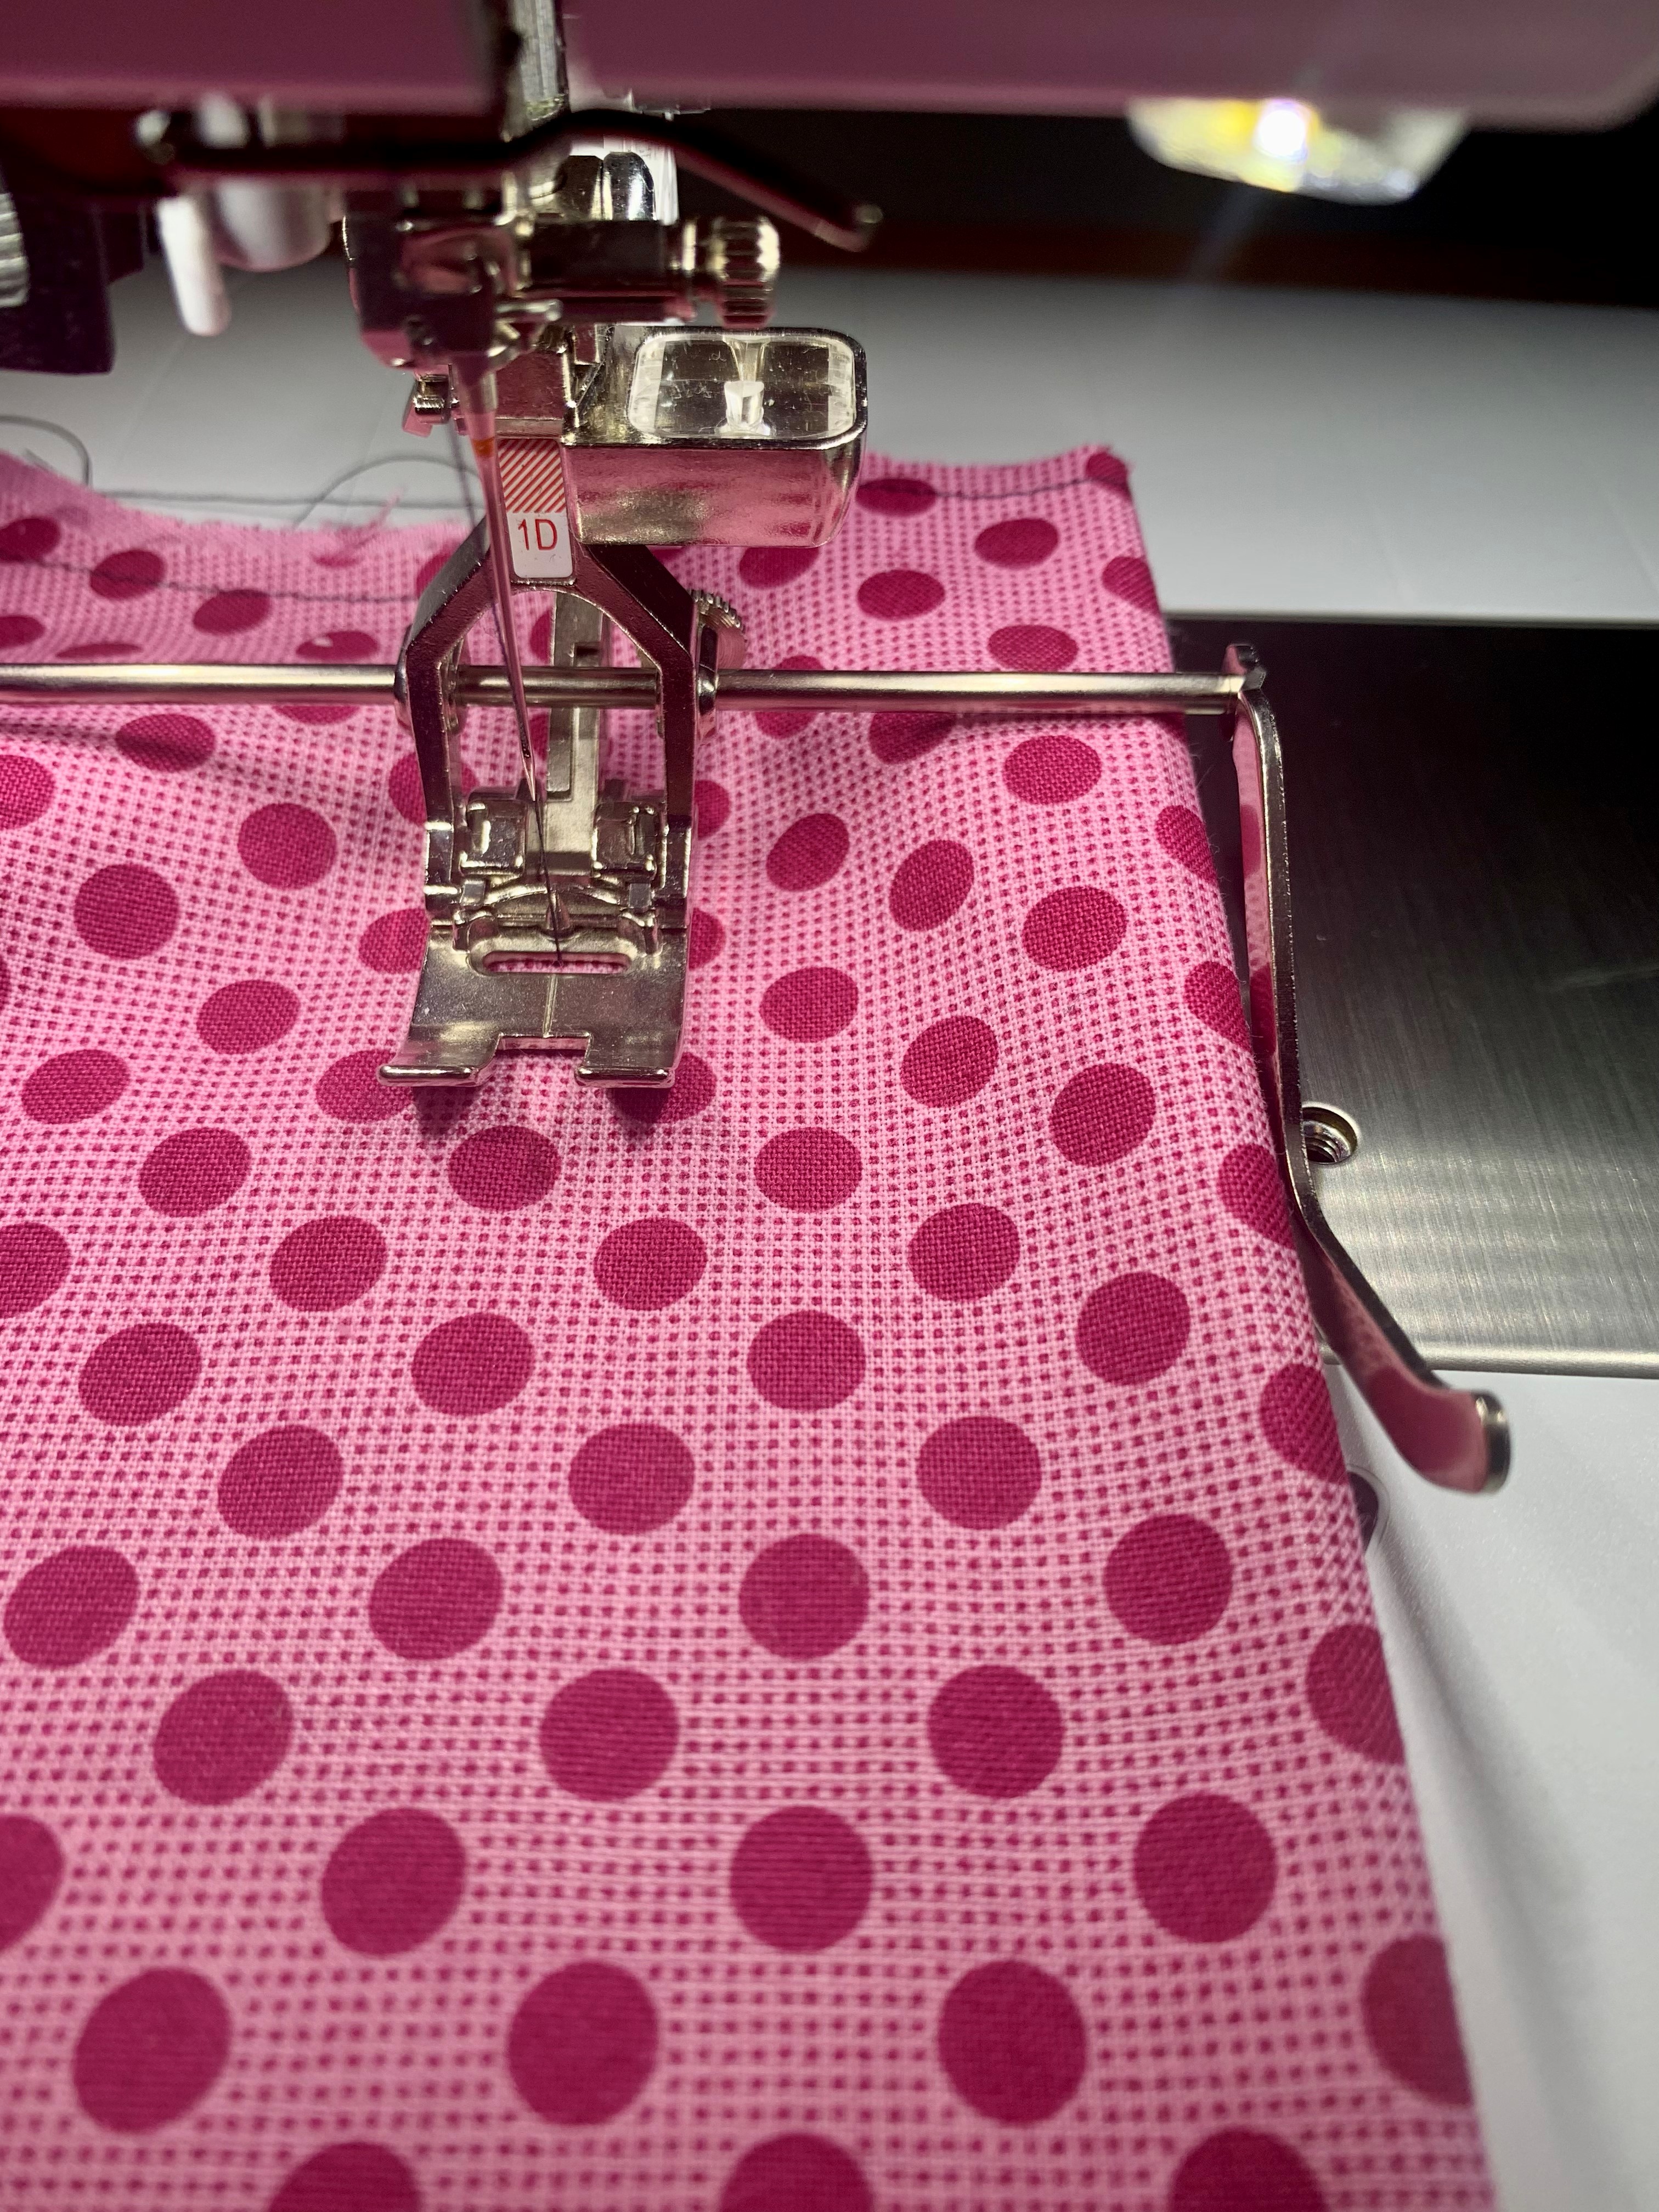
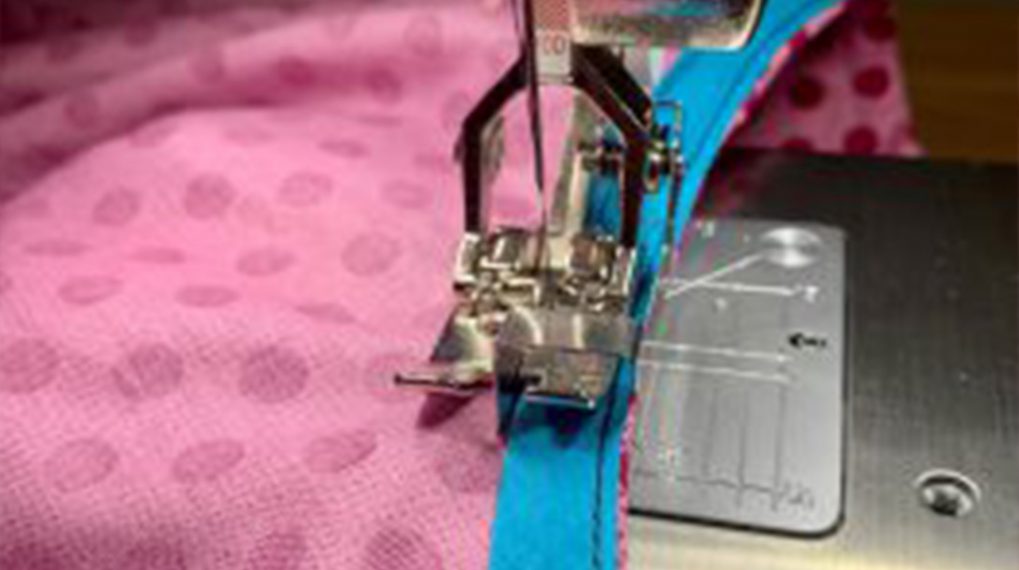
Now let’s make this look like a top! Line up the shoulder edges on the front and back pieces, right sides together. Sew the shoulder seams with a 5/8″ seam allowance, backstitching on each side.


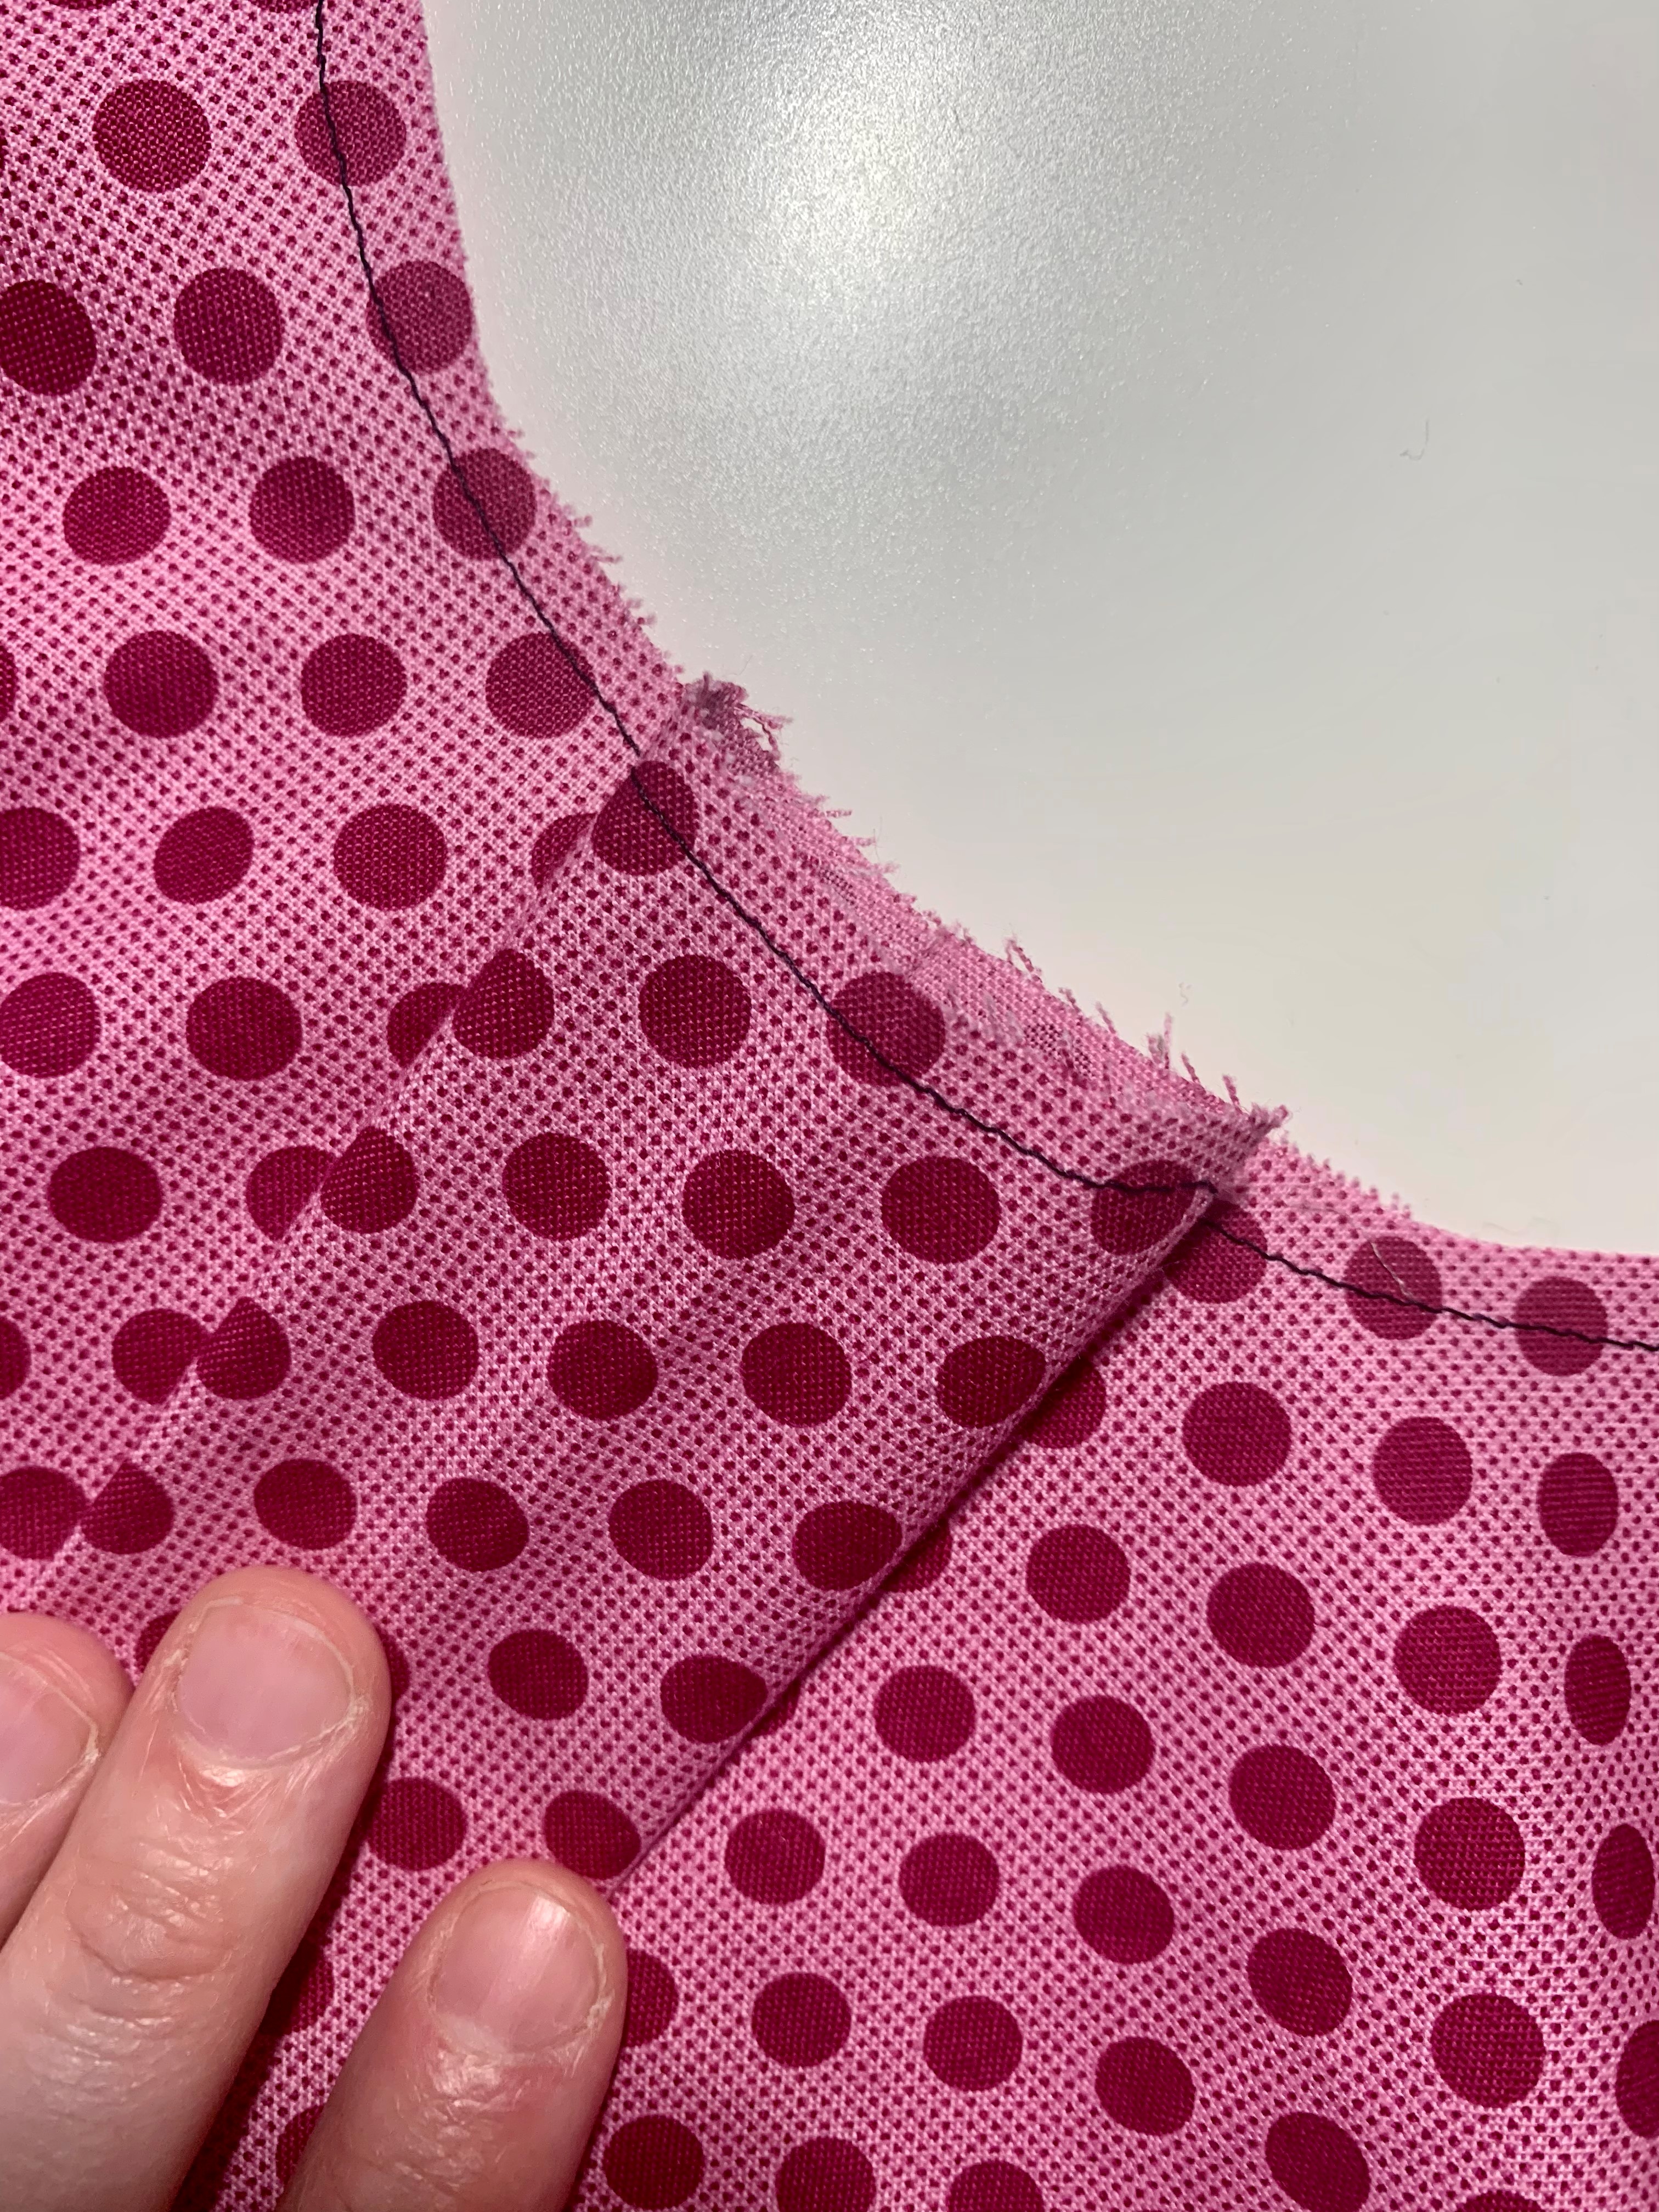
Finish this seam allowance to prevent the fabric from fraying. There are lots of ways to finish a seam allowance. You can use a serger if you have one, or you can sew a zig-zag stitch close to the edge, or use pinking shears to trim the edge. If you want to try other methods of finishing seams, check out this post where I show you how to make a seam finishes sampler.
After you finish the seams, you can press them open or together, toward the back.

5. Sew the Side Seams
Sew the side seams just like we did the shoulder seams. Line up the edges of the front and back pieces with right sides together and sew with a 5/8″ seam allowance.
Finish this seam allowance the same way you did the shoulder seam and press the seam open or together, toward the back.
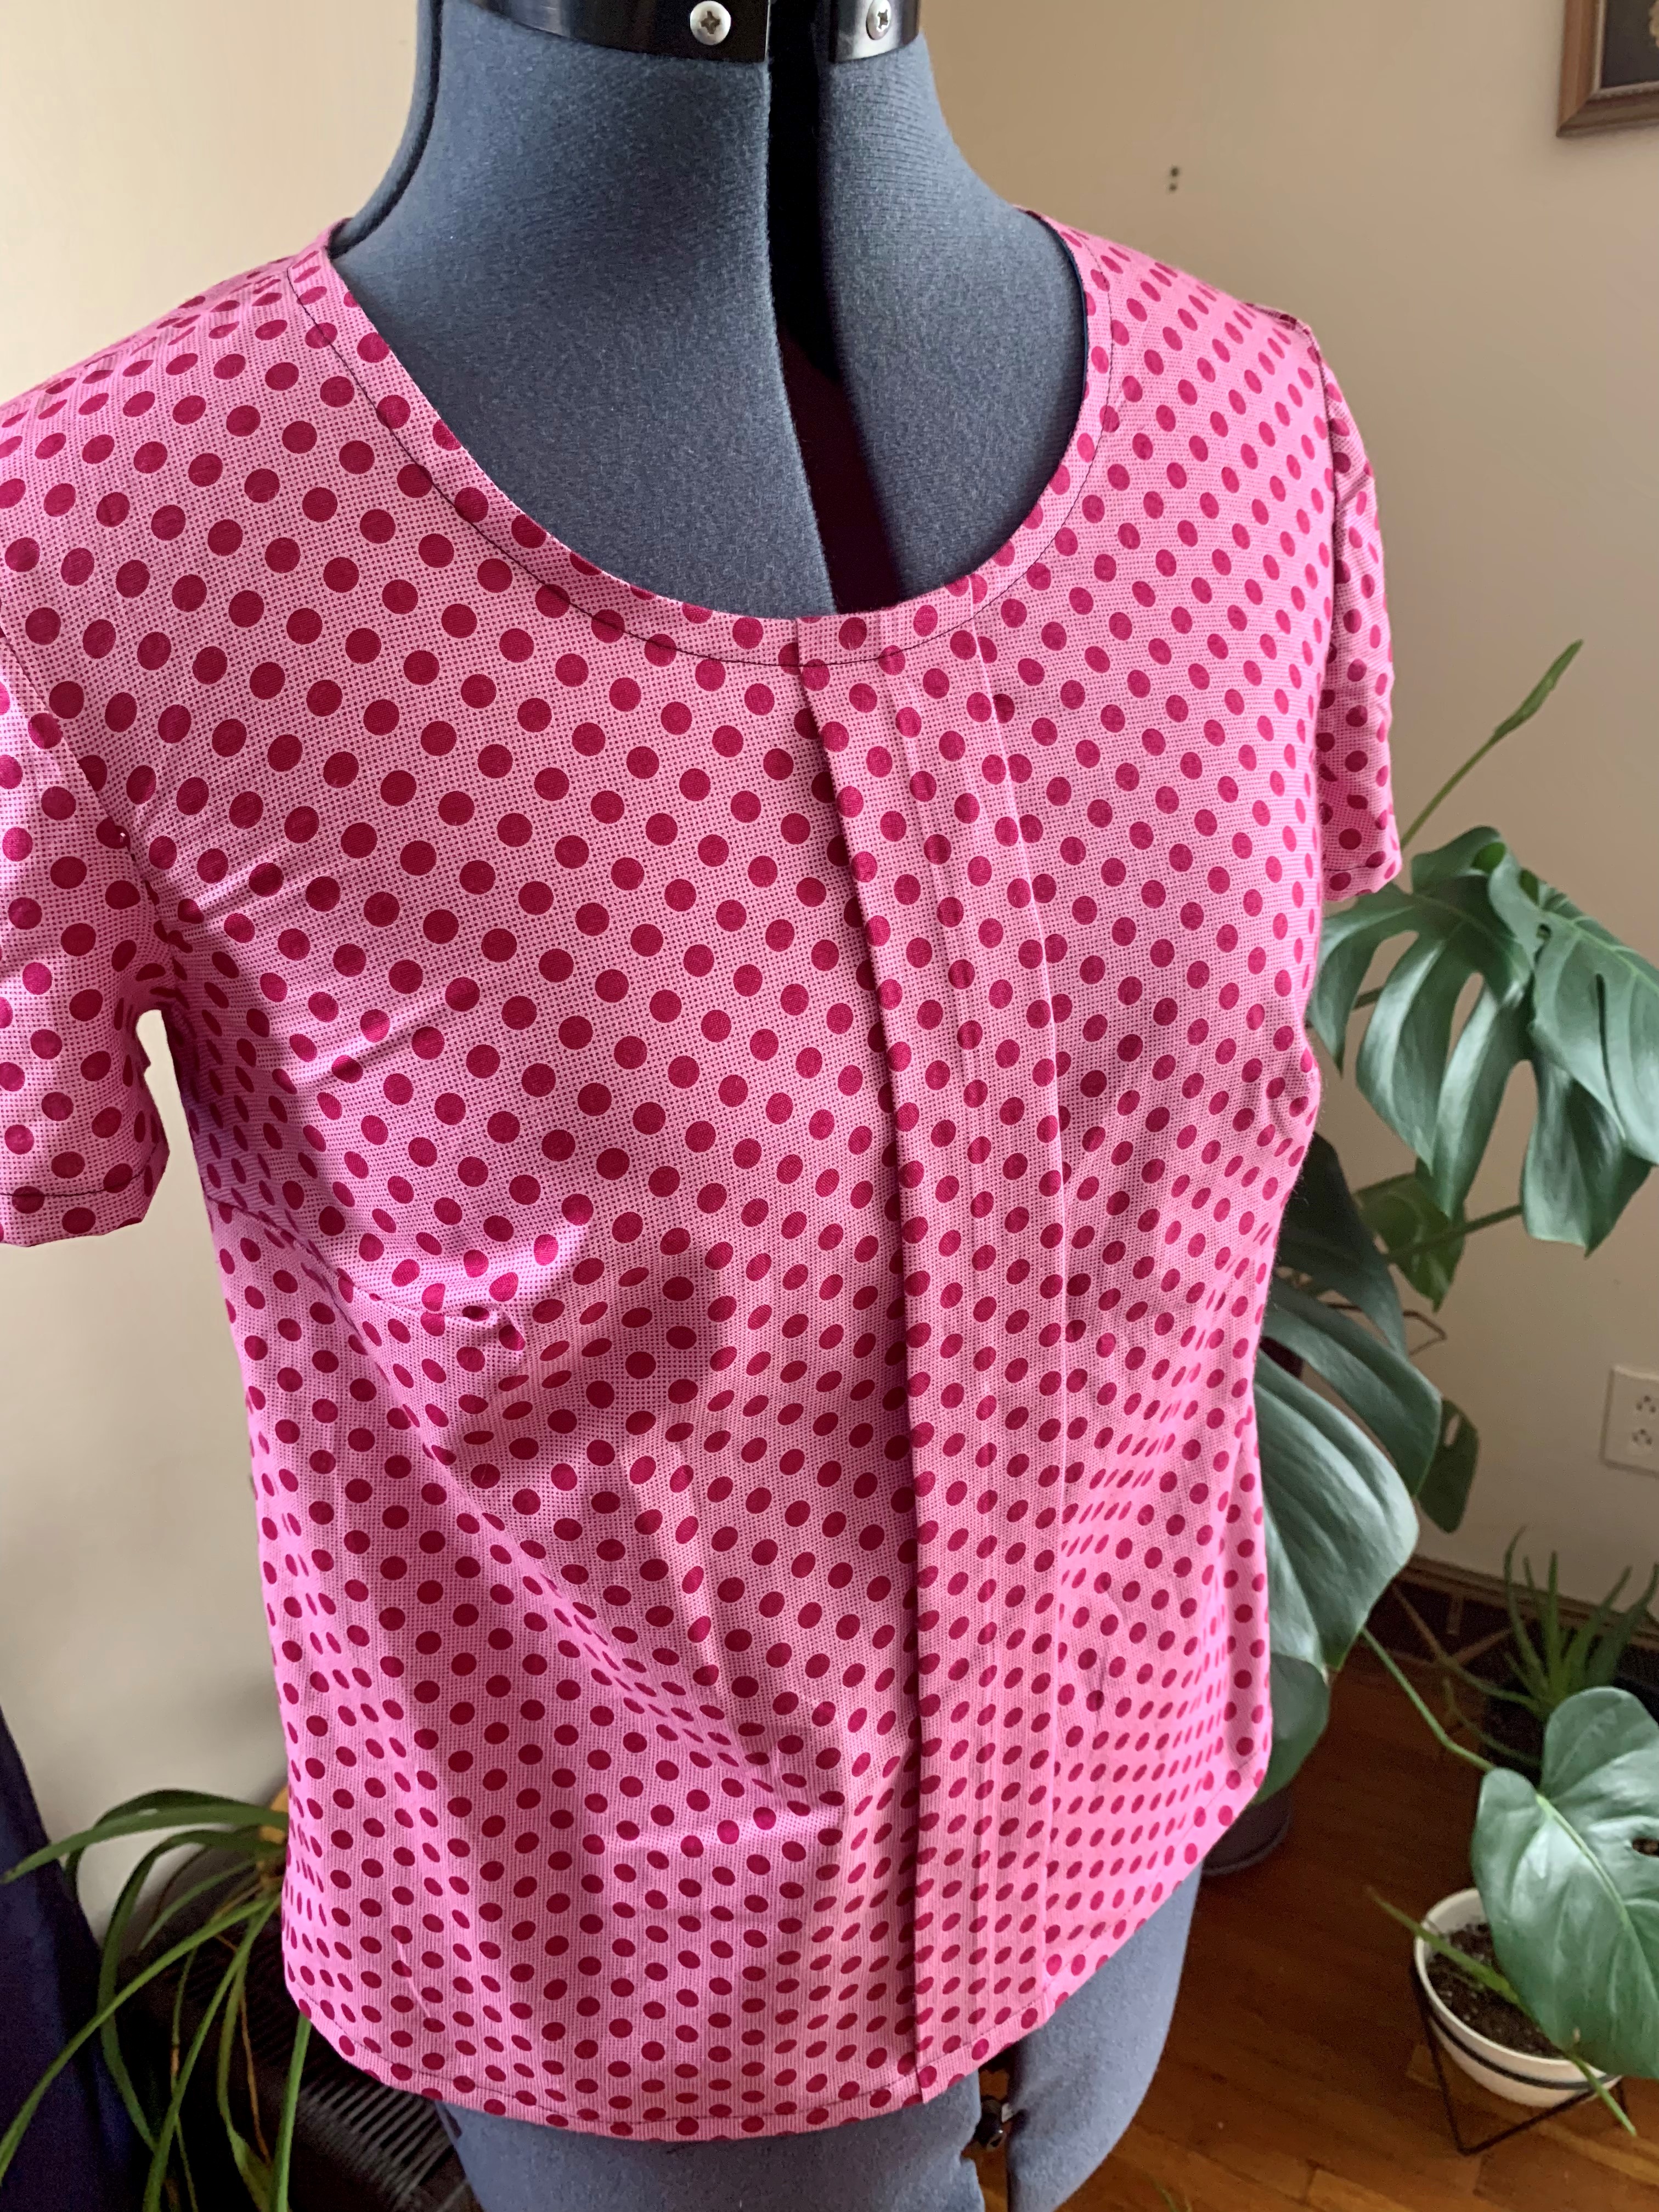
And you have something resembling a top! How exciting! That’s all for today. In the next post (Part 3) we’ll go over inserting sleeves! If you have questions, please feel free to post them in the comments. Remember to share your progress in the We All Sew Community and on Instagram (make sure use the hashtag #weallsewsorbetto and tag me (@thelilacelk) and @BERNINAusa so we can see what you make!)
Used Products


What you might also like


3 comments on “Sorbetto Top Sew Along, Part 2: Bodice Construction”
-
-
Hello! Thank you so much for letting us know! This link has been updated.
-
I’m sorry about that!
I’m so glad you are finding the tutorial helpful. Thank you for following along!
-
Leave a Reply
You must be logged in to post a comment.

Sarah , great tutorial. The link to Sorbetto top in paragraph one (you can find that information “here”) is not working and gives a error message.
I especially find the pictures and graphics great in your tutorial and makes it easy to follow along.