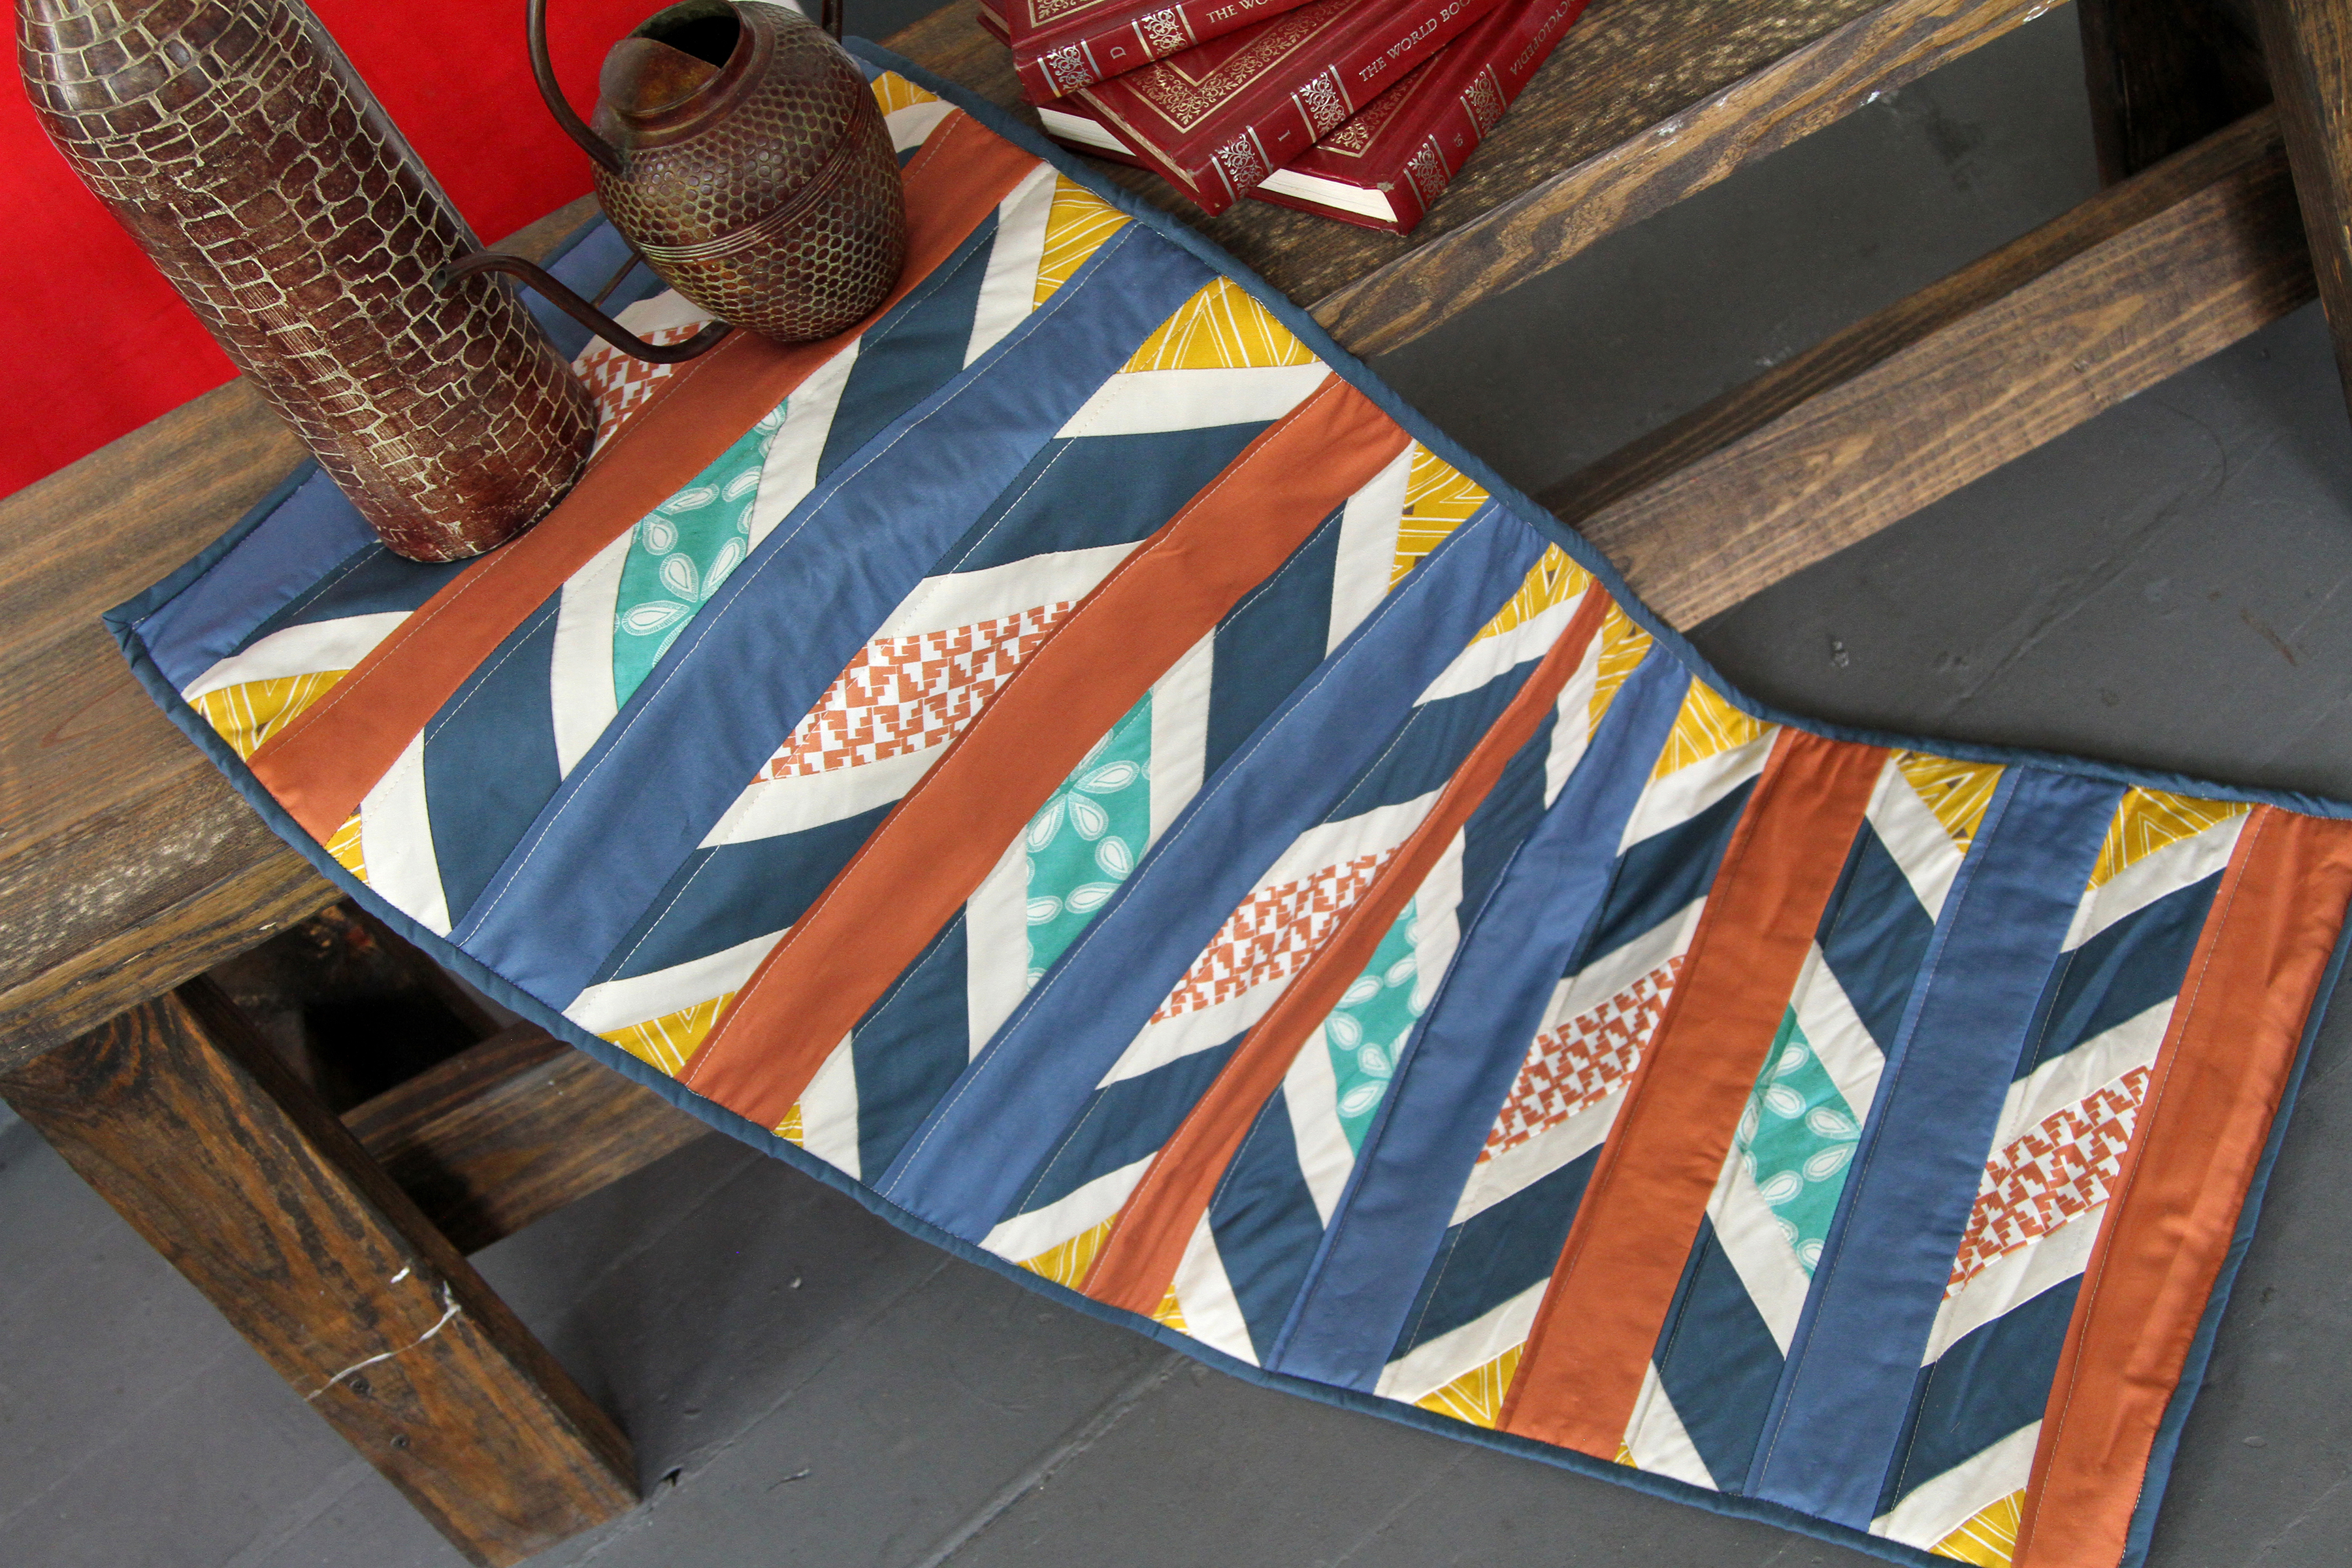
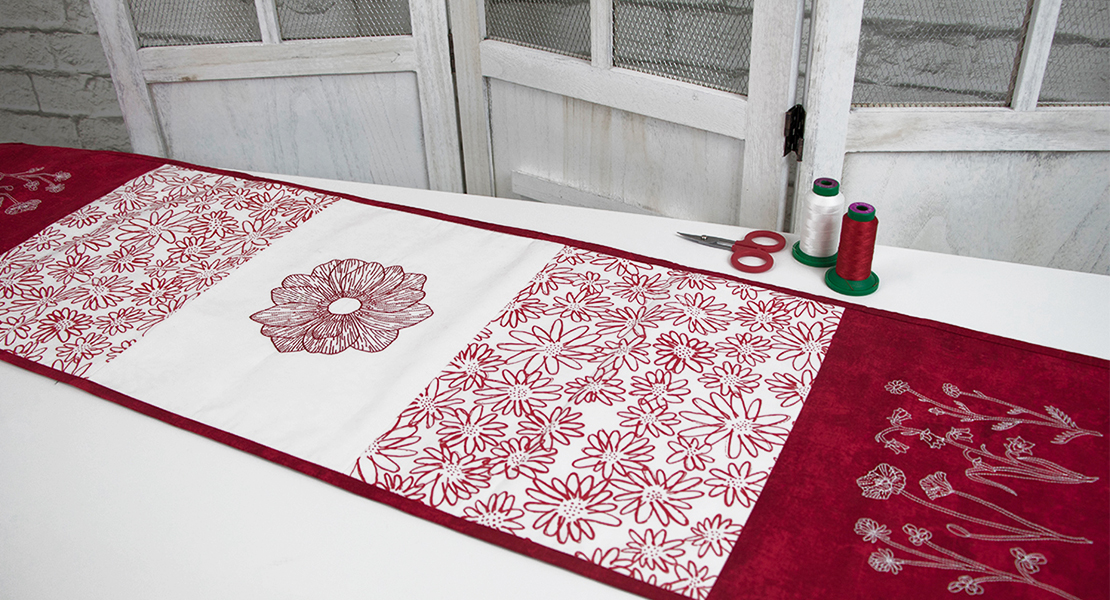
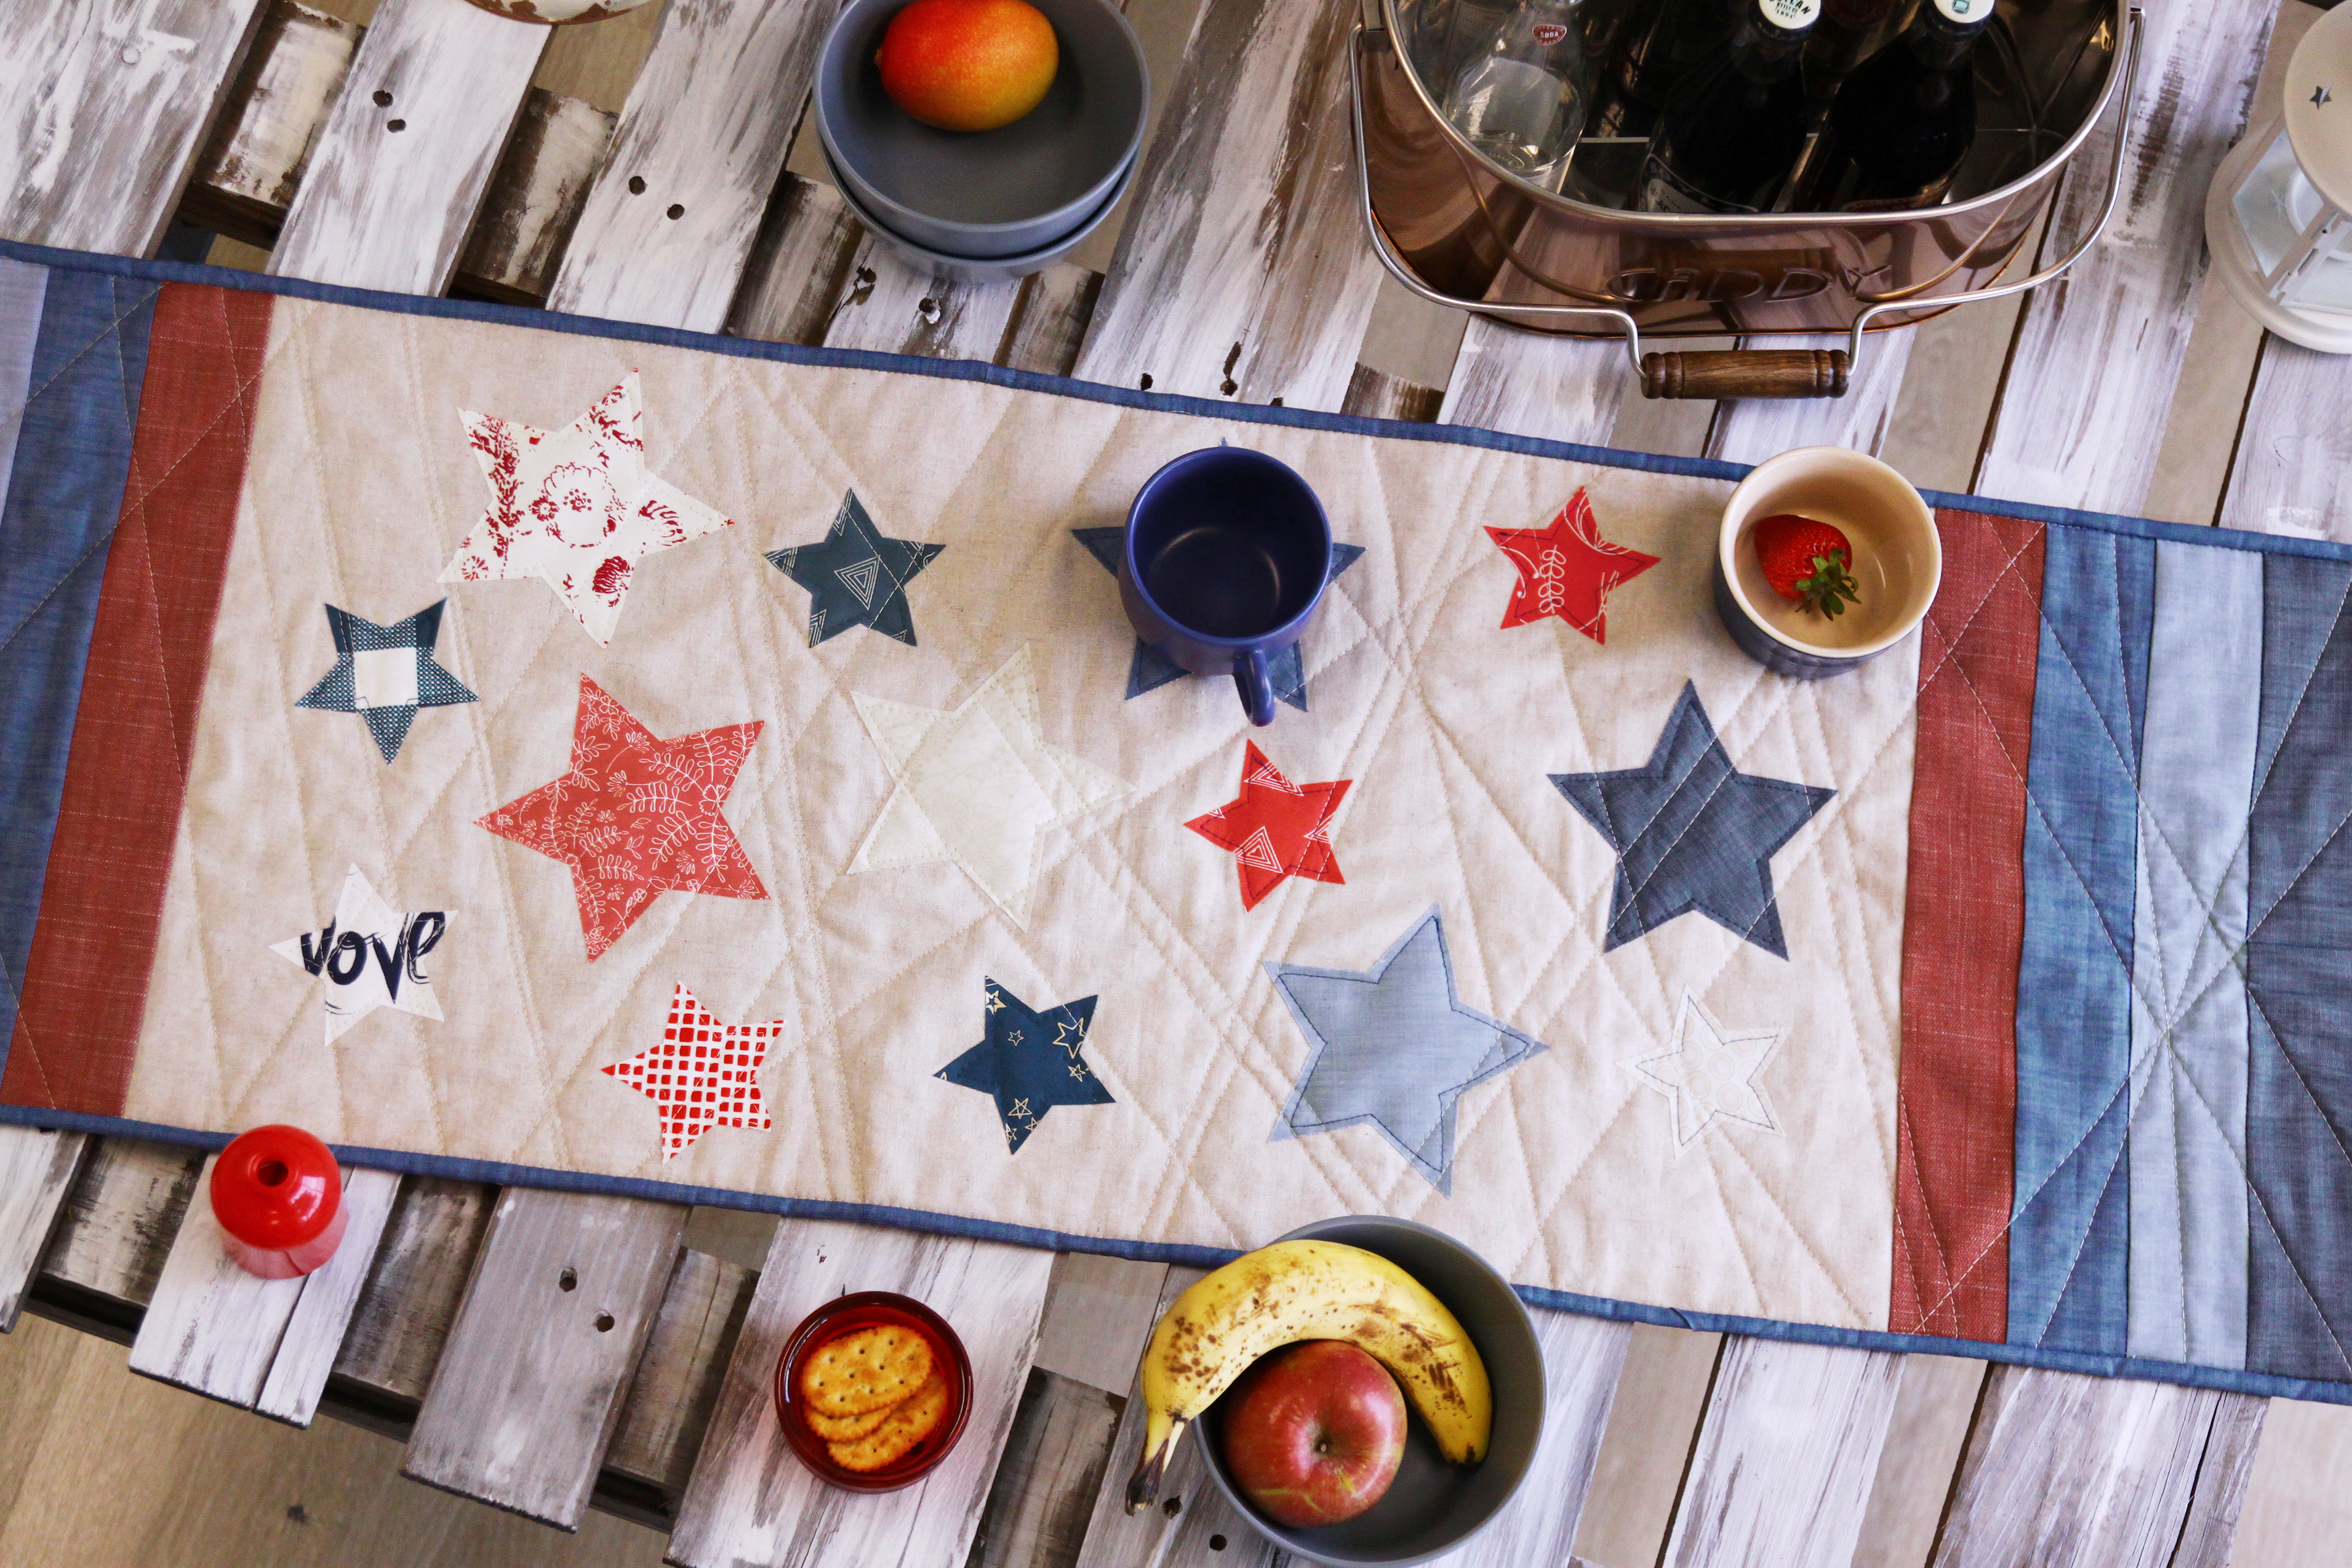
Sparkler Table Runner Tutorial from Art Gallery Fabrics
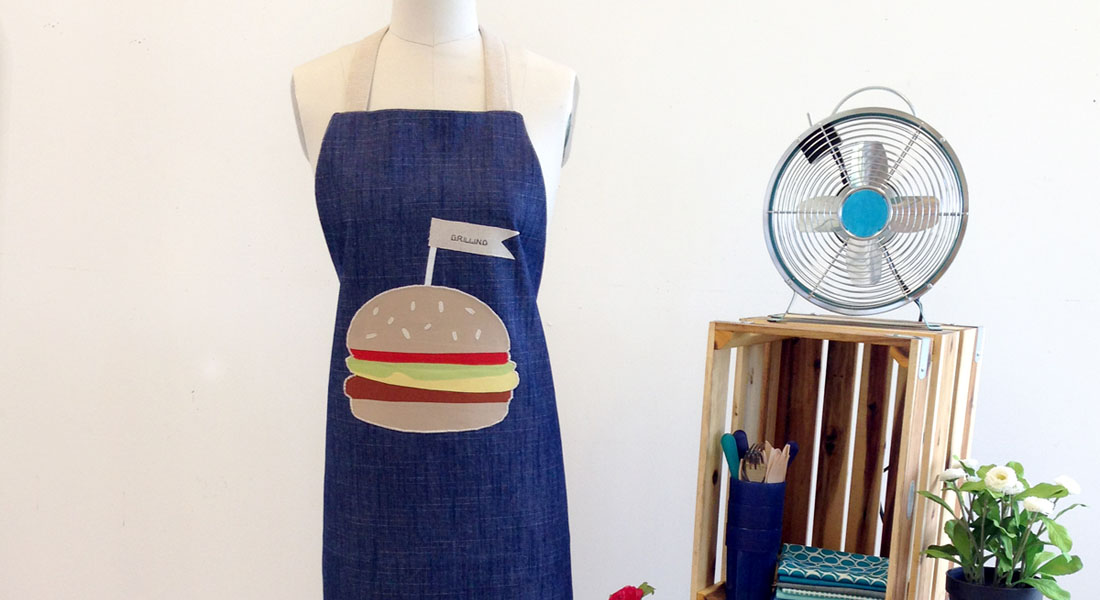
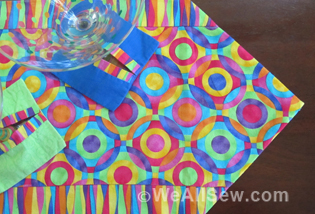
Hello Everyone! Summer is finally here and now it’s time for BBQs, going to the pool and soaking up the sun. Here at the AGF headquarters we are feeling festive so we decided to make a tablerunner for July 4th, which would be a perfect addition to your picnic table full of yummy summer time food! This was a pretty quick sew and it turned out to be a lot of fun because all we could think about was hanging outside in the summer sun surrounded by friends and family. Denim Studio fabrics, a collection by Art Gallery Fabrics turned out to be the perfect choice of colors, the red and blue shades creates this instant Americana feel! We also used various red, white and blue prints from our quilting cotton collections for the stars to bring it all together. You can pick up these fabrics online or in your local store.
Time to hop onto your sewing machine and get ready for July 4th! Here is what you will need to get started to create the Sparkler Table Runner.

Fabric Requirements
Note: Denim Studio Fabrics have wider widths than quilting cottons.
The WOF (width of fabric) ranges from 56-” 59″
Fabric A-DEN-S-2001- 1 Fat Quarter
Fabric B-DEN-S-2004- 1 Fat Quarter
Fabric C-DEN-S-2003- 1/2 yd.
Fabric D-DEN-T-3003- 1 Fat Eighth
Fabric E-DEN-L-4000- 1/2 yd.
Fabric F-WFR-141- scraps
Fabric G-WFR-143- scraps
Fabric H-WFR-146- scraps
Fabric I-PRE-805- scraps
Fabric J-PRE-810- scraps
Fabric K-SE-608- scraps
Fabric L-ART-43106- scraps
Fabric M-FLO-8126- scraps
Fabric N-HAH-24408- scraps
Fabric O-HAH-24405- scraps
Fabric P-OE-931- scraps
Binding-Fabric C- Included
Backing-ART-43104- 5/6 yds.
Cutting Directions
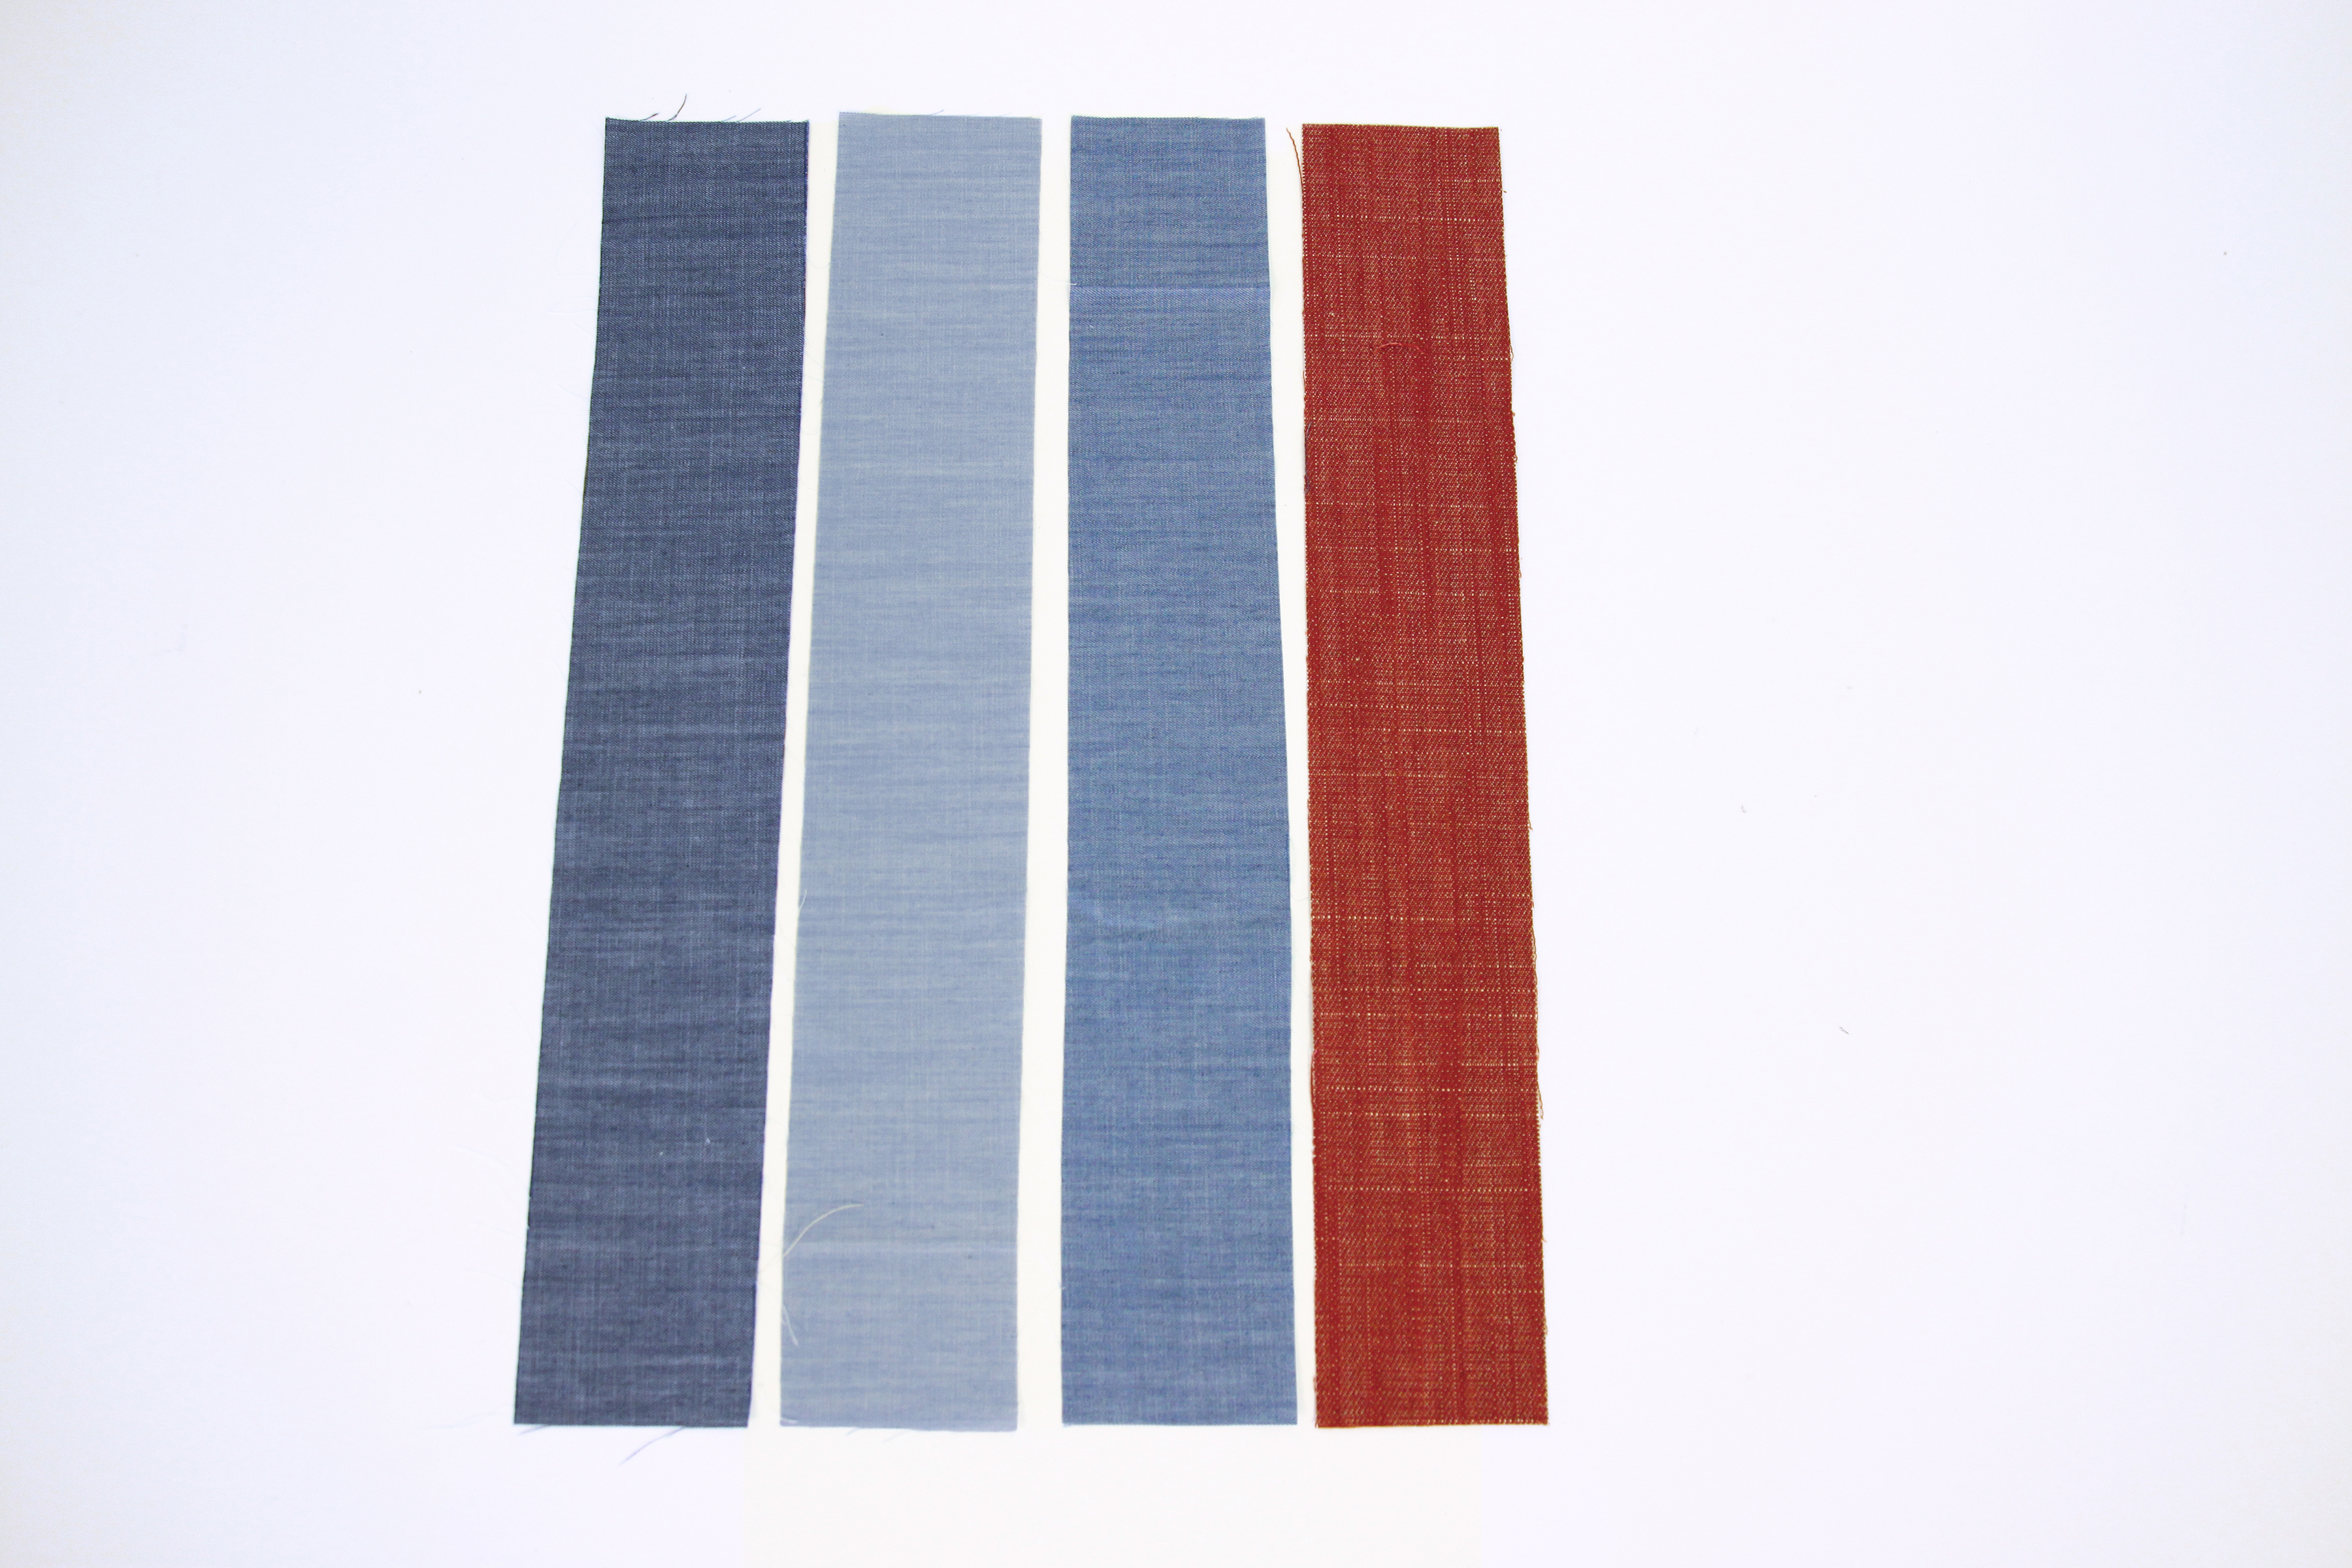
Two (2) 2 1/2″ x 15 1/2″ strips from Fabric A,B,C, and D (strips)
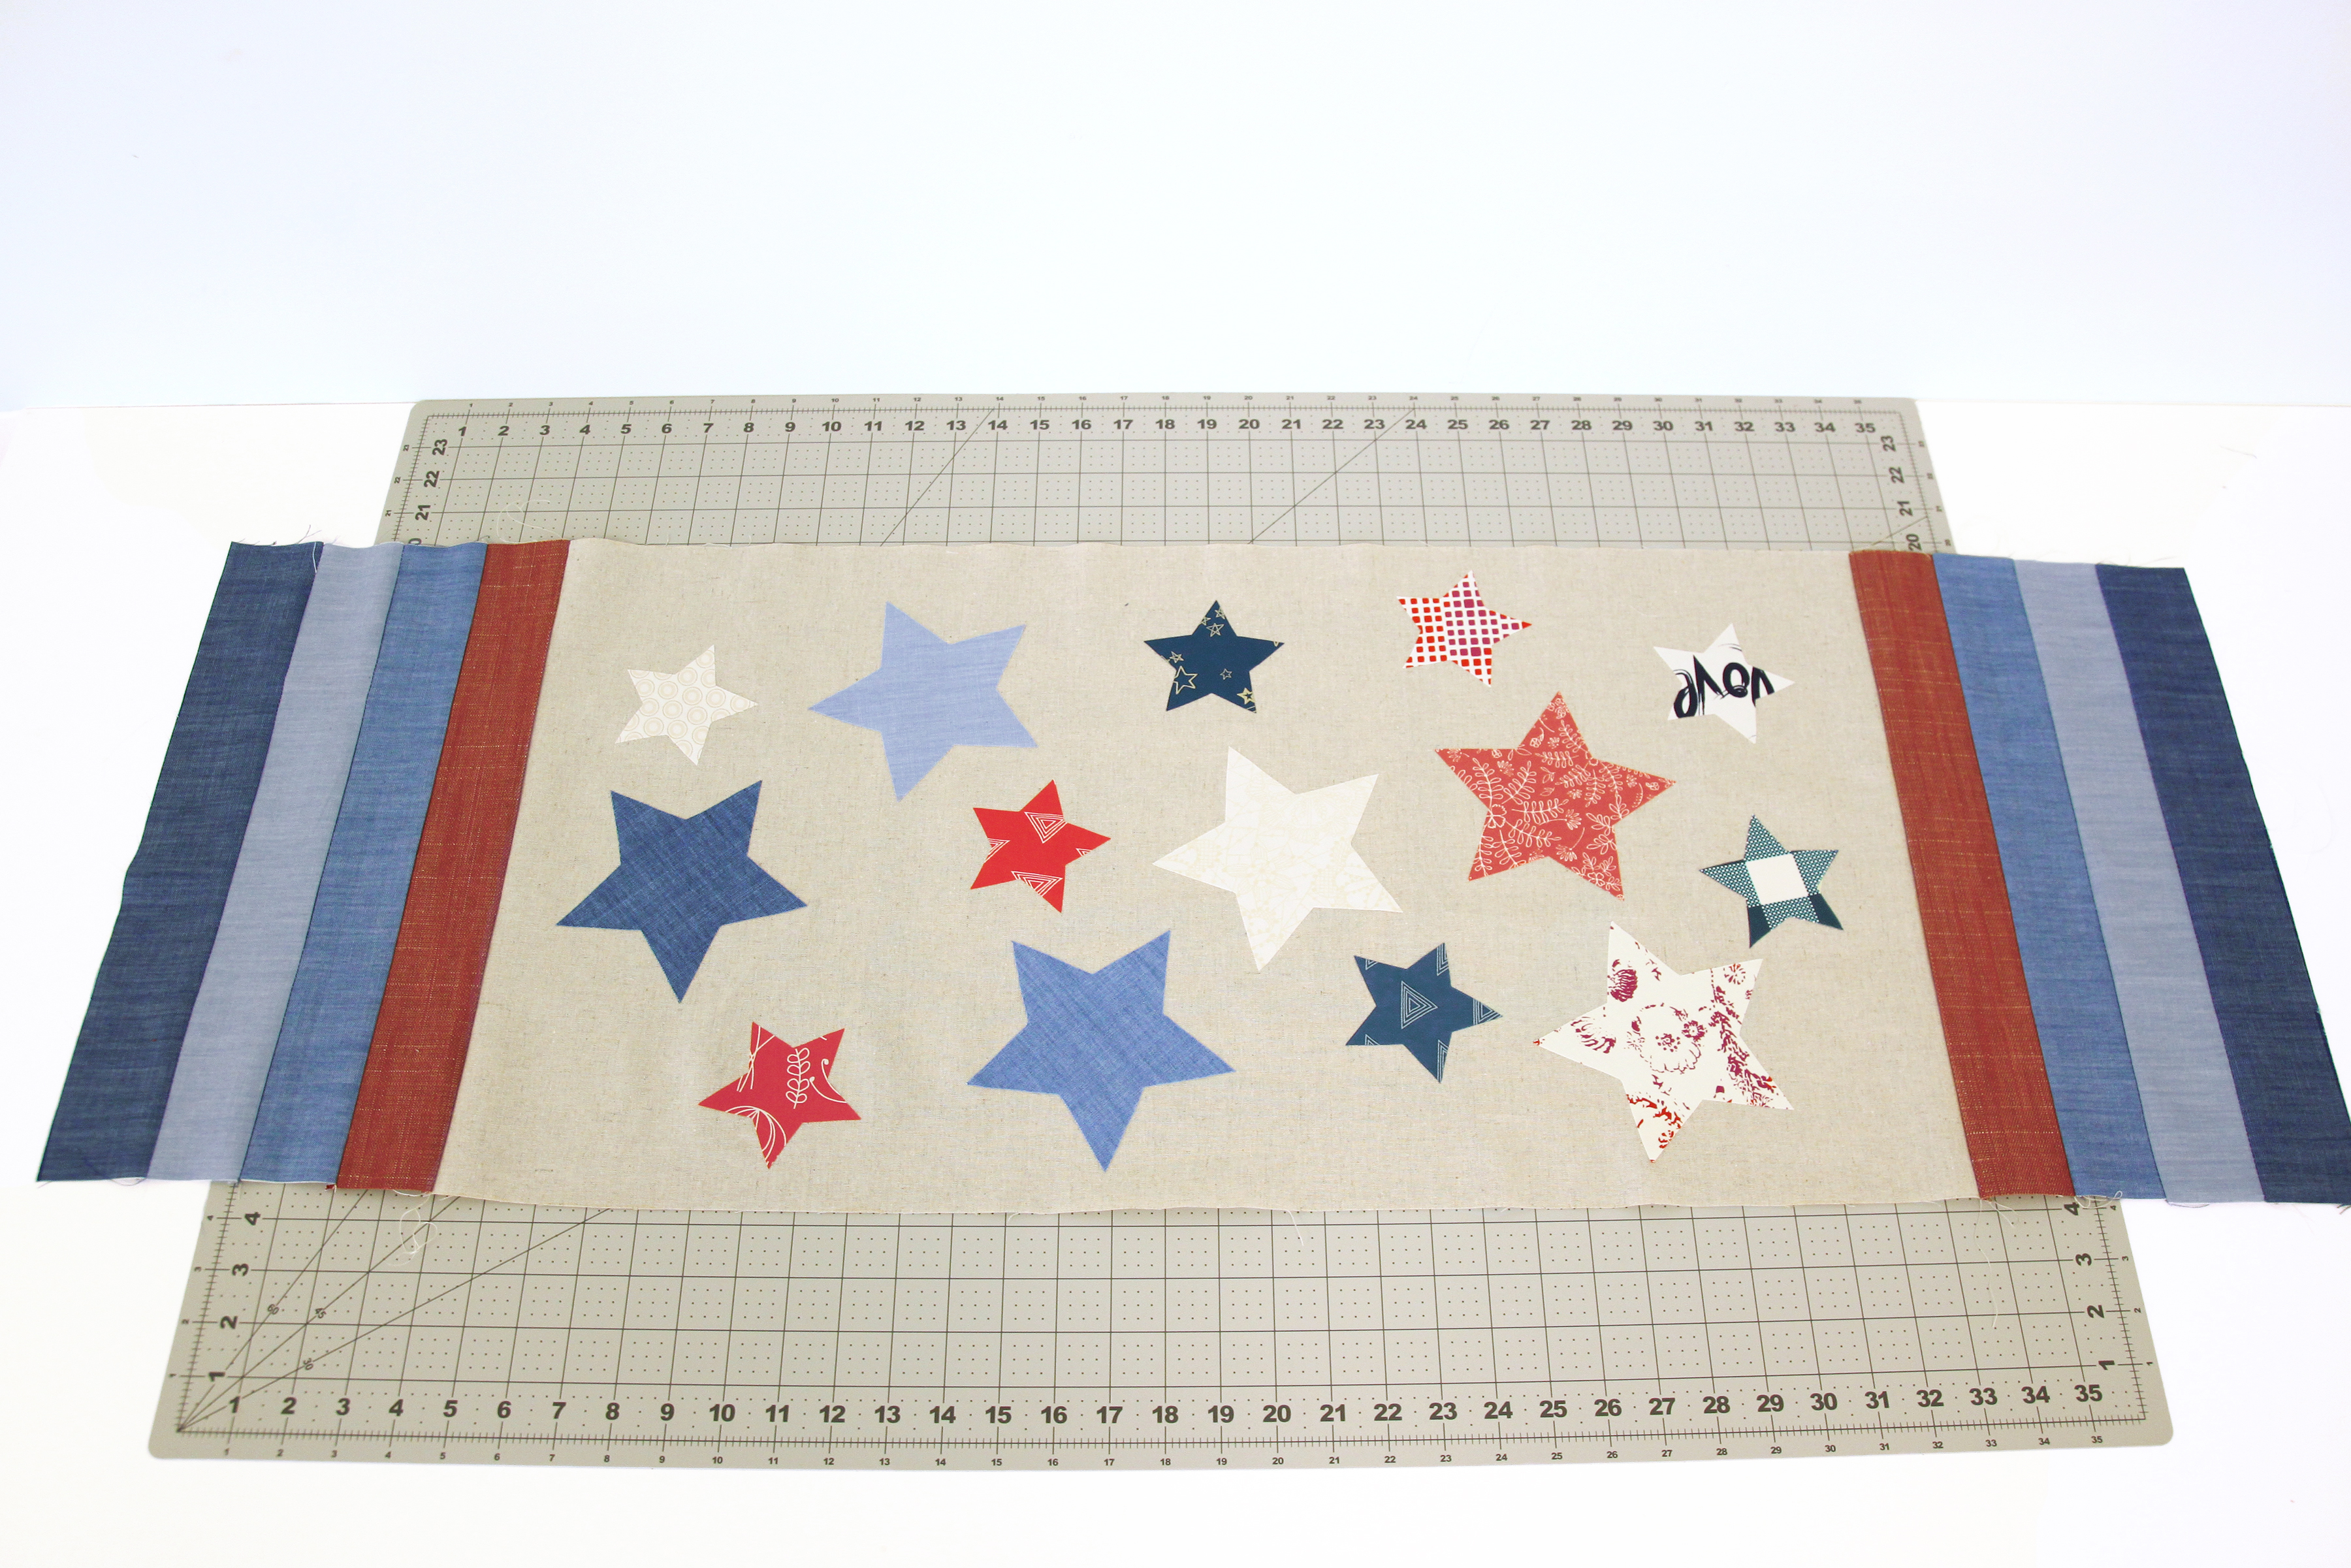
One (1) 15 1/2″ x 30 1/2″ rectangle from Fabric E (middle center fabric)
Stars
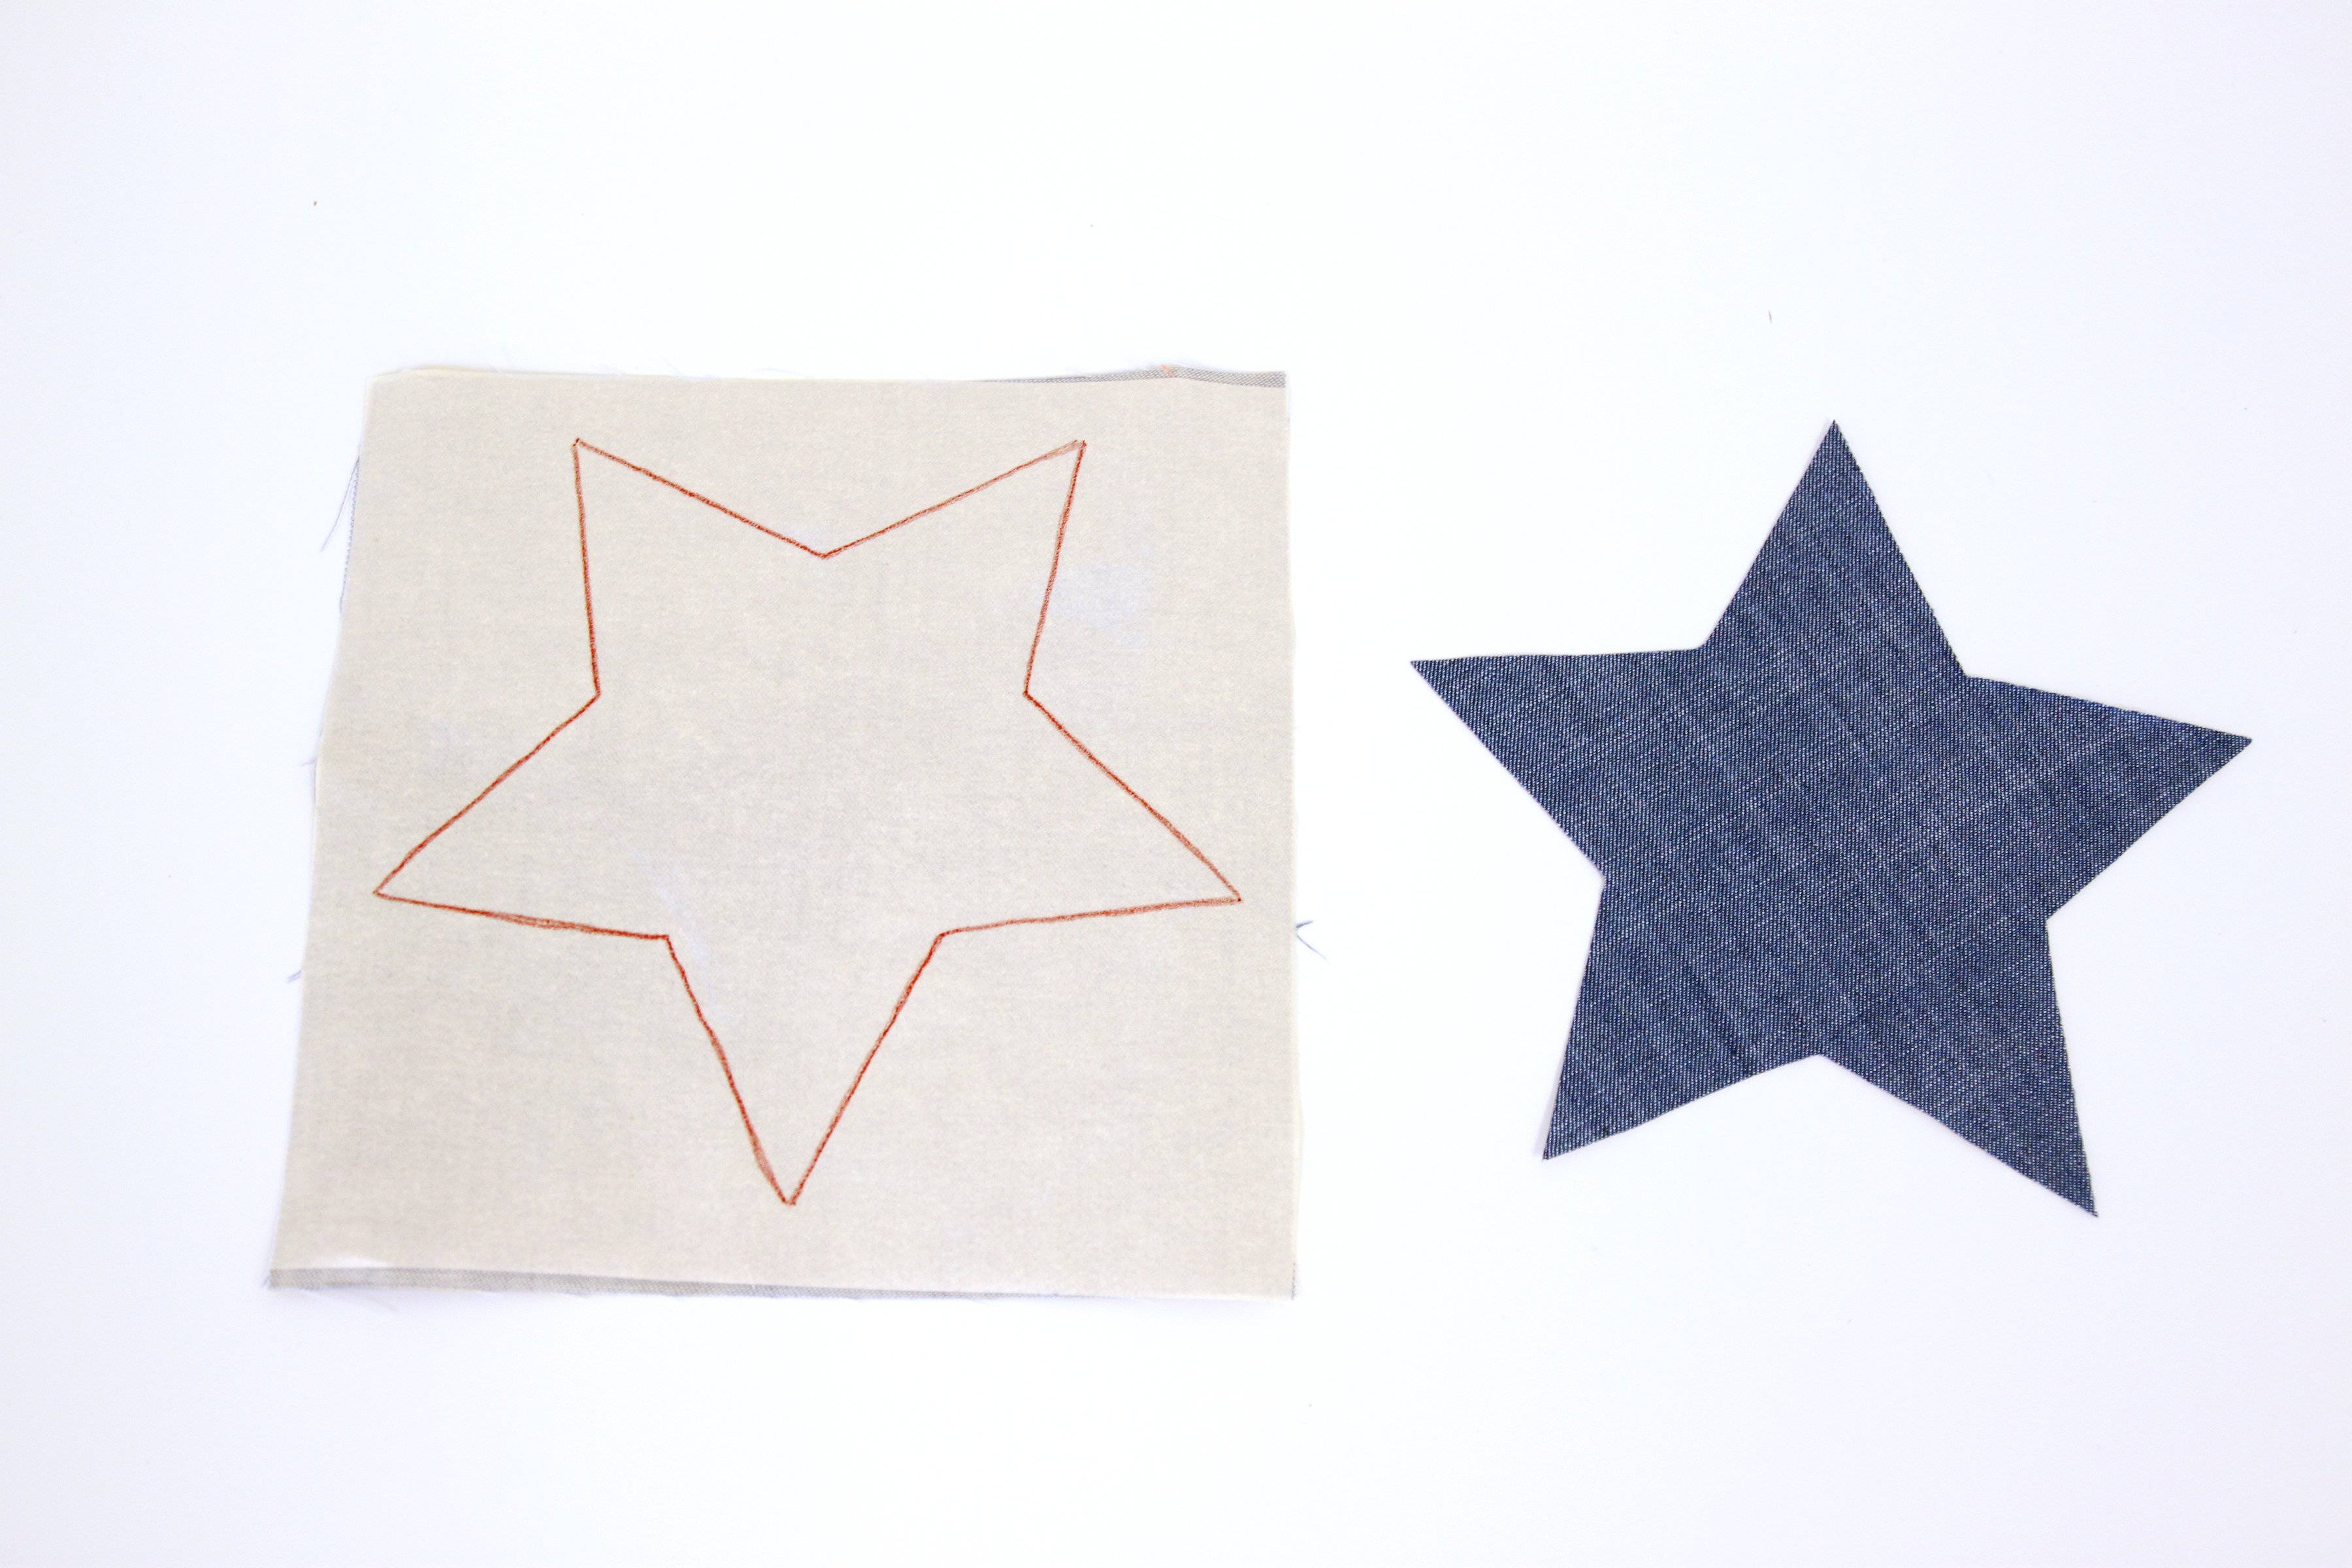
One (1) 6″ square from Fabric A,B,C,L,G, and M
Fuse Steam-A-Seam to the back of 6″ squares. Cut Steam-A-Seam slightly smaller than 6″ square.
Then cut one big star template from each 6″ square.
One (1) 4″ square from Fabric F,H,I,J,K,N,O and P
Fuse Steam-A-Seam to the back of 4” squares. Cut Steam-A-Seam slightly smaller than 4″ square.
Then cut one small star template from each 4″ square.
Sparkle Tablerunner Star Template
Binding -3 strips of 2 1/4″ x WOF
Additional Materials
Steam-A-Seam
Batting
Walking Foot #50
Aurifil Light Sand – #2000 and Delft Blue – #2783
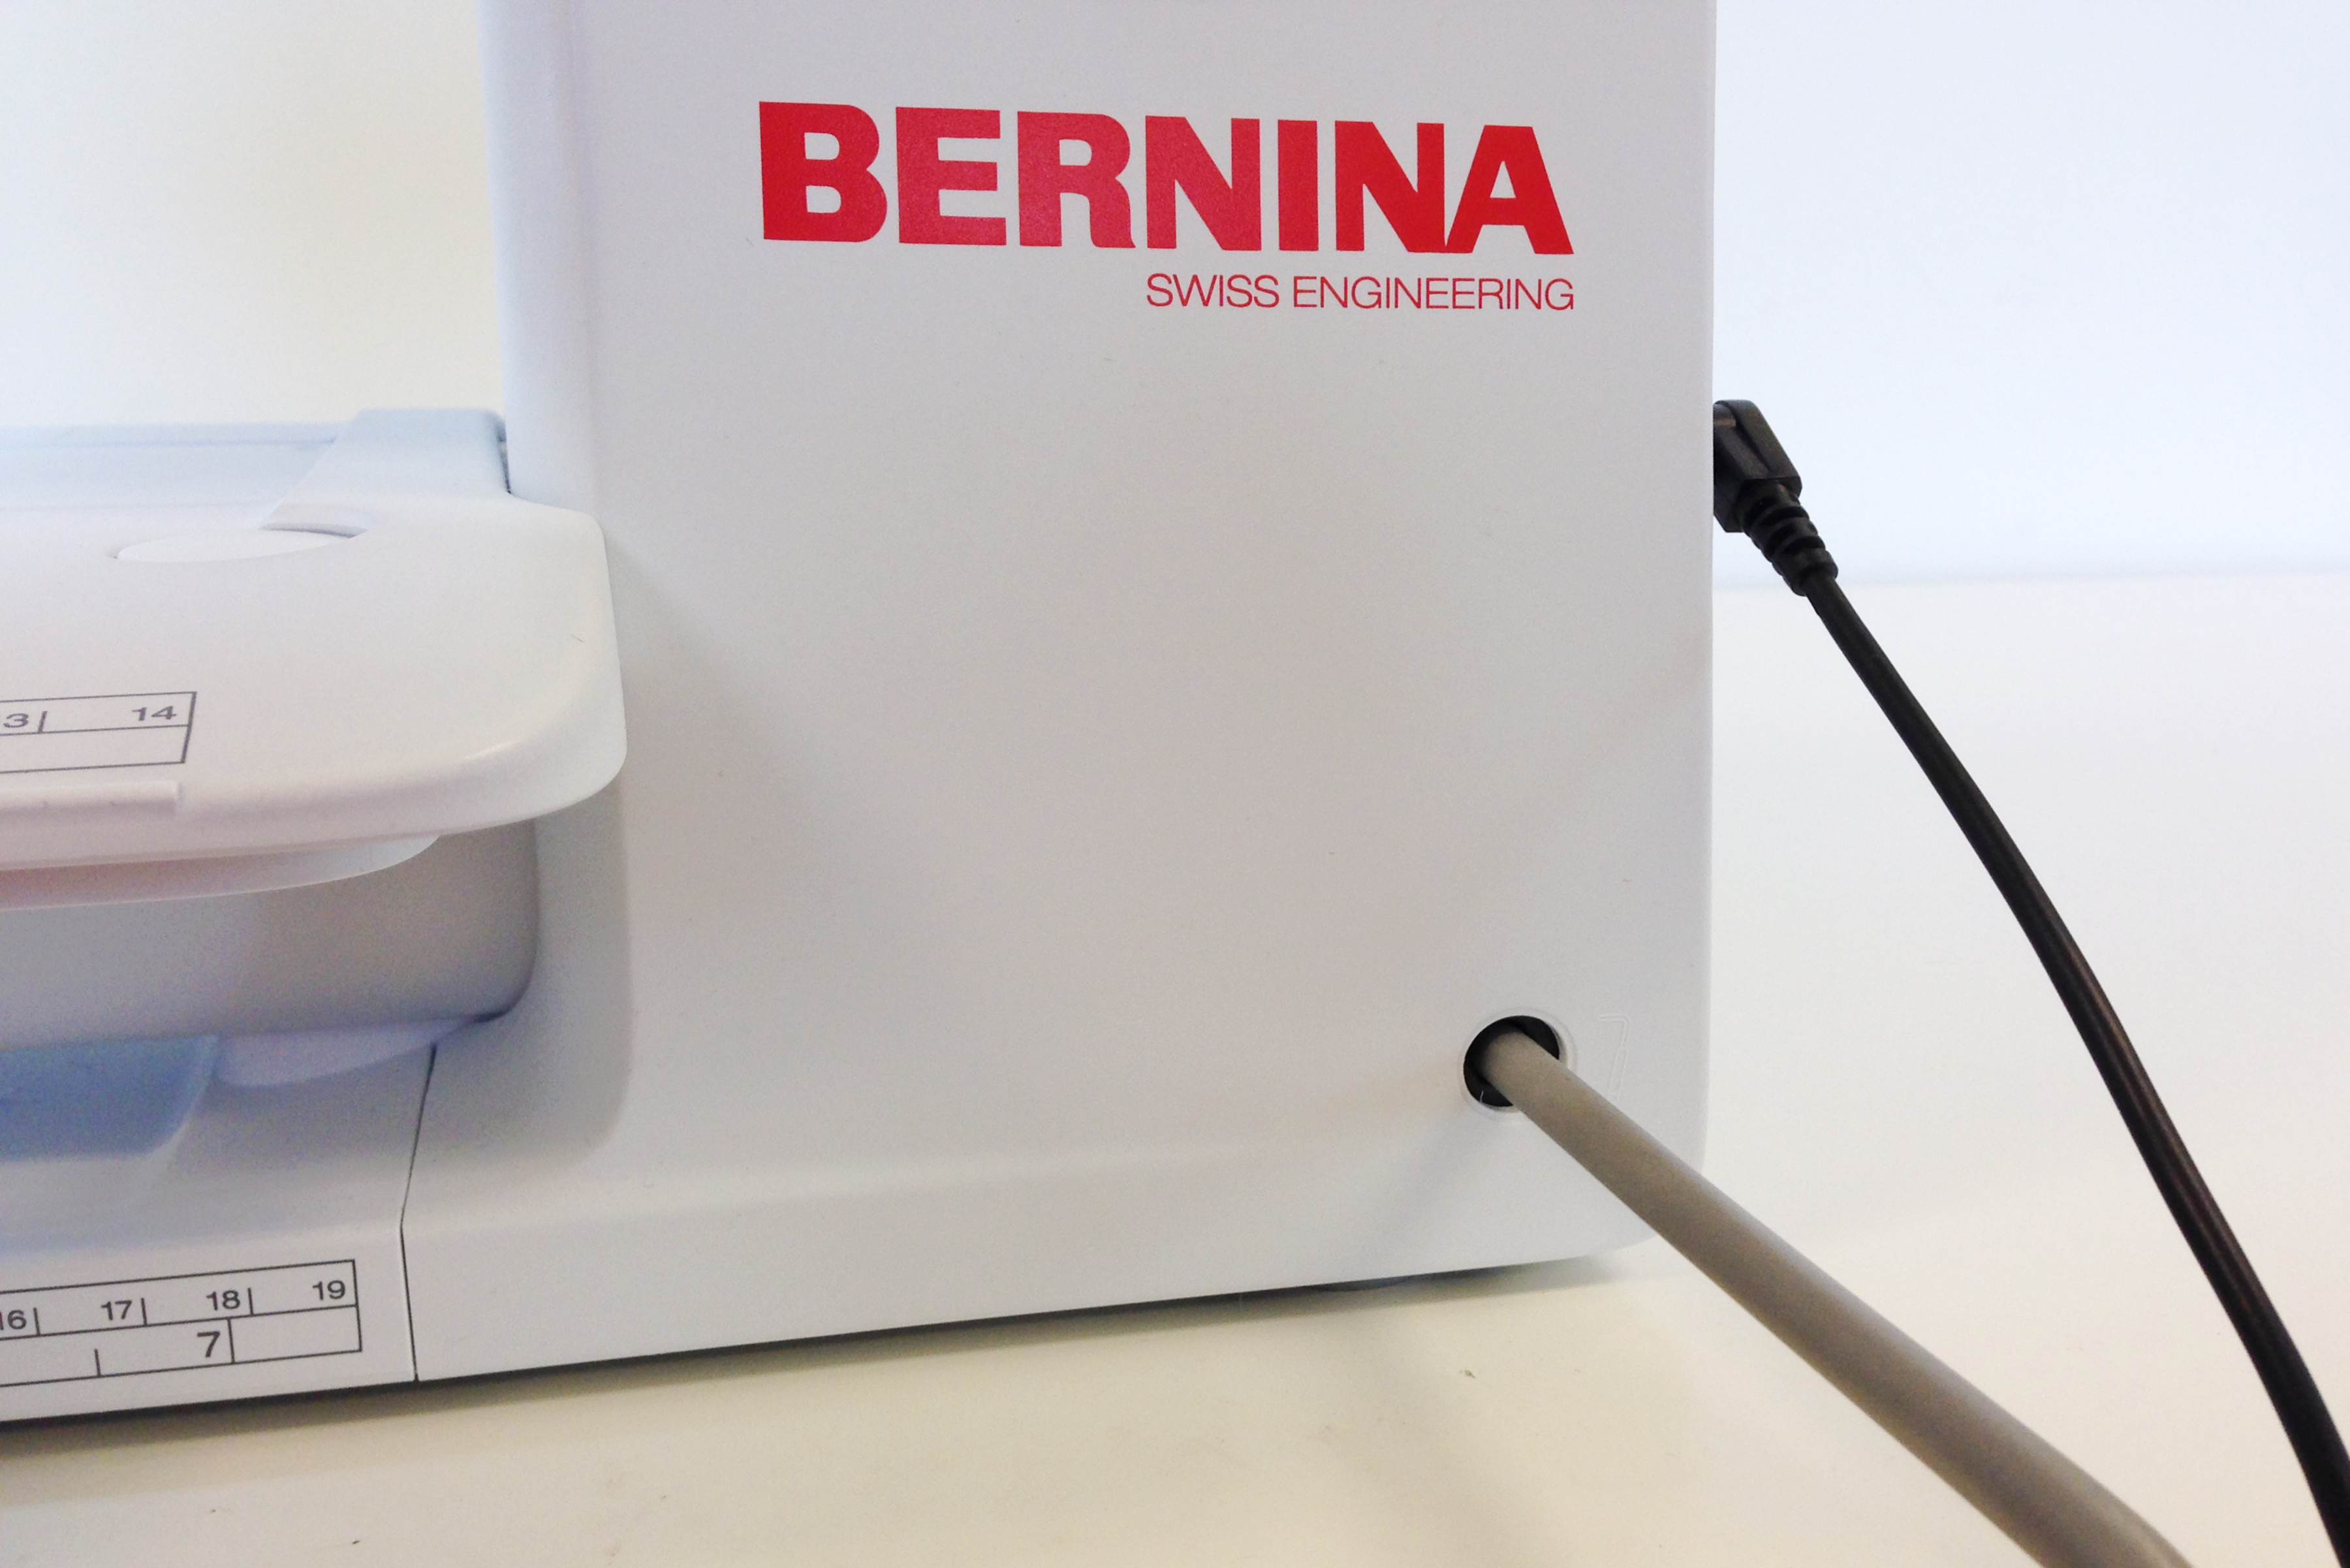
The Sparkler tablerunner was sewn on a BERNINA 350 PE.
Finished Size: 15″ x 46″
Step 1: Making the Stars
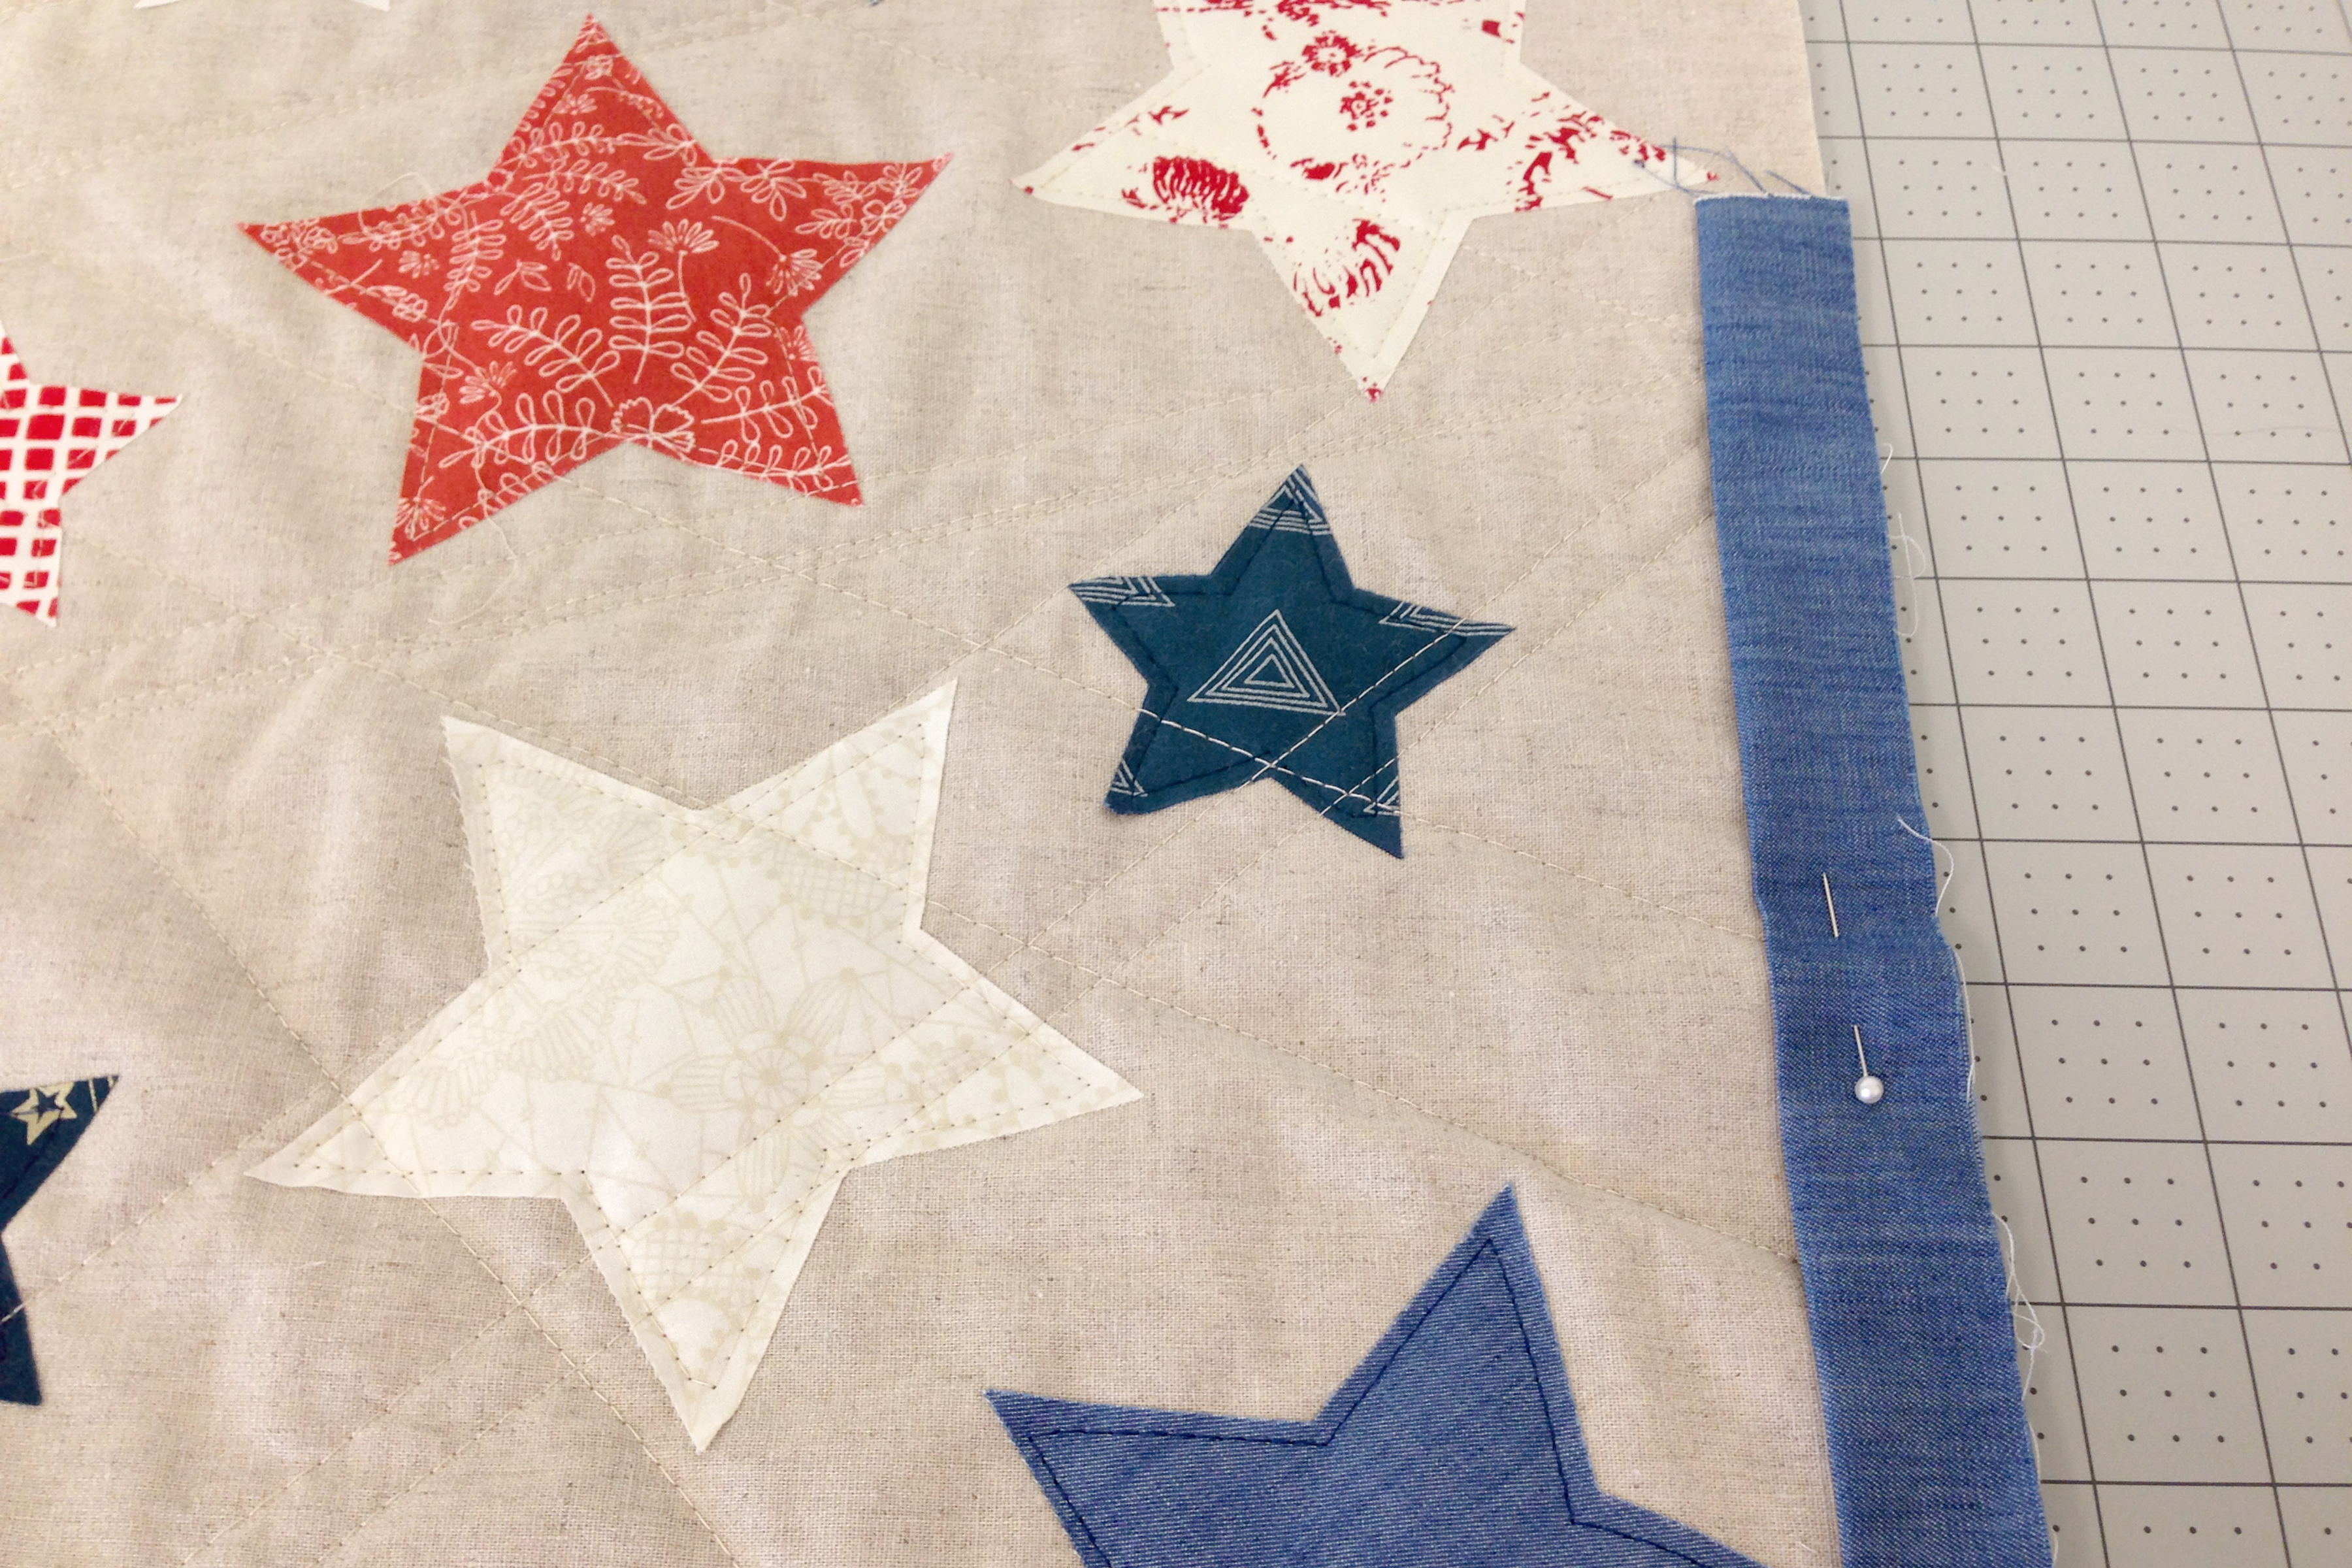
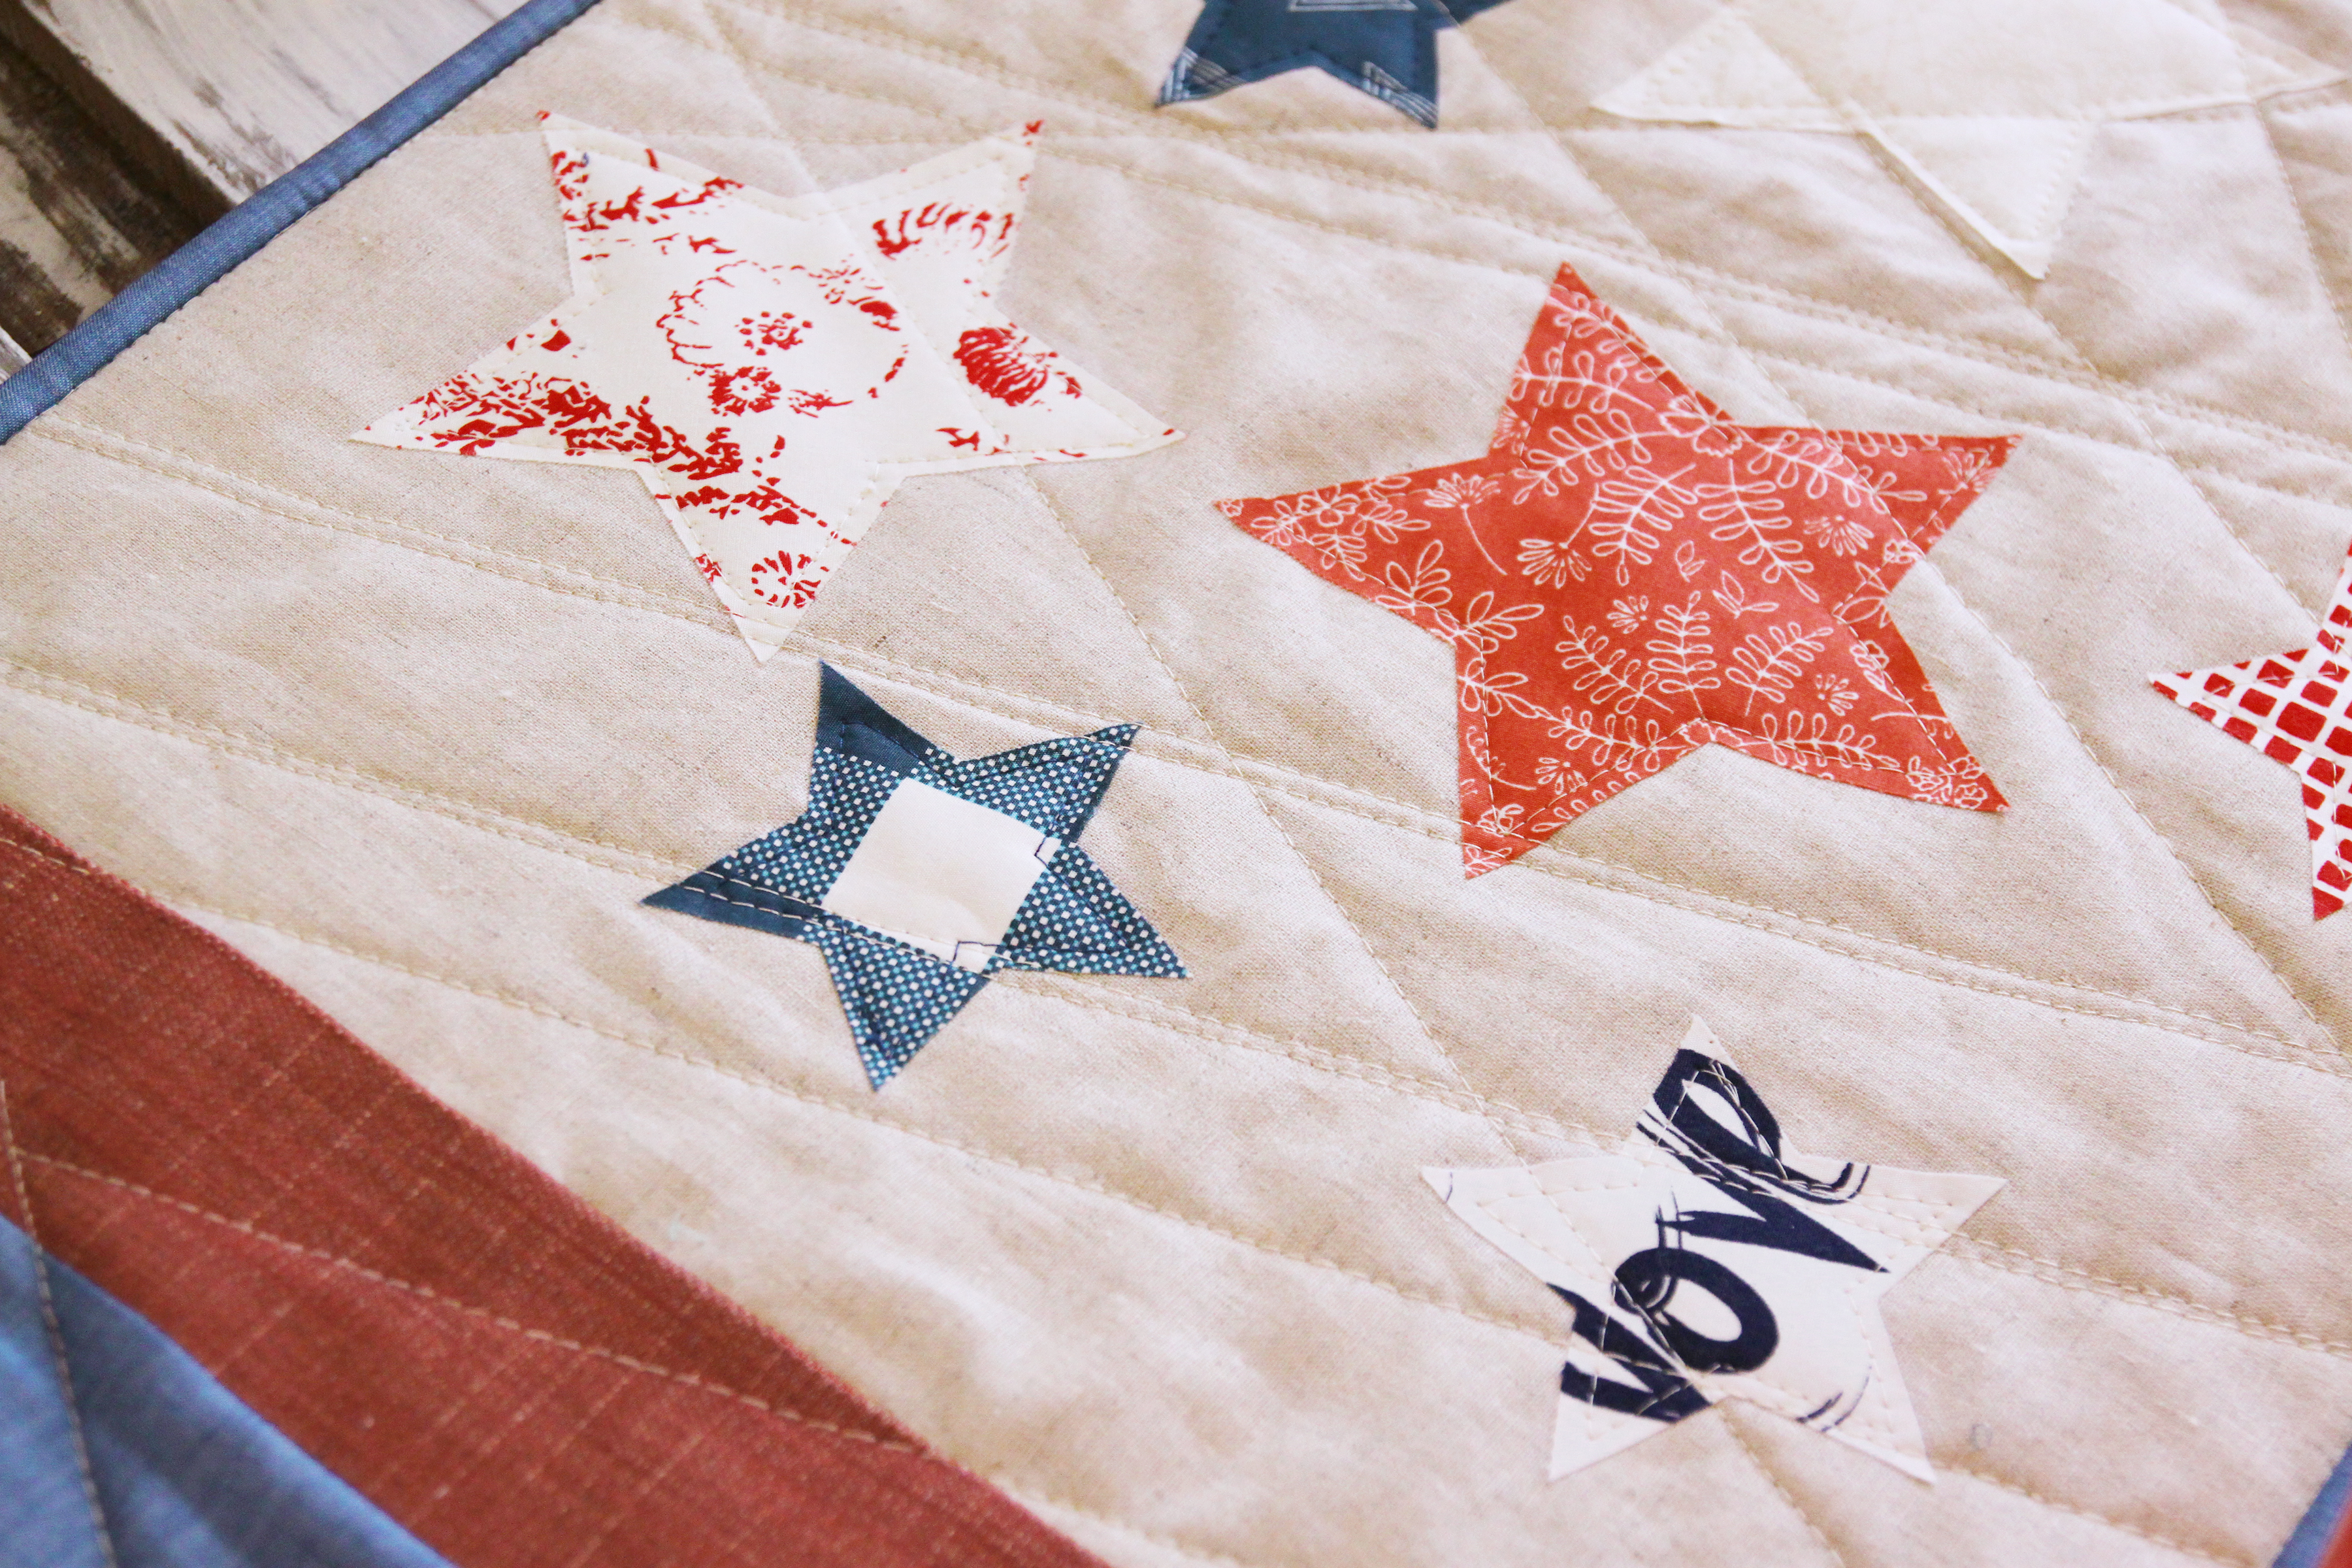
Peel off backing paper on Steam-A-Seam and iron to the back sides of all your 6″ and 4″ squares of fabric. Cut out star template and trace stars onto your squares. Cut out all of your big and small stars.
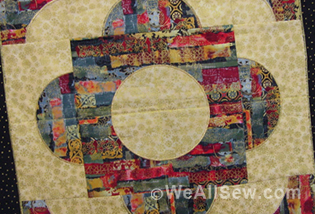
Peel off the second sheet of Steam-A-Seam and stick to the 15 1/2″ x 30 1/2″ rectangle from Fabric E, the center of your tablerunner. Once you have the stars placed the way you like it iron them into place.


(Keep your scraps with Steam-A-Seam on them for feature projects. The small left over pieces are perfect for making fabric collages.)
Step 2: Create the Strips
To create the strips on the sides of your table runner, sew in the following order at 1/4″ seam allowance: Strip A to B to C to D. Repeat this step again to get the other side of your table runner.
Sew your strips to each end of your middle table runner.
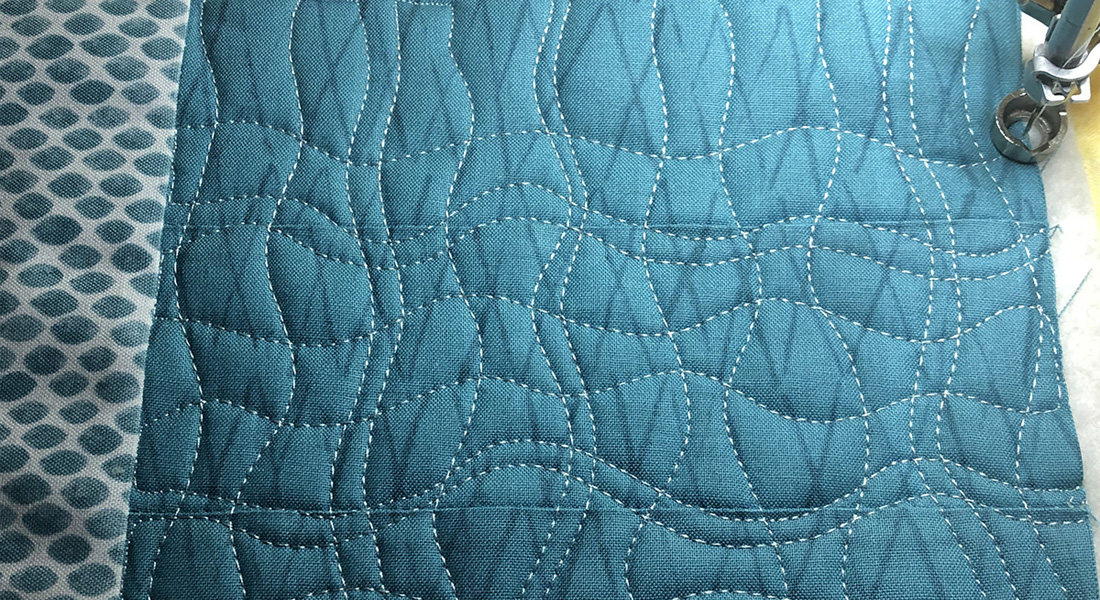
Step 3: Quilting Tablerunner
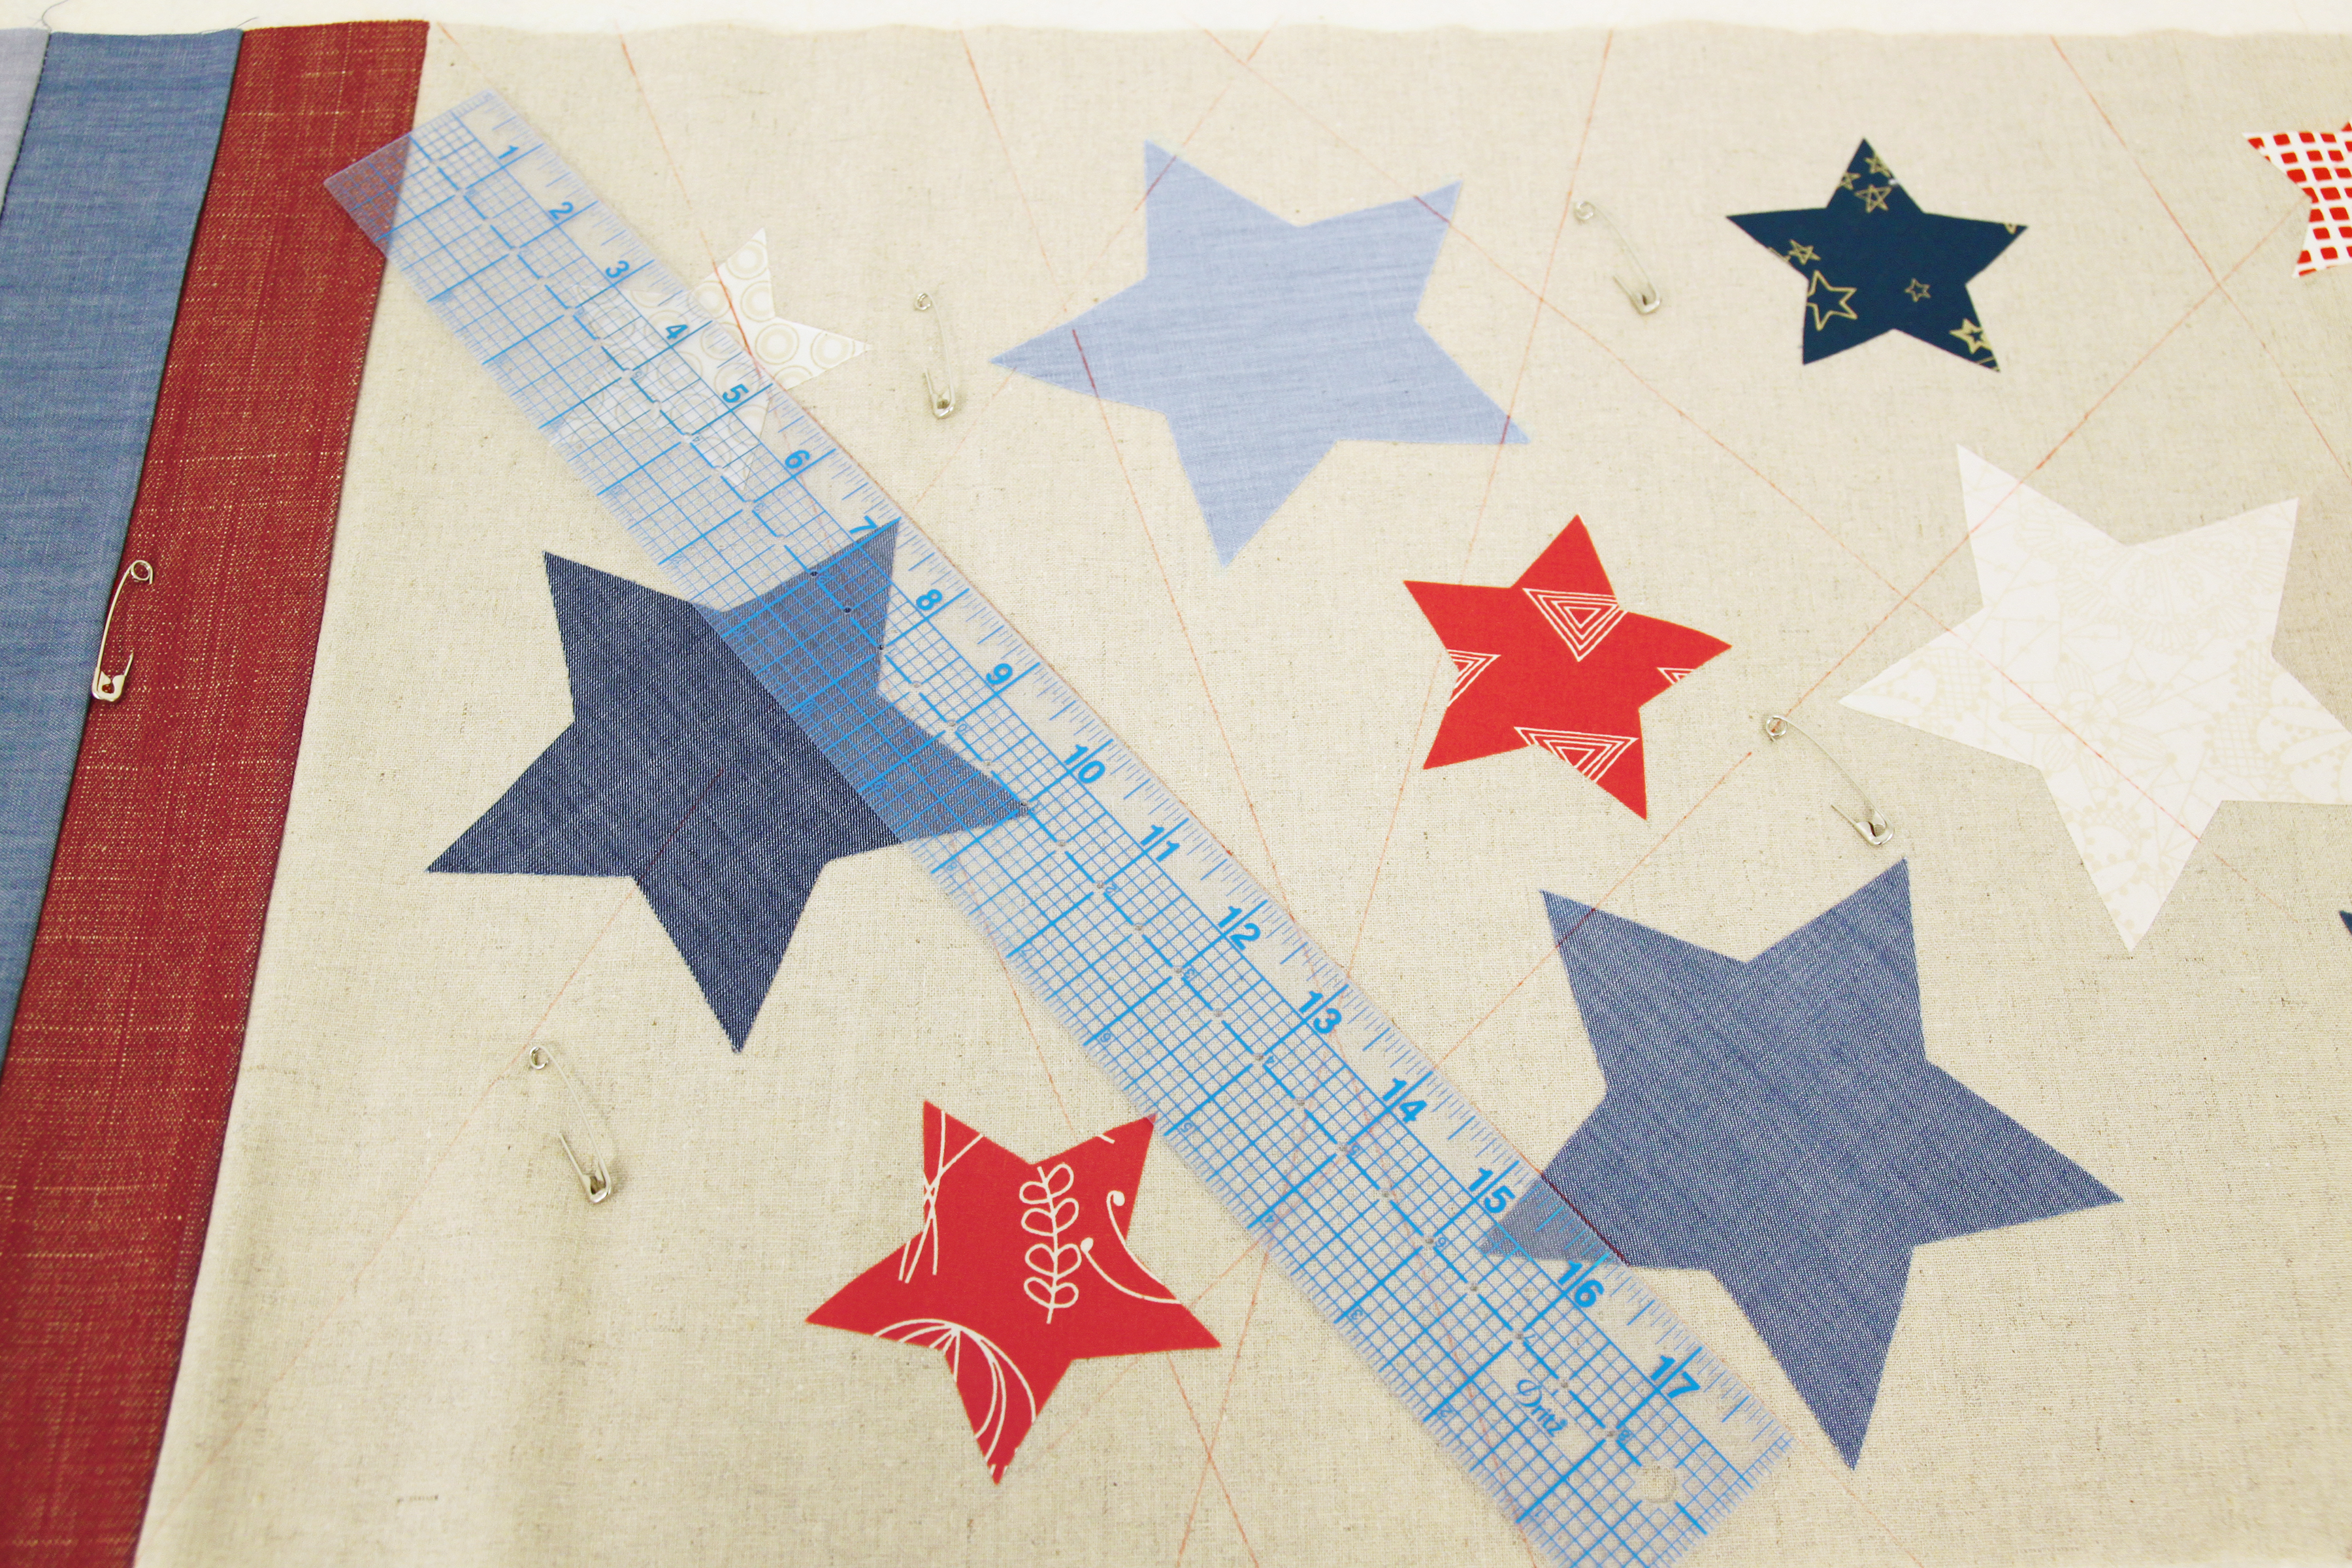
Take a piece of backing fabric and your table runner top and sandwich them in between a piece of batting and use safety pins to pin three layer together. Make sure batting and backing is larger than your quilt top.

Take a marking pen of your choice and draw diagonal lines in all directions throughout your piece. You don’t have to mark all the lines you want to quilt just a few to get you started.
We are going to use are Walking Foot #50 with seam guide. Click here to learn how to attach seam guide and walking foot #50 to your machine.
Set your stitch length to 4 and center your needle. Also push the needle down button.
Line the middle of your Walking foot #50 to one of your diagonal lines and stitch your first diagonal line.

To sew more lines near the first stitched line, place the Walking foot #50 at different places lining it up with your stitch line. You can use the inside of your foot, the outside of your foot or choose to use the seam guide and adjust the width of your lines even farther apart.
Repeat this process until you fill your whole tablerunner up with randomly placed diagonal stitching.
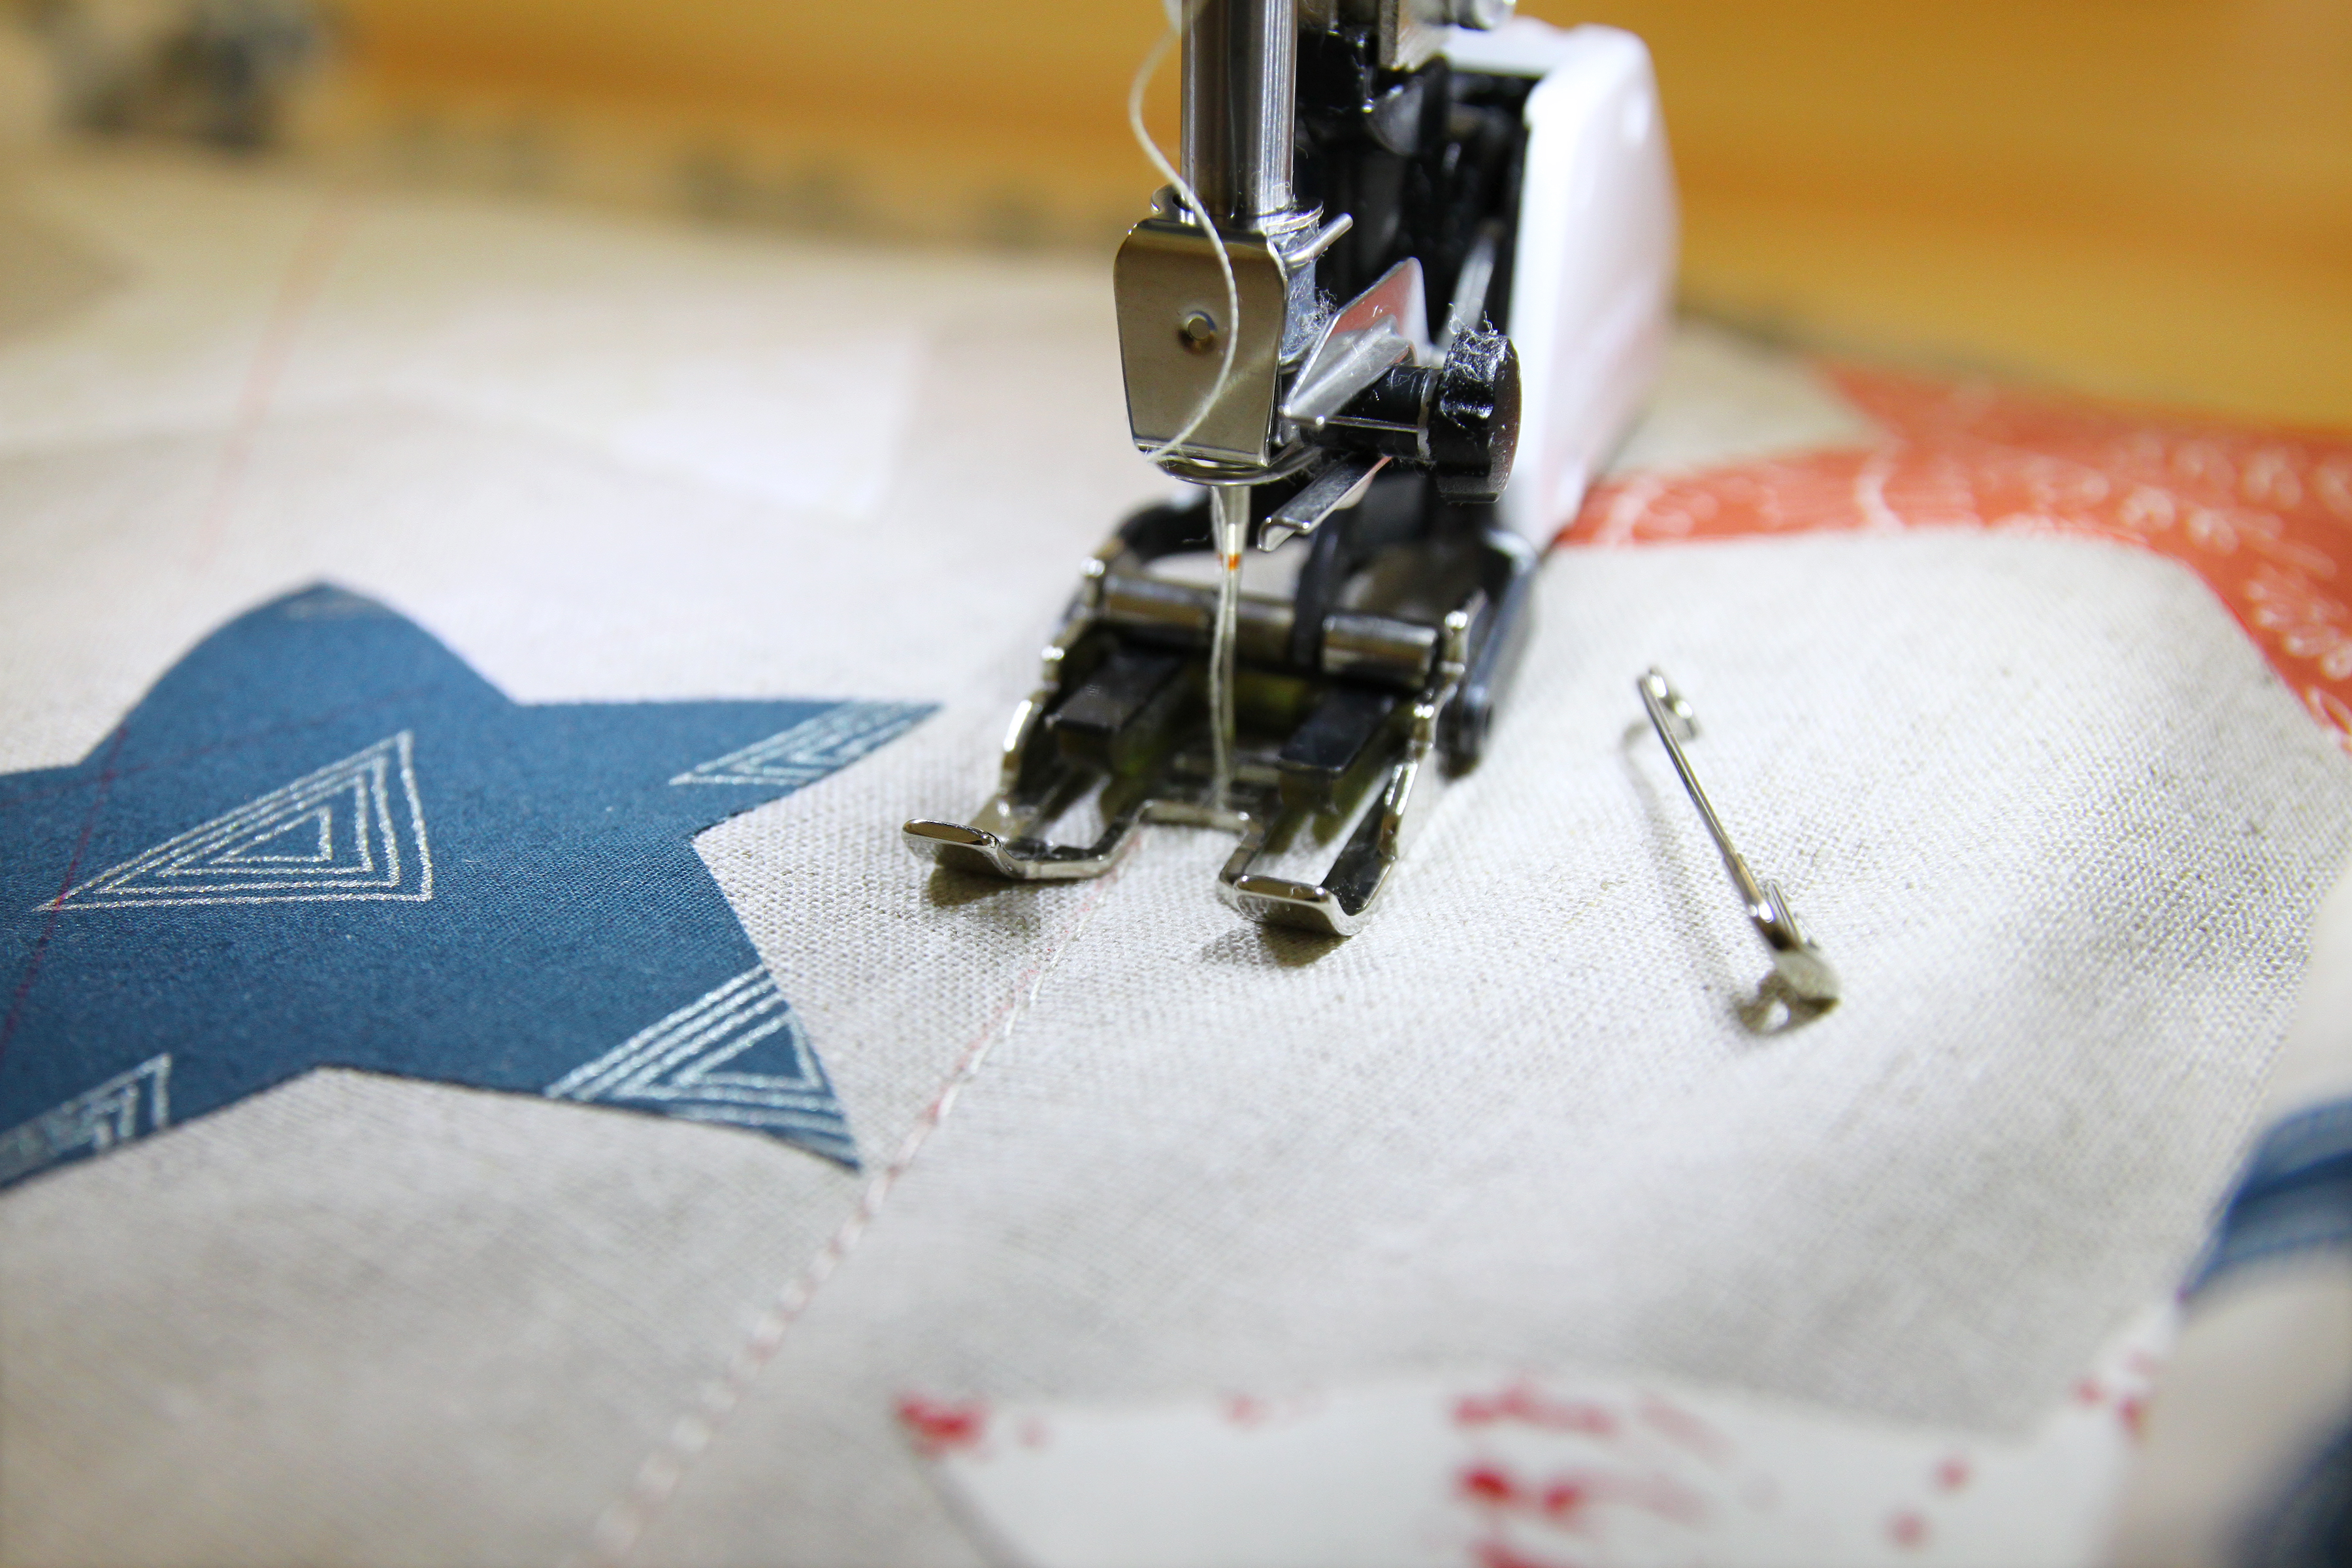
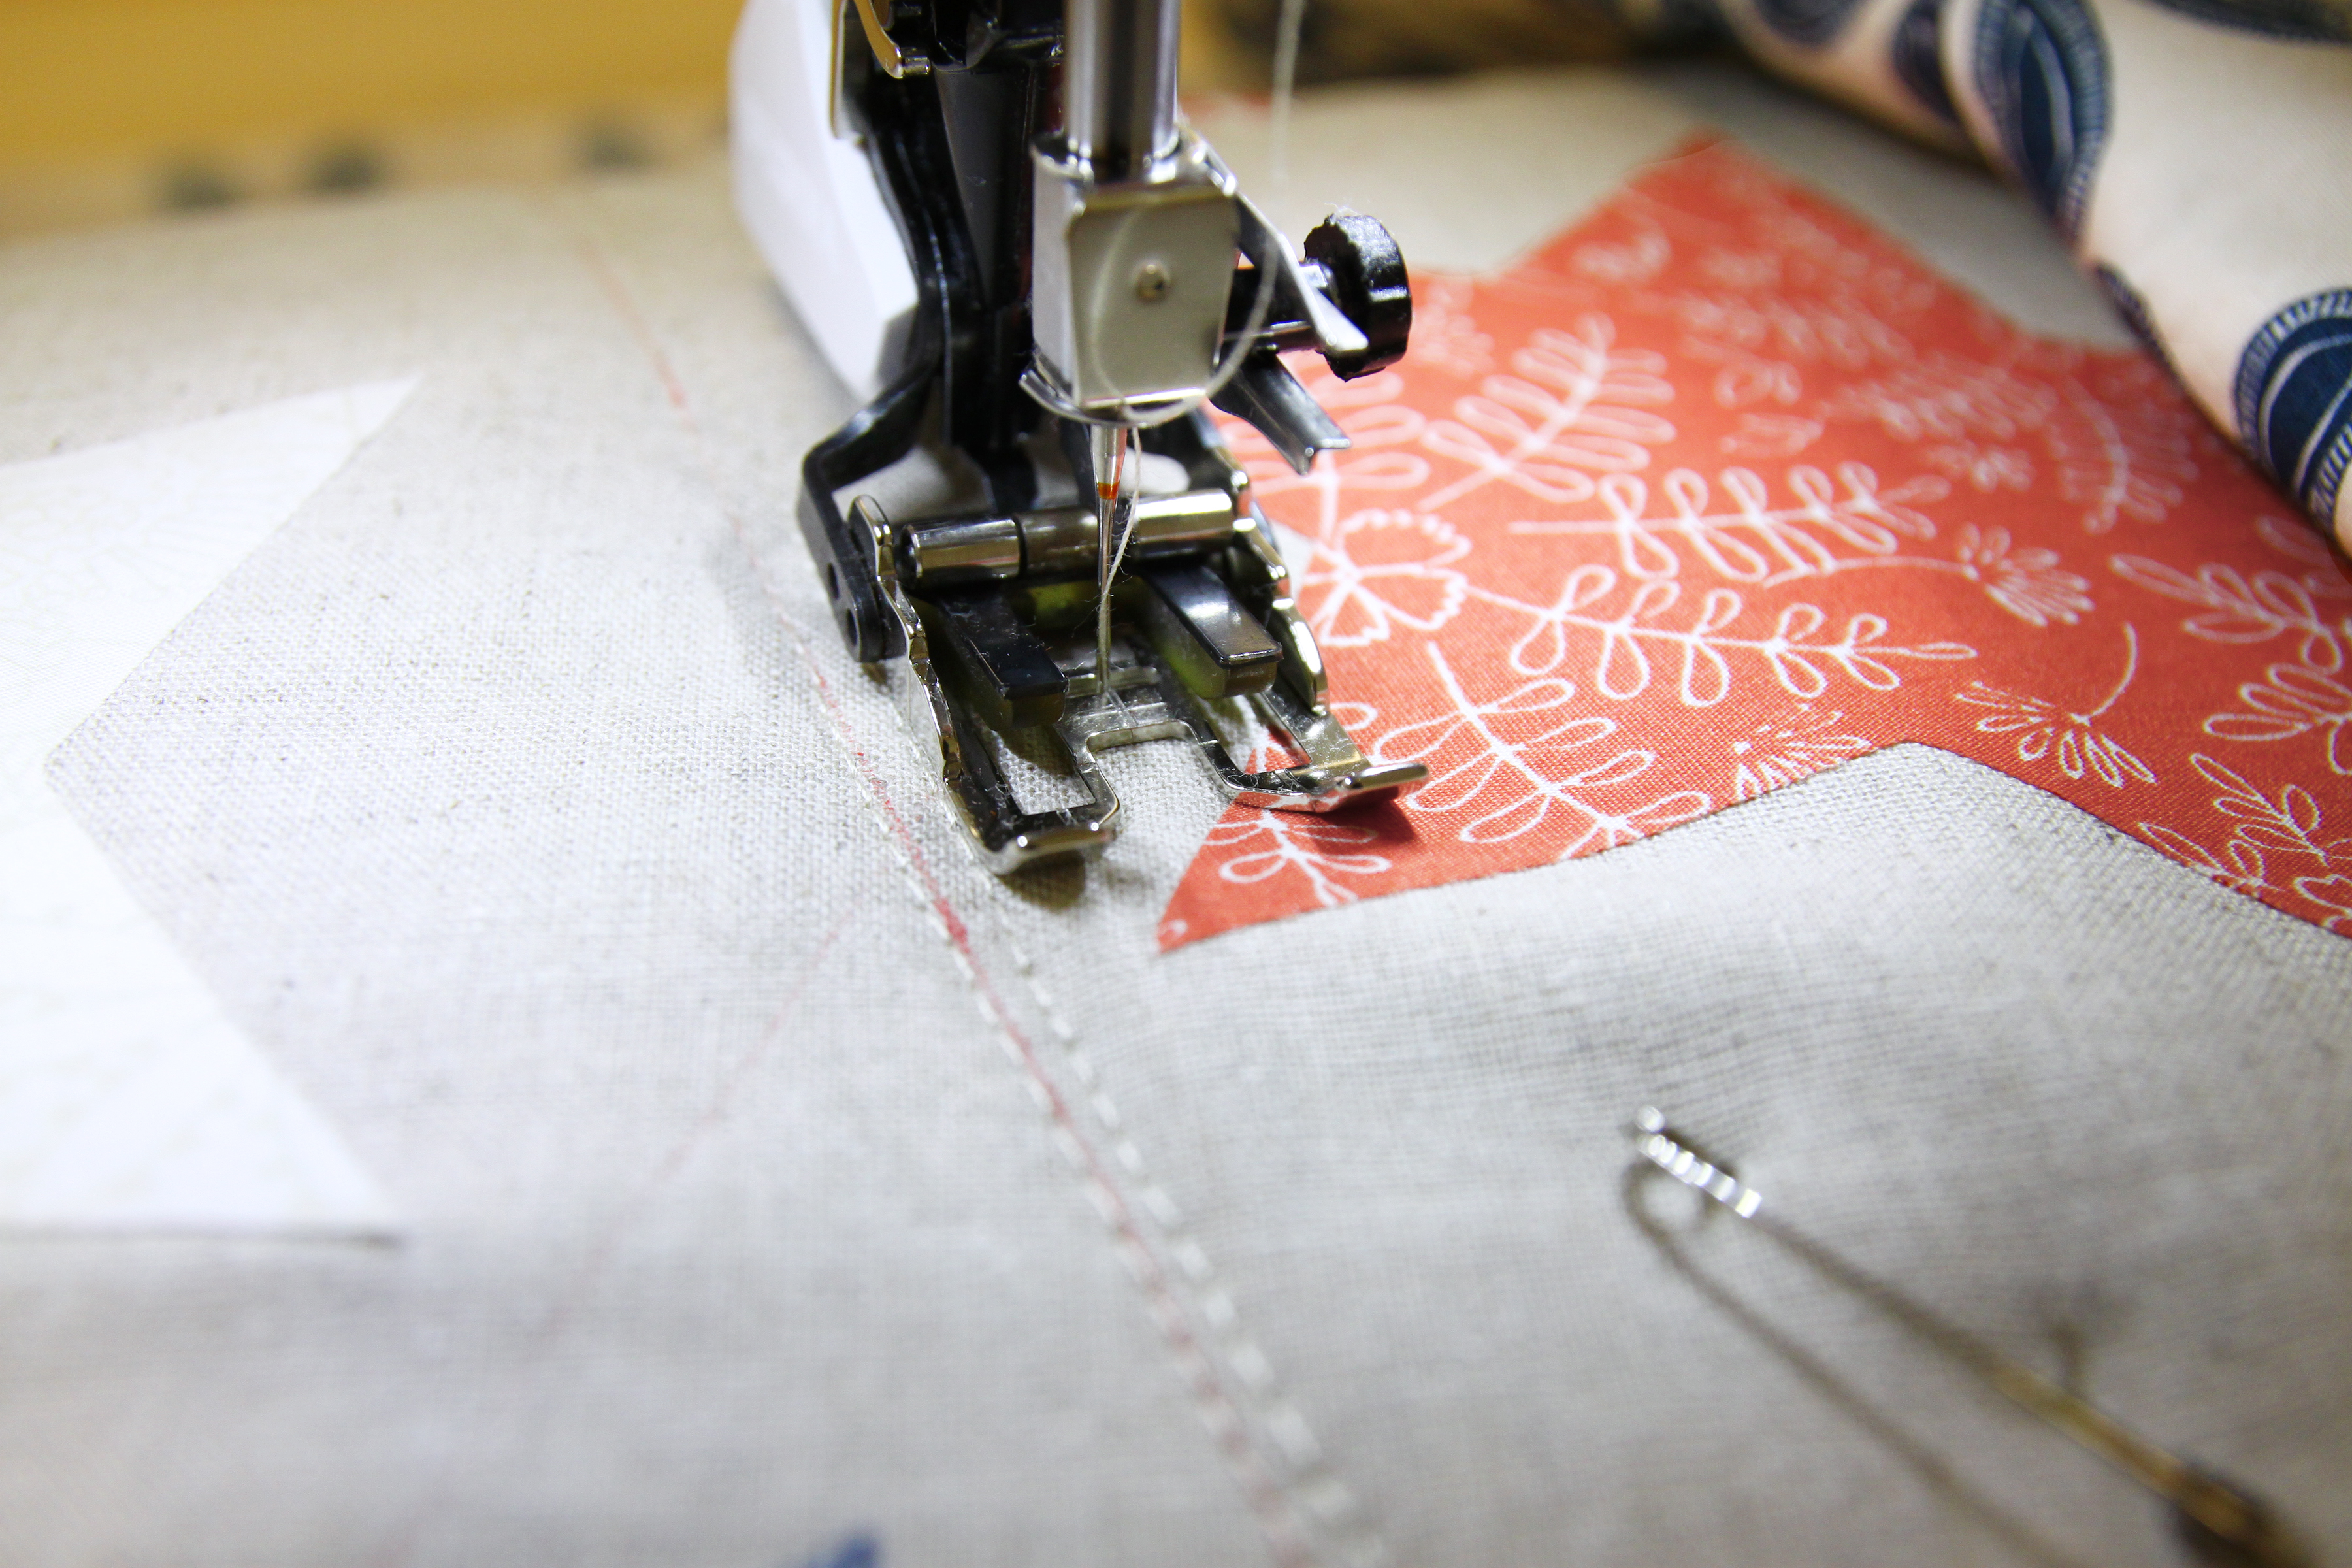
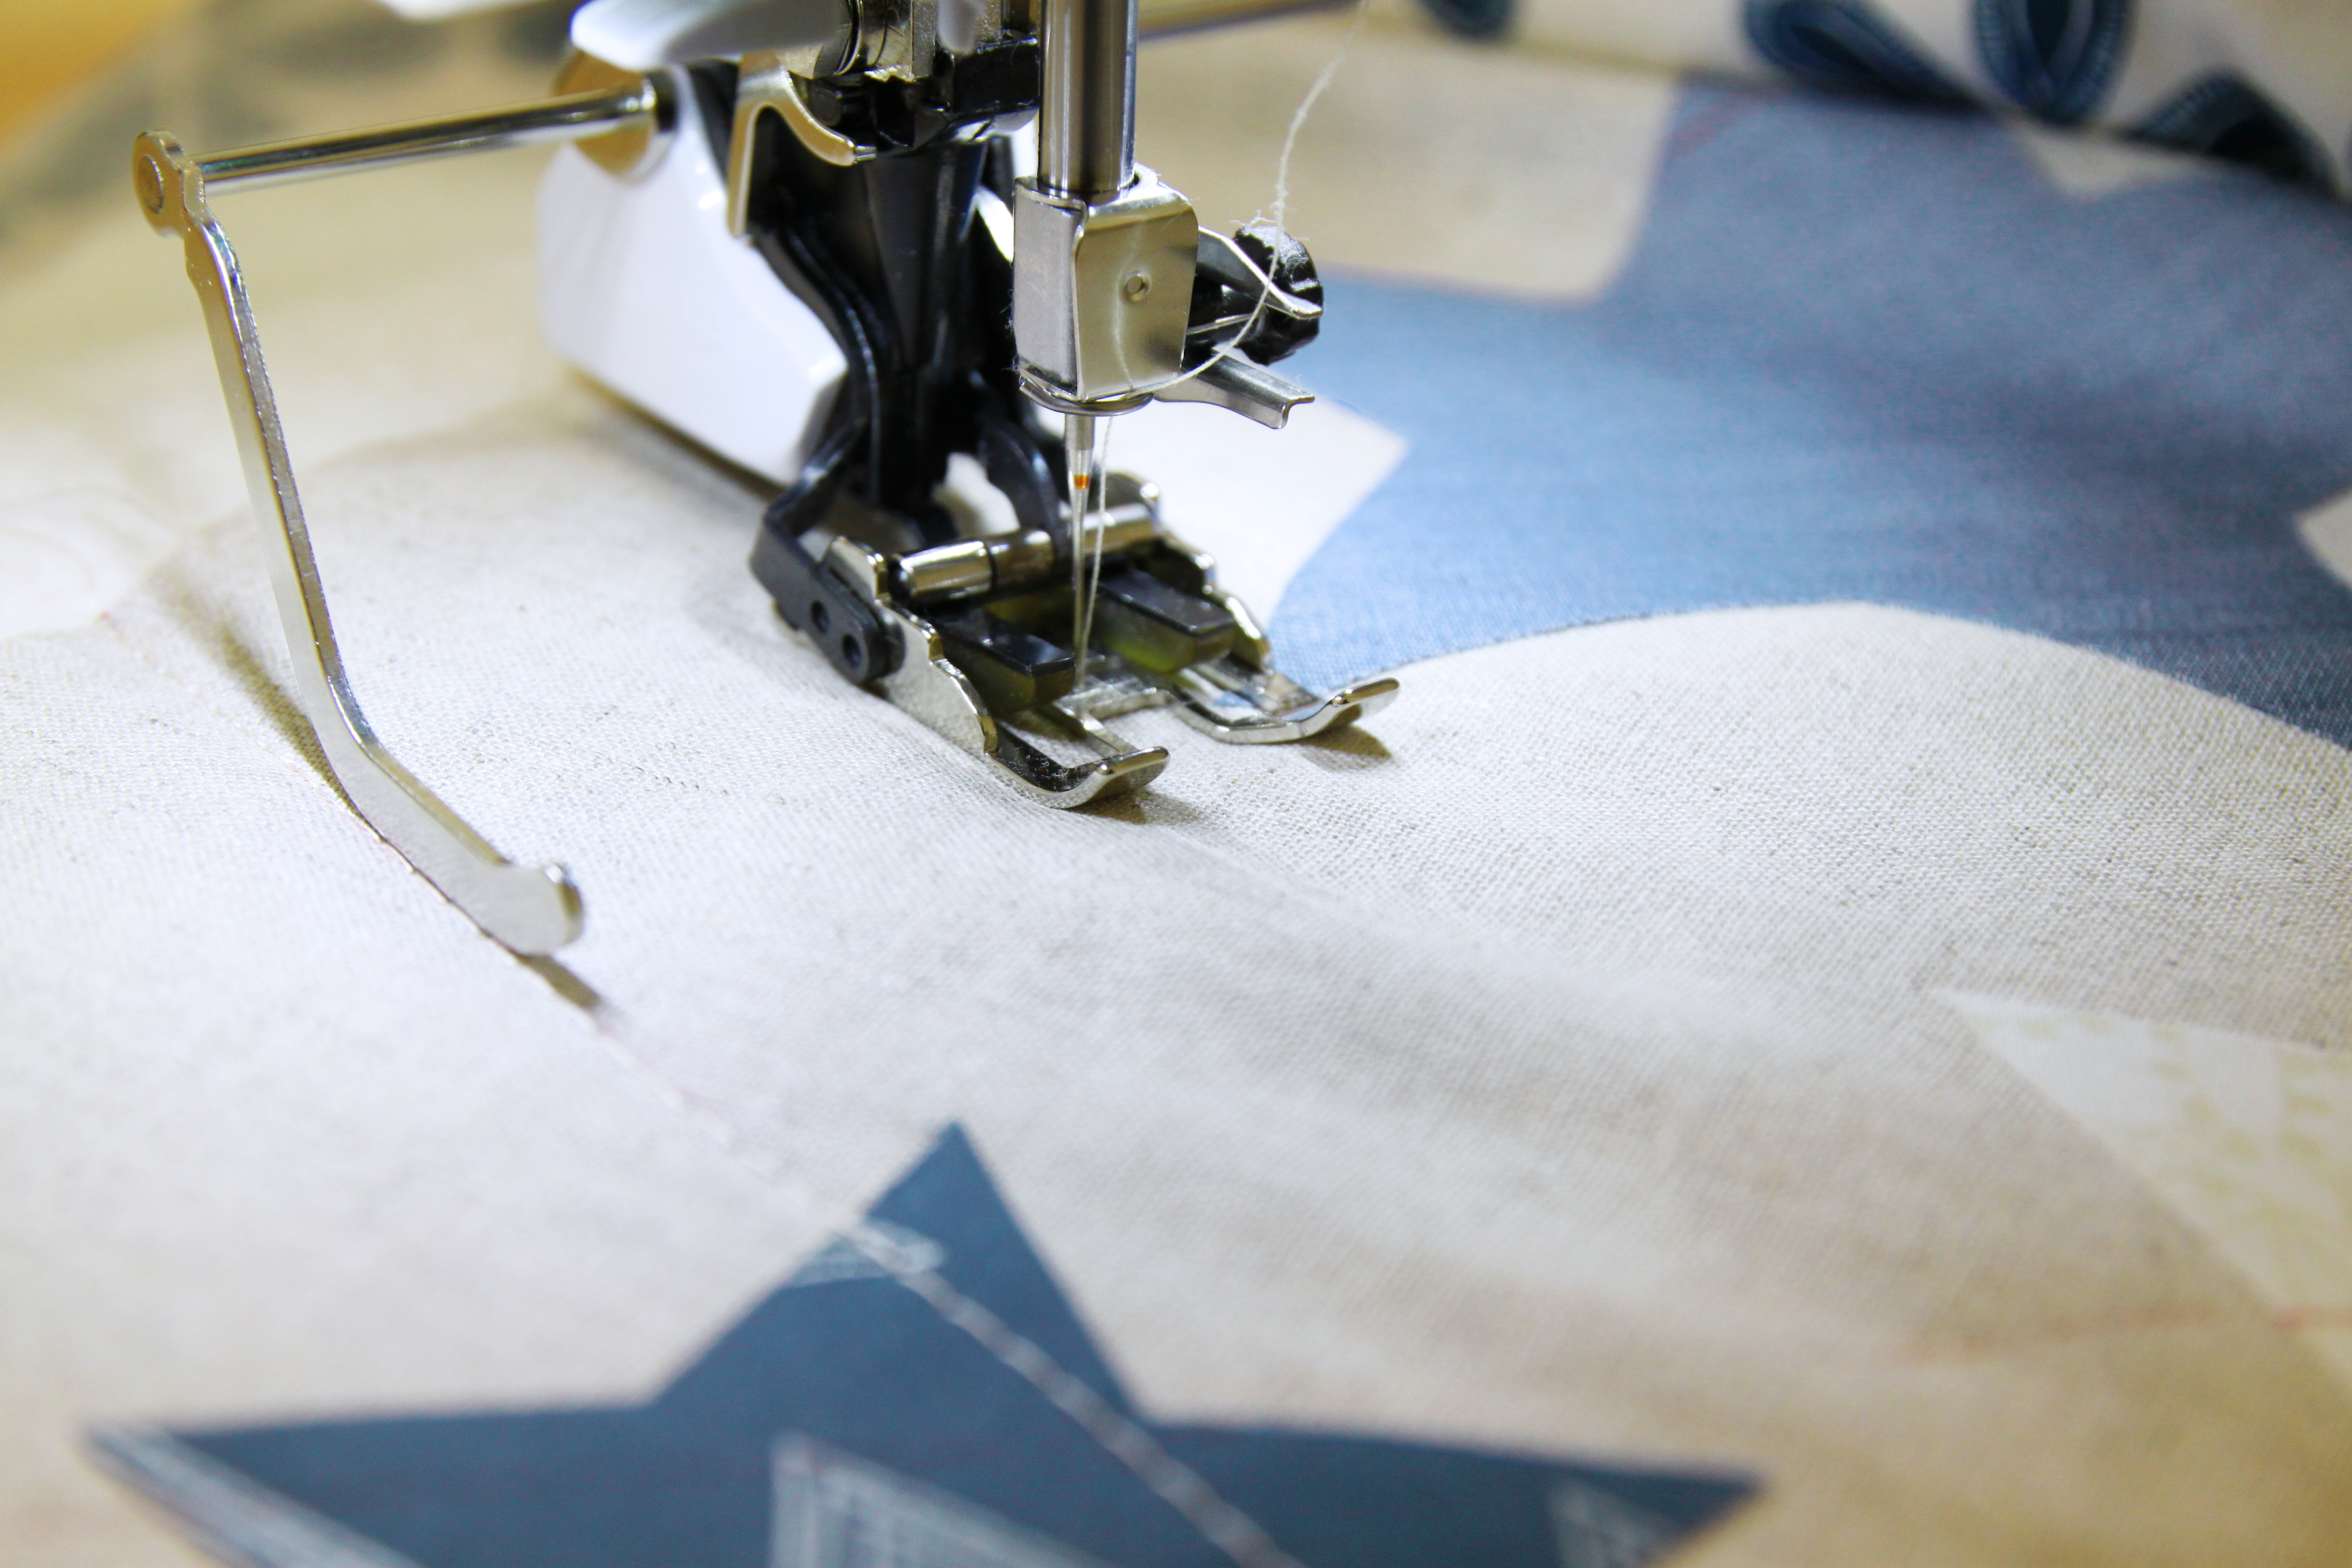
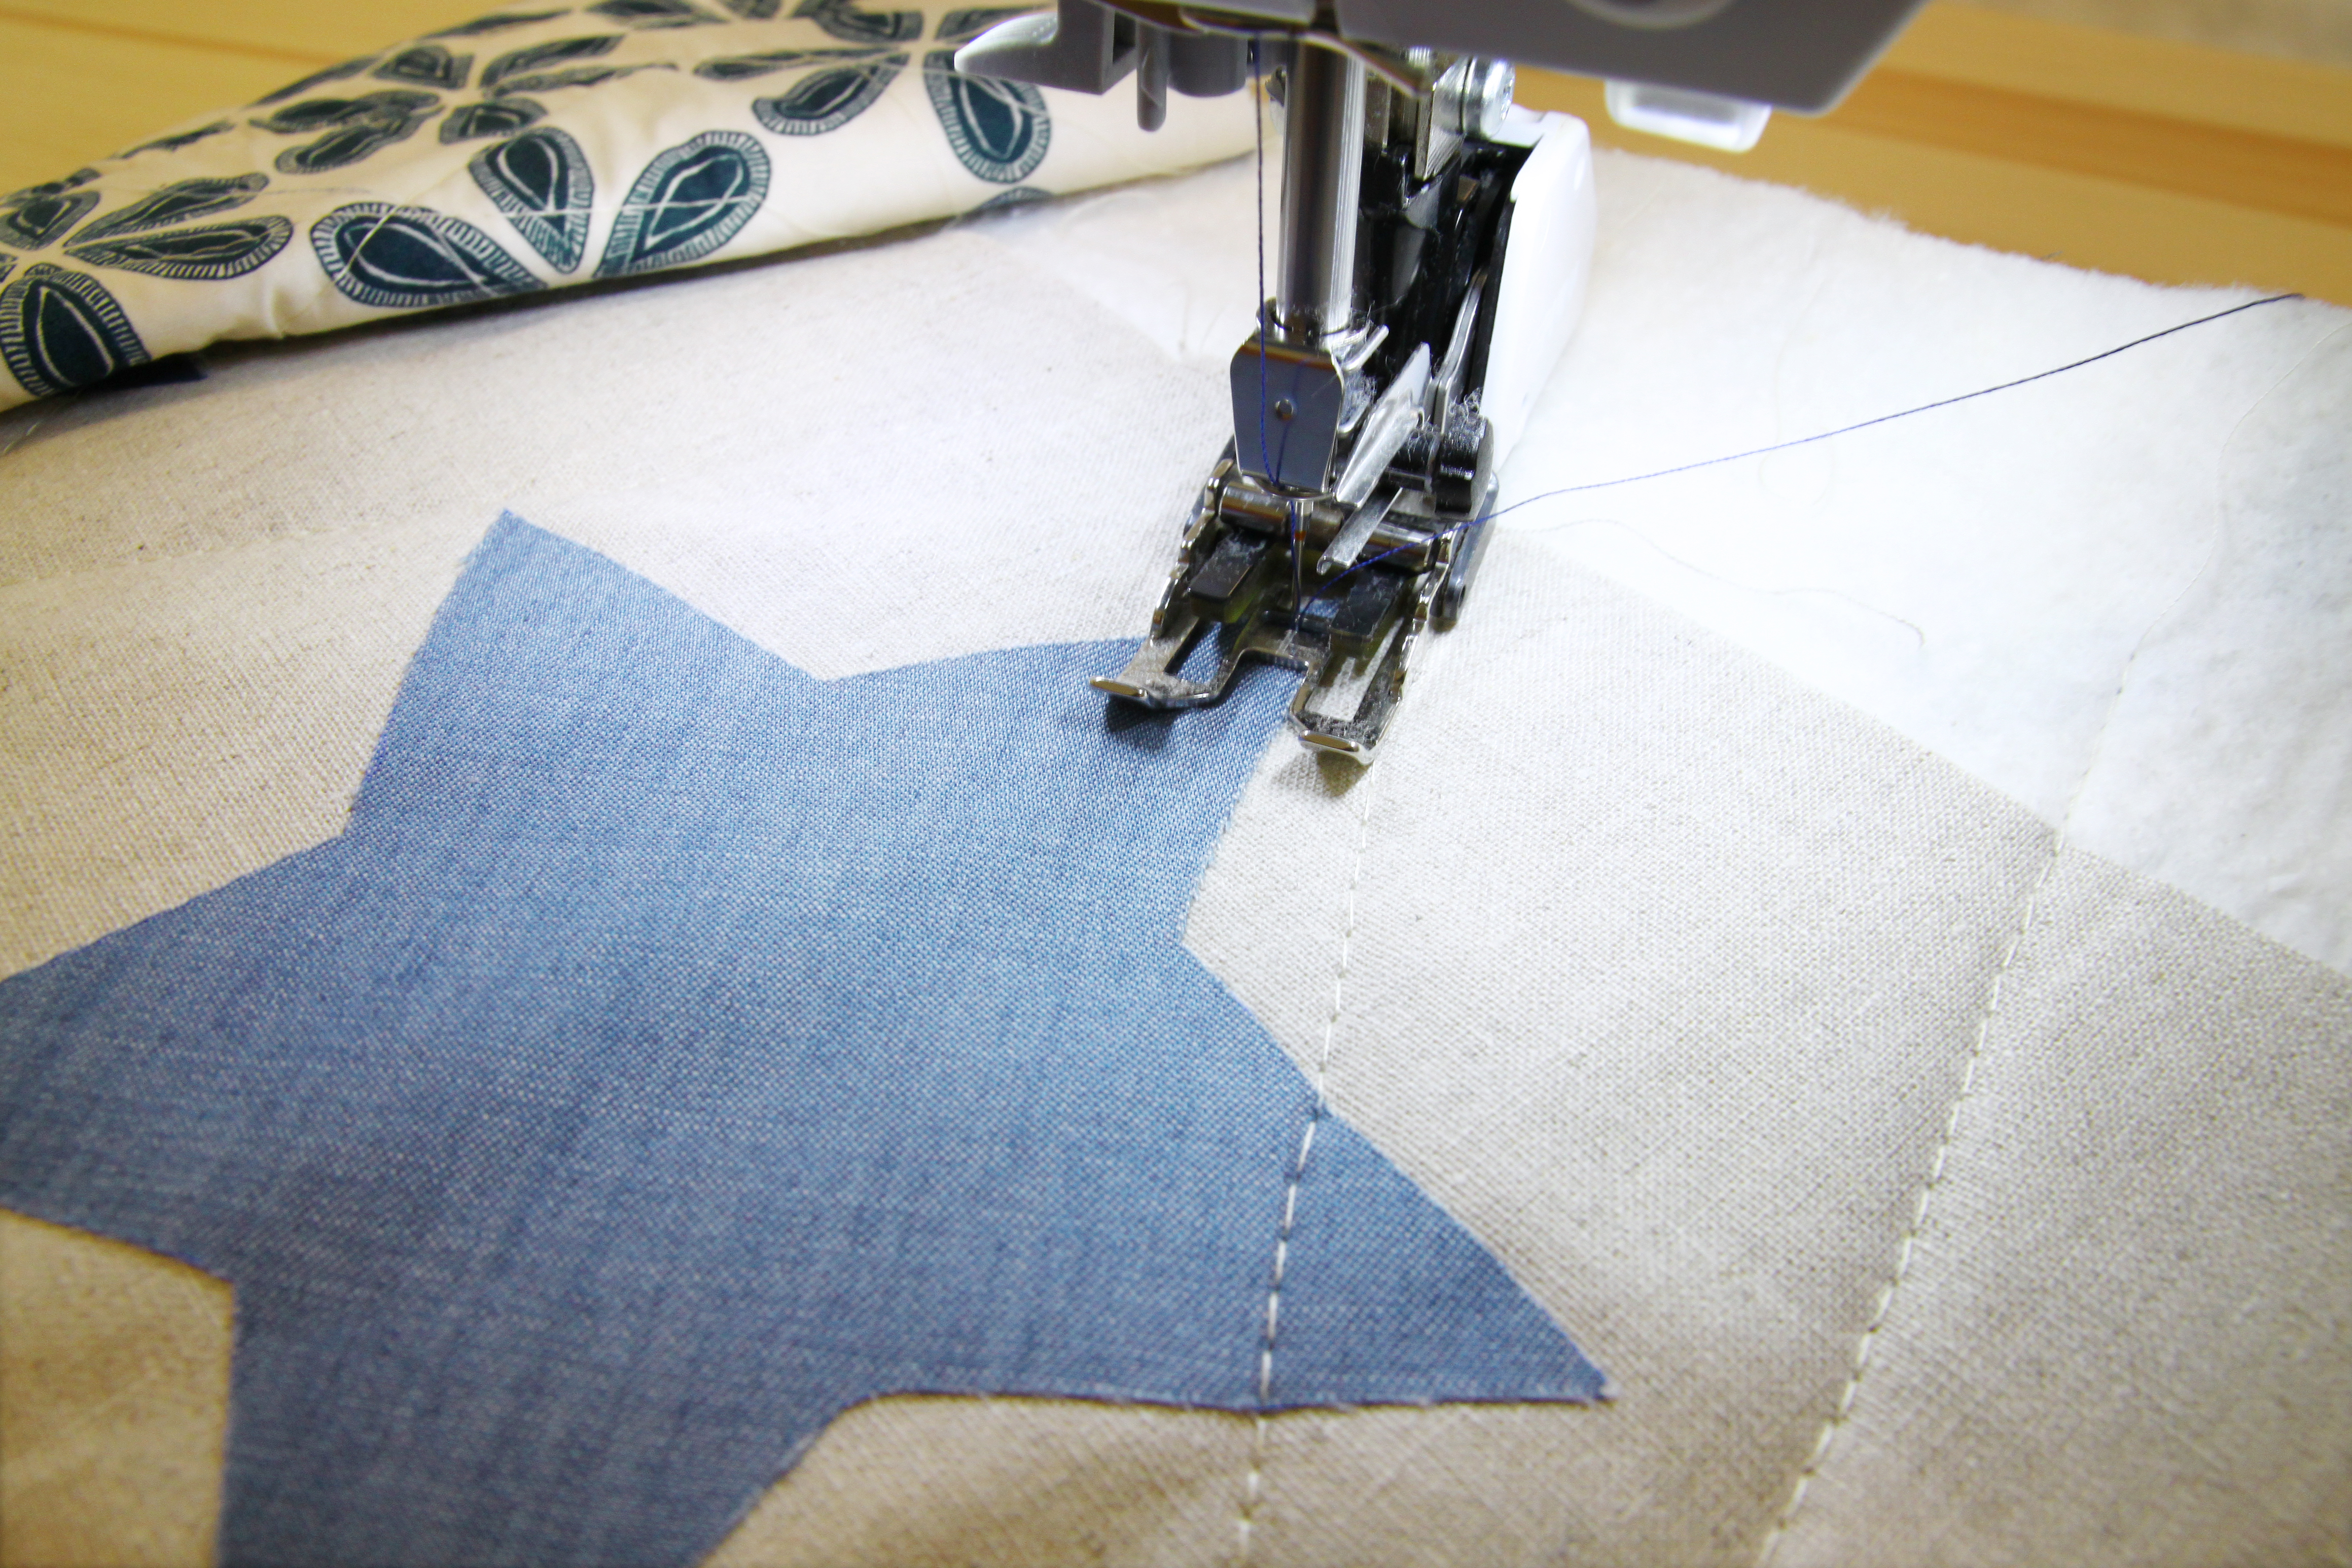
Step 4: Stitching Down the Stars
To secure your stars down to your tablerunner, center your needle and place the right inside of your foot lined up with the edge of your star.
Your Free Hand System comes in very handy because it can save you time by not having to take the extra step to reach behind your machine! So for those of you who don’t use it often I suggest you give it a try! The Free Hand System is a good way to raise the presser foot temporarily when you want to pivot at the corner with the needle stop down engaged!
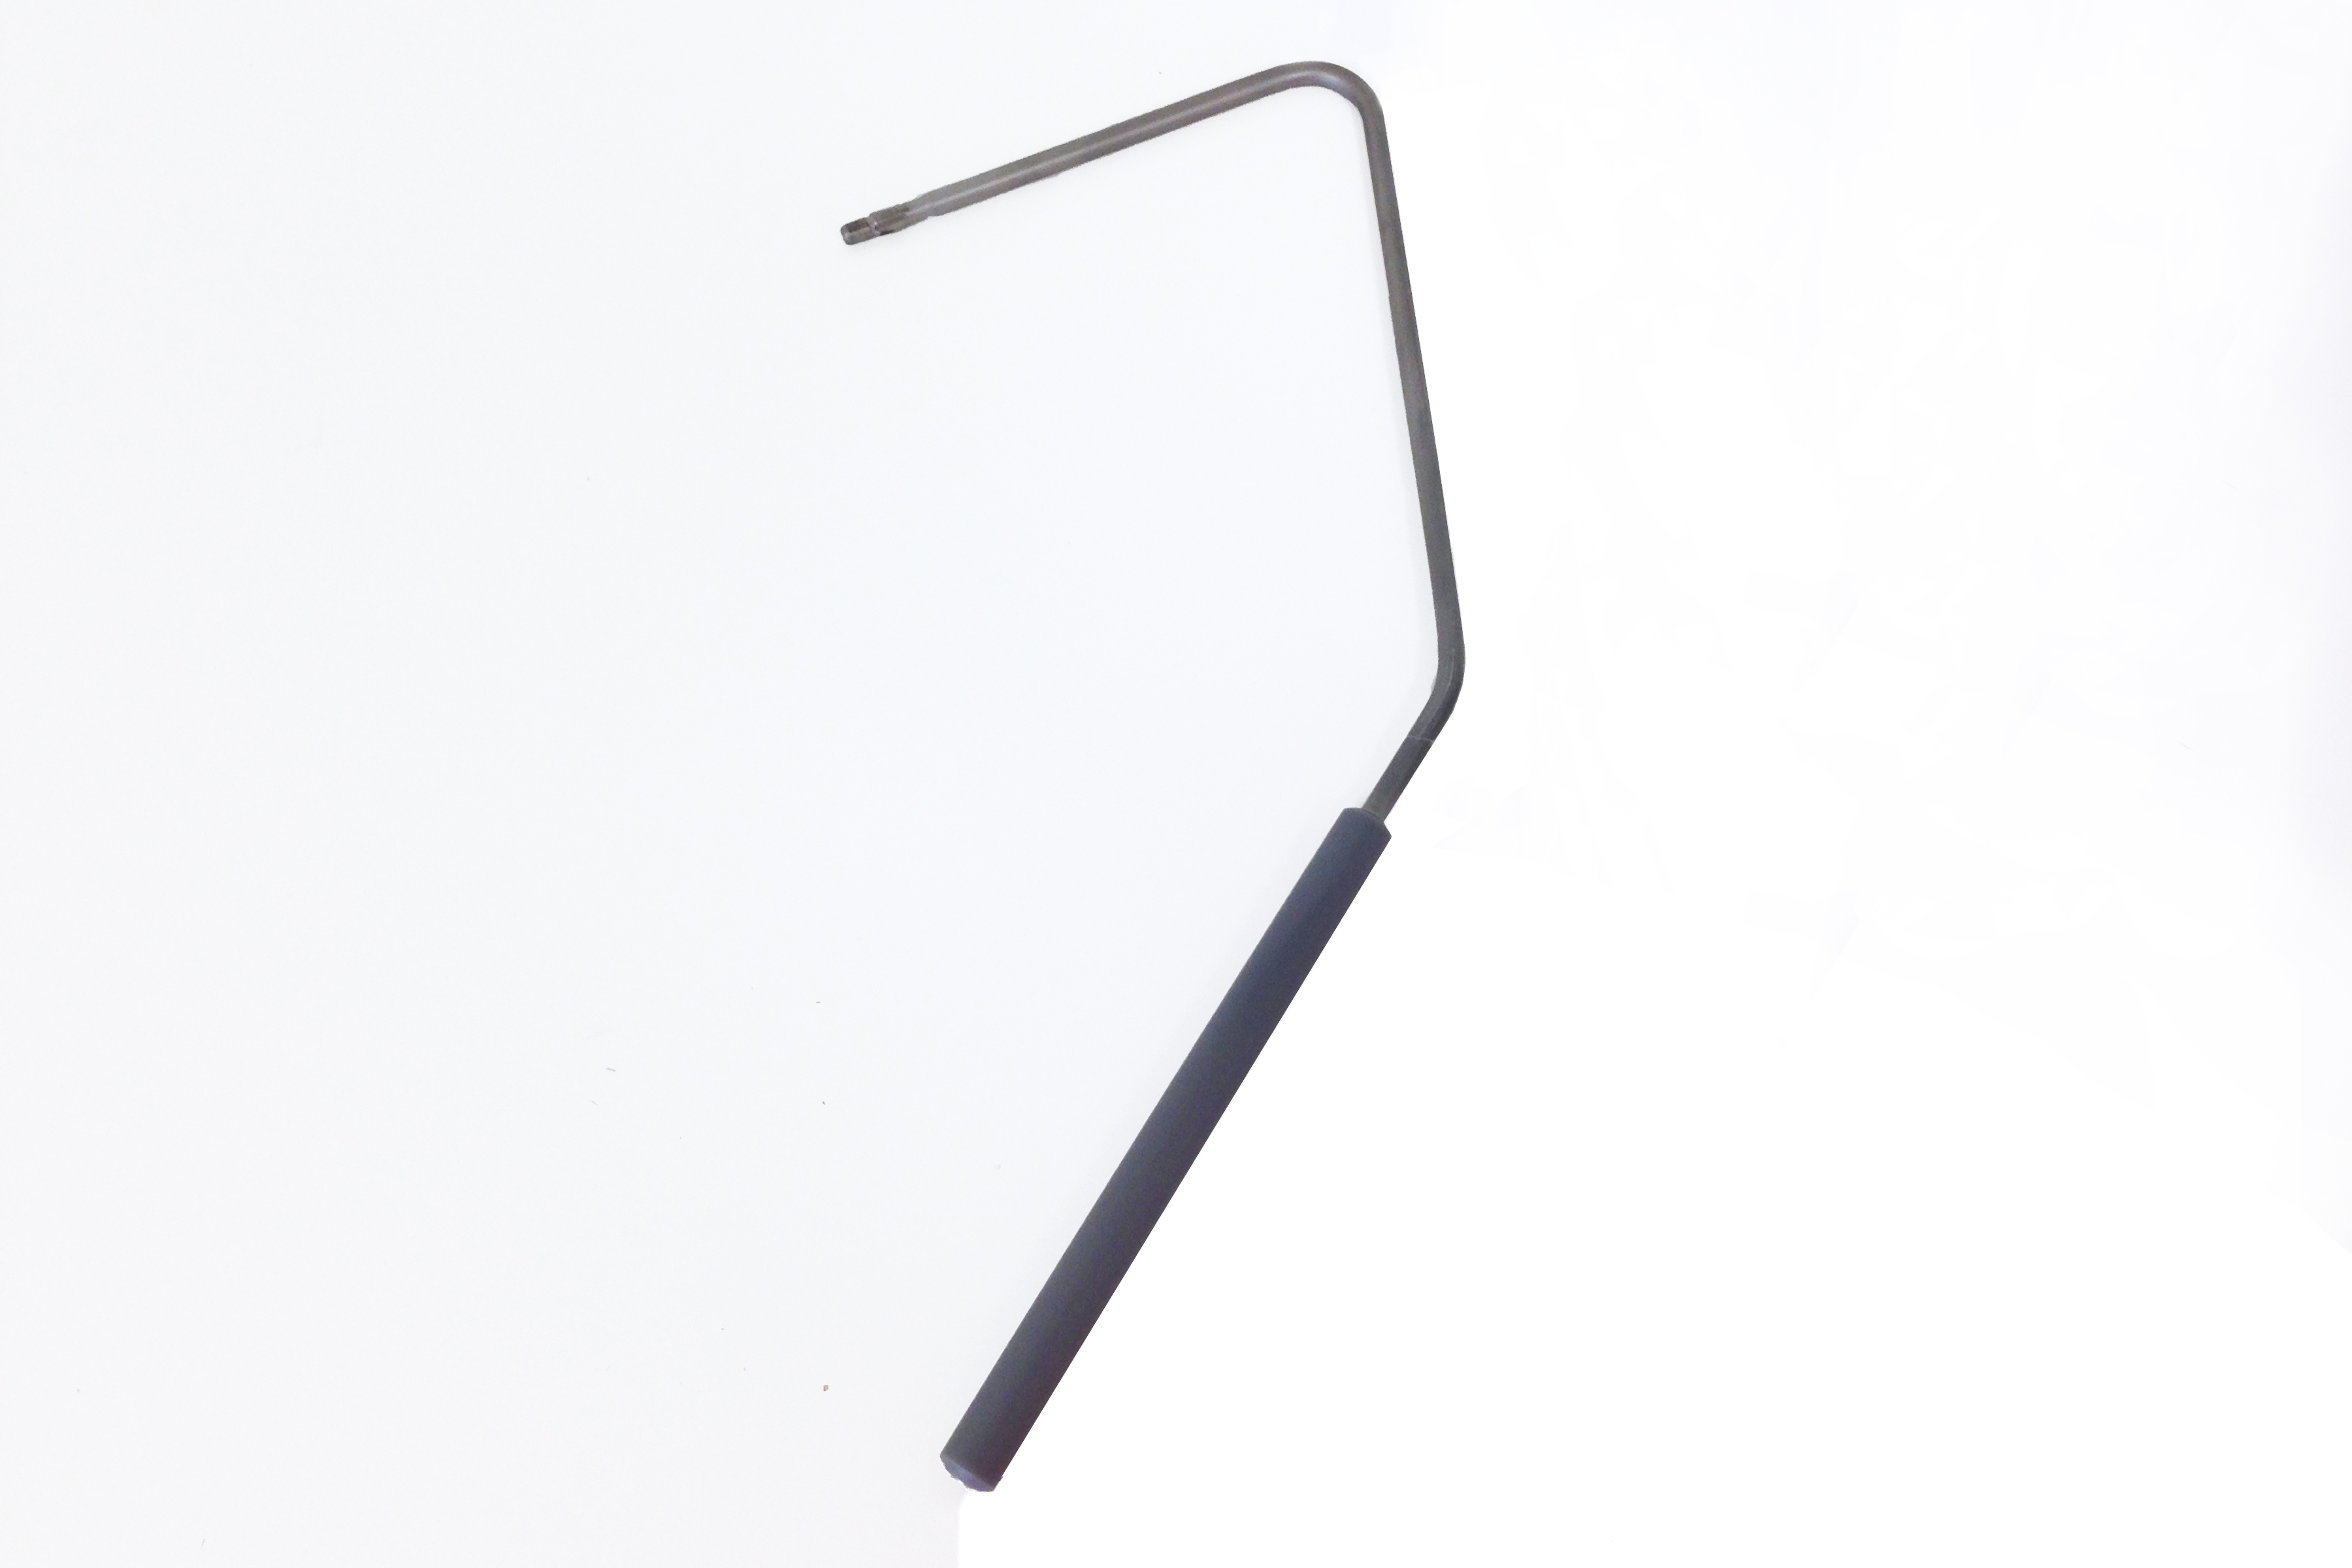
Stitch down one side of your star, when you get to the corner to pivot, leave the needle down in the fabric, and use your right leg to raise the foot to turn the fabric to the new direction. Then, release your leg to lower the foot and begin sewing again. Repeat this process until you get back to the starting point.
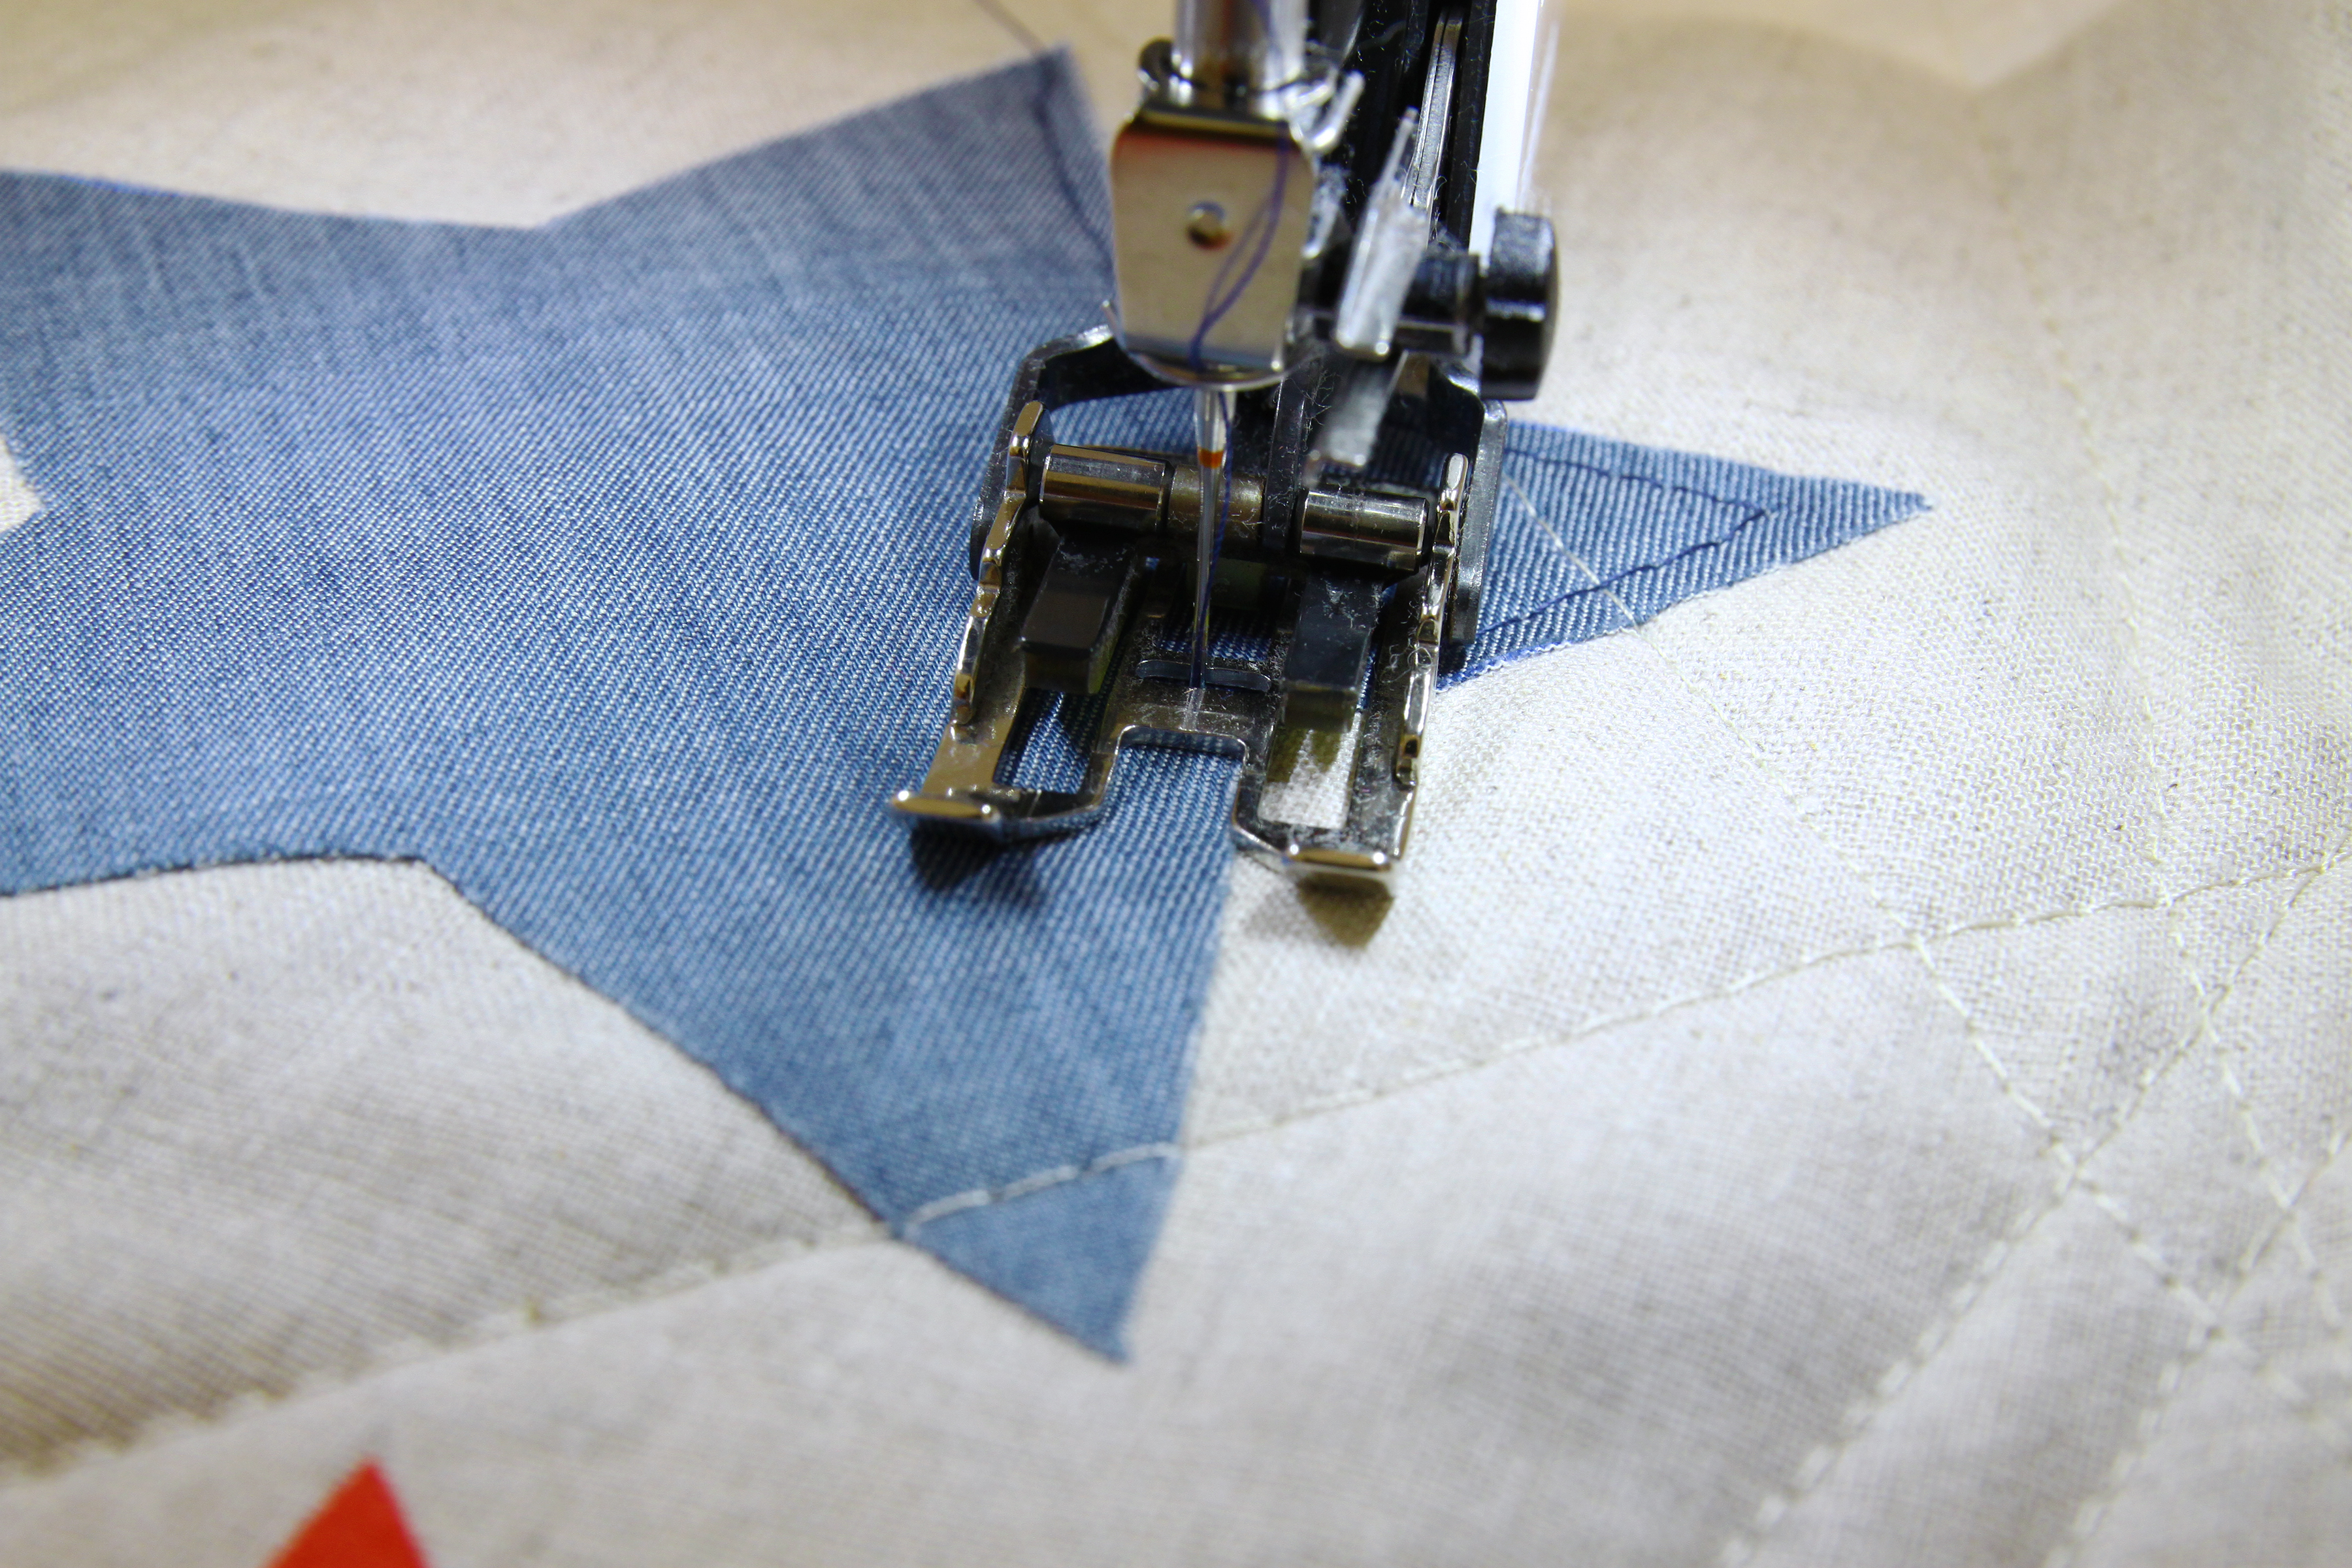
Repeat this same process to secure all of your stars to your table runner. Stitching your stars down this way will allow your stars to naturally fray but stay secure to your table runner!
Step 5: Binding
Square off your table runner. Cut enough strips 2 1/4″ wide by the width of the fabric C to make a final strip 132″ long. Start sewing the binding strip in the middle of one of the sides of the quilt, placing the strip right side down and leaving an approximated 5″ tail.
Sew with ¼” seam allowance (using straight stitch), aligning the strip’s raw edge with the quilt top’s raw edge. Stop stitching ¼” before reaching the corner of the quilt. Clip the threads. Remove the table runner from under the machine presser foot. Fold the strip in a motion of 45° and upward, pressing with your fingers. Hold this fold with your finger, bring the strip down in line with the next edge, making a horizontal fold that aligns with the top edge of the quilt.
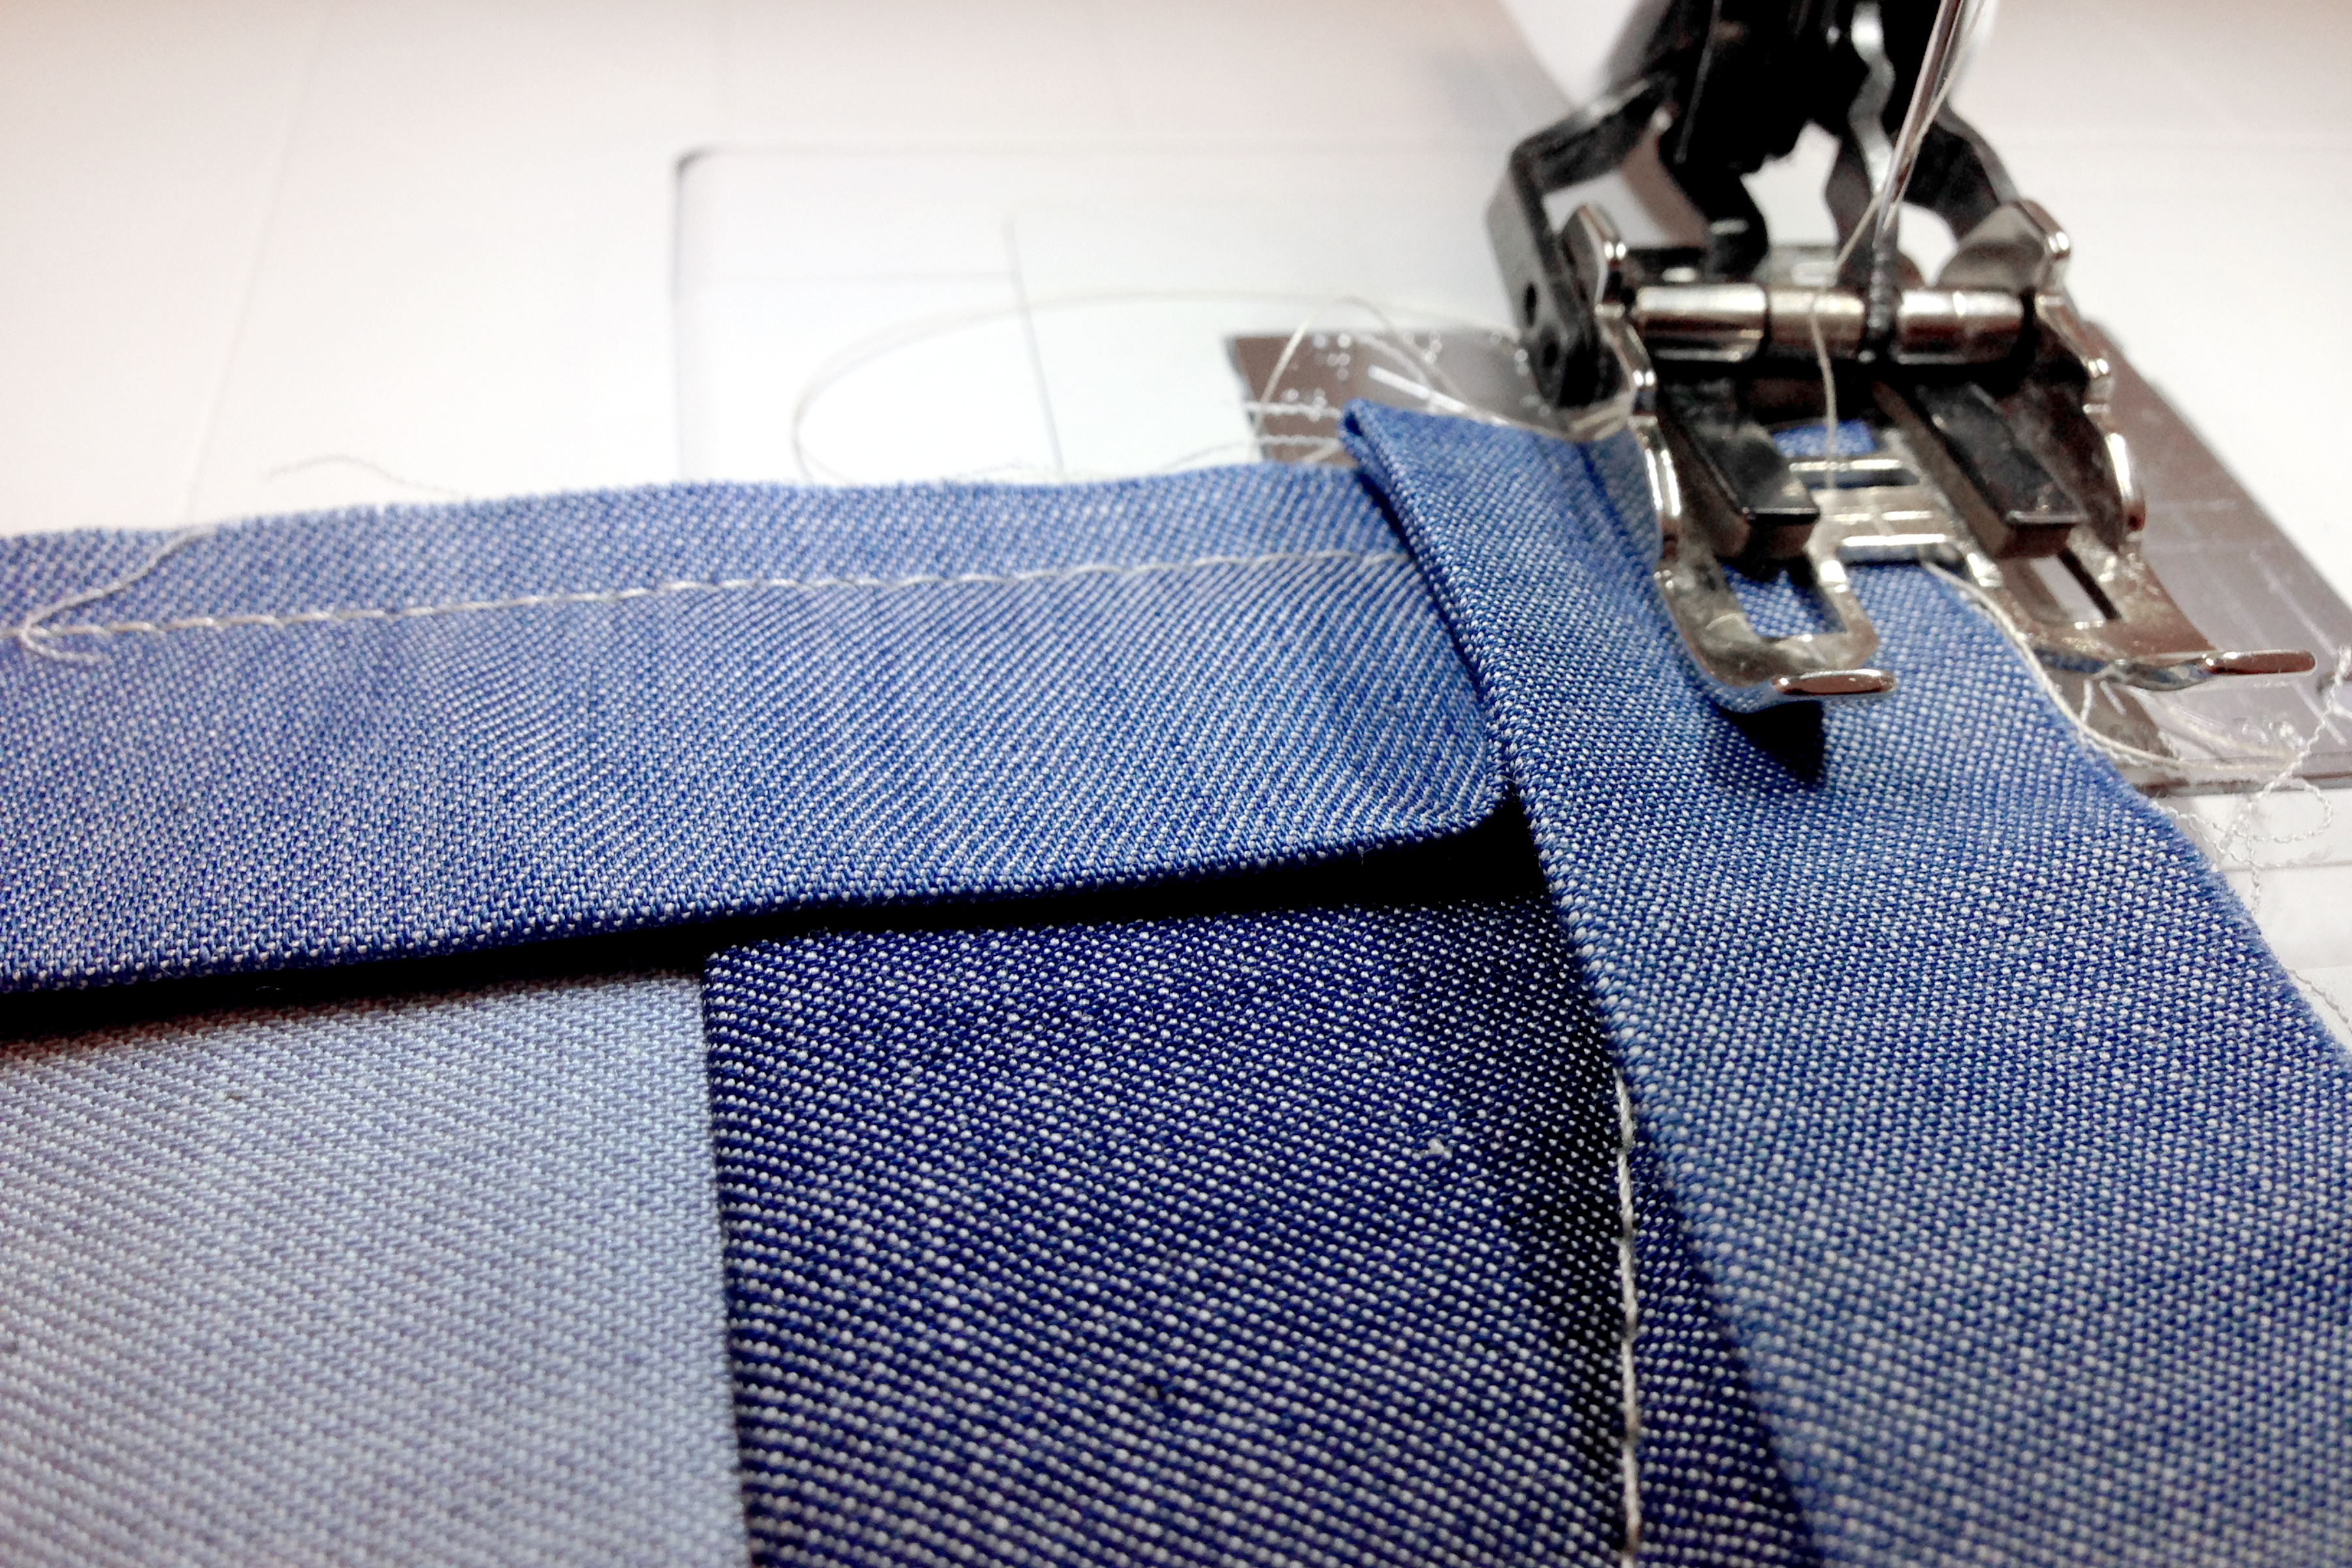
Start sewing at ¼” of the border, stitching all the layers. Do the same in the four corners of the quilt. Stop stitching before you reach the last 5 or 6 inches. Cut the threads and remove the quilt from under the machine presser foot. Lay the loose ends of the binding flat along the quilt edge, folding the ends back on themselves where they meet. Press them together to form a crease. Using this crease as the stitching line, sew the two open ends of the binding with right sides together (you can help yourself marking with a pencil if the crease is difficult to see). Trim seam to ¼” and press open. Complete the sewing. Turn binding to back of the quilt, and stitch by hand using blind stitch or stitch with machine.

Your table runner is complete and ready to decorate your table for your July 4th party! AGF wishes you a fun and safe July 4th! Stay tuned to weallsew.com for more fun projects to come!
Keep Sewing,
AGF