How to Make a Pillowcase
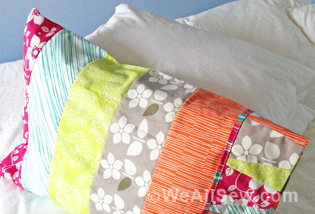
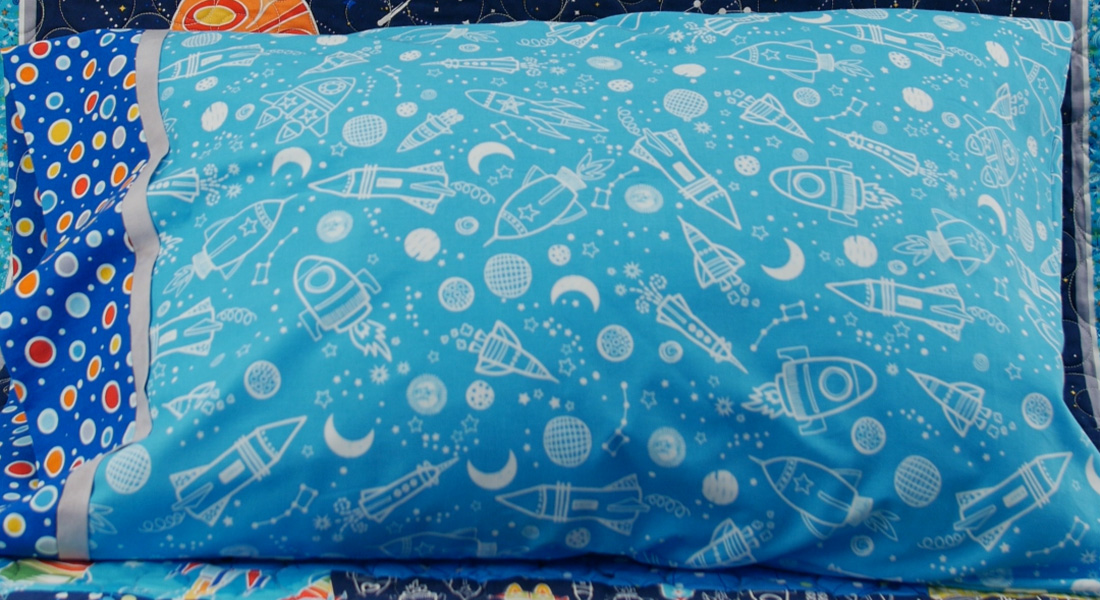
A simple pillowcase can make a great gift for any occasion to brightening up a bedroom with fun fabrics. I’ve made pillowcases for almost every season and holiday for my 5th grade daughter through the years, and she still gets excited at the sight of a brand new pillowcase for her room.
When selecting fabrics for this speedy pillowcase, be sure to pay attention to the direction of the fabric print. Some fabric prints don’t seem to have one direction, that is, the pattern goes every which way. And some prints have a definite direction like a stripe, or a print that can go in only one direction. For best results with this speedy pillowcase method, choose allover prints without a clear direction, solids, or prints that run perpendicular (the opposite way) to the selvage edge. If the print is directional and runs parallel (in the same direction) to the selvage edge, it will end up looking sideways on the finished pillowcase using this method (which is no fut at all, ask me how I know!).
When in doubt, just pull some of the print off the fabric bolt and hold it with the selvage edge down, folded edge at the top, and imagine it is the pillowcase. If the print looks okay, then it will work with this method. If the print looks like it’s “sideways” then choose a different fabric to create a speedy pillowcase with this method.

Materials to Make a Speedy Pillowcase
Use 100% cotton 44-45″ wide fabrics for this project
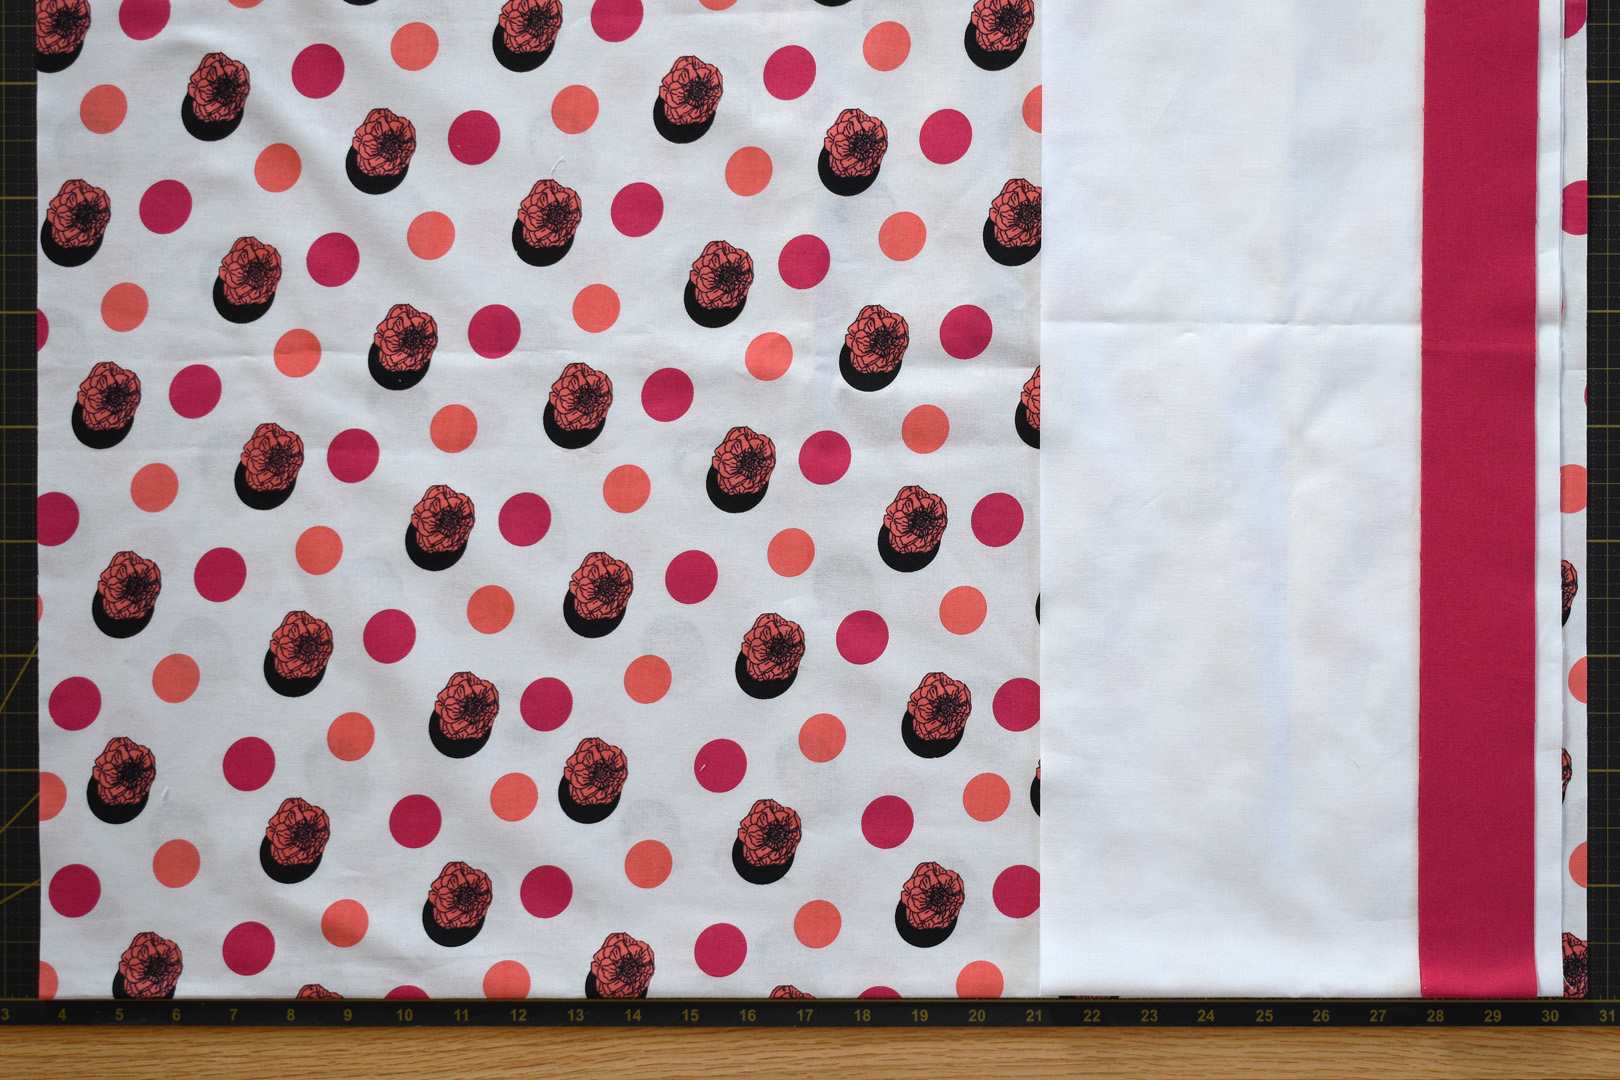
- About 7/8 to 1 yard fabric for main pillowcase
- About 1/3 yard fabric for pillowcase end
- About 1/4 yard fabric for pillowcase trim
- Rotary cutter, cutting mat, 24″ x 6″ ruler and 36″ x 4″ ruler or straight edge
- Iron and pressing surface or ironing board
- Mettler Metrosene thread in coordinating color
- Thread snips
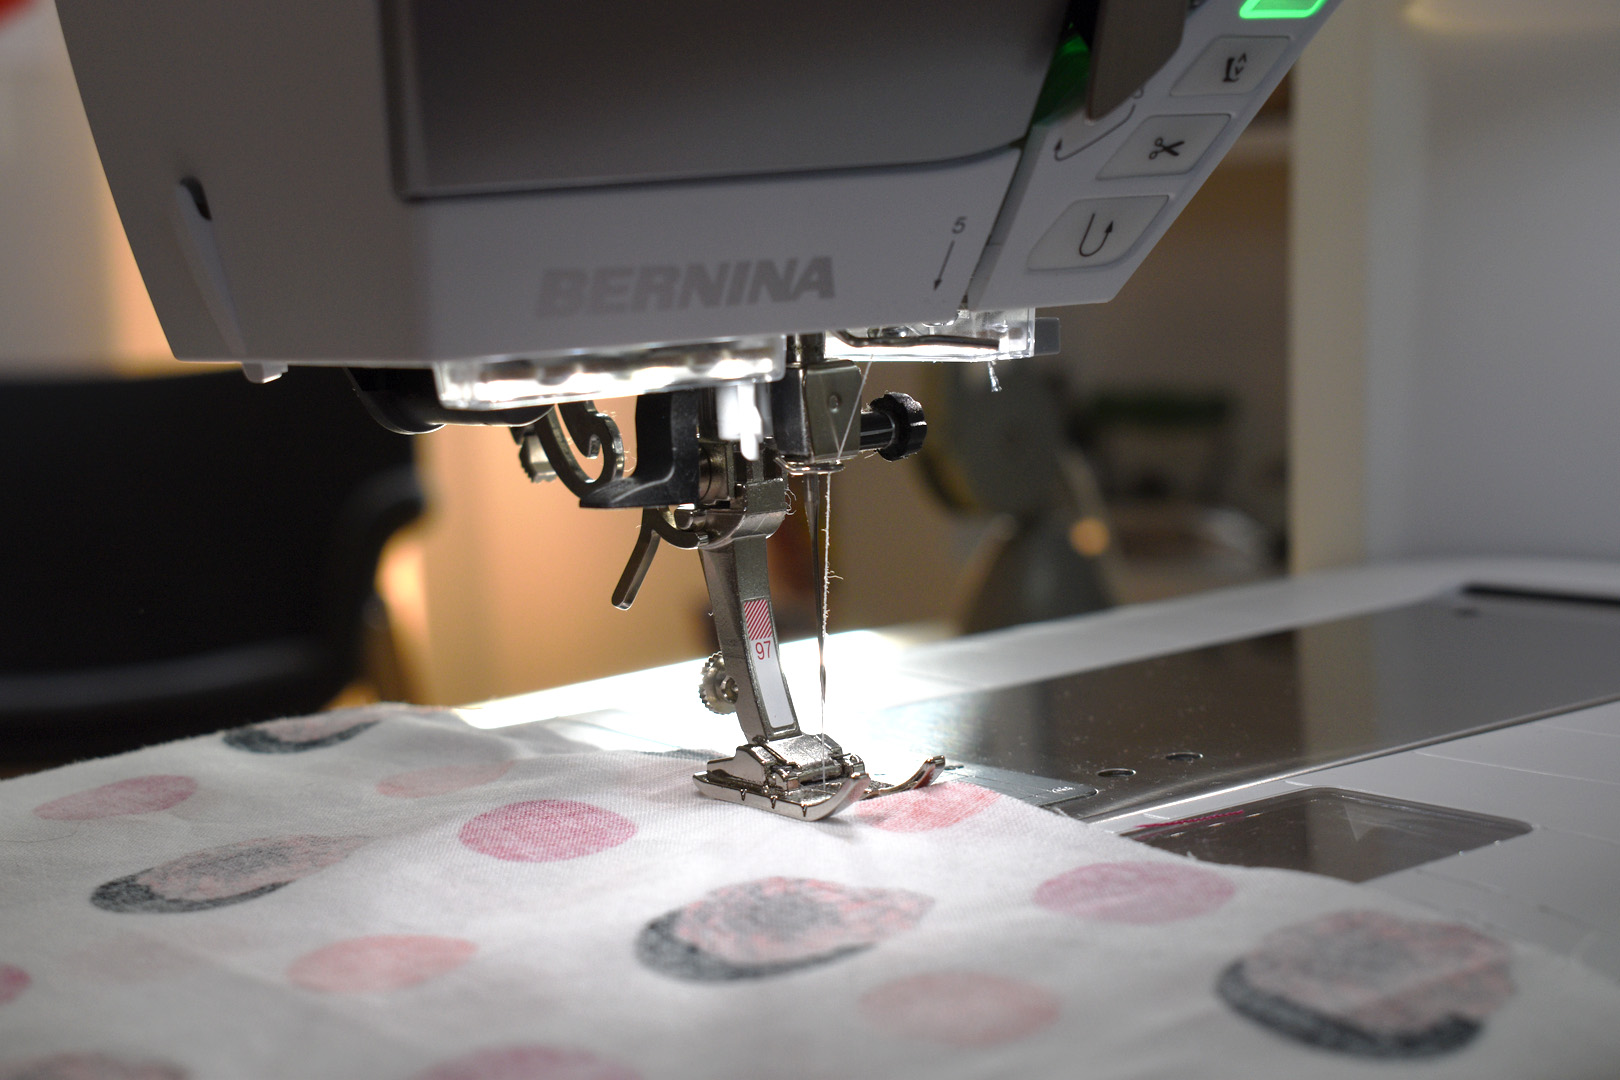
- Sewing machine, I use a BERNINA 570 QE
- Quarter inch presser foot of choice, I use the Patchwork foot #97
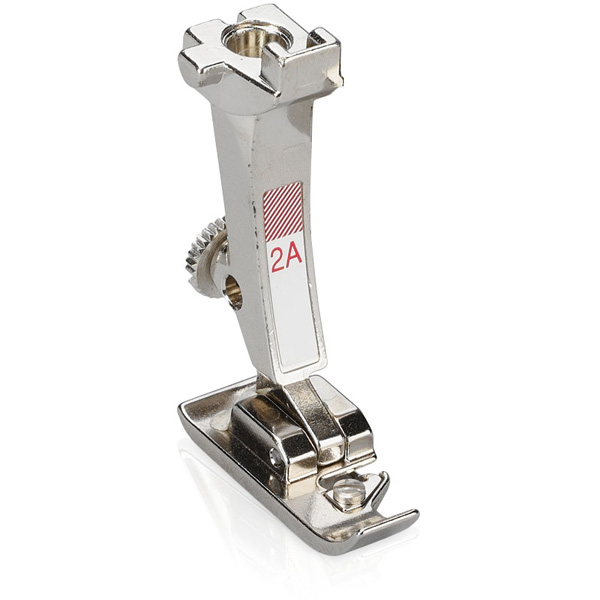
- Overlock foot #2

Get ready to sew! I start a new project by making sure my sewing machine and surrounding area is clean and ready to go, and gather together all the materials needed for the project. I also grab a cup of hot tea (Earl Gray), and find a good playlist to fit my mood! Do you have any similar sewing habits or must-have’s before you can start a new project?
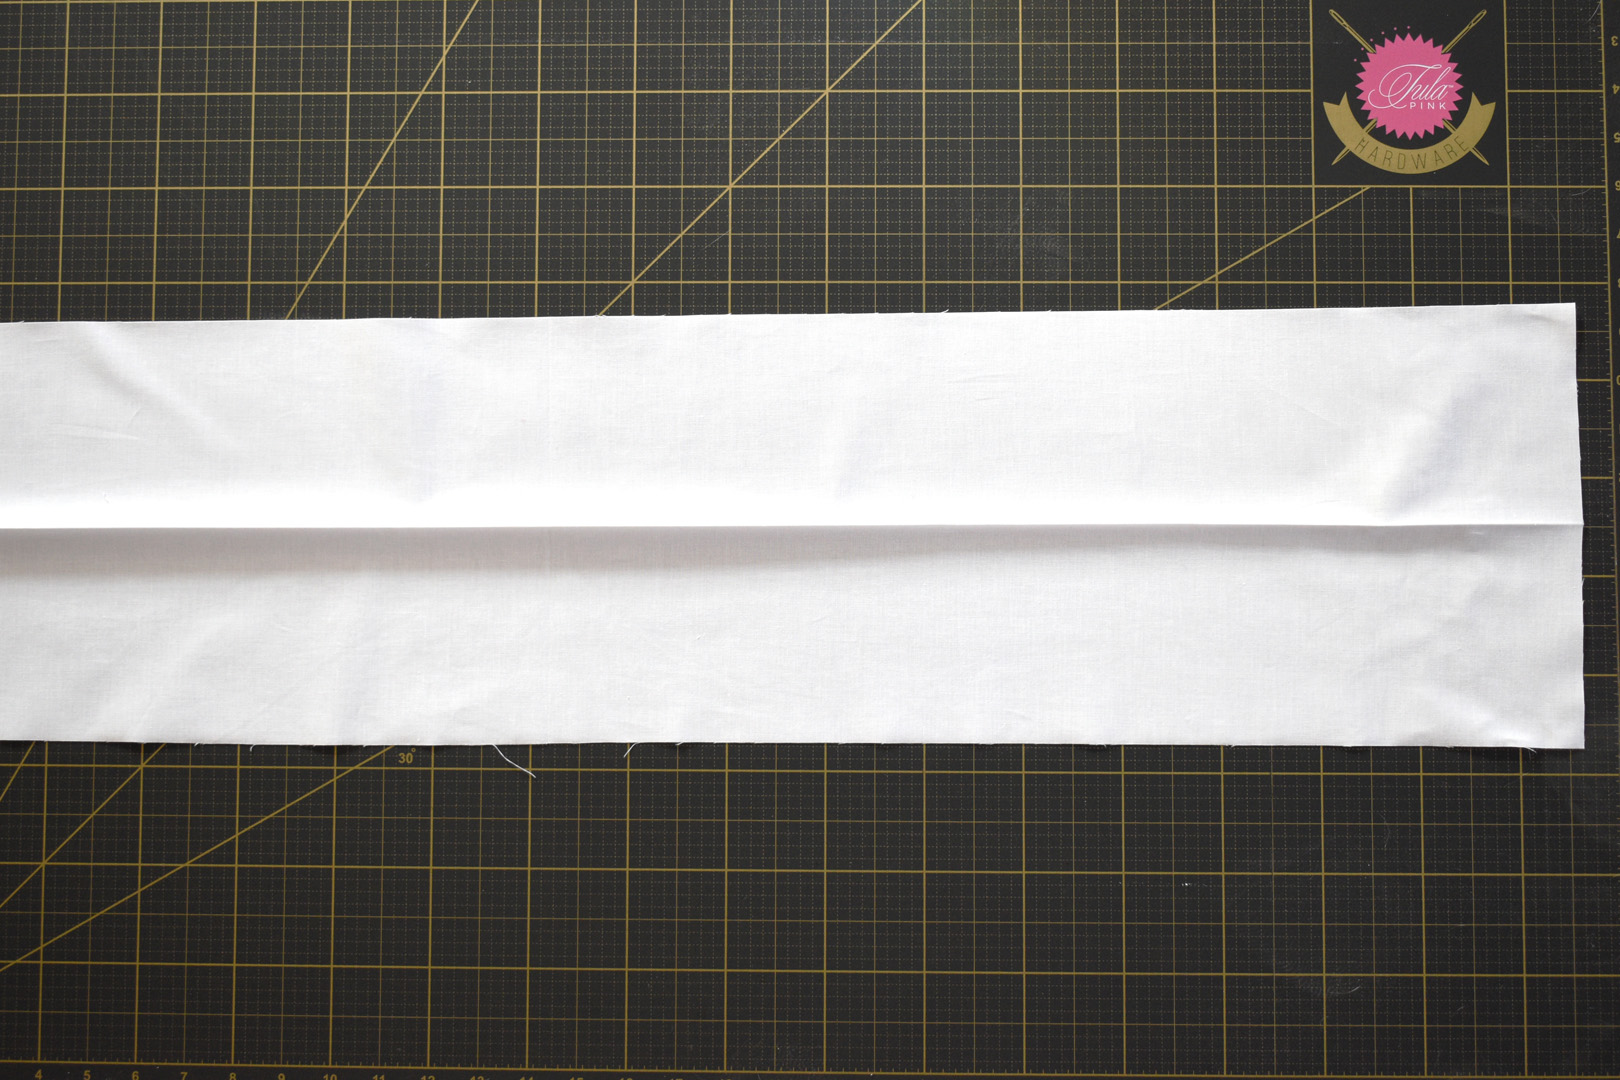
Cut the pieces to make a speedy pillowcase.
Cut the three pieces to make the pillowcase along the width of the fabric (WOF).
- Cut the main pillowcase fabric to 27″ WOF
- Cut the end pillowcase fabric to 9″ WOF
- Cut the trim pillowcase fabric to 2″ WOF
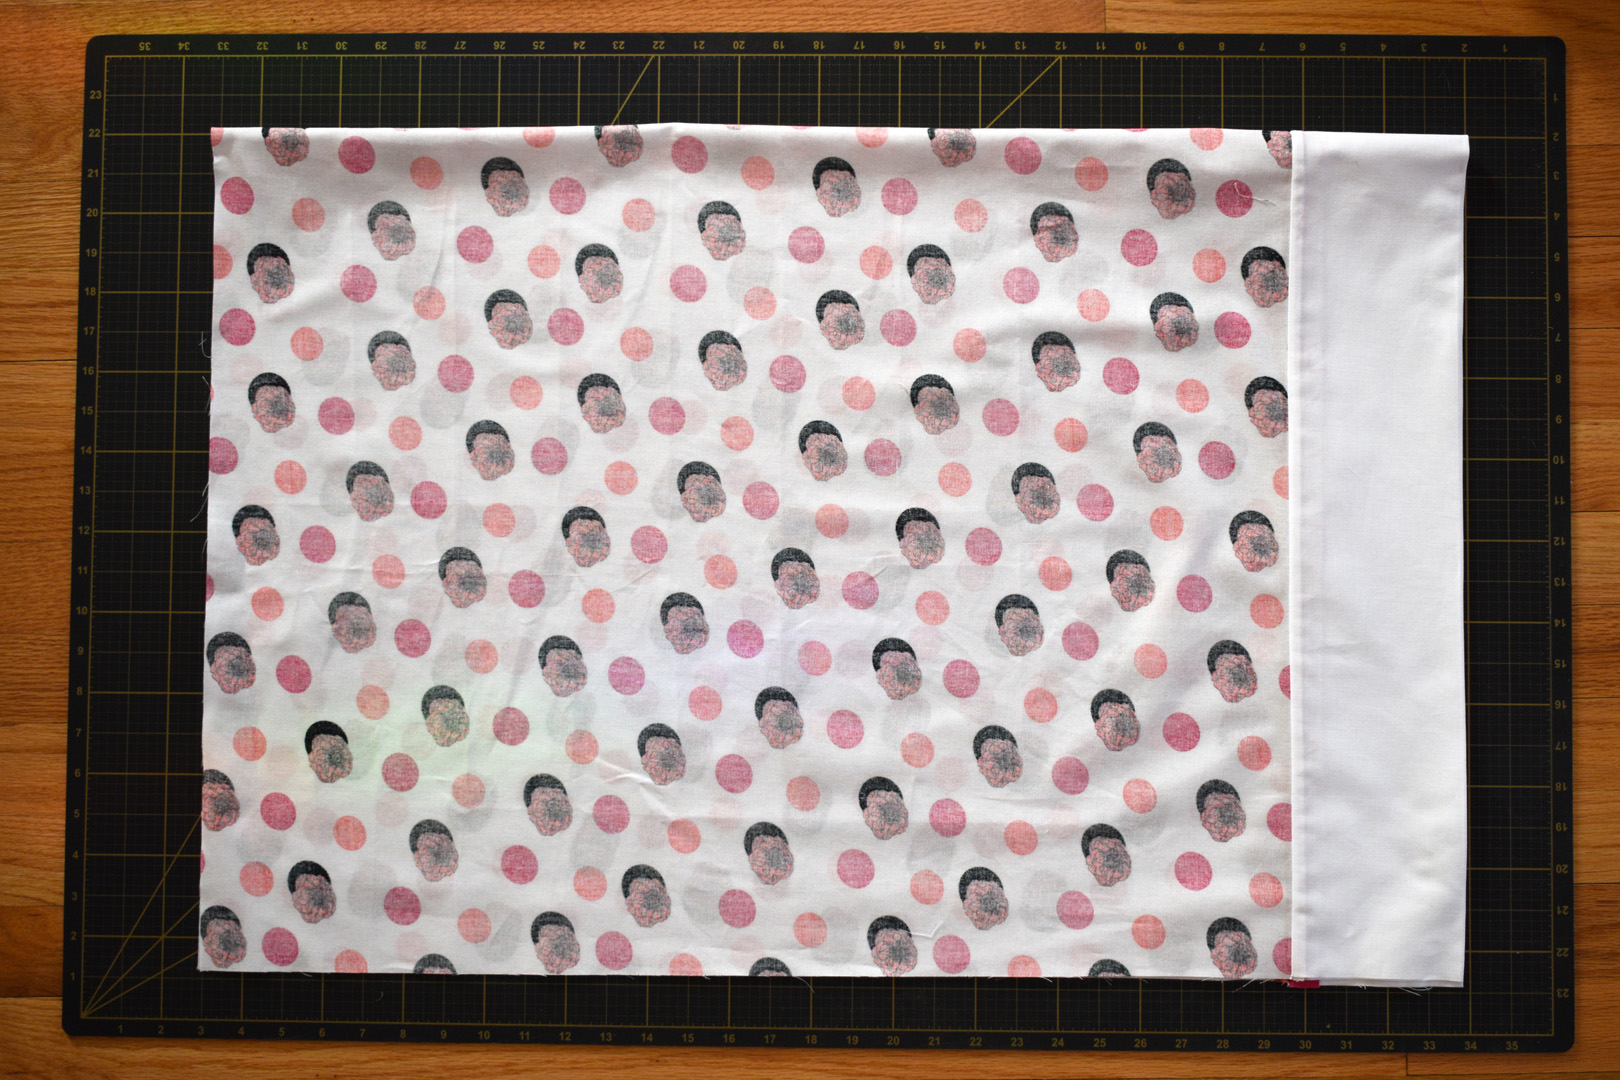
Lay all 3 pieces on your cutting mat, matching the folded edges along the bottom edge. Make sure the folded edges are lined up as perfectly as possible with the markings on your cutting mat. You can hold all three fabrics in place with pattern weights or pins at the folded edge if you choose.
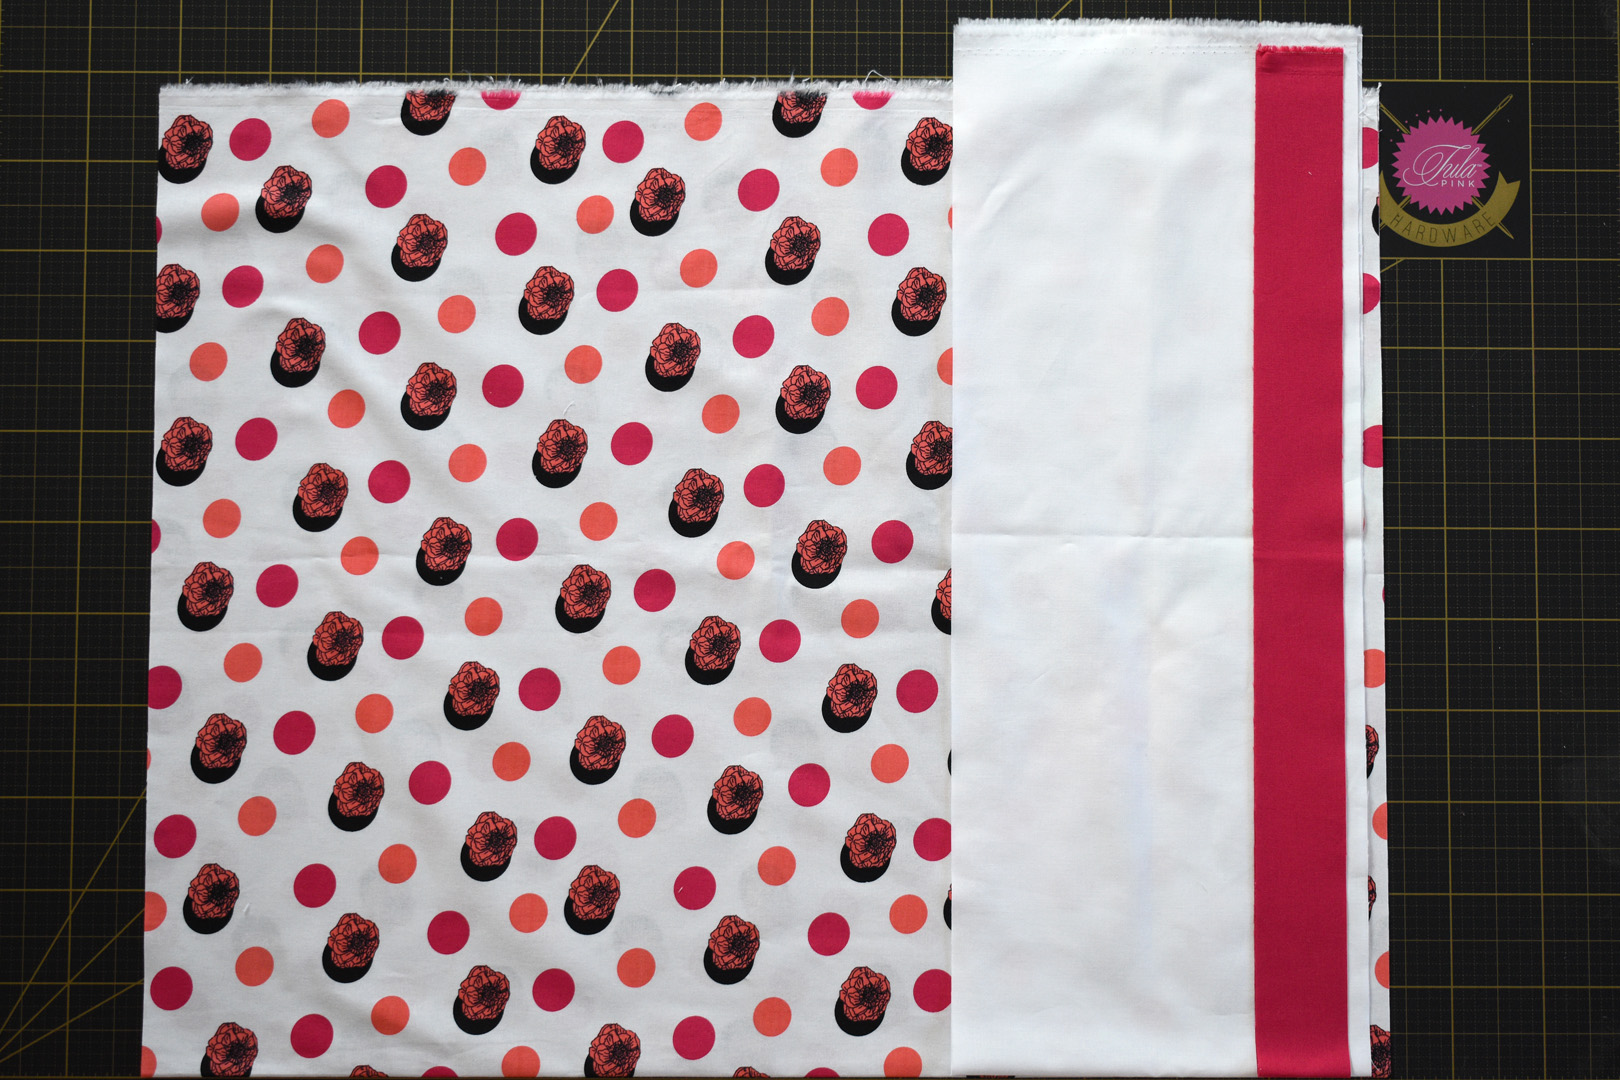
Cut the top edges even across the opposite end from the folds.

Make sure you are cutting off a good 1″ from the selvage edge of the shortest fabric using a long ruler or straight edge. In this case I’m measuring my cut line using the print which is the shortest piece, and lining up my ruler with the markings on the cutting mat.
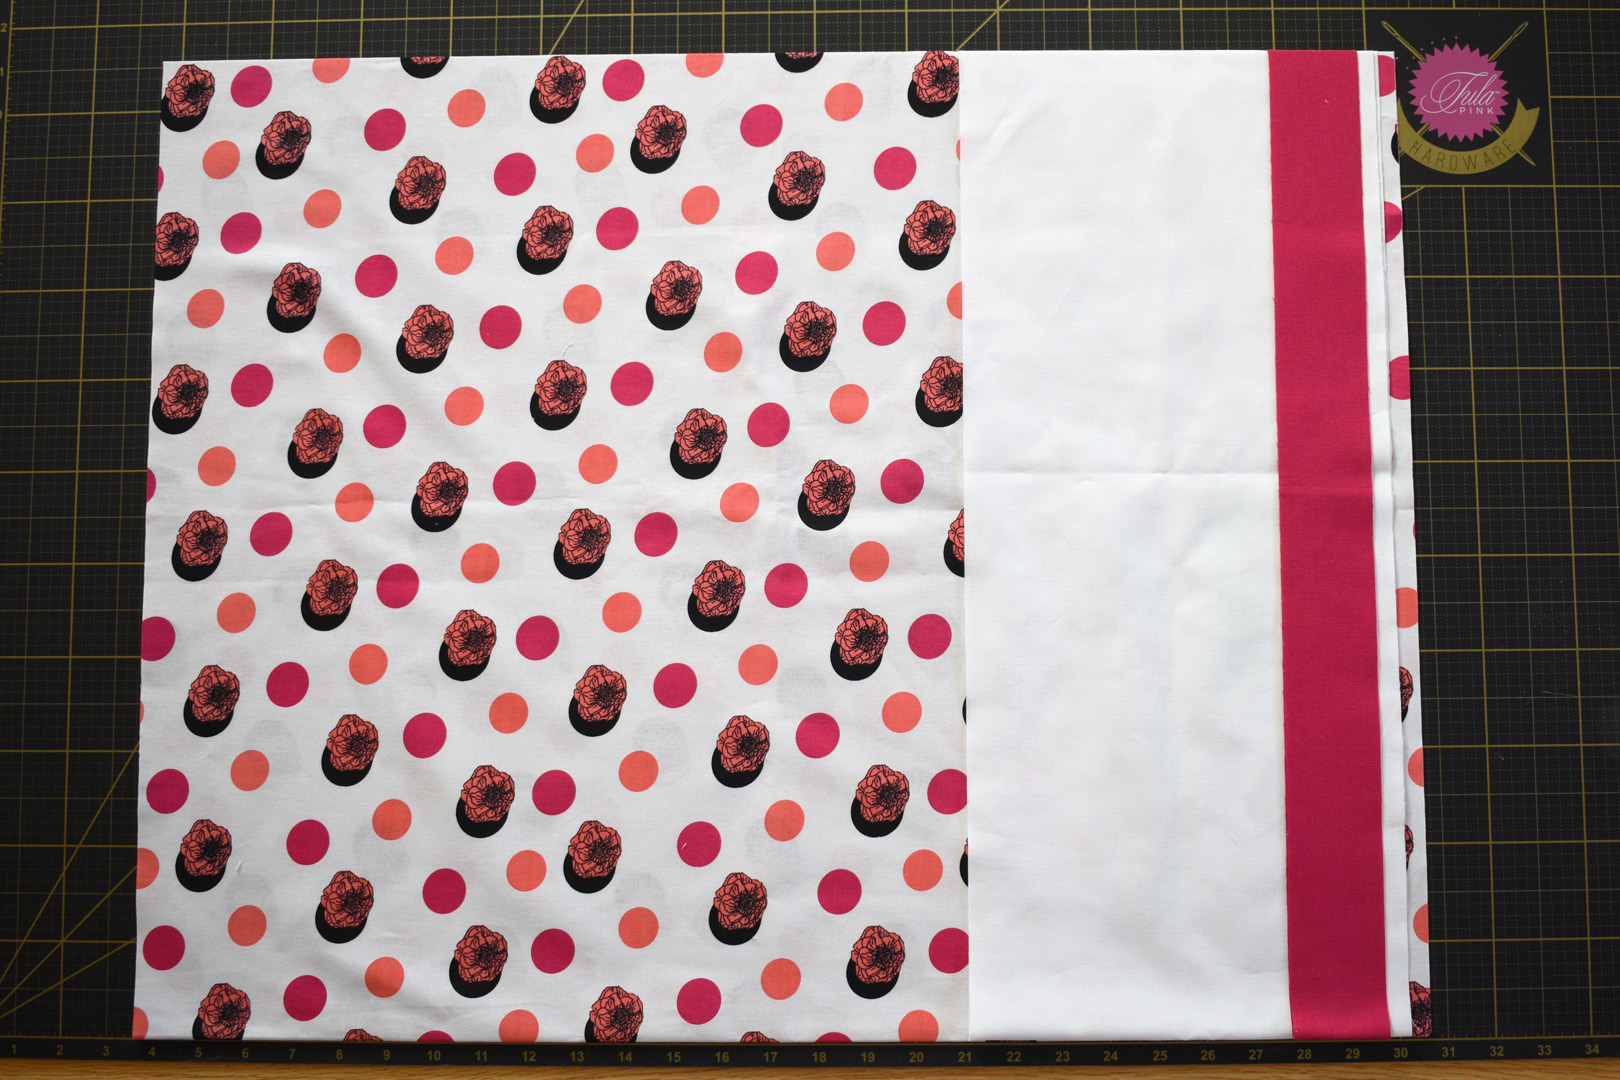
You will now have three pieces of fabric cut to the same width. Take the two smaller pieces to the ironing board.

Press both the end piece and trim piece in half long ways, folding wrong sides together. Set the trim piece aside, and bring the end piece to your work table.
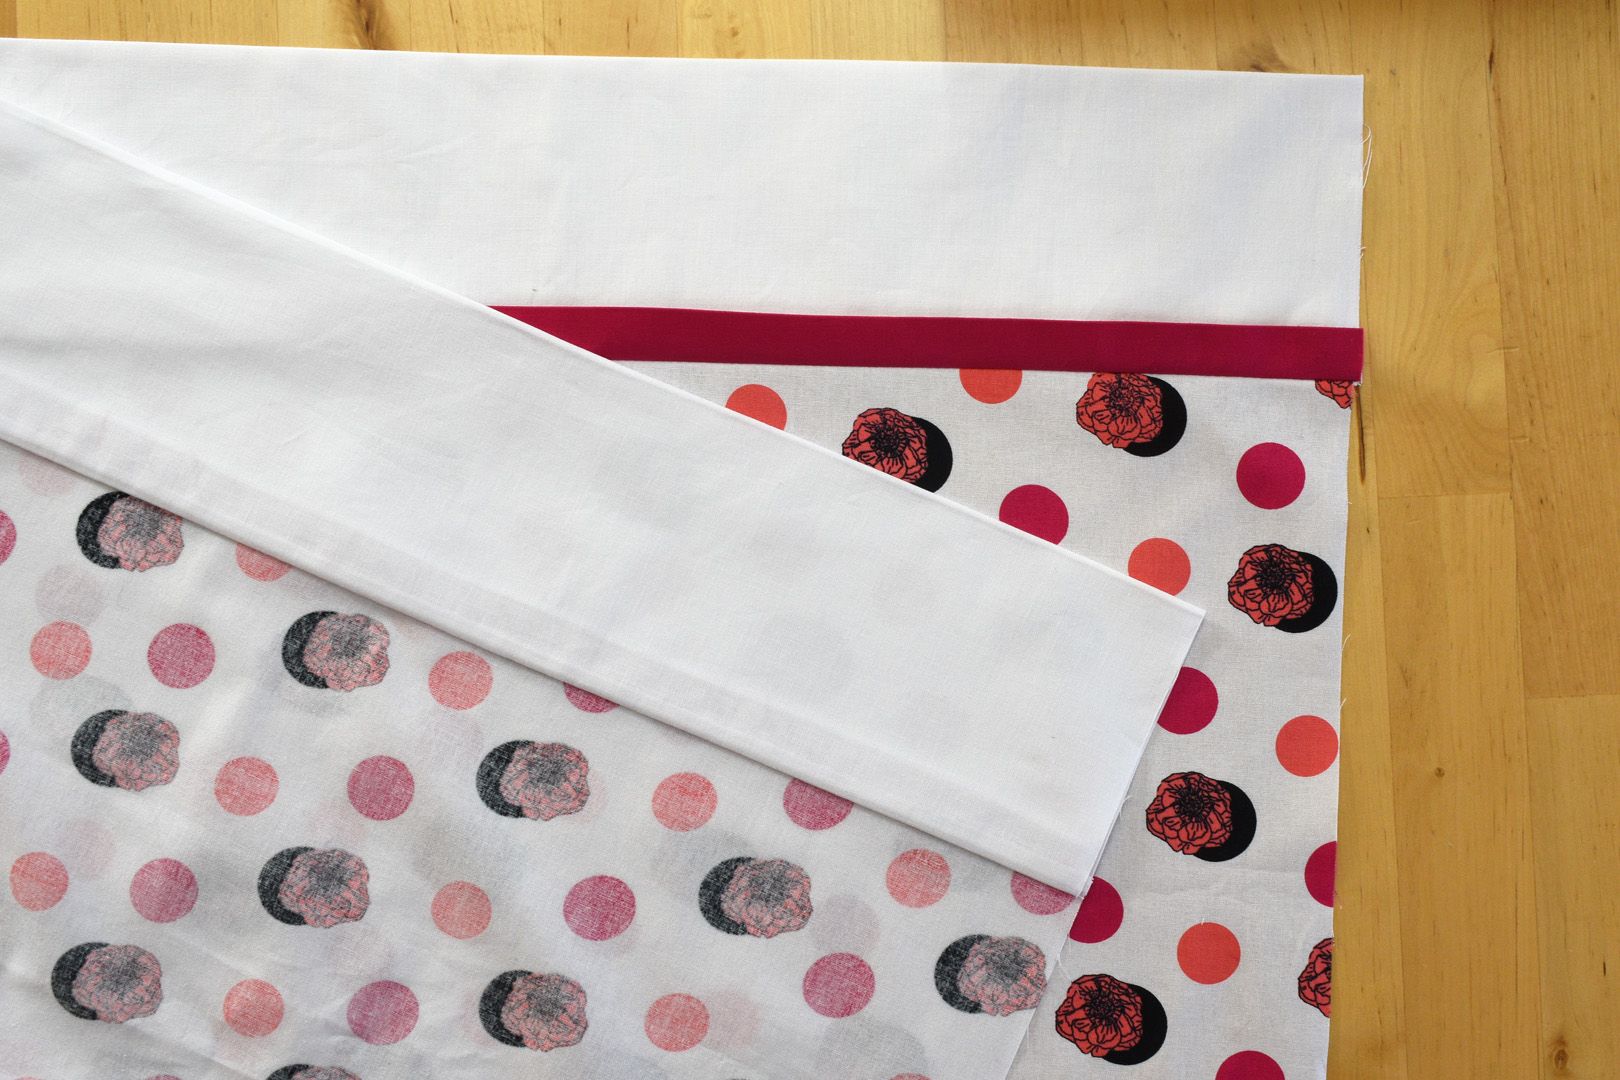
Unfold the end piece and place the opened piece of fabric right side up on your work table.

Now open the main pillowcase piece and place it right side up on top of the end piece, matching raw edges across the top.
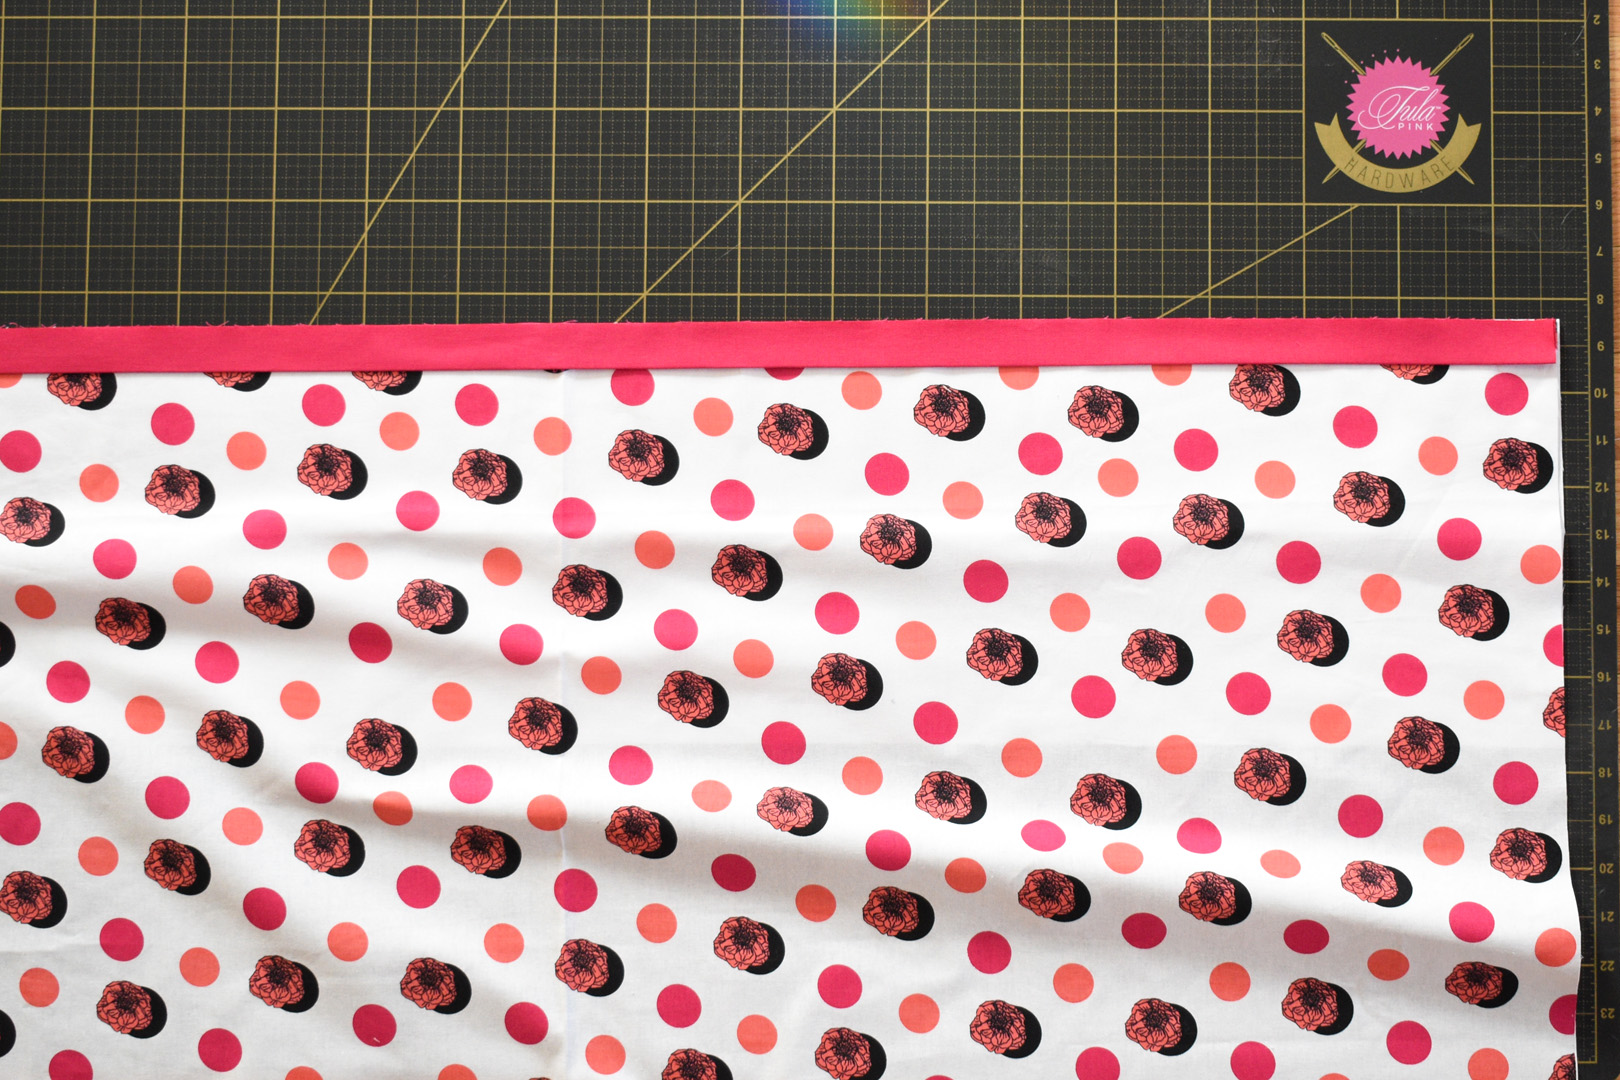
Stack the trip piece on top of the layers (end piece underneath, main piece on top, raw edges meeting at top edge) and match all the raw edges together.
Temporarily clip or pin these layers in place for the next step.

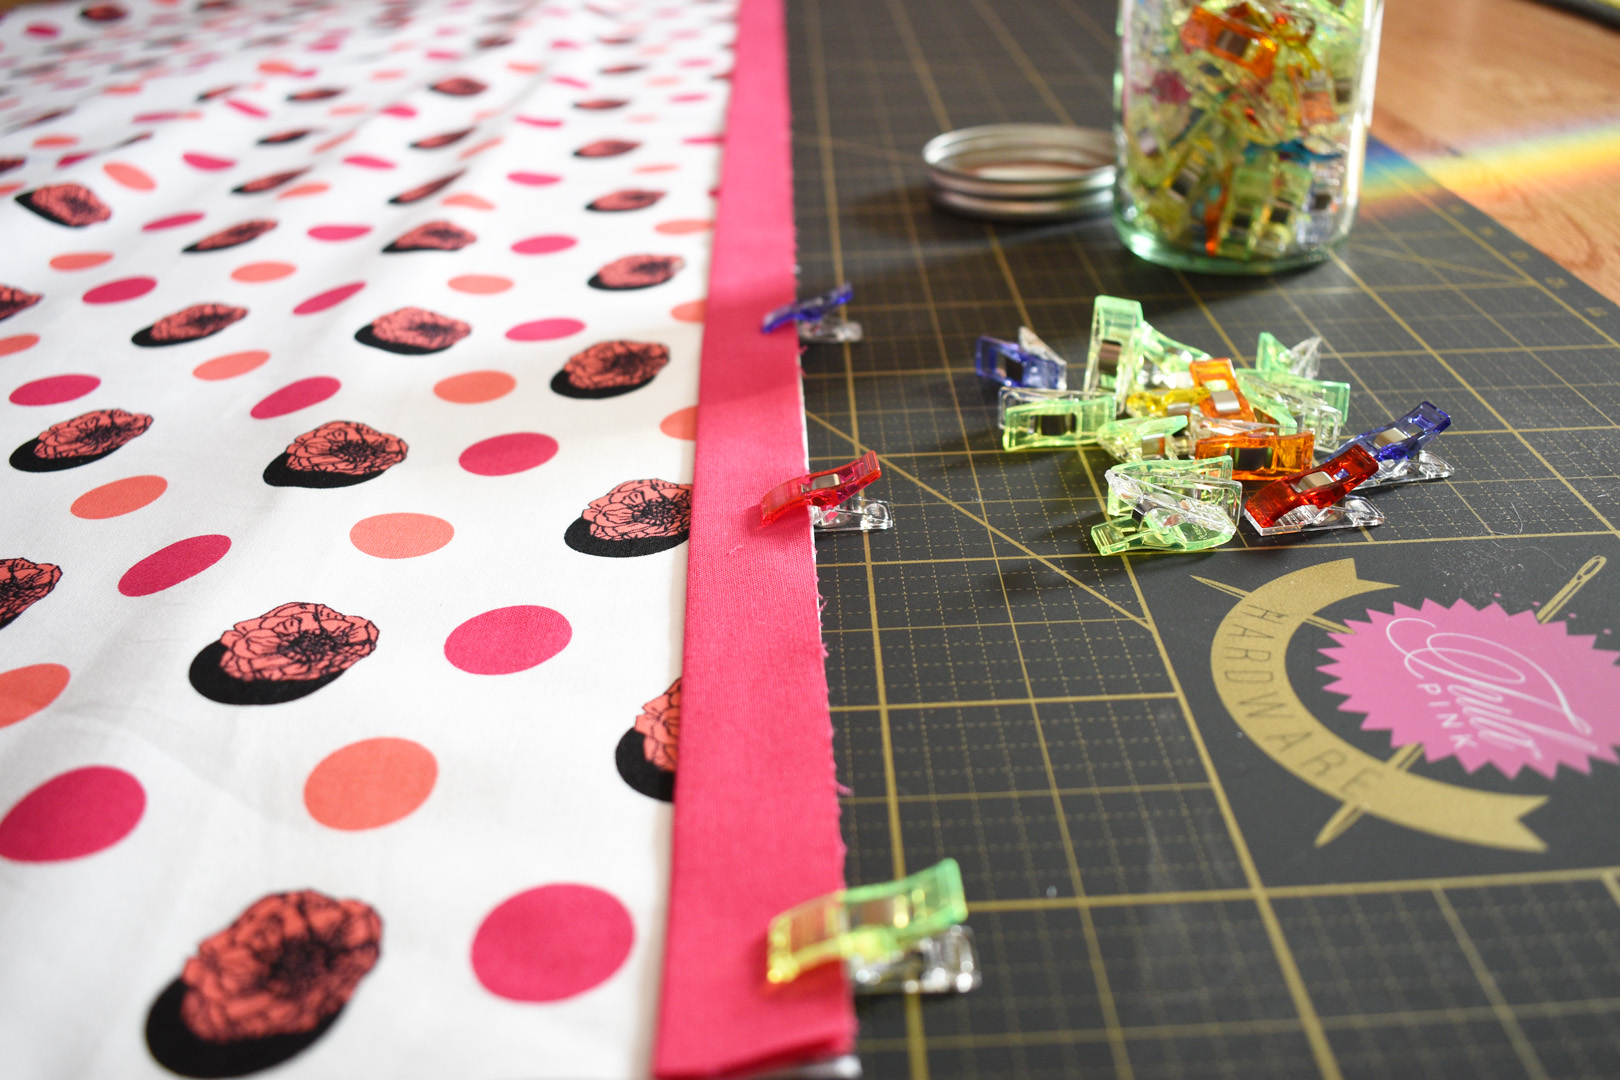
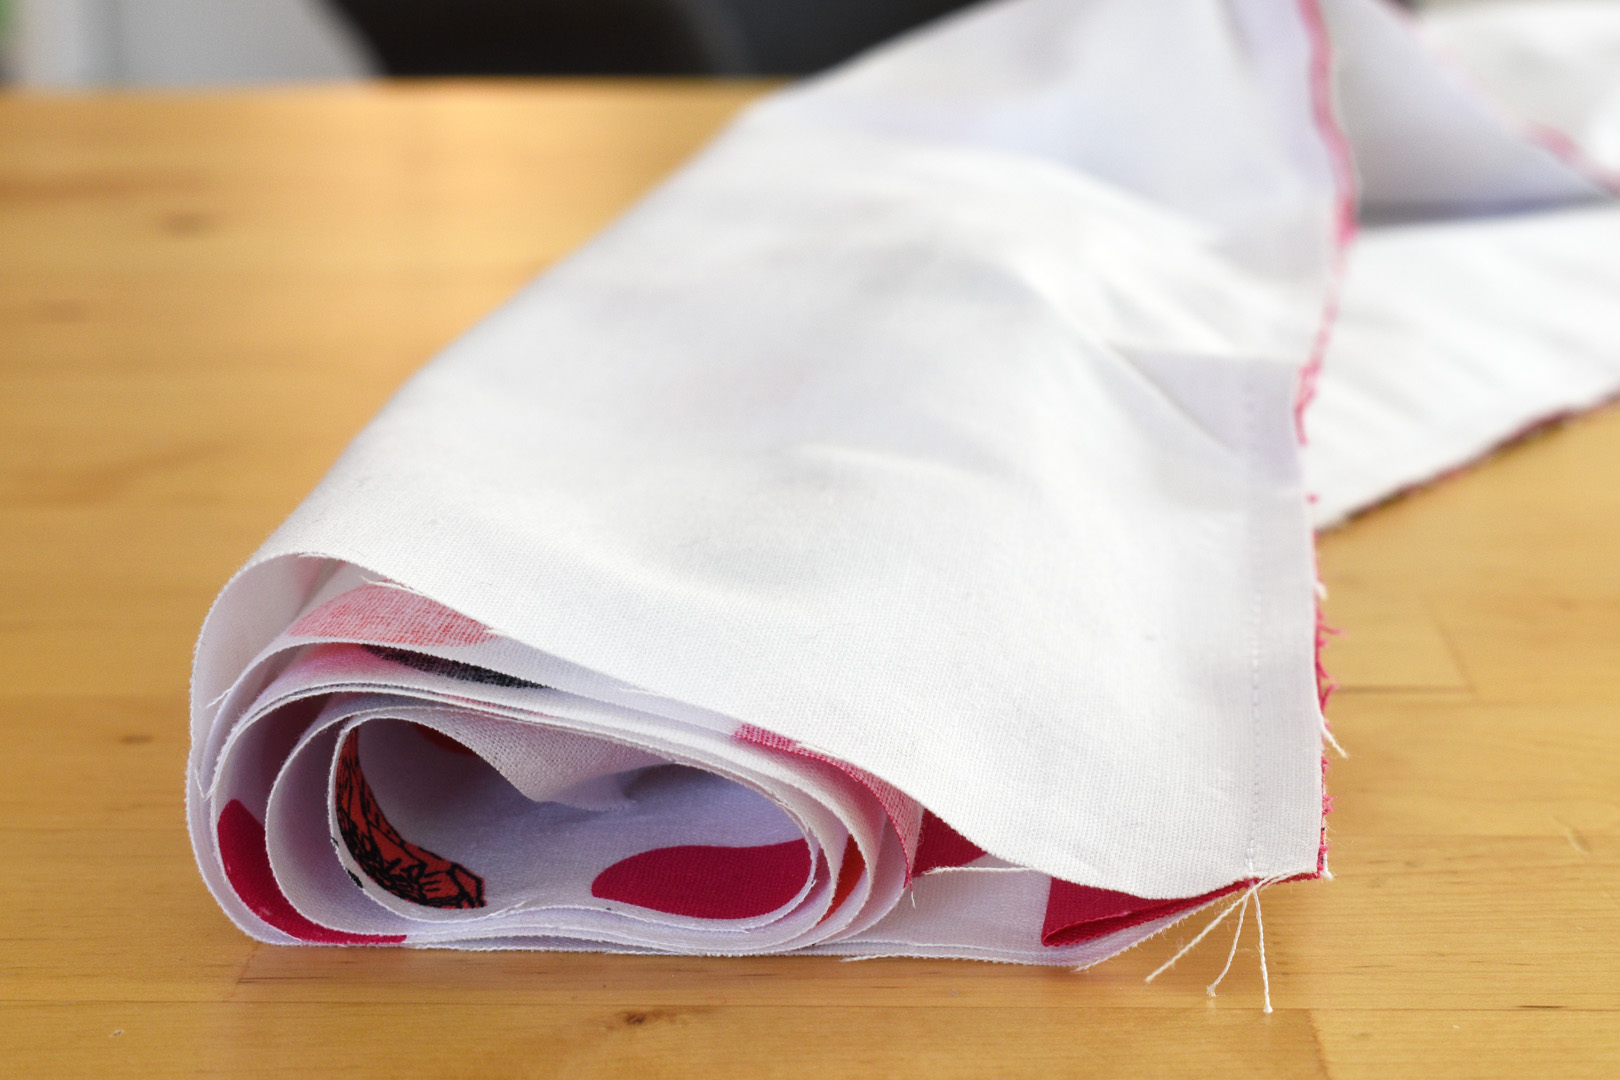
Start to roll the main pillowcase piece up from the bottom towards the top edge.
Roll the main piece up to about 2″ from the top edge. Now you can see the end piece below. Take the bottom raw edge of the end piece below,
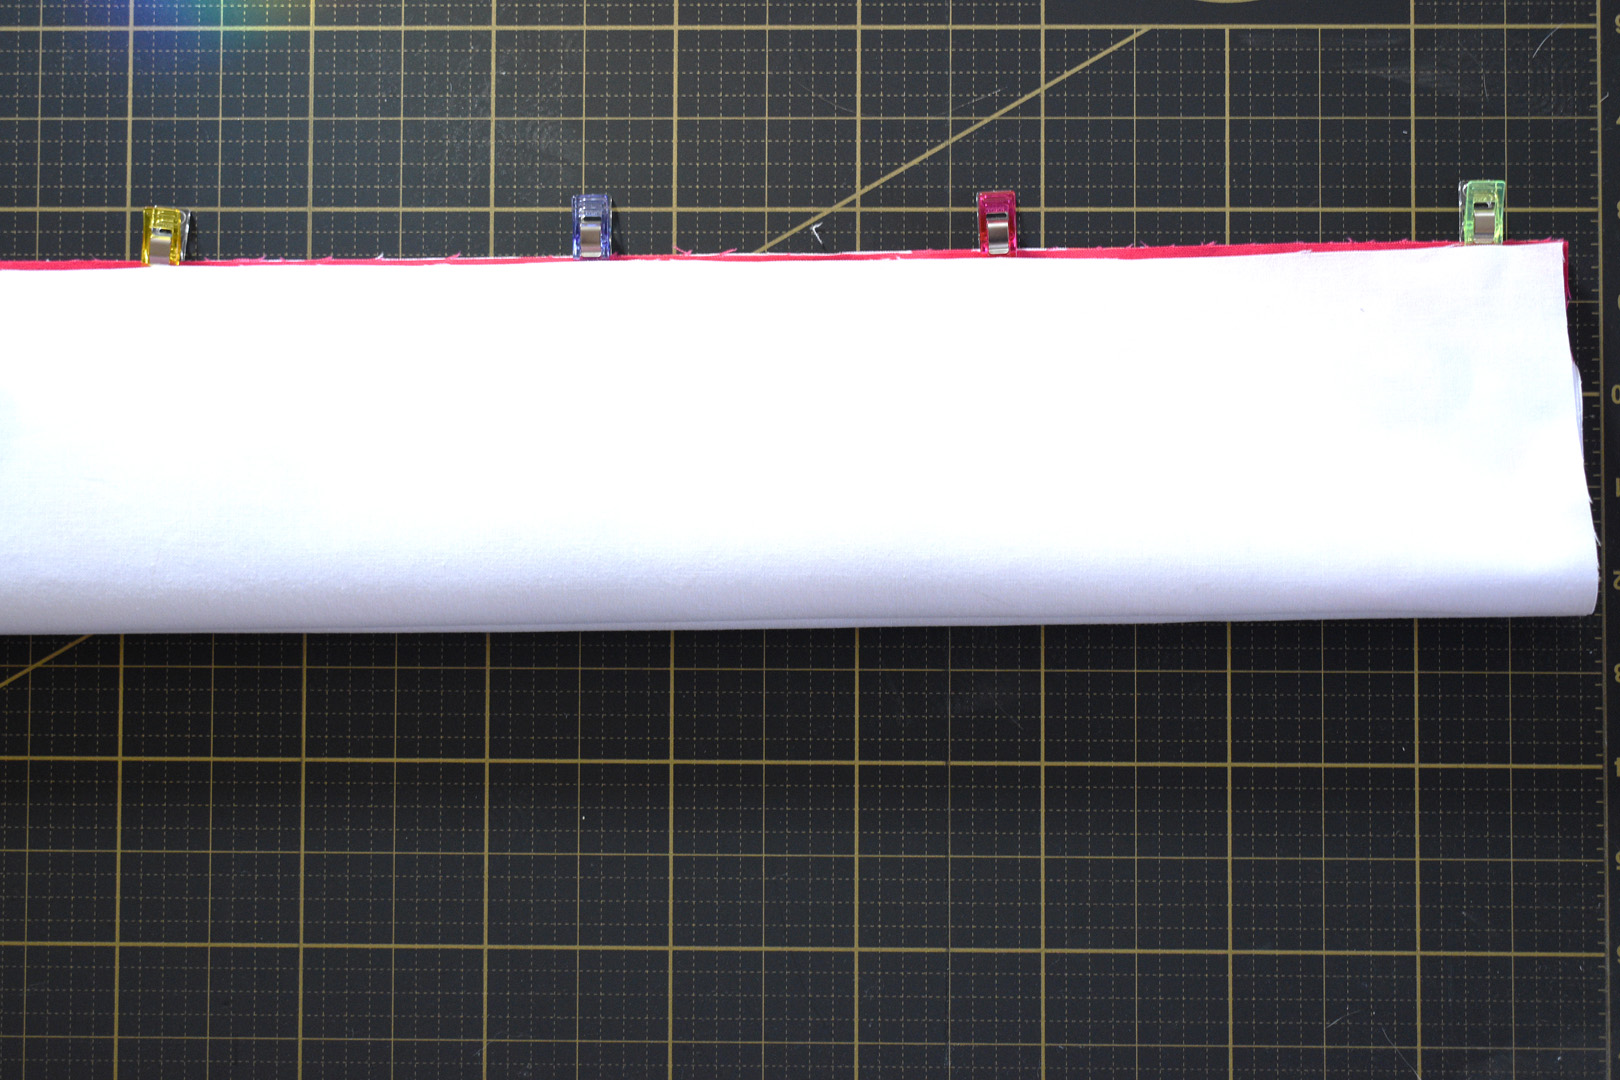
and fold it over the rolled-up fabric to meet the raw edges secured at the top. It will look like a tight roll in the middle, which is why this method is sometimes called the “burrito.”
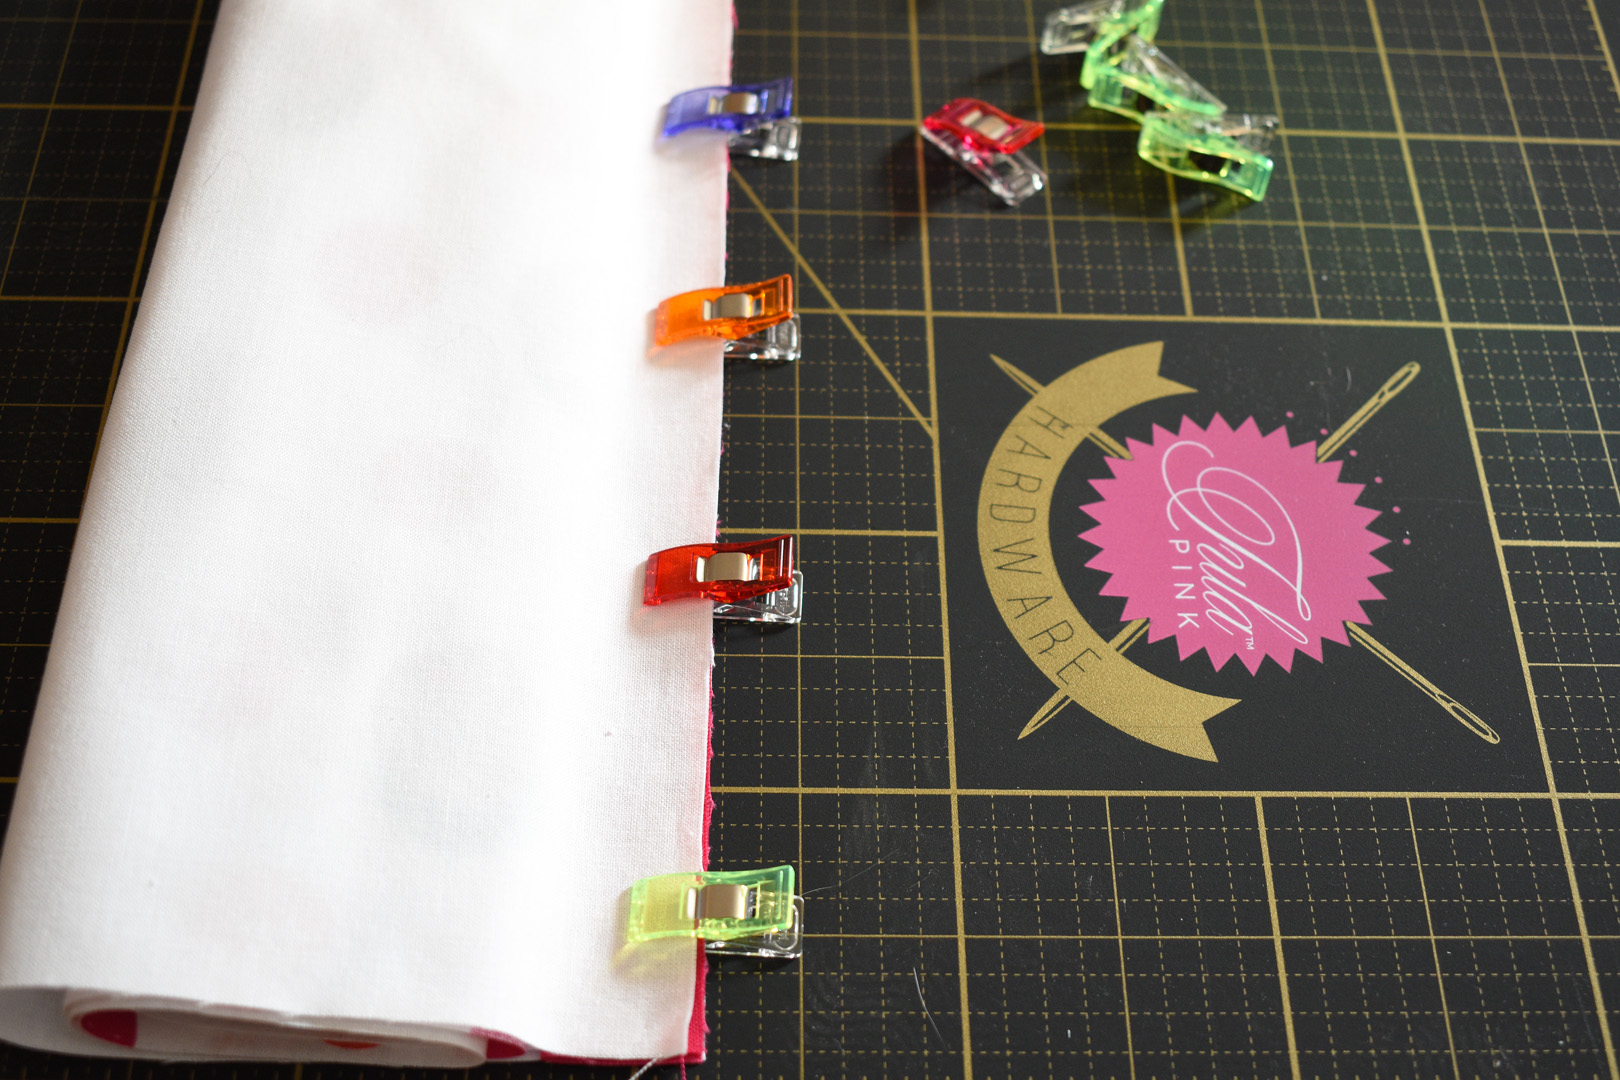
Carefully clip or pin all of these layers together.
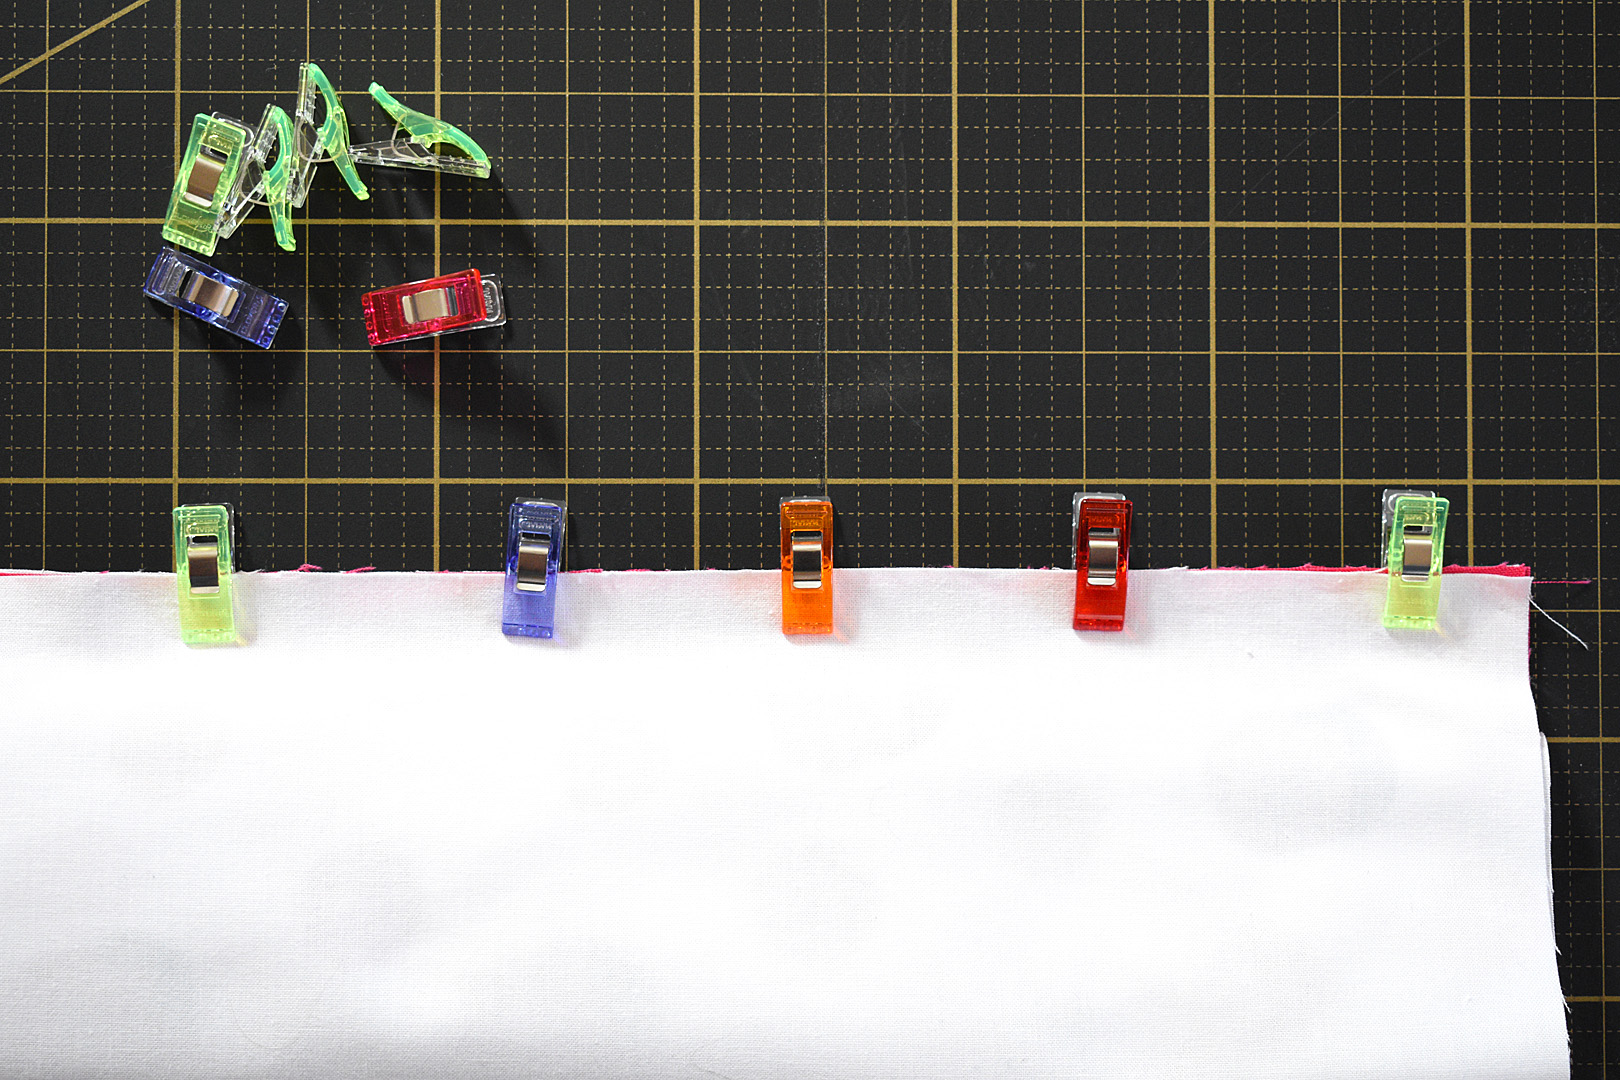
Use as many clips or pins as you need to secure all of these layers in place for sewing.
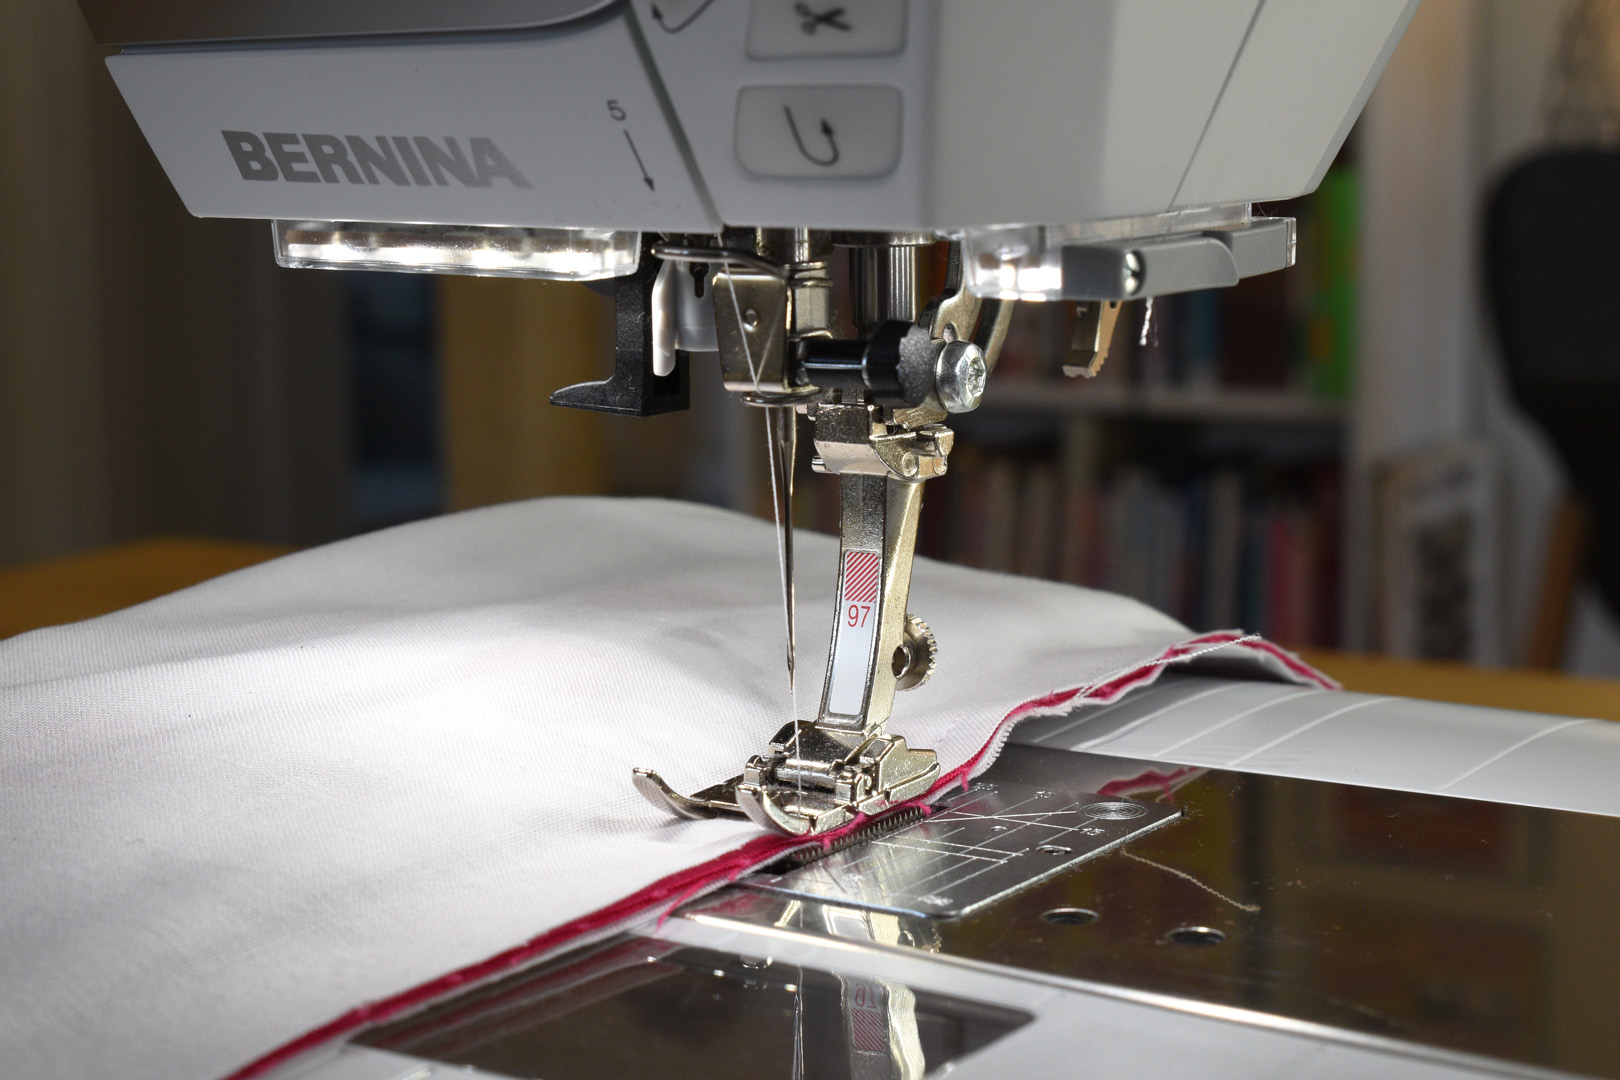
Sew this long seam with a 1/4″ seam allowance. Using a quarter inch foot can help you sew an exact seam.
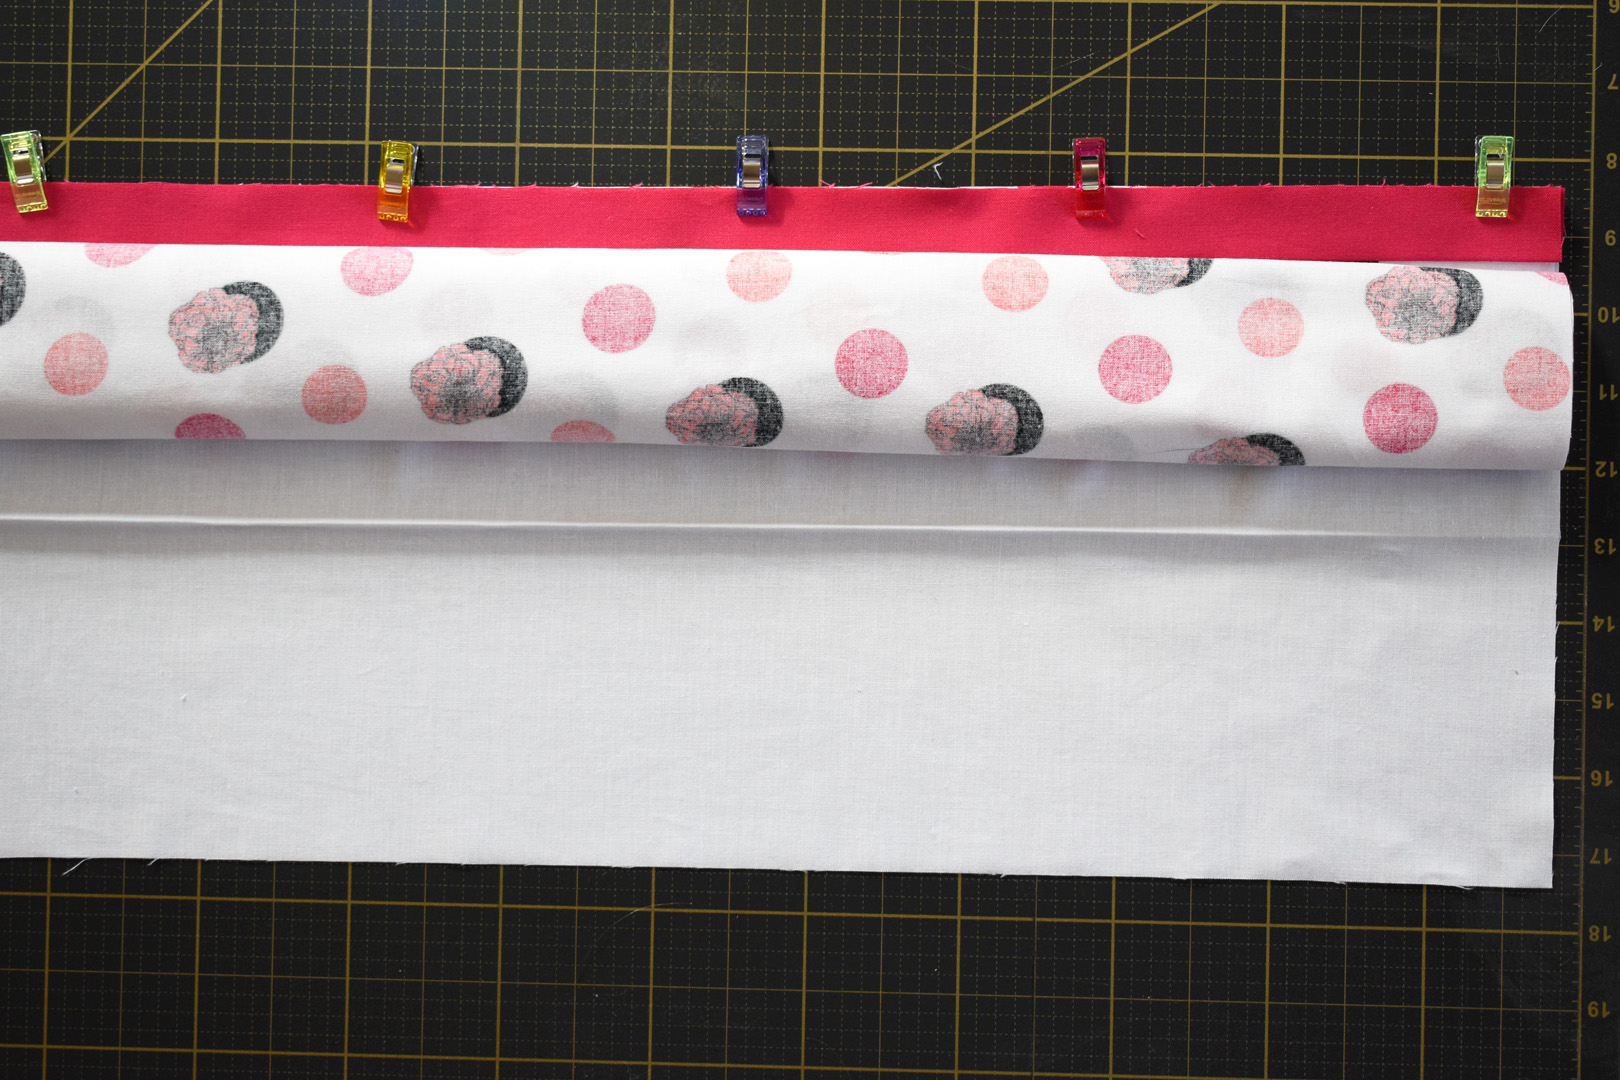
After sewing the long seam, turn the roll inside-out.
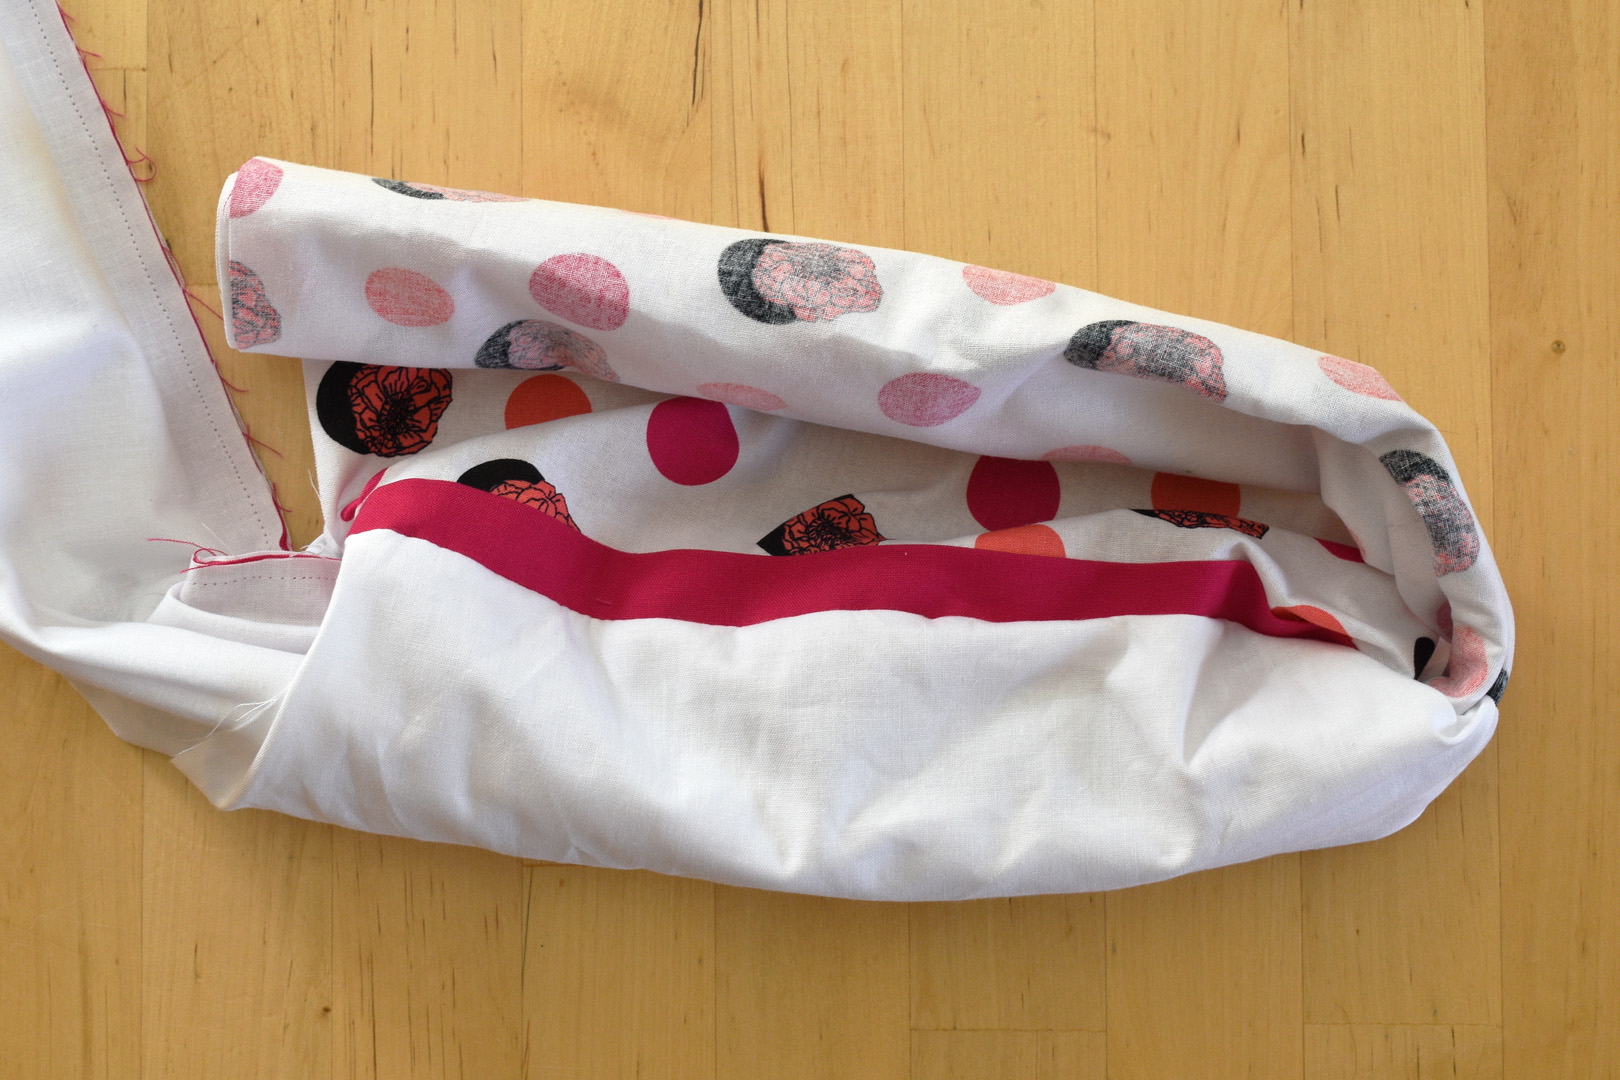
Start at one end and work carefully to pull the layers inside out. Press the top edge well, making sure to press the trim piece towards the end.
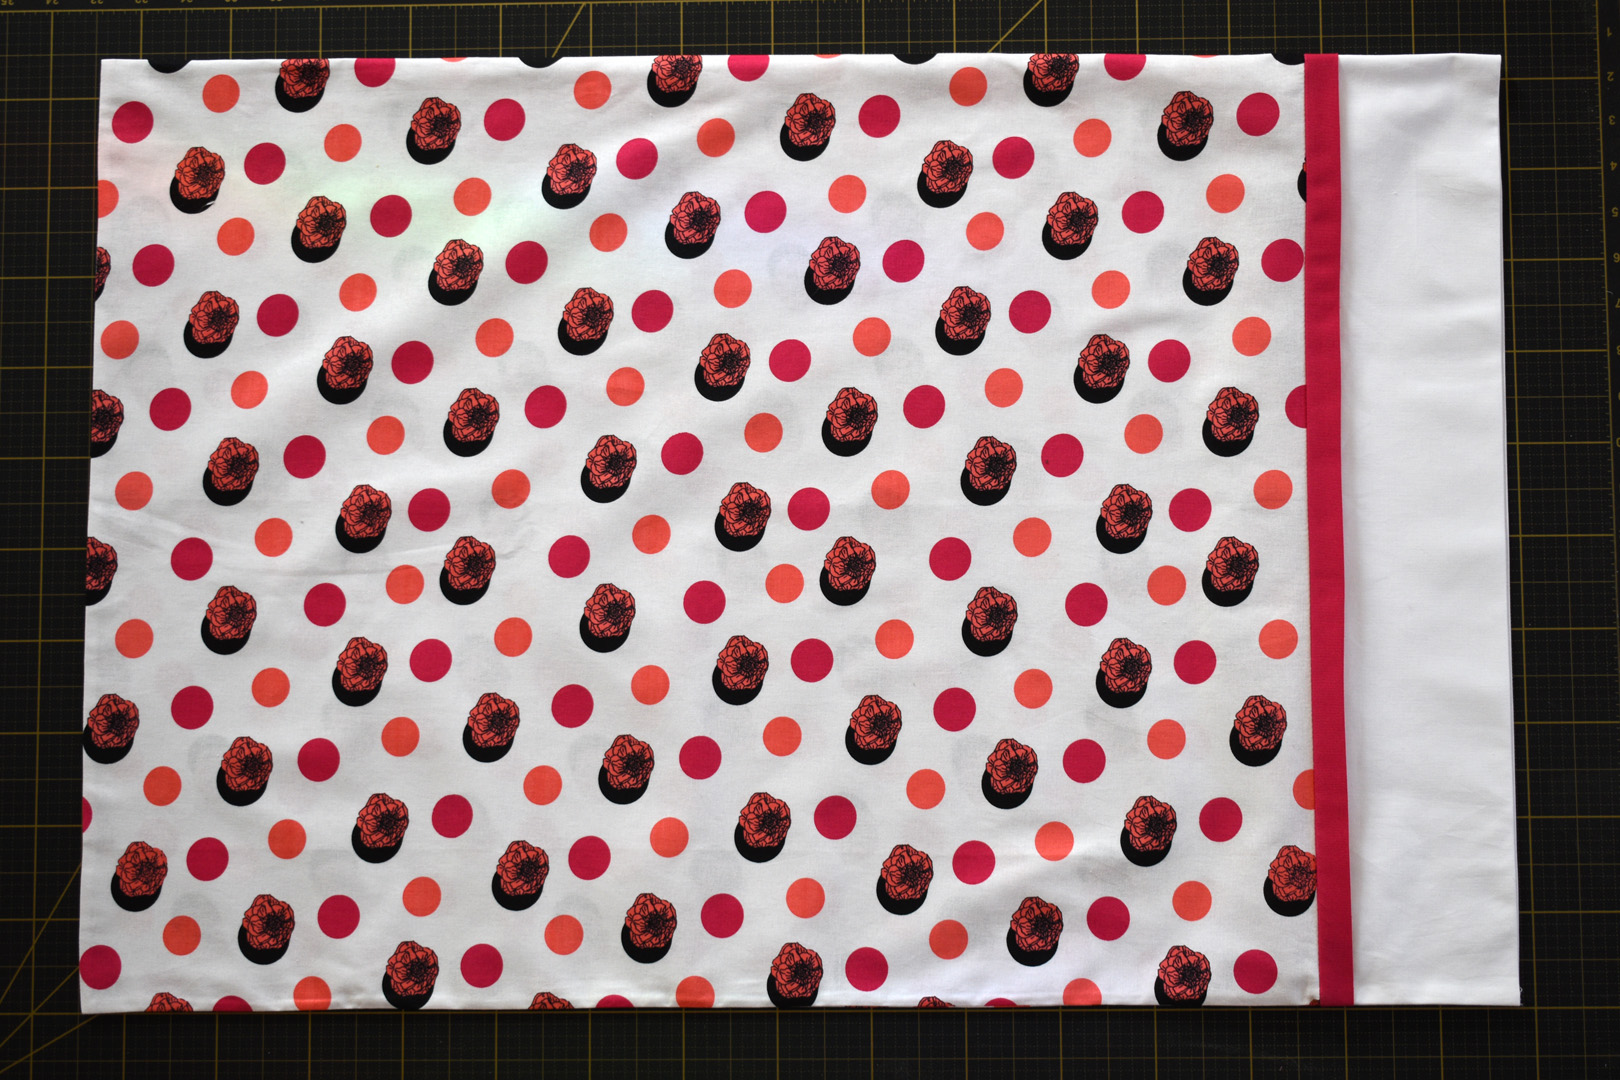
This method creates a nice, clean finish on both sides of the pillow end.
Optional: at this point you can run a line of edge stitching on the trim piece to hold the layers in place or add any decorative stitching to the pillowcase end before moving on to the final steps.
Fold the pillowcase in half, right sides together, matching raw edges. Pin or clip in place.
Sew all along the bottom and edge of the seams using a 1/4″ seam allowance.
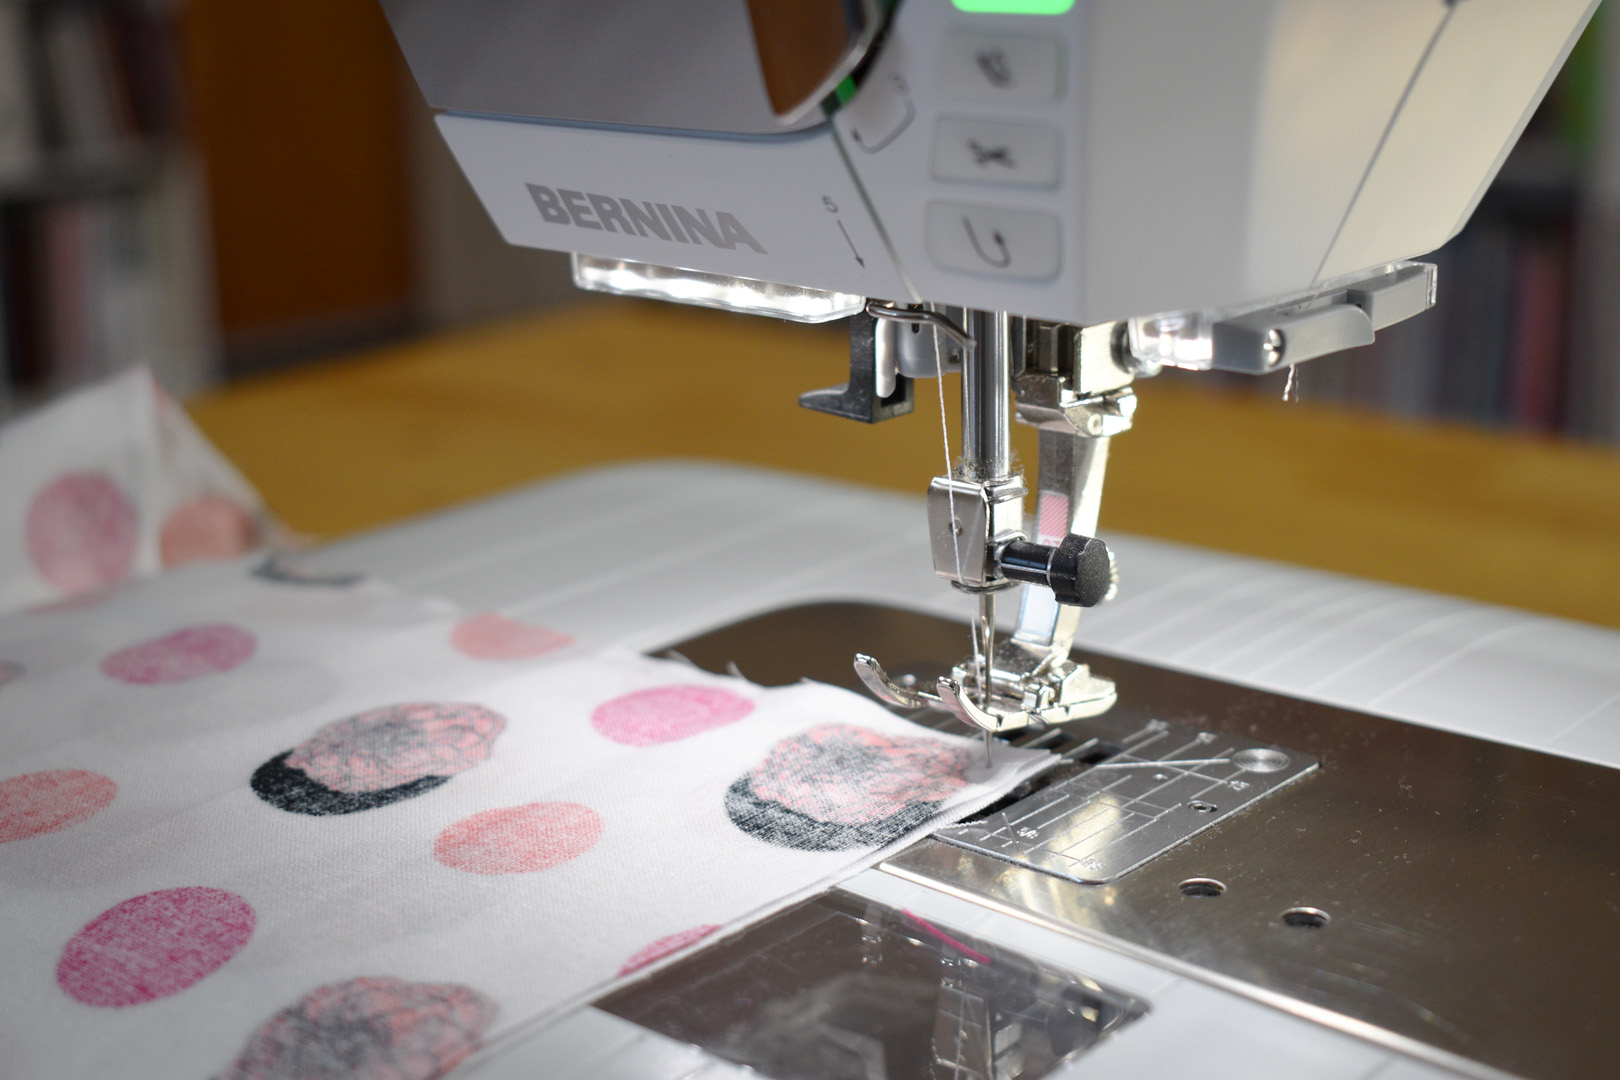
Pivot in the corner of the seam to create a sharp corner. This is easy to do if you have your machine set to stop sewing with the needle down, and use your Free Hand System to lift the presser foot.
Now that the final seam is sewn, switch from the patchwork foot to Overlock foot #2A.
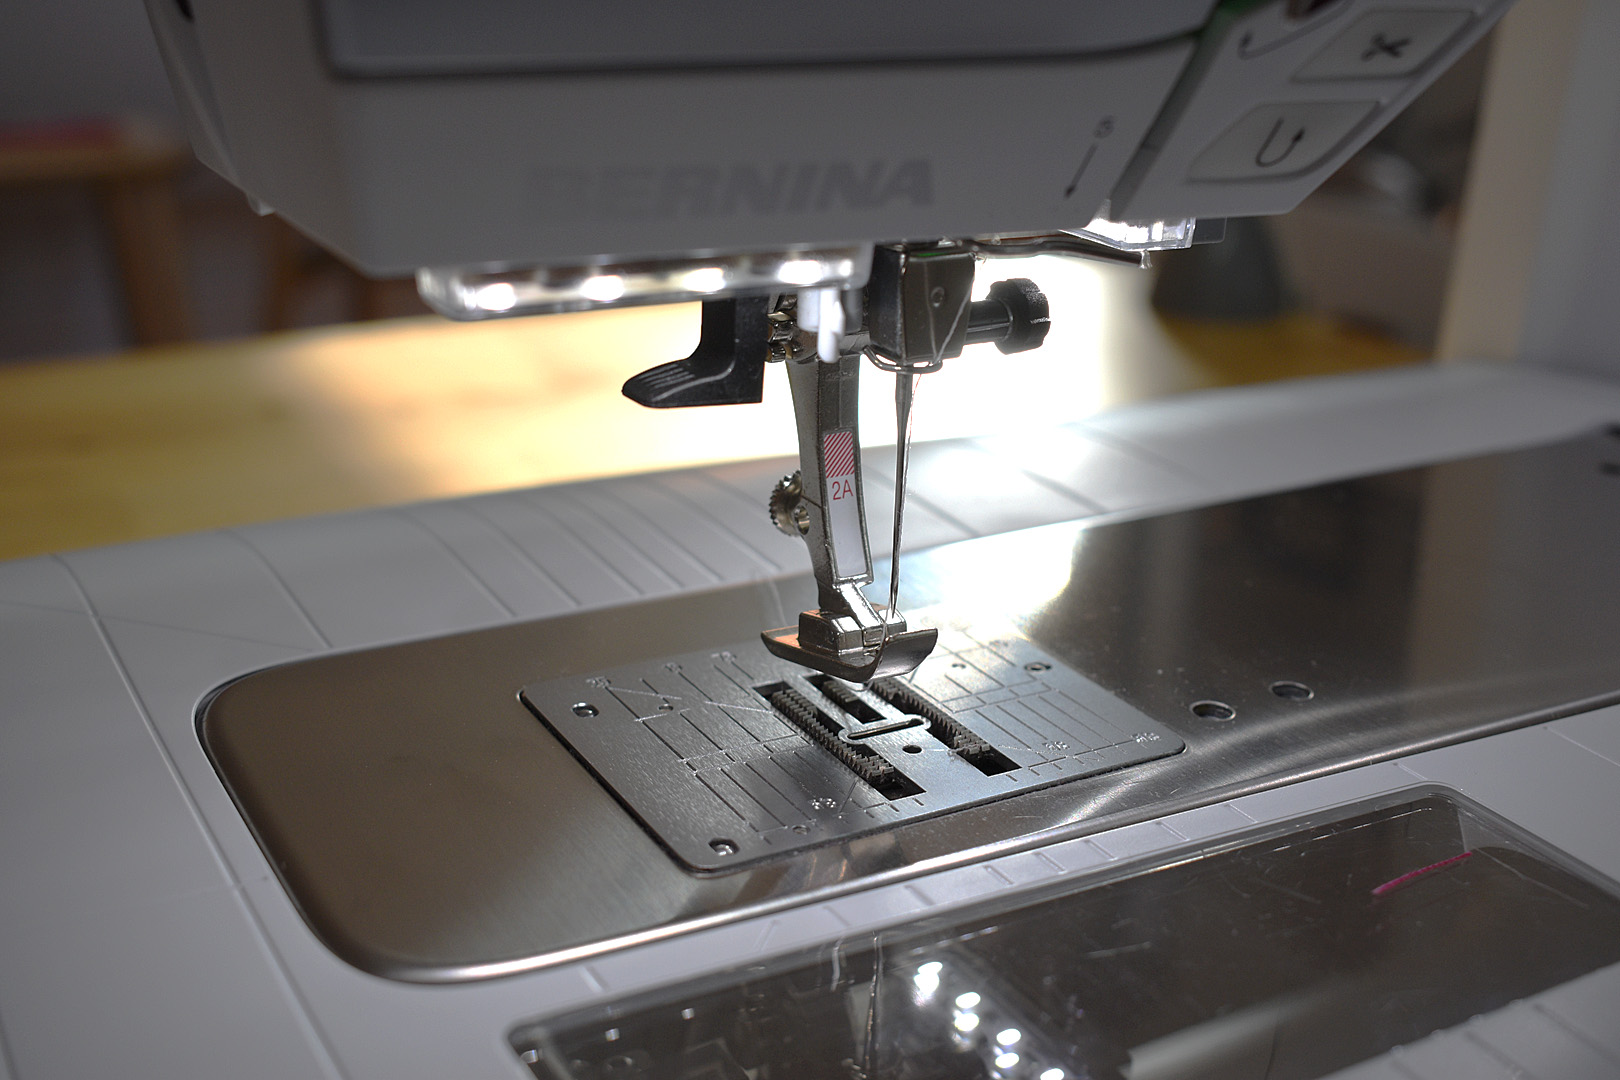
This foot has a special shape to aid in sewing a finishing zig zag stitch along the raw edges of a seam. The little finger on the foot holds the raw edge of the fabric down to make sure the stitches lay nice and flat.
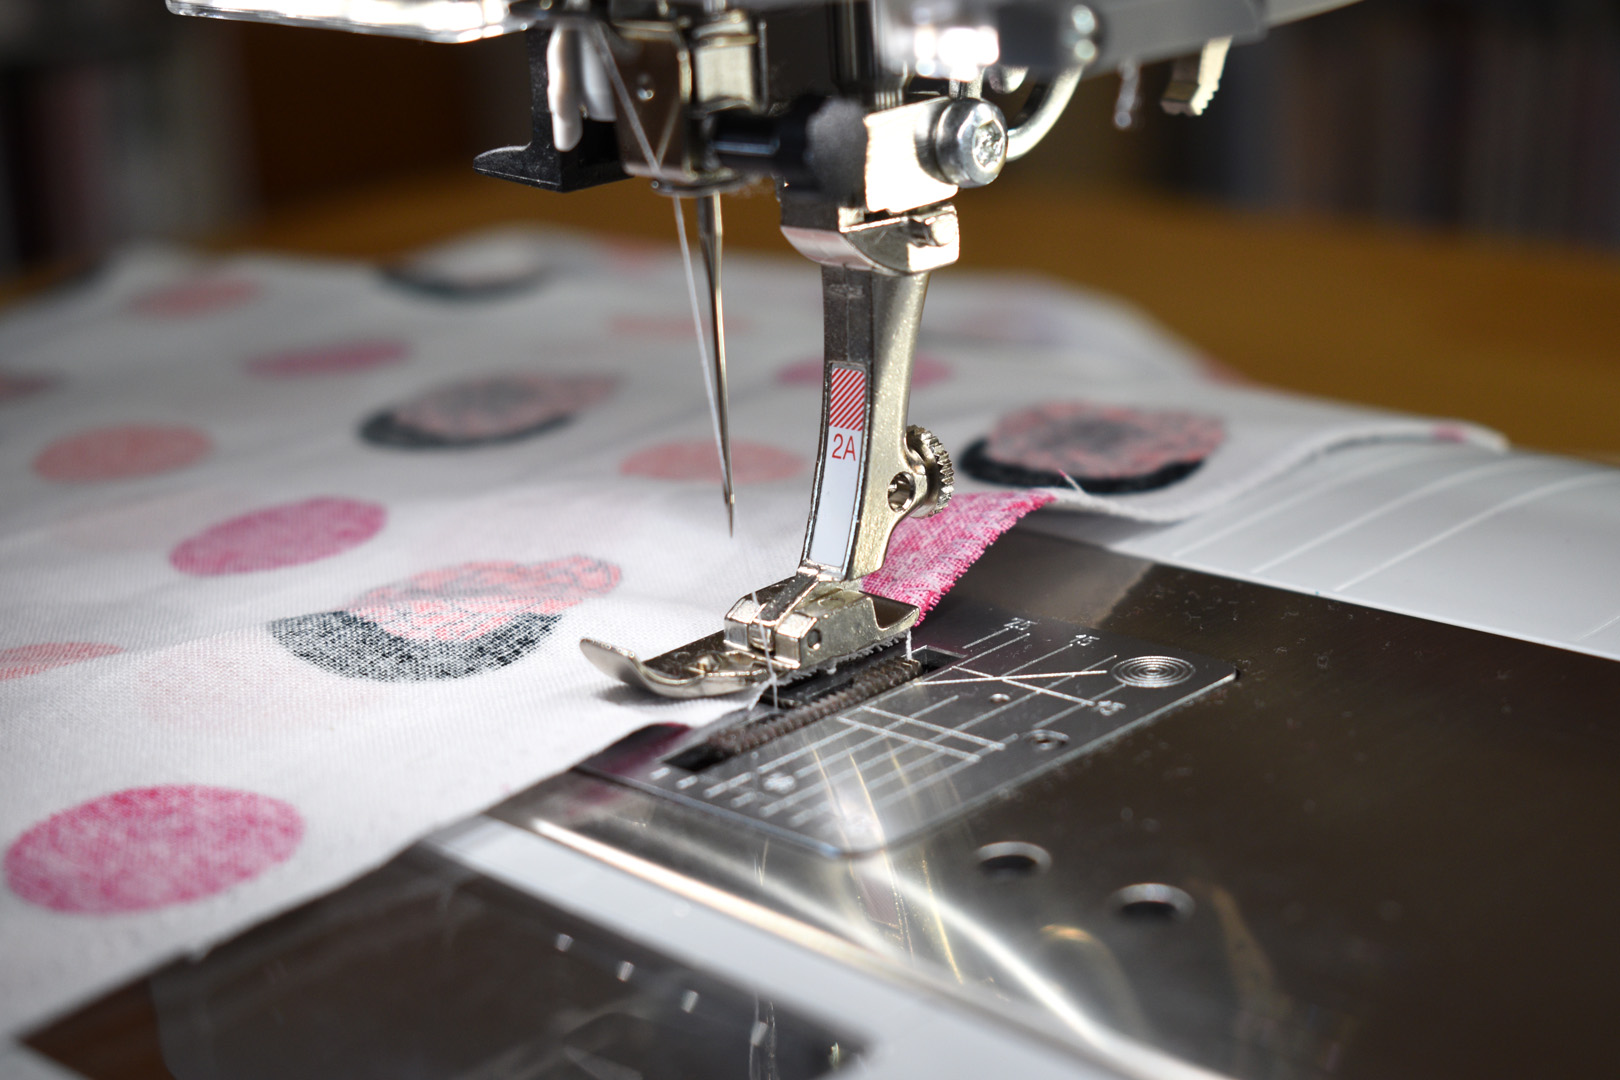
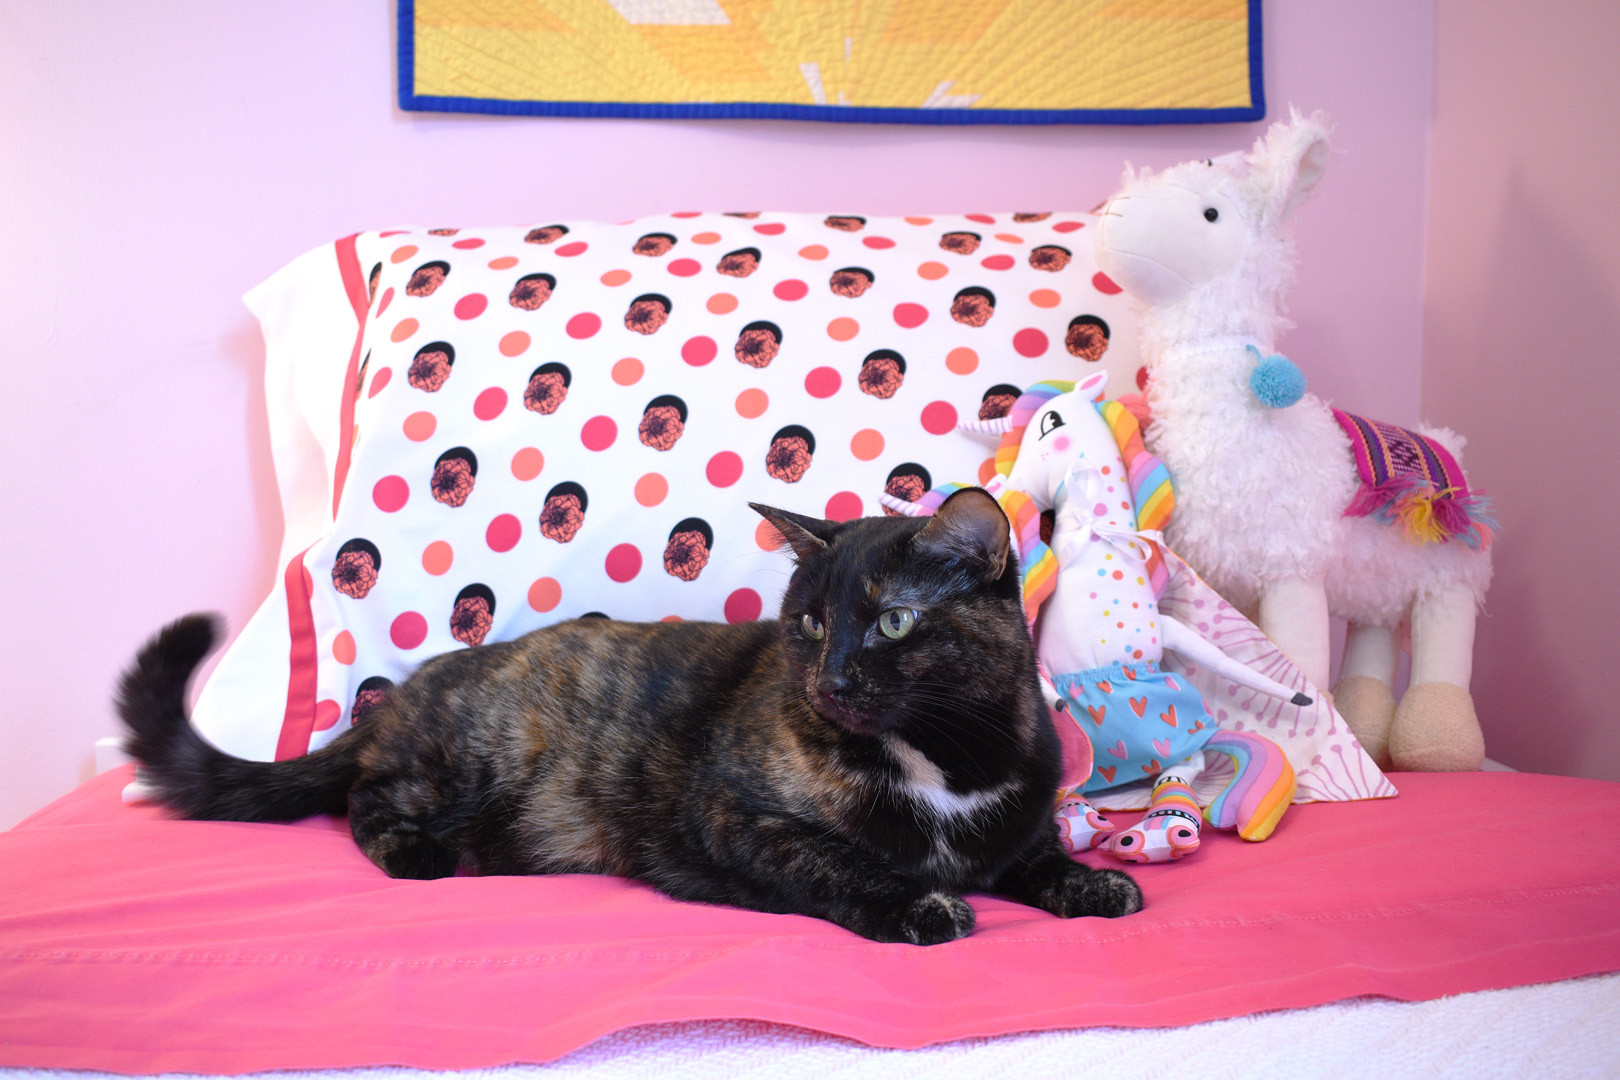
Sew along the raw edges of the seam allowance with a zig zag stitch to encase the seam edge and create a finished edge. Turn the finished pillowcase right sides out and give it a good pressing. You are ready to gift the finished pillowcase!
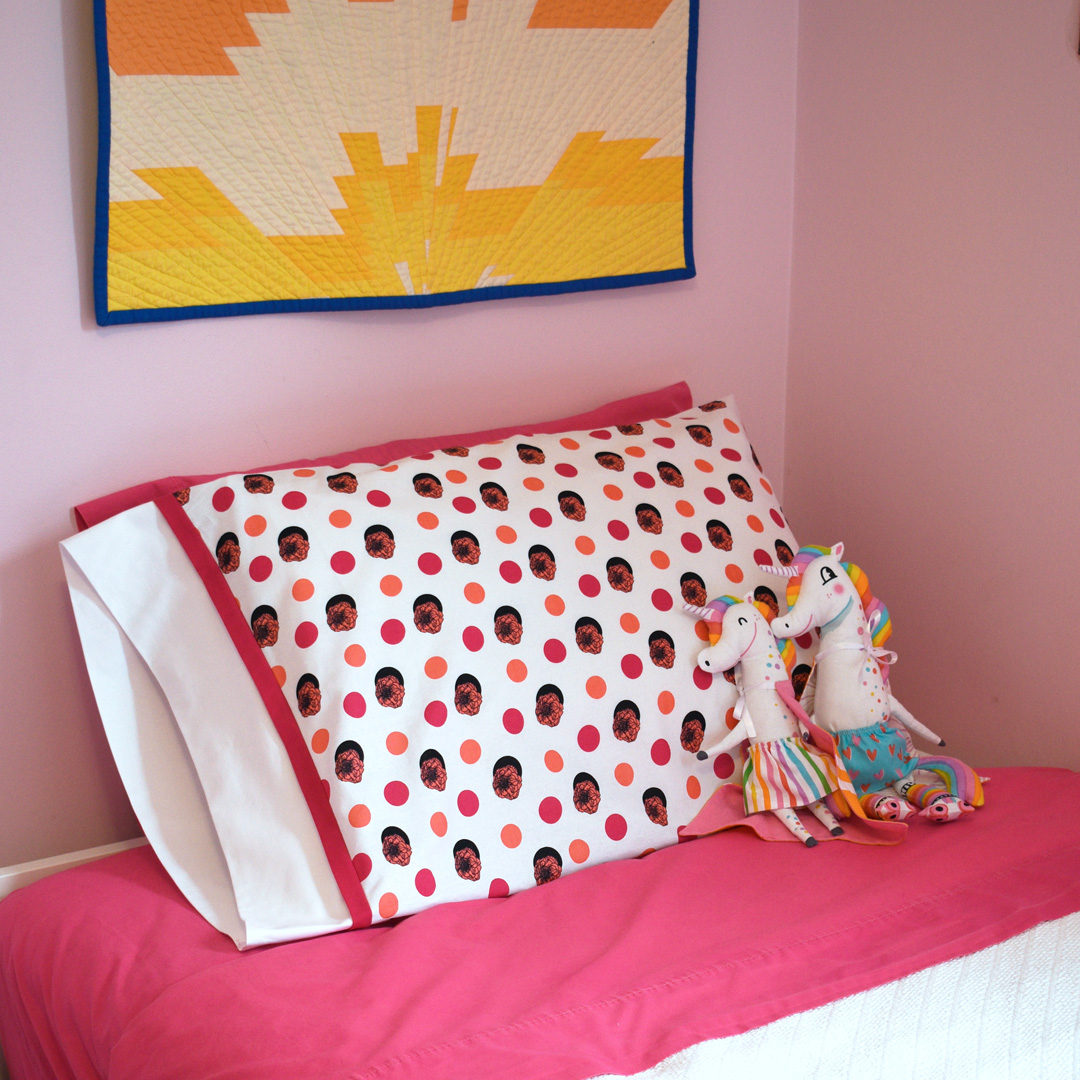
Or pop the pillowcase on a pillow,
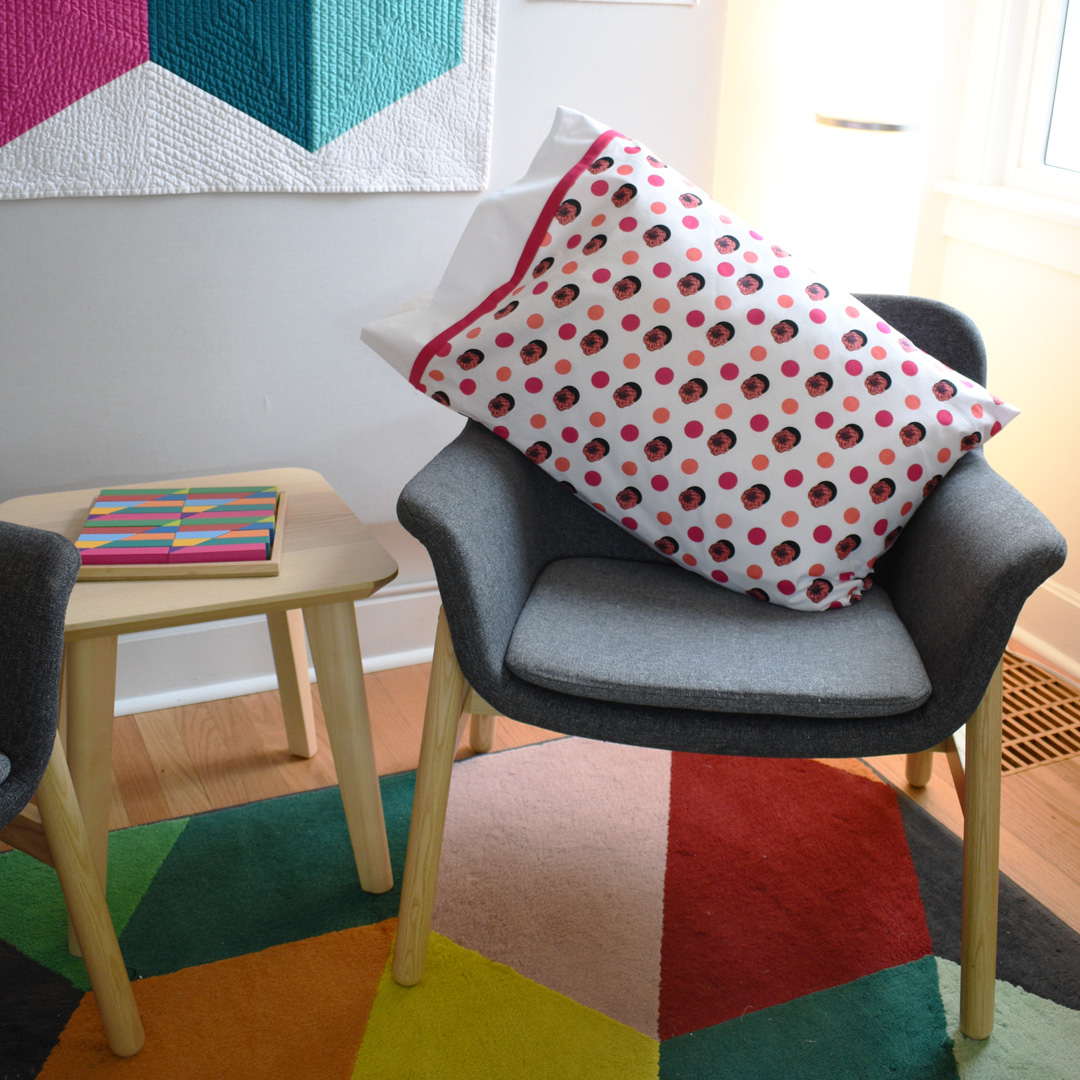
and enjoy!
Used Products


What you might also like


4 comments on “How to Make a Pillowcase”
-
-
This method looks so much easier than what I have used before! I am definitely going to try it 🙂
-
i love making quilts, I embroider squares of denim from the kids outgrown jeans and then make a quilt.it makes a great quilt that lasts forever.
-
I love this method. It makes a very neat and professional looking pillowcase. It also washes up nicely and fits a standard pillow perfectly. Such a beautiful personal touch and is appreciated by the recipient. Thank you for sharing this tutorial.
Leave a Reply
You must be logged in to post a comment.

My 96 year-old mother is in assisted living and I’m always looking for projects that help me create things that are useful, don’t take up too much room, and can be personalized. A couple of pretty pillows cases will be just the thing! Thanks!