Stitch Tape Measure Style
Sandy Fitzpatrick of Hissy Fitz Designs shares how you can create the look of a tape measure using the BERNINA blanket stitch.
We all love to sew, right? That’s why we’re here! I especially love to create things that depict my passion for sewing. Did you know that you can use the stitches on your BERNINA machine to replicate the look of a tape measure? Not only can it be done, it’s also very easy to accomplish.
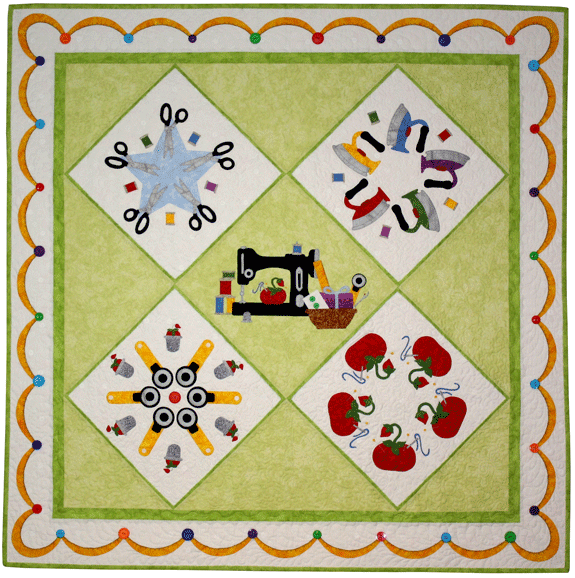
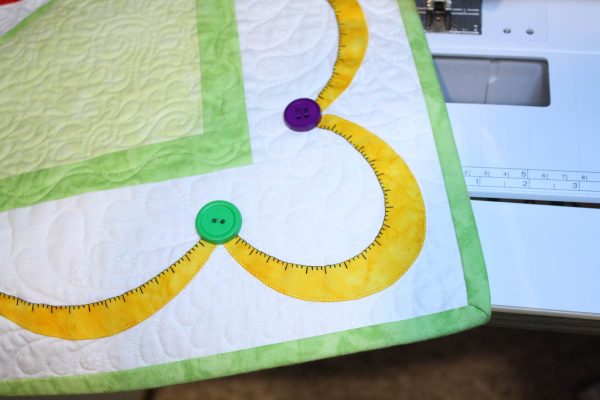
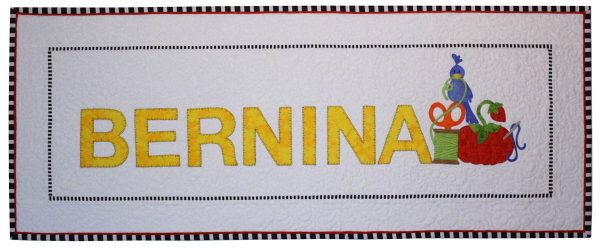
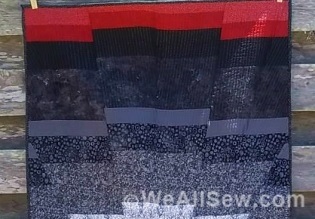
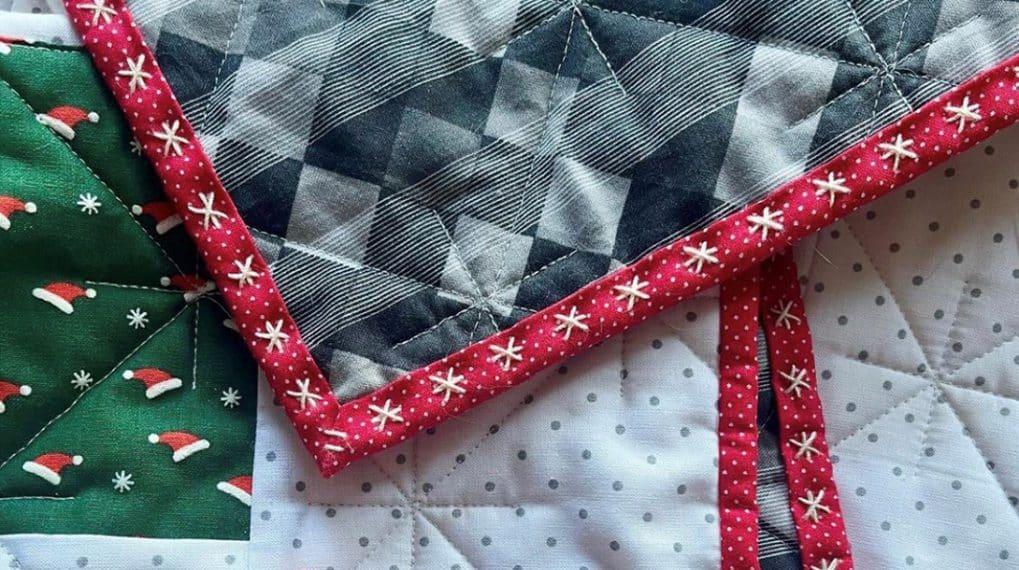
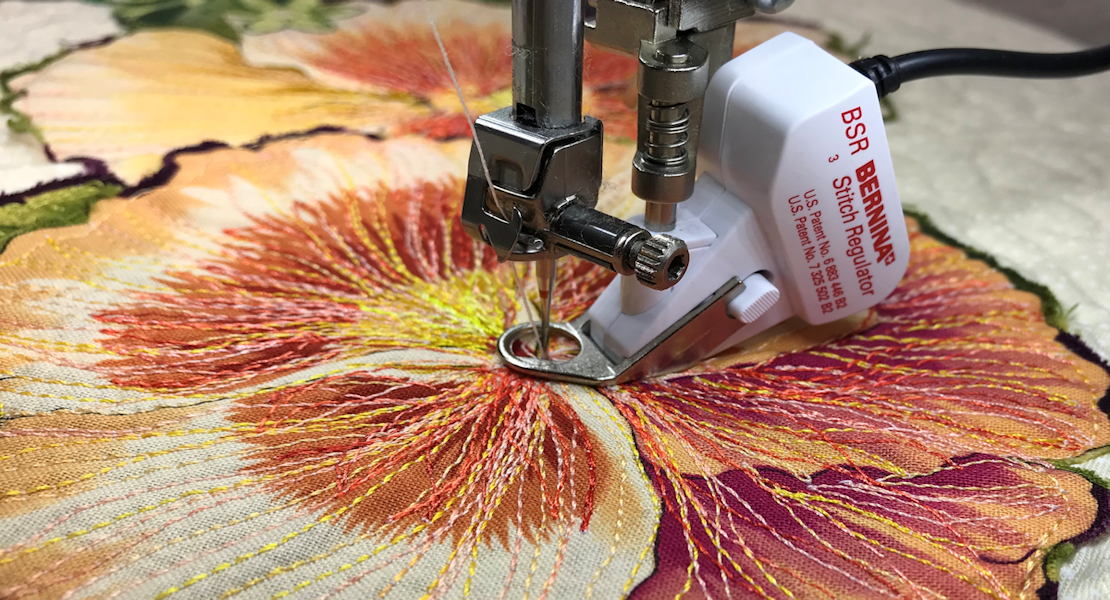
I used this technique to create a “tape measure” border around my Stitchin’ Addiction quilt and I can’t tell you how many people have fallen in love with this idea. It is basically just three regular blanket stitches and one a little wider.
This will work on any BERNINA sewing machine that has memory capability. Some BERNINA machines have Memory buttons and other BERNINA machines can combine stitches using the Combi Mode.
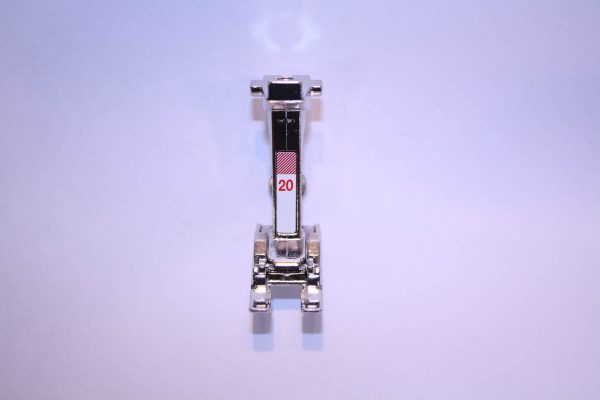
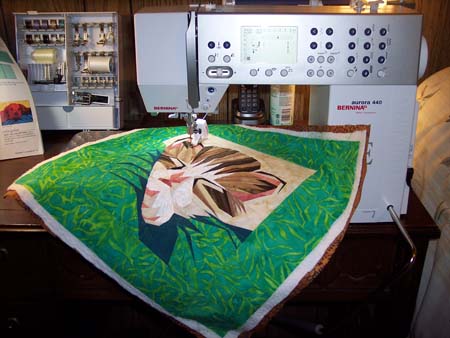
I like to use the BERNINA Open embroidery foot #20 which is the open toed applique foot for this because it allows great viewing capability as you are stitching.
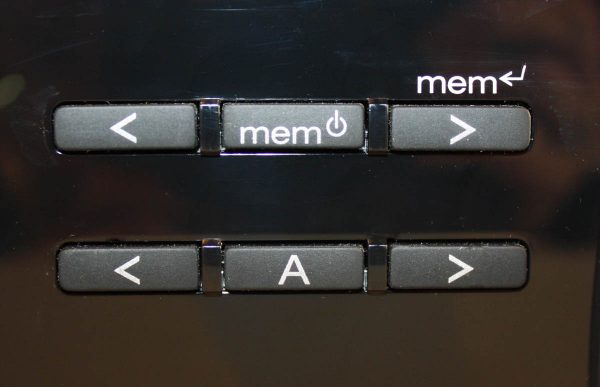
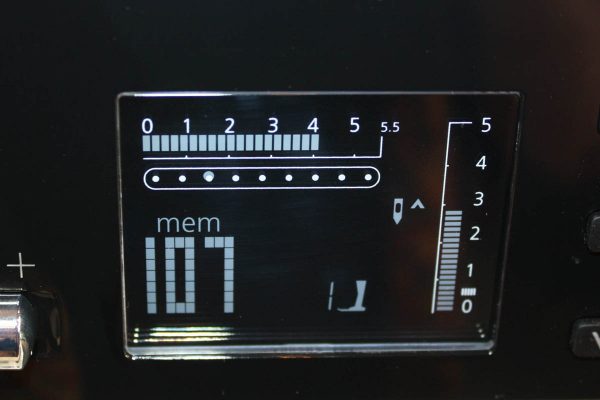
On my BERNINA 380, I simply open the Memory function by choosing the “mem” button.
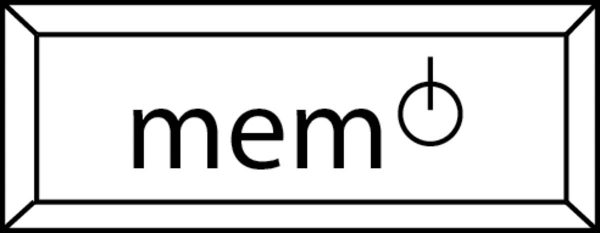
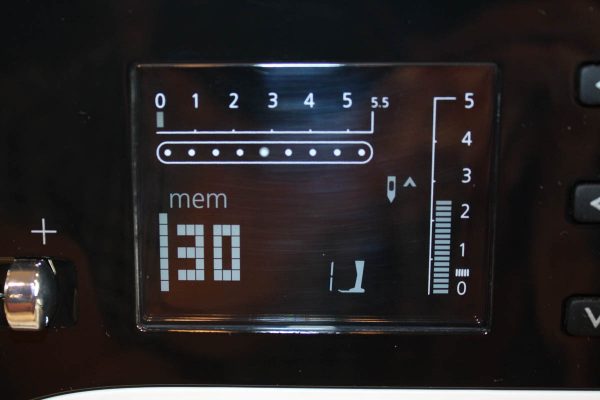
In your guidebook it is referred to as “button 2” in the illustration. You will notice that “mem” will appear above the number of empty memory spaces and the number will start to blink. The machine starts with 30 empty memory spaces.
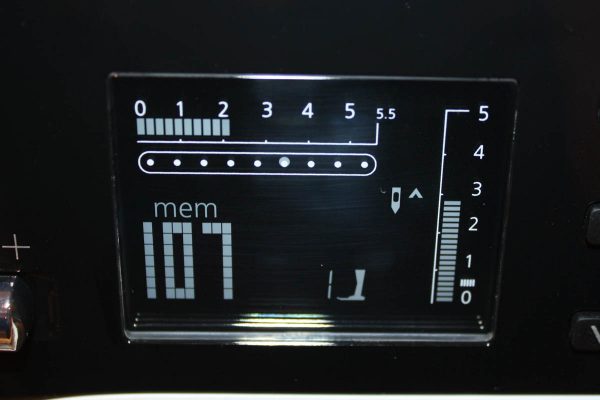
Now choose the blanket stitch on your machine, on the BERNINA 380 this is stitch #107. (Remember when you choose stitches that have three digits, you must press the #button twice and add the last two numbers.)
Move the needle position one to the right of center and use the default width.
Select the “Memory Enter” button, this is “button 3” in your guide book illustration.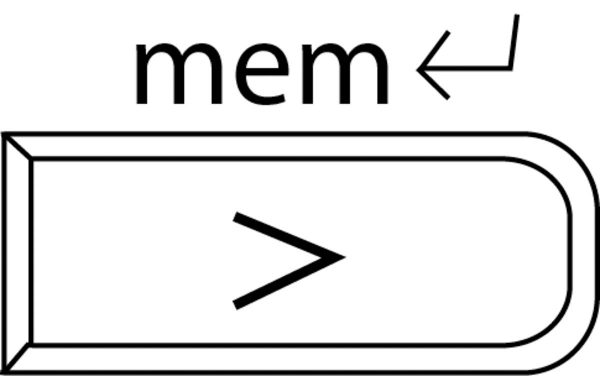
You will notice that you have taken one segment of memory, so if you started with 30 empty spaces it will now be flashing 29.
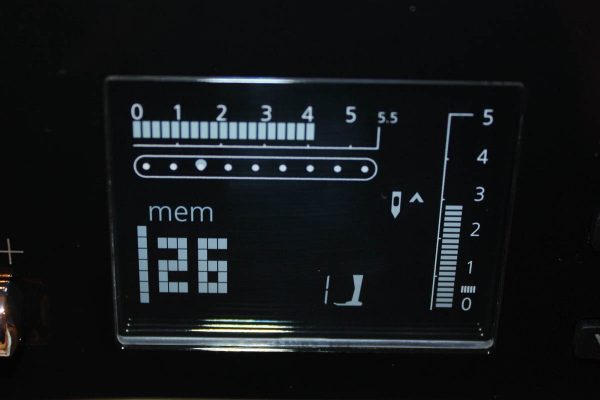
Now repeat this step by entering another blanket stitch, (your machine remembers that you moved the needle one position to the right of center) choose “Memory Enter”, and add a third blanket stitch, using the same settings “Memory Enter”. You will now have three blanket stitches added to Memory.
To add the wider blanket stitch, you must add a couple of extra steps. Choose the blanket stitch again, widen it to a width of 4, move your needle position over two steps to the left of center and now choose the “Memory Enter” button.
You should have used four sections of memory by now.
As you begin stitching, your machine will stitch three regular blanket stitches and one wider. This combination of stitches will be repeated as long as you continue to sew.


Ta Da! Check your stitches to make sure that they line up along the right edge. If your stitches look a little “wonky” it may be because you forgot to move your needle position to the correct spot.
This fun combination of stitches can also be accomplished on other BERNINA machines which use the Combi Mode. Just remember to move your needle positions to the correct spot.
Now, go out there and show everyone how amazing you are with your sewing skills!


3 comments on “Stitch Tape Measure Style”
What a fantastic idea and a beautiful quilt.
Very clever … thanks for sharing.