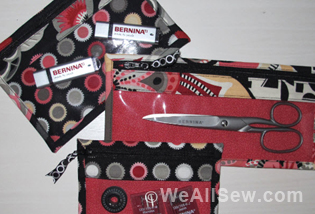
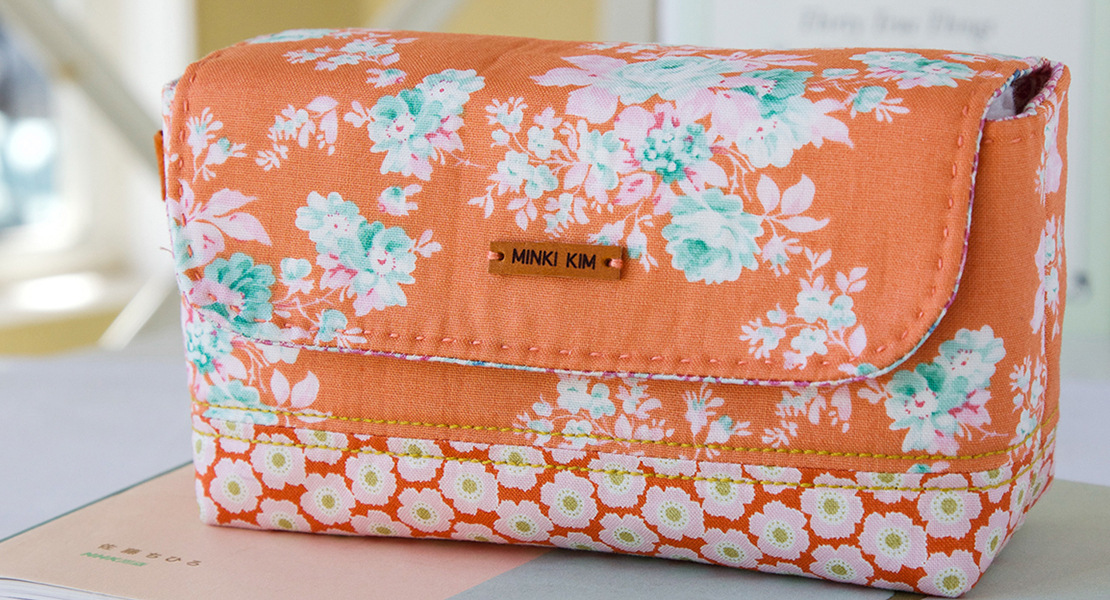
Tartan Envelope Pouches
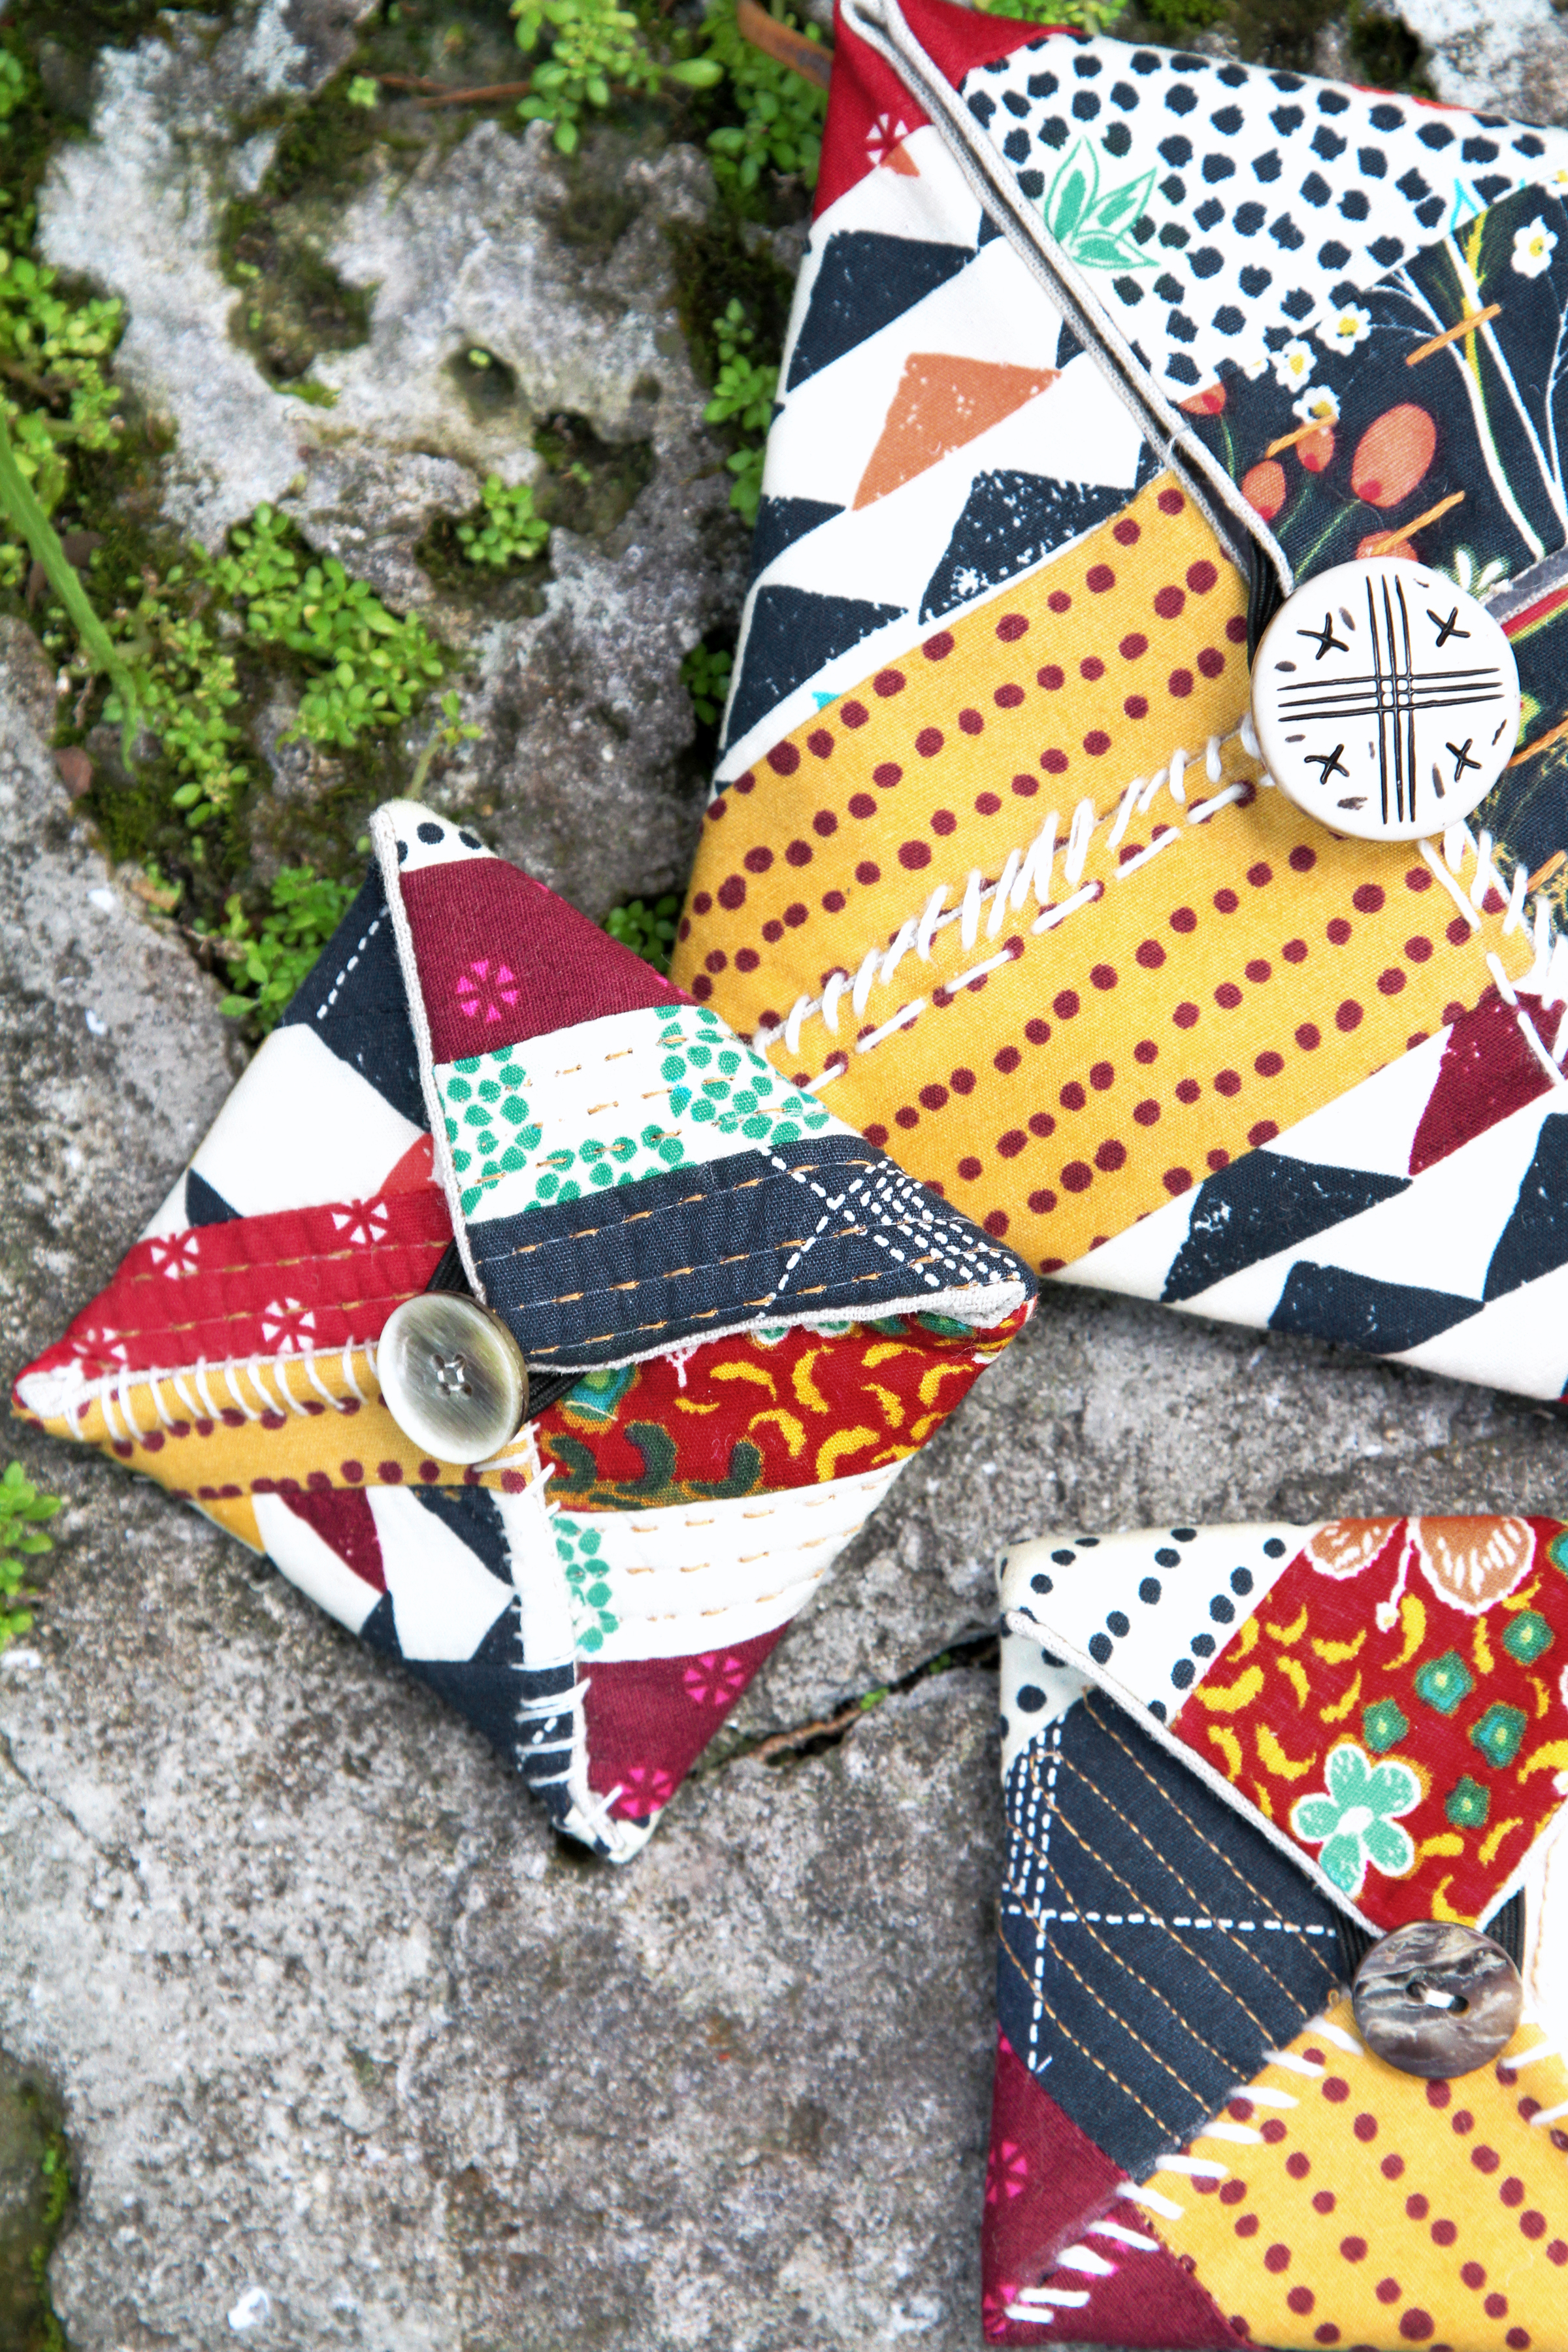
How cute are these three Tartan Envelope Pouches? Read below to learn how to make each of them.
Materials to Make the Tartan Envelope Pouches
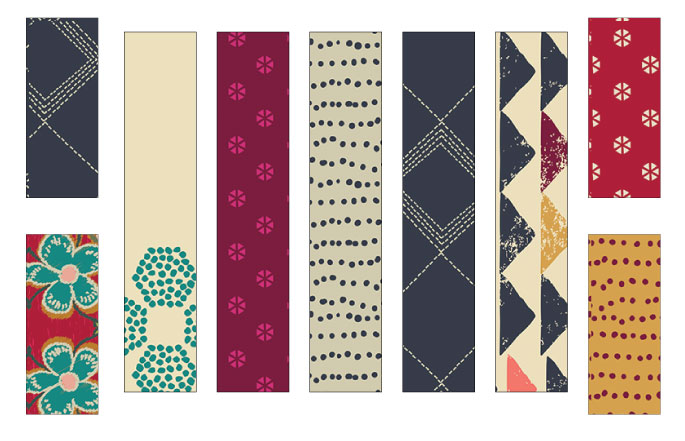
- Fat eight of Pat Bravo IFL-46305 Fabric A
- Fat eight of Pat Bravo IFL-46302 Fabric B
- Fat eight of Pat Bravo IFL-56309 Fabric C
- Fat eight of Pat Bravo IFL-46300 Fabric D
- Fat eight of Pat Bravo IFL-46310 Fabric E
- Fat eight of Pat Bravo IFL-46301 Fabric F
- Fat eight of Pat Bravo IFL-46309 Fabric G
- Fat eight of Pat Bravo IFL-46303 Fabric H
- Fat eight of Pat Bravo IFL-56301 Fabric I
- Fat eight of Pat Bravo IFL-46307 Fabric J
- Fat eight of Pat Bravo DEN-L-4000 Fabric K
- Universal needles size 80/12
- 1/2 yard of batting
- Sewing machine (I sew on a BERNINA 790)
- Open embroidery foot #20/#20C/#20D
- Reverse Pattern Foot #1/#1C/#1D
- Aurifil thread #2000 and #2140
Cutting Instructions
First Pouch, measuring 4 1/2” by 4 1/2”
- Cut 1 (one) 2″ by 10″ of Fabric A
- Cut 1 (one) 2″ by 10″ of Fabric B
- Cut 1 (one) 2″ by 10″ of Fabric C
- Cut 1 (one) 2″ by 10″ of Fabric F
- Cut 1 (one) 2″ by 10″ of Fabric E
- Cut 1 (one) 10″ by 10″ of Fabric K
- Cut 1 (one) 10″ by 10″ of Batting
Second Pouch, measuring 2 3/4” by 2 3/4”
- Cut 1 (one) 2″ by 2″ of Fabric B
- Cut 1 (one) 2″ by 2″ of Fabric C
- Cut 1 (one) 2″ by 2″ of Fabric D
- Cut 1 (one) 2″ by 2″ of Fabric E
- Cut 1 (one) 2″ by 2″ of Fabric F
- Cut 1 (one) 2″ by 2″ of Fabric G
- Cut 1 (one) 2″ by 2″ of Fabric H
- Cut 1 (one) 2″ by 2″ of Fabric I
- Cut 1 (one) 2″ by 2″ of Fabric J
- Cut 1 (one) 3” by 3” of Fabric K
- Cut 1 (one) 3” by 3” of Batting
Third Pouch, measuring 3” by 3”
- Cut 1 (one) 1″ by 5″ of Fabric C
- Cut 1 (one) 1″ by 2.5″ of Fabric D
- Cut 1 (one) 1″ by 5″ of Fabric E
- Cut 1 (one) 1″ by 2.5″ of Fabric F
- Cut 1 (one) 1″ by 2.5″ of Fabric G
- Cut 1 (one) 1″ by 5″ of Fabric H
- Cut 1 (one) 1″ by 5″ of Fabric I
- Cut 1 (one) 1″ by 5″ of Fabric J
- Cut 1 (one) 3.5” by 3.5” of Fabric K
- Cut 1 (one) 3.5” by 3.5” of Batting
Step 1- Pouch Assembly, First Pouch, measuring 4 1/2” by 4 1/2”
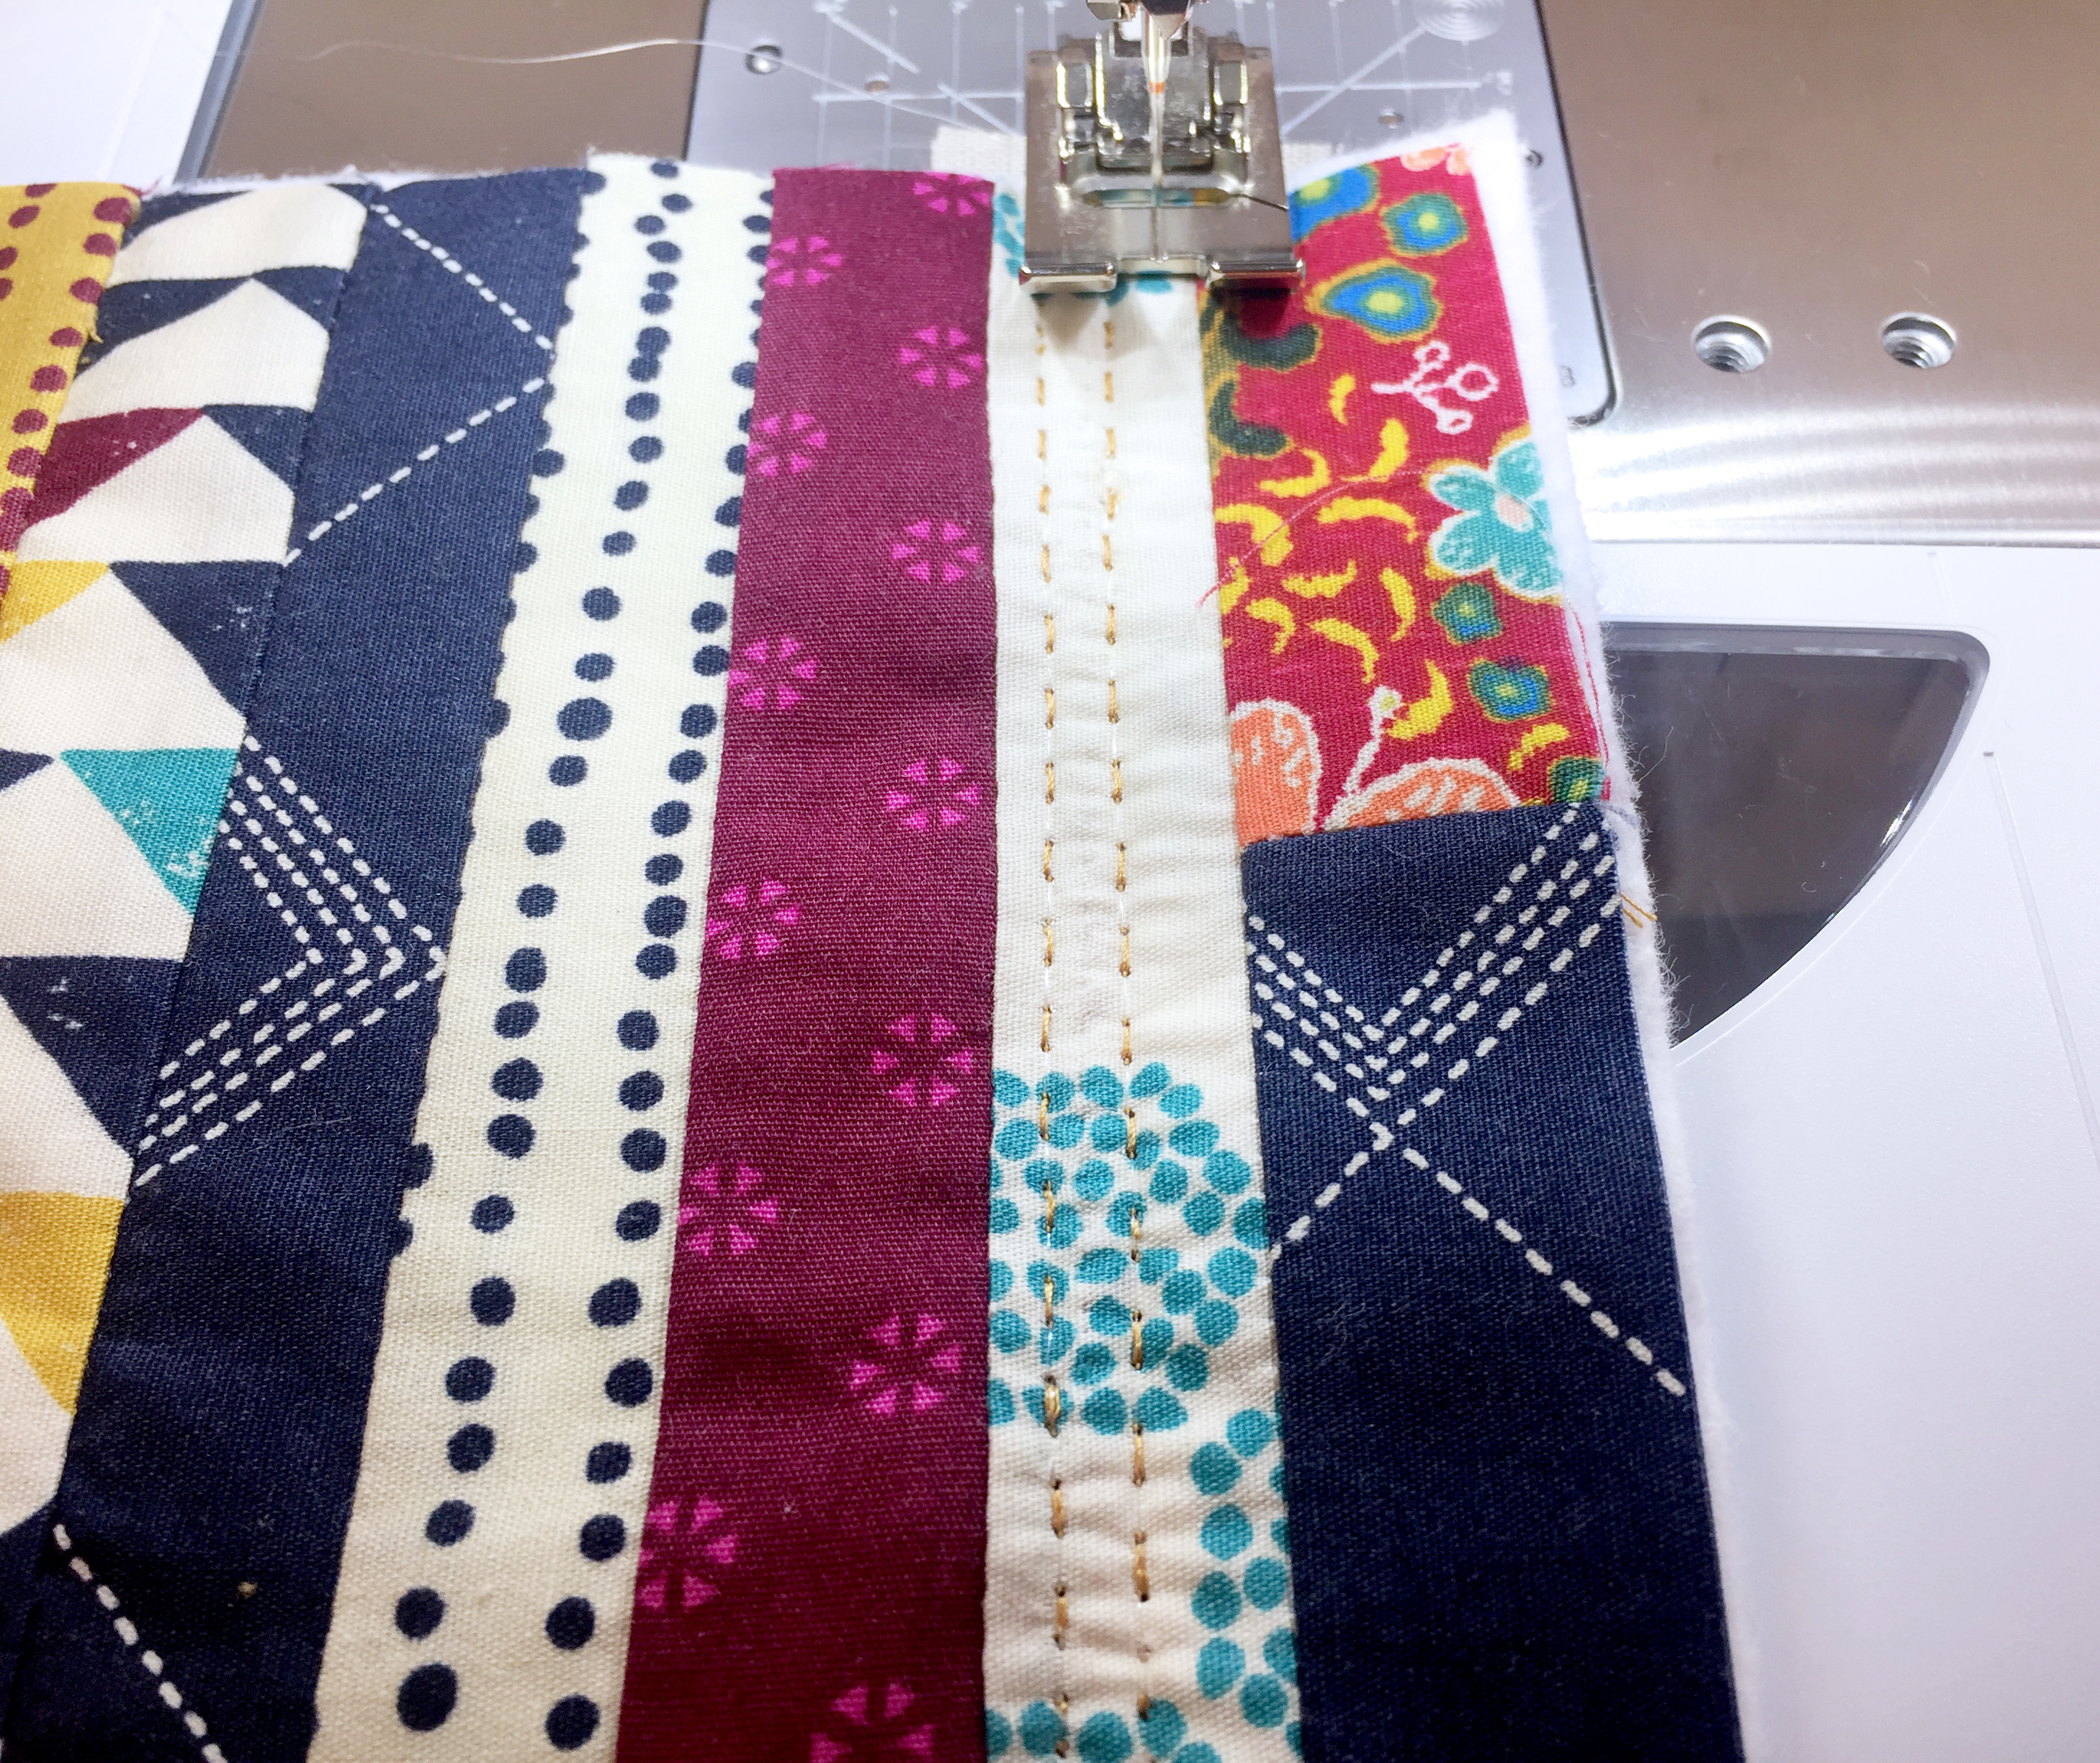
Grab the pieces cut for this pouch size from Fabric ABCFEK
- 1 (one) 2″ by 10″ of Fabric A
- 1 (one) 2″ by 10″ of Fabric B
- 1 (one) 2″ by 10″ of Fabric C
- 1 (one) 2″ by 10″ of Fabric F
- 1 (one) 2″ by 10″ of Fabric E
- 1 (one) 10″ by 10″ of Fabric K
And place them as shown below.
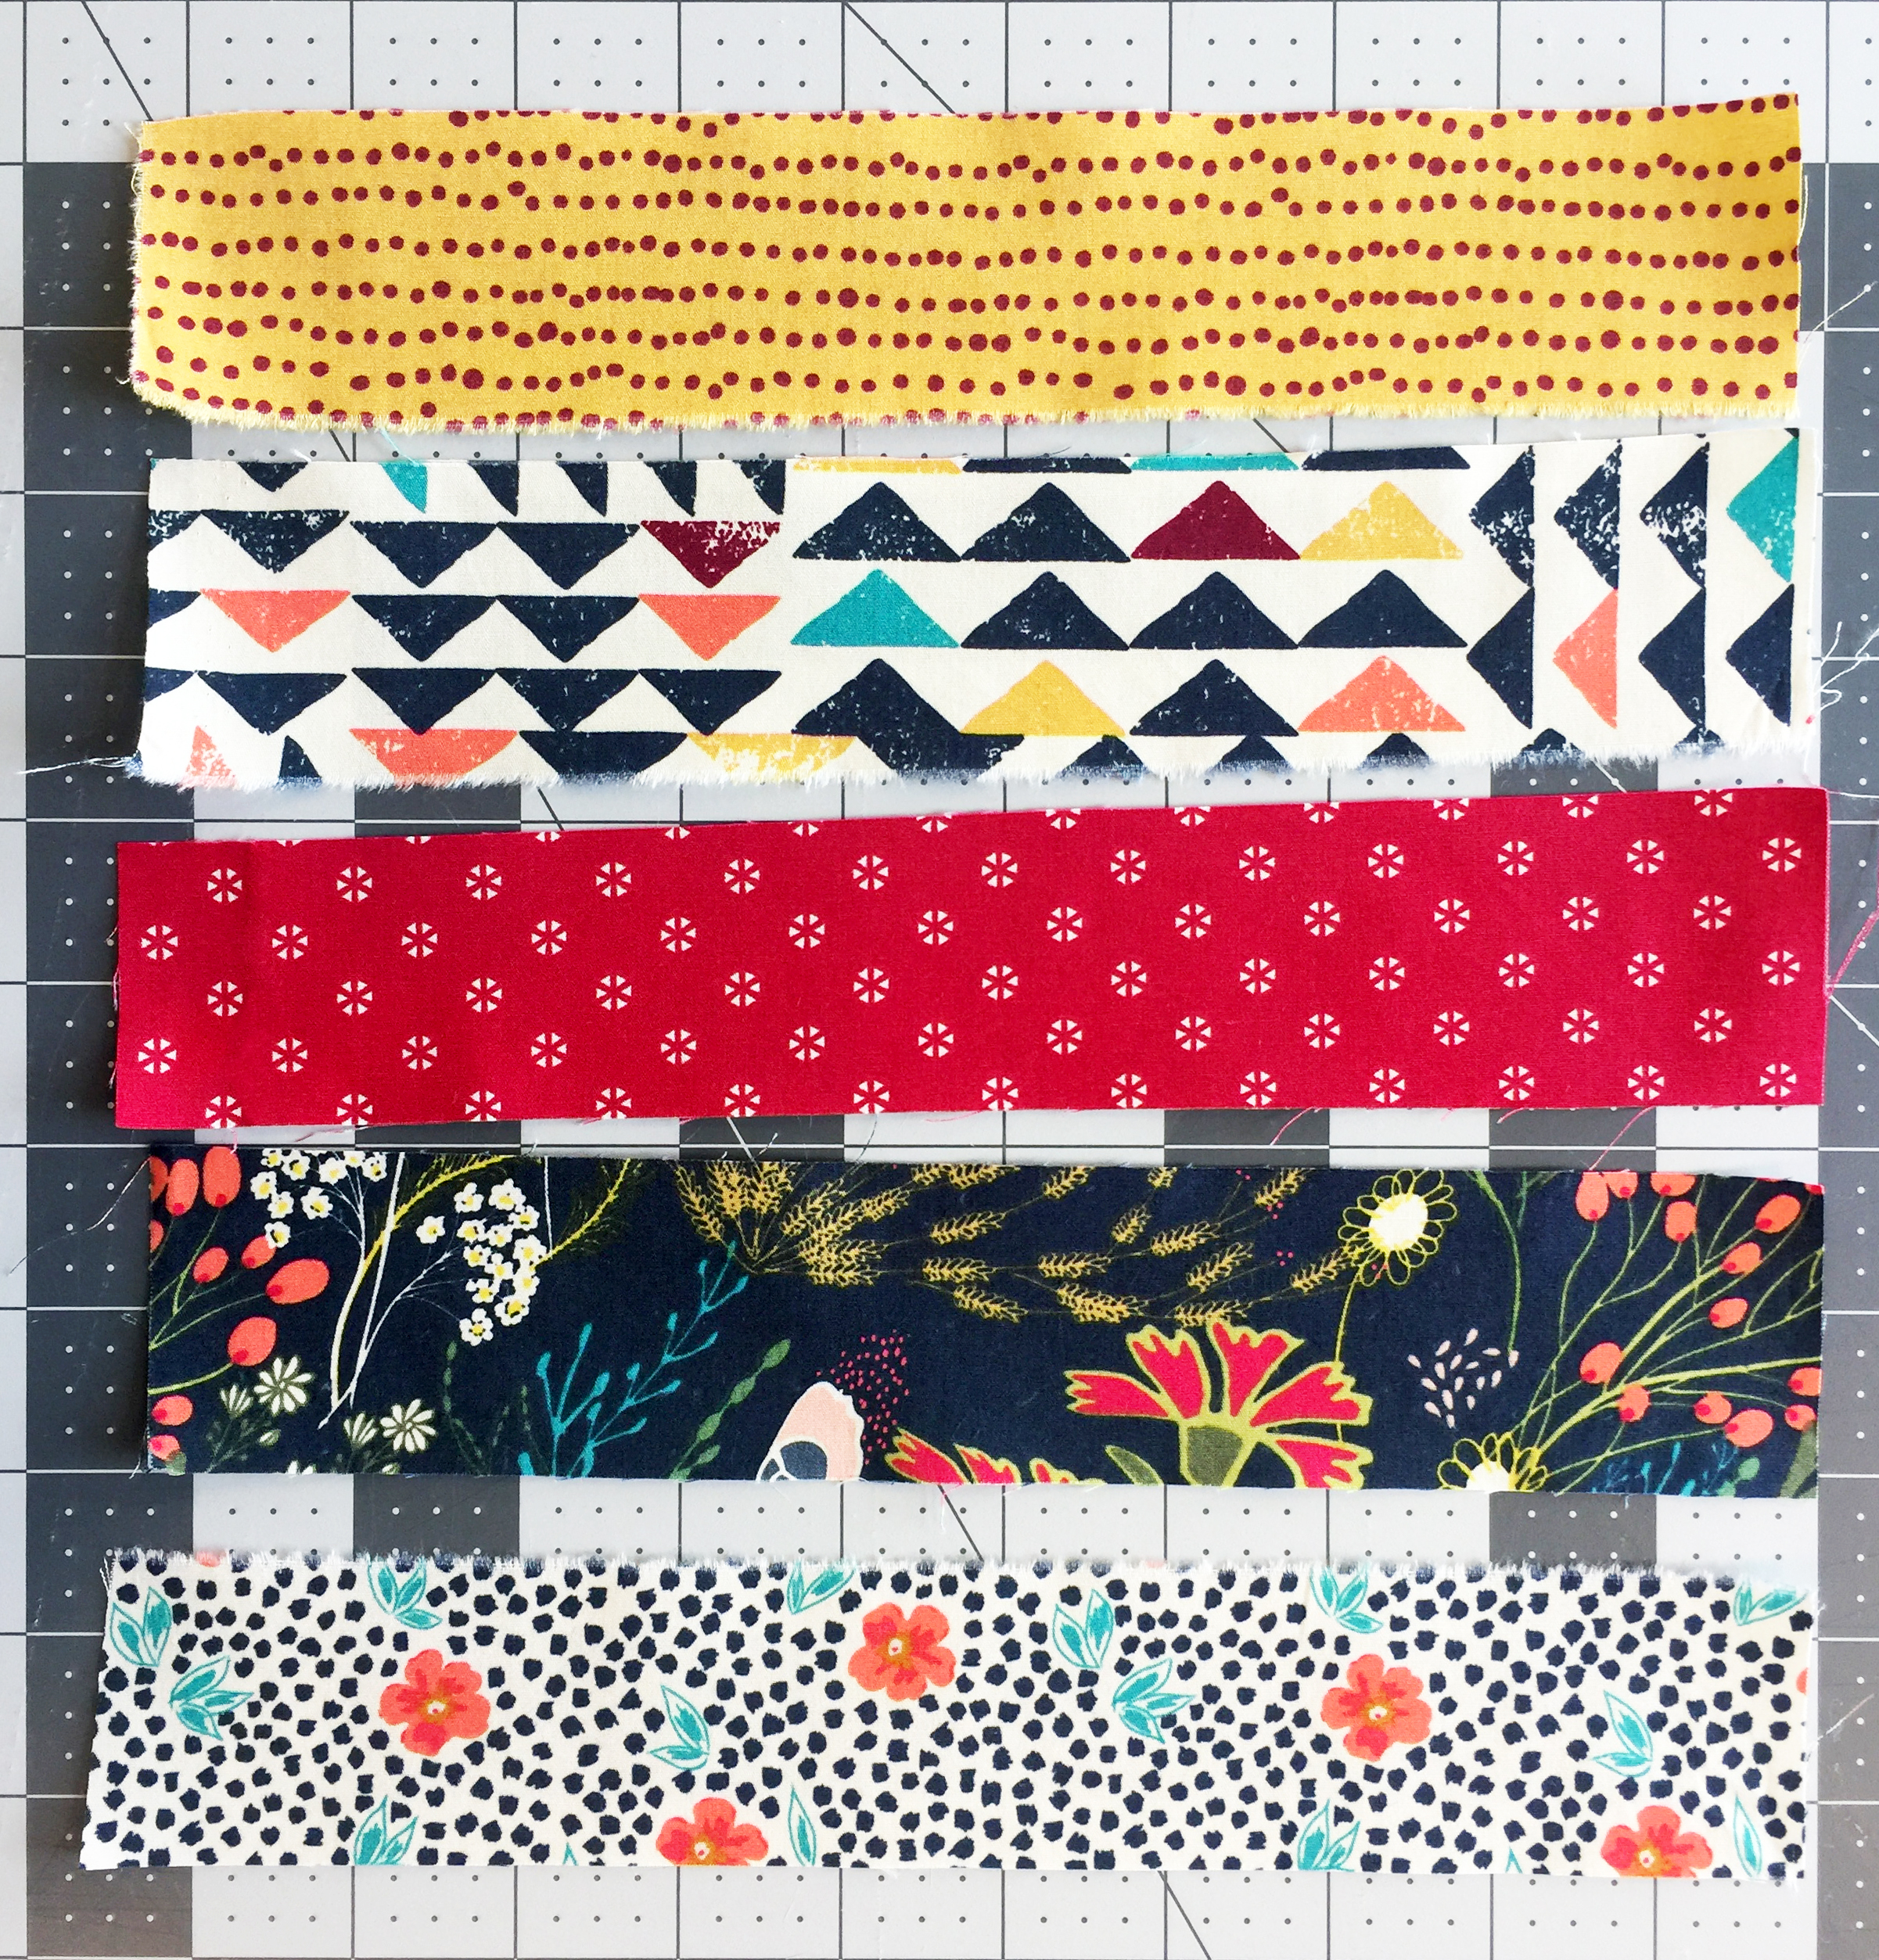
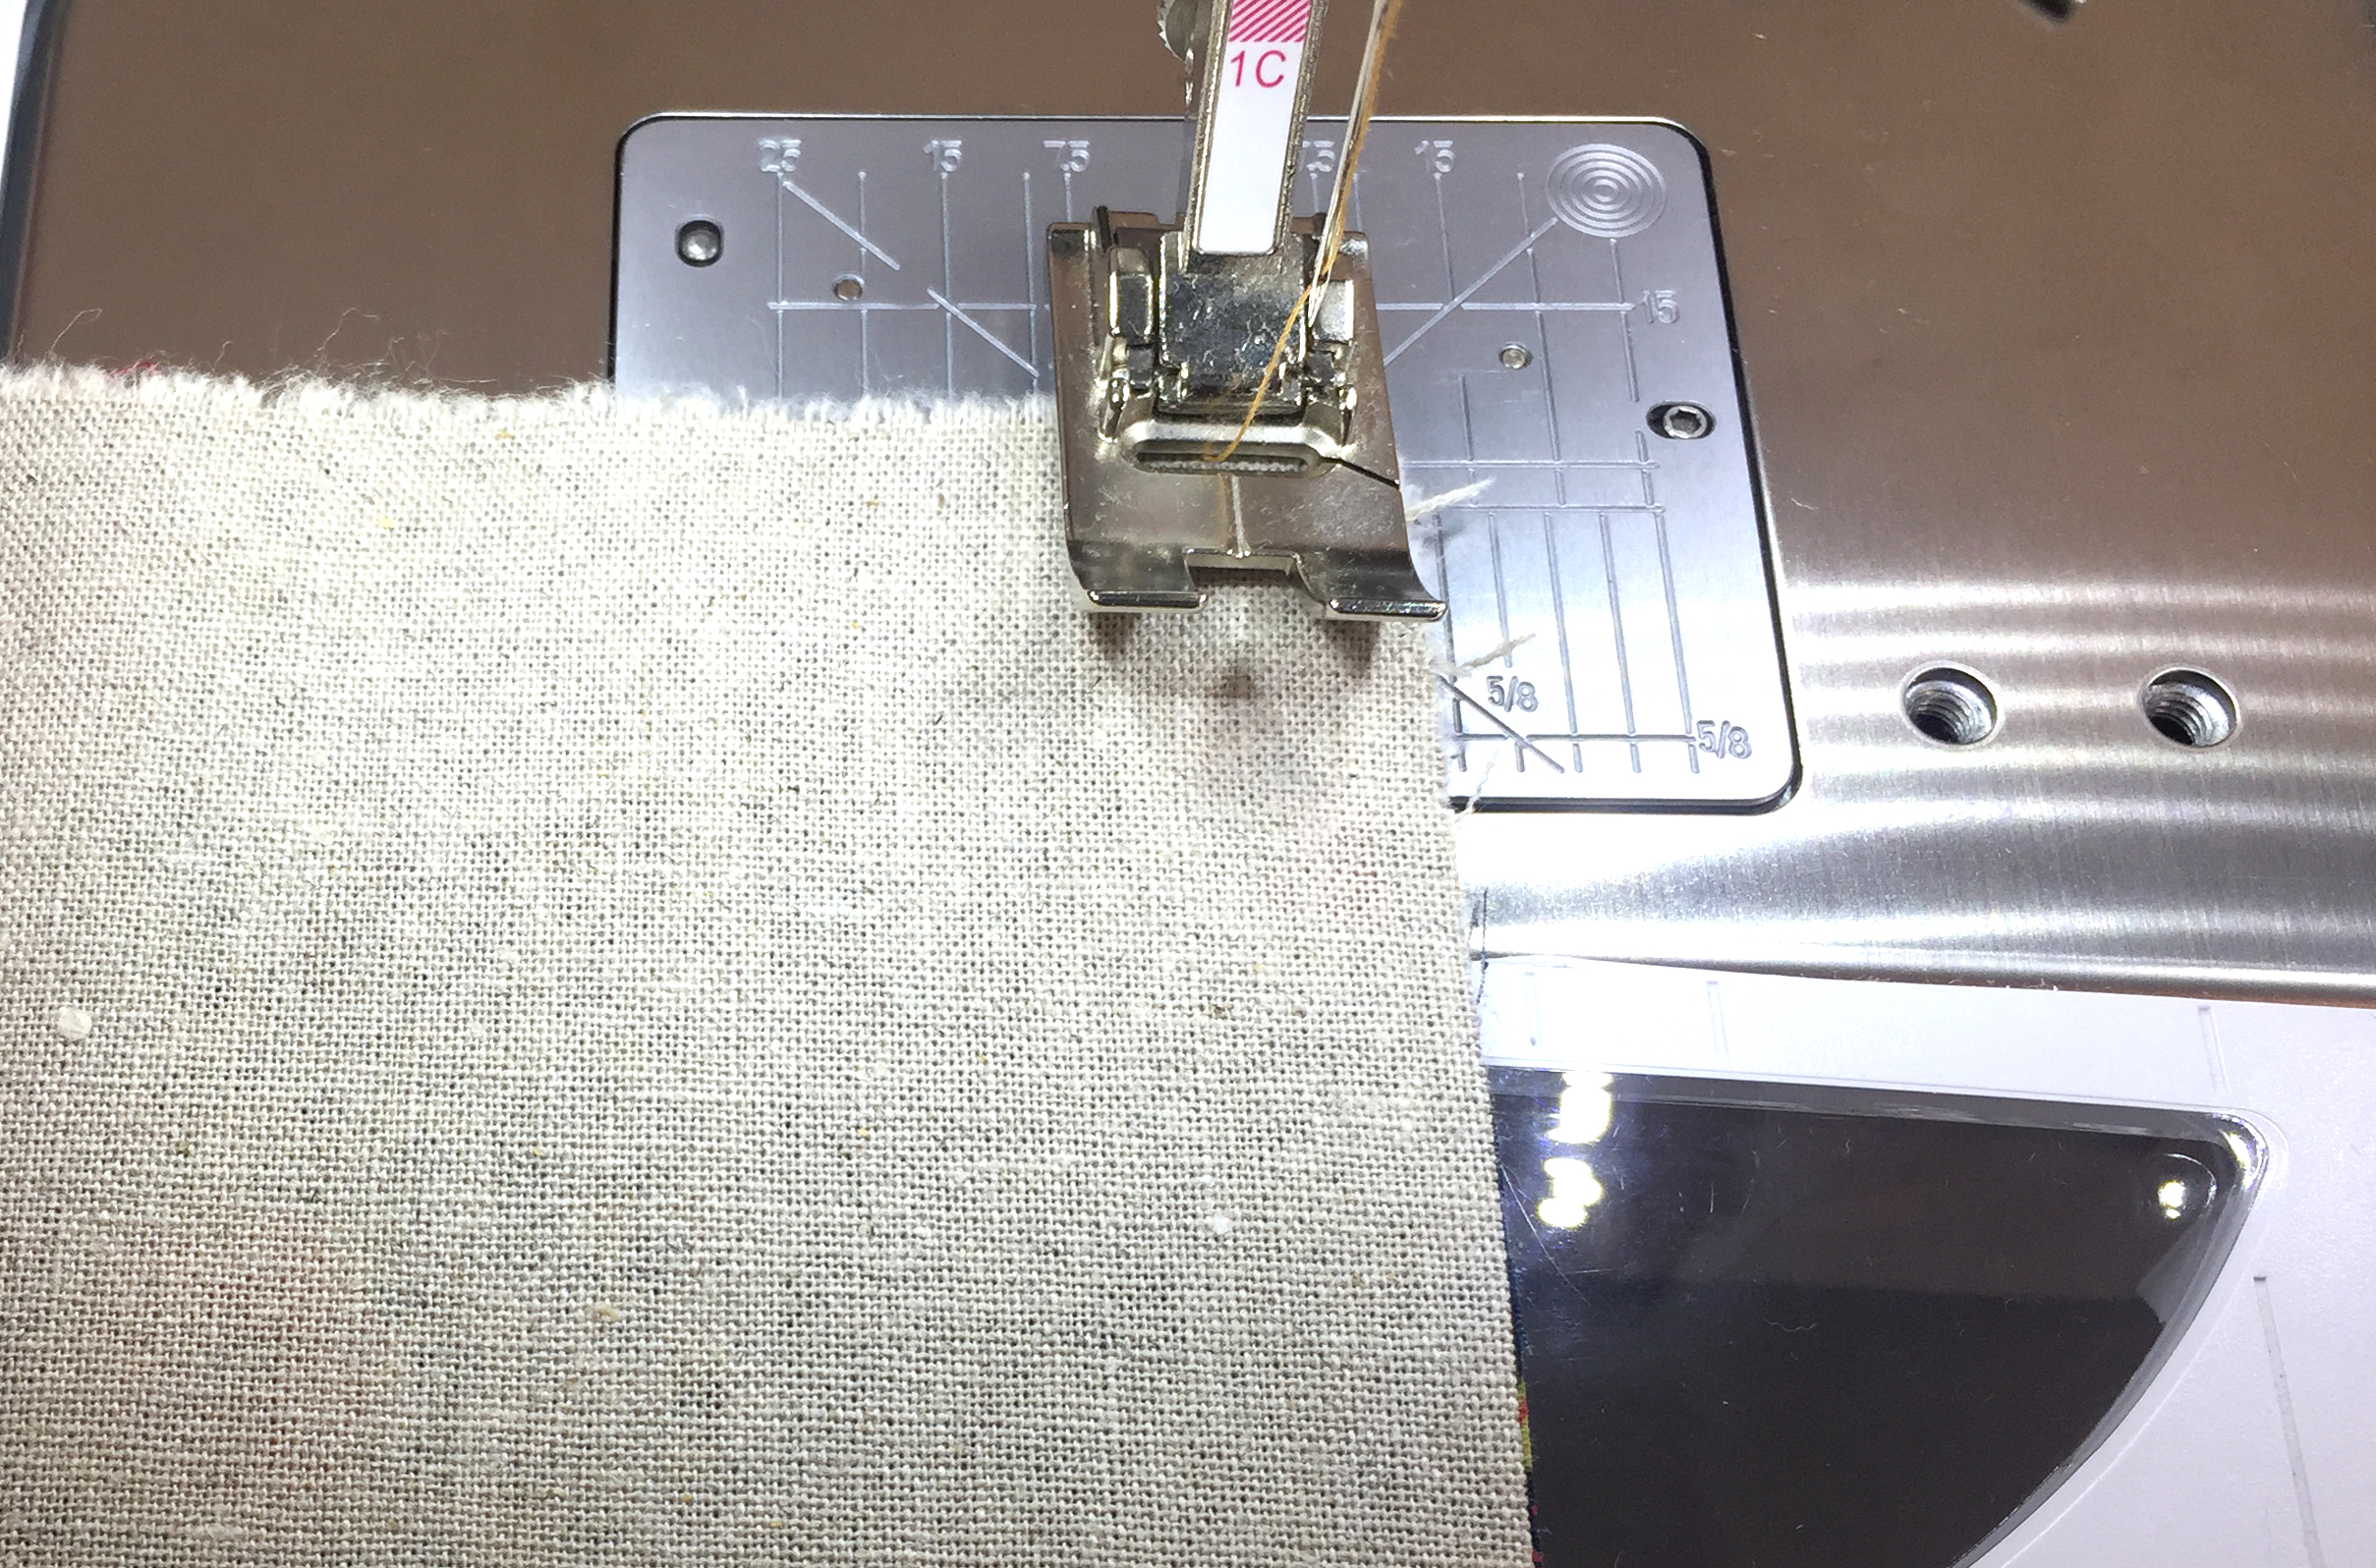
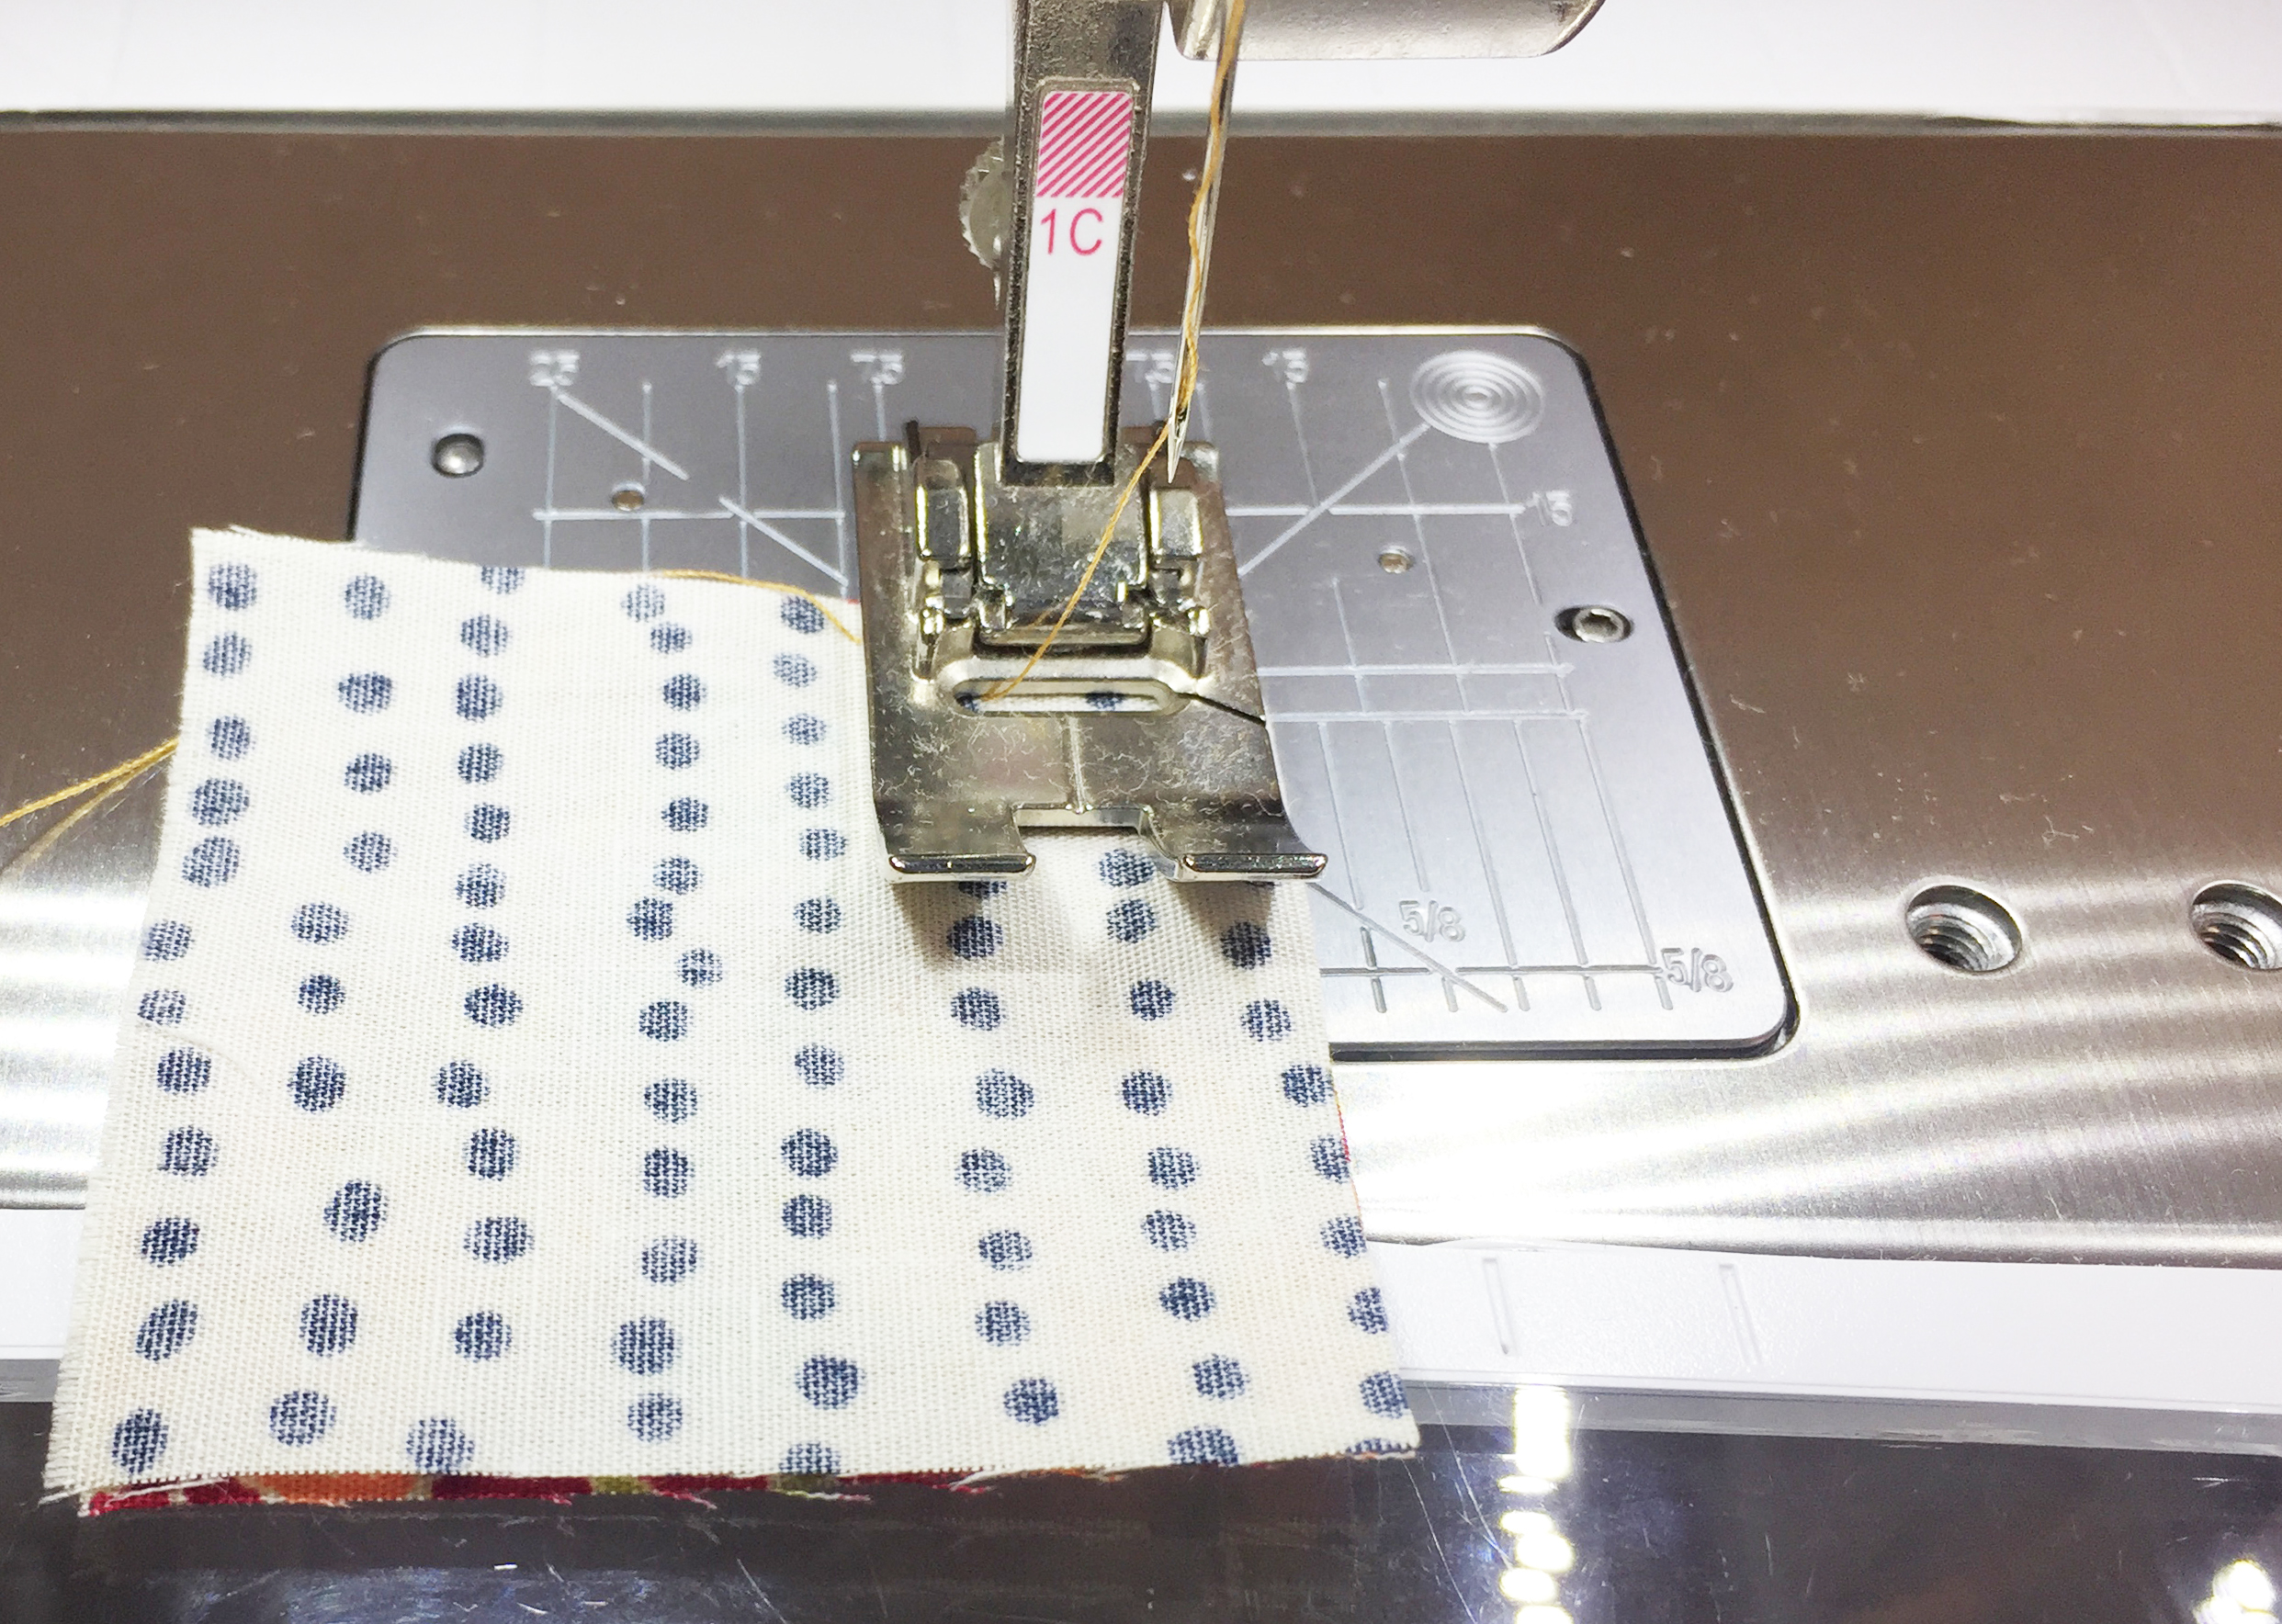
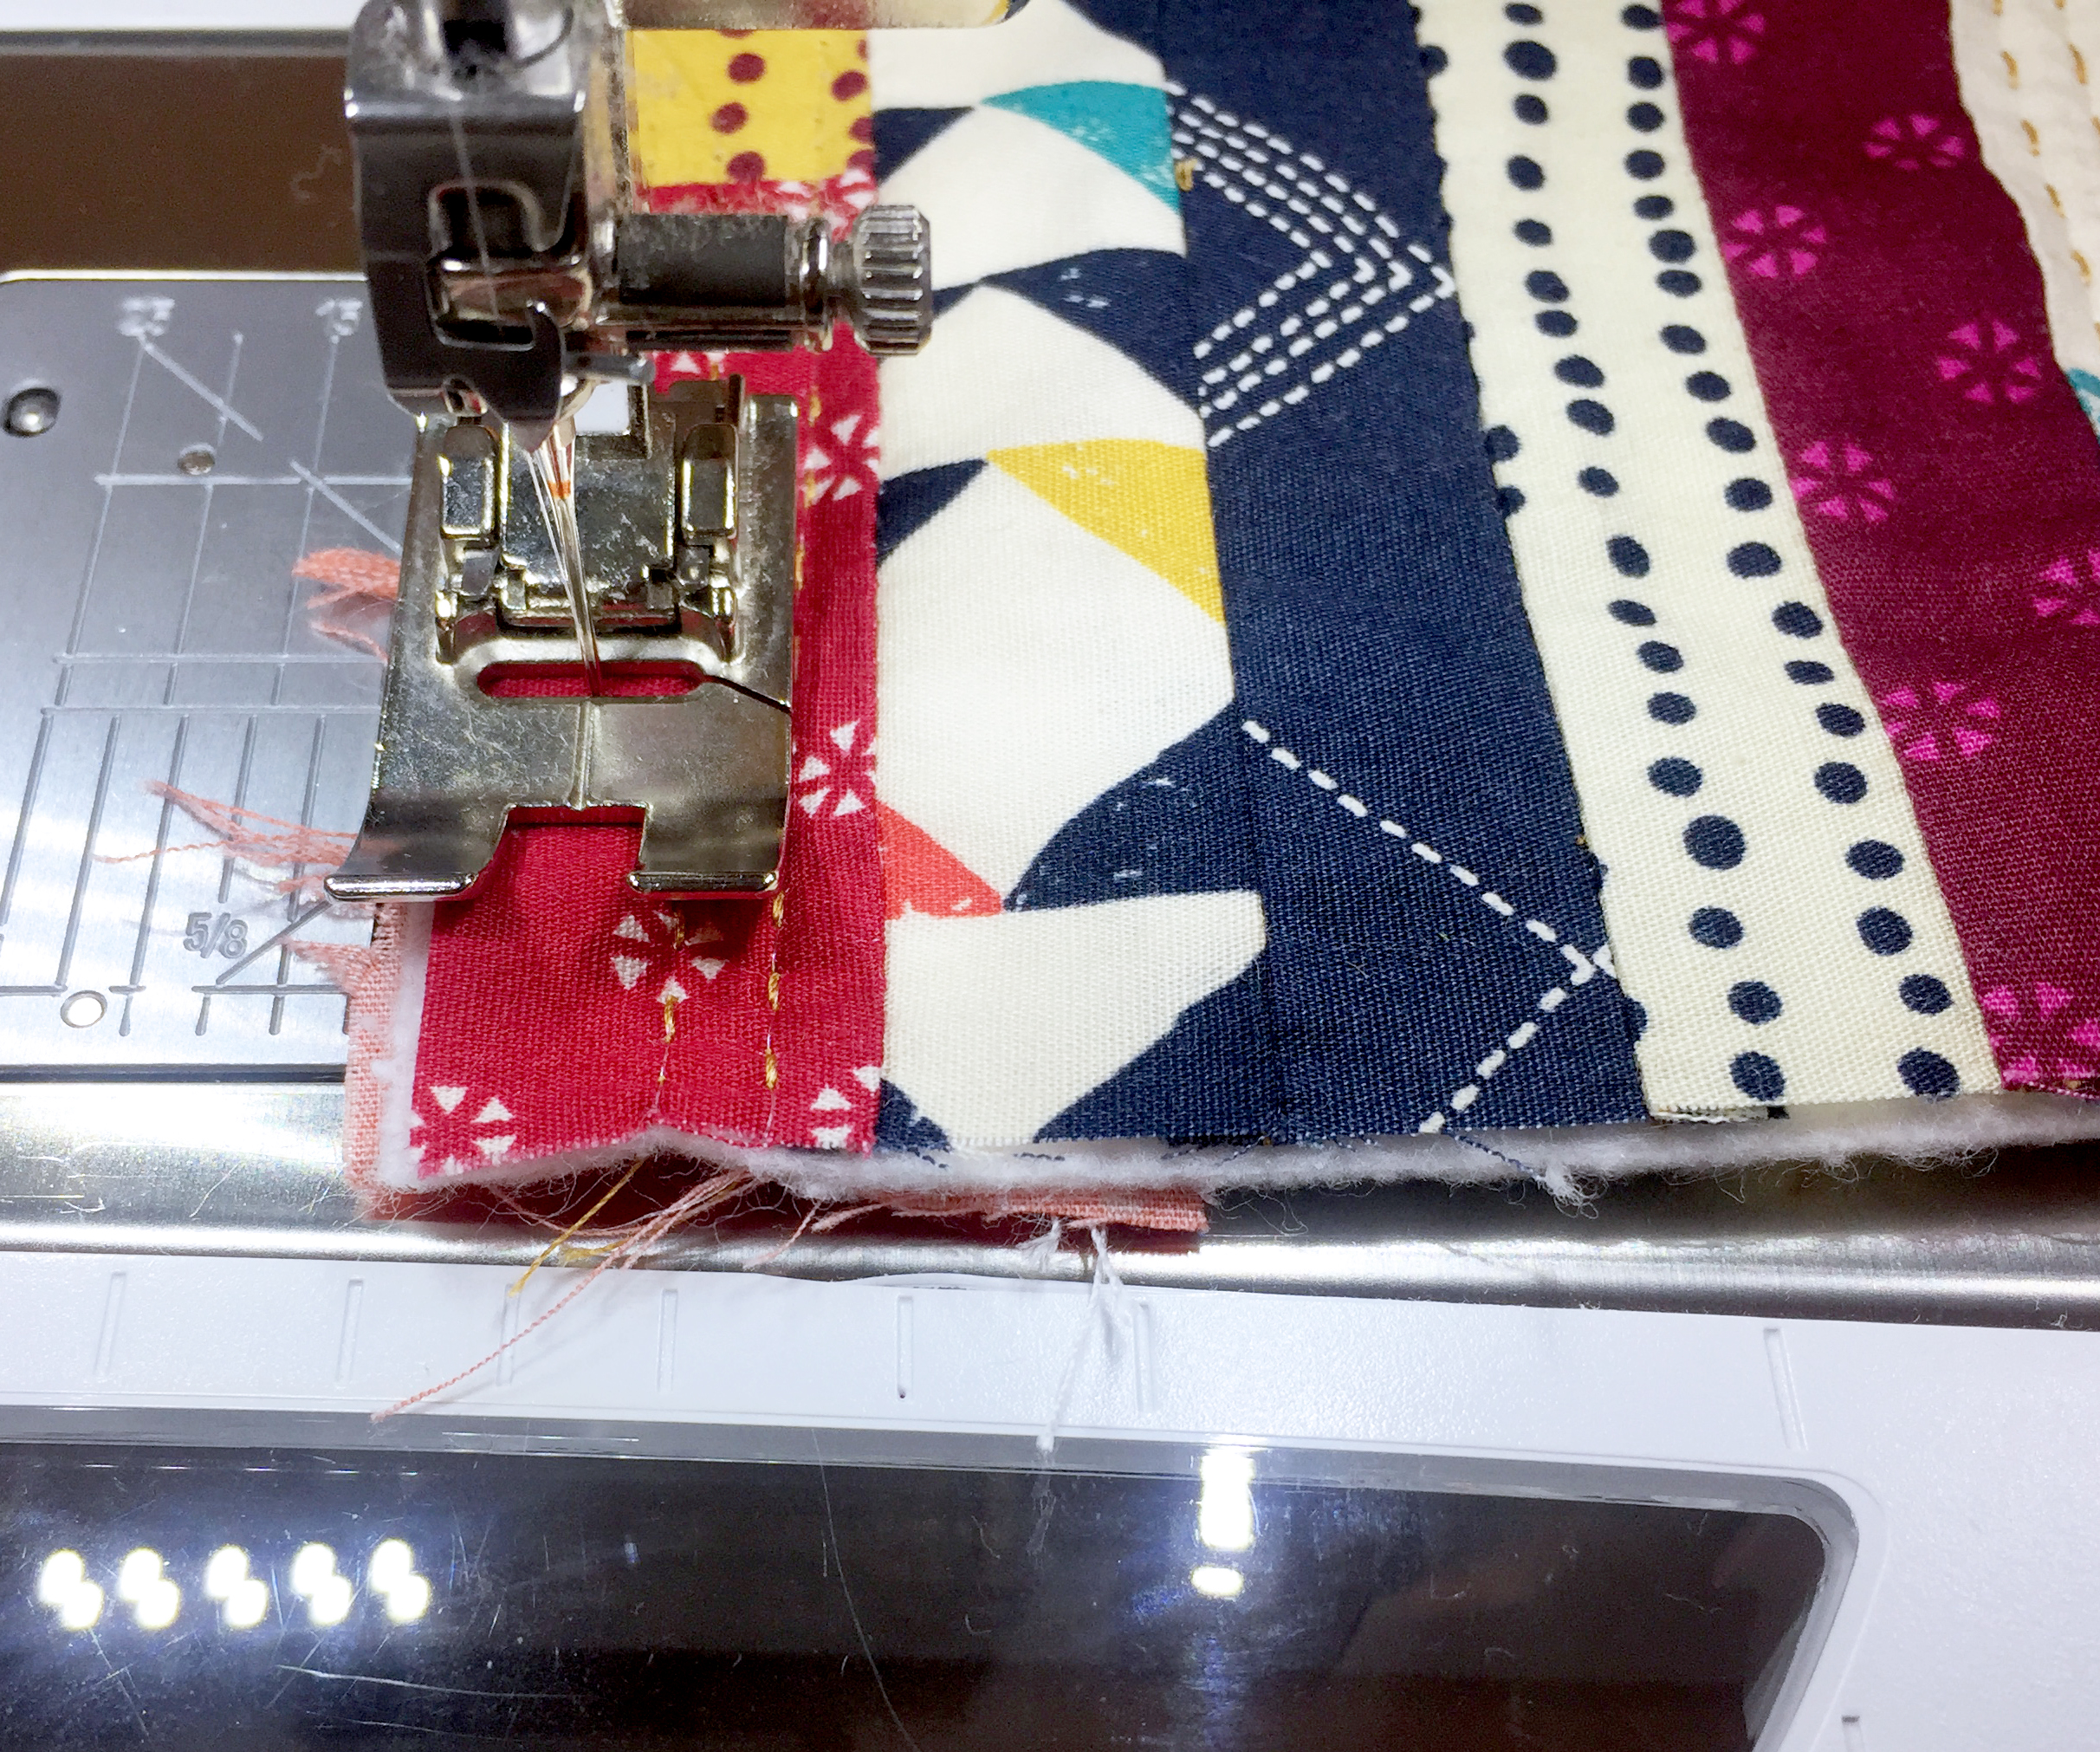
This is the order in which the strips are going to be sewn. Now prep your sewing machine using the all-purpose Reverse Pattern Foot #1/#1C/#1D and thread the needle with the Aurifil thread #2930. Begin sewing all strips with a 1/4” seam allowance.

You will have a piece looking like the one below.

Sandwich the recent completed piece, batting and lining in this order:
- Strips piece, right side facing up
- 10” by 10” piece of Batting
- 10” by 10” piece of Fabric K, lining

Sew around the square leaving a 3” opening.

Pull the pouch through the opening, pull the corners out and stitch the opening closed. I will teach you how to make the envelope shape later on.
Step 2- Pouch Assembly, Second Pouch, measuring 2 3/4” by 2 3/4”
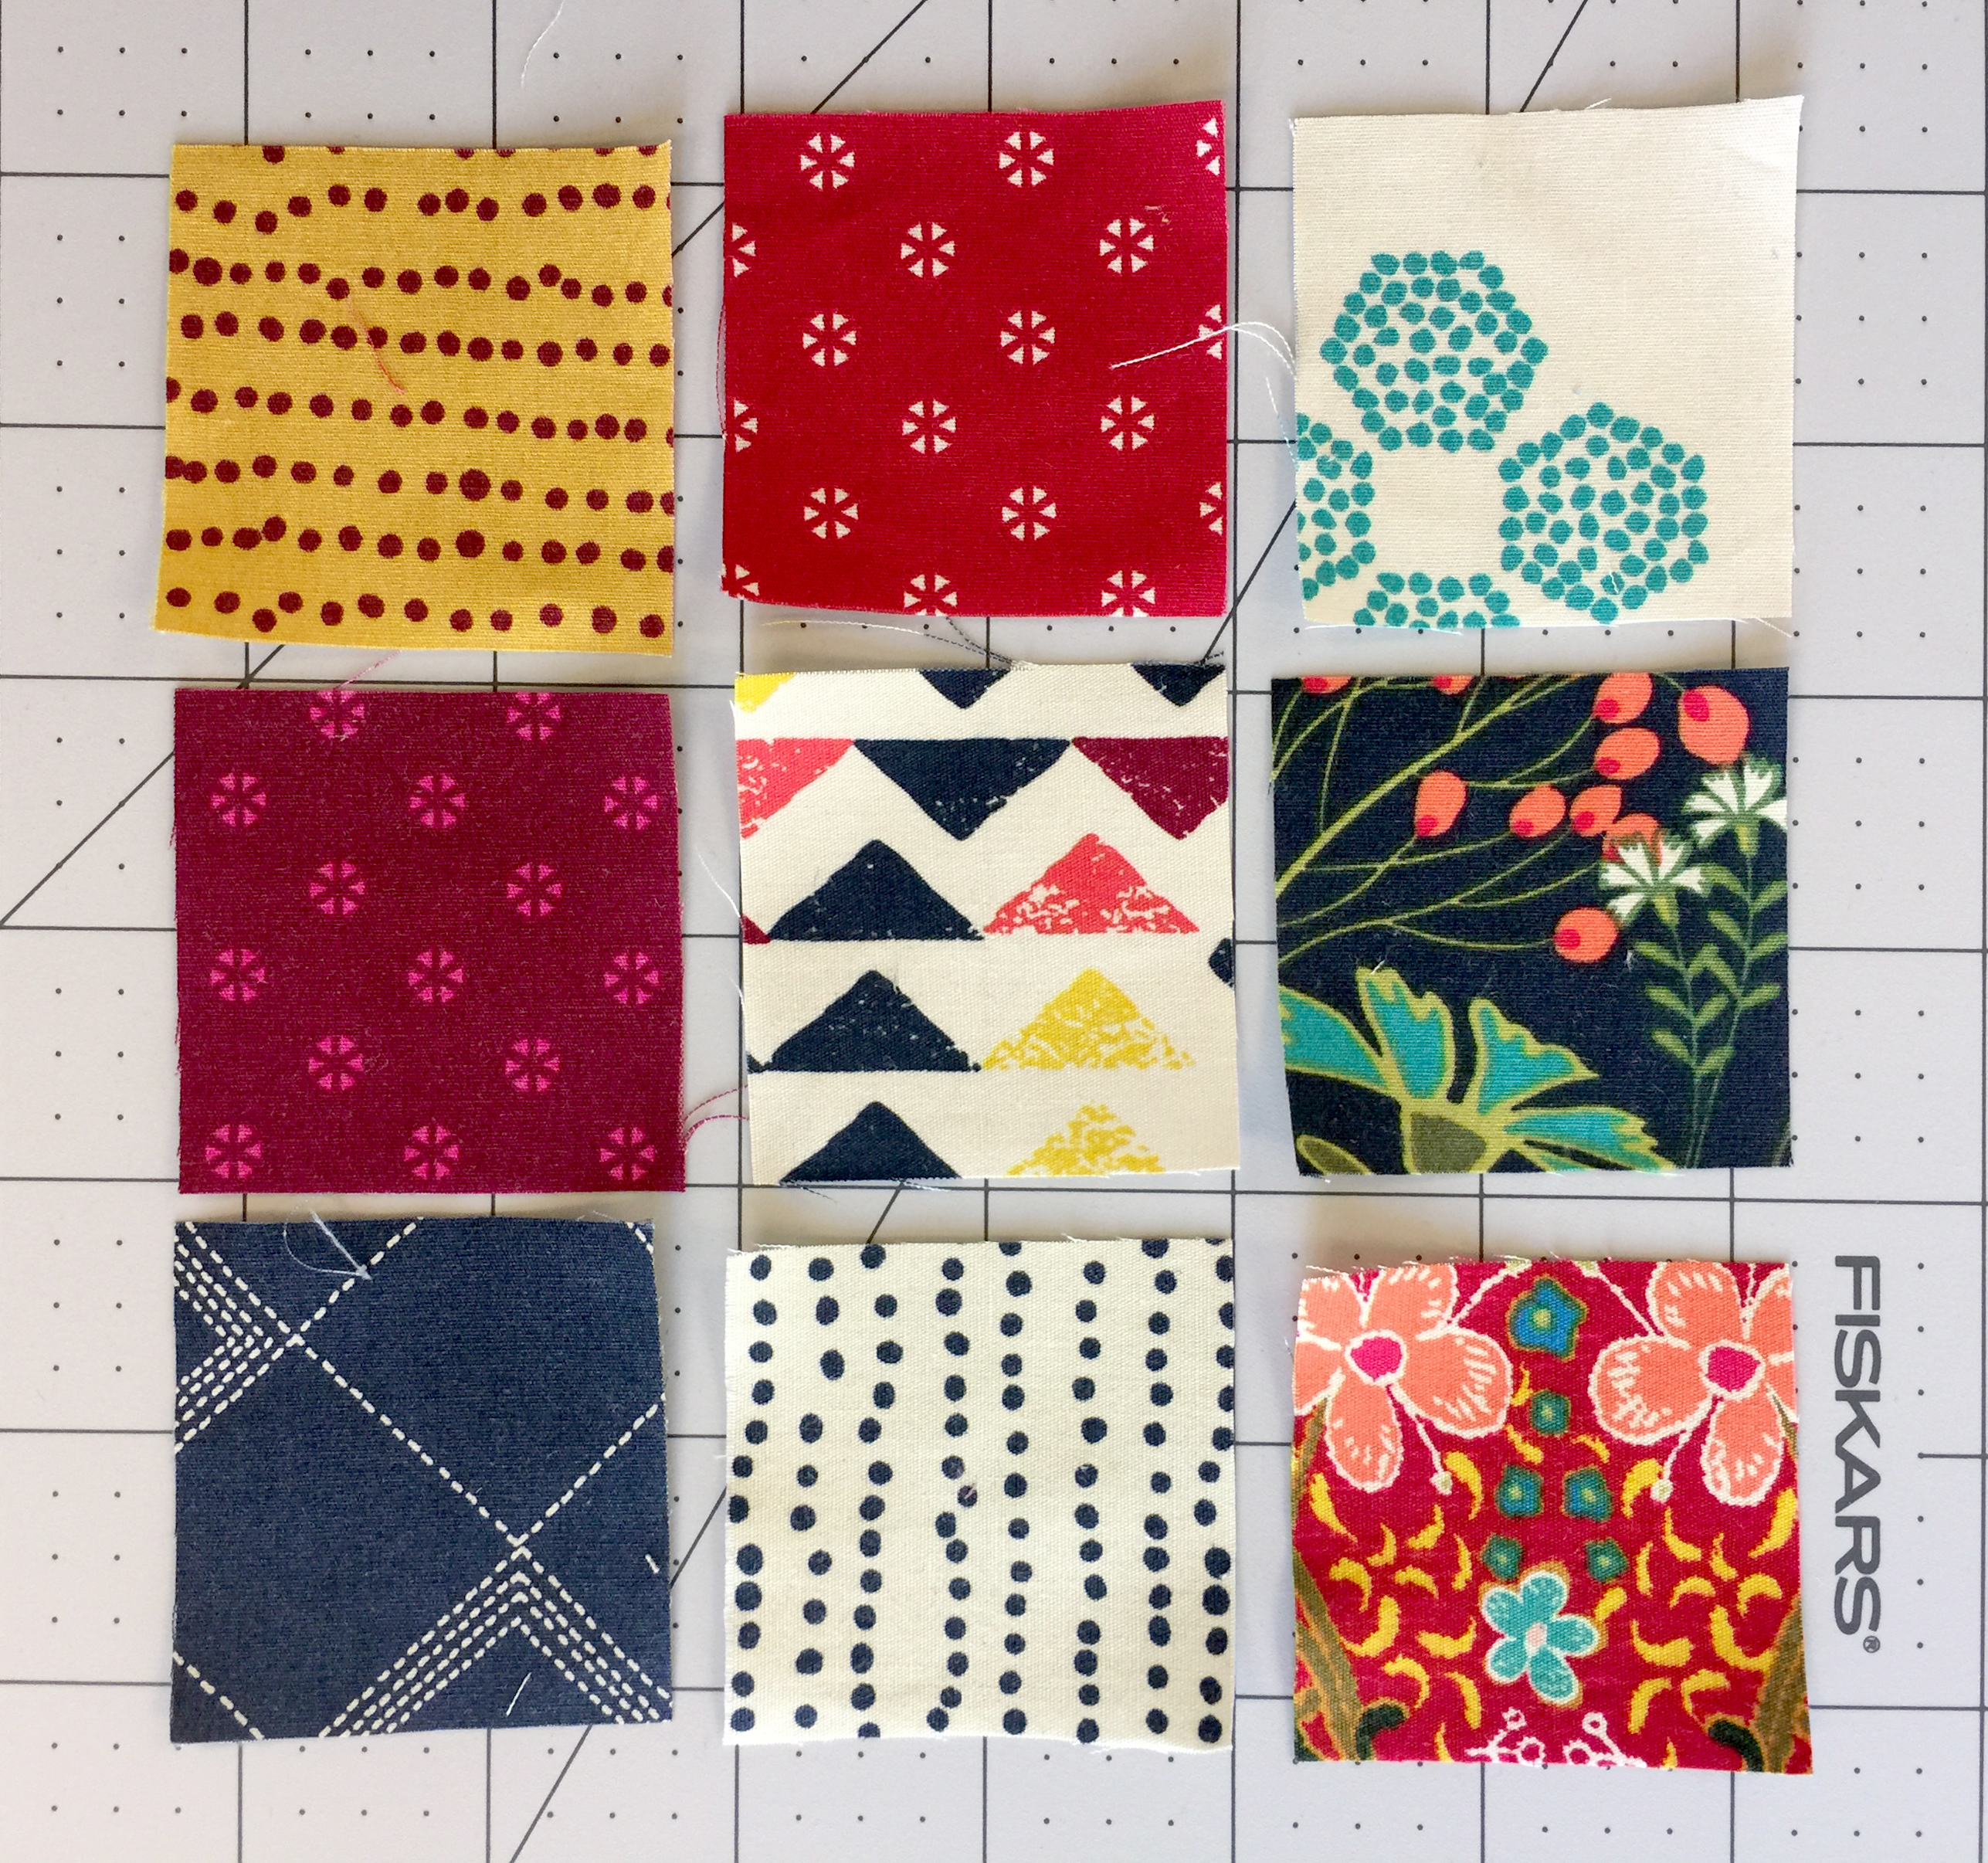
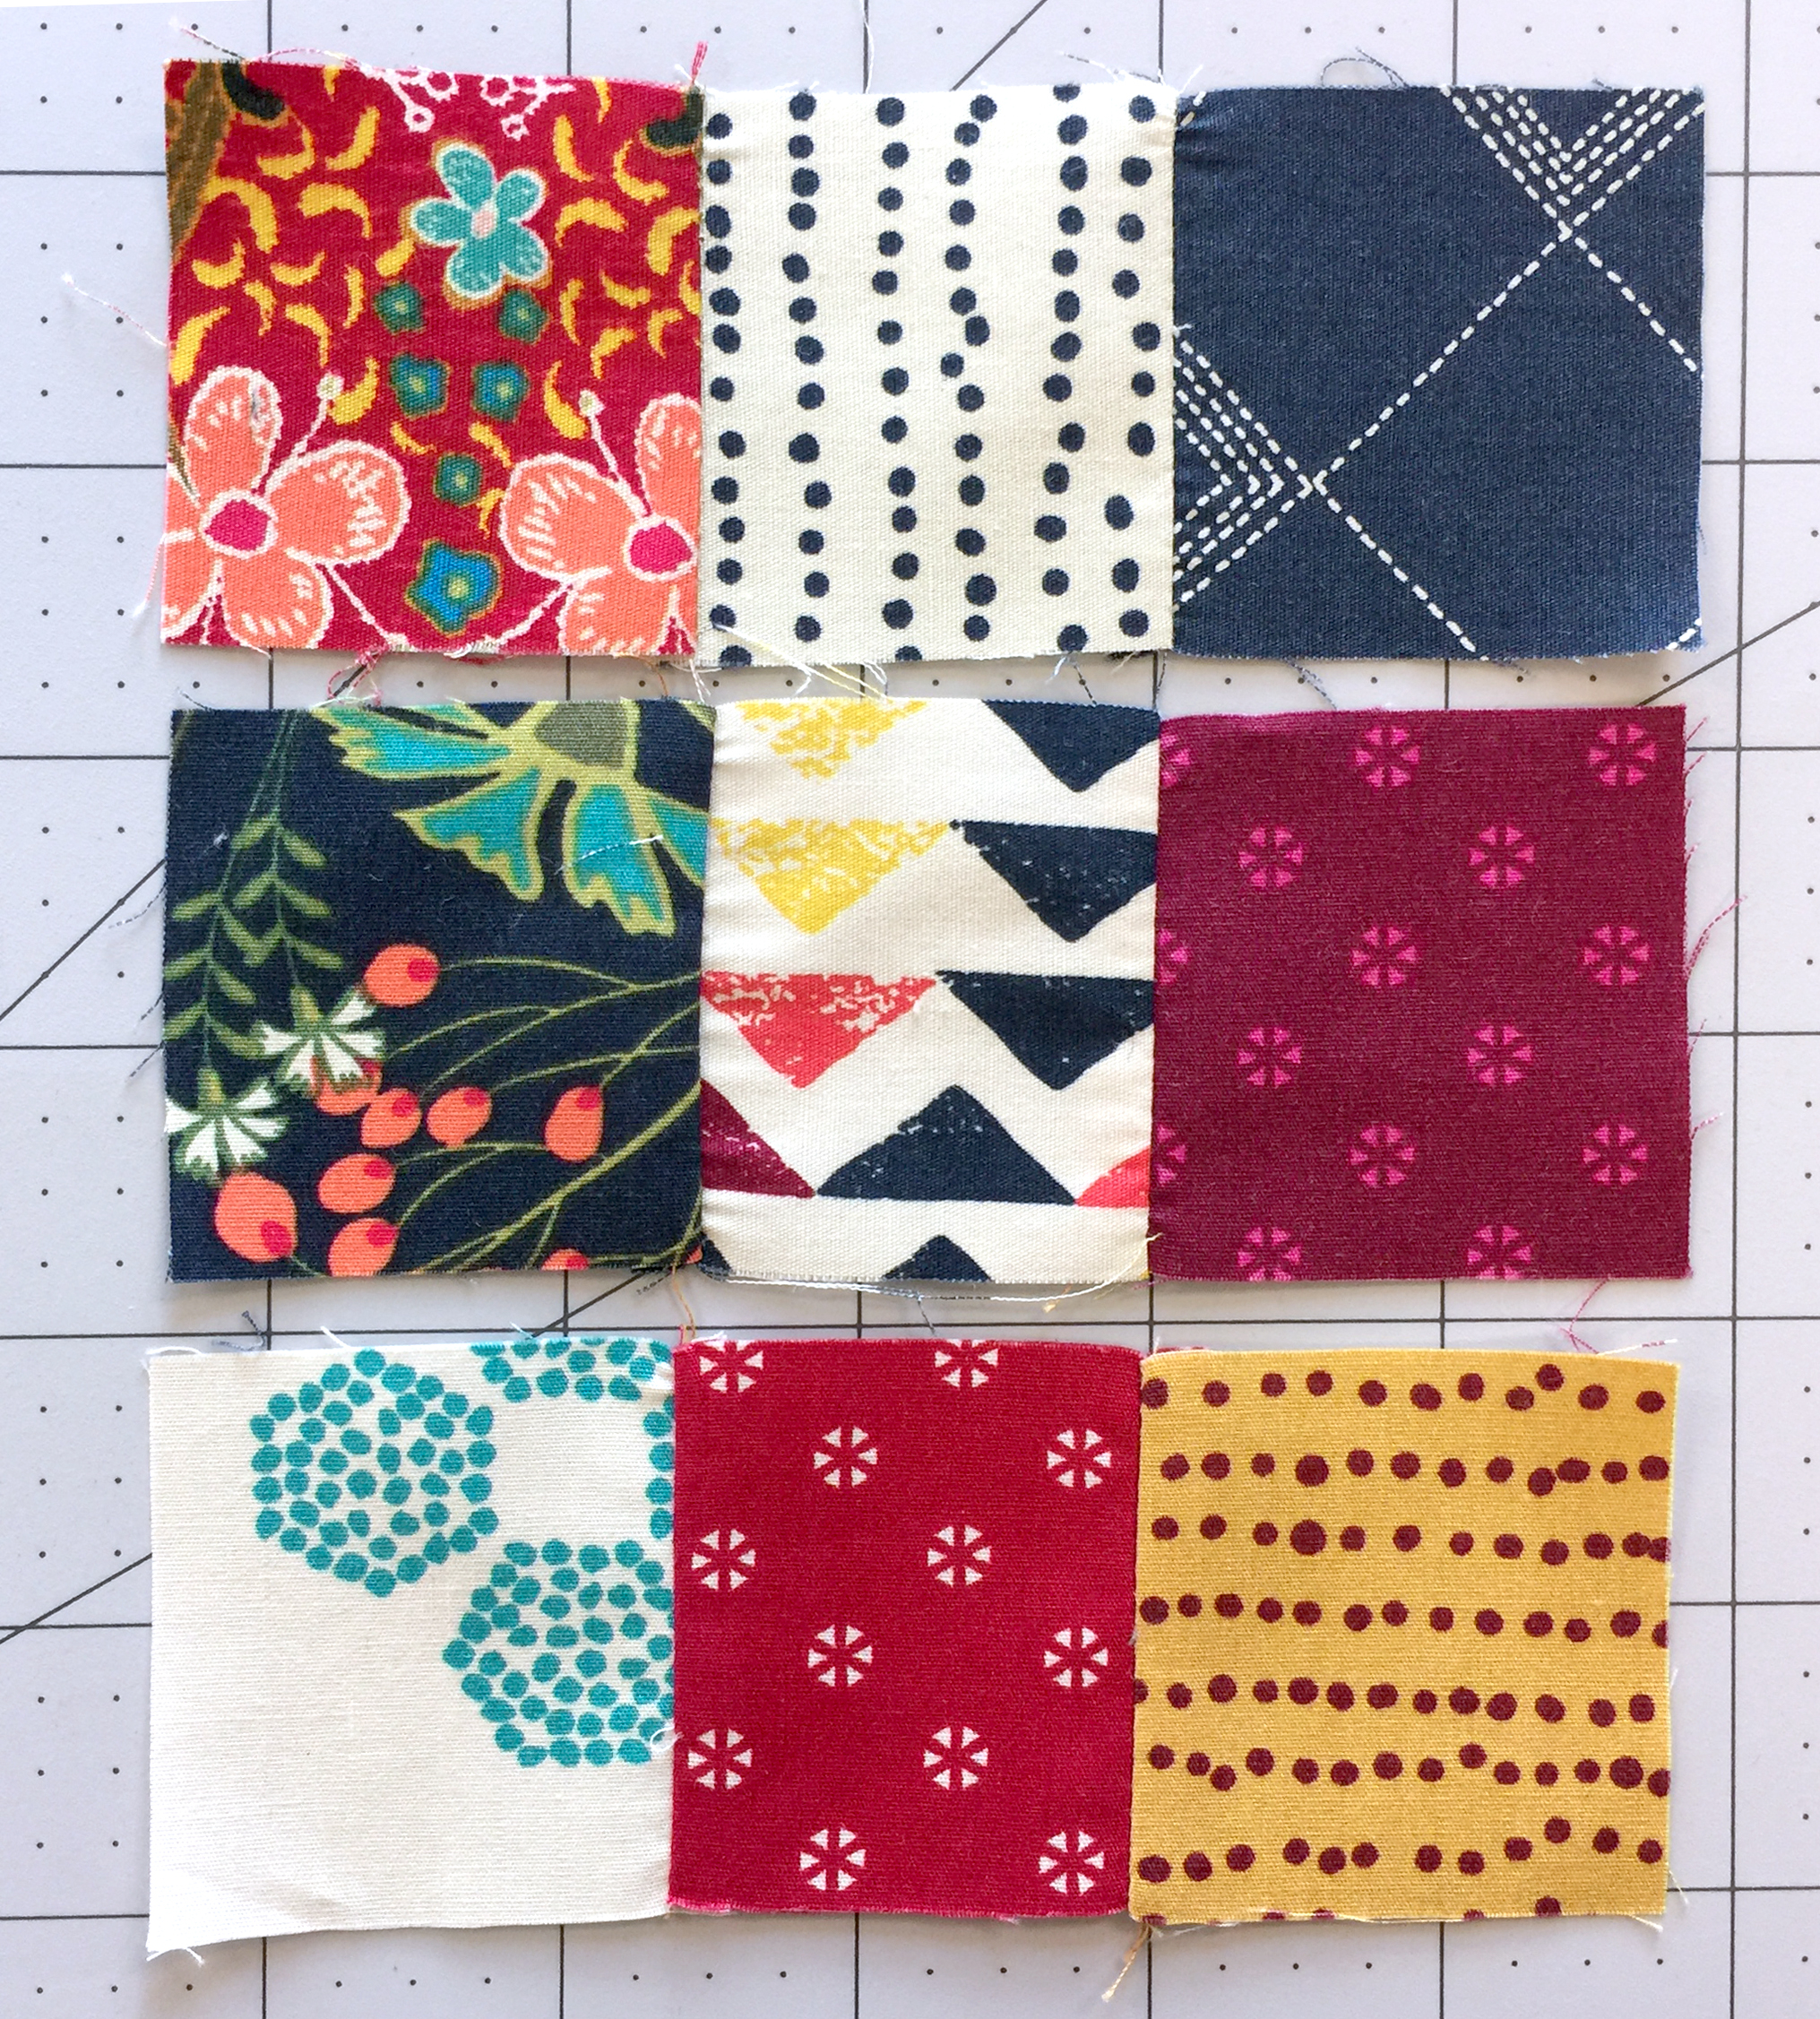
Grab the pieces cut for this pouch size from Fabric BCDEFGHIJ
- 1 (one) 2″ by 2″ of Fabric B
- 1 (one) 2″ by 2″ of Fabric C
- 1 (one) 2″ by 2″ of Fabric D
- 1 (one) 2″ by 2″ of Fabric E
- 1 (one) 2″ by 2″ of Fabric F
- 1 (one) 2″ by 2″ of Fabric G
- 1 (one) 2″ by 2″ of Fabric H
- 1 (one) 2″ by 2″ of Fabric I
- 1 (one) 2″ by 2″ of Fabric J
And place them in the order shown below.
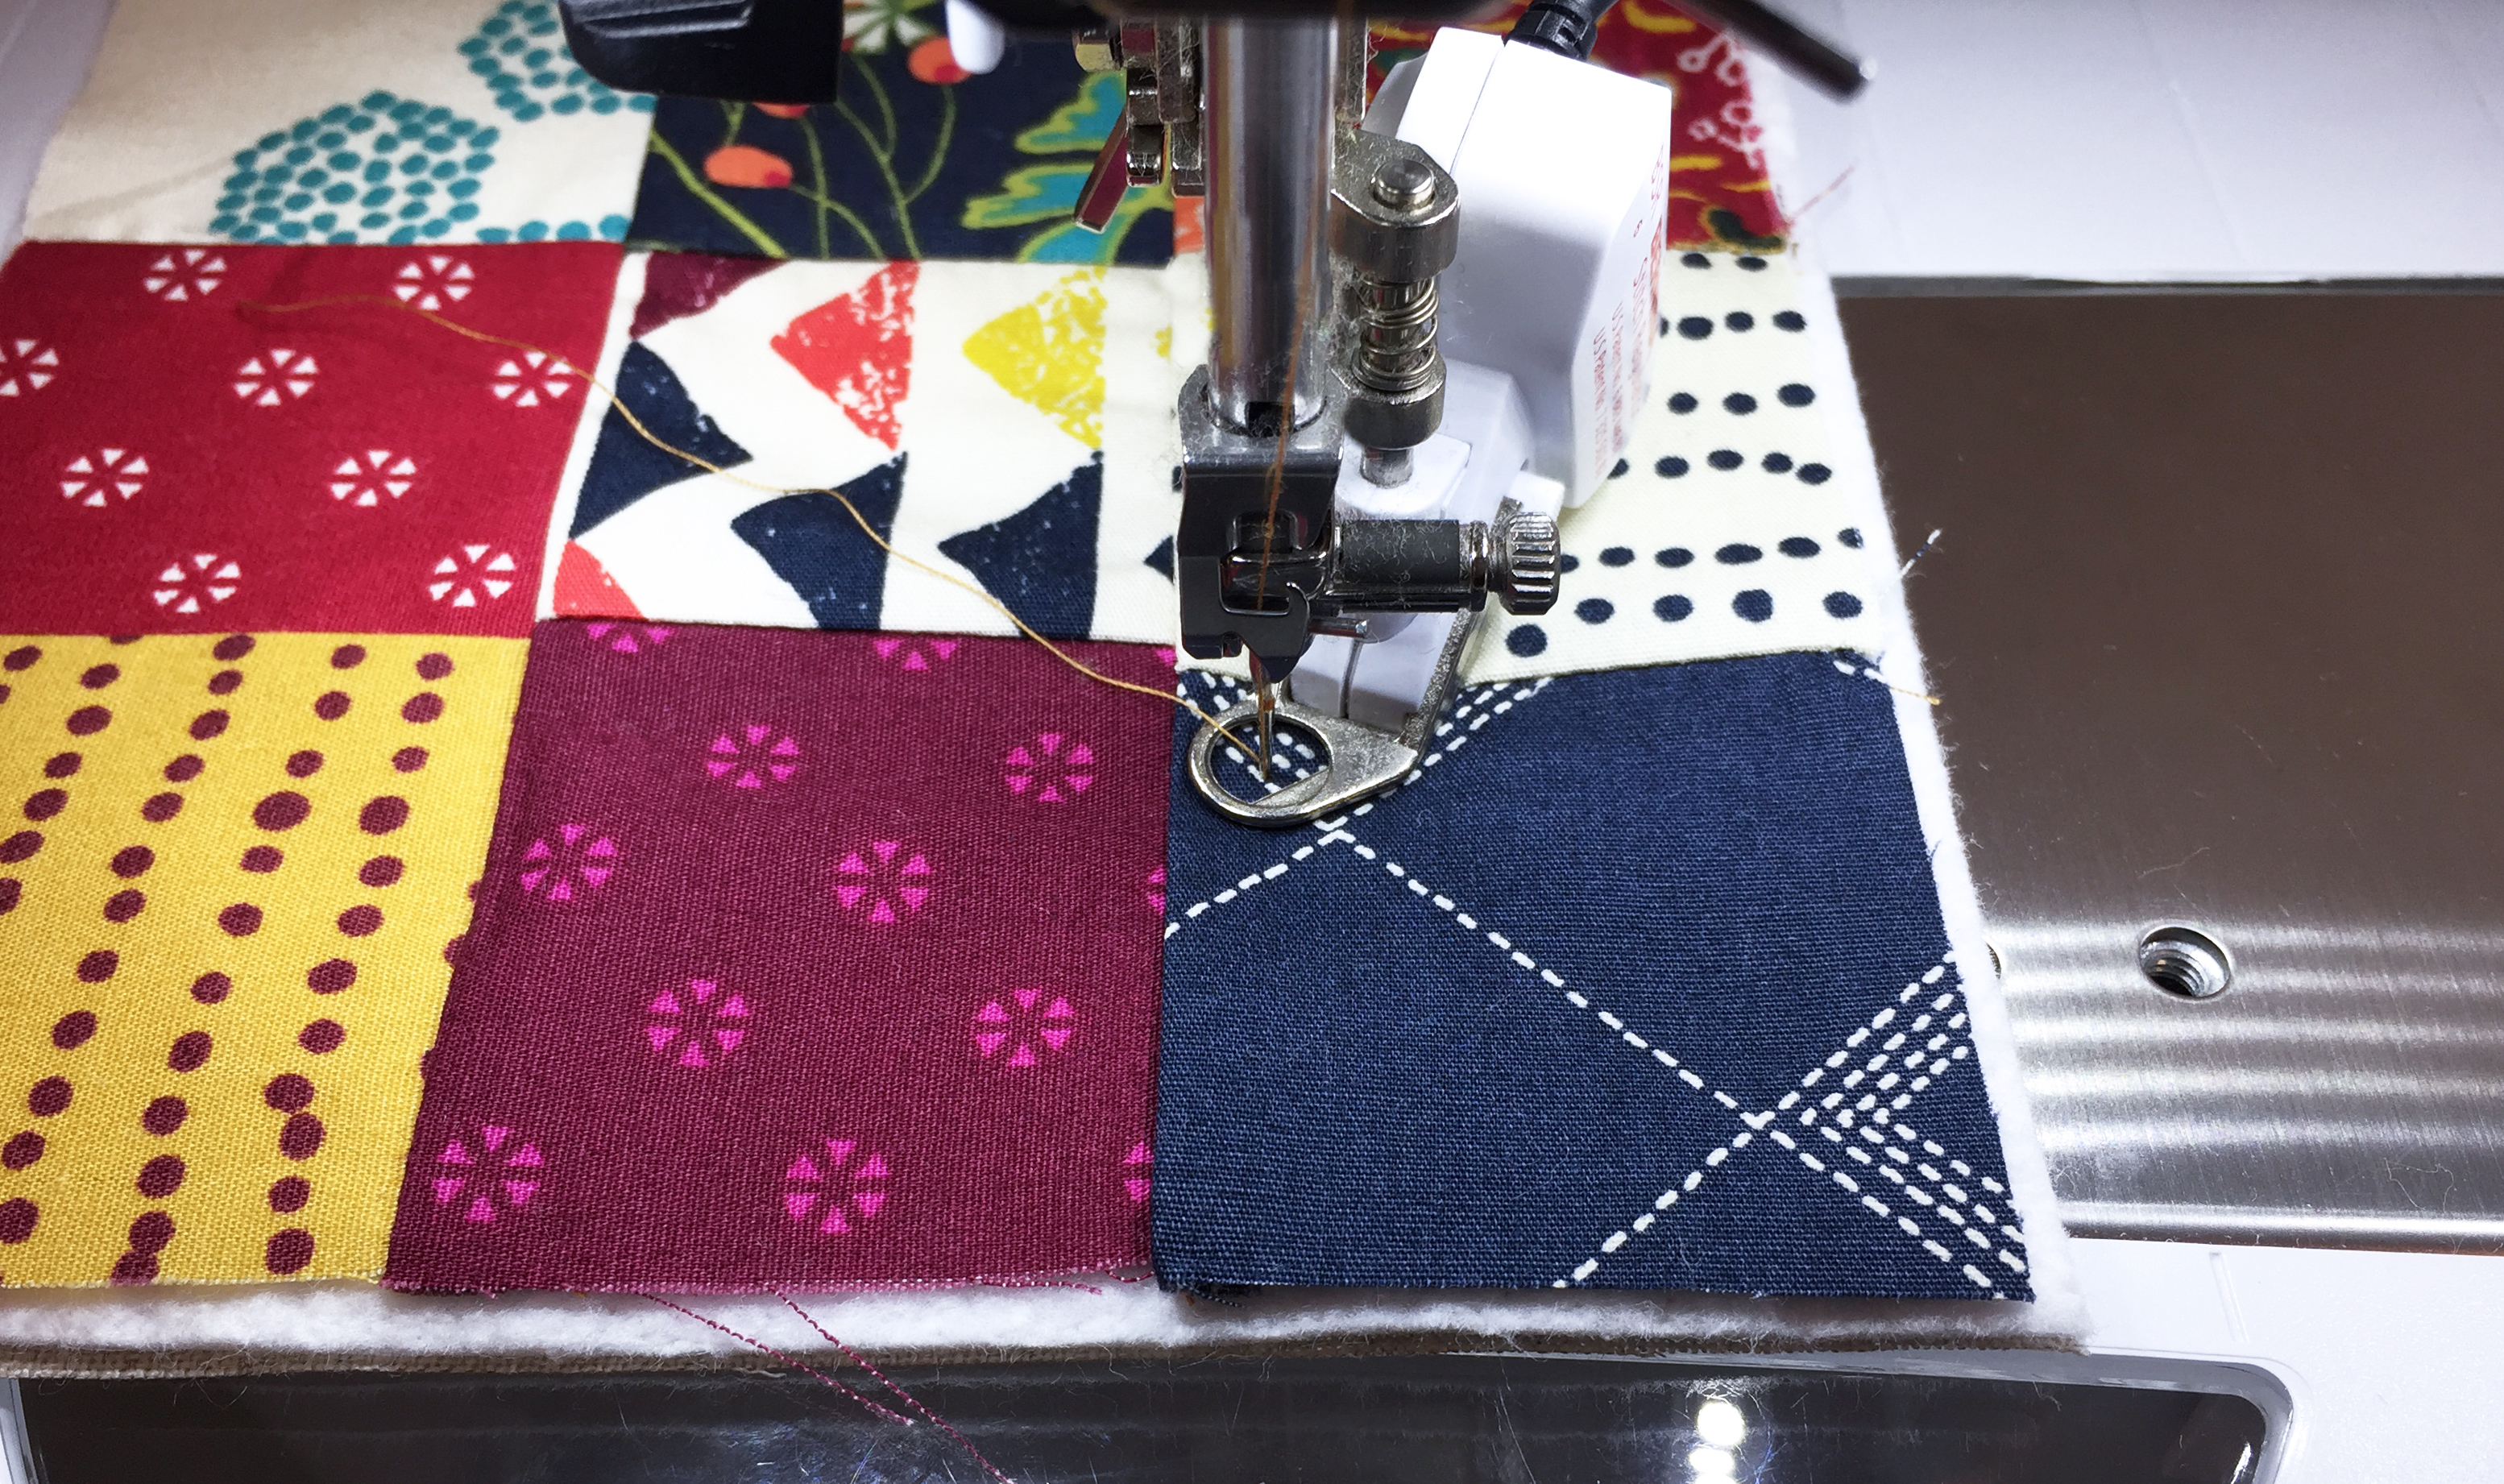
Start sewing square by square.
Once completed, start attaching each row.
Take the 3” by 3” piece of batting and prepare the recent completed piece for quilting purposes. Prep your machine with Aurifil thread #2134 and with the free motion quilting with regular stitch length (BERNINA Stitch Regulator) and begin free motion quilting.
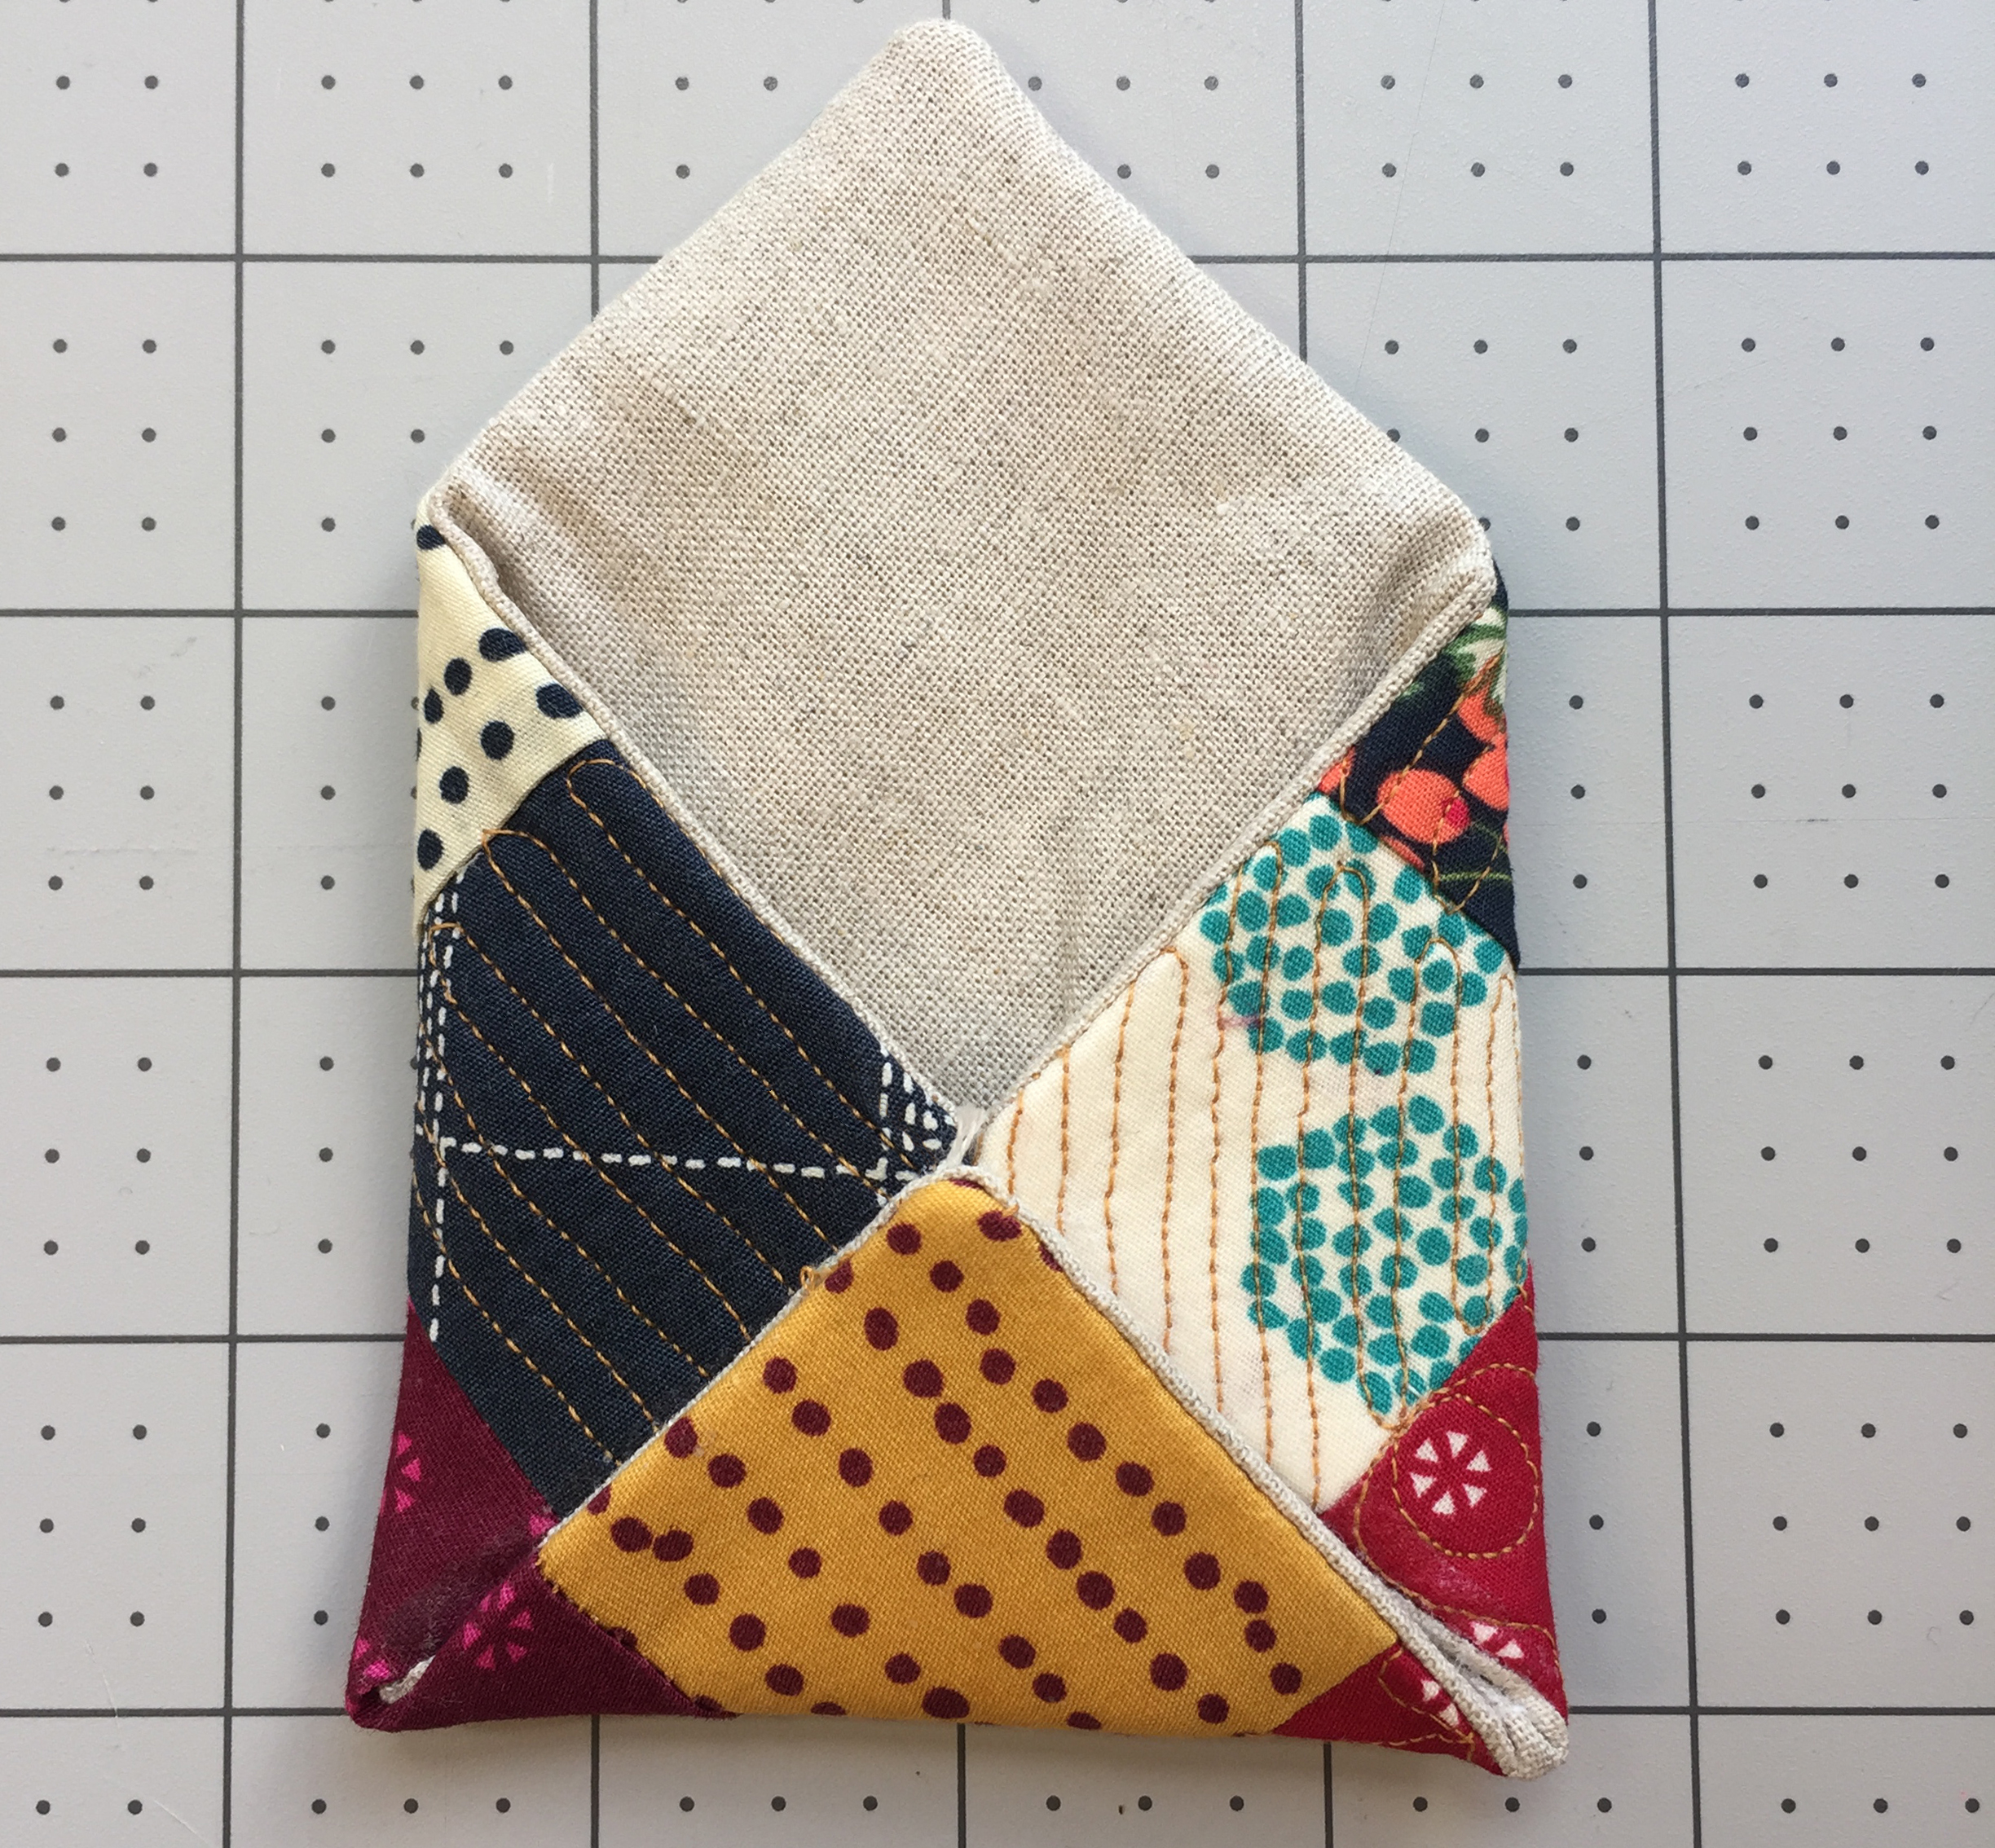
Once completed, place the 3” by 3” piece of Fabric K on top of the quilted piece (quilted piece facing right side up) and sew around the square leaving a 1.5” opening. Pull the pouch through the opening, pull the corners out and stitch the opening closed. Now, fold the two sides and hand stitch it shut, later grab the bottom side and fold it to meet the previous two sides and hand stitch it shut as well. You will end up having a piece resembling the image below.
Step 3- Pouch Assembly, Third Pouch measuring 3” by 3”
Grab the pieces cut for this pouch size from Fabric CDEFGHIJK
- 1 (one) 1″ by 5″ of Fabric C
- 1 (one) 1″ by 2.5″ of Fabric D
- 1 (one) 1″ by 5″ of Fabric E
- 1 (one) 1″ by 2.5″ of Fabric F
- 1 (one) 1″ by 2.5″ of Fabric G
- 1 (one) 1″ by 5″ of Fabric H
- 1 (one) 1″ by 5″ of Fabric I
- 1 (one) 1″ by 5″ of Fabric J
Place them in the order explained below and begin attaching each piece.
For this clutch, I am going to be using Quilt Stitch #1328, so prep your sewing machine changing the bobbin thread to Aurifil thread #2140 and a monofilament thread as the upper thread. In some cases you may need to adjust the balance and upper thread tension.
Continue using Quilt Stitch #1328 for as many stripes as you see fit.
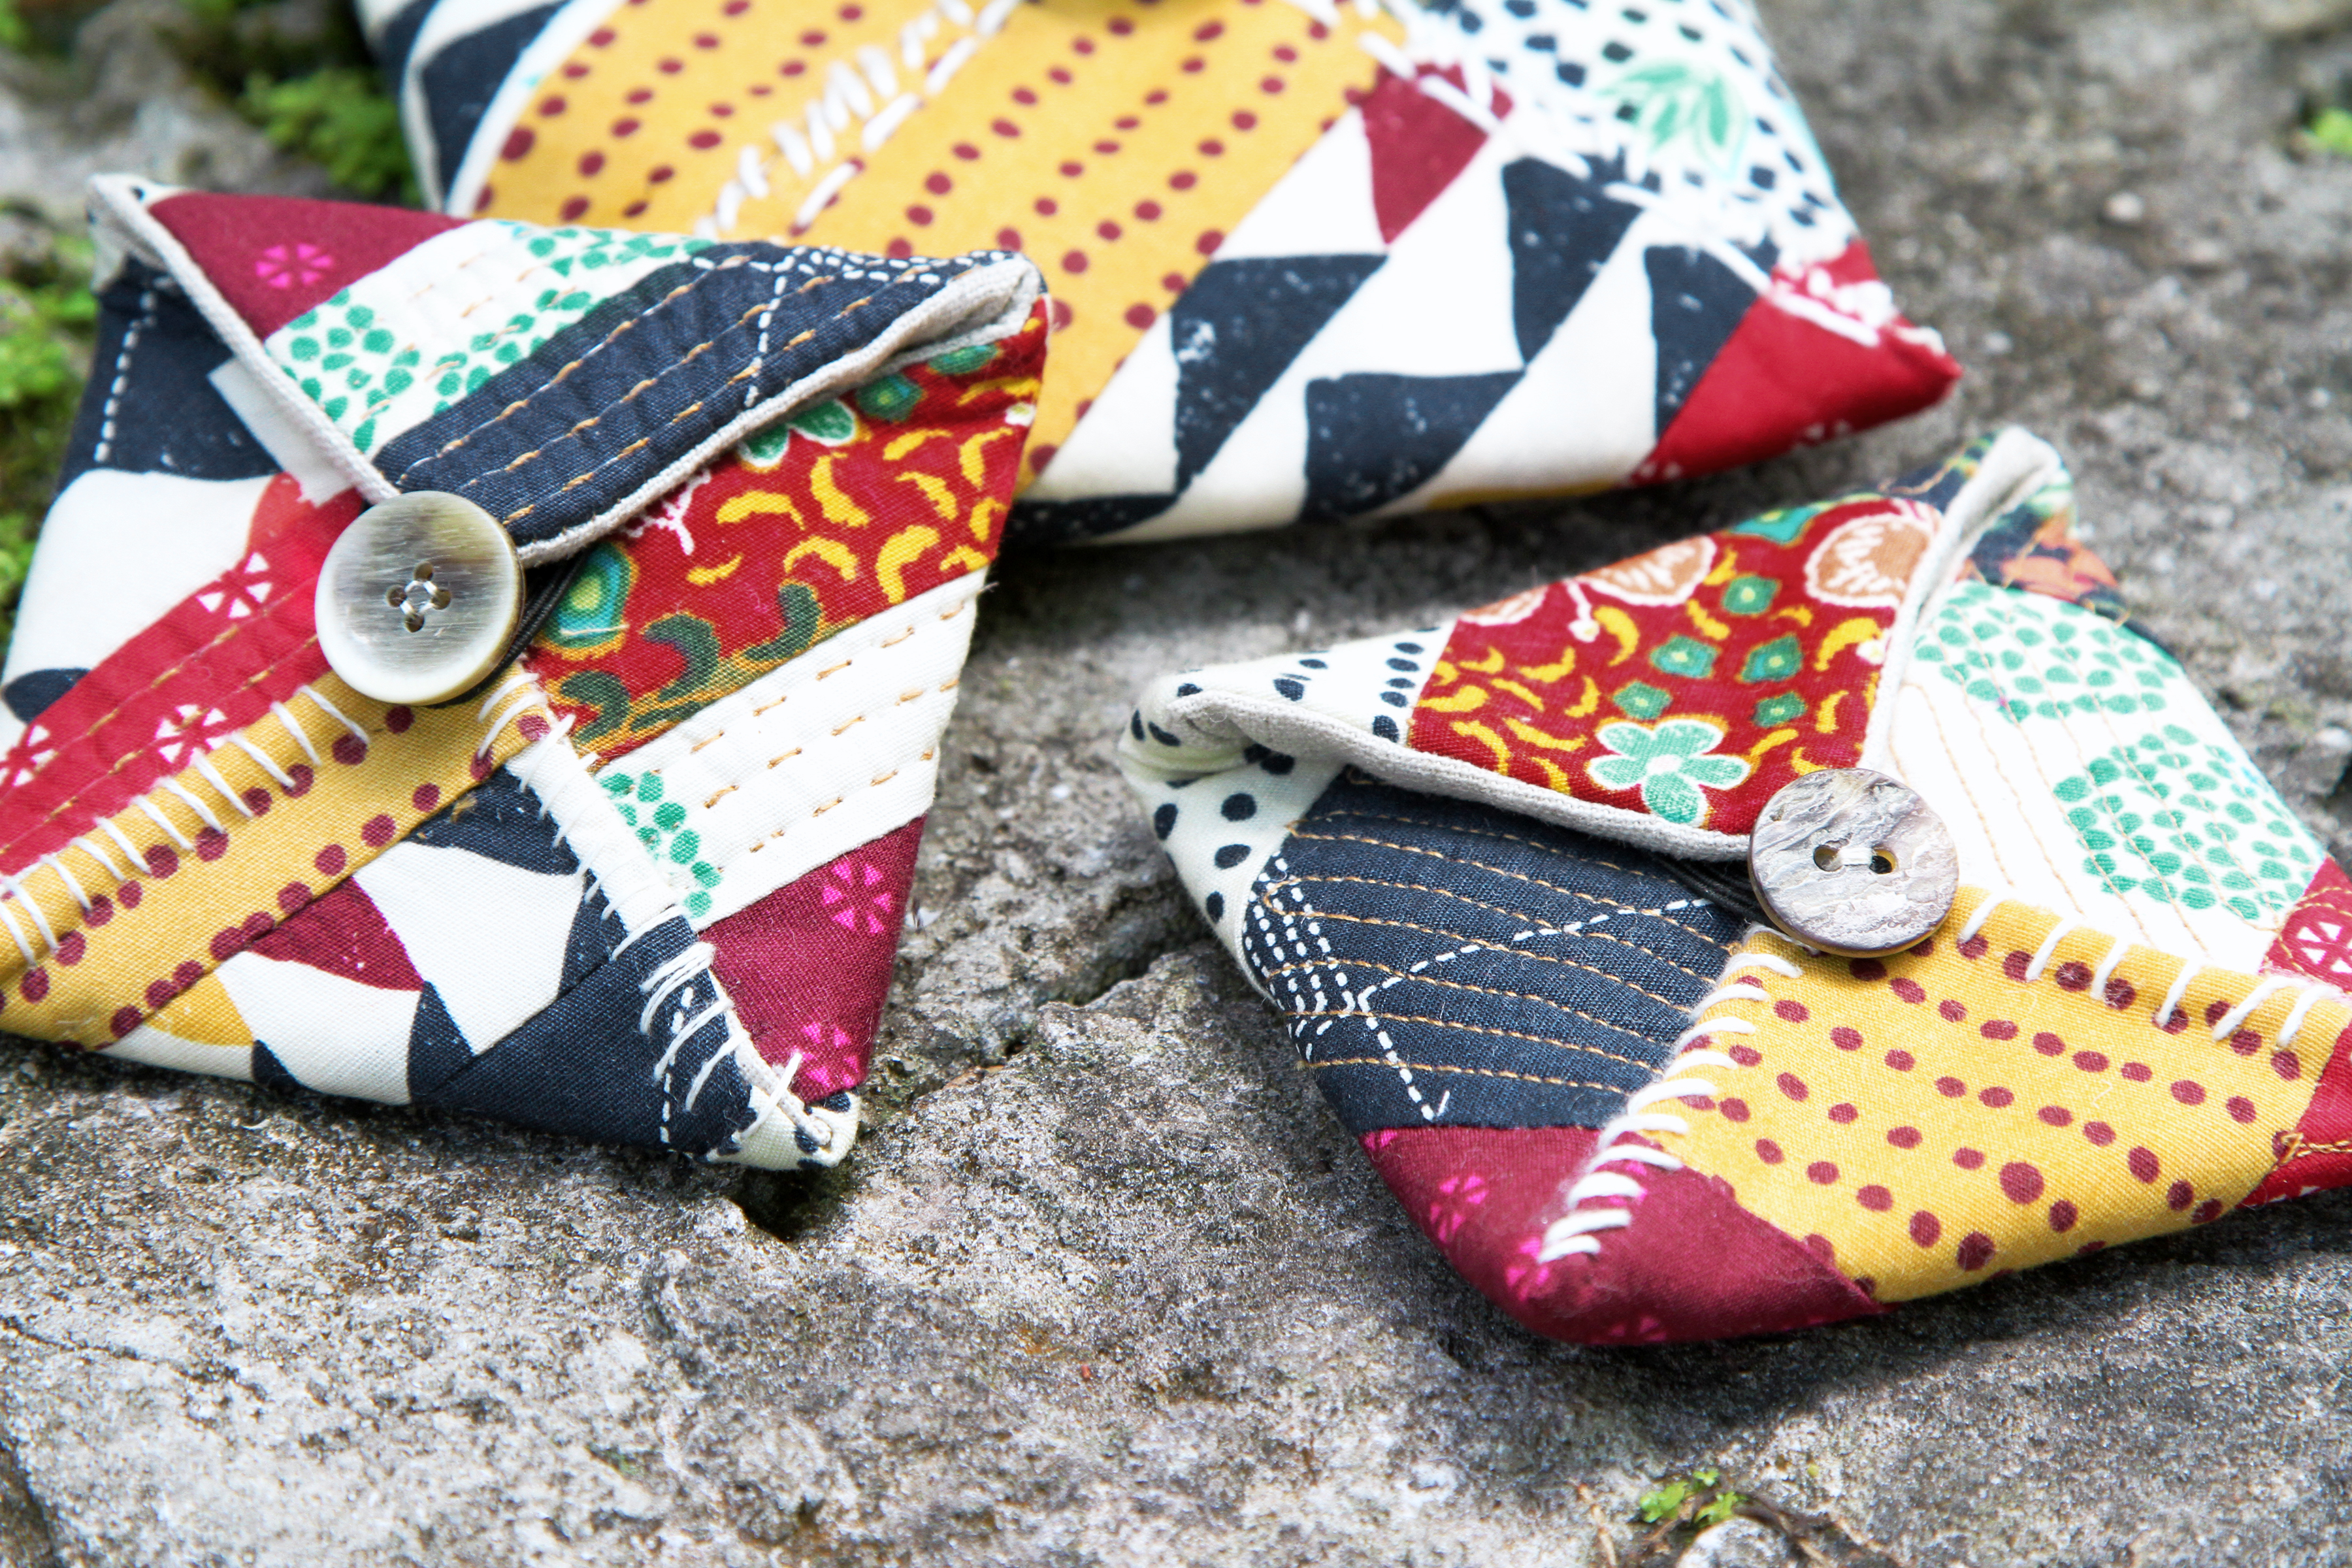
Once all the stitching is completed, place the 3.5” by 3.5” piece of Fabric K on top of the quilted piece (quilted piece facing right side up) and sew around the square leaving a 1.5” opening. Pull the pouch through the opening, pull the corners out and stitch the opening closed. Now, fold the two sides and hand stitch it shut, as shown on the image below.

Later grab the bottom side and fold it to meet the previous two sides and hand stitch it shut as well. For adornment, you can hand stitch the sides. This will give your pouch a more Folksy look.

And you are done! Now you have three adorable envelope pouches to choose from.
Used Products


What you might also like


3 comments on “Tartan Envelope Pouches”
-
-
Cute pouches! I think there’s a step missing in the directions. You say,
“Later grab the bottom side and fold it to meet the previous two sides and hand stitch it shut as well. For adornment, you can hand stitch the sides. This will give your pouch a more Folksy look…And you are done! Now you have three adorable envelope pouches to choose from.”
Picture shows top flap folded down and a button in the center. No mention of sewing /putting together this part. What is the fastener to keep the pouch closed? Is the button just decorative?
Also, is the piece used as the lining larger than the outer pieced fabric? In most of the pictures at the stage where the edges are brought together, the lining is showing almost forming a piping. Intentional?
Thanks!
-
I love these great way to use scraps and nice to put cash or card in
Wish I could download the instructions or supply listThank you appreciate the idea
Leave a Reply
You must be logged in to post a comment.

I love these! Perfect for using 2 inch squares and 2 inch strips from the scrap box. I’d like to know how you made your loop for the button. That step isn’t in the tutorial.