The Nona Quilt Along, Week Seven: Assembly
Hi, Friends! Welcome back! Jessica Dayon here and today we are starting week seven of The Nona Quilt Along.
If you missed the first six parts of The Nona Quilt Along, you can read all about it here:
- The Nona Quilt Along, Week One: Introduction
- The Nona Quilt Along, Week Two: Supplies & Materials
- The Nona Quilt Along, Week Three: Cutting the Fabric
- The Nona Quilt Along, Week Four: Nine Patches
- The Nona Quilt Along, Week Five: Block A
- The Nona Quilt Along, Week Six: Block B
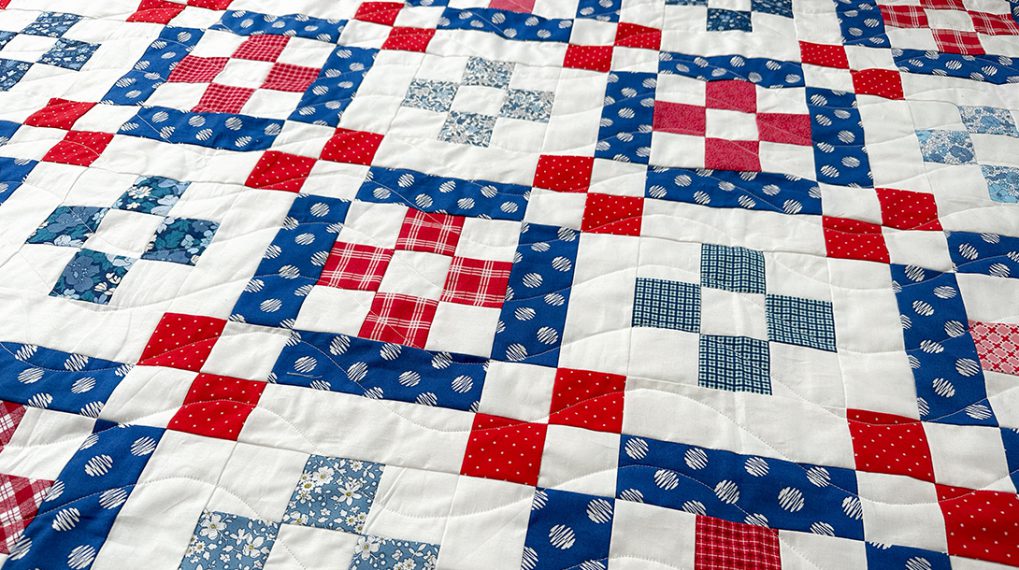
This week, we will be assembling the blocks into The Nona Quilt top. Let’s get going!
Assembling the Quilt Top
First, make sure you have your Nona pattern in front of you. We are working on the section titled ‘Assembling the Quilt Top’.

1. Layout the Blocks
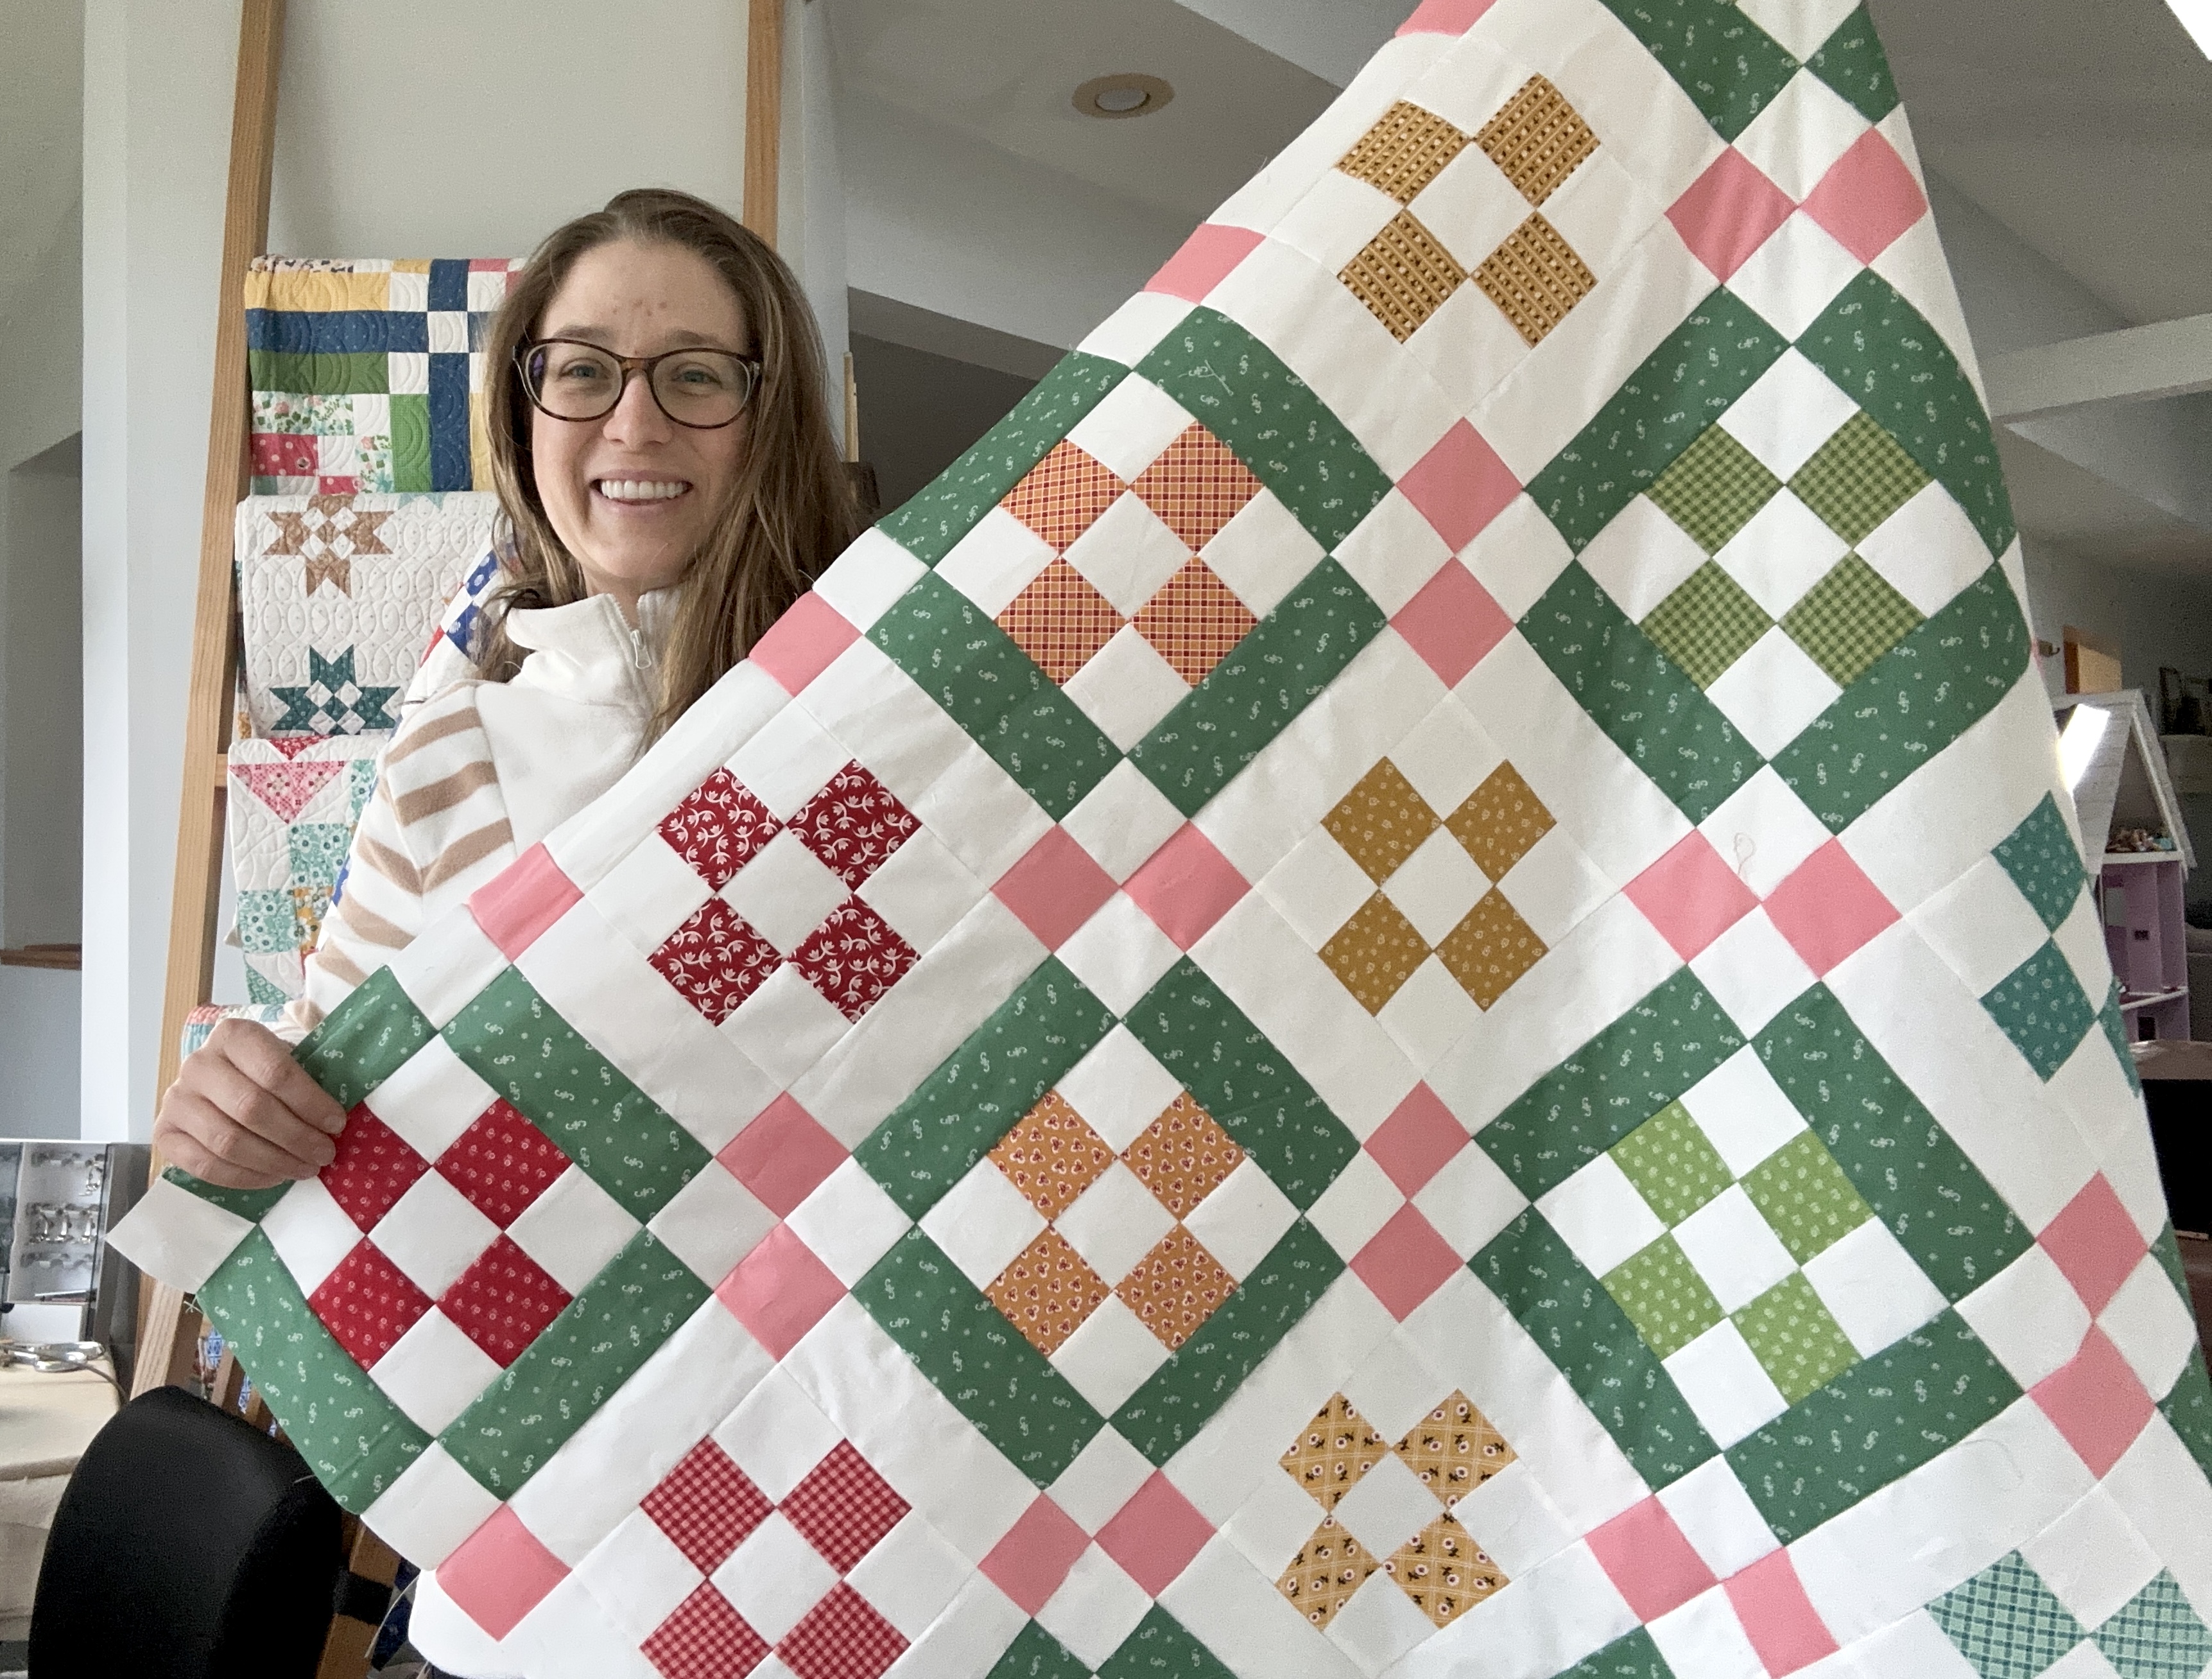
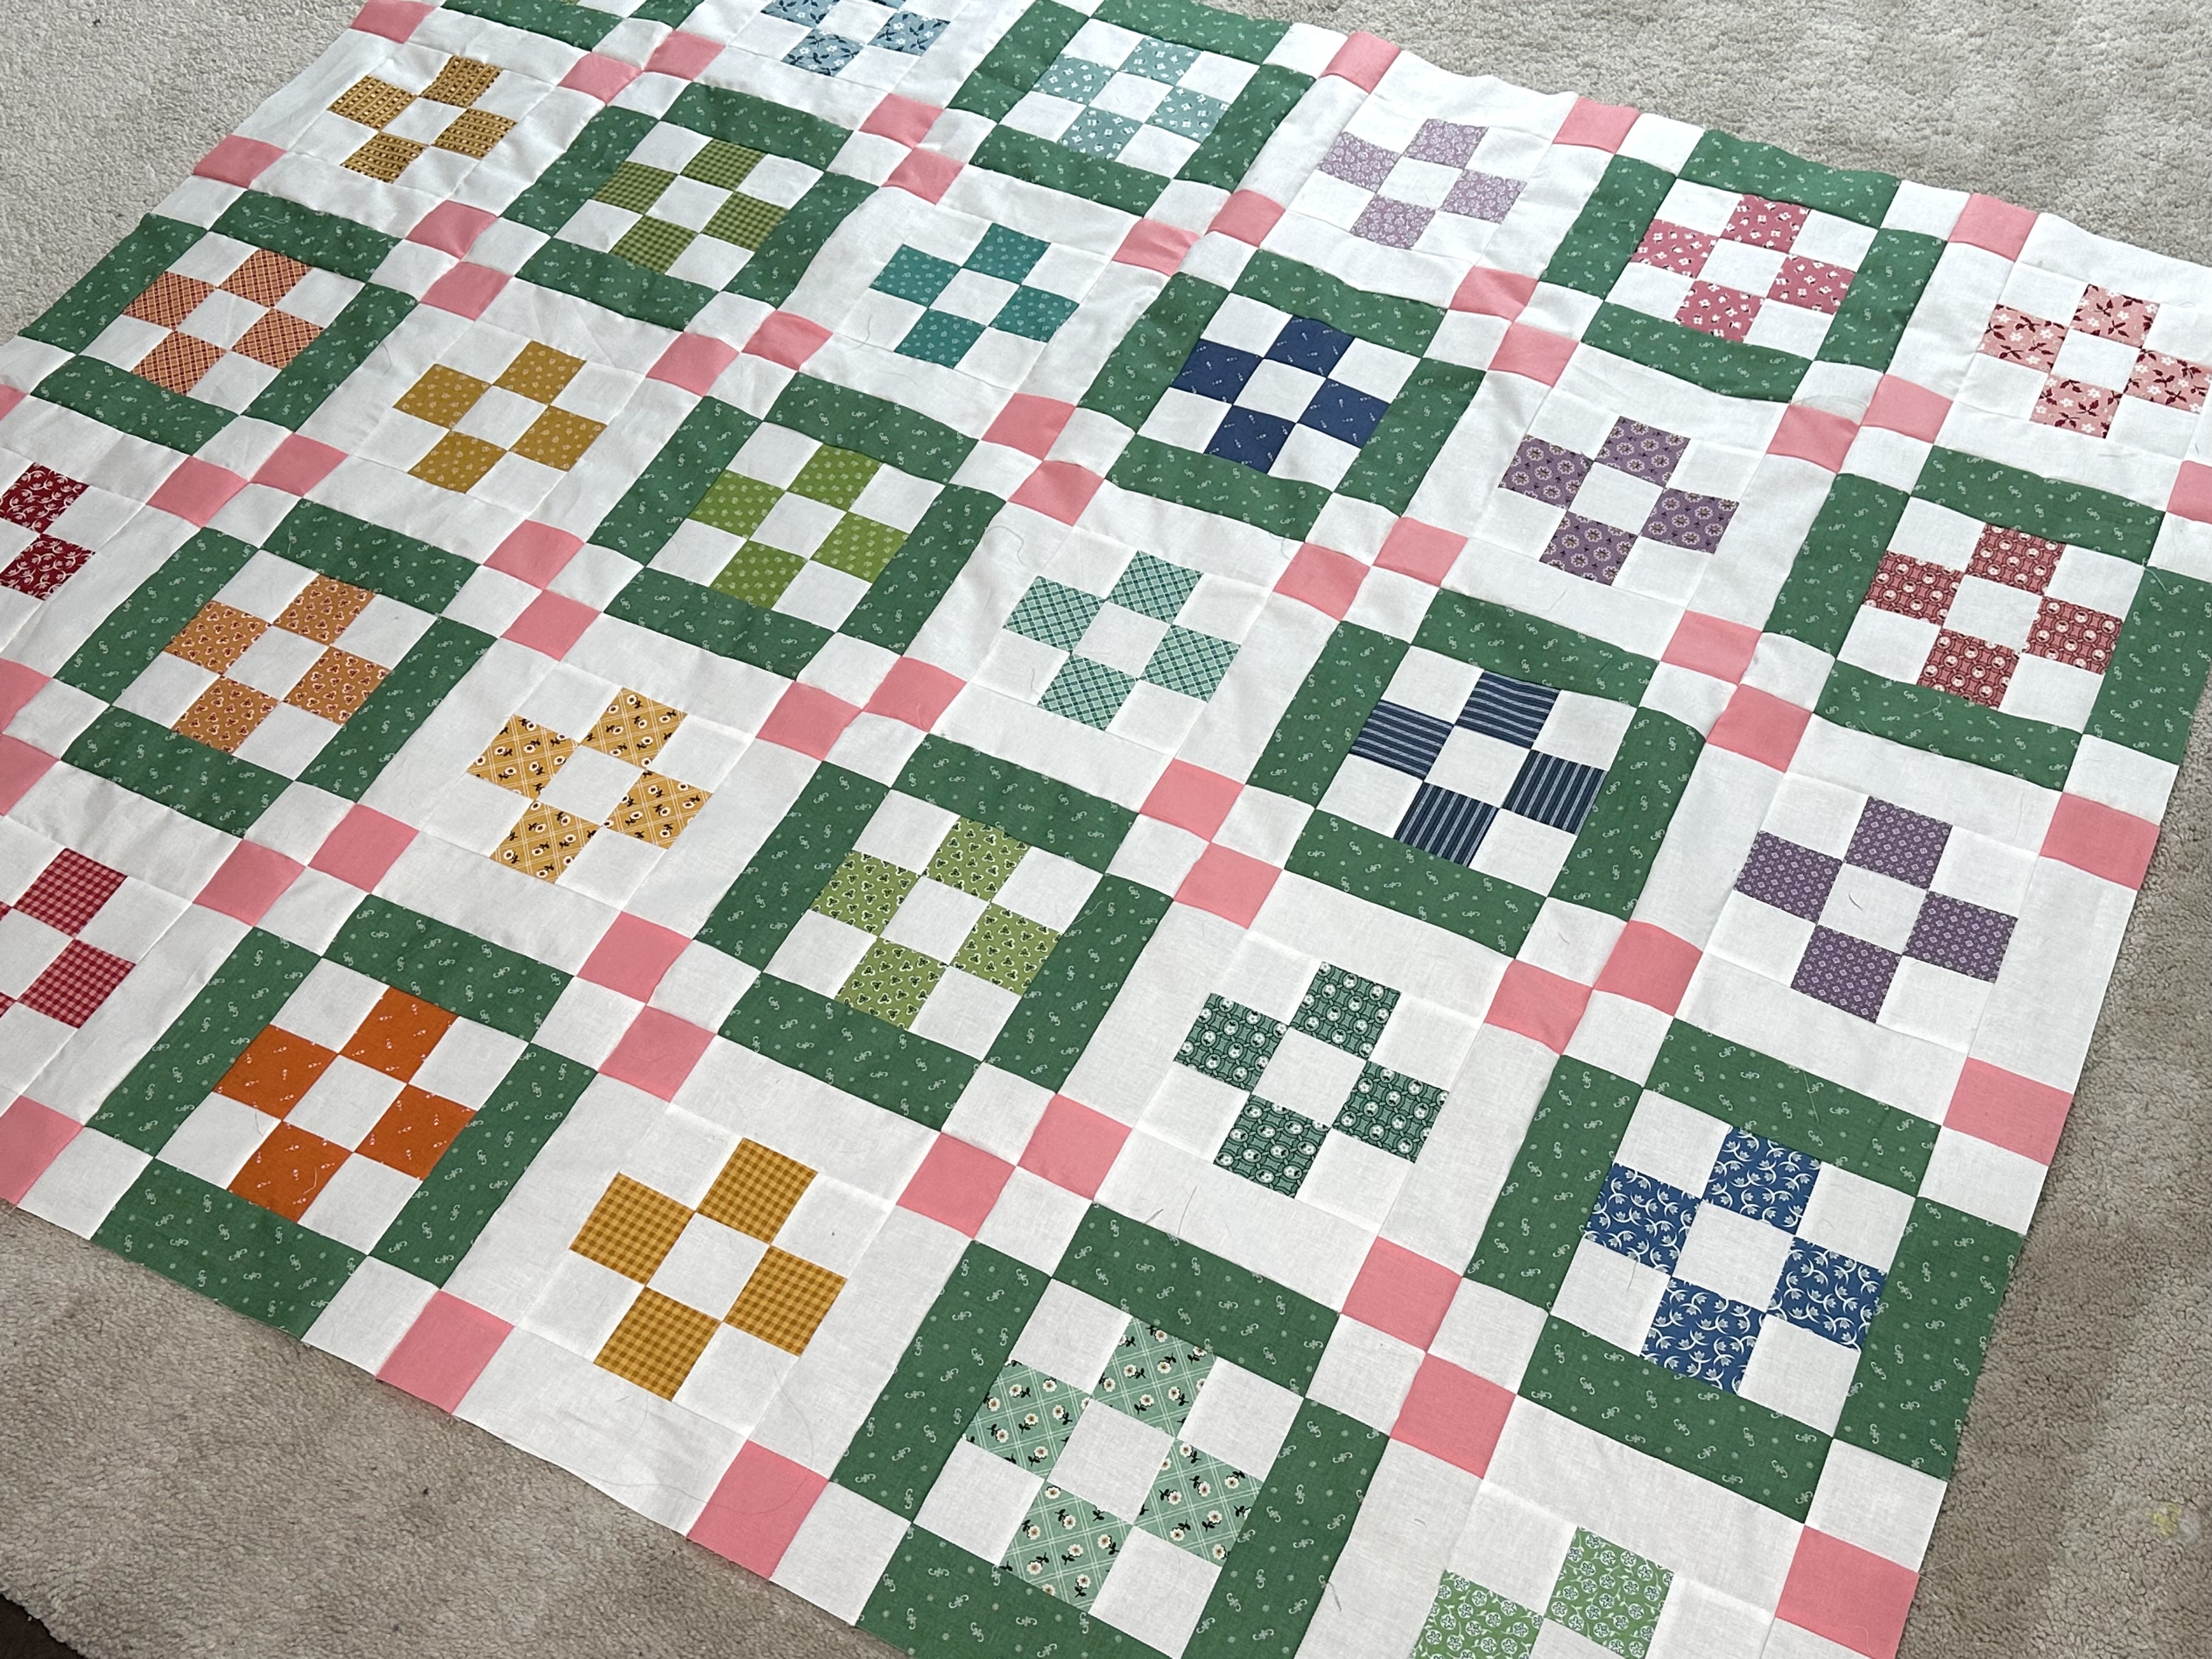
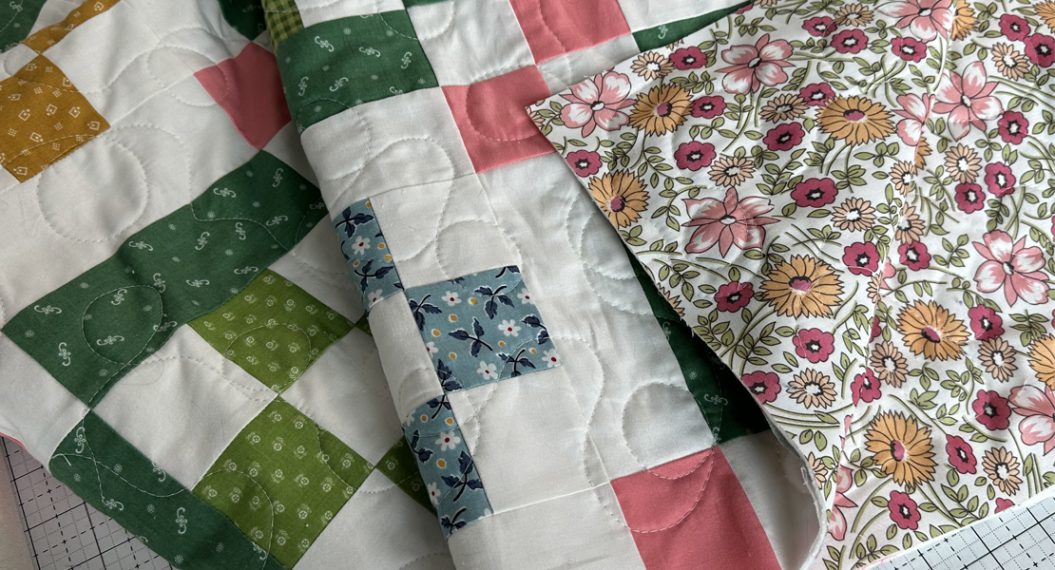
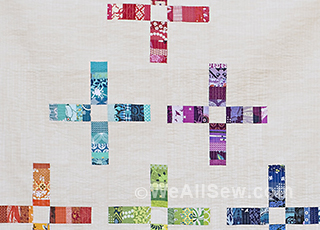
The first step in quilt assembly is to figure out where you want to put each block in the quilt top. I like to lay my blocks out on the floor in the layout show in the quilt top diagram of the pattern so I can see them all. Then, I rearrange them until I like how they look.
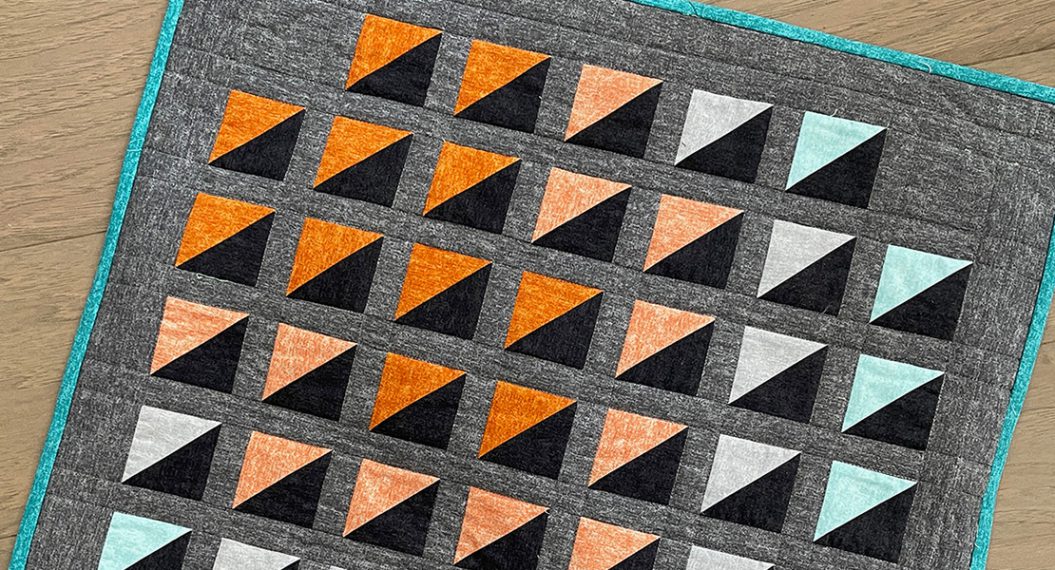
Here I decided to do a rainbow layout.
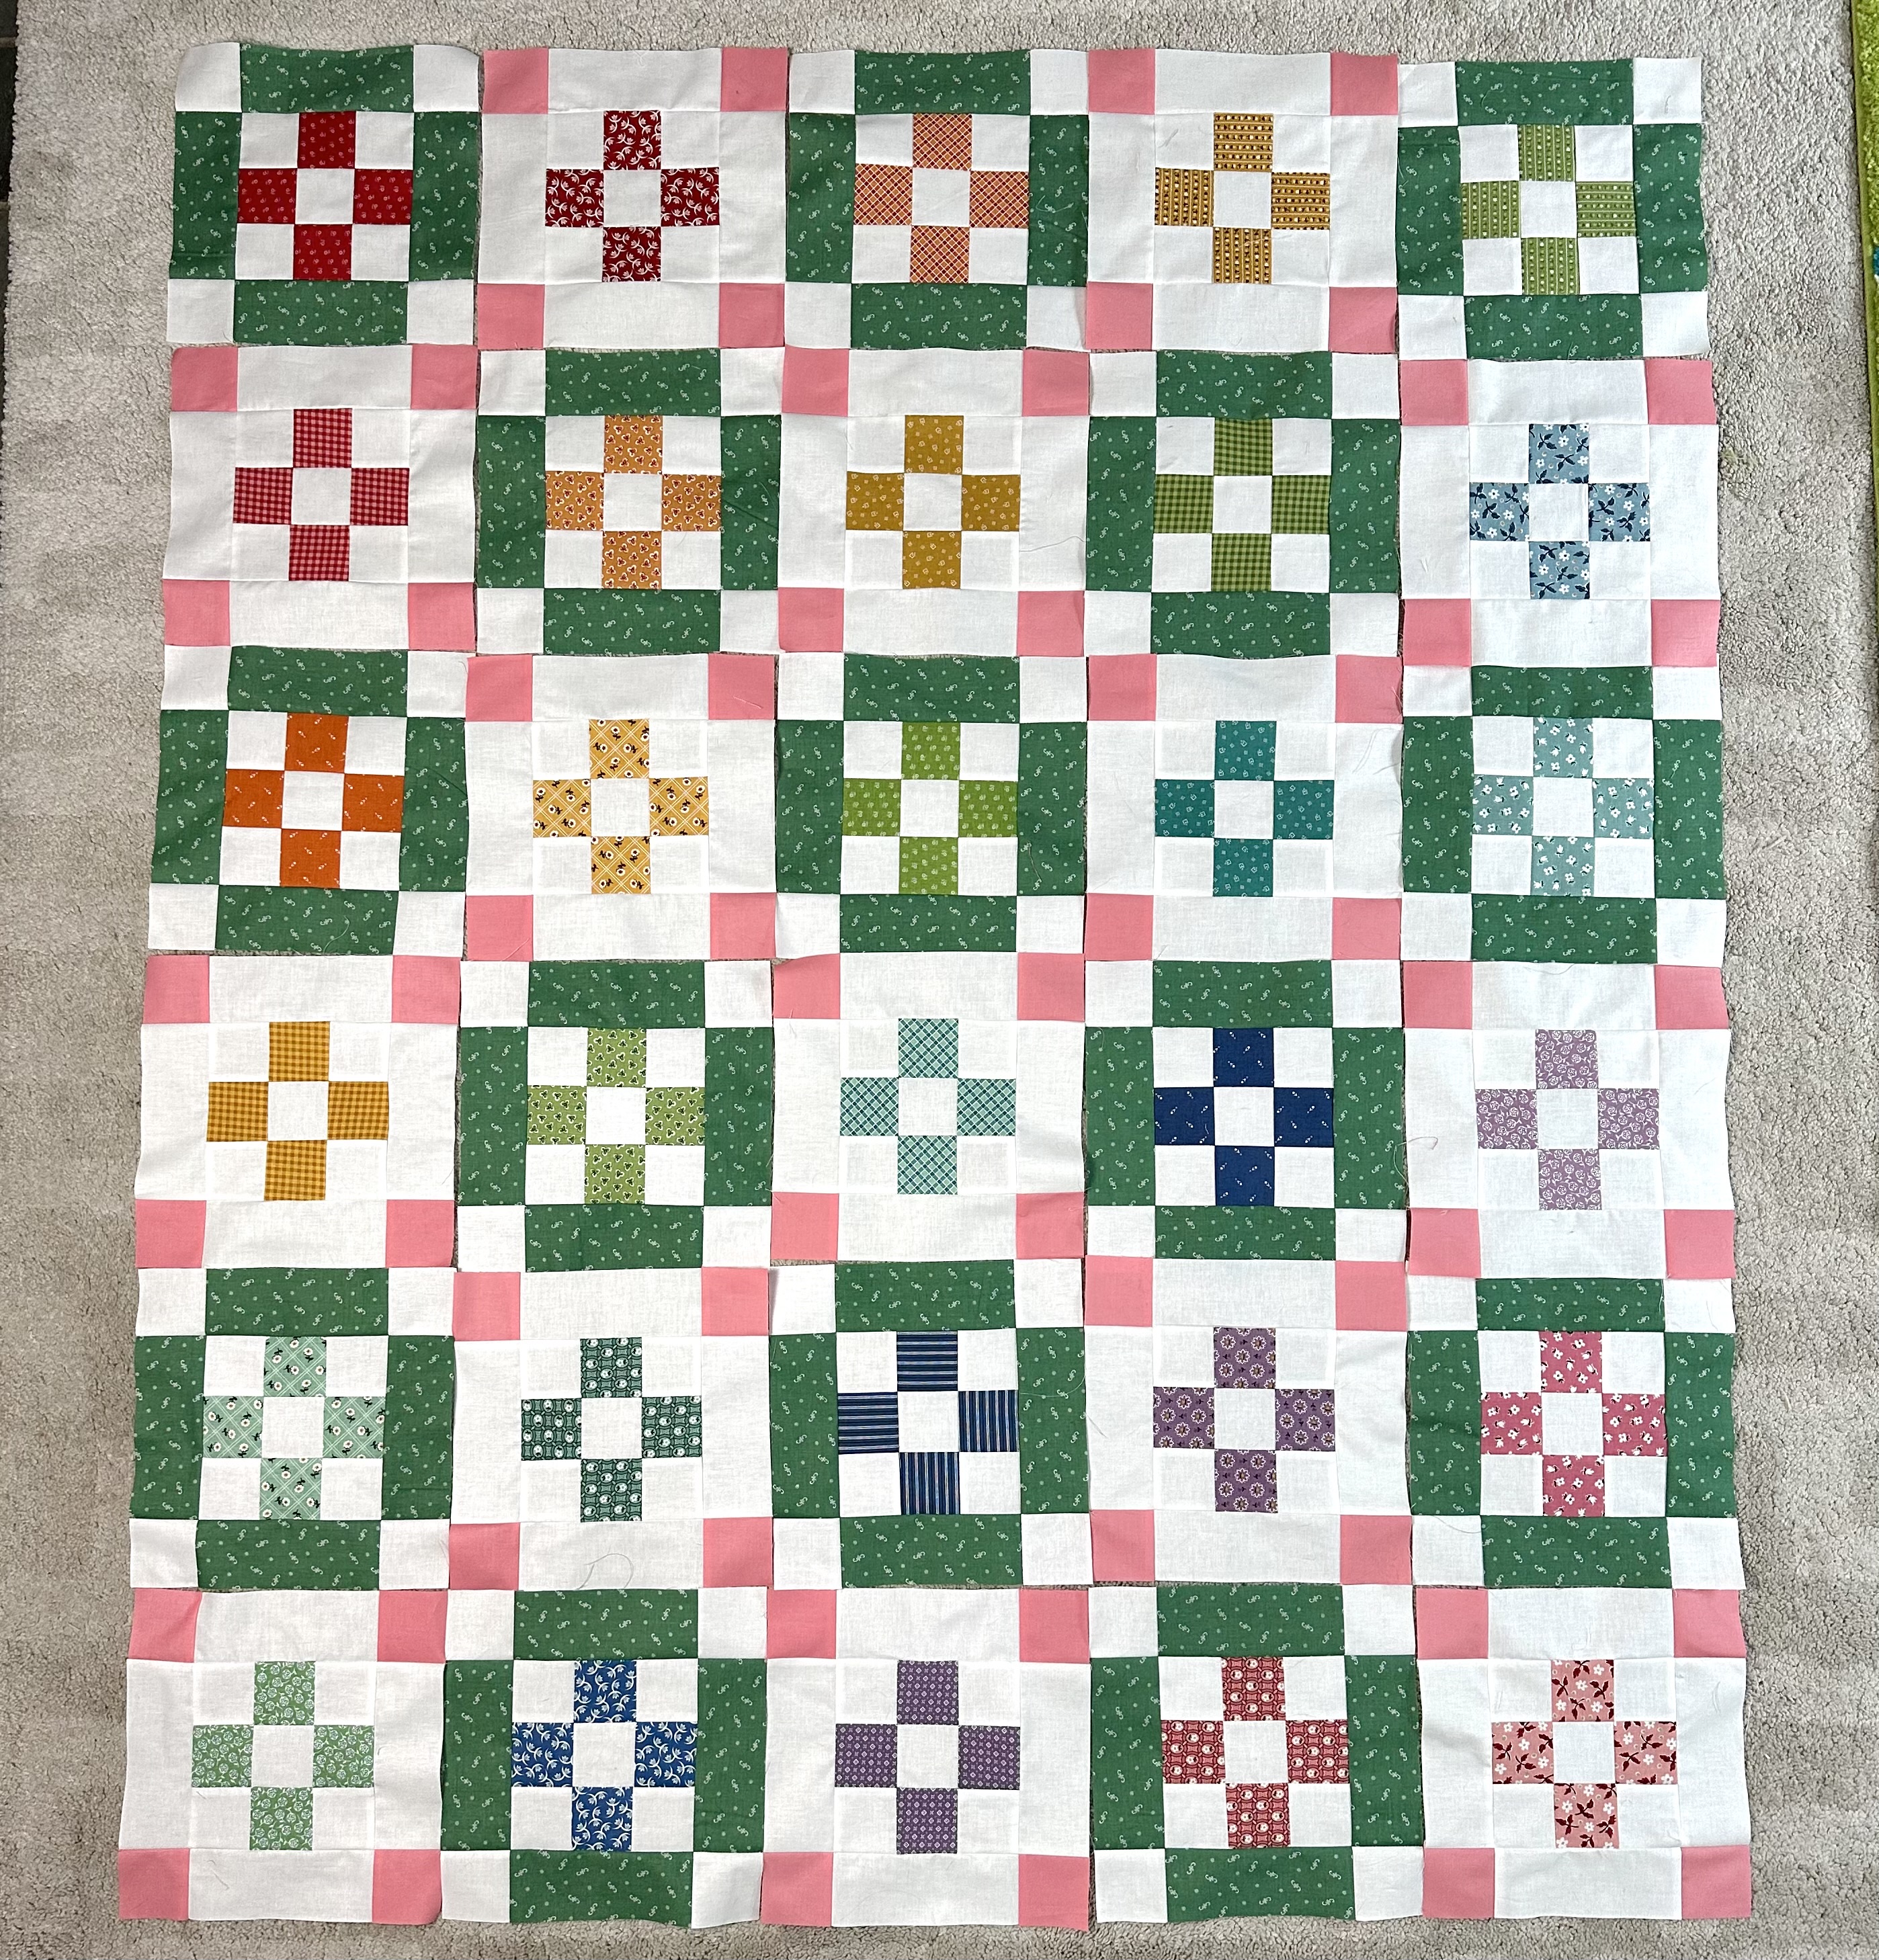
2. Stack the Blocks into Rows
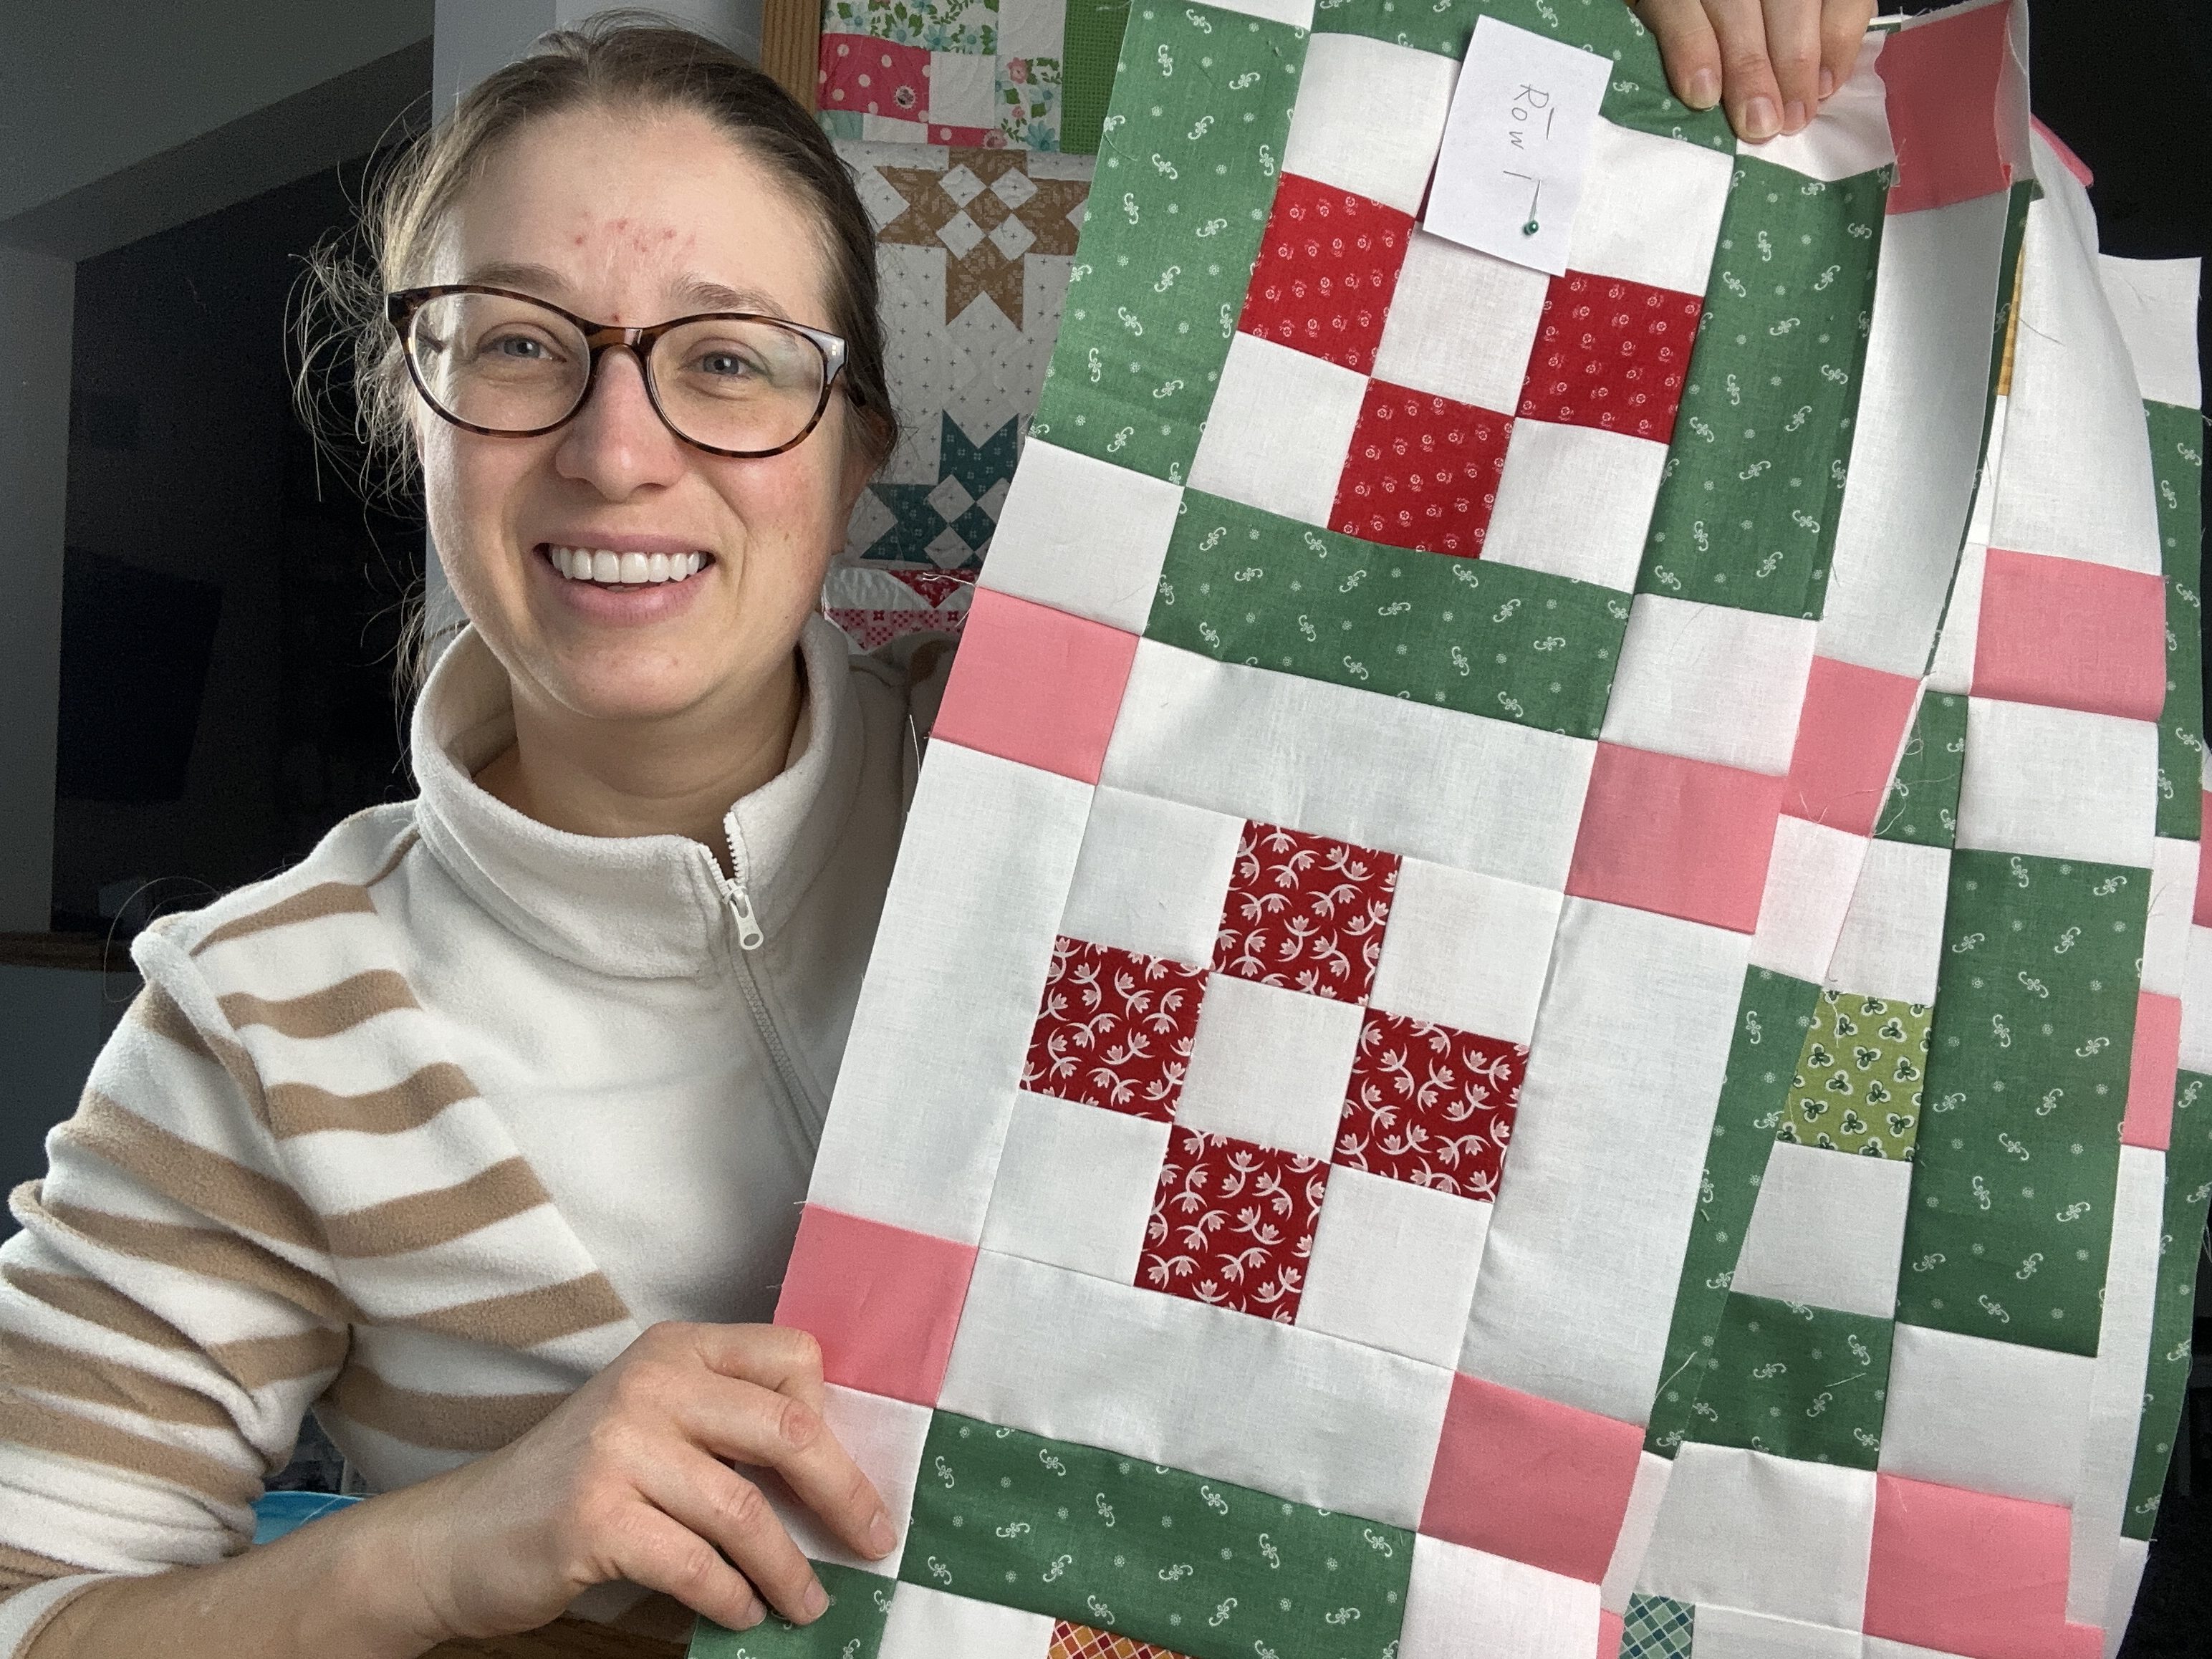
Next, you’ll want to stack the blocks into rows so that you can work on sewing one row at a time at your sewing machine. I like to tag the first block of each row. I simply write ‘Row 1’ on a piece of paper and pin it to the first block of row 1. Then I do it for each of the subsequent rows too.
When stacking, work left to right, and stack so that the block to the left is on top of the block to the right.
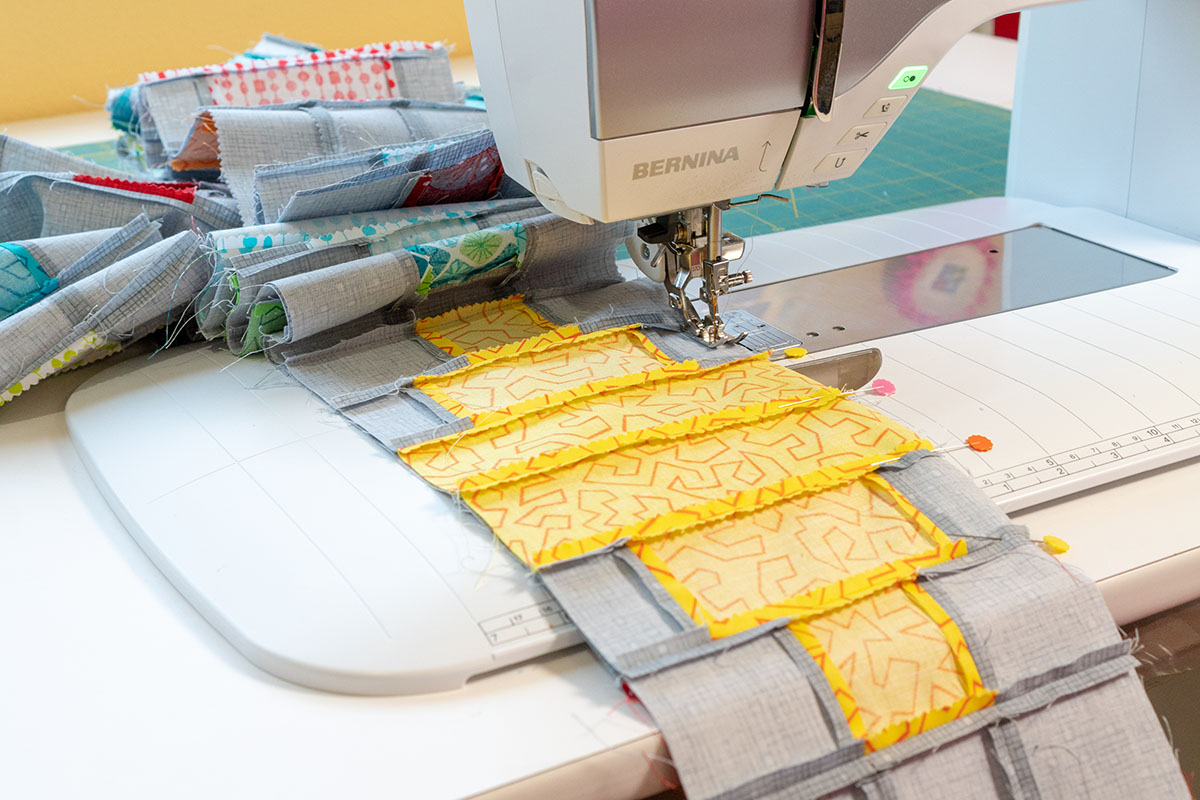
3. Sew the Blocks into Rows
Take the first stack to the sewing machine.
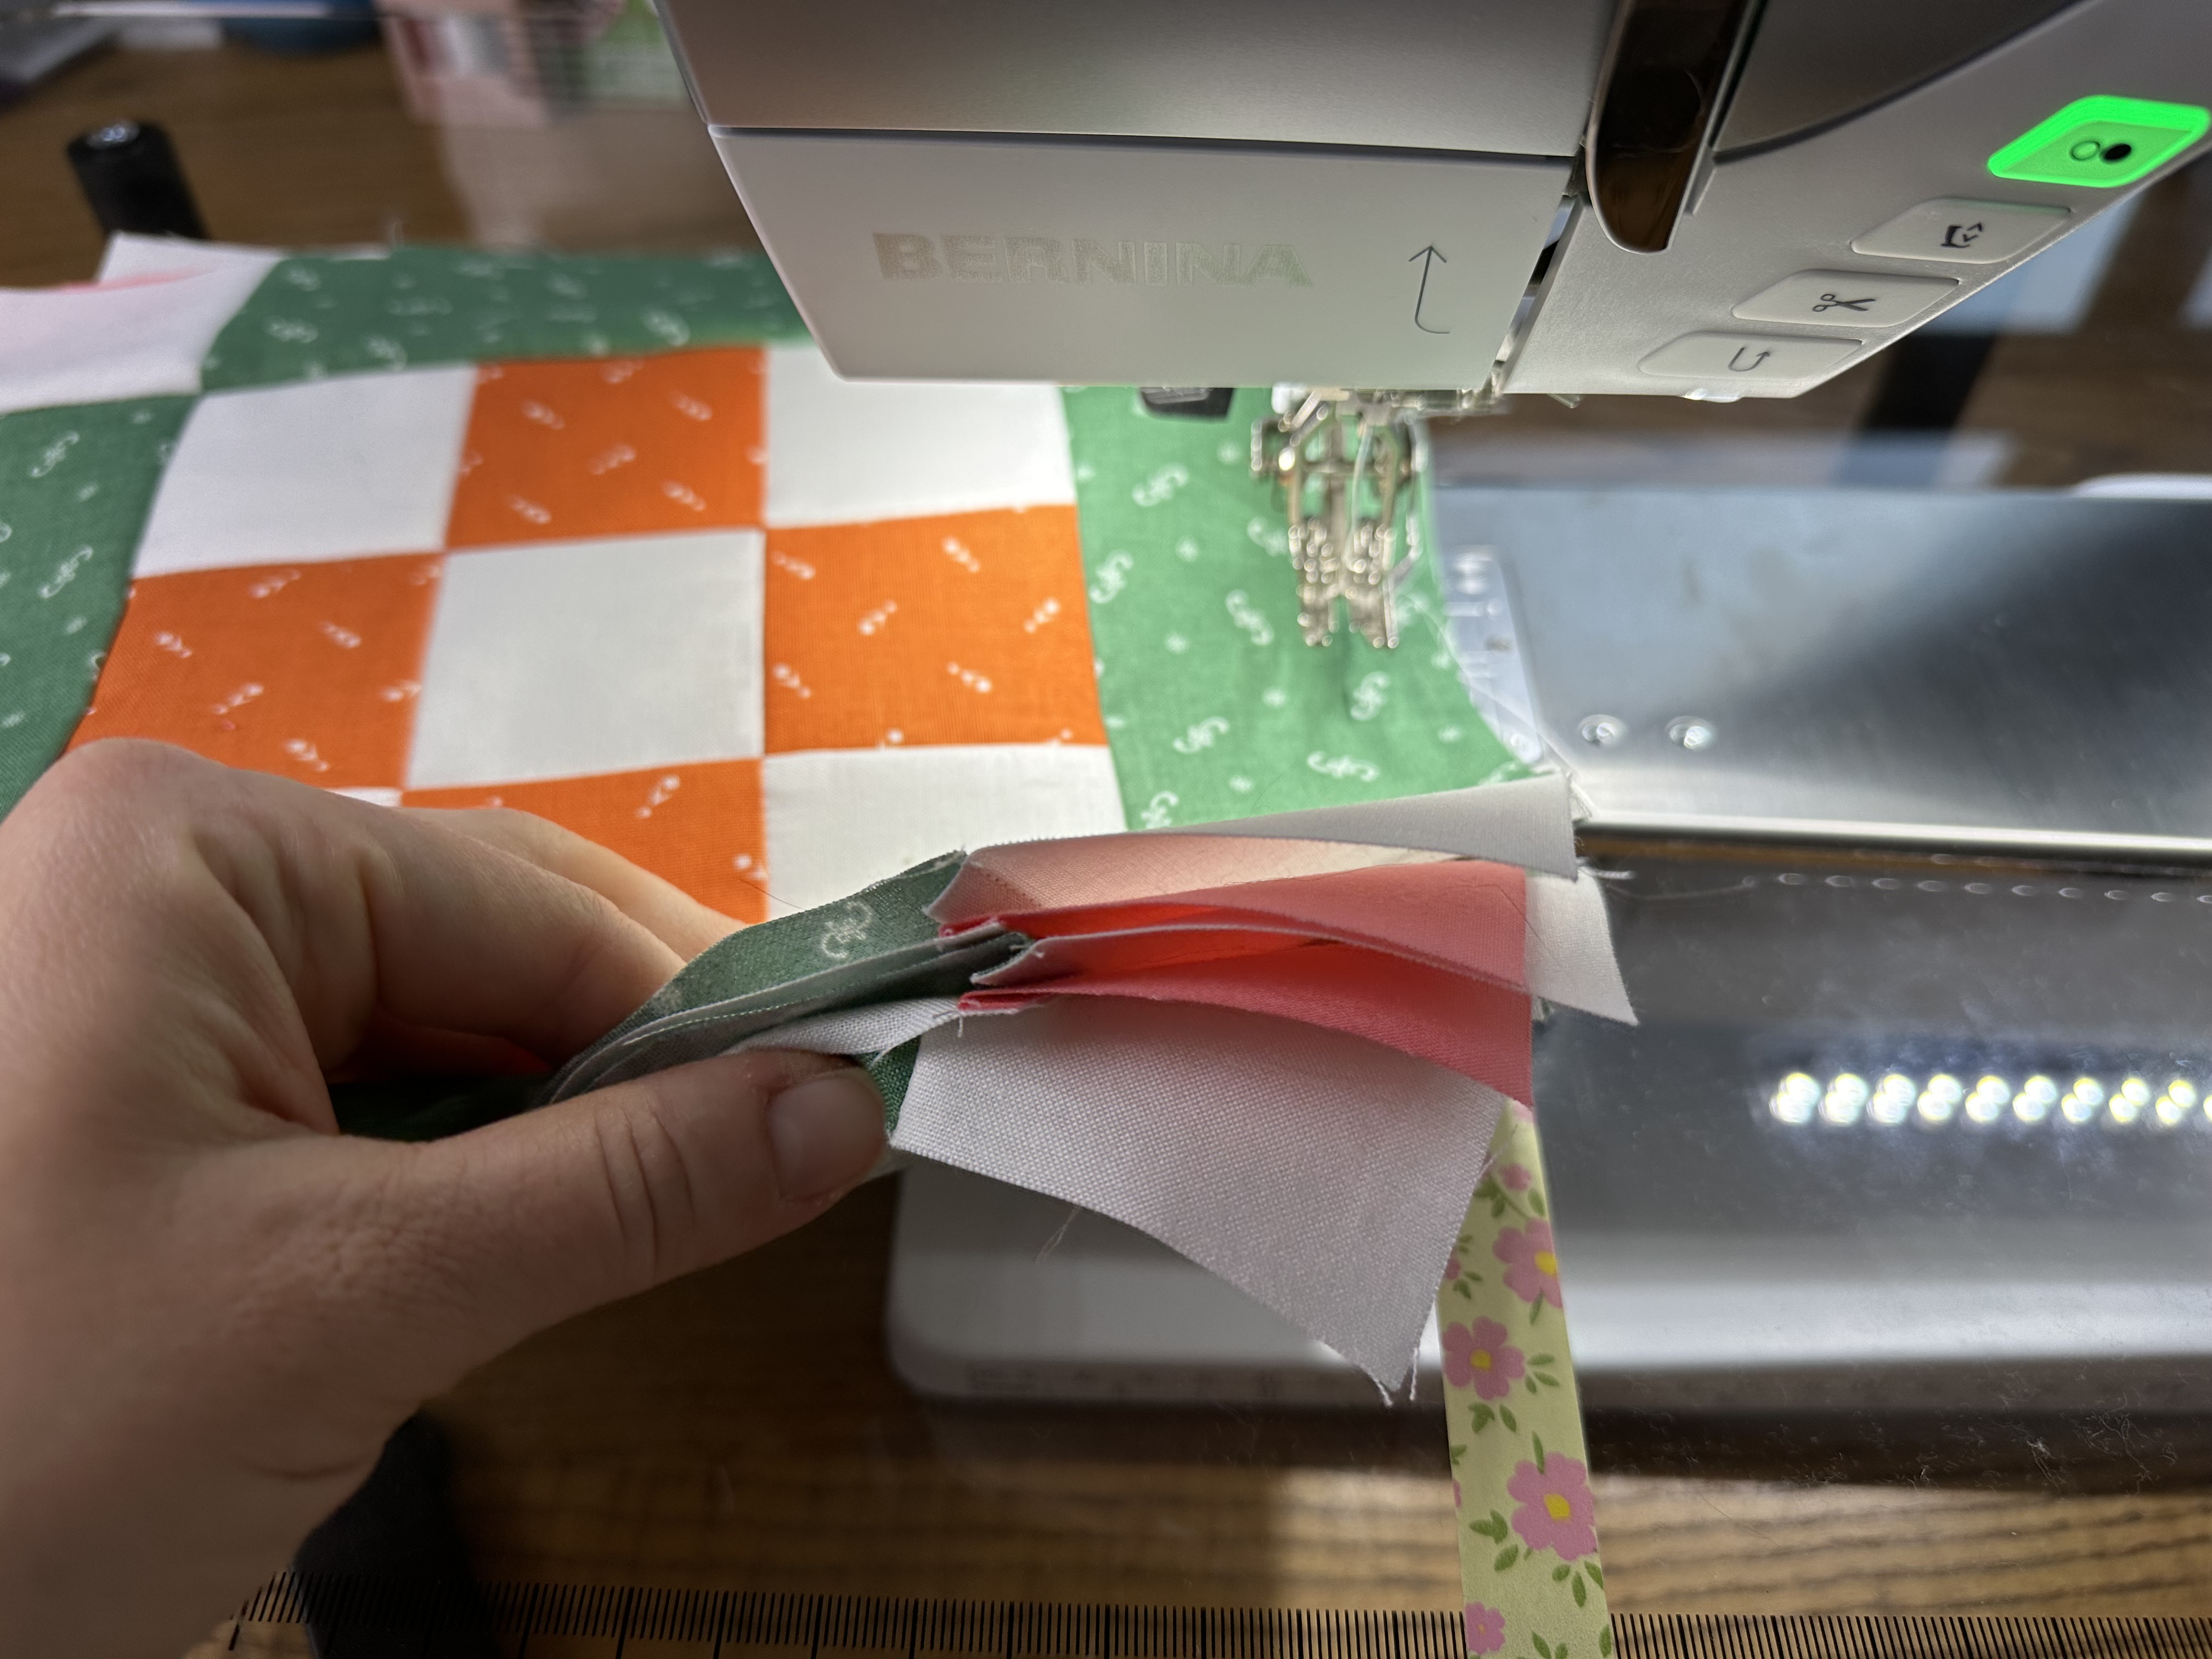
Lay out block 1 and block 2 of the row next to each other.
Flip block 2 on top of block 1, right sides together, nesting the seams.
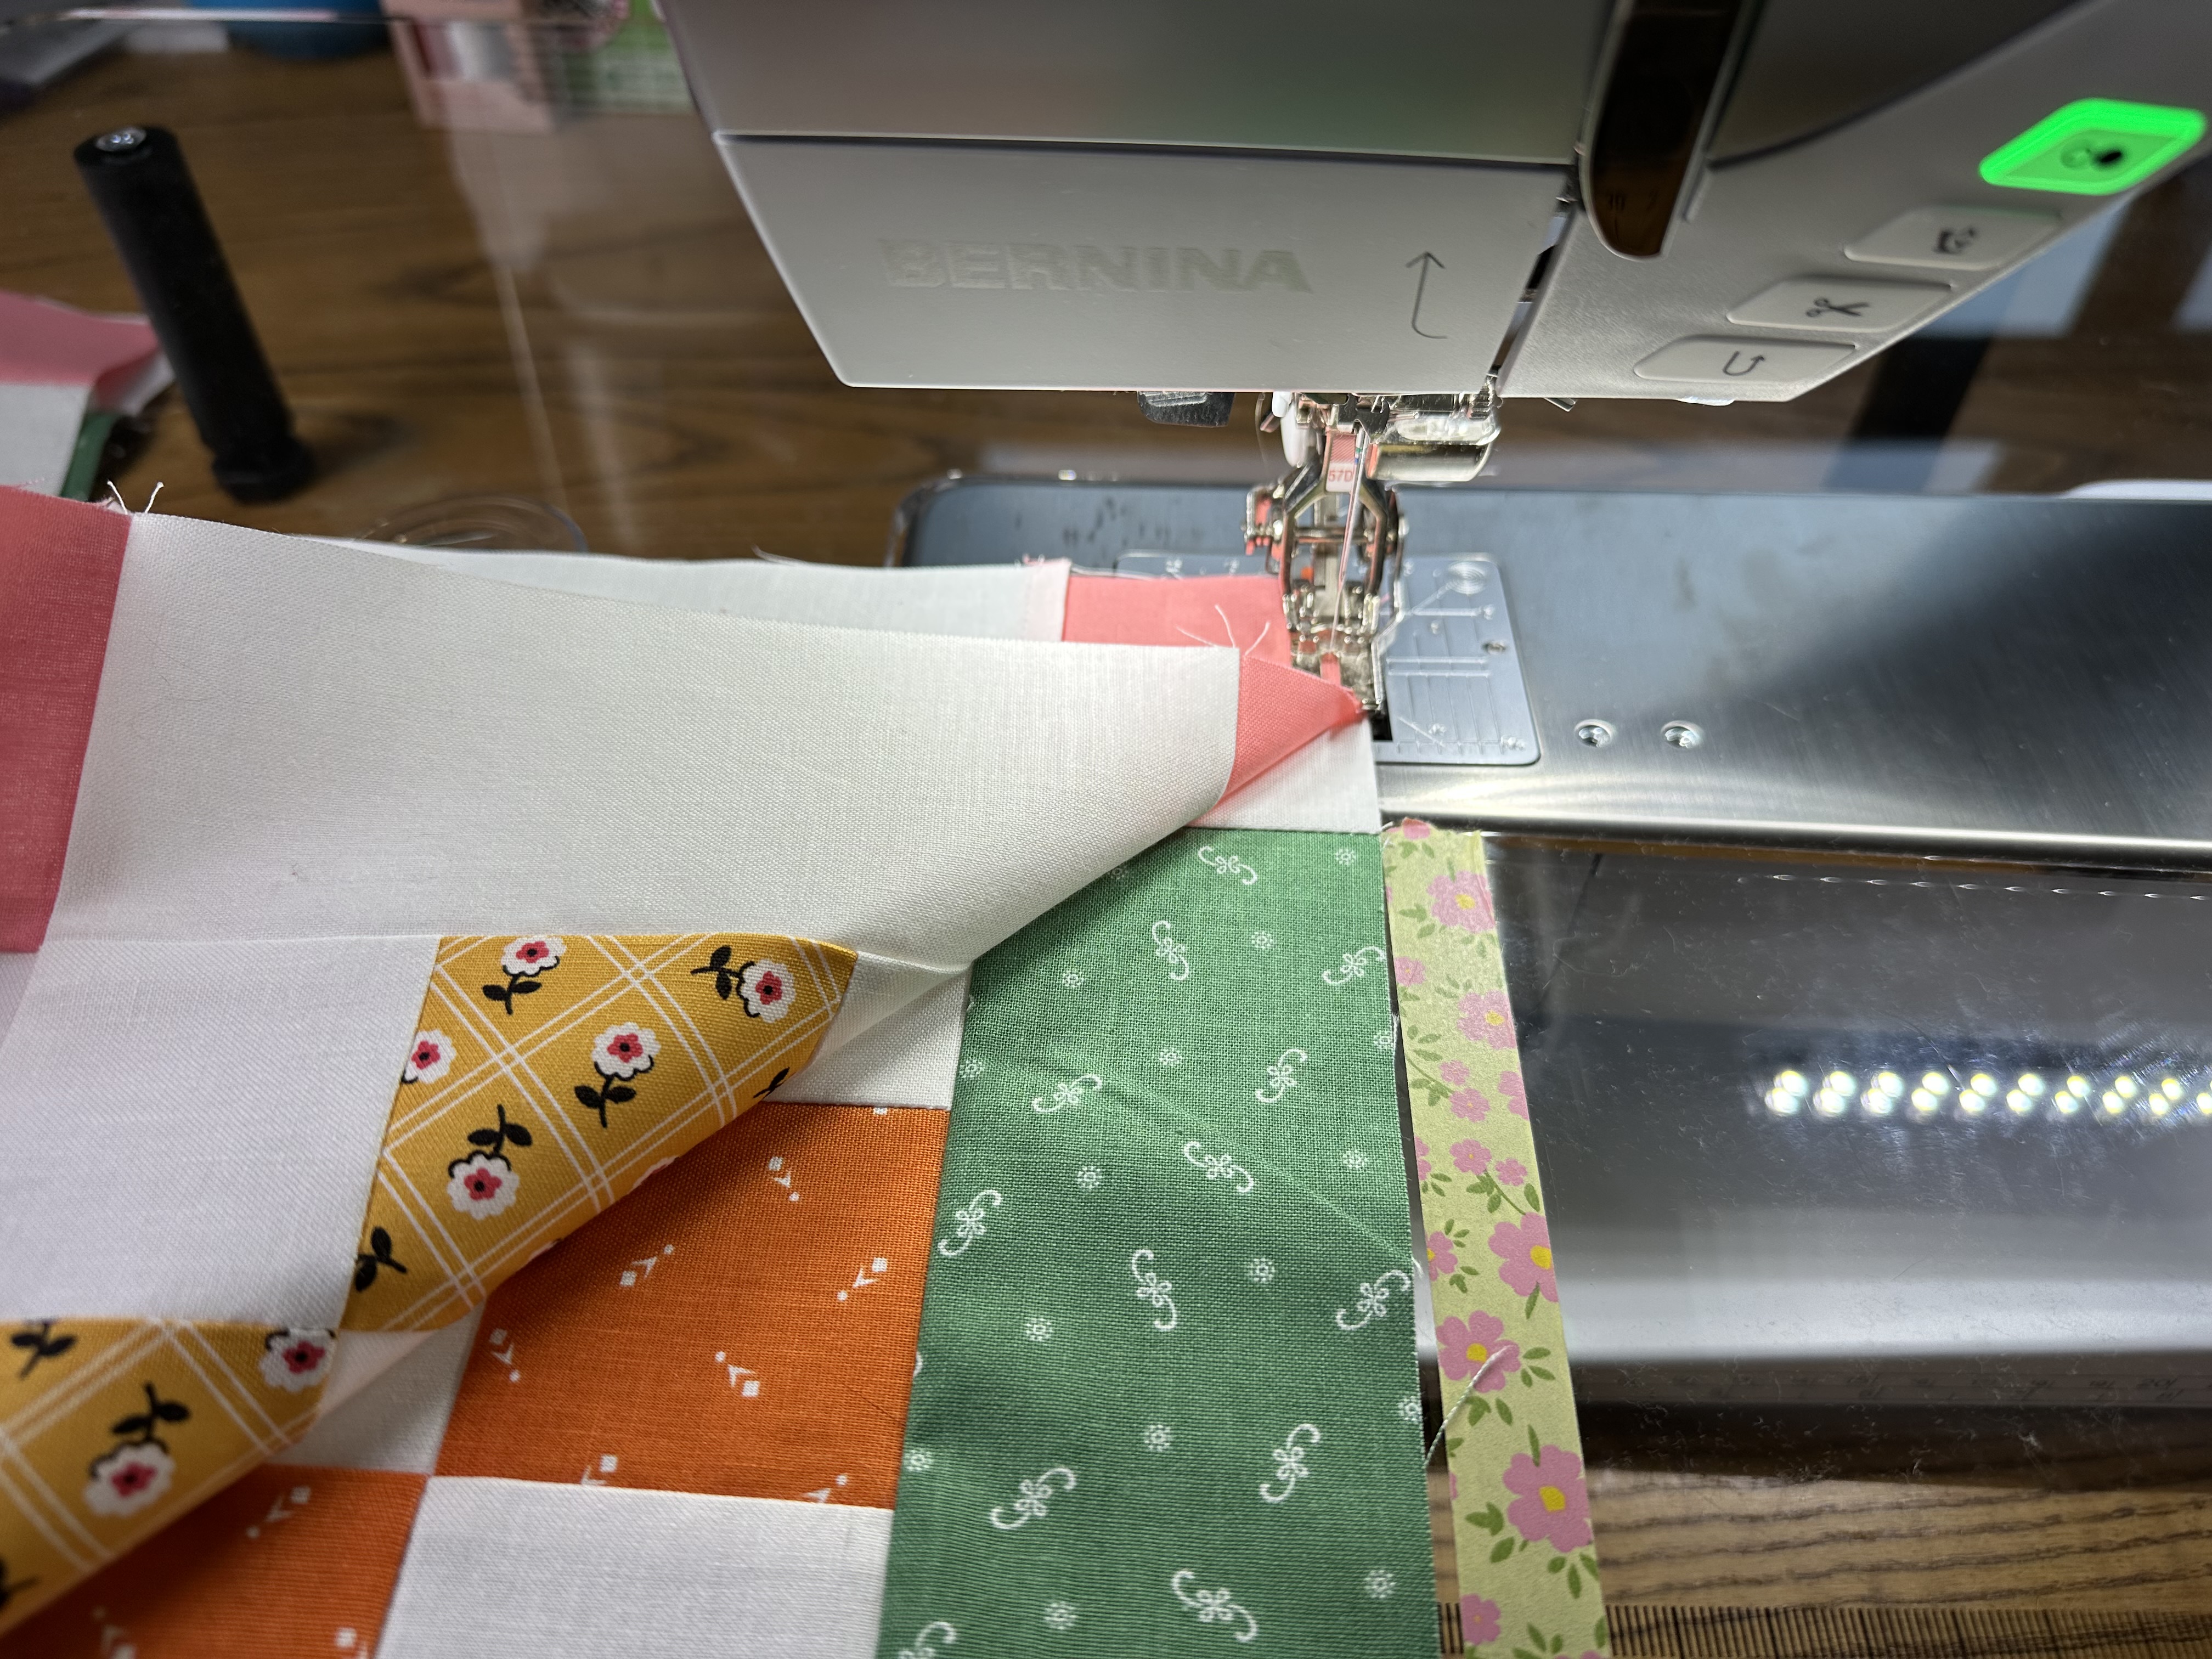
Sew along the edge using 1/4″ seam allowance.
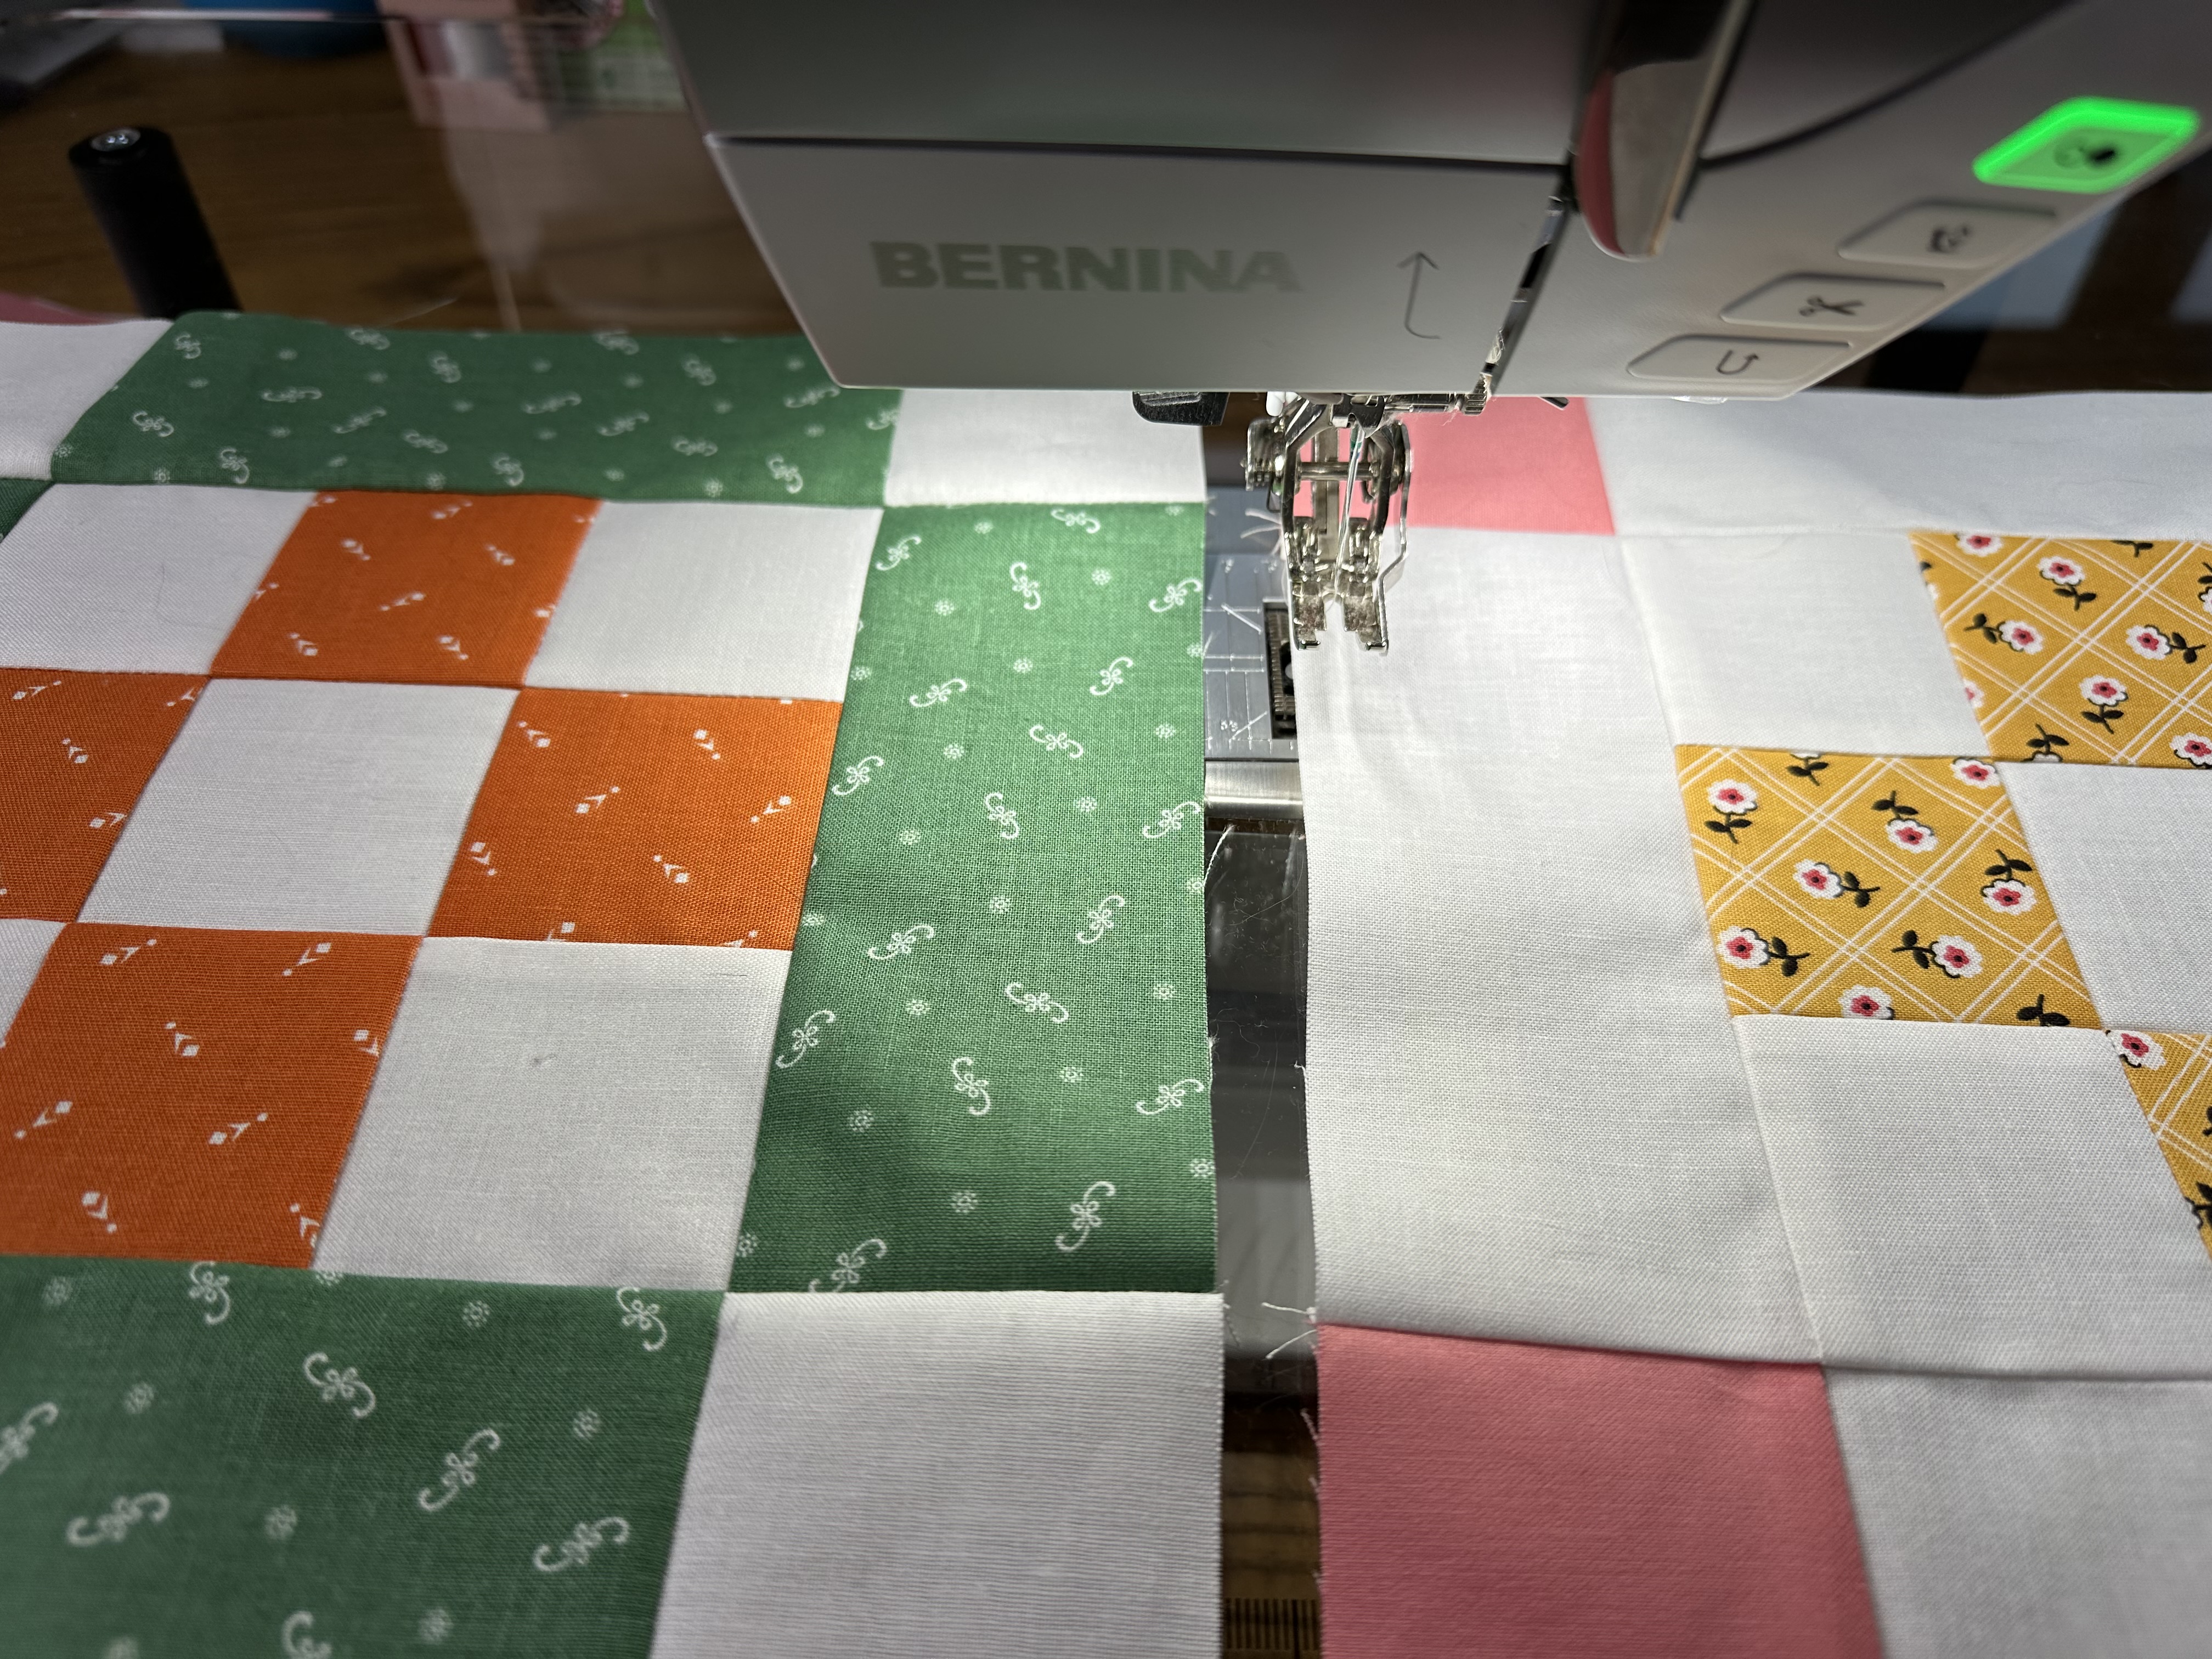
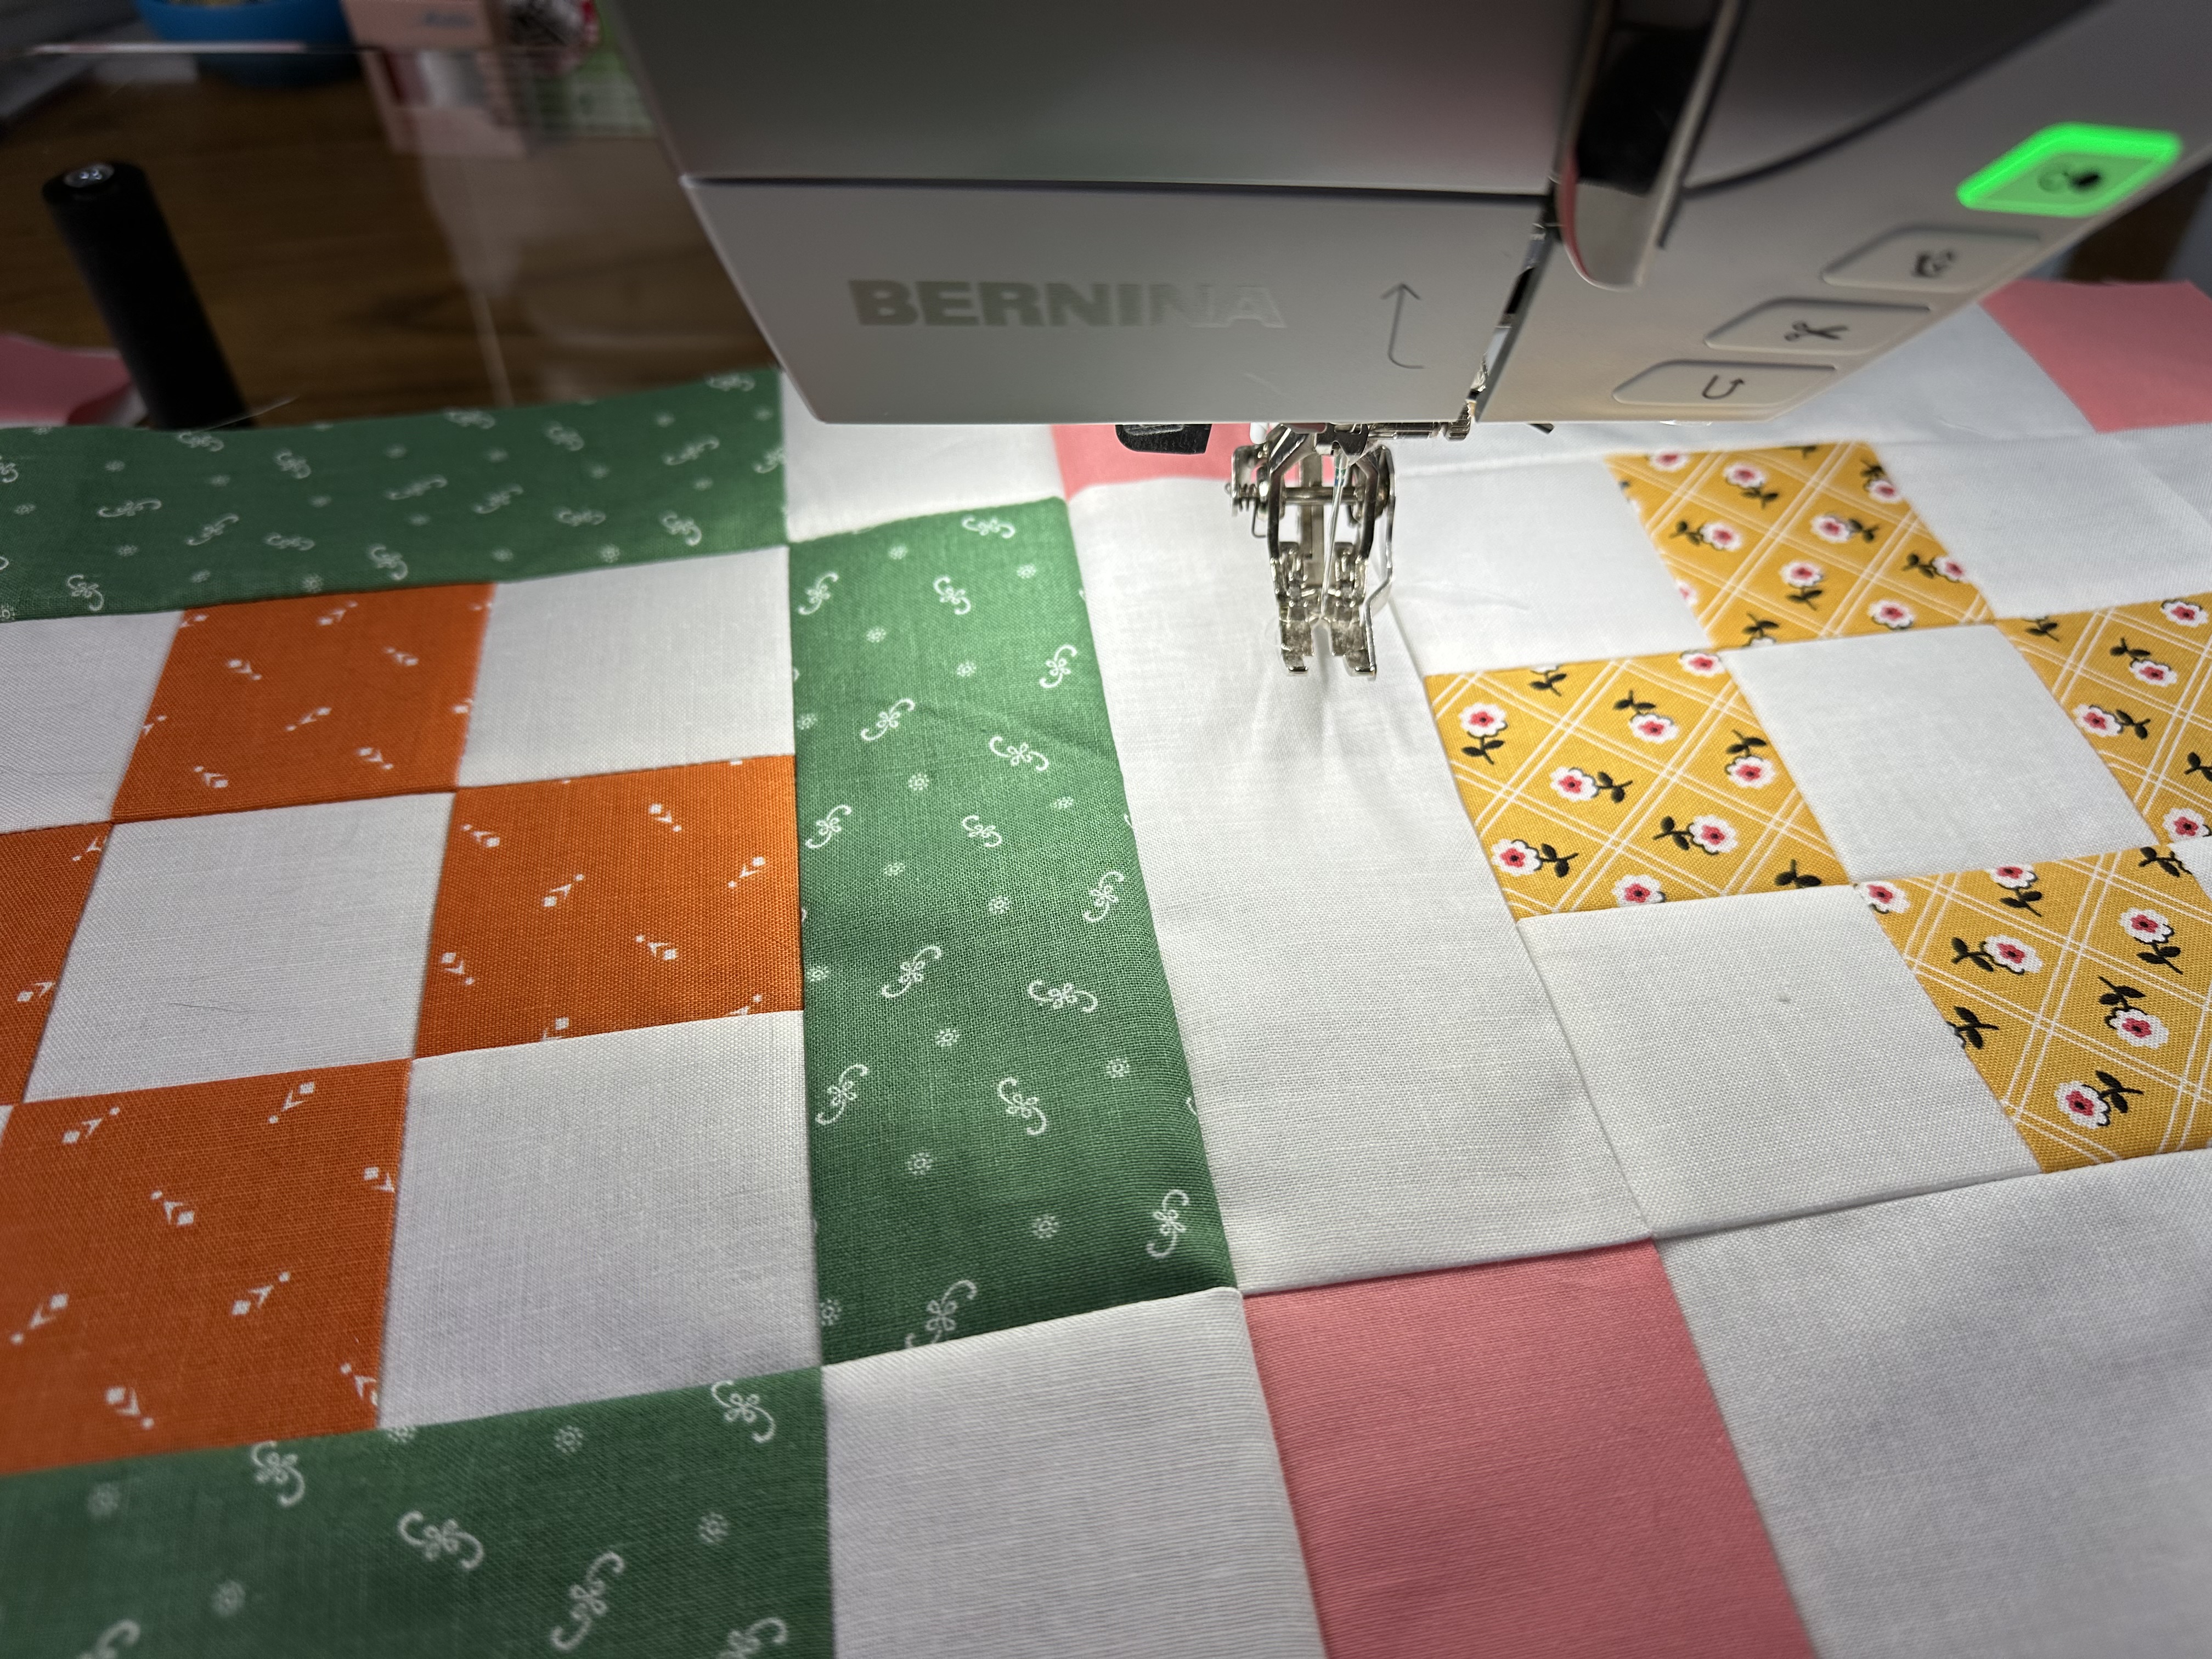
When opened up, the two blocks sewn together will look like this.
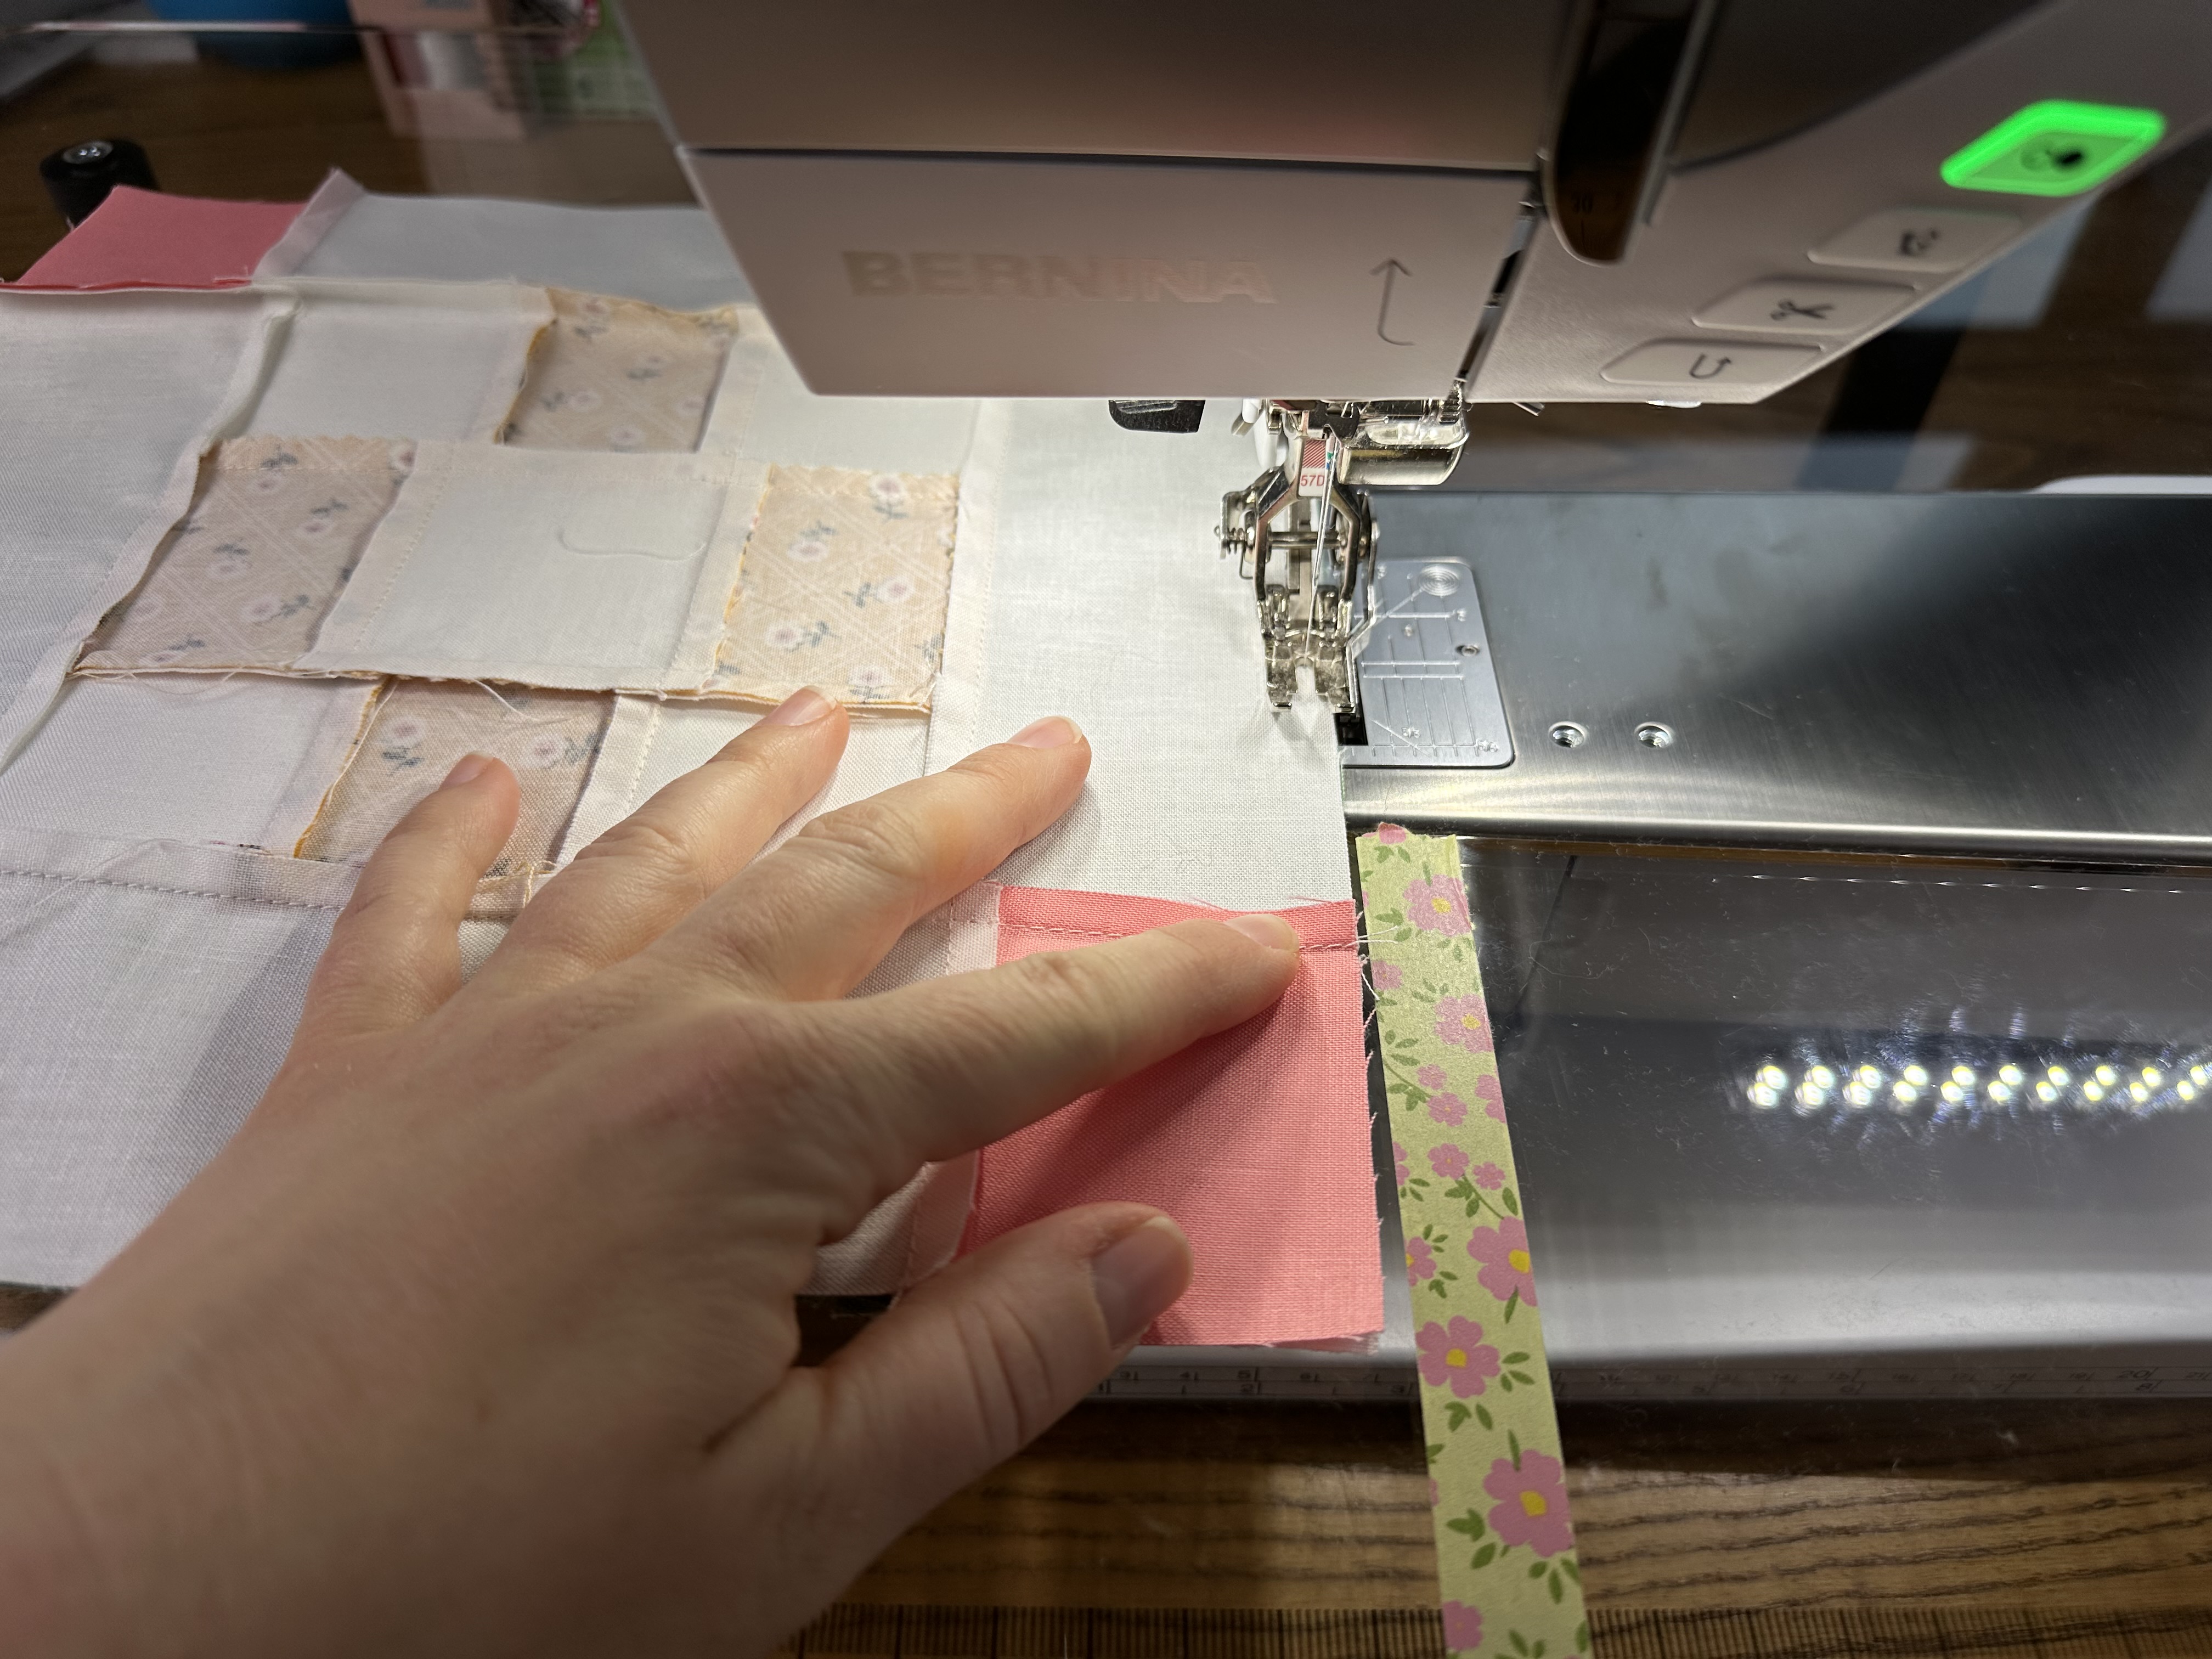
Next, put block 3 on top of block 2 and sew together along the edge with 1/4″ seam allowance.
Repeat these steps to sew 5 blocks in the row together. Then repeat for each of the 6 rows in this quilt top.
4. Sew the Rows to Make the Quilt Top
After you have all of the rows sewn together, it’s time to sew the rows into the quilt top.
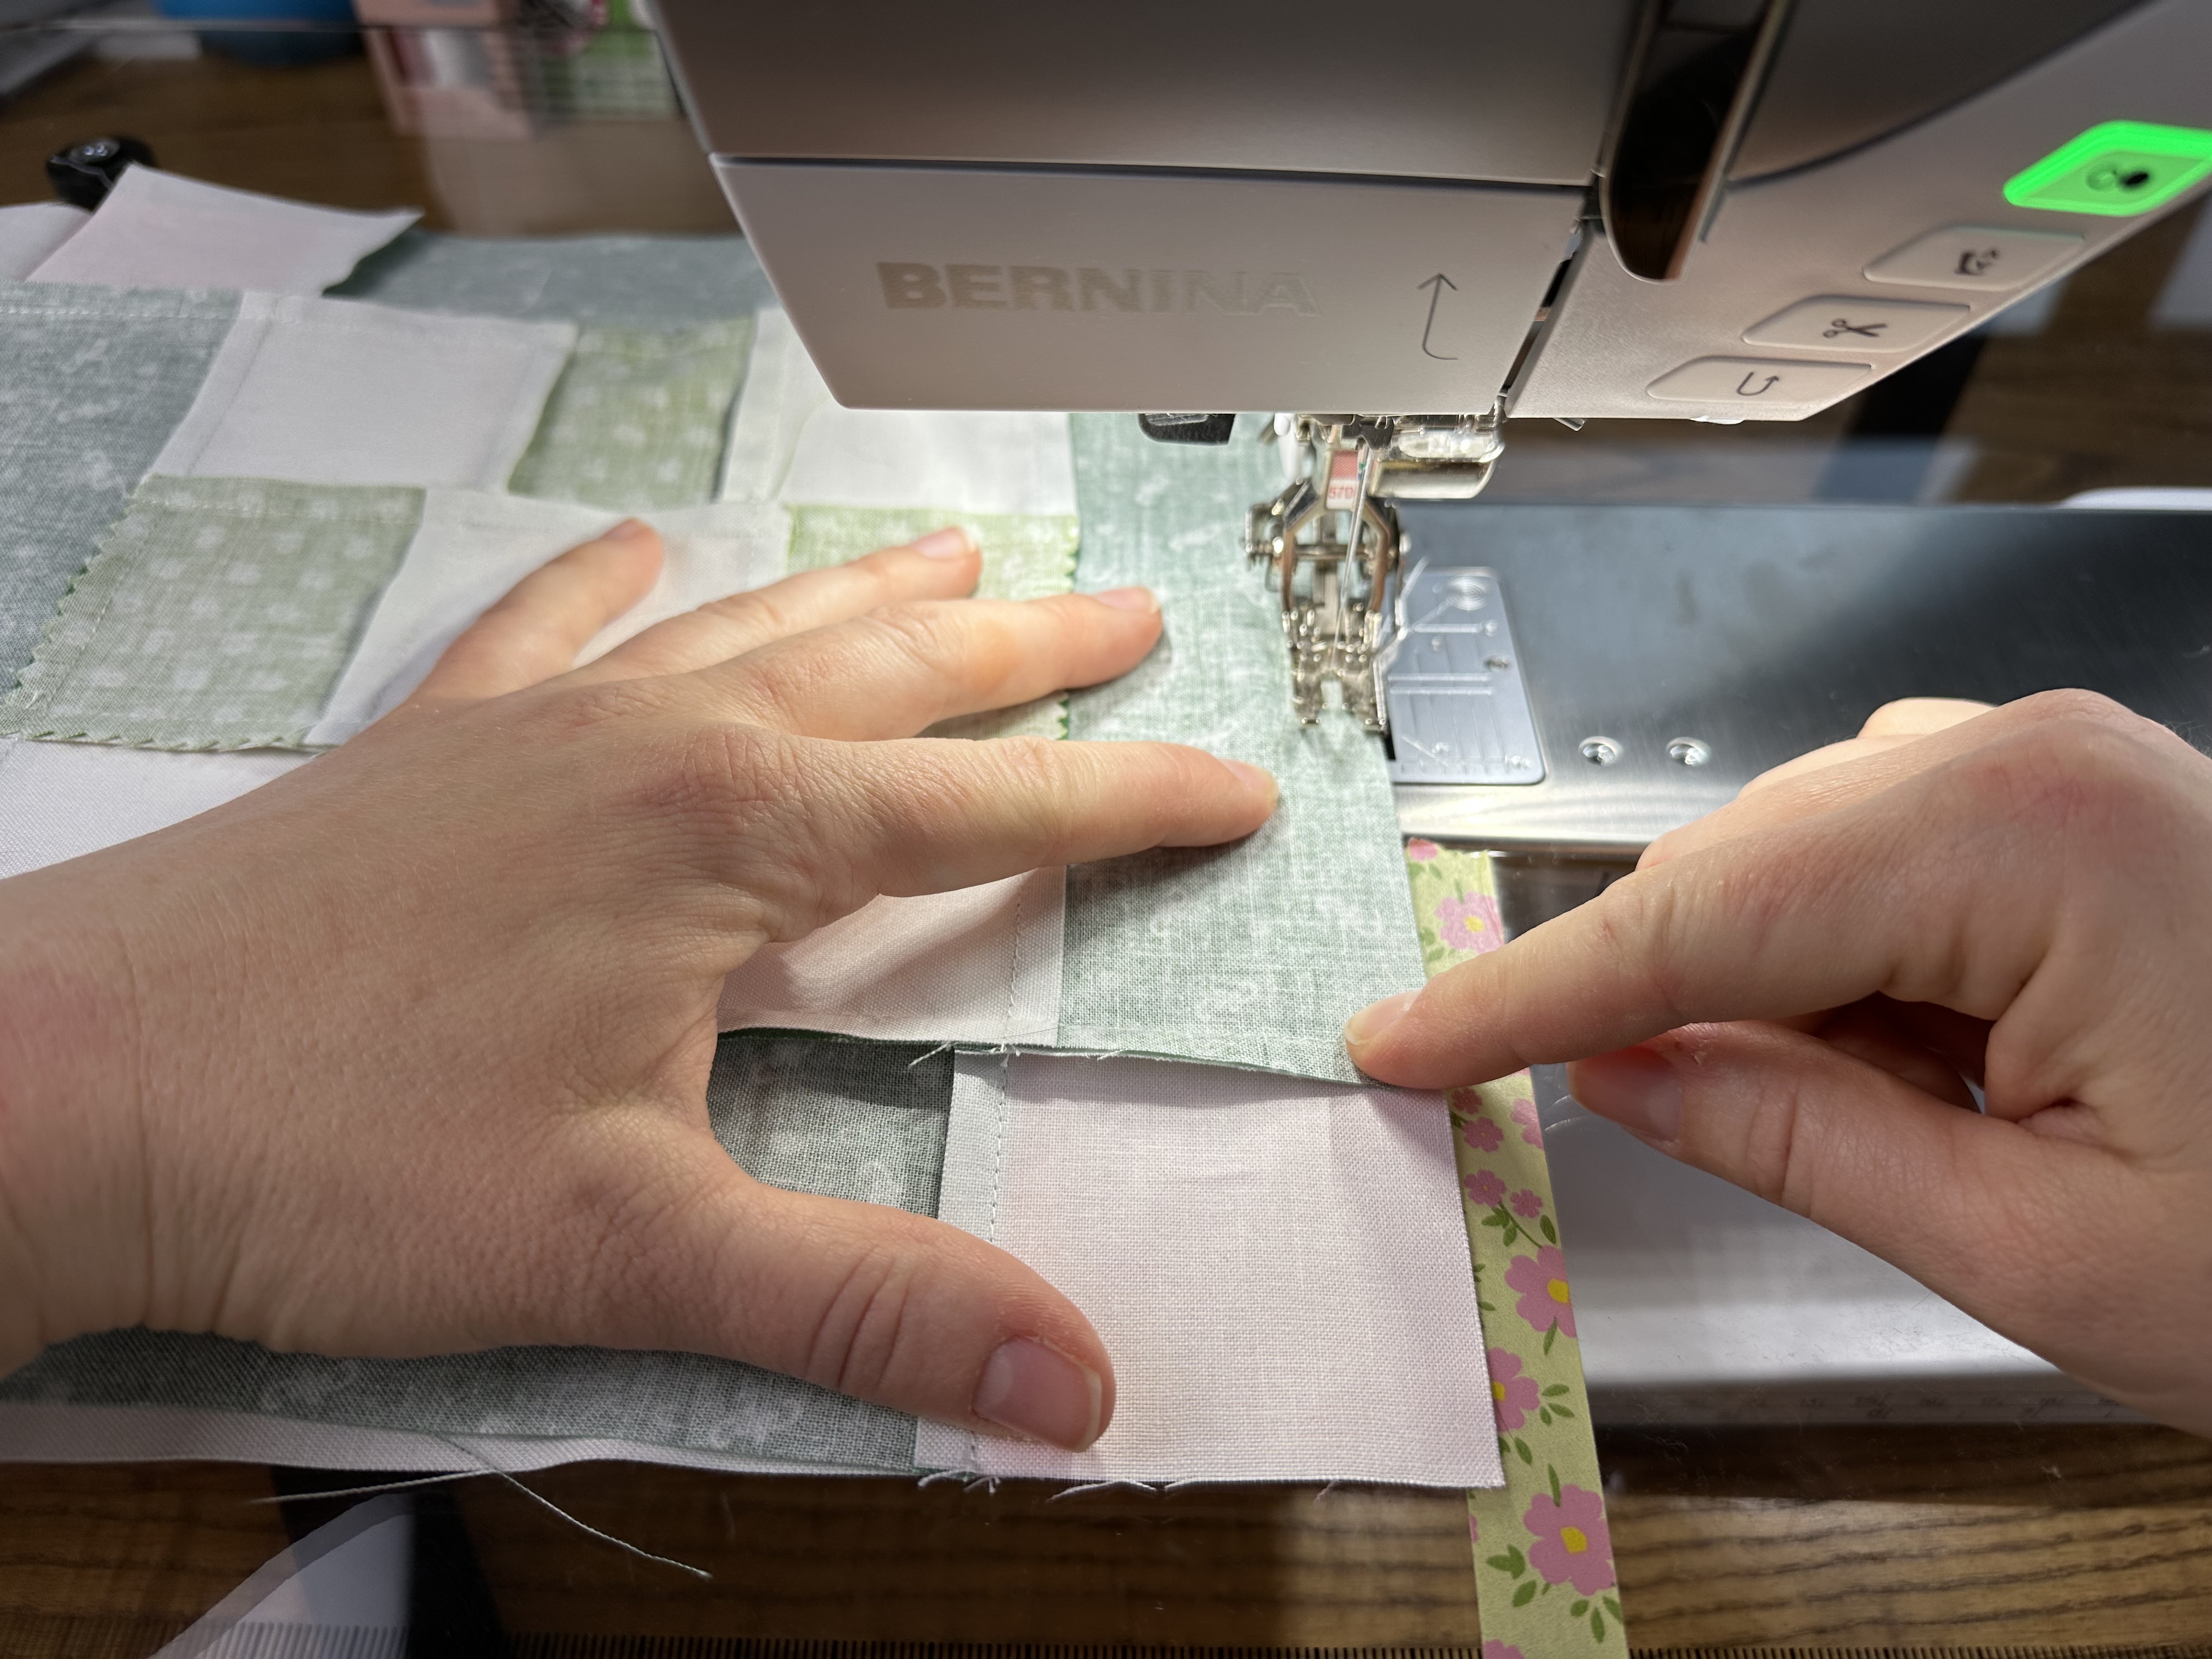
Lay row 1 on top of row 2, right sides together (you can pin if you’d like). Then sew along the long edge using a 1/4″ seam allowance.

Sew all the rows of the quilt top together in order.
Watch the Week 7 YouTube Video
Again, please watch the Week 7 YouTube video on my channel. This video coordinates with this post and I show how to assemble the block rows and top.
Thank you for following along and I’ll see you next week!
– Jessica
Used Products

What you might also like


4 comments on “The Nona Quilt Along, Week Seven: Assembly”
-
-
Thank you, Martha! And thanks so much for following along!
-
-
You know Jessica, this is a fairly simple design, but the way you placed your colours really gives is a sparkle and pizzazz I wasn’t expecting to see until I view your finished quilt top. I love how the background squares chain in both directions, and that green you chose as your accent colour really complements all the other colours in your quilt. Just beautiful ? ! ~Diana K.
-
Hi Diana, Thank you so much! I really appreciate your comment and you following along!
-
Leave a Reply
You must be logged in to post a comment.

Wow! I love seeing the colors of all the blocks together. It has been so fun to watch this project come to life.