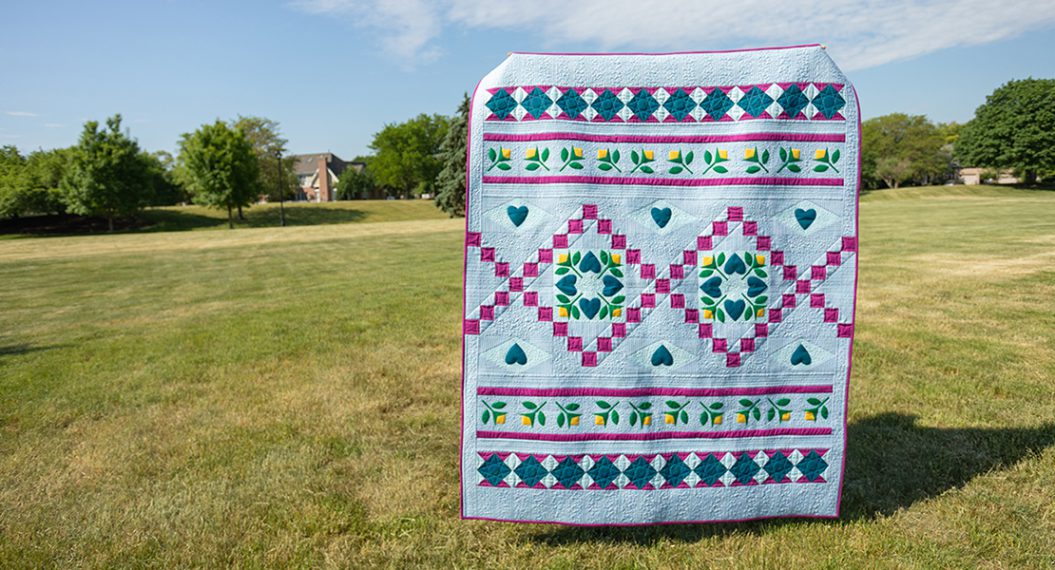
The Nona Quilt Along, Week Six: Block B
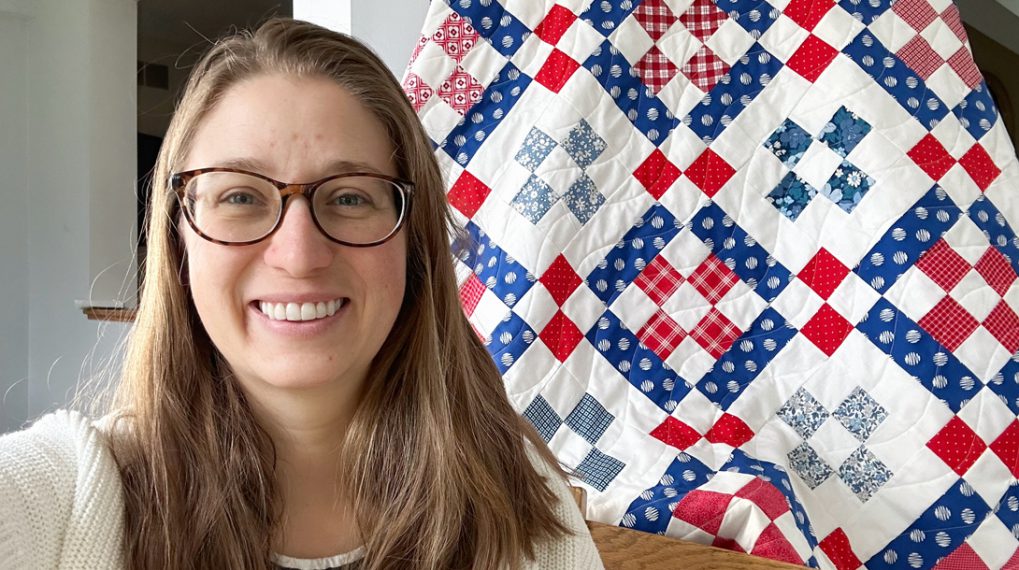
Hi, Friends! Welcome back! Jessica Dayon here and today we are starting week six of The Nona Quilt Along.
If you missed the first five parts of The Nona Quilt Along, you can read all about it here:
- The Nona Quilt Along, Week One: Introduction
- The Nona Quilt Along, Week Two: Supplies & Materials
- The Nona Quilt Along, Week Three: Cutting the Fabric
- The Nona Quilt Along, Week Four: Nine Patches
- The Nona Quilt Along, Week Five: Block A
This week, we are making the B blocks for the Nona Quilt. Let’s get started!
Making the A Blocks
First, make sure you have your Nona pattern in front of you. We are working in the section titled ‘Making the Blocks’ at step #3.

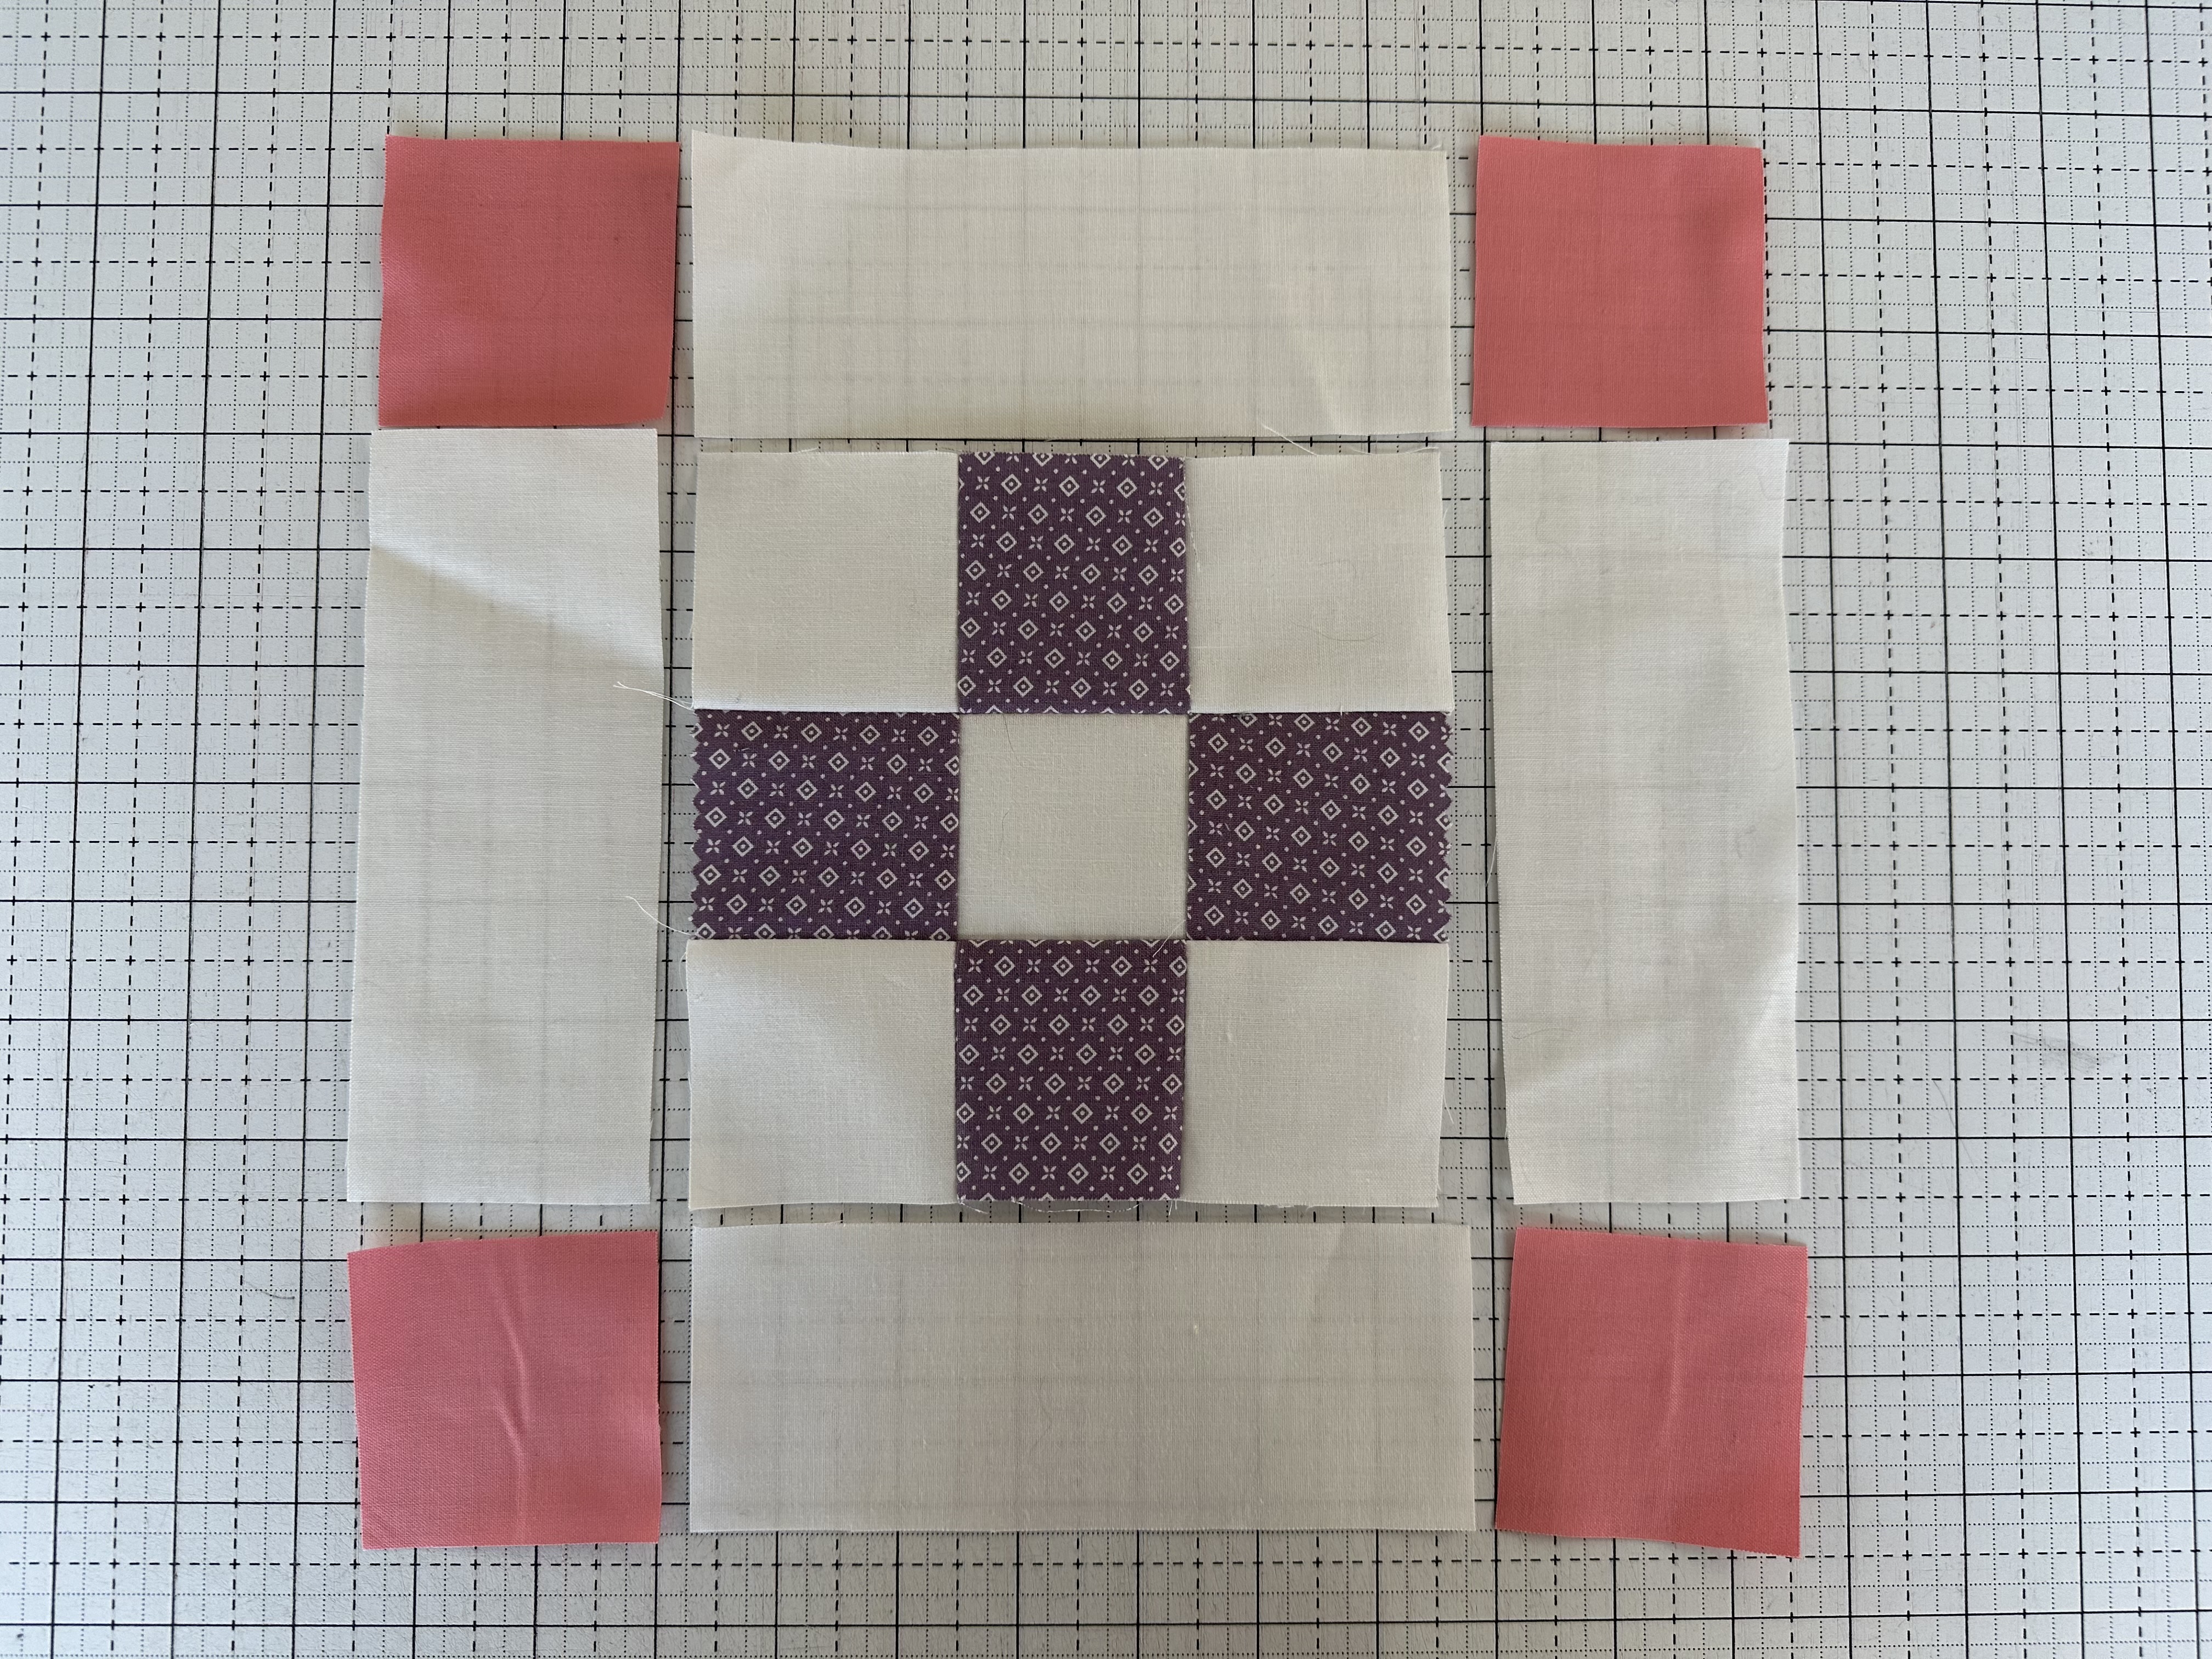
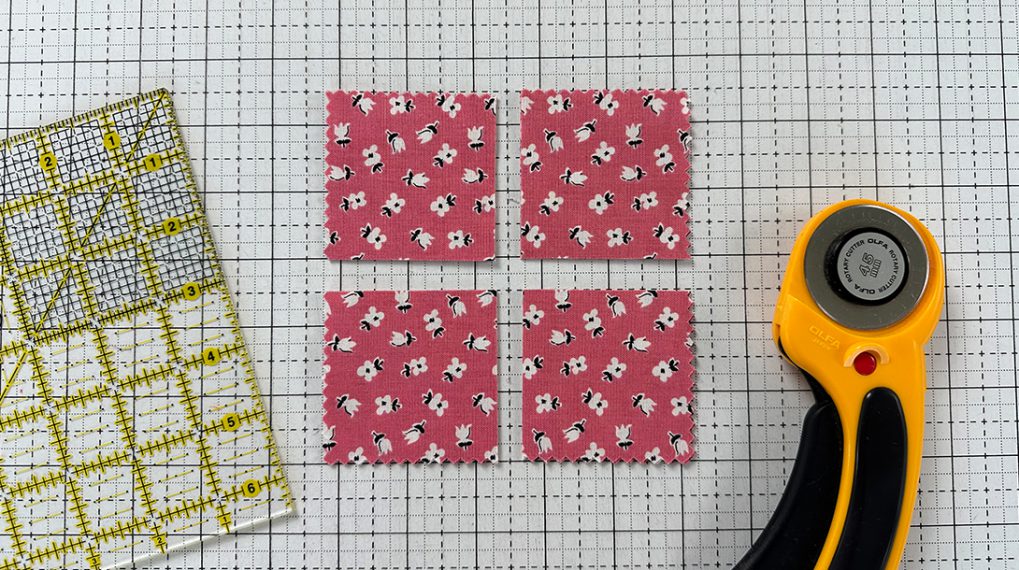
1. Layout the fabric that you are going to use for one Block B
To make Block B, first, lay out one nine patch, 4- 2 1/2” x 2 1/2” pink squares and 4- 2 1/2” x 6 1/2” pieces of white fabric as shown below.
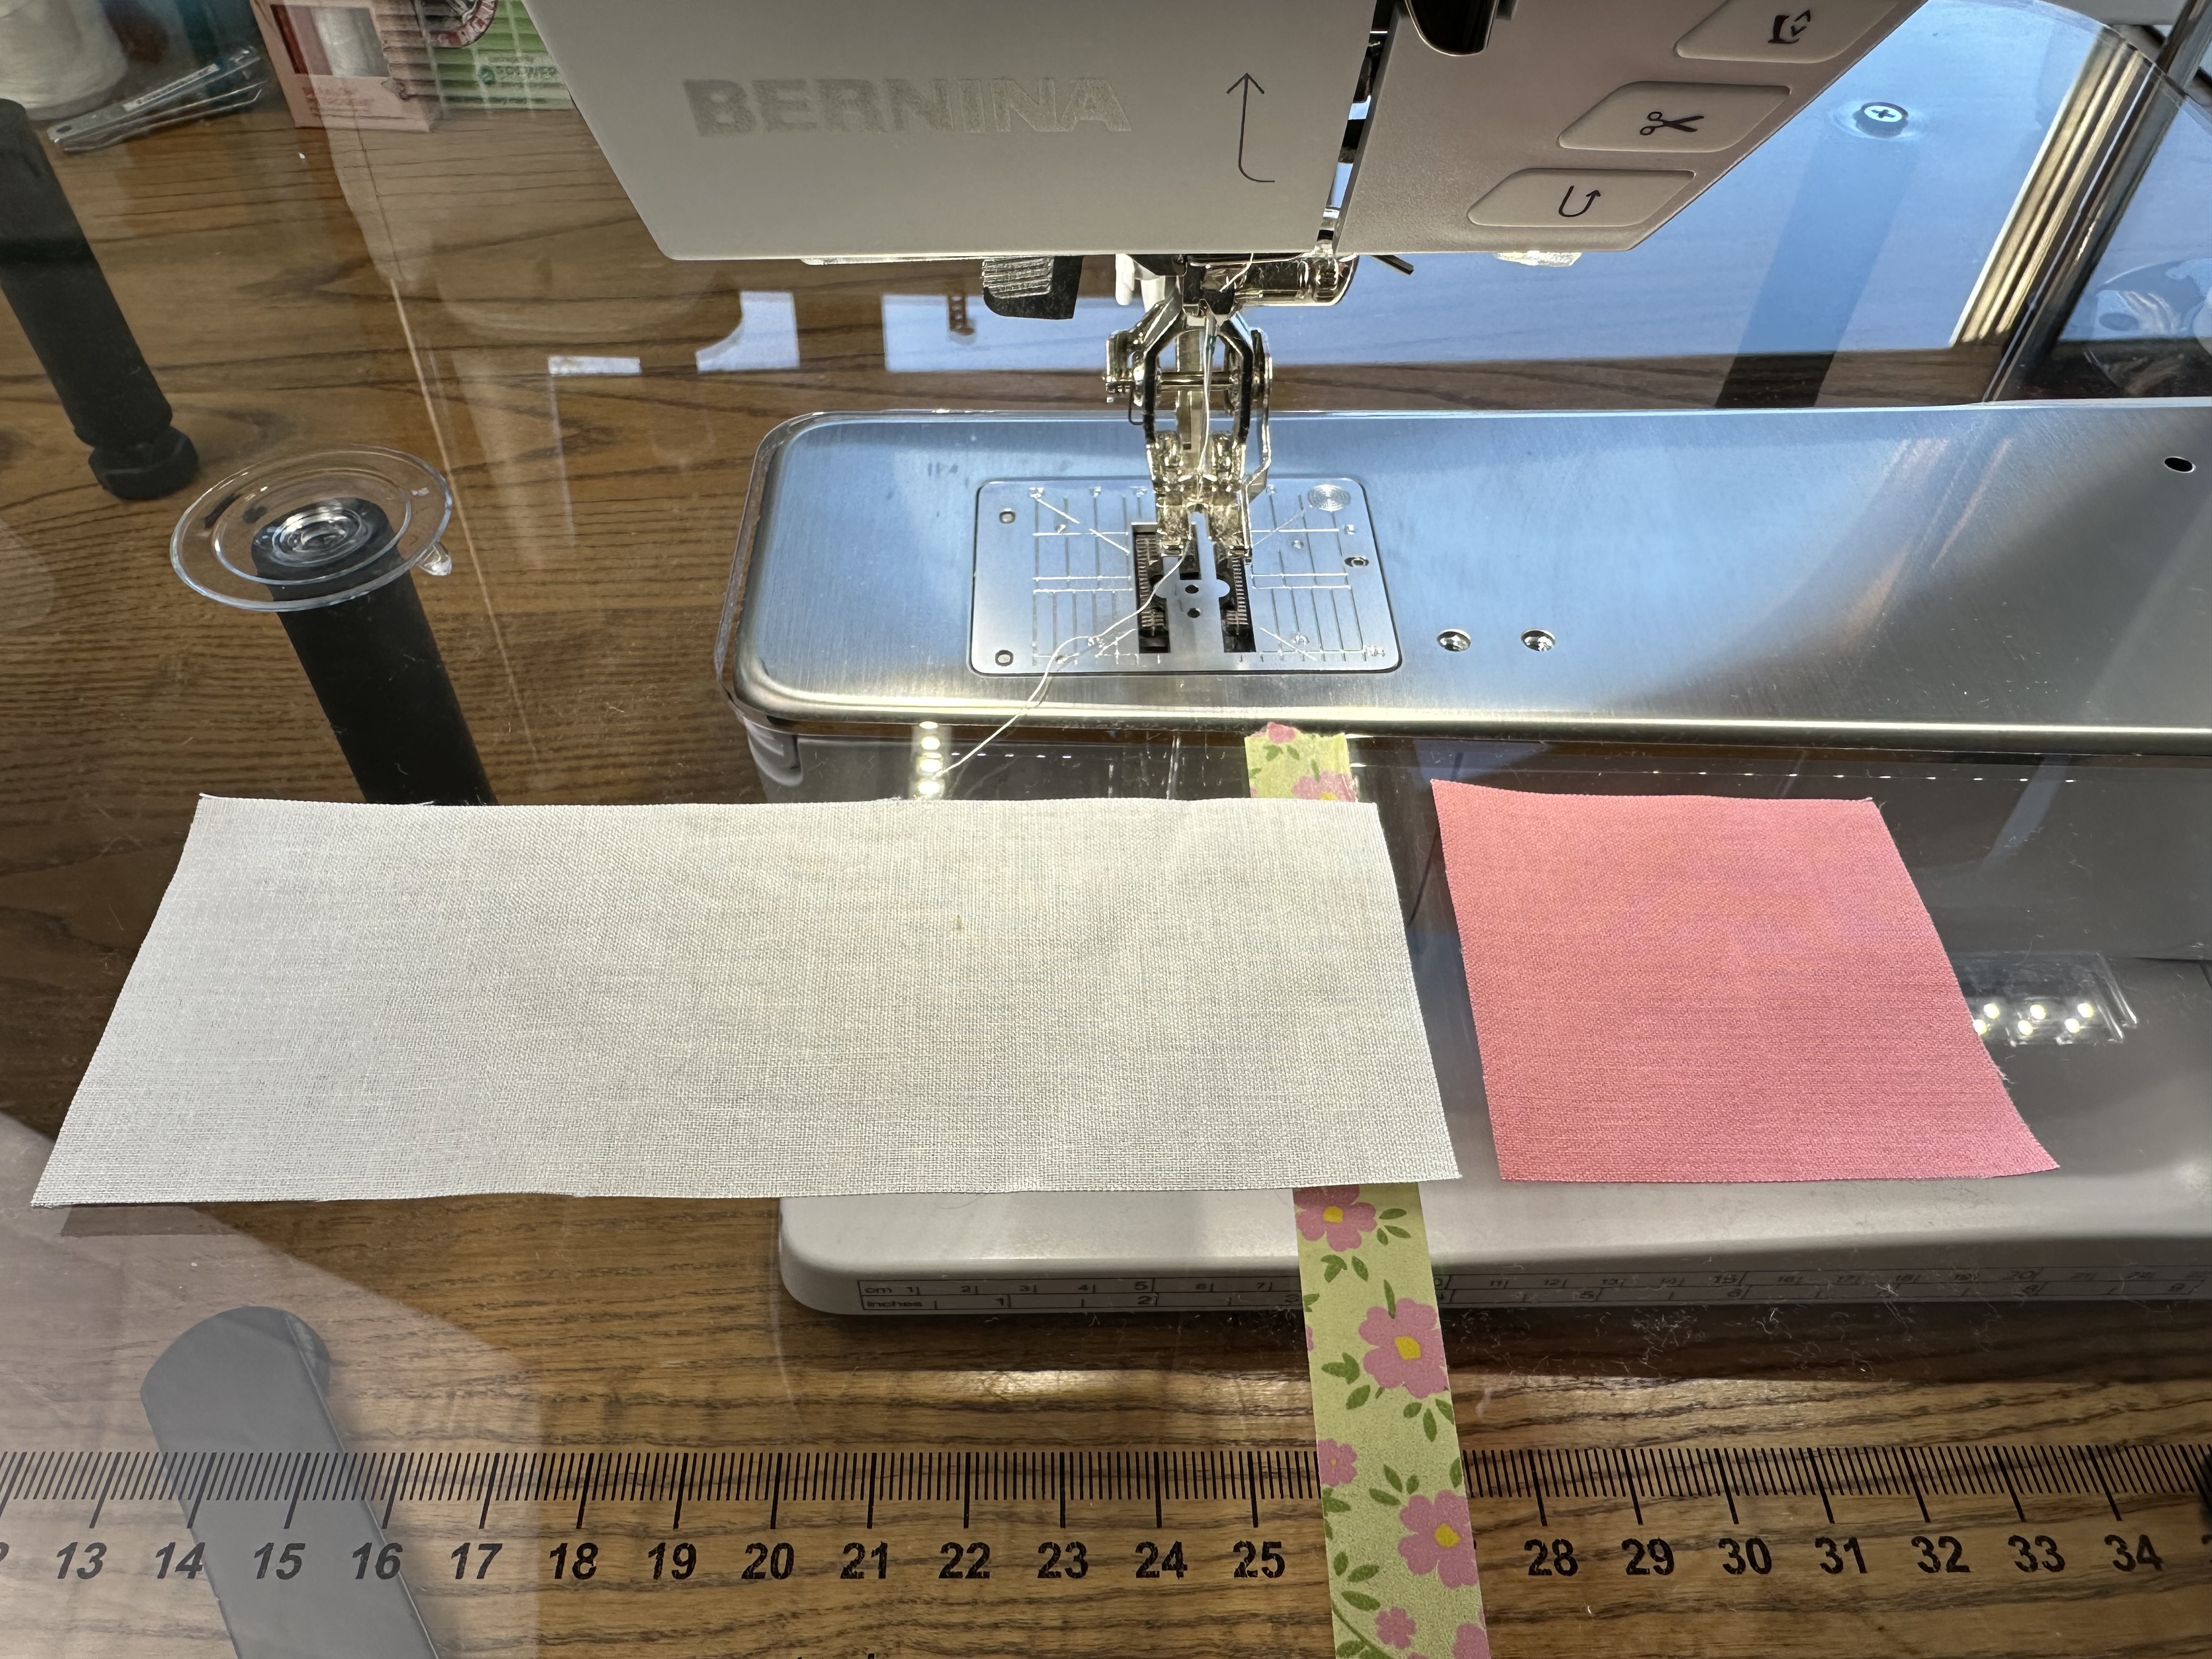
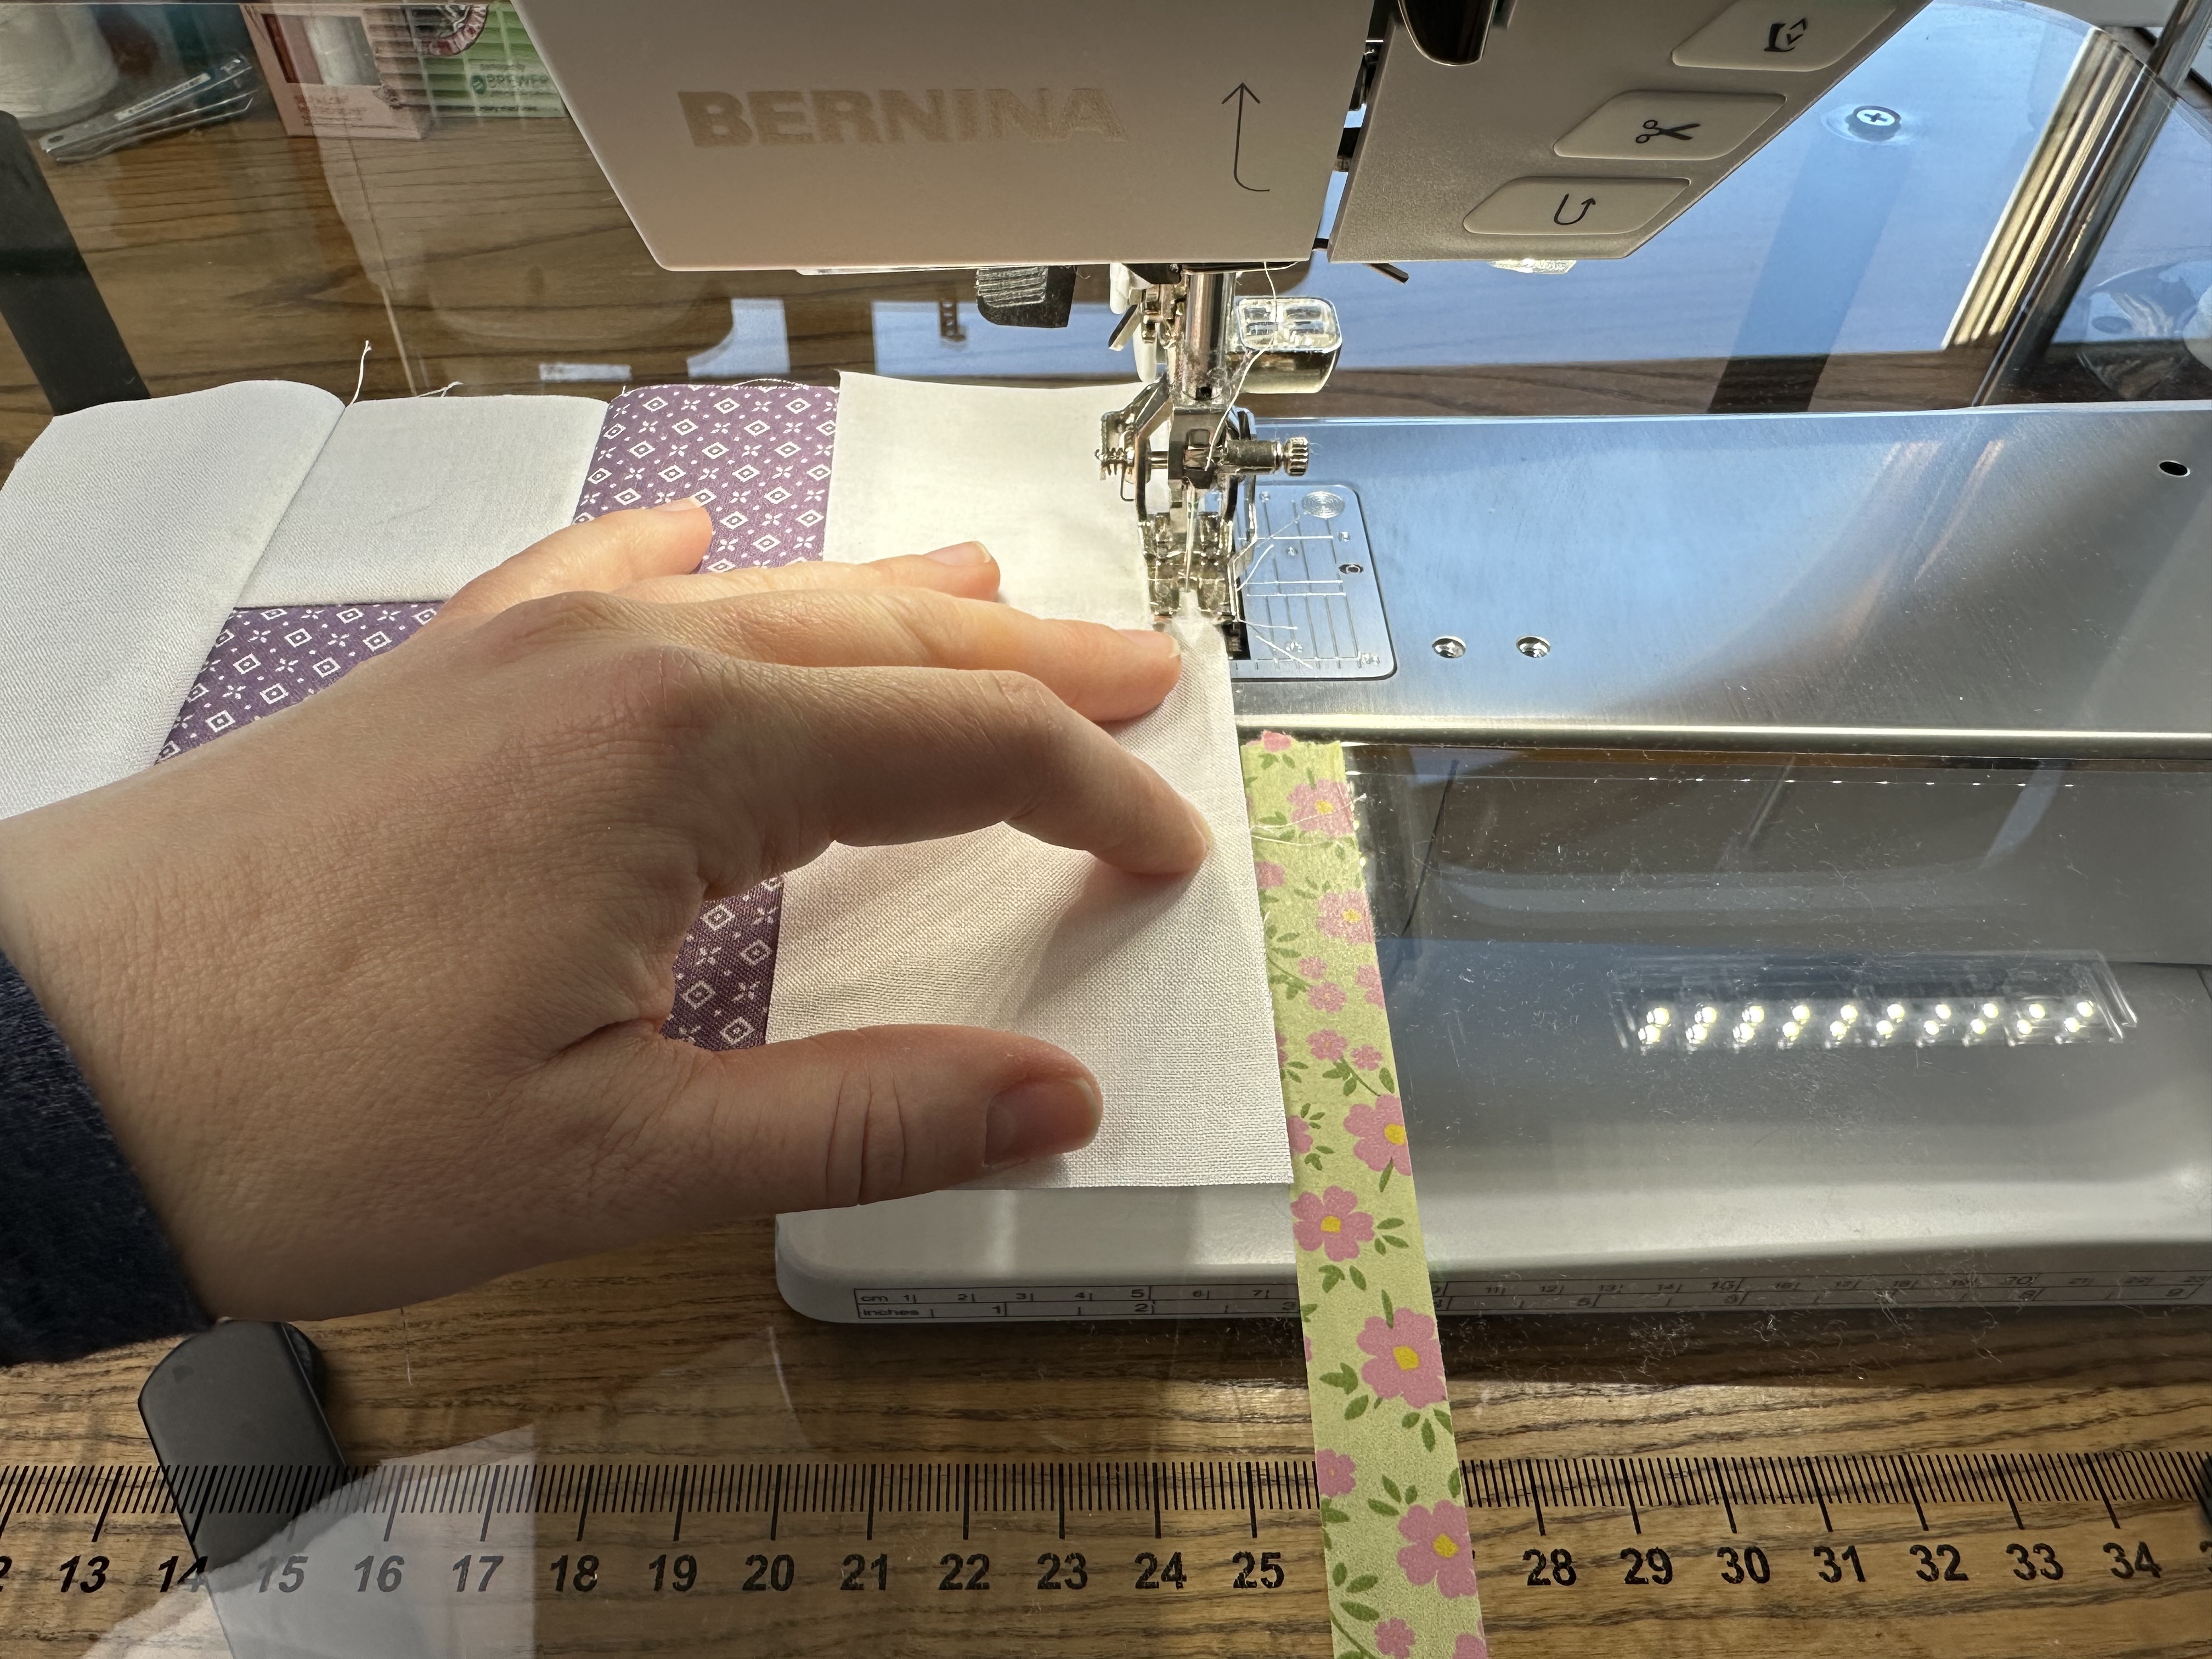
2. Sew the top/bottom row together
Start with a 2 1/2” x 6 1/2” pieces of white fabric and a 2 1/2″ pink square.
Then lay the white square on top of the alpine piece with the right sides together. Sew with 1/4″ seam allowance. Cut the threads.
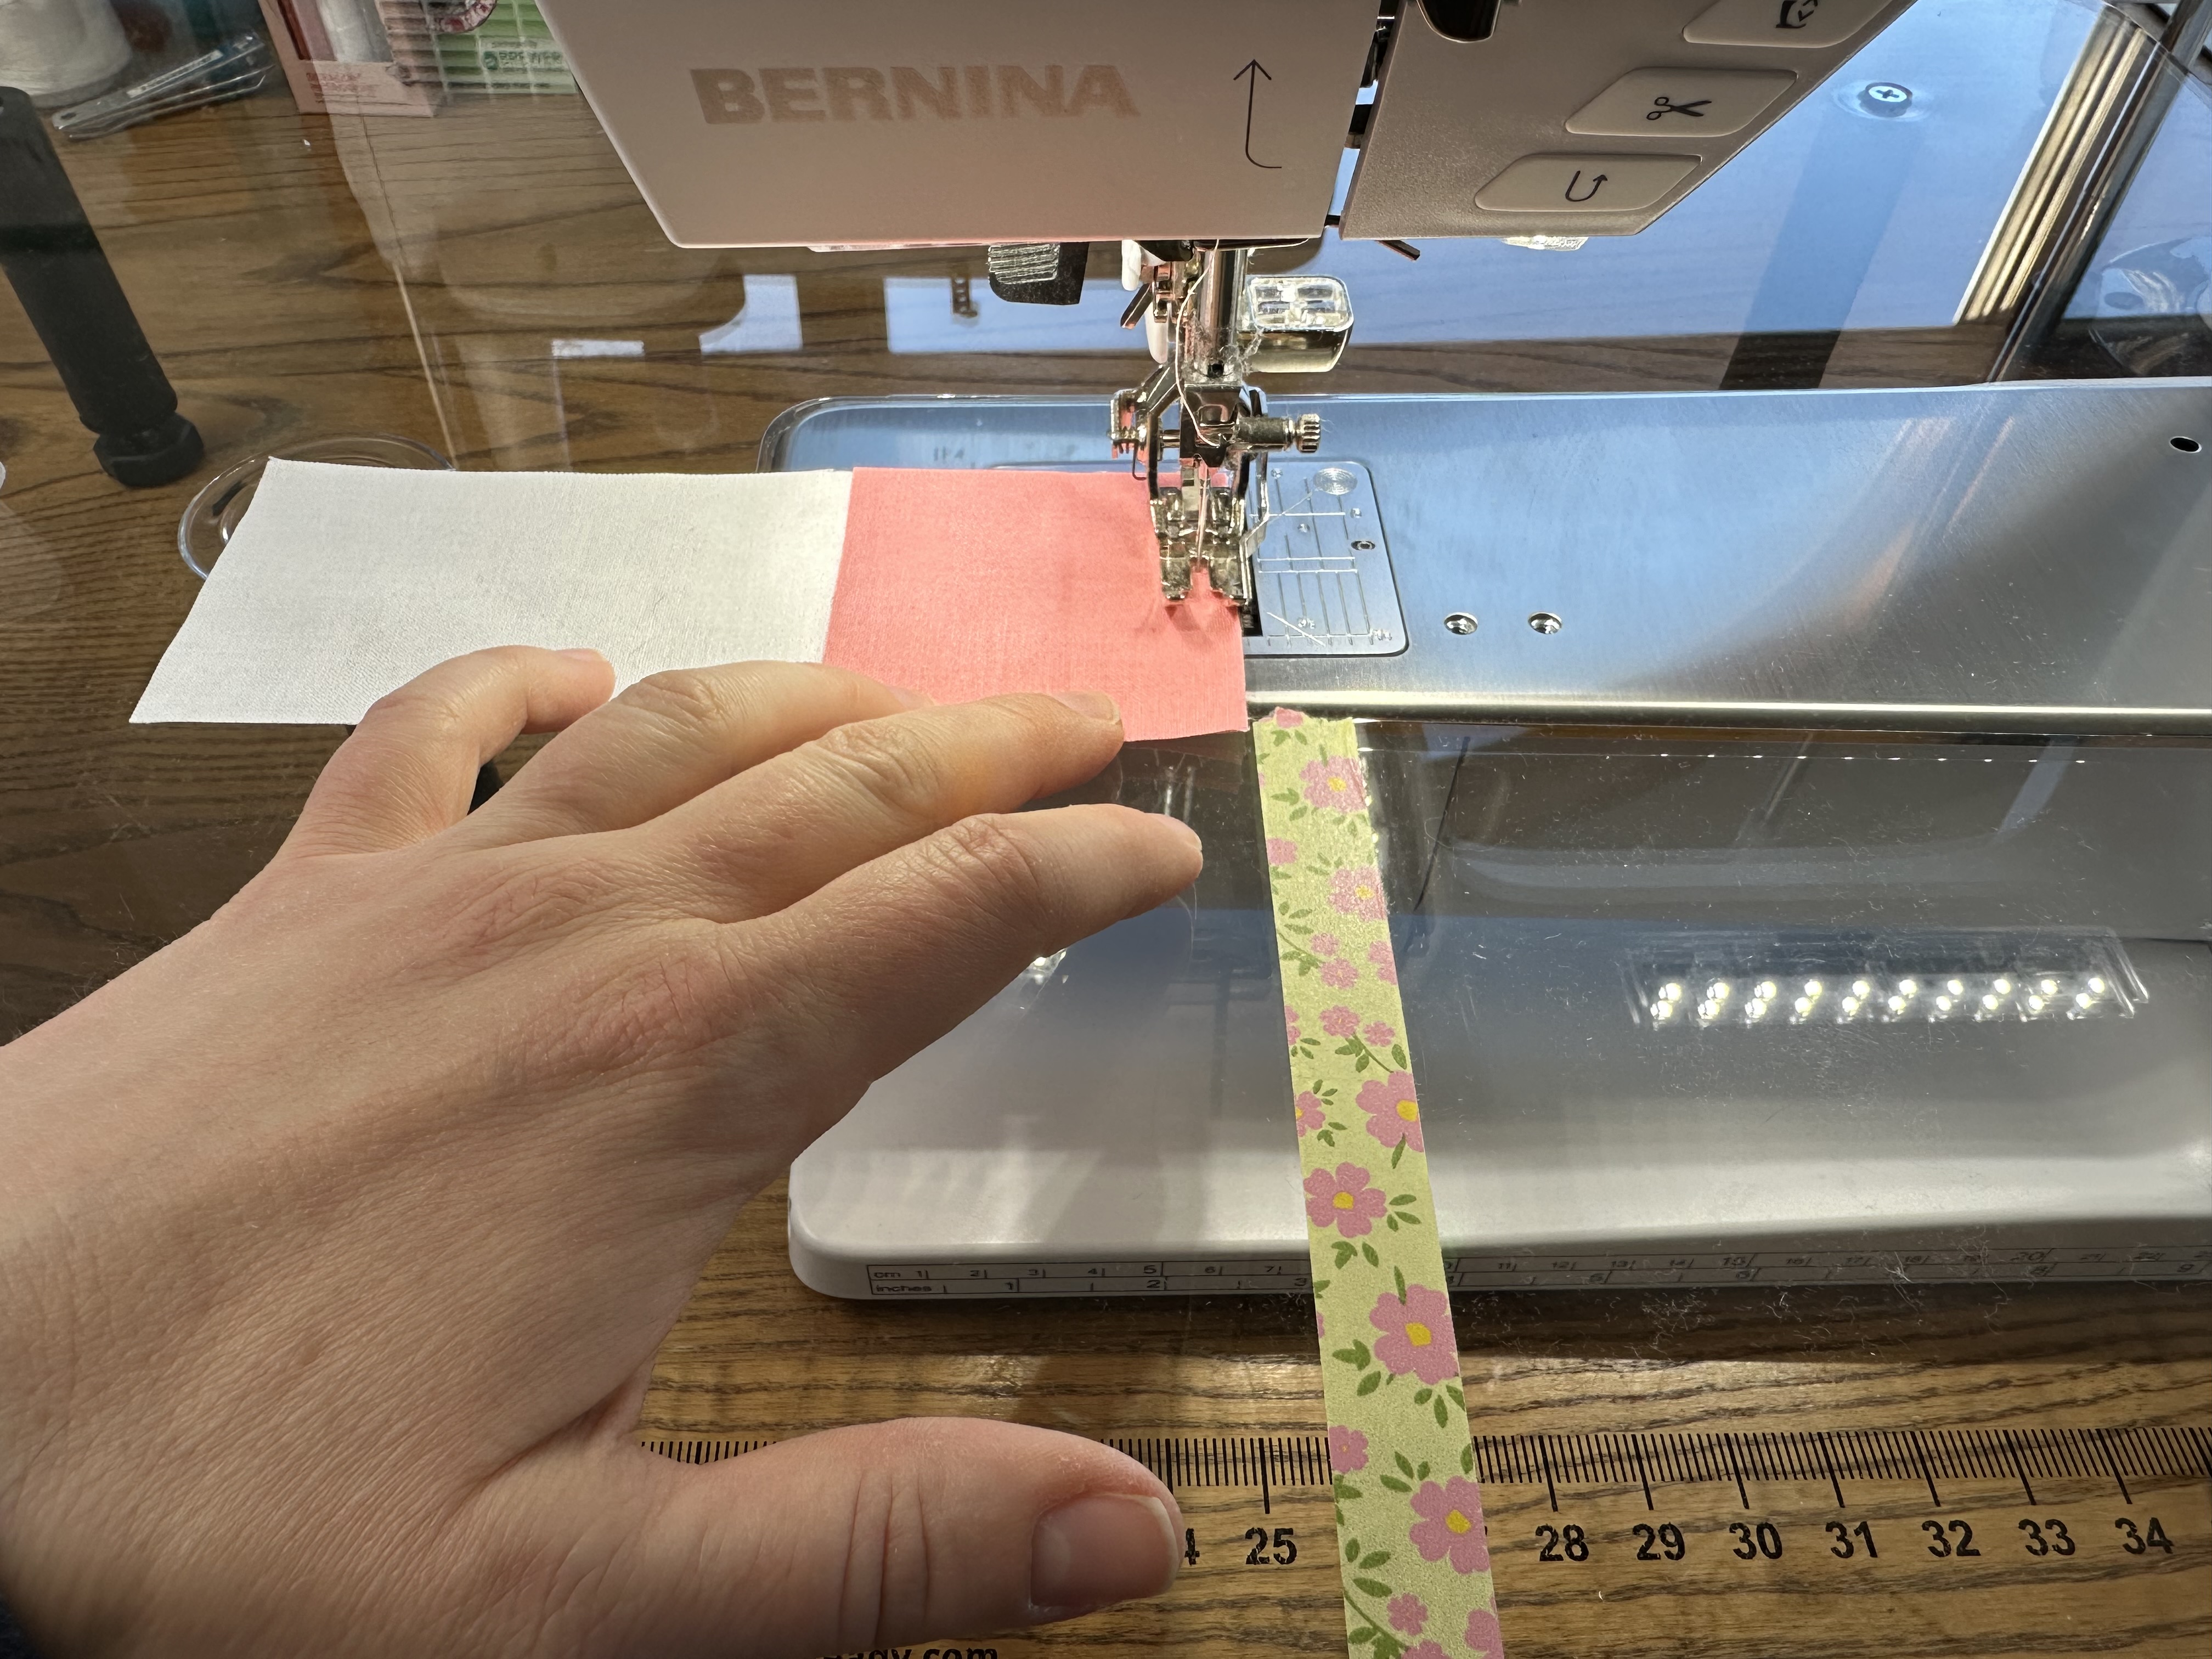
Open the piece to view the right side. Then, get another pink square.

Place the pink square on top of the white piece, right sides together. Sew together with a 1/4″ seam allowance.
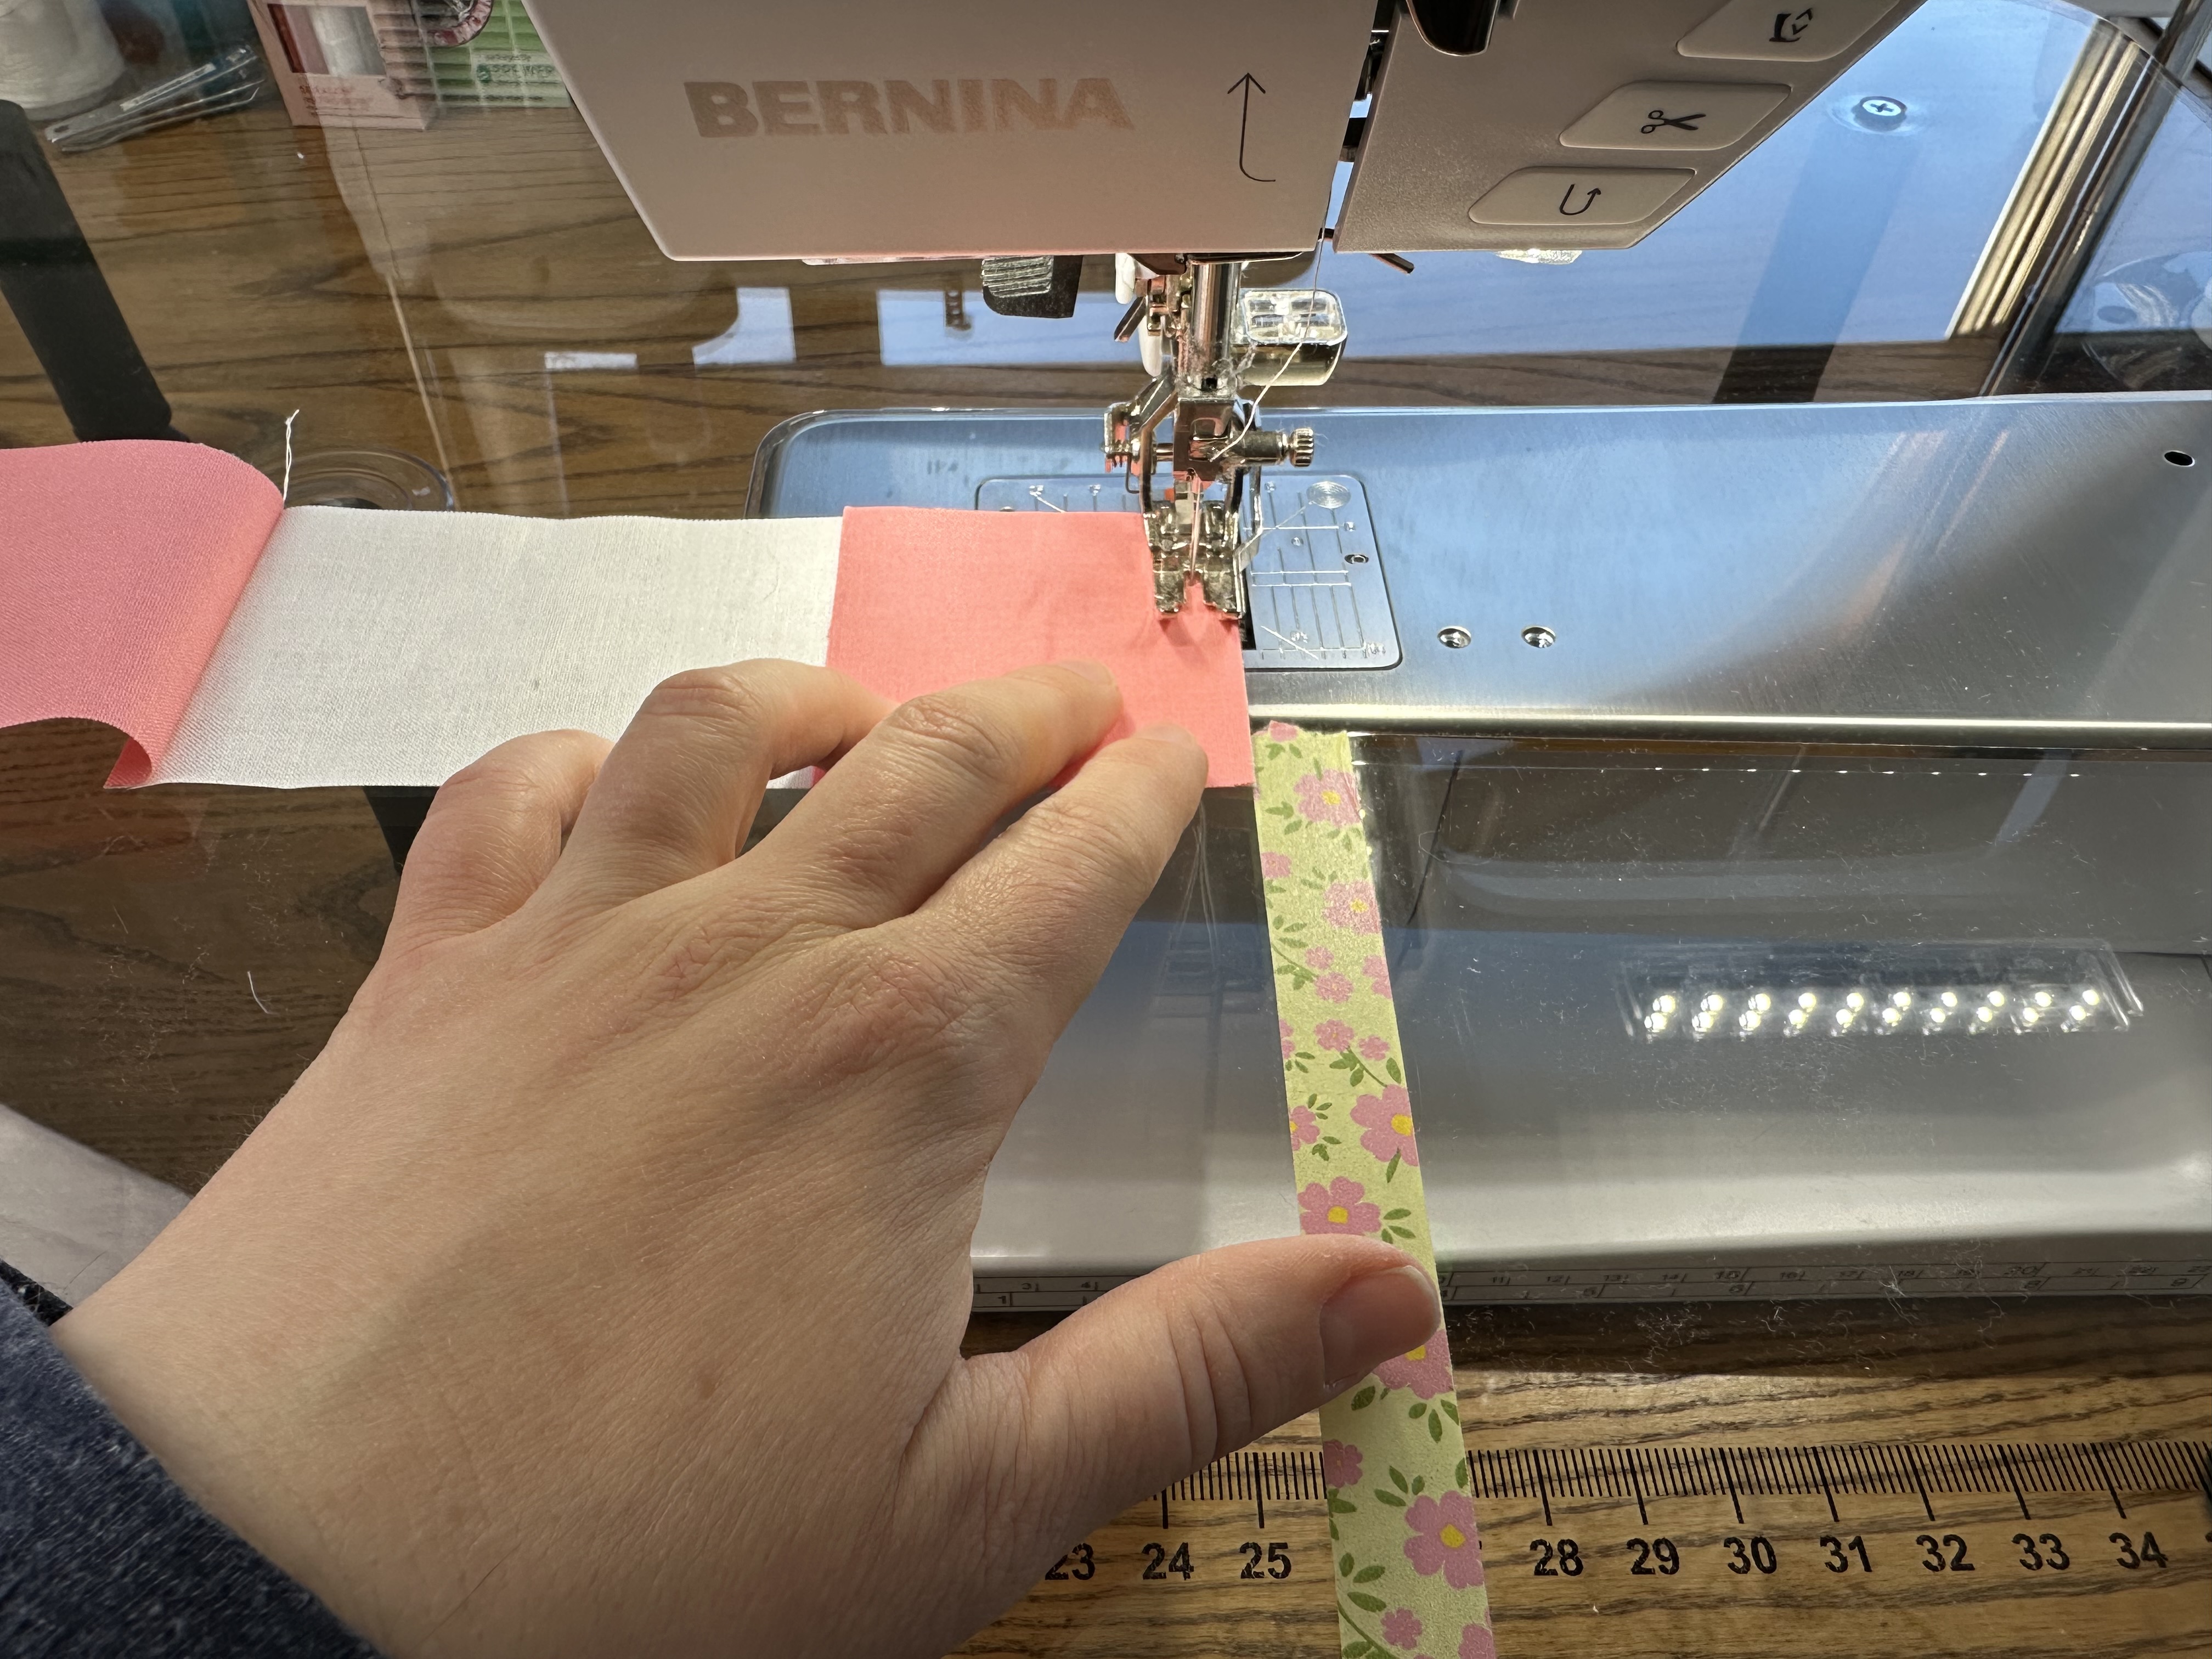
Cut the threads and open to view from the right side. This is the top/bottom row. Repeat these steps again so that you have you will make two top/bottom rows.
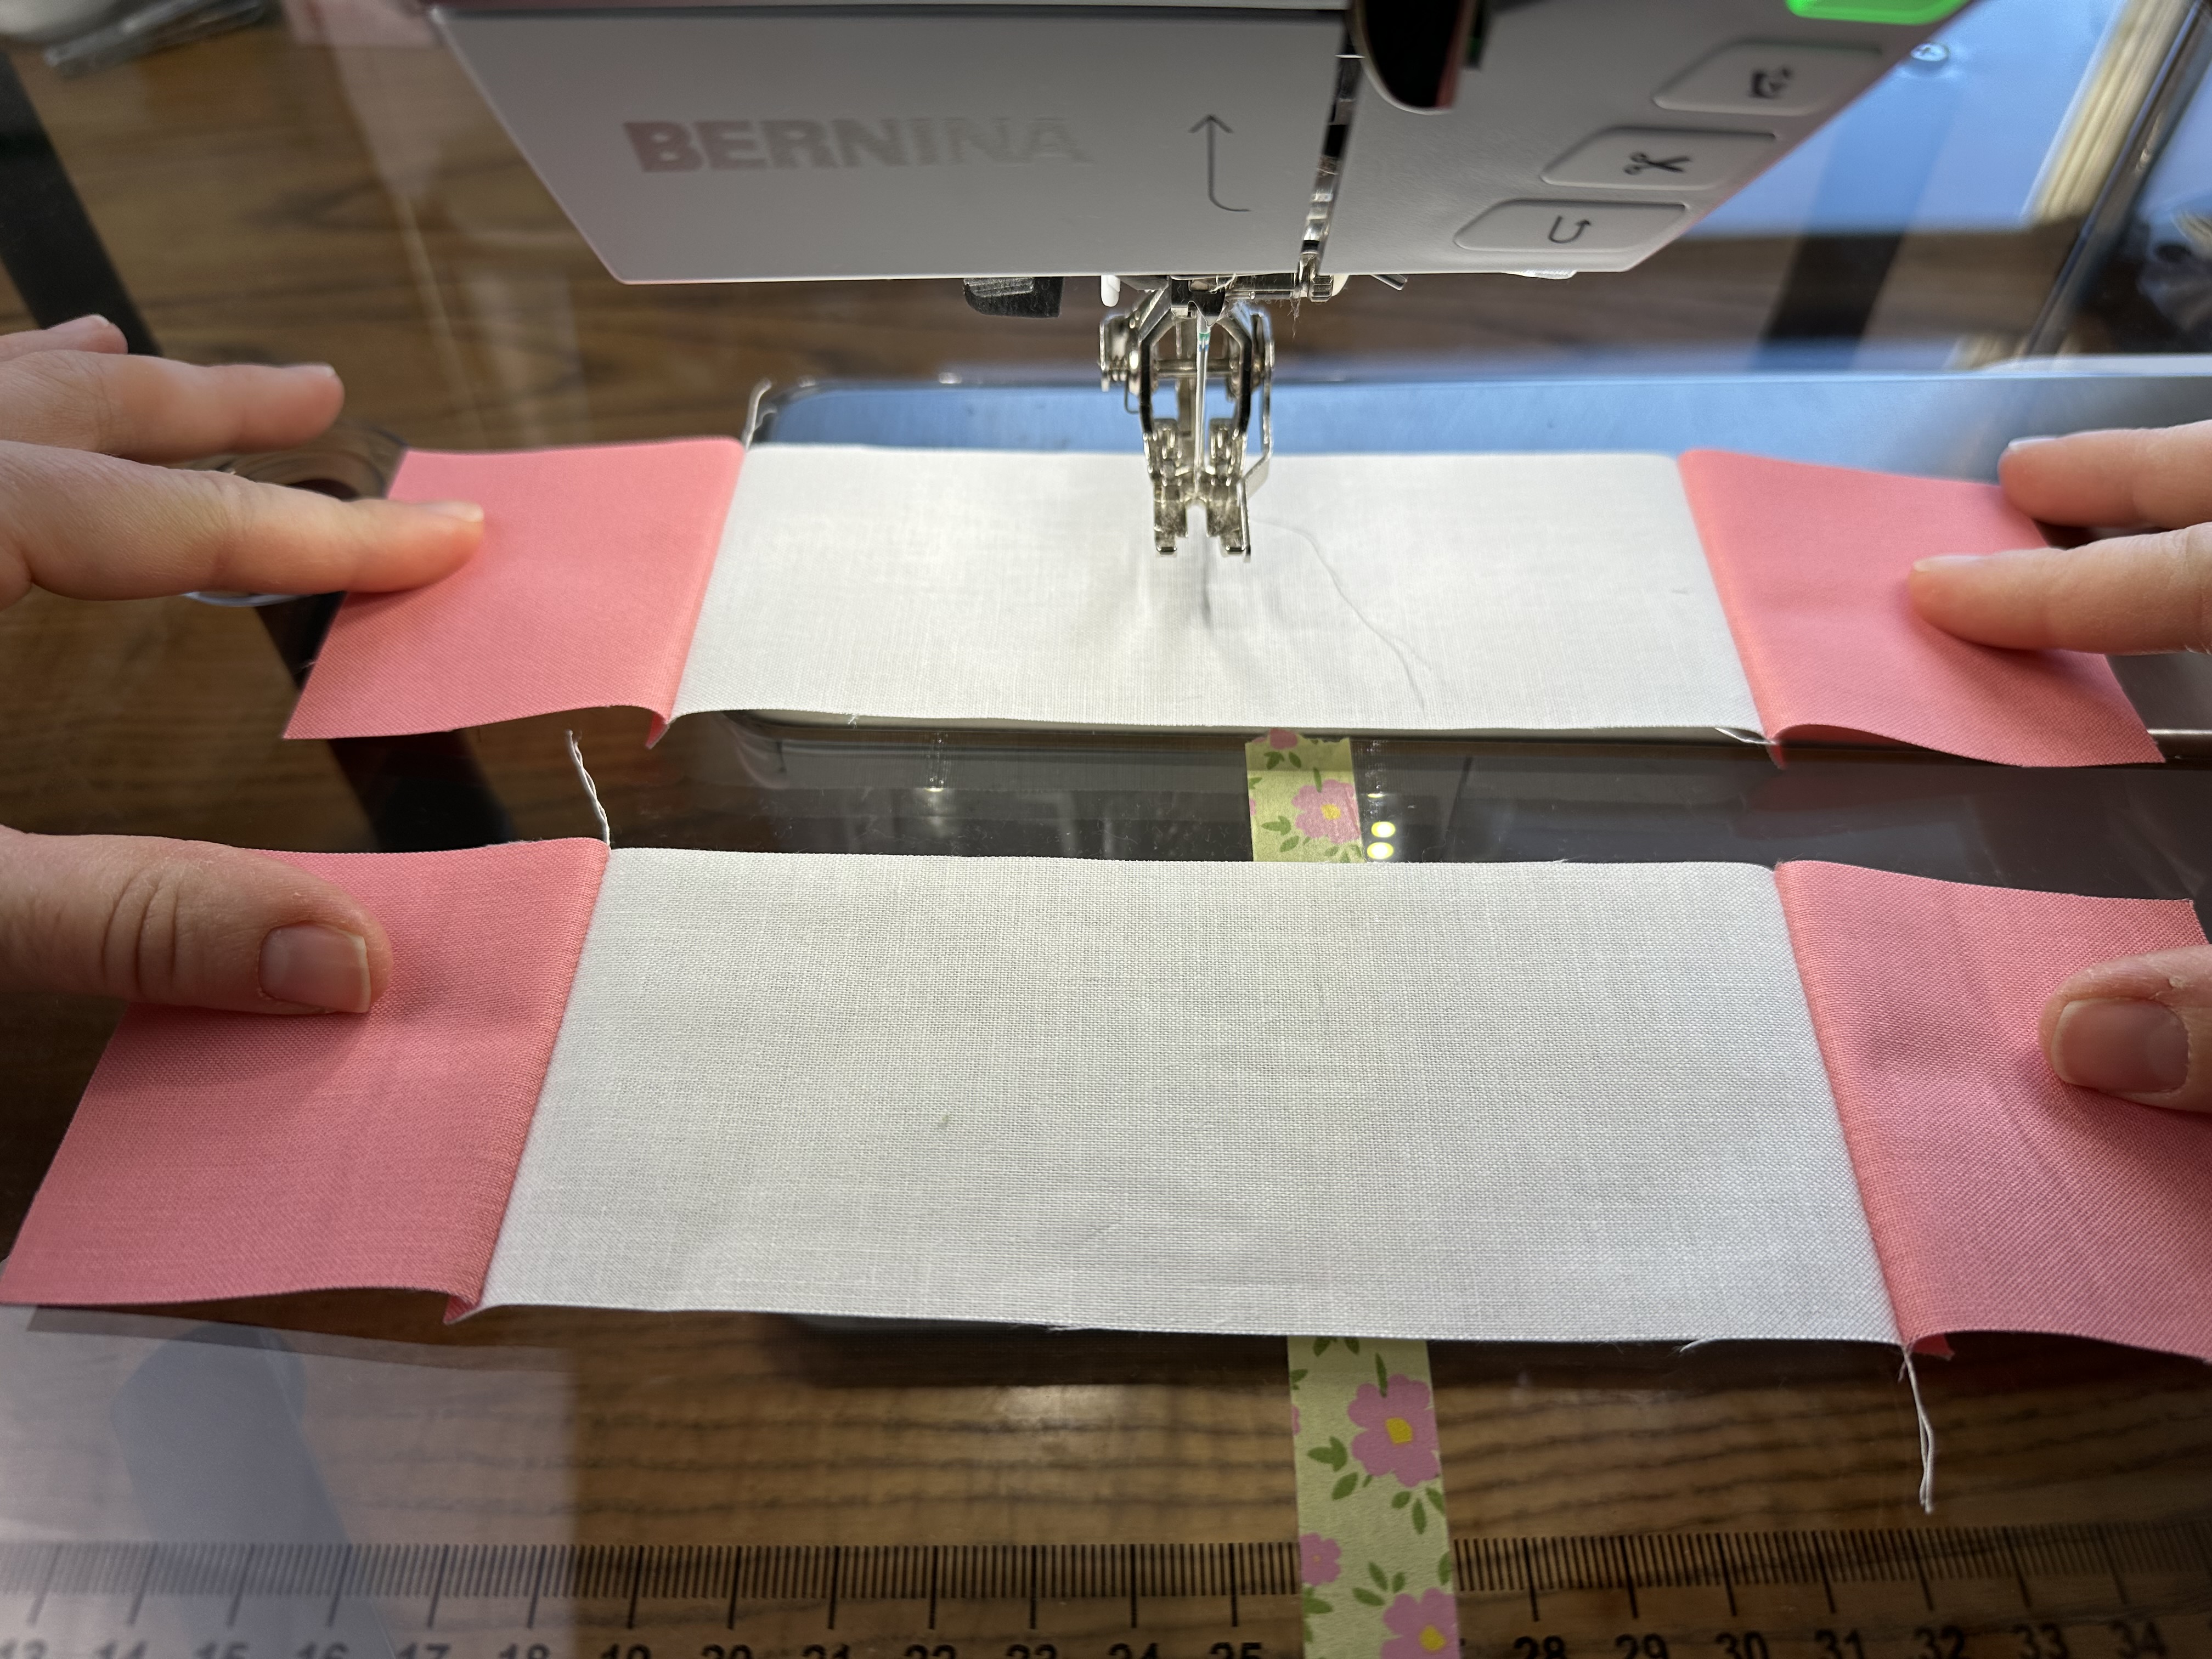
3. Sew the center row together
Start with a nine patch and 2- 2 1/2” x 6 1/2” piece of white fabric.
Place one white piece on top of the nine patch with right side together. Sew with 1/4″ seam allowance.
Cut the threads. Open the piece to the right side. Next, get another 2 1/2” x 6 1/2” piece of white fabric and place it on top of the white square, right sides together. Sew together with a 1/4″ seam allowance. Cut the threads. This is the middle row.
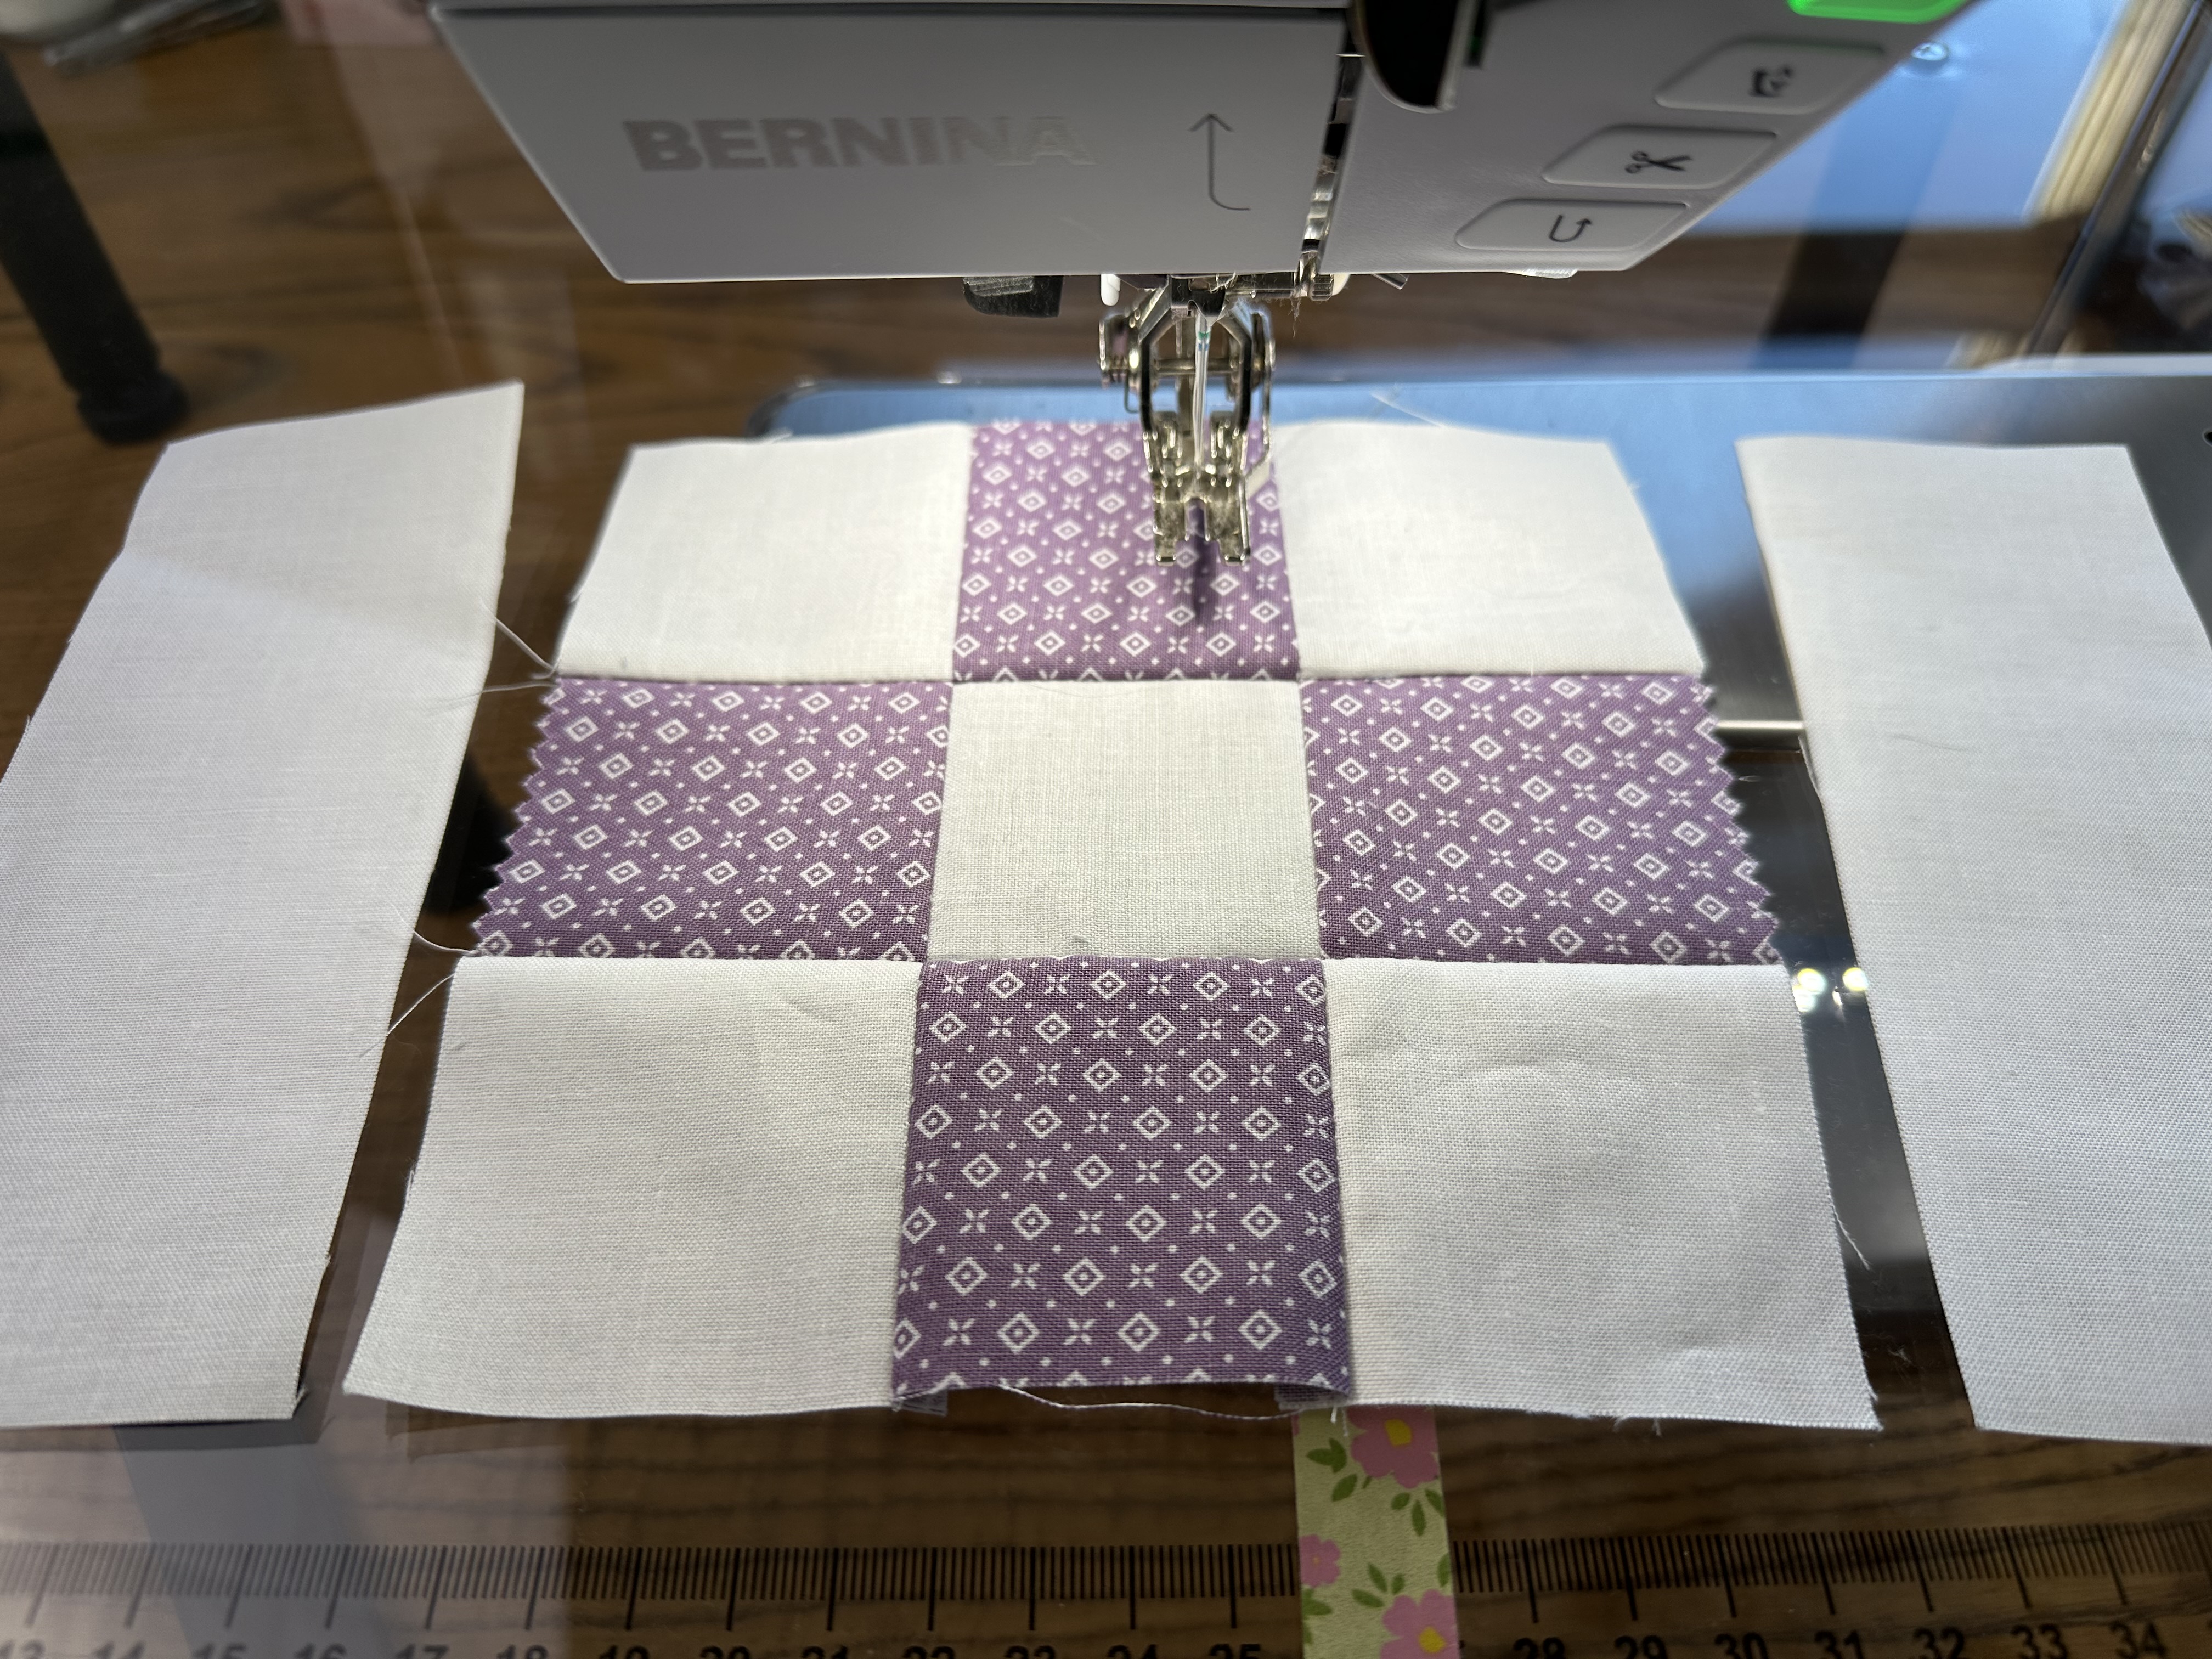
4. Sewing the rows together
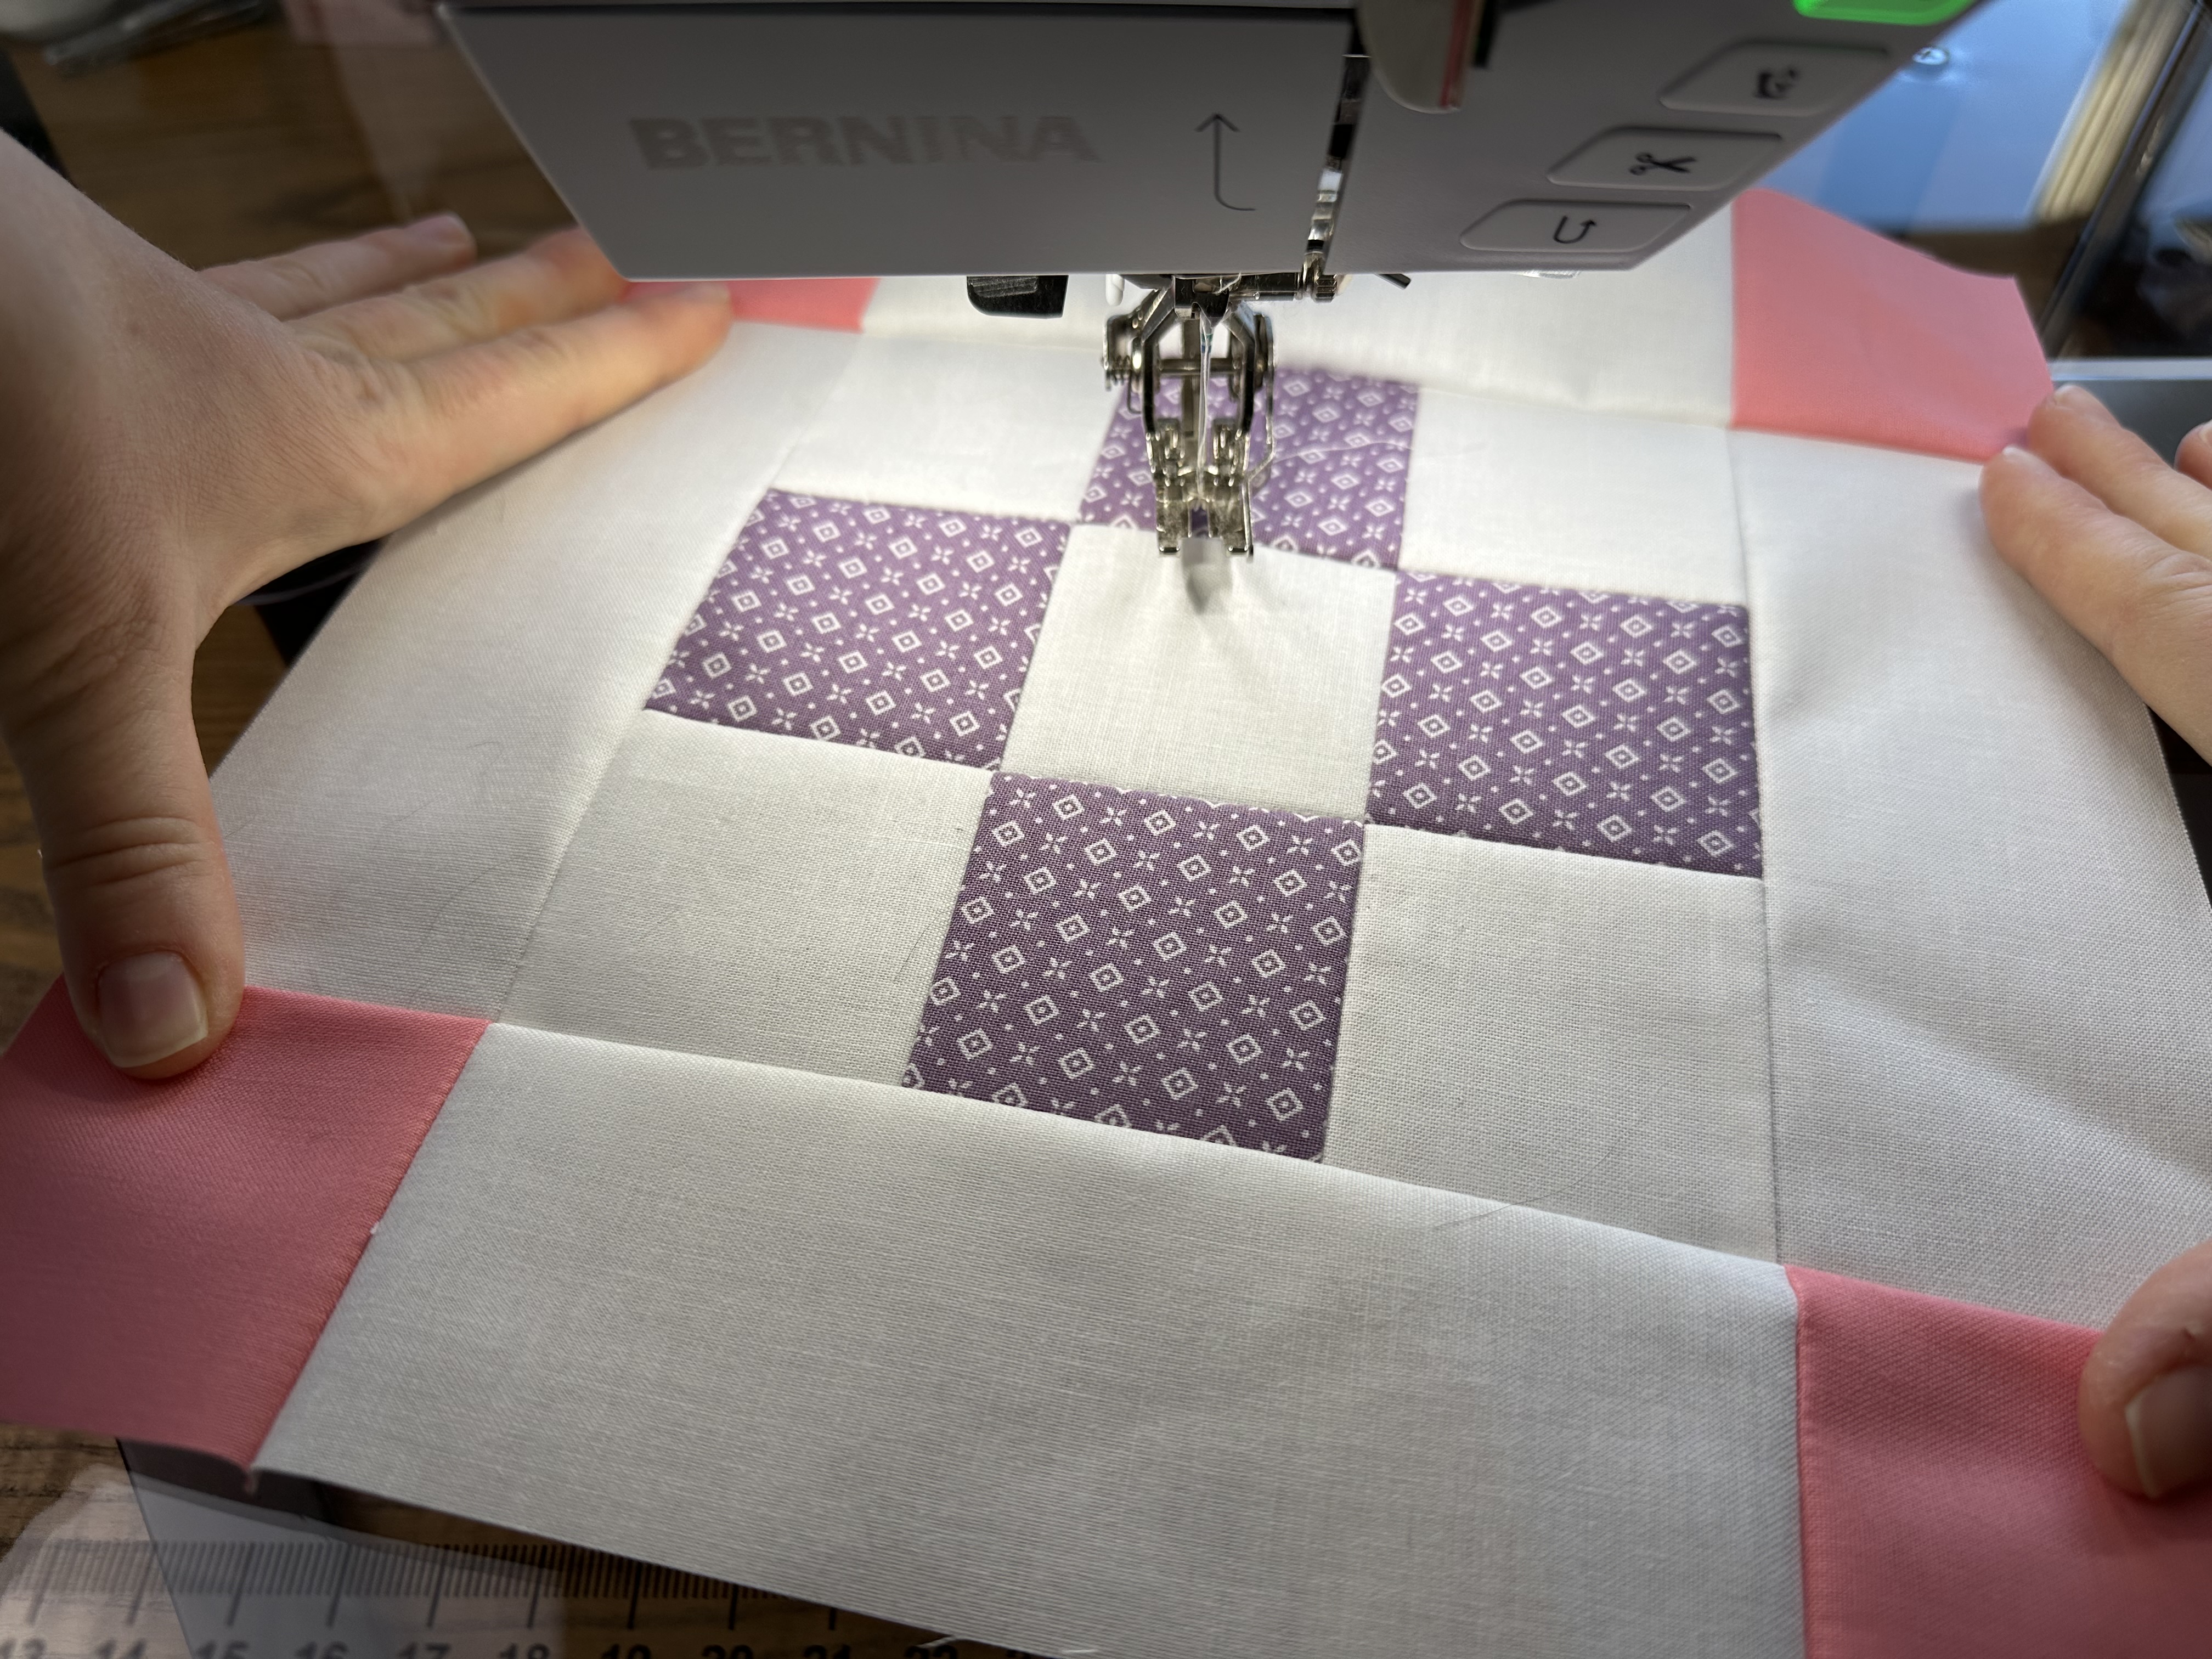
Now it’s time to sew the rows together. Take one top/bottom row and one middle row. Turn them sideways as shown in the picture below so that you can sew the long seam.
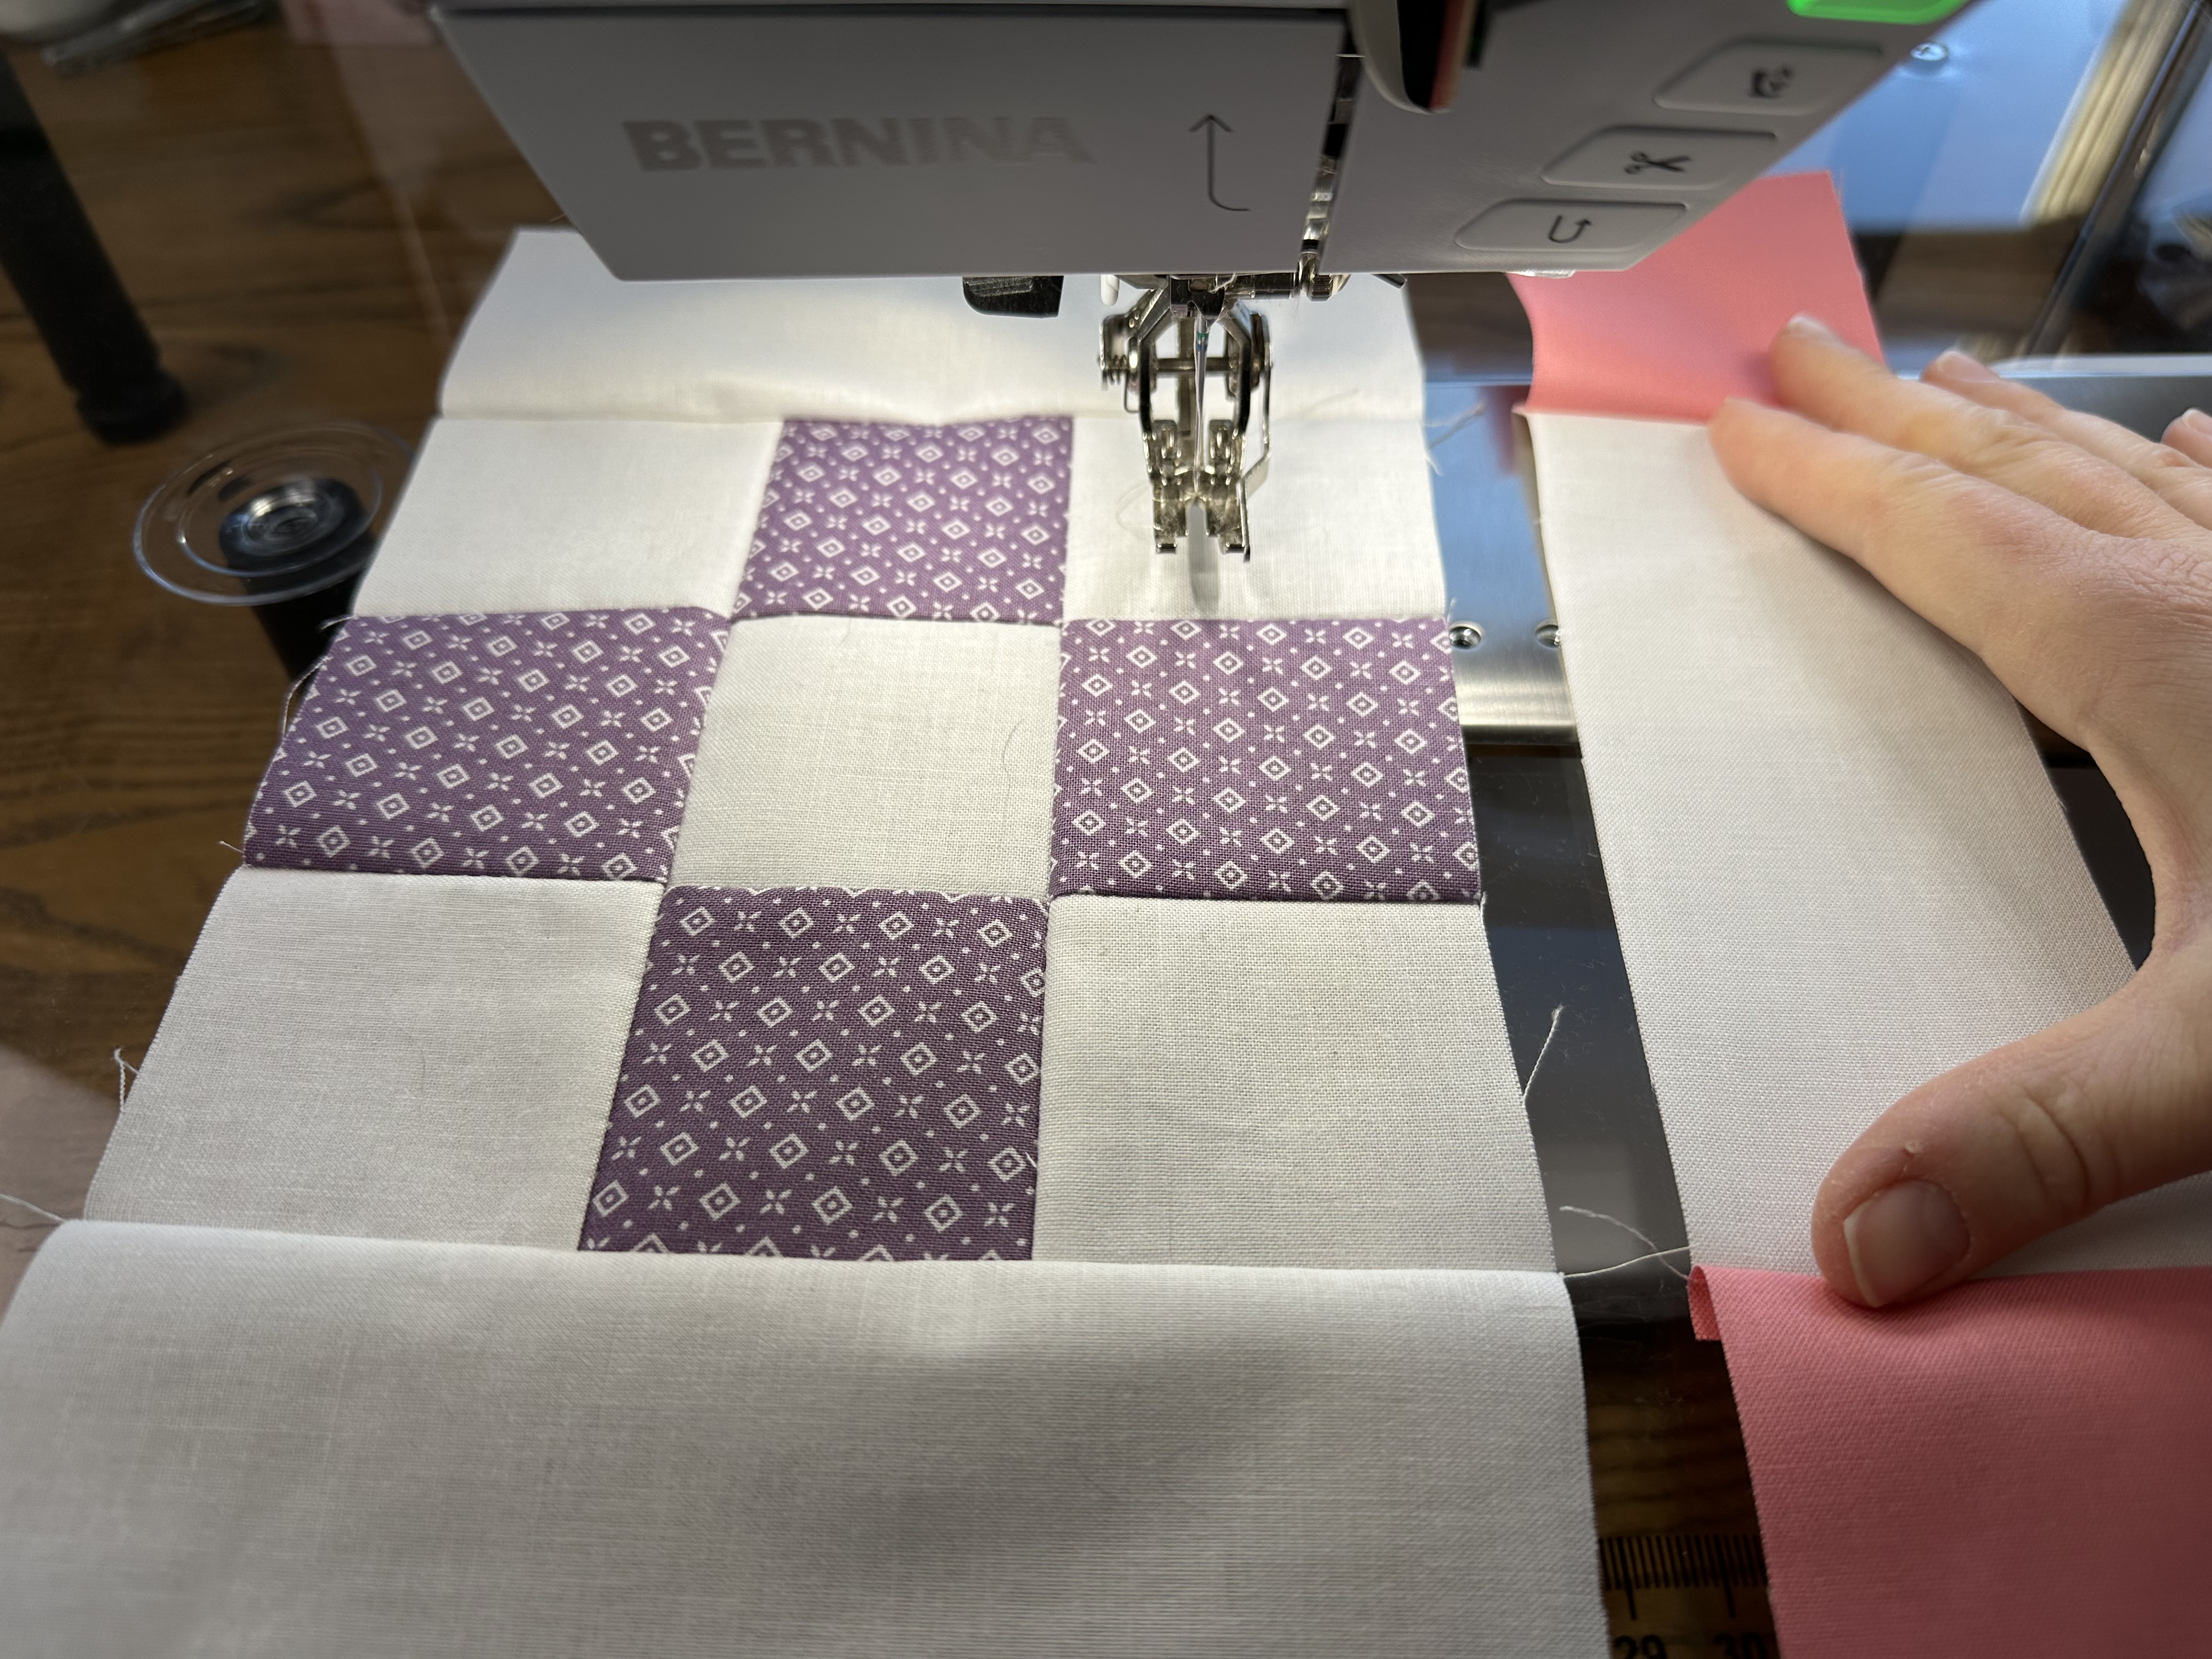
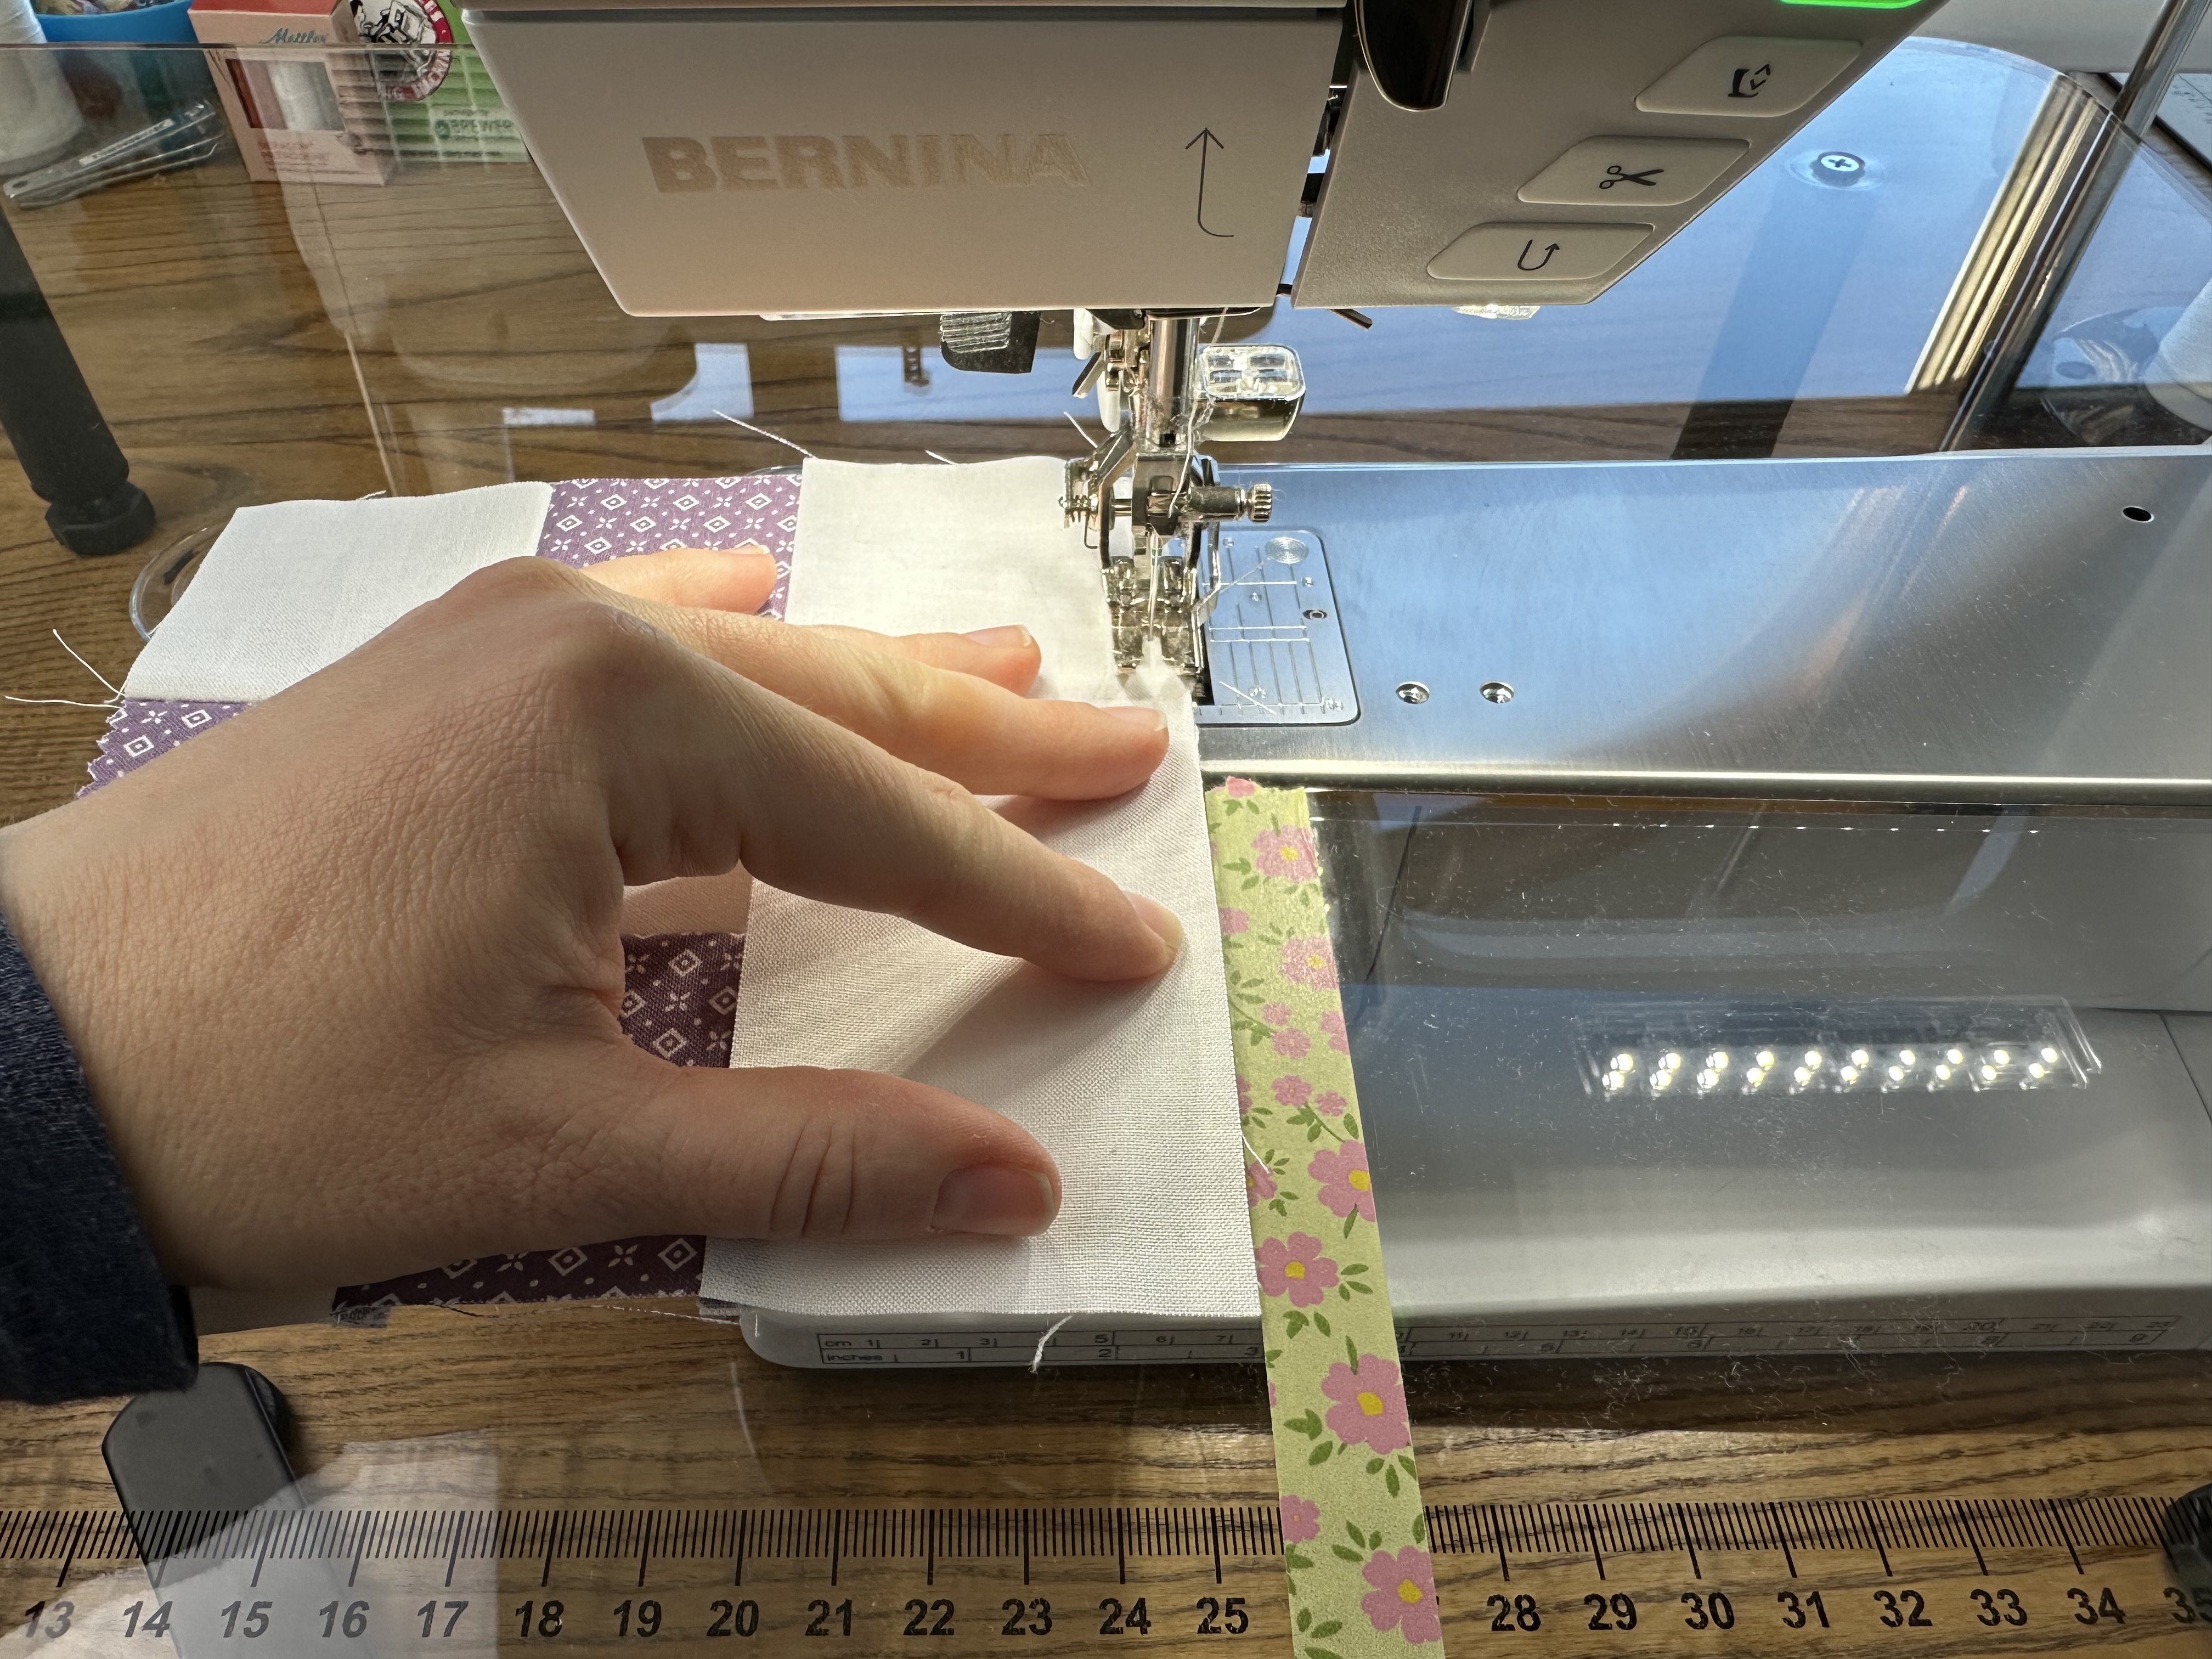
Place the middle row on top of the top/bottom row, right sides together. Sew together with a 1/4″ seam allowance.

Cut the threads and open to view from the right side. Then, get the remaining top/bottom row.
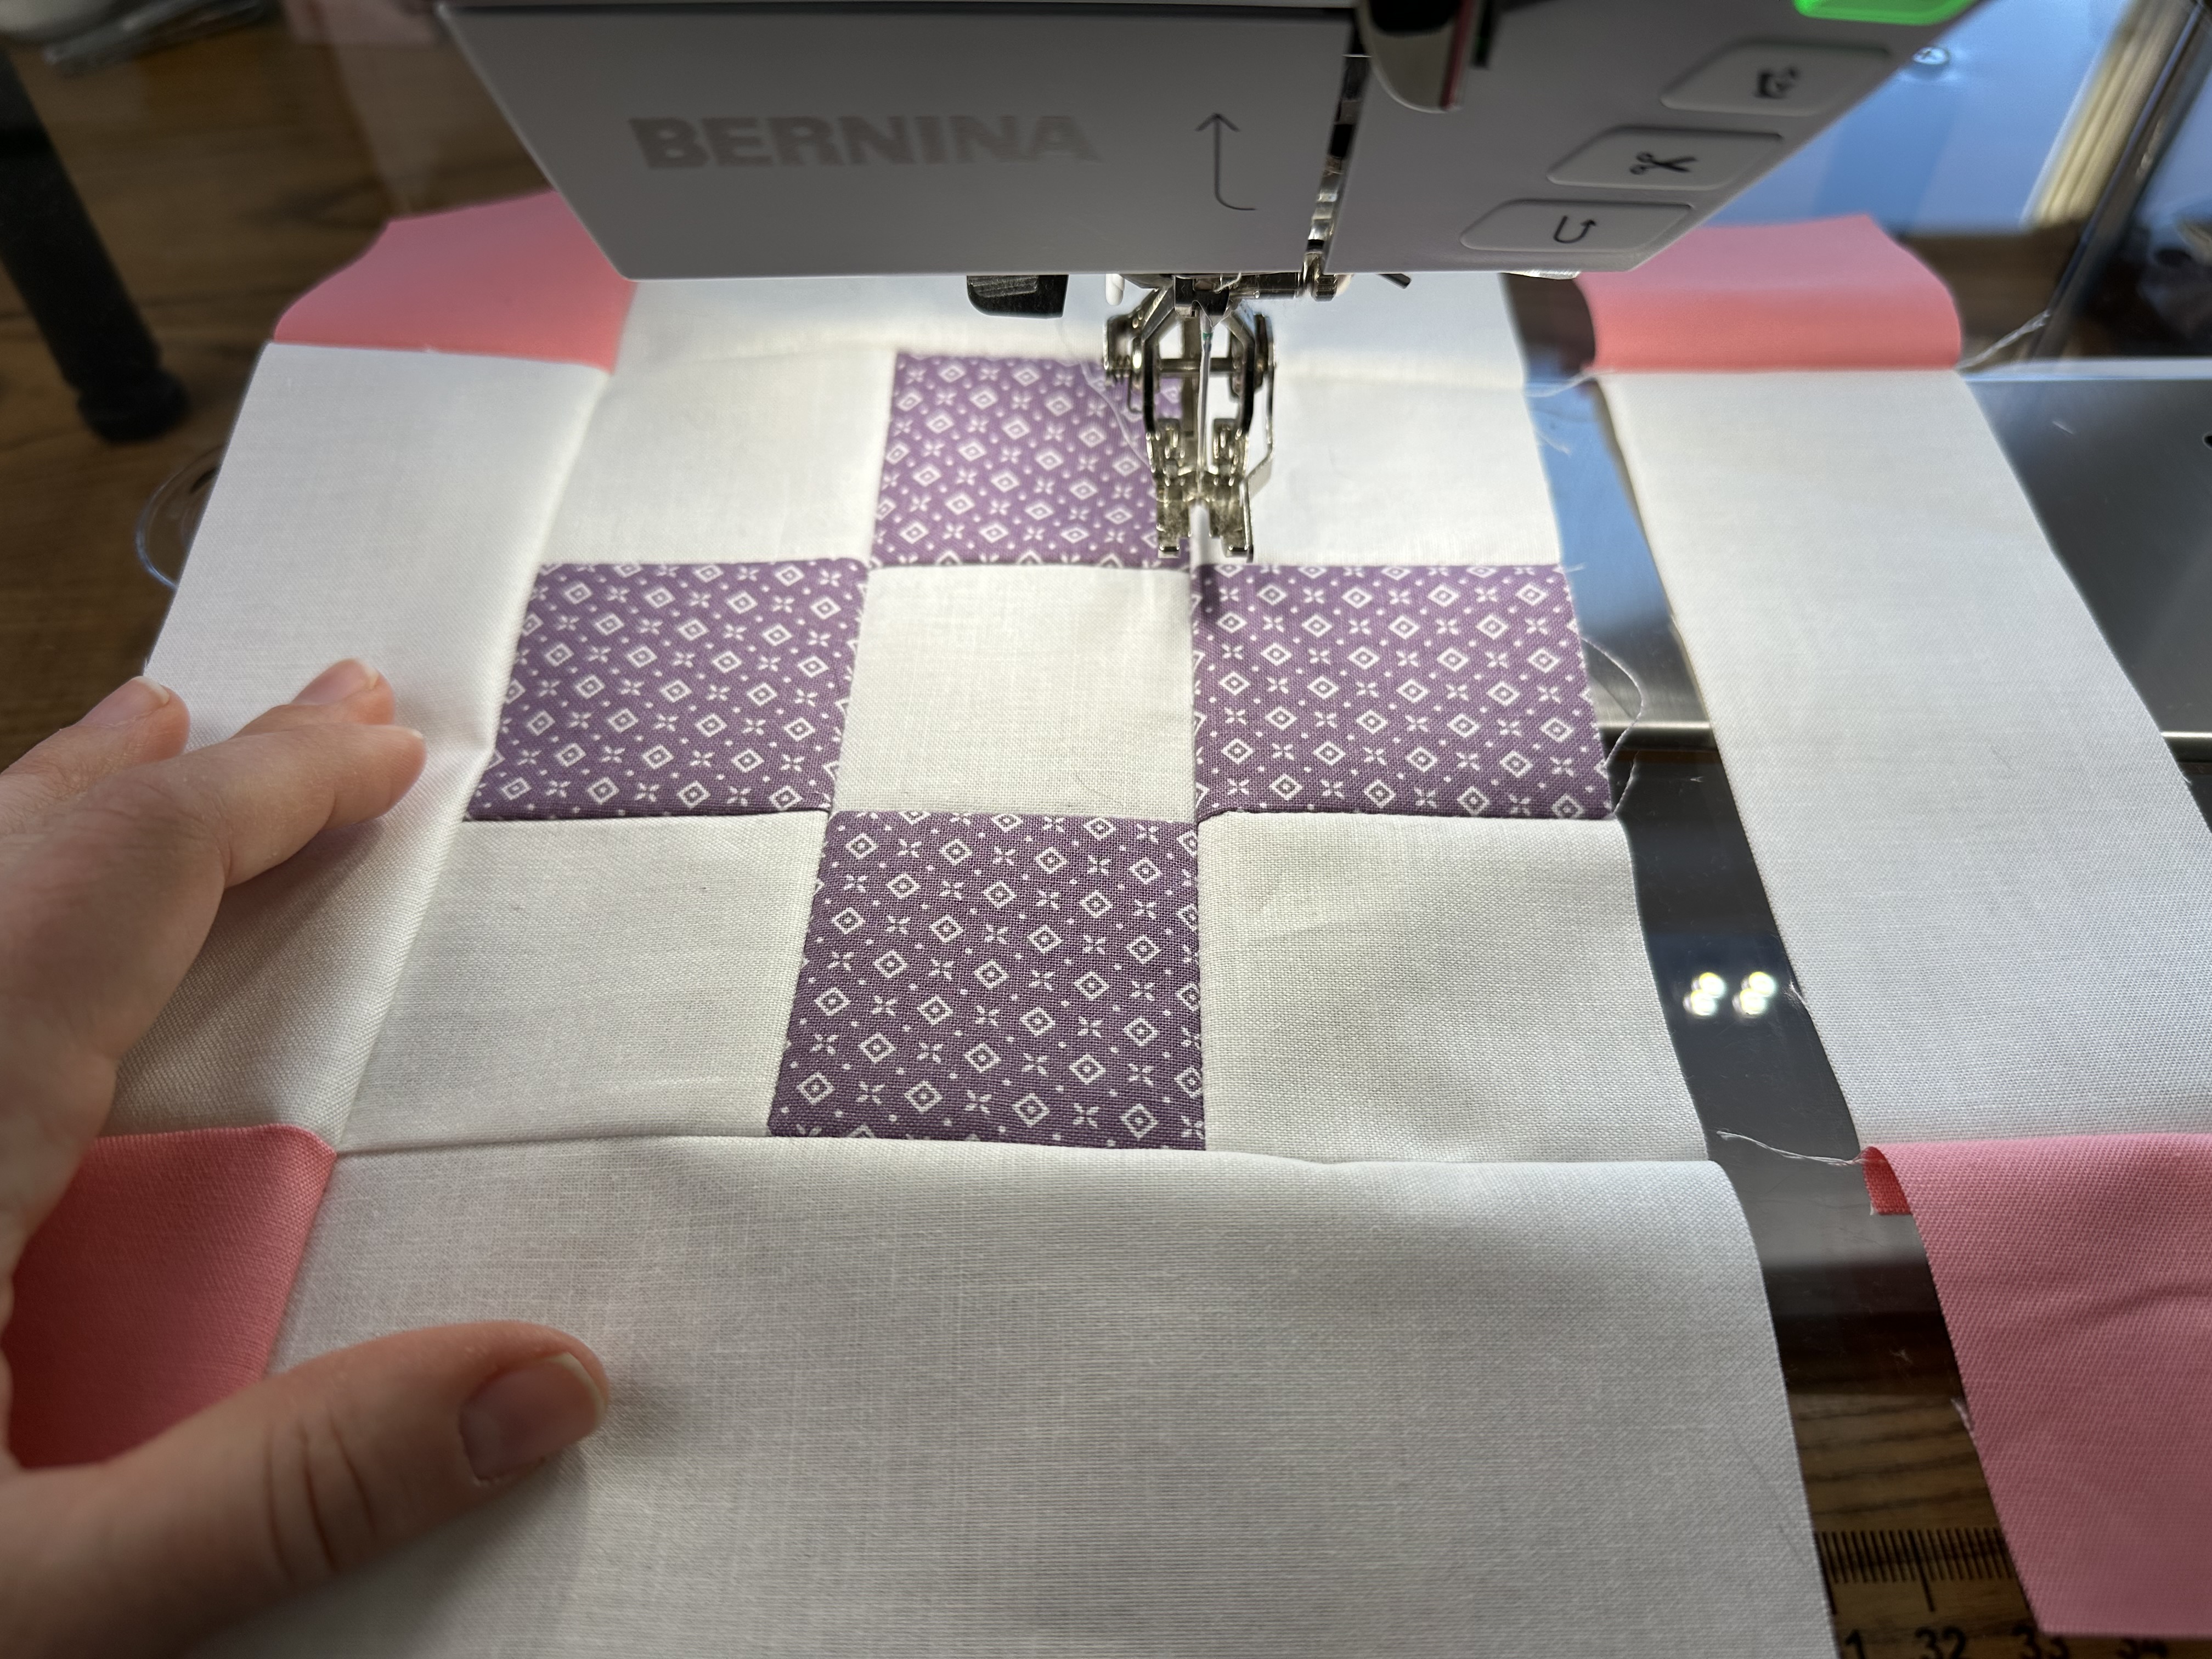
Place the top/bottom row on top of the middle row, right sides together. Sew together with a 1/4″ seam allowance.
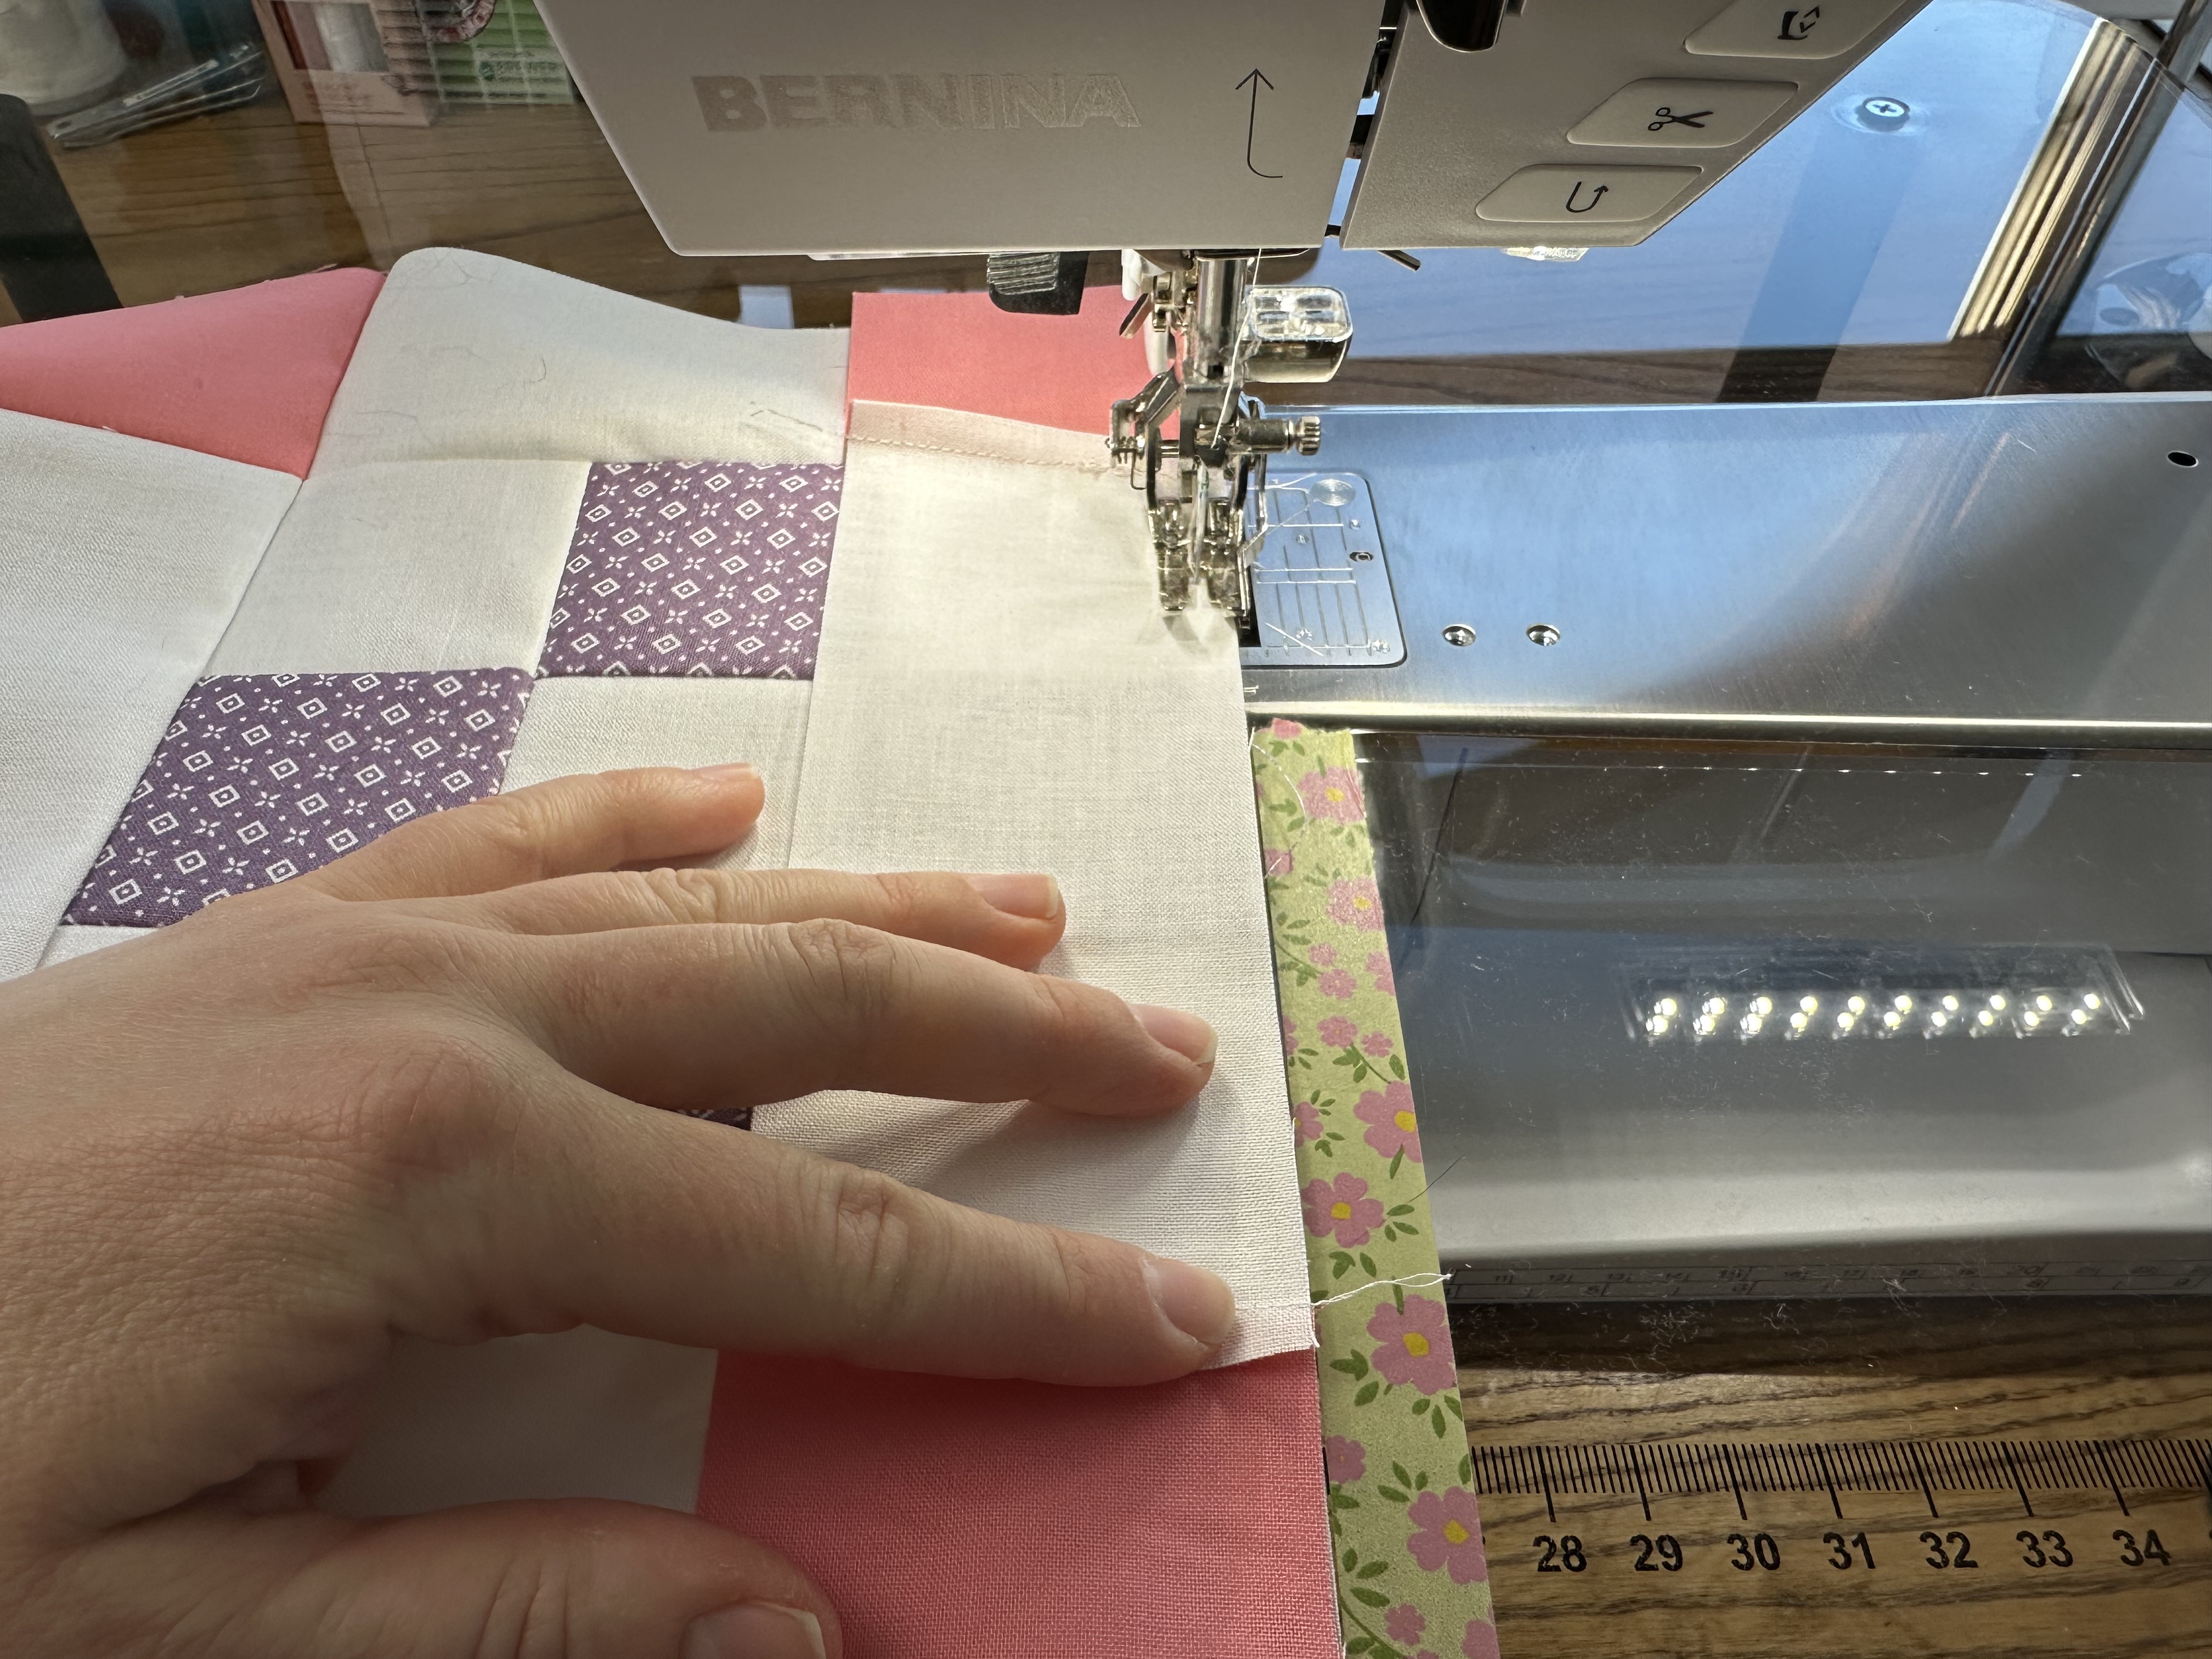
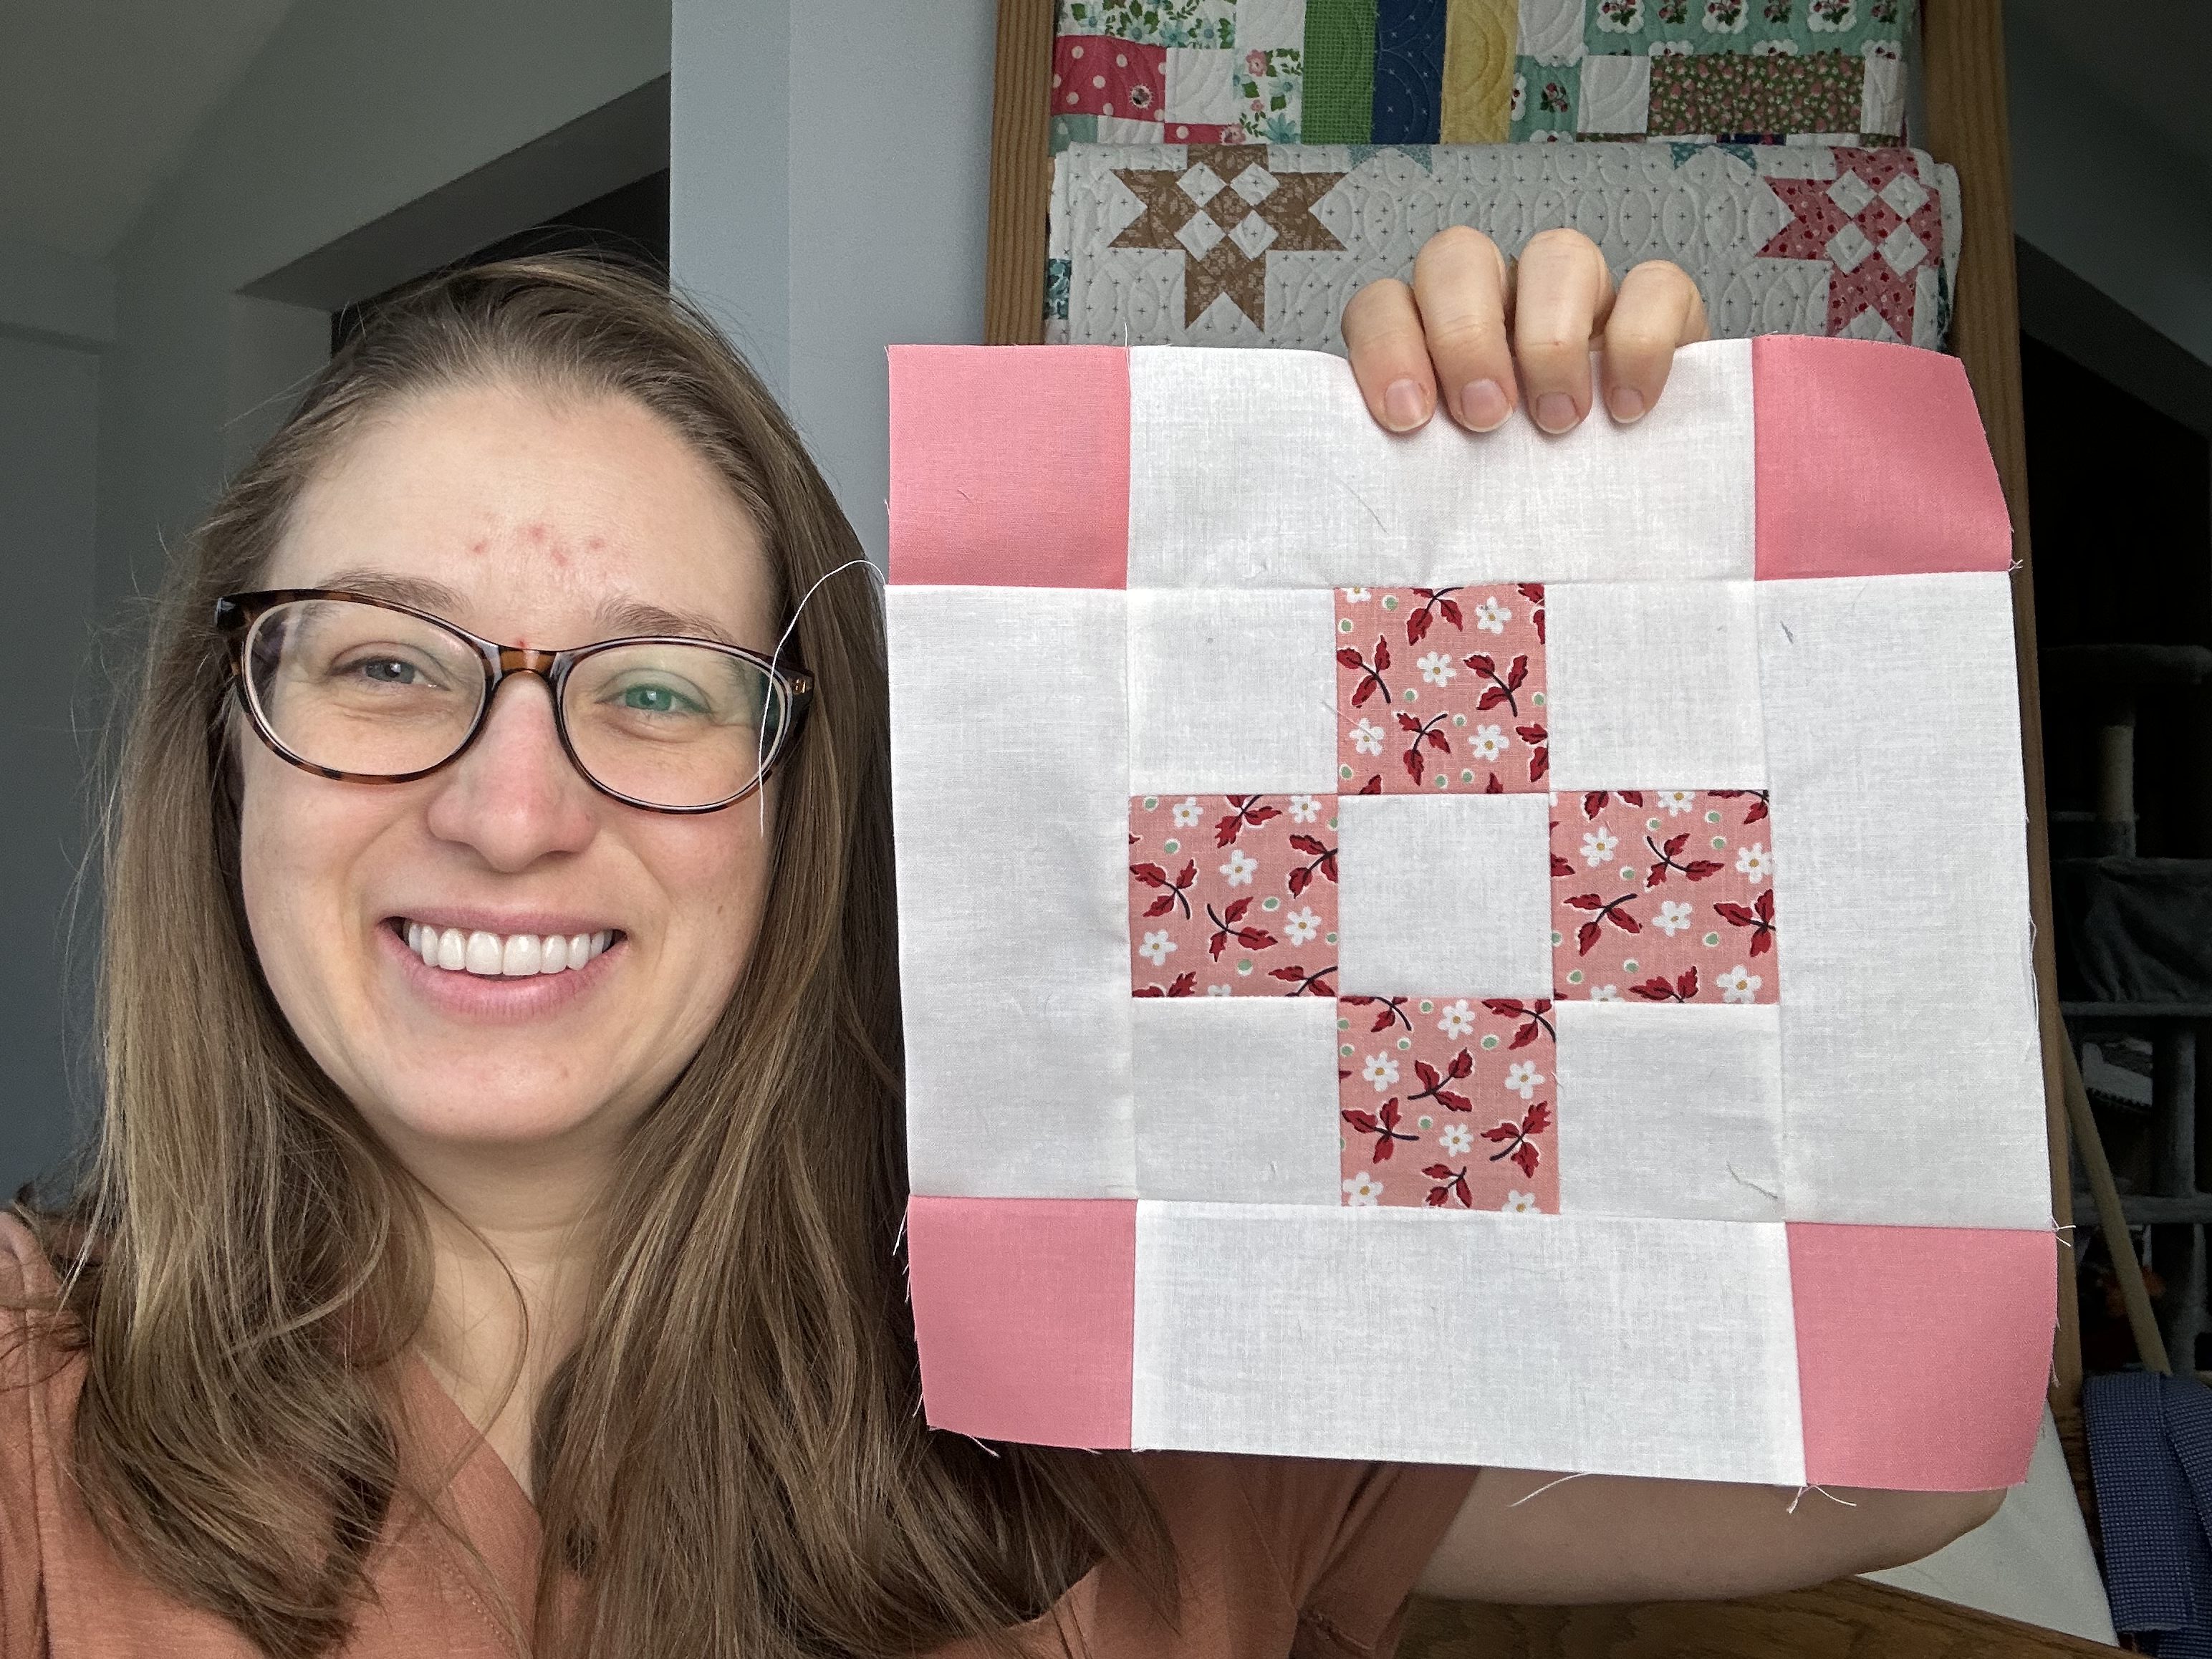
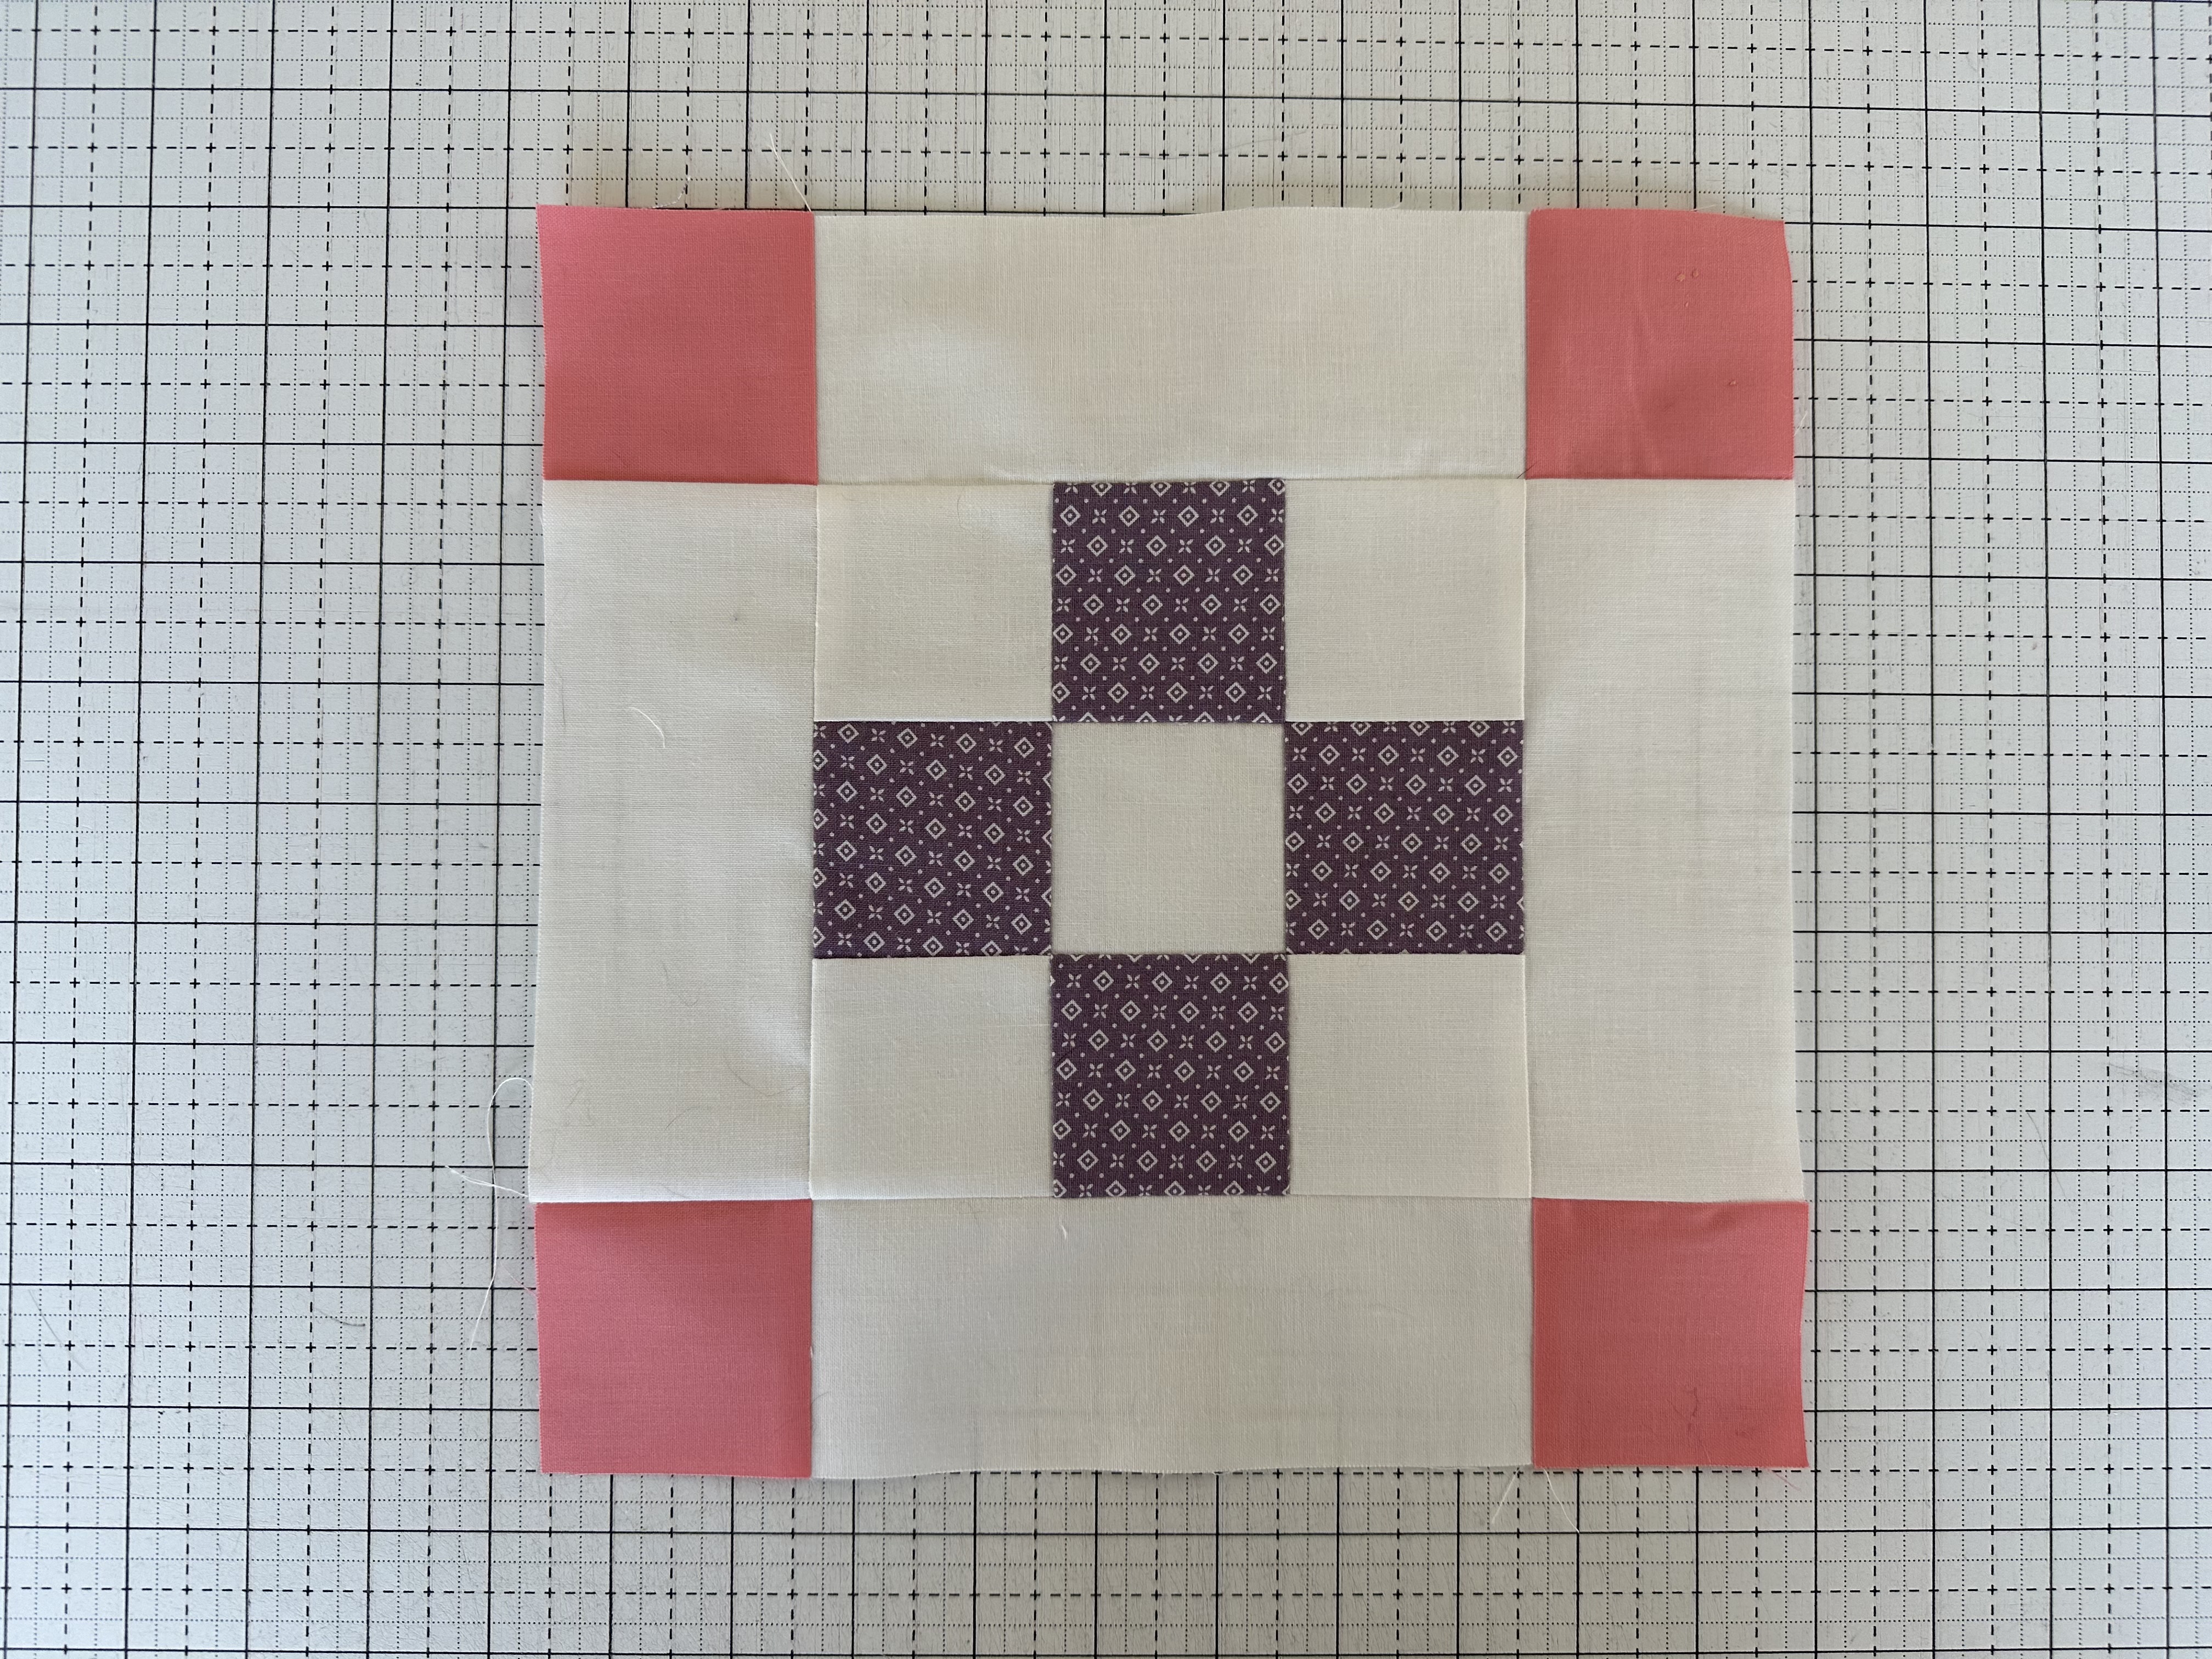
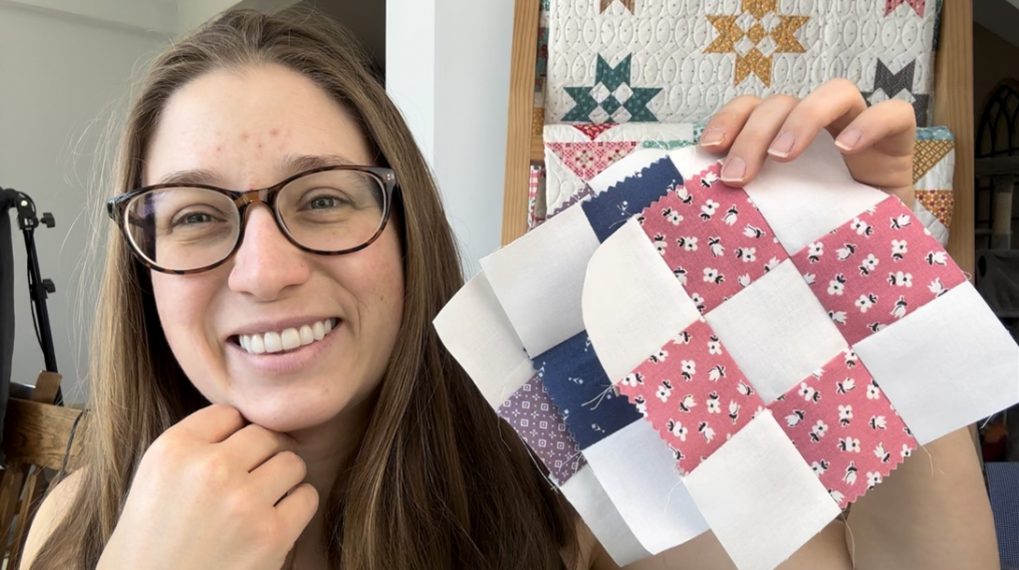
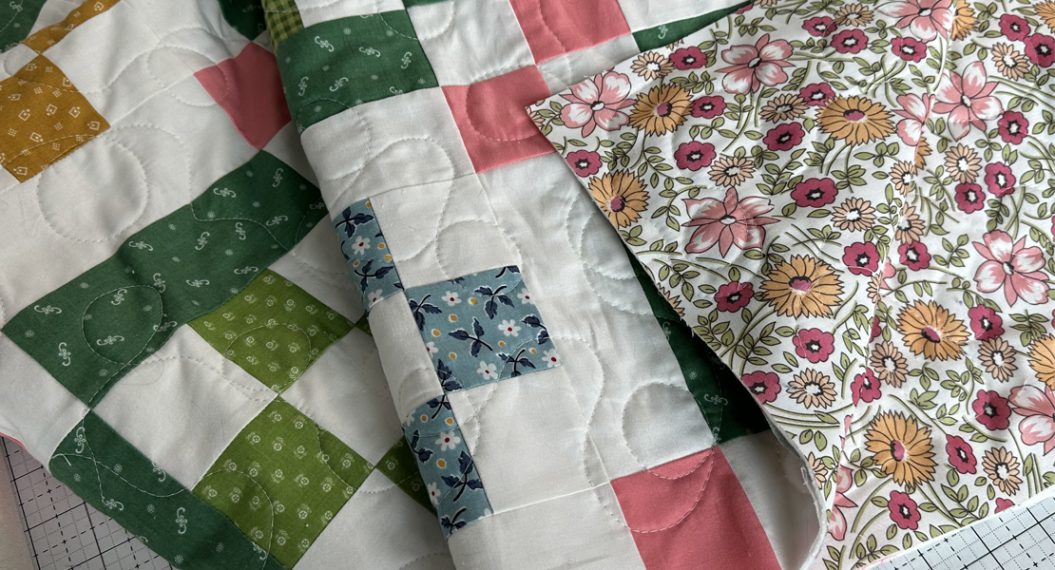
Here is what Block B looks like once you have sewn it together.
For pressing directions, please refer to the Week 6 video on my YouTube channel.
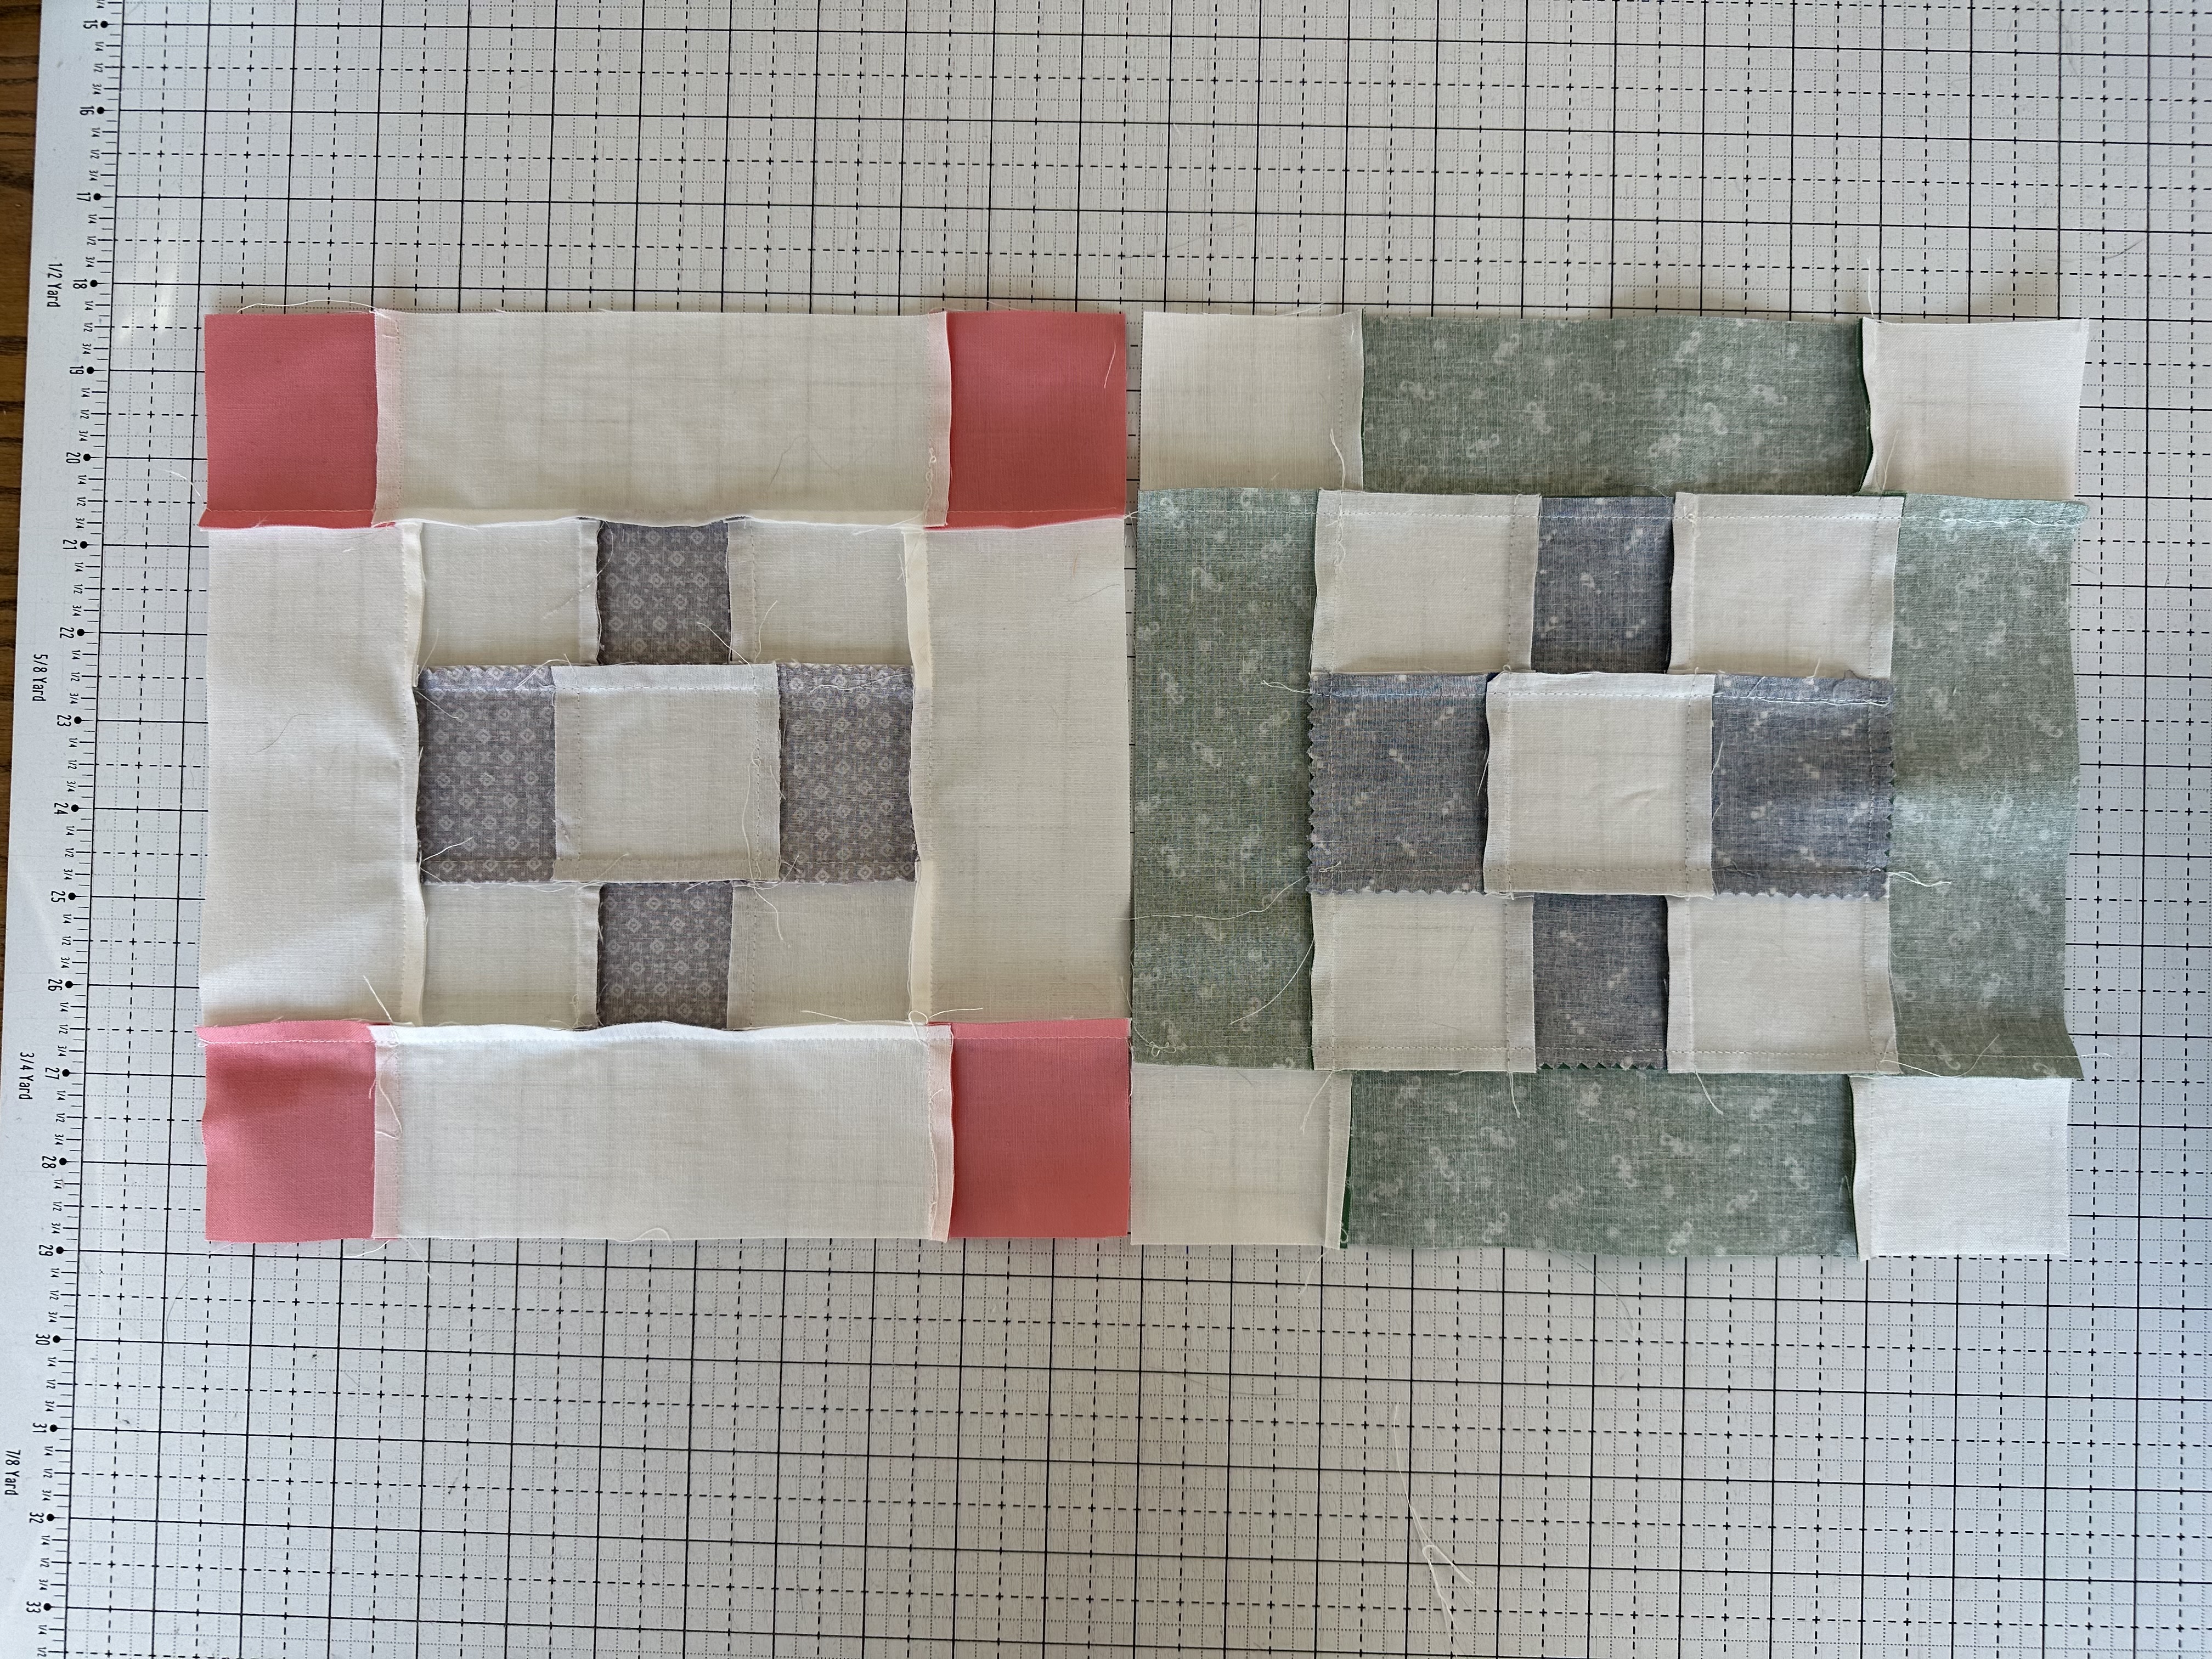
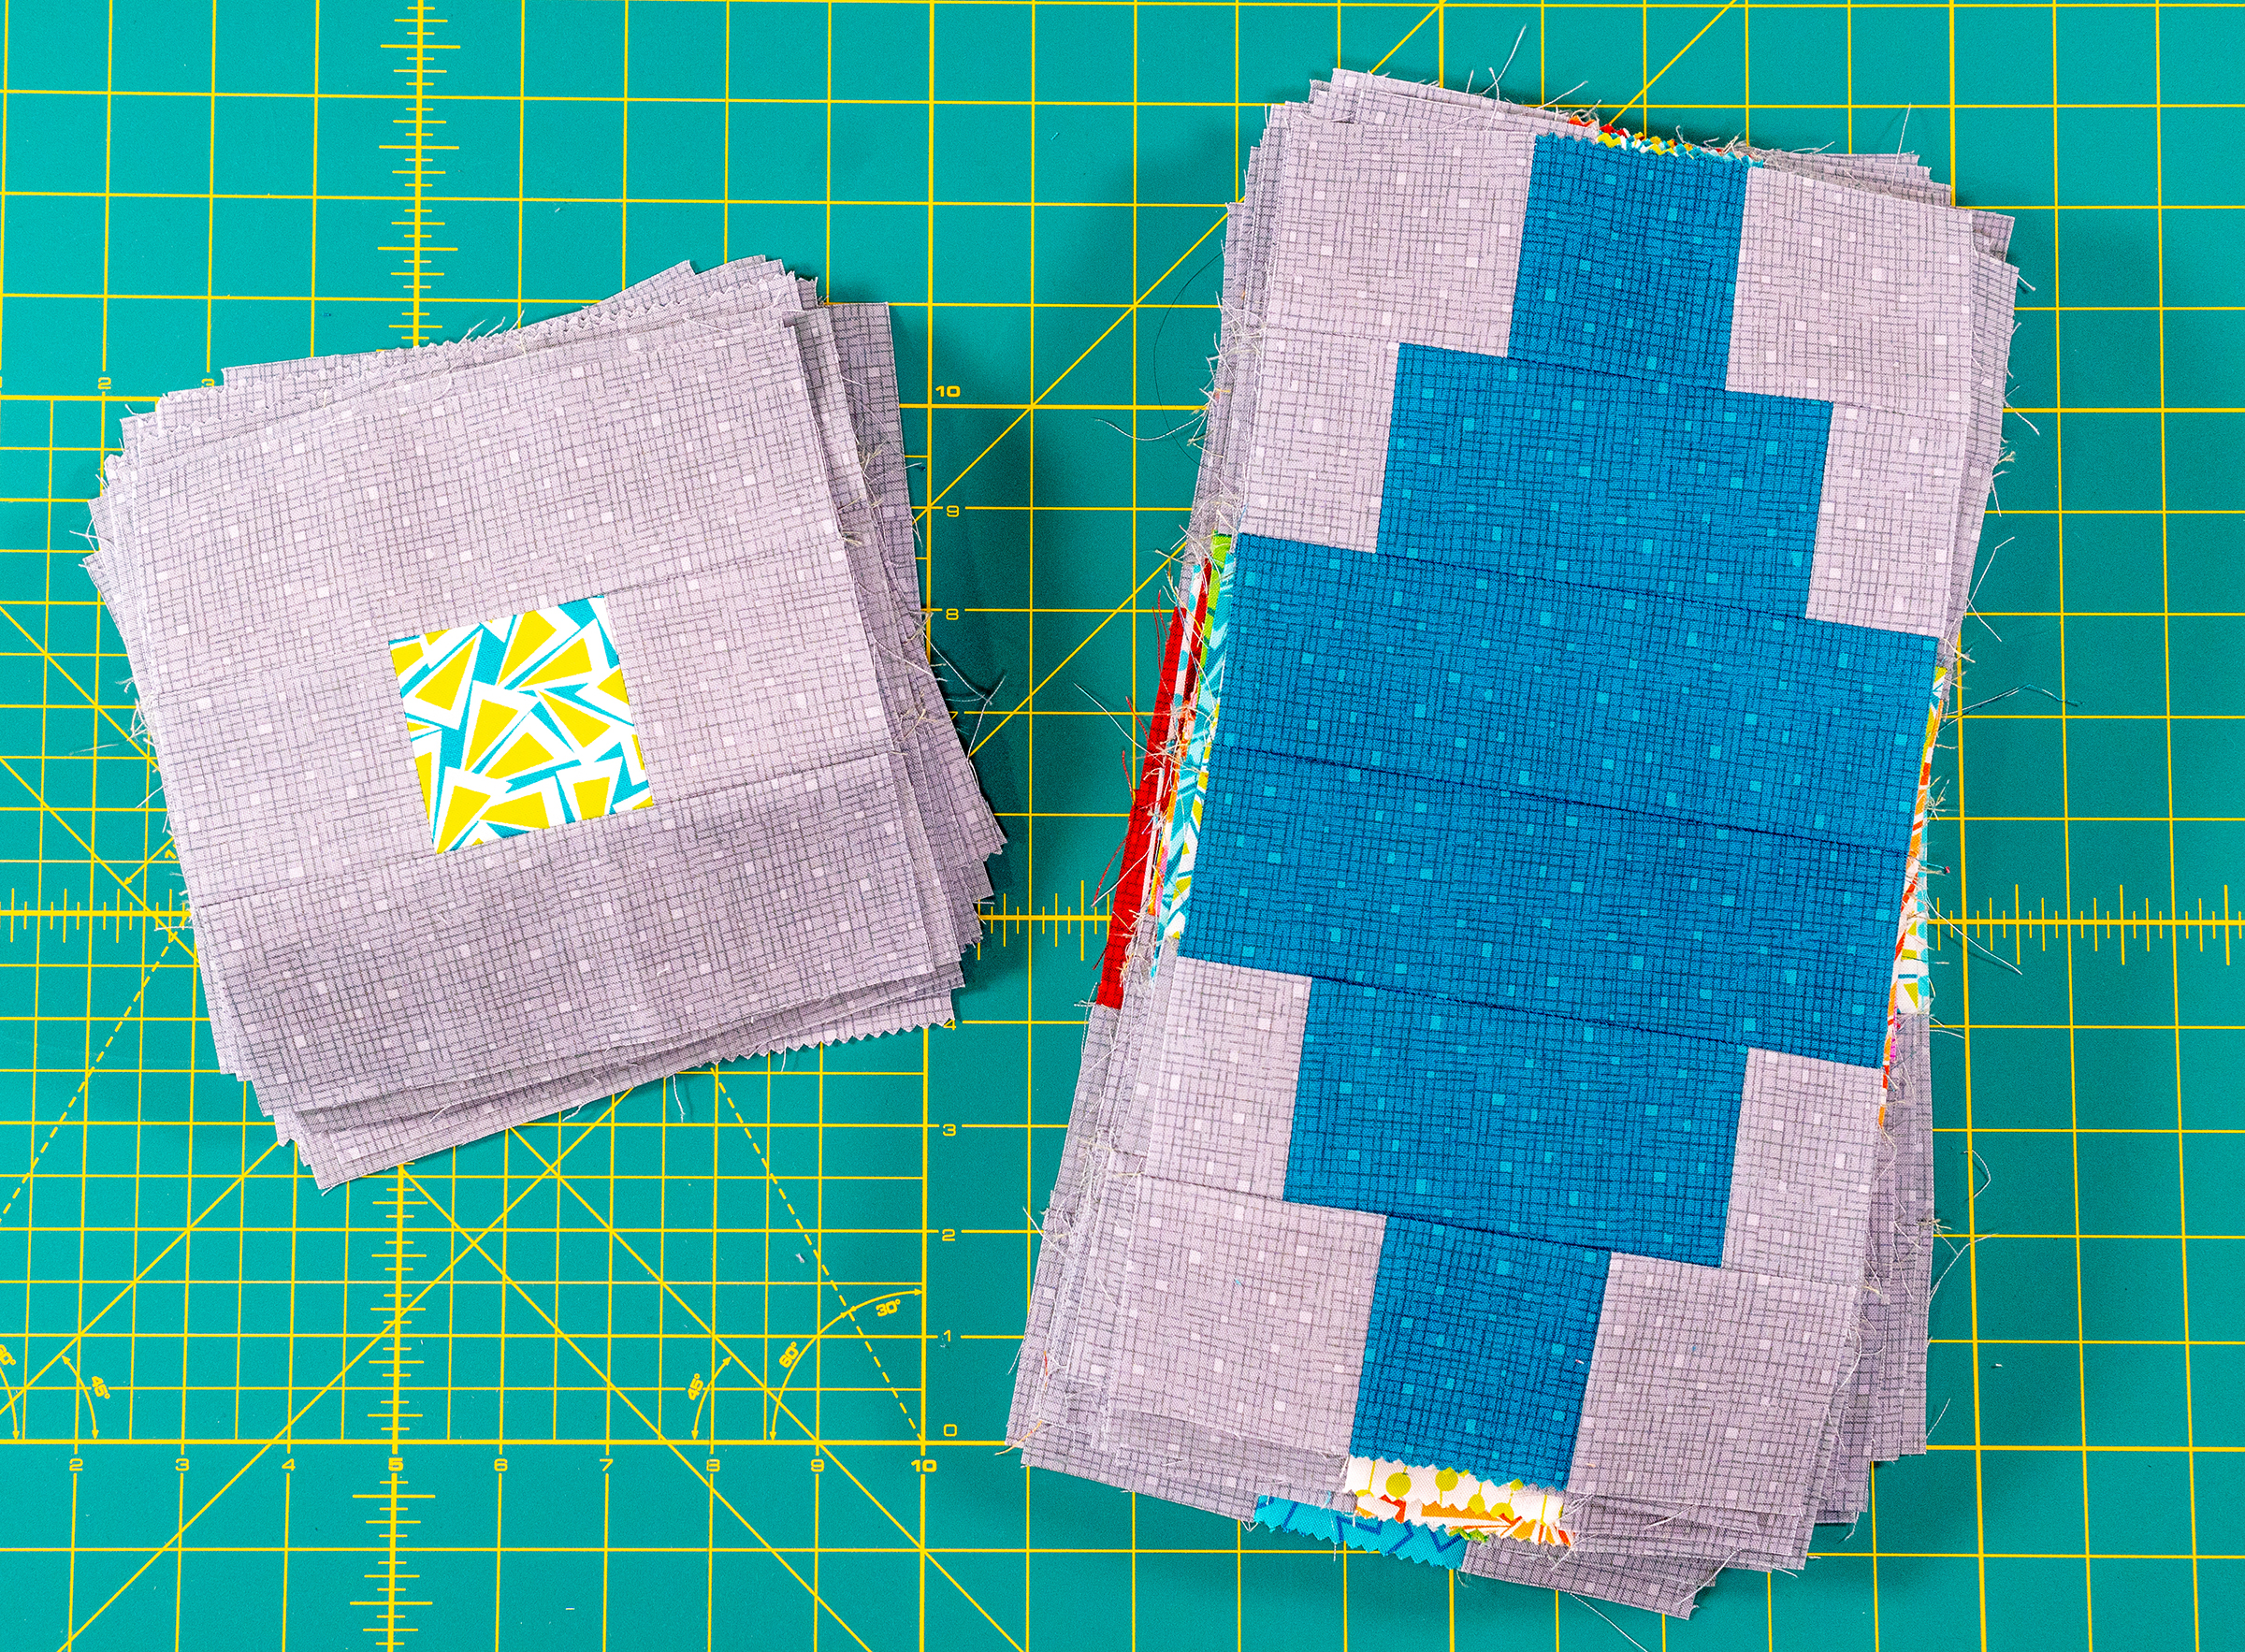
Here is the block from the back side so you can see the directions of the seams.

Here is a comparison photo of the back side (seams) of Block A and Block B. If you press them as shown (and as directed in the YouTube video), the block seams will perfectly nest together when we put the quilt top together next week.
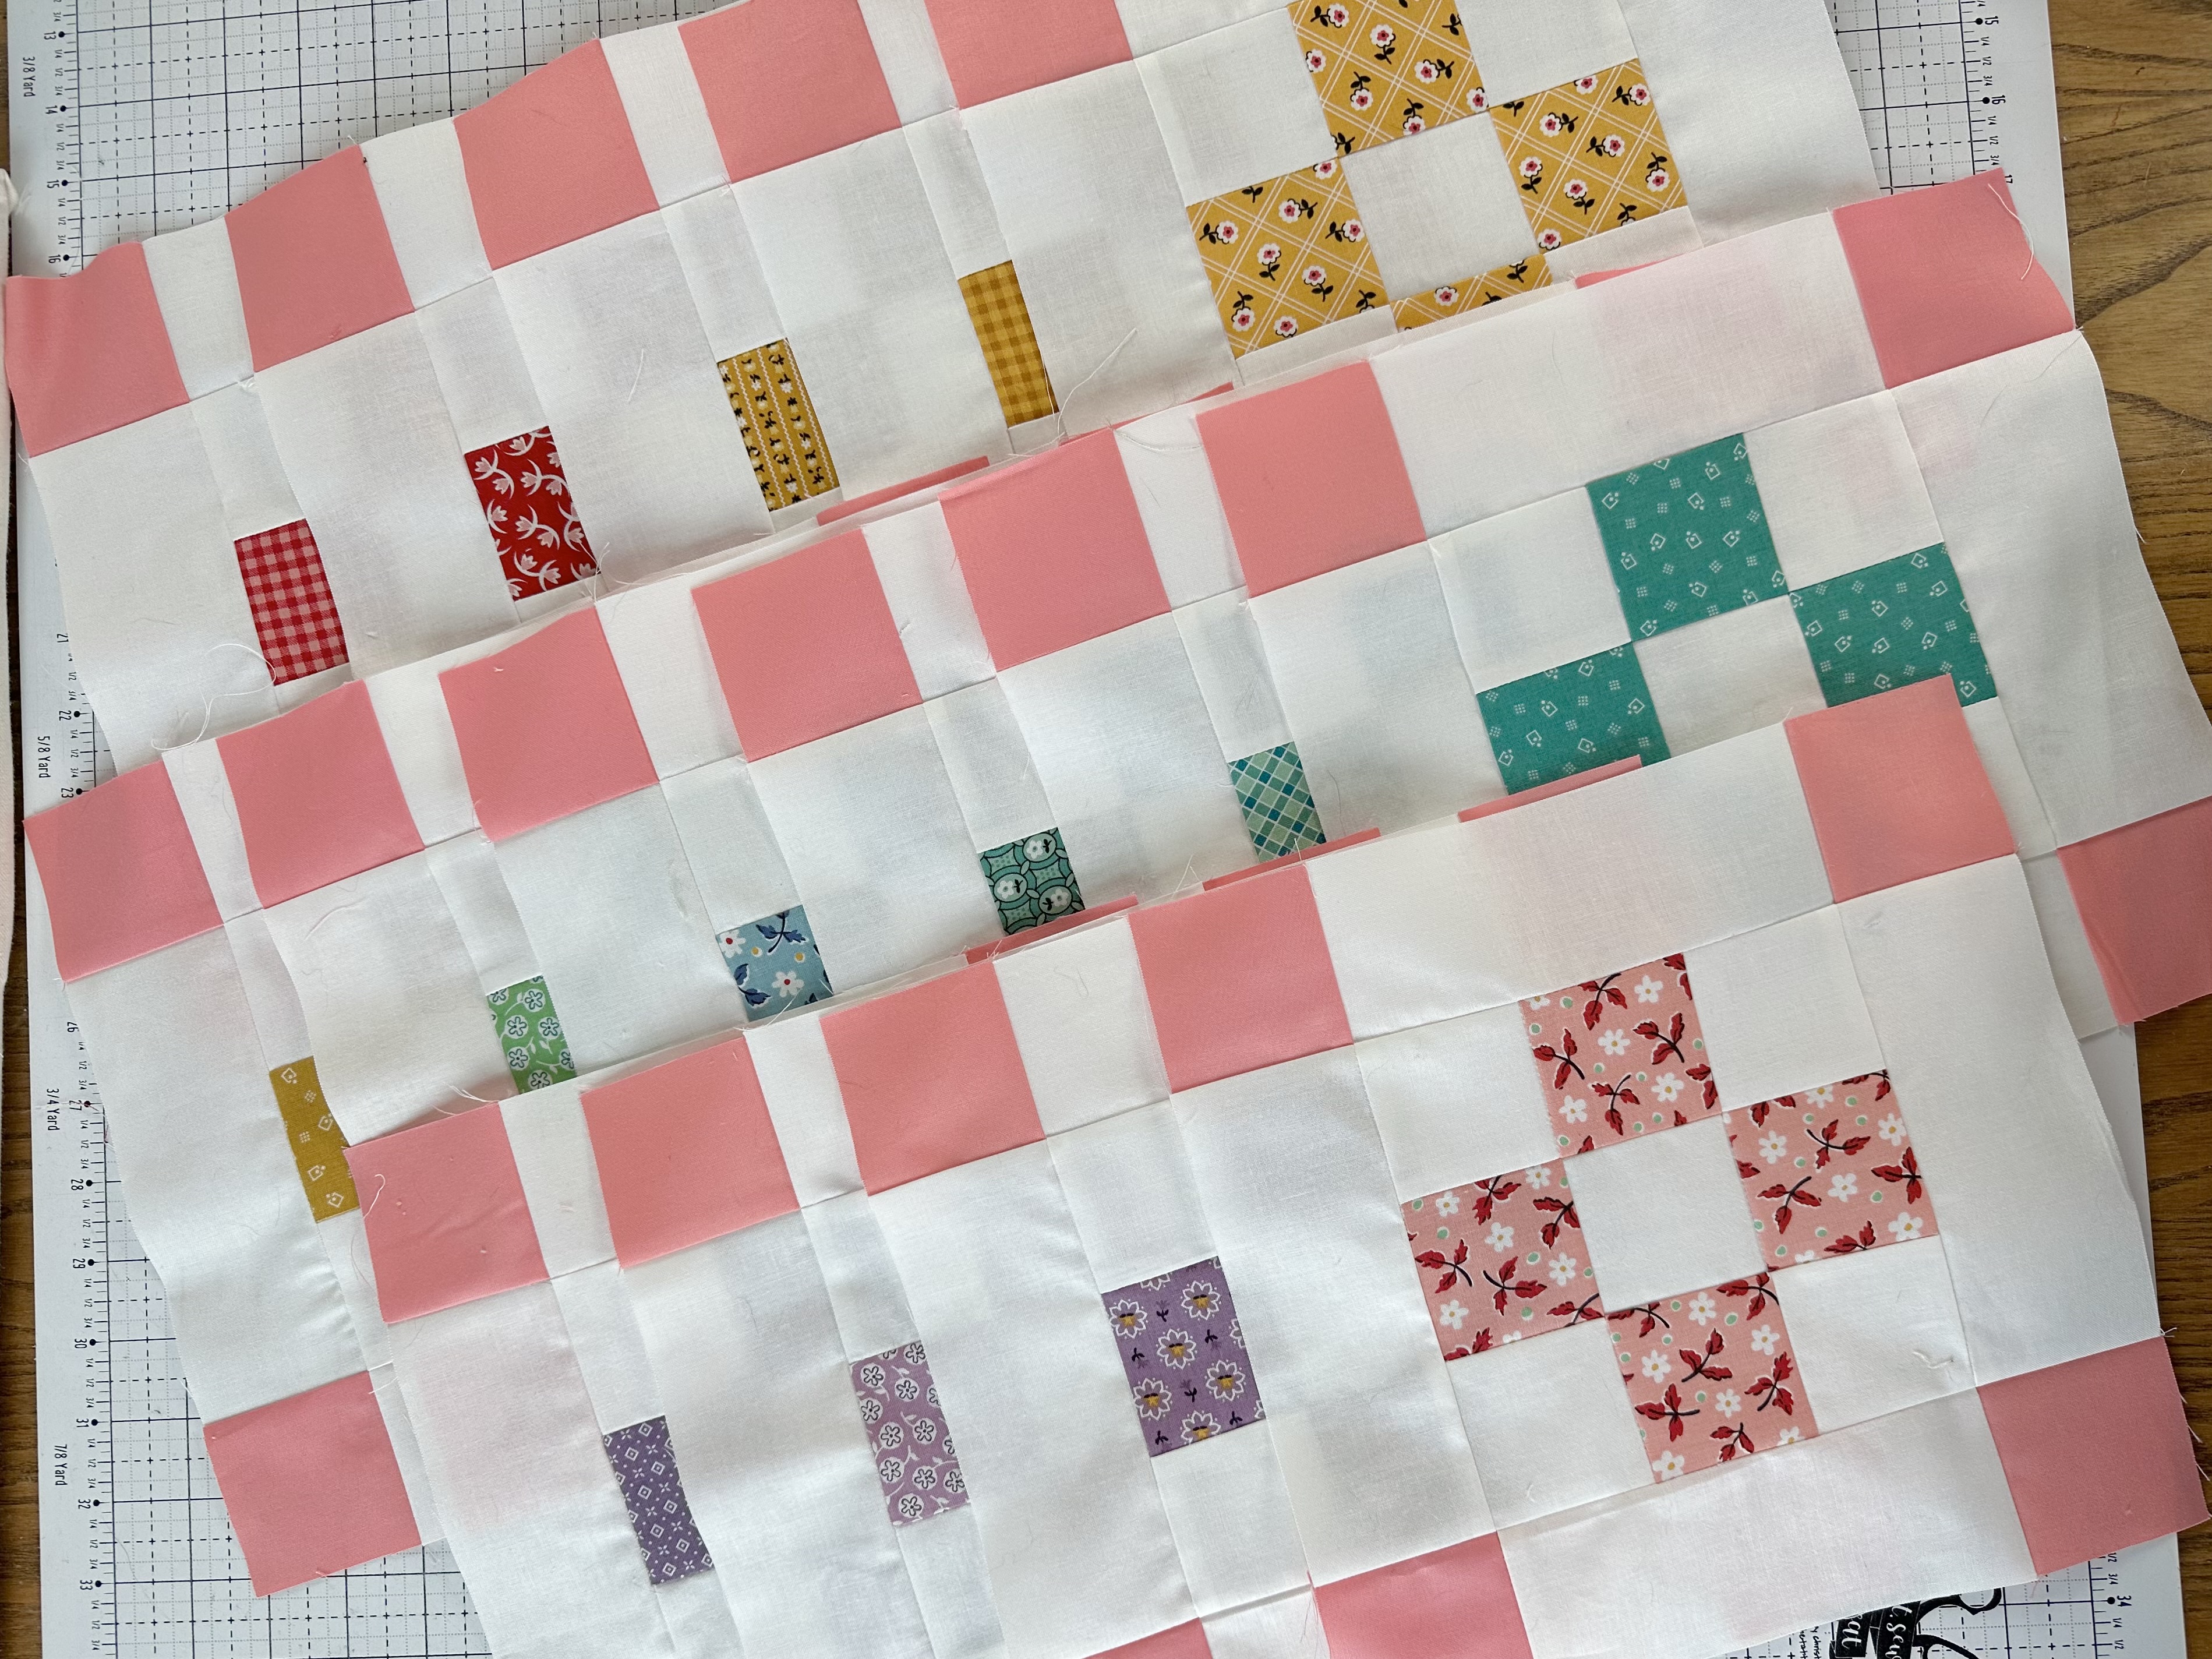
5. Repeat these Steps
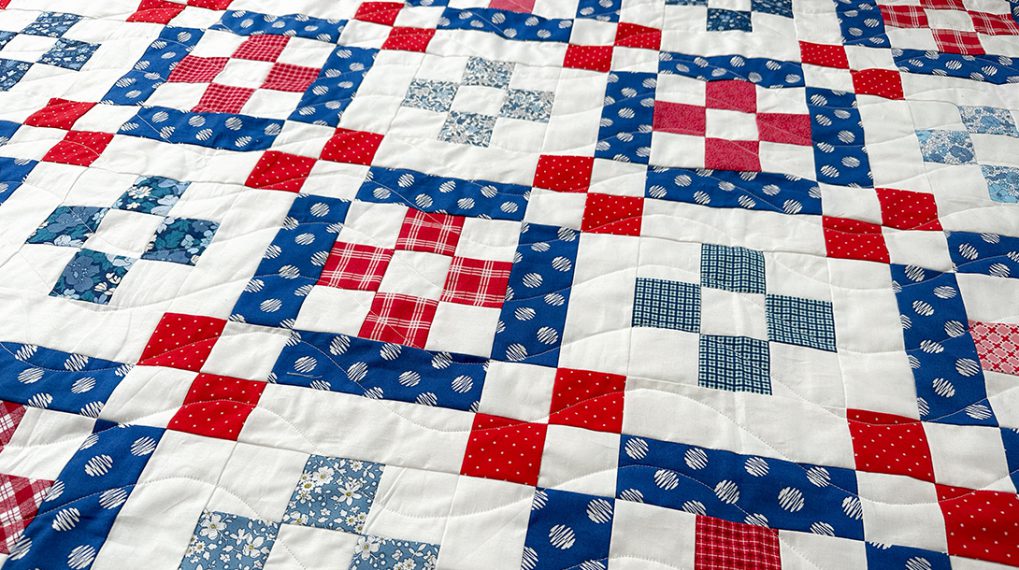
For the Nona quilt, you will need to make 15 B blocks.
Watch the Week 6 YouTube Video
Again, please watch the Week 6 YouTube video on my channel. This video coordinates with this post and I show how to make the B block for the Nona Quilt in real time. I also give tips on how to speed up the process of making 15 of them and for pressing.
Thank you for following along and I’ll see you next week!
– Jessica
Used Products

What you might also like


2 comments on “The Nona Quilt Along, Week Six: Block B”
-
-
Hi Diana! You are welcome! I am so happy that you are finding the posts and videos helpful!!
-
Leave a Reply
You must be logged in to post a comment.

I have made a couple of quilts of very basic design, have one in the quilting stage and two more tops finished. But when I make this lovely Nona Quilt, I will be referring to these fantastic blog posts and your Instagram & YouTube videos Jessica, so it will be like sewing and quilting along with my Expert Quilter friend! ❤️ Thanks for all these free resources, they’re awesome!!! ~Diana K.