Three Ways to Hem Knit Garments
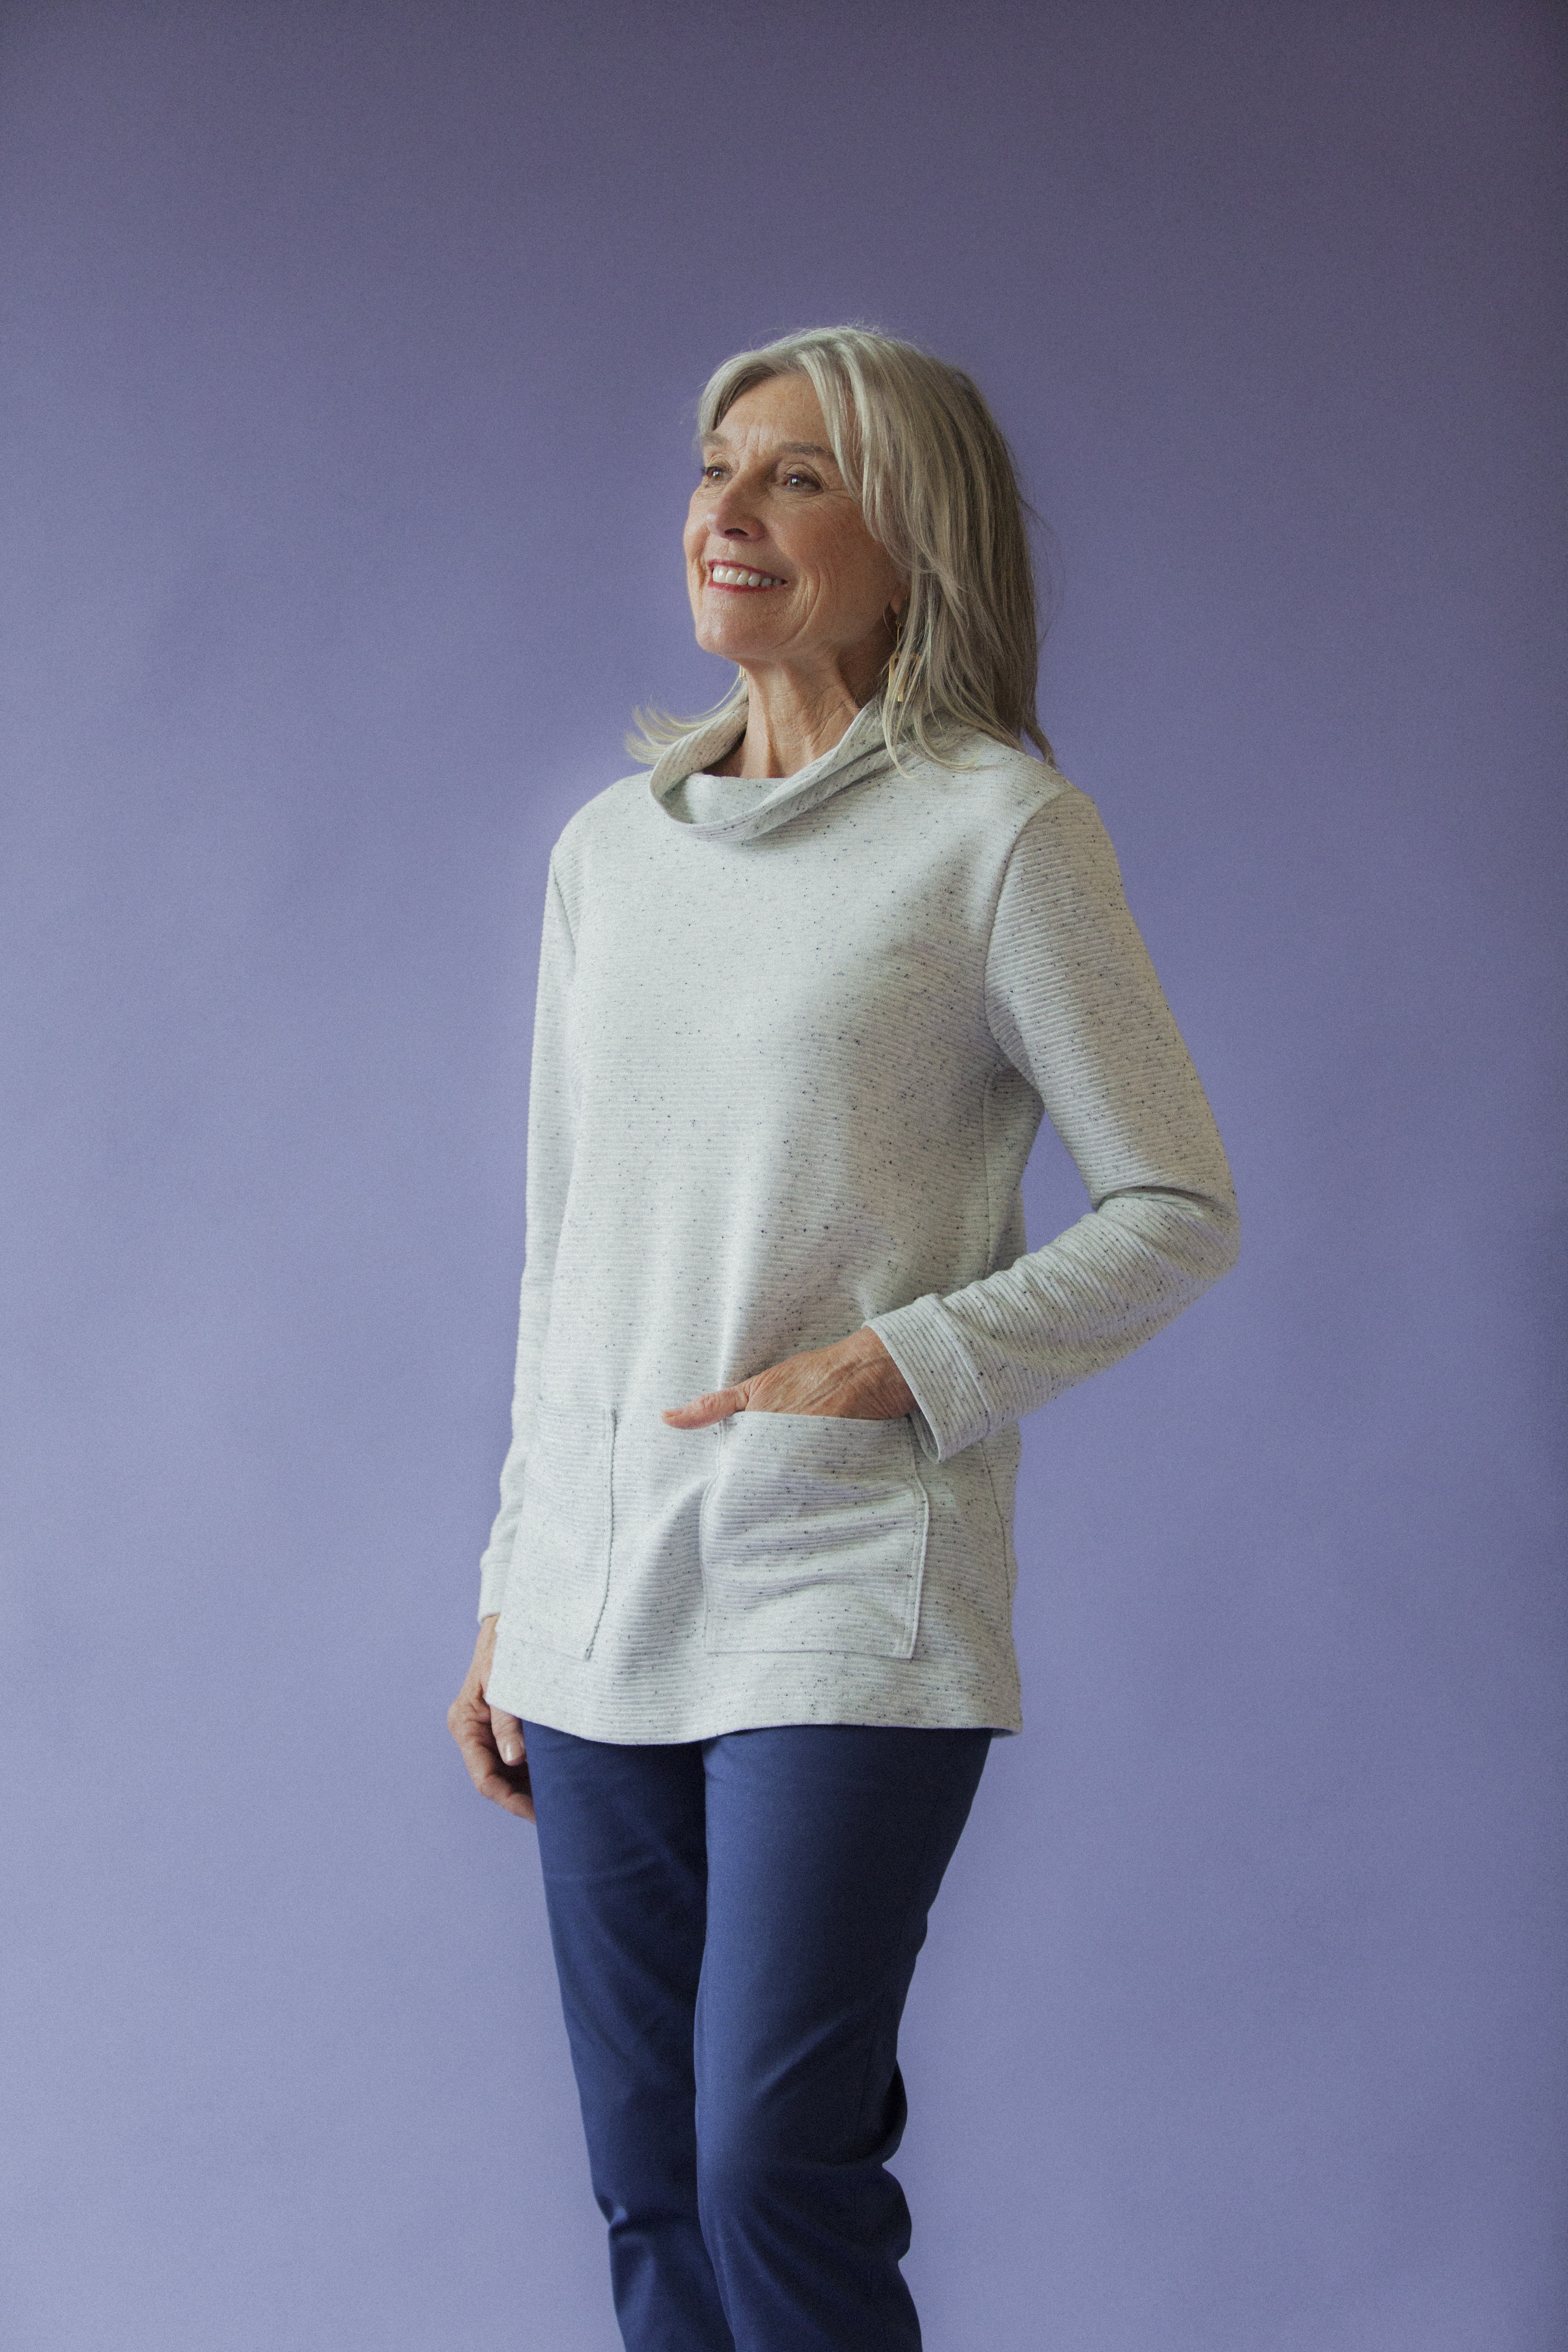
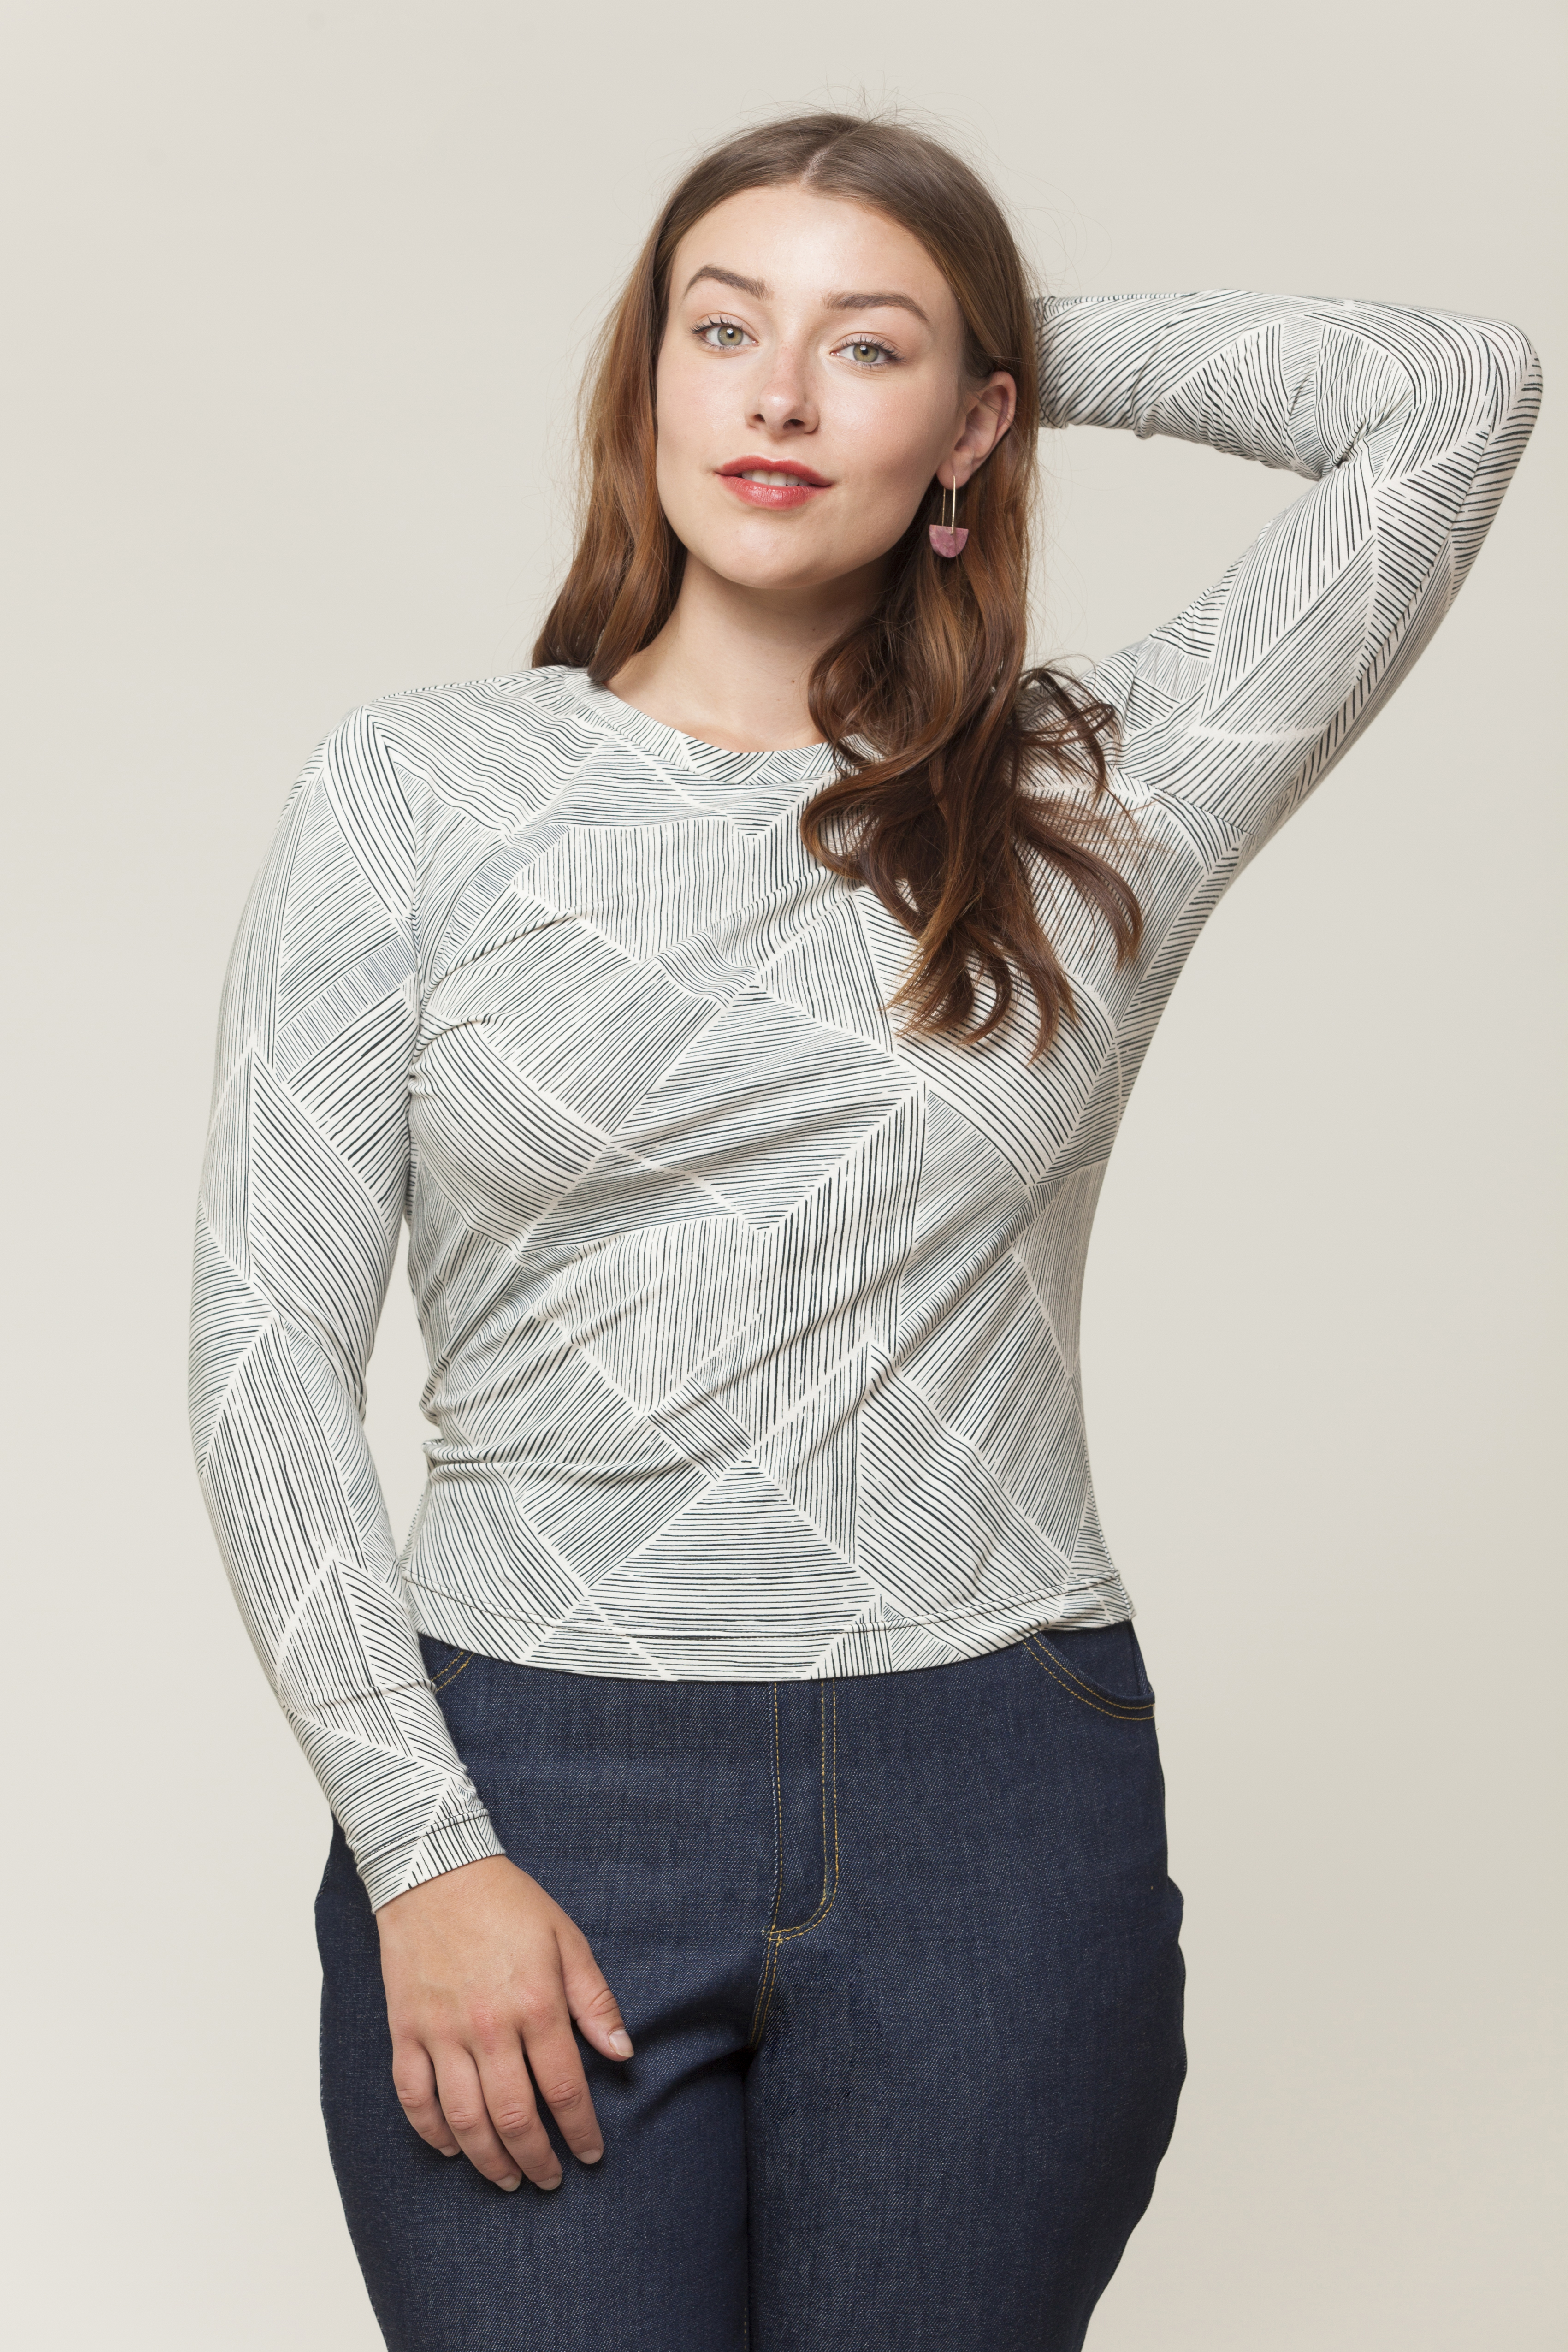
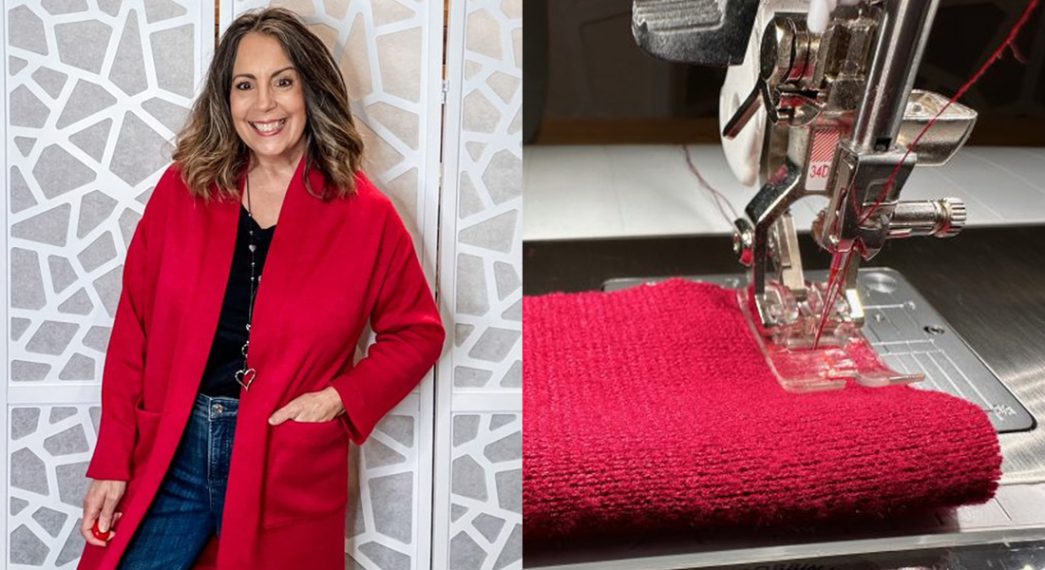
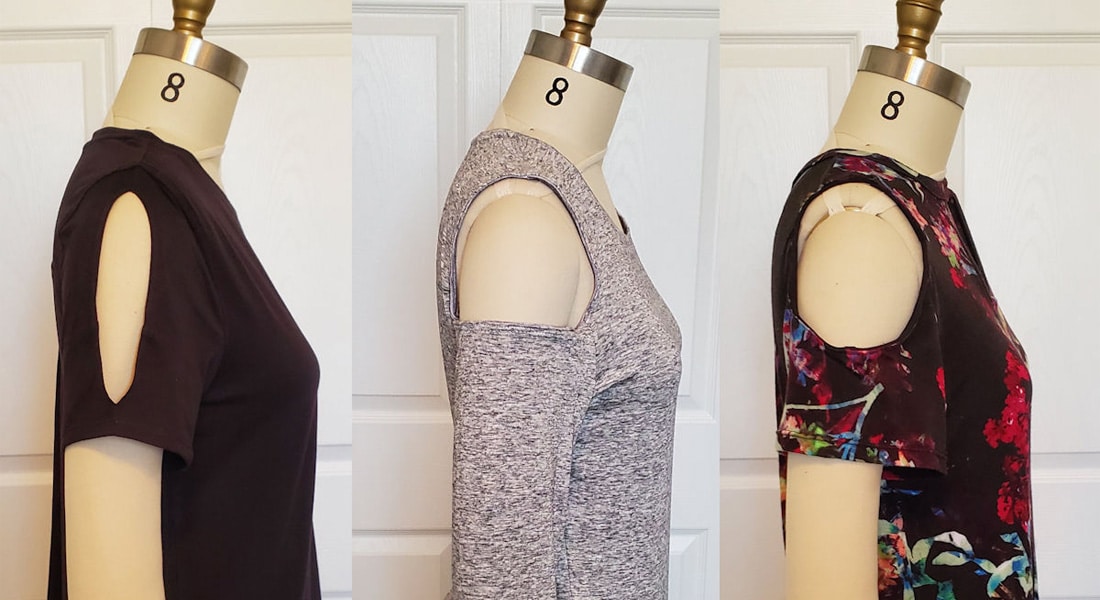
The Sadie sweater in a textured knit fabric.
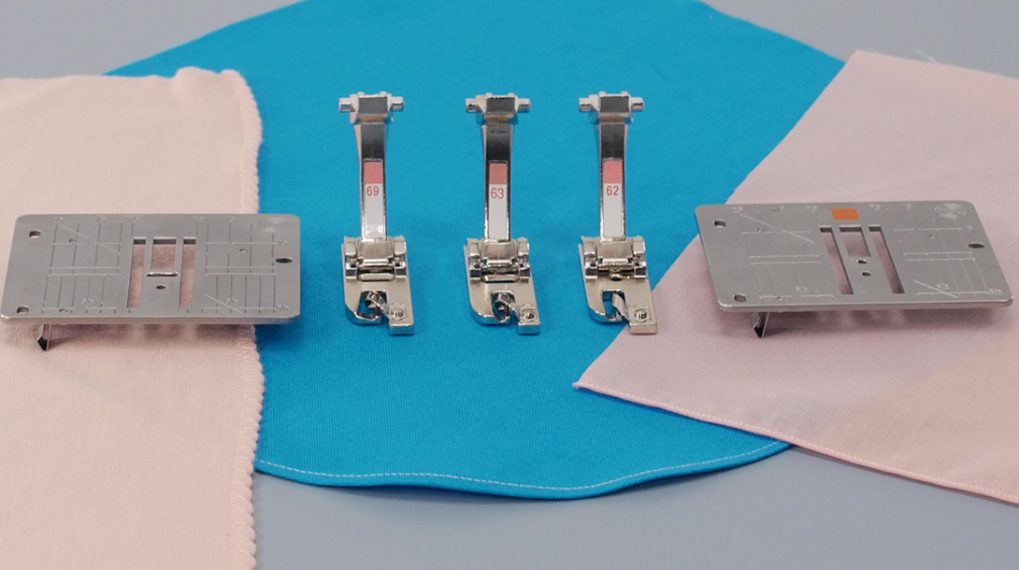
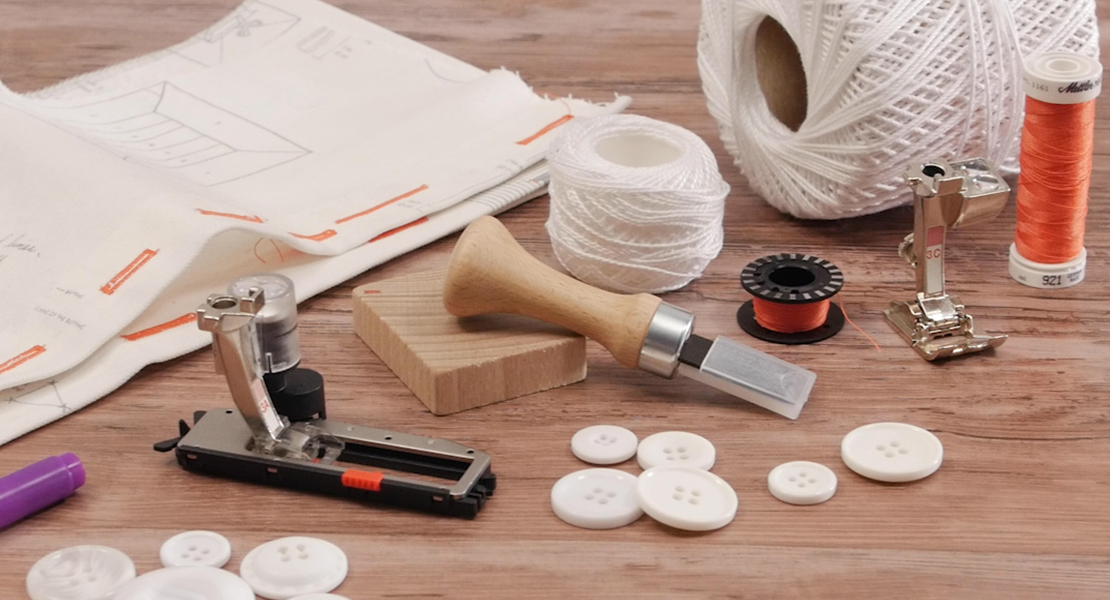
Though the average person’s wardrobe consists mostly of knitwear, many seamstresses sew almost exclusively with woven fabric. Sewing with knit fabric can be easy regardless of the types of sewing machine you use. In this tutorial, I am going to share three techniques on three different machines for hemming knit garments.
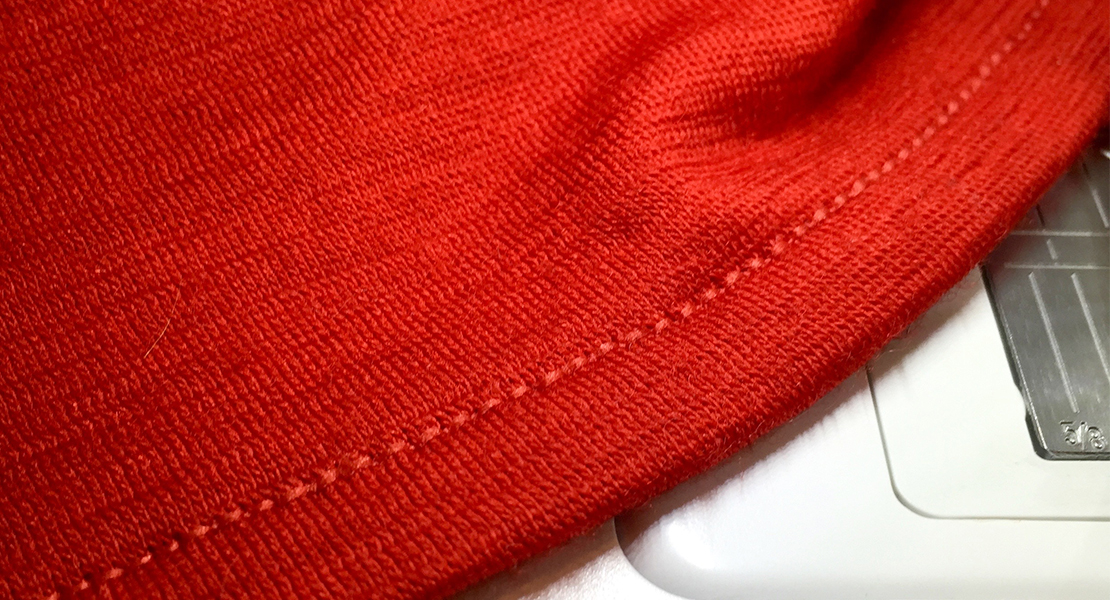
Sewing Machine Hem
You don’t necessarily need a specialized machine to hem your knit projects. When sewing knits on a standard home sewing machine you will need to utilize your stretch stitches.
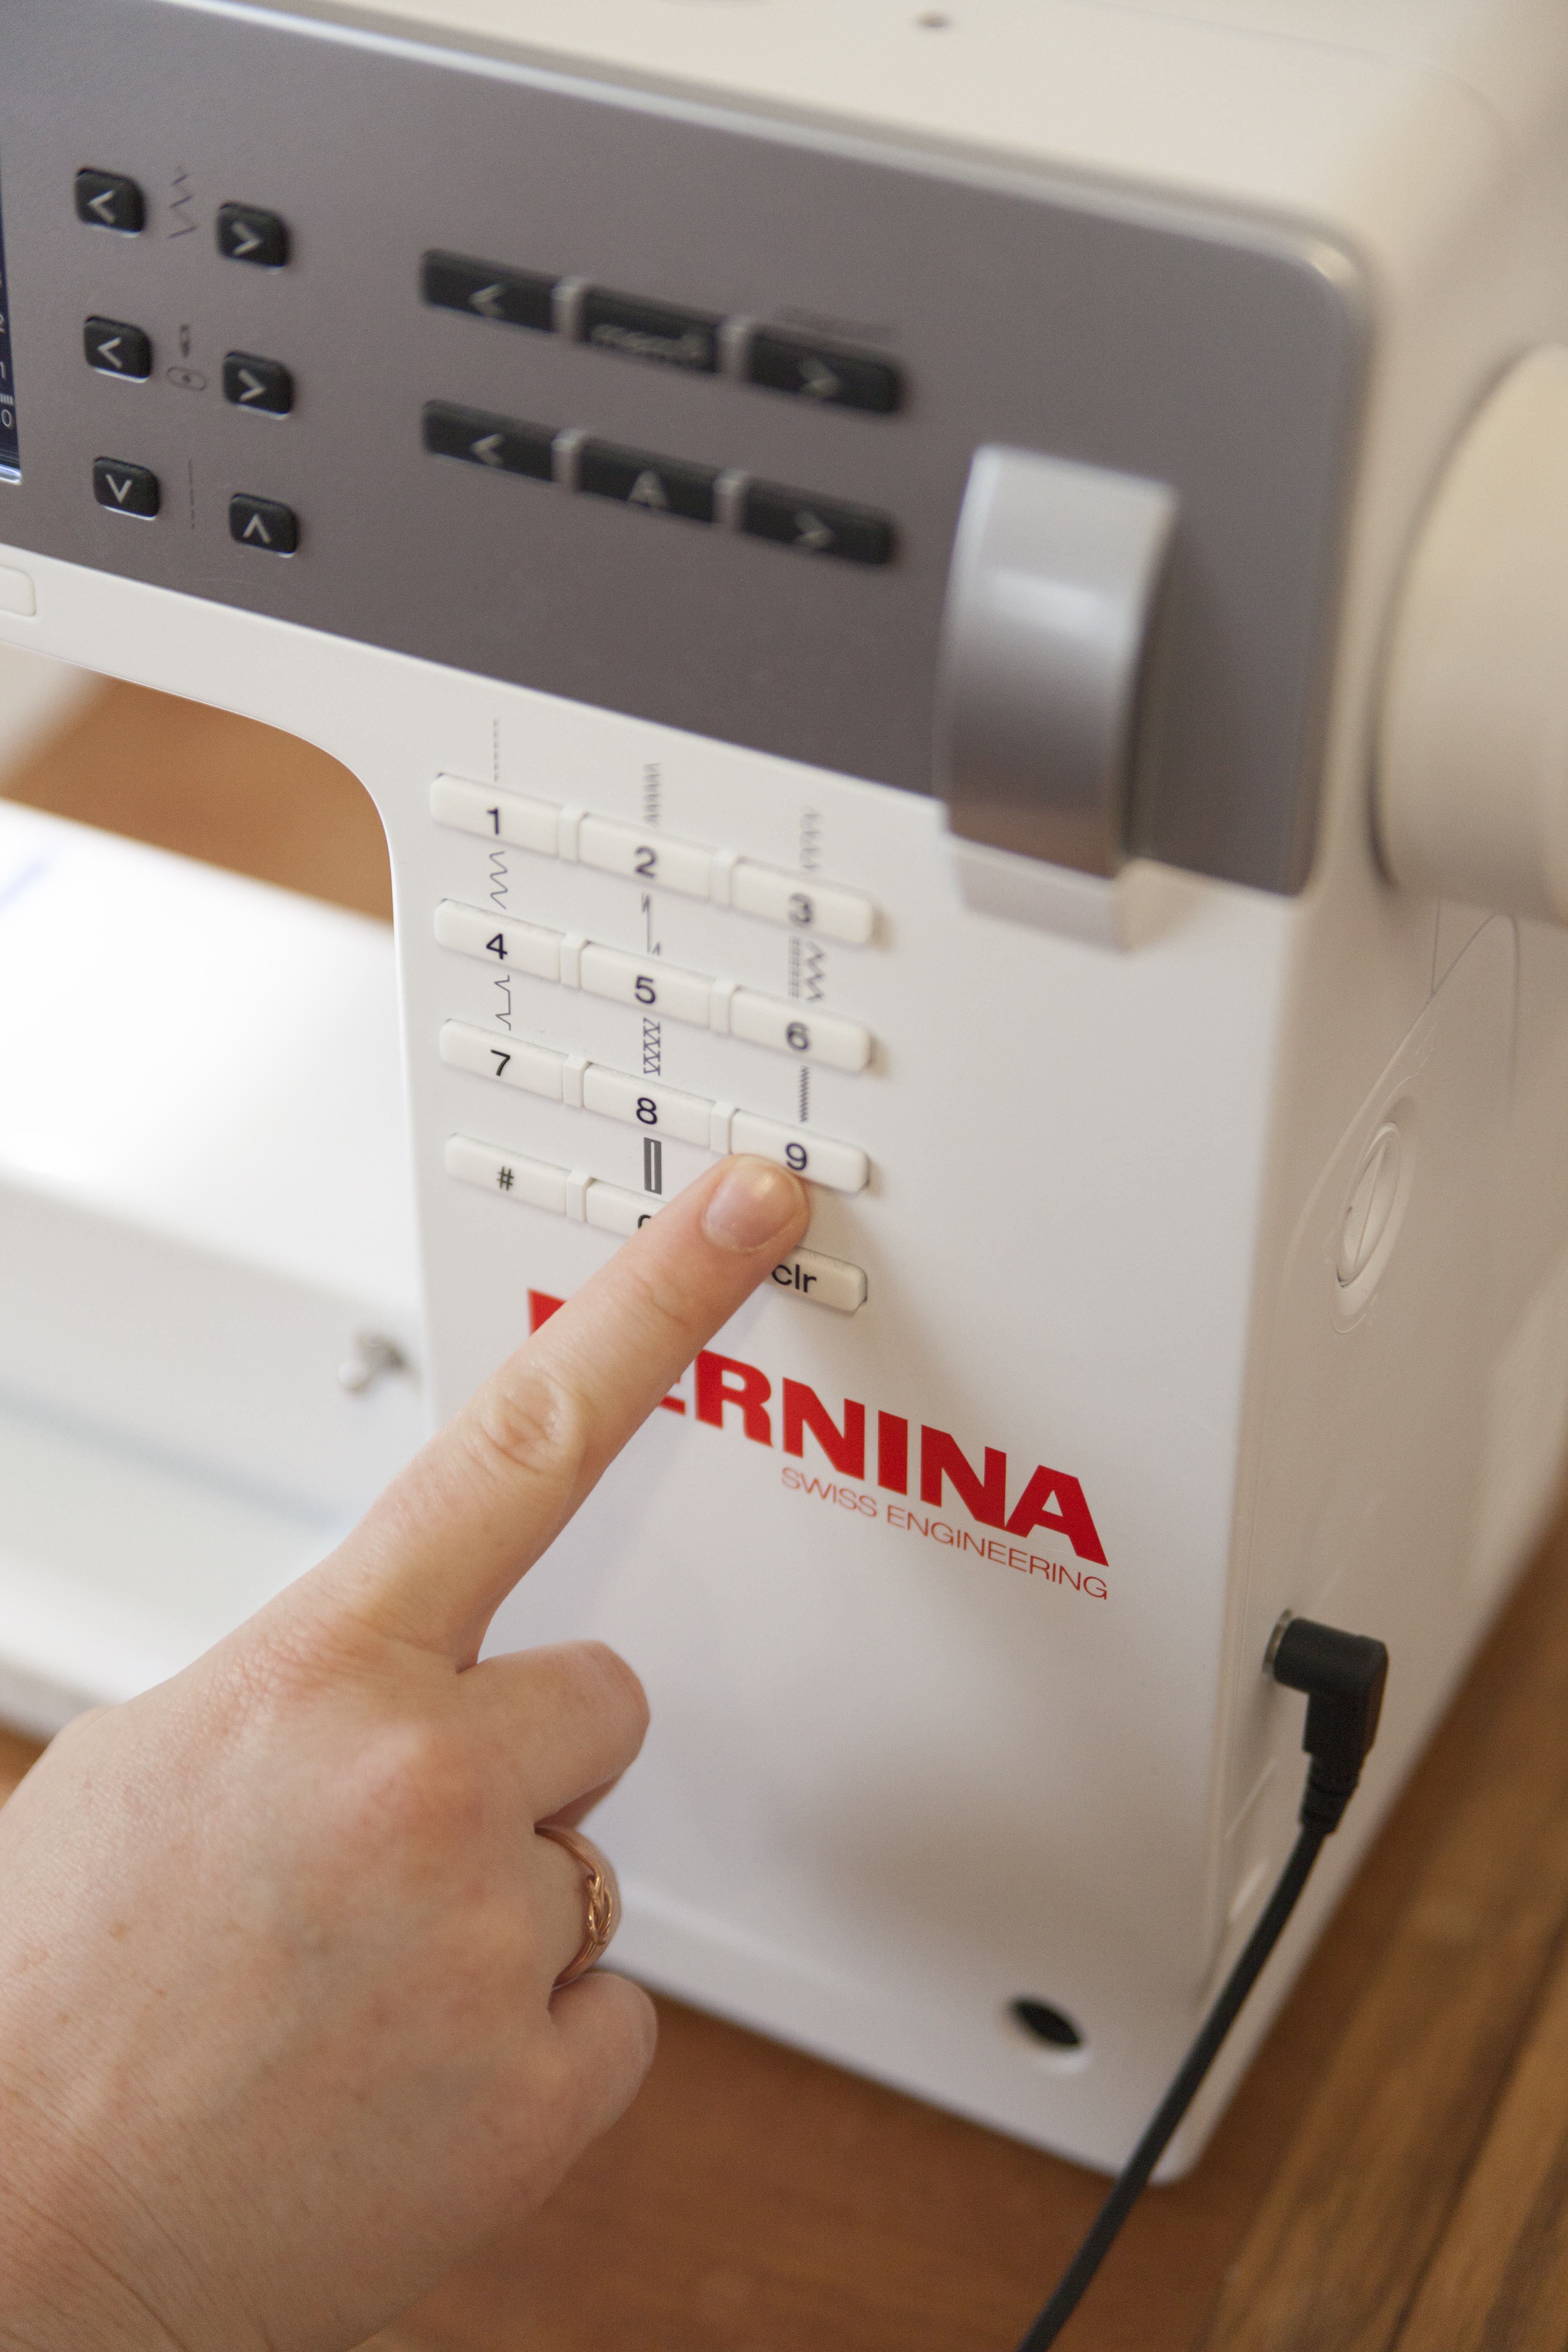
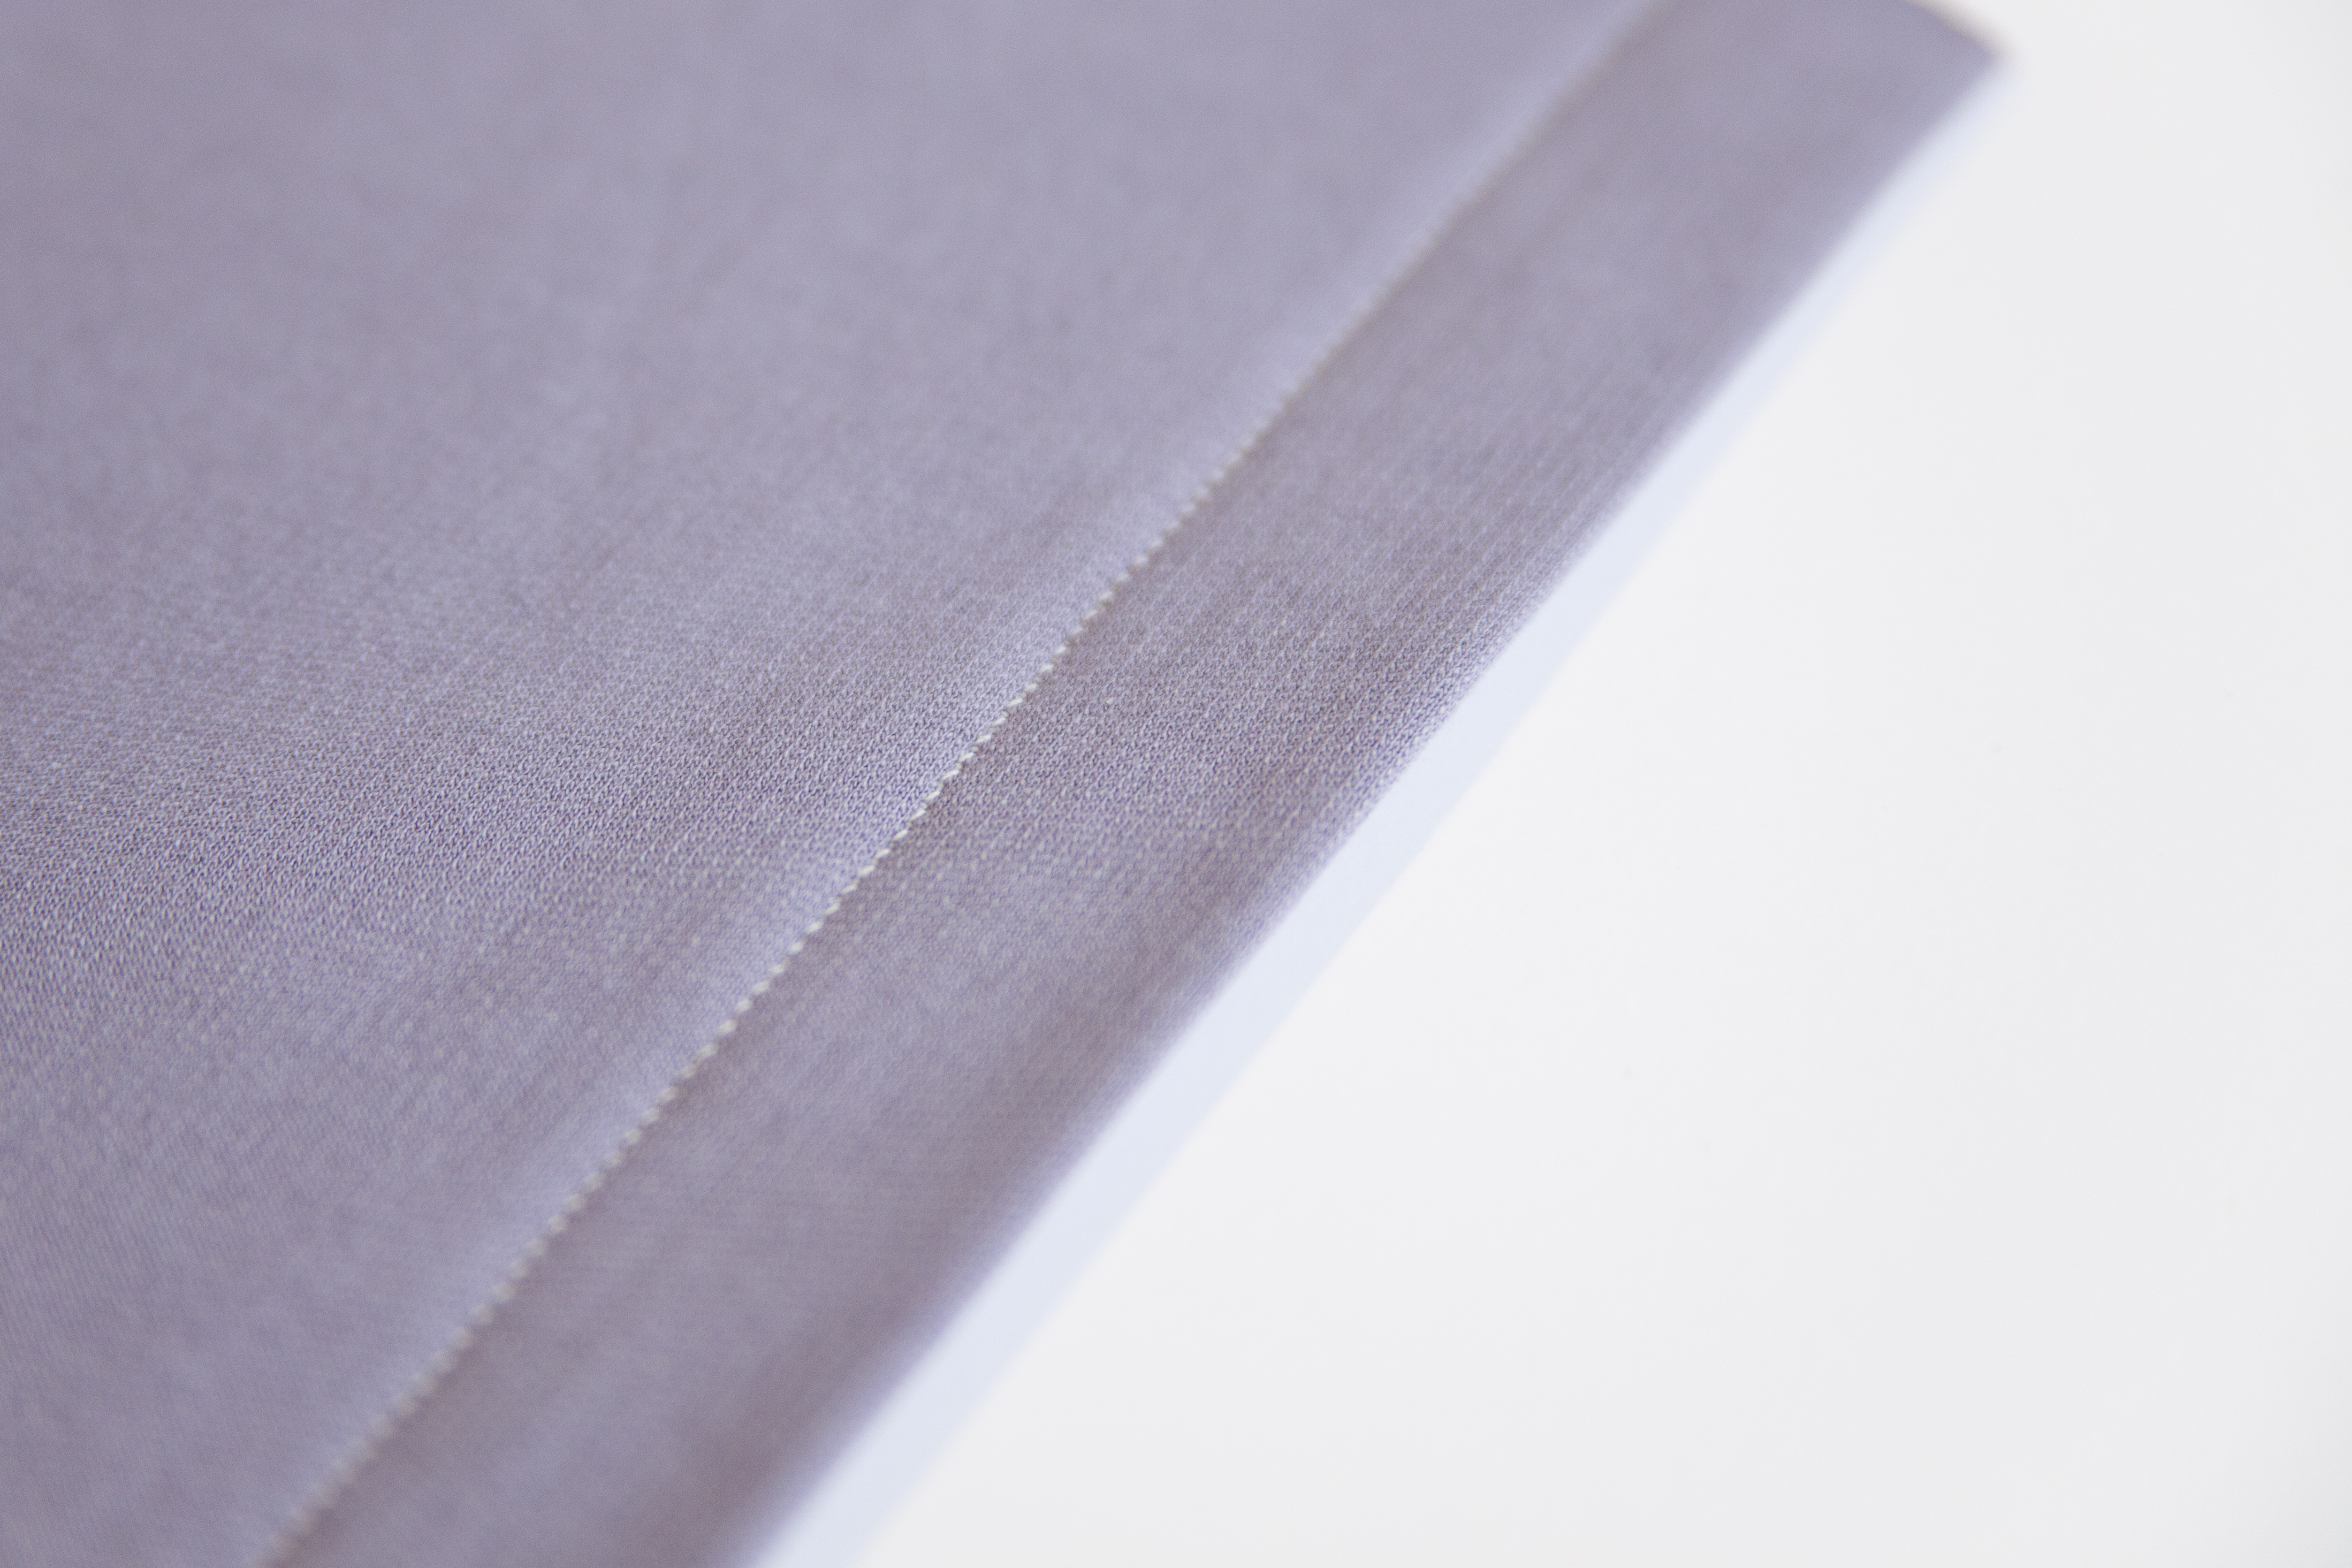
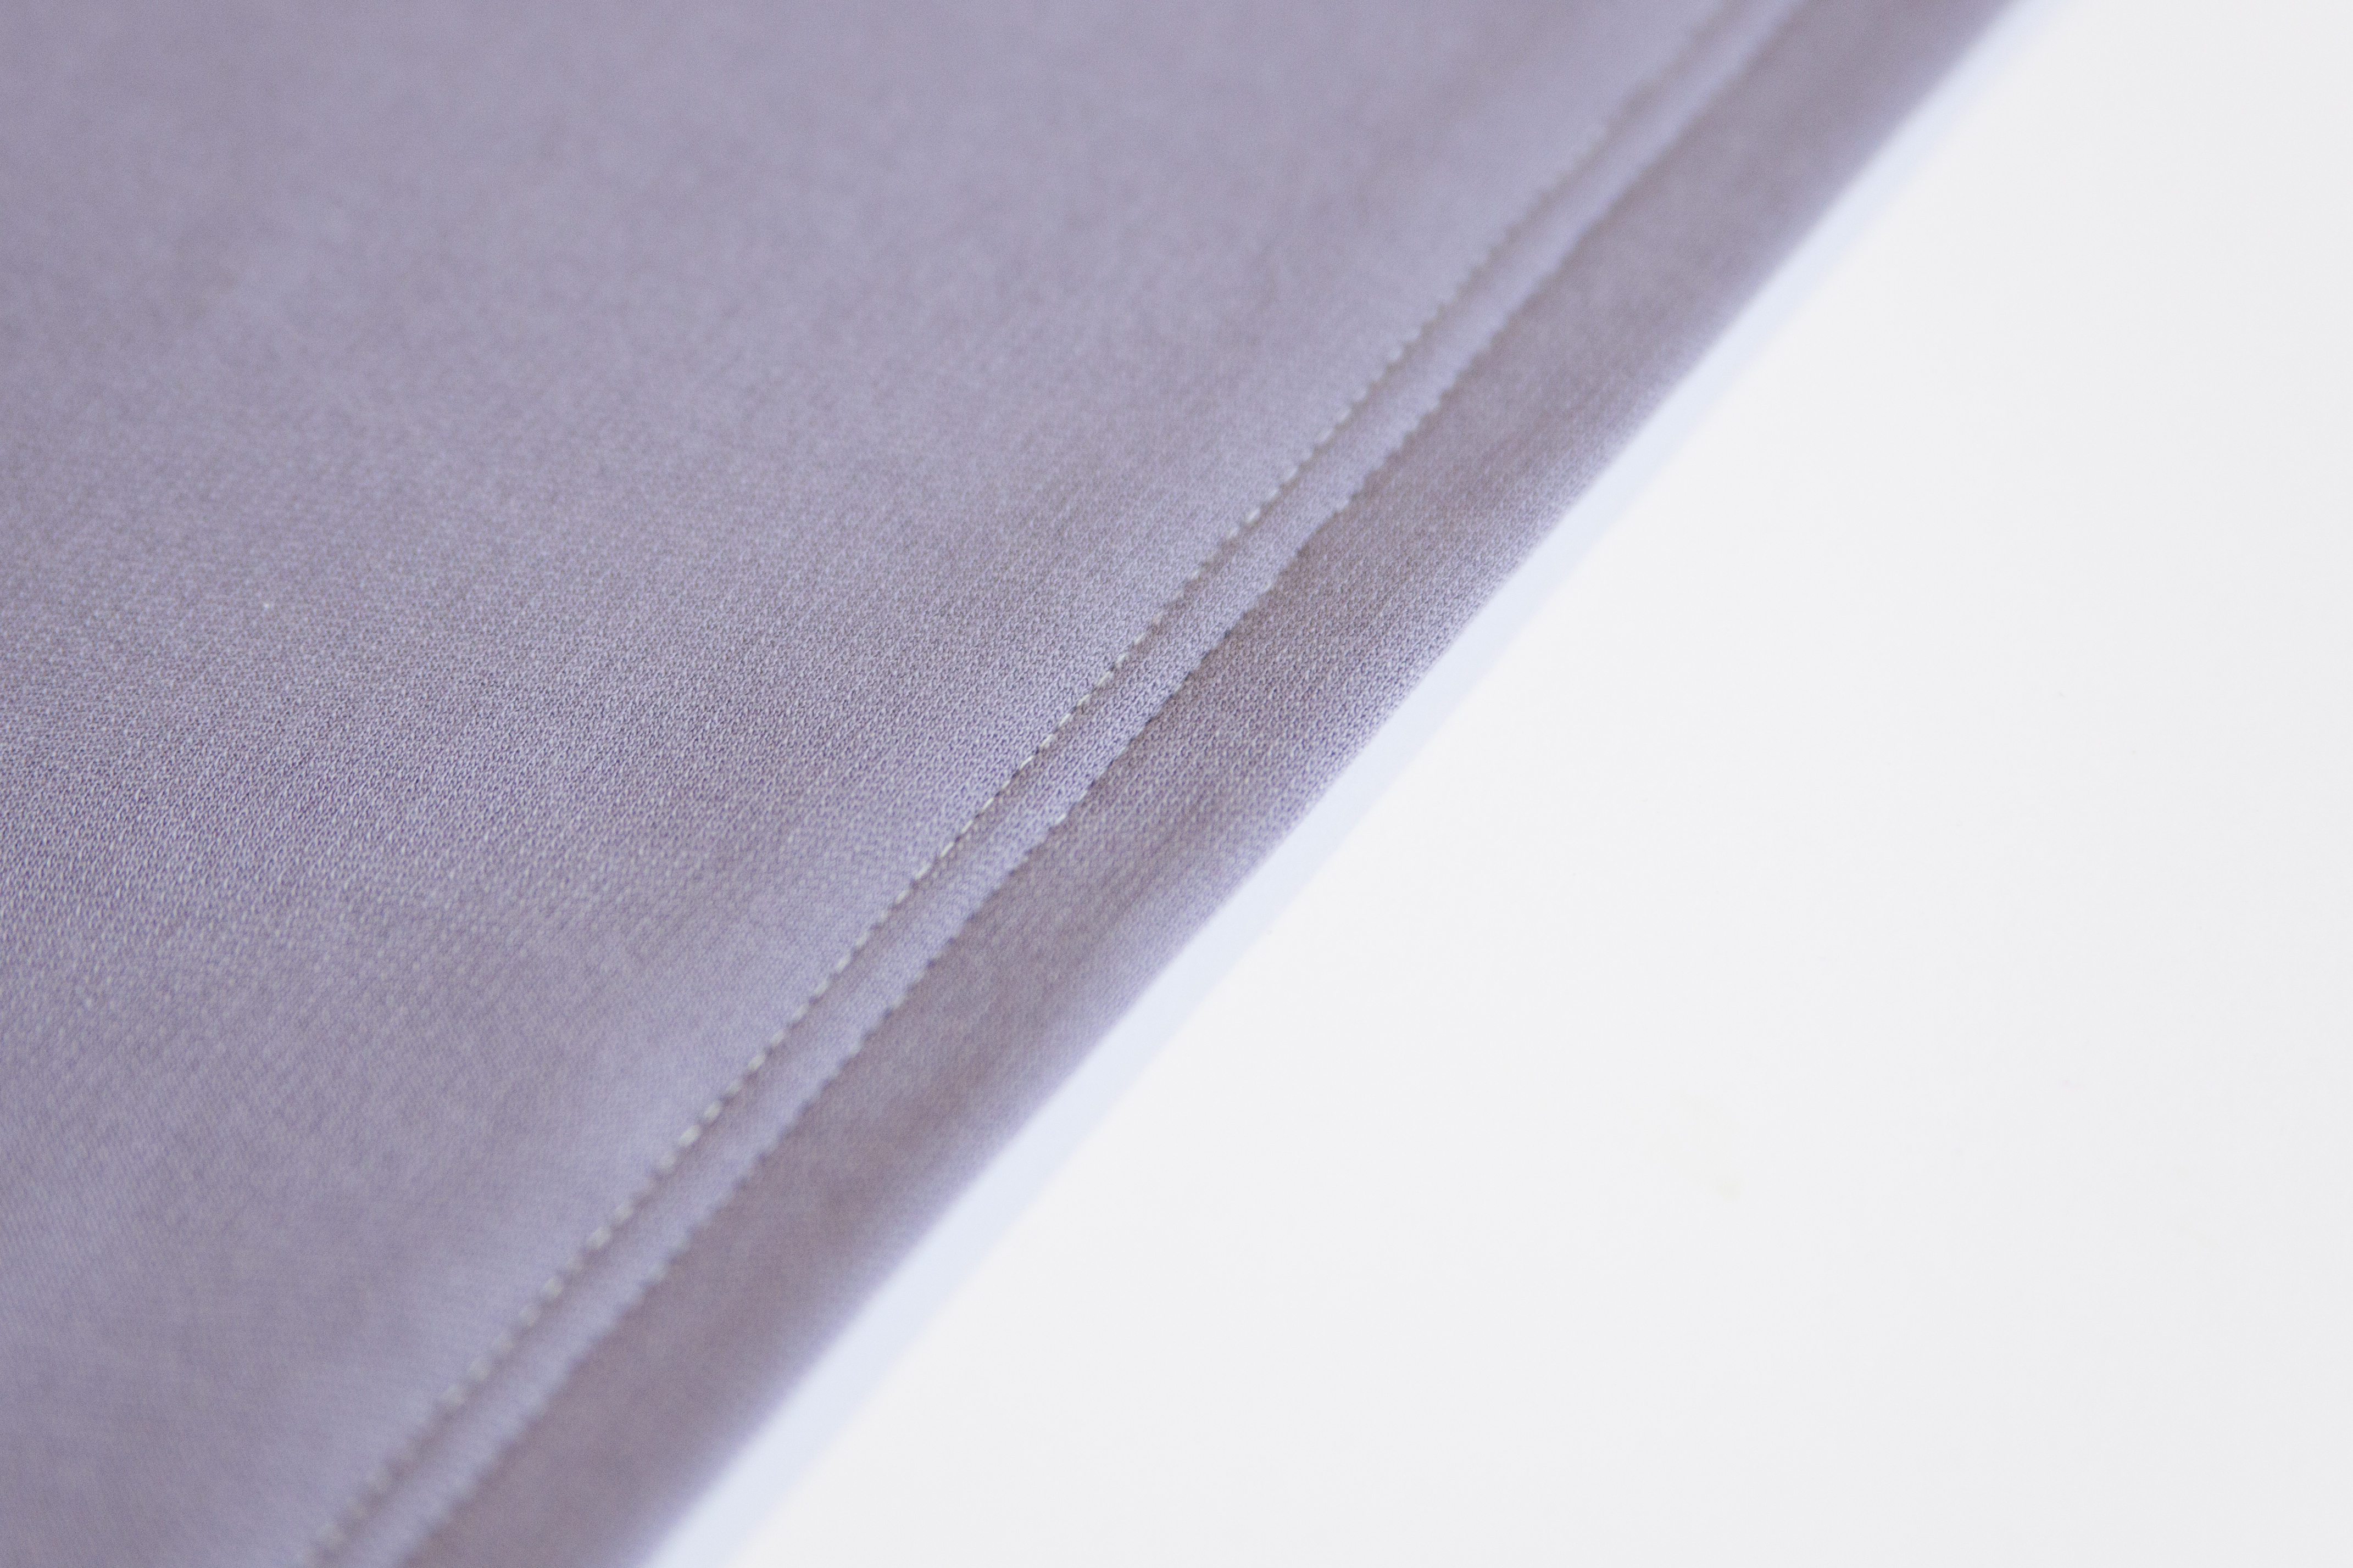
The Super Stretch Stitch is a stretchable stitch that has the appearance of a straight stitch. Though this stitch looks like a straight stitch, the needle makes small jumps backward, giving this stitch its flexibility.
- Press the hem allowance to the wrong side of the garment and pin in place.
- With the right side facing up, start at any point in the round hem—I like to start near a seam. Make sure the needles are positioned so that they will pierce through both layers of fabric.
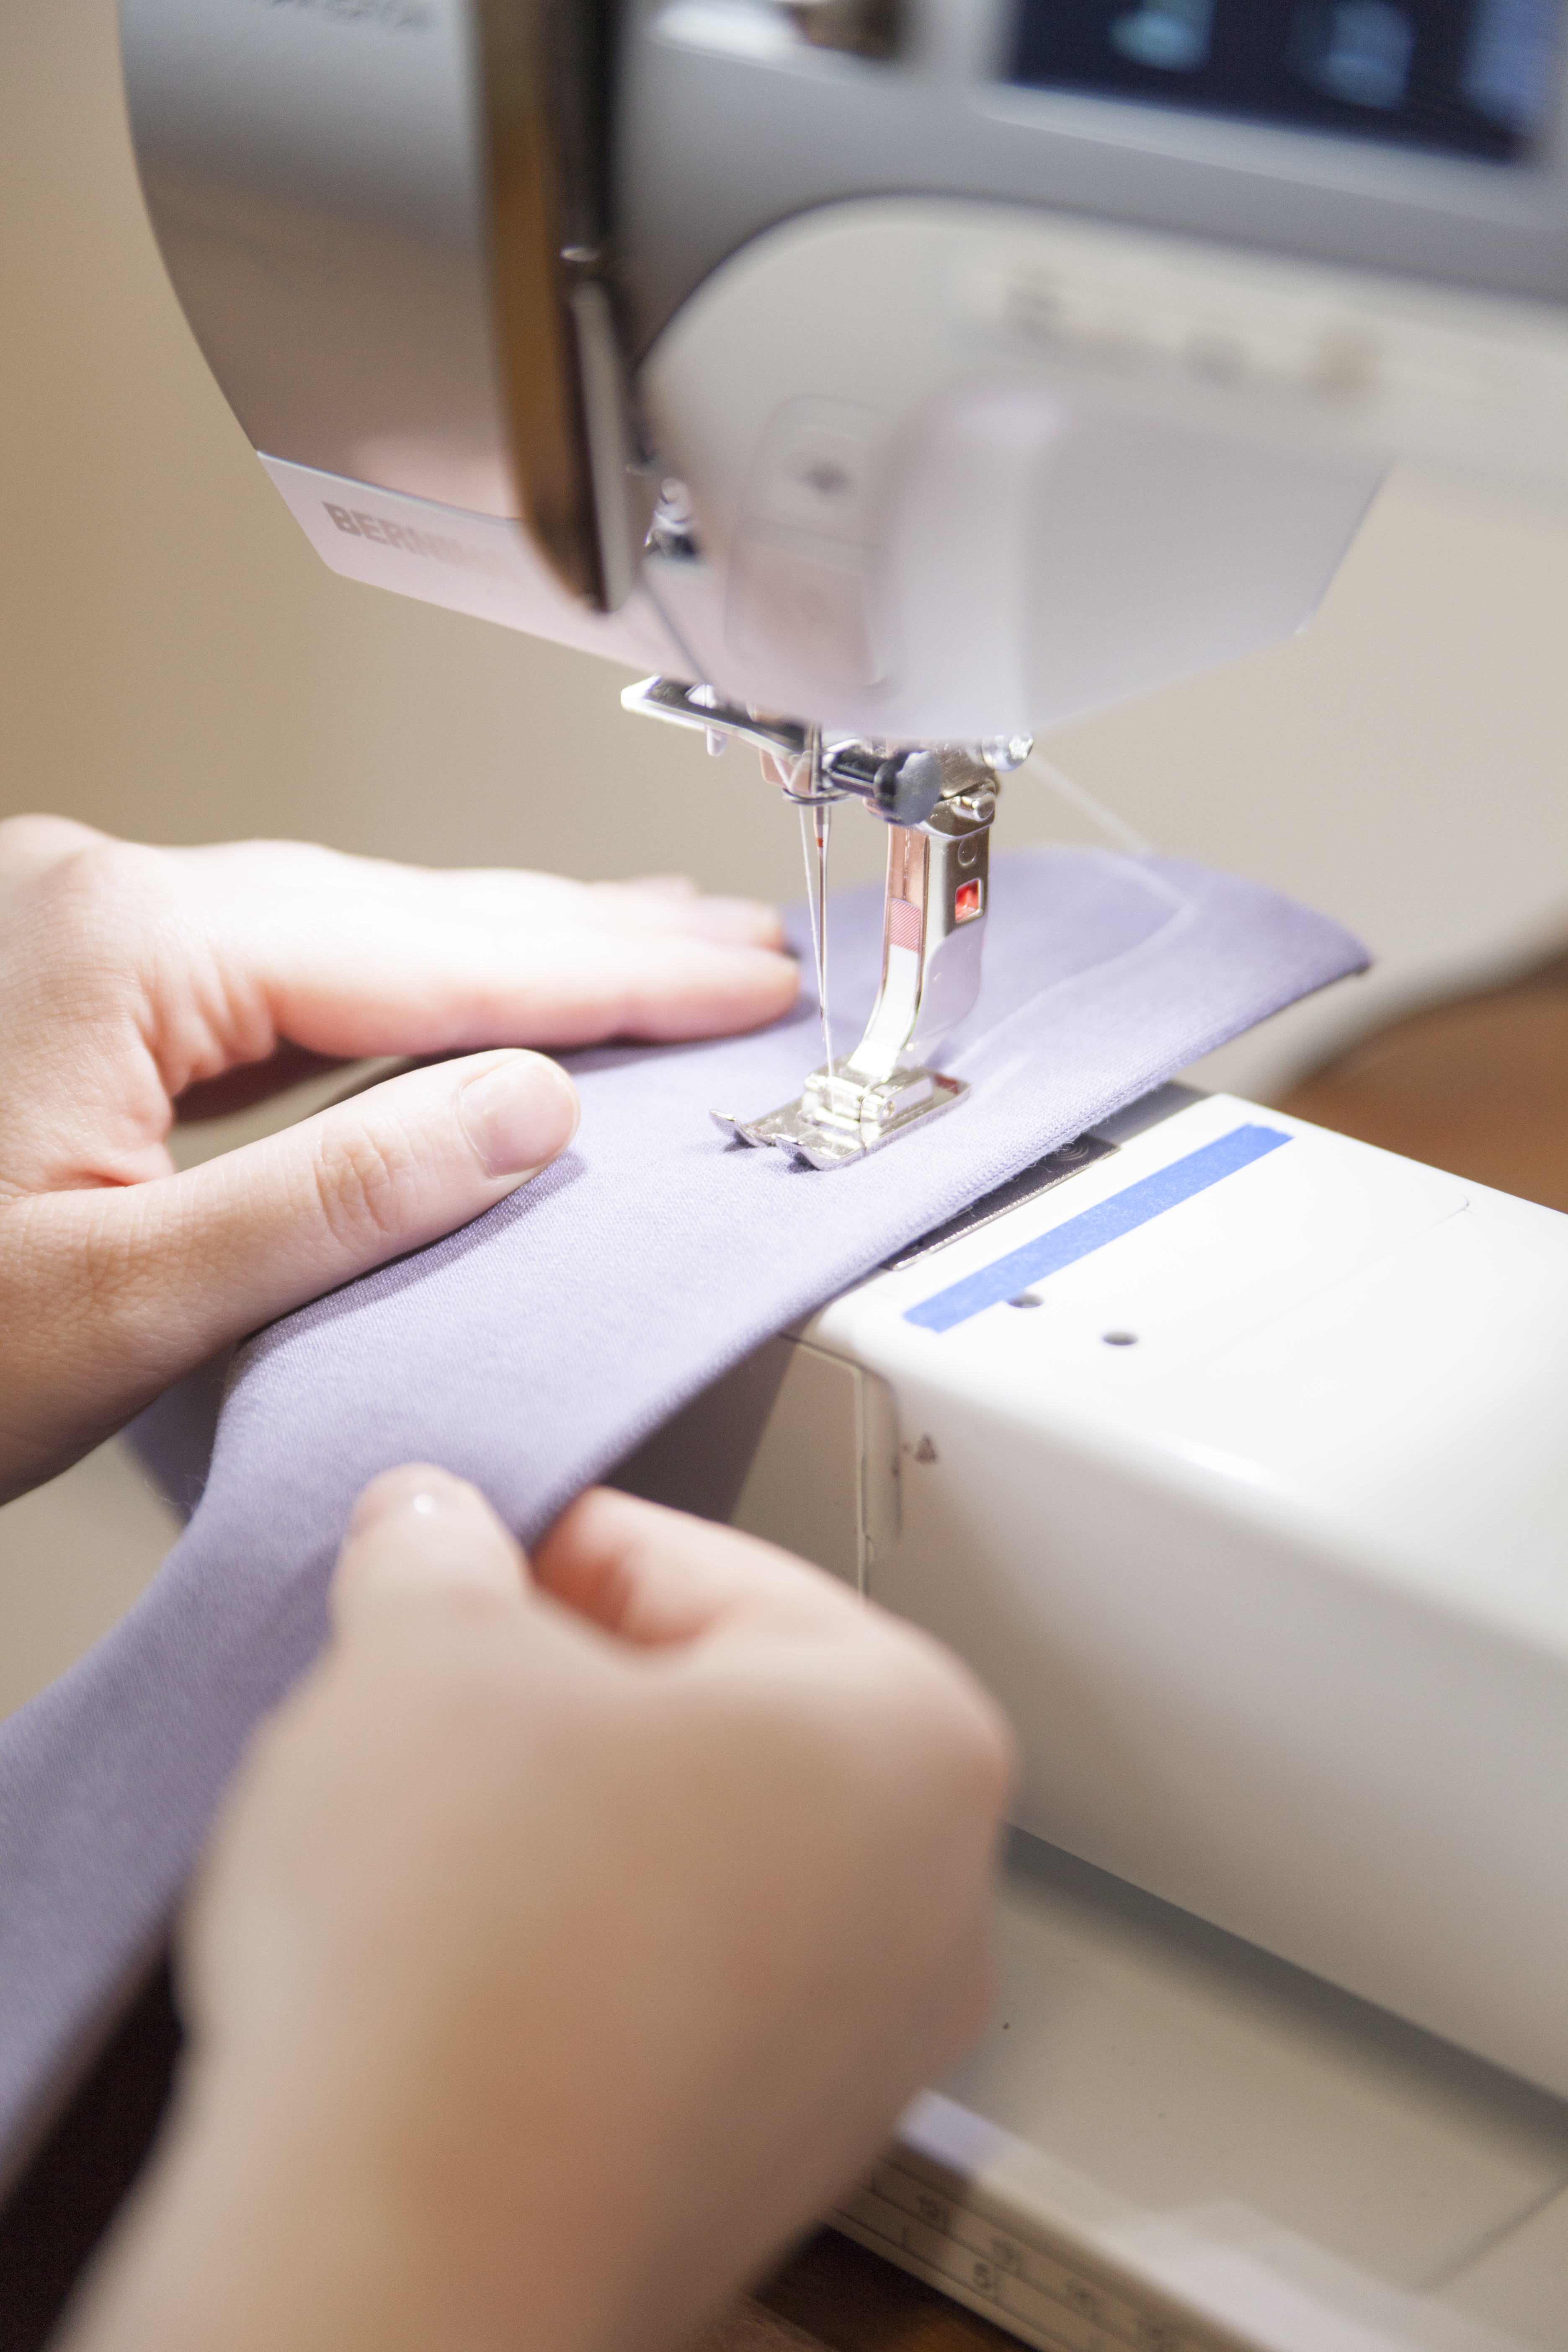
- Stitch around the hem of the garment until you return to the beginning of your stitch line, then overlap your stitches by 1/4” or so.
- Drop your feed dogs and stitch in place for 3-4 stitches to secure the stitch.
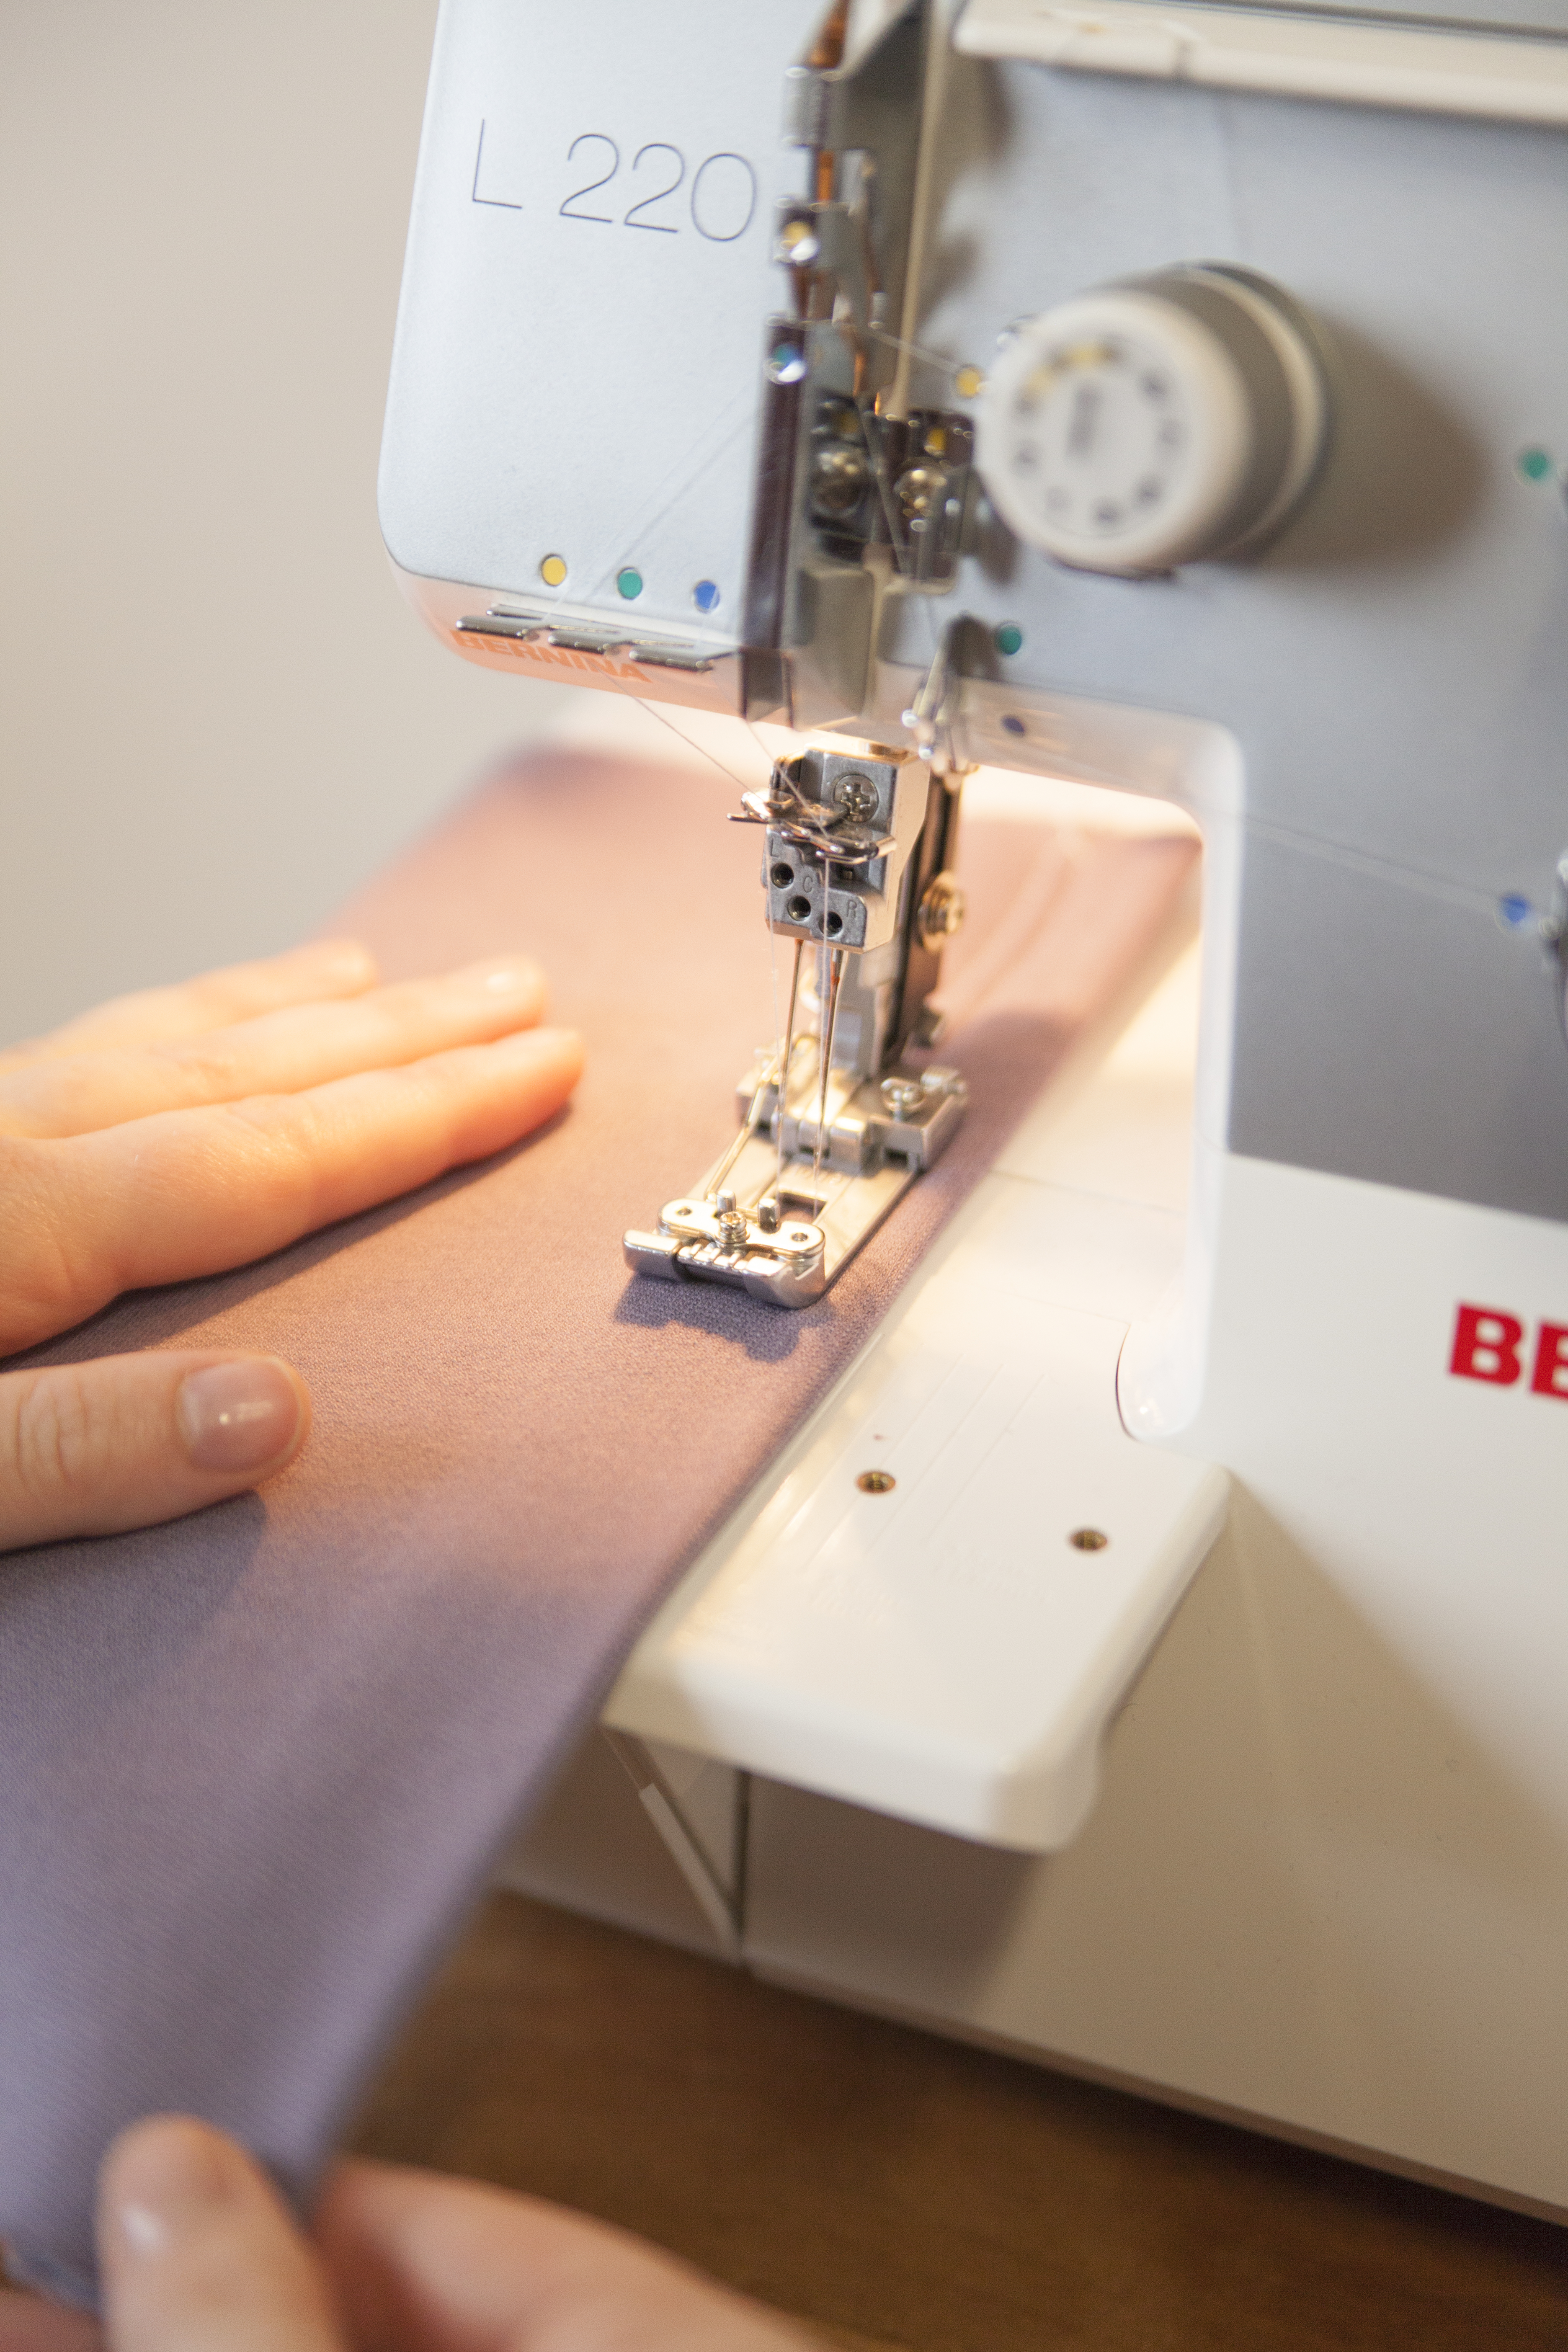
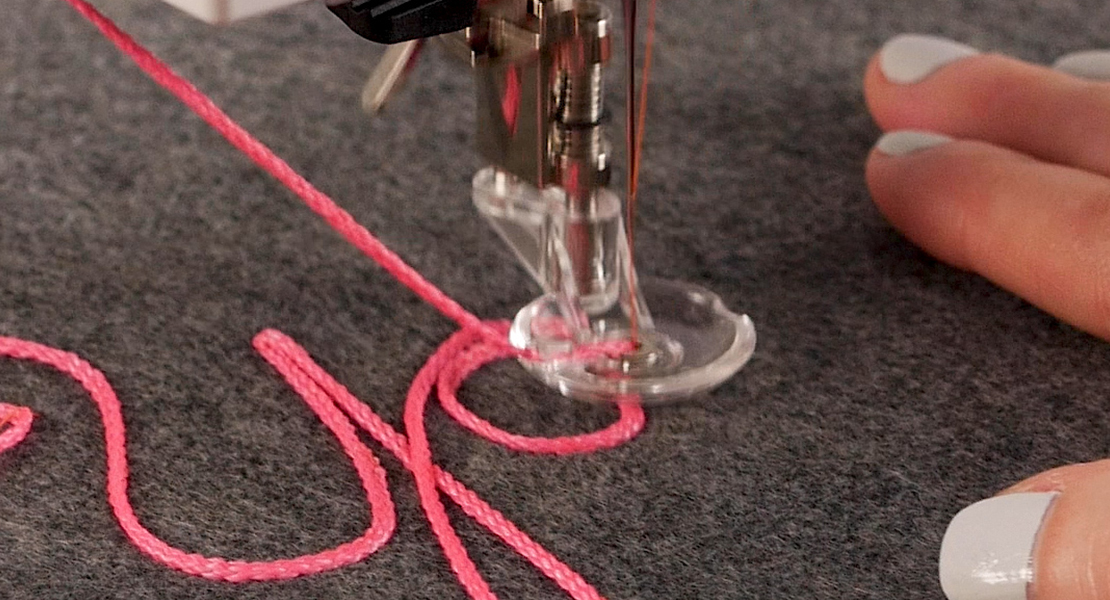
Coverstitched Hem
A coverstitch gives a professional finish. Use this technique to create coverstitched hems with ease.
- Press the hem allowance to the wrong side of the garment and pin in place.
- With the right side facing up, start at any point in the round hem—I like to start near a seam. Make sure the needles are positioned so that they will pierce through both layers of fabric.
- Stitch around the hem of the garment until you return to the beginning of your stitch line, then overlap your stitches by 1/4” or so.

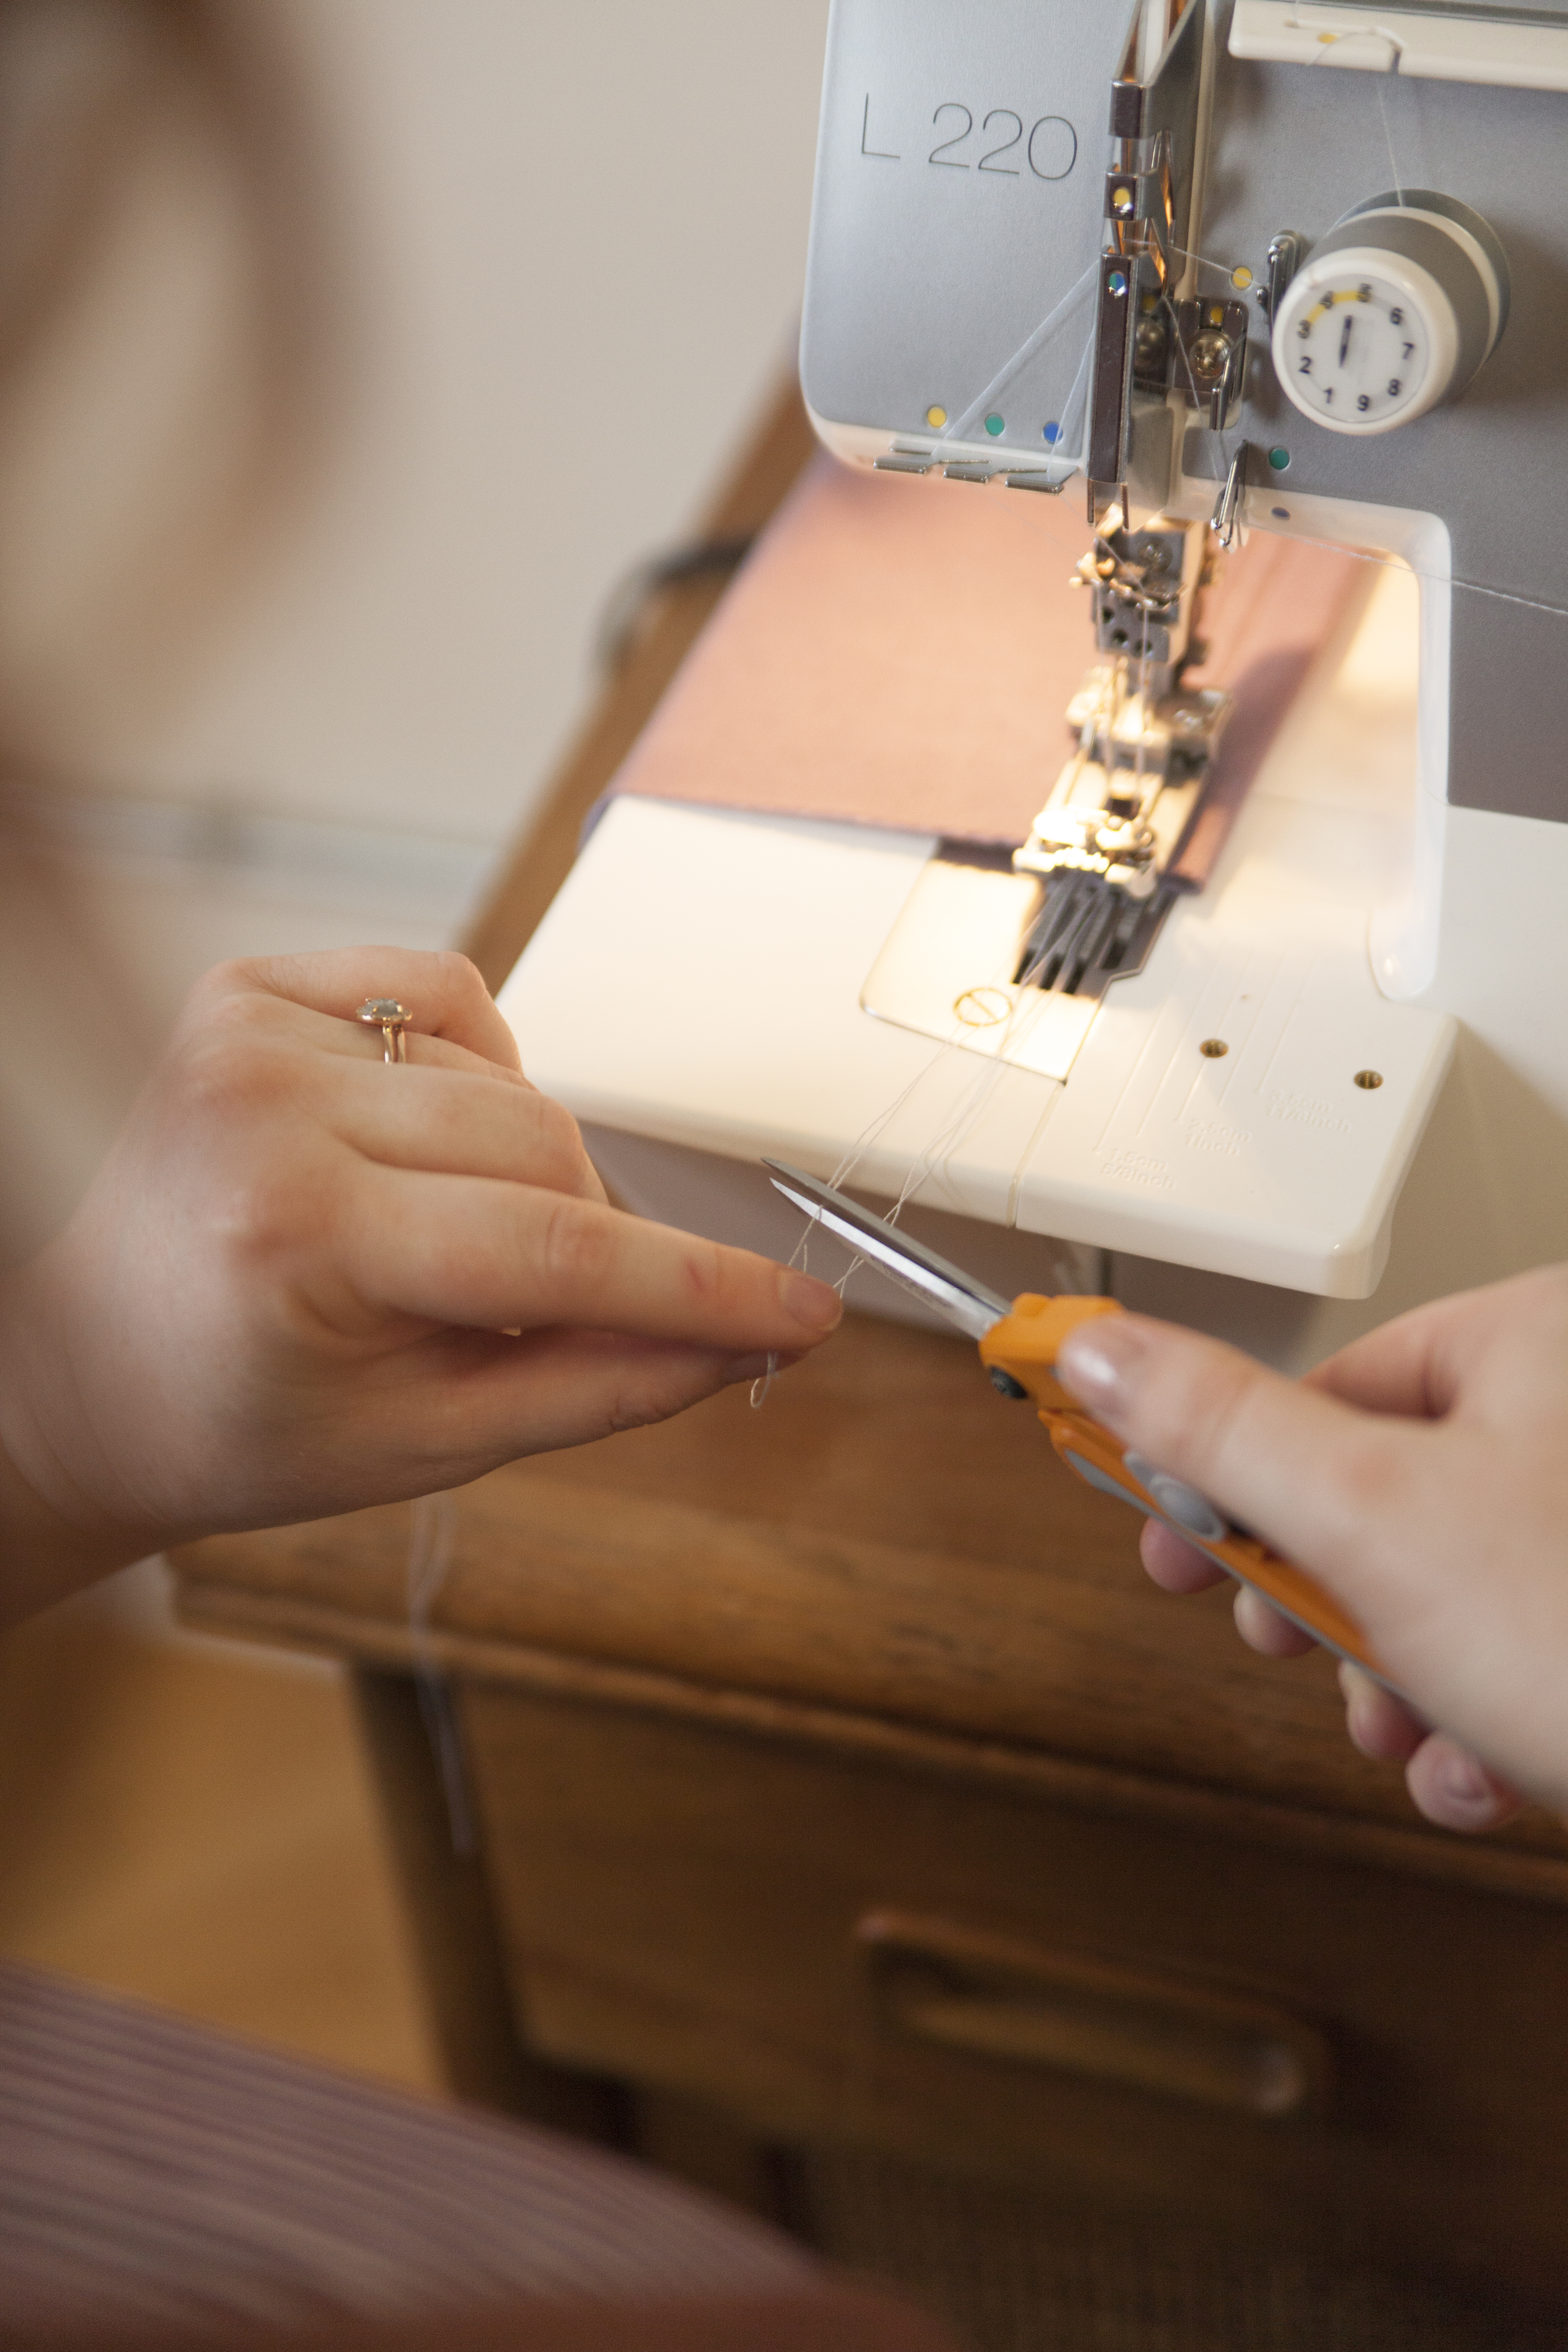
- Raise the needles to the highest position, then raise your presser foot. Using a small object like a seam gauge or seam ripper, pull the needle threads toward you, then cut.
- Pull the garment toward the back of the machine, then cut the bottom (or looper) thread. This will pull the needle threads toward the wrong side of your fabric.
- To secure, knot threads and snip.
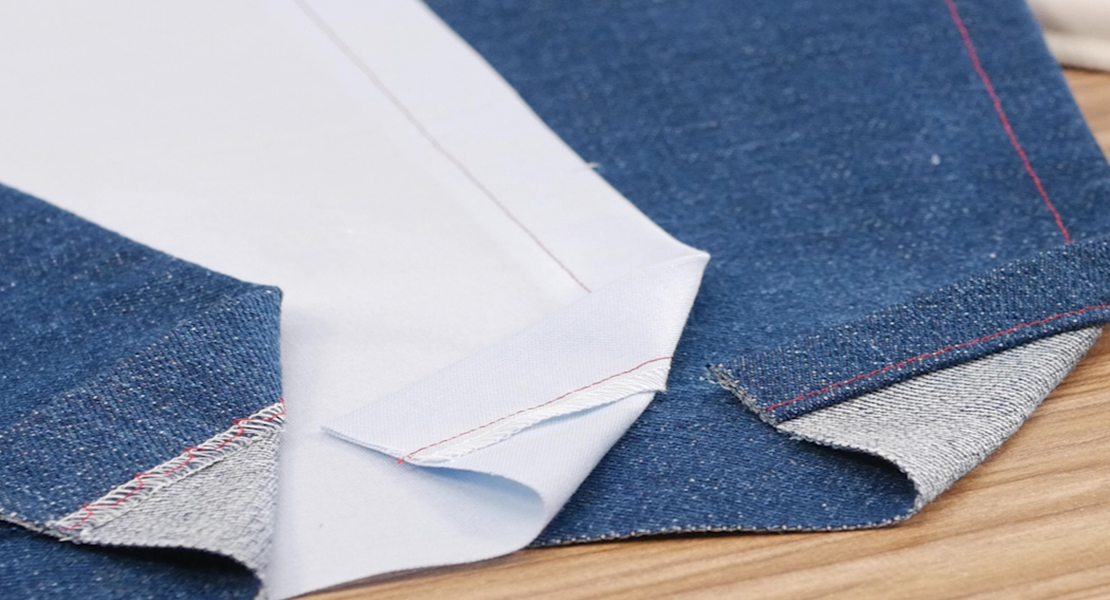
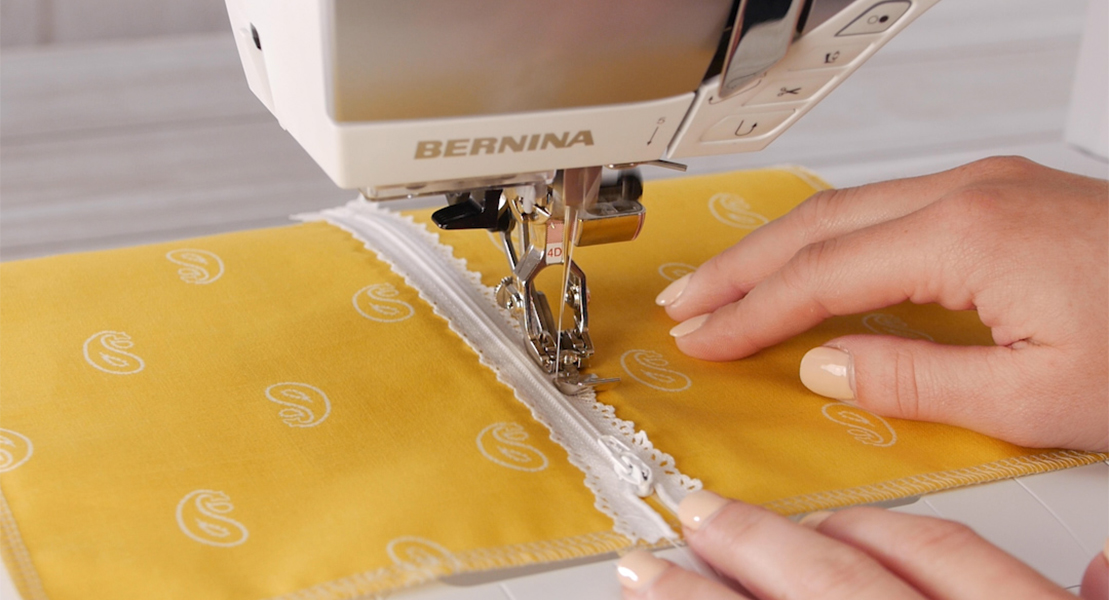
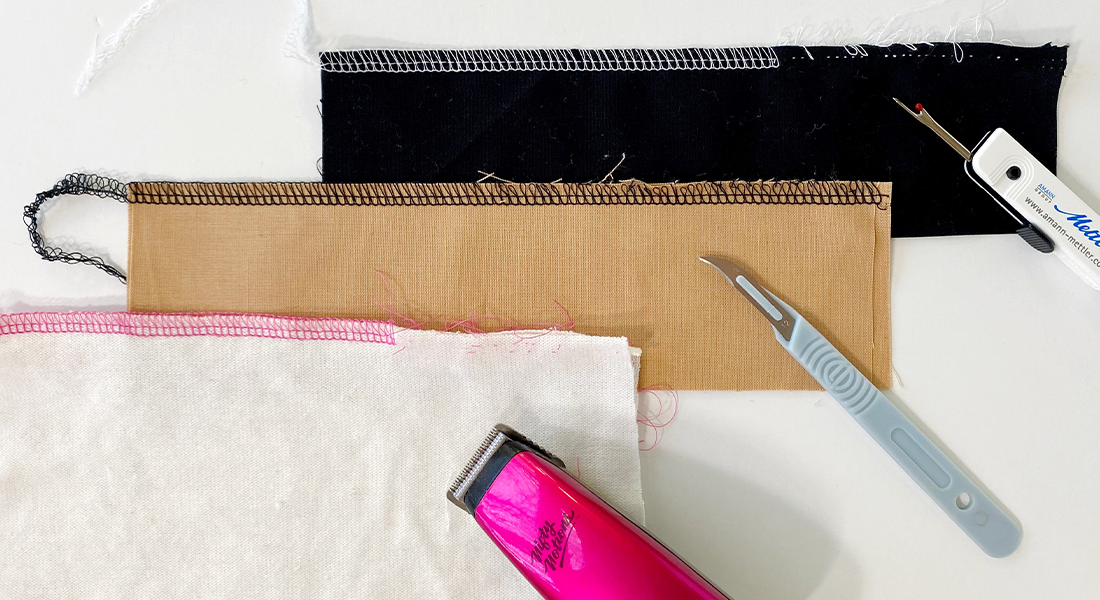
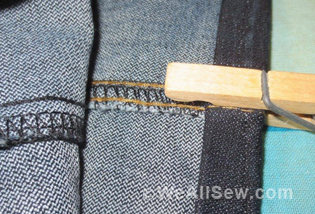
Serged Blind Hem
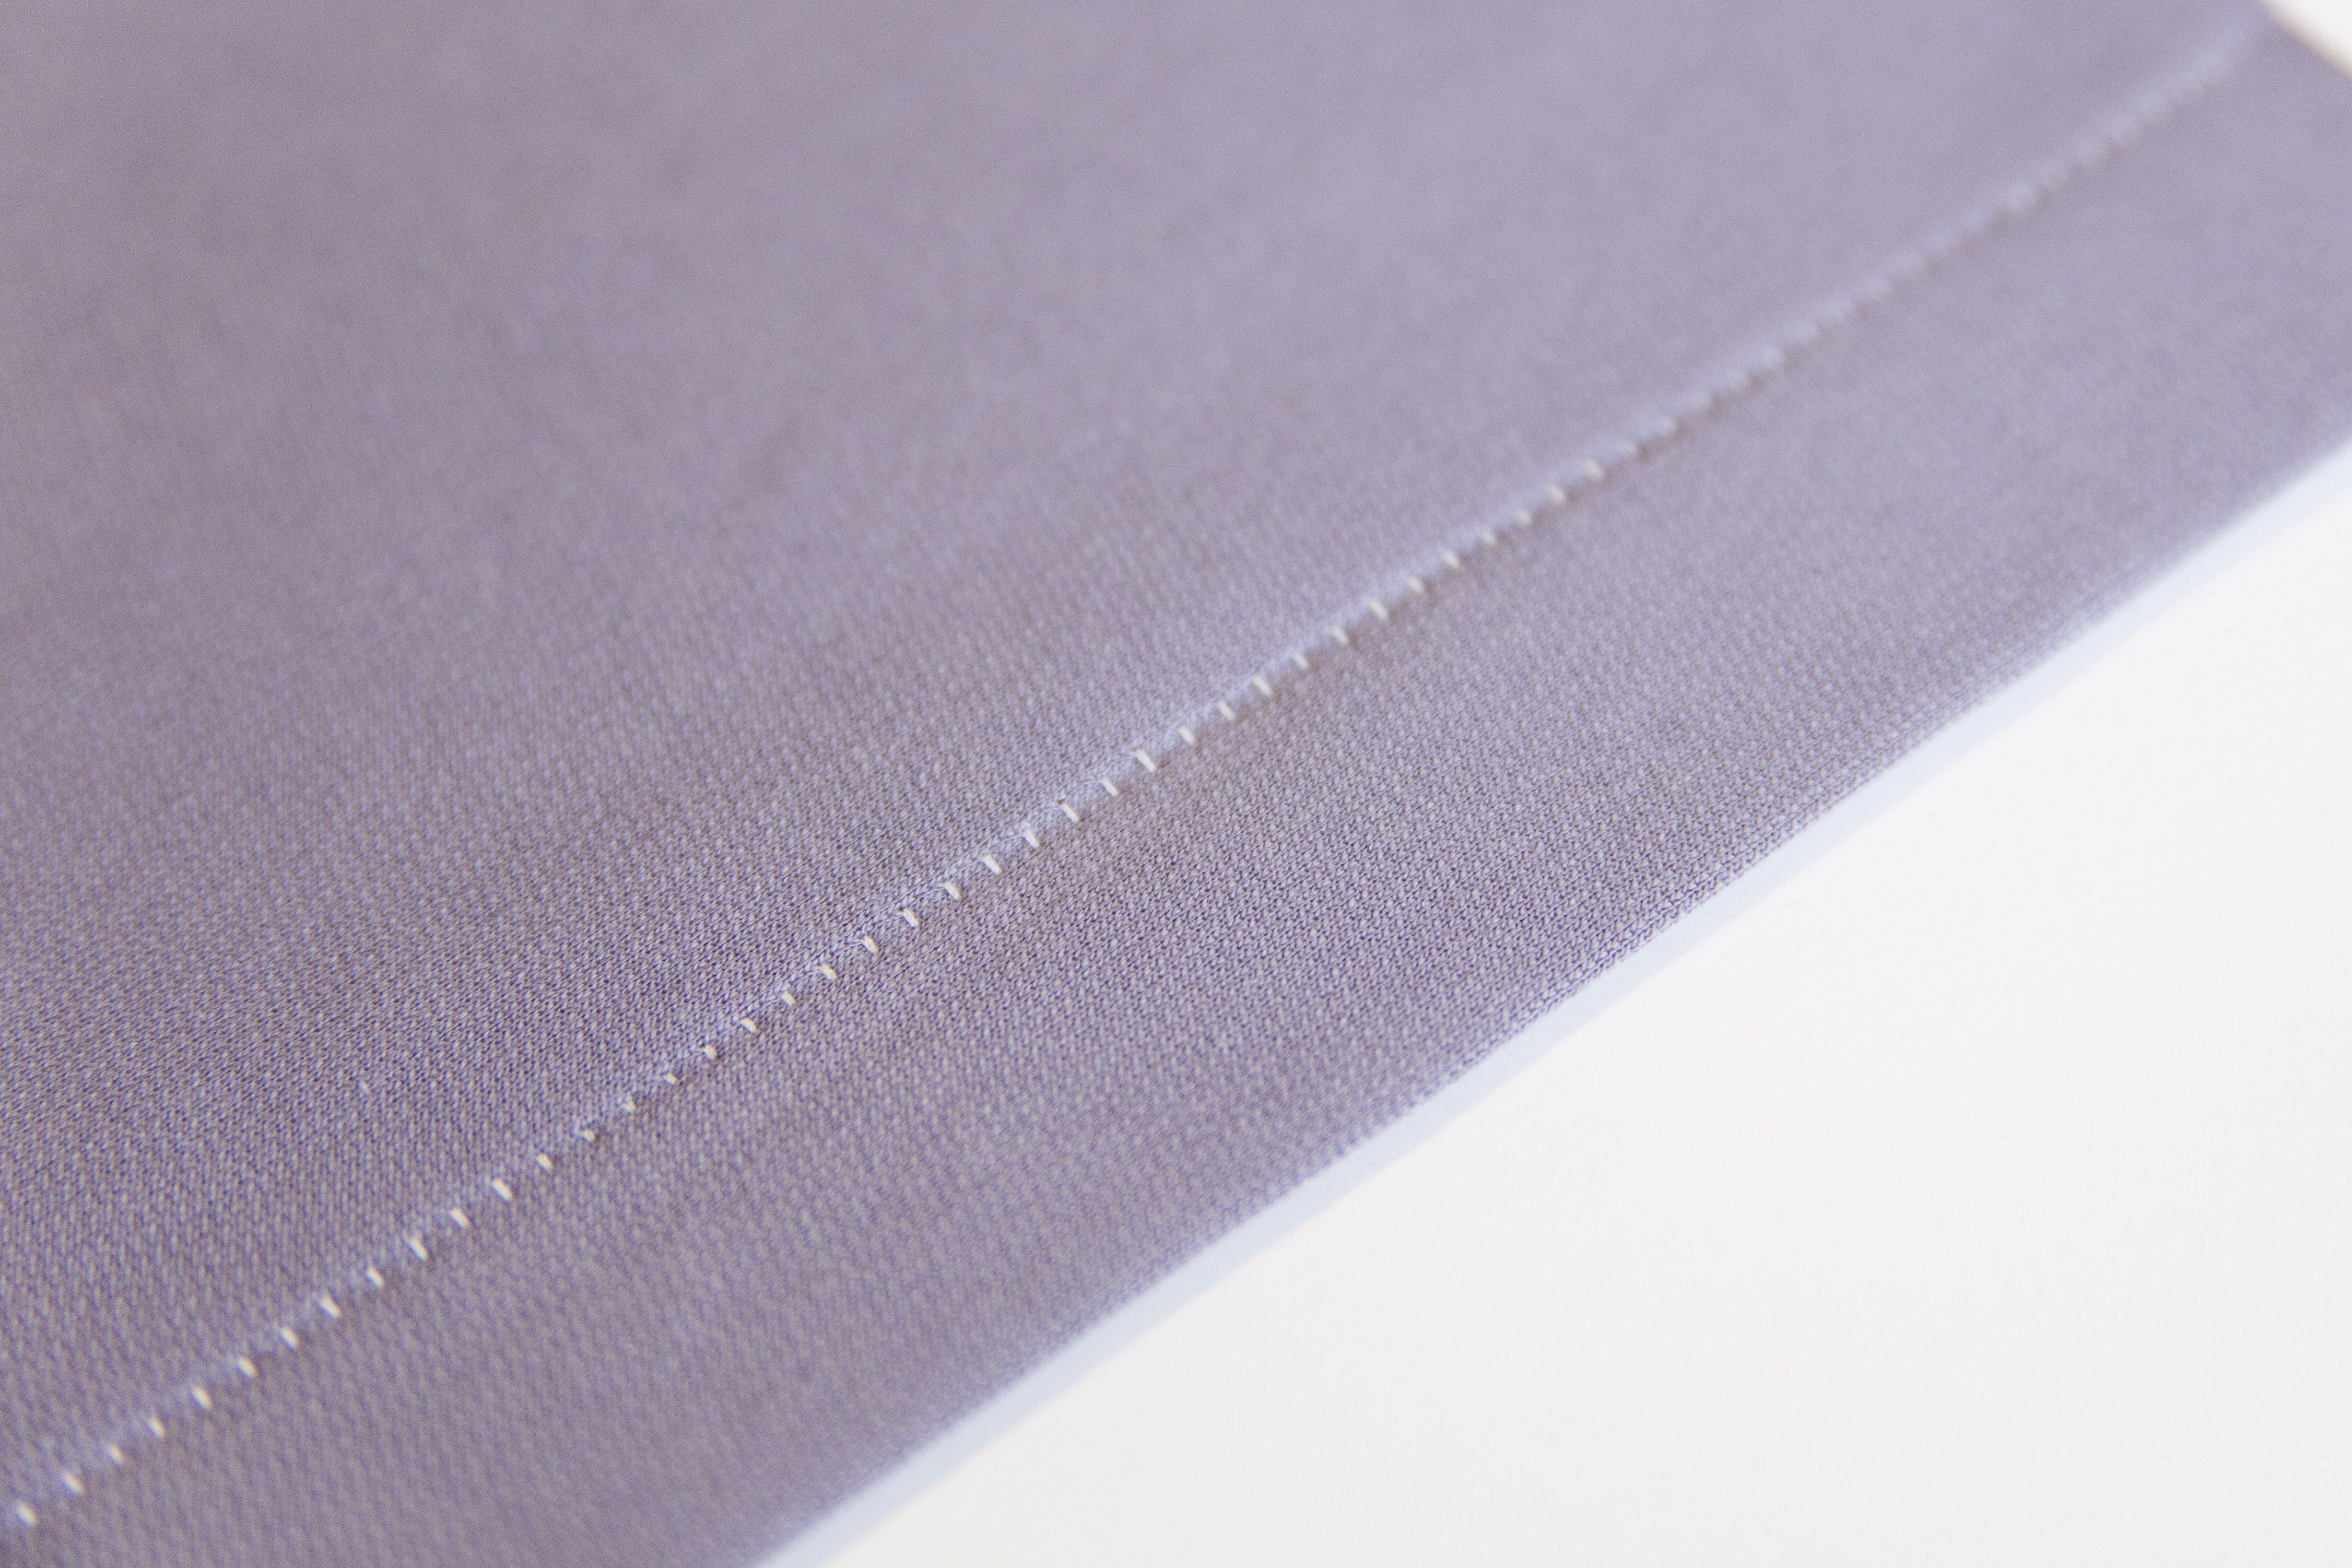
On knit garments, sergers are predominantly used for creating strong and flexible seams, but you can also use a serger to create a blind hem.
- Press the hem allowance to the wrong side of the garment and pin in place.
- With the wrong side of the fabric facing up, fold the hem back toward the right side so that 1/4″ to 1/2″ of the raw edge is visible.
- Set your machine to perform a 3-overlock stitch, lower the needle tension (this will vary depending on the weight of your fabric, but I like to start at a 2), and set your stitch length to 4.

- With the wrong side facing up, place the hem under your presser foot. Feed the fabric through the serger piercing through the folded edge of the fabric with your needle. The closer to the edge of the fold you stitch, the smaller your stitches will appear on the right side.
TIP: Blindstitch feet are available to make this job a piece of cake. Blind stitch feet are available in both 0.5 for thin to medium weight fabrics and 1.0 for medium to heavy weight fabrics
Ready to start your next project?
Expand your wardrobe and your sewing skills with one of our gorgeous knit patterns.
Put your new knit hemming skills to the test with the Alice T-shirt.
- The Piedra dress is easy to customize and great for layering.
- Sew a cozy top with the Sadie pattern.
- Every Closet needs a classic T-shirt like the Alice tee.
- Make a vintage-inspired cropped sweater with the Astoria sweater.
And be sure to check out our helpful tutorials.
- Learn tricks for sewing knits without a serger.
- Make your own activewear.
- How to work with double knits.
- Learn coverstitch basics.
Visit these knit tips here at WeAllSew.
- Take the fear out of sewing with knits!
- Learn how to sew knits without a serger.
- Sew a stable hem on super stretchy knits.
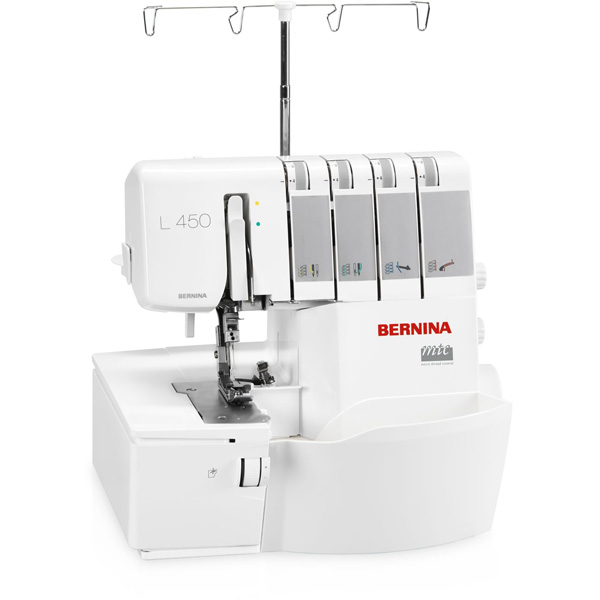
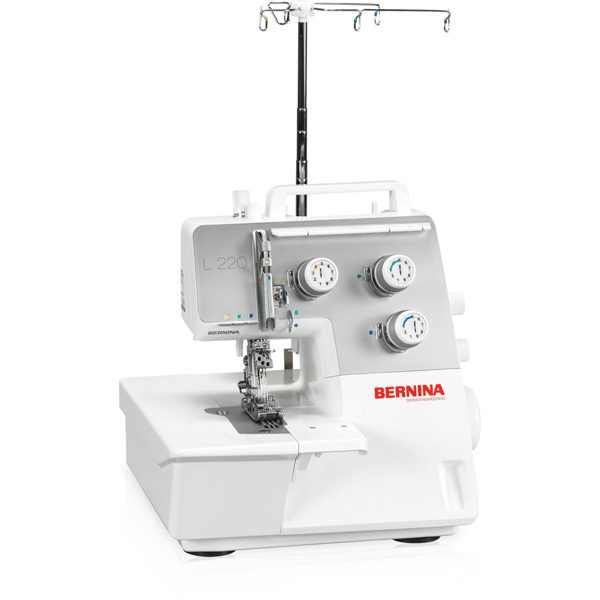
Used Products

What you might also like


7 comments on “Three Ways to Hem Knit Garments”
-
-
Yeah finally a garment sewing post !!!!!! Garment sewers embroidery too !! We All Sew puts too much focus on quilting – in my opinion
-
On the #1, it says to drop your needles into the fabric. Isn’t there just one needle? What length of stitch #9?
Coverstitch method #2. What stitch and what stitch length?
I’ve tried to do this before but not satisfied with how it feels and wears. Still trying to learn this.-
Yes, there is only one needle. Sorry for the confusion there! As for the #9 stitch length, that depends on your fabric, so test with some swatches first. If you do not like the super stretch stitch, just try a regular zigzag with a 1.5 length and 5 width, to start. For the coverstitch, it depends on what you don’t like about it, and it also depends on your fabric. Again, grab some swatches and compare the chainstitch and 3-thread coverstitch (for example) to see what feels best. It will depend on your project, so it’s all about trying things out!
-
-
another question about hemming with the serger….the cutting blade isn’t mentioned. Do you engage or disengage?
-
That is your preference! Some prefer to leave the blade engaged so it trims when needed and creates a nice, clean finish. If you are worried about accidentally cutting into your project, then you can turn off the blade.
-
-
I’m looking for tips on coverstitching over the seams. My presser foot gets caught on the thick seam and won’t move the fabric properly.
Leave a Reply
You must be logged in to post a comment.

There is no mention of using a double needle in the instructions for coverstitch. May want to define round hem for beginners