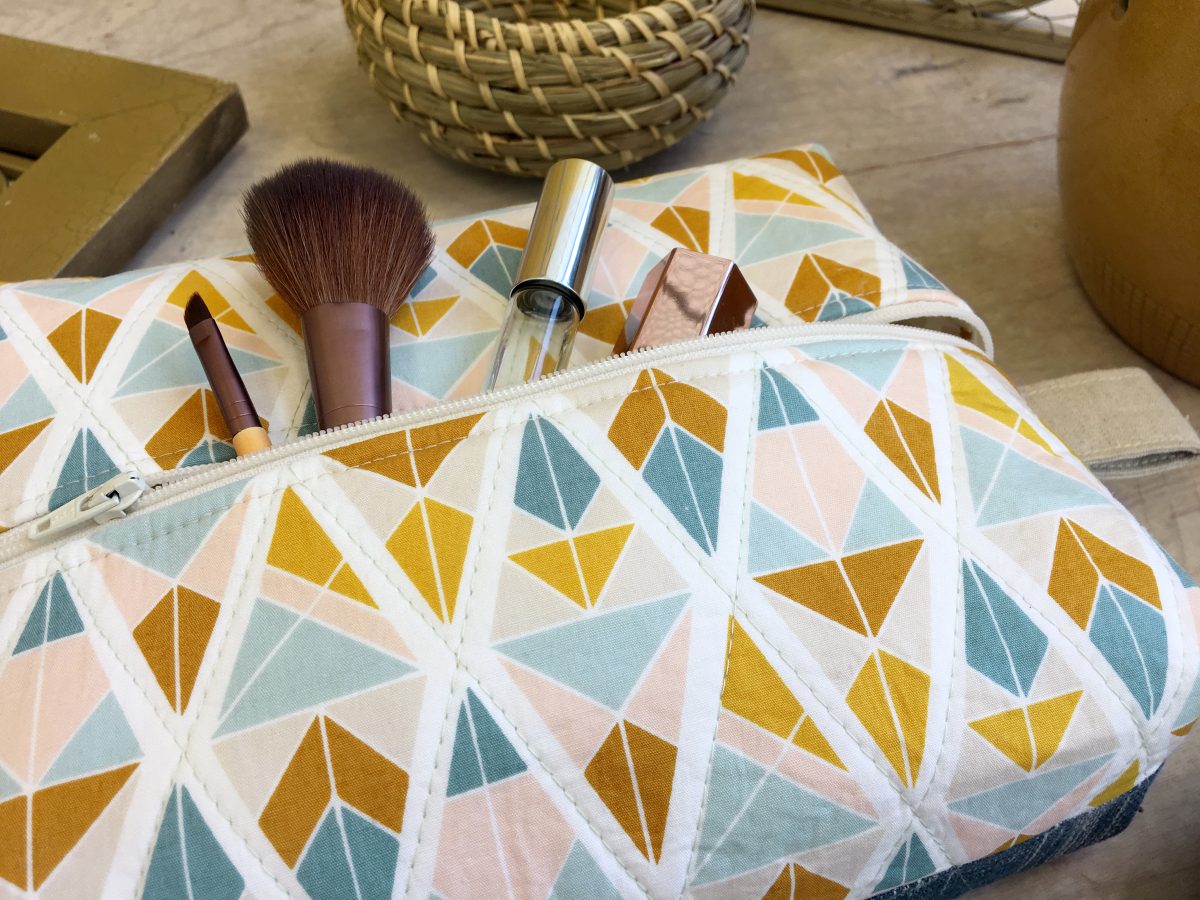
Vinyl Zippered Pouch Tutorial
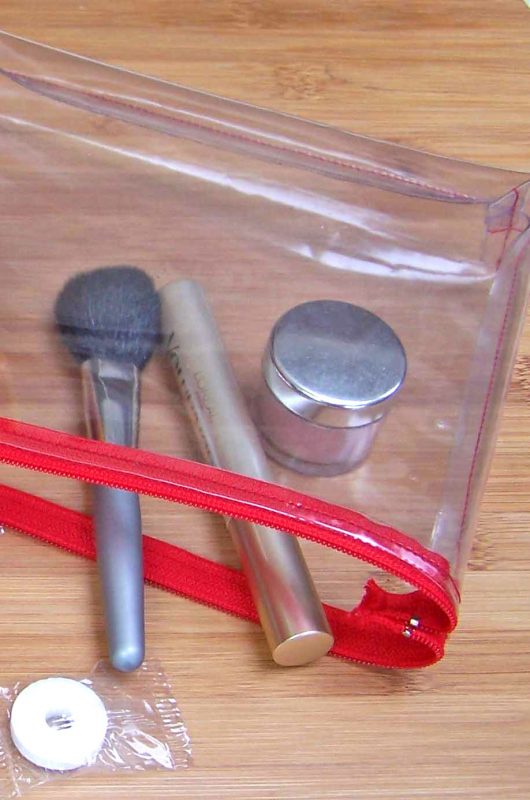
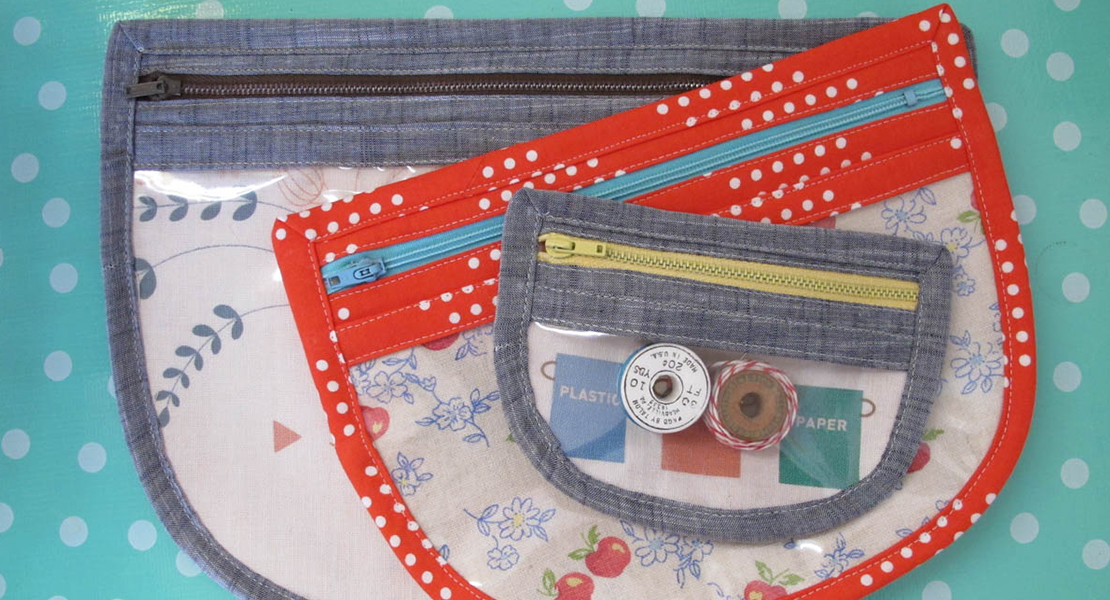
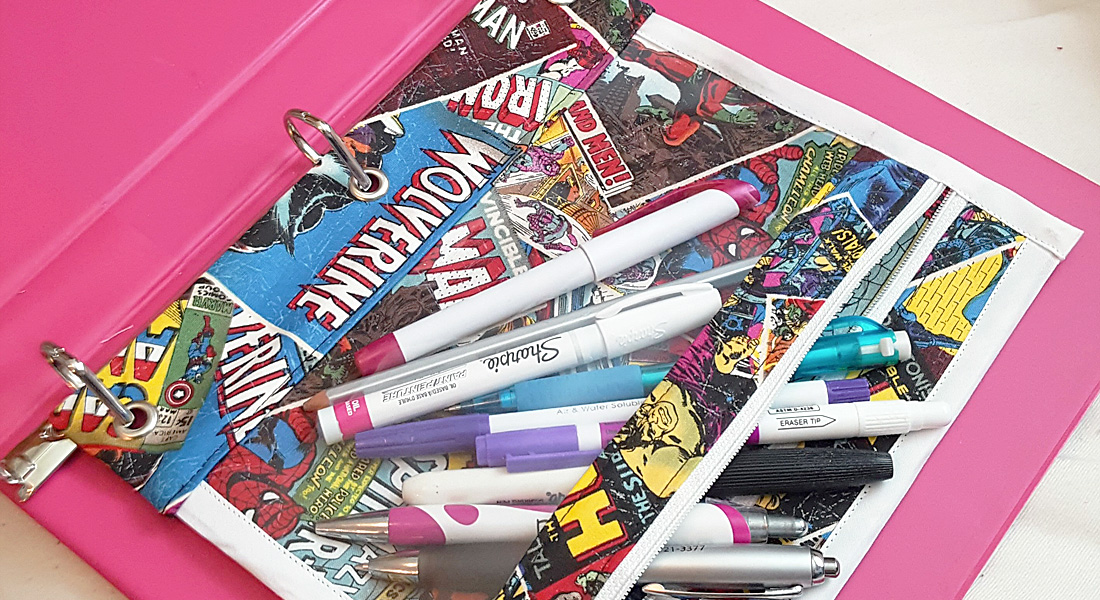
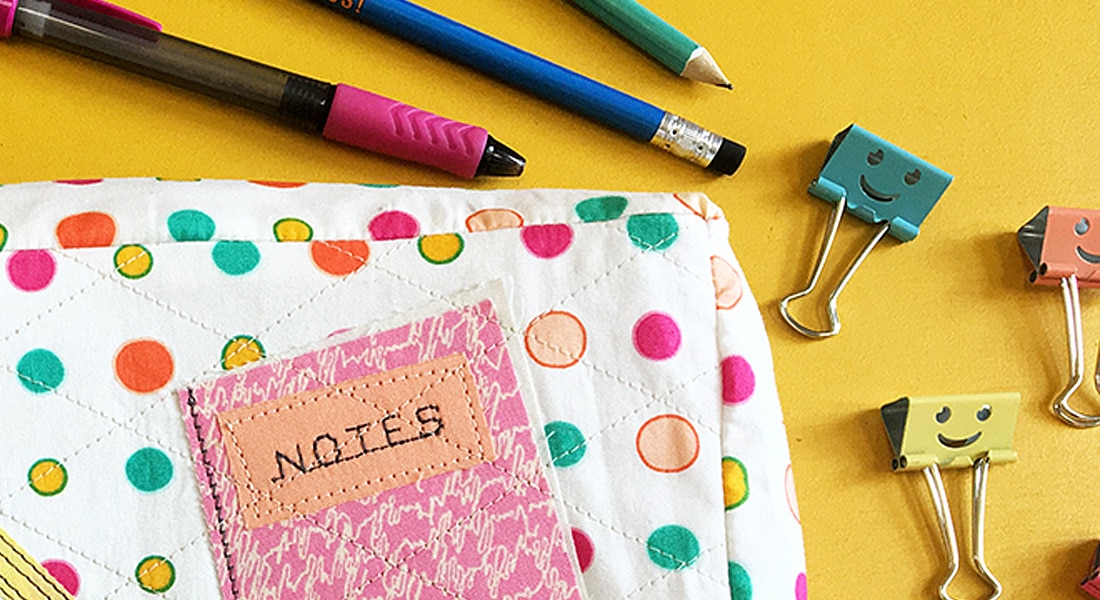
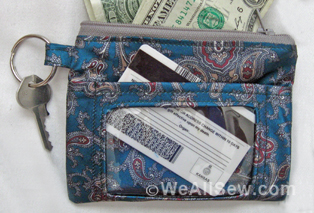
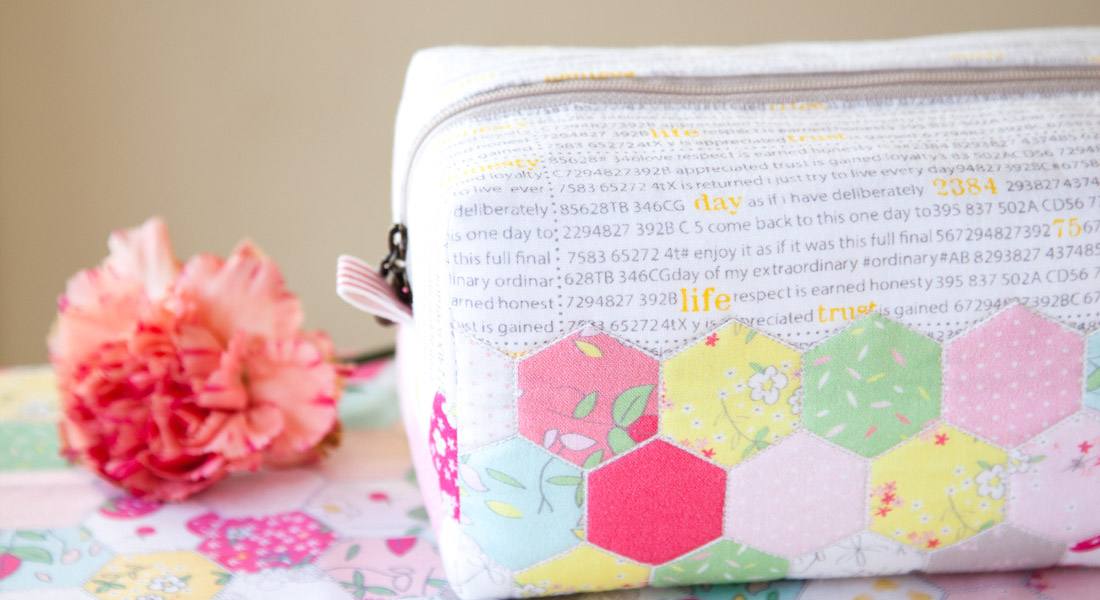
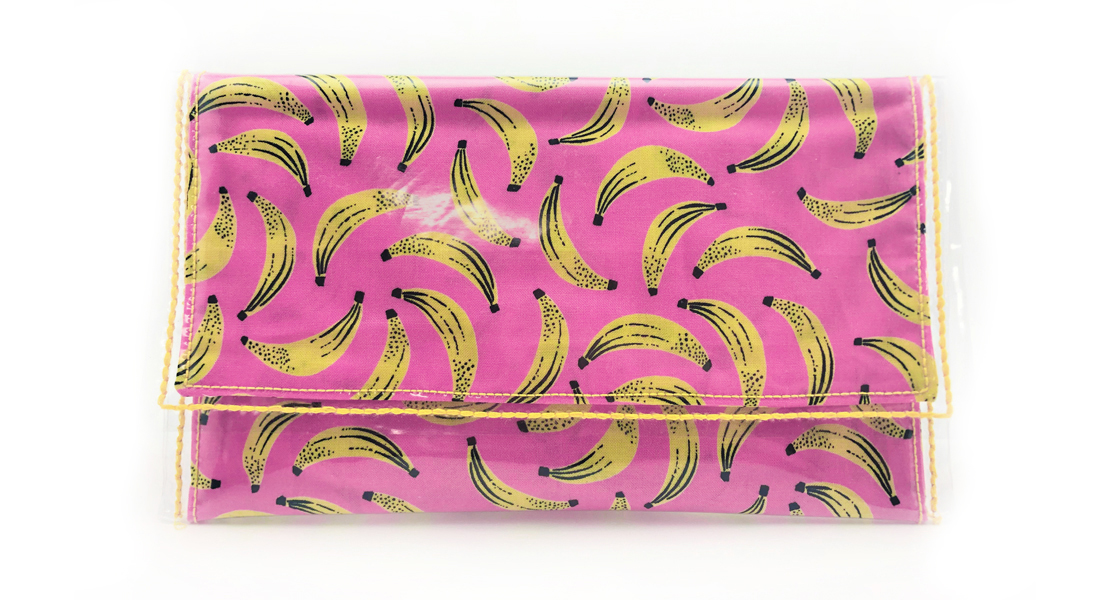
These Vinyl Zippered Pouches by Nancy Mahoney finish off at 6″ x 8″ and are great for all kinds of small items—make-up, travel-sized toiletries, and/or quilting supplies.
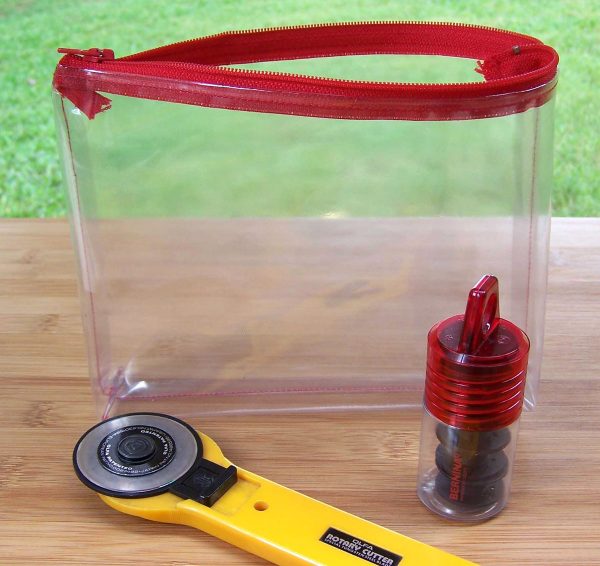
These bags are a snap to make and super easy to re-size. I love vinyl bags because I can easily see what’s in each bag. The construct is so simple, you’ll want to make more than one!
Materials for Vinyl Zippered Pouch:
- 1/4 yard of clear vinyl
- 9″ zipper (bright colors are fun as you’ll easily see the zipper through the clear vinyl)
- Thread to match zipper
- Zipper foot #54 with non-stick sole
- 9mm Stitch Plate
- Wonder clips by Clover
- Chalk marker
Cutting
From the vinyl, cut:
2 rectangles, 7″ x 9″
Sewing the Vinyl Zippered Pouch:
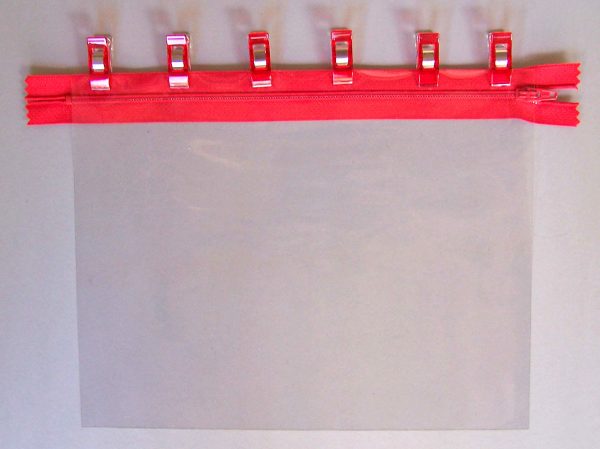
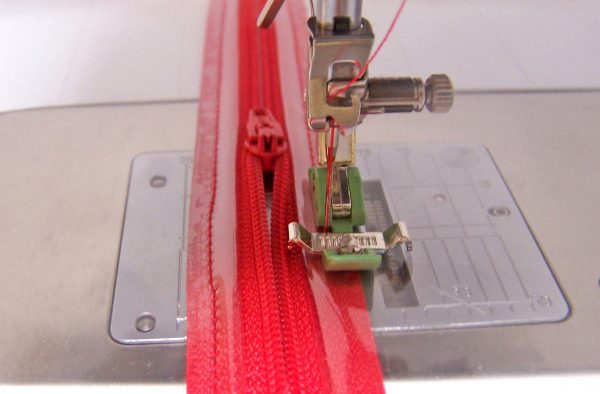
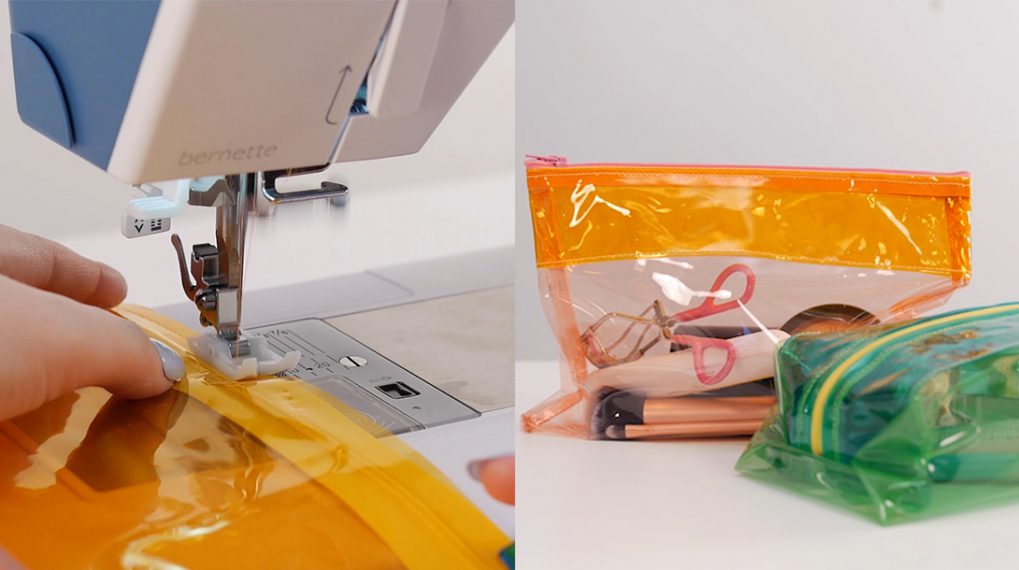
Place a vinyl rectangle on a flat surface, with the long edges at the top and bottom. With the zipper closed and right side up, place the zipper at the top of the rectangle, aligning the top edges. Use Wonder clips to hold the pieces in place. Do not use pins, which will leave permanent holes in the vinyl.
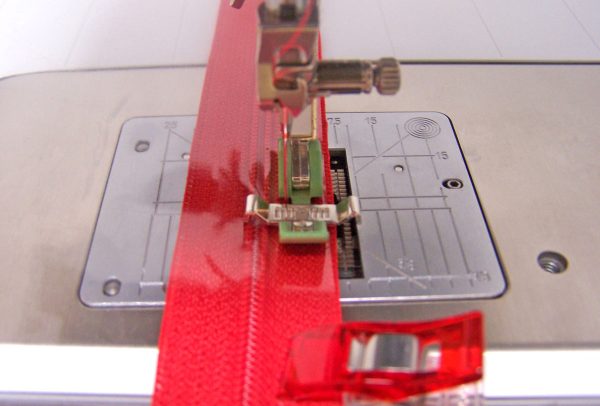
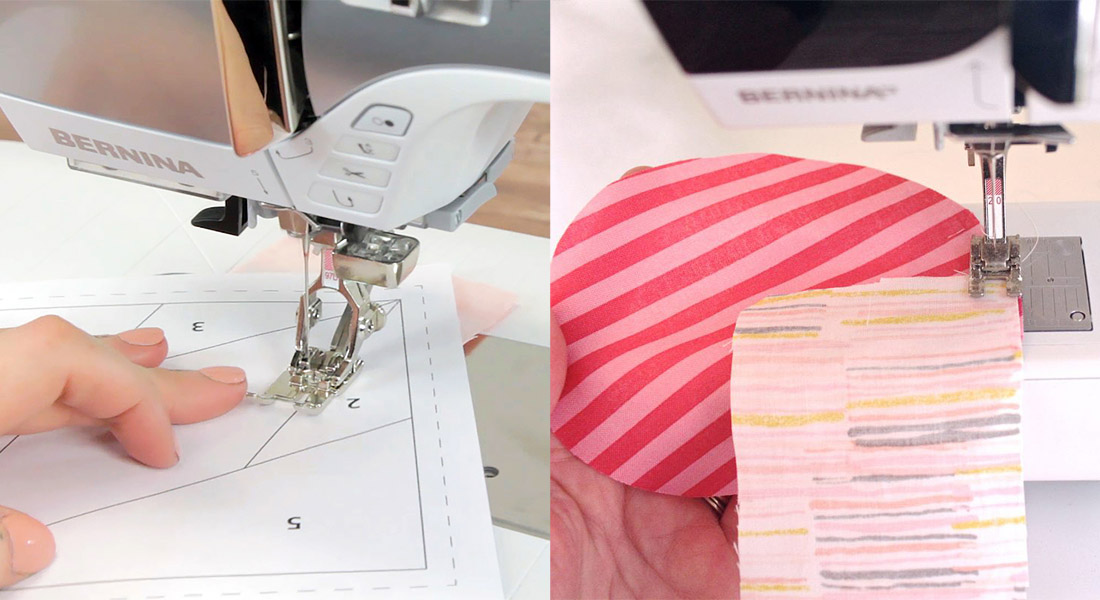
Install a 9mm Stitch Plate and the Zipper foot #54 with non-stick sole on your machine. Set your machine to use a longer stitch length of 3.0mm to avoid creating a perforation in the vinyl that might end up tearing at the seam. Move the needle position all the way to the left. Starting at the bottom of the zipper with a backstitch, sew along the top edge of the zipper, as close to the teeth as possible. Stop stitching about 3″ from the zipper slider, leaving the needle in the down position. Raise the presser foot and move the zipper slider behind the presser foot. Lower the presser foot and continuing sewing, stopping with a backstitch.
In the same way, sew the remaining vinyl rectangles to the opposite side of the zipper, making sure the rectangle sides are aligned with the previous half.
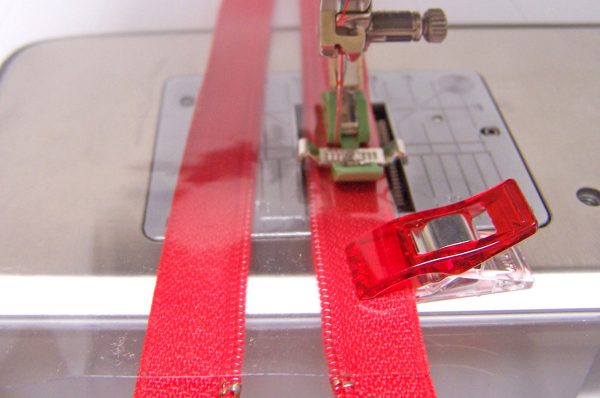
Finger-press the vinyl rectangles up and away from the zipper. Do not use an iron. Topstitch a scant 1/8″ from the seam on both sides of the zipper, starting and stopping with a backstitch. You’ll need to move the zipper slide out of the way in the same way as before. Unzip the zipper halfway. You’ll be turning the bag inside out through the open zipper, so you don’t want to forget this step!
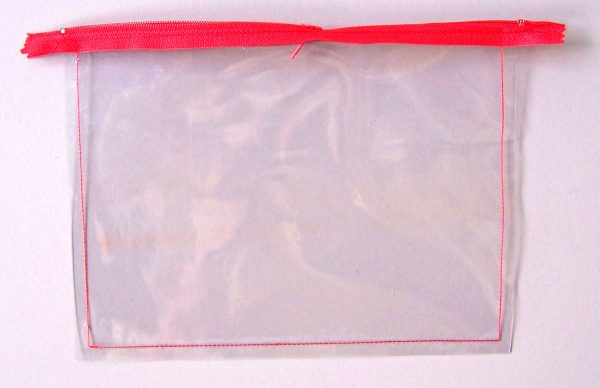
Align the edges of the vinyl rectangles, right sides together. Use Wonder clips to hold the rectangles in place. Using a 3/8″ seam allowance and starting with a backstitch, sew down one side, across the bottom, and up the other side, stopping with a backstitch.
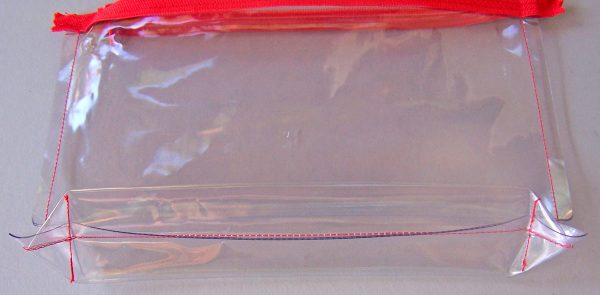
To box pleat the corners, with wrong sides out, align the side seam on top of the bottom seam. Measure 3/4″ from each corner and draw a line perpendicular to the seam using a chalk marker. Sew on the marked line on both corners of the outer bag. Trim 1/4″ from the stitched line. Trim the ends of the zipper, leaving about 3/8″ beyond the vinyl. Pull the bag right side out through the open zipper.
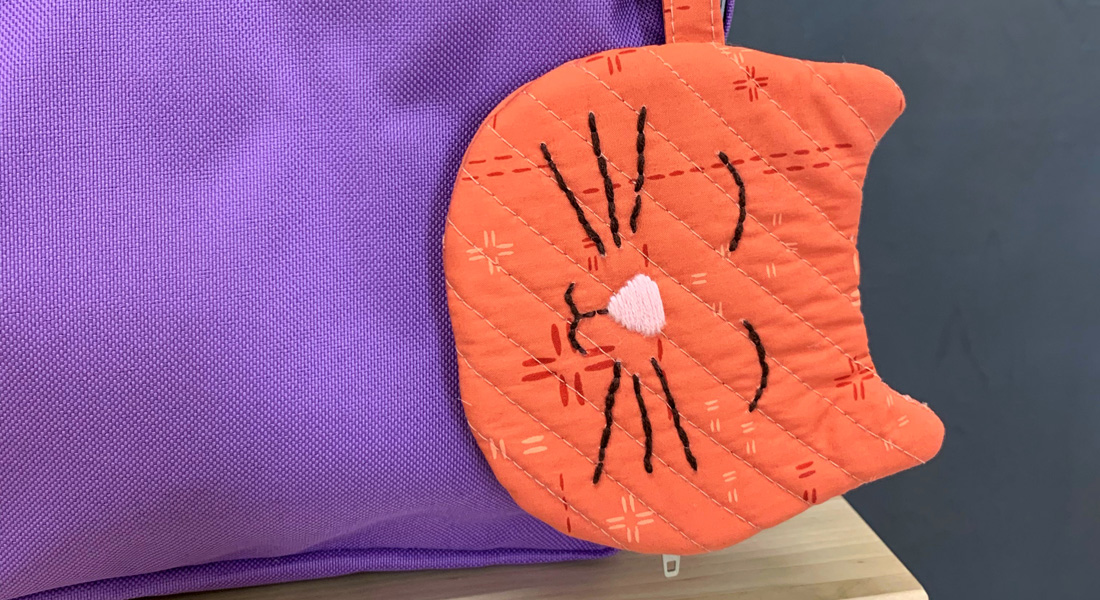
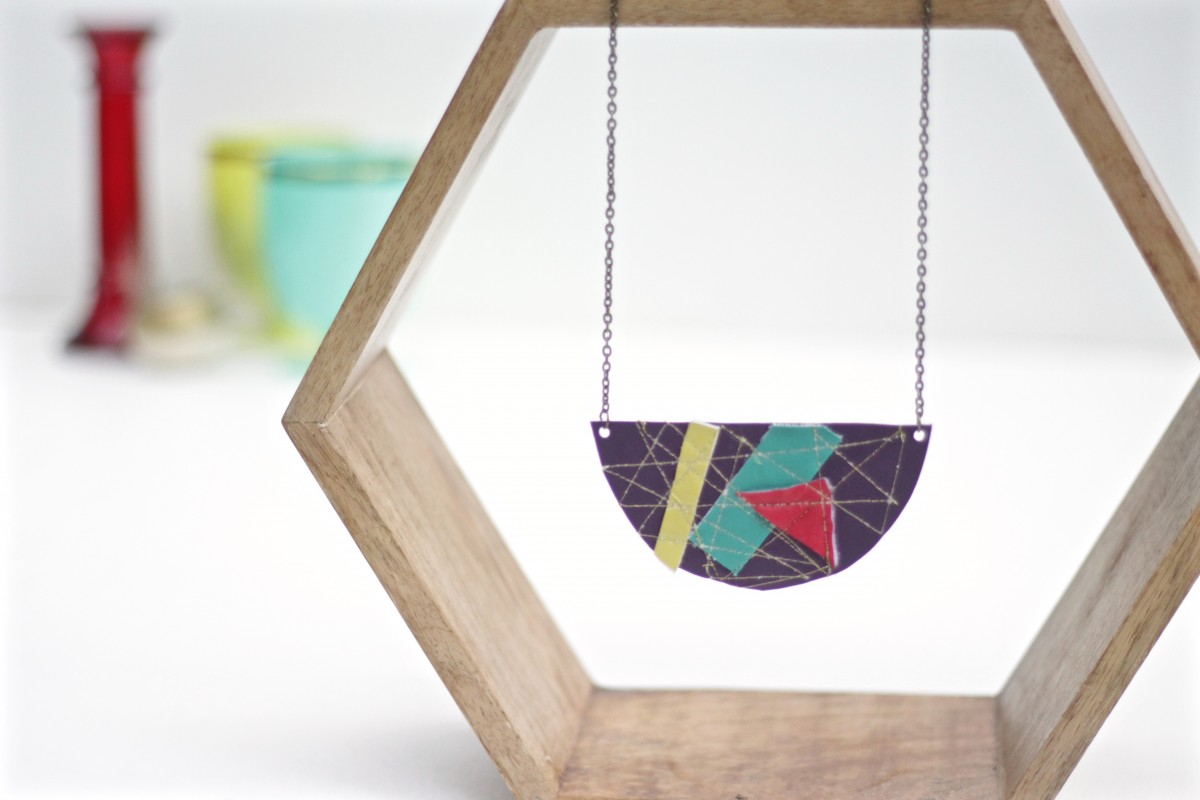
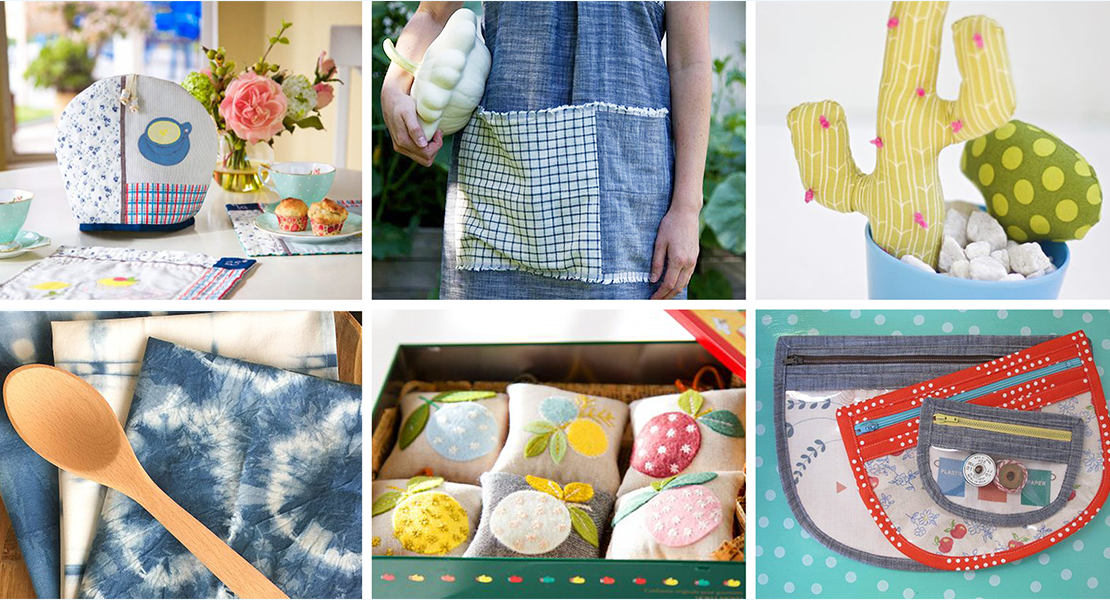
What you might also like


7 comments on “Vinyl Zippered Pouch Tutorial”
-
-
Thanks for the tips! I’ve sewn vinyl on my Bernina before by just covering the foot with tape and using tissue paper where needed – not ideal! Happy to find a tutorial that recommends the right foot and plate for my machine.
Would love to see a similar tutorial with bias binding that covers the seams/zipper ends!
-
Definitely going to be using this pattern ALOT
-
Love this! What size needle is recommended? Thank you!
-
It would be great to use these to sort various colors of scraps for collage quilts. They would store easily and it would be easy to find the exact scrap you wanted. You could make them slightly larger if you wanted.
-
I’ve made similar bags for airline travel since they suggest ziplock bags to hold toiletries. Going on a trip one Christmas I made these for each member of the family, using a different color for each, and filled with 3 Oz size lotions, toothpaste etc (we we’re going on a long trip). I also added a wrist strap to match the zipper.
Leave a Reply
You must be logged in to post a comment.

Love this plan on making one!