Why Use Three Different Stitch Plates
Three Stitch Plates for Better Stitches
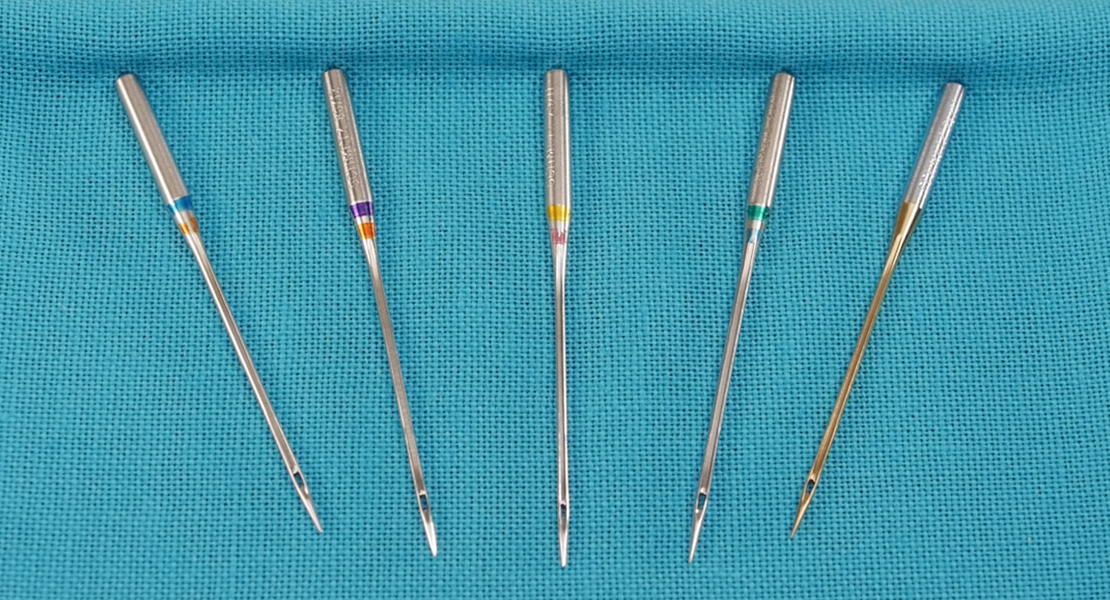
Pop Quiz: If I asked you to describe all the details on the stitch plate you last used on your sewing machine, would you remember all of them? (Most of us wouldn’t.) The stitch plate is something we put on and forget as we sew on our merry way. So, what’s special about a stitch plate? A lot—let’s take a closer look.
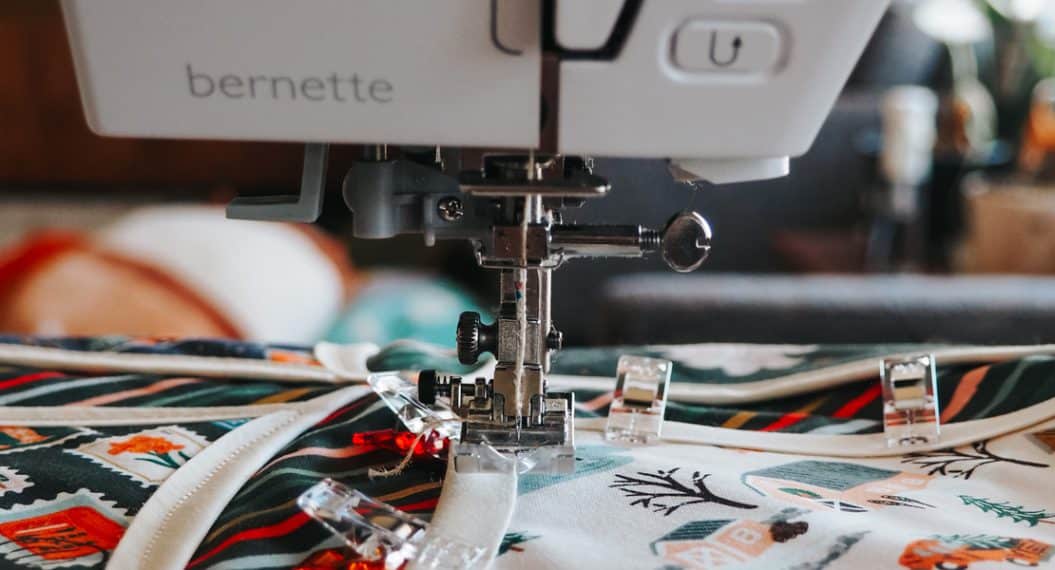
Your sewing machine goes through a set of motions to move the fabric along while making the needle poke a nice hole through the fabric, delivering a thread to the underside which will be intertwined with the bobbin thread by the hook. A machine in good working order will make everything happen in a timely manner (i.e. the timing of your machine). Assuming we have the right type and size of needle for the fabric and thread, we should be able to sew along without a glitch. However, there is more than meets the eye. Under the fabric, the stitch plate plays a crucial role. It is the flat platform supporting the fabric while the feed dog, presser foot and needle all do their thing.
Before diving into the details of what the stitch plate does, there are a couple of things to consider and keep in mind:
- When the needle enters the fabric, it pushes on it first until it finds its way through, creating a depression (think crater). The following image used to be printed in our machine owner’s manual to illustrate what a blunt needle does to fabric. While a good needle will generate a smaller crater, it still will generate one. This cratering effect, especially when sewing near a cut edge of the

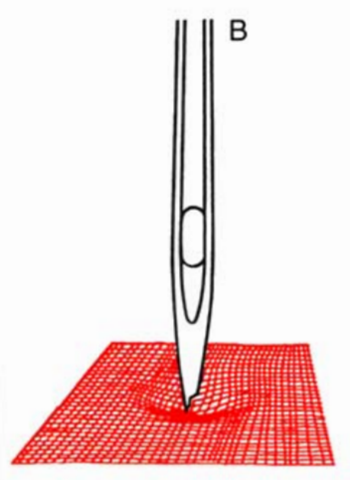
- The faster the machine runs, the harder the needle hits the fabric. There is no arguing with the physics of it. And faster often equals a deeper crater. So, following the information from Step 1 above, the harder the needle jabs at the fabric near a cut edge (say a 1/4-inch seam allowance) on a wide needle hole, the more you can expect the fabric to dip into the hole of the stitch plate.
You can already guess that there are needle plates to address this potential problem by restricting the needle hole opening. Let’s explore our options with this in mind—only use the needle plate hole size you need for the current application.
Now how about the stitch plate?
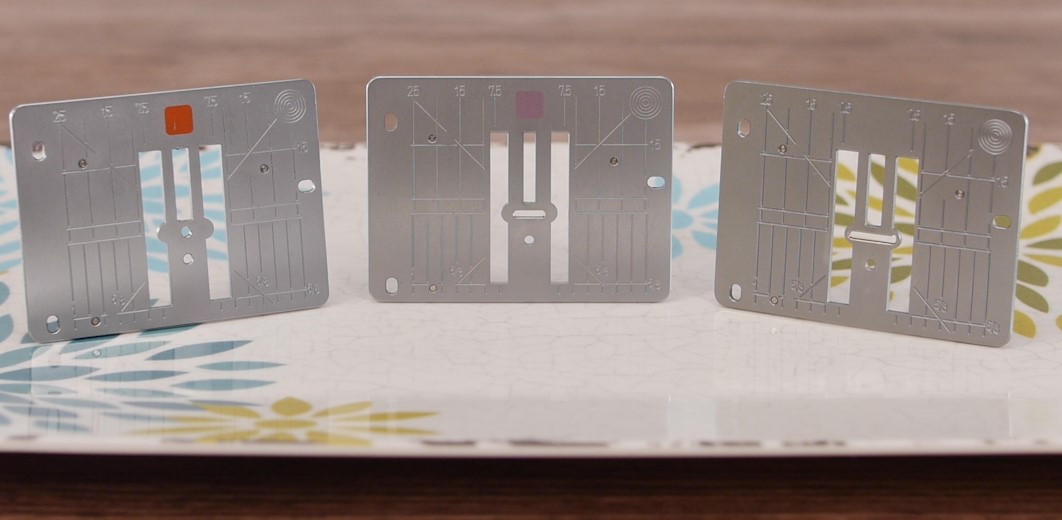
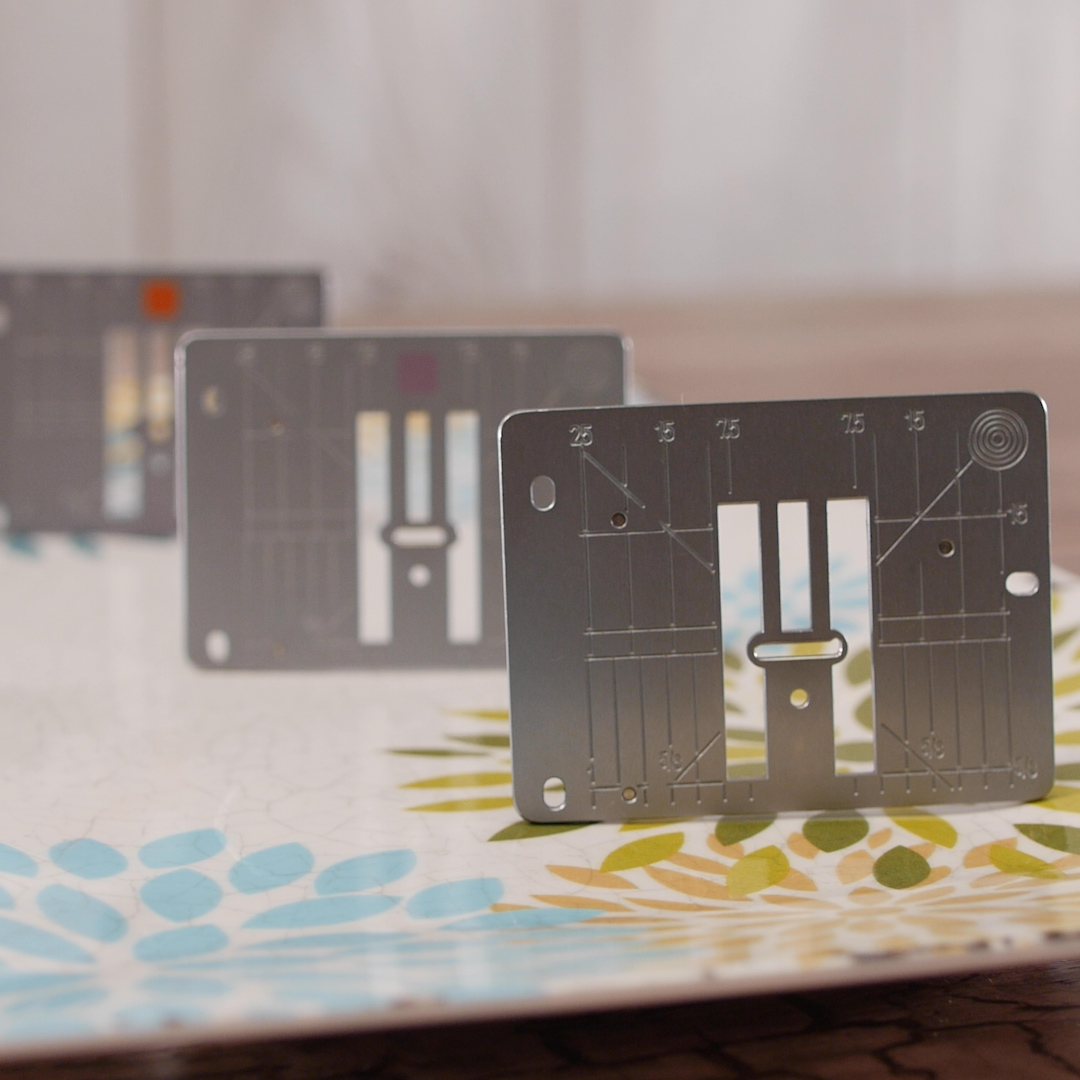
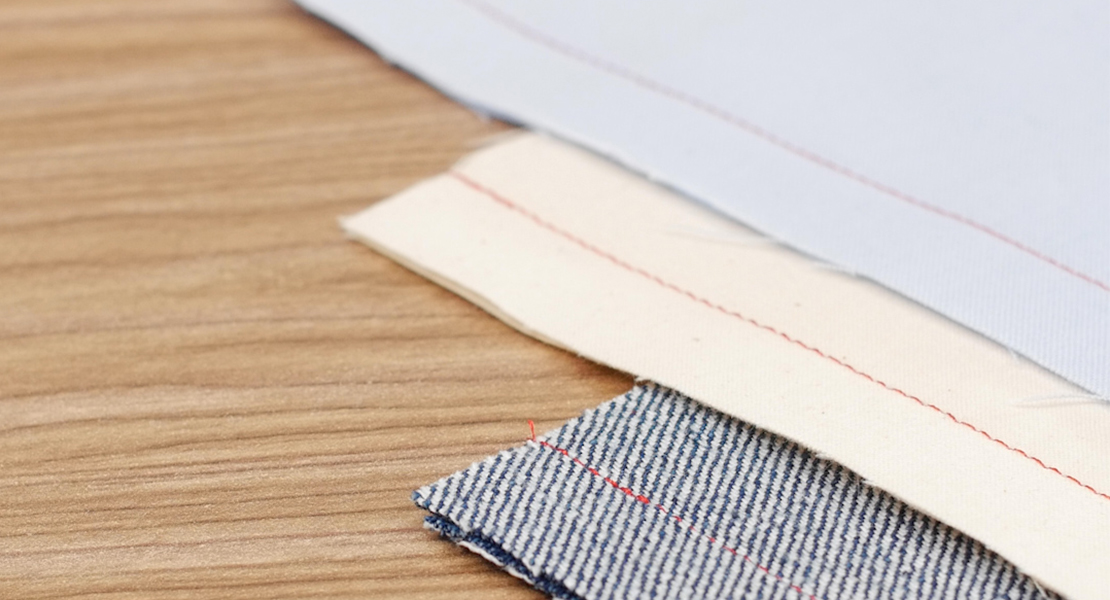
Other than the grooves marking seam allowances (in both metric and US measures) and diagonal lines on the plate, the needle plate’s key attribute is the type and size of hole for the needle to travel through and the resulting support it provides to the fabric. This will be the focus of this article.
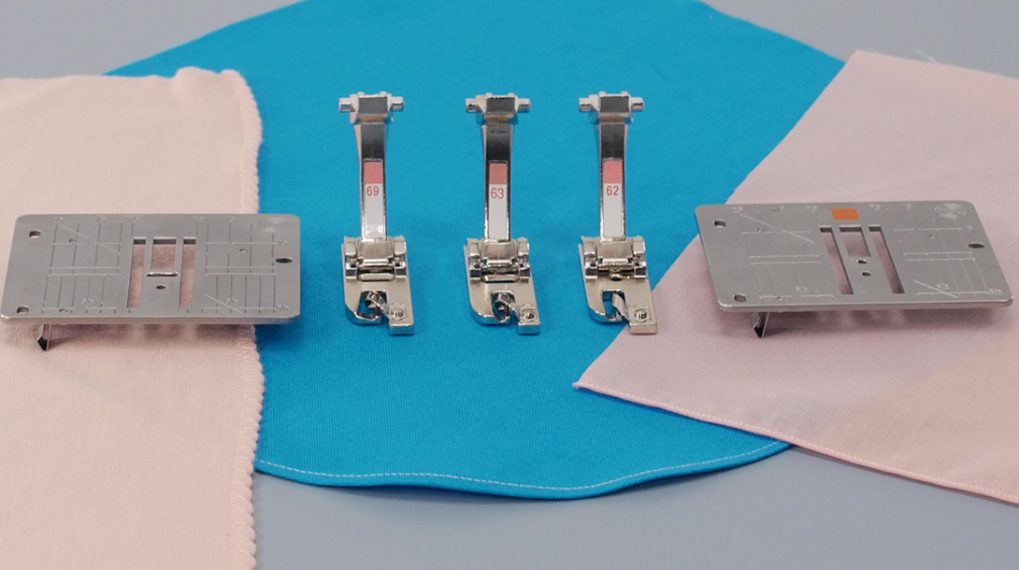
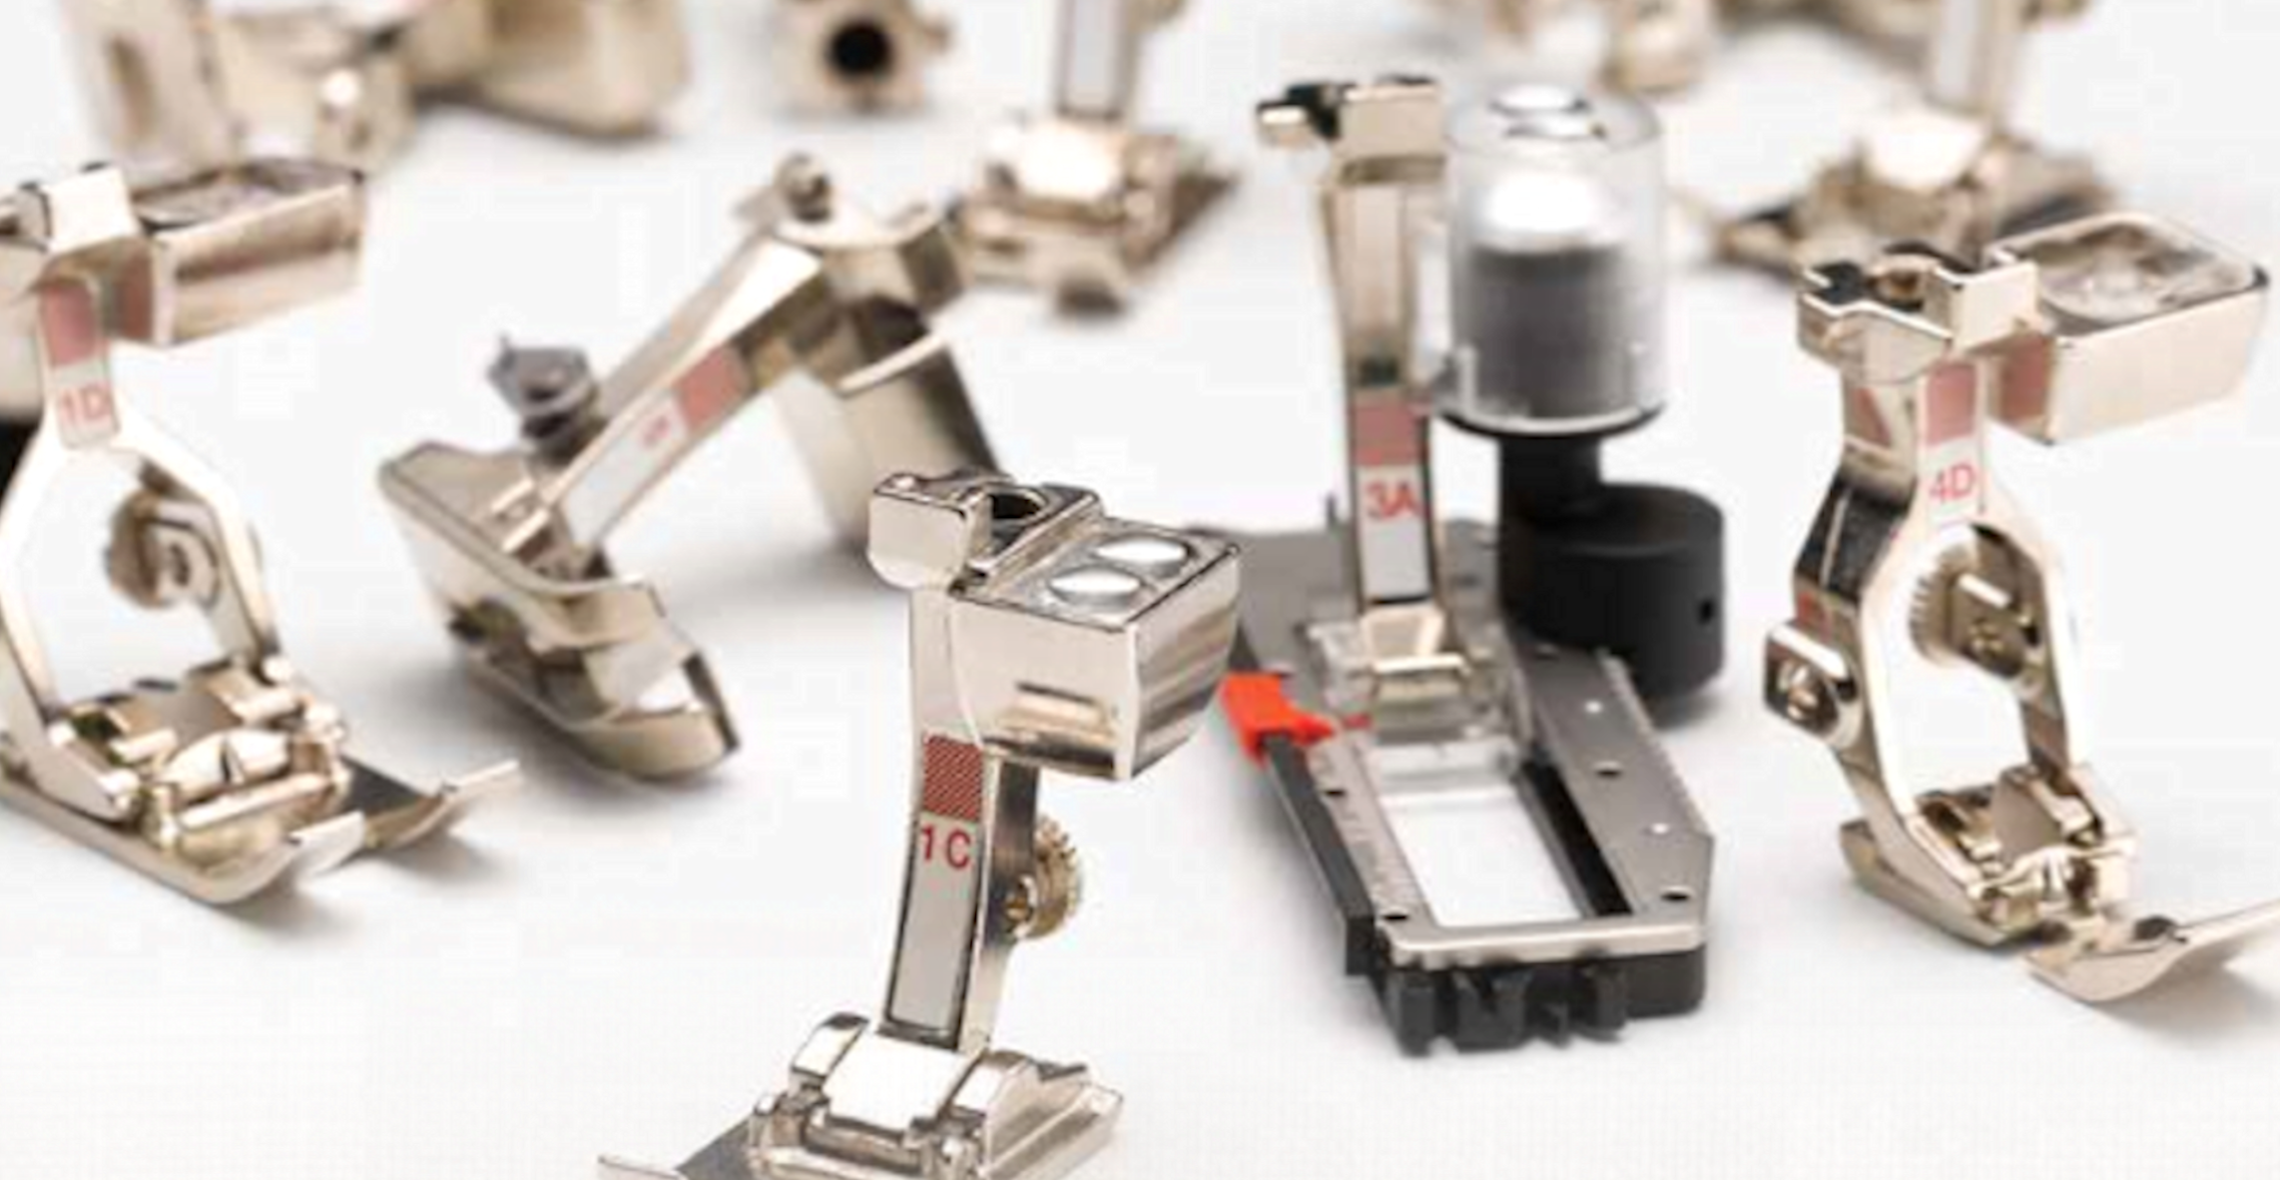
BERNINA has three types of stitch plates:
Available for all models:
- 0 mm Stitch Plate, also known as a Straight Stitch Plate (optional accessory on some models)
- 5 mm Stitch Plate (optional accessory for 9 mm stitch width machines)
Available only for models capable of 9 mm stitch width:
- 9 mm Stitch Plate
Here is a summary of what each plate is particularly suited for in your sewing and embroidery studio. Keep the following in mind—only use the needle hole size you need for the current application.
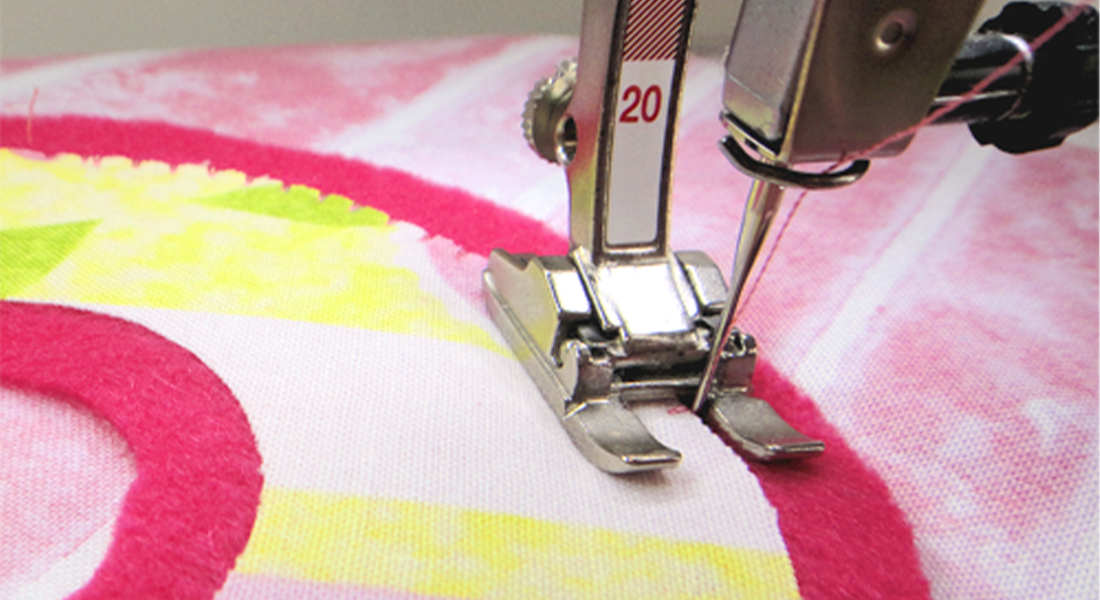
Straight Stitch Plate (0 mm)

- The Straight Stitch Plate is great for precise seams on fine and delicate fabrics (sheers, batiste, georgette, charmeuse, chiffon, etc.).
- The small hole leaves very little gap space around the needle, so the fabric doesn’t have a chance to crater and dip into the hole. So, the finest fabrics don’t get ‘eaten up’ by the machine (a term we all understand!).
- For quilters, using a fine sharp needle (e.g. Jeans 70 or 80) and a Straight Stitch Plate means precise seam lines.
Not only for fine fabrics…The 1-2-3 magic BERNINA Formula for extra heavy fabrics
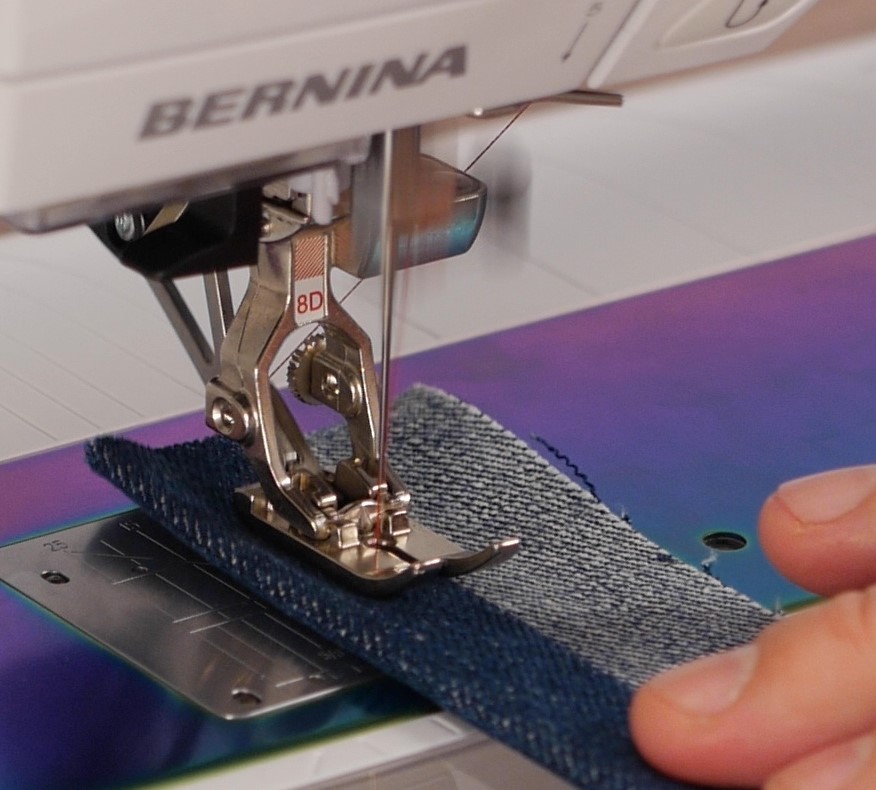
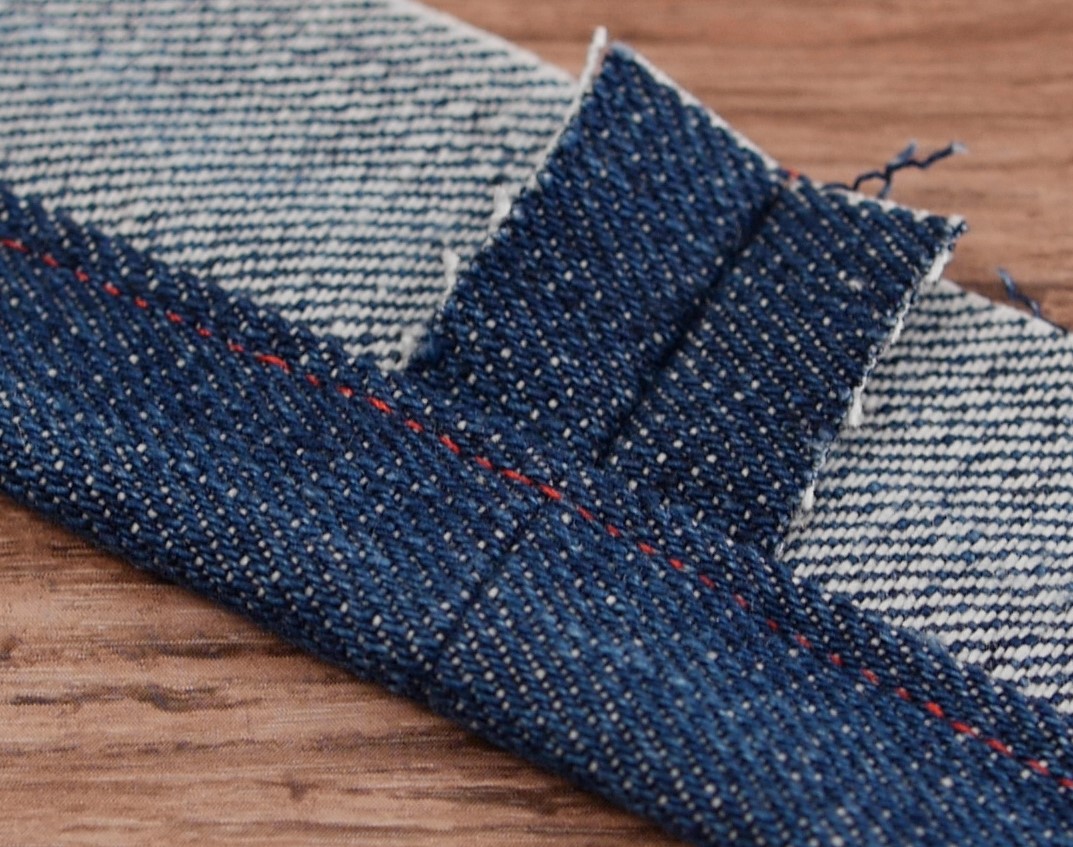
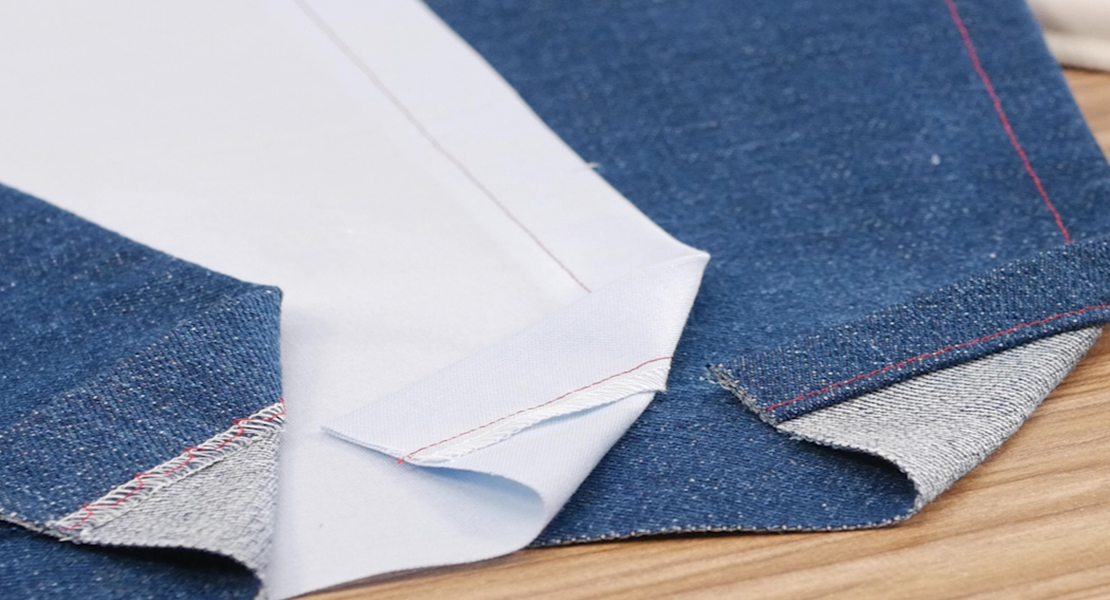
At the other end of sewing, there are heavy duty seams on multiple layers of heavy fabrics (e.g. hems in denim, boxing seams at the bottom of a multi-layered tote bag) where there is a risk of breaking needles, especially when the presser foot has to ‘climb’ over the cross seams where there is extra bulk. For this purpose, BERNINA has engineered the following recipe for success in every machine.
- Insert a Jeans or Topstitch needle size 100 or 110.
- Attach Jeans foot # 8/8D.
- Attach a Straight Stitch Plate.
So technically, there is actually no magic—just superb (and precise!) Swiss engineering. When the large sharp needle enters the multiple heavy layers, it will naturally flex a bit. On even layers, a size 100 or 110 needle is usually enough on its own, but when crossing bulkier areas without the above trilogy, the needle is likely to deflect and hit the stitch plate…and break. However, with the above 3 elements in place, you can expect the following:
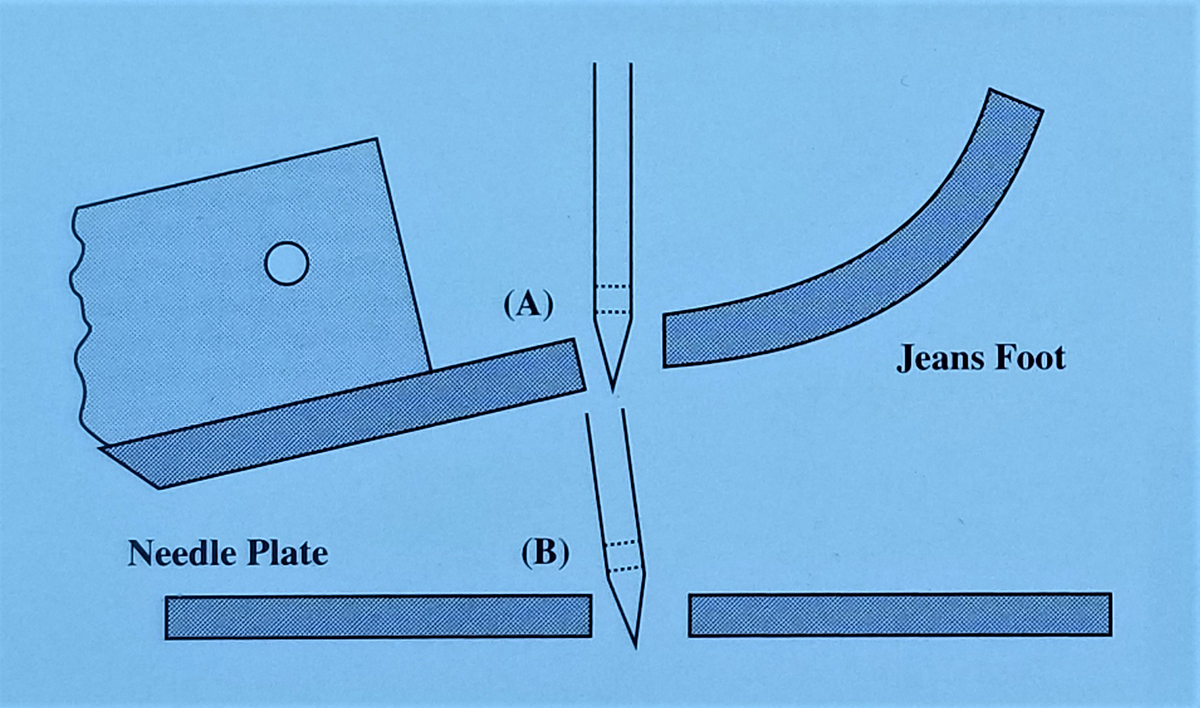
- Whenever the foot angles up due to extra bulk of the seam allowance, the needle will be guided first by the back of the hole in Jeans foot #8/8D, which is shaped like a funnel and which will force the needle (Point A in the diagram) to enter the stitch hole no matter what.
- As the needle passes through the stitch hole, it will be kept in alignment by grazing the front of the needle hole in the stitch plate (Point B in the diagram) since there is no wiggle room with a small straight stitch hole.
- This works even if you are going from 2 layers of heavy denim to 6 layers, such as when you sew a hem and have to climb over the cross-seam bulk.
- The result is a successful seam instead of a broken needle.
TIP: For best results, use a longer stitch length for such heavy applications (3-4 mm)
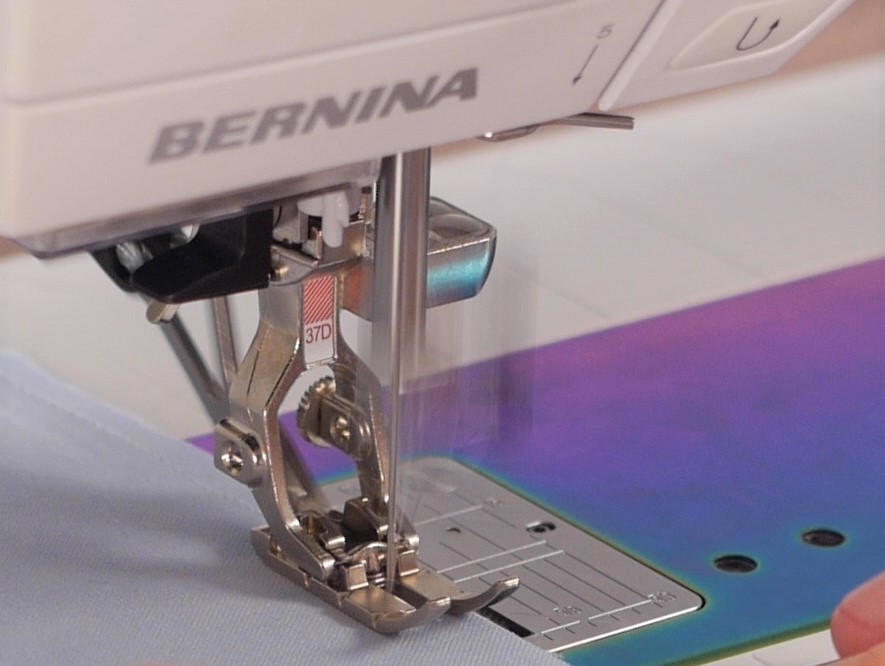
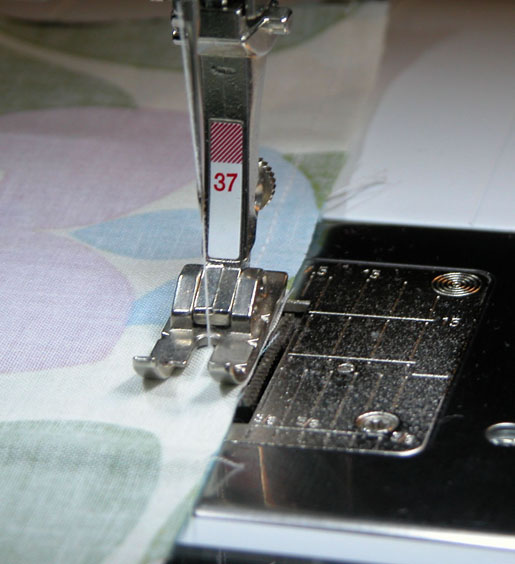
In Short…as a guideline, whenever I use a straight stitch foot (Jeans foot #8/8D, Patchwork foot #37/37D, Patchwork foot #57/57D, Patchwork foot #97/97D, etc.) I use a straight stitch plate. The foot and plate work in tandem to double my chances for success.
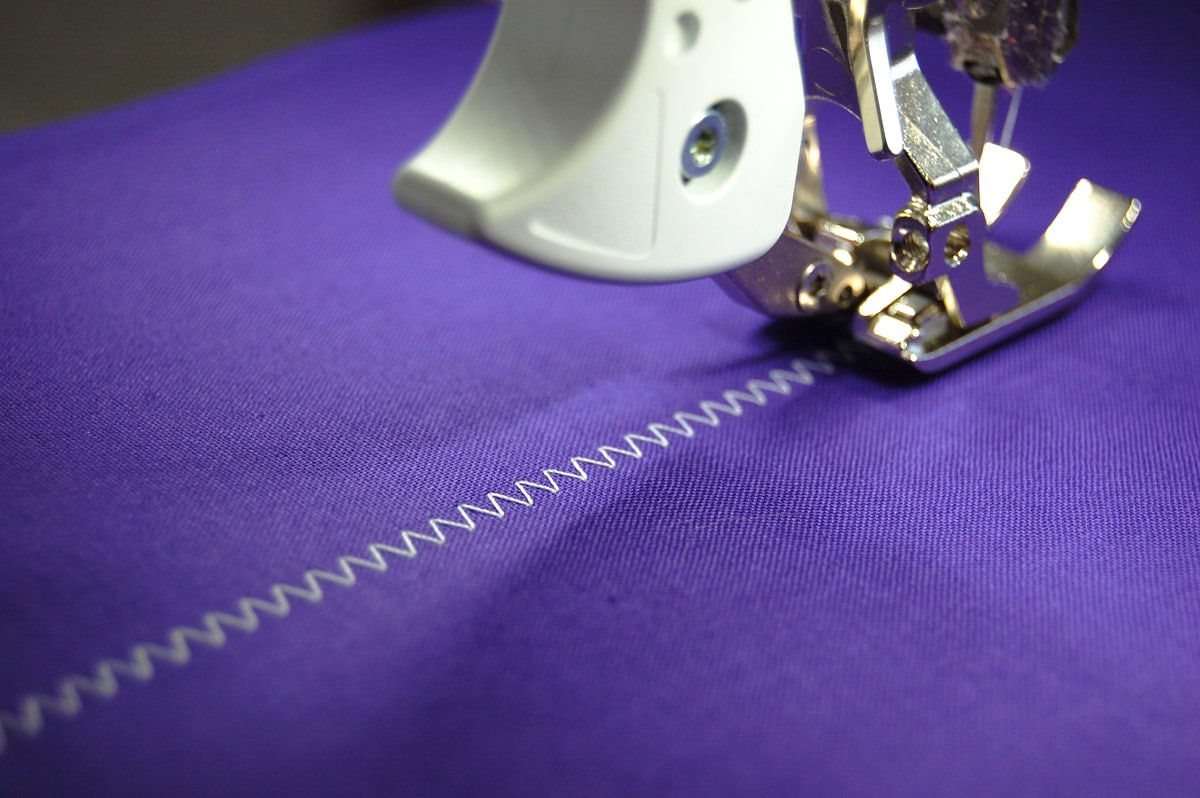
5.5 mm Stitch Plate

- This plate comes standard with all machines that have a maximum stitch width of 5.5 mm.For such machines it allows the user to stitch all practical and decorative stitches up to their maximum width of 5.5 mm.
For machines that are capable of a 9 mm stitch width, an optional 5.5 mm stitch plate helps better support the fabric when the actual stitch is less than 9 mm wide.
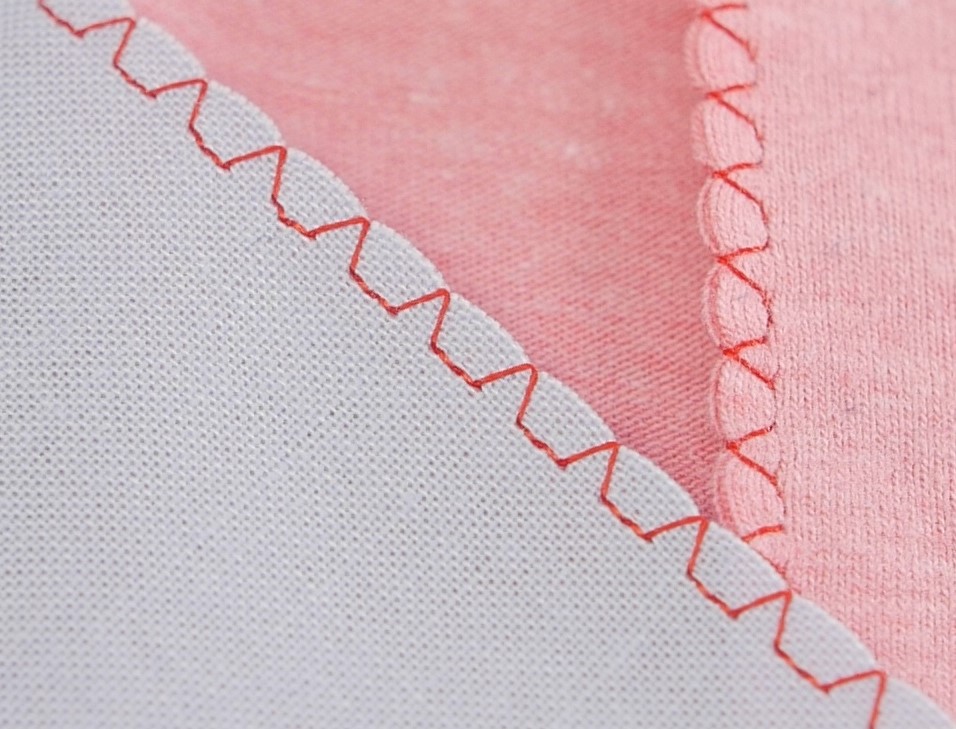
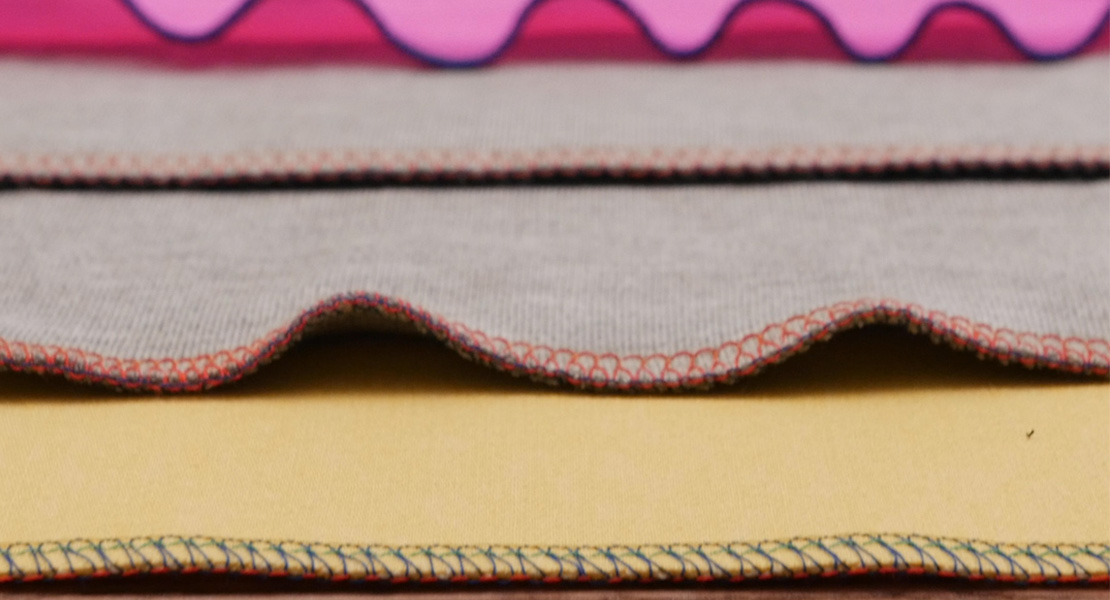
For example: When overcasting an edge with Vari-Overlock Stitch #3 and using Overlock foot #2/2A on a 9 mm machine, the stitch stich width is only 4.5 mm wide. By using a 5.5 mm Stitch Plate, the fabric is better supported so that the raw edge remains stable while the overcasting stitch is being whipped around. That’s a good thing!
When using a presser foot that only allows a stitch width maximum of 5.5 mm (any non coded foot such as Overlock foot #2A, Blindstitch foot #5, Cording feet #22/25, etc.), I use the 5.5 mm plate. It helps support and control the fabric all around the active stitching area.
9 mm Stitch Plate
- This plate comes as standard with all machines that have a maximum stitch width of 9 mm.
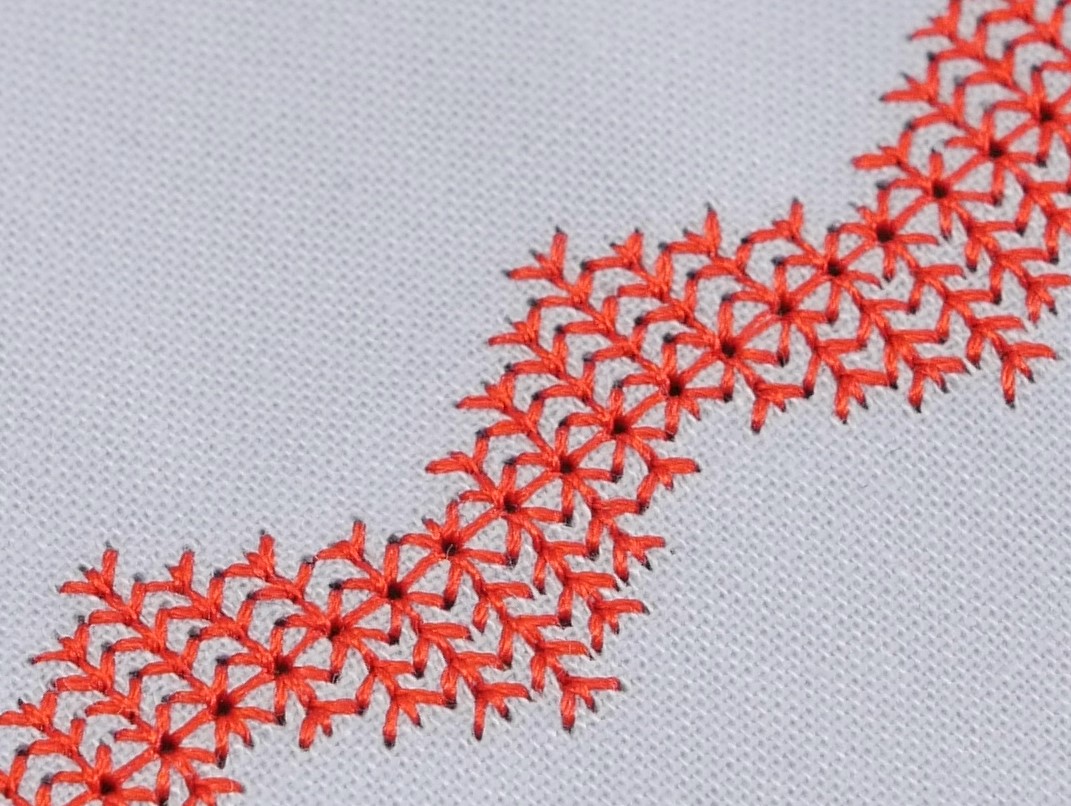
It enables maximum stitching width possibilities of such machines. - Hello decorative Stitches! One advantage of having 9 mm stitch width capability is to see decorative stitches and alphabets really pop.
- In order to achieve the maximum stitch width, the needle plate has to have the wide 9 mm opening, which means that the fabric support is further from the center needle position.
- TIP: For perfect decorative stitches that track beautifully on your project, place a layer of tear-away stabilizer under your fabric. Your stitch patterns will come out beautifully, and it will also make it easier to line up multiple rows for even larger patterns.
- If your fabric is delicate enough to be pushed into the stitch plate opening, either use a stabilizer under the fabric, or use a narrower stitch plate (0 or 5 mm) even for basic seaming.
Variations on a Plate:
Since the introduction of BERNINA CutWork Tool a few years ago, we’ve had to make allowances for the cutting tool, which resembles a needle stump with a blade at its tip. Since the diameter of the blade is a bit larger than a sewing machine needle, our engineers modified the Straight Stitch Plate by enlarging the hole slightly. The resulting plate is perfectly for both uses: straight stitch sewing and CutWork in embroidery.
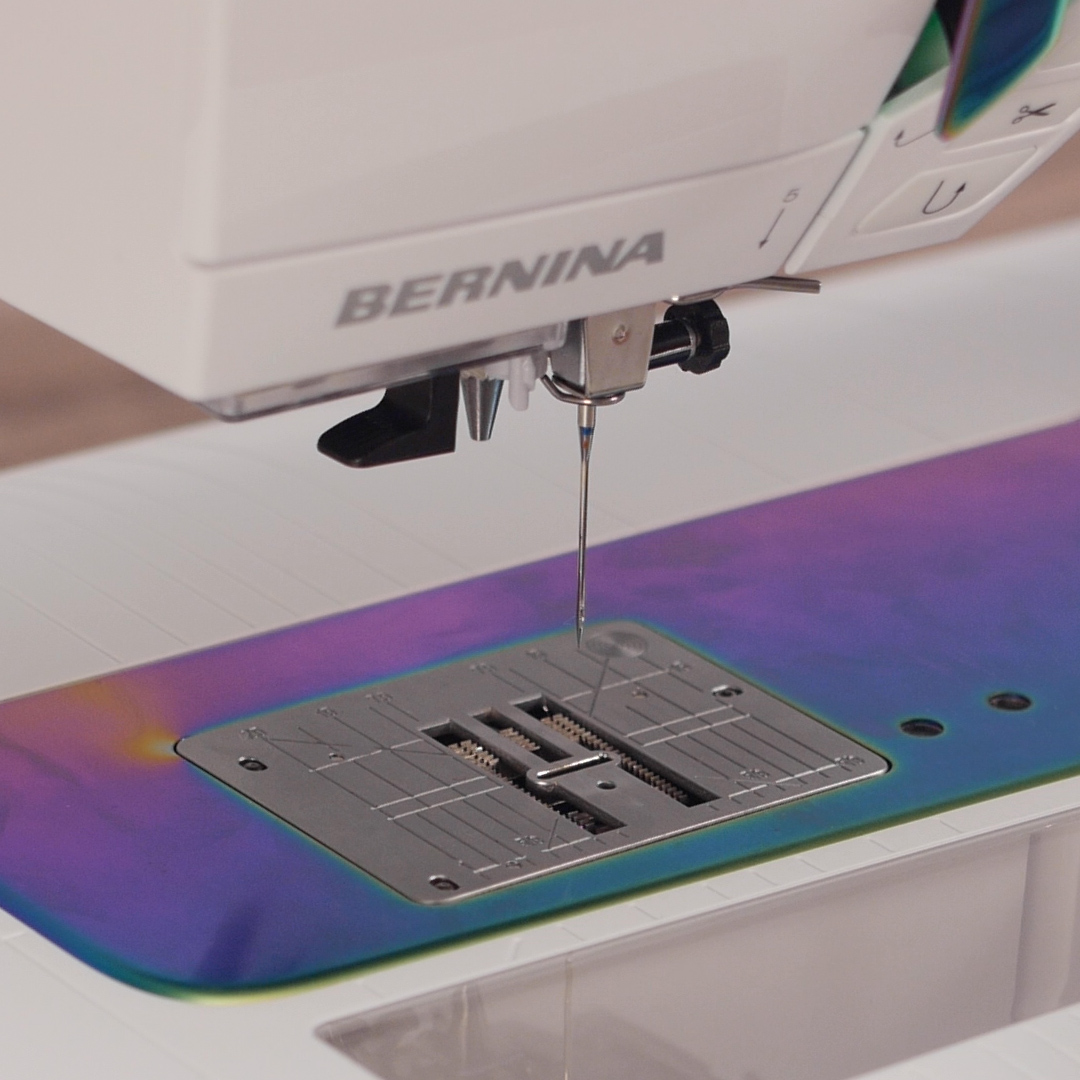
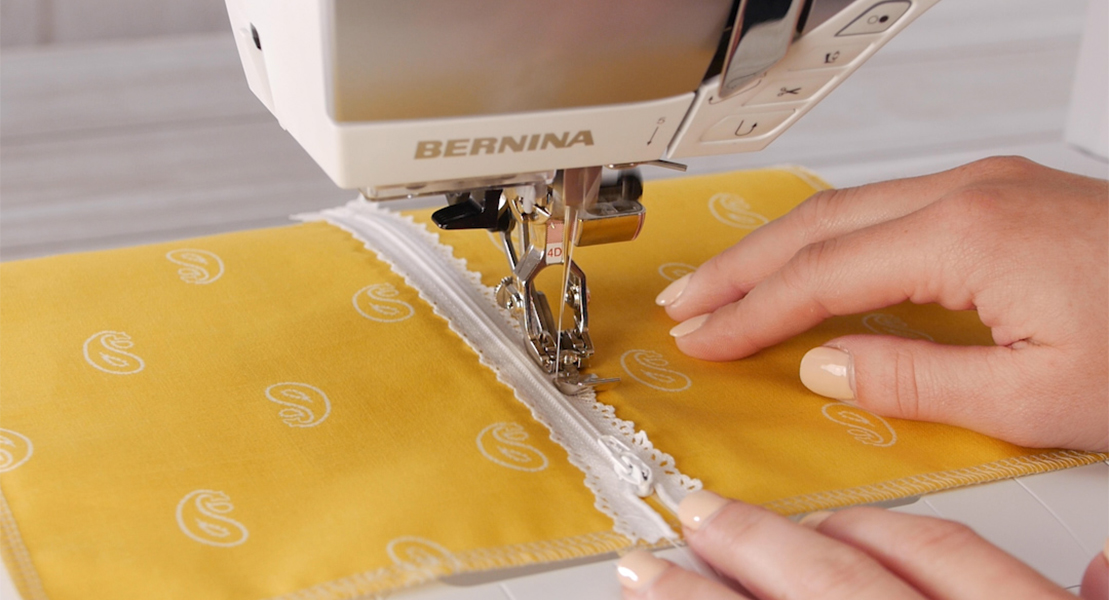
Now that we have a choice of stitch plates, all that’s left to do is to use them. When doing so, all current BERNINA models from the 4 Series and up, let you tell the machine what plate you are putting on the machine in the Stitch Plate Security Program. Simply mount the plate on your machine, but REMEMBER to indicate which plate is attached in the Needle Plate Security Program. It will help prevent broken needles!
Note: For the earlier BERNINA models that were the first to be able to use the CutWork Tool (like my beloved B 830), we initially had two separate stitch plates, one for Straight Stitch and the other for Cutwork. Since then, the two plates have converged into a single one labeled Straight and Cutwork Stitch Plate. So, while you may see both Straight Stitch and Cutwork Stitch Plate as separate choices in your Needle Plate Security Program, refer to the packaging for your stitch plate type and use that as your selection in the Security Program. Remember to change the stitch plate selection in your Stitch Plate Security Program every time you change your stitch plate.
For more info about BERNINA stitch plates, visit our accessories sections by clicking HERE! You will also be able to access information about specialty plates such as for PunchWork.
Before we go…
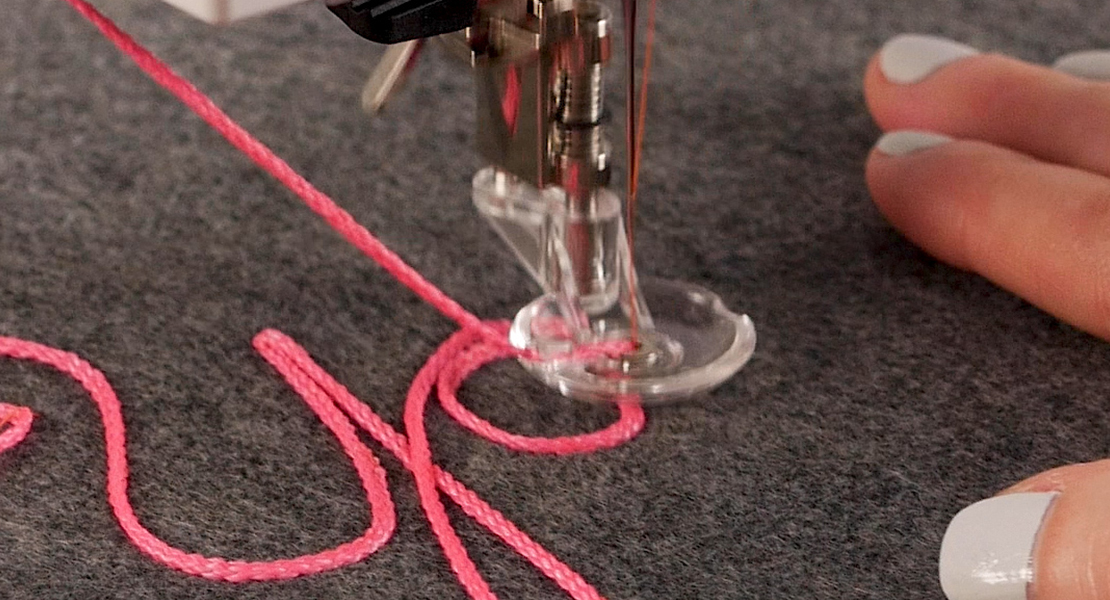
Did you notice? There is an extra hole in front of the needle opening. What is it for?

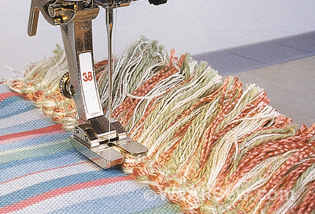
The extra hole is used to pass a cord through for techniques like corded pintucks
TIP: When using cord for pintucks, put the spool on the Free Hand System lever to keep the cord handy and to facilitate the spooling off of the cord.
The ‘extra’ hole is also used to position certain accessories like the Spanish Hemstitch Attachment # 47.
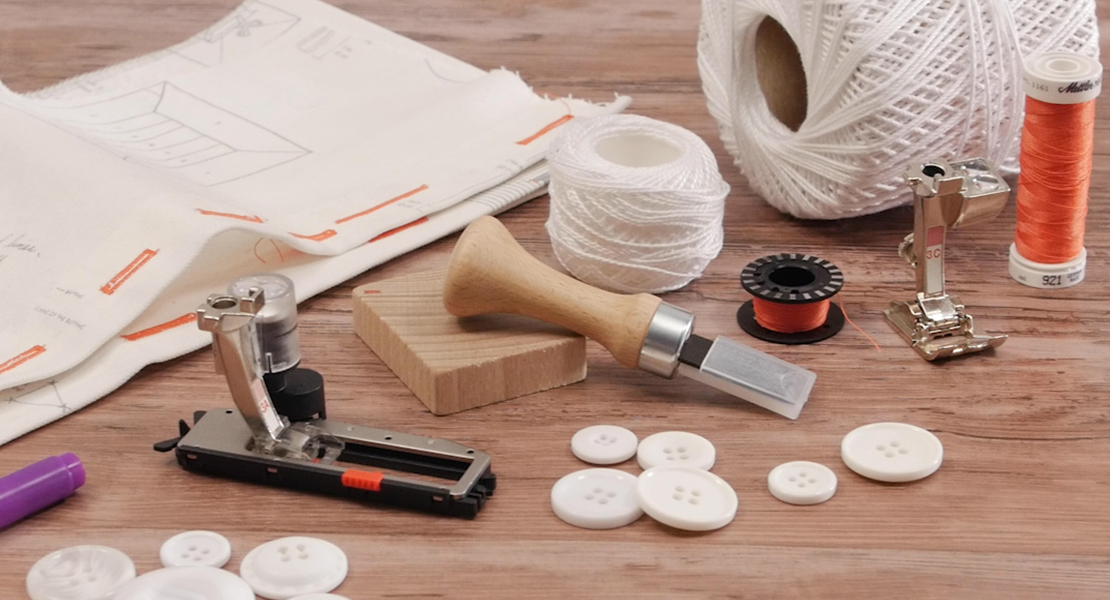
Used Products

What you might also like


12 comments on “Why Use Three Different Stitch Plates”
-
-
I like the look one gets with this process
Great video -
Thanks, Sylvain. Your articles are always interesting and informative.
-
I change out my plate often, especially when using decorative stitches. Nice having options.
-
The use of the straight stitch plate for heavy fabrics like denim was a revelation! My husband sews on such fabrics often, and loved your solutions to ease the accomplishment of this challenging task.
-
I observed that the diagonal lines on my stitch plate helped me know when to turn corners. When the corner of the fabric touched the intersection of the stitch width line and diagonal line I knew it was time to drop the needle and turn the fabric.
Did I make this up, or is this the intended use for the diagonal lines on the stitch plate?-
I never made this connection. Thank you so much.
-
Thanks so much Such a wealth of information
-
-
-
Sew glad I found this blog! I never noticed the extra hole in front of the needle hole to pass through cording. There is always something new and fabulous to learn about what these machines can do!
-
Never too old to learn something new!!Thank you!
-
Since my Bernina 440QE will not remind me which stitch plate I am using, this is what I did. I take the 5.5 mm plate and using a string hang it from my bobbin rewinder so it covers my stitch buttons. I cannot choose a decorative stitch without seeing the plate…no more broken needles when I use my straight plate. I love that I no longer get fabric stuck in the needle hole when I use my straight plate. Yes I know one can use a leader and ender piece of fabric when starting a seam, but a straight plate does work so much better especially when crossing over a seam to match your points!
-
I have read recently that a denim needle is a medium ball point needle. I always thought it was a sharp. I am referencing the information from the Schmetz needle web site and the article “Do you know your needle points?”
Leave a Reply
You must be logged in to post a comment.

Love this web site….Thank You !!!