Zipper Tips with Zipper Foot #4
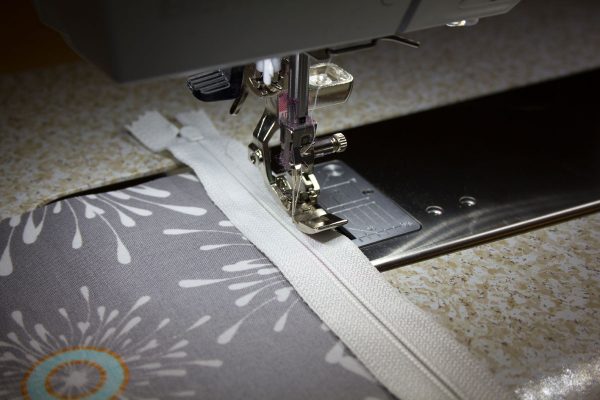
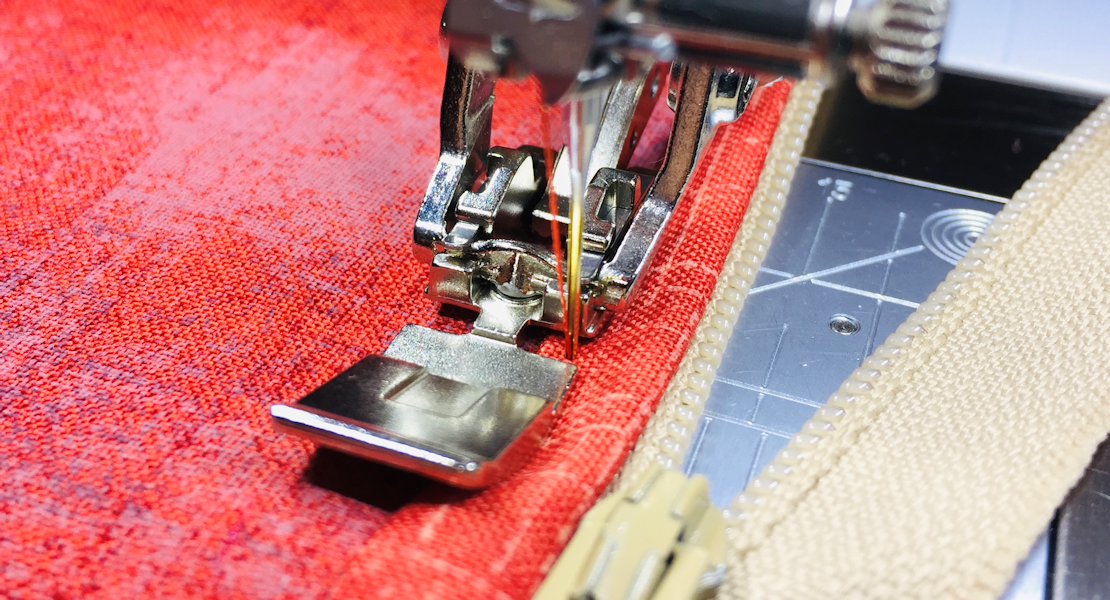
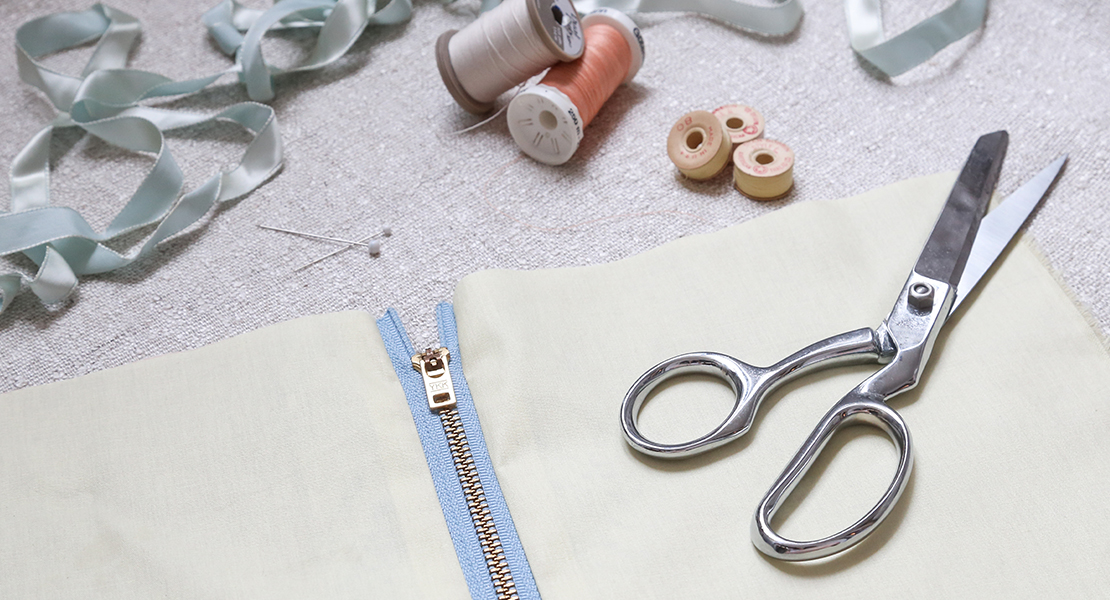
How can you get as close as possible to sew in a zipper? Use the Zipper foot #4/#4D which has been designed to straight stitch very close to an edge.
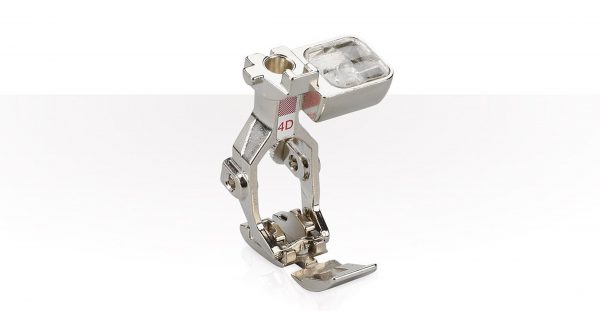
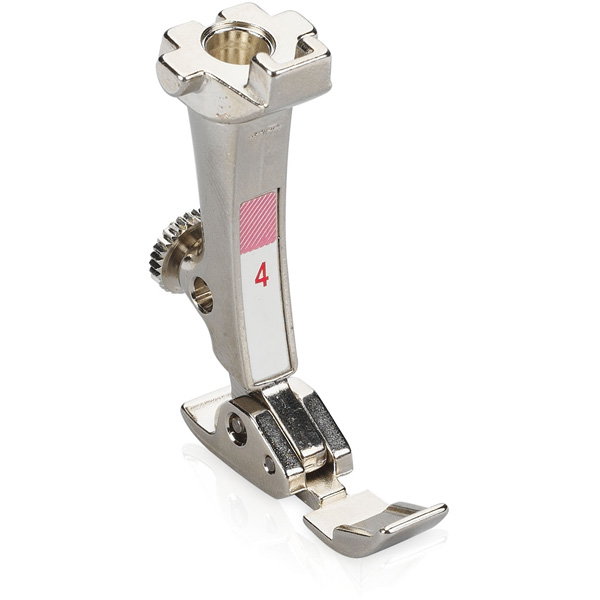
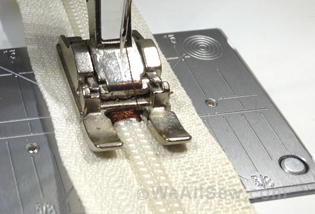
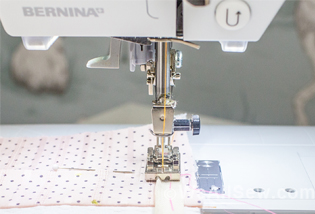
The BERNINA Zipper foot comes in two styles, the #4 is a regular version compatible with all models, and the #4D is for use with Dual Feed. The notches on each side of the foot allow the needle to sew close to the zipper while supporting the layers of fabric, and the needle is moved to the left or right position to align with one of the notches. Because the foot is stationary while the needle moves, the foot stays in contact with the feed dogs to offer stability and helping to avoid skipped stitches.
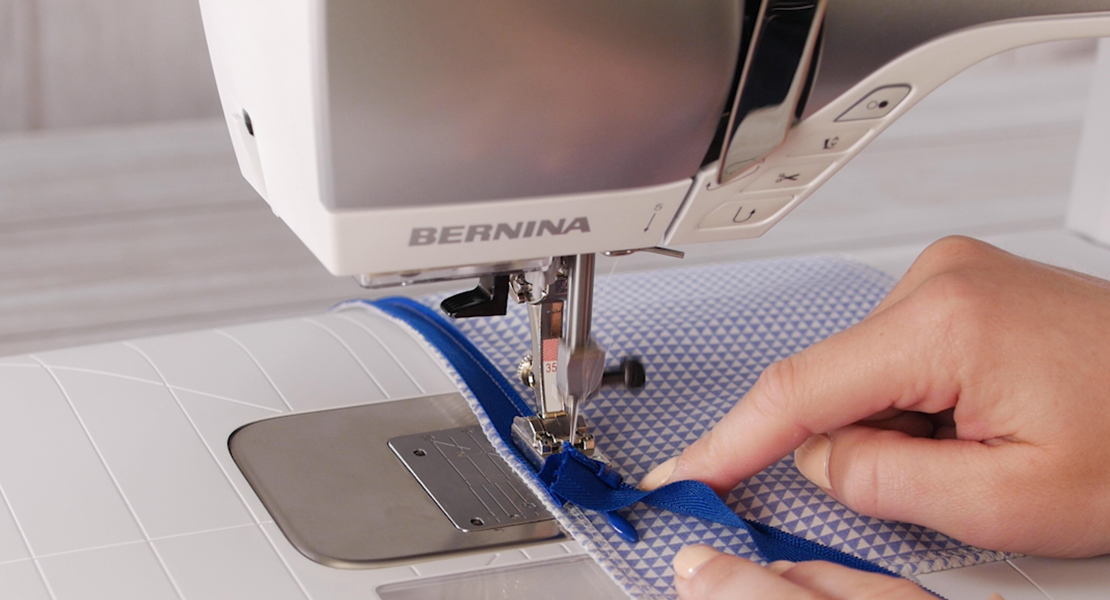
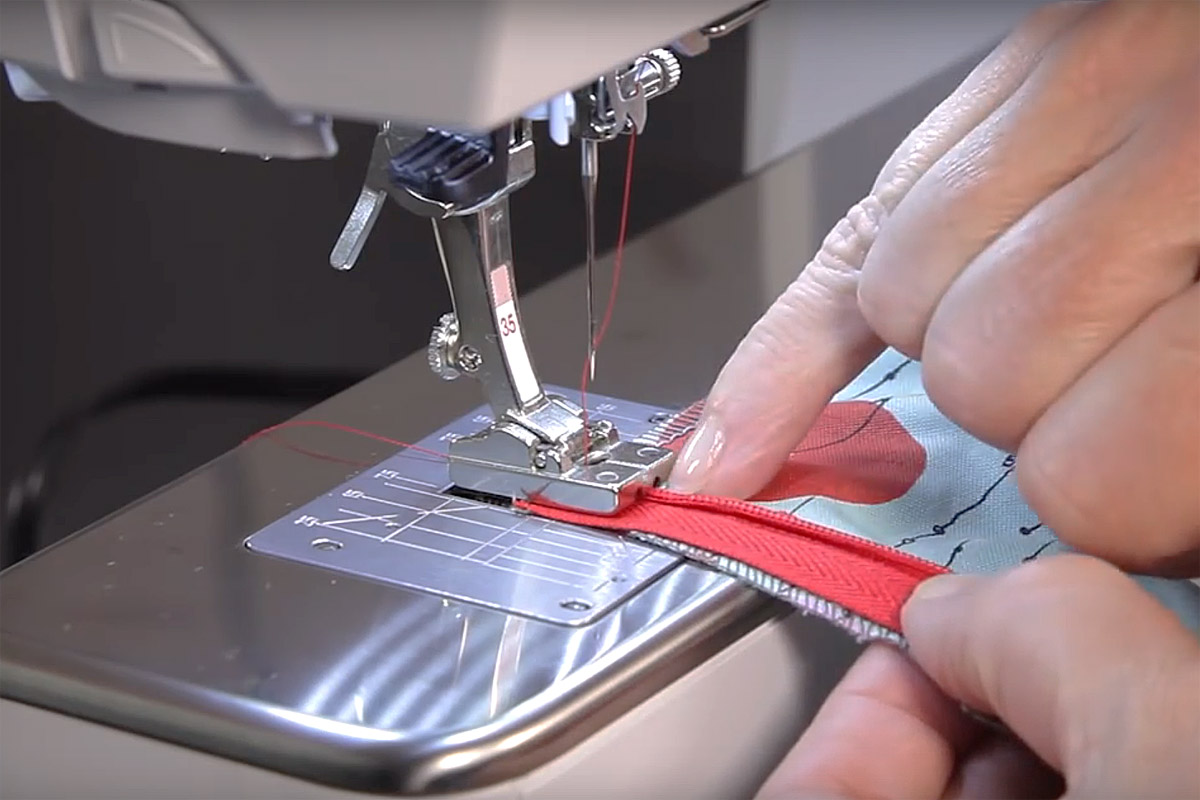
Watch this quick video to see the Zipper foot #4D in action!
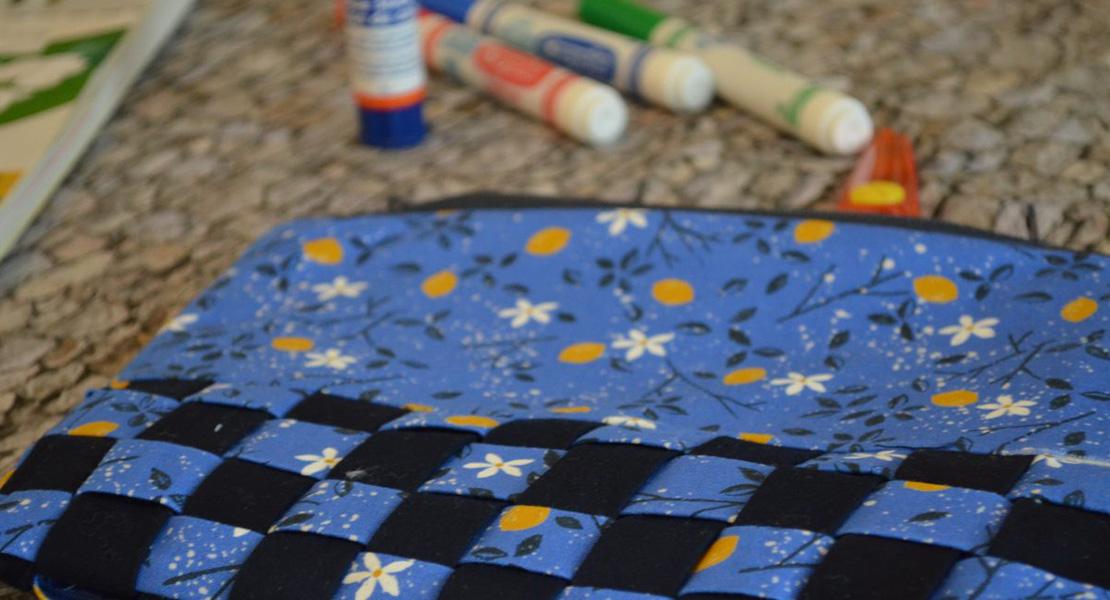
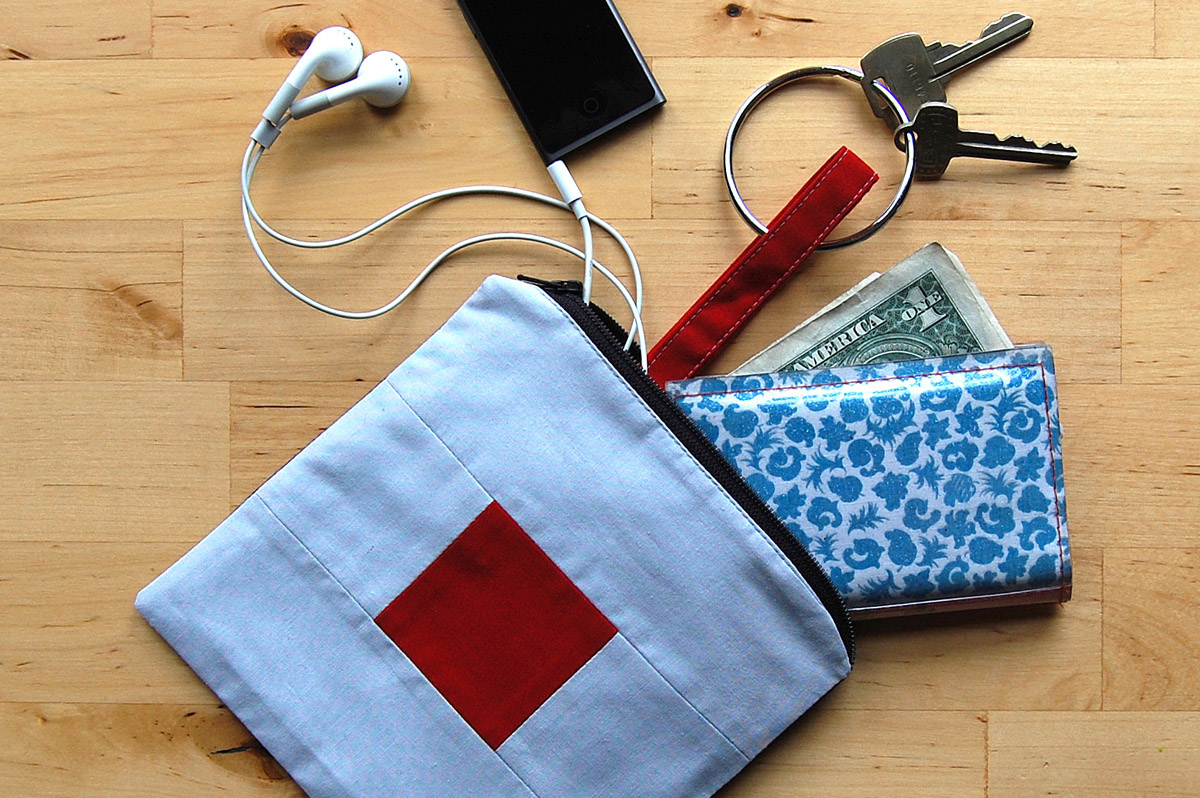
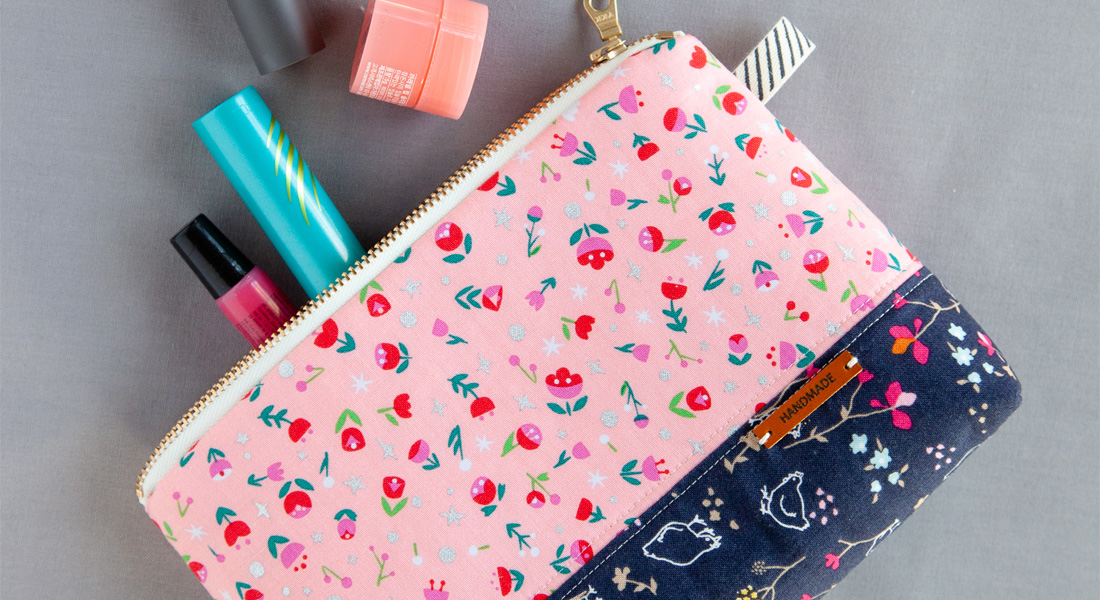
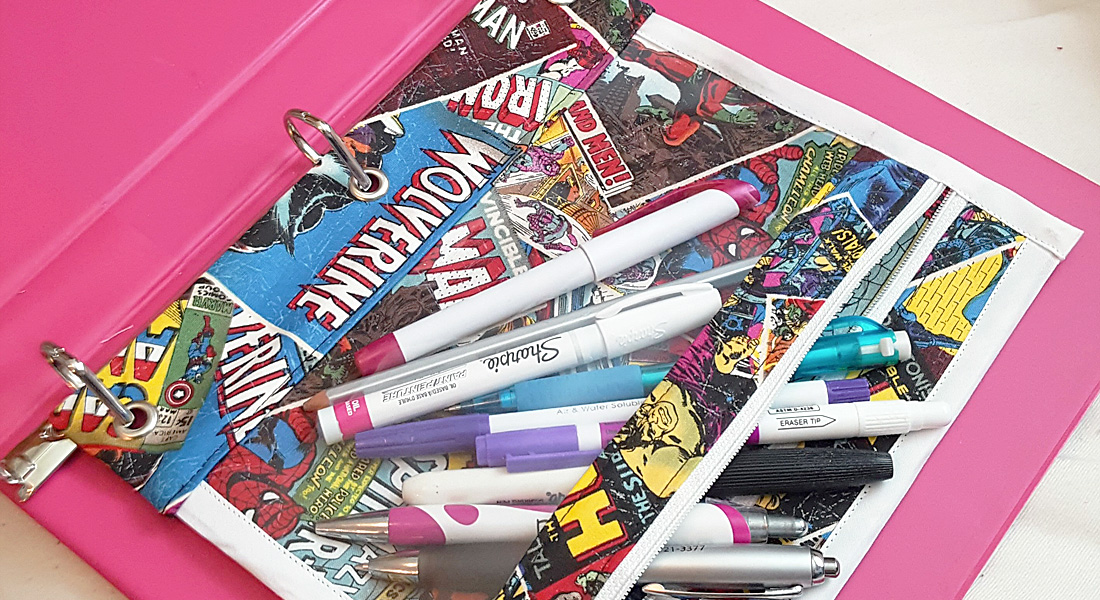
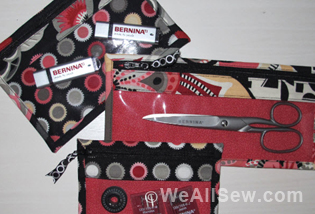
Using this foot definitely makes sewing these cute zippered pencil pouches a piece of cake. You can find the Zippered Pencil Case tutorial right here at WeAllSew.
There are many other ways to stitch a zipper.
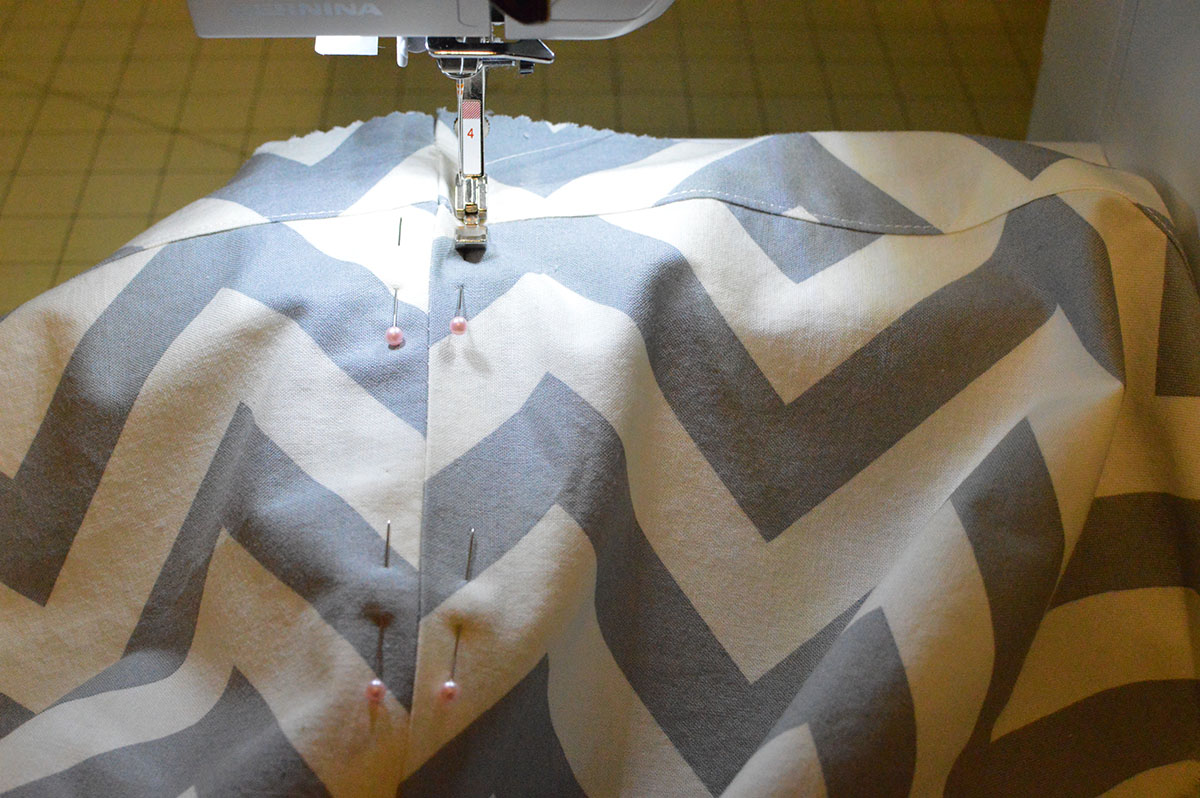
Centered zipper applications are perfect for skirts or simple dresses. Find out How to Insert a Centered Zipper here.
Exposed zippers can add a pop of color or texture to any garment like a skirt, sleeves of a jacket, or in a dress. Learn How to Insert an Exposed zipper here.

You can even add a zipper to an existing garment! See how to insert a zipper into a finished garment in the Zipper Sweatshirt tutorial.
BERNINA offers a great collection of tutorials for all kinds of zipper applications in the free, downloadable eBook Zipper Applications.
Here are a few more helpful hints for sewing a zipper with your sewing machine.
- Make sure you have measured and marked your project for the zipper application. There are different methods for inserting zippers, and some require different seam allowances or techniques. This is one of those times when you need to measure twice, and only sew the zipper in once!
- To avoid sewing around the zipper pull, use a zipper that is at least 2″ longer than you need. After you have stitched in the zipper, partially unzip it and trim down the extra zipper tape.
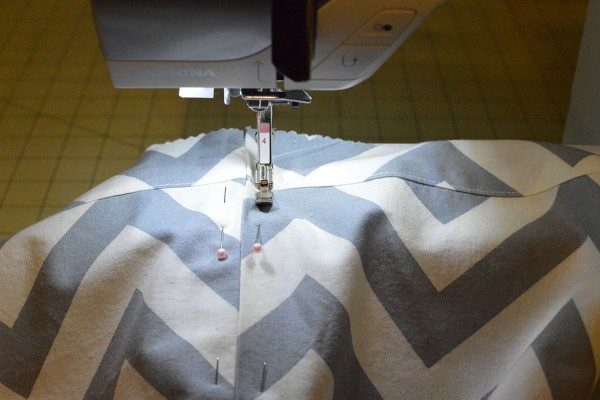
- Stitch both sides of the zipper in the same direction from the bottom to the top or from the same side to avoid a pucker at one side of the zipper.
- Don’t sew too close to the zipper coils. The zipper may look puckered or bulky, may not open properly and may catch the fabric in the teeth when opening/closing.
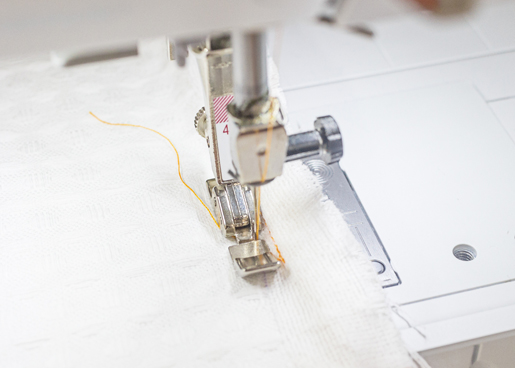
- Don’t forget to move your needle to the left or right position with the Zipper foot #4/#4D so you don’t break a needle.
I hope you’ve found some helpful tips for tackling your next project with a zipper!
Used Products

What you might also like


One comment on “Zipper Tips with Zipper Foot #4”
Leave a Reply
You must be logged in to post a comment.

Great tutorial on zippers! Thanks for your time and talent.