Cooling Scarf

Beat the heat this summer with an easy to sew cooling scarf! This project uses polymer crystals which absorb and hold large amounts of water (in fact, this is the same material that is found in commercial diapers) and when chilled, can provide cooling relief for hours. Plus they are non-toxic so they are safe to be used around children and pets. This cooling scarf is great to use when outdoors, can be used to soothe achy muscles, or used as a cold pack for headaches and even hot flashes.

Finished measurement for adult scarf: 2″ x 42″. Finished measurements for child scarf: 2″ x 38″.

Materials for Cooling Scarf:

  • 1/4 yard of fabric
  • Water absorbing crystals\super absorbing polymers *
  • Ruler
  • Rotary cutter\mat
  • Water soluble marker
  • Hand sewing needle
  • Measuring cup
  • Thread to match

*Water absorbing crystals can be found in the floral section of most craft stores or be purchased online. Some crystals may already be in their full absorption form (such as the ones in this tutorial) or may come in granules than can double or triple in size. The instructions for this tutorial are for crystals that have already reached their full capacity, using other crystals may require some modification. It is important to note that clear crystals should also be used for this project as colored gems may bleed onto fabric and skin when wet.

Sewing the Cooling Scarf:

For the adult scarf, cut a 5″ x 43″ long rectangle. For a child scarf, cut a 5″ x 39″ long rectangle.

Tip: Not enough fabric for the measurement above? No worries! This cooling scarf is a great scrap buster project too! Instead, piece together 2, 22″ x 5″ rectangles (or 2, 20″ x 5″ rectangles for child) and stitch together using 1/2″ seam allowance.

If desired, create an angled edge to each short end of rectangle (this is a purely decorative element and not necessary to complete the project). To do this: fold rectangle in half, wrong sides together. Place the 45 degree angle of your ruler so that it is parallel to the folded edge. Cut from the corner along the ruler edge, creating an angle.

With right sides together fold rectangle in half. Sew together each side and the long edge using 1/2″ seam allowance, leaving a 5-6″ opening along the center of the long edge for turning and filling.

Clip corners and turn right sides out through opening.

Using ruler, measure up 11″ from each short end and mark using water soluble marker. Sew along each line (this line will create a barrier for the crystals so the scarf can be easily tied).

Fill the scarf with polymer crystals through the opening in scarf. For the adult scarf fill with 1 1/2 cups. For the child scarf fill with 1 cup. It is important not to overfill the tube as the scarf still needs to remain flexible for wearing and stuffing too tightly can cause the crystals to break and ooze through the fabric.

Using hand sewing needle and thread stitch closed the opening in the scarf.

Use and Care of Cooling Scarf:

Soak your scarf in a bowl full of cold water for 2-3 hours (for maximum chill, place bowl in the refrigerator while soaking). Gently remove excess water and tie around neck. When done, store the cooling scarf in the refrigerator or place outside in the sun to fully dry (this may take several days for the excess water to be removed and crystals to shrink).

Print this page

What you might also like

2 comments on “Cooling Scarf”

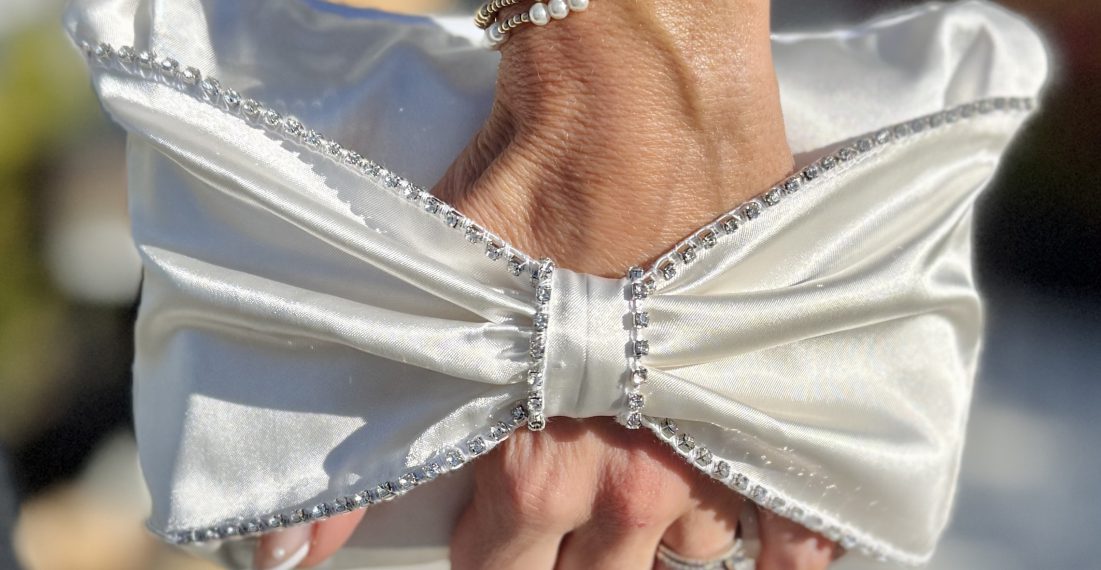
  • I wonder about washing instructions. I have a similar scarf and it came with none. I tried washing by hand, and of course the crystals soaked up the soapy water. Now how does one get out the soapy water? Might it not be better to put the crystals in a removable pouch?

Leave a Reply