How to Make a Beach-Bound Straw Tote
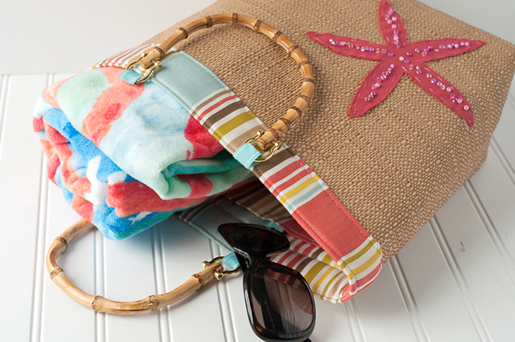
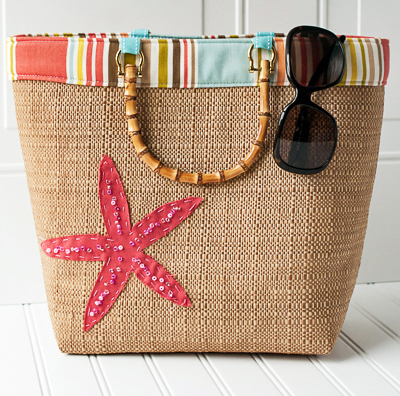
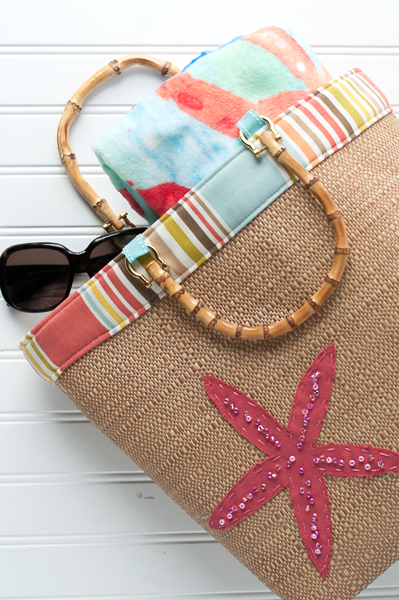
Inspired by the warm weather? Can’t wait for summer to arrive? You’ll soon need a tote for all your summer essentials. Using straw fabric for the outside and outdoor upholstery for the lining gives this bag just enough body and weight and makes it both fun and practical. Add a beaded starfish to the front to give it just the right amount of sparkle.
Supplies
- 3/4 yard fabric-backed straw/raffia fabric
- 3/4 yard fabric for lining (I used outdoor upholstery for easy clean-up)
- 3/4 yard fusible fleece
- Scrap of fabric for starfish
- Paper-backed fusible web
- 1/2 yard of 3/4ʺ-wide ribbon
- All-purpose polyester thread
- Size 90/14 Universal (all-purpose) or Jeans sewing machine needle
- Seed beads
- Cotton embroidery floss
- Hand-sewing needle
- Purse handles
- Walking foot (BERNINA Walking Foot #50) or Dual Feed feature
Down load and print the starfish appliqué template. BeachBoundStrawTote-StarfishApplique.pdf
step 1) Cut the fabric.
Cutting guide:
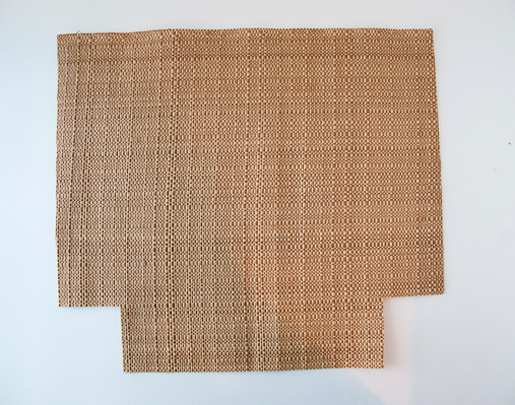
- Cut two 17ʺ wide by 15ʺ tall raffia rectangles for the bag front and back.
- Cut two 17ʺ wide by 17ʺ tall lining fabric rectangles for the bag interior.
- Cut one 17ʺ wide by 18ʺ tall lining fabric rectangle for the interior pockets.
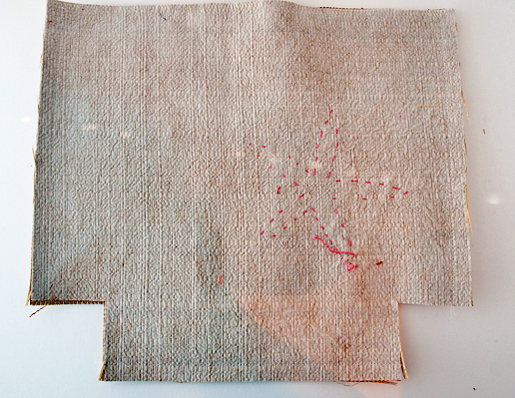
Cut 3ʺ squares from the lower corners of the bag front and back pieces.
step 2) Appliqué the starfish.
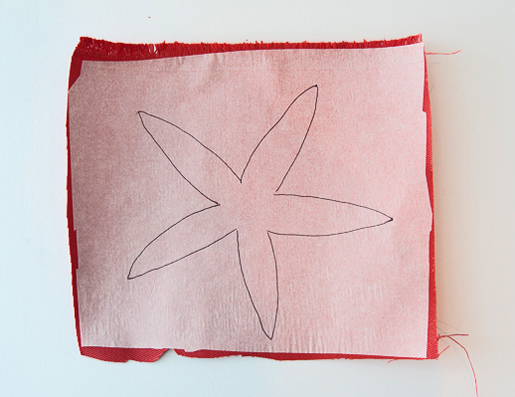
Trace the starfish pattern onto a piece of paper-backed fusible web. Fuse to the wrong side of the starfish fabric following the manufacturer’s instructions.
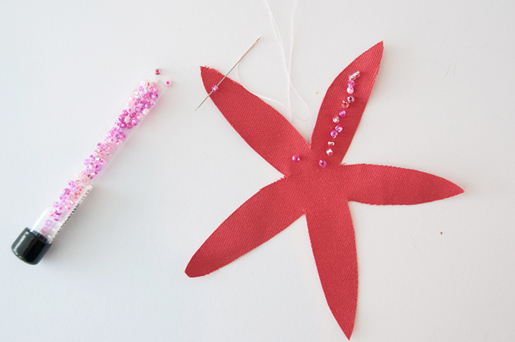
Cut out the starfish along the lines.
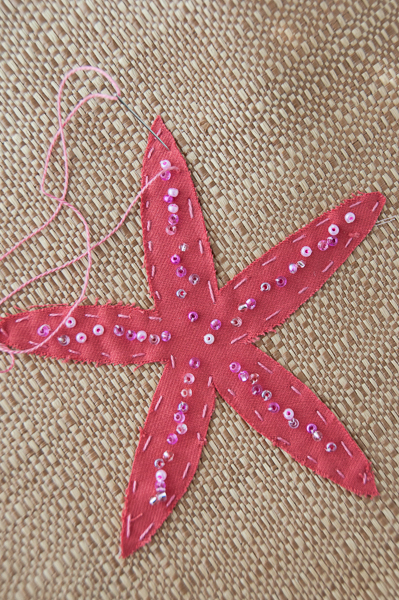
Using needle and thread, bead the center of the starfish arms.
Just use a random pattern; it does not need to be perfect.
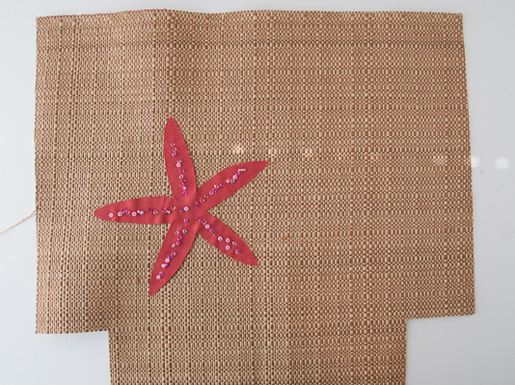
Fuse the starfish to the lower left corner of the bag front just above the cut out notch. It’s not going to stick to the straw fabric very well, but don’t worry. You’ll hand-stitch it down later.
Using cotton embroidery thread, stitch around the outer edges of the starfish appliqué to secure it in place.
step 3) Construct the outside of the bag.
Set up your sewing machine with a size 90/14 needle.
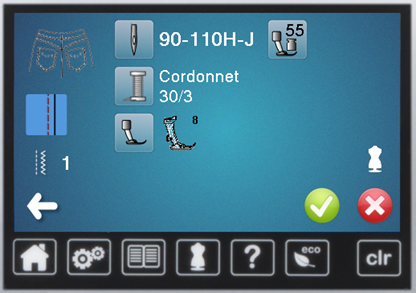
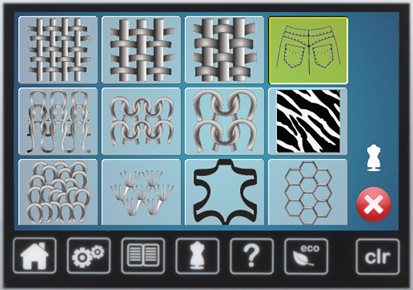
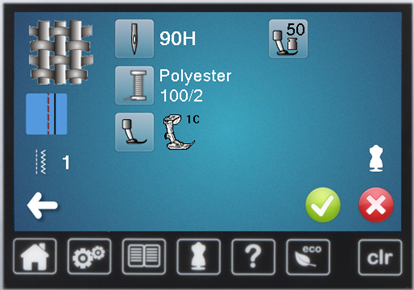
If your sewing machine has a Creative Consultant function like my BERNINA 710 (onscreen sewing advisor), open it and select the Jeans setting.
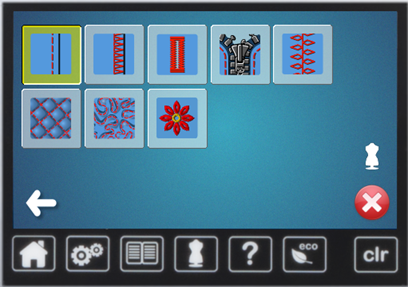
Select the Seams icon.
Suggested settings appear on the screen.
- Size 90/14-100/16 Jeans needle
- Cordonet/topstitching thread (we’ll use regular thread)
- Jeans Foot #8
- Presser foot presser = 55
Select the green checkmark icon to automatically set your machine settings.
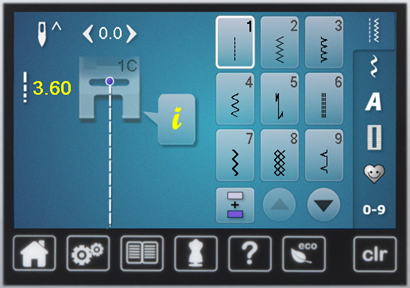
If your machine does not have a Creative Consultant, set it for a straight stitch with a stitch length of 3.60 mm.
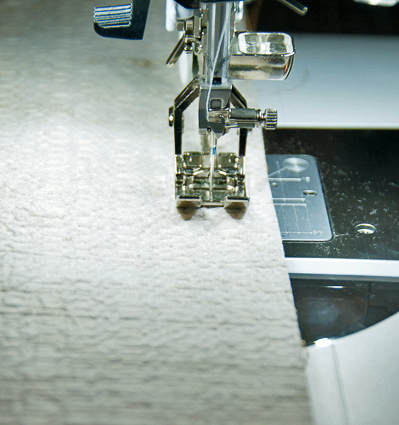
If your machine has Dual Feed, attach Jeans Foot #8D or Reverse Pattern Foot #1D and engage Dual Feed.
If your machine does not have Dual Feed, attach a walking foot (BERNINA Walking Foot #50).
Stitch the bag front to the bag back, right sides together, using a ½ʺ-wide seam allowance.
Stitch the lower edge of the bag, again using a ½ʺ-wide seam allowance.
Pinch the bottom corners of the bag so the side seams match up with the center bottom seam.
Stitch across the corners using a ¼ʺ-wide seam allowance.
Press the seam allowances open.
Turn the bag right side out.
step 4) Construct the bag lining and pocket.
Apply fusible fleece to the wrong side of each bag lining piece.
Select Heavyweight Woven in the Creative Consultant, then select the Seams icon. Select the green checkmark to automatically adjust the settings.
If your machine does not have a Creative Consultant, set it for a straight stitch with a length of 3.5 mm.
Cut 3” squares from the lower corners of the lining pieces.
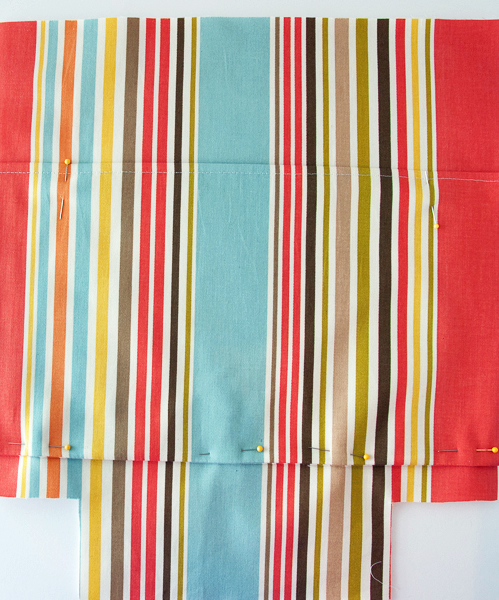
Fold the pocket rectangle in half, right sides together. Stitch across the lower edge (opposite the fold) and press the seam allowances open.
Turn the pocket right side out and press.
Edgestitch close to the folded edge; this will be the top edge of the pocket.
Position the pocket on one lining piece, just above the cut out notch, aligning the side edge. Pin in place.
Baste the pocket to the lining.
Sew down the center of the pocket, top to bottom, to divide the pocket.
Stitch the bag lining pieces together the same way you stitched the outside pieces of the bag together.
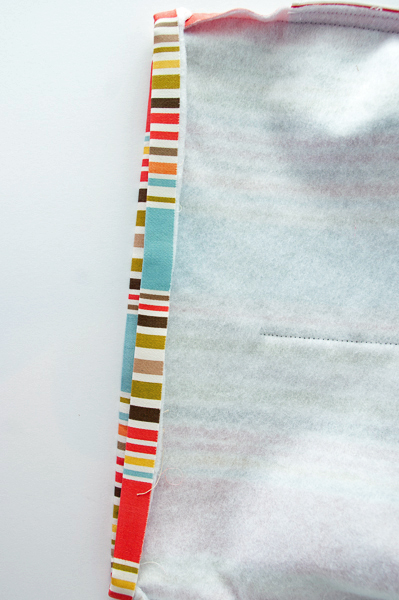
Turn under ½ʺ to the wrong side along the top edge of the bag; press.
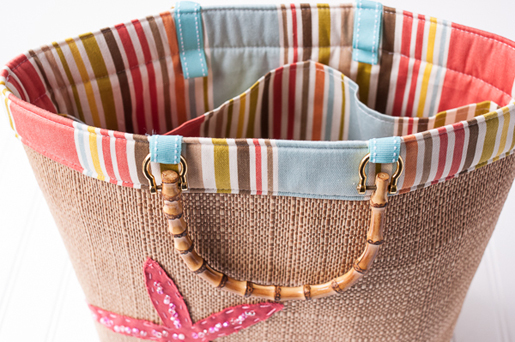
Slip the bag lining into the bag, wrong sides together.
Fold over the excess lining to the right side of the bag; pin in place.
step 5) Add the straps.
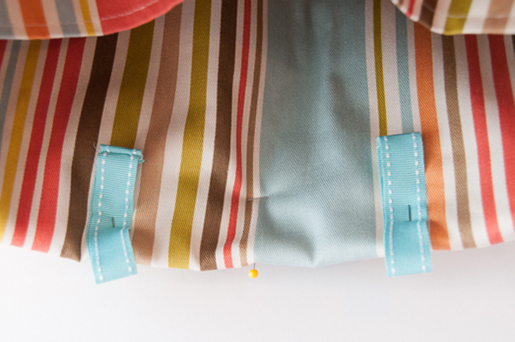
Cut the ribbon into four 6ʺ-long pieces.
Fold the ribbon in half, right sides together, and stitch close to the edge. Turn right side out.
Sew only through the binding and seam allowances, close to the inner folds.
Locate the centers of the upper edges of the bag front and back.
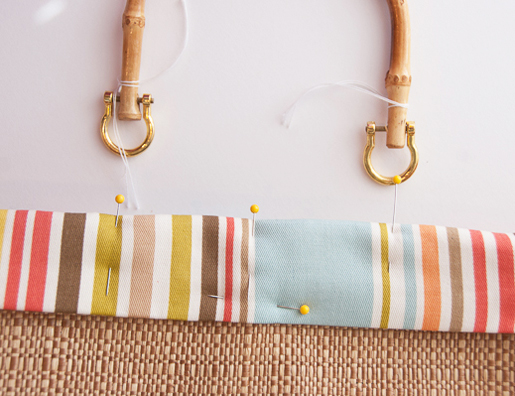
Lay the purse handles down so they are centered on the bag front and back. Mark the handle placement with pins.
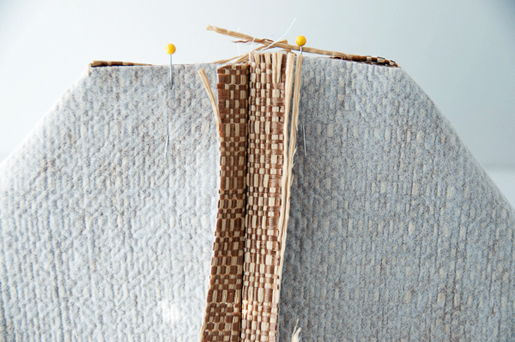
Pin the four ribbon loops to the inside of the bag at the placement marks with ½ʺ of each loop showing above the upper edge.
Switch your sewing machine back to the Jeans setting.
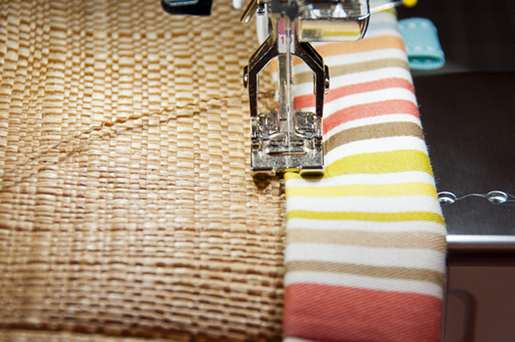
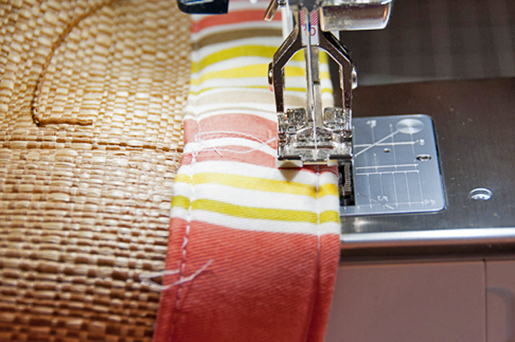
Stitch close to the lower edge of the turned-under lining, beginning at one side seam and stitching all the way around the bag. Make sure the ribbons are caught in the stitching, but make sure they don’t get folded over.
Stitch around the bag again, this time close to the top of the bag. Again, be careful to secure the ribbons in place, making sure they aren’t folded over.
Attach the purse handles to the ribbon loops, following the instructions included with the handles.







9 comments on “How to Make a Beach-Bound Straw Tote”
Where can I find the fabric-backed straw/raffia fabric used in this project?
I’ll see if I can find out where Melissa got her fabric. Meanwhile, check home décor stores. I think I’ve seen this in with the Sunbrella fabrics. Jo
Yes – She got her fabric at a Home Décor Store.
hello from Caracas, i dont see the pattern, only the starfish 🙁