How to Make Cat Wand Toys
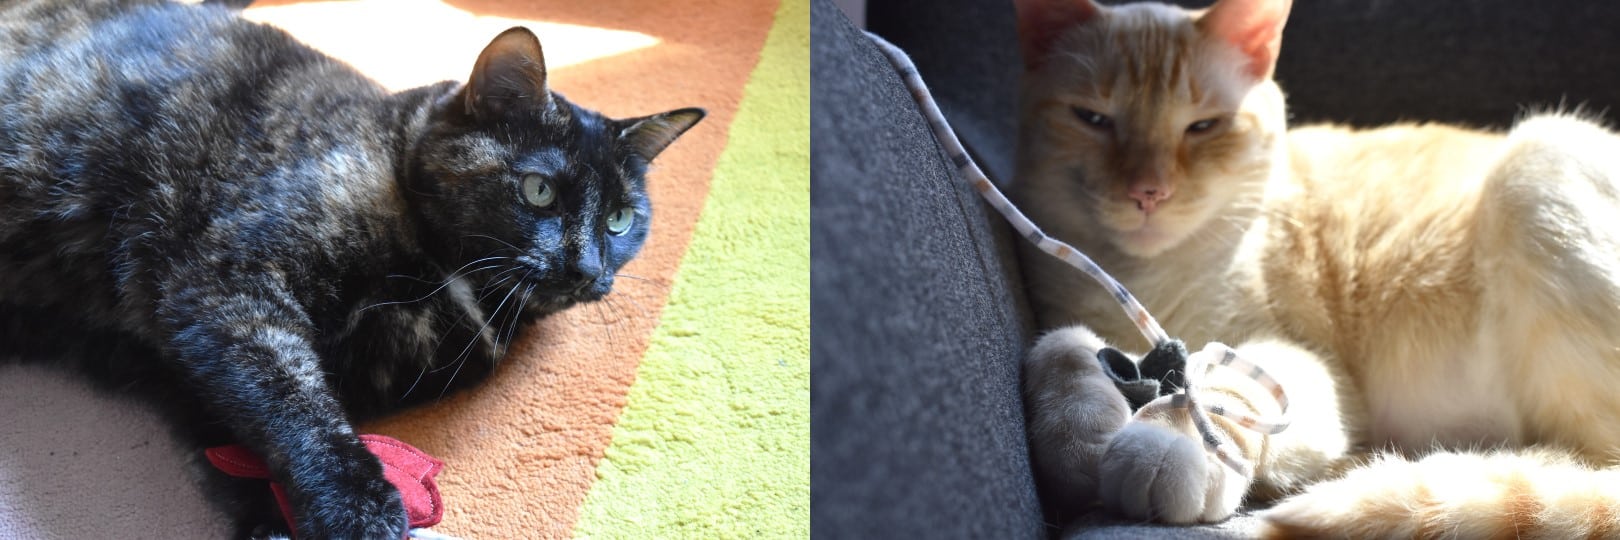
Learn how to make a set of cat wand toys featuring a floppy fish, a chonky mouse or a spooky spider. Attach the toys to your hand made wand or just finish them as-is for some kitty free-play. These easy-to-sew wand toys are tested and approved by our sibling cats Issac and Bea, and they are a hit! These wand toys make great gifts and wonderful donations! We offer our extra handmade toys to the Treehouse Humane Society (where we adopted our two kitties!) to help enrich the lives of cats waiting for adoption.
Making toys to enrich your pet’s playtime is fun and rewarding, especially when you can create playthings that are safe for pets. A good rule of thumb for pet toys is to avoid these things; any thin string or wire that may cut a pet’s paw or mouth during play, any small bits that may come loose and be ingested, any feathers or plastic bags, and any sharp or pointy bits that could harm your pet. You can also inspect your pets’ toys periodically to make sure there are no broken or sharp parts, we do this at least once a week when we’re picking up all the toys to put them away. Are you ready to create some fun new toys for your feline friends?

Materials to Make Cat Wand Toys
- Sewing machine (I use a BERNINA 570 QE)
- Reverse Pattern Foot #1D (or any similar Dual Feed foot, or use Walking Foot #50 with Standard Sole)
- Ballpoint sewing machine needle size 80/12
- Sharp sewing machine needle size 80/12
- All-purpose polyester 40-weight thread
- 1/4-yard polyester fleece fabric
- 1/4-yard light to medium-weight knit fabric
- 1/4-yard wool blend felt
- 3 1/4″ wooden dowel rods cut to 24″ long
- 36″ x 24″ cutting mat, 36″ acrylic ruler, and 45mm rotary cutter
- Fabric scissors and thread snips
- Pins
- Catnip
- Printed PDF Cat Toy Patterns
How to Make a Wand Cat Toy
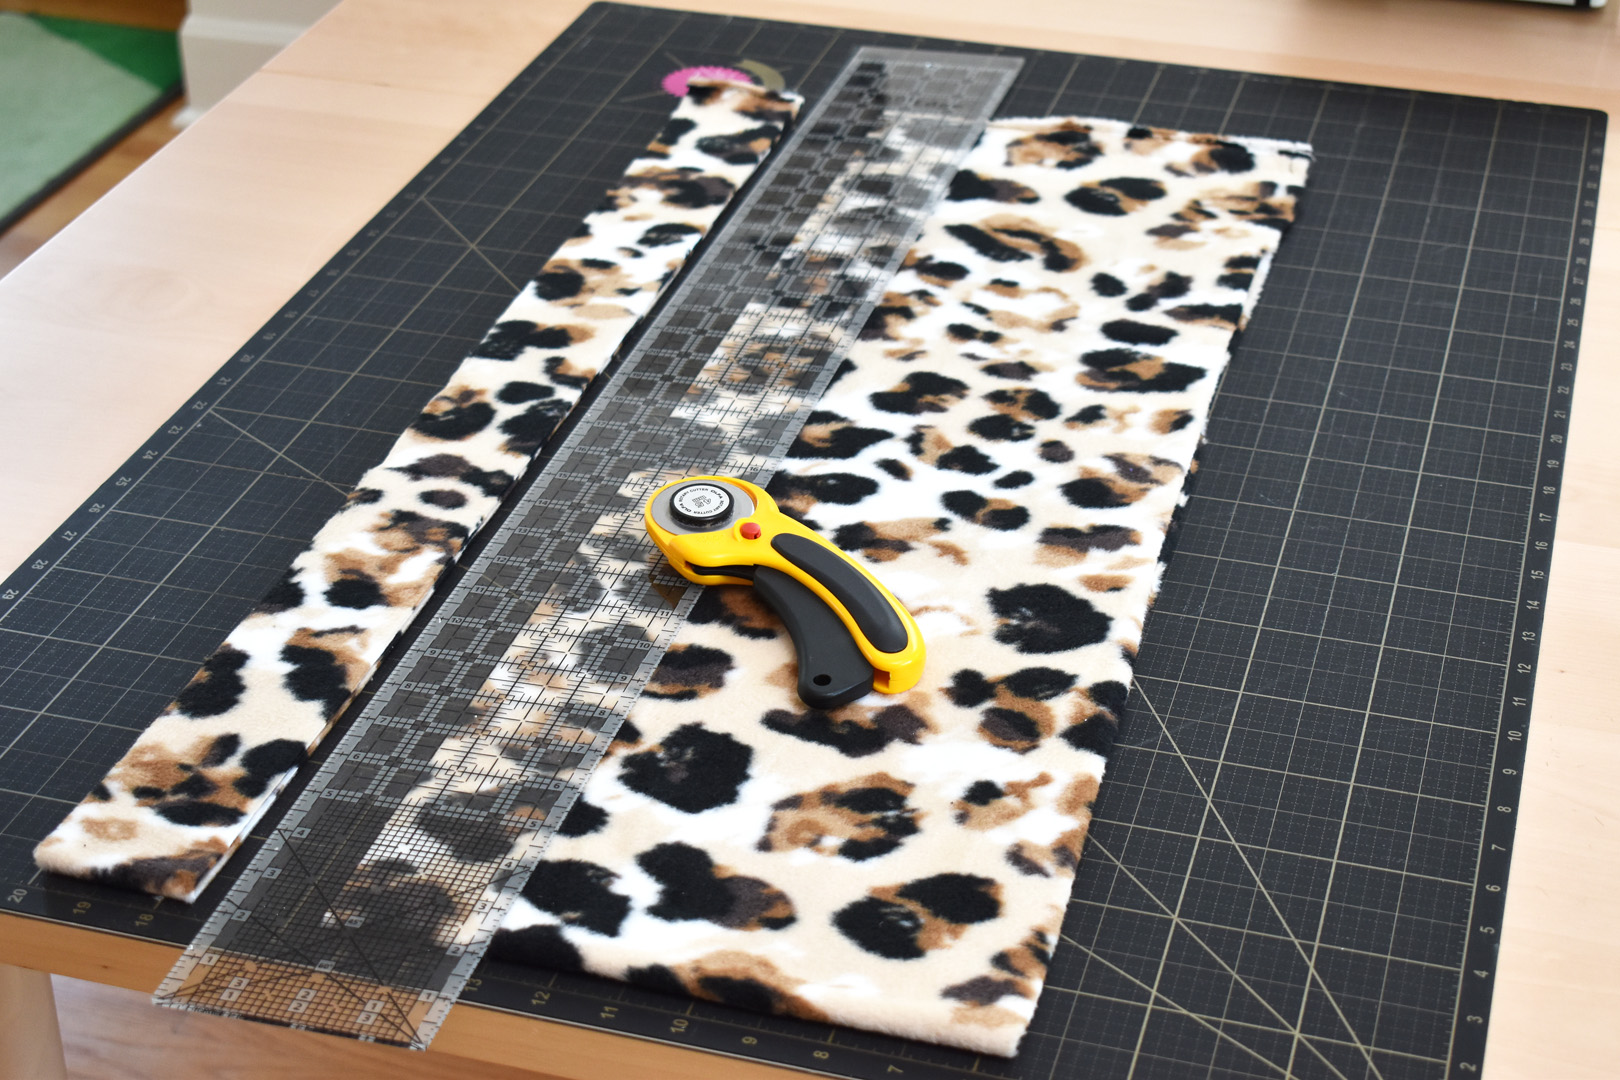
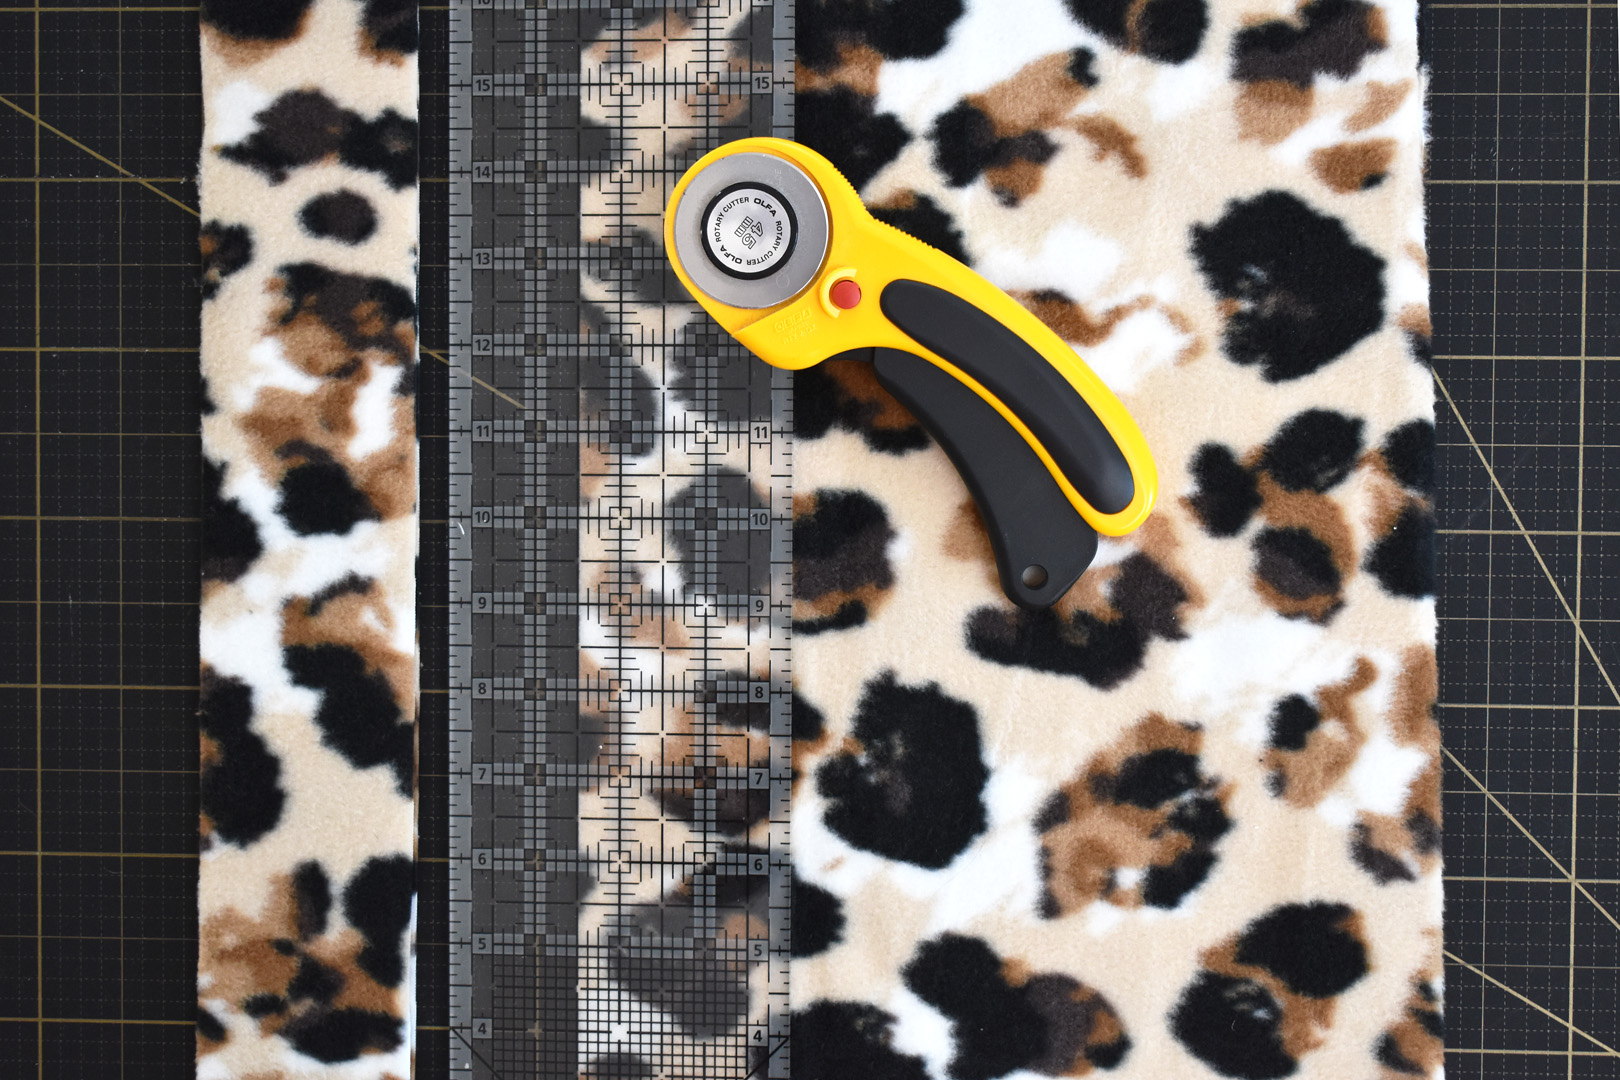
Cut the fleece fabric into 2 1/2″ strips along the width of the fabric. This is easiest to accomplish folding the fabric in half, selvage edges together, on a large cutting mat and using a long cutting ruler. You will have enough fabric from one cut strip to make 2 wand toys.
After cutting the fleece you may notice fuzz sticking in the cutting mat. I use a piece of blue painter’s tape brushed along the surface of the mat to remove the fuzz; a sticky lint roller will also work to help keep your cutting mat clean.
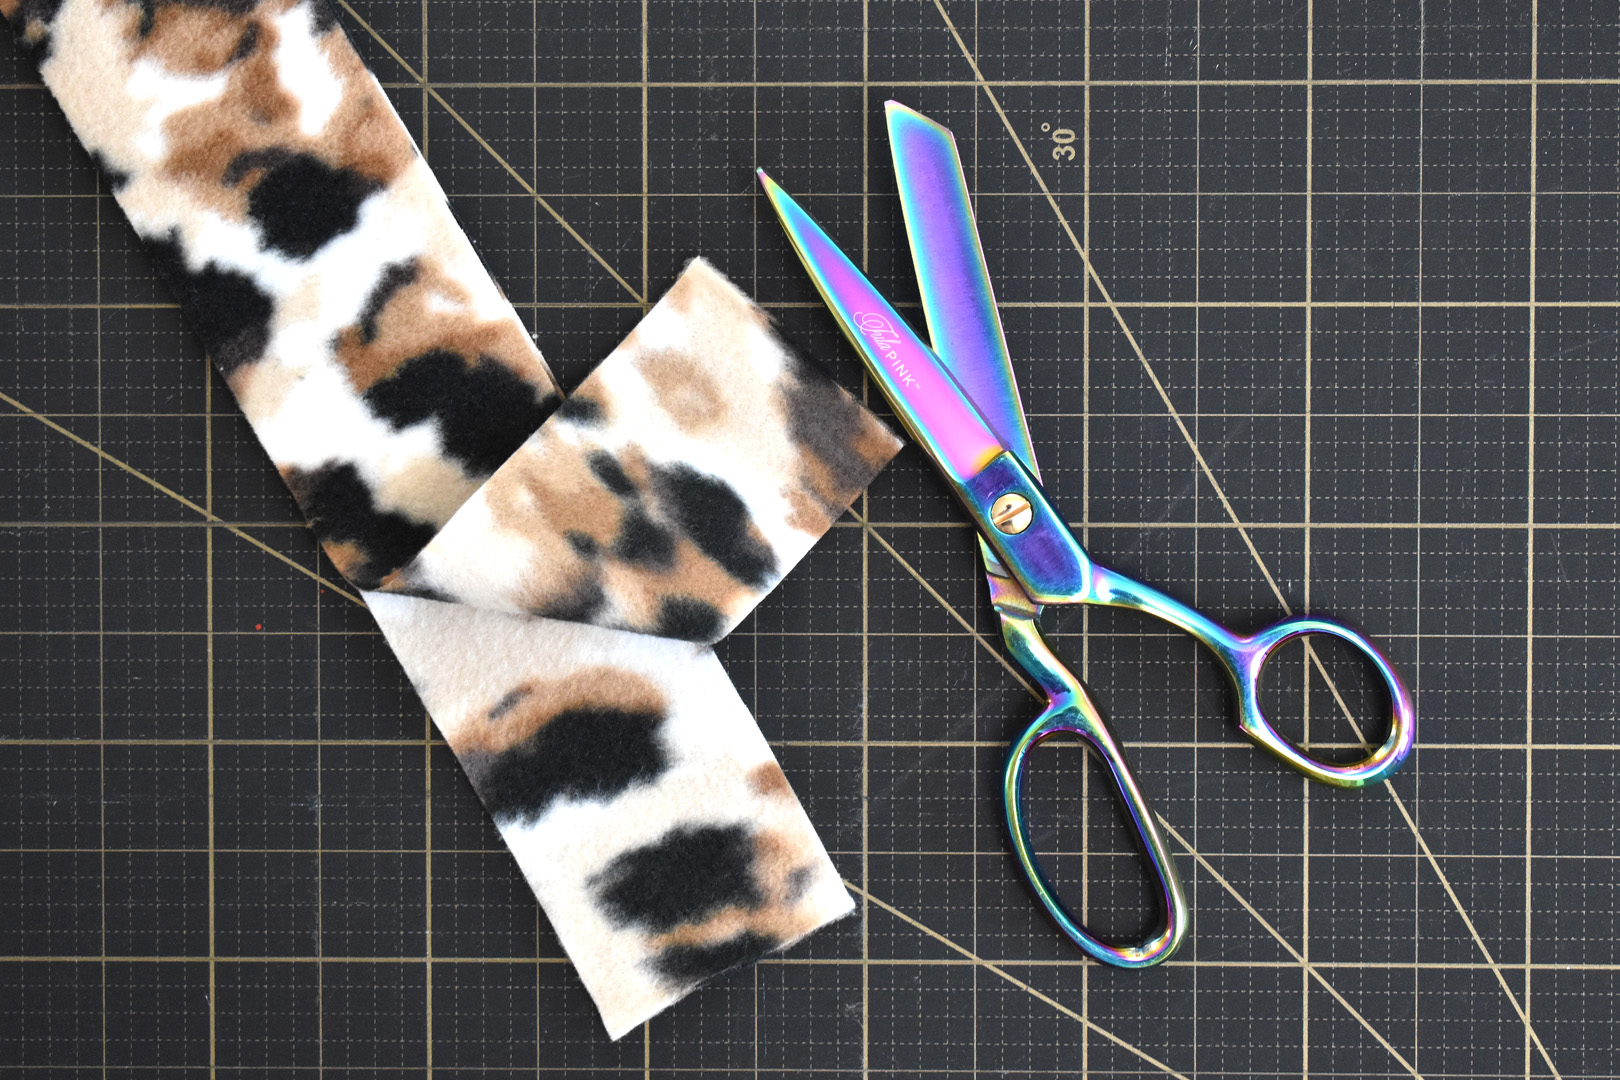
Cut the 2 1/2″ strip of fleece in half, each piece is enough to make 1 want toy. Set these pieces aside.
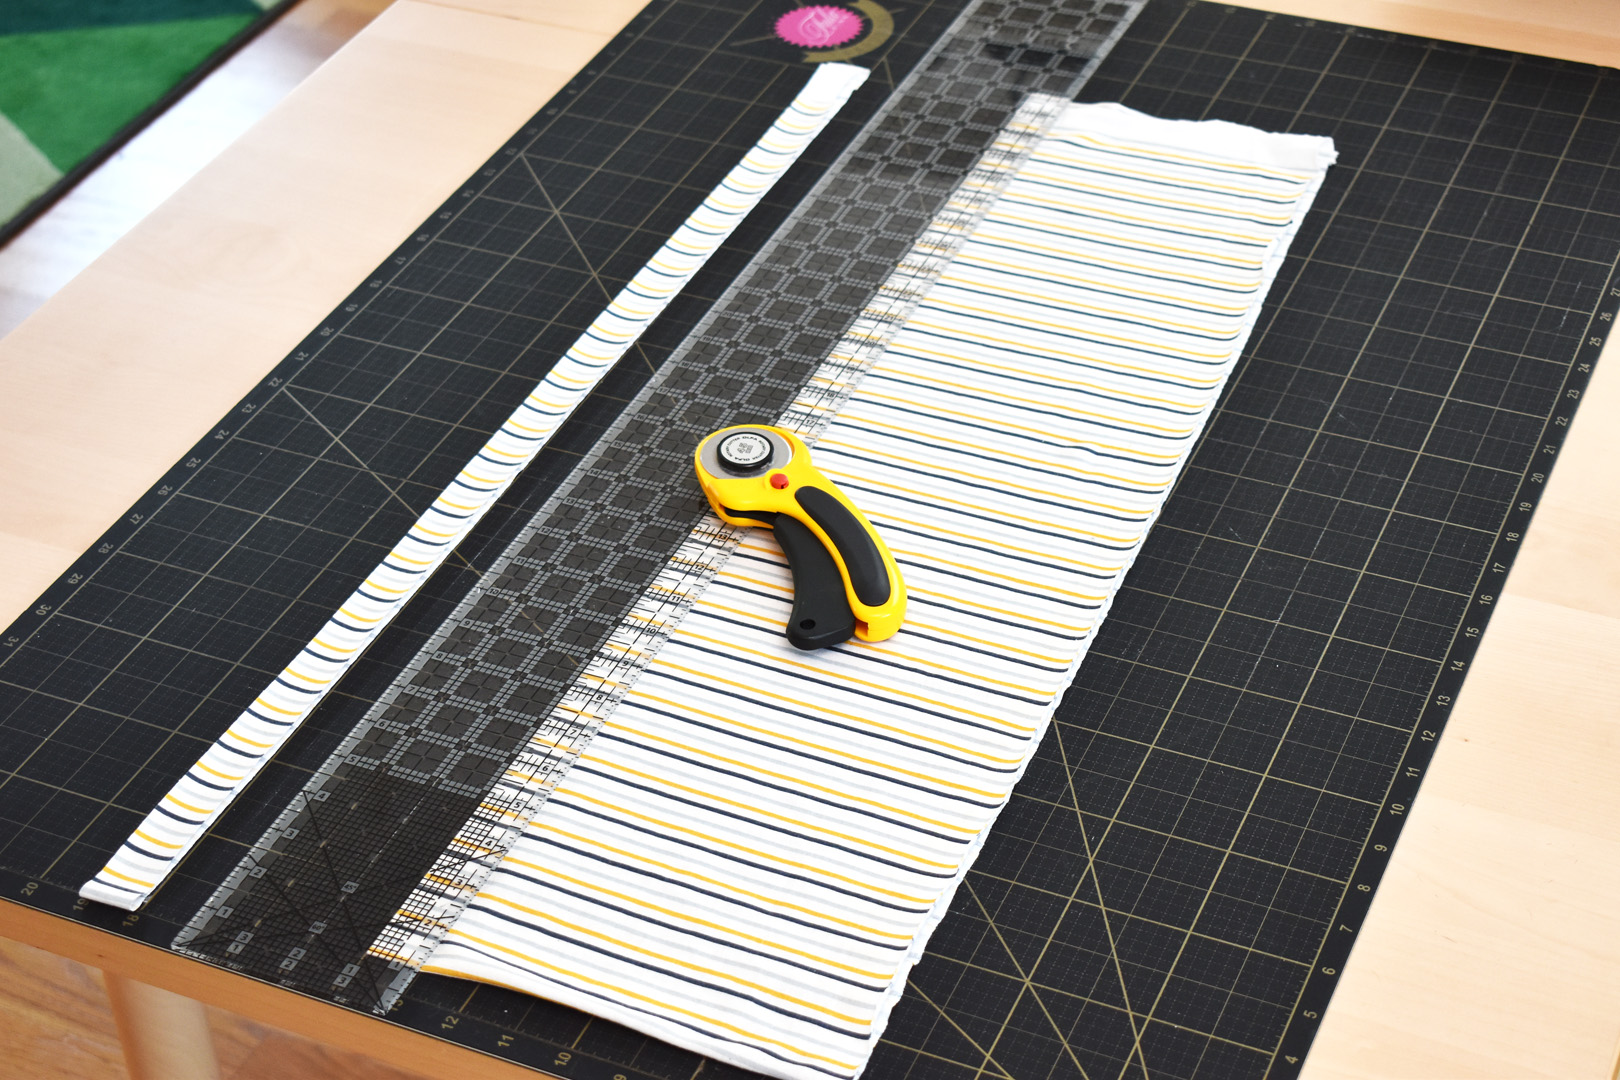
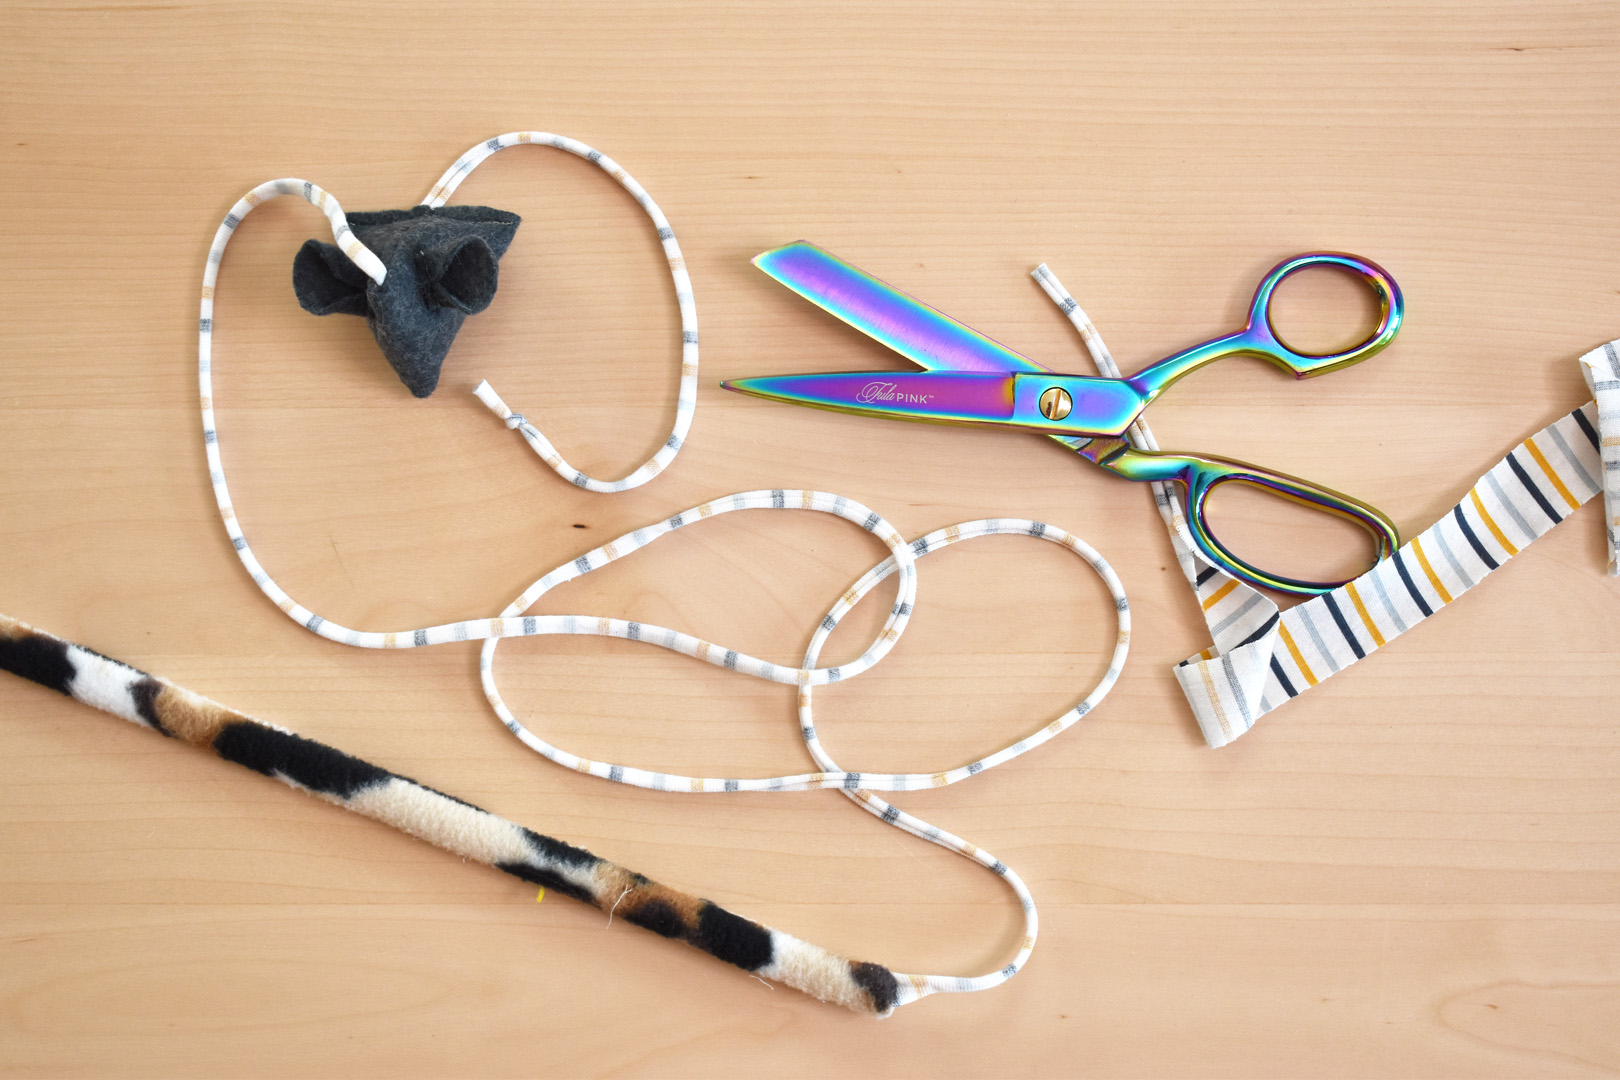
The knit fabric will be used to make soft string for the wand toy, it is stretchy but soft on kitties’ paws and mouth during play time.
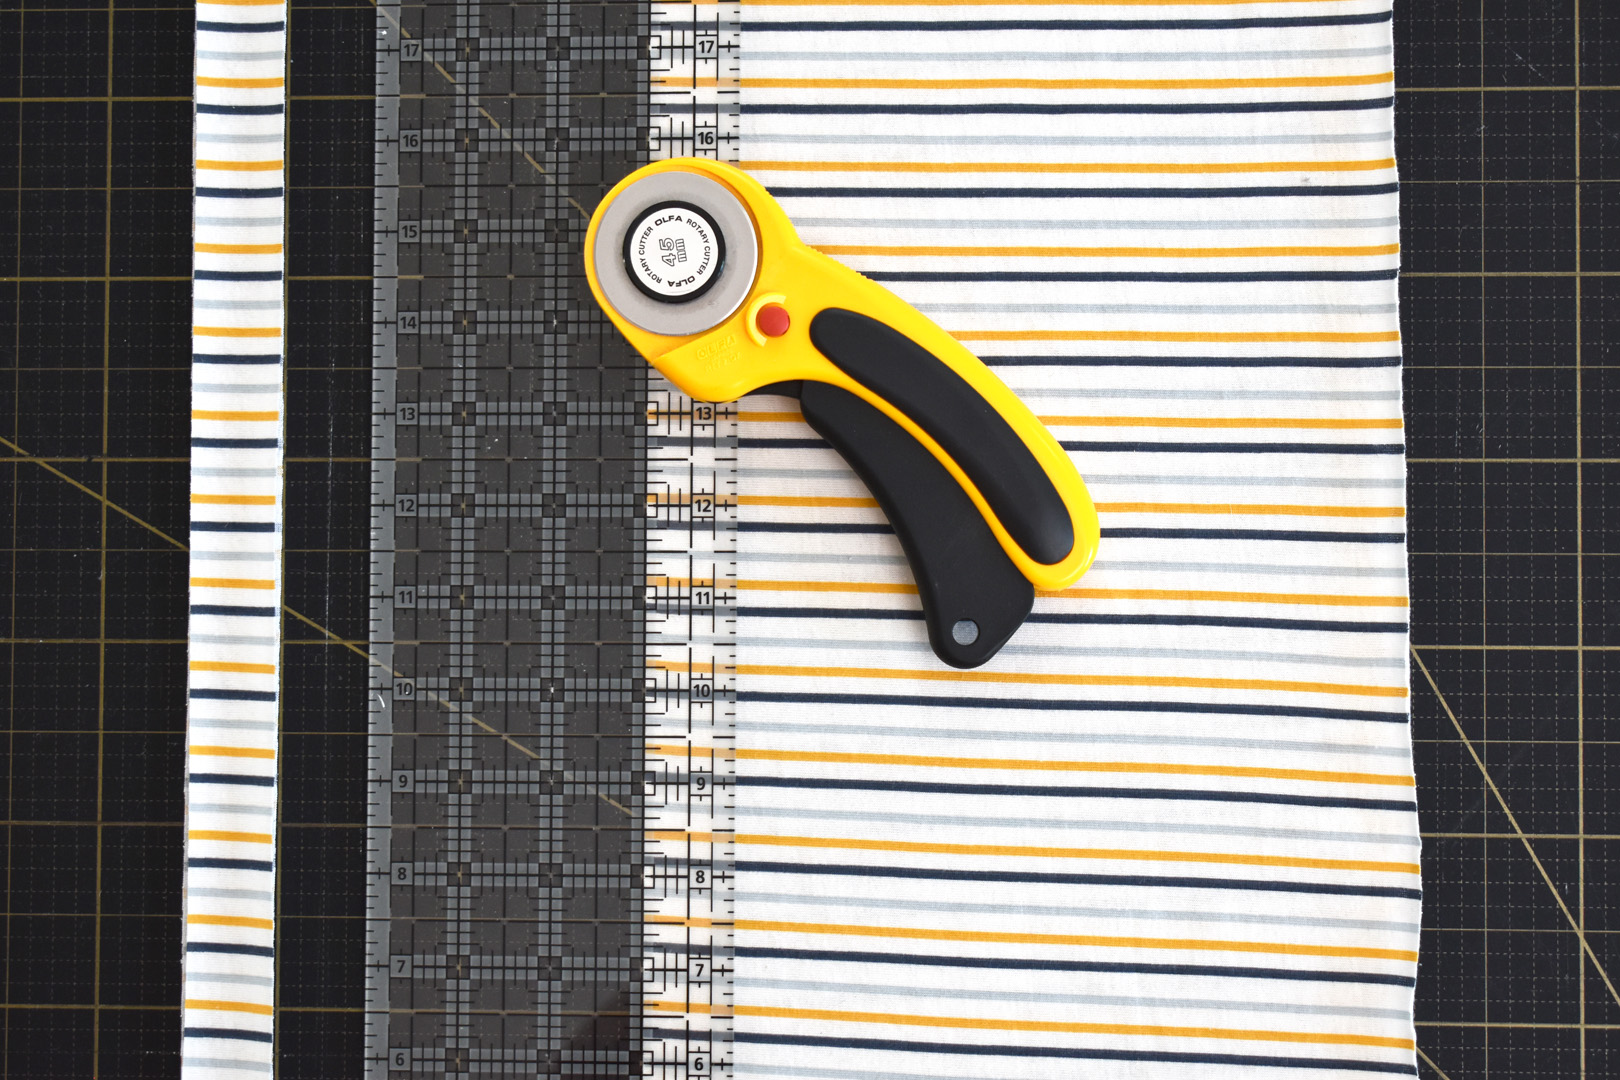
Cut 1″ strips from the knit fabric. When you gently pull on the fabric strip it will curl up and become a stretchy piece of soft string, but don’t pull it just yet.
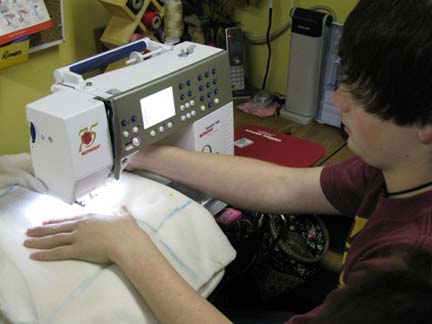
Get ready to sew the fleece for the wand toy. Fleece fabric is soft and poofy and is really stretchy in the direction of the width of the fabric, or the weft. Here are a few tips to set up your sewing machine for stitching with fleece.
- Use a ballpoint or universal needle when sewing with fleece.
- Decrease the presser foot pressure and use either a Dual Feed foot (I use Reverse Pattern Foot #1D) or a Walking Foot to help feed the poofy layers through the machine.
- Use a stretch stitch when sewing with fleece, especially in the weft direction (width of the fabric).
- Use a slightly longer straight stitch.
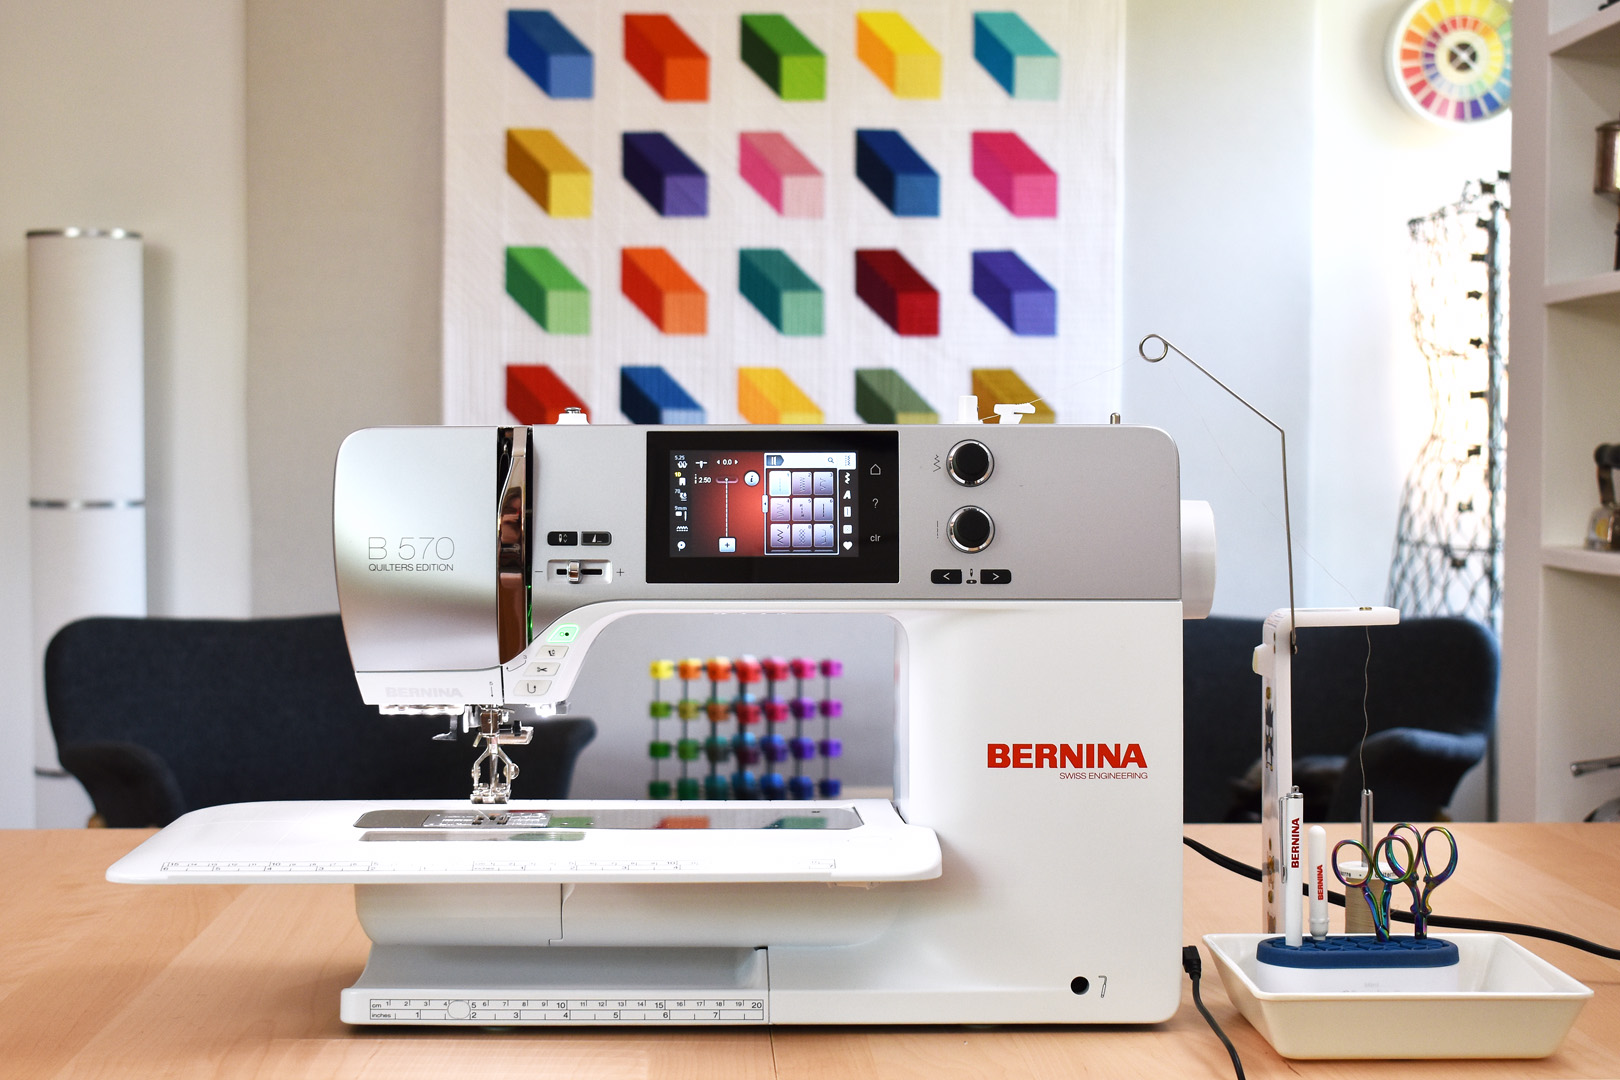
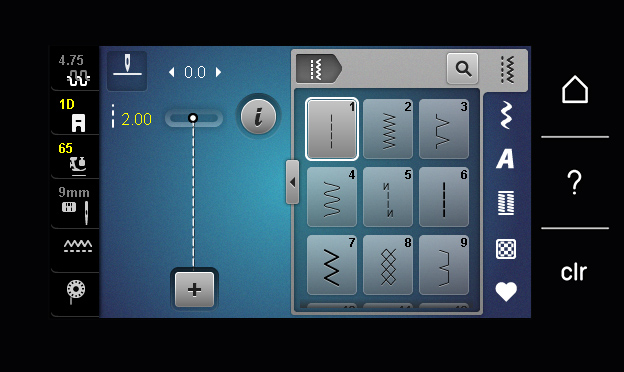
My B 570 QE is set to sew with a size 80/12 ballpoint needle, Reverse Pattern Foot #1D, Dual Feed engaged, and the following machine settings (see below).
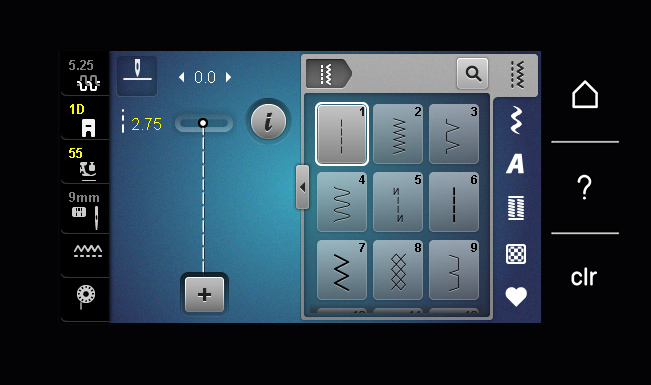
Straight stitch set to 2.75mm, presser foot pressure set to 55. Now let’s sew!
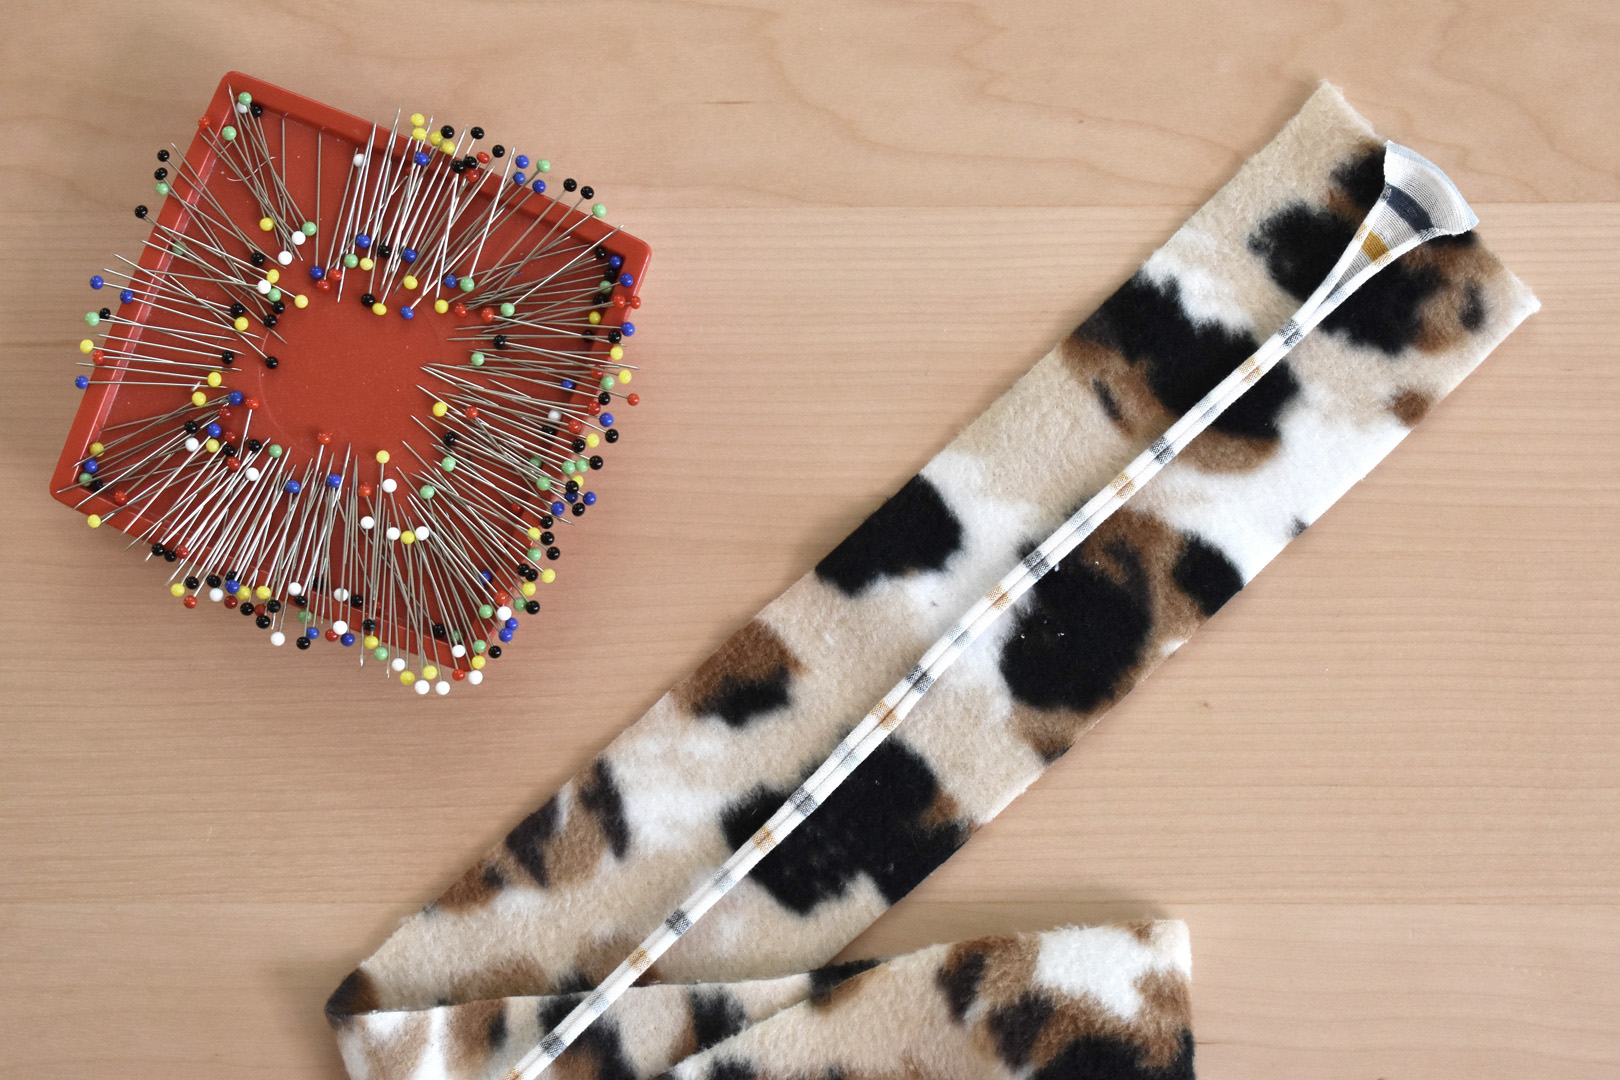
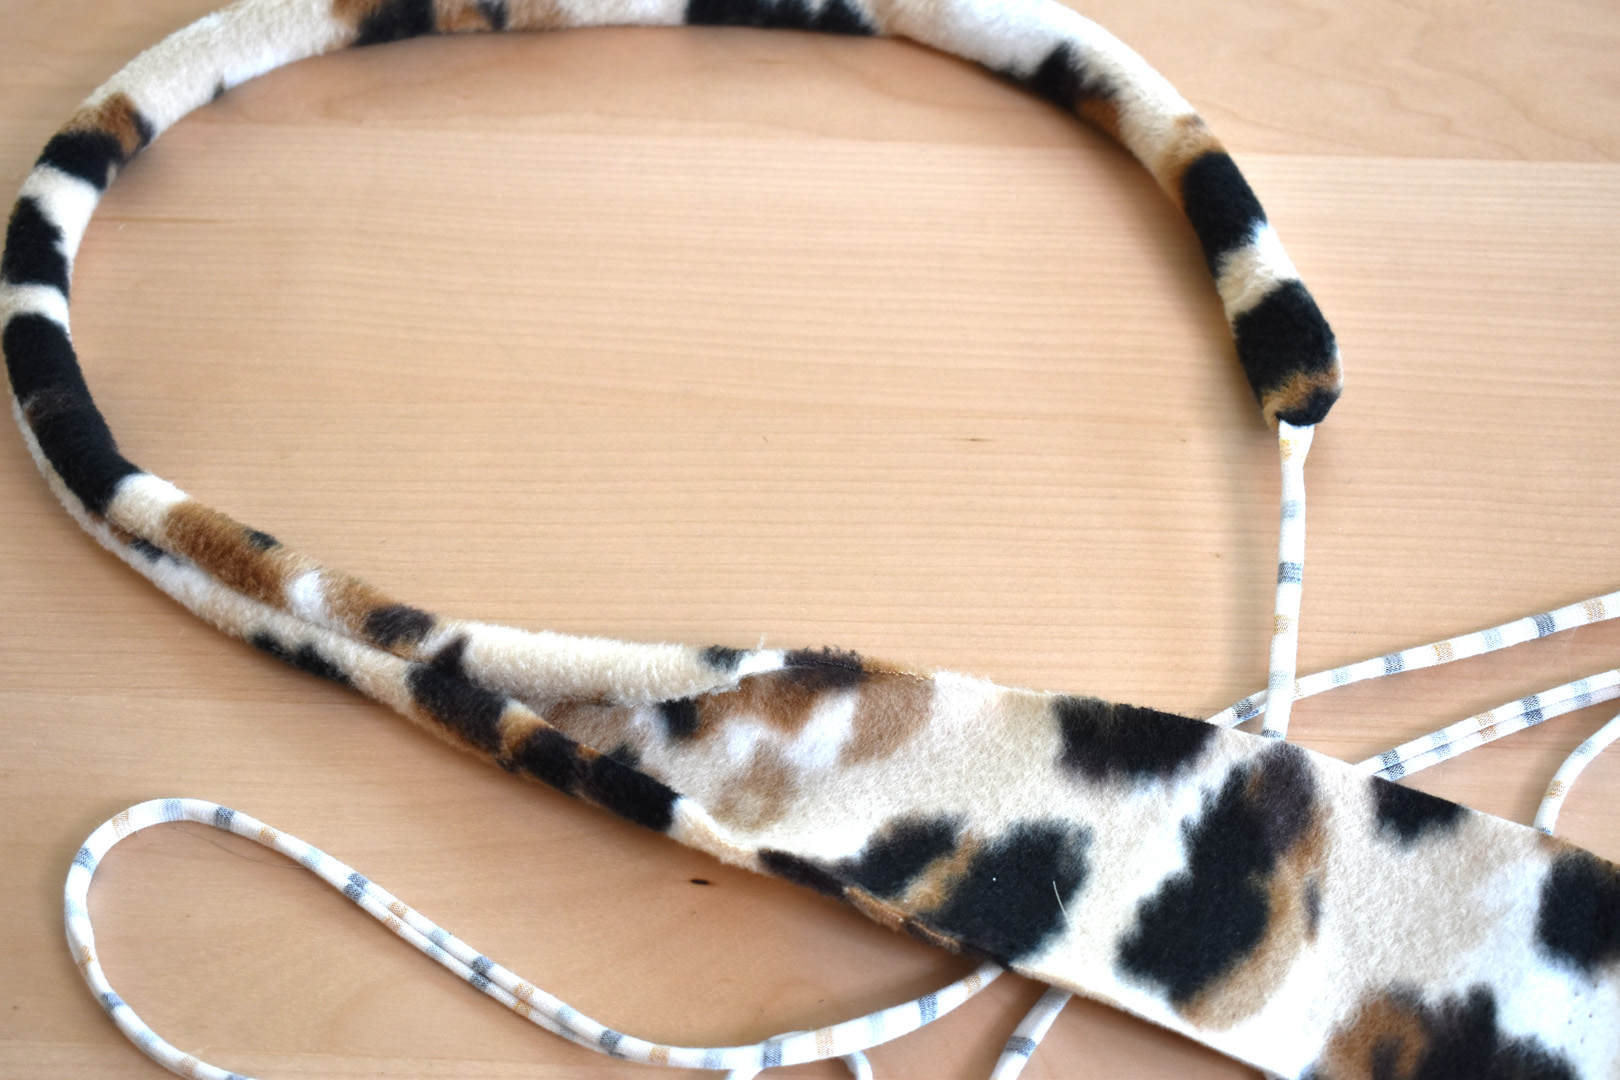
Begin with one long piece of cut fleece right side up on your work table with the short, cut edge up. Now you can gently pull one piece of the knit to make it roll over, laying one end of the knit in the middle of the fleece strip overlapping the end by about 1/2″.
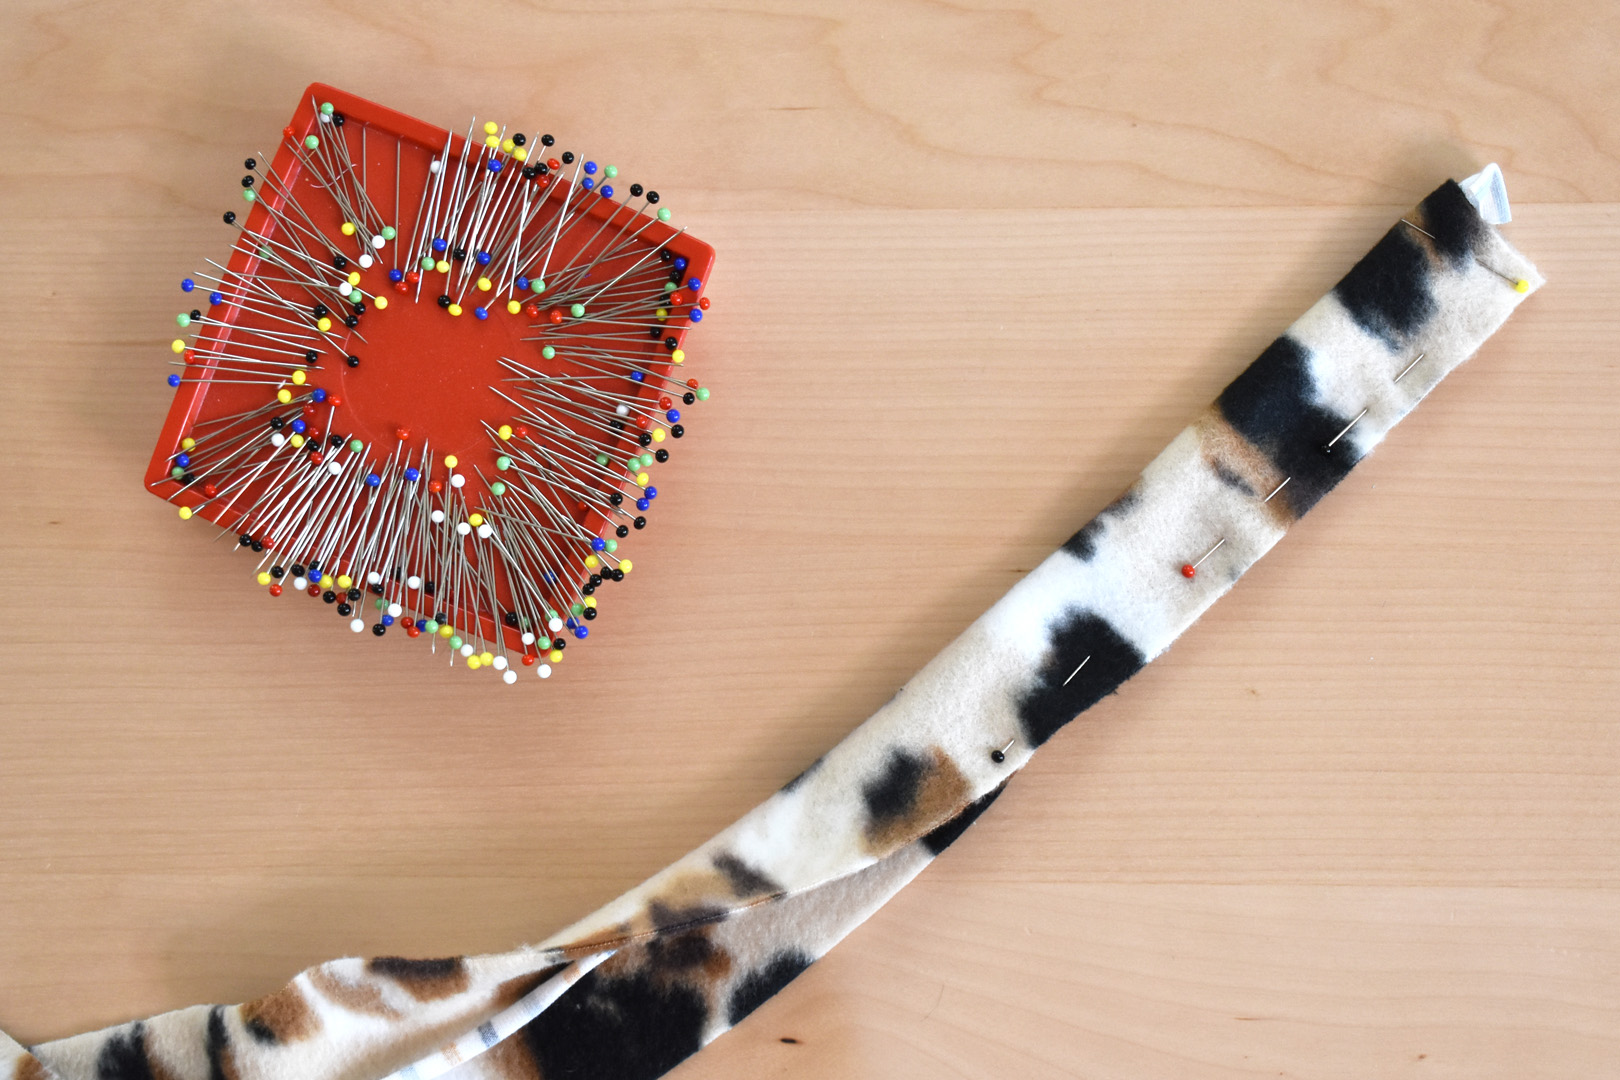
Fold the fleece over and pin across the short edge, making sure to secure the knit string in the fold. Pin down the long edge with the knit string pushed all the way in the fold.
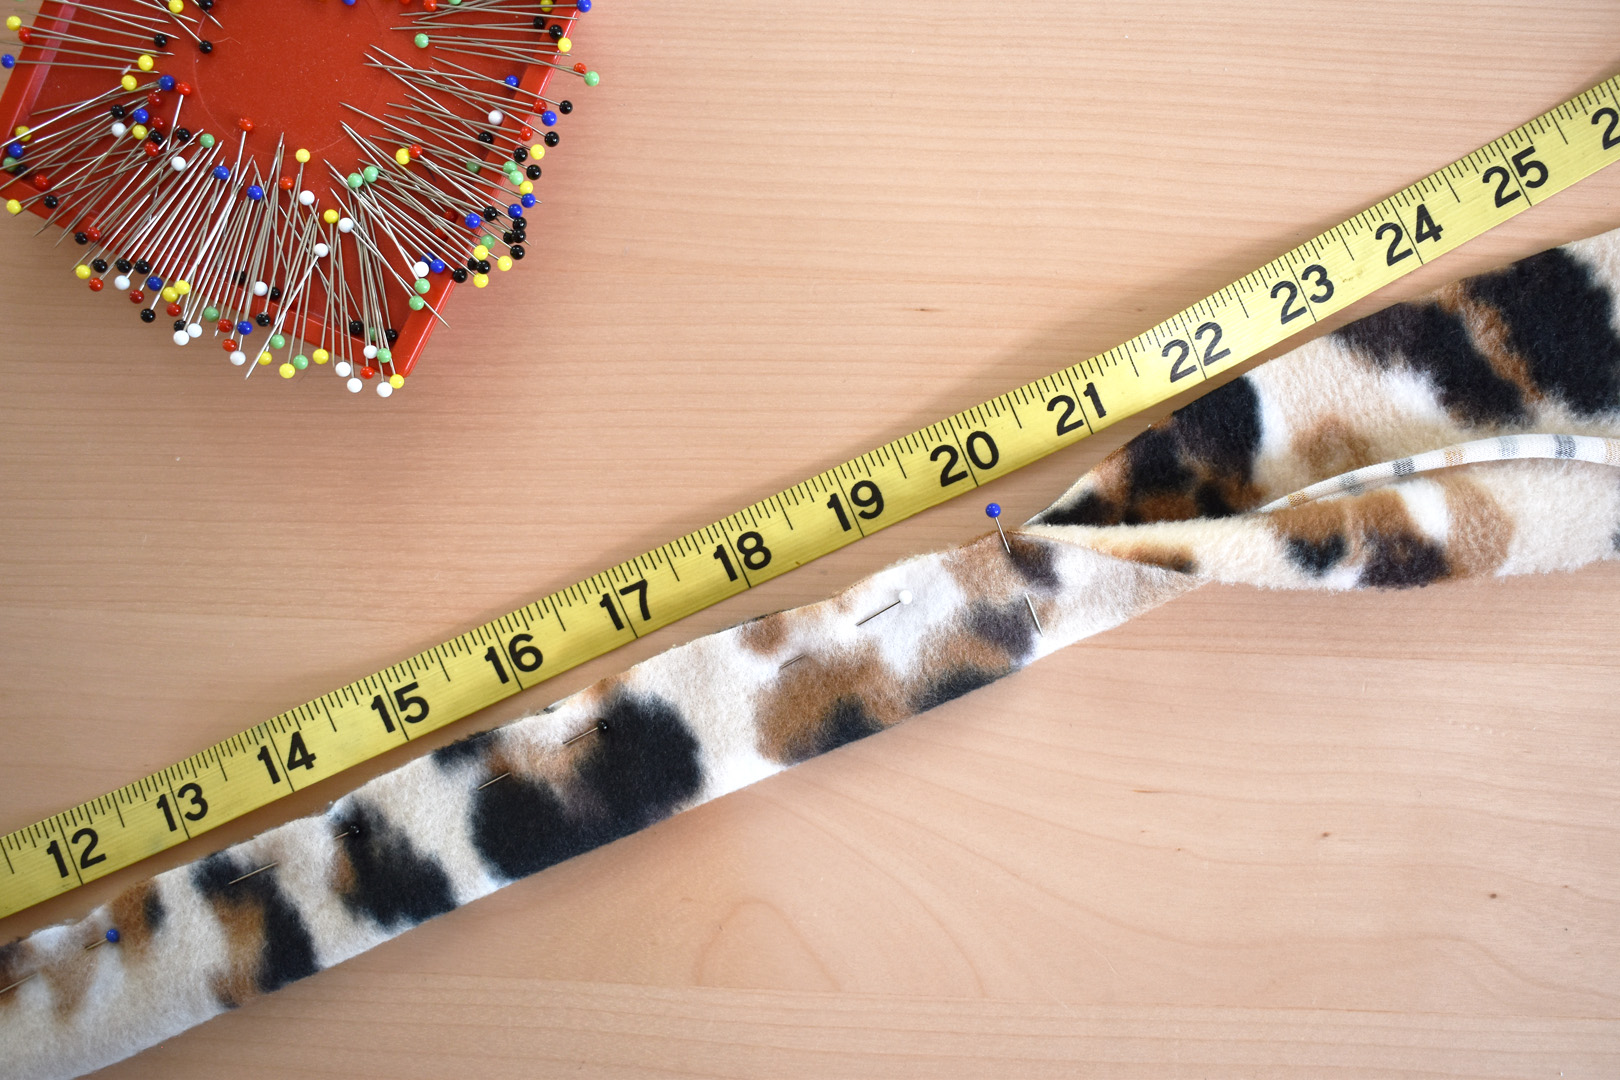
Pin down the long side to about 20″ from the top, and set a pin to remind you to stop sewing at this point.
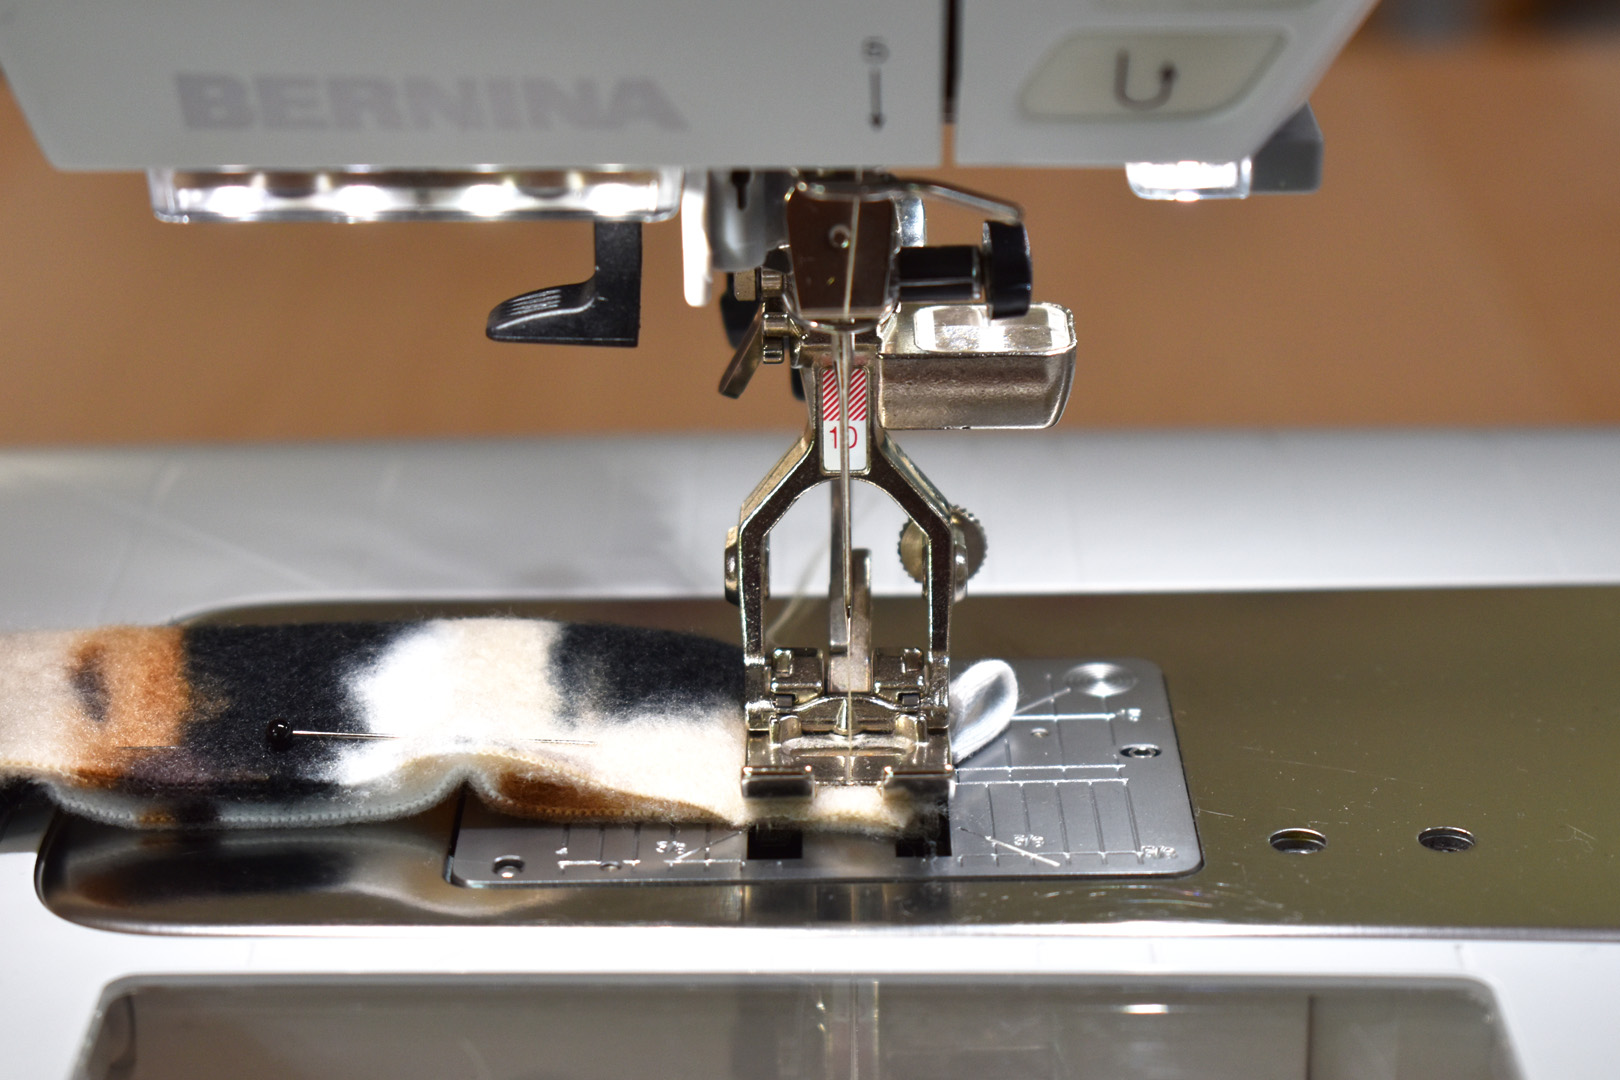
Stitch across the top, short end of the fleece strip with a 1/4″ seam. Set the straight stitch at 2.75mm length. Back stitch a few times to secure the knit string in the seam.
Next, change the settings on your sewing machine.
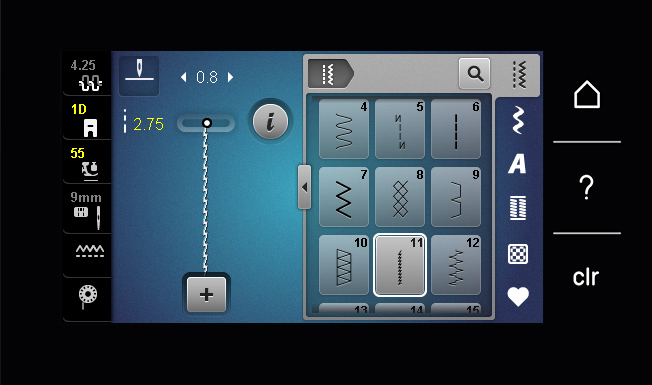
Select Stretch Stich #11 and change the stitch length to 2.75mm. If you are using a different model BERNINA, please check your manual to find which stitch is the stretch stitch. If your sewing machine does not have a stretch stitch, use a very narrow zigzag stitch.
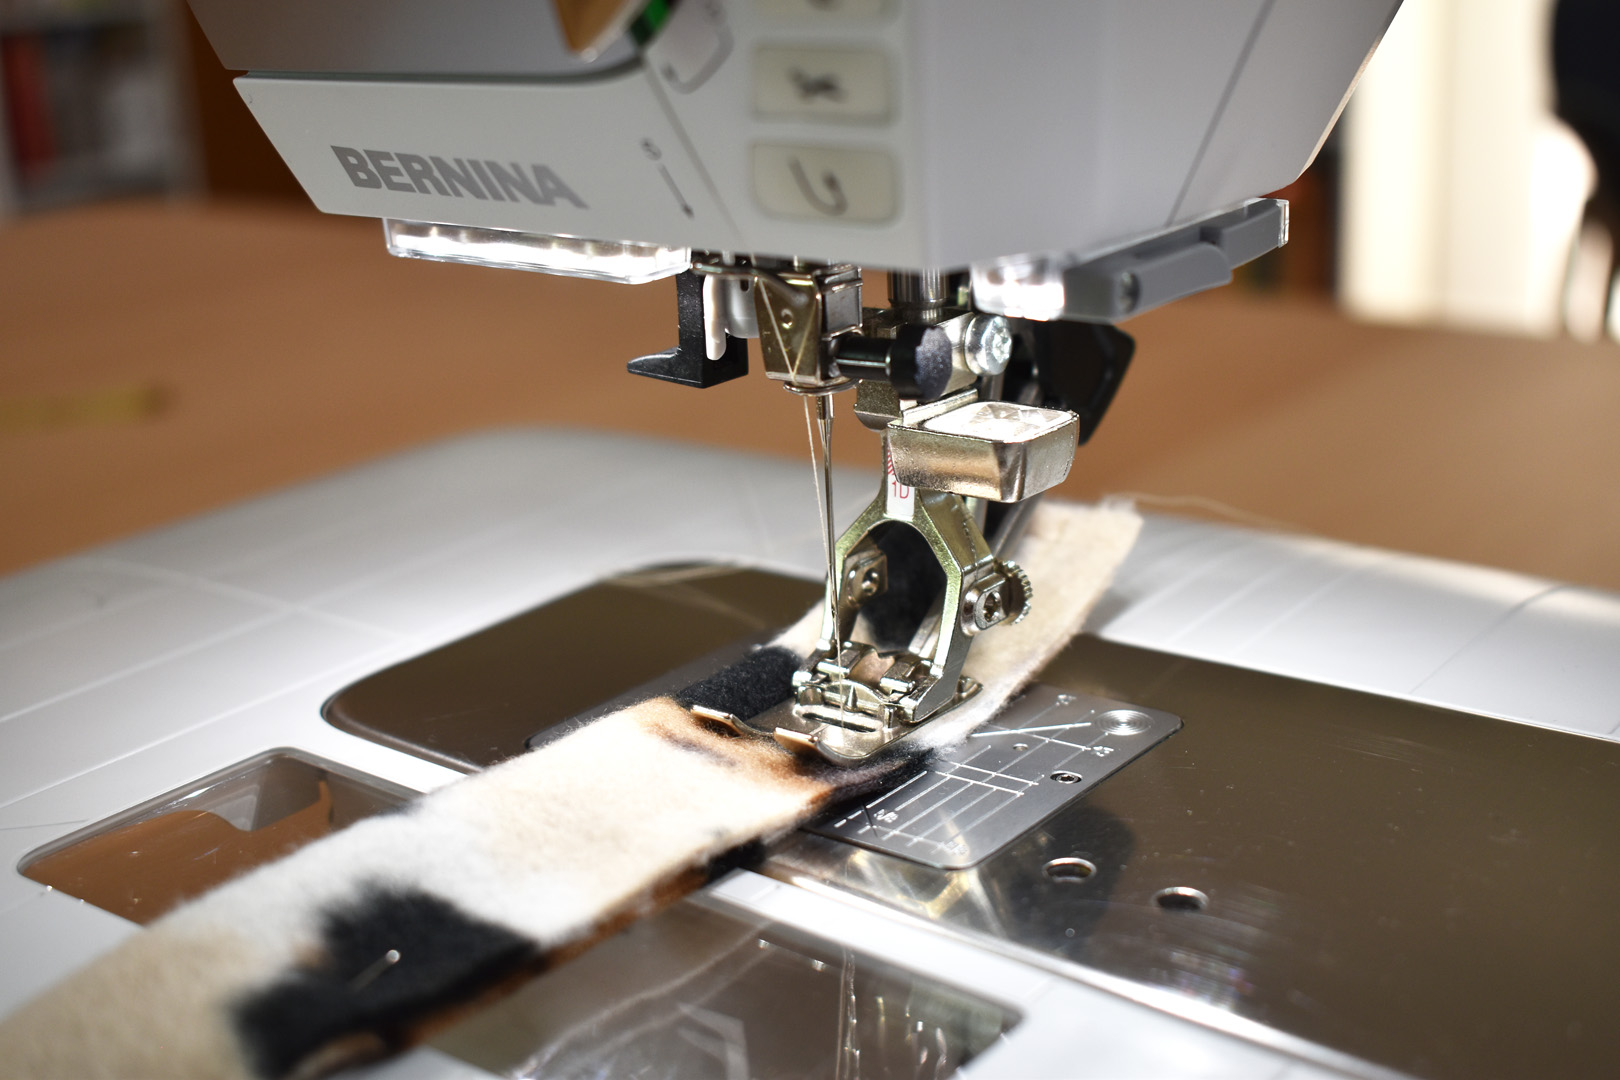
Sew down the long edge with a 1/2″ seam allowance, backstitching at the beginning. The Stretch Stitch #11 has a back-and-forth action and your job will be to gently guide the fabric through the machine while it works to make the stitch. Try to keep the fabric at the 1/2″ seam guide mark with gentle motions instead of big push-or-pull actions. When you reach the pin marking the stopping point for sewing, backstitch a few times to create a strong end to the seam.

Trim the long seam to just under 1/4″ from the stitching.
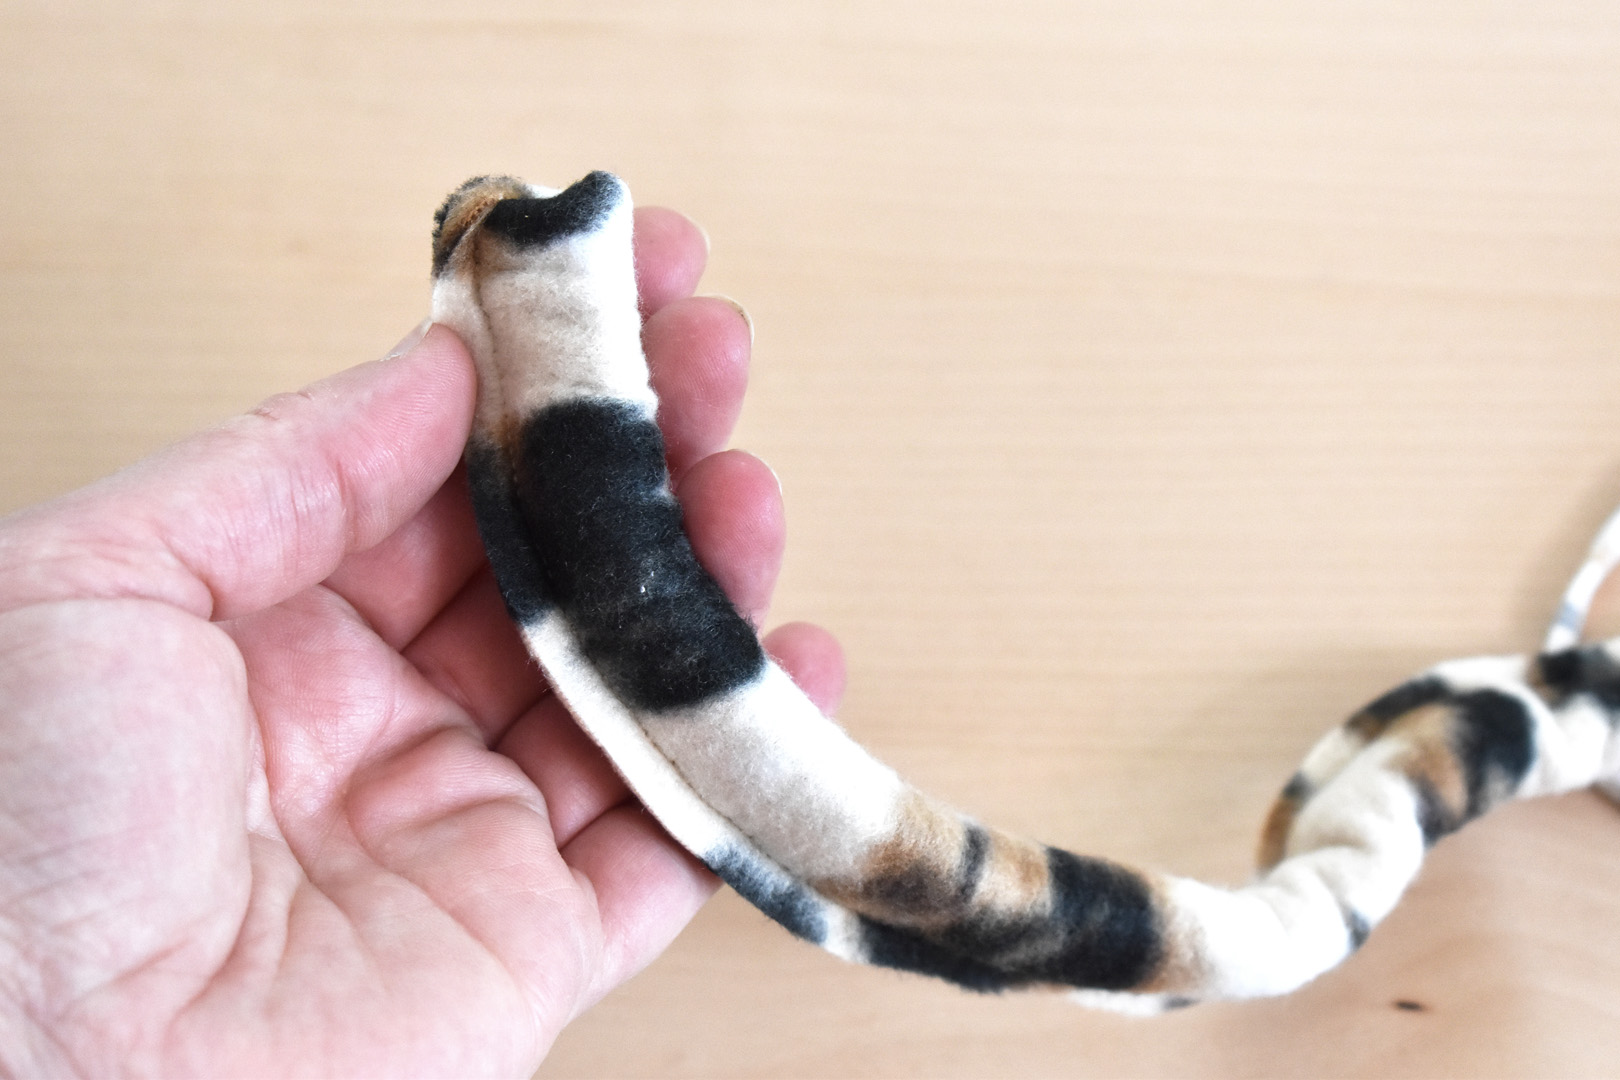
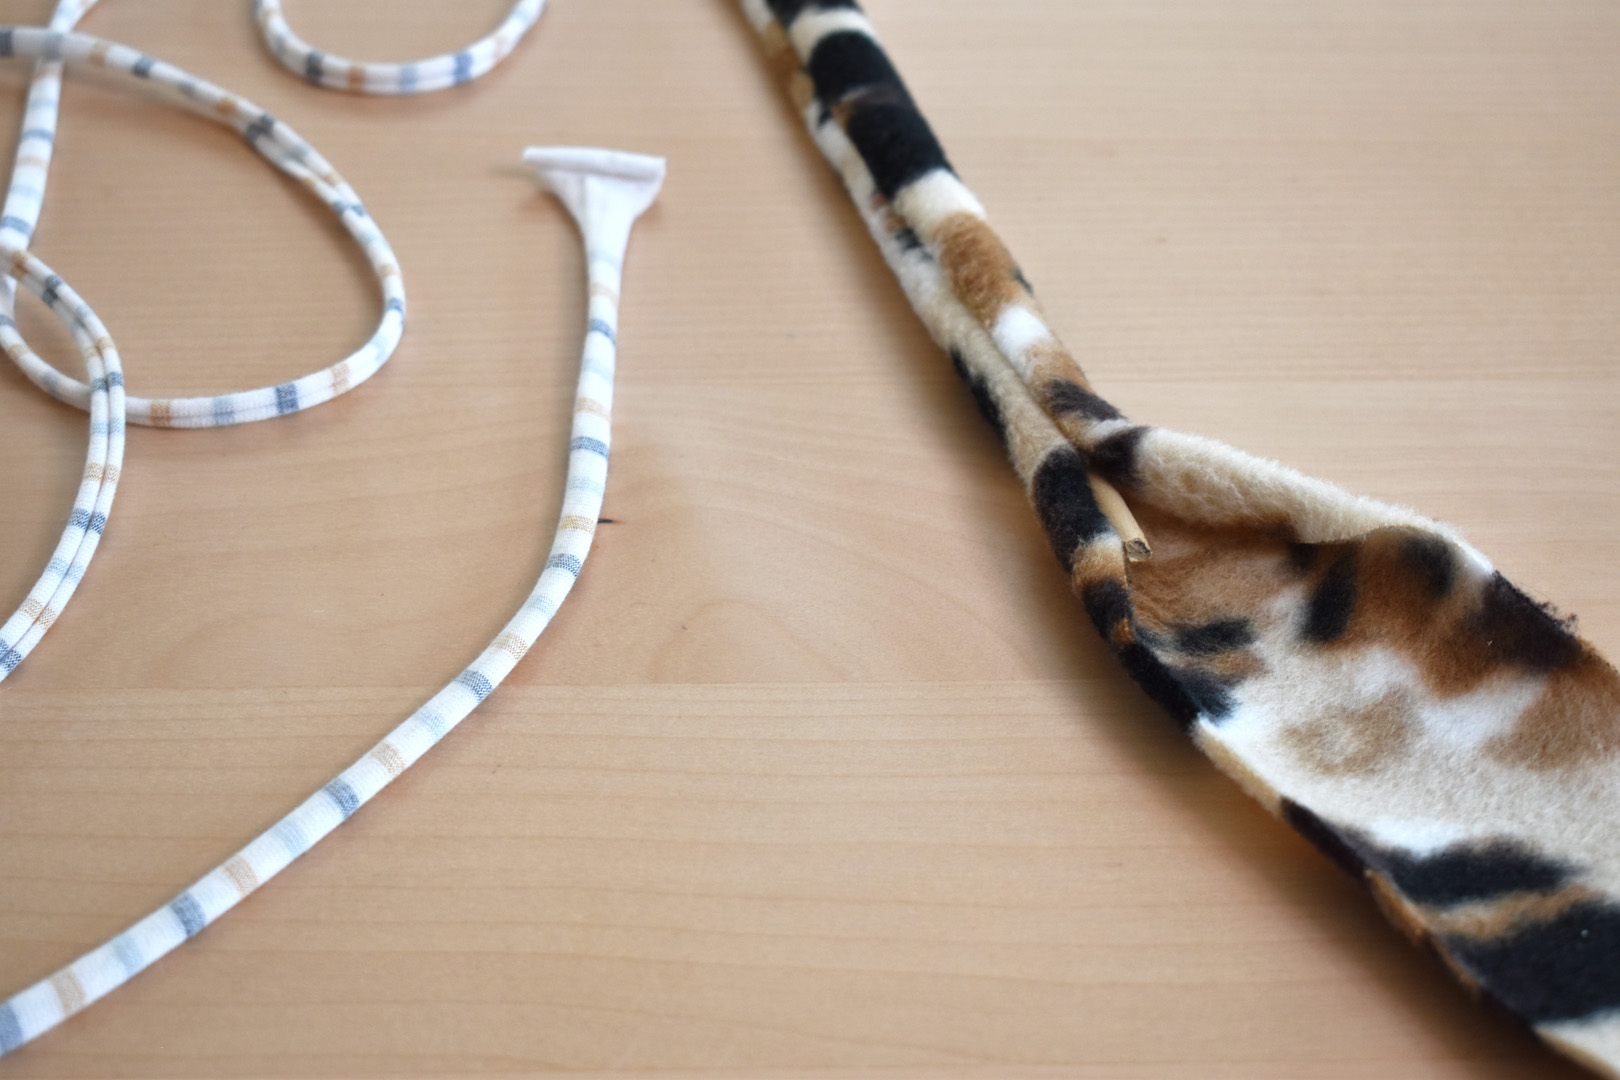
Turn the tube inside out by grabbing the end of the knit string in one hand and the top end of the tube in the other. Work to get the end started in the right direction, and then keep gently pulling until the entire tube is turned out.
Insert one of the 1/4″ wide wooden dowels trimmed to 24″ long into the open end of the fleece tube.
Now, gently pull the fleece down over the wooden dowel.
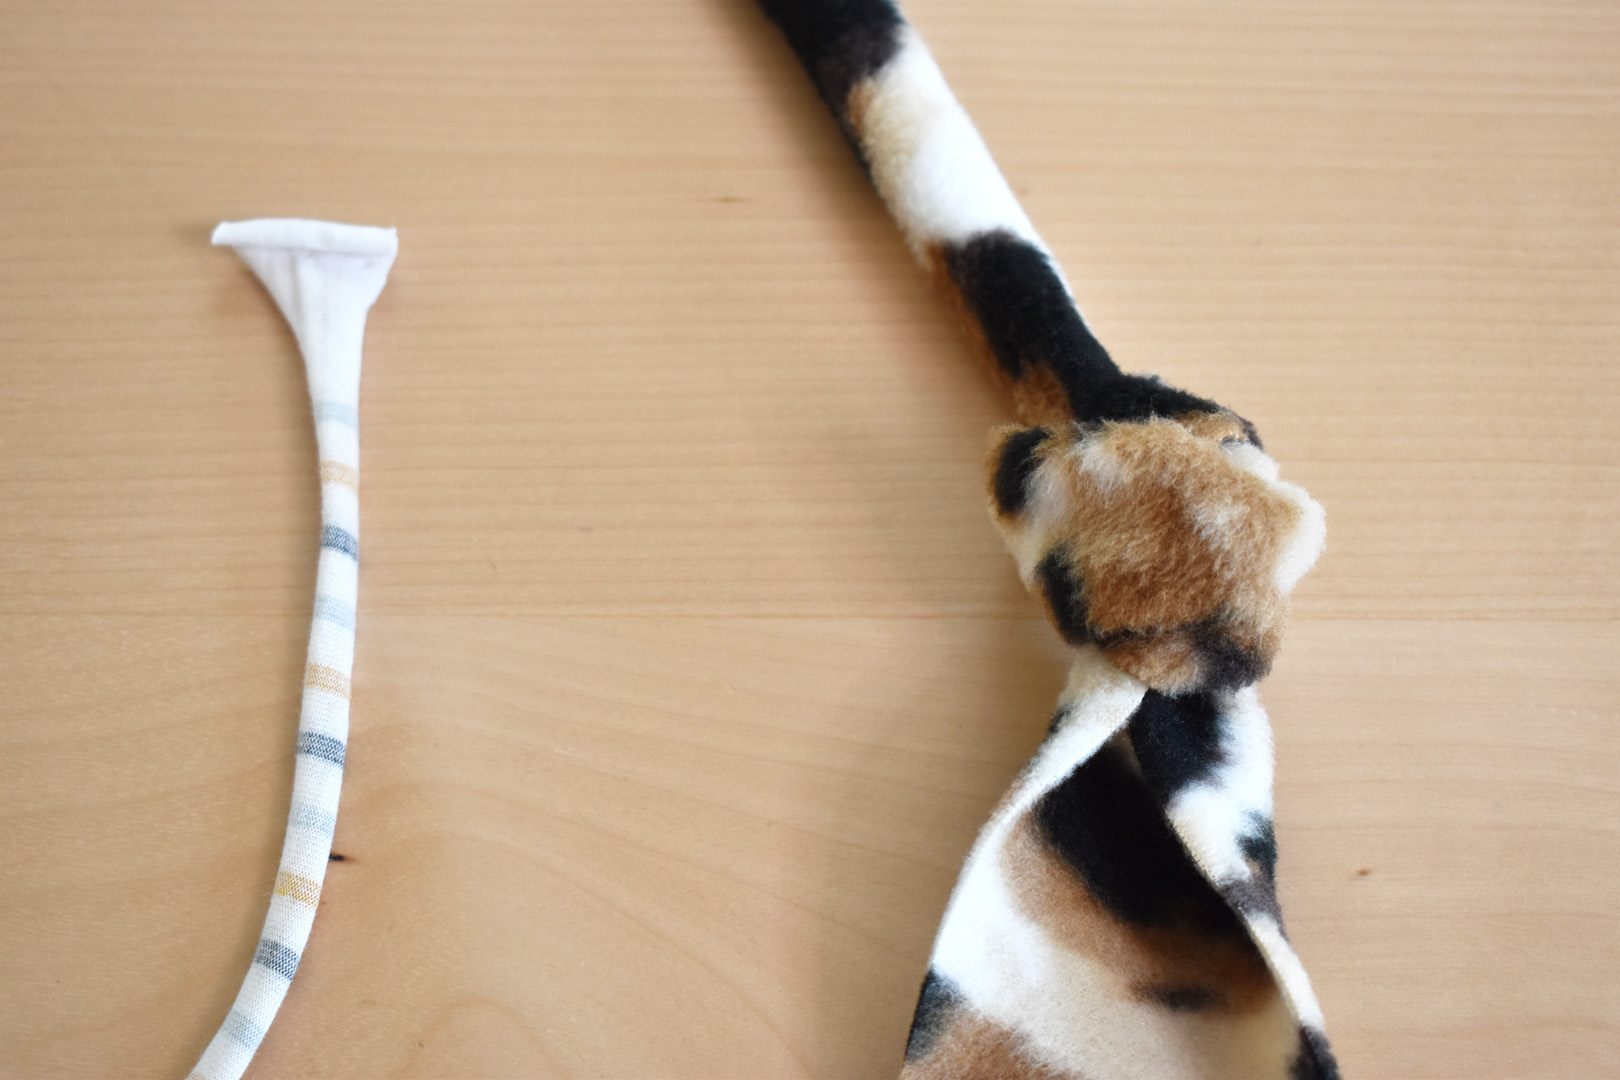
Pull the fleece fabric taught but gently down, and tie a knot in the extra fabric at the base of the wand.
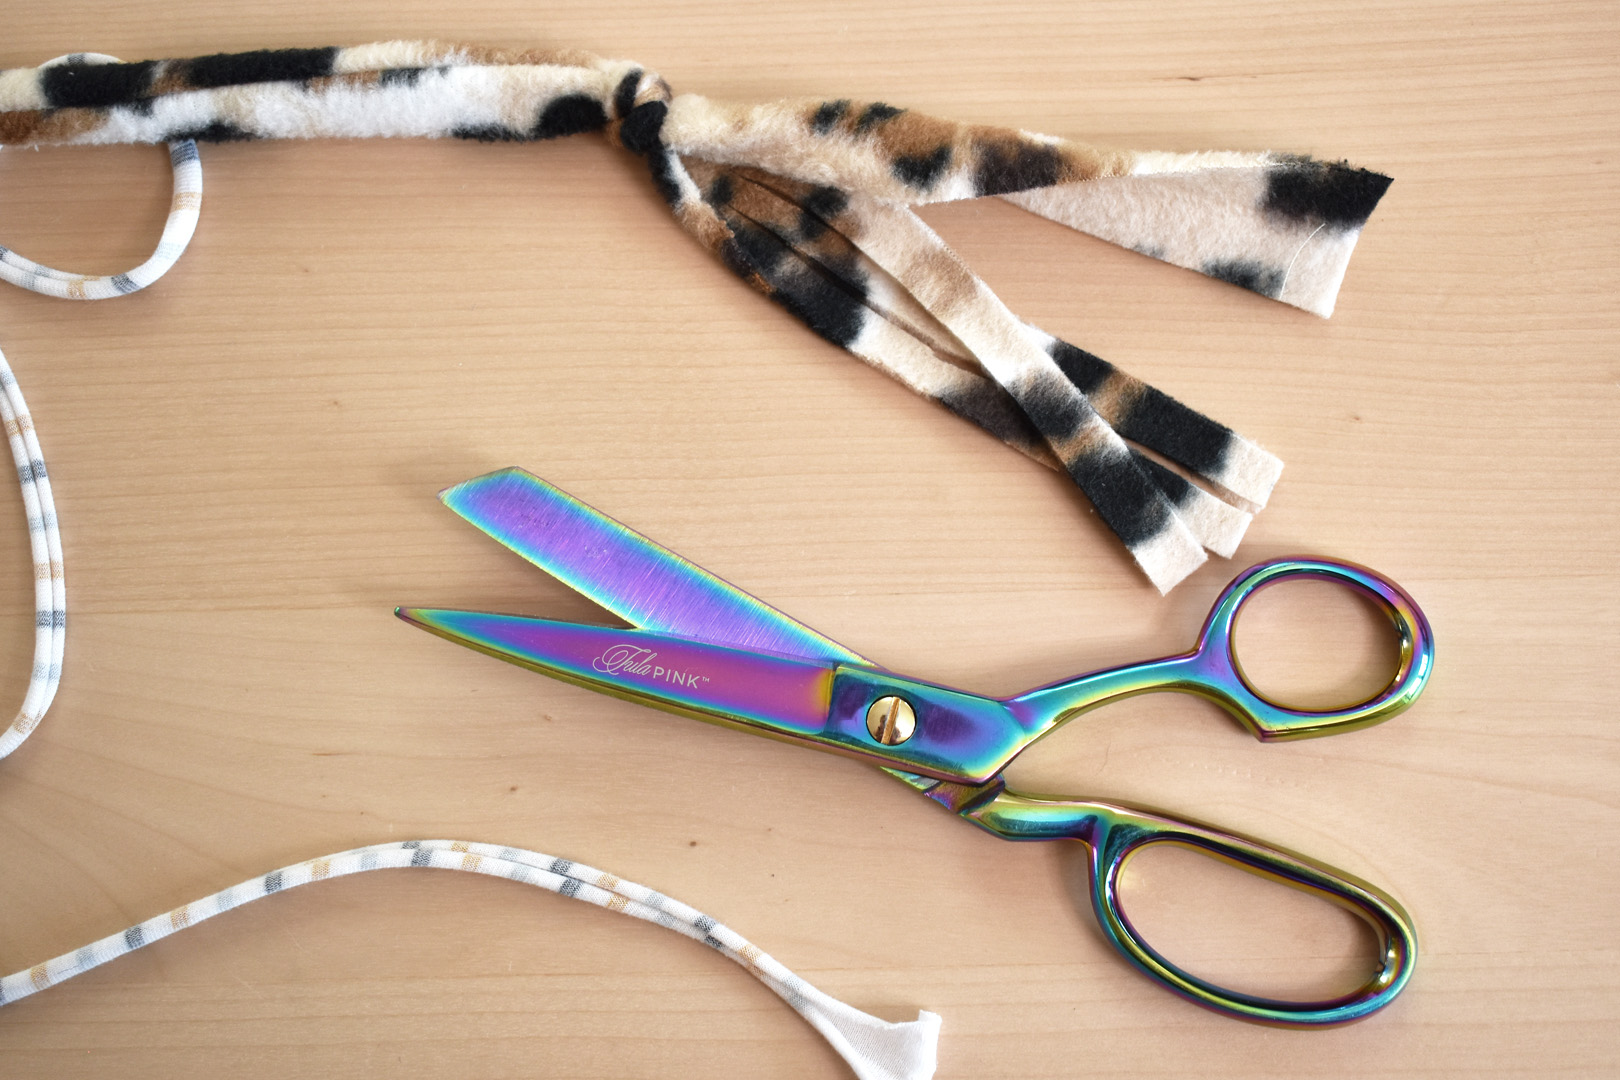
Cut the fleece fabric at the end of the wand to about 4″ to 5″ long, and snip into strips.
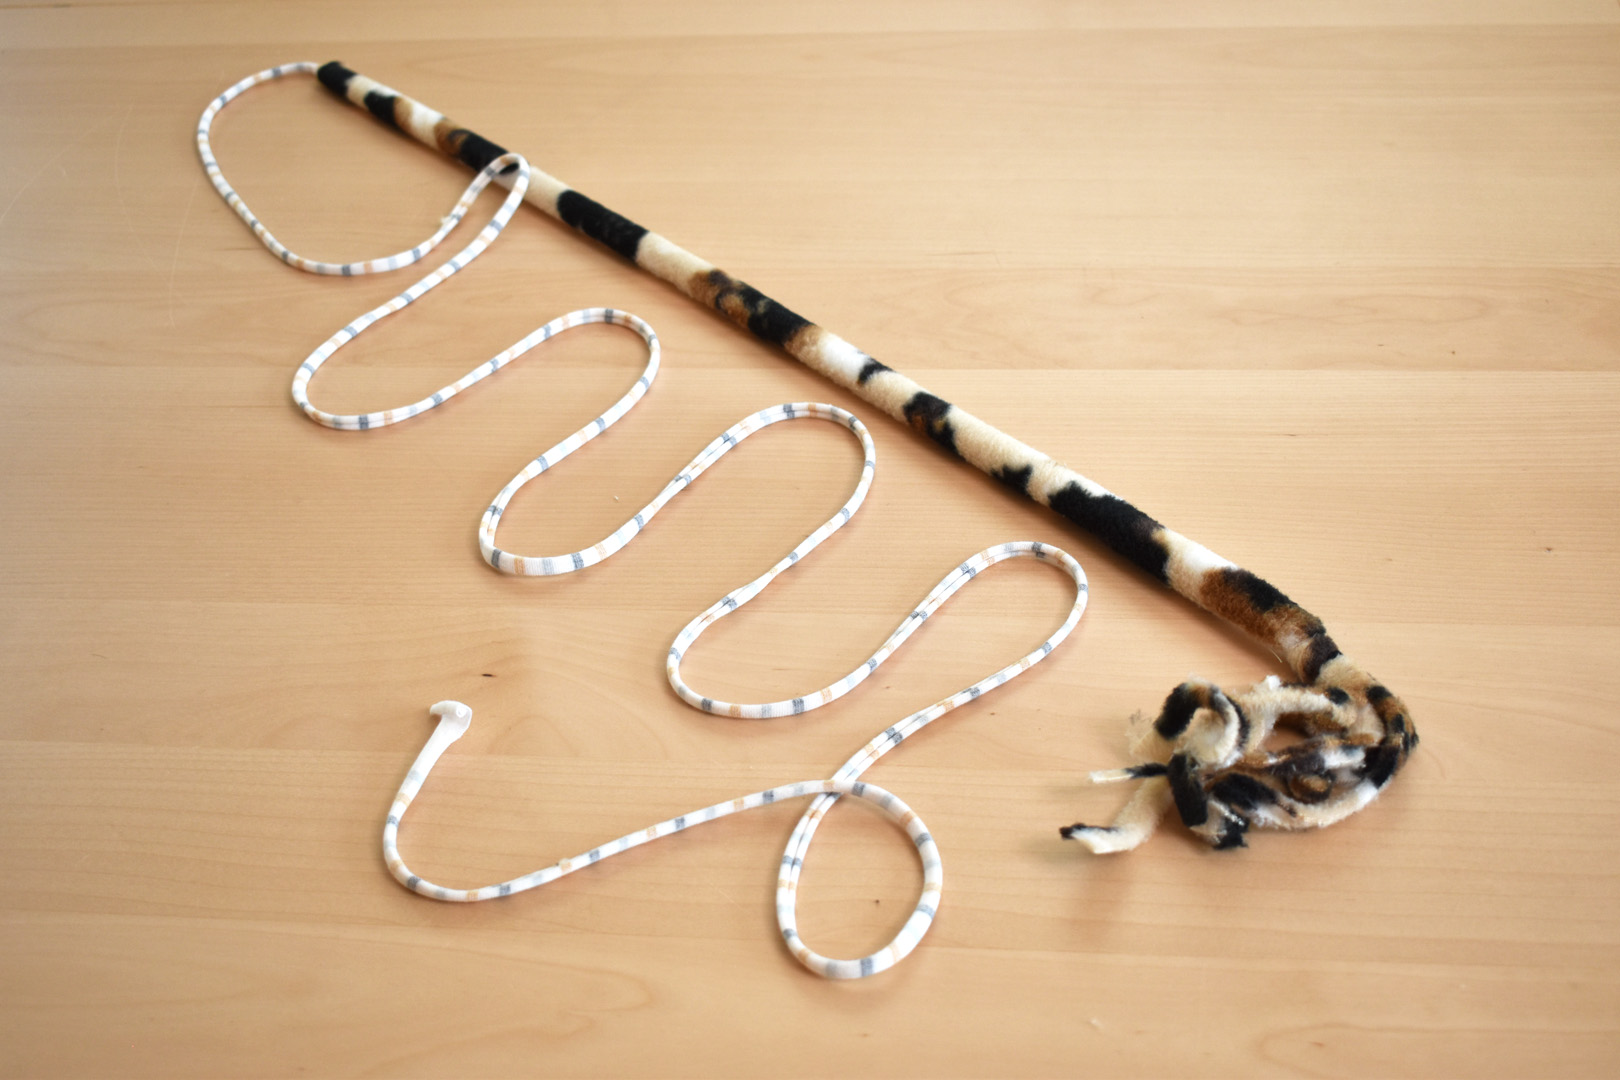
The wand toy is ready for some serious kitty playtime! You can use the wand as-is to play, or read on to make one of three fun teaser toys for the wand.
How to Sew Cat Toys
Change the needle to a sharp or microtex size 80/12 needle, and update sewing machine settings for sewing with the wool blend felt.
Use Straight Stitch #1 set at 2.0mm, and increase the presser foot pressure to 65.
How to Make a Fish Cat Toy
Download and print the Fish pattern. Cut 2 fish bodies and 2 fish fins from the wool blend felt.
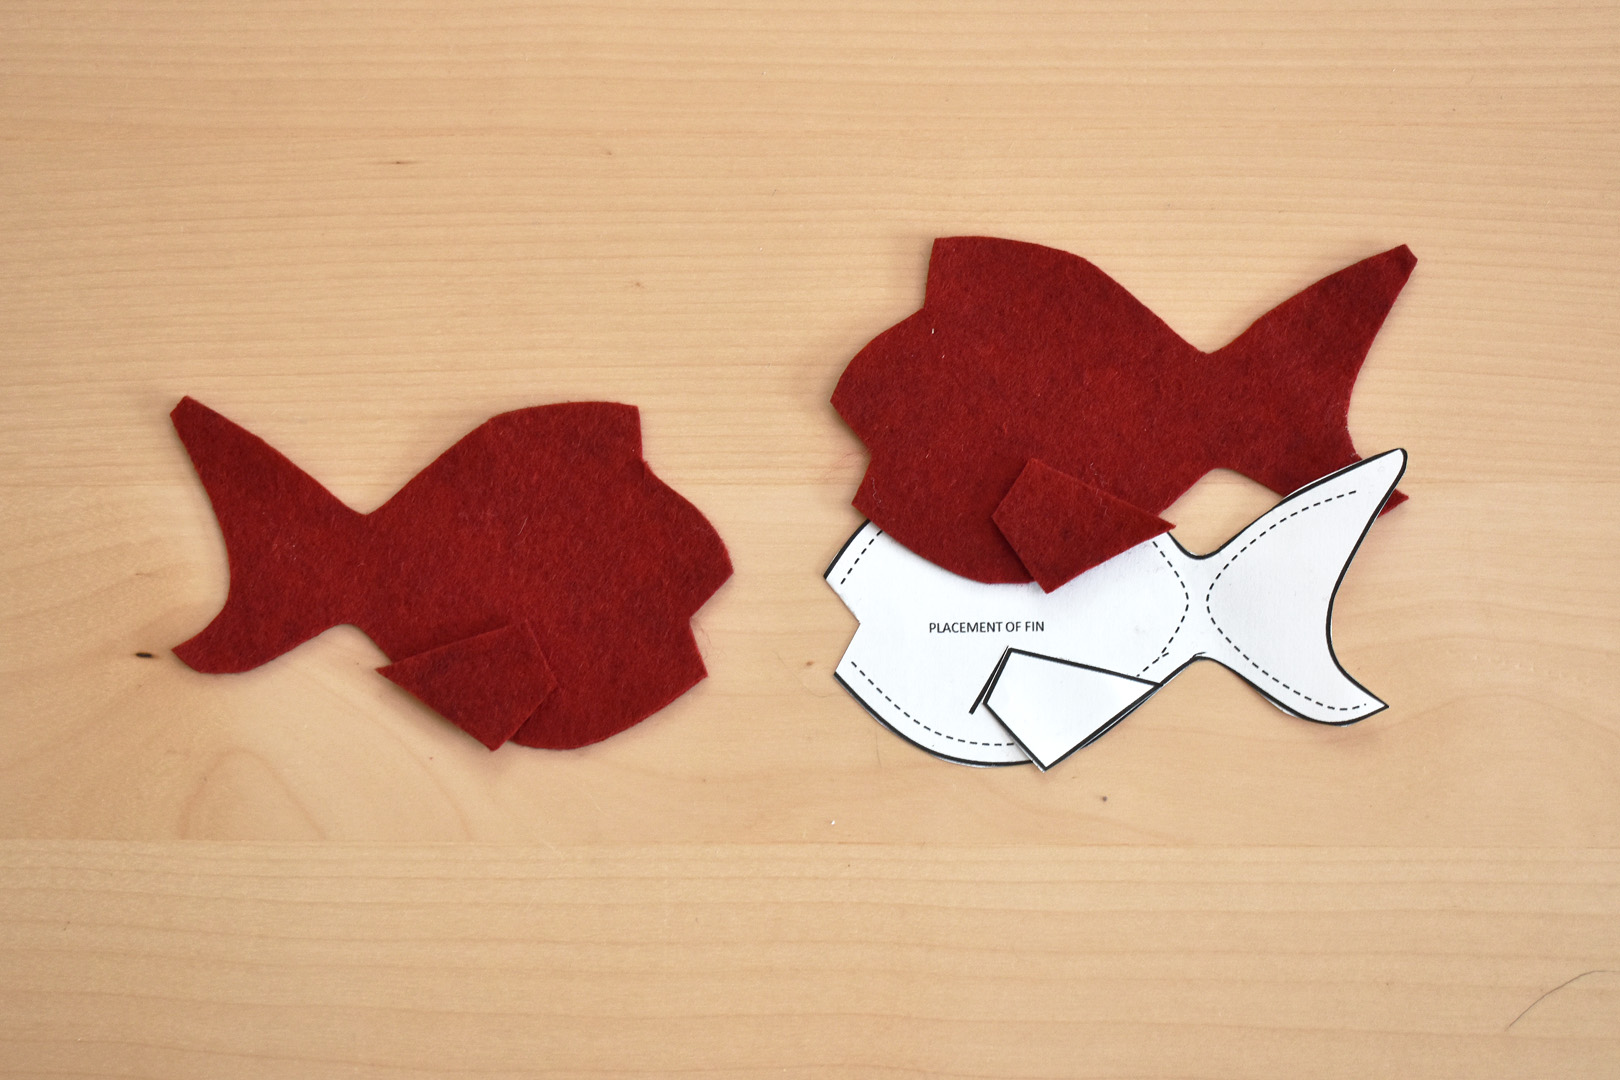
Use the placement mark on the fish pattern to place the fins on the right side of each fish body pattern. Top stitch the fins in place along the placement line, on the short side of the fin, backstitching to create a strong stitch.
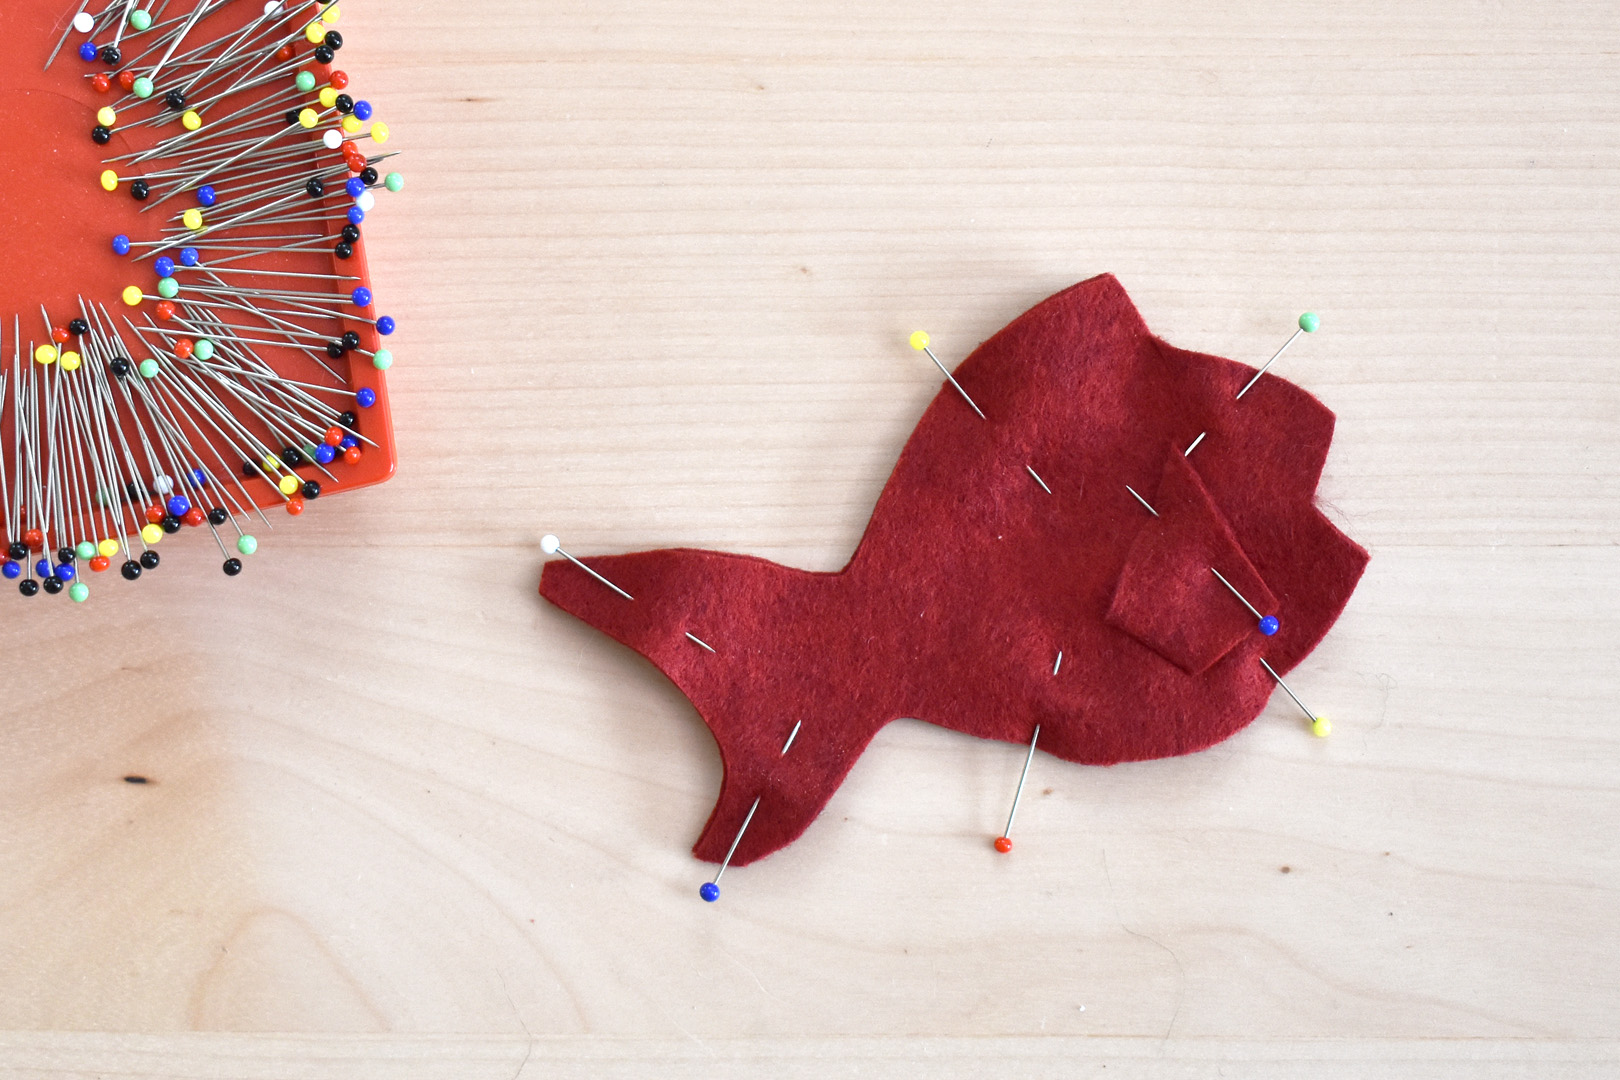
Pin the two fish body pieces wrong sides together. Pin both the fins up and out of the way for stitching in the next steps.
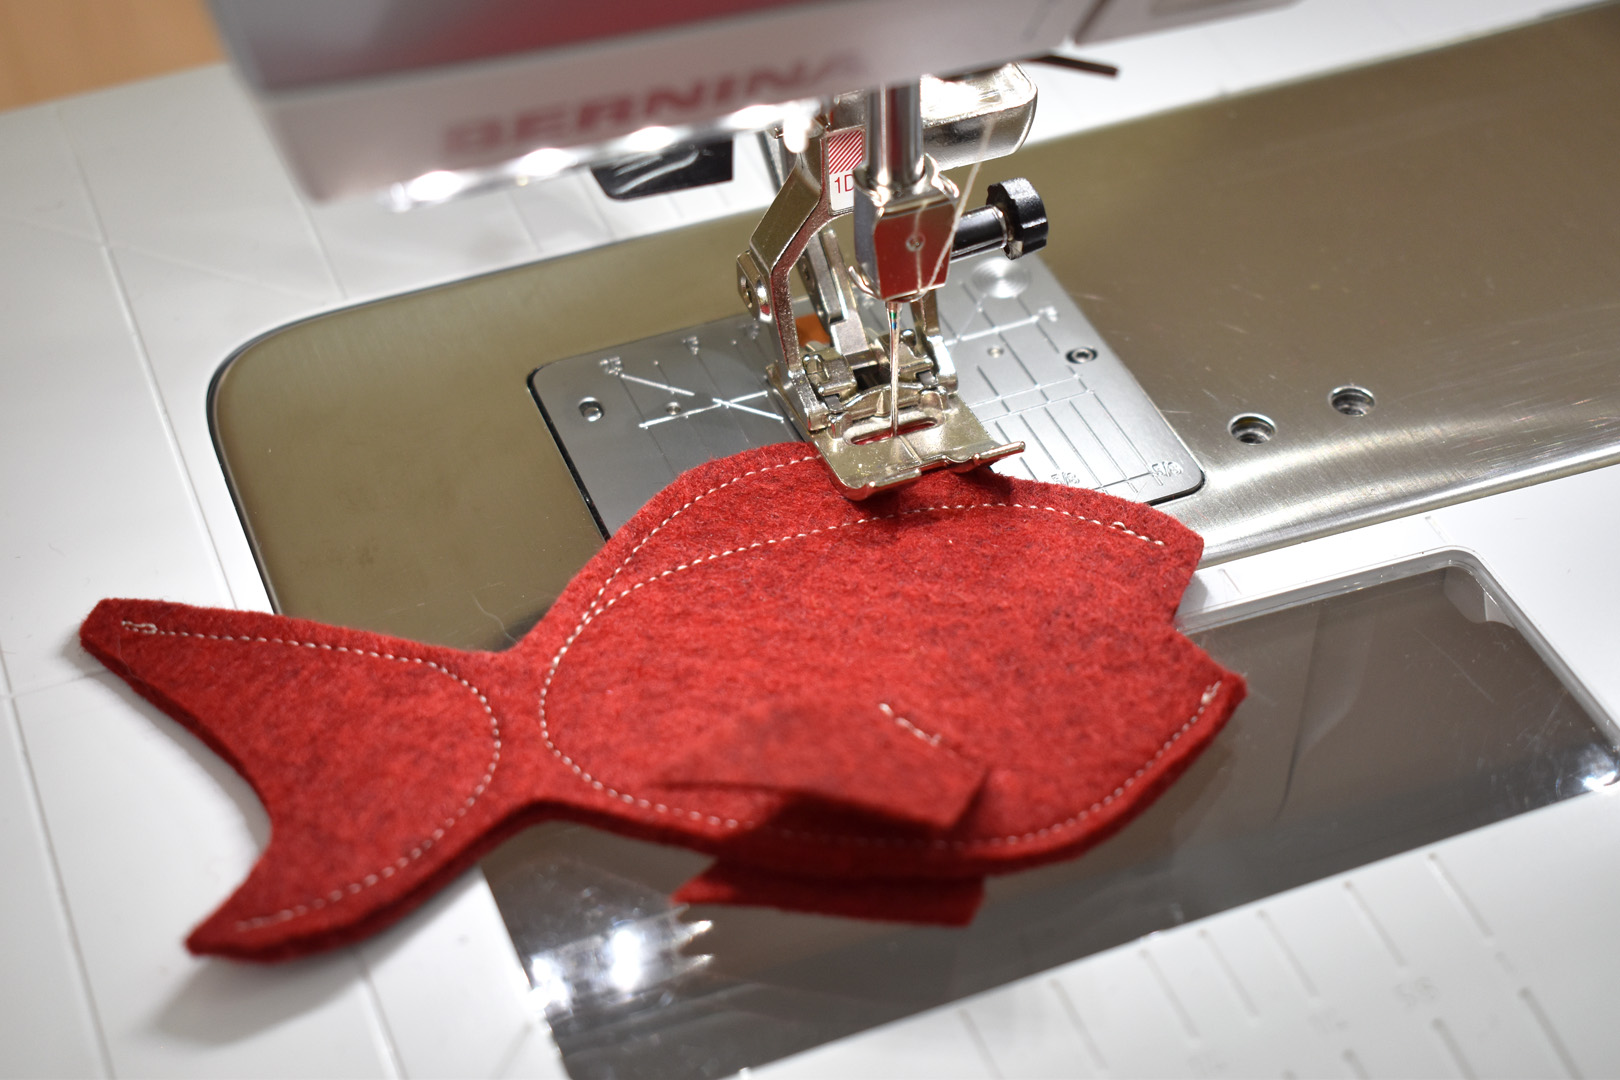
Leaving the mouth open, stitch around the fish body using the dashed lines on the pattern as a guide. Stitch about 1/4″ away from the outside edge around the body of the fish, around the back fin, and the top fin.
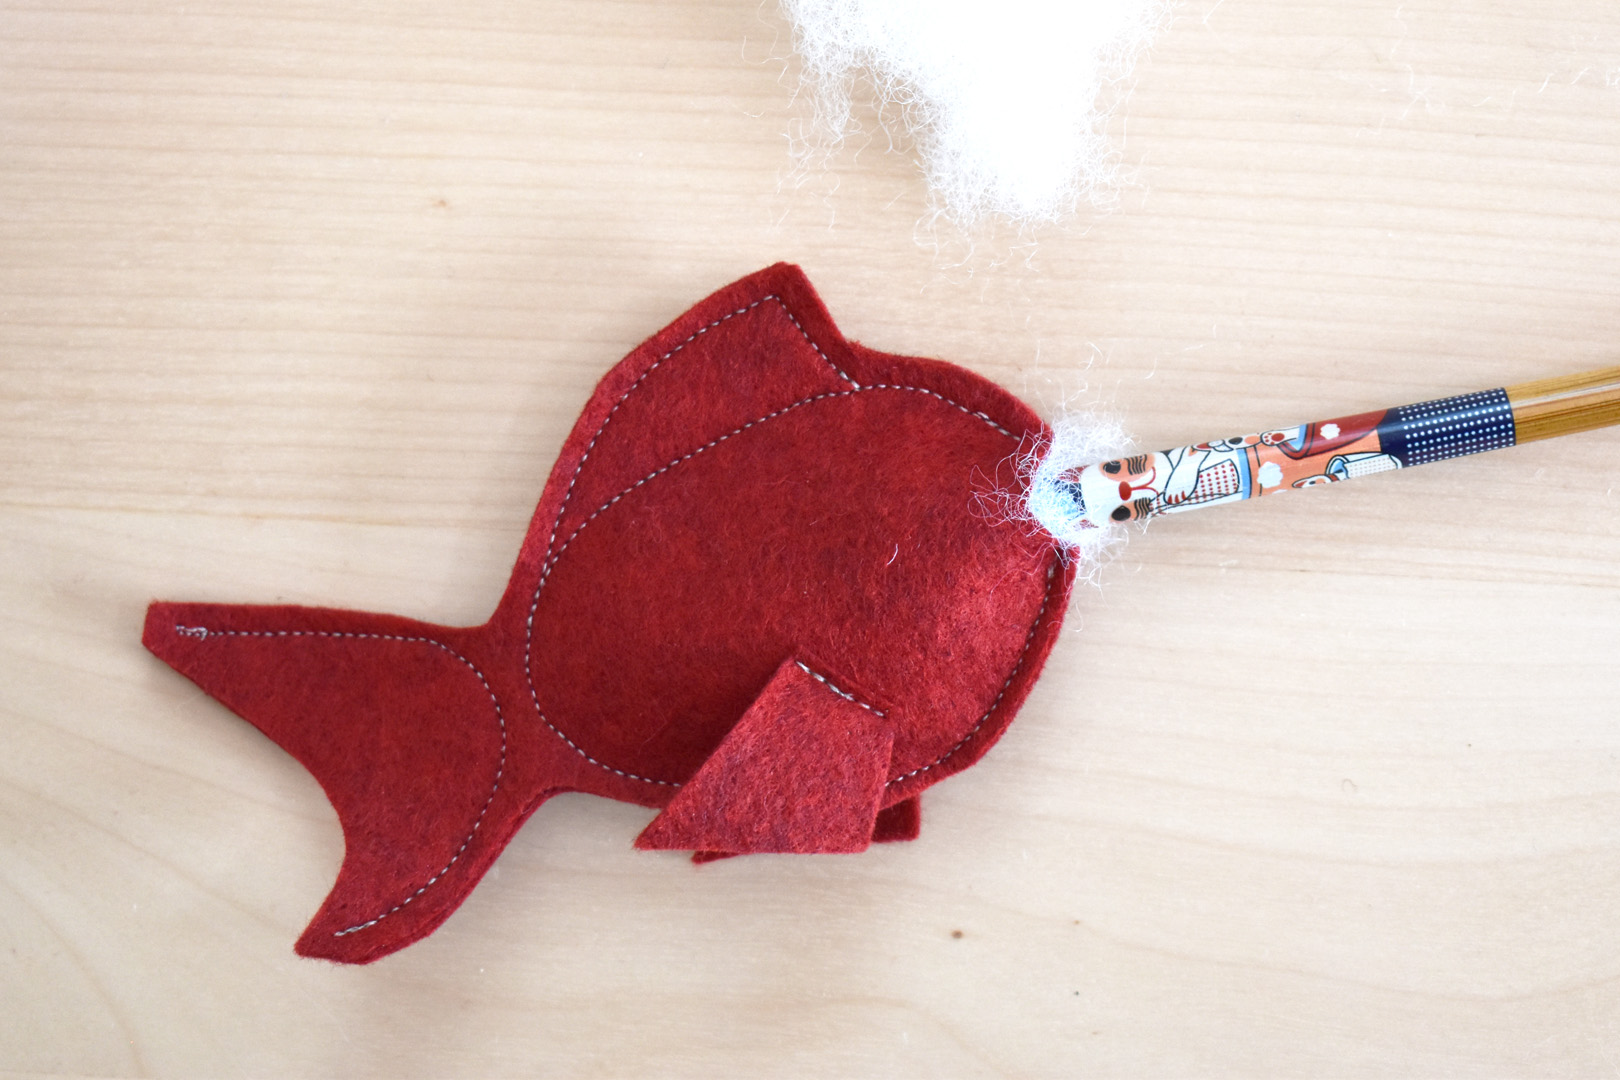
Stuff the fish very lightly with a small amount of fiber fill and a little catnip. Use the eraser end of a pencil or the end of a chopstick to help push the stuffing into the fish’s mouth.
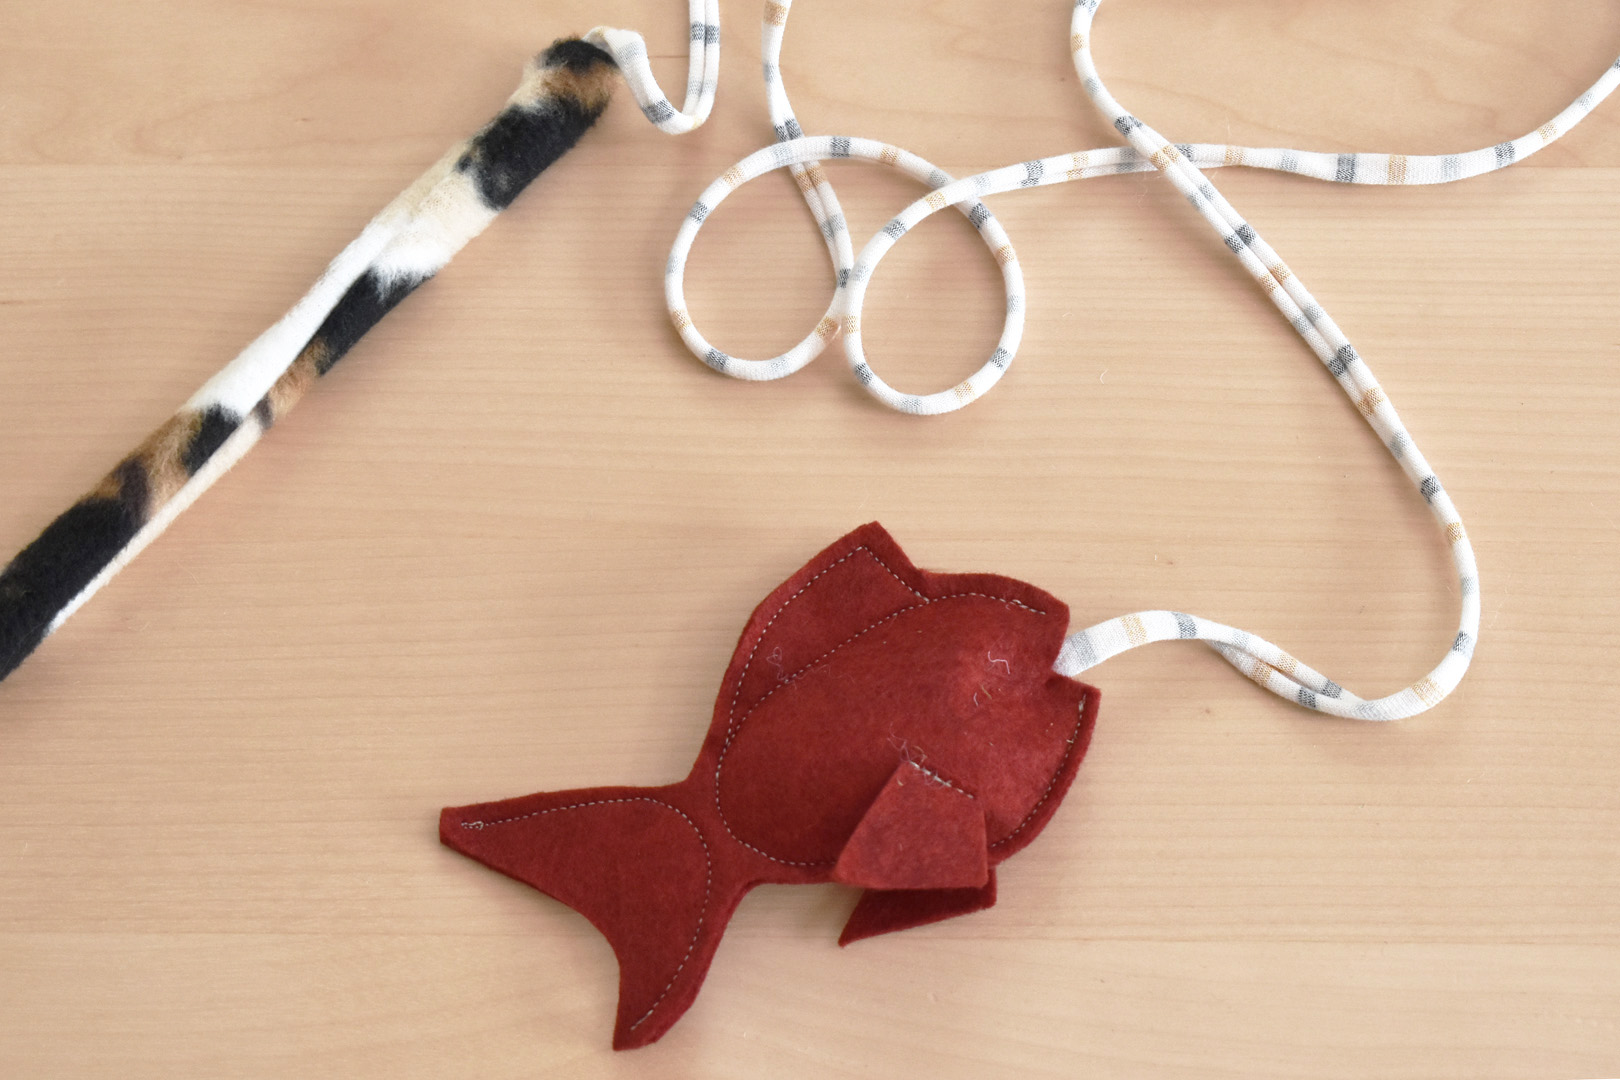
Tie a knot in the knit string 40″ to 45″ down from the top end of the wand toy, and cut the extra string below the knot. Slip the knotted end into the fish mouth and pin in place.
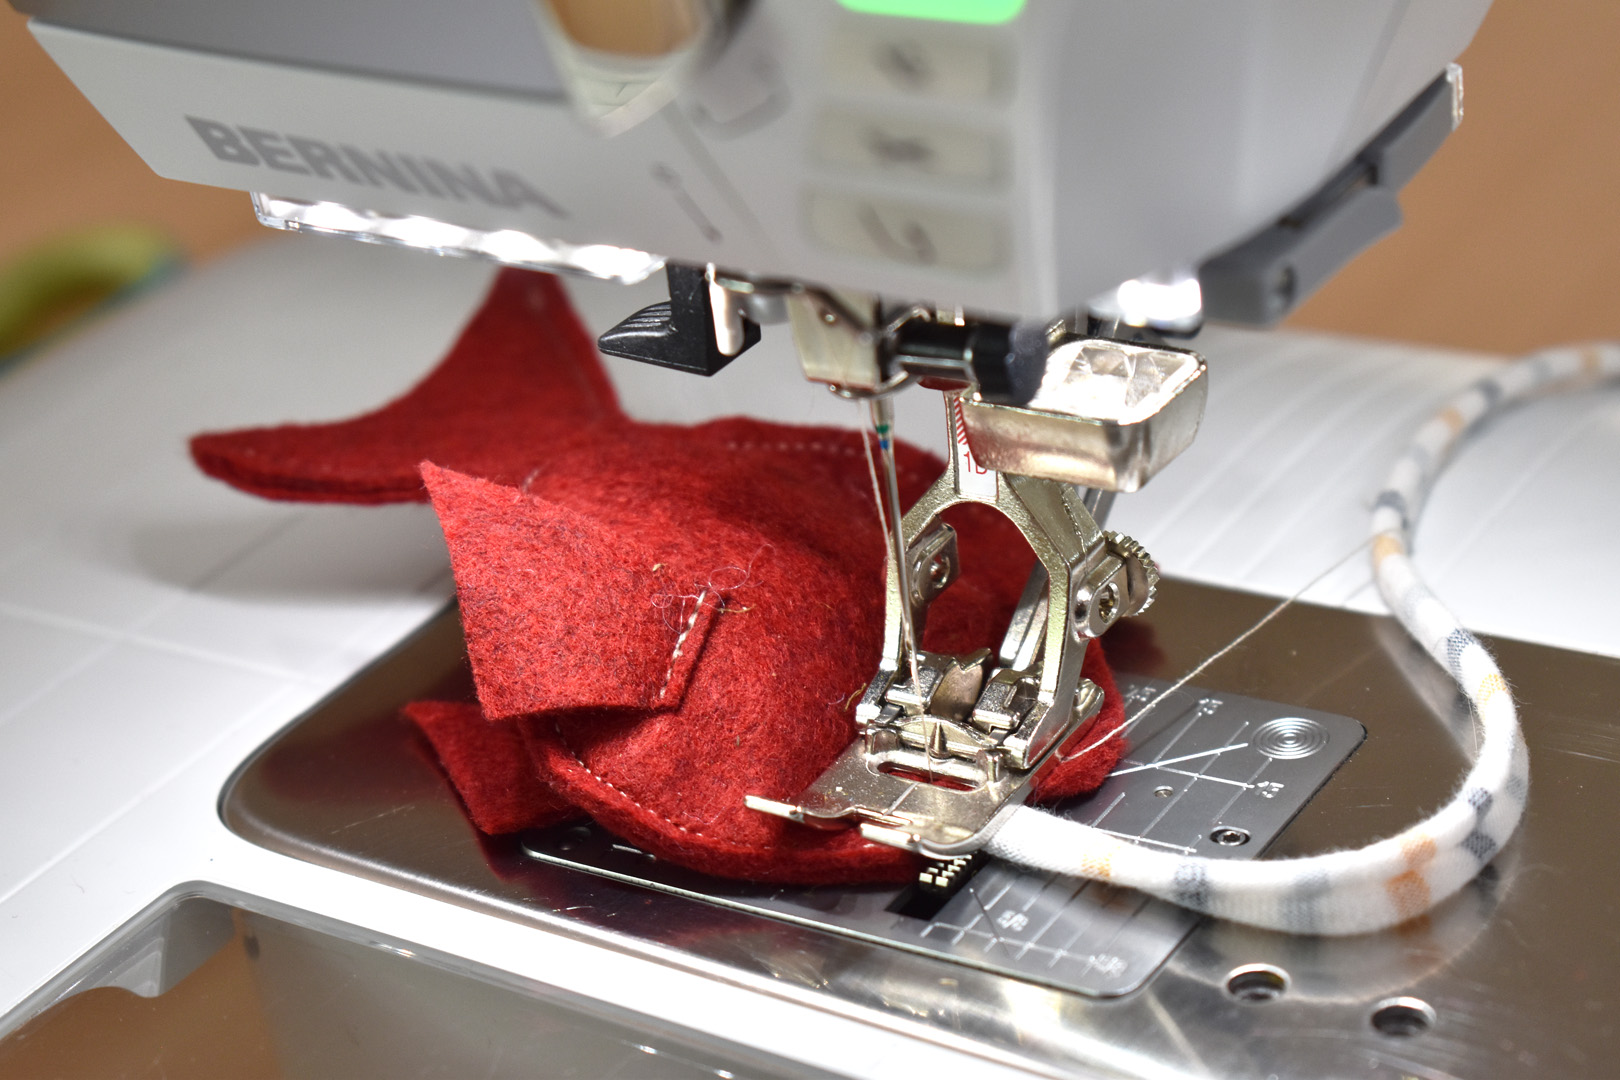
Stitch across the mouth opening, backstitching a few times to create a strong seam.
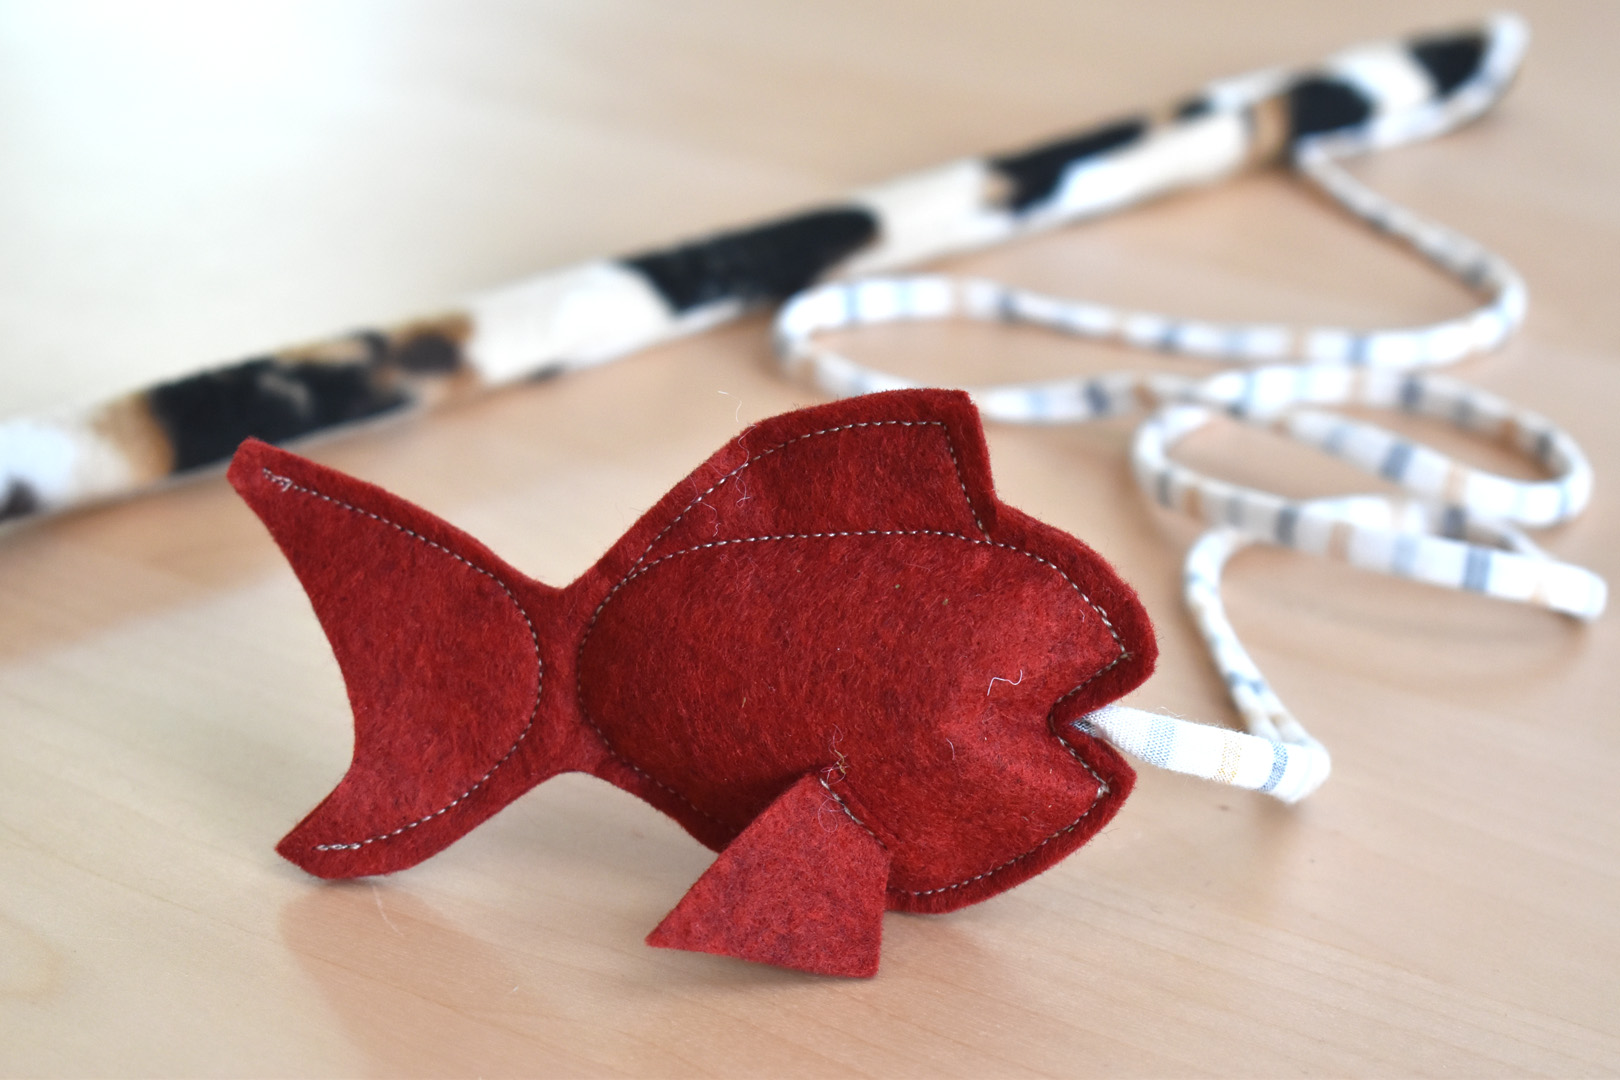
Trim threads and you are ready to catch some cats with this fish!
How to Make a Mouse Cat Toy
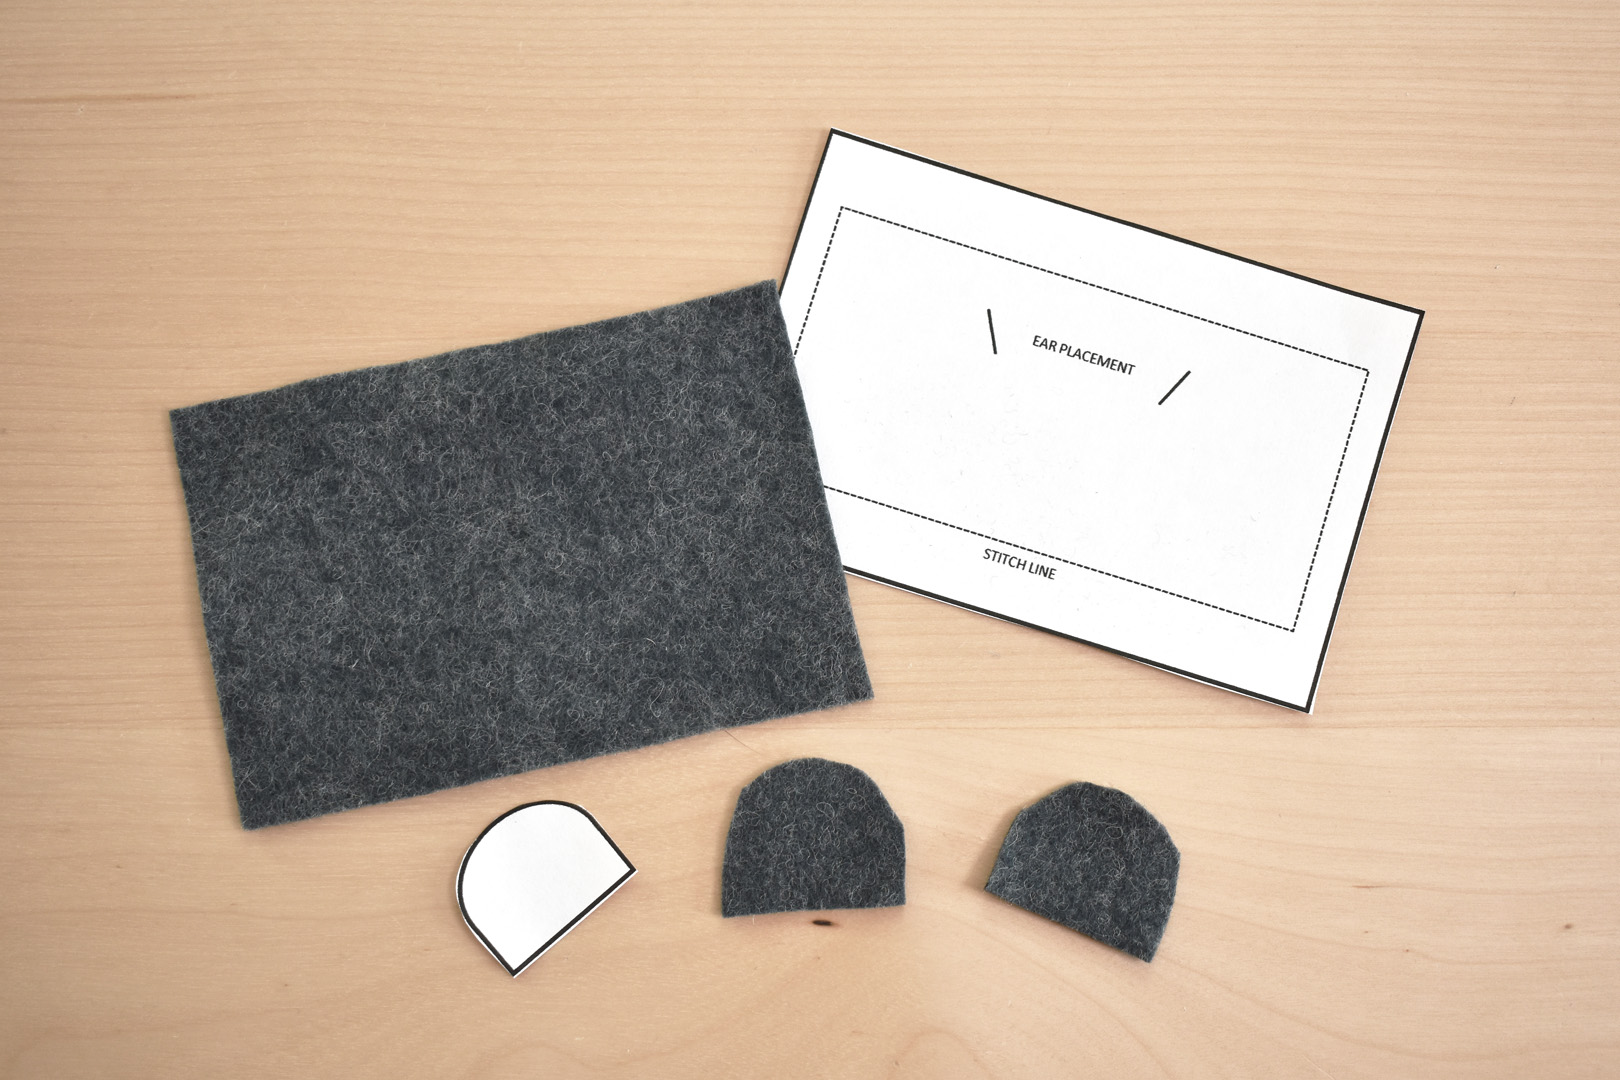
Download and print the mouse toy pattern. Cut one rectangle for the mouse body and two mouse ears from the wool blend felt.
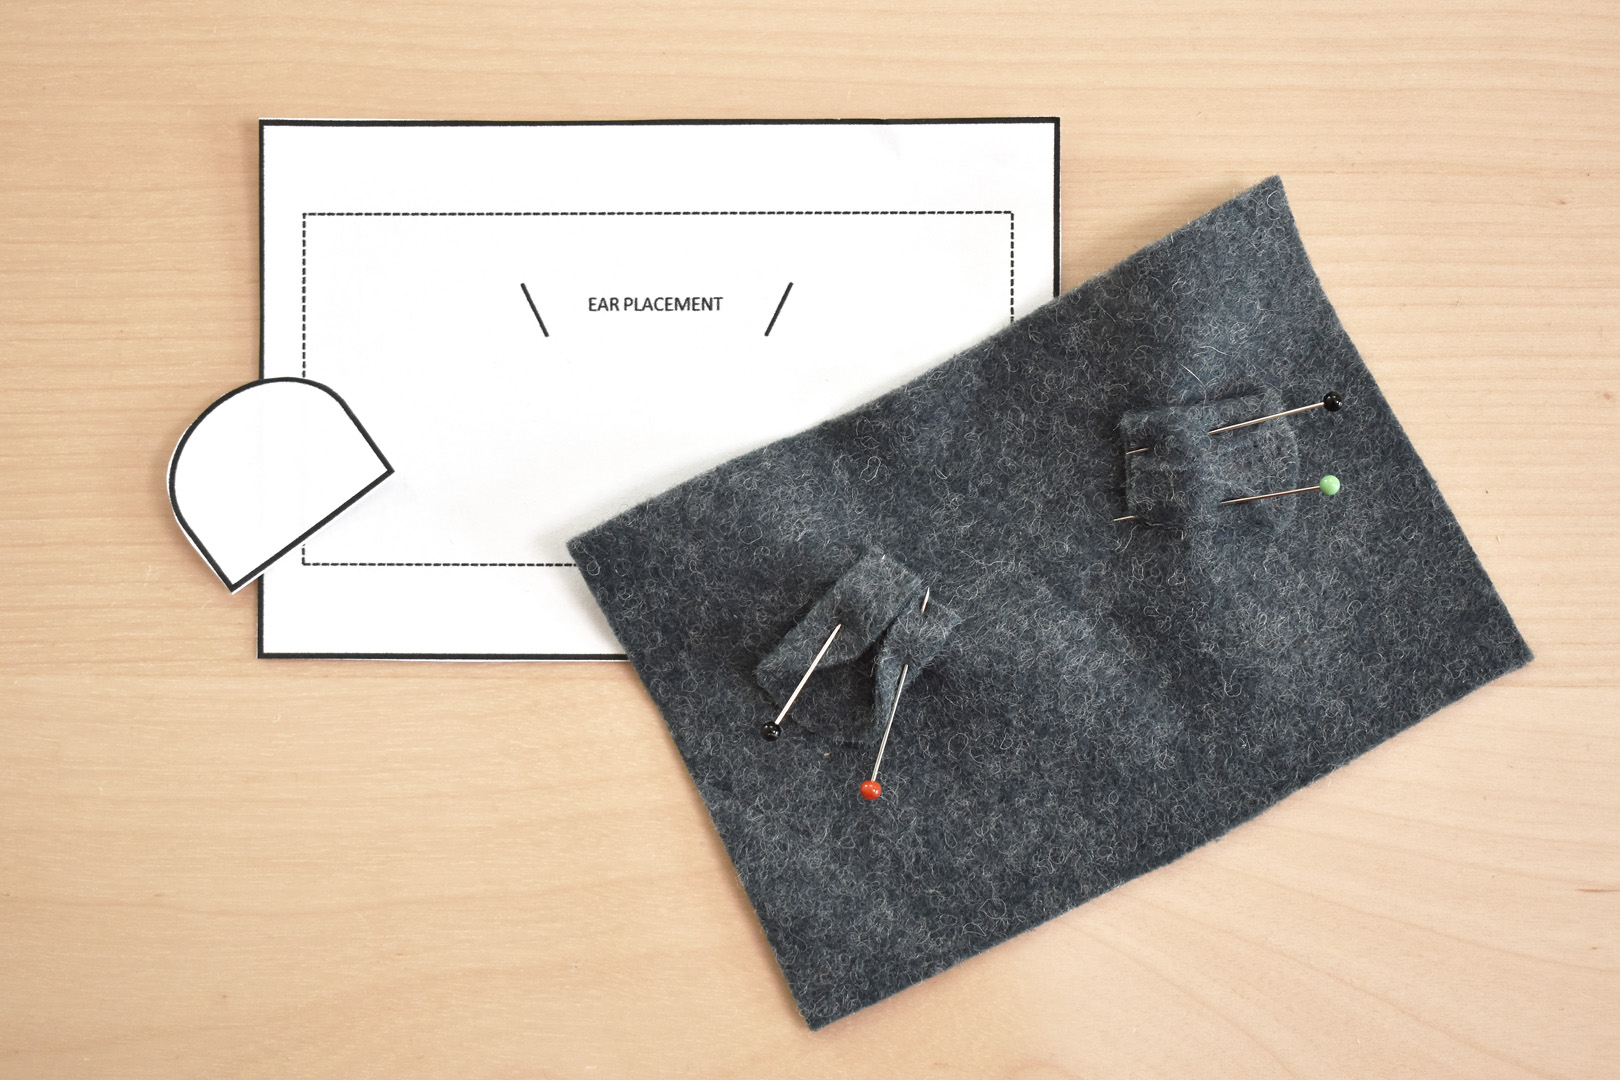
Using the ear placement marks on the pattern, roll the two edges of the mouse ears over to the center and pin in place. Topstitch the ends of the ears on the body.
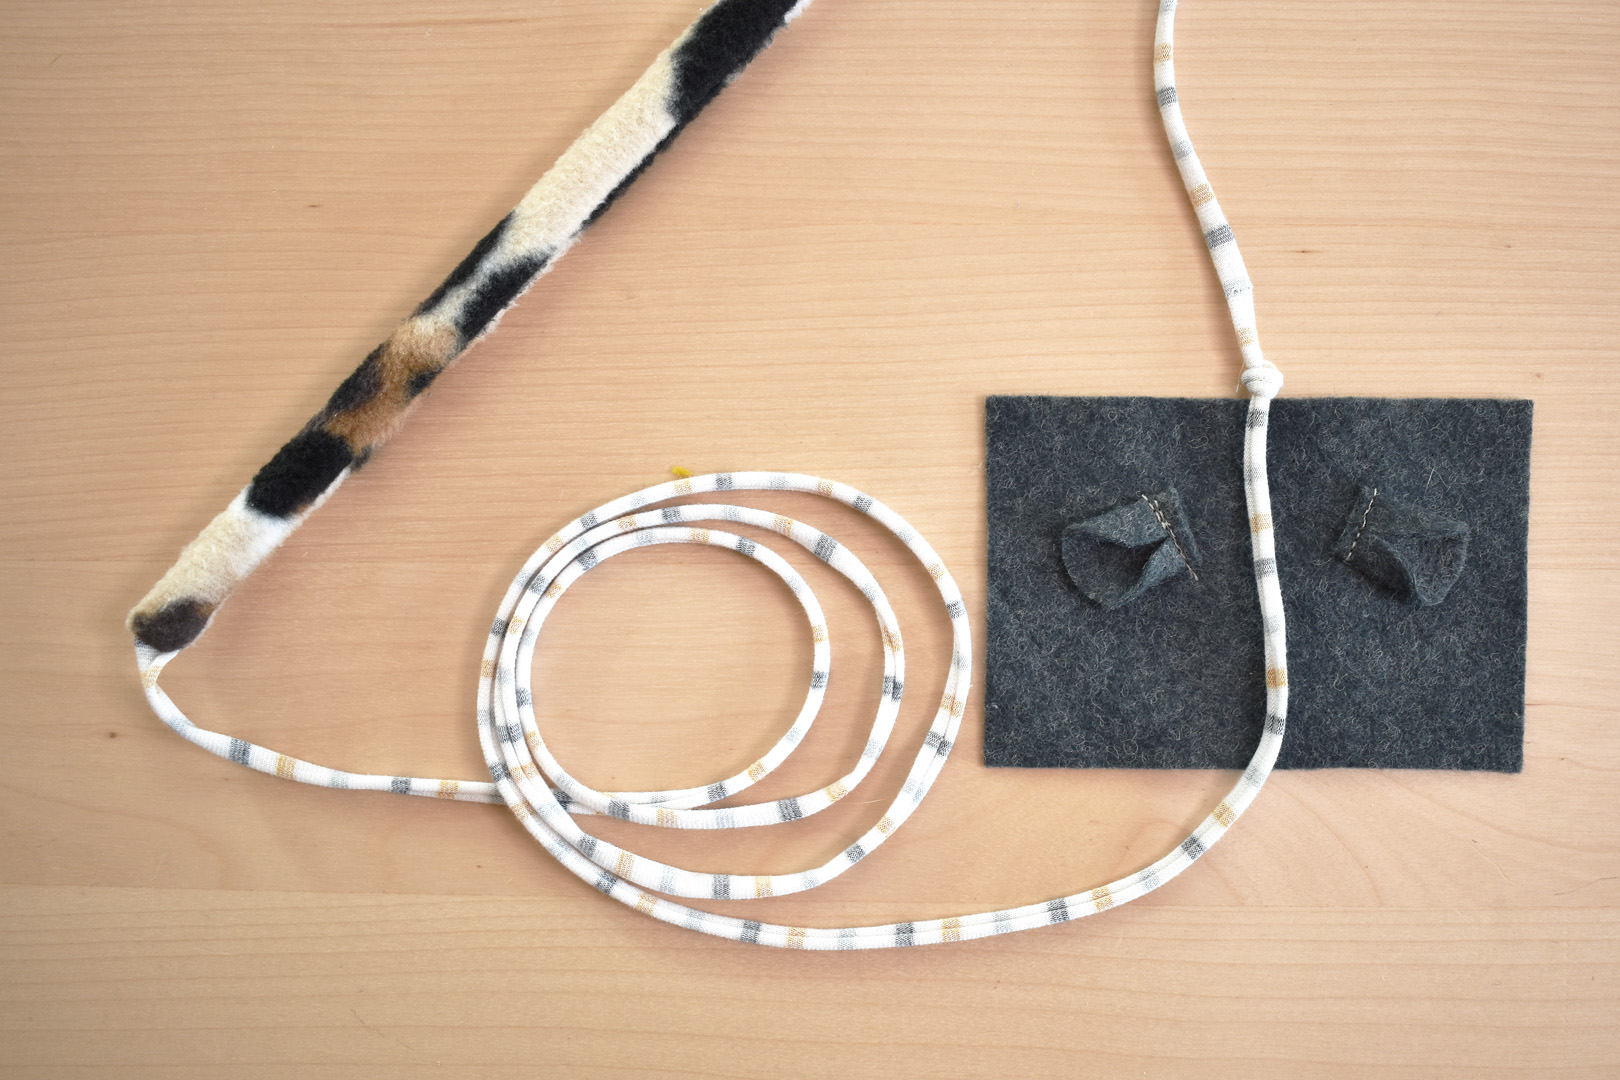
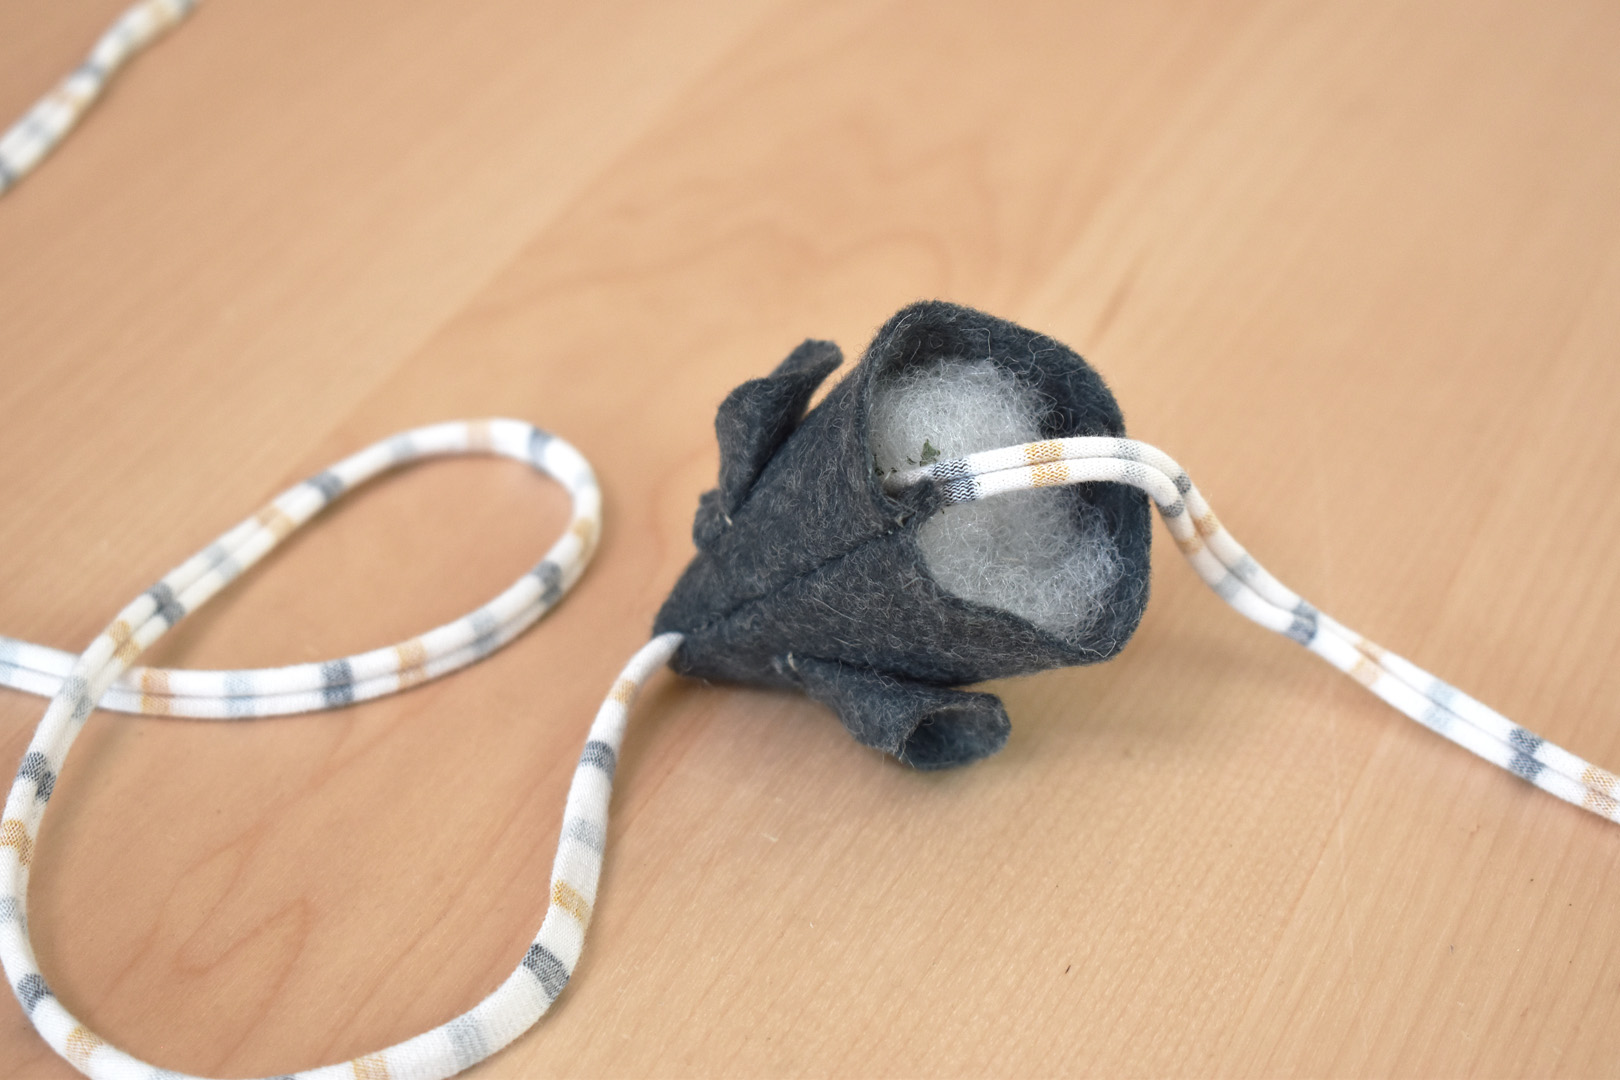
To sew the mouse to the end of the wand, follow these steps carefully. Tie a knot in the knit string on the wand about 40″ to 45″ from the wand end. Do not cut any of the string off at this point! Lay the string on top of the rectangle for the mouse body, knot placed at the top center between the ears as pictured.
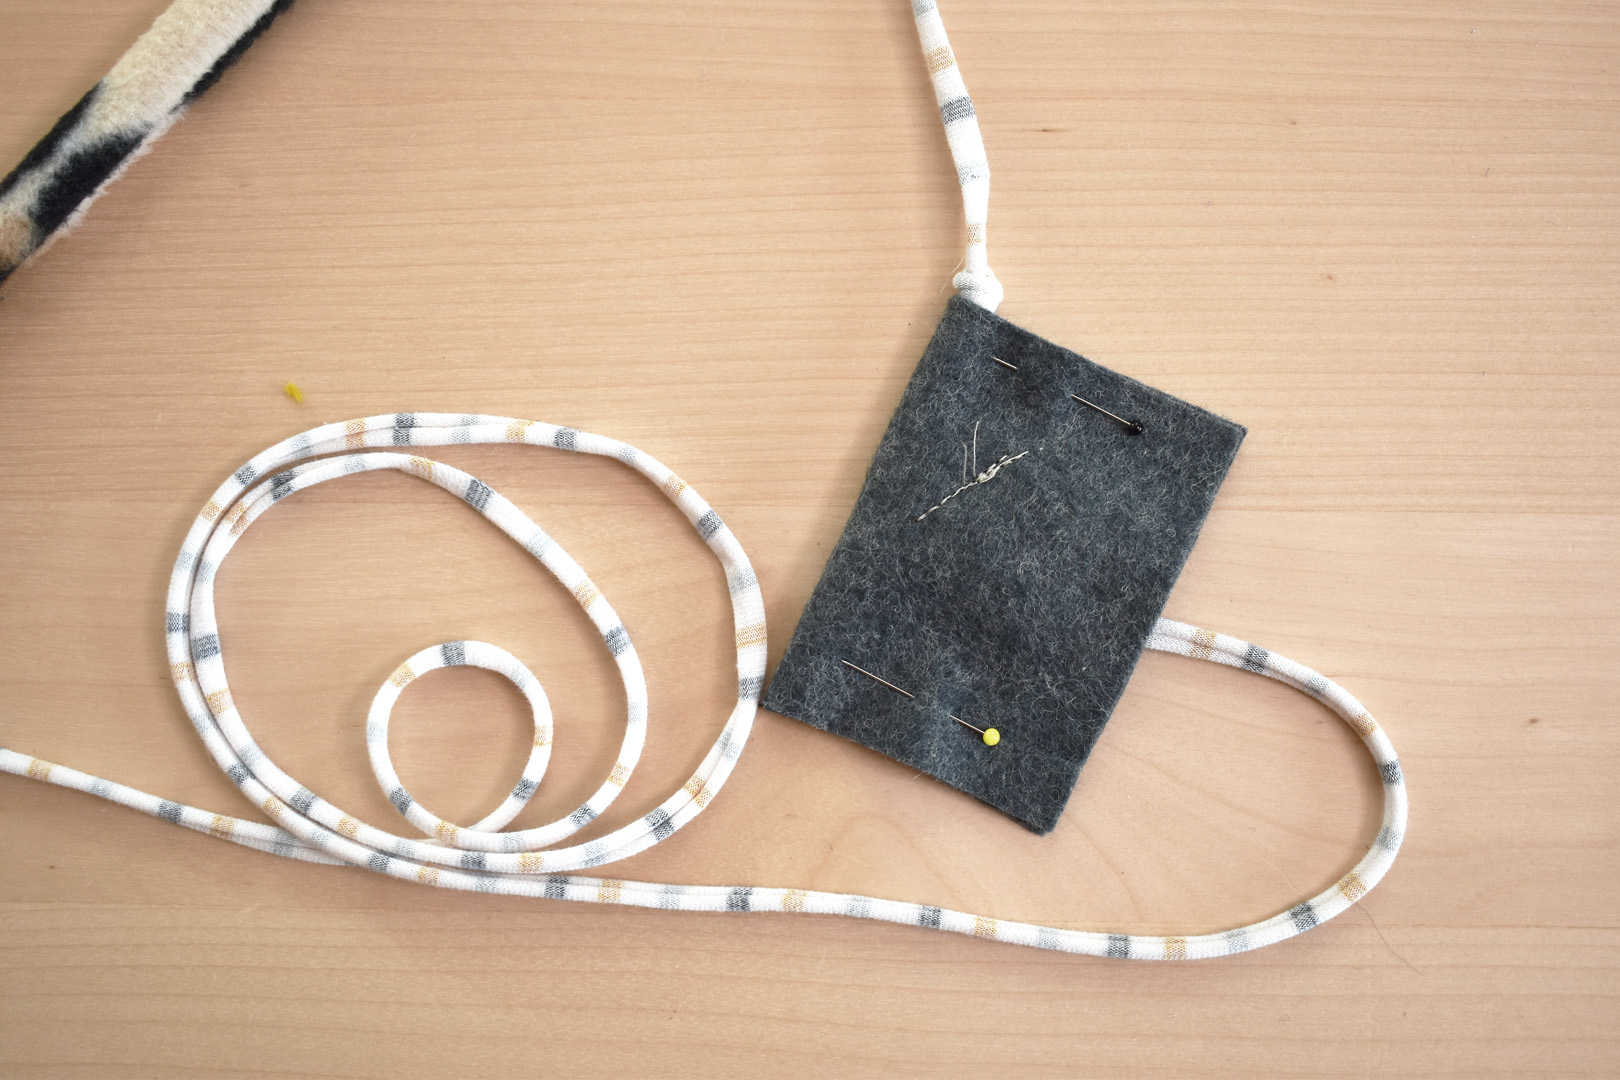
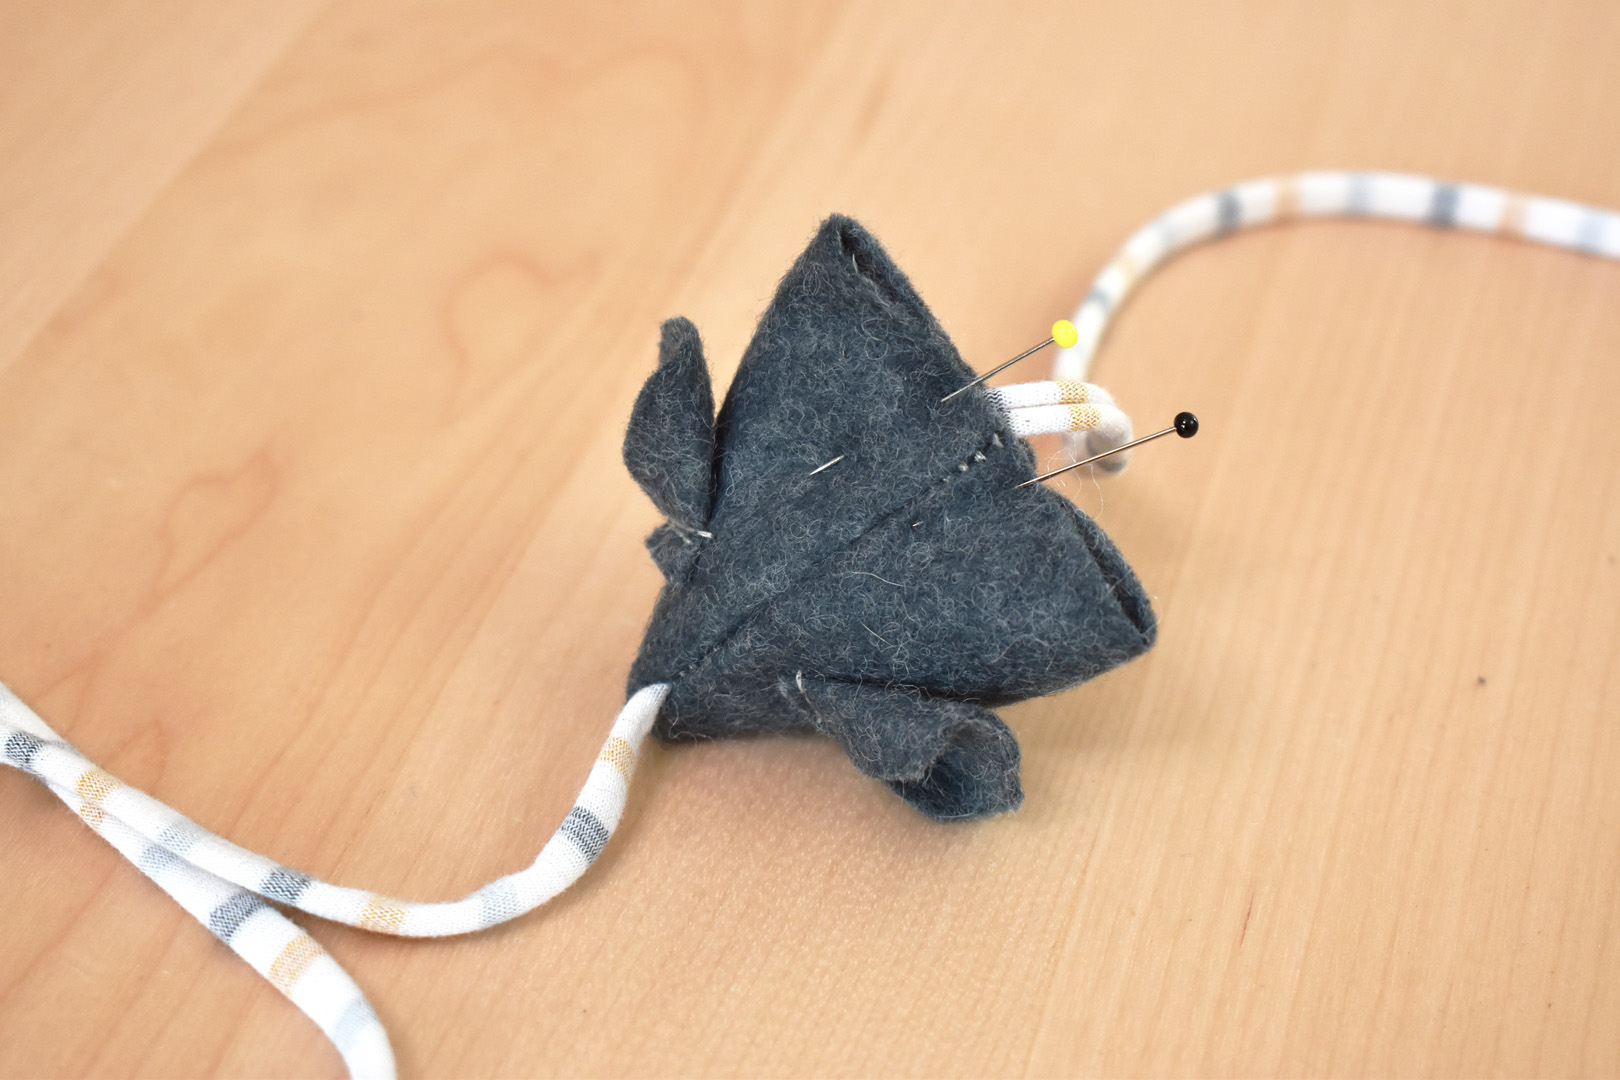
Fold the mouse body in half over the string, keeping the knot in the fold at the top, and place a pin in the top. Pull the string out from the fold at the bottom so it comes out the open side, and pin the bottom in place.
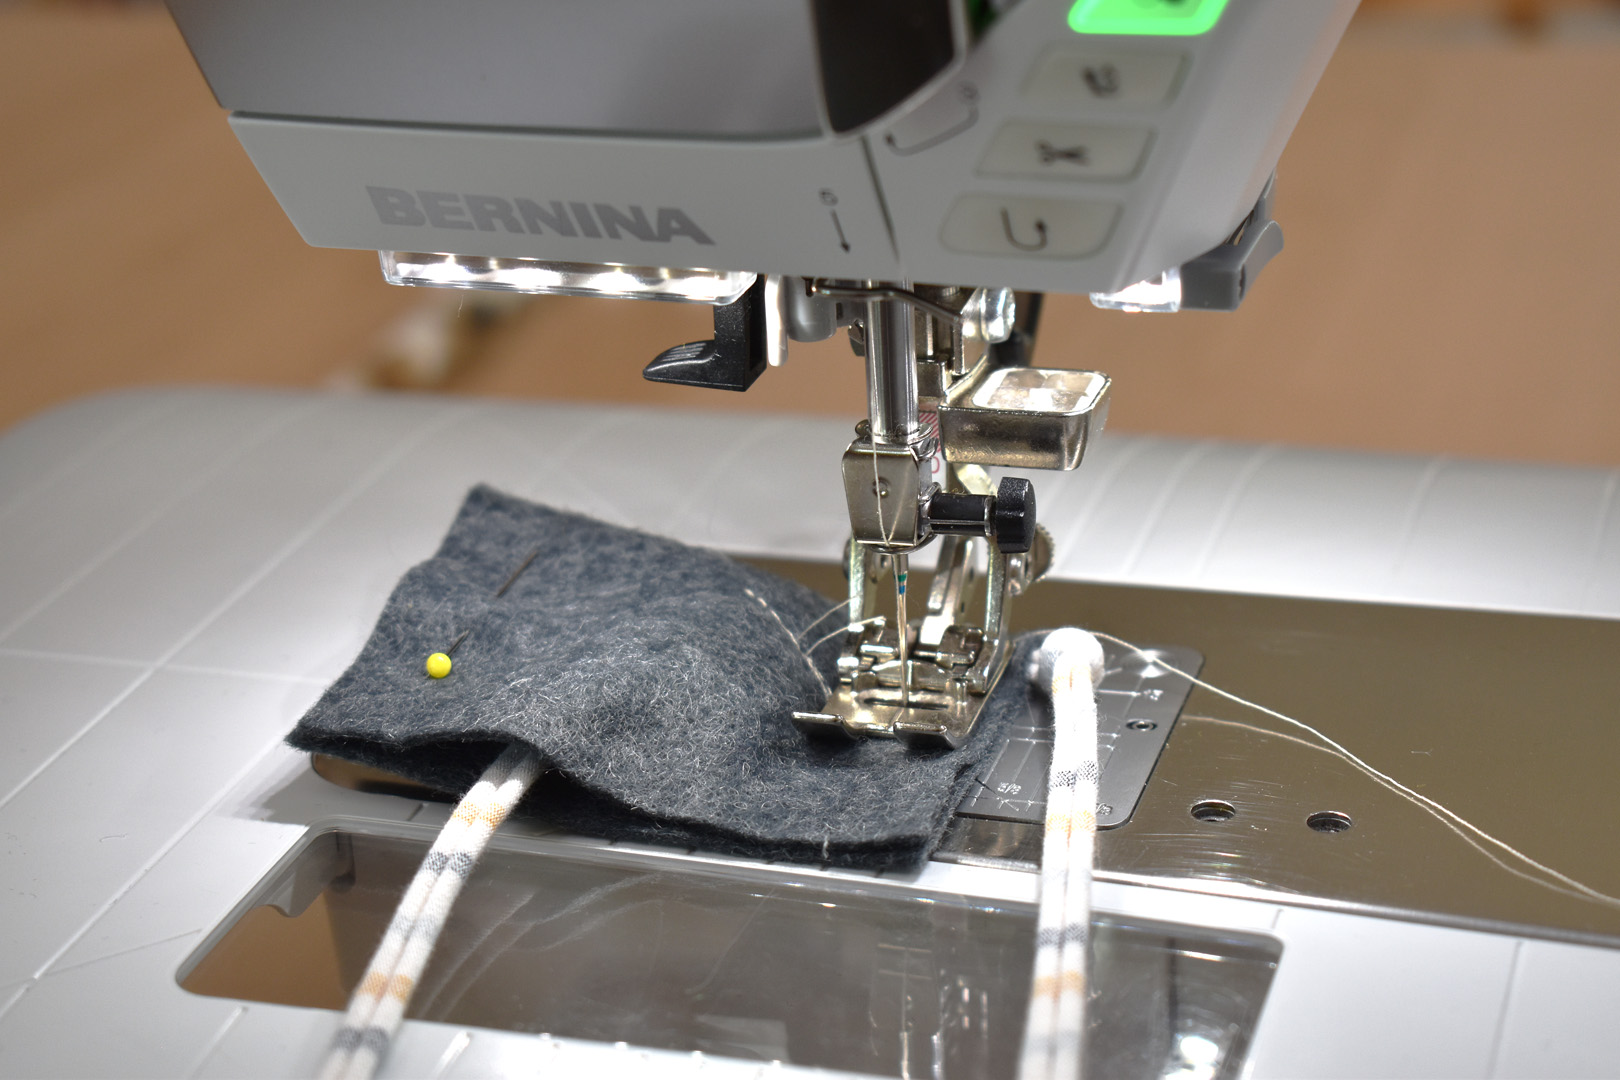
Sew the two pinned edges with a 1/2″ seam allowance, backstitching at each end.
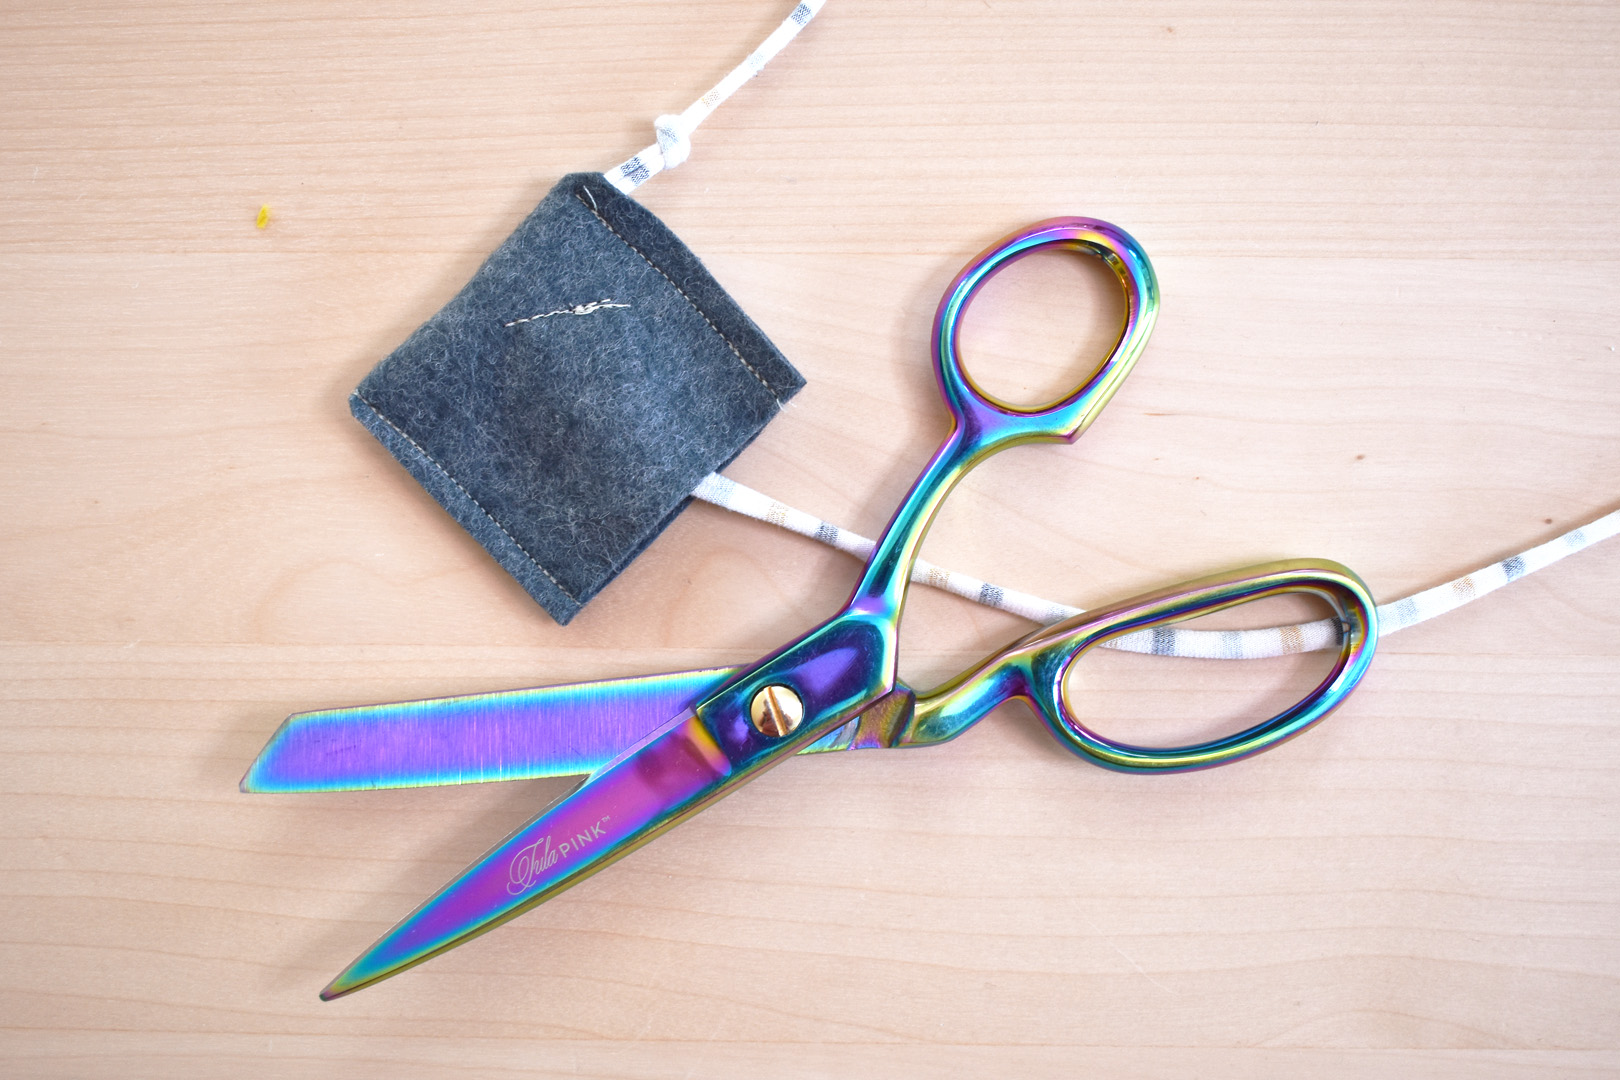
Being very careful not to cut the string, trim seam allowance to 1/4″ from stitching, and clip the two corners next to the fold.
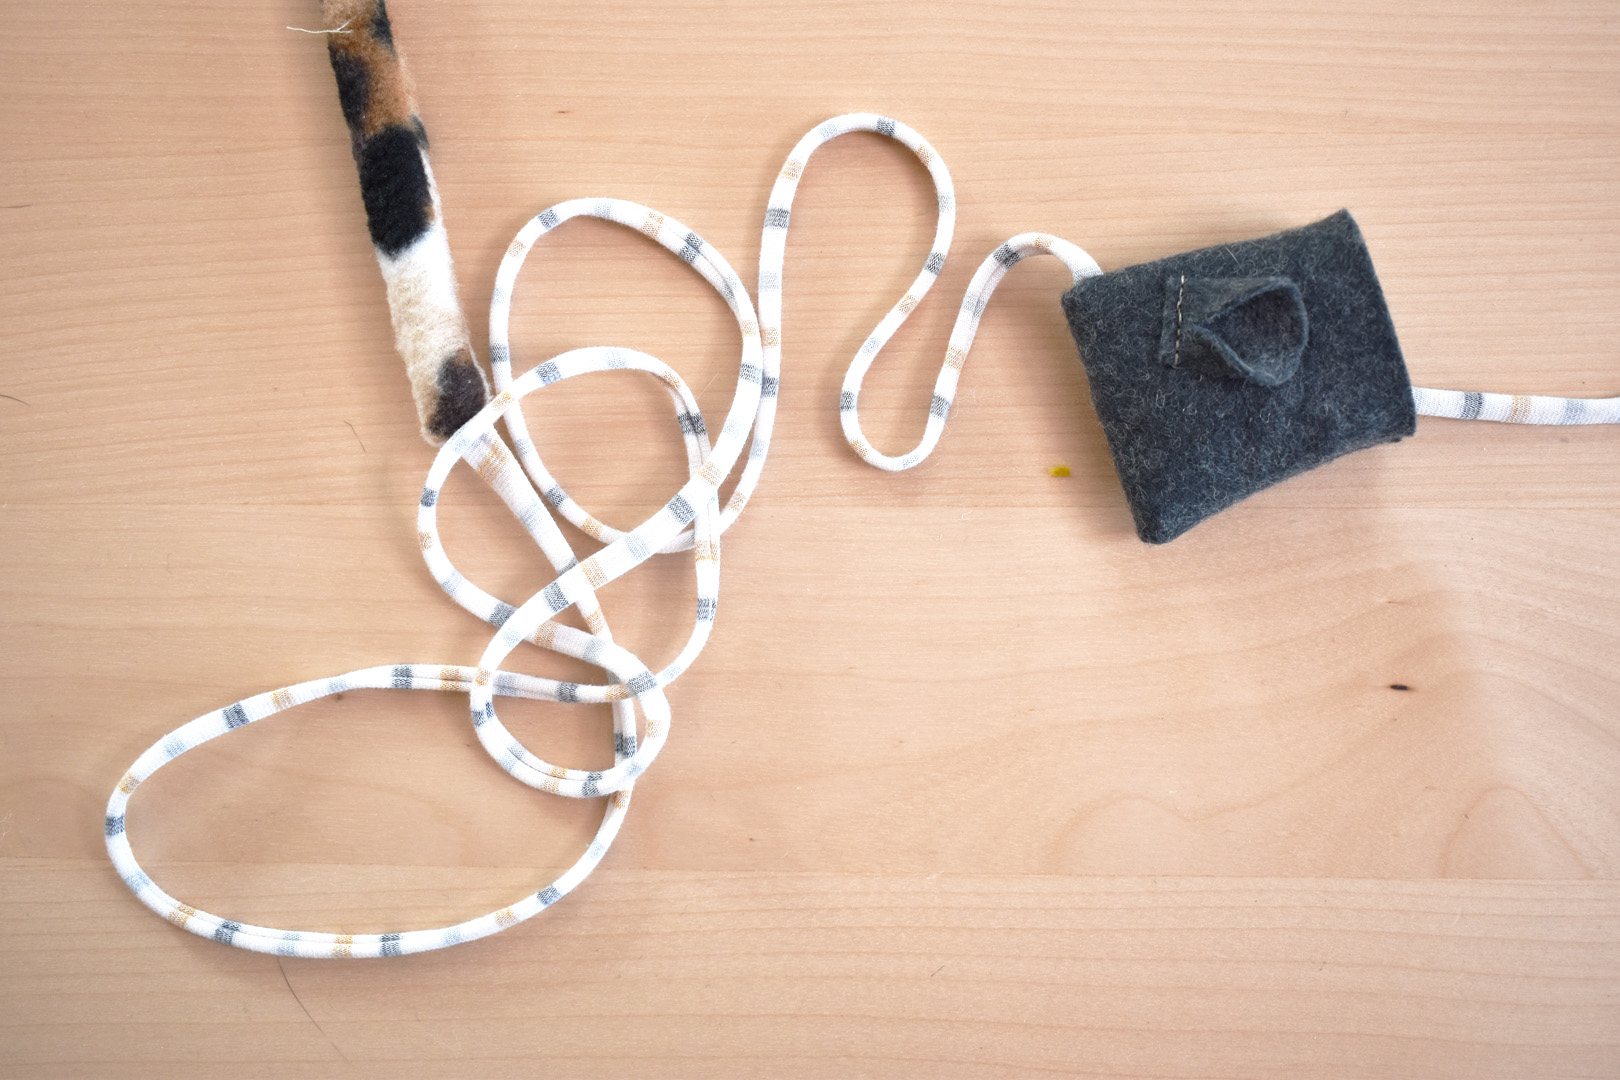
Turn the mouse inside out, and use your finger to gently push out the two corners. The string should now be coming in to the top corner by the ears, and out through the opening at the back of the mouse.
Lightly stuff the mouse and add a little catnip. Keep the tail coming out along the top seam of the mouse, centered with the seam.
Pinch the two seams together at the back of the mouse, moving the two seams in opposite directions as you pinch, and keeping the tail as close to centered by those seams as possible. Pin together.
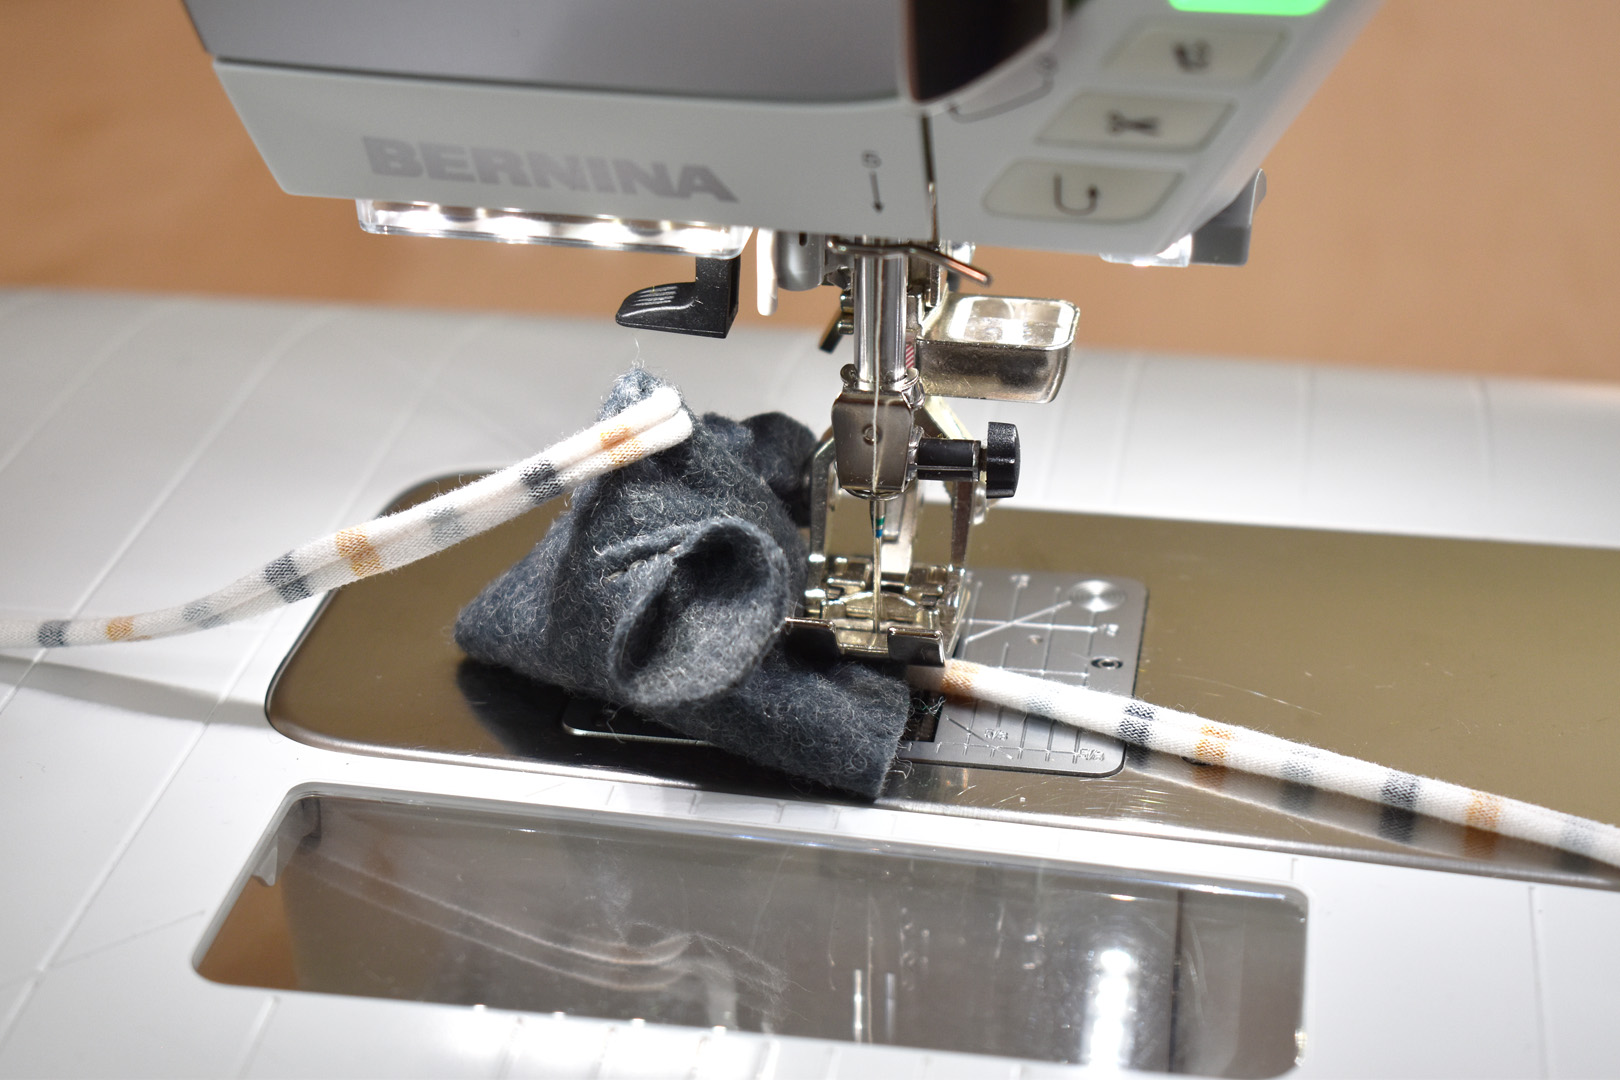
Stitch across opening, backstitching at each end and over the tail. You may have to smoosh the mouse down to get it under the presser foot!
Decide how long you want the mouse’s tail, tie a knot to mark the end, and snip the extra string. Snip any stray threads on the mouse or wand.
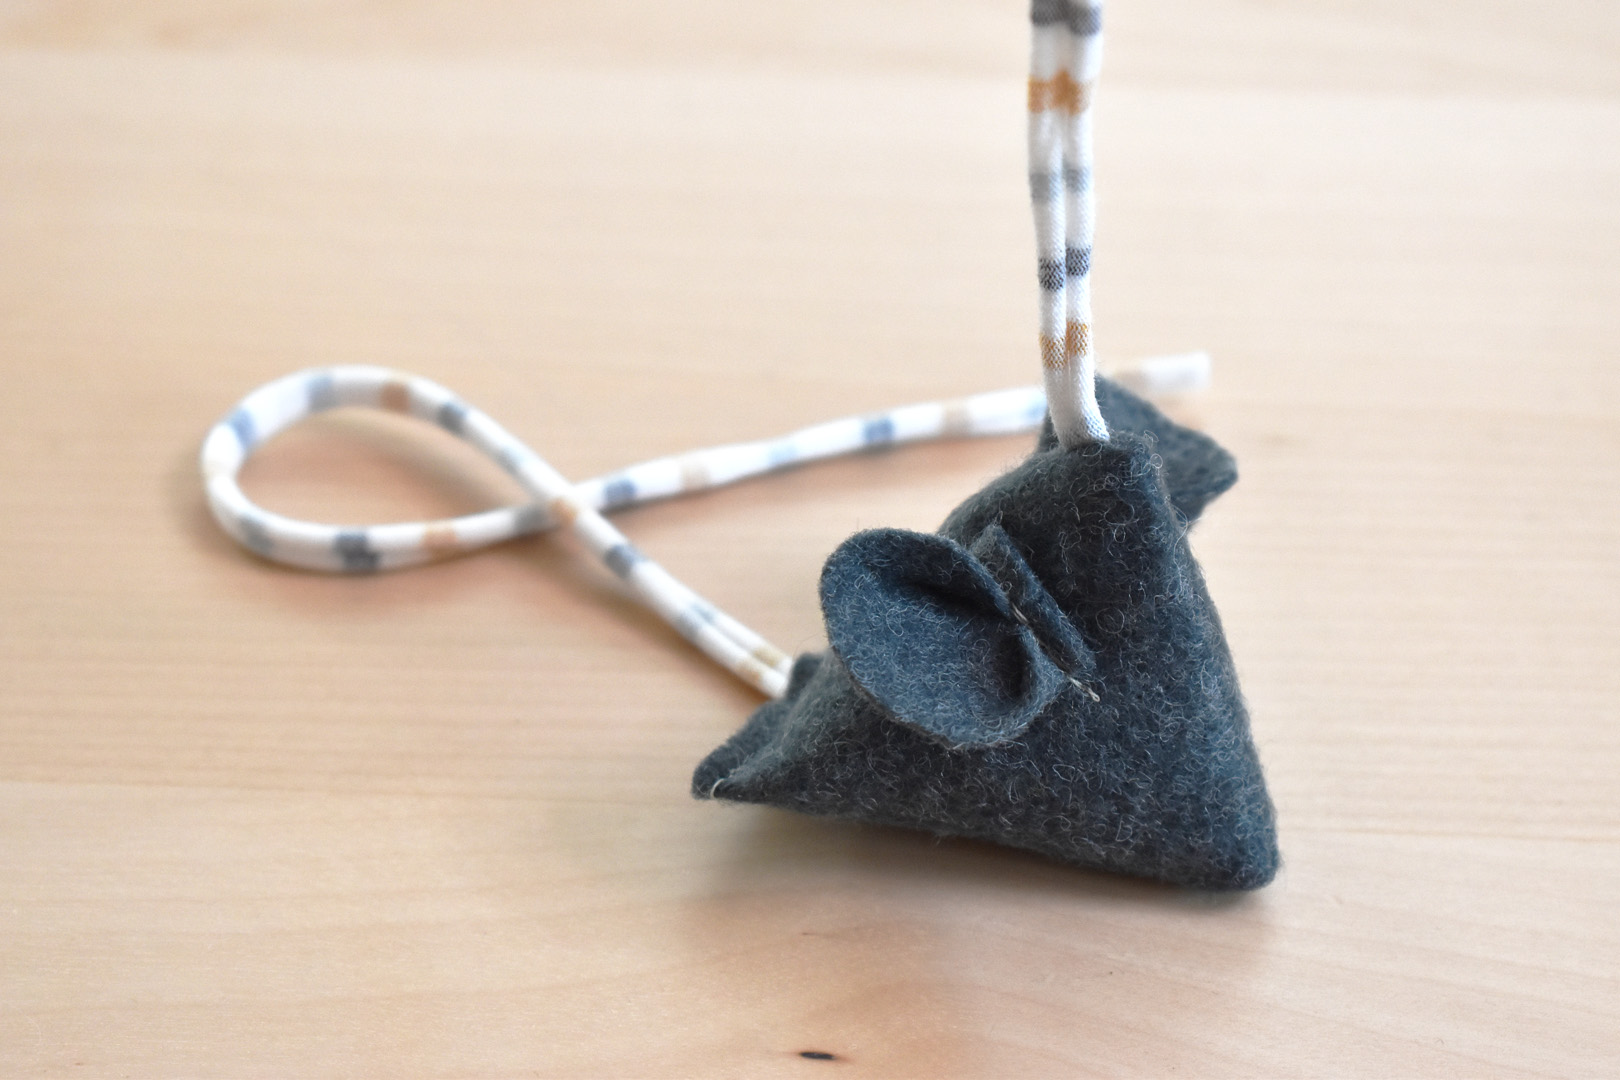
This mouse is ready to play!
How to Make a Spider Cat Toy

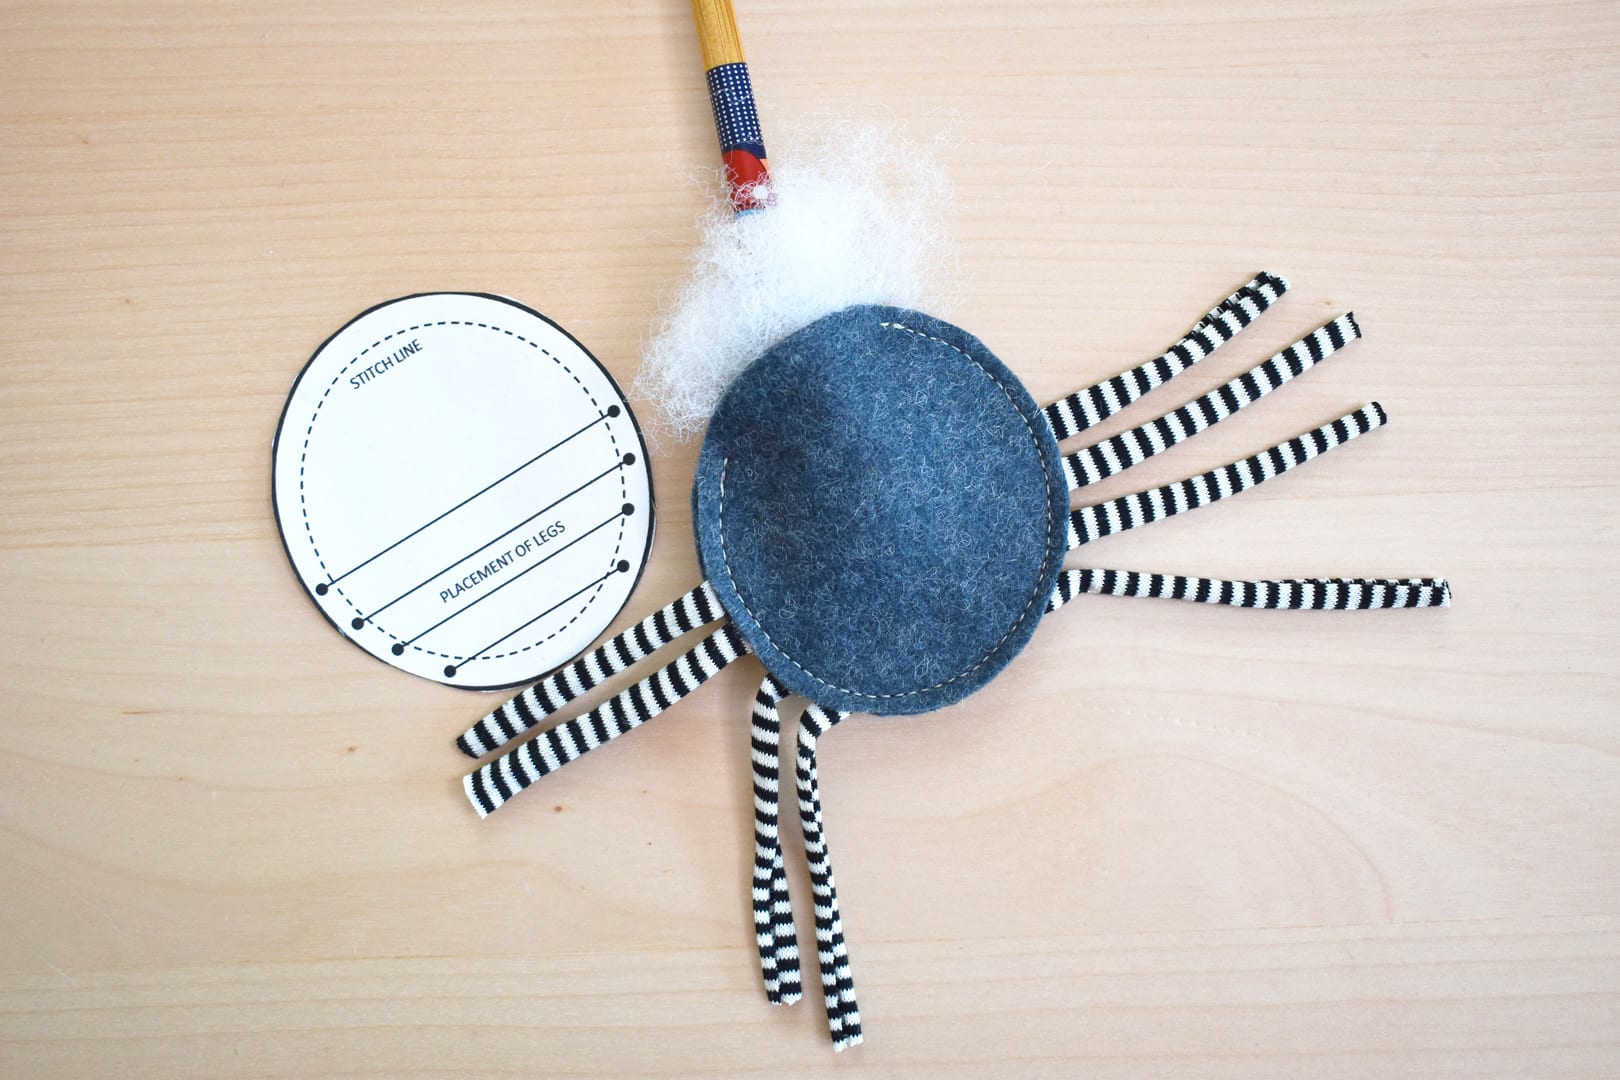
Download and print the cat toy patterns, and cut out the round spider body pattern. Cut two spider bodies from the wool blend felt, and cut 4 lengths of 7″ long knit string for the legs (you may have some knit string left over from making the other wand toys, or cut another 1″ strip from the cotton knit as in the directions above).

Use the markings on the pattern to place the string legs in between the two spider body pieces of wool blend felt. Pin in place, leaving the back end of the spider open.
Stitch around the spider body about 1/4″ from the outside edge, backstitching at the beginning and end points. Lightly stuff the spider with fiber fill and a little catnip.
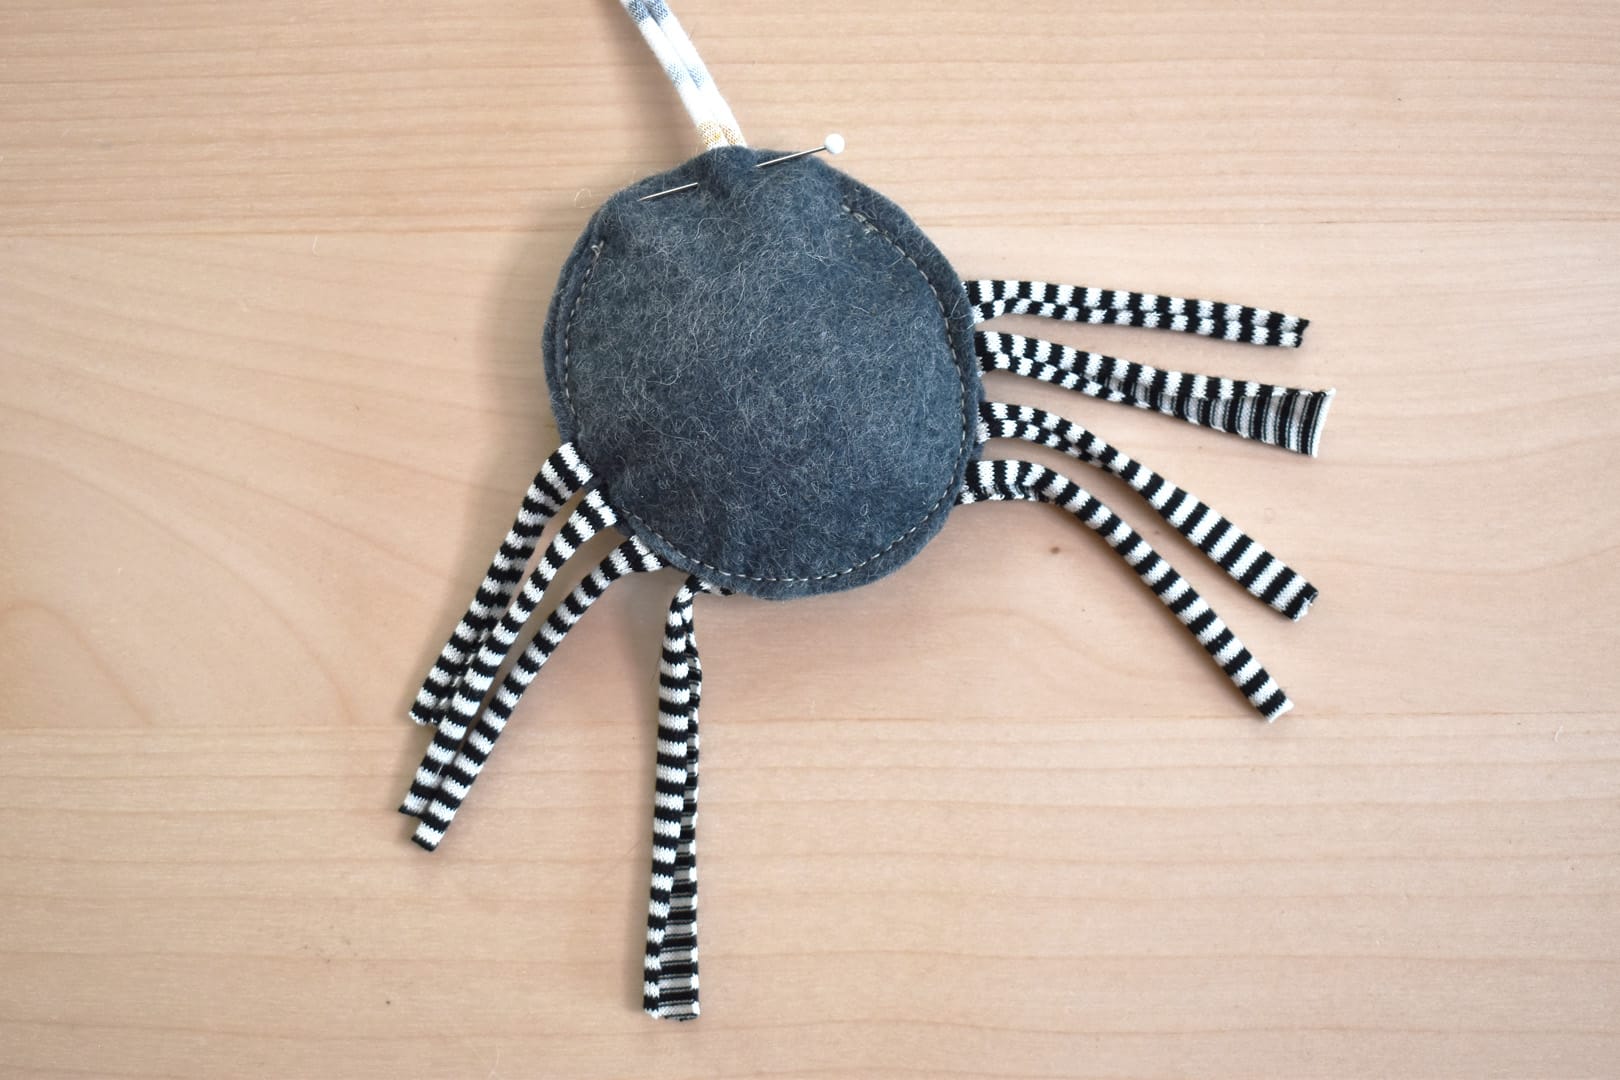
To attach to the wand toy, tie a knot in the knit string about 40″ to 45″ down from the end of the wand, and cut off the extra string below the knot. Insert the knotted end of the string in the back opening of the spider body and pin opening closed.
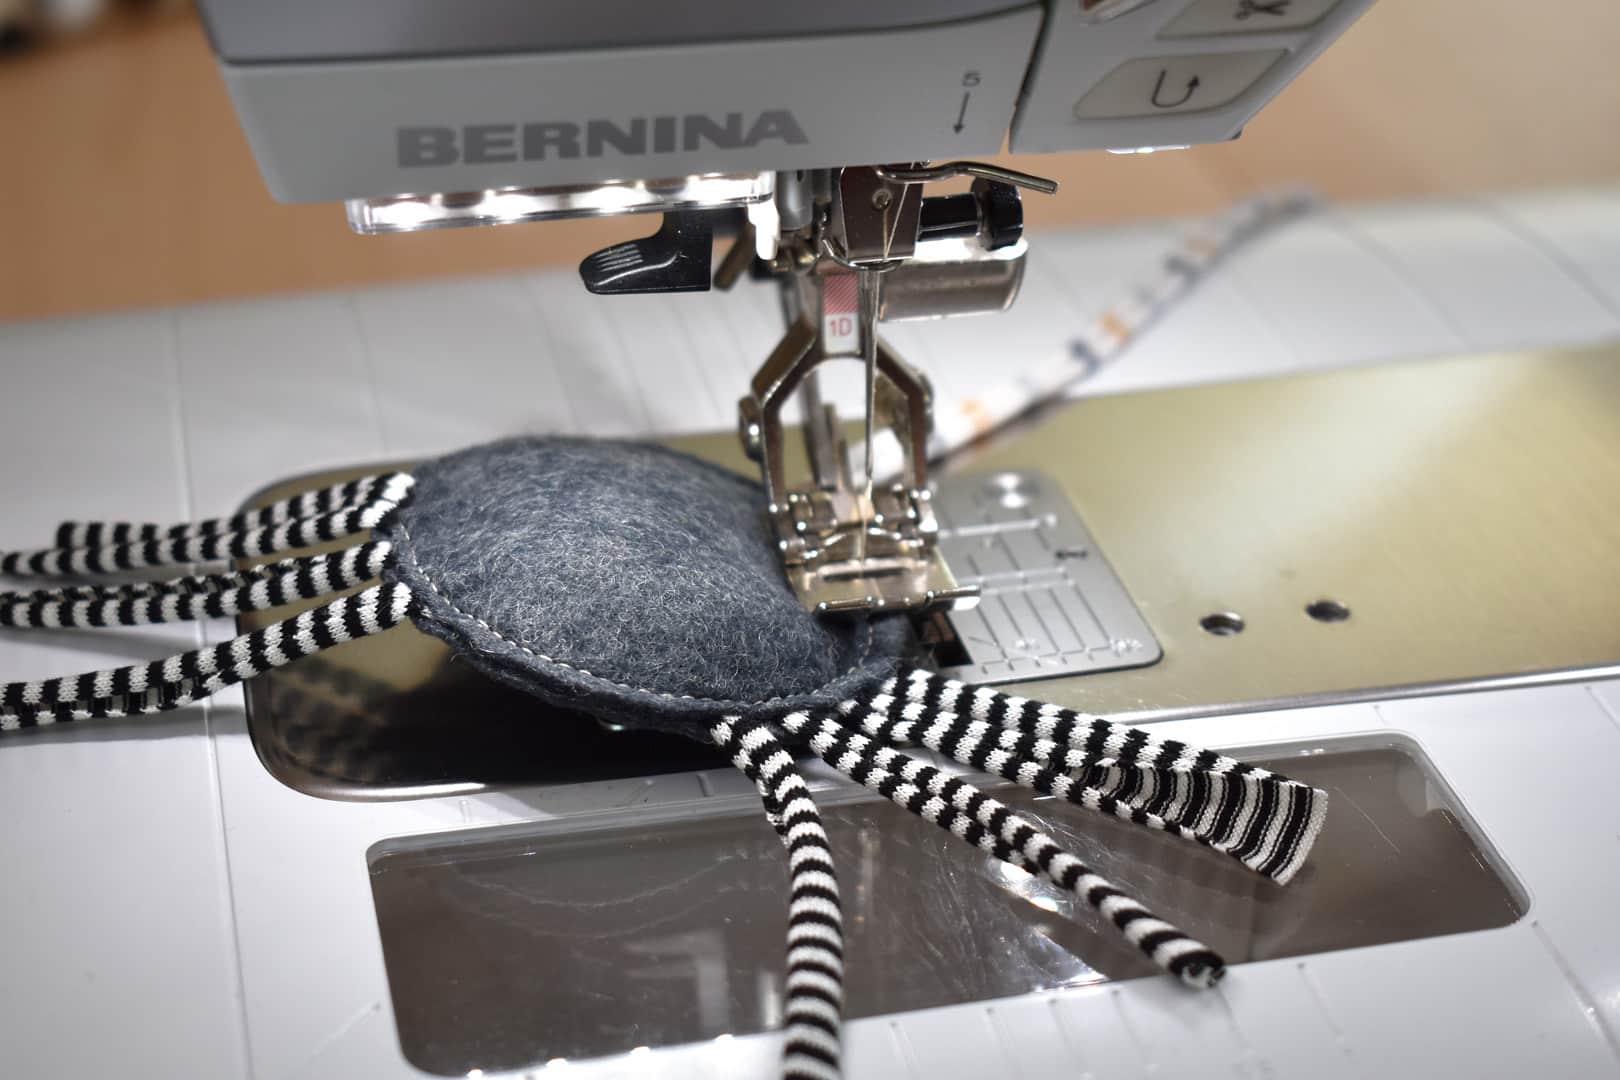
Topstitch the opening closed about 1/4″ away from the outside edge, backstitching a few times over the knit string to make a strong seam.
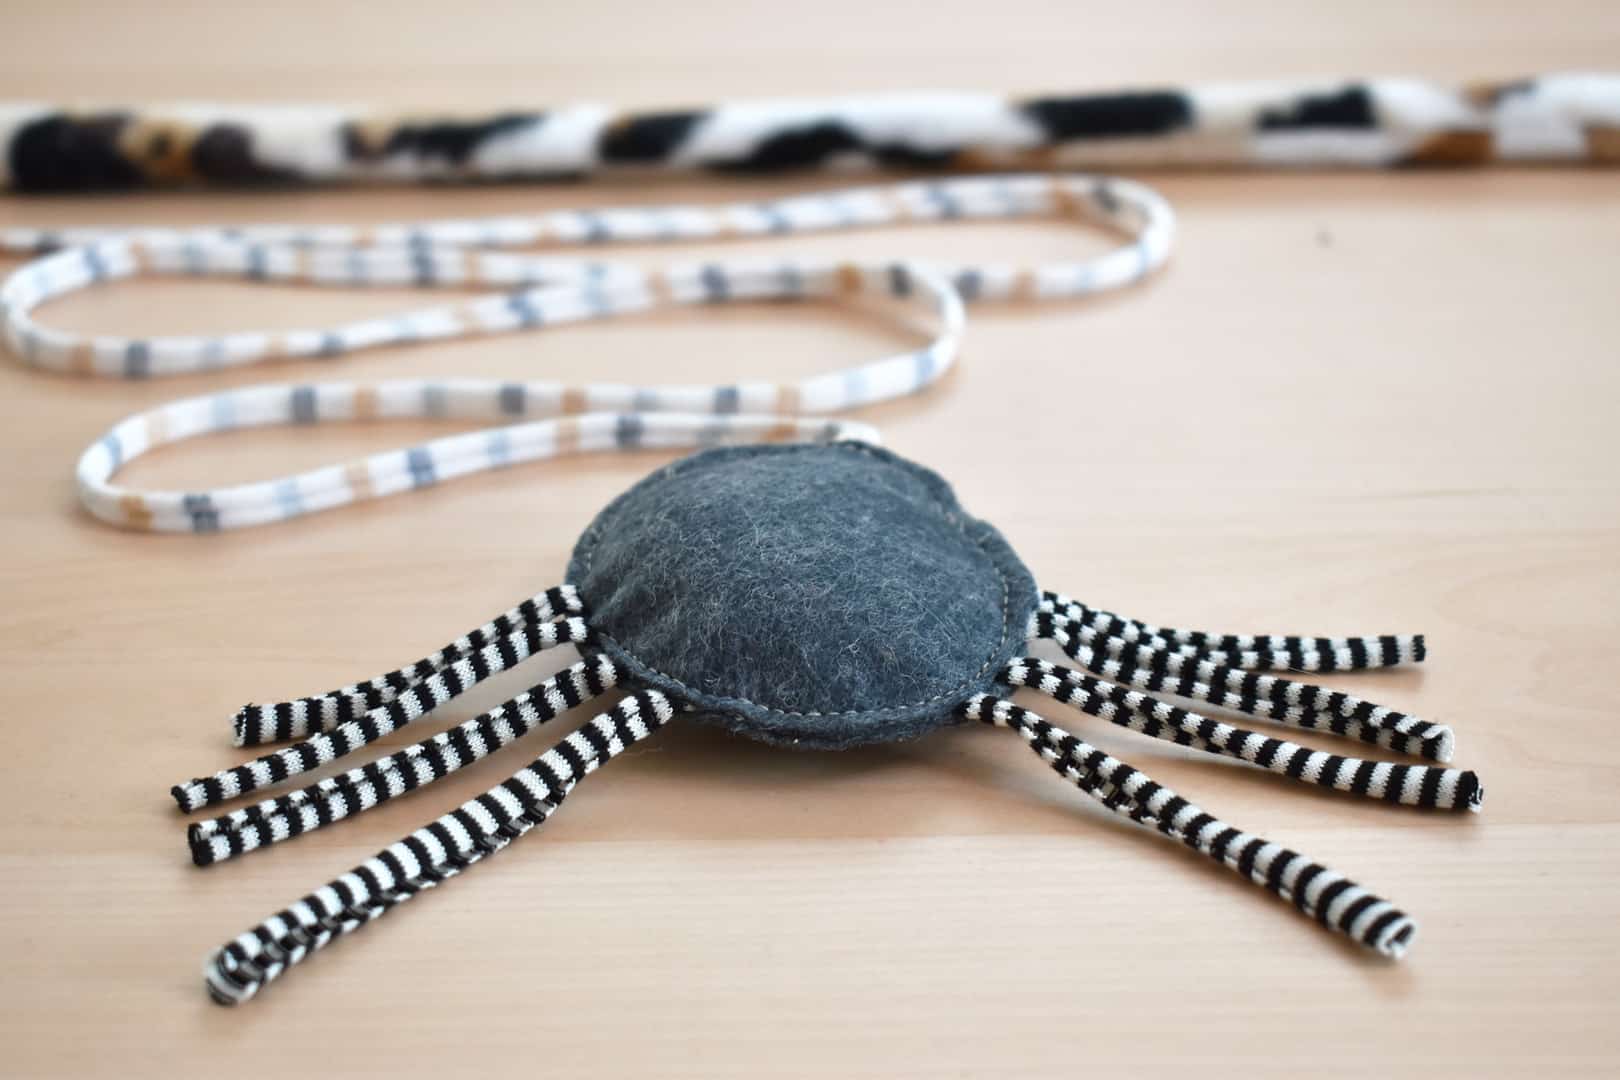
Snip any stray threads and your spider is ready to play!


I just love these toys! I make lots of kennel quilts & mats for rescue groups & im adding these into the mix! So fun!