Easy Hack for Inserting Boning
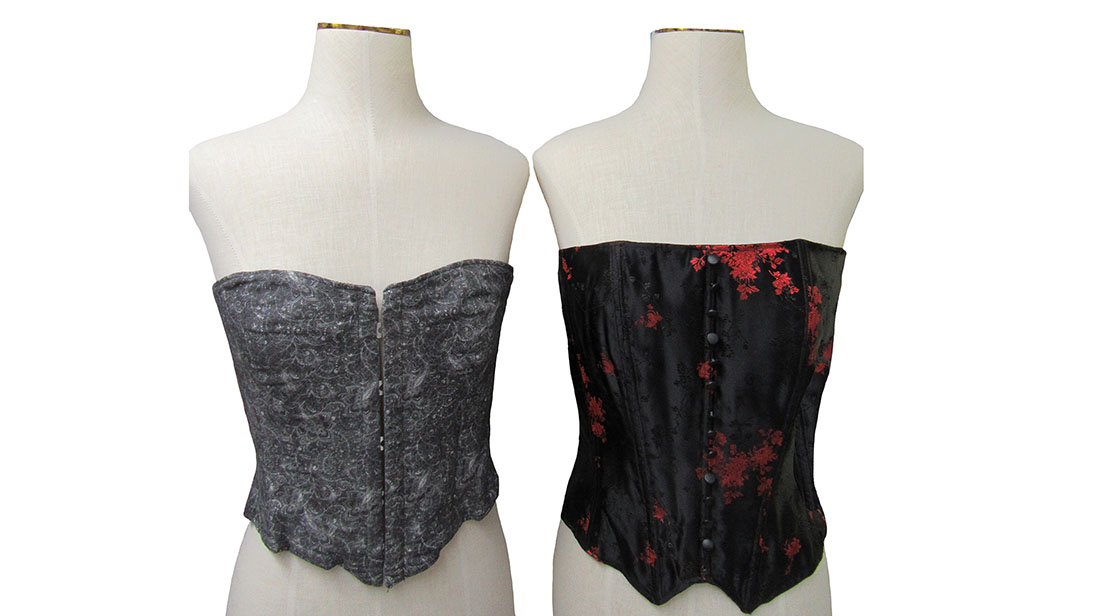
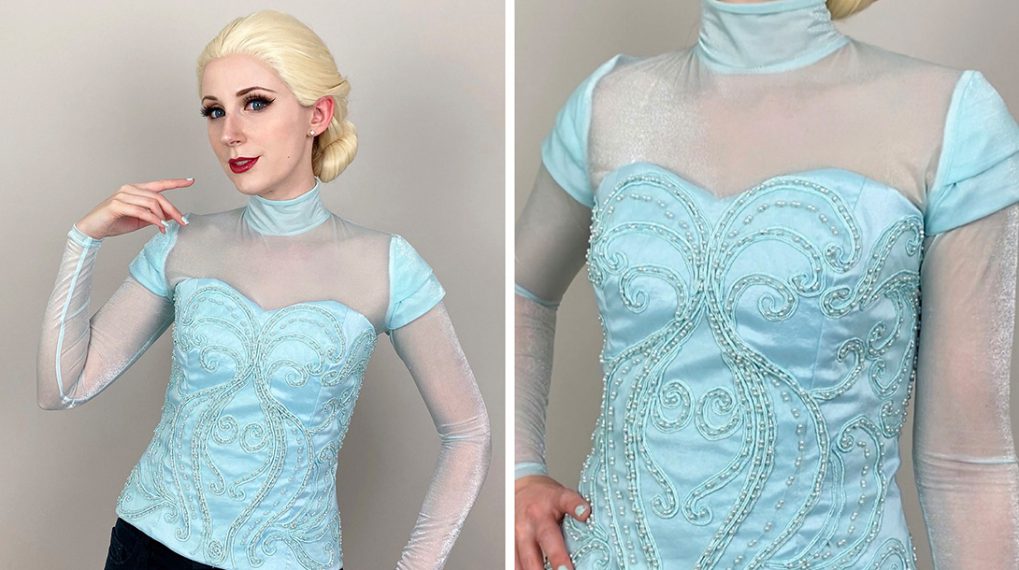
I am a huge fan of the Steampunk genre. As I also love to sew, this means I make a lot of corsets and jackets that require boning for structure. This easy hack for inserting boning will help you to position the boning casings easily and accurately every time.
Why You Should Bone A Garment
First, why use boning in garments at all? The purpose of boning is to help a garment maintain its shape by supporting the garment at its seams (Added bonus, it also helps decrease wrinkles). Boning can also be used for cinching or shaping the body. The most common use of boning is for corsets, but it can also be found in bustiers, strapless gowns, and any other garments that need a little additional support.
Boning used to be made of actual whale bone, hence the name, but now it comes as a rigid, but bendable, plastic encased in a removable casing. You can buy boning casing in black and white.
When I first started using boning, I followed the directions on the box, i.e. remove boning from casing and pin centering over seam. My problem came when I tried to sew it down. I found that as I removed the pins to sew the casing that it was shifting a little. This wasn’t the end of the world, but it caused the stitching lines on either side of my seam line to not be as straight or even as I might like.
Why Glue is Not Evil
I grew up in a construction company, so when I started trying to find an easier, more accurate way to apply the casings, I went back to my roots i.e. glue. Because of my background, I have an absolute love affair with using glue on sewing projects.
I know this is going to really freak some people out. I could anticipate the gasps of horror, as I wrote this, but hear me out. Glue is not evil. It will not hurt your fabric, or your sewing machine, as long as you follow a couple of simple guidelines. First, only use Elmer’s School glue. (Preferably the natural) This is important as Elmer’s school glue is made from starch and water. It will not hurt fabric. (Kids eat it. I don’t recommend this, but they do, and they survive. LOL) I have had more problems sewing through steam-a-seam and wonder under than I have had using glue.
The only time you might have a problem with Elmer’s is if you have a moth problem, as they are attracted to starch. This is easily solved by washing your project after it is completed. Second, make sure that you use the glue sparingly and that it is completely dry before sewing. This is easy to ensure. Just carefully heat set with your iron.
You can buy Elmer’s school glue in bottles or sticks. For this tutorial, we will be using the sticks. Make sure that you do not use the Disappearing Purple sticks. These are made for paper and the chemical that is in them that causes them to disappear will turn light fabrics yellow.
Added bonus of using glue: It negates the need for using pins in fabrics that might show the pin holes when they are removed.
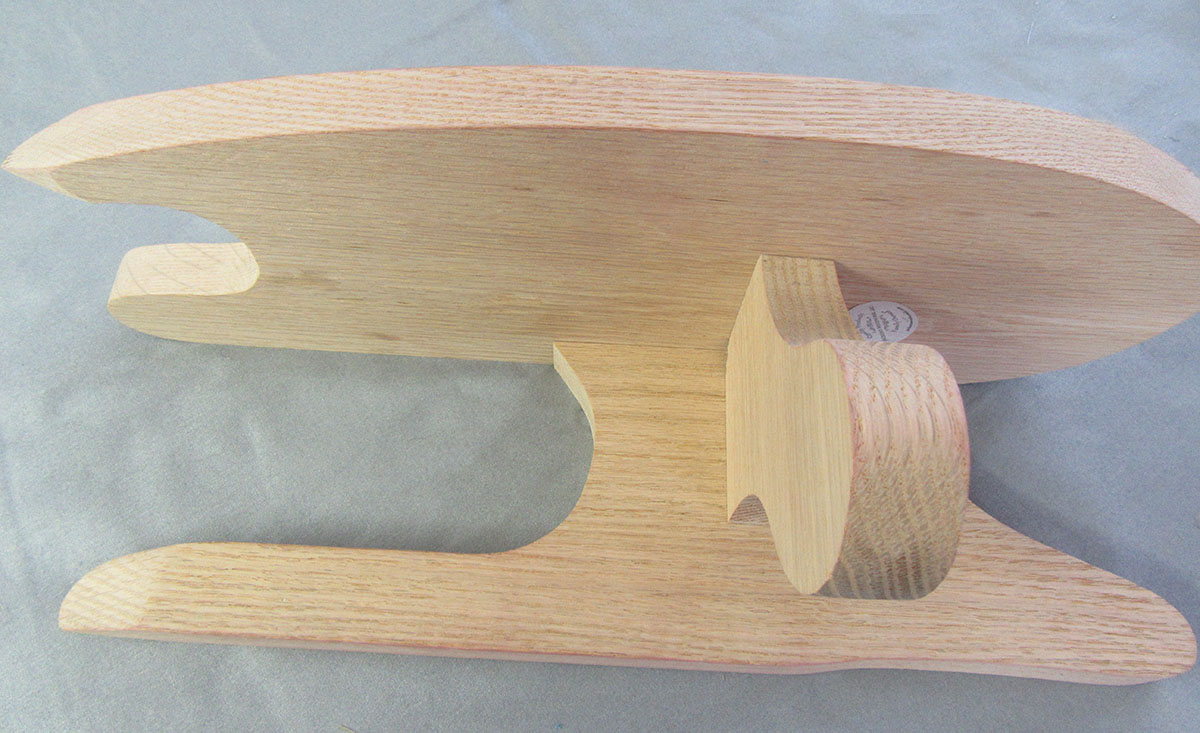
I also highly recommend adding a tailors press/anvil to your toolbox, if you don’t already have one. They are a little expensive but worth every penny. I got mine from Amazon.com.
Materials Needed
- Garment to be boned
- Plastic boning in casing
- Elmer’s School Glue Stick (not disappearing purple)
- Tailor’s Press/anvil (optional, but very useful)
- Iron
Easy Hack for Inserting Boning
Step 1
Sew the seam that will be boned.
Step 2
Frequently these types of seams are curved, so clip as necessary.
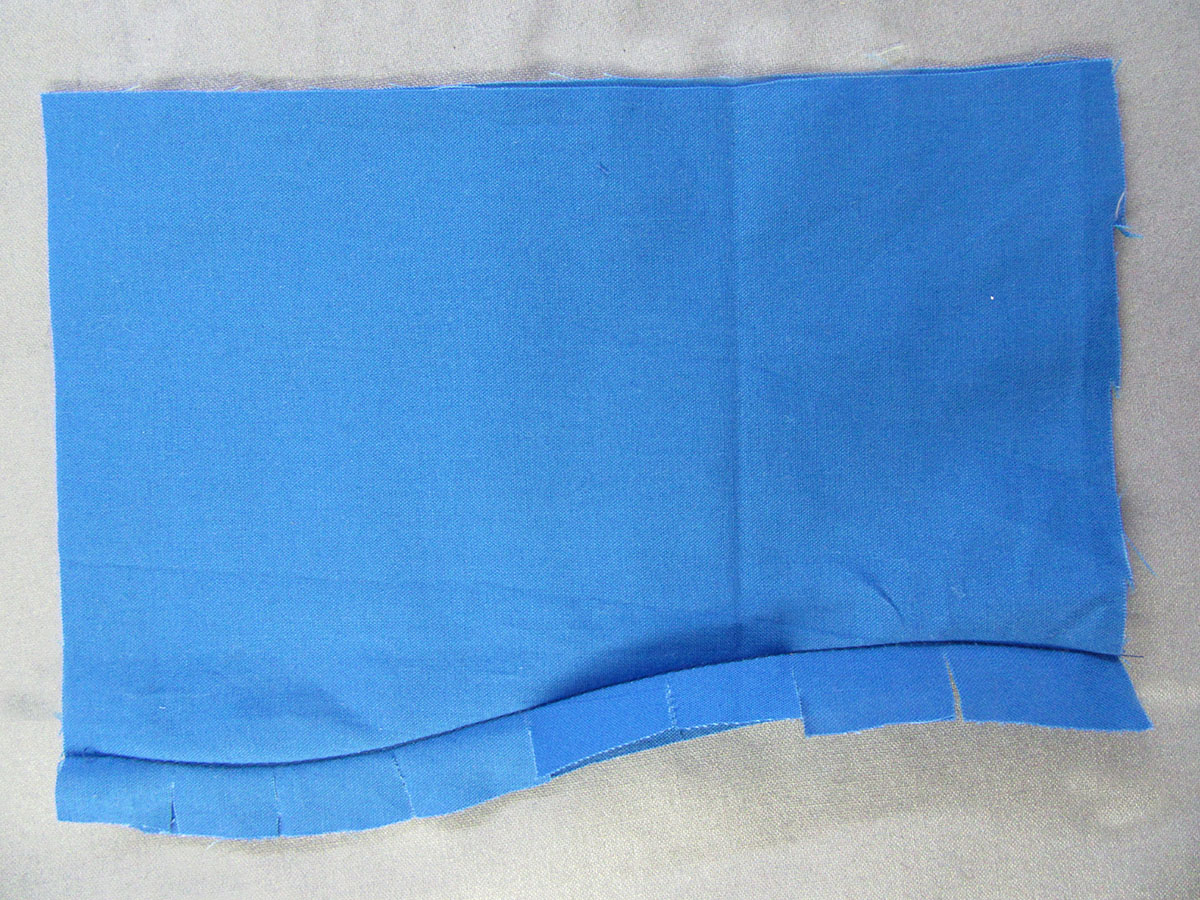
Step 3
Press open seam.
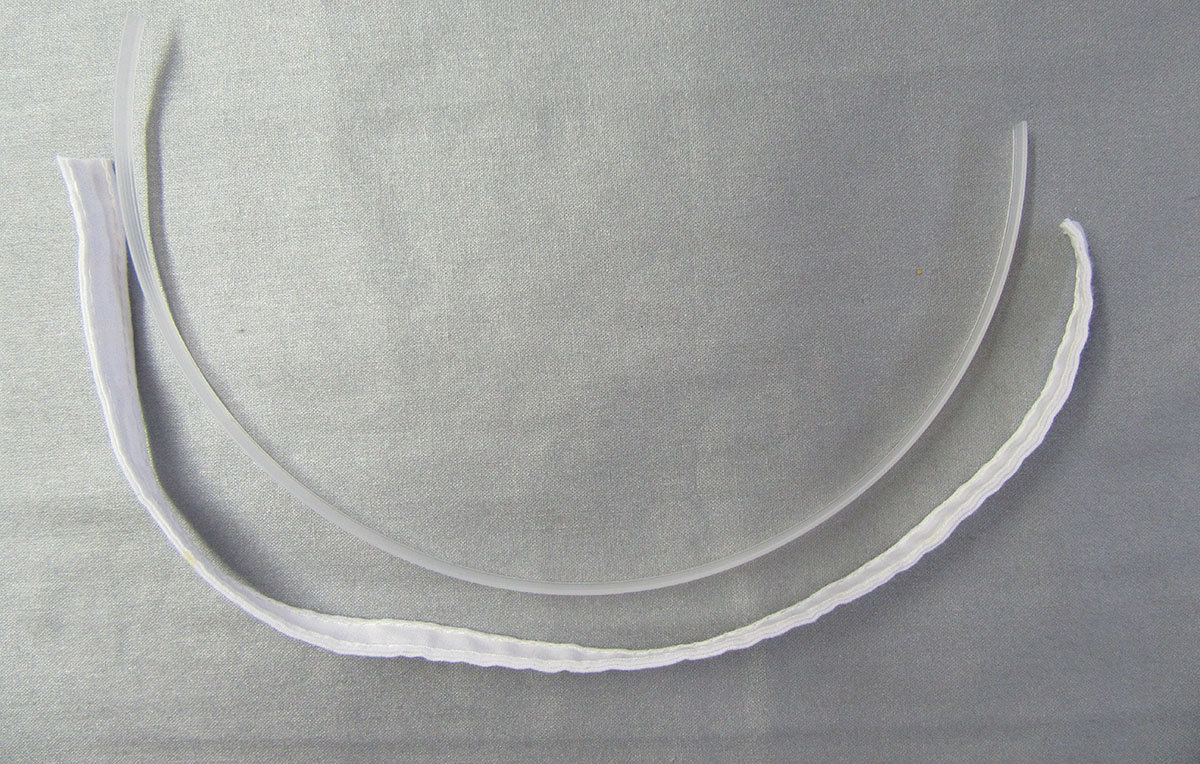
Step 4
Remove boning from casing. Cut casing to desired size. Usually the length of the seam.
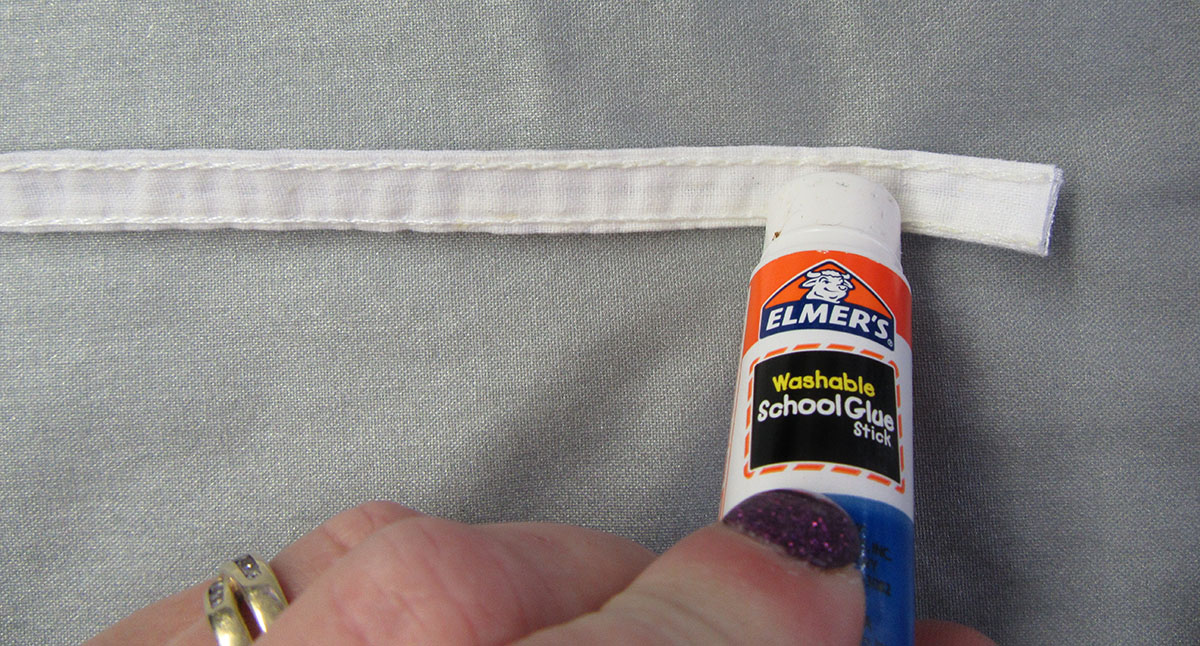
Step 5
Apply a thin layer of glue with the Elmer’s school glue stick to the wrong side of the casing.
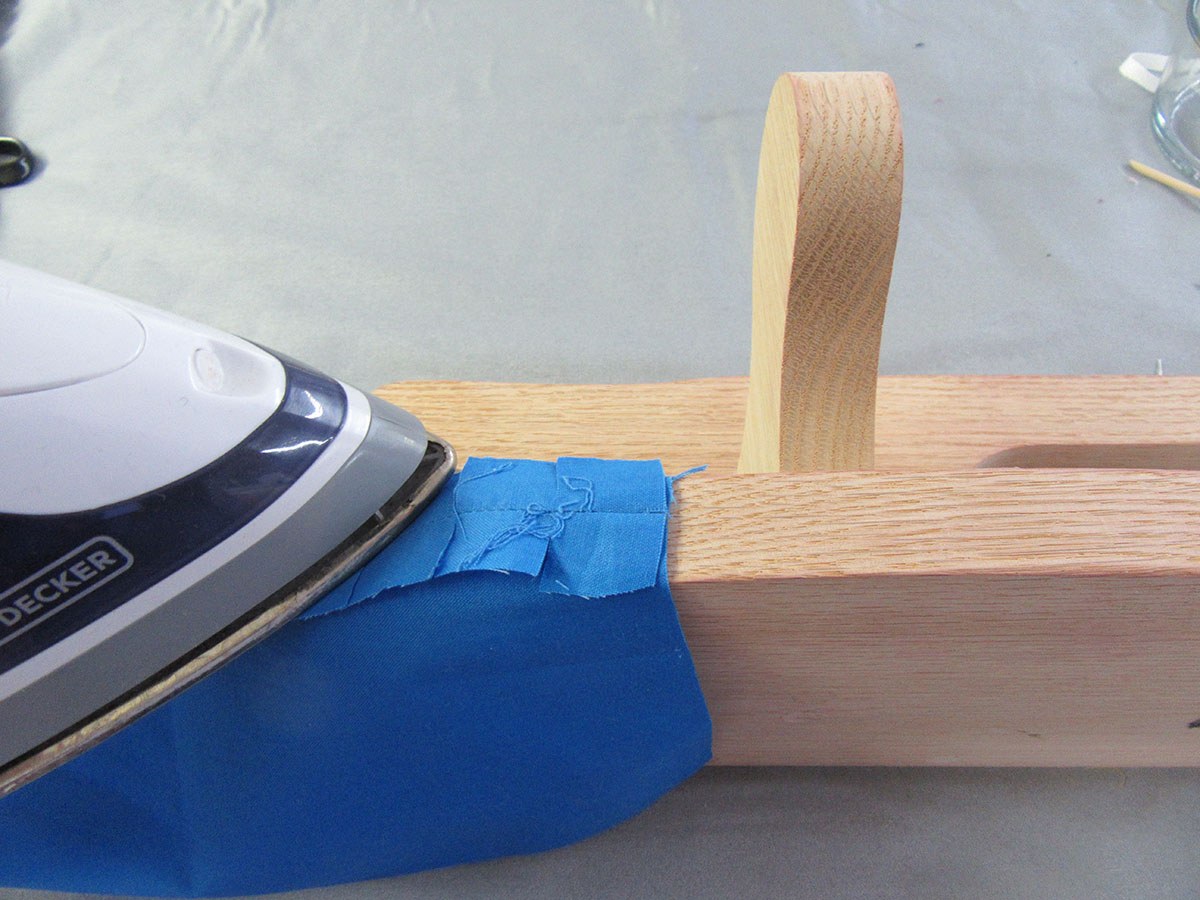
Step 6
Center casing over the seam aligning top and bottom. Press with iron to heat set in place.
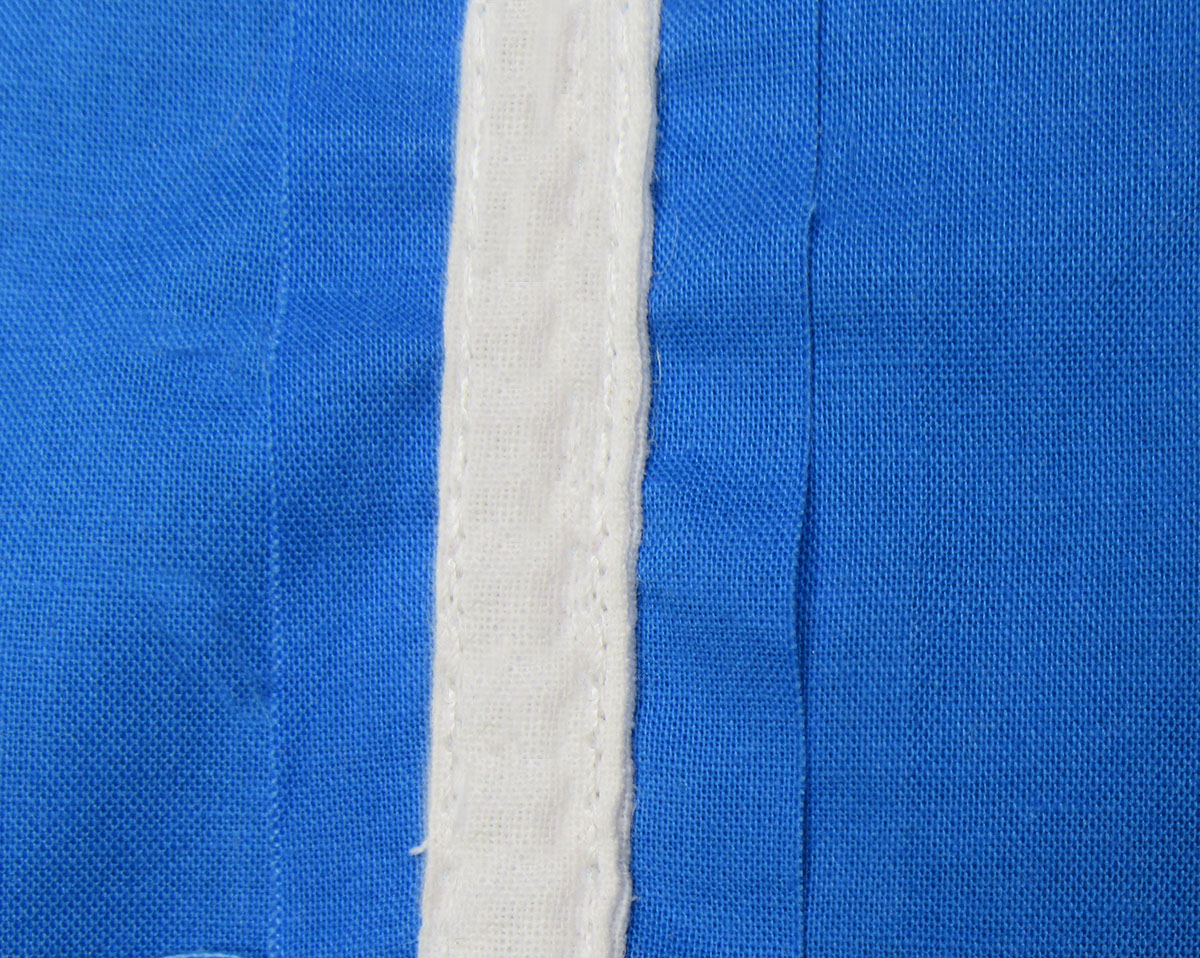
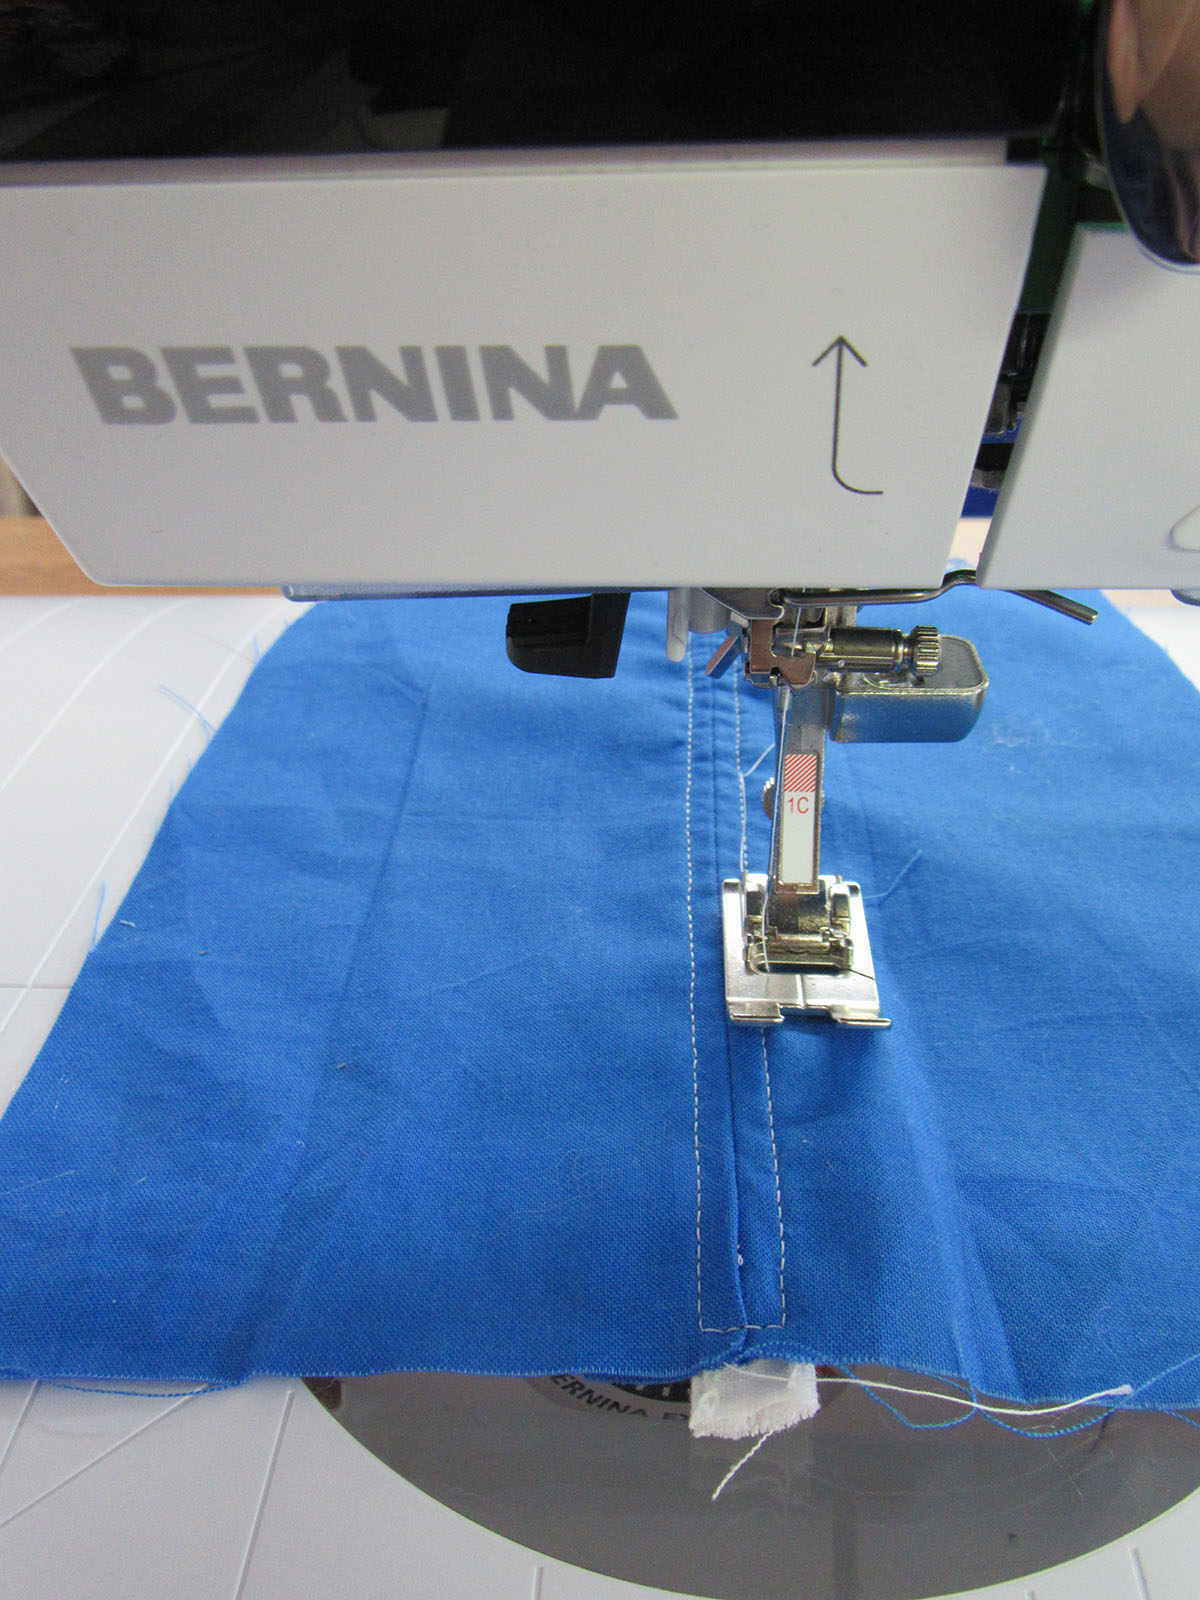
Step 7
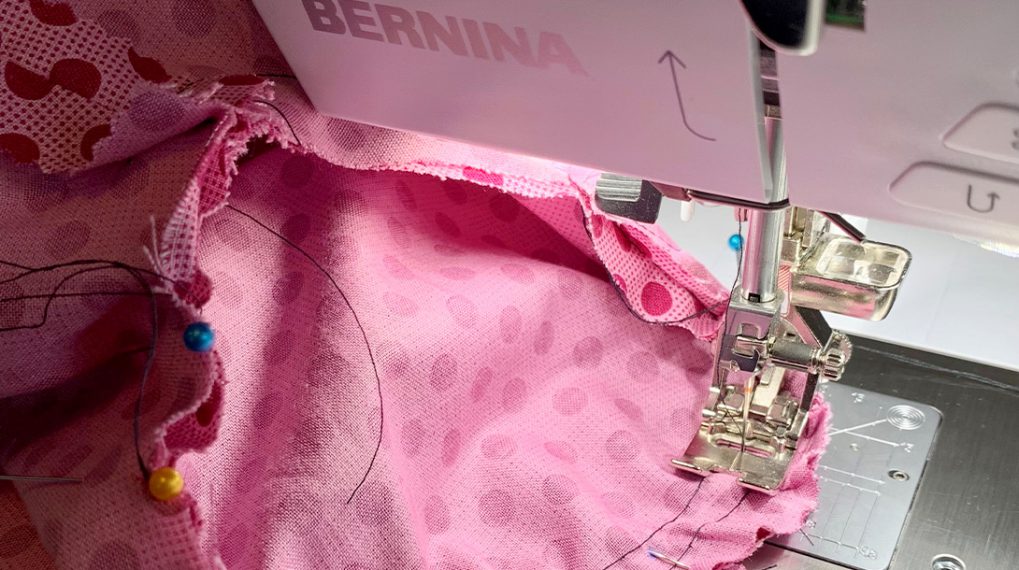
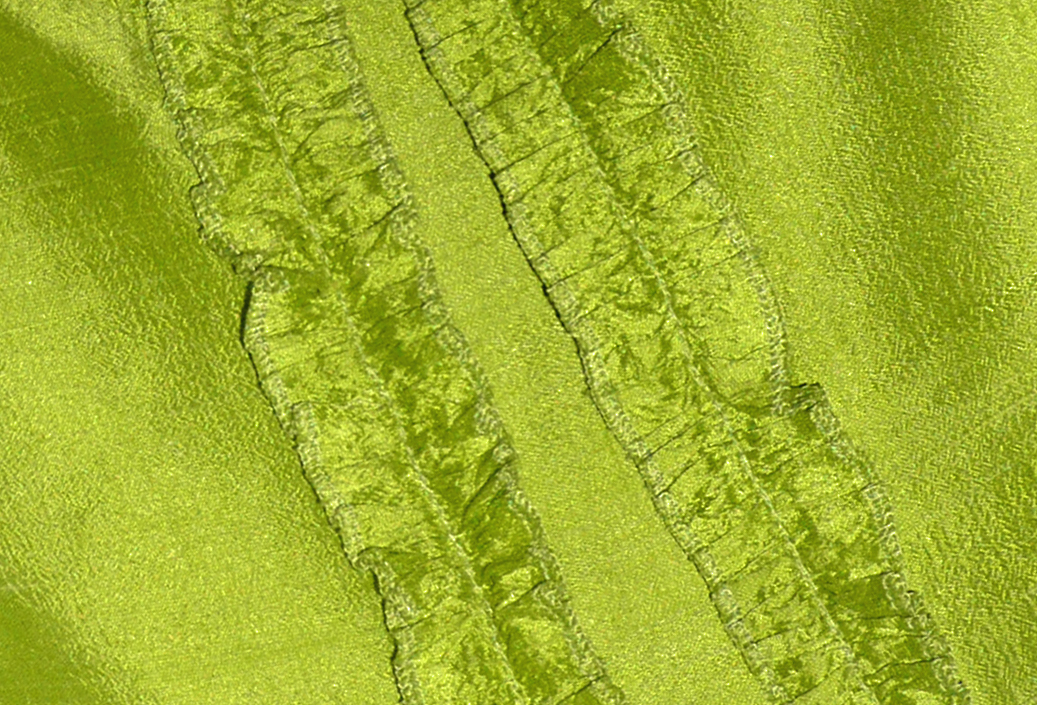
From the front side, stitch scant 1/4 inch from seam on both sides of seam line. Stitch the bottom of the seam closed to prevent the boning from shifting while assembling your garment. (I used a contrasting thread to make it more visible for the pictures, but I recommend using a blending one on your actual garment.)
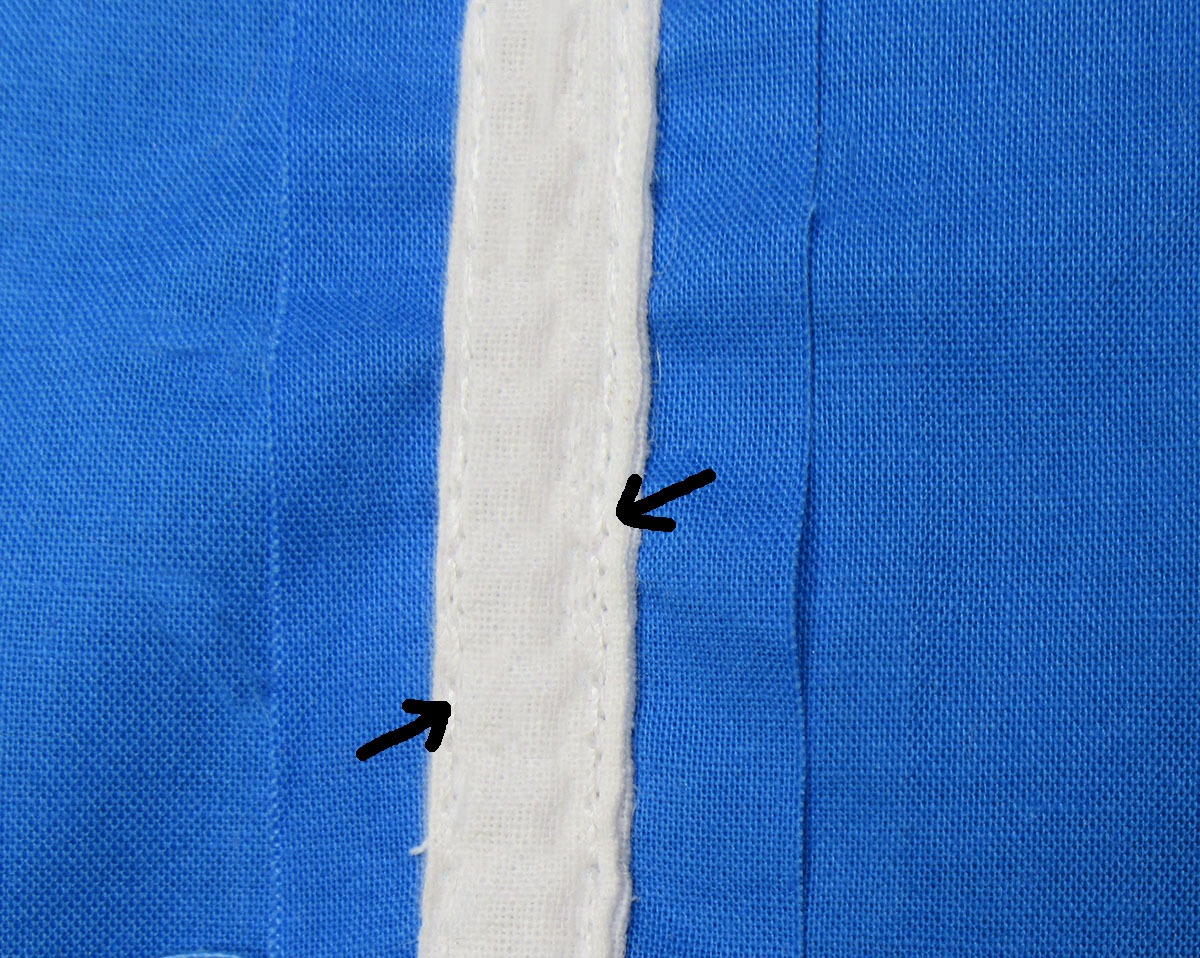
Step 7 Alternative
If you are having trouble stitching a consistent scant 1/4 inch from the seam, you can also secure the casing from the back side. Using the casing stitching lines as reference, stitch down each stitching line to secure casing to garment.
Step 8
Cut the boning to size. Boning should be approximately 1 ¼ inches less than the casing. This is sum of the seam allowance on the top and bottom of the section being boned and assumes a 5/8 inch seam. If you are using a different seam allowance adjust accordingly.
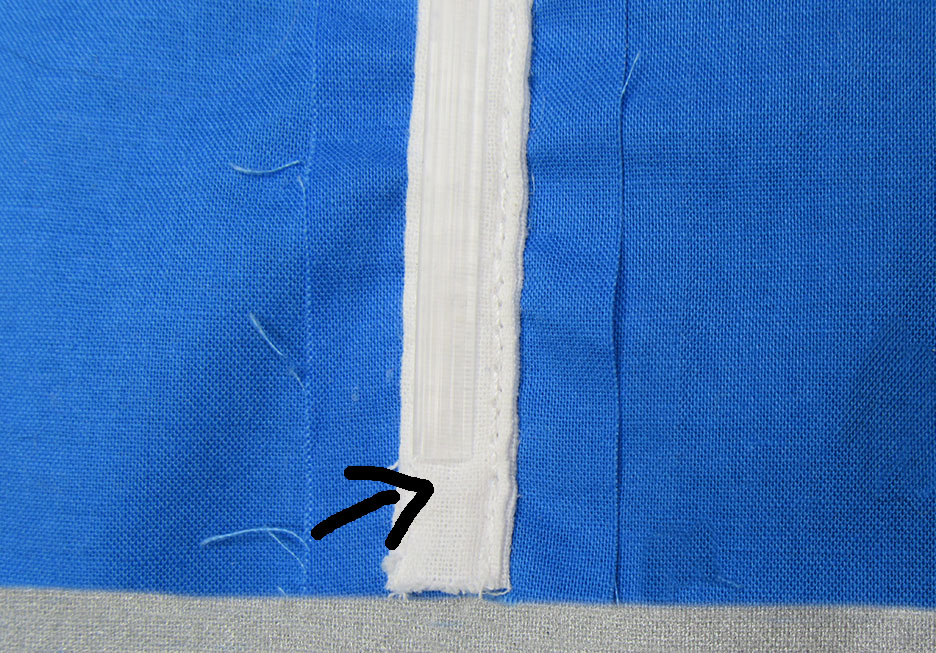
Step 9
Insert the boning into the casing. Boning has a natural curve, make sure to insert the curve the same direction you want the garment to curve. If you are boning multiple seams, apply casing to all of them before inserting boning.
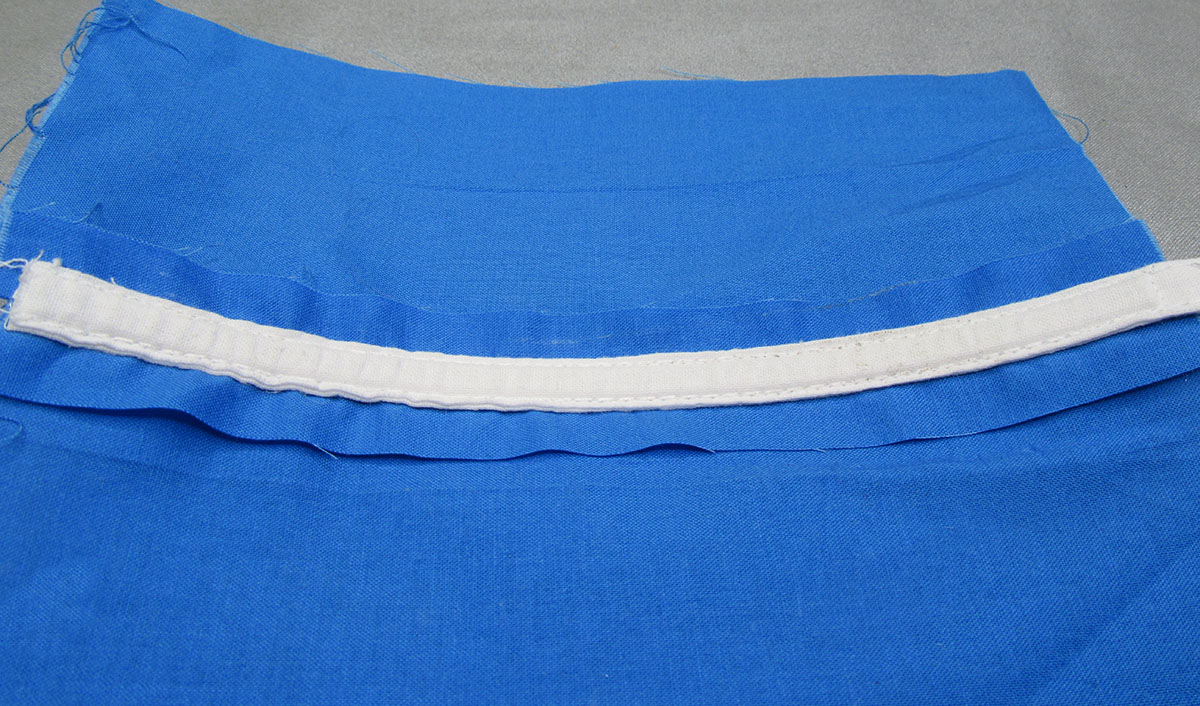
Step 10
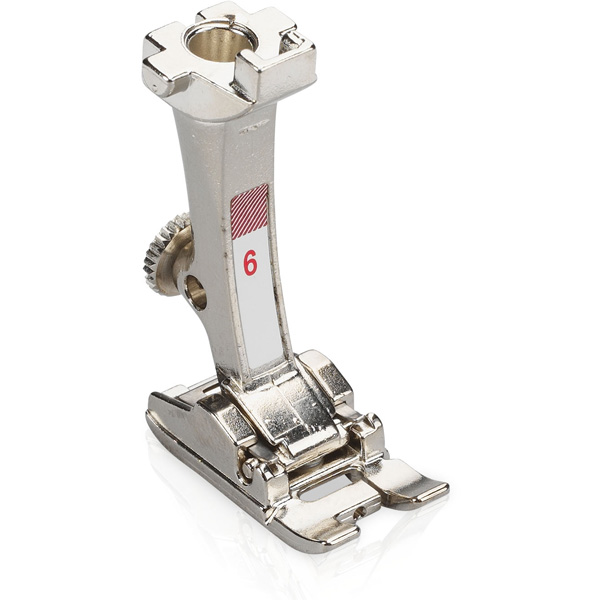
Baste along top of garment to secure boning before continuing to assemble garment. Take care not to stitch through boning. A Zipper foot is very helpful for this step.
Hope this mini tutorial helps make boning your next garment quick and easy. Be sure to post pictures, if you try it.