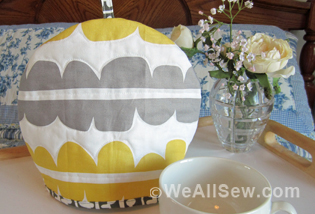
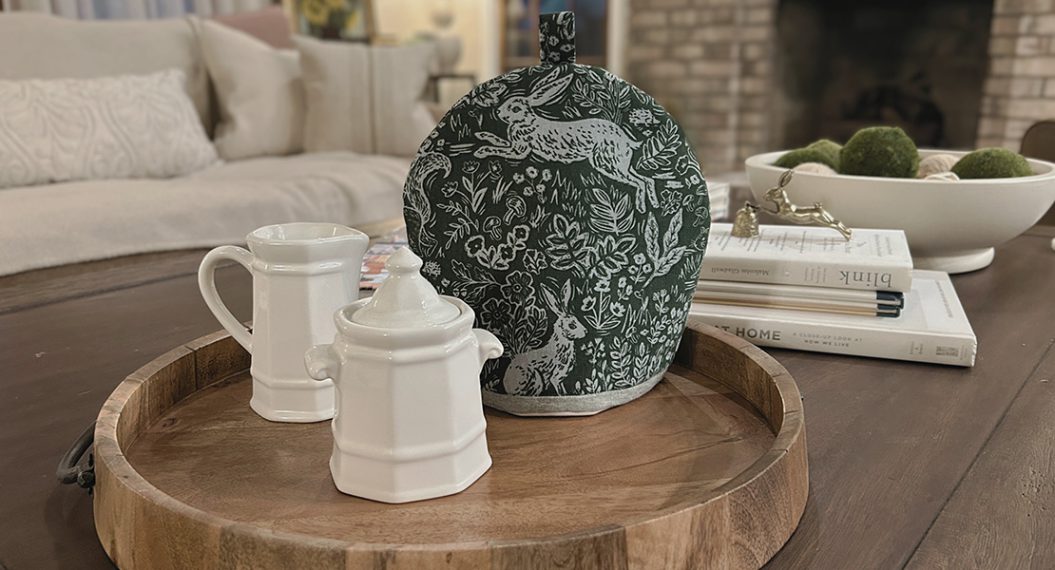
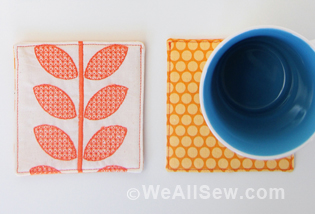
Easy Tea Cozy & Coaster Set
There’s nothing more decadent than an afternoon high tea. This Easy Tea Cozy and Coaster Set will keep your tea warm and your table looking beautiful while you relax and enjoy a few moments of well-deserved rest.
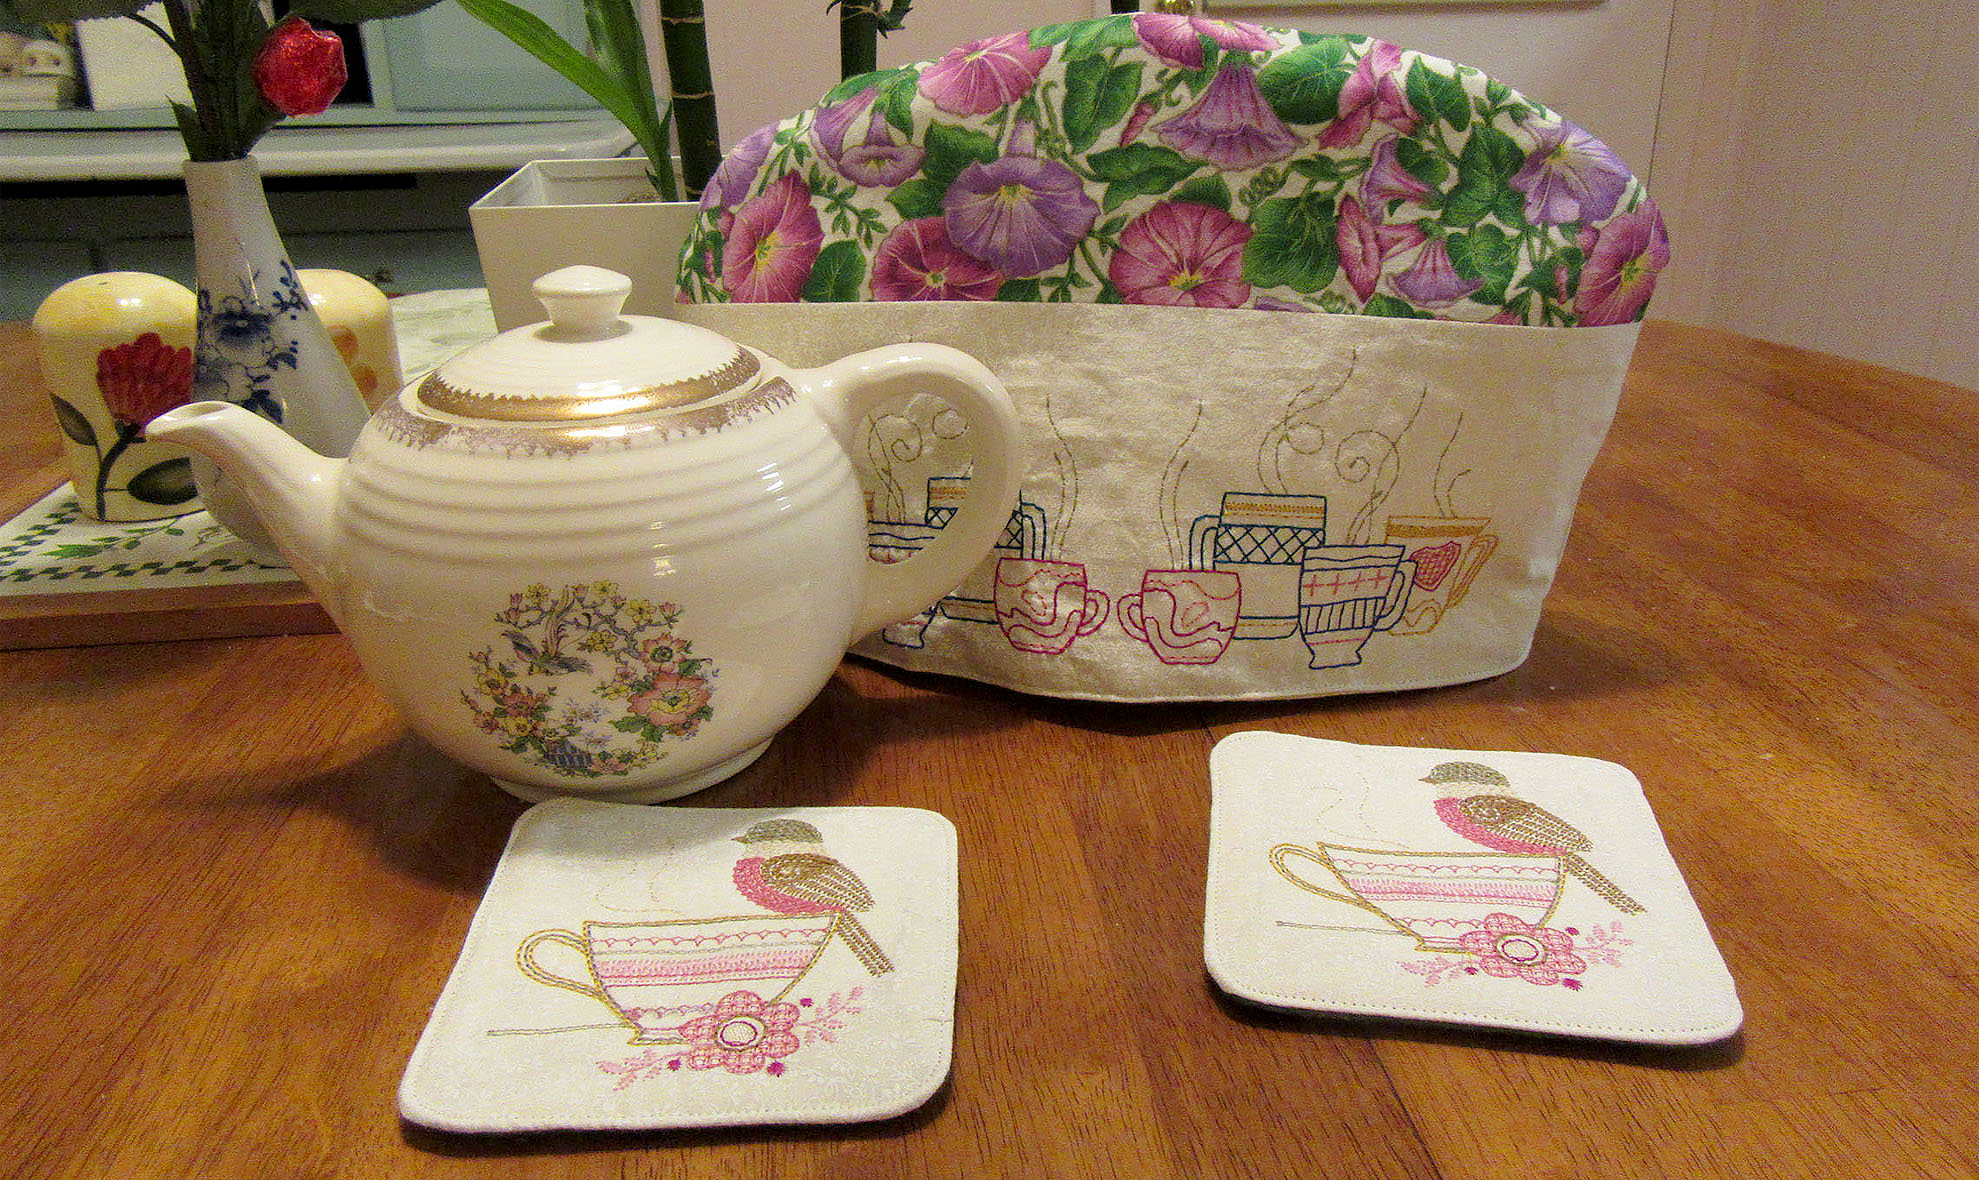
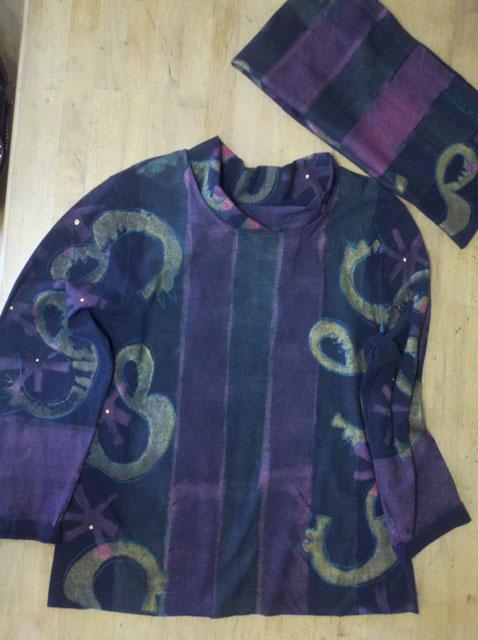
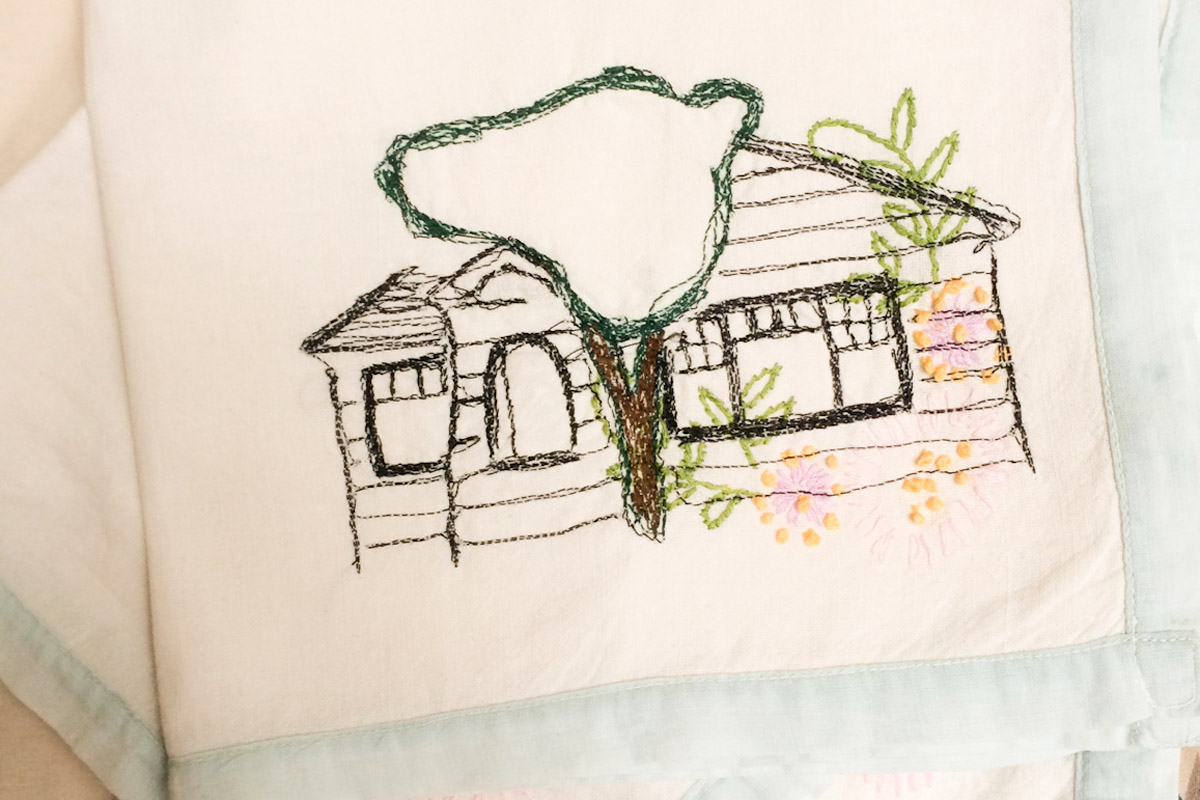
I embroidered mine with my BERNINA 790 PLUS, but you could also piece together a log cabin block, or any other block that takes your fancy, for the top of the cozy, or the coasters. You could even make them out of a pretty novelty print.
Materials Needed
Tea Cozy Materials
- 1-yard cream-on-cream print that reads as a solid
- Fat quarter coordinating print
- ½ yard Heat resistant batting
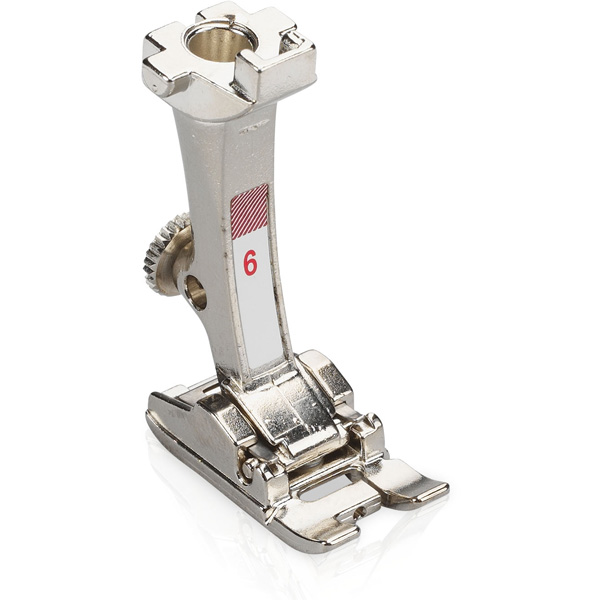
- Embroidery Designs- I used Coffee Tea Towel 82033-15 OESD.COM
- Yellow High Tension Embroidery Bobbin
- Embroidery Thread
Coasters Materials
- ¼ yard Felt (I used green)
- Leftover cream on cream print from Cozy Materials
- Embroidery Designs- I used Bird and Teacup 12910-05 OESD.COM
- Embroidery Thread
- Yellow High Tension Embroidery Bobbin
- Leftover Heat resistant batting from Cozy Materials
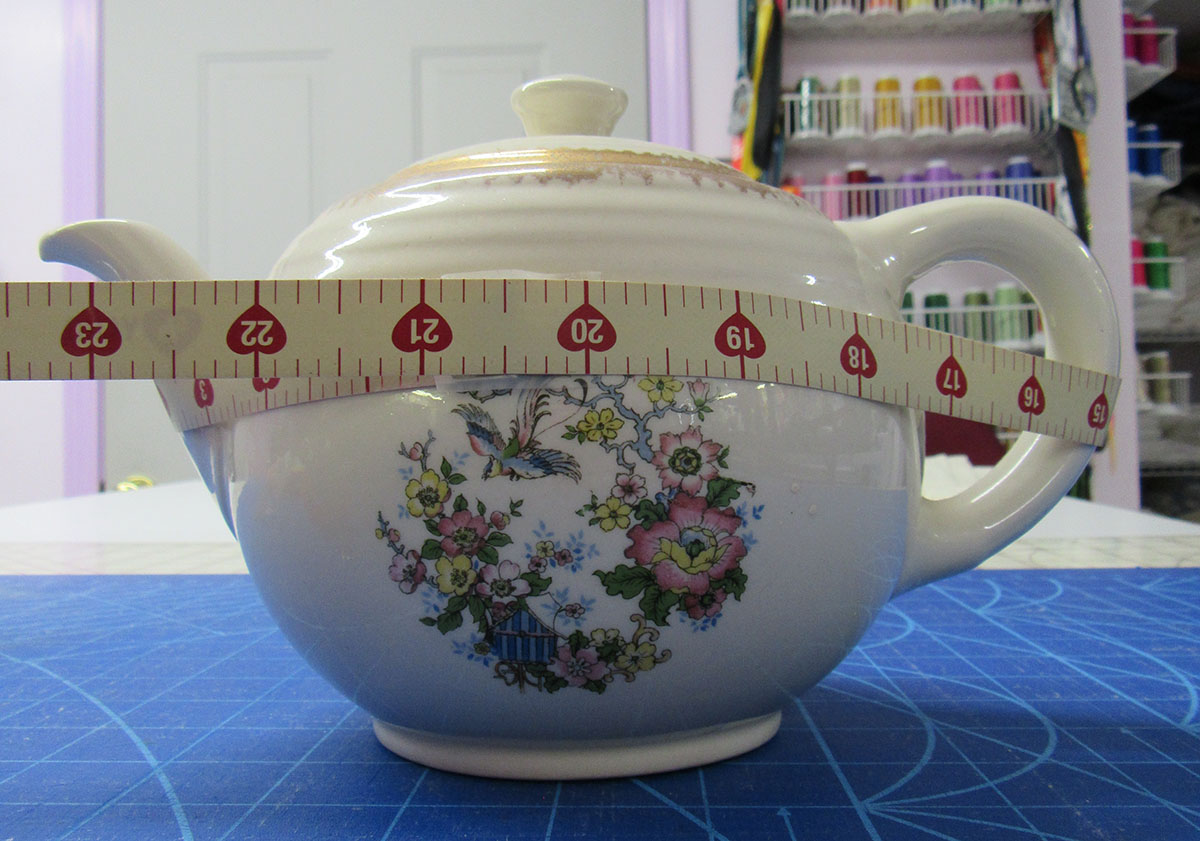
Pattern for Tea Cozy
This tutorial requires you to make your own pattern, as not all teapots are the same size. To determine the size of your teapot, measure the circumference at the widest spot. Make sure to include the spout and handle. Divide this number by two and then add three. For example- my teapot measured 22 inches in circumference so 22/2+3=14
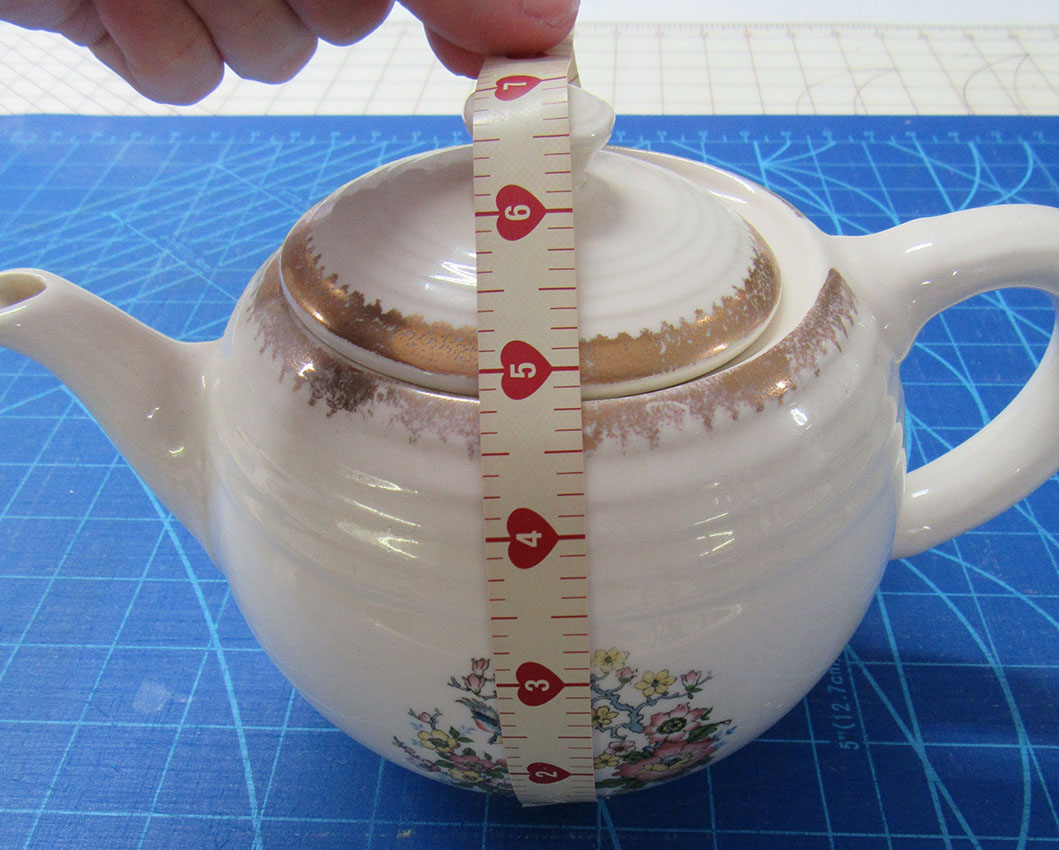
Next, starting at the bottom of the teapot measure to the top of the lid. Do not just measure from the surface it rests on, as this will not take into account the curve of the pot. Example- my teapot measured 7 inches so 7+3=10.
I highly recommend you make a mockup from muslin to double-check the pattern before using your desired fabric.
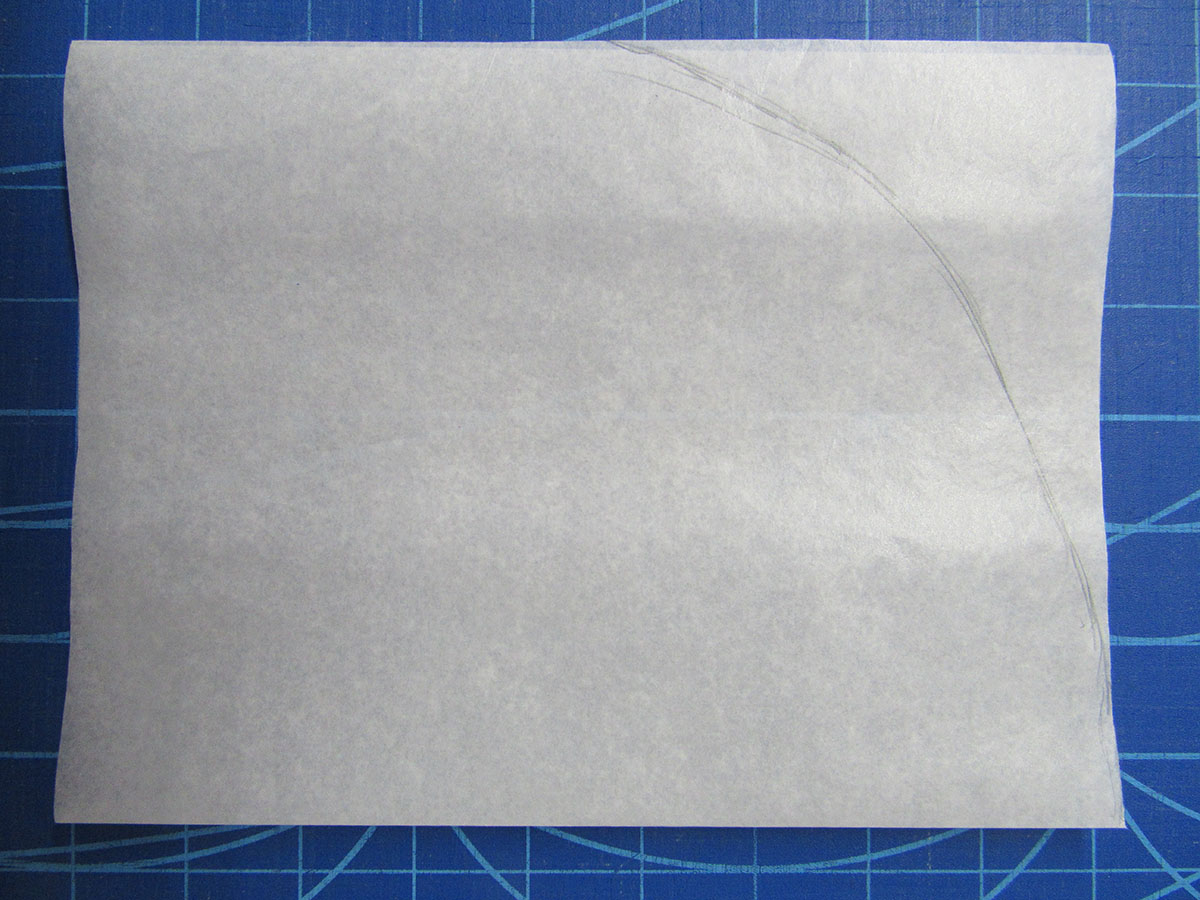
Making the Pattern
Step 1
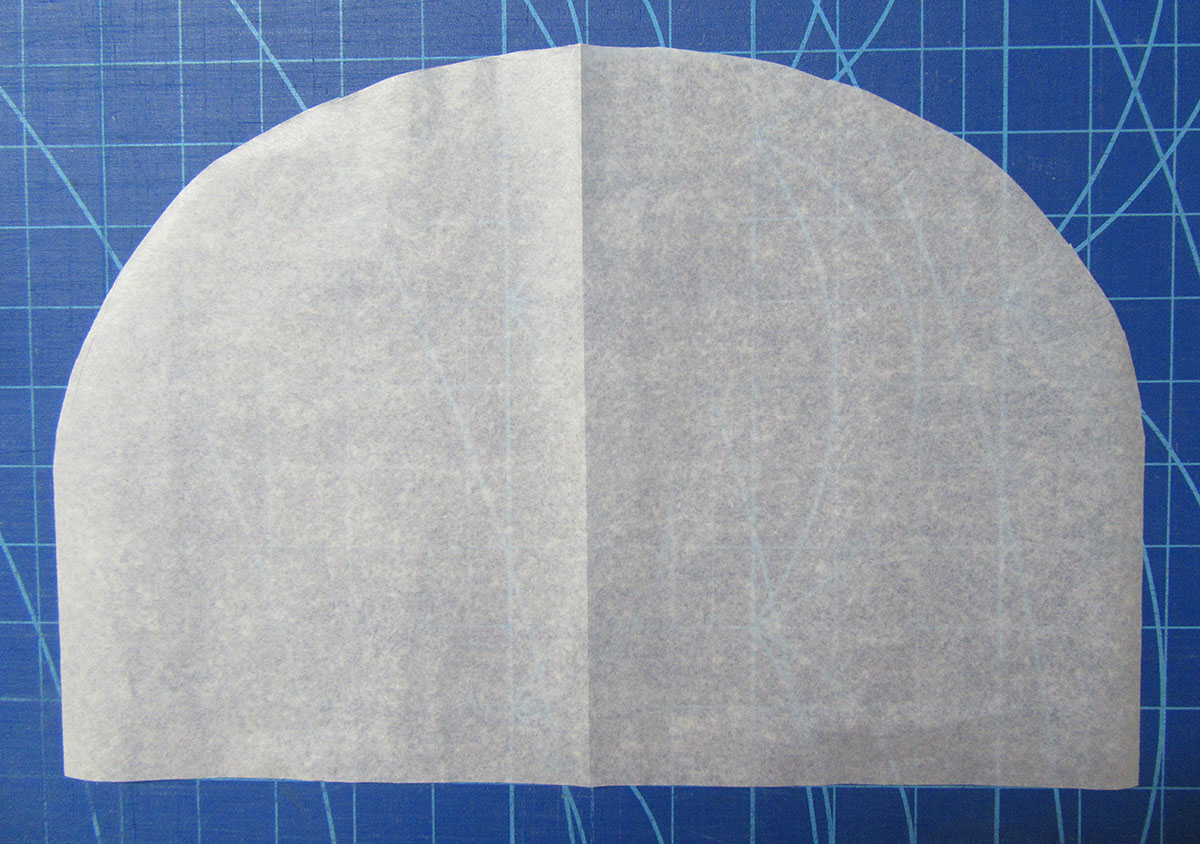
Cut a piece of pattern paper the dimension you decided on when measuring your teapot. From the example I gave for my teapot, that would be 10 inches by 14 inches. Fold paper in half bringing short sides together. Starting at top of fold, draw a gentle curve to round off the corner.
Step 2
Using your paper scissors cut along this line. Make a duplicate of this piece. One will be used for the lining, and the other will be cut to make the outside shell of the cozy.
Step 3
Draw a line across one of the pattern pieces 4 to 5 inches from the bottom. The height of the line is dependent on your embroidery designs and on how much of the contrasting fabric you want to use.
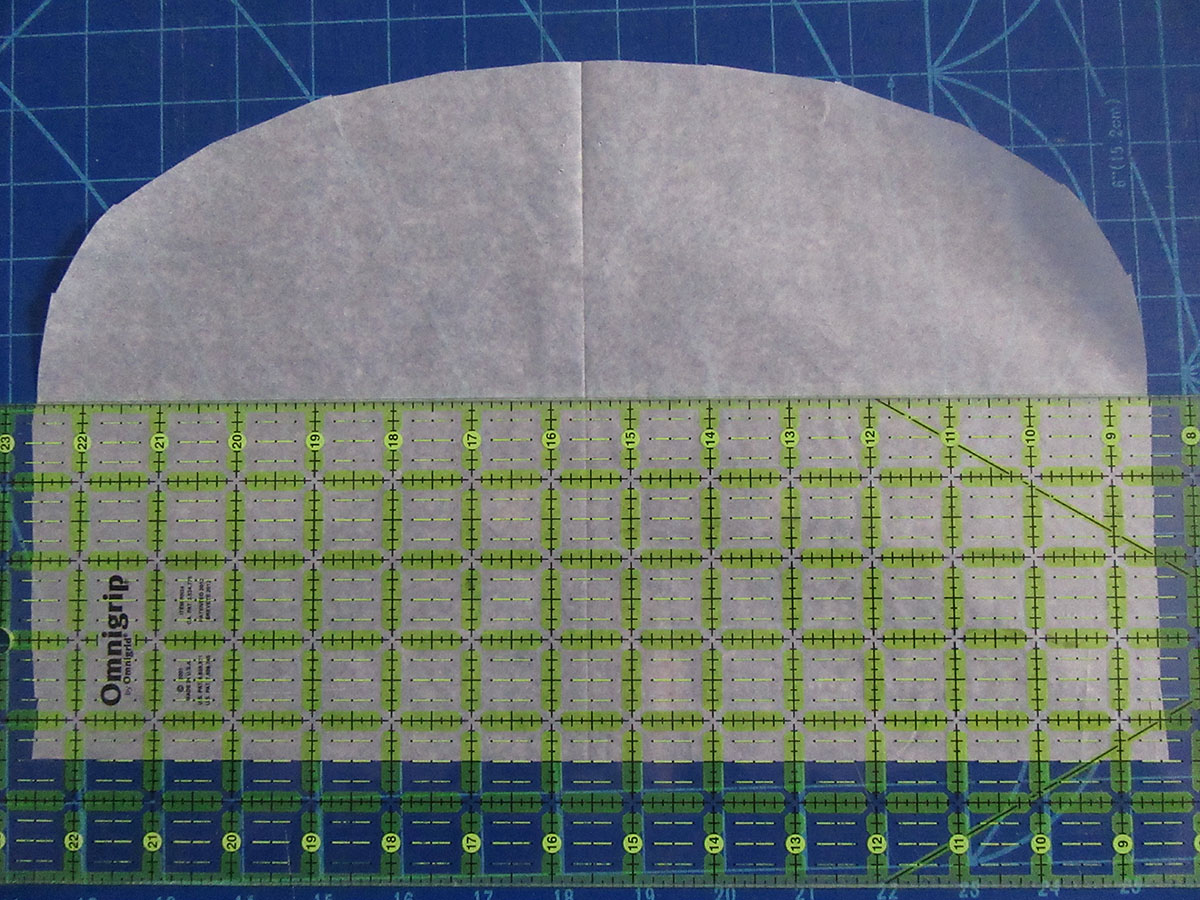
Step 4
Cut the pattern on this line. Note the width of the bottom section. Example- mine was 4 ½ inches.
Lining the Tea Cozy
Step 1
Using the uncut pattern piece, cut out two of the cream-on-cream print, and two of the heat-resistant batting.
Step 2
Trim off ½ inch from bottom of both pieces of batting.

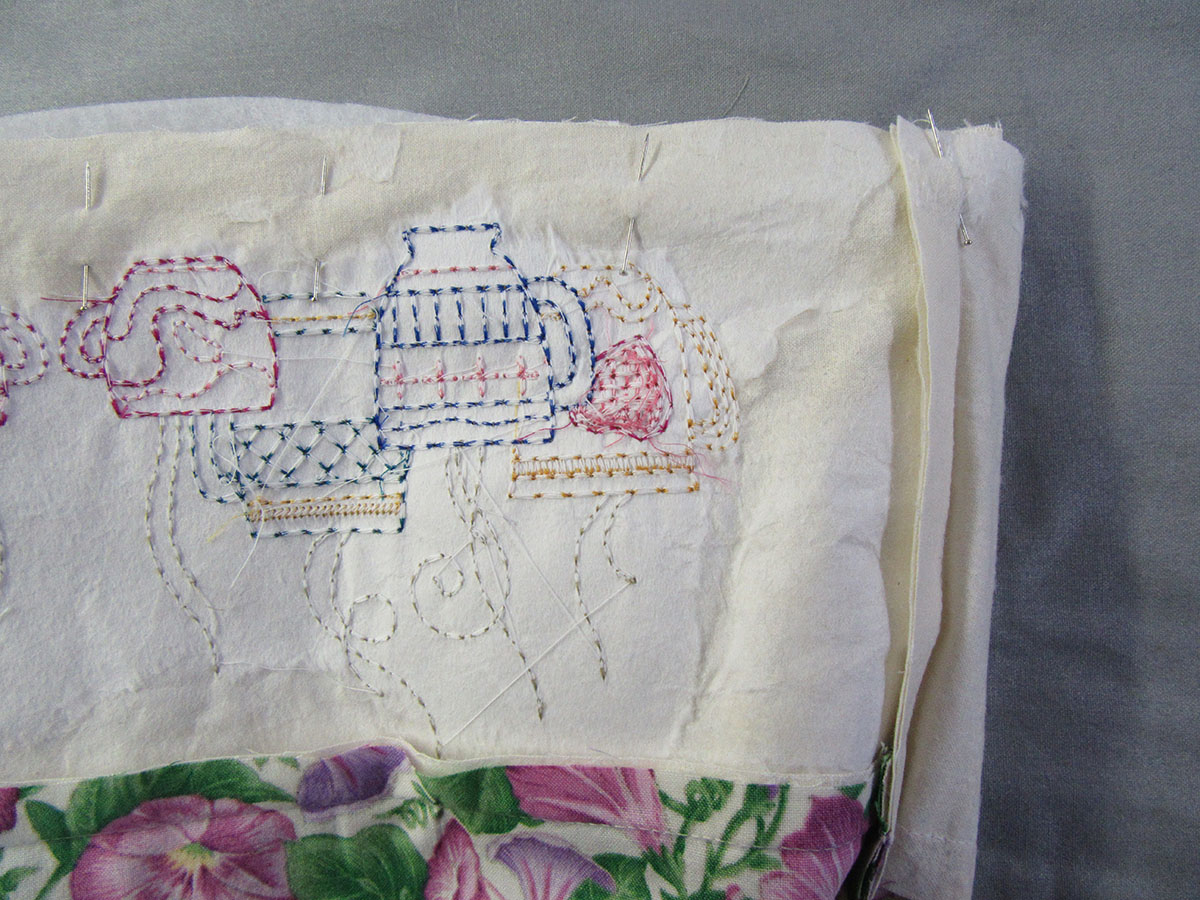
Step 3
Pin batting to wrong side of each of the cream-on-cream print sections, baste using a 3/8-inch seam allowance. Using a regular stitch length, stich a straight line across the middle of the long length joining the batting and lining fabric.
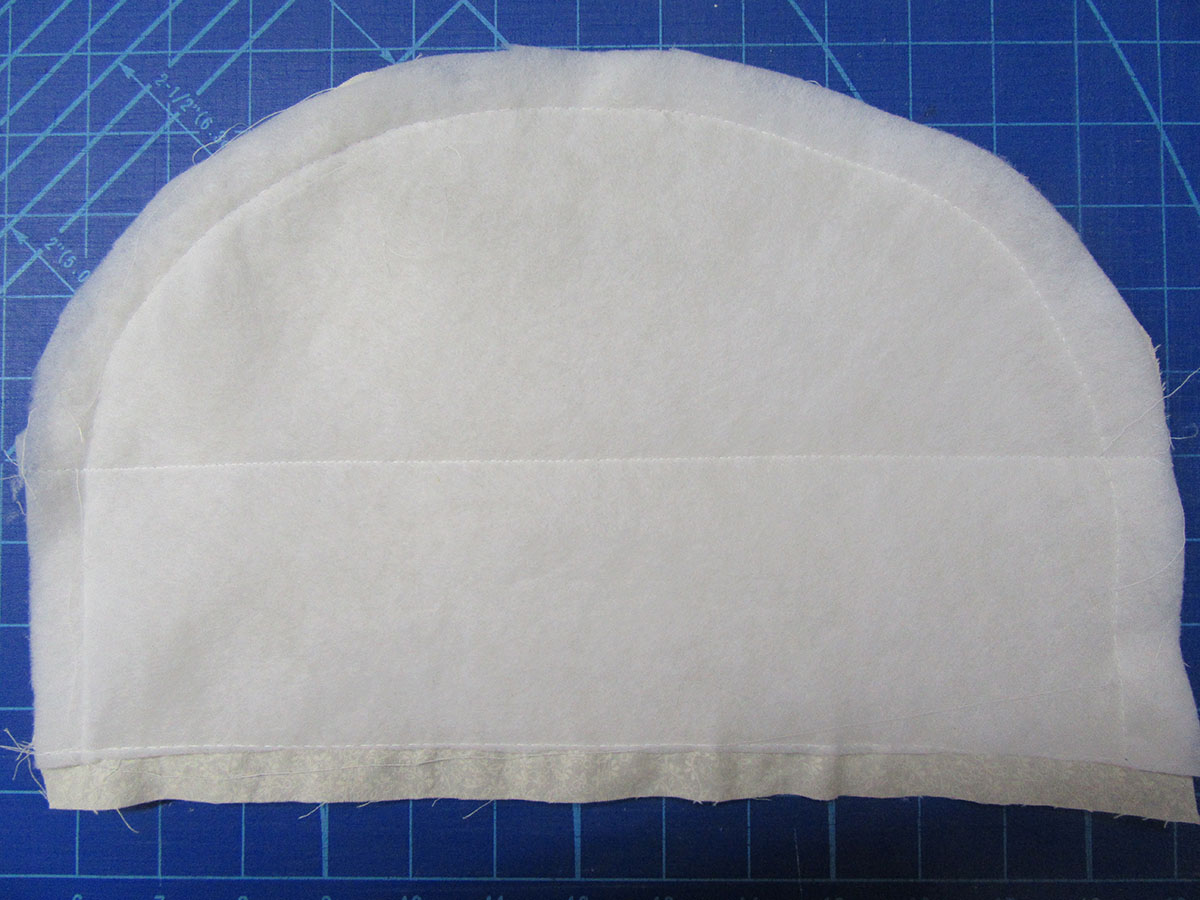
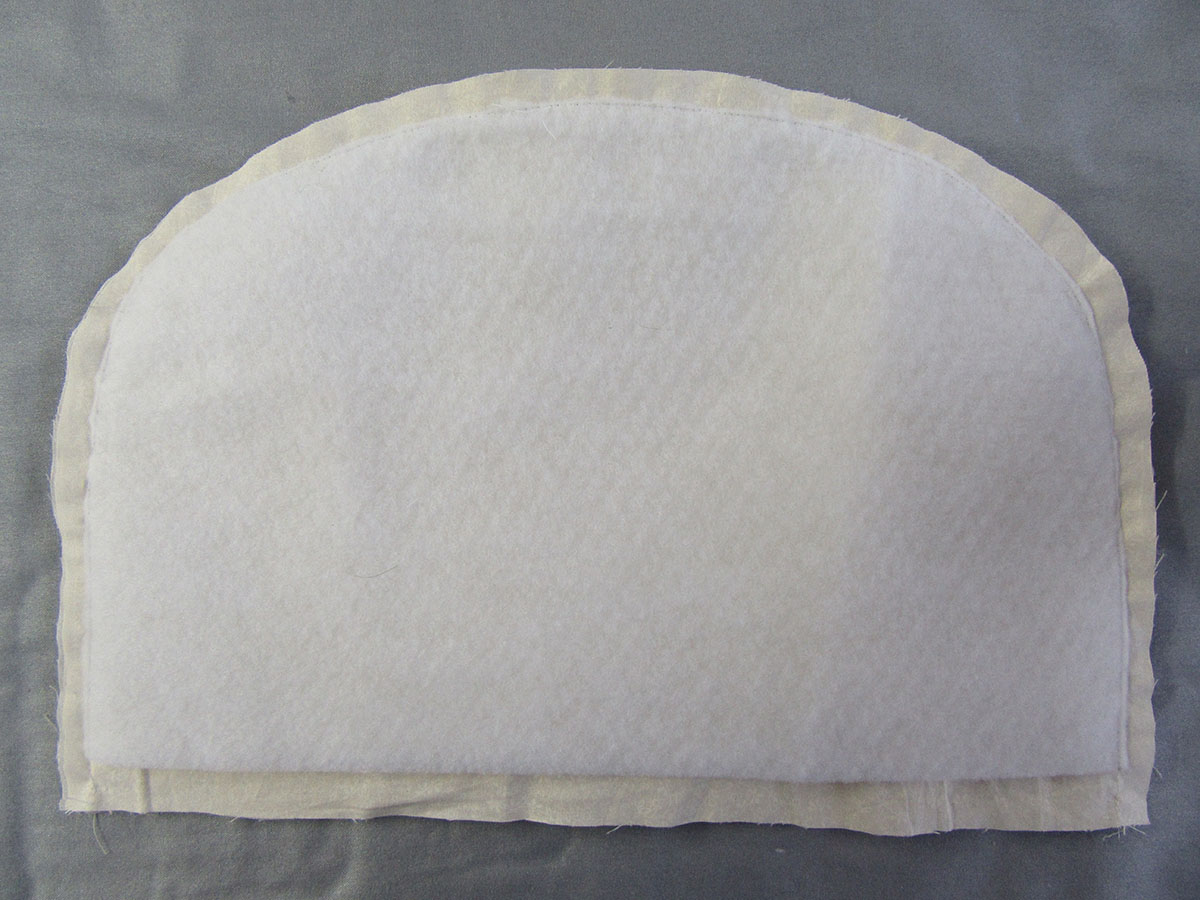
Step 4
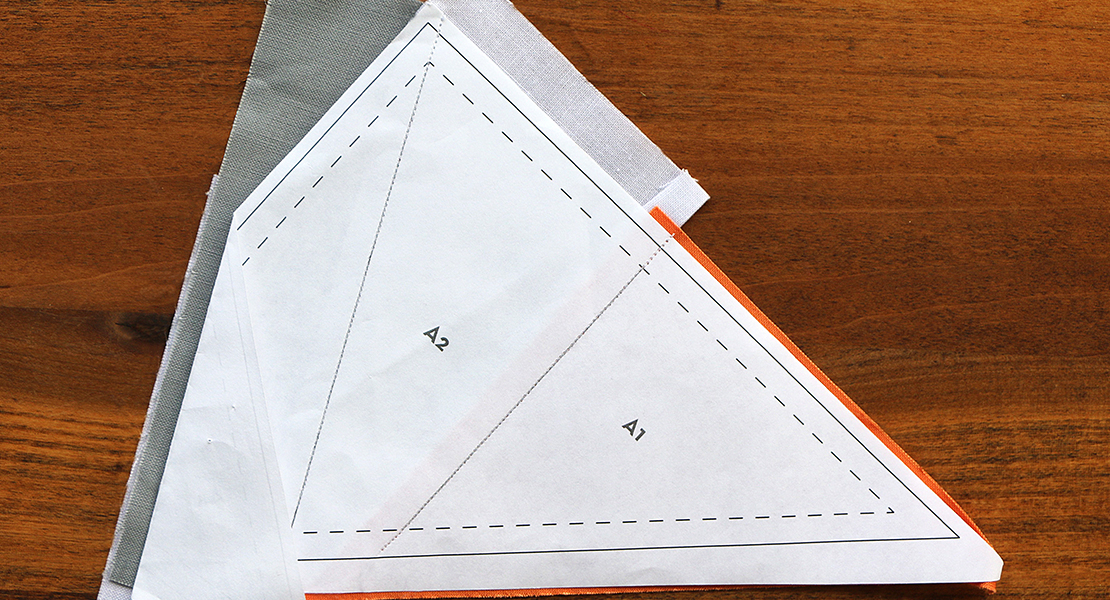
Place the two fabric/batting sections fabric sides together, pin around the curved edge. Stitch using a ½ inch seam allowance (picture 1). Trim batting close to seam line. Picture 2. Press open seam allowance clipping as necessary around curve.
Outer Shell Easy Tea Cozy
Step 1
Using the top half of the second pattern, cut out 2 of the coordinating print.
Step 2
Take the width you noted in step 4 of Making the Pattern and add 1 inch. Example mine was 4.5, so 4.5+1=5.5 This will be the width of the strip you will cut. The length will be the same as the one you determined from the circumference. Example- mine was 14, so 14 inches by 5 ½ inches. Cut 2 of the cream-on-cream print using these measurements. If you plan to embroider this section add 1 inch to each dimension, to allow for shrinkage from the embroidery.
Step 3
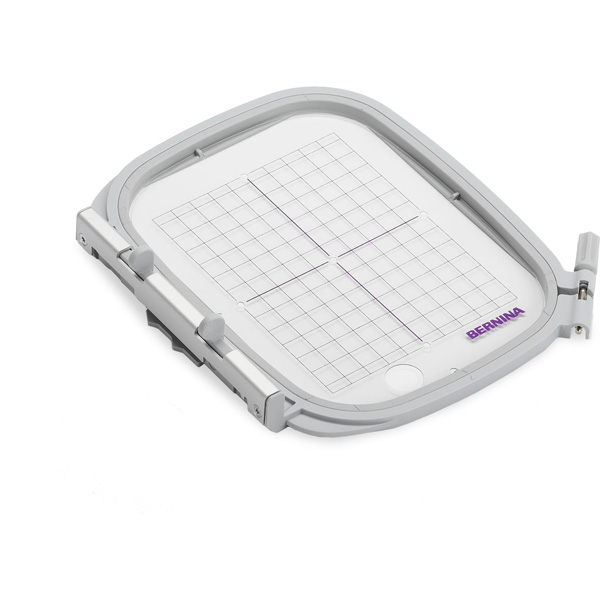
Apply stabilizer to the back of one strip. Center strip in your hoop and embroider desired design.
Remove as much stabilizer as possible. Repeat with the second strip. Center designs and trim to the original dimensions found in step 2.
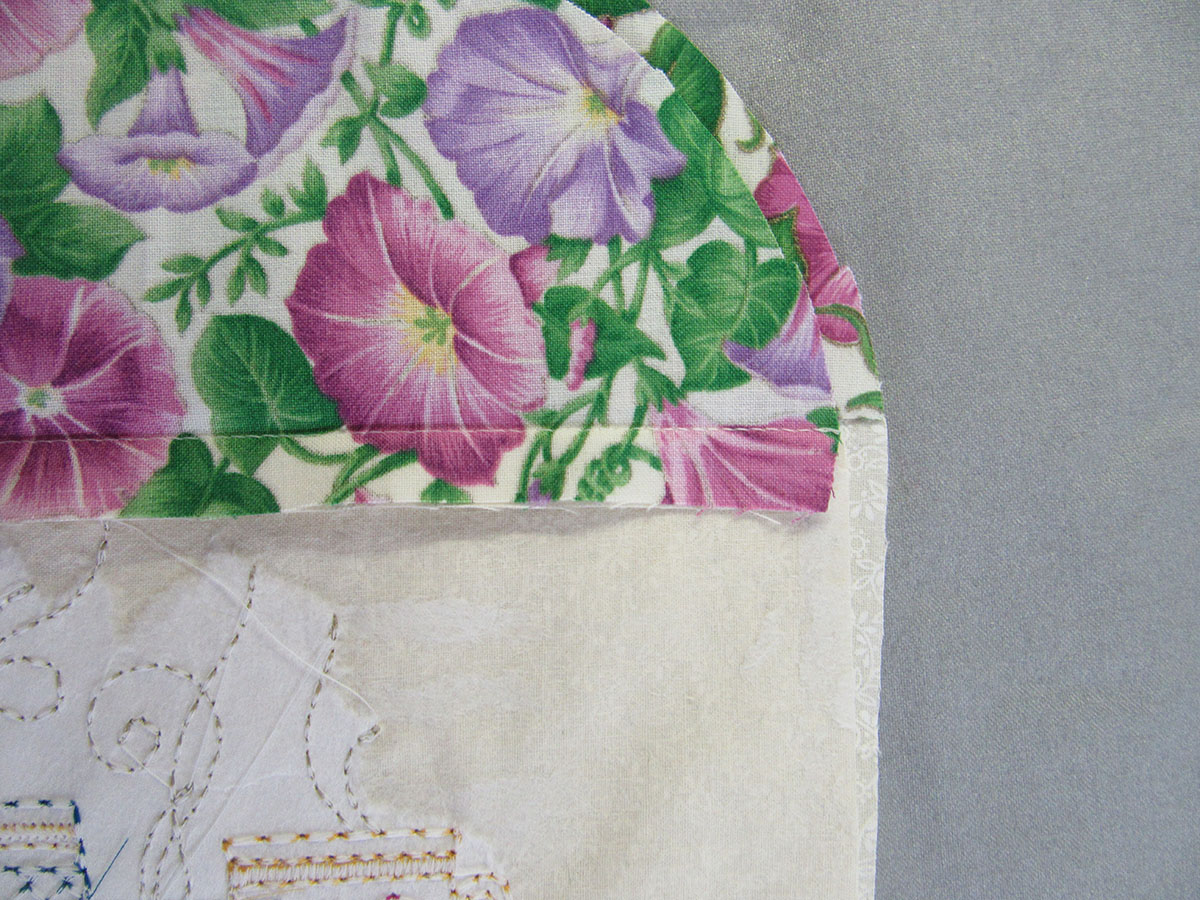
Step 4
Pin top coordinating fabric to embroidered strip right sides together and sew using a ½ inch seam allowance. Press seam allowance towards coordinating fabric on one and towards cream-on-cream fabric on the other.

Step 5
Cut a strip of the cream-on-cream 1 ½ inches by 4 inches.
Step 6
Fold strip in half right sides together aligning long raw edges. Sew using a ½ inch seam allowance down long sides leave both short sides open for turning.
Step 7
Trim close to seam allowance, turn, and press.
Step 8
Make a loop with the section made in steps 5-7. Pin to the top of one tea cozy outer lining. Baste in place with a ¼ inch seam allowance.
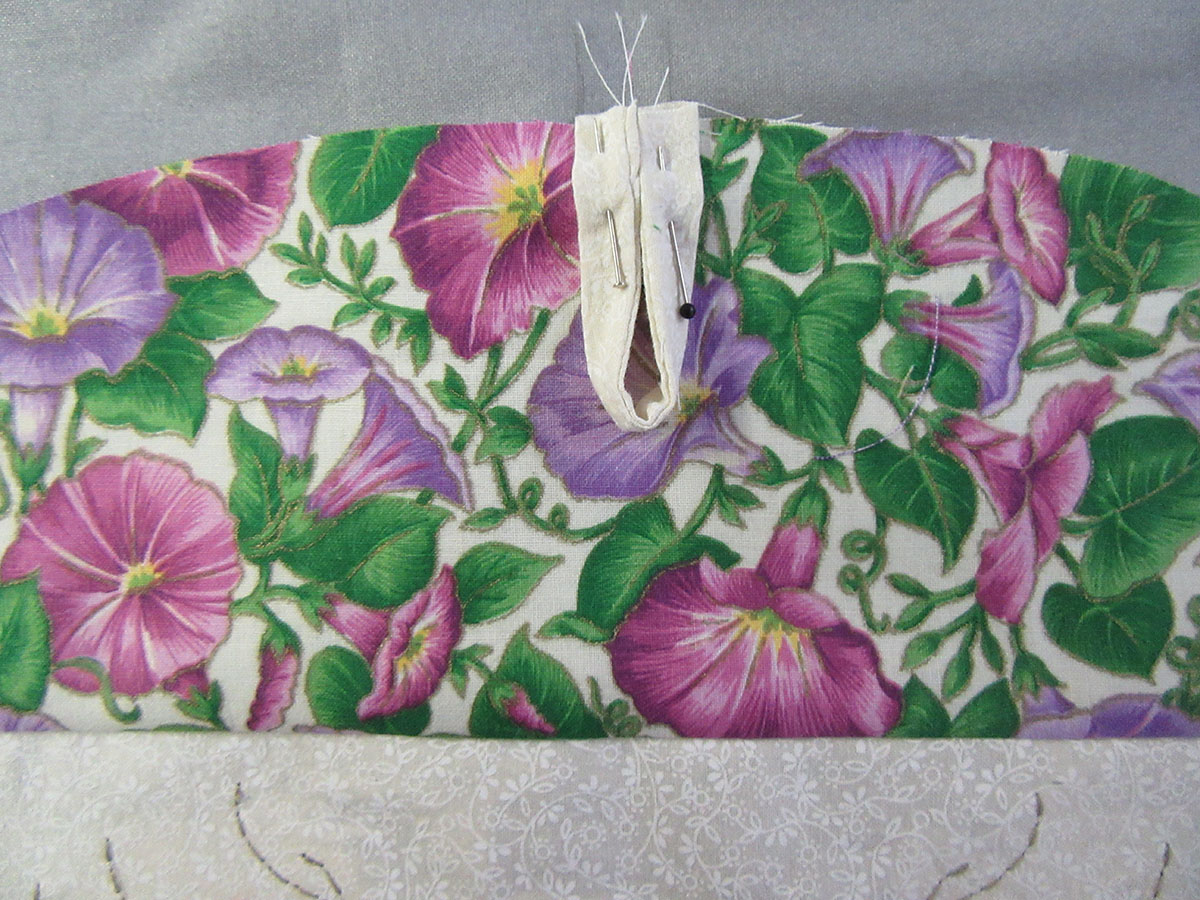
Step 9
Place one outer lining section over the other aligning seams at sides, pin, and sew using a ½ inch seam allowance. Press open seam clipping as necessary around curve.
Assembling Tea Cozy
Step 1
Turn the outer shell wrong side out and lining right side out. Insert lining into outer shell. (Inner and outer shells will be right sides together.) Pin raw edges together leaving a 2-inch opening for turning.
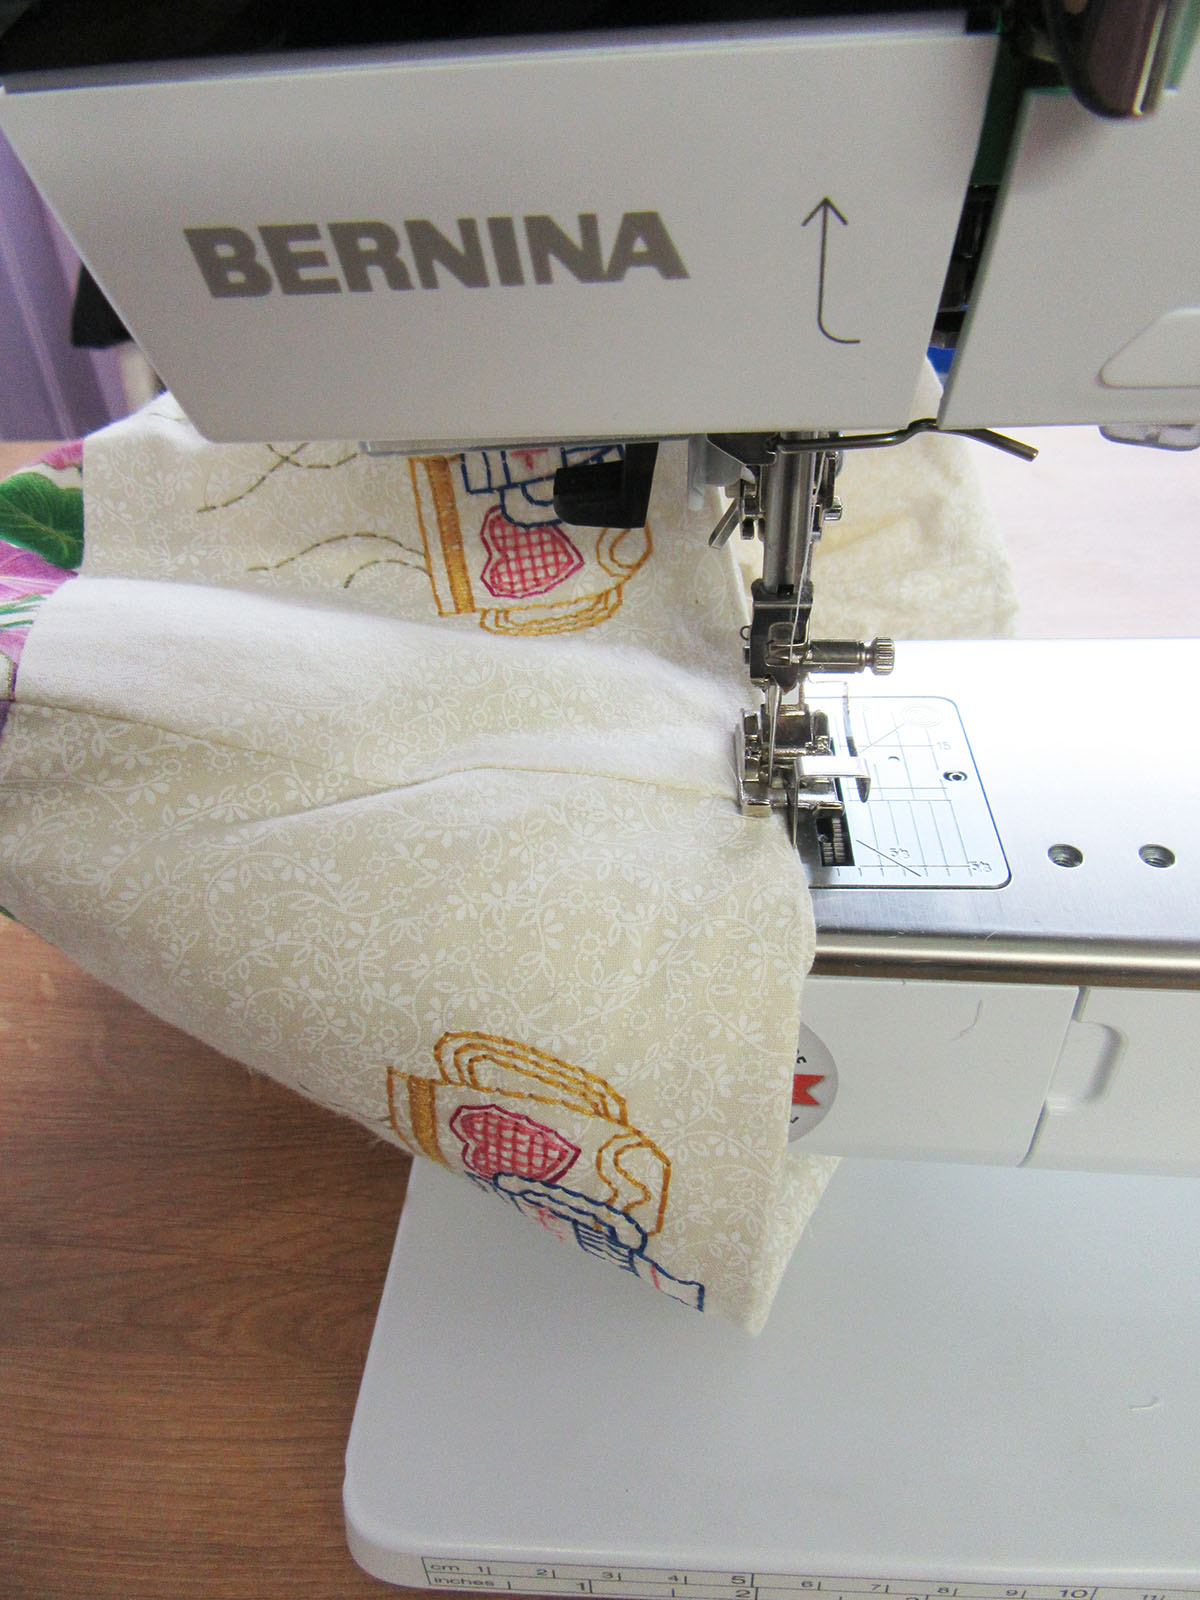
Step 2
Stitch using a ½ inch seam allowance. Turn right side out. Pin opening for turning closed and topstitch around bottom close to edge stitching opening closed in the process.
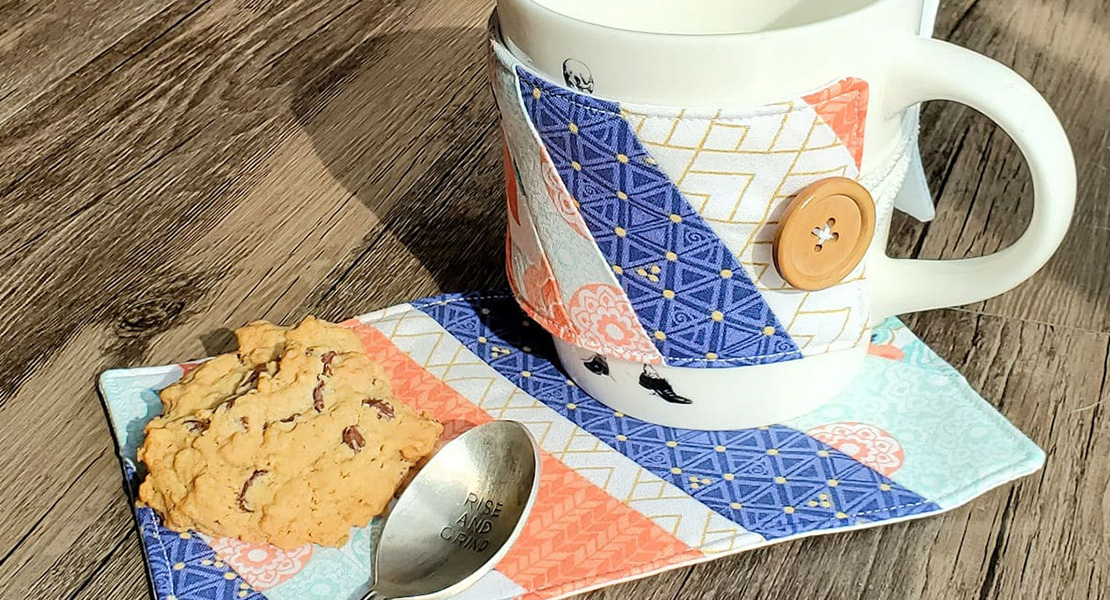
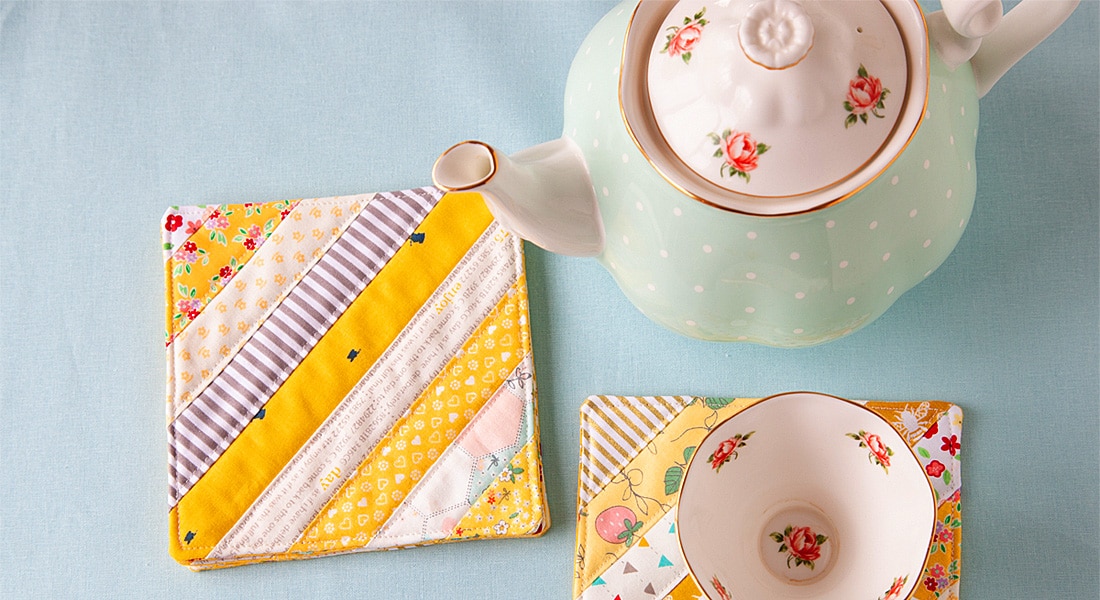
Coaster Directions
Step 1
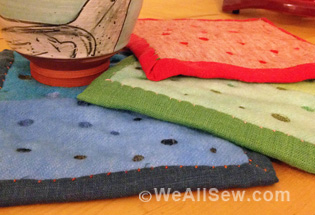
Cut four 5 ½ inch by 5 ½ inch squares from the felt, and another four from the heat-resistant batting. Cut four 6 ½ inch by 6 ½ inch squares from the cream-on-cream print.
Step 2
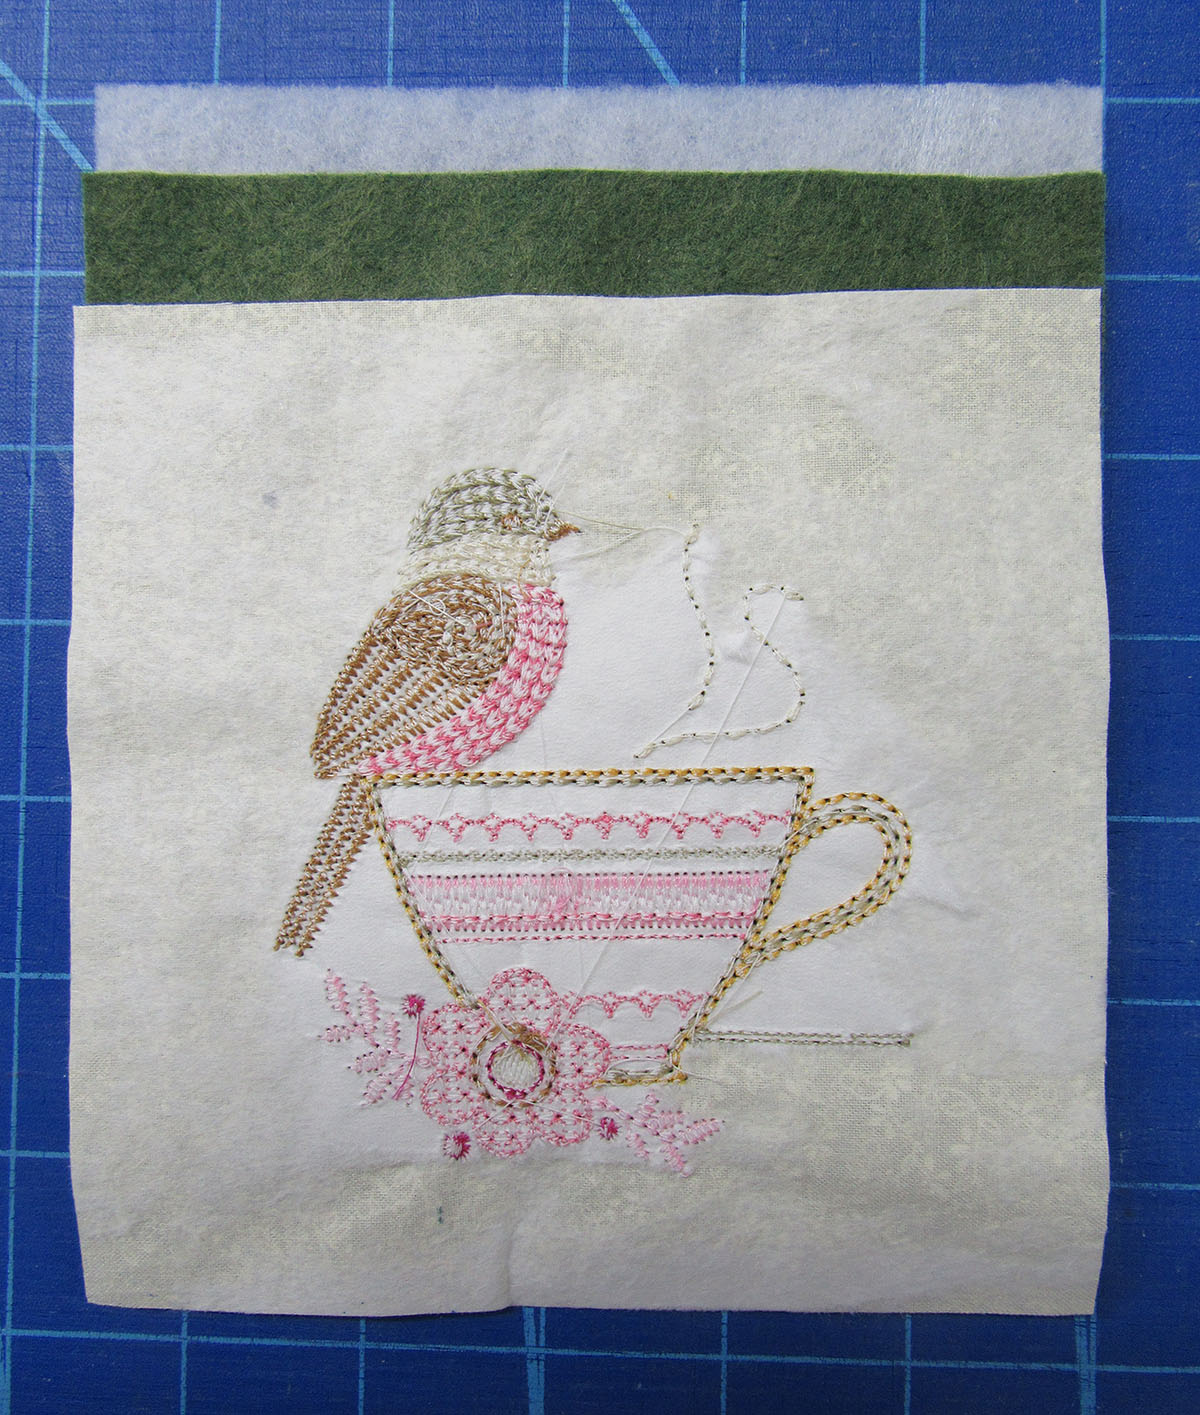
Apply stabilizer to the wrong side of one of the cream-on-cream squares. Center square in your embroidery hoop. Embroider design of your choice. I recommend using a design approximately 4 inches square. Repeat with the remaining three cream-on-cream squares.
Step 3
Remove as much stabilizer as possible. Center design and trim square to 5 ½ inches by 5 ½ inches.
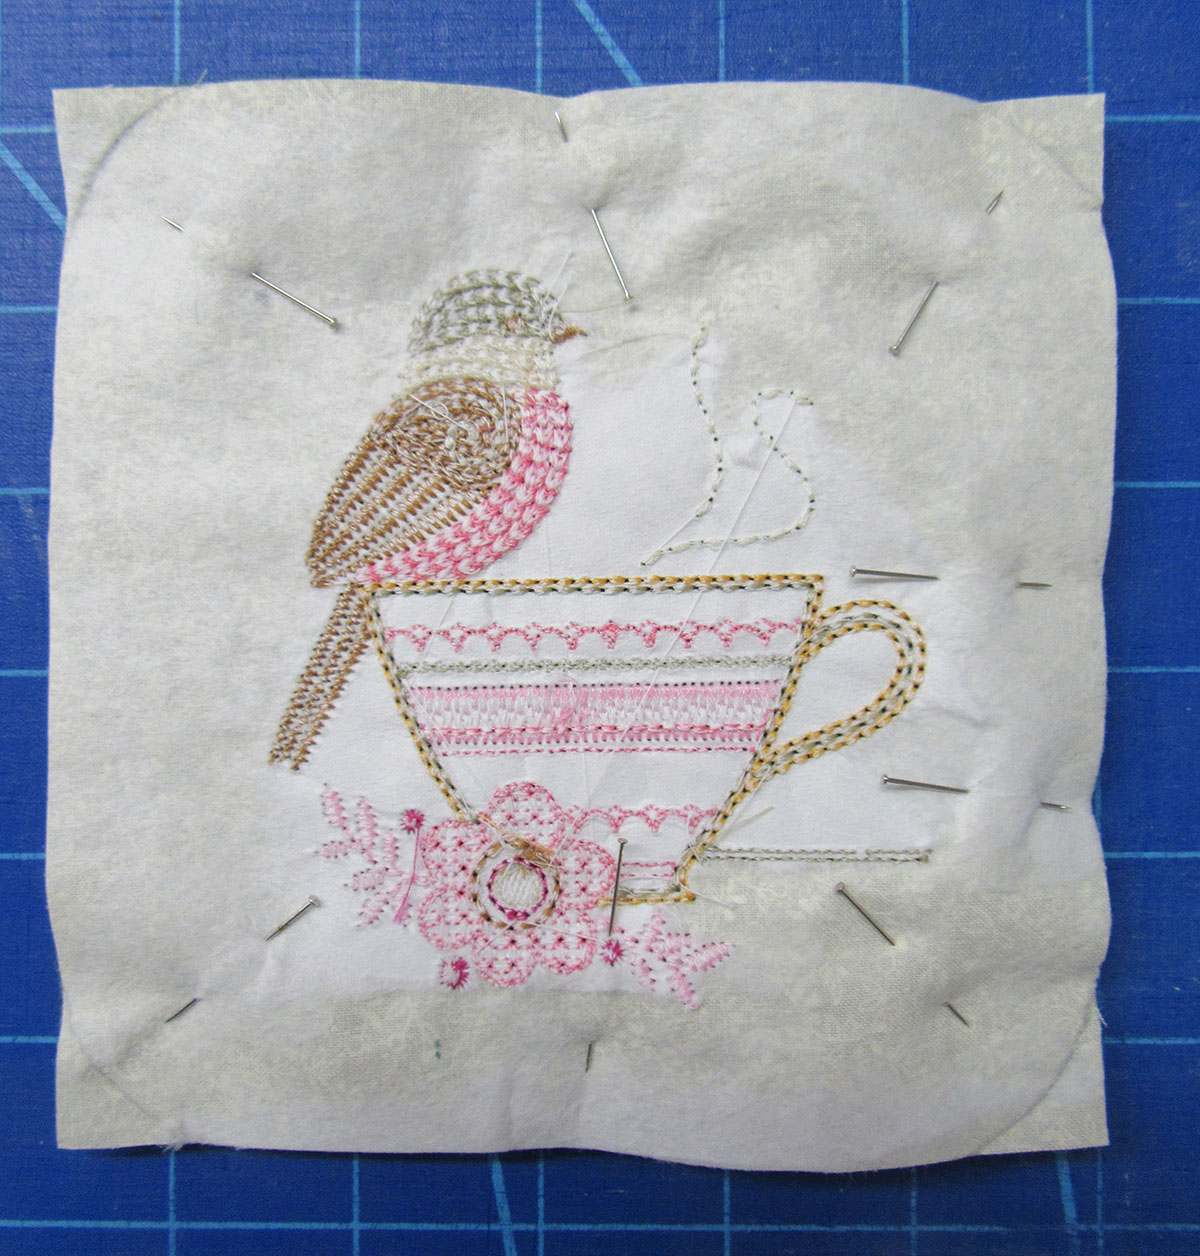
Step 4
Lay one square of heat-resistant batting on a hard service. Lay a piece of felt right side up on top of the batting. On top of this, lay one embroidered square right side down. Pin together leaving a 2-inch opening on one side for turning.
Step 5
Use a small circle template to draw a line gently rounding all four corners. Cut along lines. (Layering first allows you to round all corners at the same time.)
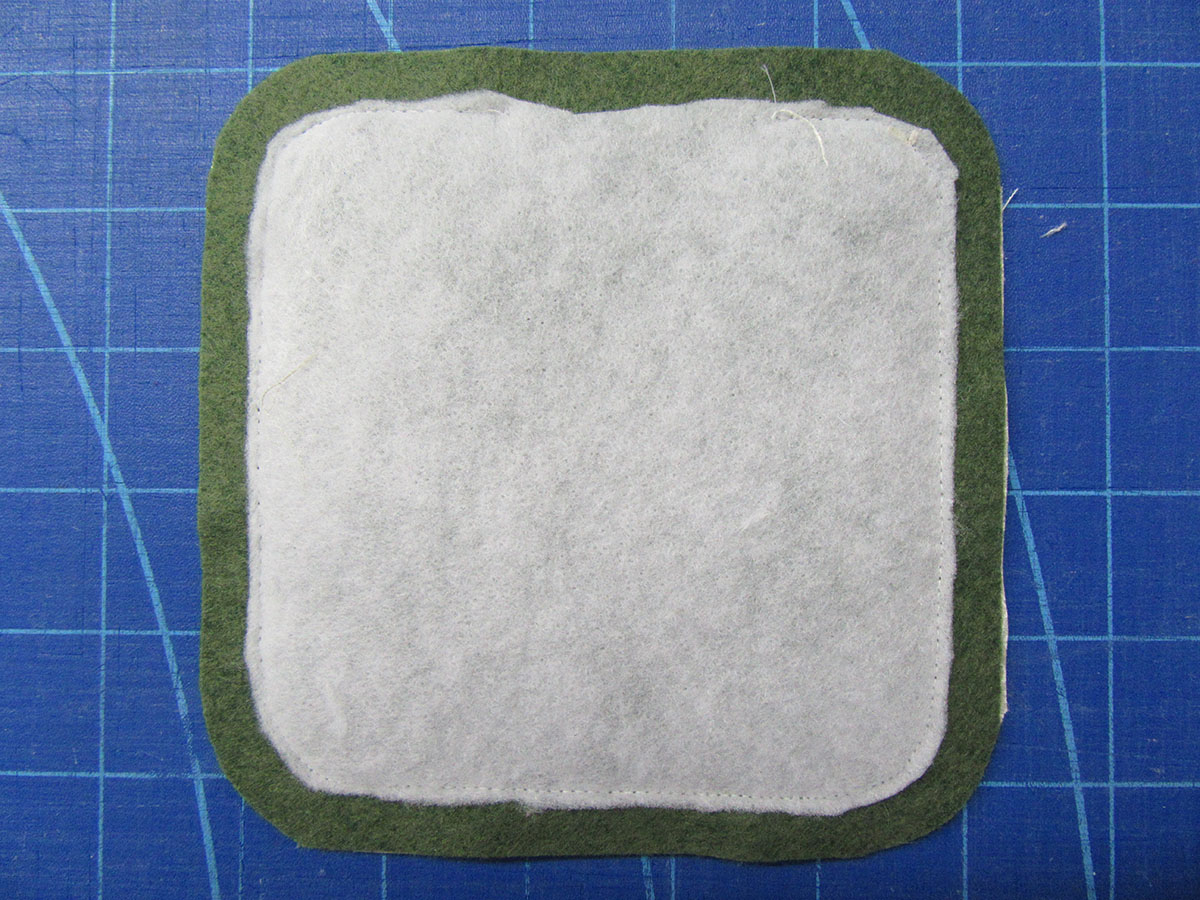
Step 6
Sew around the outside edge using a ½ seam allowance.
Step 7
Trim batting only close to seam line.
Step 8
Turn right side out and tuck under edges of turning opening. Pin.
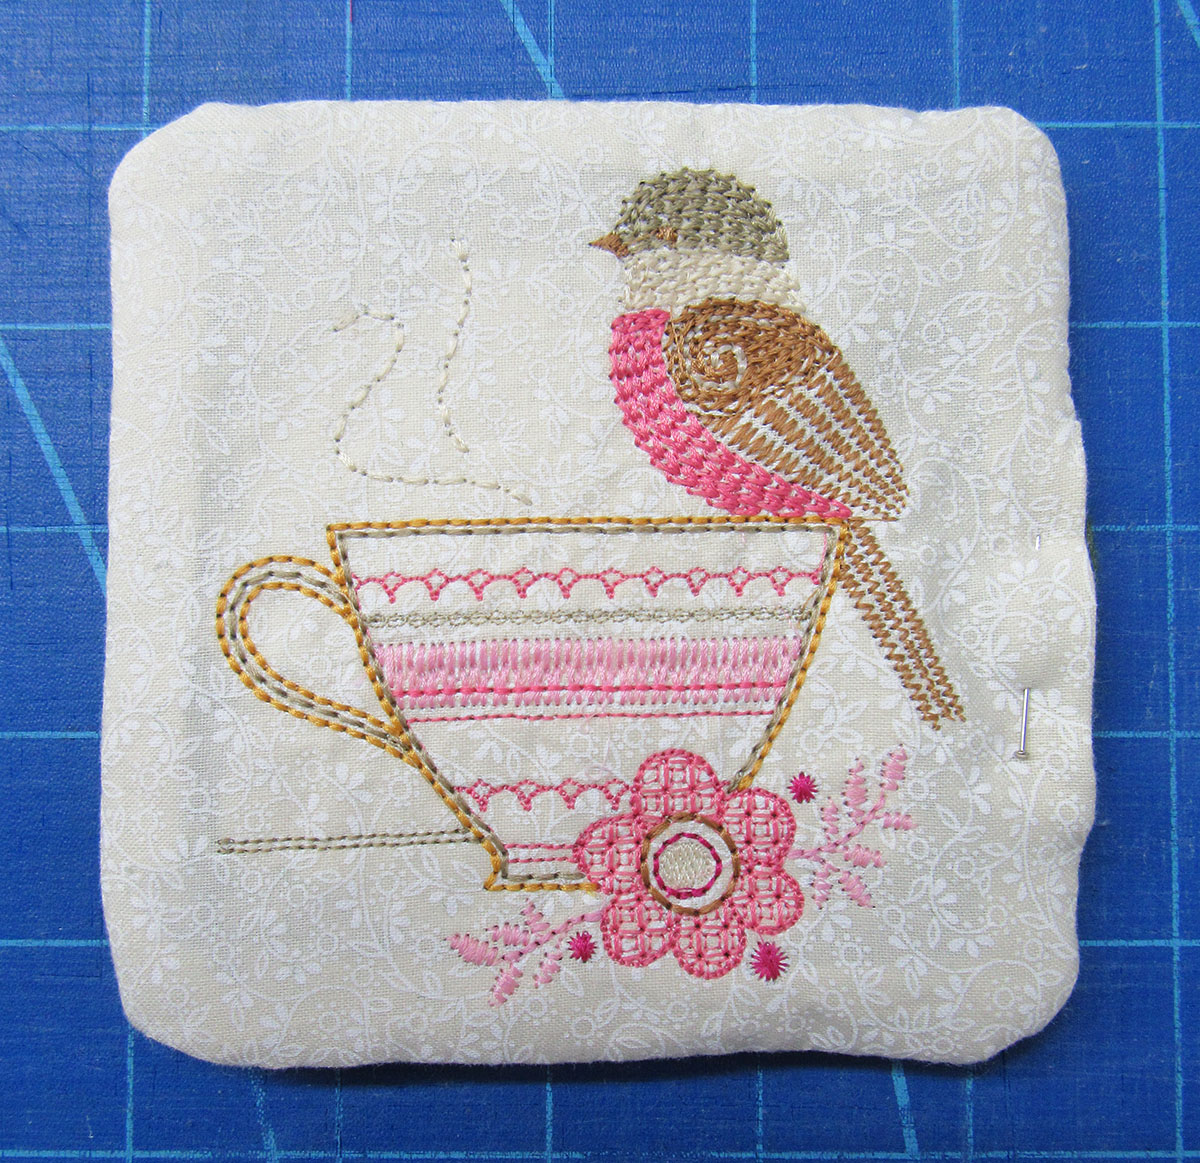
Step 9
Top stitch around the outer edge of the coaster. Repeat steps 3-8 with the remaining three coasters.

You are now ready to relax and enjoy a nice hot cup of tea. Want some tasty treats to go along with it? Check out these delicious recipes.
Used Products


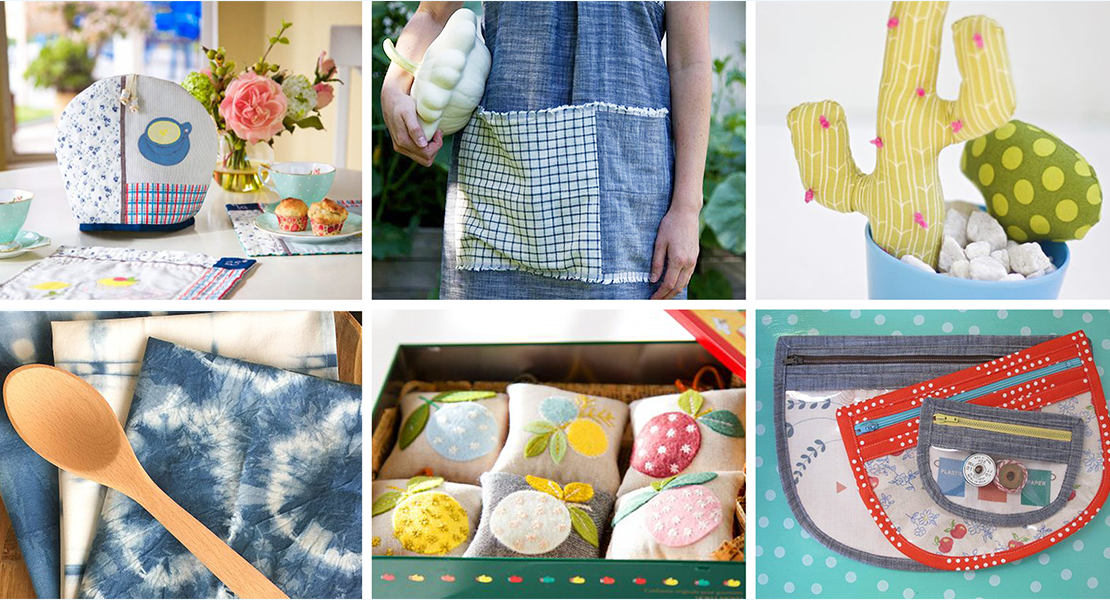
What you might also like


4 comments on “Easy Tea Cozy & Coaster Set”
-
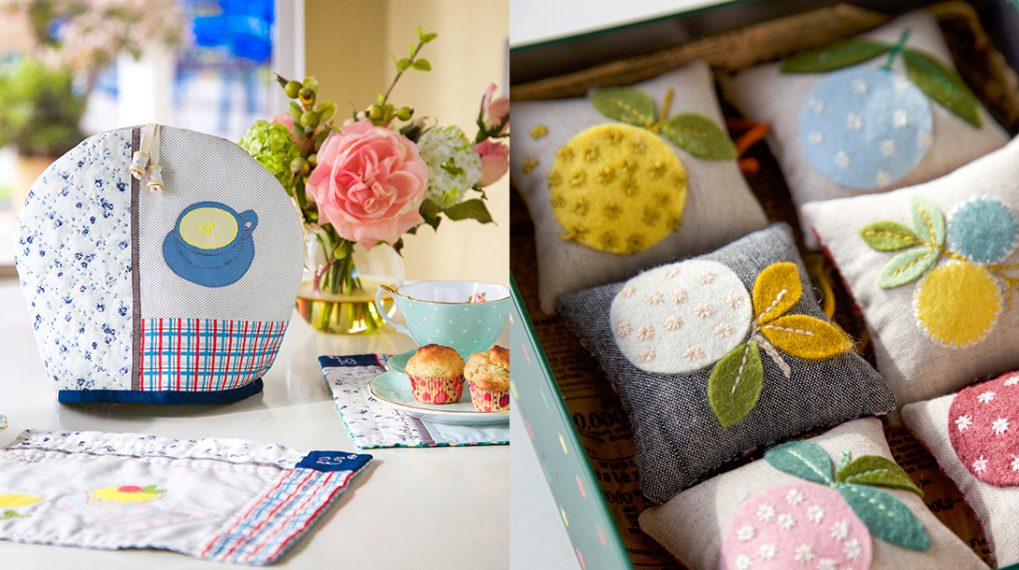
This is a disappointment. You didn’t show the finished products for inspiration and you didn’t show info about embroidering the designs on the fabric pieces. Please include more information and photos of the tea cozy and mat.
-
My apologies. Somehow the pics I thought had inserted in those steps didn’t make it into the finished blog. Not sure how I managed this. I am happy to add them, but am currently in France leading a quilting tour. I will be back on the 23rd and will get them added as soon as possible. Again my apologies, and please bear with me until I can access the photos.
-
Leave a Reply
You must be logged in to post a comment.

For the life of me, I cannot picture the end result of the tea cozy! I’m usually a “show me!” kind of learner but I cannot make heads or tails of the instructions beginning at Number 4. Can you please include a photo of the finished cozy as you have created it? To me, it would be much appreciated.