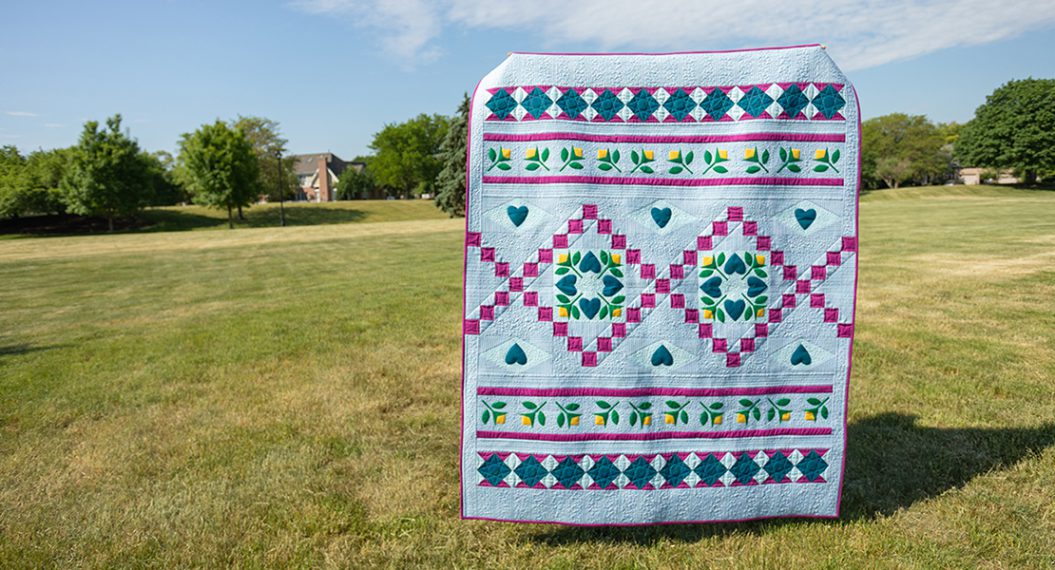
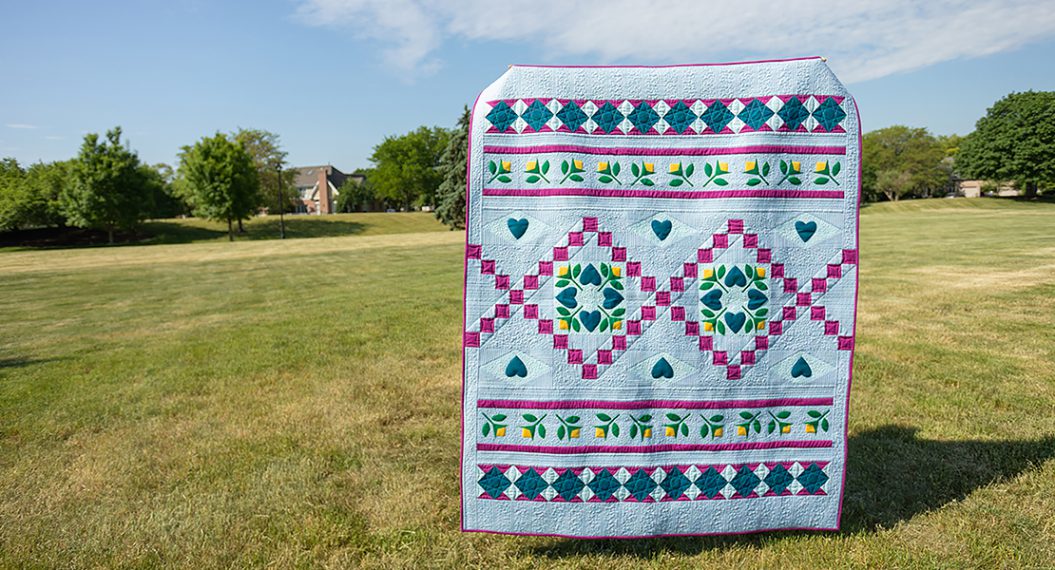
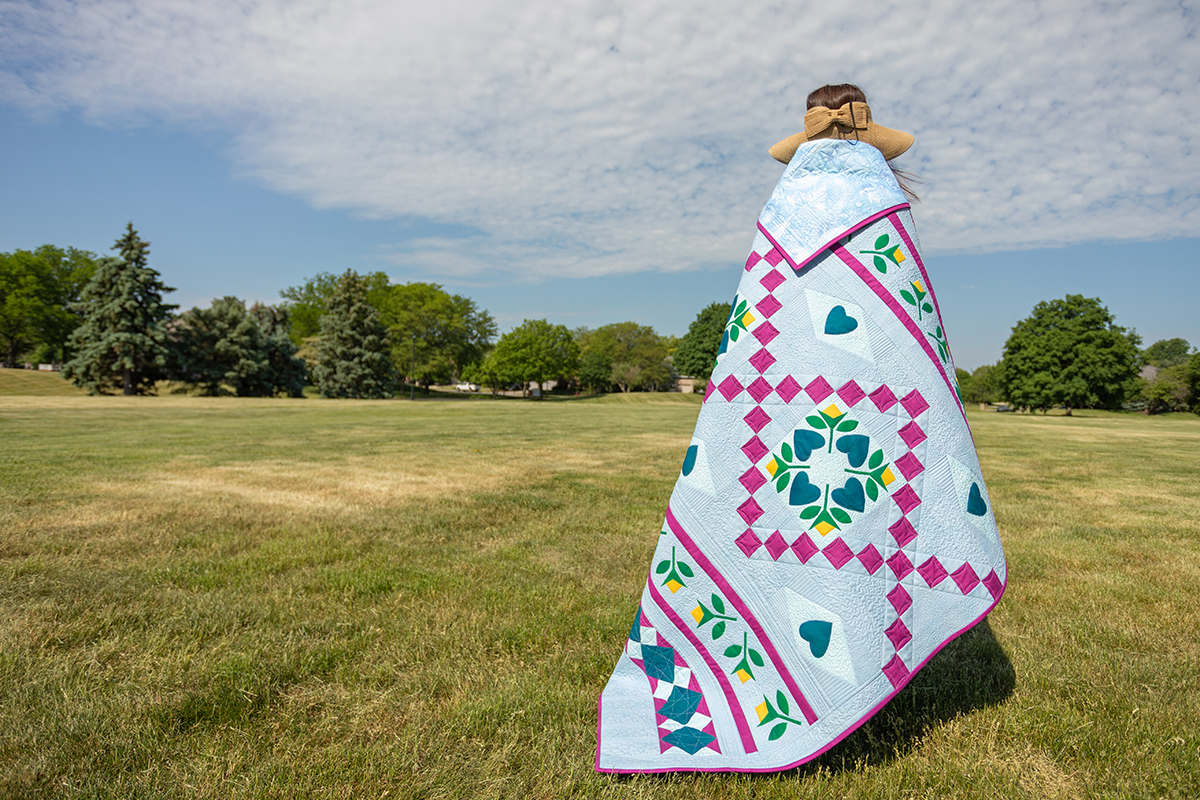
Jump for Joy Quilt Along, Part Eight: Rulerwork
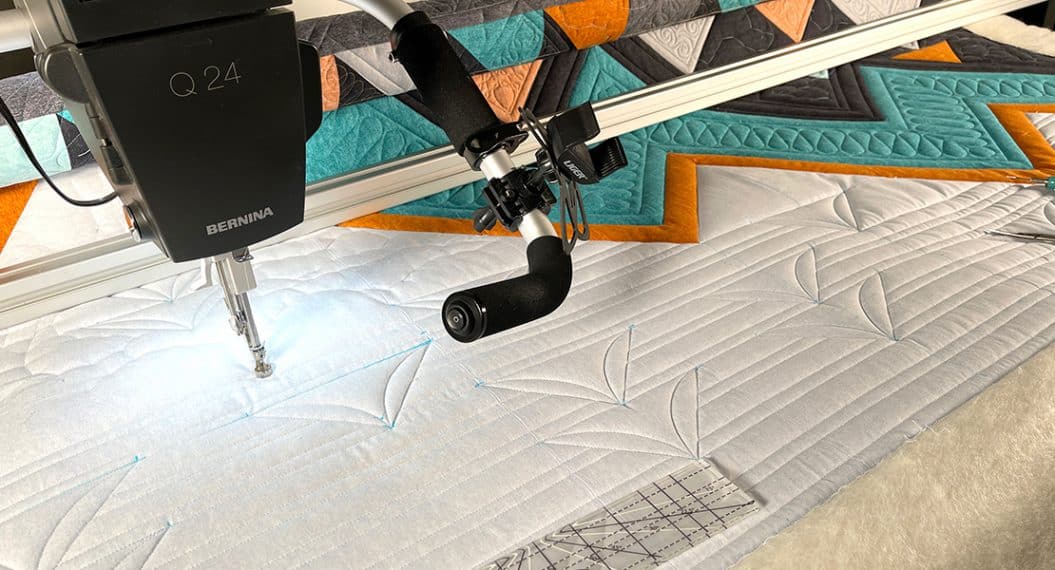
We’re eight months into the Jump for Joy Quilt Along and I hope you’re having as much fun as I am. Until now, we’ve focused on cutting, piecing, and assembling the quilt top. This month, we are talking about all things rulerwork, which is one of my favorite topics! When quilting with rulers, the ruler is placed against the presser foot and the foot follows the edge of the ruler as the needle stitches. The ruler is then repositioned, so the stitches form the desired patterns.
If you are finding the Jump for Joy Quilt Along for the first time, it is never too late to join. Here are the direct links to the previous posts, which include the fabric requirements, cutting instructions, and piecing and assembly instructions for the quilt top.
- Jump for Joy Quilt Along, Part One
- Jump for Joy Quilt Along, Part Two: Raw Edge Fusible Applique
- Jump for Joy Quilt Along, Part Three: Chain Block
- Jump for Joy Quilt Along, Part Four: Diamond Block
- Jump for Joy Quilt Along, Part Five: Assembly
- Jump for Joy Quilt Along, Part Six: Planning
- Jump for Joy Quilt Along, Part Seven: Free-Motion Quilting
Materials for Rulerwork on the Jump for Joy Quilt
- BERNINA 790 PRO
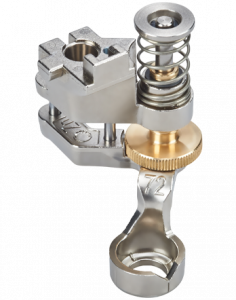
- BERNINA Quilting Feet for ruler work. My favorite is the Adjustable Ruler Foot with Slit #72S
- Straight Line Ruler, which is included in the BERNINA Essentials Ruler Kit
- BERNINA Stitch Regulator
- Quilting thread — Mettler Seracor 0271
Basic Rulerwork Quilting Supplies
Regardless of whether you are quilting on a domestic machine, a sit-down Q Series, or a frame-based Q series machine, there are some specifics that need to be followed to ensure success. Primarily, you need to use the correct rulers and the correct presser feet.
Rulers
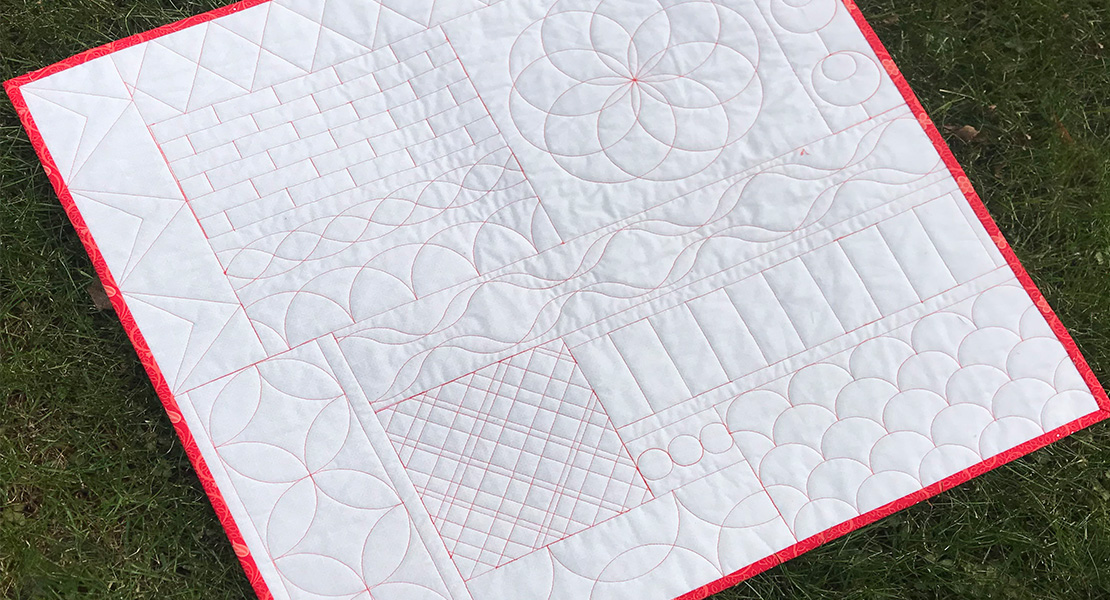
In the Jump for Joy quilt, I only used the straight line ruler, which is part of the BERNINA Essentials Ruler Kit. I achieved the straight line quilting by using the side of the ruler as a guide. Then I used the curved end of the same rule to create the half-circle arcs.
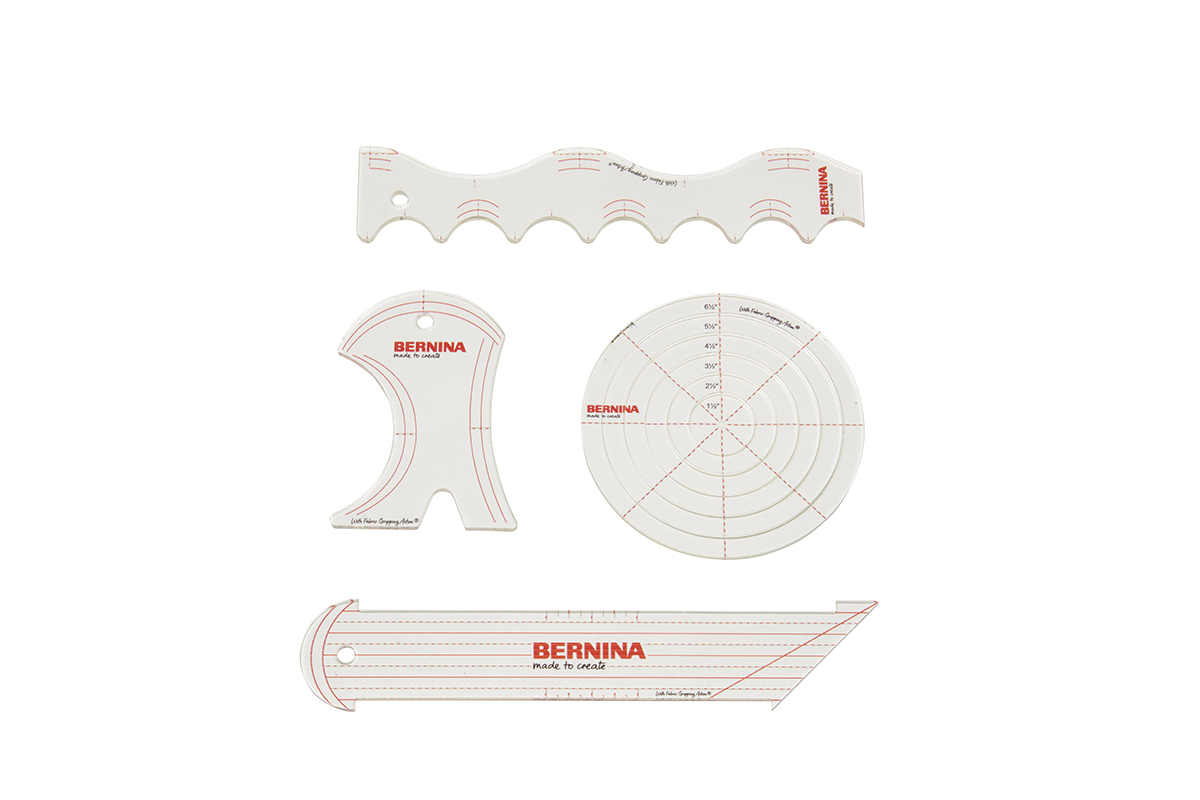
Rulerwork rulers are 1/4” thick so they match the thickness of the presser foot. Typical rotary cutting rulers are not acceptable for this type of quilting technique because they may easily slide under the foot, causing a broken needle and the possibility of machine damage.
Presser Foot
Rulerwork requires a special presser foot to work in sync with the rulers. BERNINA has three feet designed for this function: the Adjustable Ruler Foot #72, the Adjustable Ruler Foot with Slit #72S, and the Ruler Foot #96. As a word of caution, the Ruler Foot #96 is only for Q Series machines. It cannot be used on a domestic machine.
My favorite foot when quilting with rulers is the Adjustable Ruler Foot with Slit #72S.
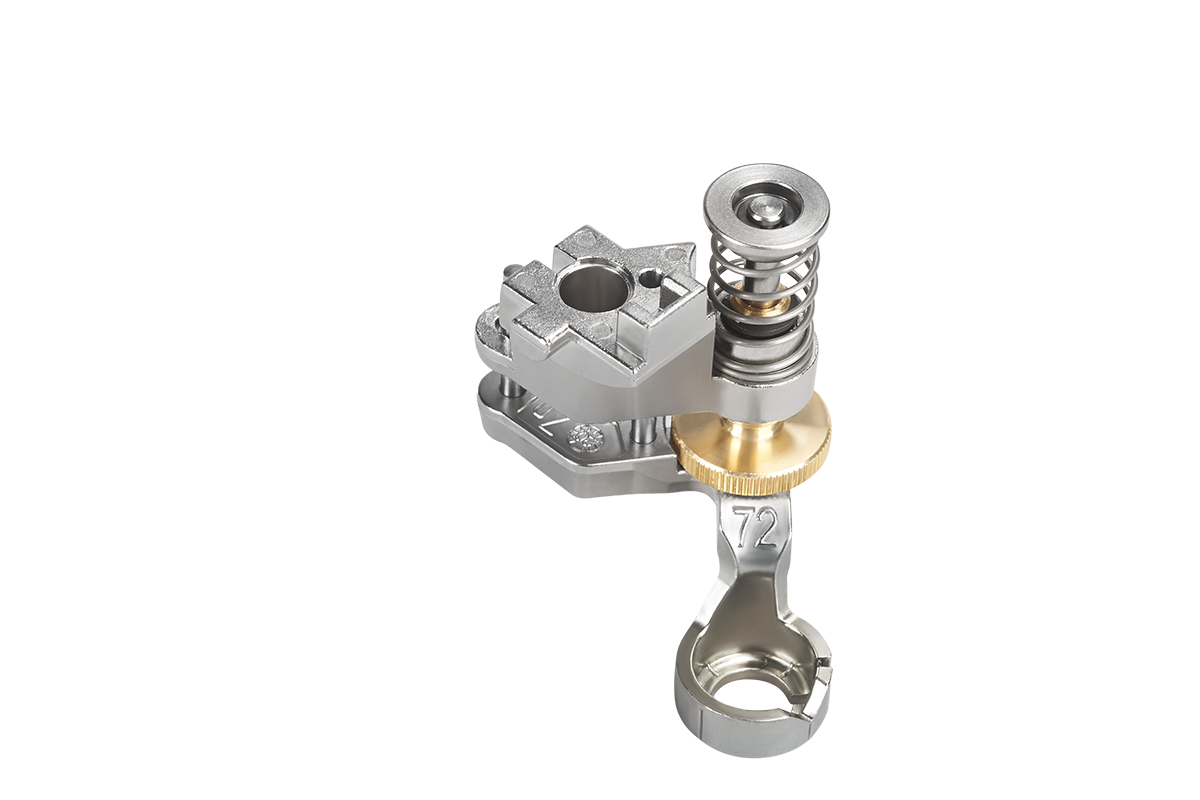
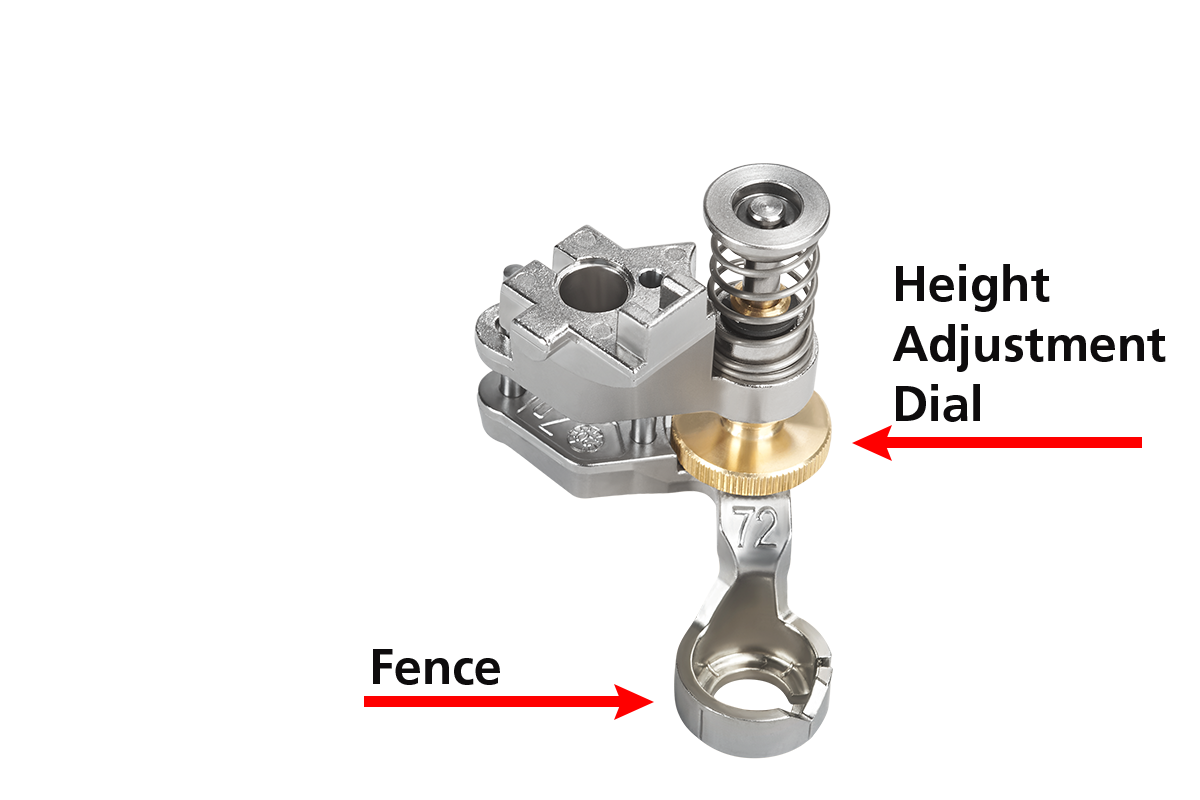
Just like the Adjustable Ruler Foot #72, the Adjustable Ruler Foot with Slit #72S is unique in that its sole is 1/4” thick to match the thickness of the ruler edge it is following. It also has a height adjustment dial on the side of the foot. You may adjust it to accommodate different thicknesses of batting if needed. The sole should sit just above the surface of the quilt, leaving enough room to move the fabric under it. Additionally, it has a slit in the fence (a thick sole that keeps the ruler from sliding over or under the foot as you stitch) that allows for easy thread management.
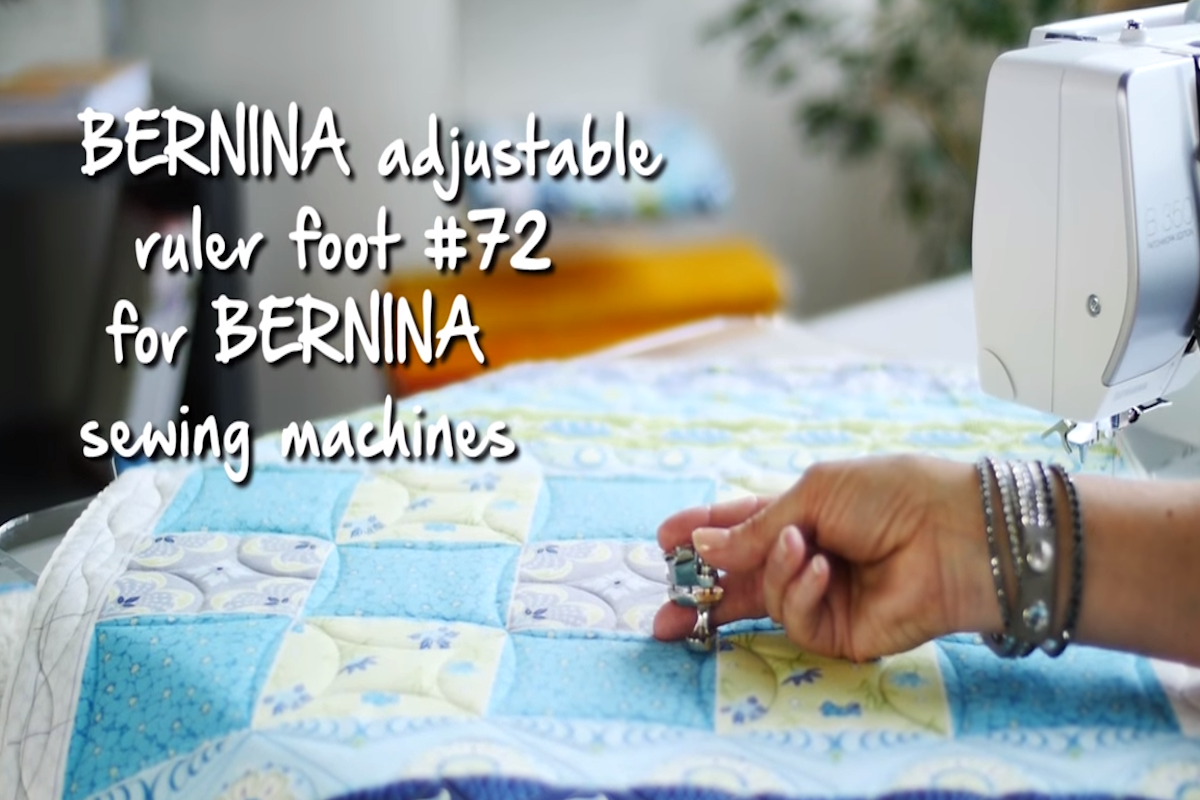
If you are completely new to rulerwork, click HERE to see a 6-minute video that gives you an overview of the rulerwork process. It’s a great introduction that explains the concept and shows you the process in a simple way.
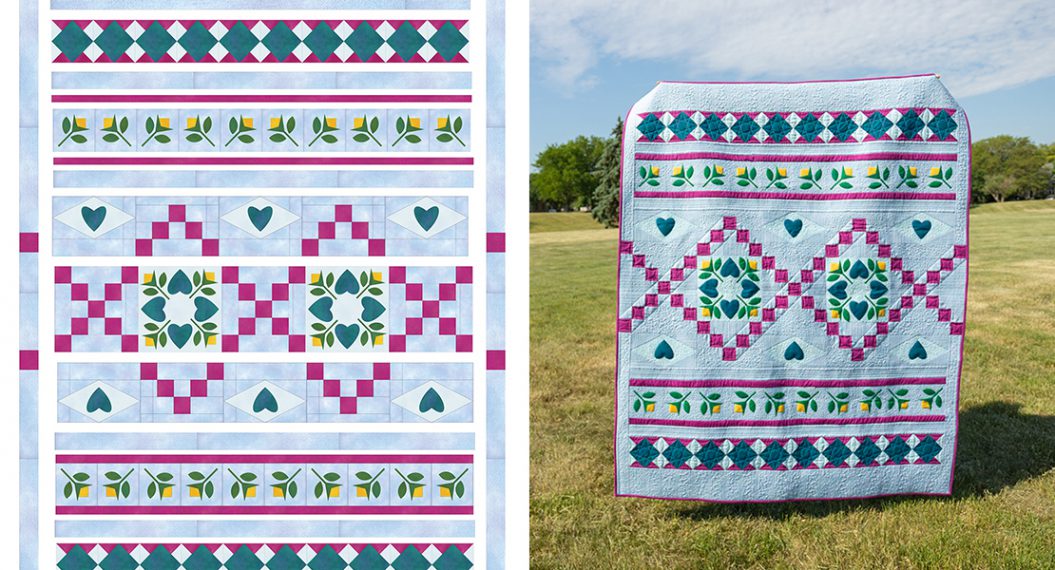
Now that we have the supplies and basics of rulerwork covered, let’s explore the areas of the quilt where I used it.
Rulerwork on the Jump for Joy Quilt
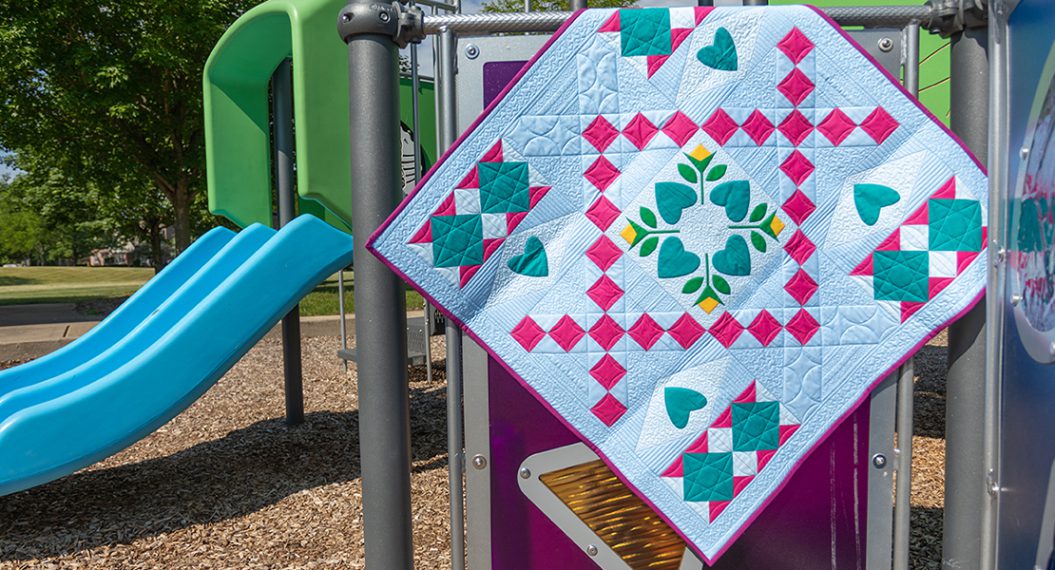
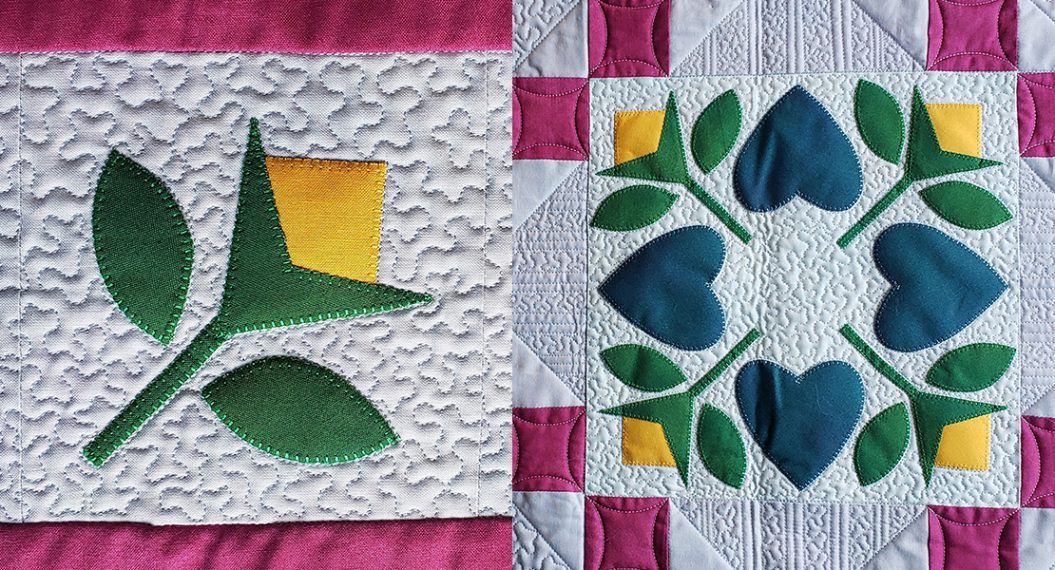
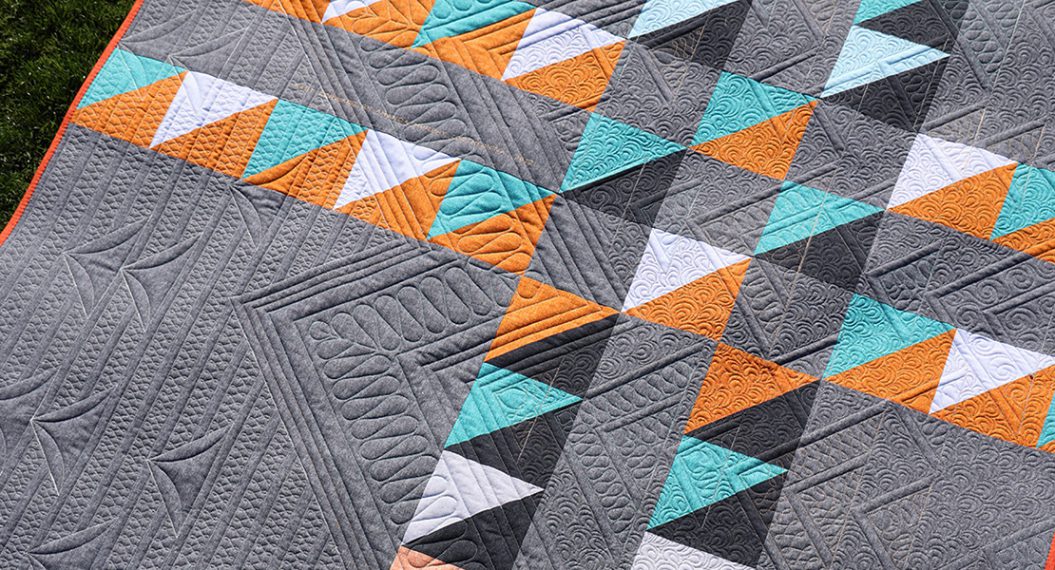
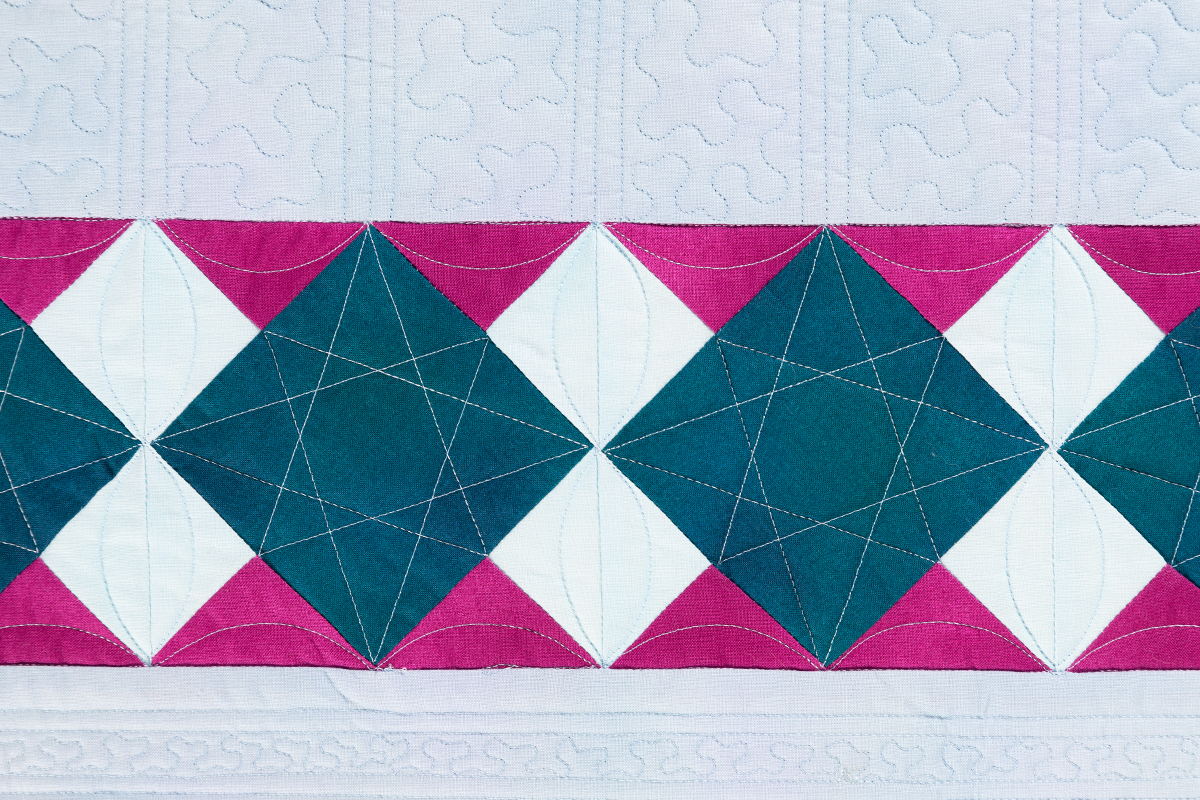
I quilted the center of the Diamond Block units with straight lines and the edges with arcs. While it may look complex, it is really easy to achieve!
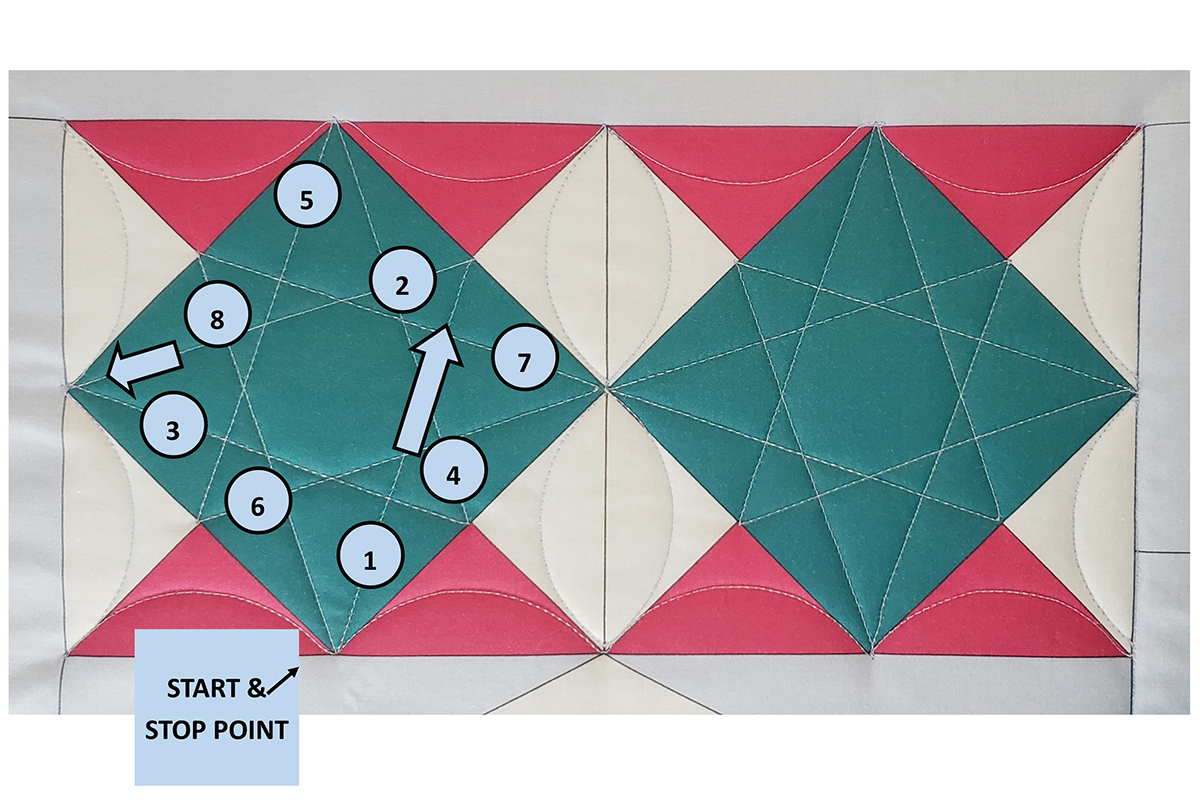
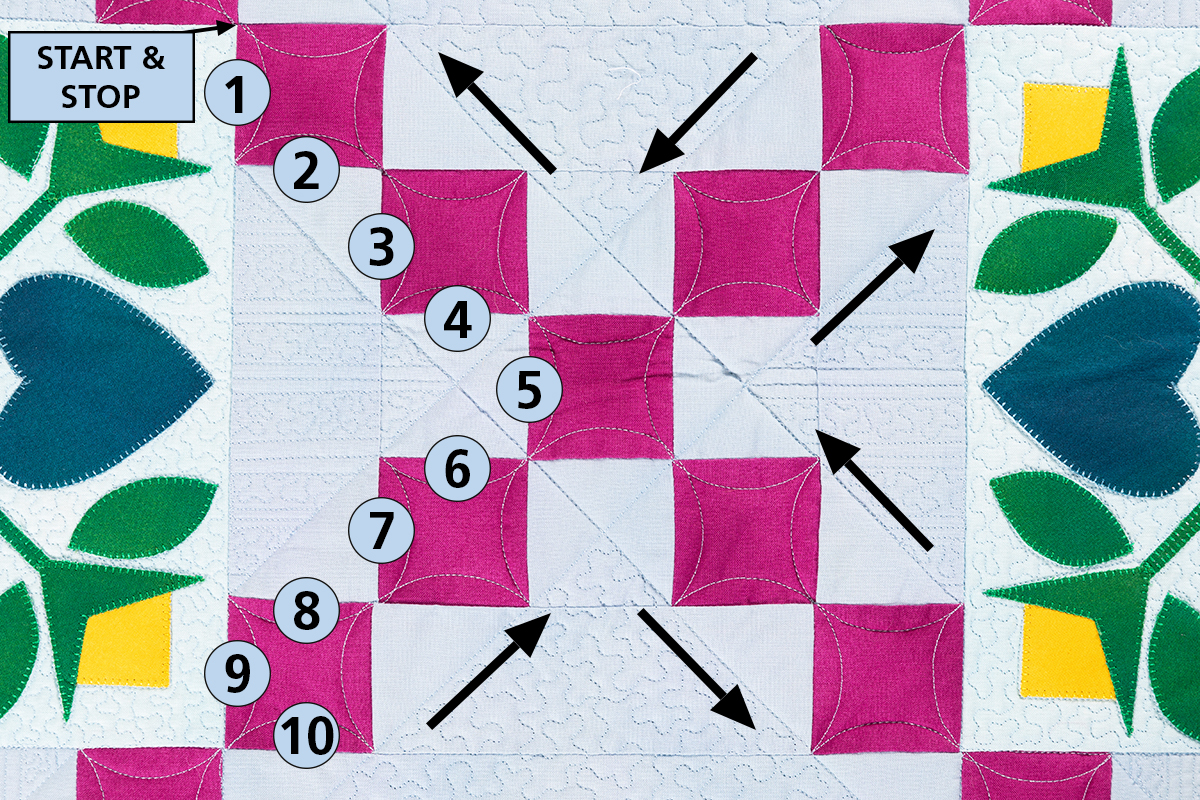
Let’s break down the stitch path for the center section. It doesn’t matter which corner you start at, since you will end at the same point. Following the numbers in order, you’ll straight line stitch to create a “V” shape from corner to opposite side to adjacent corner. Then continue until you have stitched around the entire block.
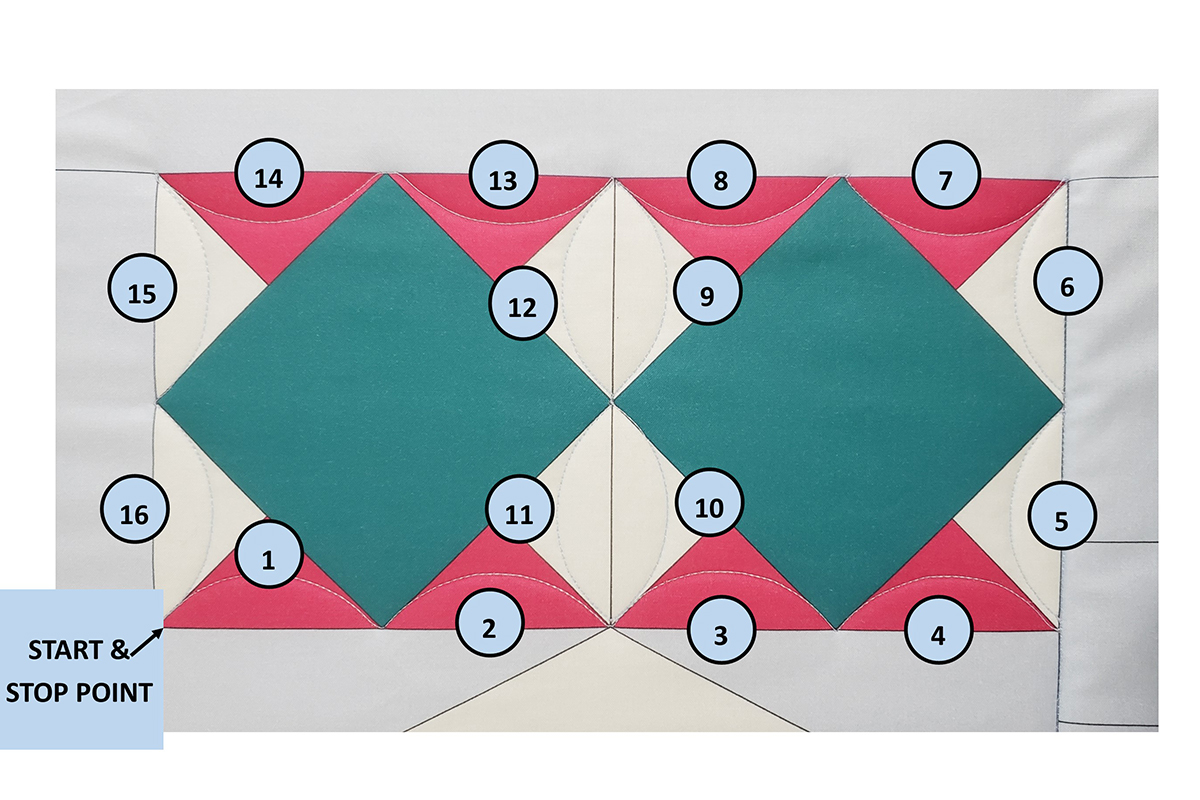
The outer edges of the Diamond Block units are stitched with arcs using the curved end of the ruler. Again, starting with your needled dropped in a corner, align your ruler and stitch around each arc following the numbers shown. This will allow you to stitch the entire path without having to tie off threads.
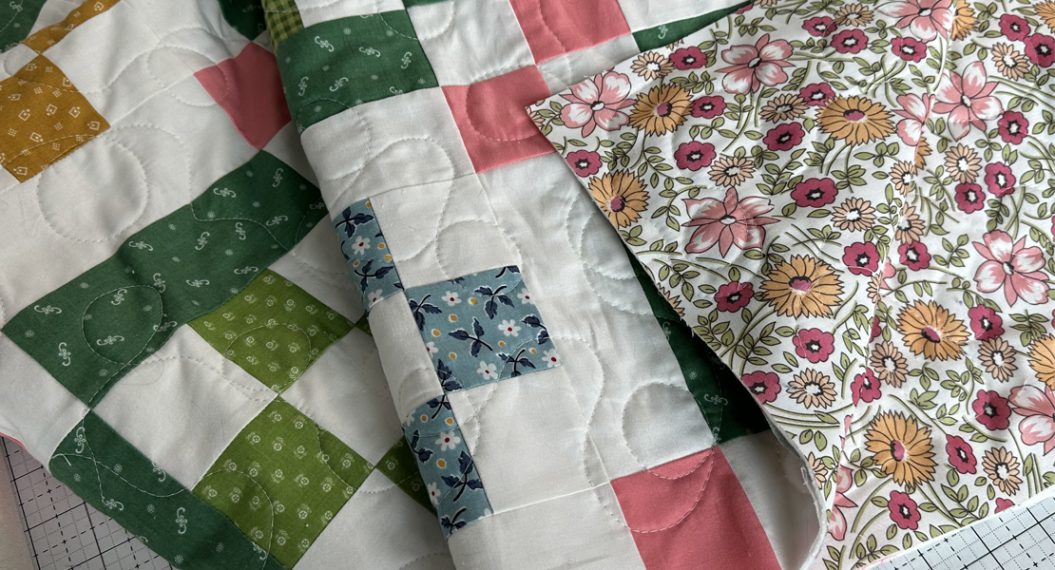
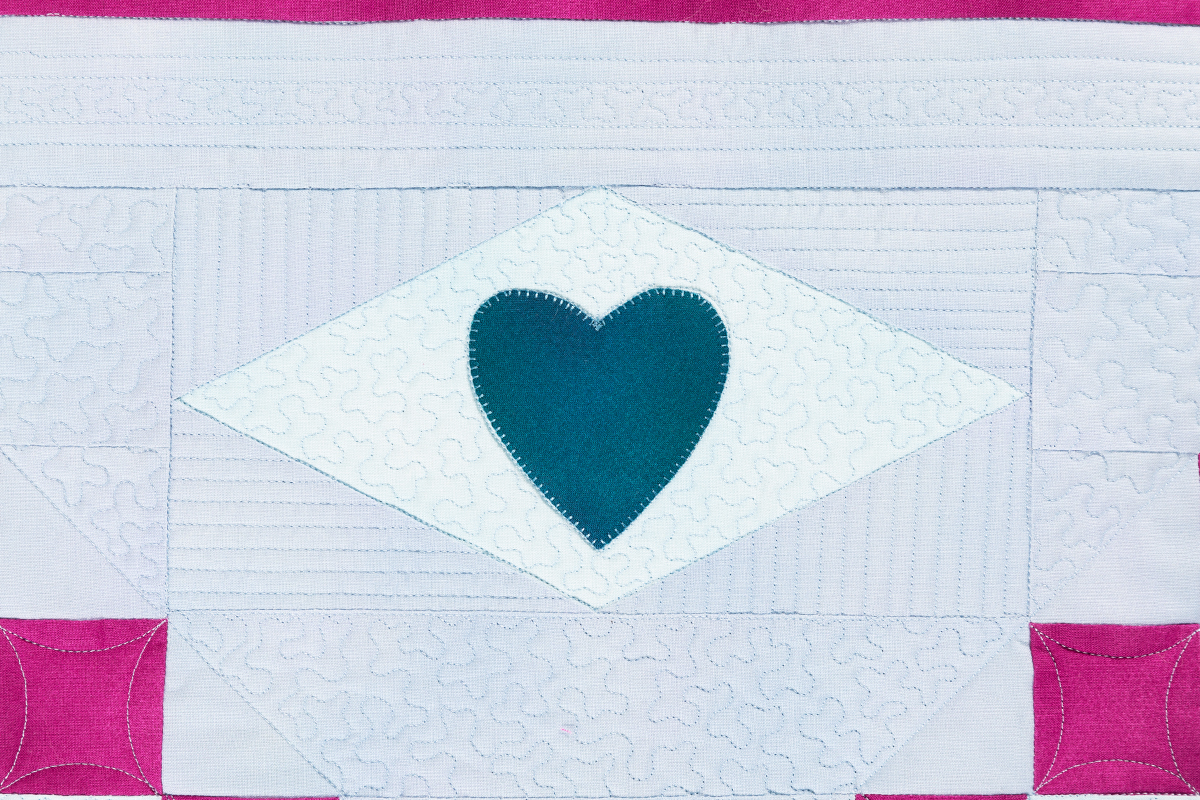
Next, the outer sections of the Diamond Heart Block are straight line stitched 1/4” apart. This matchstick-style quilting is easy to execute using the marked lines on the ruler. When you finish one line, travel along the edges of the diamond or the outer edge of the block to move to the next line.
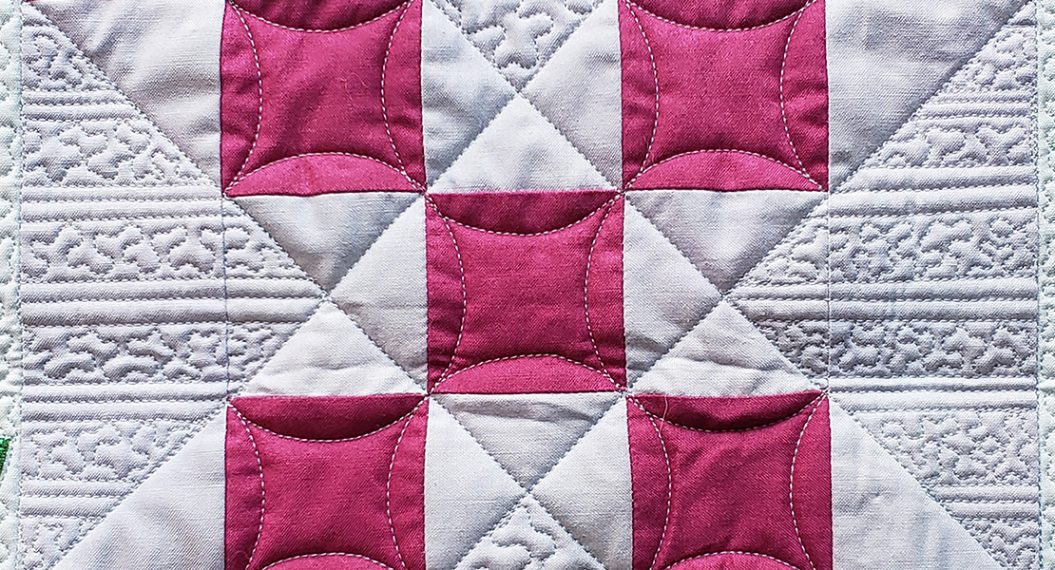
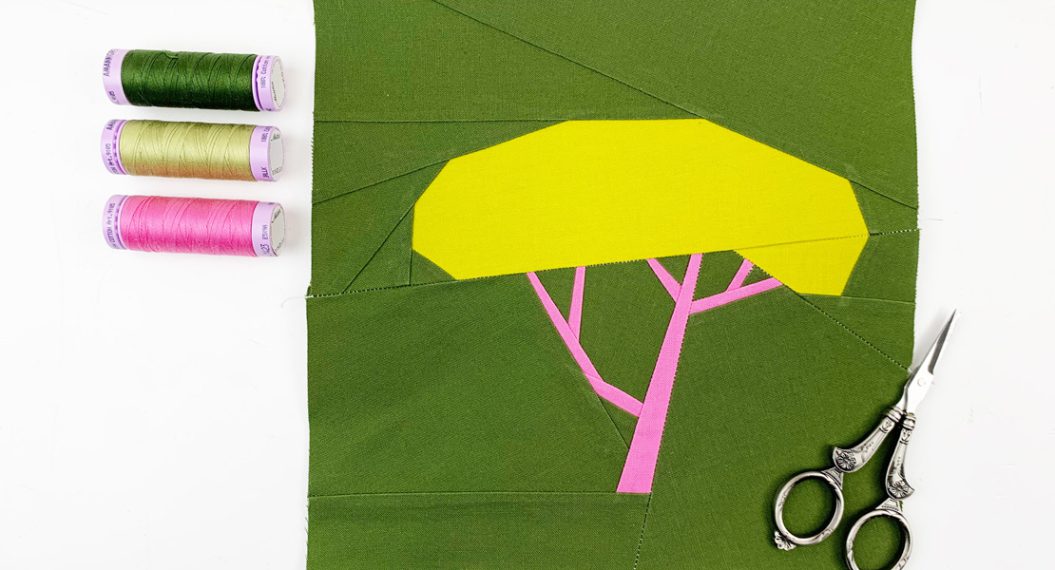
The Chain Blocks are stitched in arcs just like the outer edges of the Diamond Block. Starting in one corner, follow the numbers to stitch down the outer edge of the chain, continuing onto the next “leg” of the chain, then follow the arrows to repeat the process until you have the entire Chain Block stitched.
Don’t stress if your rulerwork doesn’t look perfect on the first stitch. Mine didn’t either. It takes practice to gain mastery of holding the ruler and moving the fabric at the same time. Start slow. Stop as needed to reposition the ruler. Like anything in life, the more you do it, the easier it gets.
That’s it for today! Be sure to share the Jump for Joy Quilt Along with all your quilting friends and quilt guilds. Quilting is always better with a friend.
Next month, we will cover quilting on a frame-based Q Series and/or a Q-matic. See you then!
P.S. Many BERNINA dealers have everything you need to make the quilt, from fabric, thread, rulers, and machines! If you don’t already shop there, use the dealer locator to find the closest one to you.